
Fine line tattoos dominate saved boards, and the ones that still read crisp at year five are often the ones people expect to fade fastest. Trends look great in photos. Longevity depends on placement, spacing, and honest line weight. These 17 let them tattoo designs balance what looks good now with what still reads like you at year three, and the first idea shows the kind of placement choices that matter most.
1. Script Line Along the Collarbone
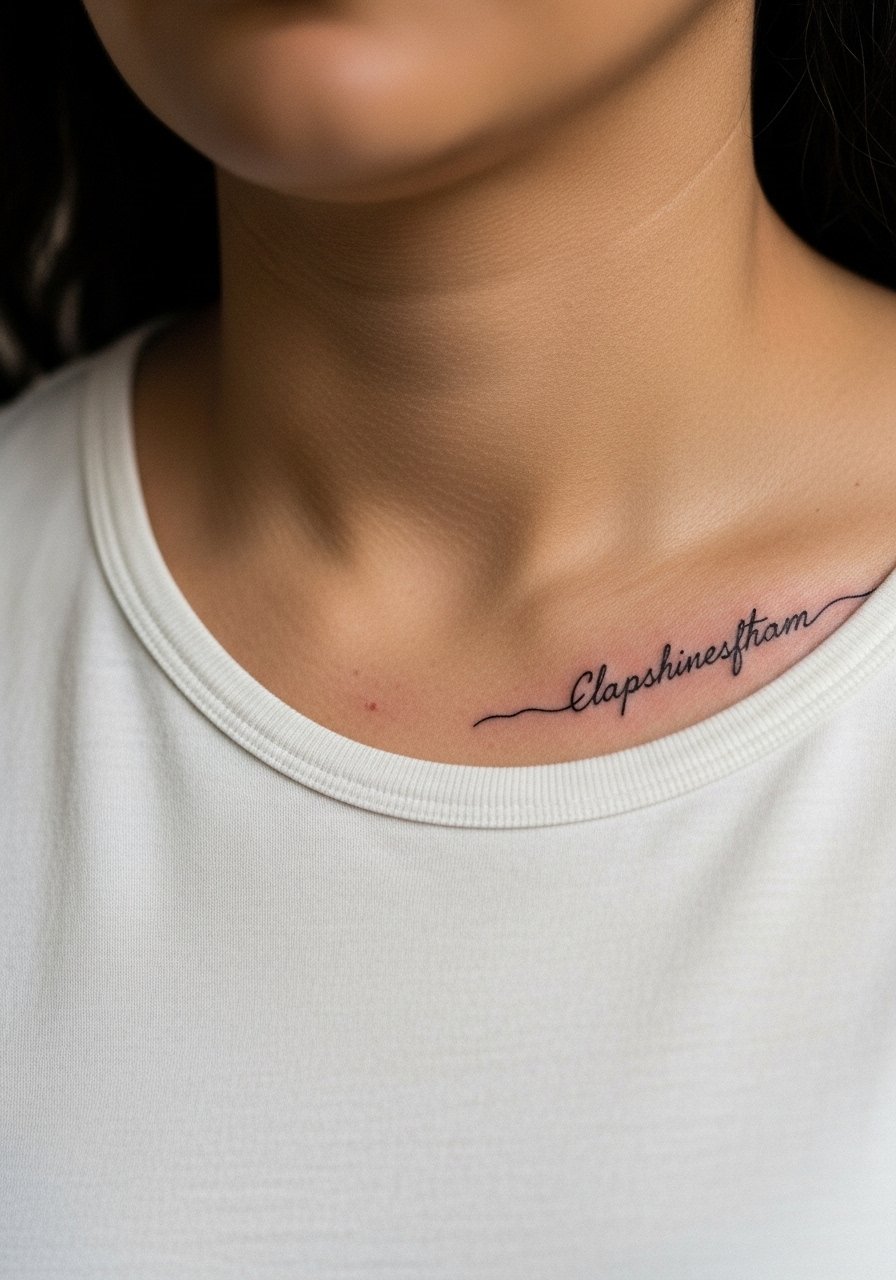
A slim script along the collarbone reads intimate without screaming. I recommend requesting slightly heavier linework than a typical micro script so the letters keep shape as the skin stretches. In consultation, say you want readable spacing between letters and show examples of the final scale on a collarbone. Common mistake is choosing text too small and too tight, which blurs at year two. Pain is milder here but expect a twinge when the needle crosses bone. For showing it off, pair the piece with wide-neck tops that sit just below the ink and avoid high collars during healing.
2. Tiny Constellation on the Ankle
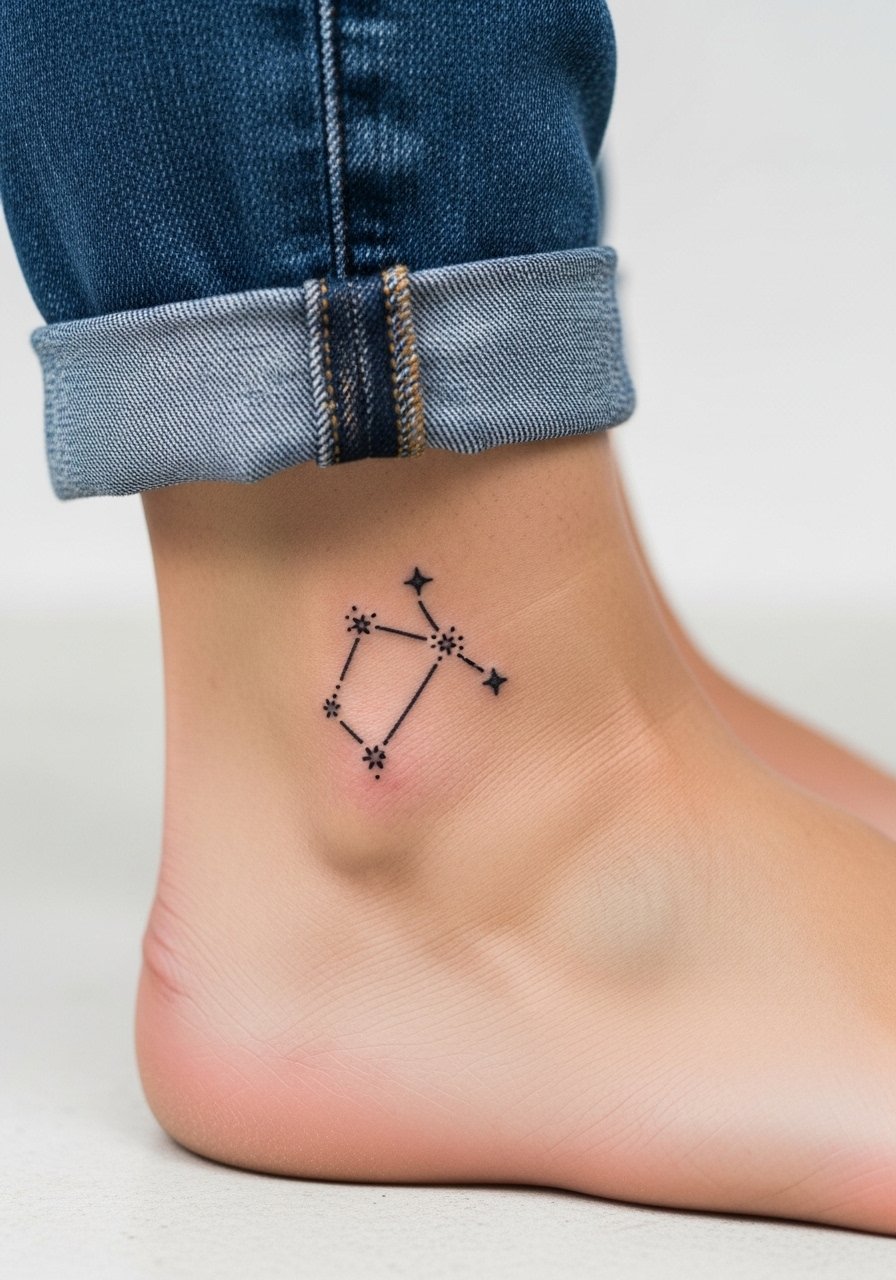
Tiny dot work and thin connecting lines make a quiet ankle constellation. I usually advise clients that ankles see friction from shoes and socks, so place dots slightly apart to avoid lines merging. Tell your artist you want stipple shading and distinct dot spacing. Expect a higher chance of softening at year three and a protective touch-up then. Session pain is low to moderate, but the thin skin over the medial malleolus is sharper. For dressing the finished piece, rolled cuffs and simple sandals frame the ankle without rubbing the area.
3. Fine Line Arrow on Inner Forearm
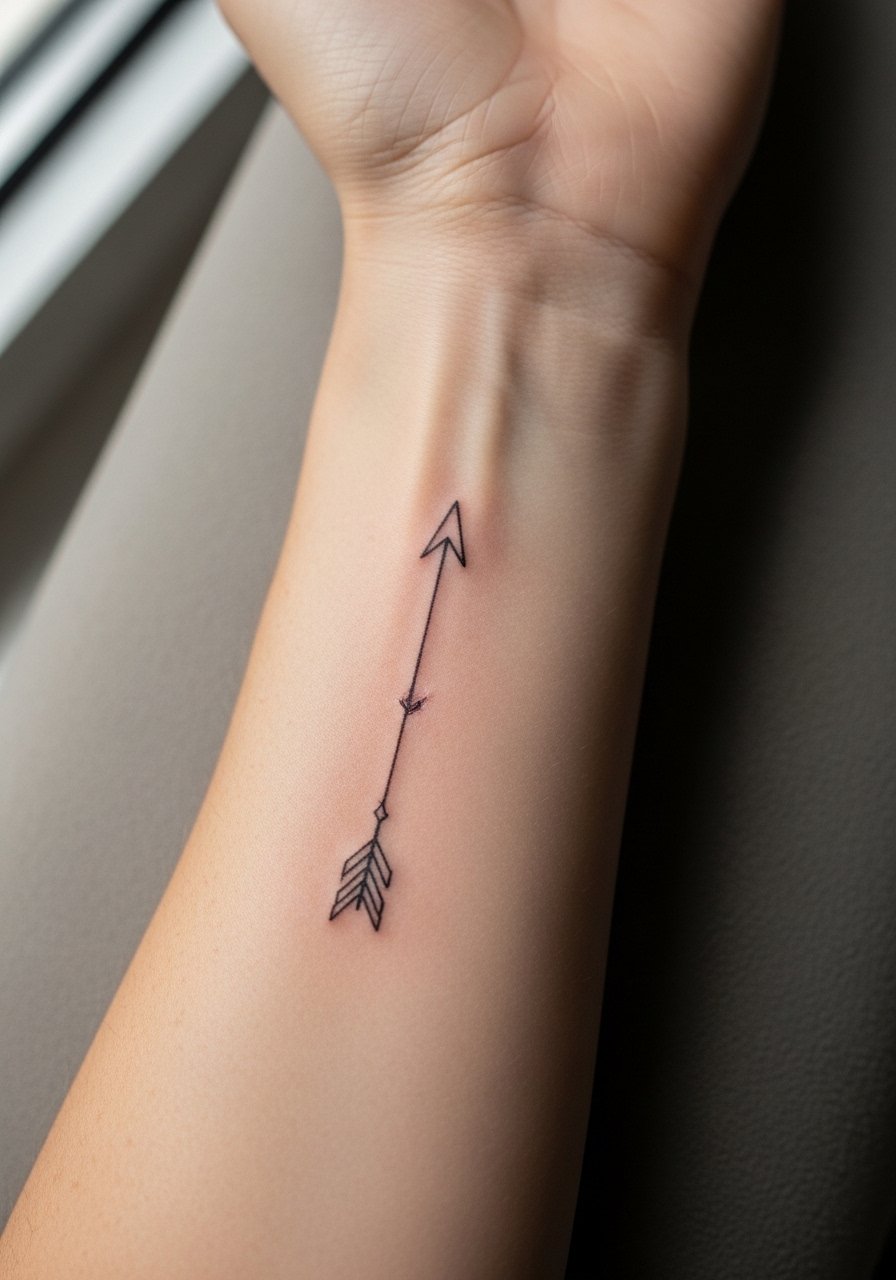
I've seen this tiny arrow last clean when artists space the shaft and use steady linework. Ask for slight variation in line weight between shaft and fletching so the eye reads the shape at a distance. A common version that ages poorly is running every line the same micro width. That tends to blur and lose the arrow silhouette by year four. Forearm sessions are quick, about 30 to 60 minutes depending on size, and pain is manageable. Pair the forearm piece with rolled-up sleeves and a linen button-down to show the work without competing patterns.
4. Micro-Realism Rose on the Bicep
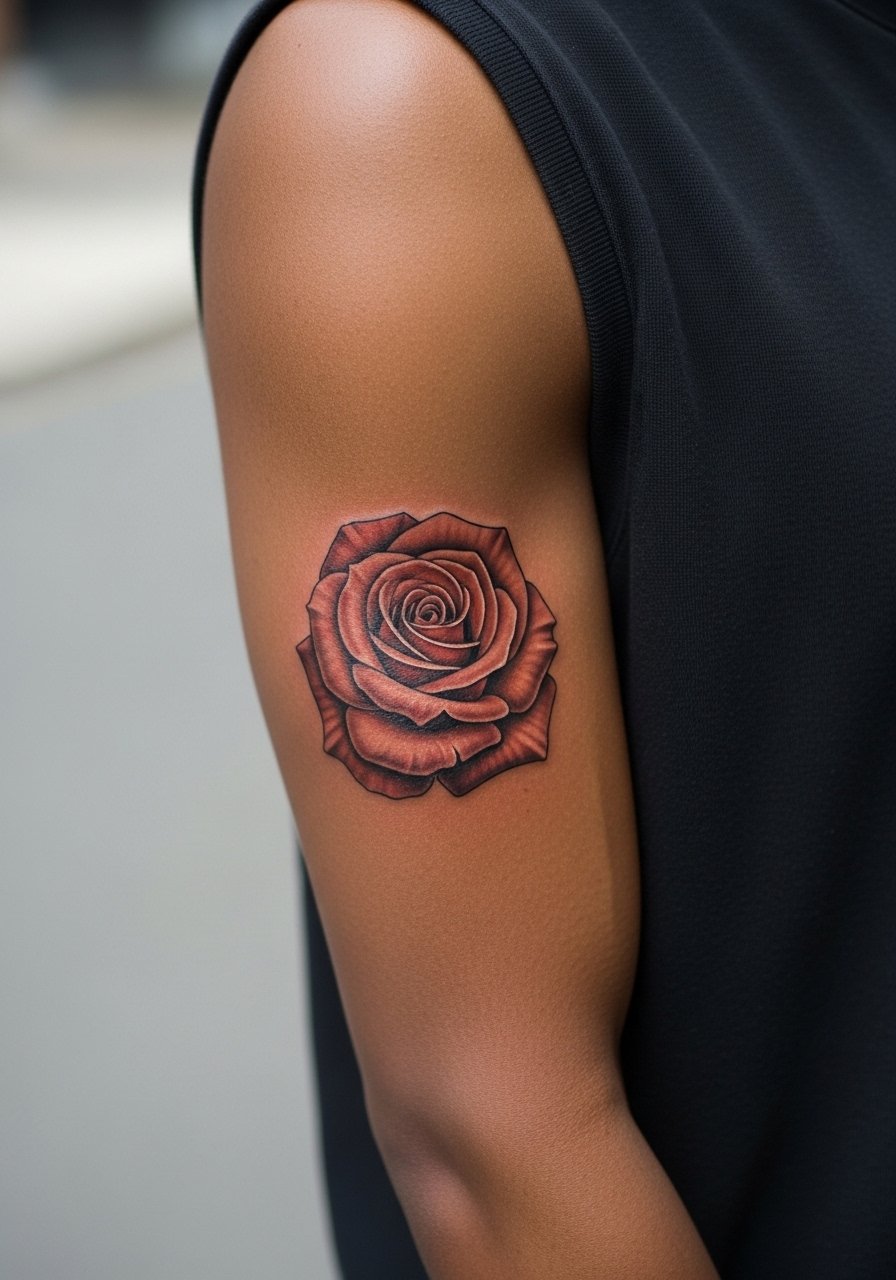
A small micro-realism rose reads like a tiny painting when the artist balances dot work and soft shading. In consultation, bring close-up photos showing the exact petal detail you want and mention stipple shading for texture. The bicep is forgiving on blowout, but saturation matters. Overpacked color can scar and look muddy. Expect a 60 to 90 minute session and a touch-up window at year two if you want to keep contrast. For evenings out, a sleeveless top or thin chain pendant necklace sits above the piece without stealing focus.
5. Geometric Mandala on the Upper Back
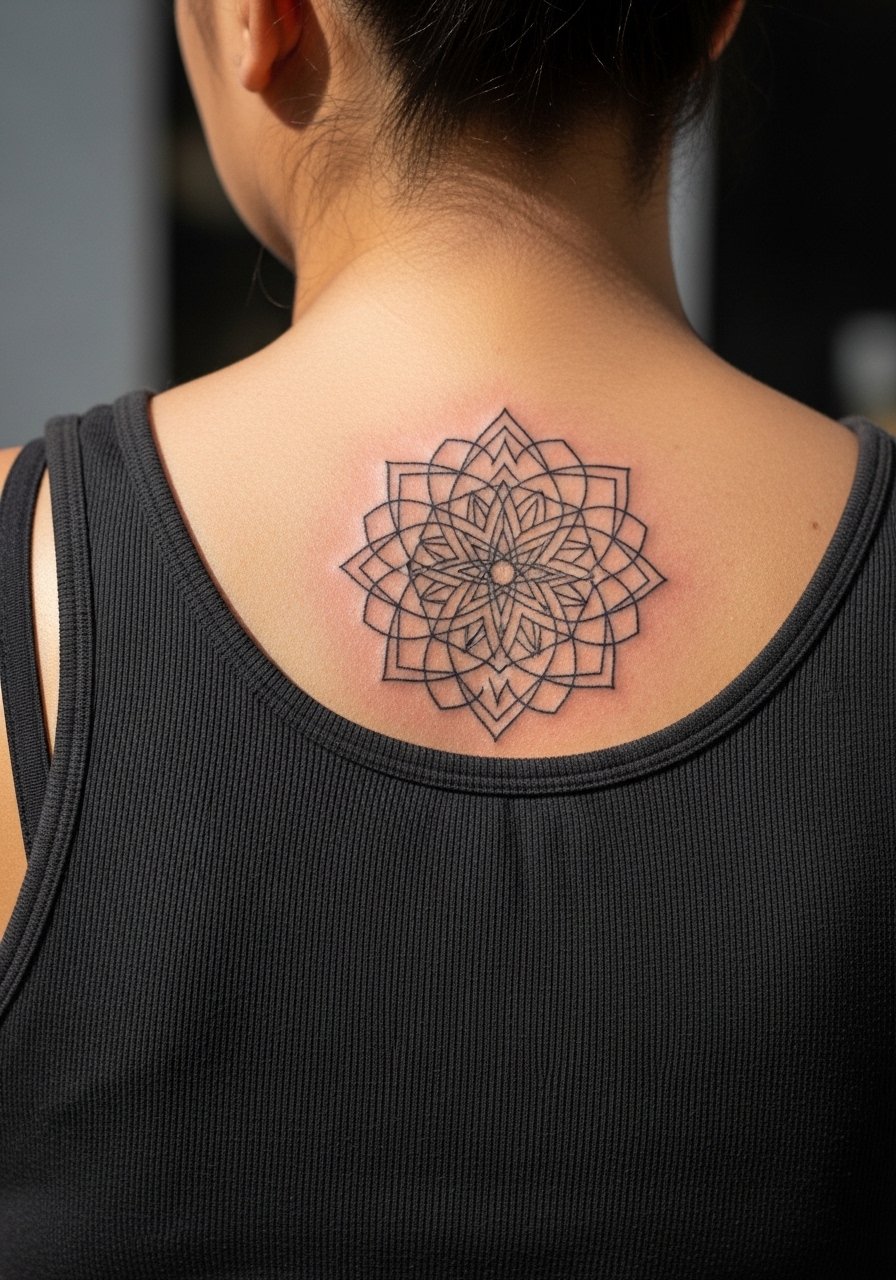
A mandala here benefits from careful spacing and slightly bolder outer rings so the pattern holds over time. The controversy around mandalas on the ribcage applies more to size than to placement. One camp says tiny dense mandalas blur quickly. The other camp says larger spacing and proper depth save the design. For the upper back, pick a scale that gives the central motif room. The session is medium length, and a follow-up touch-up is common at year three. Wear a tank top to the appointment so the artist can work without you needing to undress.
6. Traditional Bold Rose on the Shoulder
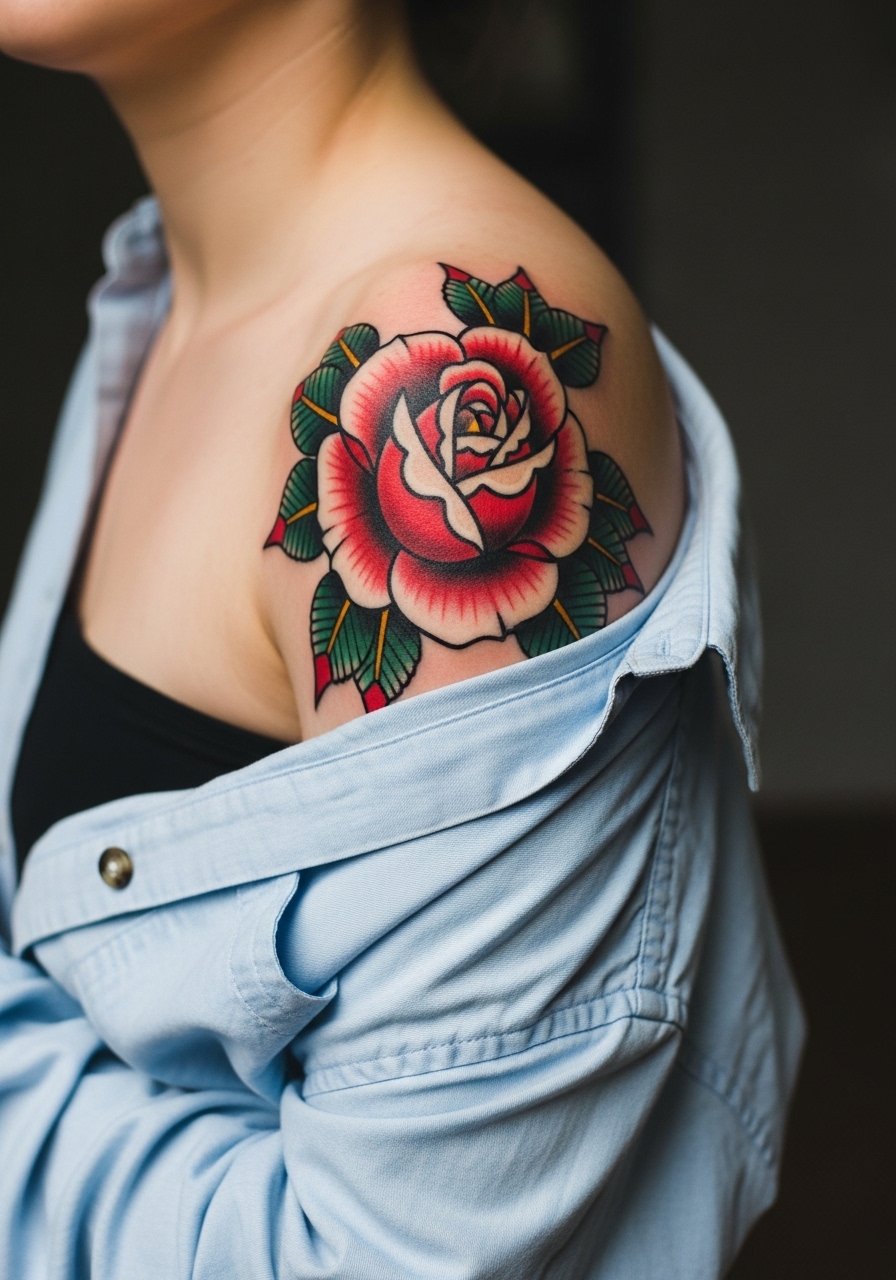
There's something about saturated color and thick outlines that ages into a statement. For a shoulder rose, ask for solid outlines and concentrated saturation in the petals. The common mistake is asking for ultra-detailed petals at a small scale. That detail flattens as the ink settles and under skin movement. Expect a longer session if you want color packing, and a touch-up at two to three years for high-traffic UV-exposed shoulders. For the session, wear a loose button-down shirt you can pull aside without rubbing freshly inked skin.
Studio Day Picks
The collarbone, forearm, and shoulder pieces above each have different prep needs, so these small items smooth the session and the first week.
-
Stencil transfer paper kit. Lets you preview line placement on skin before the needle goes in, which is useful for collarbone and script pieces.
-
Topical numbing cream. Applied before the session it eases sensitivity on the ankle and inner forearm without muting the artist's work.
-
Thin protective film roll. Keeps low-coverage spots like the ankle and wrist protected during the first few days of movement and showers.
-
Fragrance-free body wash. Gentle cleansing prevents irritation for fresh linework on shoulders and backs.
-
Aquaphor healing ointment. Thin layers for the first few days lock in moisture for fine line and micro-realism pieces without clogging.
7. Single Needle Portrait on the Ribcage
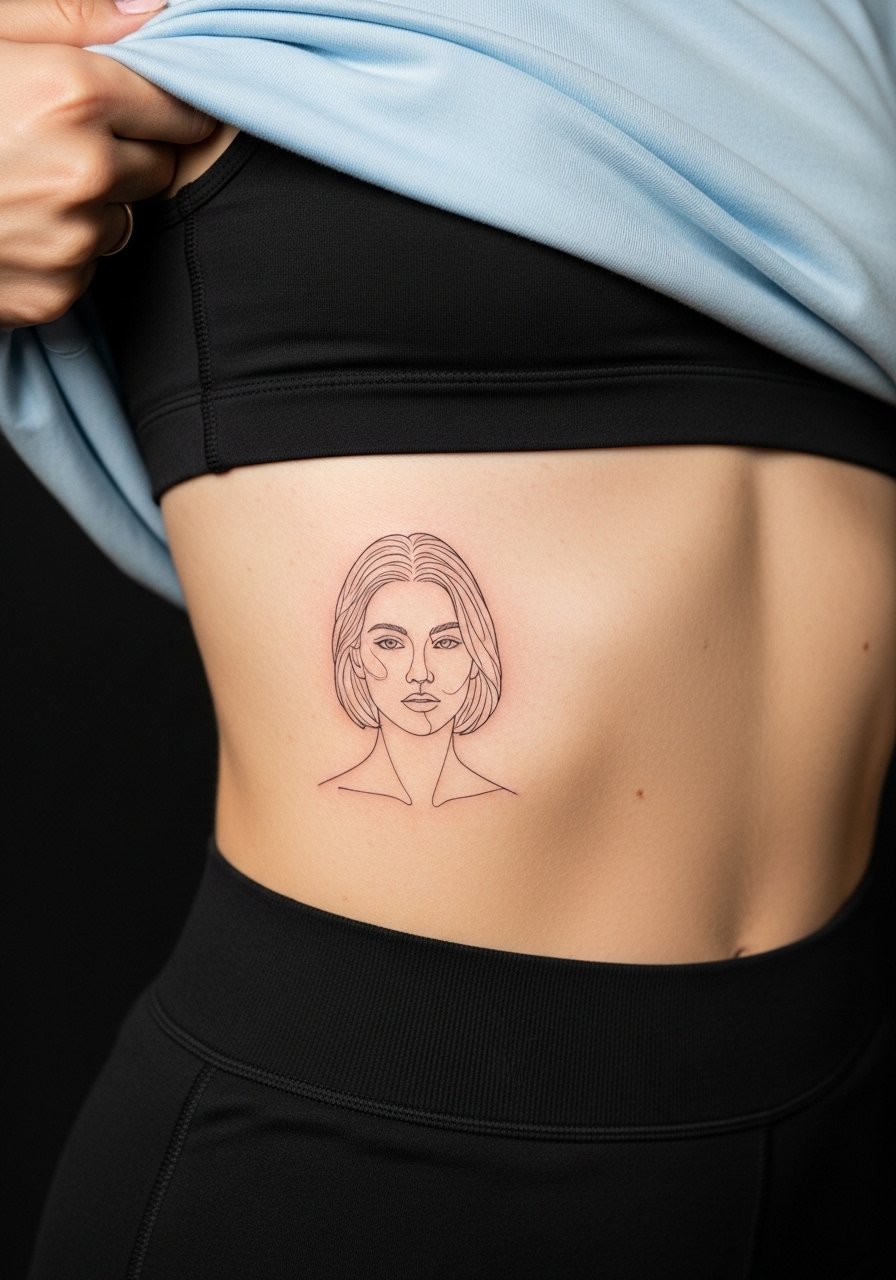
Fair warning, the ribcage rates higher on most pain scales. Portraits here read intimate but need extra spacing in facial features. The main controversy is whether fine line portraiture belongs on the ribs. One camp says the skin shifts and blurs lines within two years. The other camp insists that with correct depth and spacing it holds. I advise opting for slightly larger eyes and clearer jawline separation in the stencil to retain identity over time. Sessions are longer and may be split. For the appointment, wear a sports bra you can lift slightly so the artist has access without full disrobing.
8. Minimalist Finger Band
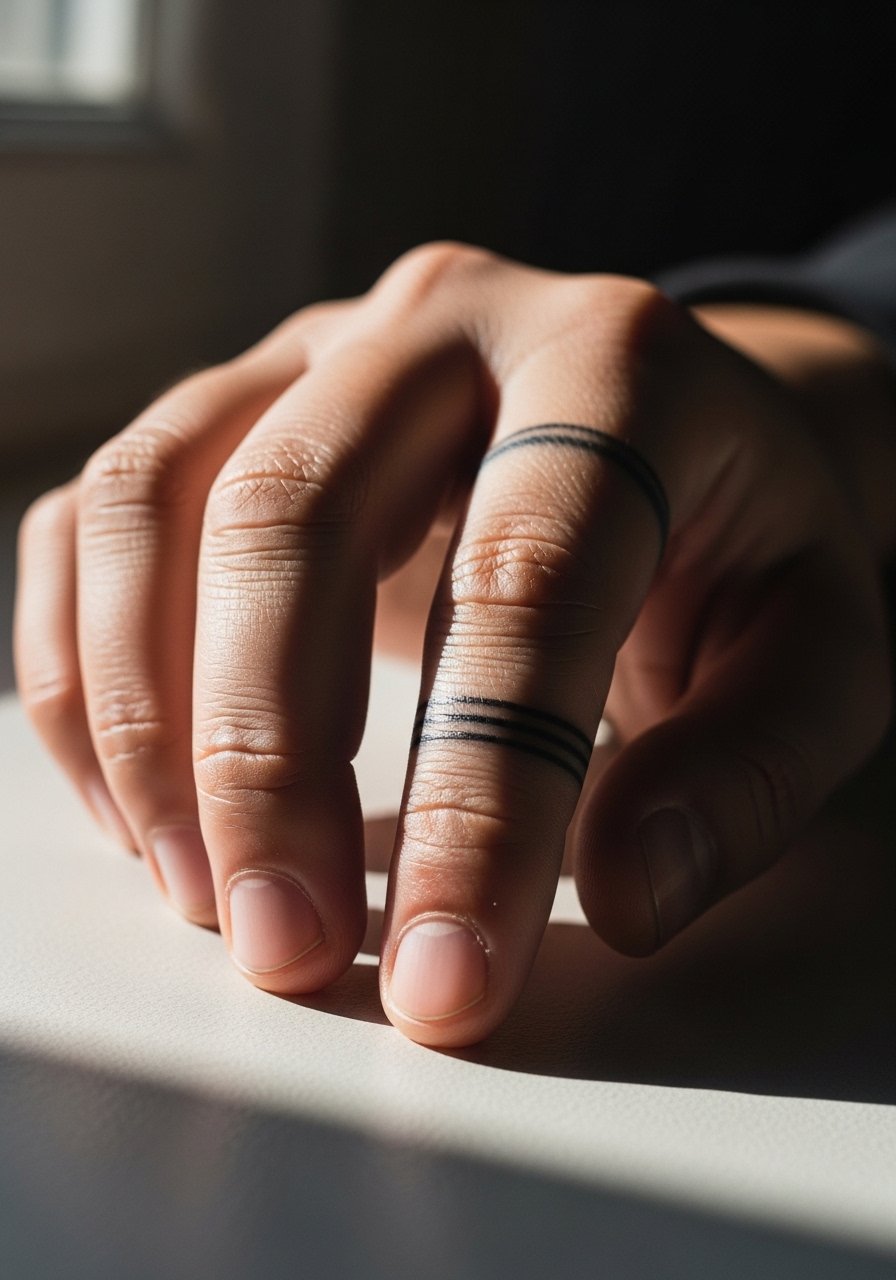
Finger bands are deceptively vulnerable. The skin and constant washing fade ink and increase the risk of blowout. Ask the artist for slightly thicker bands and allow for gaps between lines rather than continuous micro strokes. The common mistake is requesting ultra-thin bands that disappear by year one. Expect touch-ups more often than for arm work, sometimes annually. Touch-ups can darken the lines but may also thicken them over time. For showing off, pair a finger band with a simple minimalist ring that sits either side of the ink without rubbing it.
9. Watercolor Splotch Behind the Ear

Behind-the-ear pieces are discreet and delicate. The skin there is thin and contours with movement, so watercolor washes need an anchoring line to keep the color from feathering. Tell your artist you want a light outline with a wash that fades into skin tone, not a saturated blob. This area heals fast, but you should avoid heavy hair products while it closes. For career-conscious clients, note that small behind-the-ear tattoos can be hidden by hair or shown off with textured hair clips when desired.
10. Scripted Sternum Piece
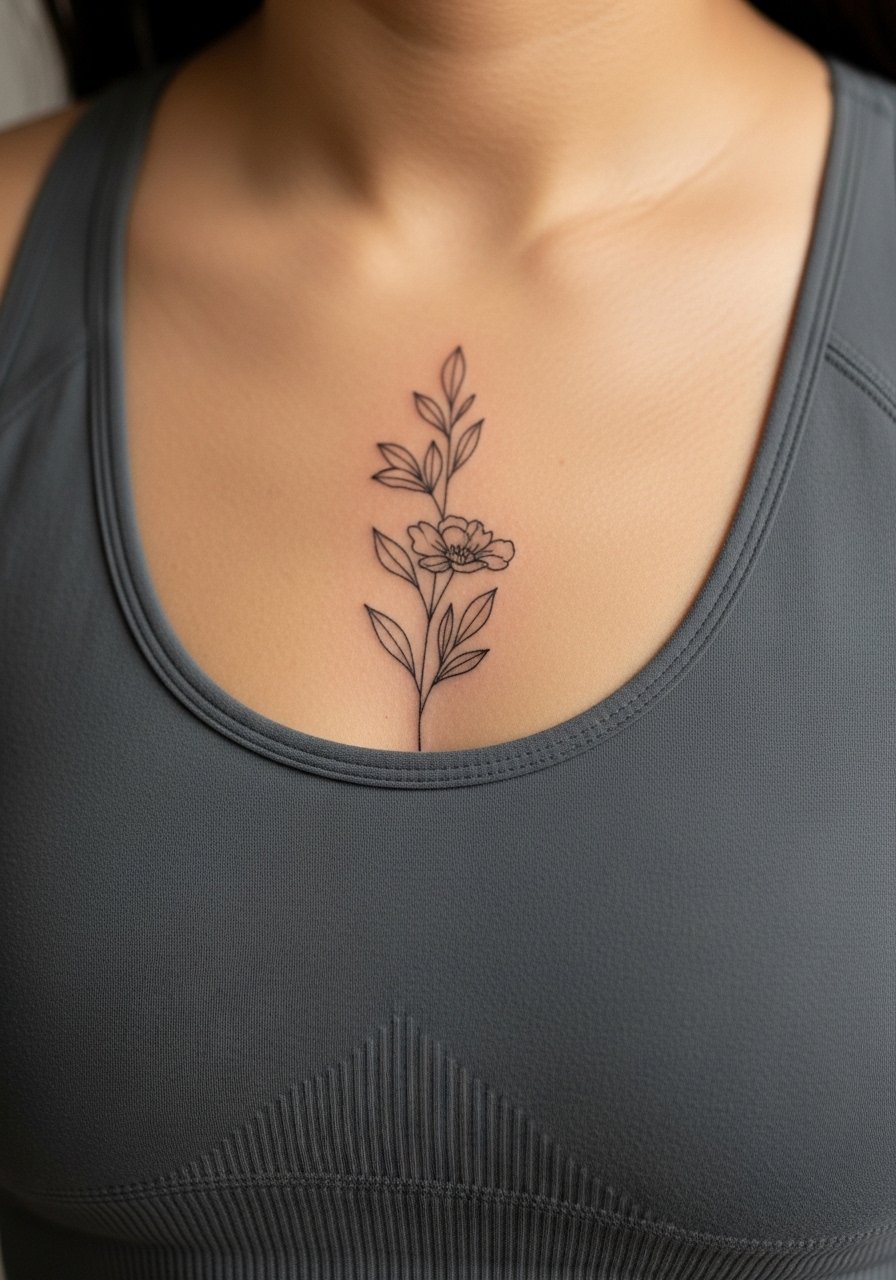
Sternum script reads like a secret until you choose low necklines. The skin across the sternum moves with breathing, so ask for slightly heavier key strokes in letter downstrokes to preserve legibility. The mistake I see is requesting tiny cursive that blurs with motion. Sessions can be moderately painful because of proximity to bone, and the healed look softens a little with time. For the appointment, wear a fitted sports bra or a bandeau so the artist can access the area without you exposing more than needed.
11. Blackwork Geometric Calf Sleeve

Blackwork on the calf holds well because the skin is relatively stable and not constantly in sunlight. For a geometric sleeve, ask the artist to alternate solid fills with negative space so the pattern breathes. A common error is packing every panel with saturation, which reads heavy and ages into a flat mass. Expect multiple sessions, and if you travel a lot, plan touch-ups based on fading from sun exposure. For showing it off, pair the calf work with high-waisted shorts or cropped boots that frame the design.
12. Single-Needle Script on the Side Neck
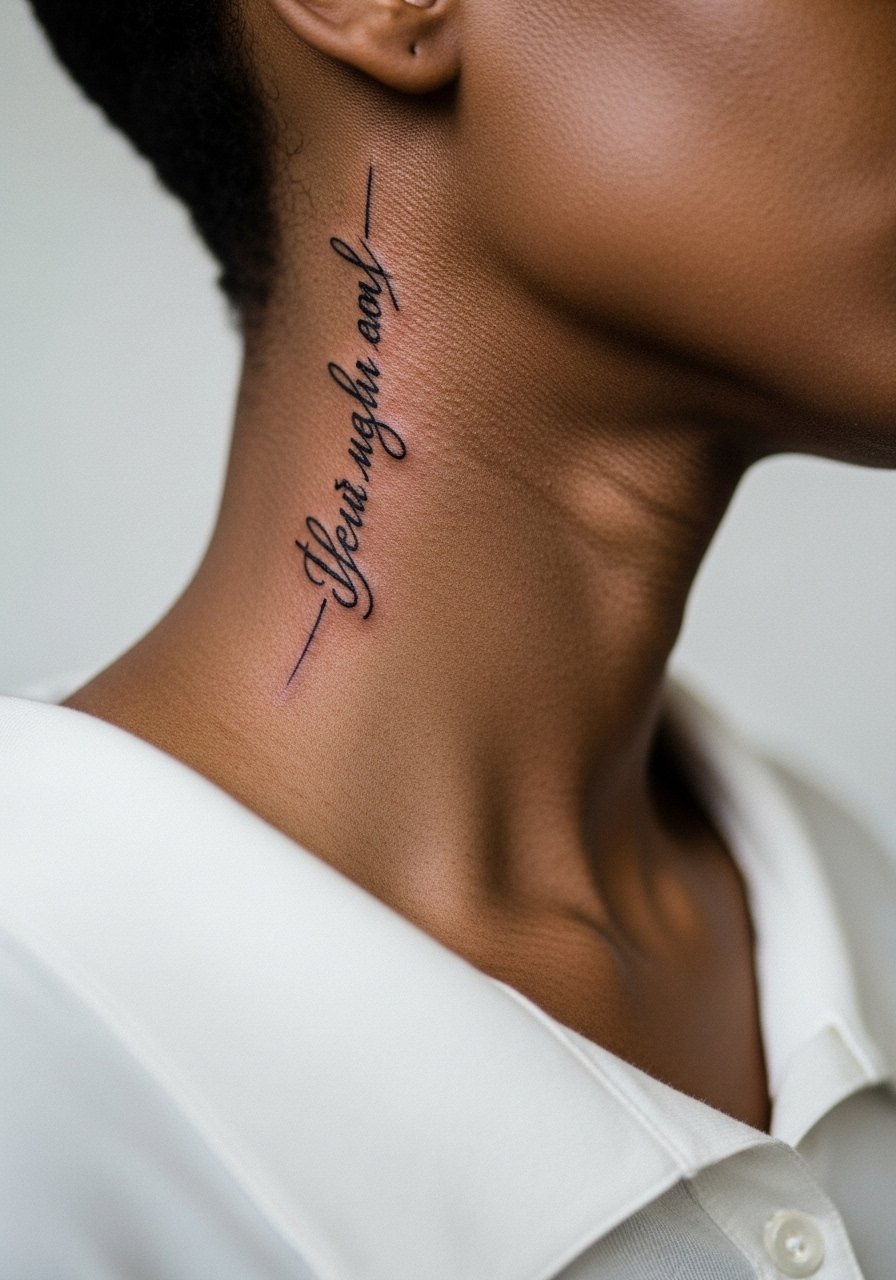
Neck script is visible daily so scale matters. Ask for open letter spacing and slightly bolder downstrokes, especially for script on the side neck. The neck moves and contacts collars, so friction accelerates softening. A mistake is picking ultra-thin cursive that looks great for a week and fades into a gray smudge by year two. Pain is moderate. For dressing, use a wide-neck shirt you can shift during the session and that avoids tight collars while healing.
13. Botanical Inner Thigh Cluster
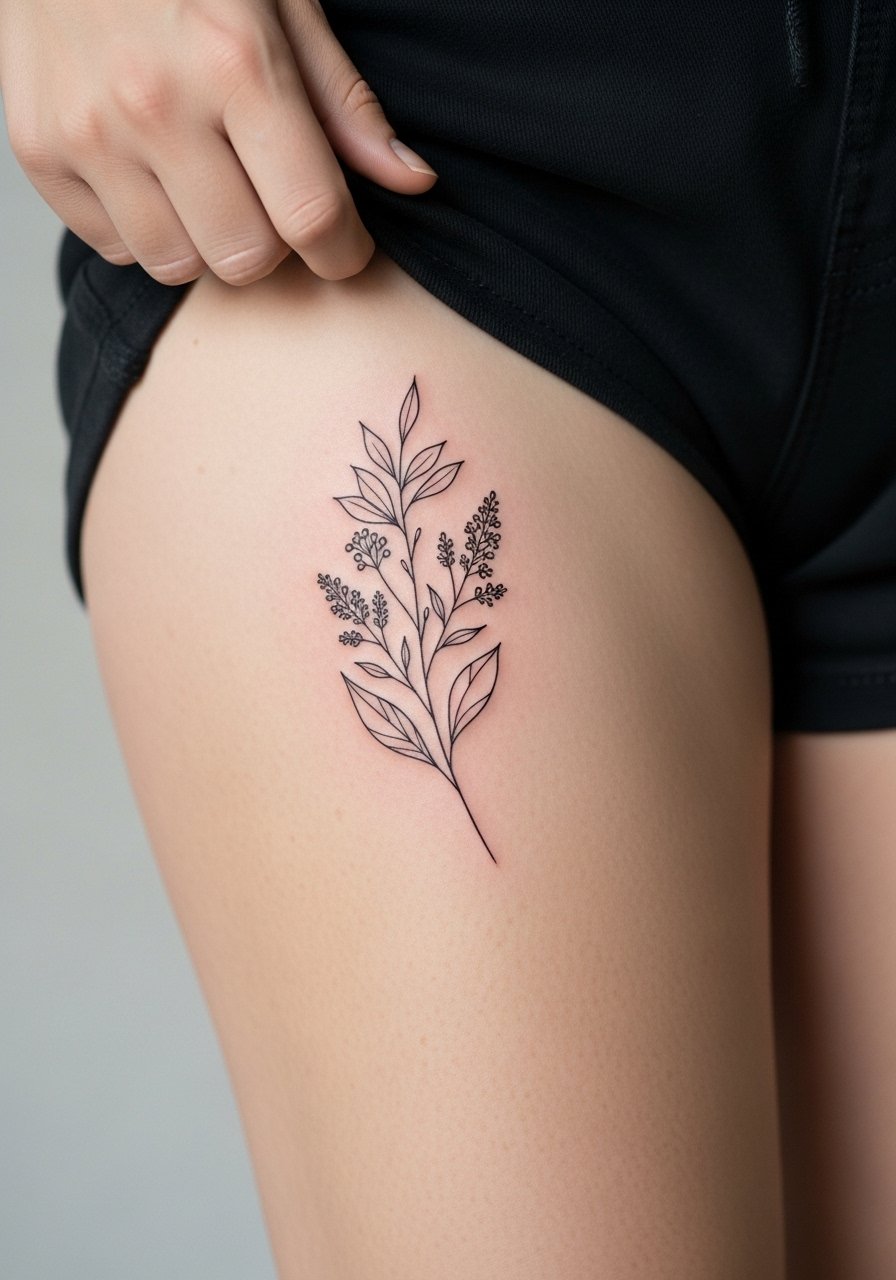
Inner thigh pieces are private and heal under low friction if you choose clothing wisely. Ask for slightly bolder stems and spaced leaves so the silhouette keeps shape even if tiny dots soften. The main mistake is asking for dense dot shading in a small area, which can become a blurred patch over time. Sessions are medium length and the area can be sore for a few days. For the session, wear loose shorts so you can pull them aside without pressure on fresh ink.
14. Delicate Spine Script Running Down the Back
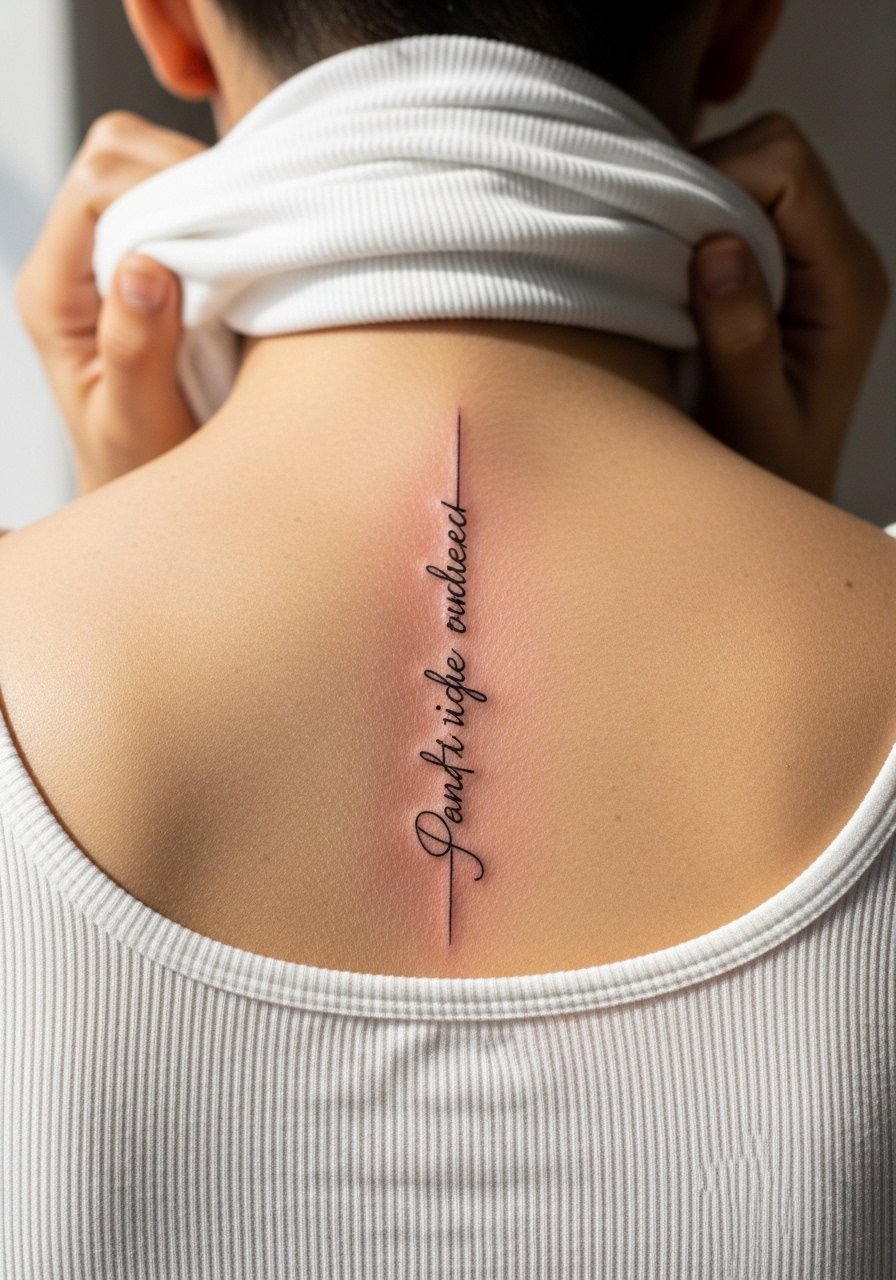
Spine scripts are dramatic when the lettering is spaced for motion. Tell your artist you want characters sized for readable spacing at a distance. The wrong move is compressing text onto a narrow column. That compresses the letters and invites merging between strokes as the years go by. This placement can be tender near vertebrae. For showing it off in warm weather, open-back dresses or a strappy tank frame the design without interfering with healing.
15. Geometric Wrist Cluster
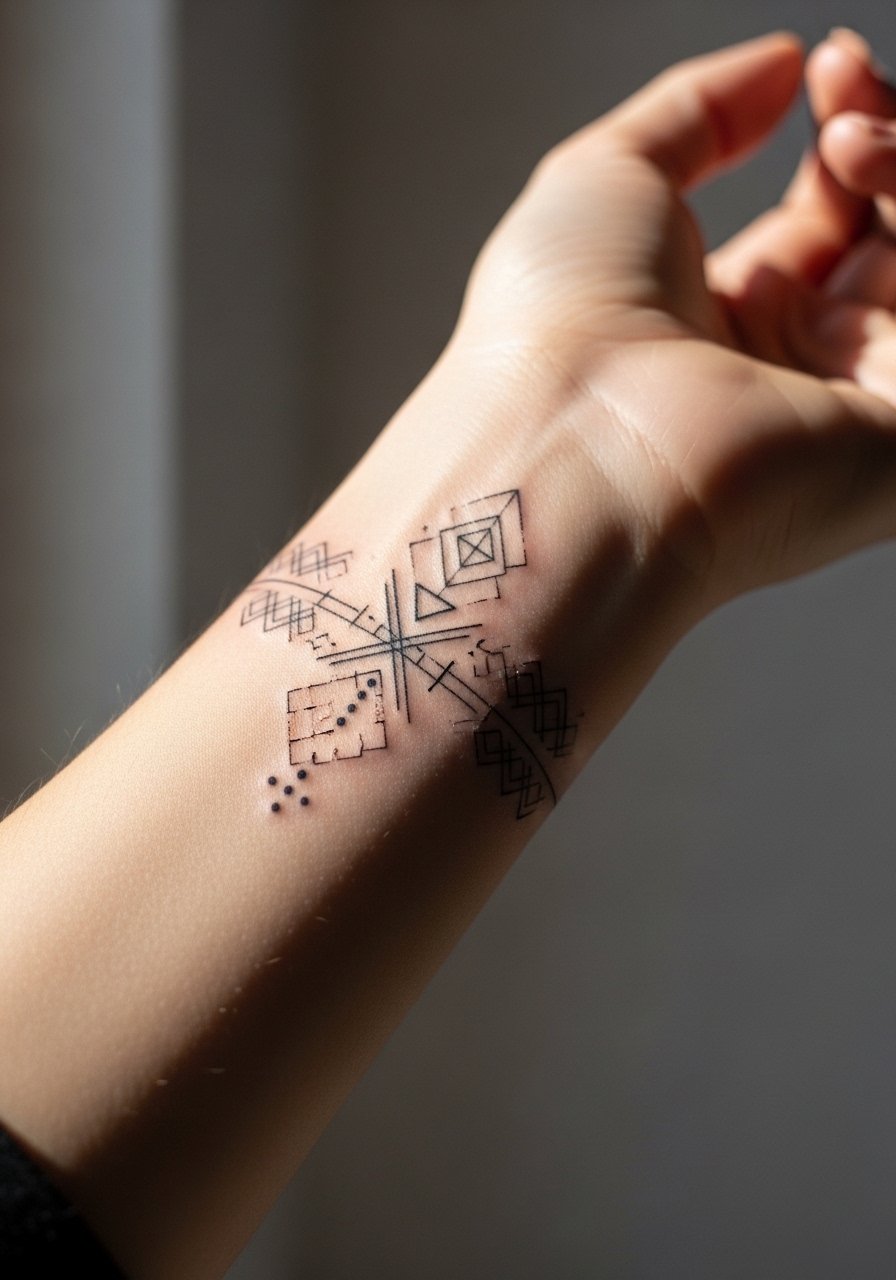
Wrist clusters need room between intersecting lines so small shapes stay crisp. My consult tip is to have the artist draw the pattern larger on the stencil by at least 20 percent compared with how it looks on screen. The common mistake is scaling down to fit a narrow wrist. Blowout risk increases with tiny, dense geometry. Sessions are short and may require annual touch-ups. Pair this visible wrist cluster with a minimalist watch or thin bracelets that sit away from the ink while it heals.
16. Calf Micro-Illustration Scene
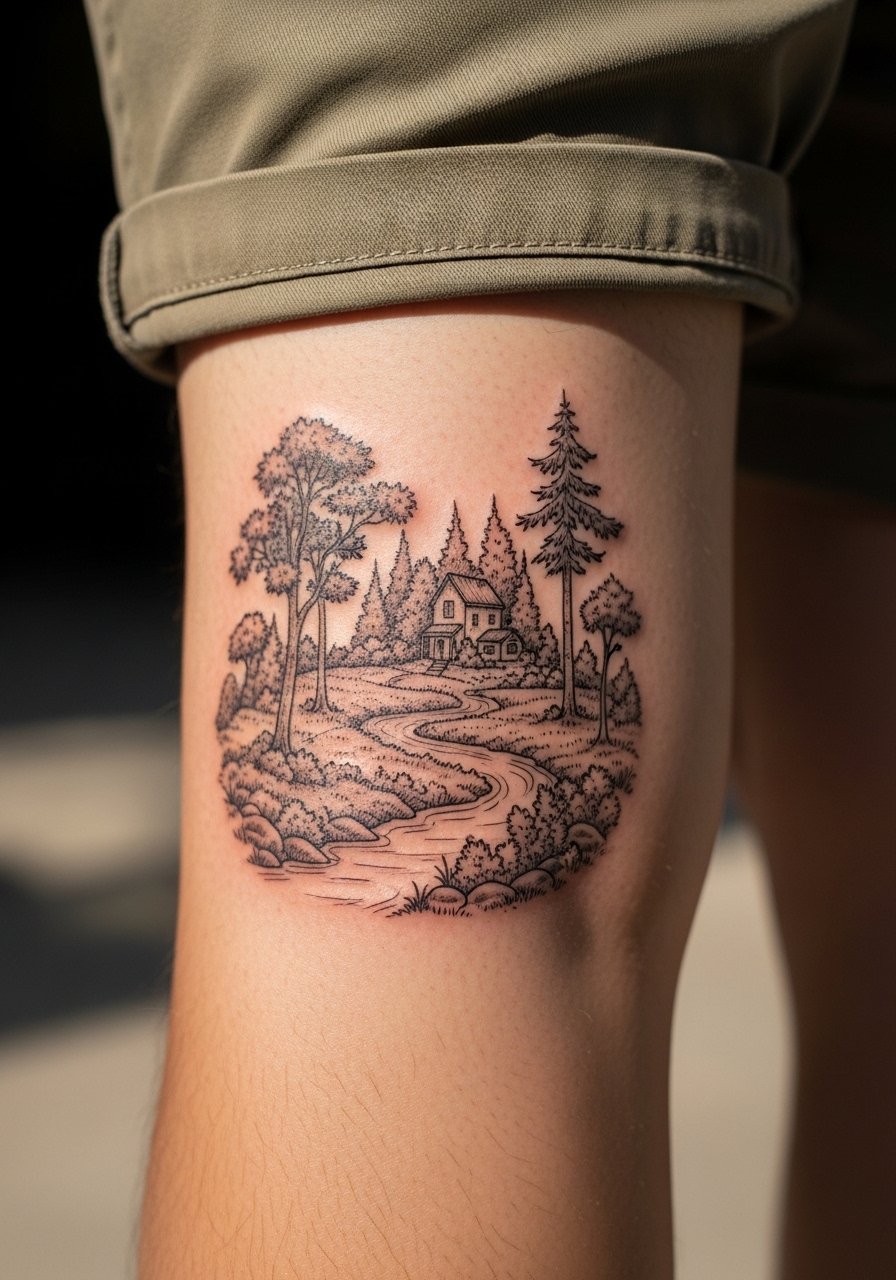
A tiny scene on the calf lets you tell a short visual story without committing to a full leg sleeve. The calf's stable canvas keeps small scenes legible, but heavy background shading can collapse the small elements. Ask for clear separation between foreground and background and use stipple shading for depth. The mistake is cramming too many tiny elements into a small panel. Sessions are medium and a modest touch-up keeps lines crisp at year three. Show the piece with cropped pants or ankle boots that sit above the design.
17. Hand-Palm Edge Symbol
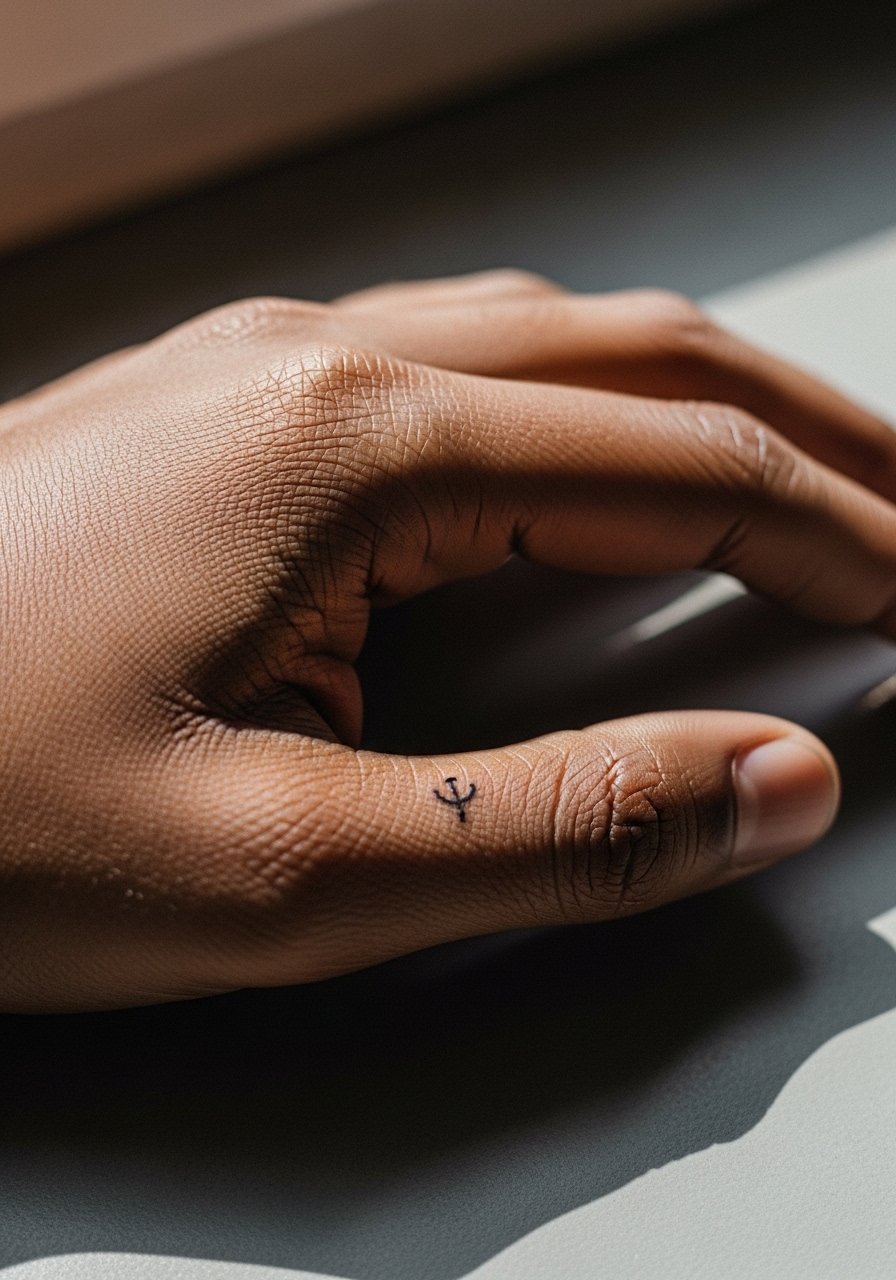
Hand-edge placements are bold and heal under heavy use, so expect significant fading and possible touch-ups. The two camps on hand tattoos are clear. One group warns that hands face the most wear and will need frequent retouching. The other group argues that a well-executed, simple symbol can embrace that patina as part of the look. If you want longevity, keep the symbol simple, with solid negative space and thicker strokes. Sessions are short but can sting. For daily wear, choose jewelry that does not press on the ink while it settles, like a loose signet ring.
Frequently Asked Questions
Q: Will fine line tattoos blur faster than traditional bold work on forearms and wrists?
A: In my experience fine line can soften sooner than bold traditional work, especially on wrists and hands. The key difference is spacing and line weight. If you want a fine look that lasts, request slightly heavier anchor lines and more space between elements so the design reads clearly as it heals.
Q: How should I prepare clothing-wise for a ribcage or sternum session?
A: Wear a fitted sports bra, bandeau, or a cropped top you can lift without full undressing. That keeps the area accessible and avoids rubbing when you stand up. Bring a loose hoodie for afterward to keep the area covered during travel.
Q: Do watercolor-style splashes need different touch-ups than black line work?
A: Yes, watercolor washes tend to fade unevenly and often need color refreshes sooner than solid black. Anchoring the wash with light linework helps maintain shape. Expect touch-ups for color at year two to three if you want the original vibrancy back.
Q: Are hand and finger tattoos risky for professional settings?
A: Hand and finger tattoos still affect hiring in some industries, so think about career visibility before committing. If you need discretion, choose placements that can be covered or select a small symbol that can be softened if necessary.
Q: How do I find an artist who specializes in a specific style without following a single Instagram handle?
A: Use venue discovery paths like local shop directories, hashtag searches for the style plus your city, community forums, and convention guest lists. Those routes surface portfolios and walk-in reviews so you can compare work across several artists before booking.
