
Fine line cherry blossom pieces are everywhere on saved boards, but the tattoos that still look deliberate years later are the ones that balance scale, spacing, and placement. Trends push tiny clusters and micro petals, and reality shows that spacing and placement decide whether petals soften into a blur. Below are practical, wearable cherry blossom ideas that show how to ask for what lasts and how to style each piece on and off the chair.
1. Fine Line Branch on the Inner Forearm

I see this placement the most for delicate botanicals because the forearm gives room to breathe and shows well. Fair warning, this is a low to moderate pain spot and usually finishes in a single session under two hours. Ask your artist for slightly more spacing between petals than your reference. The common mistake is requesting micro petals that are too close together. At six months the lines read crisp. By year three expect softer edges and occasional touch-up needs. For showing it off, pair with a rolled linen shirt that keeps sleeves pushed up without looking staged.
2. Tiny Cluster on the Side of the Wrist
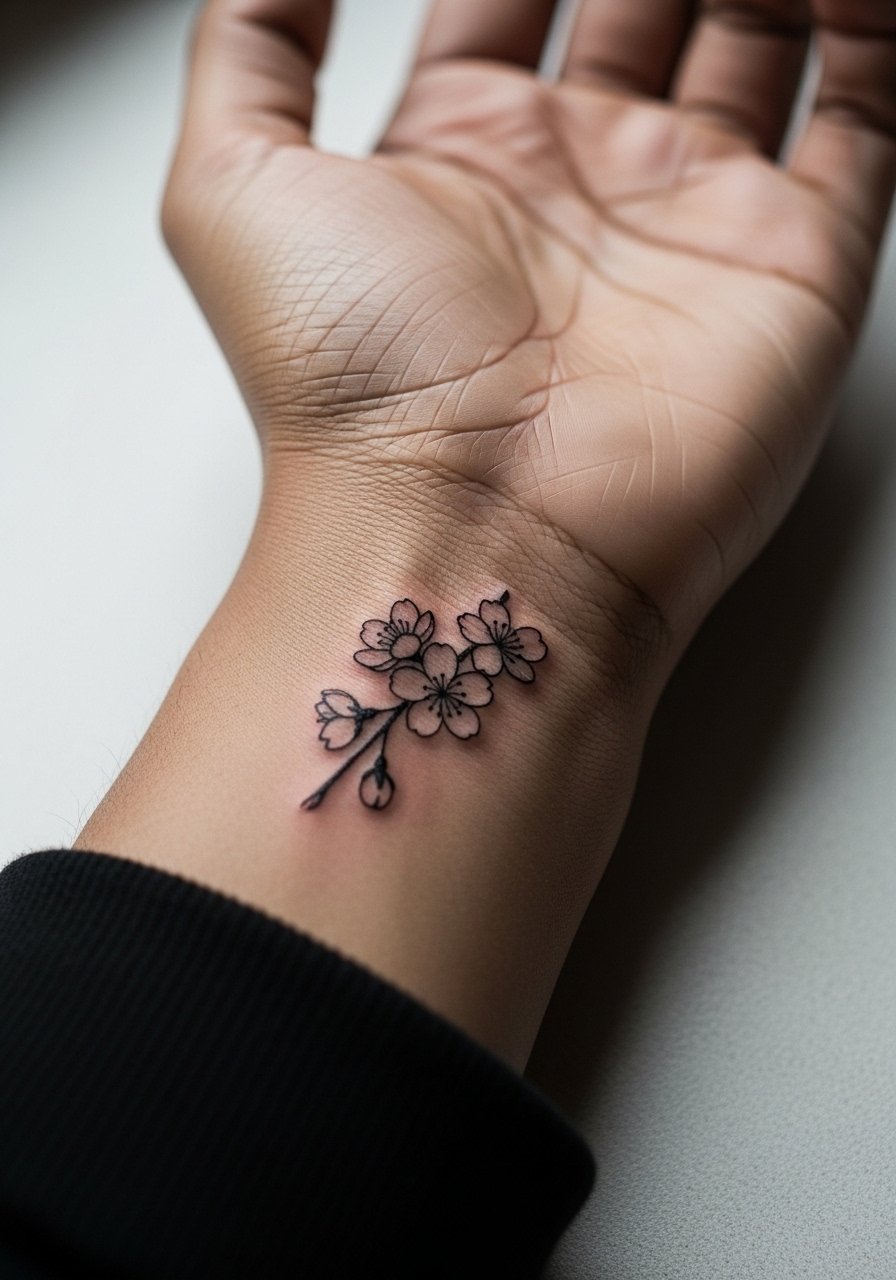
Fair warning, the wrist is a high-motion zone and can fade faster than the forearm. Sessions are short, usually under an hour, but pain is higher near the bone. The mistake people make is asking for extremely thin lines hugging the wrist band. Ask for slightly bolder linework at the core of each petal so the motif keeps shape after a year. Blowout risk exists if lines are too close to the bone. For the session, wear a loose button-down shirt you can pull aside for access and still walk out wearing the same top.
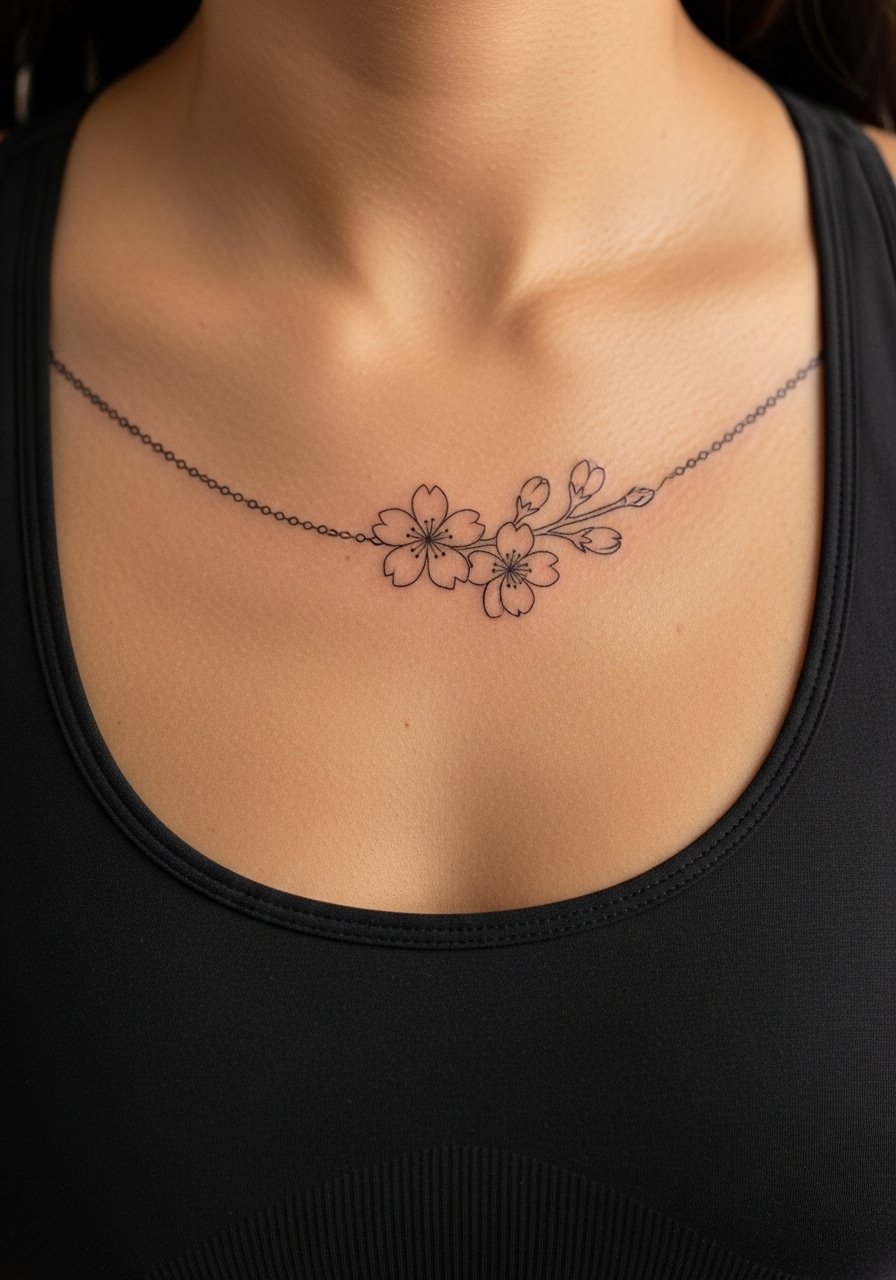
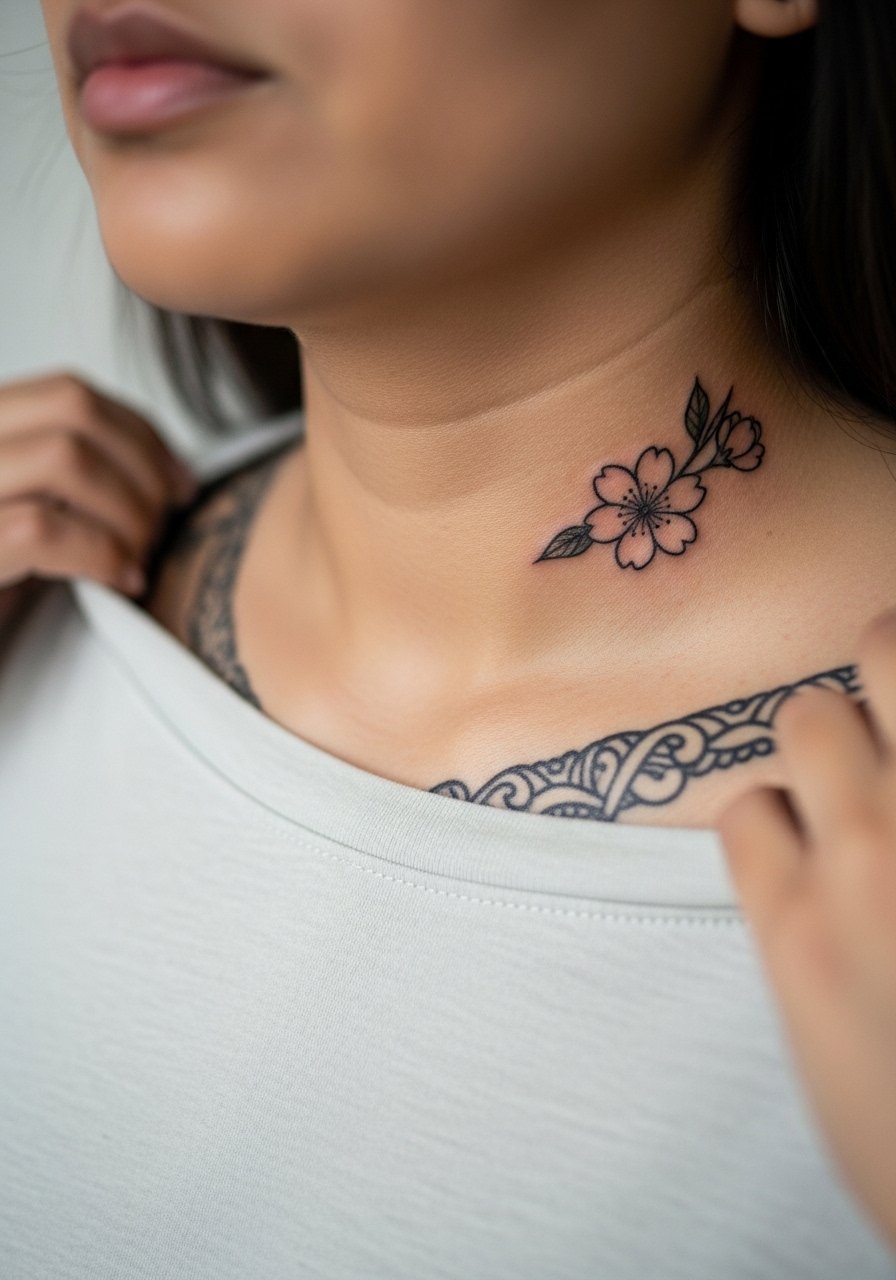
3. Collarbone Spray of Blossoms
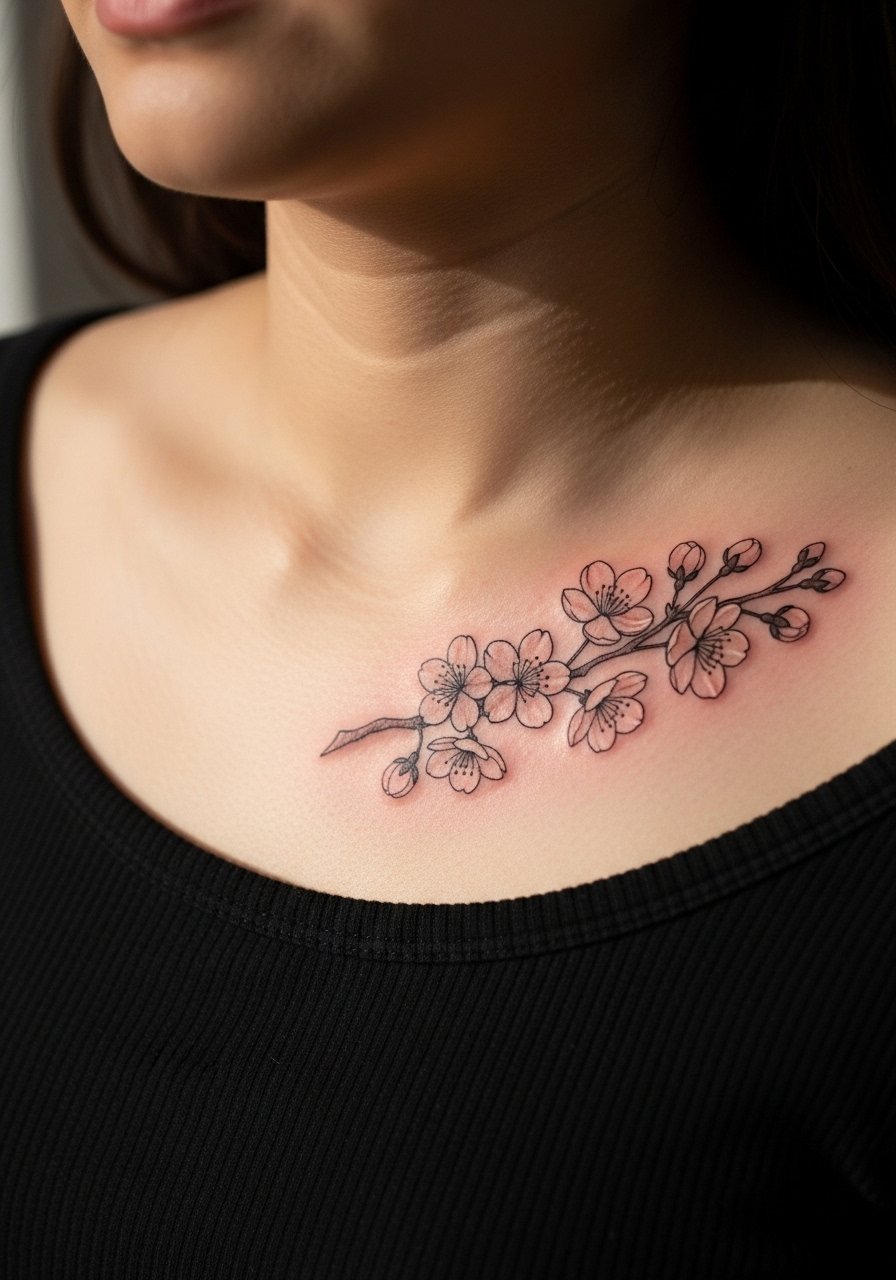
There is something about collarbone placement that reads intimate yet visible. Pain ranges from moderate to high depending on how close the needle runs to bone. Expect a one to two hour session. The common error is making the spray too dense across the clavicle. This causes merging over time. Ask your artist for a staggered composition with breathing room between clusters. For evenings out, an open-back midi dress frames the collarbone without competing with delicate linework.
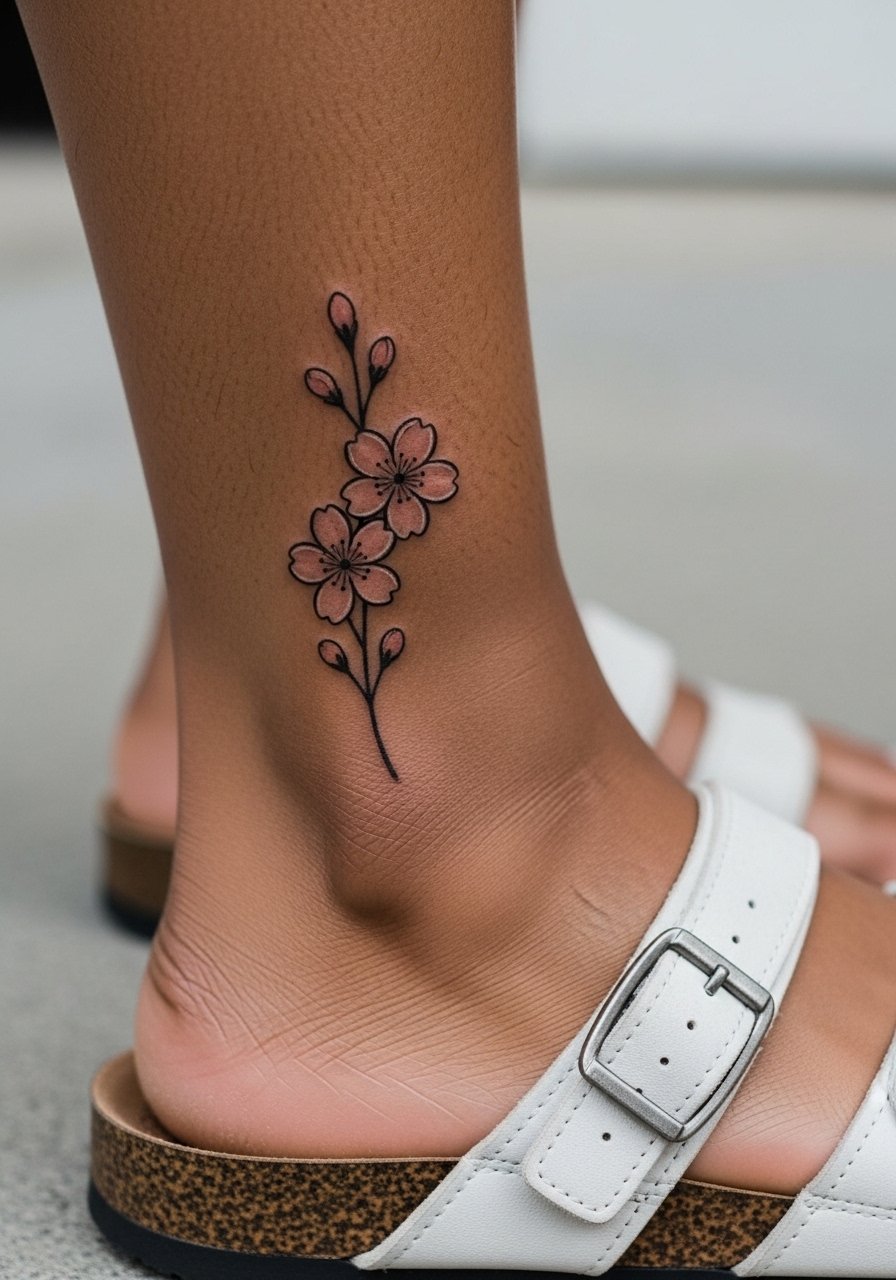
4. Ankle Sprig with Falling Petals

Ankle tattoos feel small but sessions can be bumpy because of bone proximity. The pain is moderate to high and touch-ups are common after seasonal footwear rubs at the area. A frequent mistake is placing the design too close to the ankle bone where friction accelerates fading. Request slightly higher placement above the bone and ask for bold core lines on the larger petals. Pair this with sandals or jeans rolled at the cuff to keep the artwork visible while it heals.
5. Watercolor Cherry Blossom on the Shoulder Blade
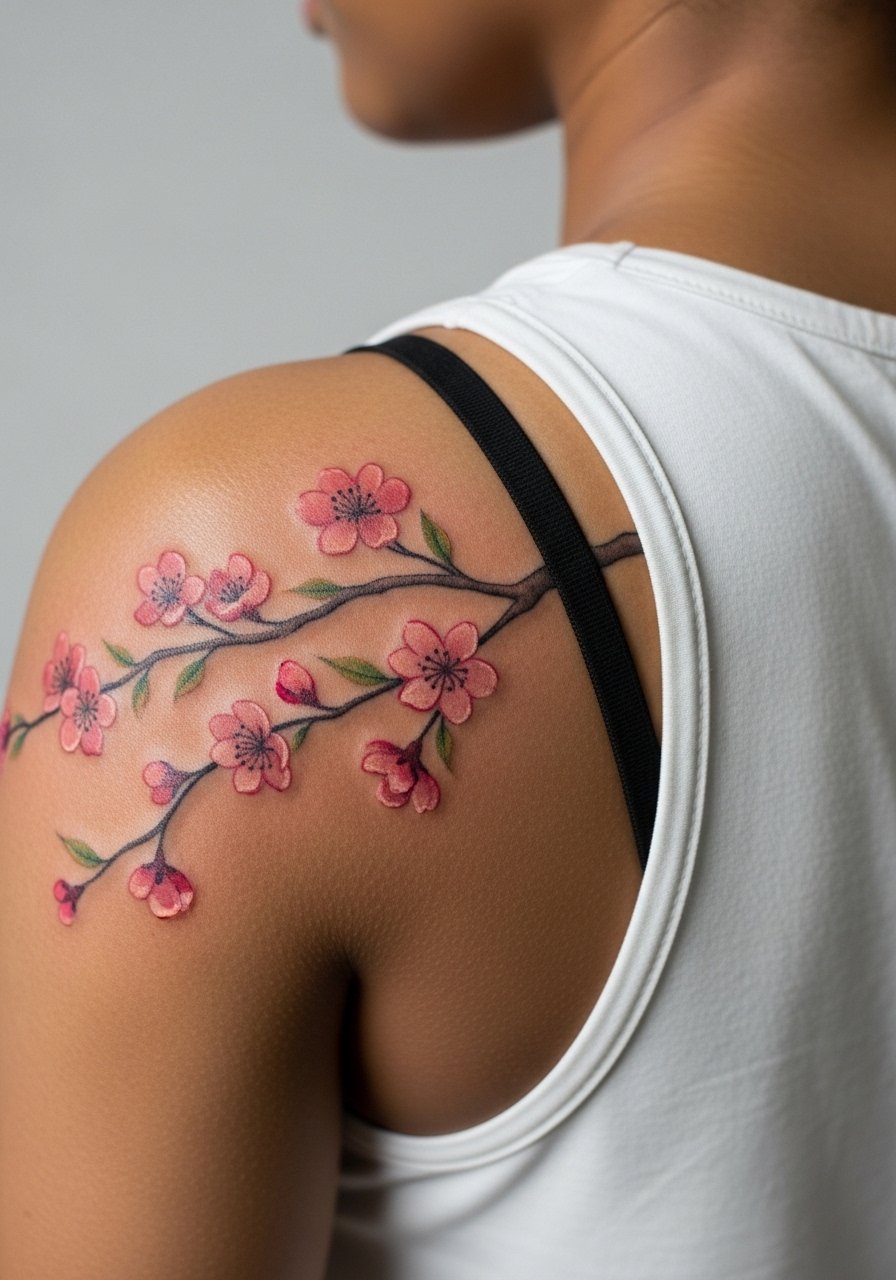
Watercolor effects are gorgeous when healed, but they age differently than linework. Sessions vary from two to four hours depending on color saturation. The common mistake is asking for saturated washes without sufficient line anchors. That creates a patchy fade at year two. Ask your artist to combine soft color with subtle stipple shading to anchor the shapes. For the session wear a loose tank top so the artist has easy access and you stay comfortable while lying on your stomach.
6. Micro-Realism Petal Behind the Ear
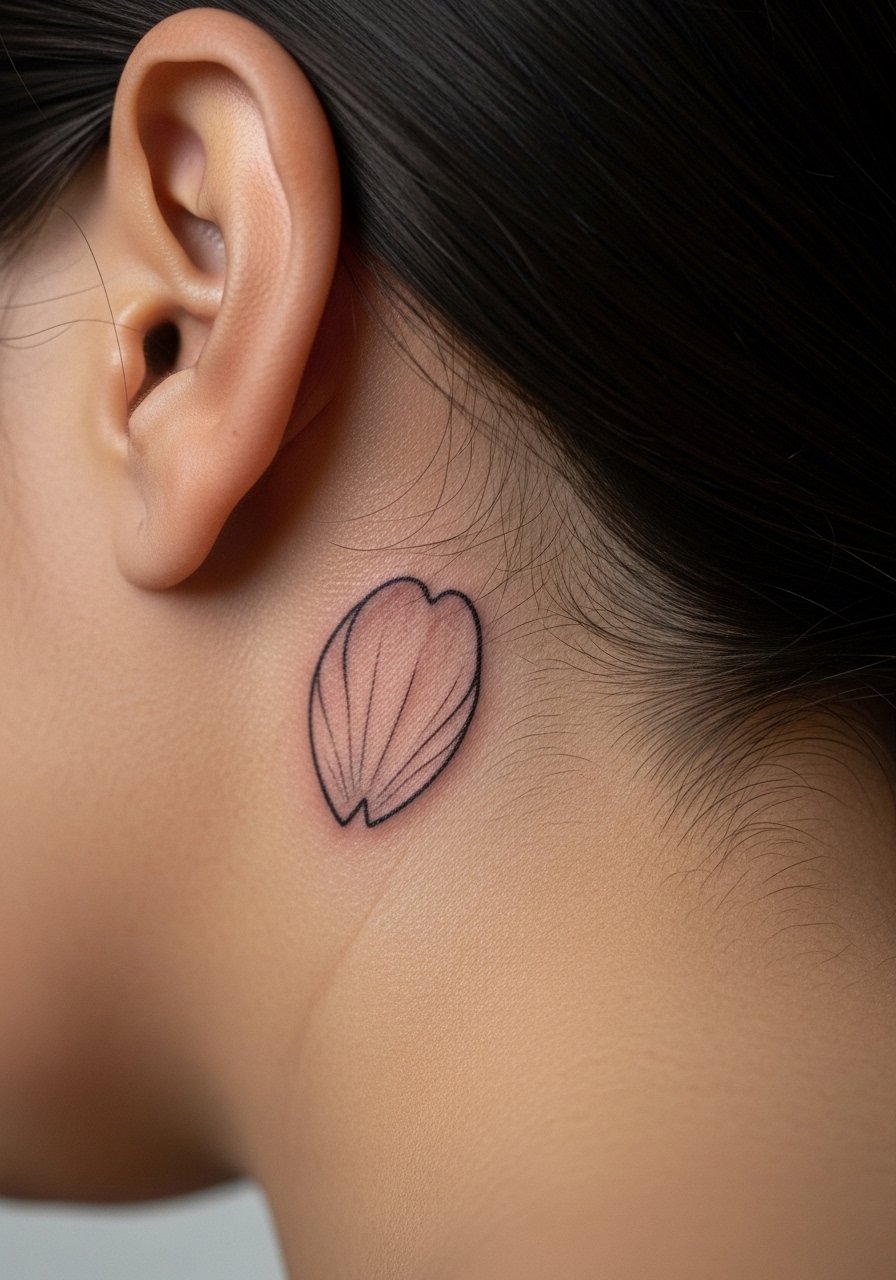
Behind-the-ear pieces look delicate but require special framing for photos and everyday visibility. Pain is low to moderate and sessions are quick. Artists split on this spot. One camp argues the skin and hair movement blur fine detail quickly. The other camp says that with proper depth and simplified shapes it holds up well. Ask where your artist stands and favor simplified petals if longevity matters. For subtle show-off, style hair with an ear tuck or a thin chain pendant necklace that draws attention upward without covering the area.
Pre-Session Essentials
The wrist and shoulder pieces above need different prep than chest or ankle work, so a few targeted items smooth the session and the first week.
-
Stencil transfer paper kit. Lets you preview how a branch or spray sits on the body before the needle touches skin, which matters for collarbone and forearm pieces.
-
Topical numbing cream. Applied per instructions before an ankle or shoulder session eases bone-adjacent discomfort without changing how the artist works.
-
Thin protective film roll. Ideal for finger or wrist pieces that face constant rubbing during daily tasks.
-
Fragrance-free gentle body wash. Cleans the healing area without stripping color, useful for the forearm and chest zones.
-
Aquaphor healing ointment. A thin layer for the first few days locks in moisture for fine line work without clogging delicate needle channels.
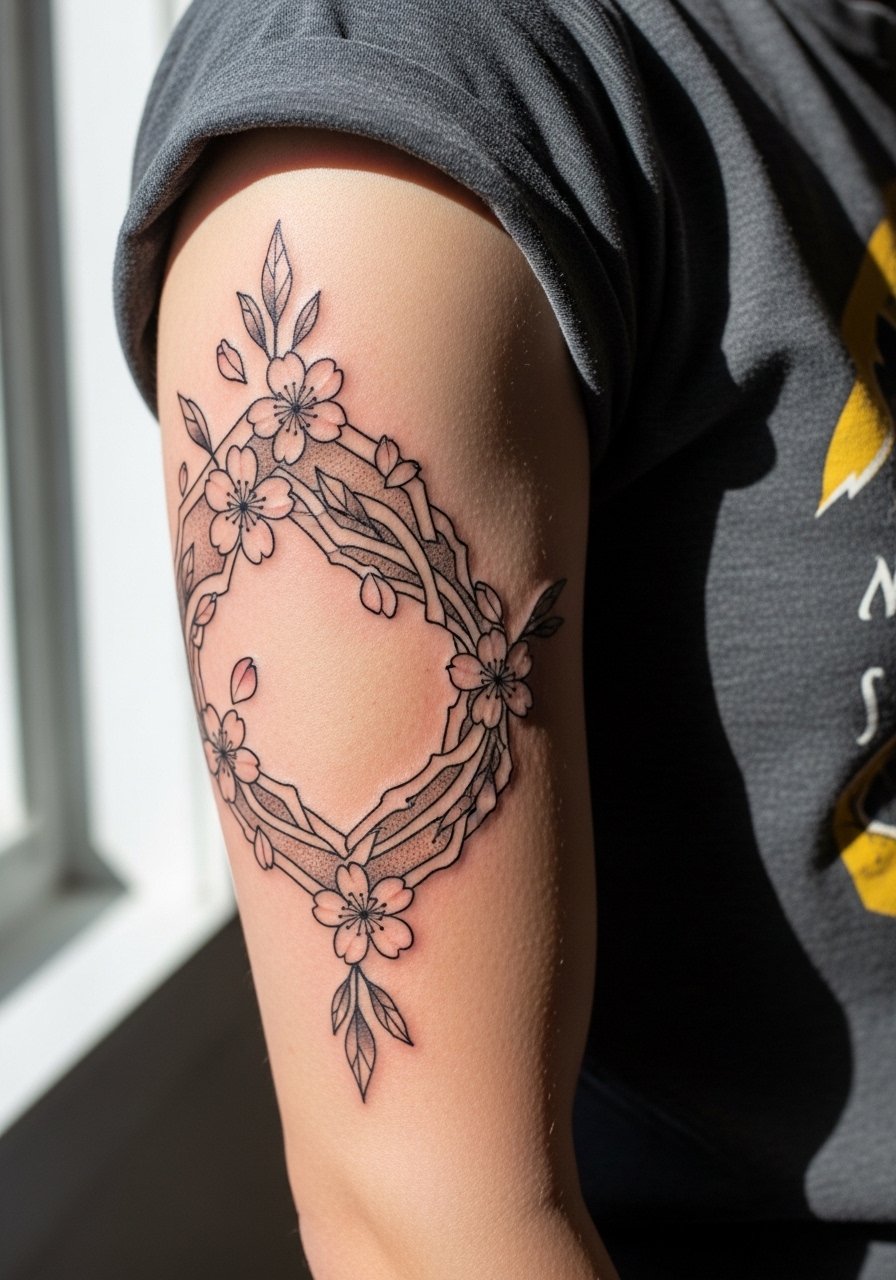
7. Branch Wrapping the Upper Arm
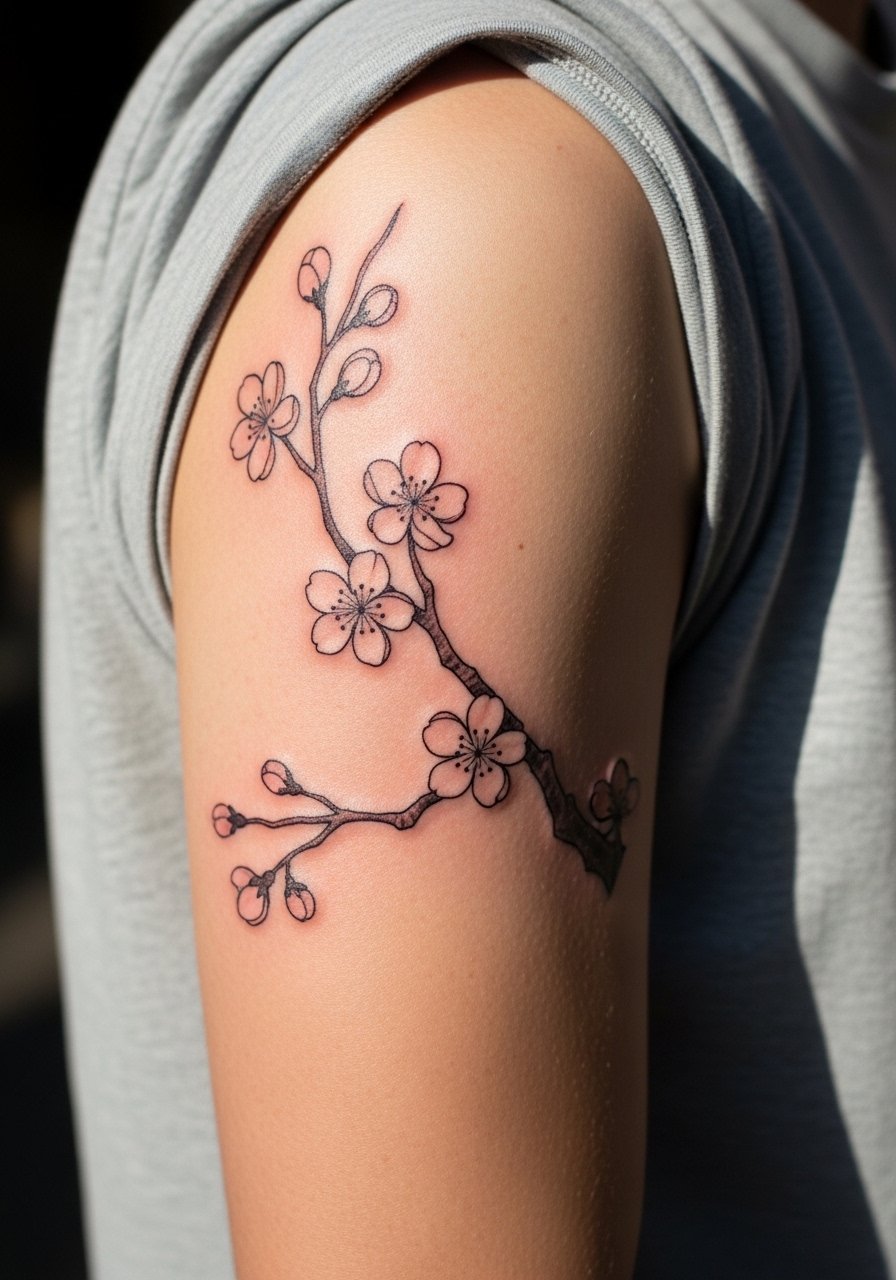
This placement reads like a small sleeve and balances visibility with easy cover-up. Pain is moderate and sessions usually run one to two hours. The common error is compressing too many small blooms into a tight band. That density leads to early softening. Tell your artist you want negative space between clusters and ask them to vary petal sizes. Over five years the branch maintains shape if spacing is generous. Wear a short-sleeve linen shirt to show it off without feeling exposed.
8. Inner Bicep Cascade
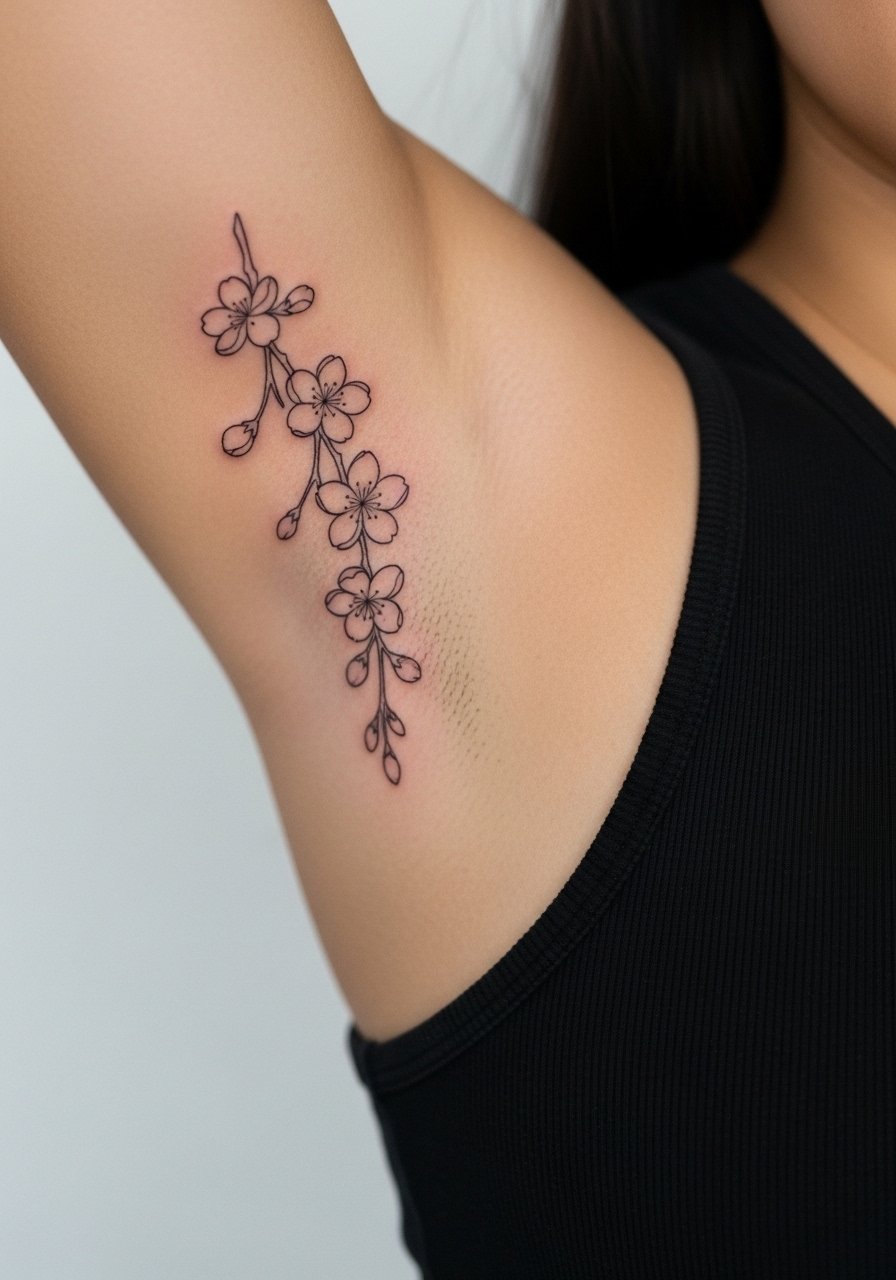
Fair warning, the inner bicep is sensitive and sessions can be more uncomfortable than the outer arm. Expect a higher pain rating and possibly two short sessions. The common mistake is requesting ultra-fine detail in a high-sweat zone. That detail can blur faster. Ask for slightly bolder anchors and plan a touch-up at year two. For appointment comfort, wear a loose tank top so the artist can access the area without you being exposed.
9. Full Side Rib Branch with Scattered Blooms
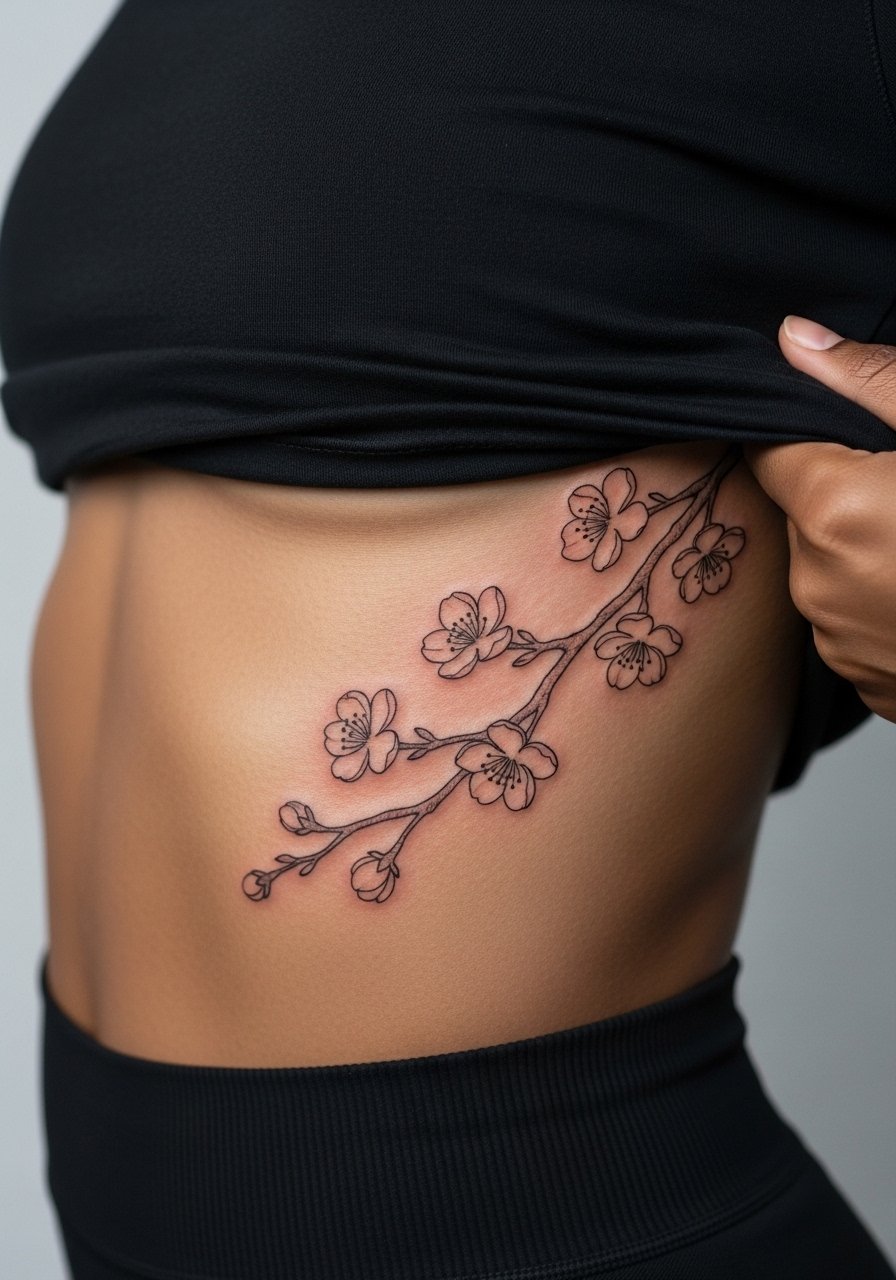
Ribcage work is painful and polarizing. Pain often rates seven or higher and sessions run longer because of careful pacing. Artists split into two camps. One camp says fine line on ribs blurs quickly due to skin movement and stretching. The other camp maintains that with proper depth and spacing it settles just fine. I suggest spacing clusters and avoiding ultra-fine crosshatching. The common mistake is squishing detail into a curved area. For the session, bring a zip-up hoodie you can remove easily while staying warm between passes.
10. Thigh Spray With Negative Space
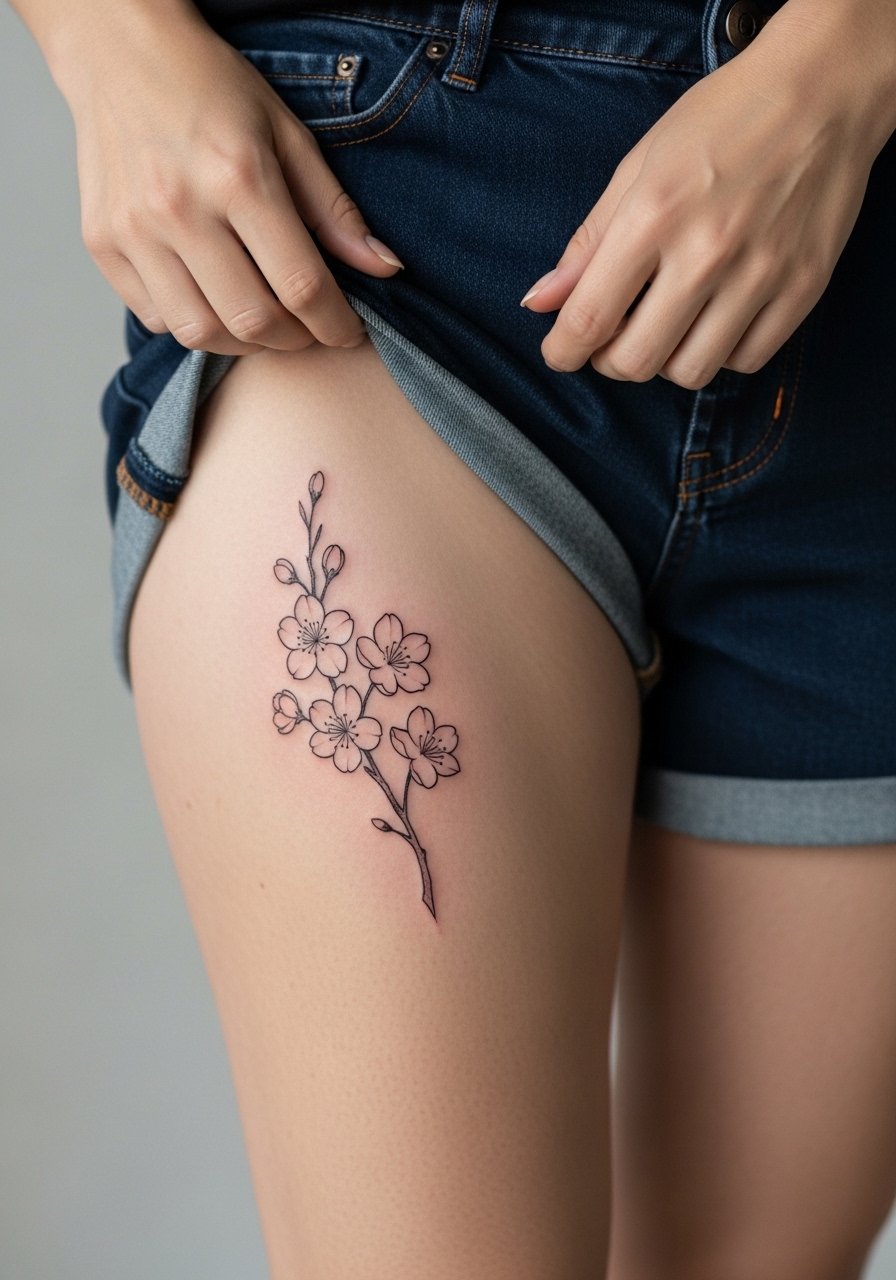
Thigh pieces heal well because the skin is thick and moves less. Sessions are comfortable to moderate and often finish in one to two hours. The mistake I see is cramming blossoms into a tiny round patch. That looks busy and ages unevenly. Ask for a staggered layout with negative space to preserve contrast. At two years the piece usually needs minimal touch-up unless you gain or lose a significant amount of weight. For the session, wear loose drawstring shorts that you can shift without pressure on the area.
11. Sternum Chain of Tiny Blossoms
Sternum pieces can be striking but they need a specialized approach. Pain is moderate to high and sessions may be split. The big mistake is pushing too much micro detail near the center where skin tension changes. Artists differ on method. One approach favors slightly thicker anchors for stability. Another keeps things ultra-fine but accepts earlier touch-ups. Ask the artist how their sternum work has held on real clients. For a dress that shows the placement, try an open-back or bandeau style that frames the area without cutting into it.
12. Calf Branch That Follows Muscle Line
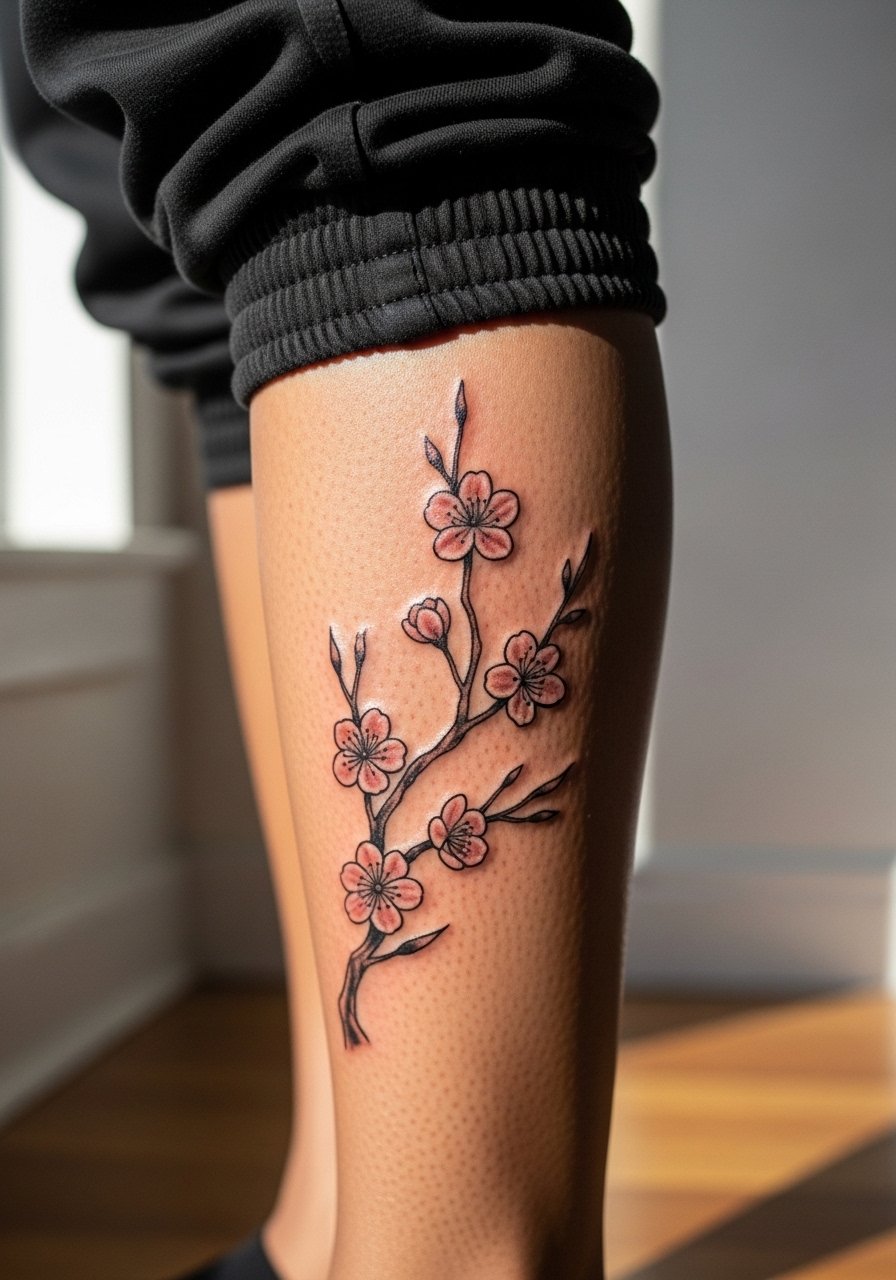
Calf tattoos age reliably because the skin is stable and not exposed to constant friction. Pain is moderate and sessions are straightforward. The common mistake is placing the branch perpendicular to muscle flow. That can distort the composition when flexing. Ask your artist to map the design along the muscle line and test the pose before inking. A single session usually does the job. Try pairing the piece with rolled joggers or cropped pants to keep the artwork visible.
13. Rib-to-Back Flowing Branch
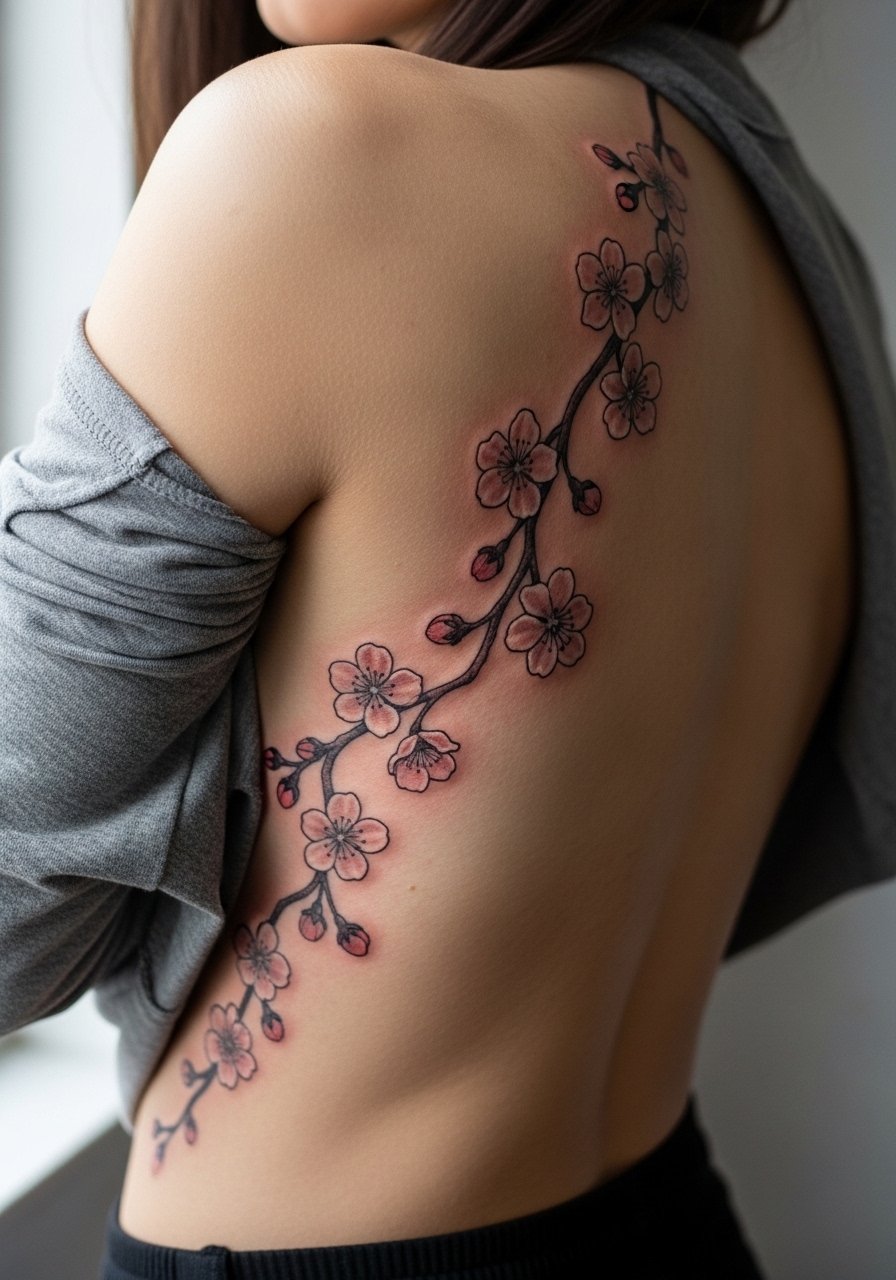
This is a larger, curving composition that needs planning. Pain ranges high along the ribs and settles to moderate on the back. The mistake is trying to cram dense detail along the curve. Instead, stagger clusters and let negative space create movement. Sessions will likely require multiple visits for comfort and precision. Over time the back portion holds better than the rib portion, so plan composition with that in mind. For wardrobe, open-back tops or a wrap dress frame the back while keeping the side discreet.
14. Wristband of Tiny Blossoms

Wristband tattoos are popular, but constant washing and sun exposure speed fading. Sessions are short but you may need touch-ups sooner than larger pieces. The mistake is making the petals too small and close together. Ask for a slightly bolder baseline line to anchor the pattern. For showing it off, stacked dainty bracelets or a minimalist watch keep attention on the wrist without competing with the ink.
15. Foot Arch Single Blossom
Foot tattoos are prone to fading from shoes and friction. Pain is moderate to high and sessions can feel abrasive. The common mistake is placing ultra-fine detail where shoe straps rub. Ask your artist to place the design where footwear will avoid direct contact and to use slightly stronger anchors. Expect more touch-ups over the years compared with forearm or calf pieces. During healing, wear open shoes when possible and pick sandals that avoid rubbing the arch.
16. Spine of Blossoms Along the Neck

Neck pieces are visible and require careful career considerations. Pain is moderate and sessions are quick. The mistake is heavy density close to the hairline where styling and collars compete with the art. Ask for a vertical flow that tapers as it approaches the hairline. Some artists hesitate to do neck work for clients who want fine line only. Ask how their neck pieces have aged on real clients. For a subtle reveal, pair with a wide-neck sweater that frames the lower portion.
17. Finger Petal Accent
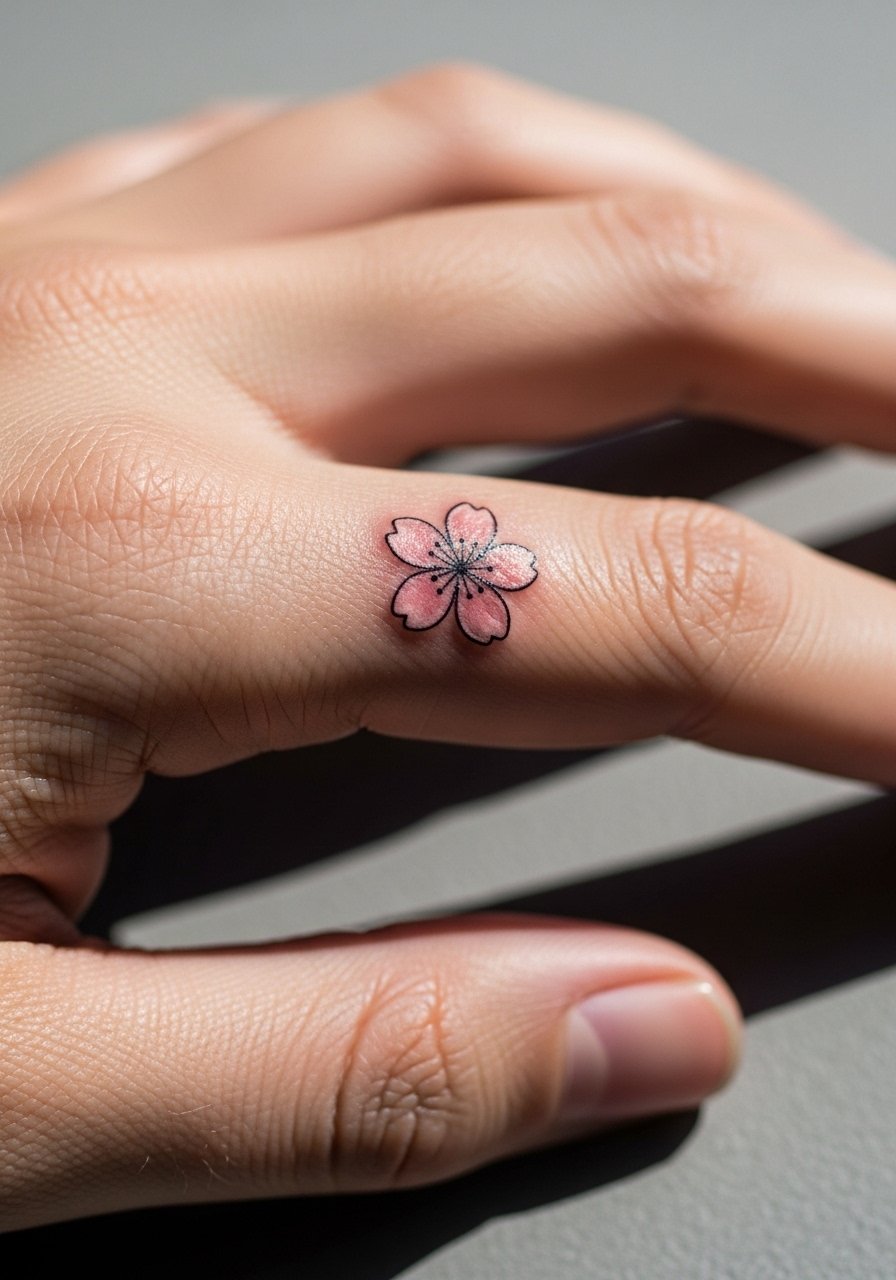
Finger tattoos are notorious for fast fading because of constant washing and skin cell turnover. Sessions are extremely short but plan for frequent touch-ups. The common mistake is asking for filled petals across multiple fingers that blur into a band. Instead, choose single accent petals or tiny outlines with slightly bolder anchors. For daily wear, keep rings minimal while healing and choose thin bands that do not rub the tattooed area. A simple stacking ring complements the look once healed.
18. Small Cluster on the Back of the Hand

Hand tattoos remain controversial for workplace reasons and for longevity. Pain is moderate and touch-ups are common. The mistake is packing too much micro detail where skin texture and washing erode clarity. If you choose this spot, ask for bolder anchors and expect to revisit for touch-ups. Also consider career implications since some industries still disfavor visible hand ink. For styling, keep rings simple and let a minimalist bracelet or cuff draw attention away from daily wear on the hand.
19. Shoulder Cap Single Bloom
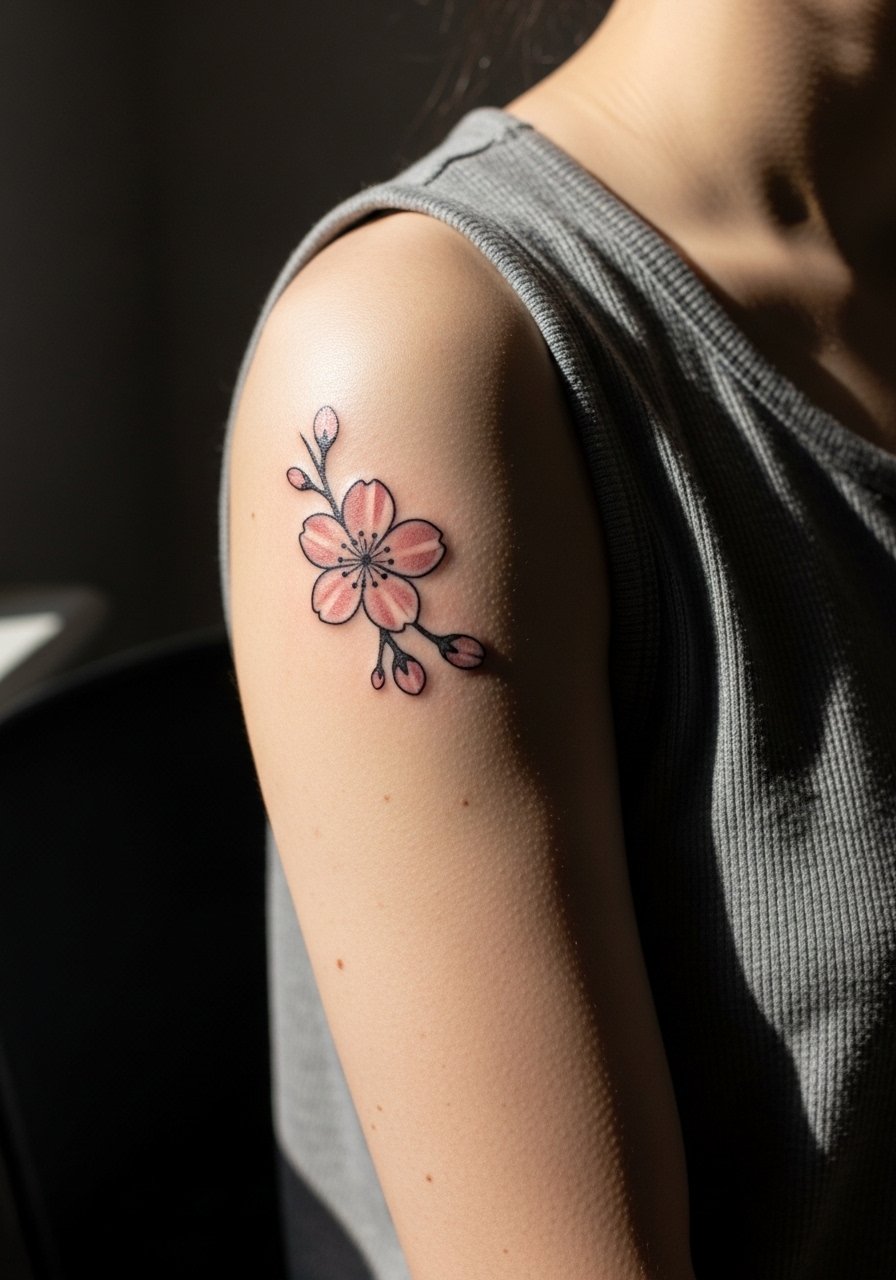
The shoulder cap is low on the pain scale and heals reliably. Sessions are usually under an hour for a single bloom. The common misstep is over-detailing a single petal with micro shading that looks soft after a couple of years. Ask for a crisp outline with subtle stipple shading to maintain contrast. This spot pairs well with sleeveless tops and a loose button-down shirt worn open to show the shoulder without looking overt.
20. Back Center Row of Blossoms
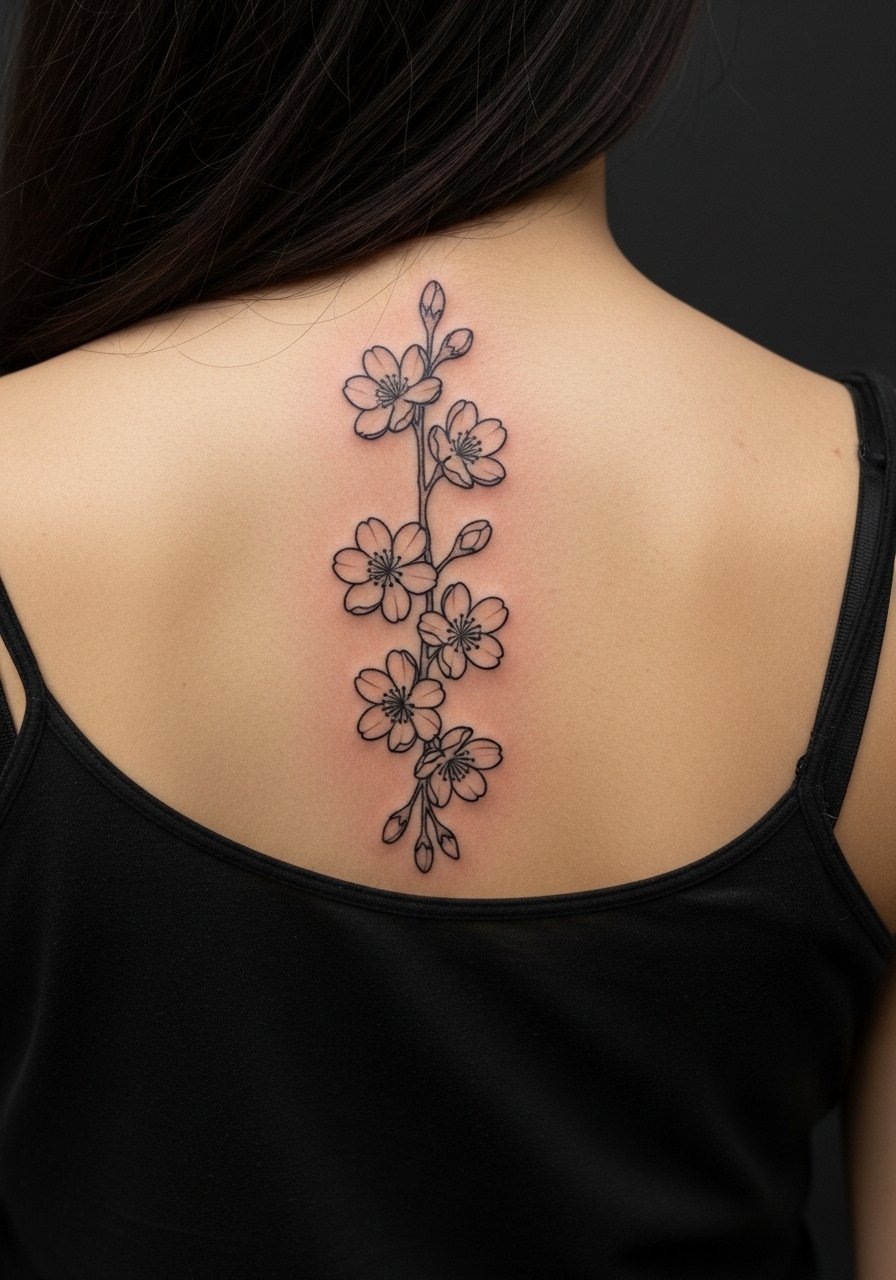
Center-back pieces age well and are easy to hide if needed. Pain is moderate and sessions can take one to three hours depending on length. The mistake is making each bloom identical. Vary sizes and orientation to avoid a repetitive, mechanical look. Over time the center line holds if spacing is generous. For showing it off, choose an open-back dress that frames the central line without compressing it.
21. Nape Cluster With Hairline Consideration
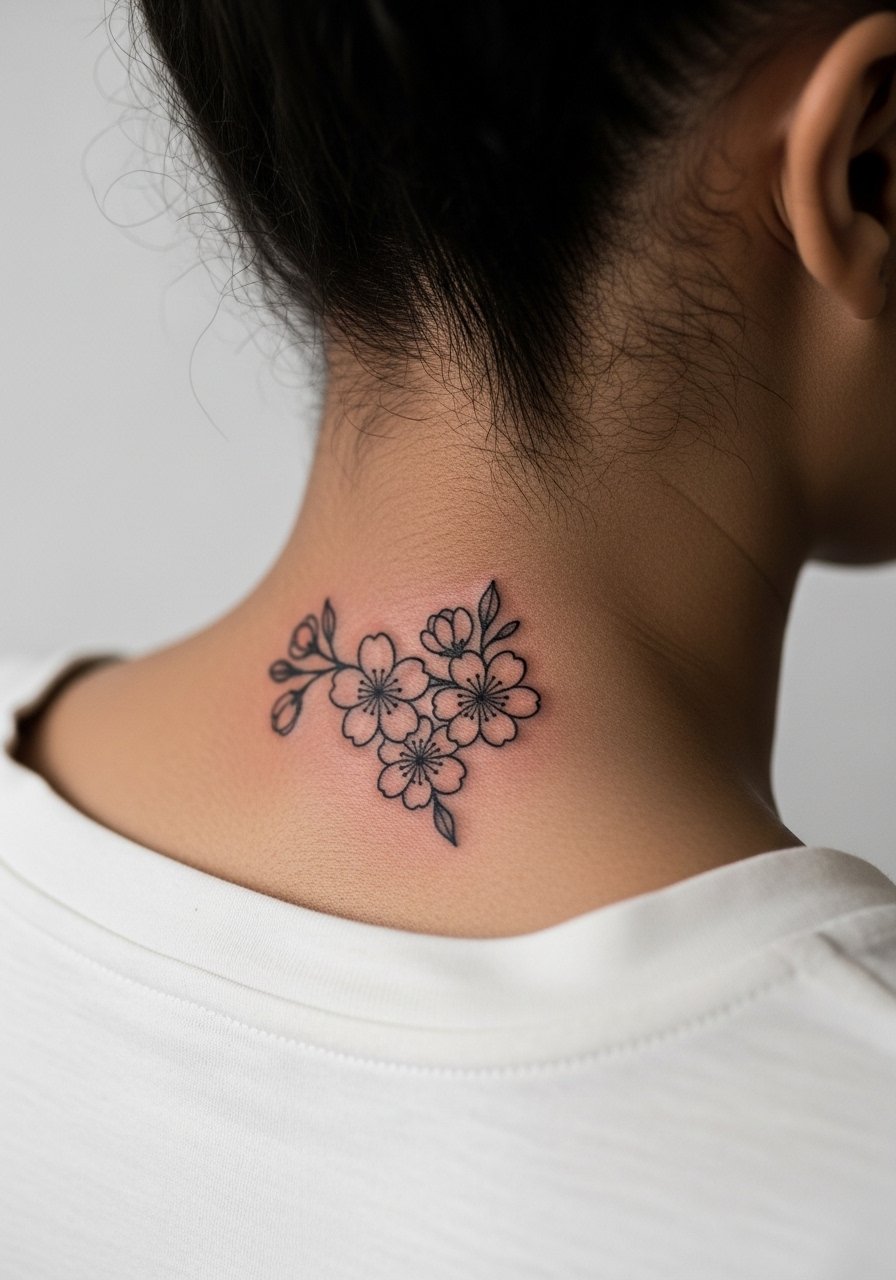
Nape tattoos peek out under hair and work well for people who want occasional visibility. Pain is low to moderate and sessions are short. The mistake is placing detail too close to the hairline where styling covers it unpredictably. Ask for a composition that tapers toward the hairline so it reads even when partially hidden. A hair clip that lifts the hair makes this placement easy to reveal for photos.
22. Handwritten Script With Blossoms on the Rib
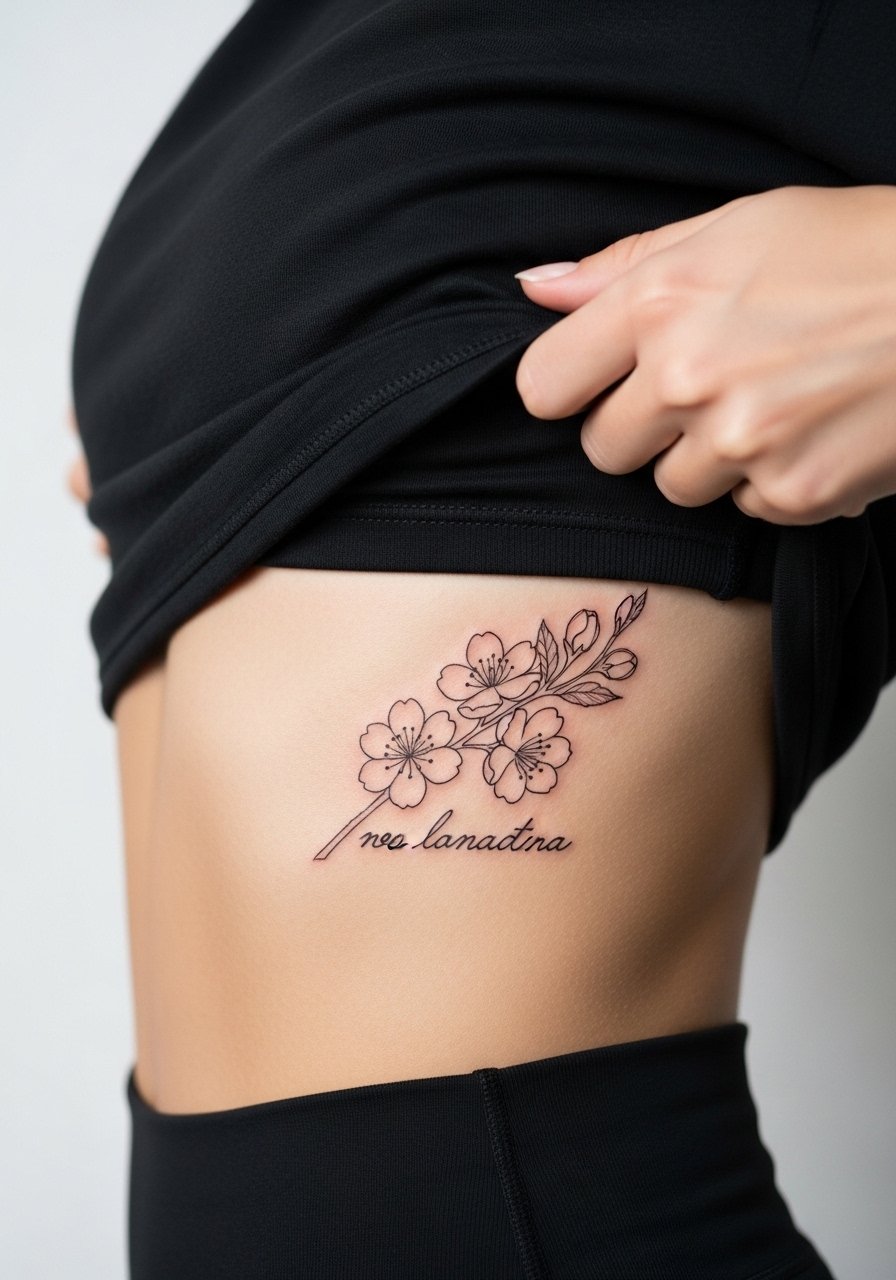
Combining script with blossoms on the ribs looks intimate, but ribs add complexity. Pain is high and sessions can be split. The mistake is using very thin script next to delicate petals without anchors. The controversy shows here too. One camp says ribs are too unstable for ultra-fine script. The other maintains proper depth and spacing will keep letters legible. Ask to see healed rib scripts from your artist before booking. For the session, wear a zip-up hoodie you can remove without stretching the area.
23. Upper Chest Mirror Blossoms
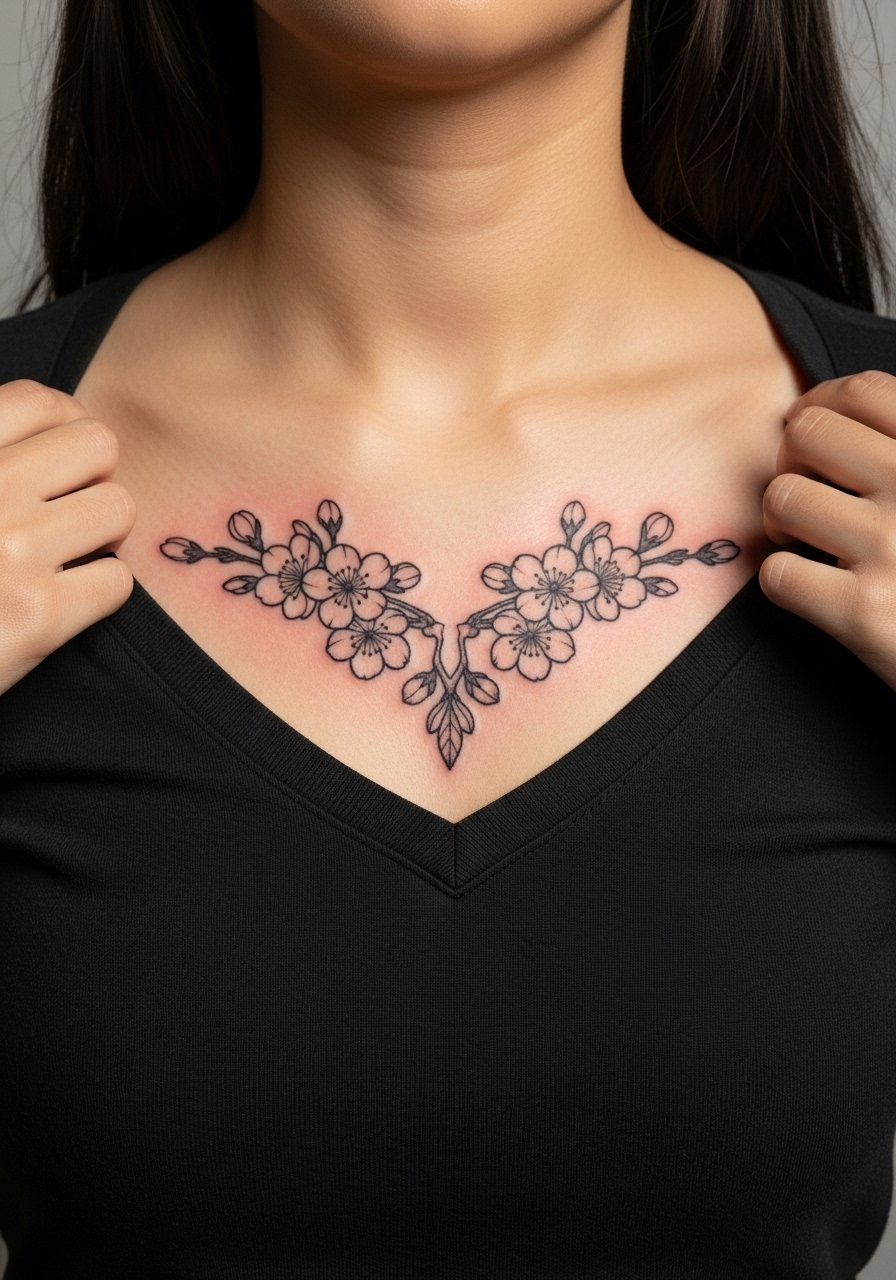
Symmetrical chest pieces need a measured layout and careful stencil placement. Pain is moderate and sessions range one to two hours. The mistake is forcing perfect symmetry when bodies are naturally asymmetrical. Ask the artist to place by eye rather than forcing a mirrored grid. Over time the outer petals on the chest tend to fade faster due to sun exposure. For showing, a button-front blouse that sits open frames the upper chest cleanly.
24. Mini Bouquet on the Hip
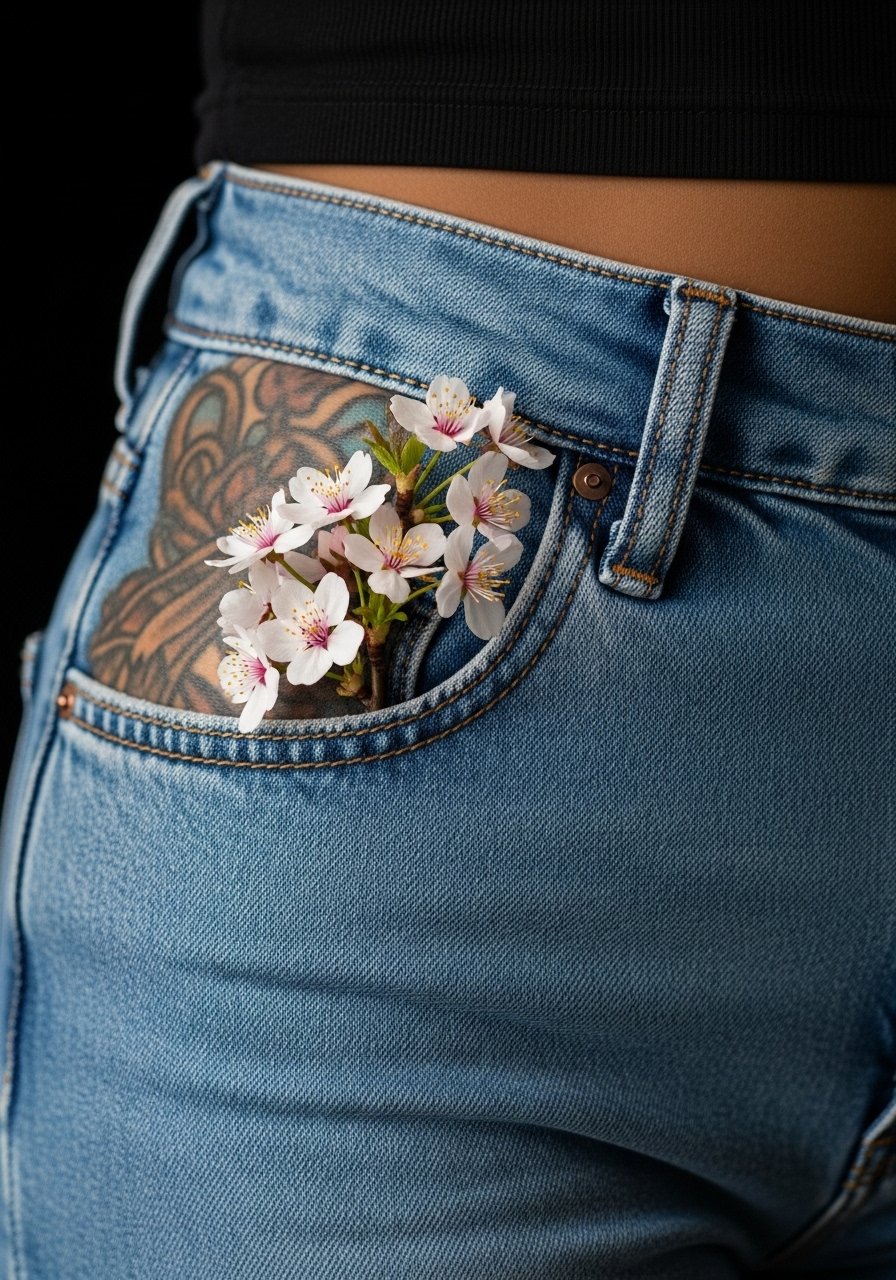
Hip tattoos wear well when positioned away from waistbands. Pain varies and sessions are usually short. The common mistake is placing the bouquet directly under tight waistbands where friction causes faded edges. Ask your artist to map the design just above the band line. For a beach-ready reveal, choose high-waisted swimwear that shows the bouquet with minimal shifting and pairs well with a high-waisted bikini bottom.
25. Sleeve Accent: Blossoms Interspersed With Leaves
Adding blossoms into a sleeve calls for a plan so the motifs breathe among larger elements. Sessions vary widely based on saturation. The mistake is crowding petals near dense blackwork, which can disappear visually. Ask your artist to use negative space around each blossom and to anchor petals with stipple or soft shading. Over time the blossoms will age differently than solid black, so plan touch-ups accordingly. For showing the sleeve, roll sleeves or pick a short-sleeve cotton shirt to frame the art.
26. Chest Pocket Blossom Near a Collarbone Tattoo
When adding a pocket blossom near existing chest work, composition is everything. Pain level is moderate and sessions are quick. The common mistake is matching the new bloom exactly to the old style without planning spacing. Ask for a transitional element so the new piece sits naturally beside the older work. Over time, mismatched saturation is more noticeable than mismatched style, so plan sessions so inks harmonize. For outfit pairing, a thin chain pendant necklace sits above the cluster without competing.
27. Miniature Constellation of Blossoms on the Shoulder Blade Edge
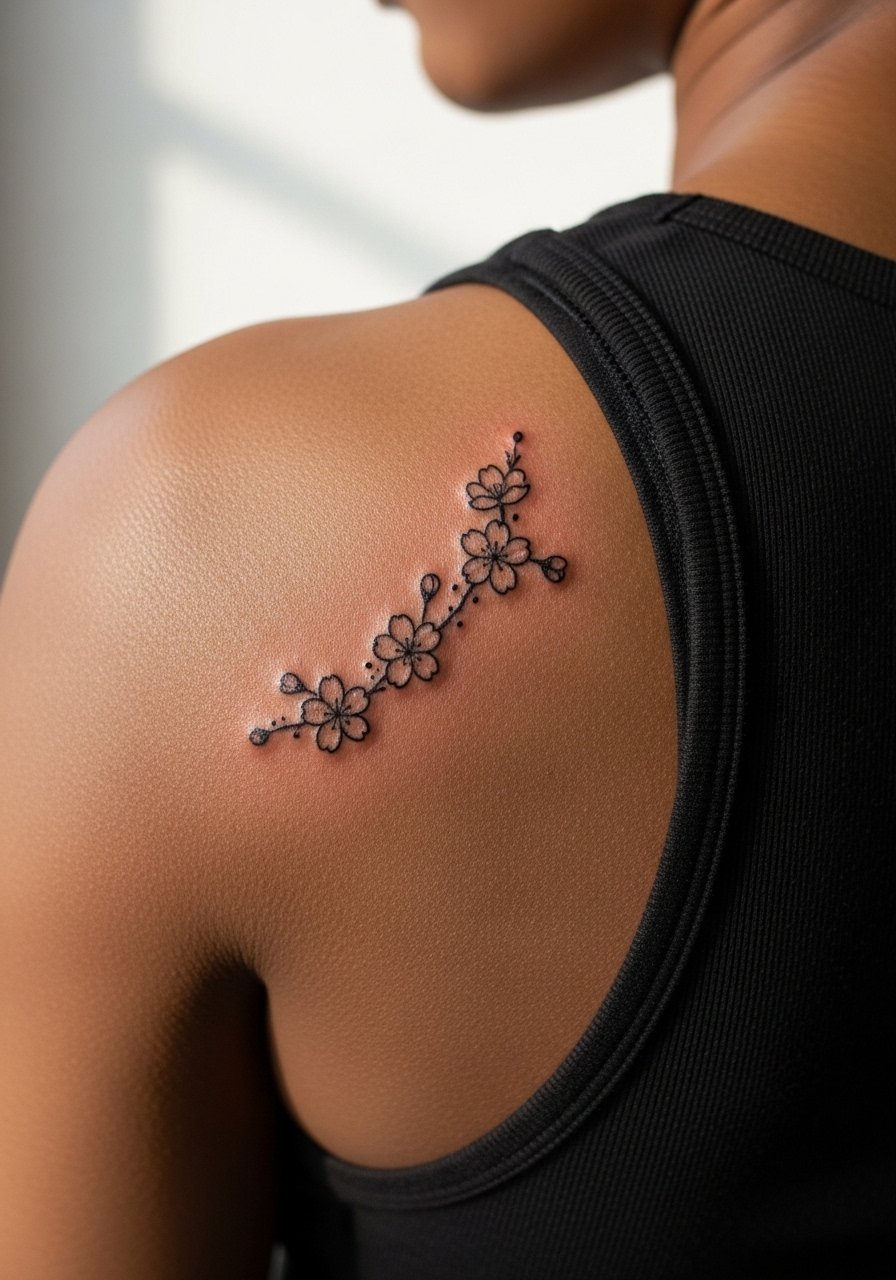
This is a low-profile option that peeks from straplines and swimsuits. Pain is low and sessions are quick. The mistake is spacing petals in a rigid linear pattern. Favor organic scatter and ask for slight variation in petal size. At two to five years the cluster holds well if spacing is generous. For easy reveal try a racerback tank that shows the shoulder blade without pulling at the skin.
Frequently Asked Questions
Q: Do fine line cherry blossoms last as well as bolder tattoo styles on areas like the wrist and ribs?
A: Fine line holds up more predictably on low-motion, low-friction zones like the forearm and shoulder. On the wrist and ribs the skin and daily wear influence longevity. For wrists expect more frequent touch-ups. For ribs ask your artist to space elements and use anchor lines if you want the details to stay readable.
Q: How should I plan wardrobe for a collarbone or sternum session?
A: For collarbone choose a wide-neck shirt you can pull aside without exposing your torso. For sternum bring a fitted sports bra or bandeau that the artist can work around so you stay covered between passes. Both approaches make the session smoother and keep your comfort level steady.
Q: What is the realistic touch-up timeline for tiny petal work on fingers and hands?
A: Fingers and hands often need touch-ups within one to three years because of constant washing and friction. Expect an initial follow-up within three months for most artists, then plan for maintenance as the piece ages.
Q: If I want a watercolor cherry blossom, what do I tell the artist to make it age better?
A: Ask for subtle stipple anchors and a mix of soft washes with defined edges. Pure washes without line anchors tend to soften into smudges. Specify you want the color to sit with gentle saturation rather than heavy pooling so it fades evenly.
Q: Are there career considerations for visible placements like hands, neck, or face?
A: Yes. Some industries remain conservative about visible ink. Hand and neck tattoos are noticed first, so consider how often you need the area covered. If you are unsure, choose placements that can be hidden by sleeves or collars until you are sure about workplace reactions.
