
Fine line tattoos are everywhere on feeds right now, and what looks delicate on a phone can blur on skin faster than most people expect. I’ve seen tiny notes soften into moth-eaten lines, watched sound waves stretch with weight change, and noticed shop minimums climb between consultations. Read on for 17 thoughtful ideas that favor long-term results, placement realities, and what to ask your artist before the needle touches skin.
1. Fine Line Cascading Notes on the Wrist
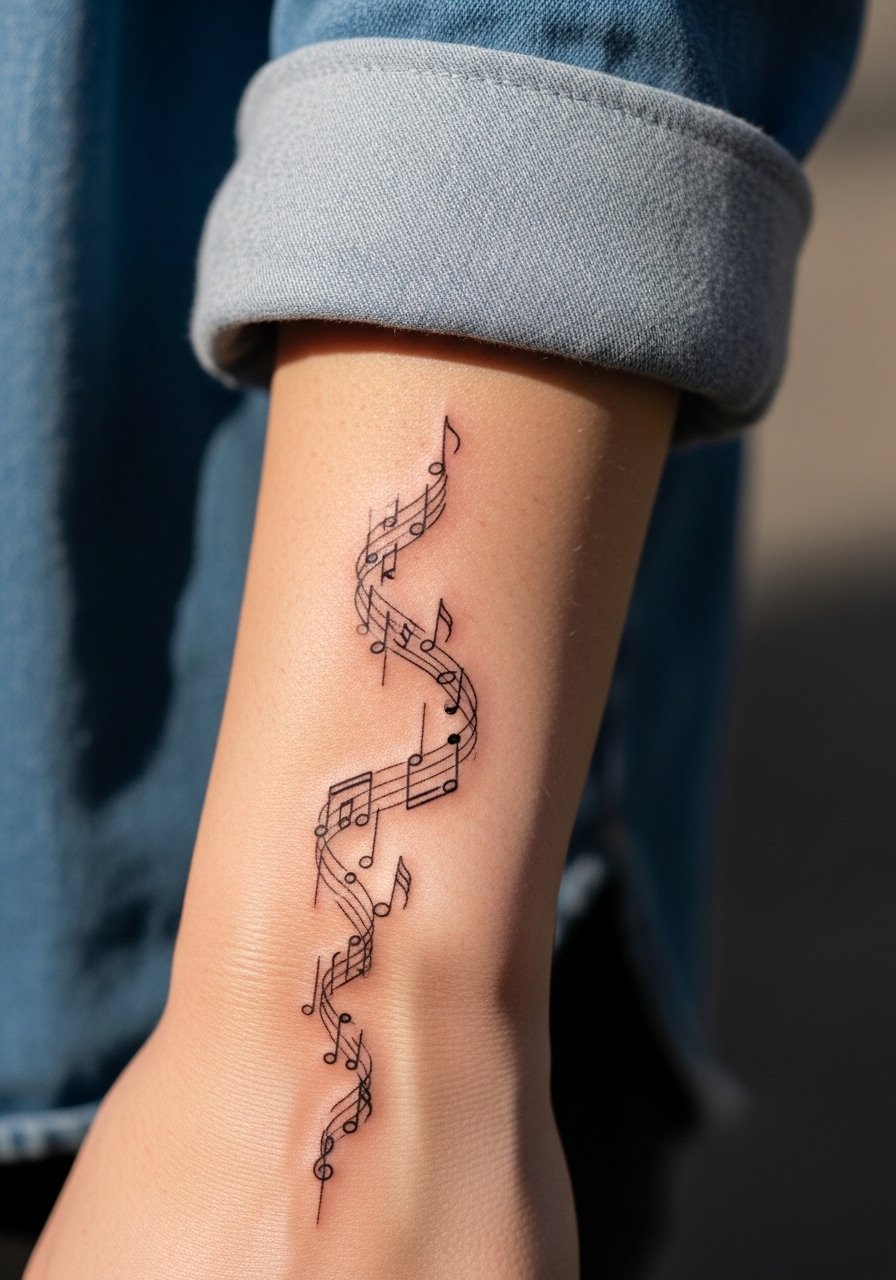
I pick this for first-timers who want clear symbolism without a large commitment. Fair warning, the wrist sees a lot of wash and friction so line weight matters. Ask your artist for slightly thicker linework than the reference so the notes read at year two, and request a touch-up window at 12 to 18 months. The session is short and the pain is mild, but the thin skin near the bone can feel sharp. Common mistake is asking for needle-fine lines that look ghosted after a year. For showing it off, pair the design with a thin gold chain bracelet on the opposite wrist and wear a linen rolled cuff shirt to frame the piece.
2. Minimalist Treble Clef Outline at the Ankle
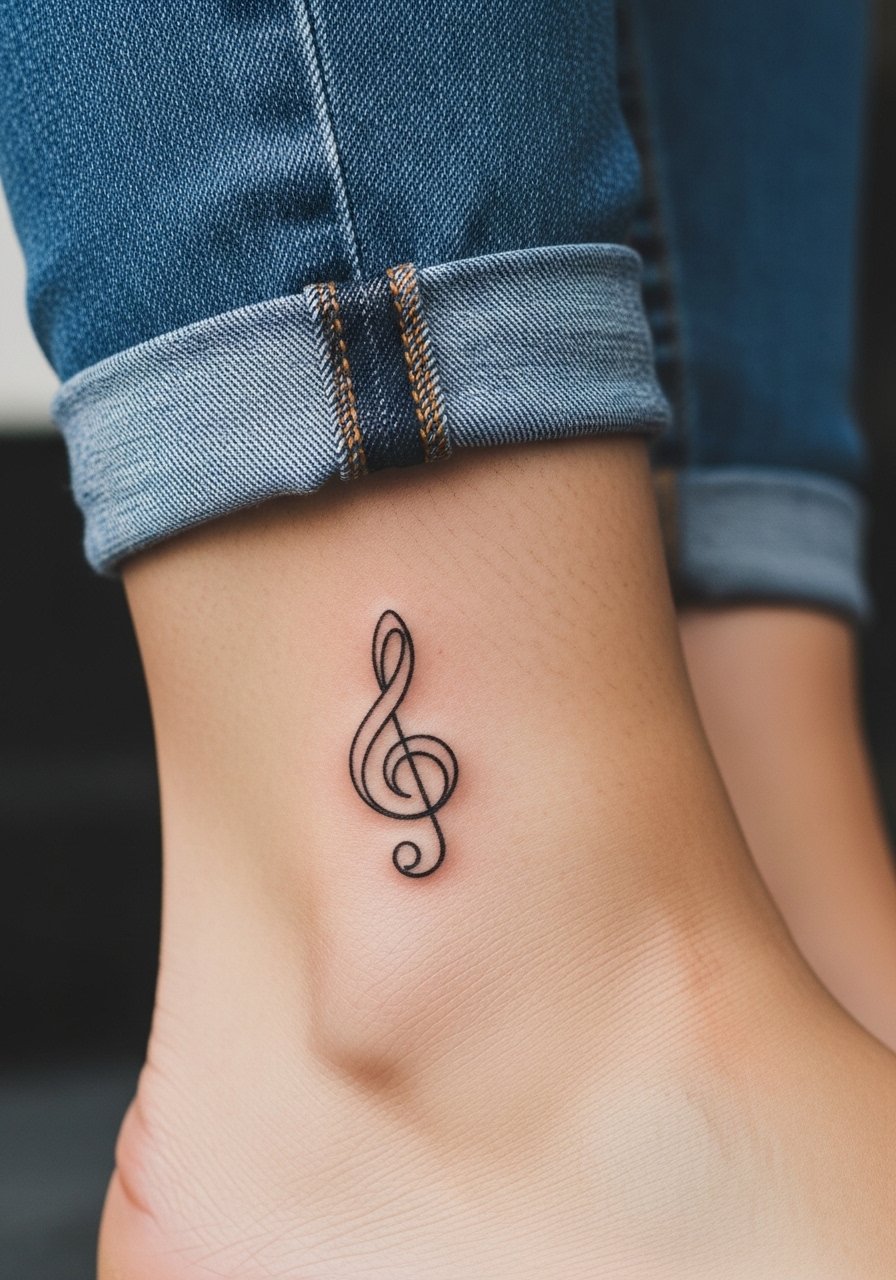
Ankle placements are seasonal show-offs and a classic first-tattoo spot. The skin there moves less than the forearm but shoes and socks add friction during healing. Tell your artist you want a clean contour with a small negative-space gap inside the curve so the clef keeps shape as it settles. Expect a quick session and moderate tenderness while wearing shoes. A common error is placing the clef too small, which leads to merging lines. For summer wear, a strappy flat sandal or cropped pants helps the design pop without overexposing it.
3. Scannable Sound Wave on the Inner Bicep
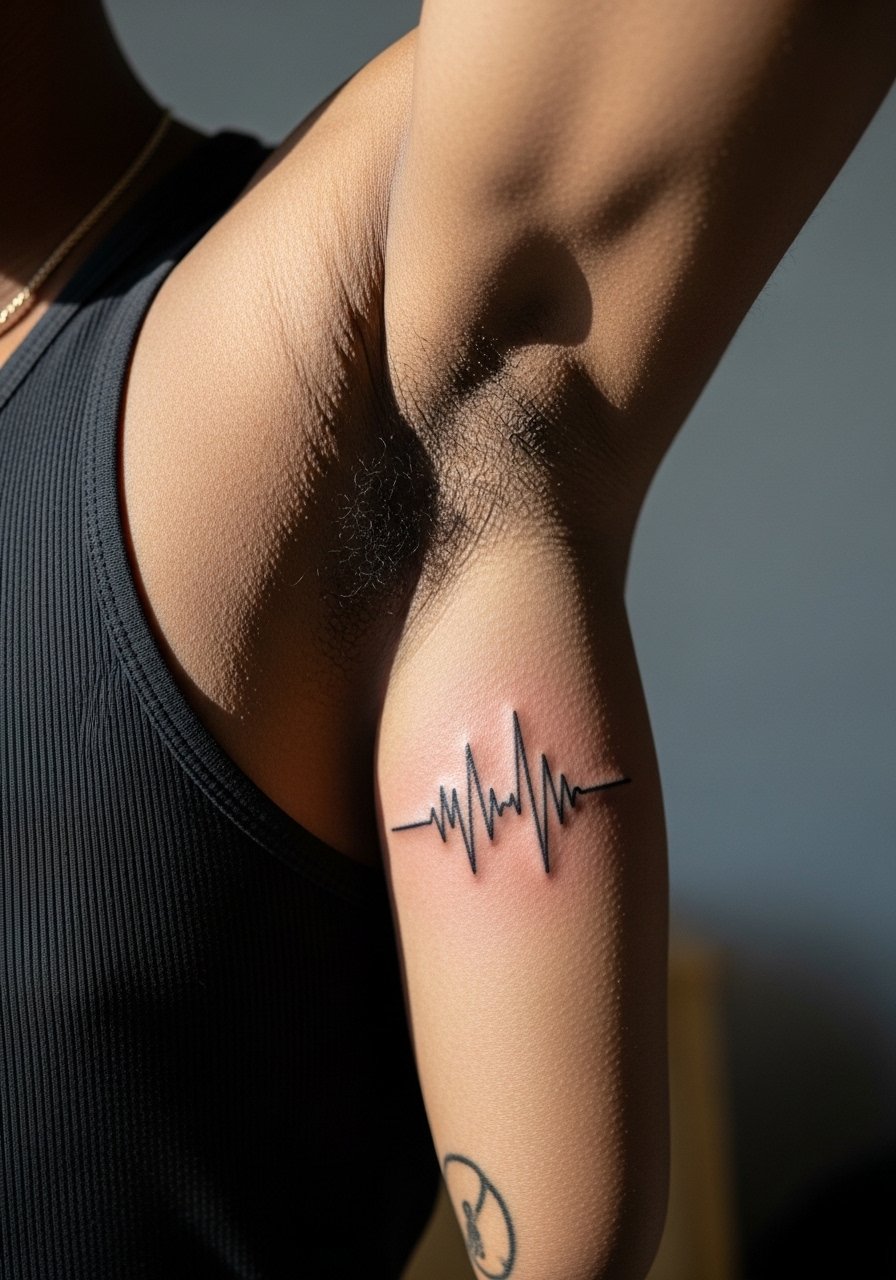
I recommend this for people who want a literal slice of a favorite song that also scans. Placement on the inner bicep gives room for a longer waveform and lowers blowout risk versus the outer forearm. When you consult, bring the exact audio-generated waveform and ask for a slightly bolder baseline so the scanner reads clean after healing. Artists split into two camps on tech tattoos. One group worries that micro fine lines in sound waves blur too quickly. The other says with correct spacing and a firm hand the waveform stays scannable. Name the scanner you plan to use and ask which line weight they recommend before booking. Session time is moderate and pain is usually low.
4. Vintage Gramophone Silhouette on the Outer Forearm
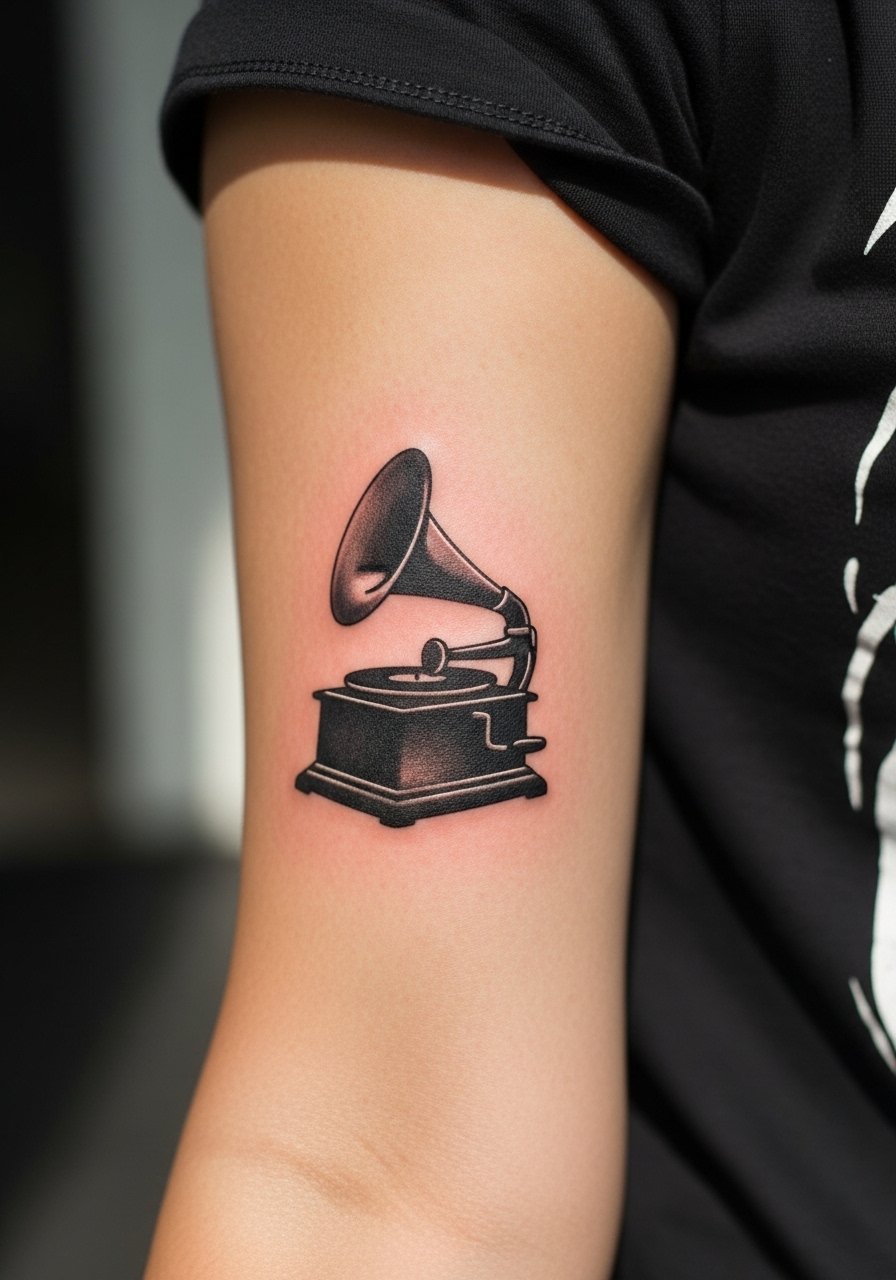
This nod to analog music reads like a discreet heirloom and ages well when executed in black and gray. Tell your artist you want solid black outlines with soft gray fills rather than hair-fine sketch lines. That choice preserves the silhouette against fading and daily wear. Outer forearm sessions feel like steady vibration more than sharp pain, and you can usually finish in one sitting. A mistake I see is over-detailing small silhouettes, which turns to muddy texture after a few years. For outfits, a sleeveless tank top or an open short-sleeve shirt keeps access easy during the session.
5. Abstract Note Cluster Inside a Geometric Shape on the Shoulder Blade
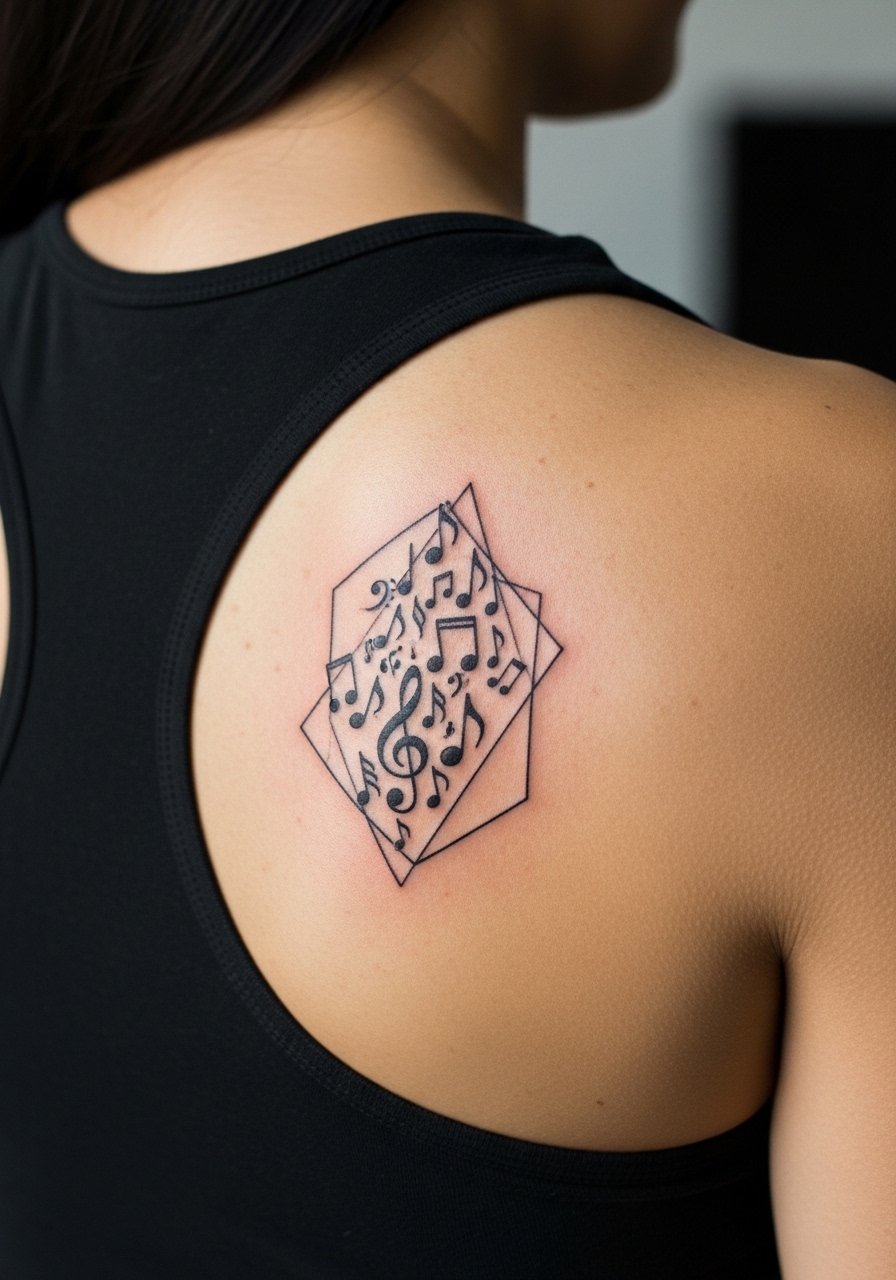
Shoulder blade pieces let you go a bit larger without constant exposure. I suggest spacing the notes within negative space areas of the geometric shape so the pattern breathes as it heals. In consultation, show the artist where you plan to wear backpacks and straps so they can avoid high-friction zones. The session is comfortable and often finishes quickly because the area is flat. A common error is packing too many dots into a small area, causing merge over time. For showing it off, reach for a racerback tank or backless top that lets the geometry speak.
Studio Day Picks
The wrist, ankle, and upper-arm ideas above all react differently to washing and clothing, so a few thoughtful items smooth the session and first week.
-
Stencil transfer paper kit. Lets you preview line placement on skin and test scale before the session starts.
-
Topical numbing cream. Useful for sensitive ankle or wrist slots, applied prior to the appointment to ease discomfort.
-
Thin protective film roll. Protects wrist and finger pieces from soaps and friction during the first days.
-
Fragrance-free gentle body wash. Keeps healing fine line work clean without irritating delicate skin.
-
Aquaphor healing ointment. A thin layer in the initial days helps lock moisture for fine line pieces while avoiding clogging.
6. Cassette Tape with Unwinding Notes on the Thigh
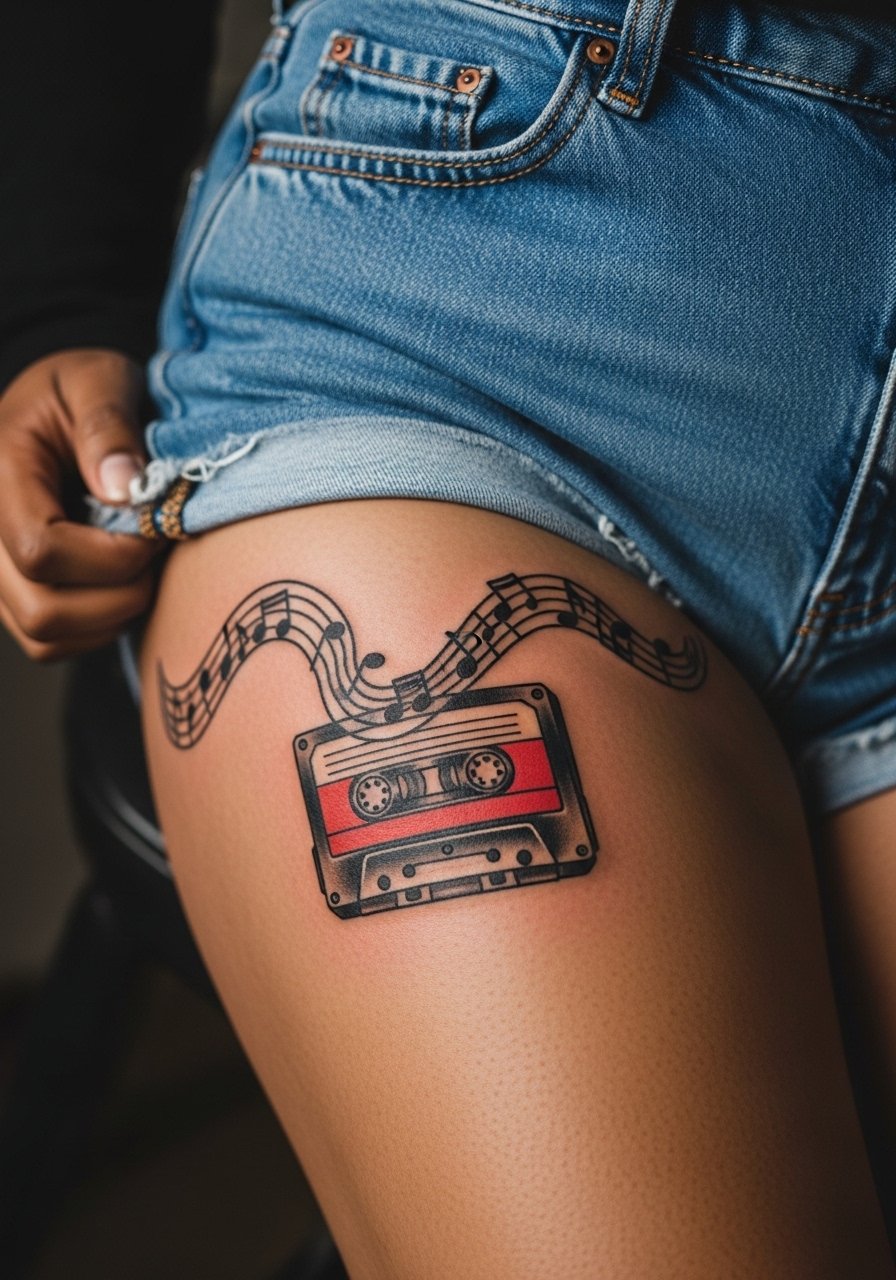
Thigh pieces are great if you want retro detail and privacy. They handle shading and gray wash better than tiny lines because the tissue is thicker. Tell your artist you want the notes to spill outward with open spacing so the unwinding lines age without crowding. Sessions can be longer and you may need two visits if you want layered shading. The area is forgiving for weight changes but avoid putting critical details over stretch marks. For showing the design, high-waisted shorts or a midi skirt with a slit frames the artwork without forcing constant exposure.
7. Micro Bass Clef Behind the Ear
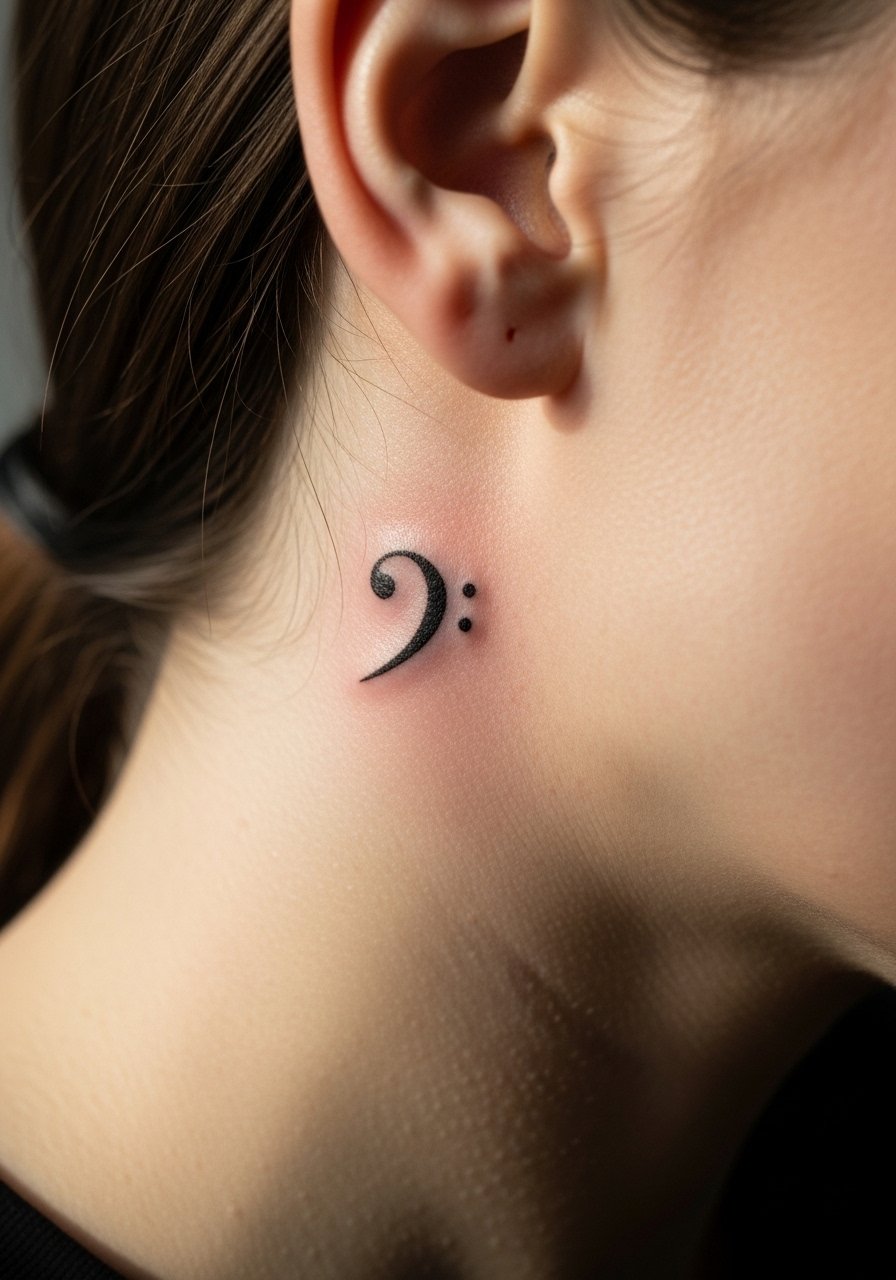
Behind-the-ear micro pieces are tiny and fast, but they demand a precise hand. This spot is ideal if you want a nearly hidden token of your musical life. Mention to your artist that you want the clef on the skin just behind the ear and below the hairline for soft coverage by hair. Pain is low but vibrations feel intense because of proximity to bone. The common mistake is cramming too much detail into the space. For session wear, tie your hair back with a loose ponytail holder to give the artist clean access.
8. Dotted Eighth Note Trail on the Ribcage
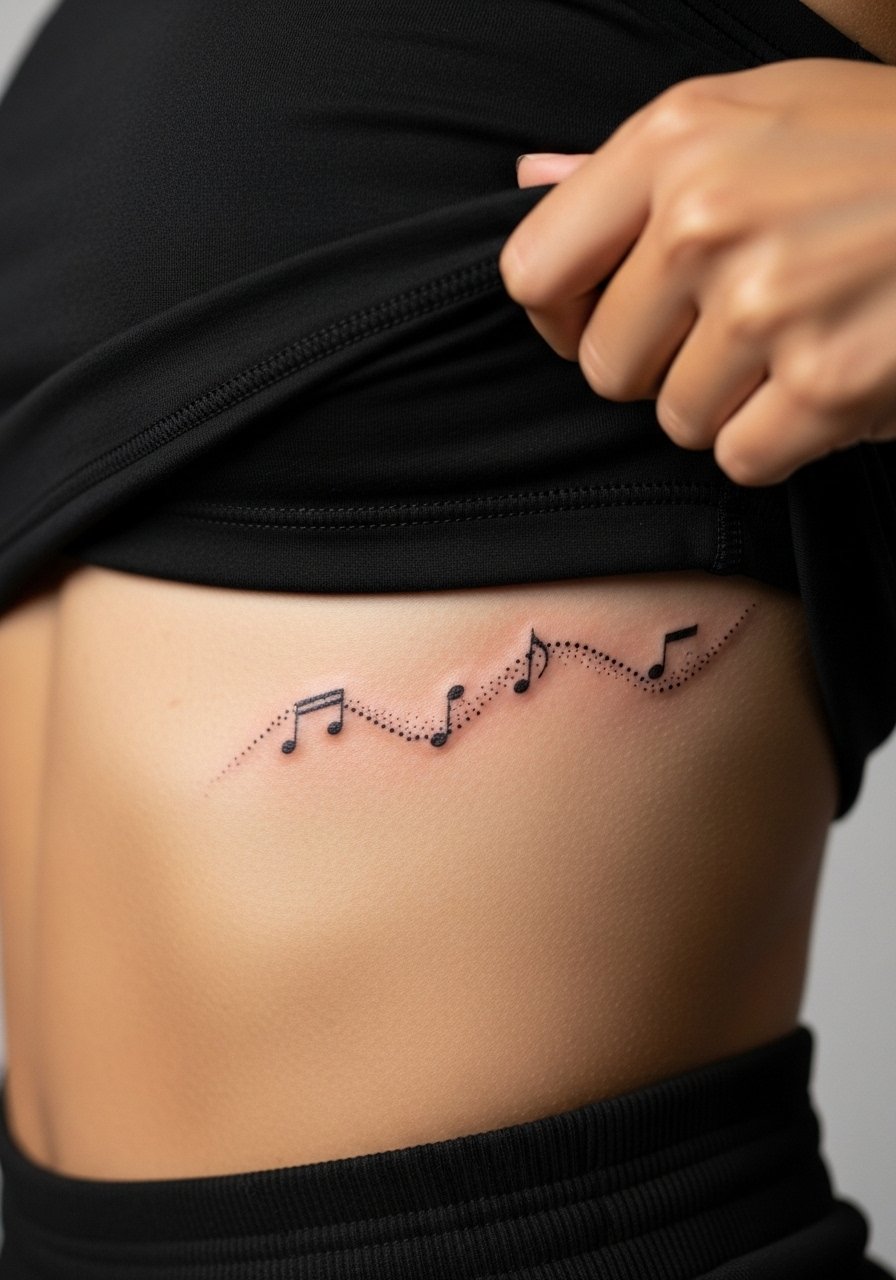
Fair warning, the ribcage is a high-pain area. People choose it because the canvas is long and private. Artists debate fine line on ribs. One camp says the constant skin movement and thin tissue blur tiny dots quickly. The other camp argues that with proper spacing and depth the dotted trail reads beautifully for years. If you pick ribs, ask for slightly wider dots and a rehearsal stencil to check curvature. Healing takes longer and sleeping position matters. For the session, wear a cropped top you can lift, and plan for soreness when turning in bed.
9. Shure 55S Microphone Icon on the Calf
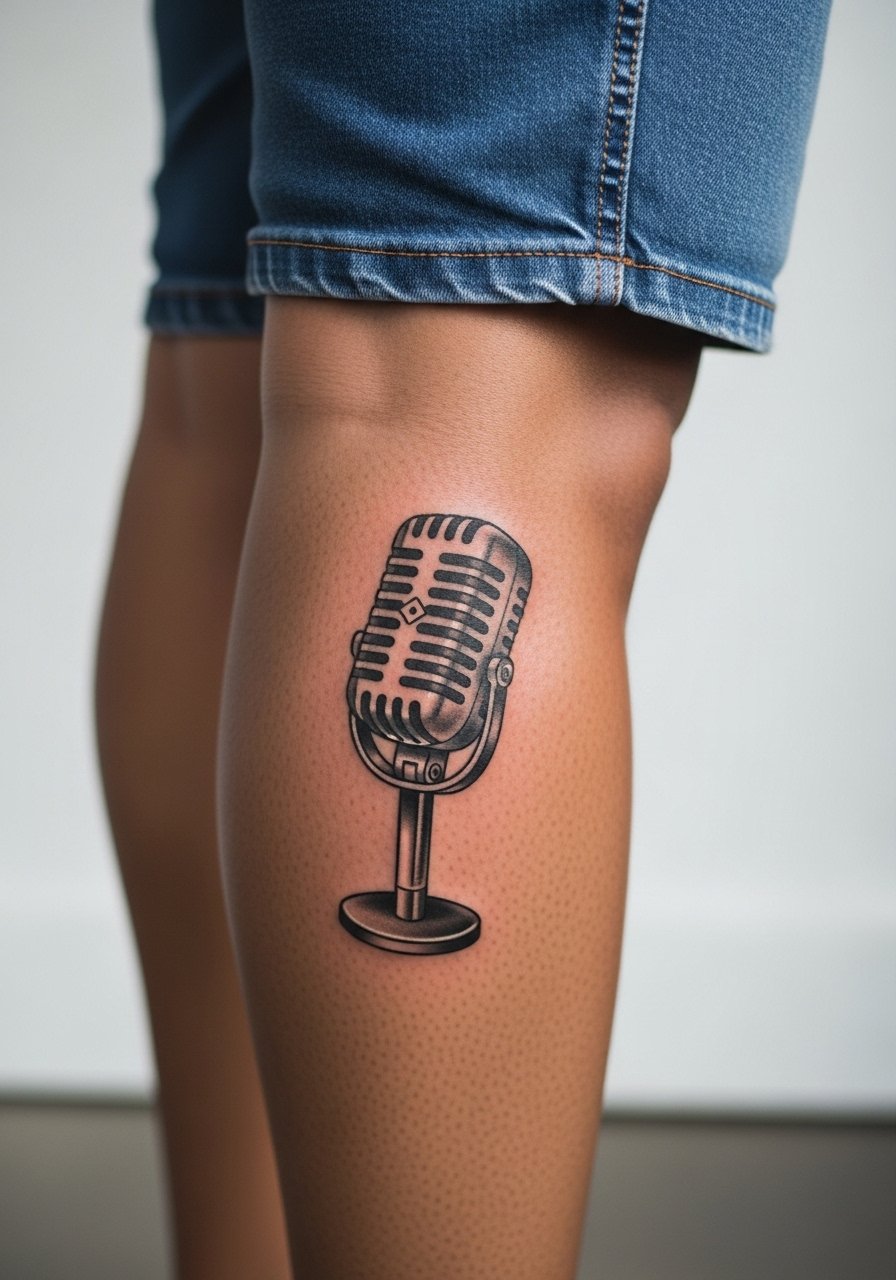
Calf placements suit slightly larger icons that you might hide for work. The thicker skin takes shading well and the piece resists fading from constant sun exposure compared with the forearm. Tell your artist you want bold outline anchors and soft gray saturation for the mic grill rather than hairline crosshatching that can soften later. Sessions are comfortable and you can usually stand during the work. A mistake is oversizing the grill detail, which turns to texture in a few years. For casual show-off, pair with high socks or cuffed shorts for contrast.
10. Minimalist Vinyl Record Outline on the Nape
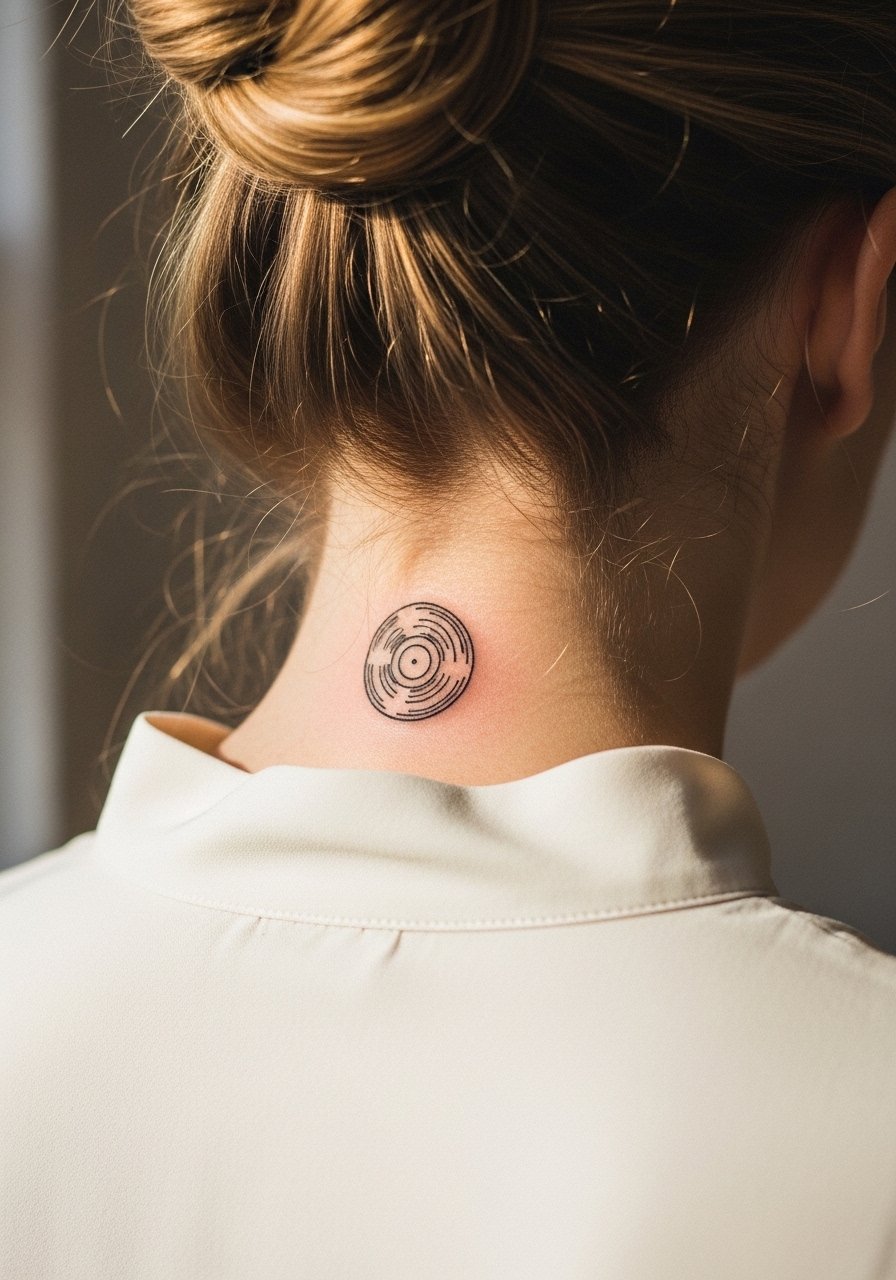
The nape is discreet and elegant, and small vinyl outlines sit nicely under collars or hair. Ask for a slightly heavier outer ring so the record keeps its circular identity as the ink softens. Sessions are short but the neck can sting more than the forearm. A common error is placing the record too low where clothing rubs constantly. For styling, wear a high-neck blouse or pull hair into a bun to reveal it selectively.
11. Paired Eighth Notes for Matching Wrists
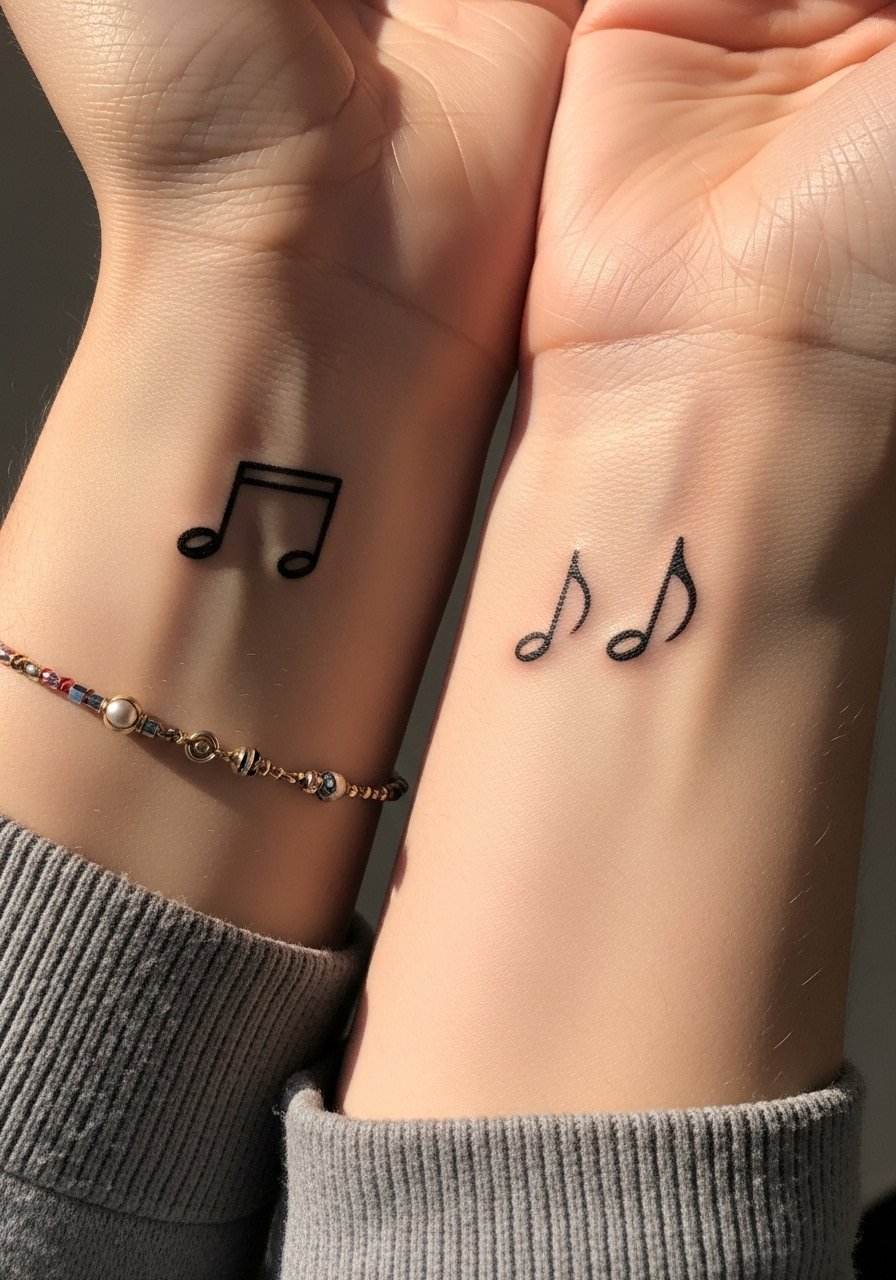
Matching notes are a favorite for partners or bandmates who want subtle coordination. The challenge is symmetry and aging. I recommend each person bring the same reference and ask the artist to stencil both wrists the same distance from the bone so they age evenly. Wrists see soap, jewelry, and typing, which accelerates fading. A standard fix is slightly stronger linework and a planned touch-up at year two. For outfits, stack a dainty bracelet opposite the tattoo to frame it without crowding the line.
12. Subtle Spotify Code Waveform on the Inner Ankle
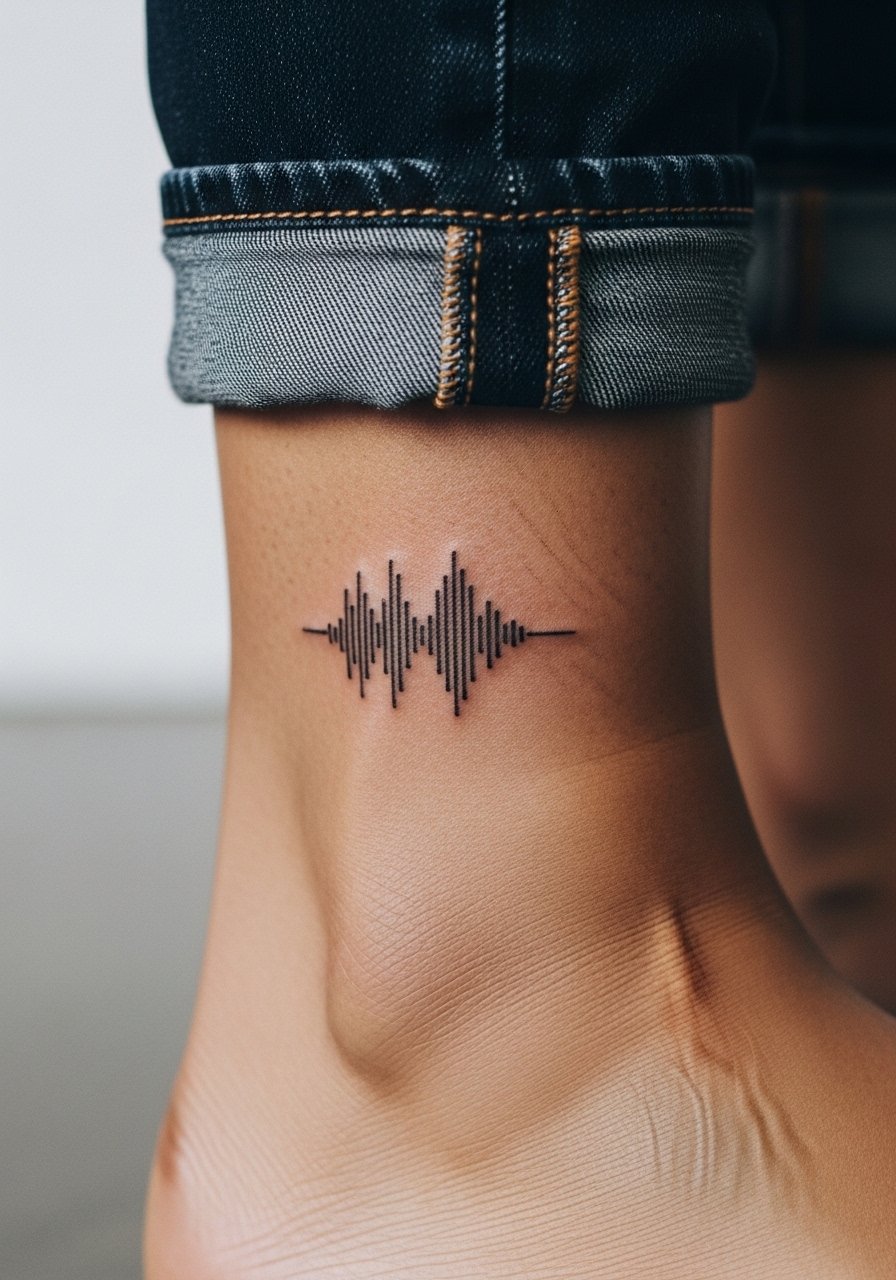
Interactive tech tattoos are modern and deeply personal, but they demand precision. Bring the exact code or waveform and tell your artist you want a test scan after healing to confirm readability. Ankle scans can be finicky because of curvature and shoe friction. Expect a longer stencil prep time and a single session if placement is straightforward. A common mistake is shrinking the code to fit a small space. For session wear, roll your pants and choose a pair of shoes that avoid pressure on the spot during healing.
13. Ornamental Staff with Faint Notes Across the Collarbone
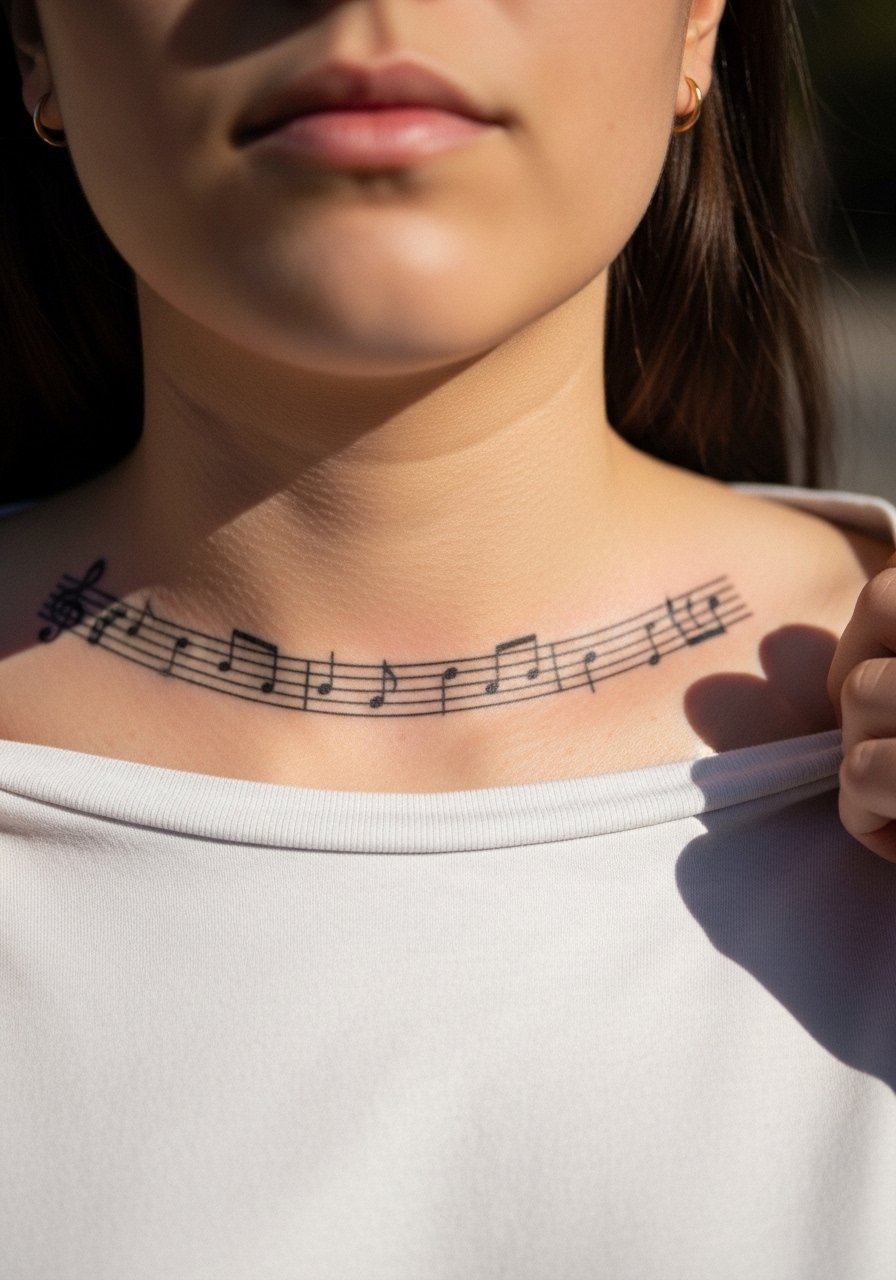
Collarbones give editorial placement for elegant musical notation that moves with the body. The skin is thin and sun-prone, so I advise keeping the staff linear with breathing room between bars. When you consult, point out necklace placement so the artist avoids areas that will be constantly covered. Sessions are moderate in pain and may take two short passes for crispness. A common misstep is compressing the staff into too small an area, which turns legible notation into a smudge over time. For evening looks, try an off-shoulder blouse to reveal the piece.
14. Tiny Headphone Outline on the Finger
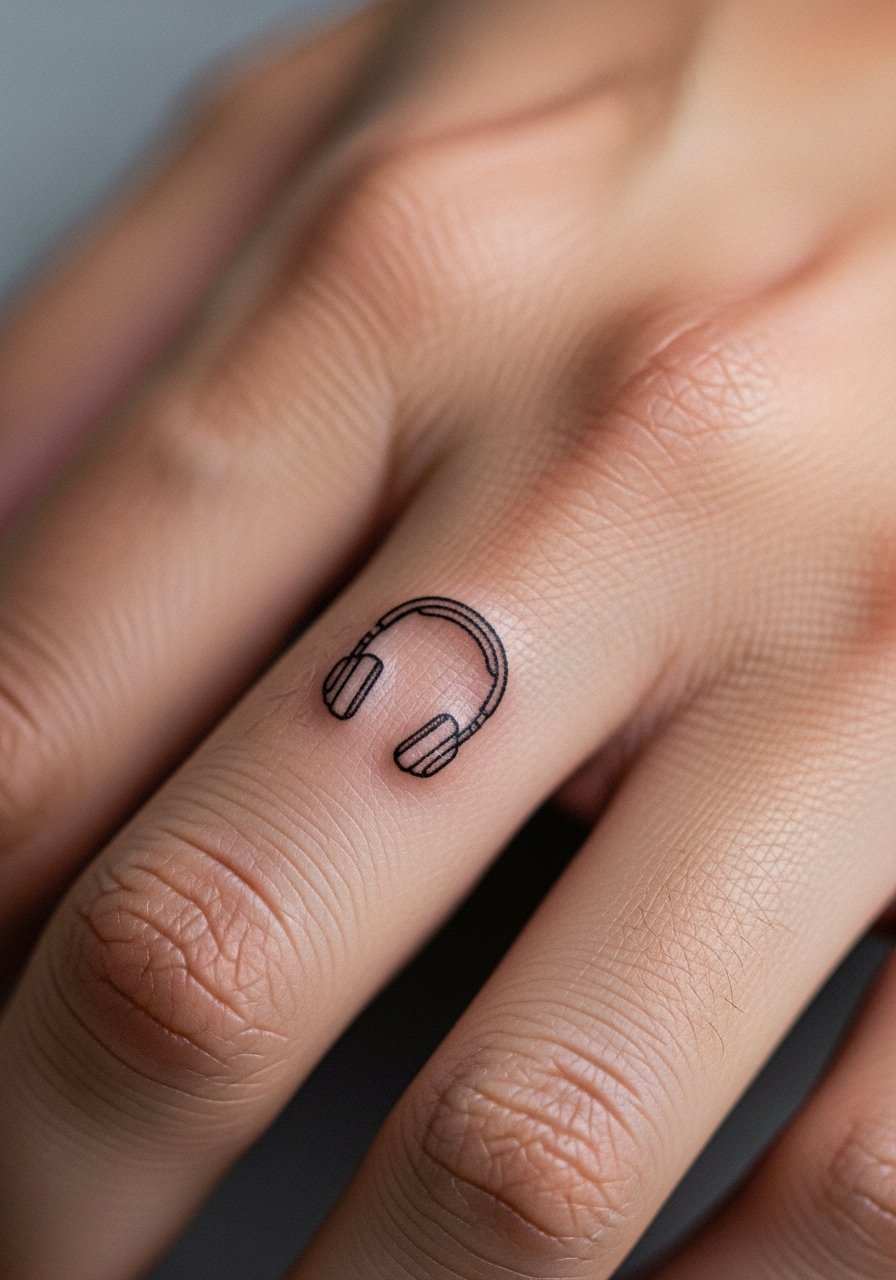
Finger tattoos feel very visible and the skin there is high turnover, so expect more frequent touch-ups. I suggest keeping the headphone outline bold for durability and accepting that crisp edges may soften in two to three years. The session is quick but can be uncomfortable because fingers have less flesh. A common error is treating finger skin like forearm skin. If you want longevity, ask for slightly heavier linework and plan a touch-up path. For wrists and hands, minimalist jewelry helps the tiny headphone read as deliberate.
15. Piano Keys Micro Panel on the Side Rib
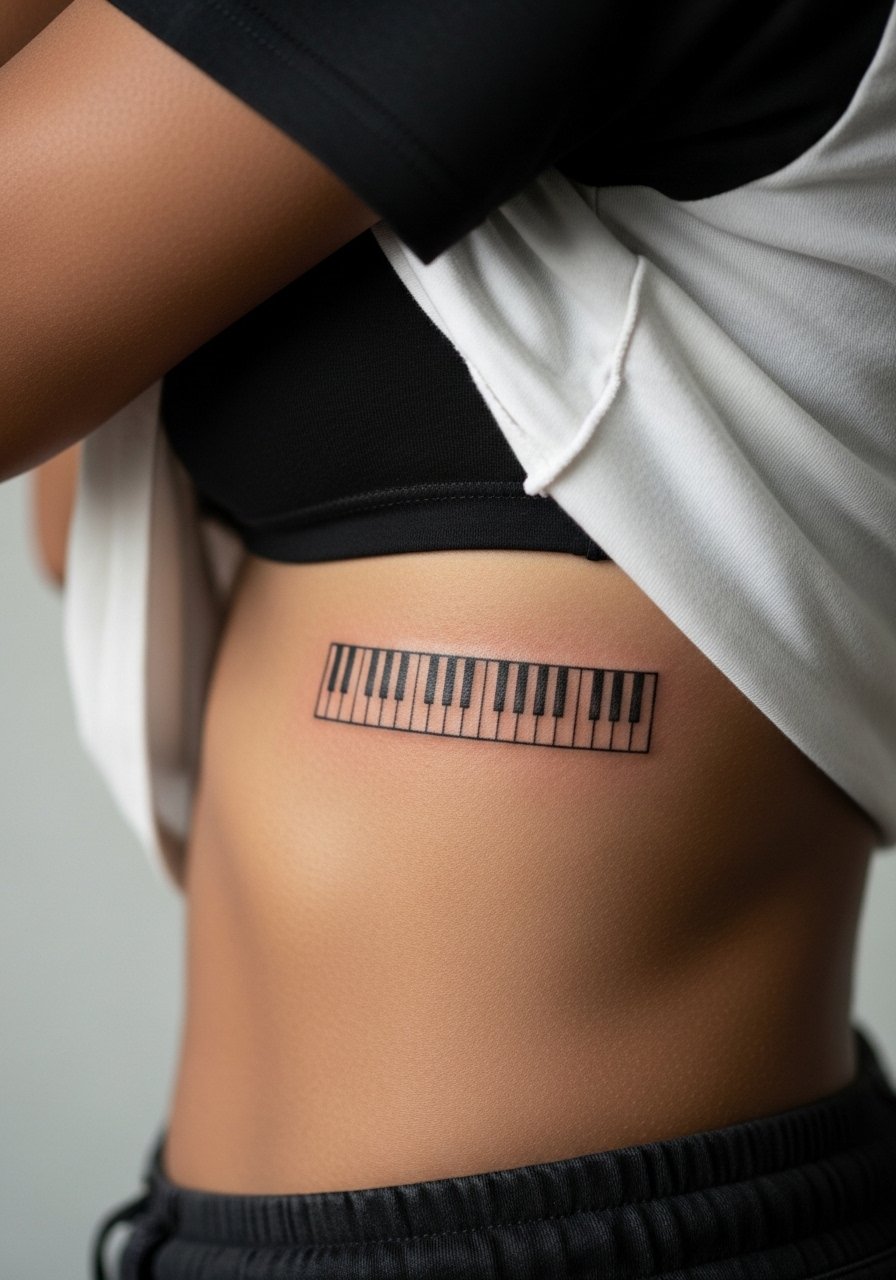
Side rib panels are dramatic and private but come with higher pain and variable healing. I recommend spacing the keys so each white key has a narrow negative space; that prevents merging as the area shifts. Tell your artist to map the piece while you breathe so the keys flow with your torso. You will feel steady pressure and some sharp moments during the session. A mistake is asking for photo-realistic miniature keys which lose definition quickly. For session wear, a cropped tee you can lift works best.
16. Script Lyric Snippet Along the Sternum
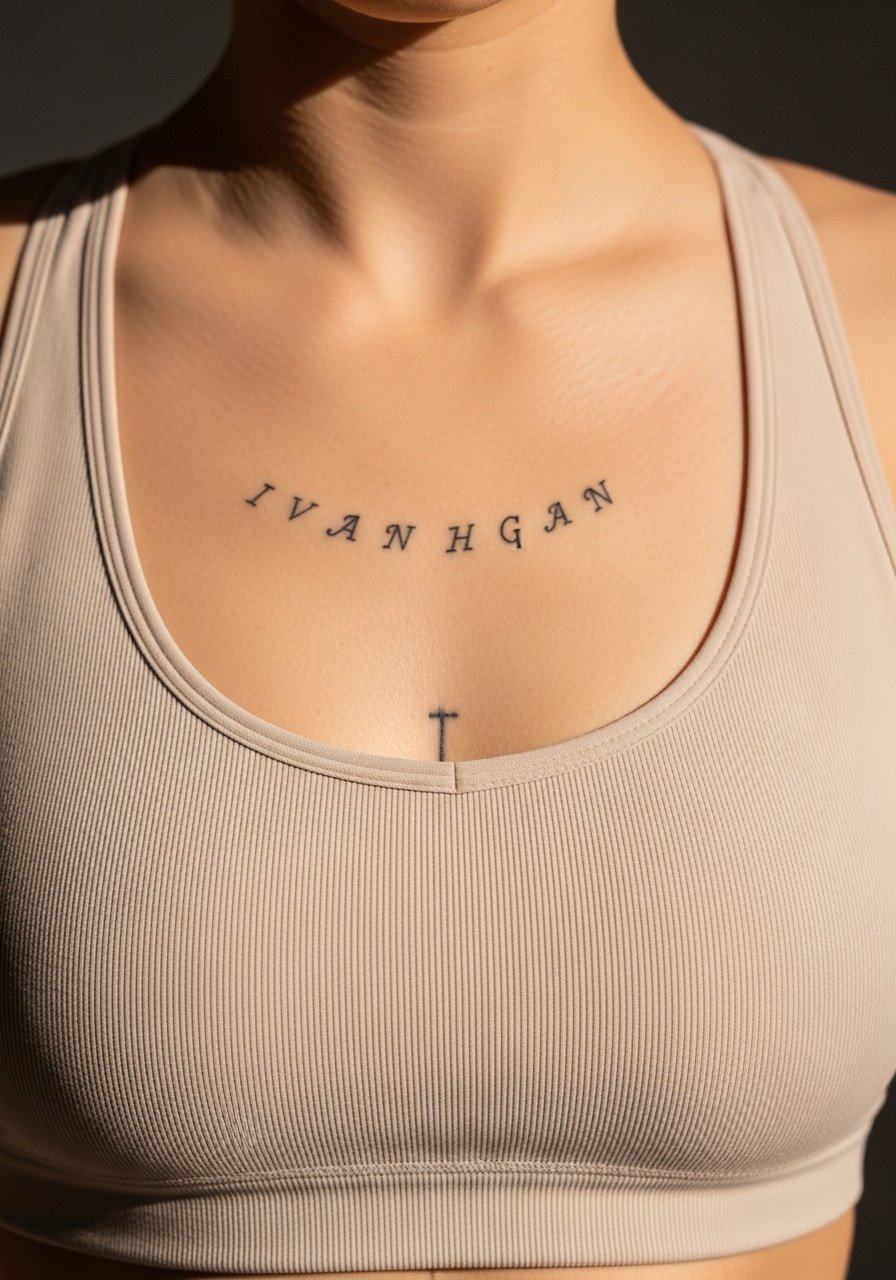
Sternum script is intimate and reads well under low-cut tops or athletic wear. Because the area moves with breathing, pick a short phrase and a font your artist has executed well on similar skin. Discuss exact spacing in the stencil stage and ask for text proof on the skin before inking. The session can be intense and may require breaks. A common issue is choosing a font that looks great on paper but loses character after healing. Pair the piece with a delicate chain necklace that sits just above the phrase.
17. Sharp/Flat Key Signature on the Inner Wrist
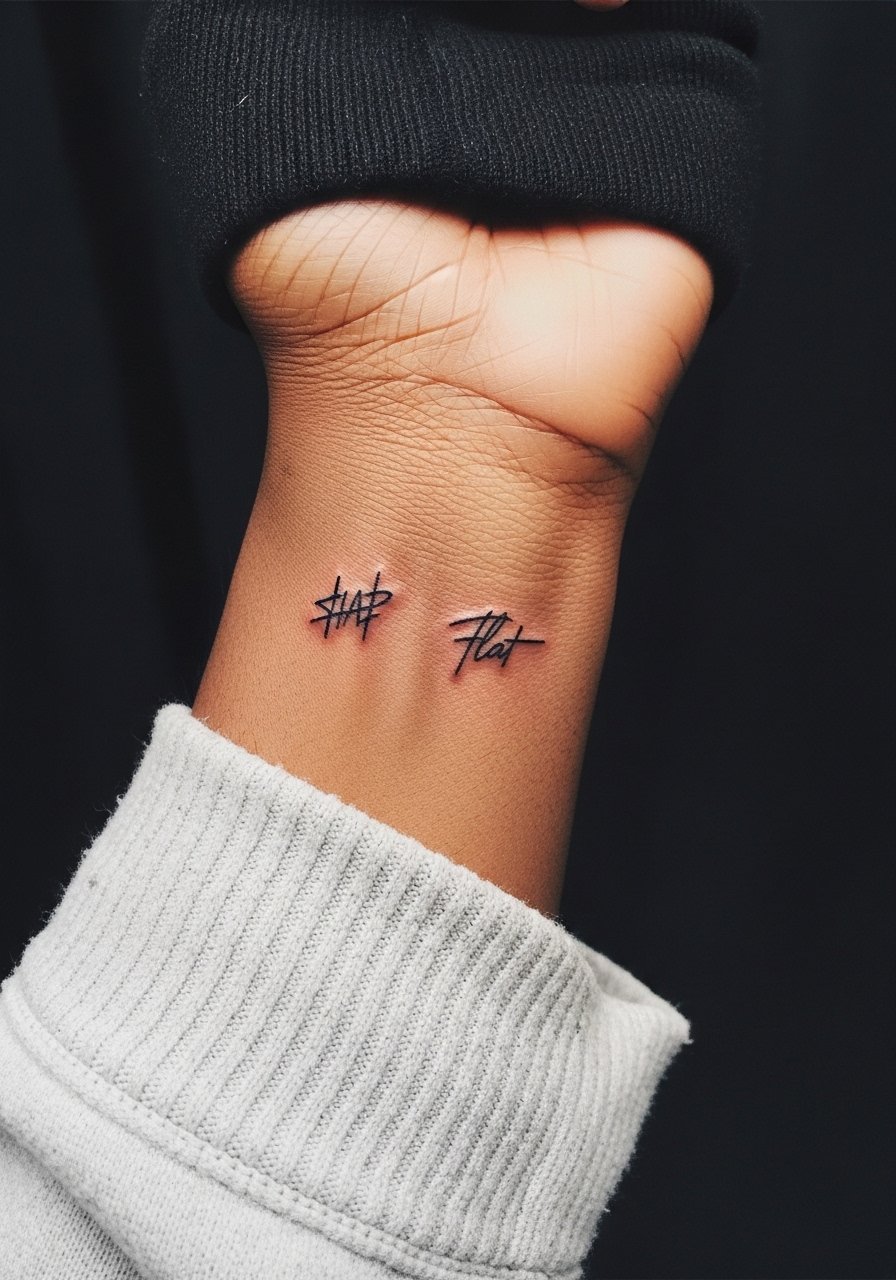
Inner wrist keys are simple and meaningful for musicians who read notation every day. The spot is visible and subject to sun and washing, so ask for clean, slightly bolder symbol strokes and a scheduled touch-up if you perform often. The session is brief and mildly sensitive. A mistake is spacing the symbols too close to the crease where they blur with movement. For the appointment, wear a loose button-down shirt you can pull aside so the artist has unobstructed access.
Frequently Asked Questions
Q: Will fine line music tattoos fade faster than bolder versions on wrists and hands?
A: From what I have seen, fine line work on high-friction areas like wrists and fingers tends to soften sooner than bold black lines. One camp of artists accepts touch-ups as part of the aesthetic, and the other prefers slightly thicker linework for longevity. Ask your artist how they balance initial delicacy with future maintenance.
Q: Can a sound wave or Spotify code still scan after healing and slight skin changes?
A: It depends on placement and line weight. Inner bicep or ankle flat zones often scan more reliably than curved joints. Tell your artist the exact scanner you plan to use so they can set the line thickness and spacing. Plan for a check scan after the two-week healing point.
Q: Are there wardrobe tips to protect new collarbone or sternum music tattoos?
A: Yes. For collarbone pieces, wear wide-neck shirts or off-shoulder tops during the first two weeks to reduce rubbing. For sternum work, fitted sports bras are better than underwires while the area seals. One useful accessory is a thin chain pendant necklace that sits just above without disturbing the healing skin.
Q: How soon should I expect a touch-up for a tiny ankle or wrist music tattoo?
A: Realistically, plan on checking the piece at 12 to 24 months. Friction and sun cause the most change, so a small touch-up around year two is common for fine line wrist or ankle symbols. Budget for that as part of long-term care.
Q: Does skin tone affect how music note tattoos show up and age?
A: Skin tone affects contrast more than possibility. On darker skin, negative space and soft gray shading read differently, so ask artists who have healed examples across tones. Many artists recommend slightly more open spacing or subtle gray to preserve shape over time.
