
Fine line shoulder blade pieces rule Instagram feeds right now, and they reward careful planning more than impulse. Movement, prone-session nerves, and awkward healing access are the three things people overlook most, and they are exactly what separate tattoos that look great at year one from tattoos that need touch-ups by year three. Read the first idea for a shoulder-aware approach that works with the scapula, not against it.
1. Floral Rose Mandala on Upper Shoulder Blade
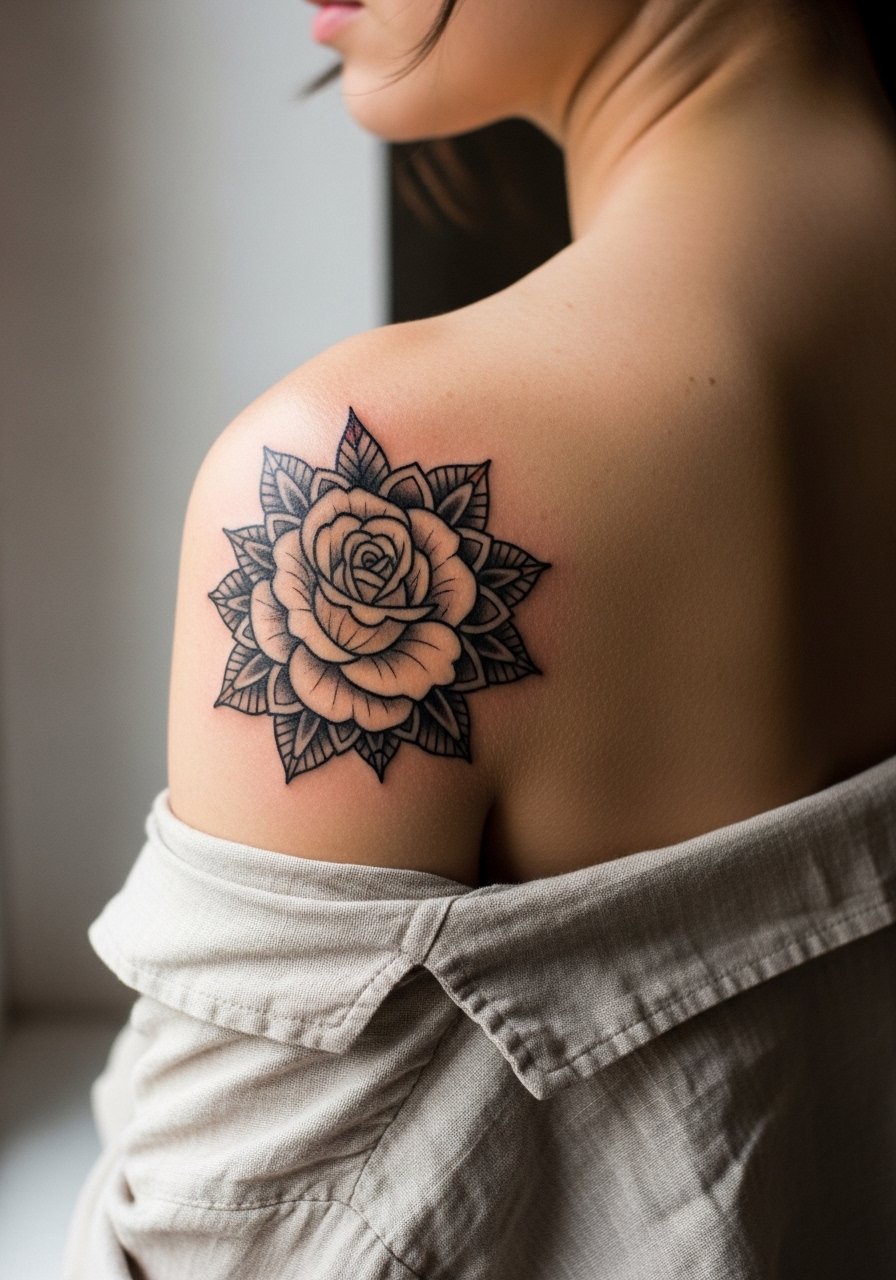
A rose mandala sits naturally where the scapula curves, because the petals can follow muscle movement instead of fighting it. I suggest telling your artist you want the petals to run with the shoulder blade contour and to keep inner line spacing wider than a chest mandala, which reduces the risk of lines merging as the skin moves. Expect a moderate pain level for prone work and a single two-hour session for a 4- to 6-inch piece. A common mistake is packing too much tiny detail into a small mandala, which looks crisp fresh but softens into blotchy areas by year two. For evenings out, pair this with an off-shoulder linen blouse that frames the curve without covering the design.
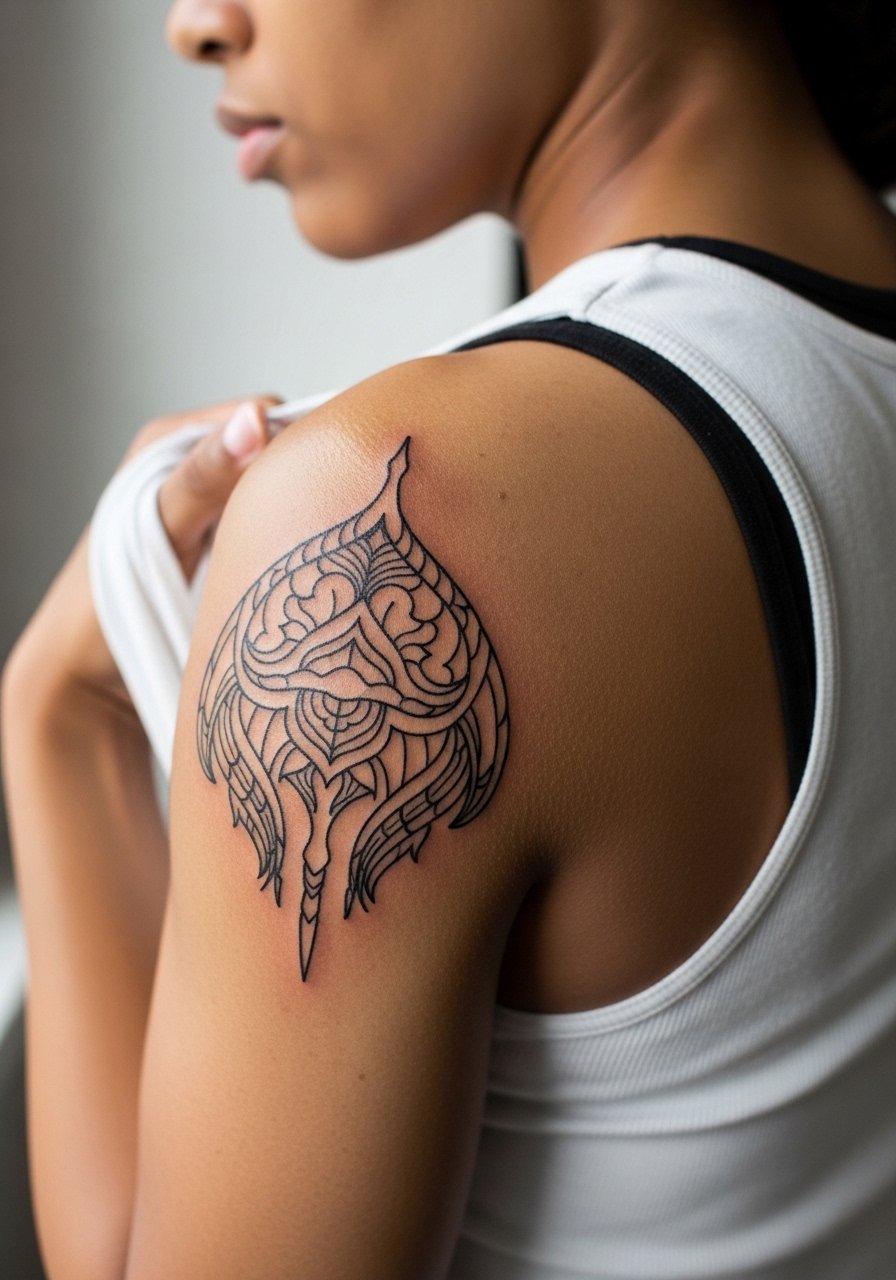
2. Blackwork Angel Wings Spanning the Scapula
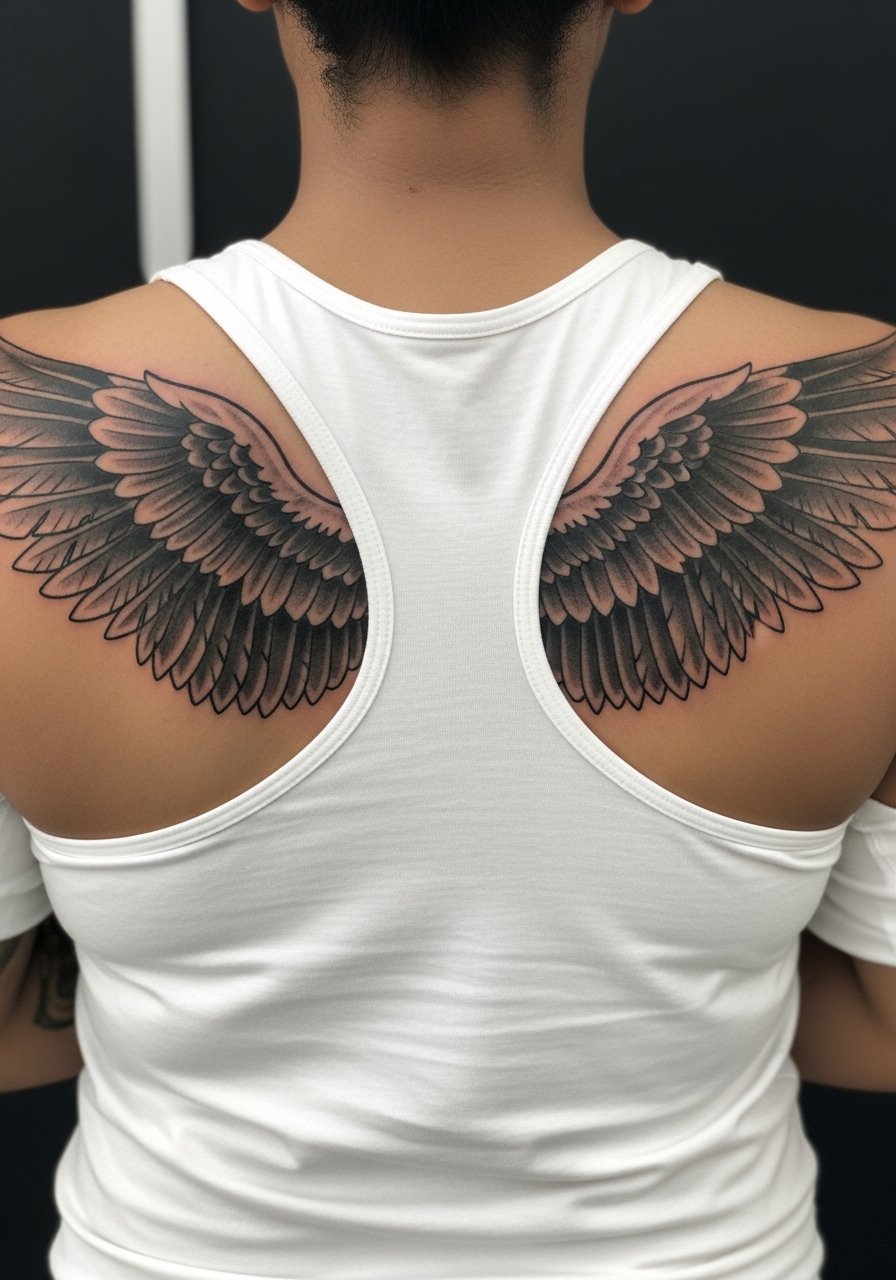
Angel wings make a bold silhouette and they scale well into larger back pieces later on. Tell your artist if you want a soft gray wash or solid black feathers, because saturation choices determine future touch-up frequency. The session feels like long runs of shading along the bone, so bring breaks for your shoulders. Younger, very tight feather lines may look crisp at six months and then soften; the fix is planned touch-ups at year two rather than trying to cram more density on the first visit. For summer wear, a backless sundress keeps the wings visible while protecting the rest of the back.
3. Fine Line Butterfly Cluster, Centered on the Blade
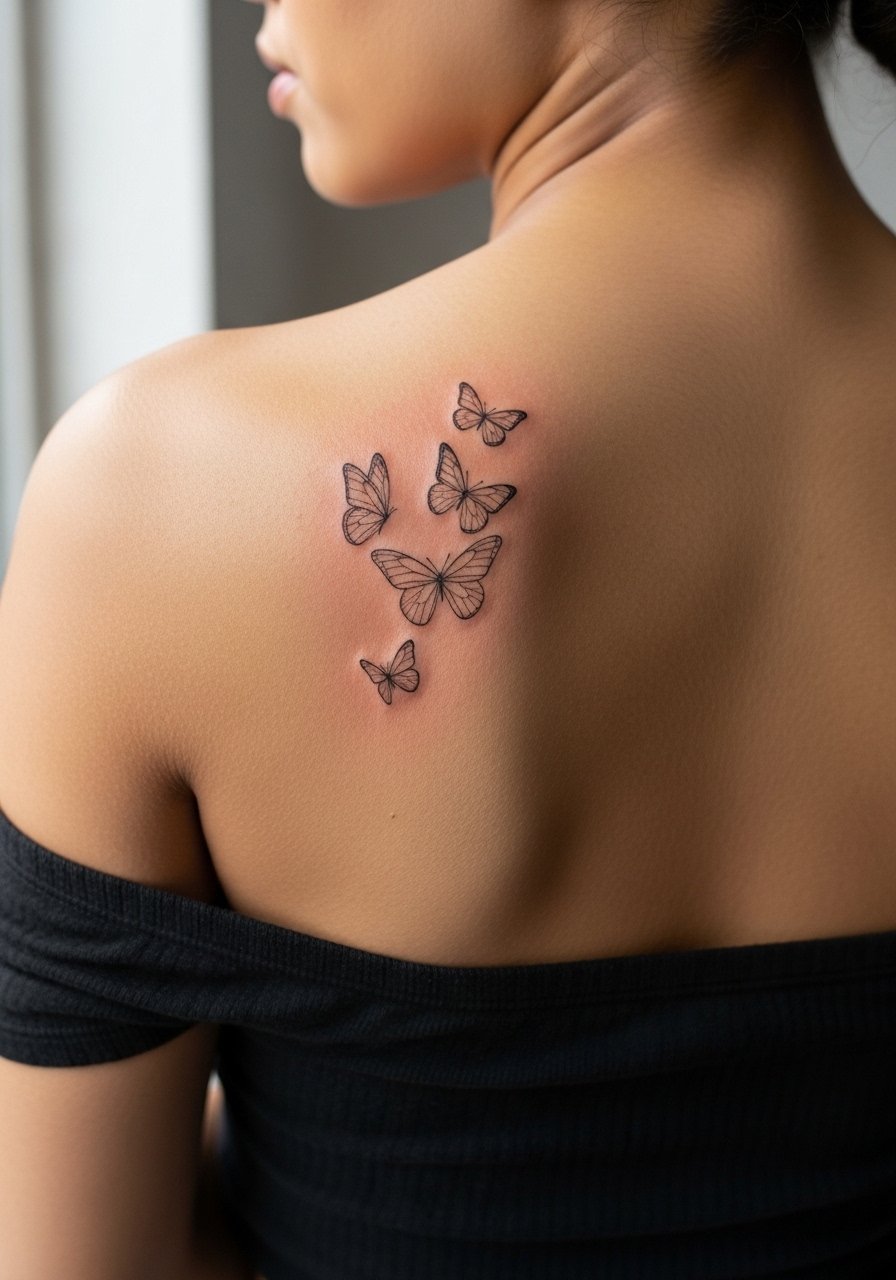
Fine line butterflies leverage scapula flex for a sense of motion, but they split artists into two camps. One camp warns fine lines on mobile areas blur within two to three years. The other camp says with correct needle depth and spacing they settle cleanly. Name both concerns in consultation and ask where your artist stands. Expect quick single-session work but a higher chance of a touch-up at year three compared with solid blackwork. Avoid asking for micro hairlines packed too close. For showing them off with subtlety, a strapless tube top keeps the attention on the cluster.
4. Geometric Mandala Hexagon, Mid-Shoulder Blade
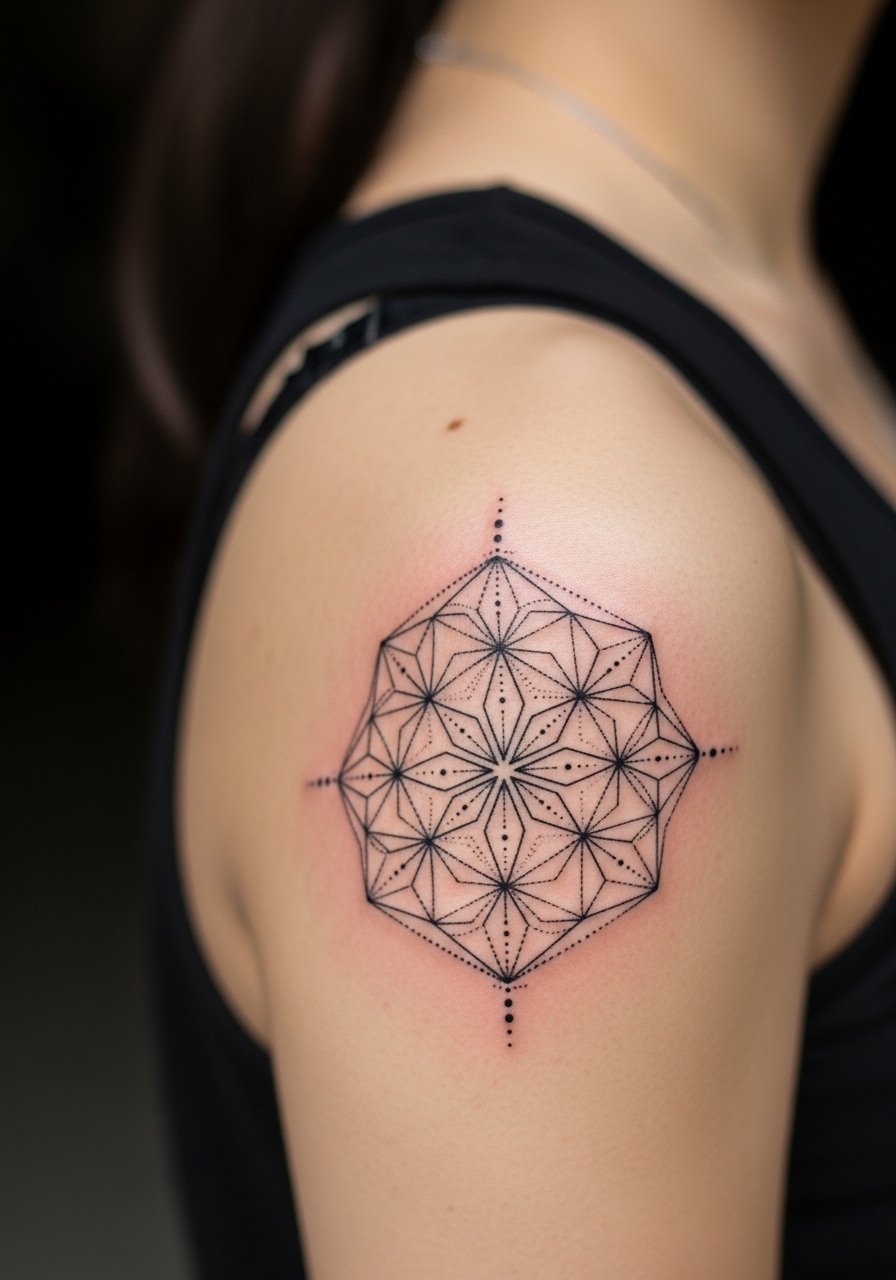
Geometric pieces ask for negative space. The biggest mistake is shrinking the pattern to fit a small area. I recommend requesting extra breathing room between spokes to avoid line merge. Pain is moderate while lying prone, and dotwork can feel like a steady tapping sensation. There is also a movement debate here. One group argues rigid geometry warps with shoulder motion. The other says careful mapping and slightly larger scale prevent distortion. Tell the artist you want a mockup while you move your shoulder so you can see how the grid flexes. A cropped hoodie in solid color frames the bold lines without busy patterns when you want to hide or reveal the piece.
5. Lotus Flower in Watercolor Splash at Lower Blade Edge
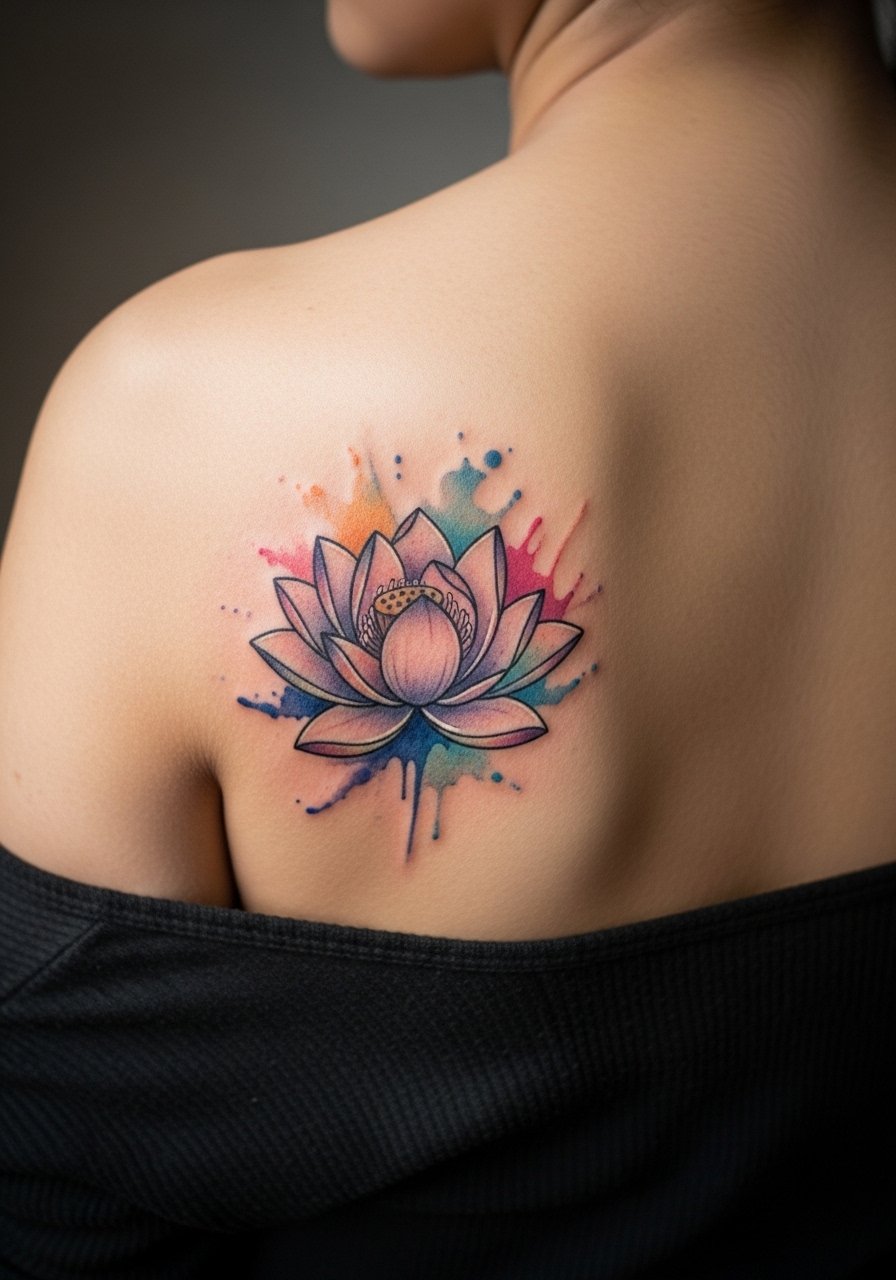
Watercolor on the blade creates a soft, airy look that follows rib and back movement well if the edges are feathered into skin. Ask for color gradients that taper, not hard stops, because crisp color blocks can age unevenly on mobile skin. Expect a single-session piece around one to two hours and lighter pain than sternum work, but plan for a short touch-up to refresh color saturation around year two. The common mistake is asking for saturated color without a plan for future refreshes. For pool days or gowns, pair it with a low back evening dress so the watercolor reads like fabric embroidery.
6. Mythological Phoenix Rising, Full Scapula Span
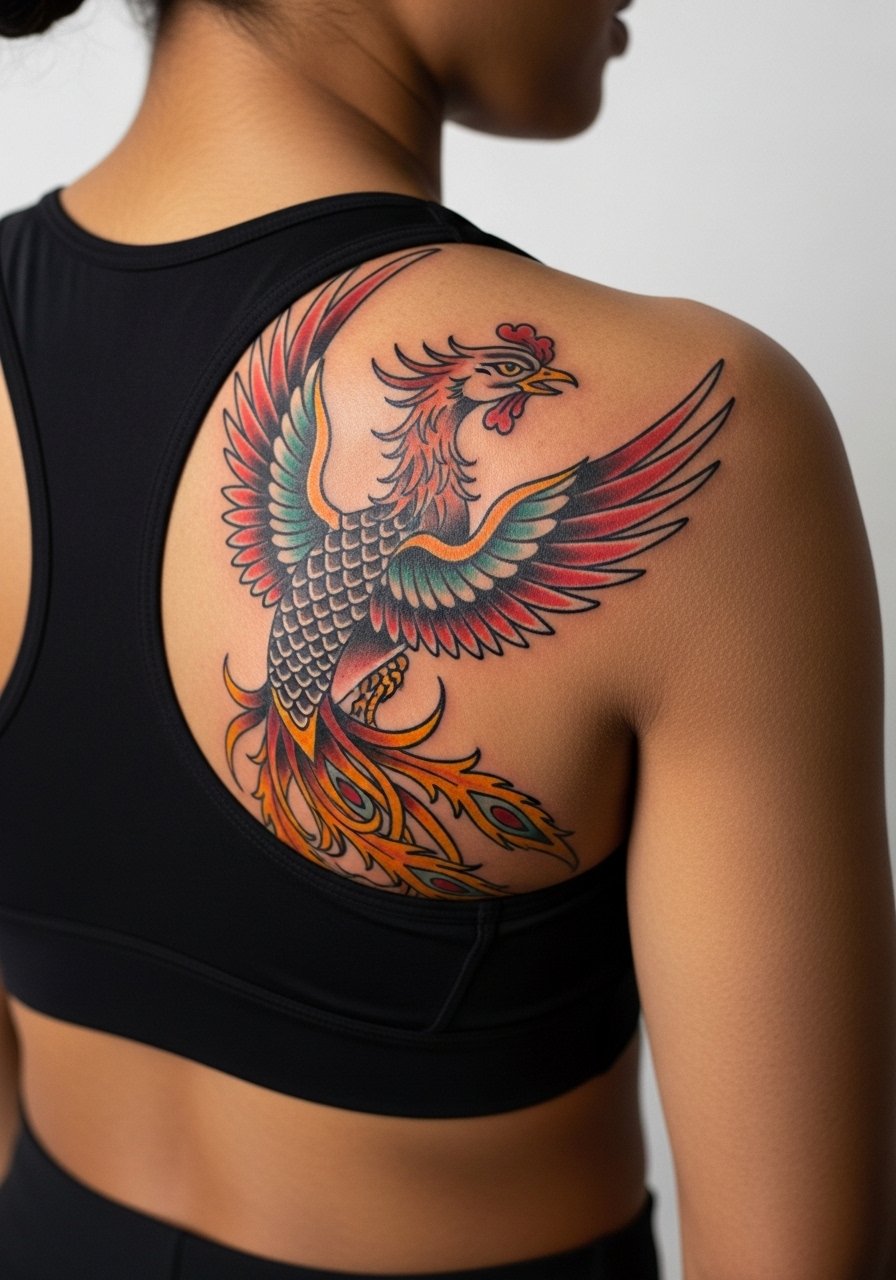
A phoenix wants scale, which the scapula offers. Recommend the artist plan the wings so they sit on muscle rather than directly over bone to help with longevity. Sessions vary from two to four hours depending on color layering and size. A common long-term issue is trying to cram sleeve-level detail into a single scapula piece. The better route is staged sessions that let saturation and healing settle. For a daytime reveal, a cropped hoodie or a backless dress both work for different vibes, and they help you test how the piece reads with motion.
Studio Day Picks
The first six designs above all rely on clear access to the upper back and careful color or line decisions, so these items smooth the session and the first-week healing for scapula work.
-
Stencil transfer paper kit. Useful for previewing placement and rotation across the scapula before the needle touches skin, especially for the mandala and phoenix layouts.
-
Topical numbing cream. Apply per instructions about 45 minutes before the session to ease the prone discomfort that some people feel on the blade.
-
Thin protective film roll. Keeps watercolor edges and fine line work from rubbing against clothing during the first few days.
-
Fragrance-free gentle body wash. Cleans the upper back without irritation, which helps delicate linework settle without scabbing over.
-
Aquaphor healing ointment. A thin layer in the first 48 hours protects saturated areas and keeps fine lines from drying into brittle scabs.
7. Minimalist Script Arc Along the Inner Blade
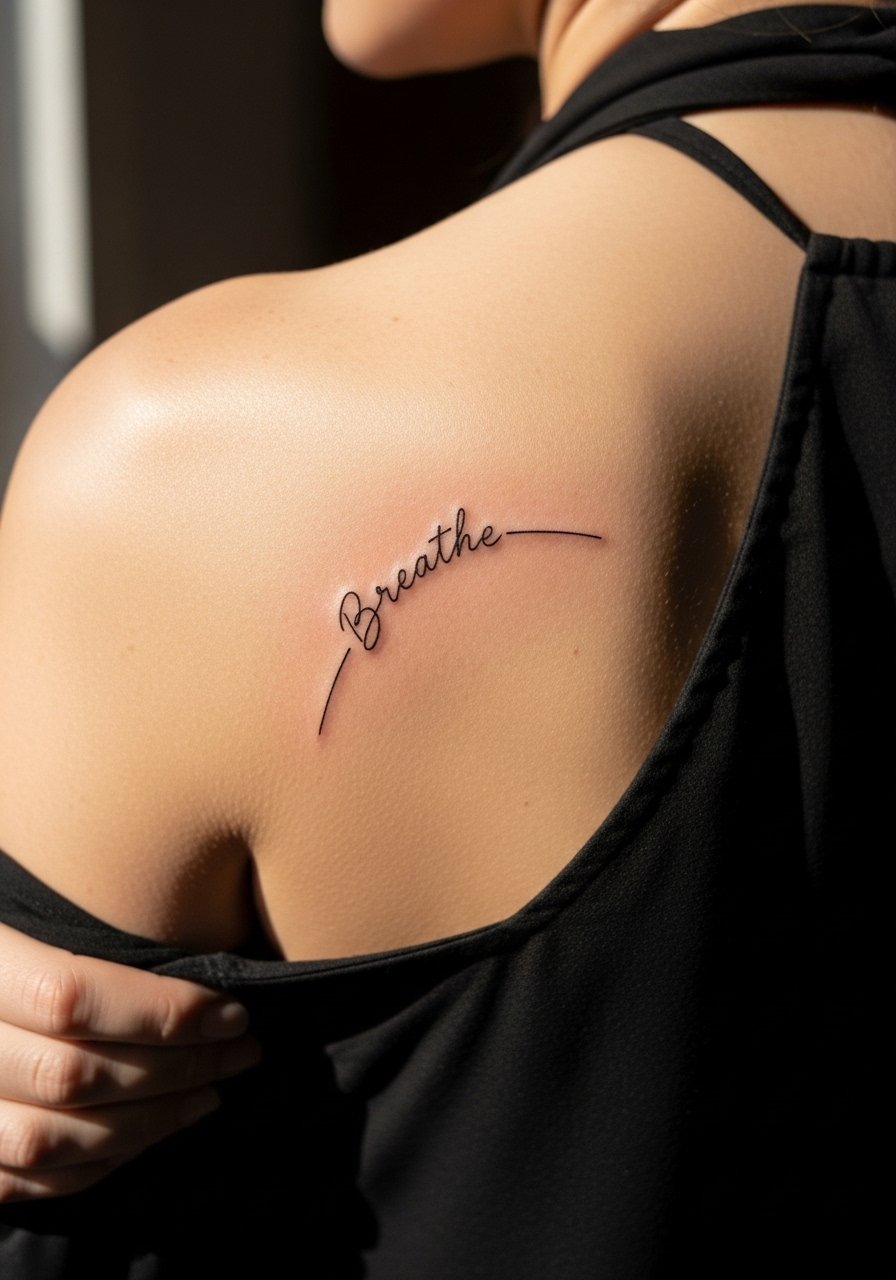
A short mantra arced along the inner blade reads discreet and private. Keep the text size no smaller than 2mm stroke to avoid rapid blurring. During consultation, bring the exact font and the text spelled out so the stencil shows the arc clearly. The session is usually a single short appointment and pain is mild to moderate. The common error is asking for a long sentence that stretches across the scapula; that ages poorly as lines can thin. For easy visibility at parties, pair the script with a halter neck blouse that reveals the arc.
8. Cherry Blossom Branch Curving with the Shoulder
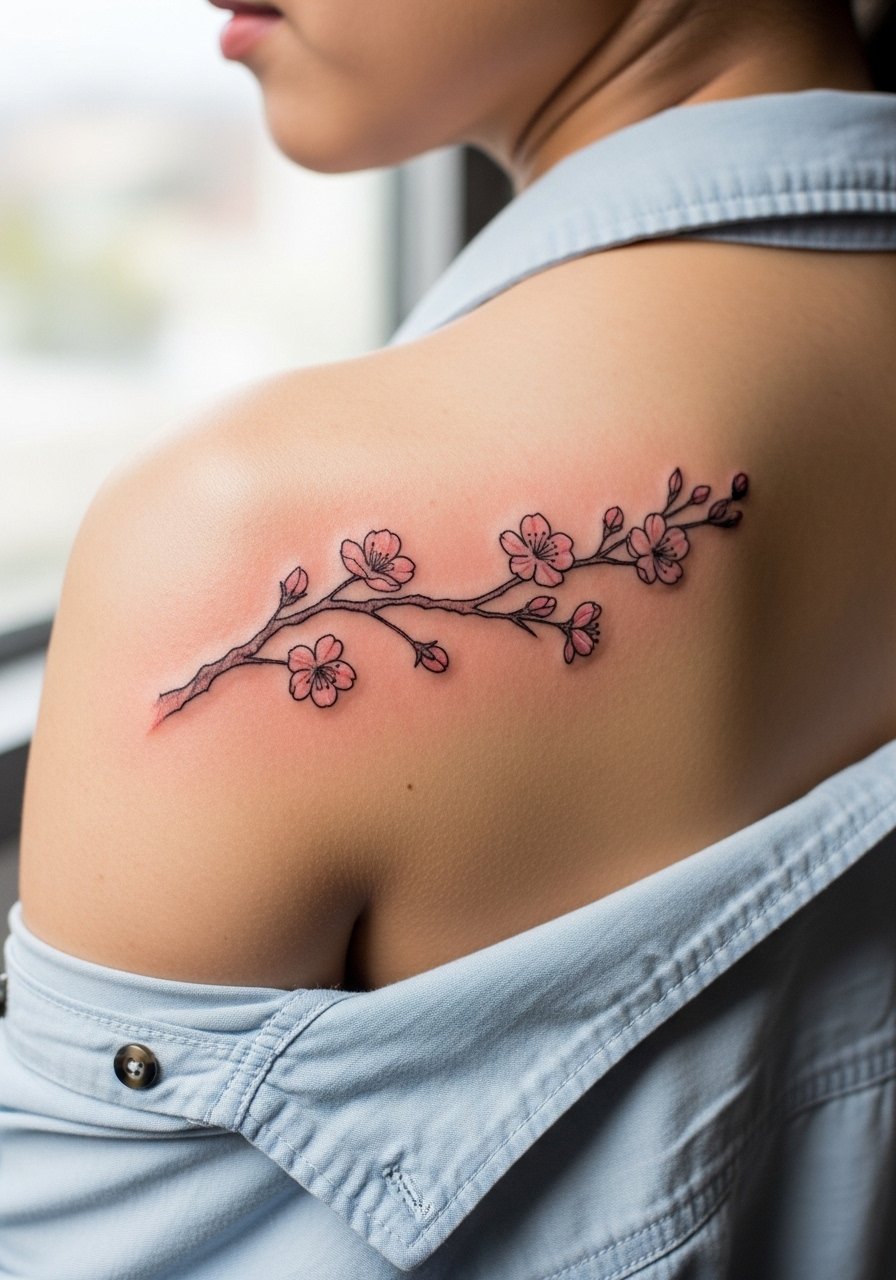
A horizontal cherry blossom branch flatters the scapula because the branch follows the bone and softens with movement. Ask your artist to sketch the branch against your natural shoulder line and to avoid perfectly straight branches, which look stiff with arm motion. Expect a one-session appointment for a five- to six-inch span and a low to moderate pain level. A typical mistake is overly dense florals that merge after movement. For daytime looks, a flowy silk tank top lets the blossoms peek through.
9. Dragonfly with Intricate Wings, Central Scapula
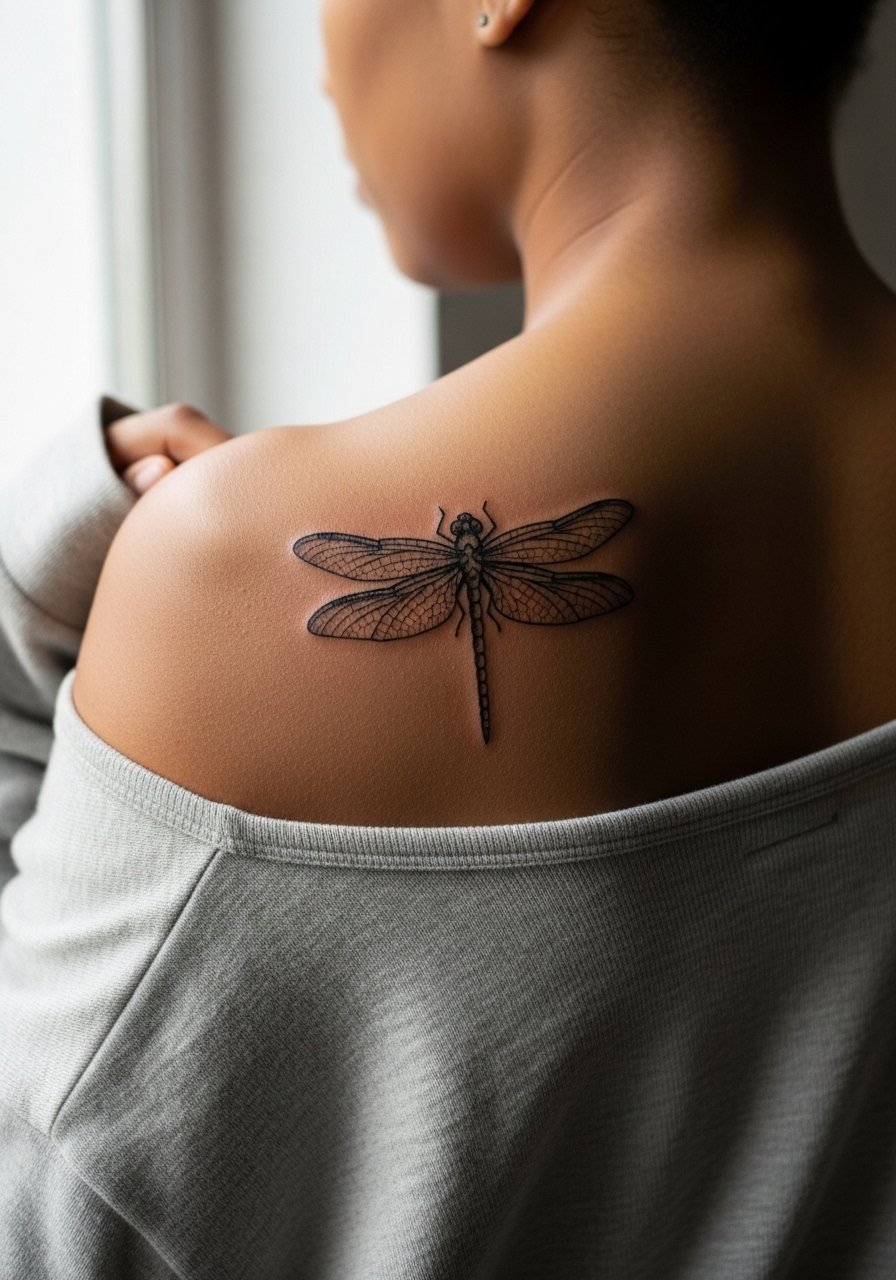
Dragonflies suit the scapula because their wing span sits across the flat plane and moves with shoulder flex. Tell your artist you want the wing veins slightly bolder than the body to hold up over time. The session feels quick and precise, and blowout risk is low if the artist spaces lines correctly. Many people over-ornament the wings with tiny dots, which can blur. For a subtle statement at summer events, a thin chain pendant or a delicate gold chain necklace that drops to mid-back can complement without covering.
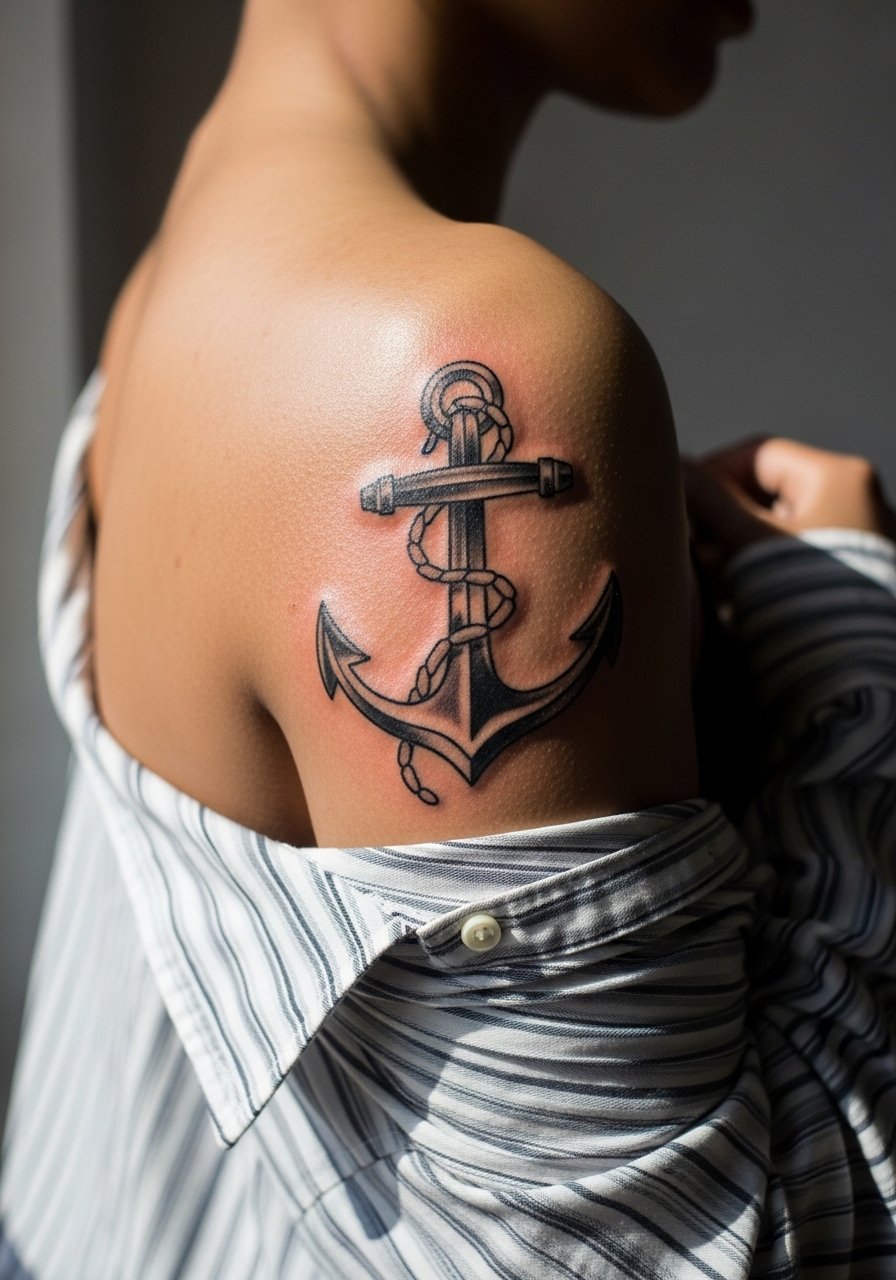
10. Tribal Scapula Anchor Pattern
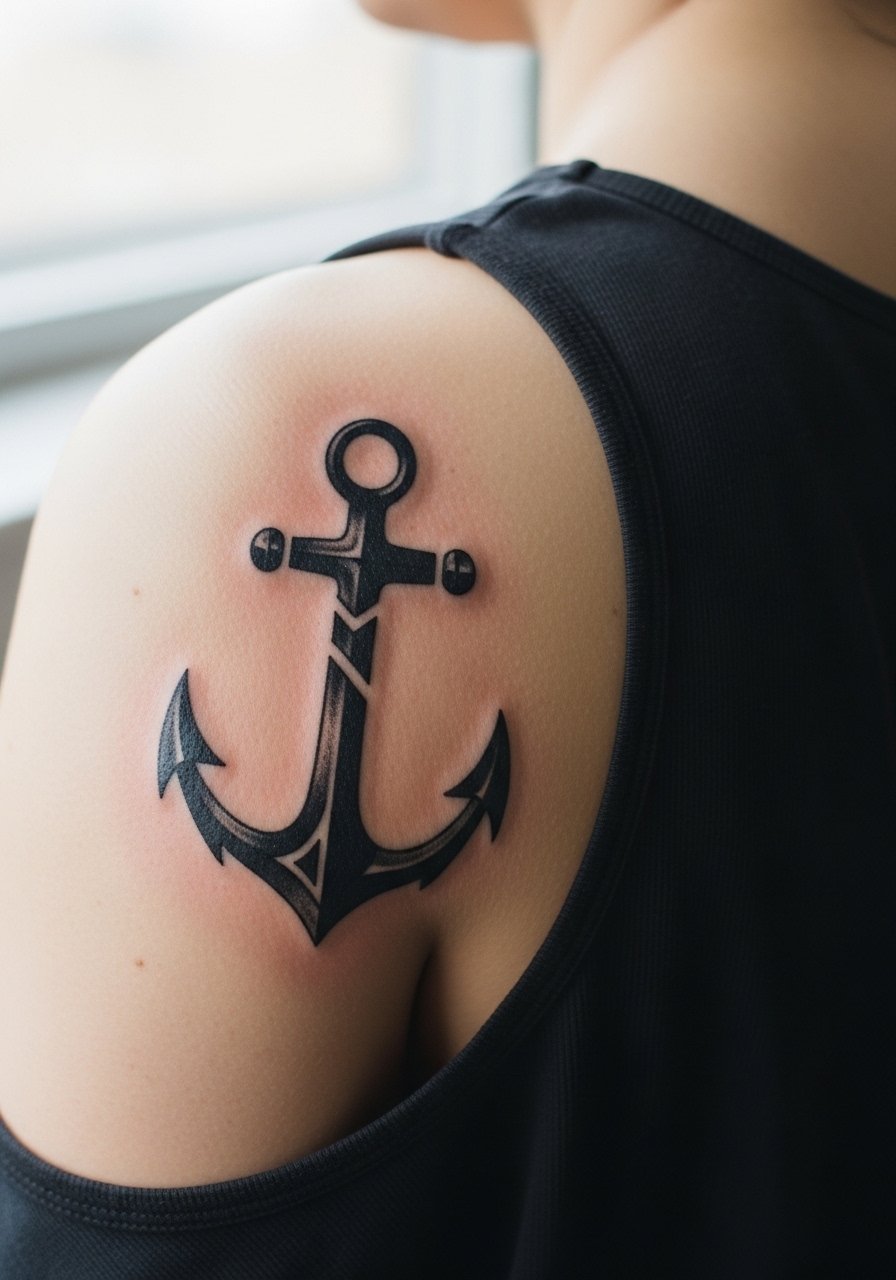
Tribal patterns read strongly on mobile anatomy because they depend on bold negative space. Ask your artist for clear, thick strokes and test the wrap of the pattern while moving your shoulders. Sessions usually run two times for full coverage and the pain is moderate near bone edges. The mistake is using overly thin lines that lose their graphic edge with time. These designs age into strong silhouettes if the black stays saturated. For contrast, wear a backless sundress in solid black to let the pattern read from across a room.
11. Feather Quill Silhouette Pointing Down the Blade

A vertical feather quill follows muscle lines and looks graceful against shoulder motion. Tell the artist you want a soft black-to-gray gradient rather than hard fill, because gradients age more predictably on the blade. Expect one session and a mild to moderate pain level. A common error is requesting hair-fine barbs packed tightly; those blur first. For everyday style, a simple gold hoop earring and a low-back tee keep focus on the quill without competition.
12. Hibiscus Flower Wreath Wrapping the Scapula
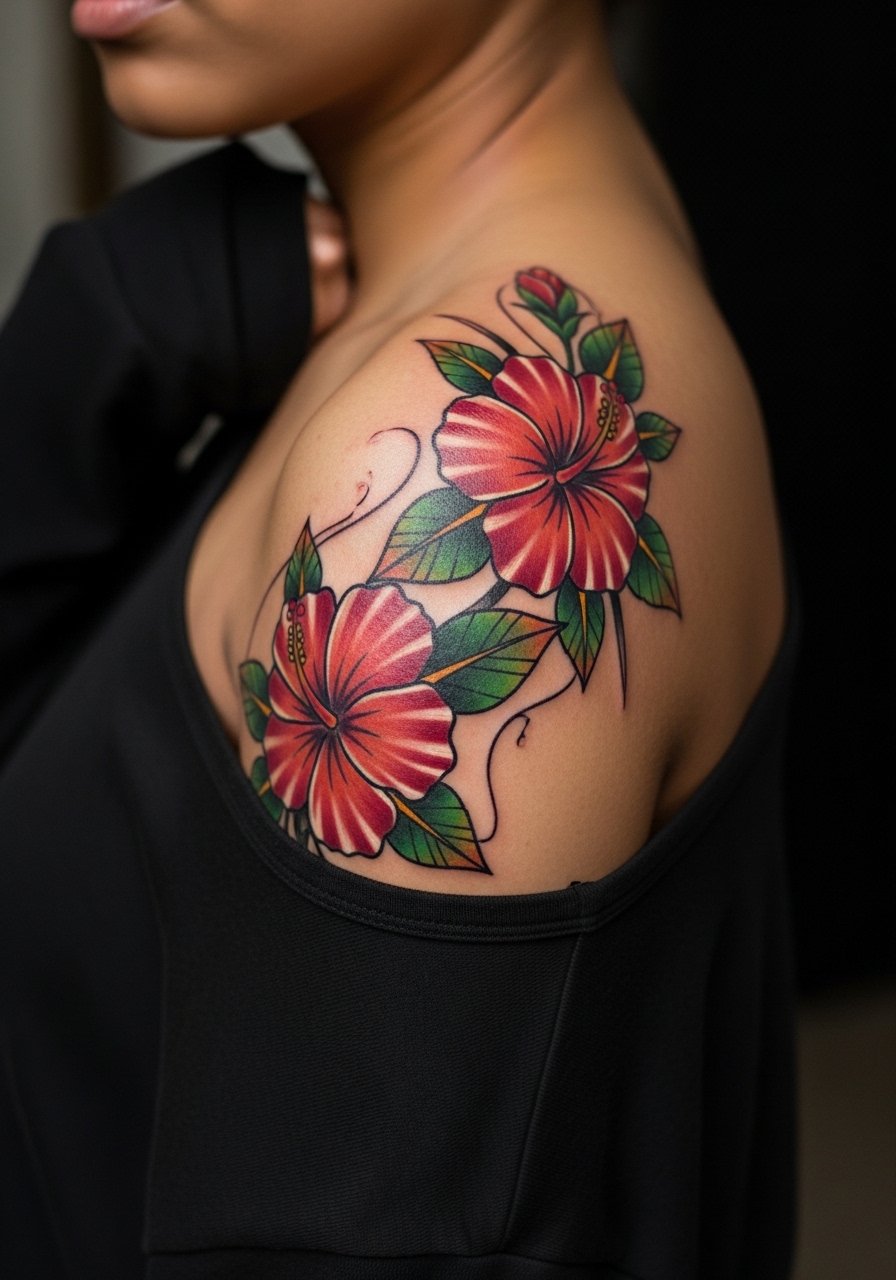
A hibiscus wreath uses the scapula edge as a natural frame and holds saturated color well when given room. During consult, ask for bold outlines around petal edges to protect saturation as the skin moves. Sessions usually are one to two visits depending on color layering. The typical mistake is too many tiny petals inside a small circle, which softens into a muddle. For beach days, a pastel bikini top coordinates with the color palette.
13. Constellation Dots and Fine Lines Along the Blade
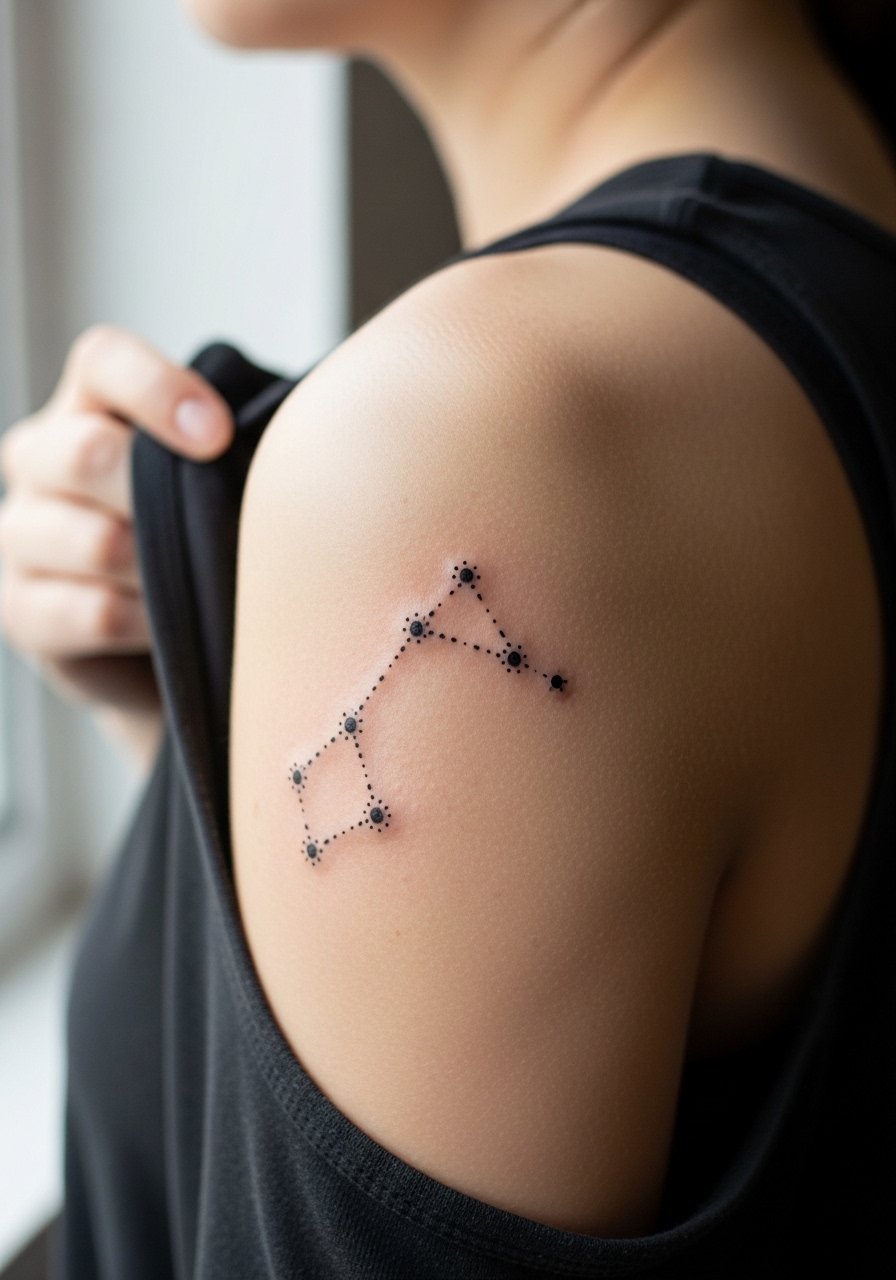
Tiny constellations read delicate across the scapula, but dot spacing is everything. Ask your artist to map the dots with slightly larger spacing than you think you need so stars do not merge. Sessions are short and the pain is low, but dot work demands careful aftercare to avoid scabbing. A frequent error is asking for too many close dots to form dense imagery, which increases blowout risk. This pairs nicely with a delicate gold chain necklace that sits just above the scapula.
14. Micro-Realism Moth with Shadowing
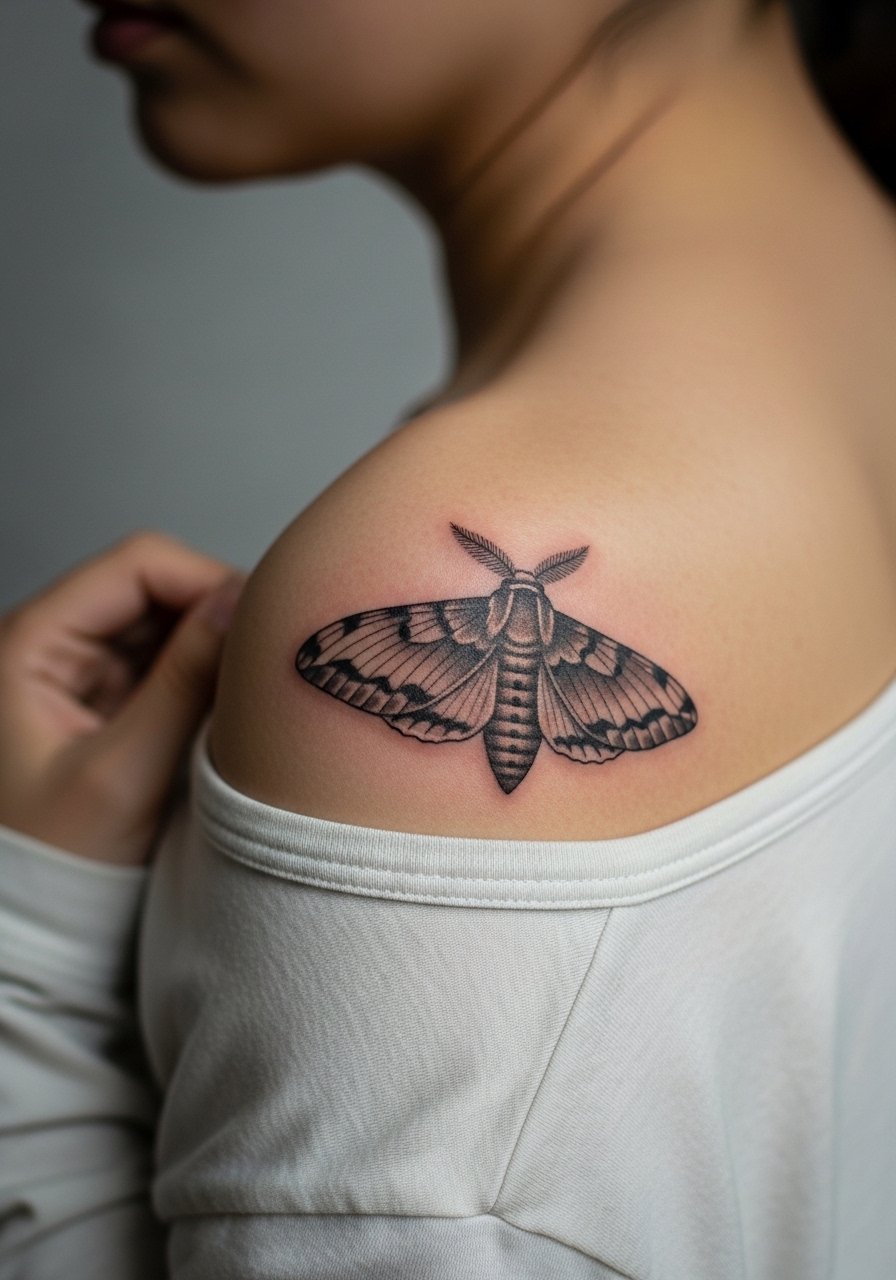
Micro-realism relies on tiny tonal shifts and the scapula gives enough flat area for detail. The key is to request slightly bolder main contours so the image keeps contrast as it heals. The session will be detail-focused and may take longer than a simple line piece, with moderate pain where needlework approaches bone. A common mistake is insisting on near-photorealism at a very small scale, which loses definition over time. For a night out, a simple black top with an open back keeps attention on the moth.
15. Scapular Anchor for Future Spine-to-Sleeve Expansion
Think of the scapula as a logical anchor if you plan a larger spine or sleeve evolution later. Tell your artist you want placement marks for future expansion and ask for a clear negative-space buffer around the piece. Sessions are typically short now but intentional planning reduces sizing headaches later. The mistake is treating this as a one-off without considering scale for future work. For session ease, wear a loose button-down shirt you can pull aside while staying comfortable.
16. Small Scapula Compass, Pointing Outward

A compact compass fits the scapula well if you want a travel motif that ages predictably. Ask for slightly reinforced cardinal points so the key elements keep their shape as lines soften. One short session and low pain make this a good first shoulder blade piece. A common misstep is making the compass too tiny for the space. For casual display try a racerback tank that leaves the area exposed without awkward tugging.
17. Eastern Lotus with Subtle Dot Work
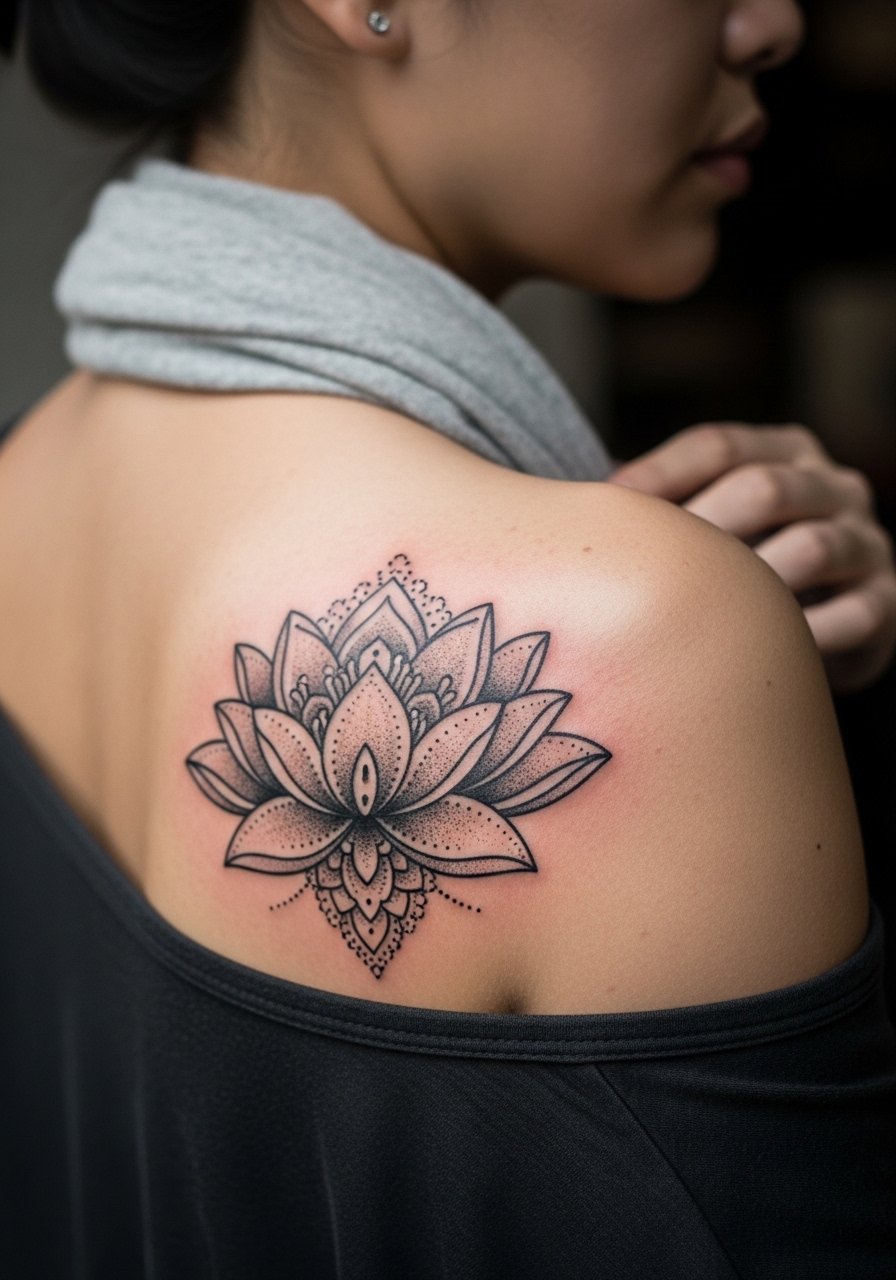
A lotus with stipple shading reads meditative on the blade. Ask your artist for stipple density that builds from light to medium, because heavy dot packing can blur. The session is detailed but comfortable if you take breaks. A mistake is insisting on very high contrast dots close together, which loses texture. This pairs well with an open-back midi dress when you want the lotus to be the focal point.
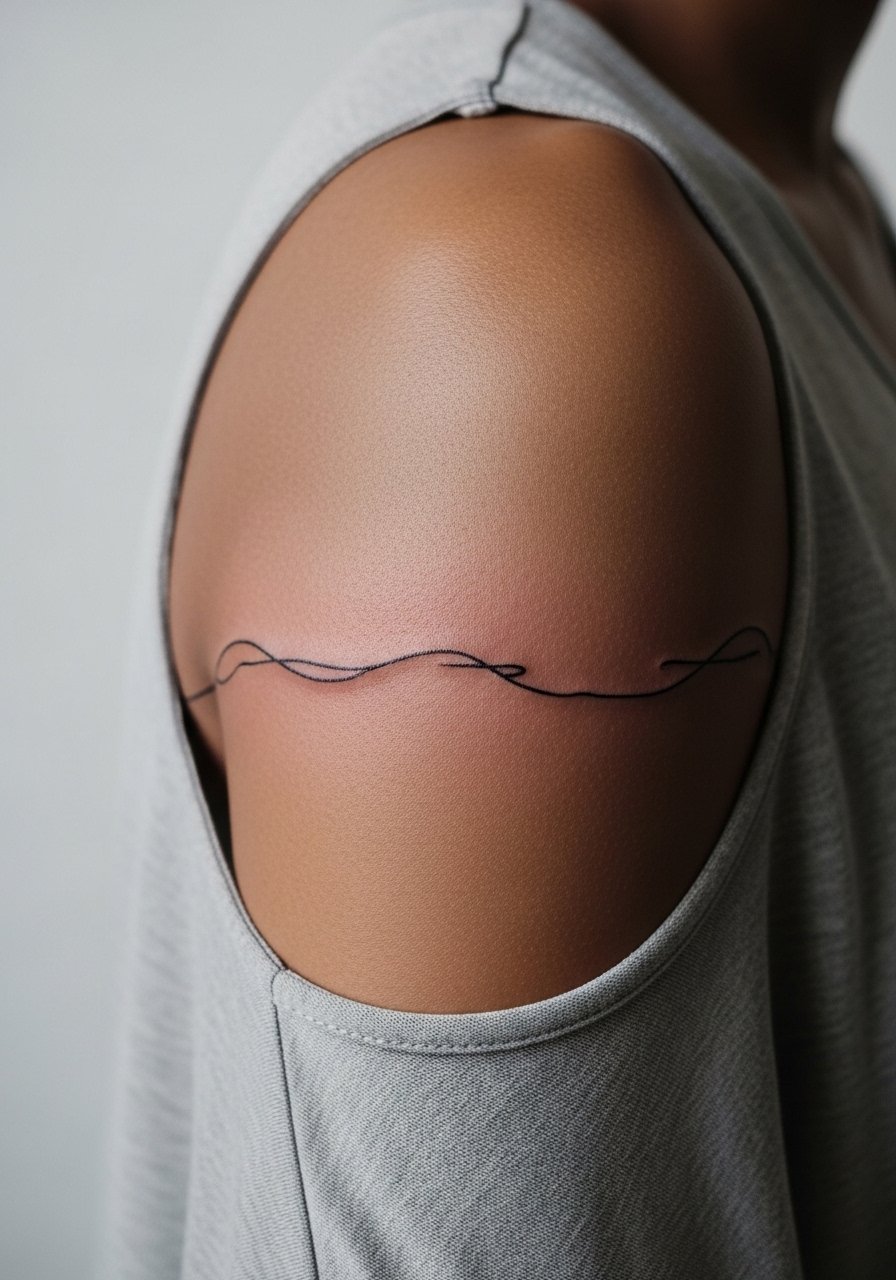
18. Wave Crest in Fine Line and Graywash
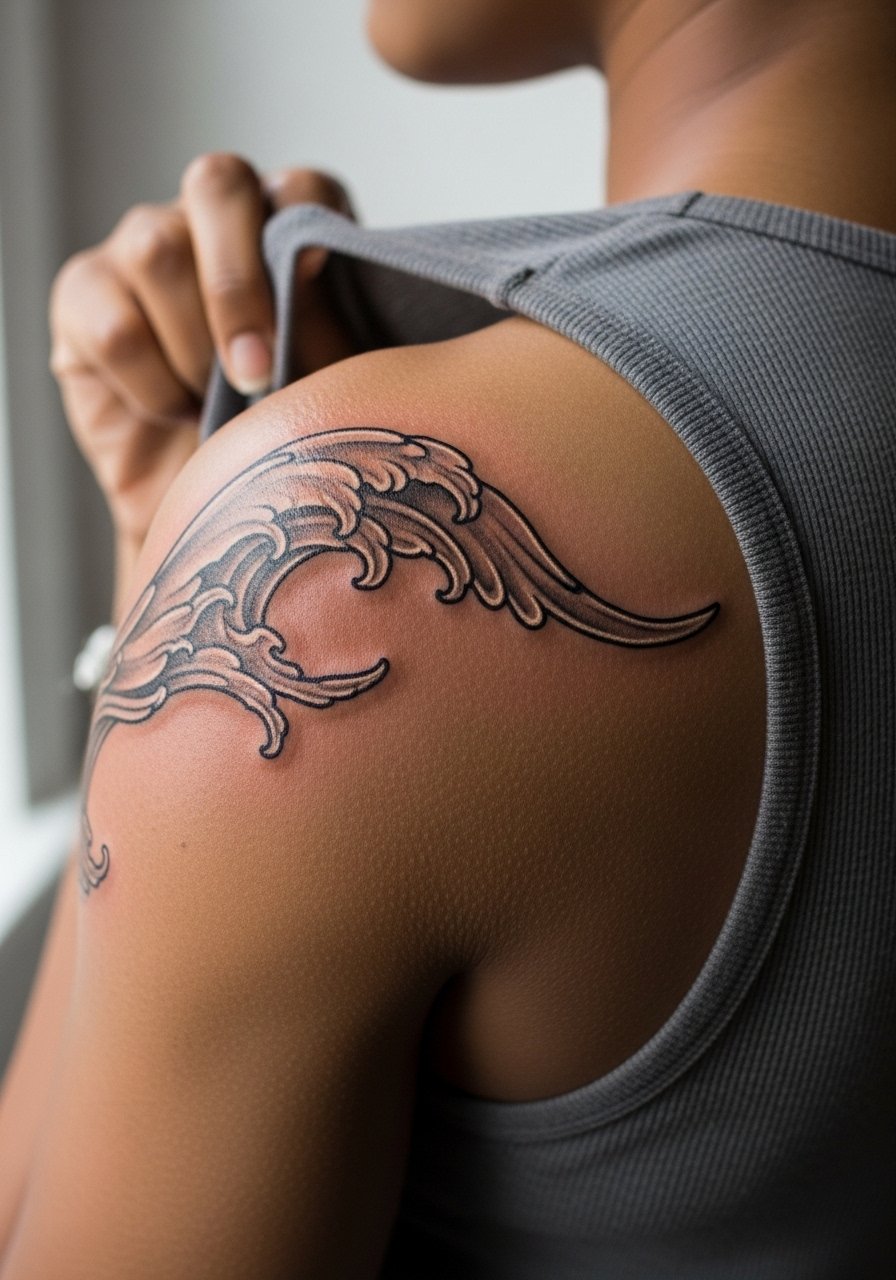
A wave crest flows with the scapula as the arm moves and avoids rigid geometry that can distort. Tell the artist you want tapered line weight so the crest reads in motion. The session is steady shading with low to moderate discomfort. A common error is using thick bands of graywash that puddle in creases. When you want to highlight the movement, a flowy silk tank top keeps the silhouette visible.
19. Small Celestial Sun and Moon Duo
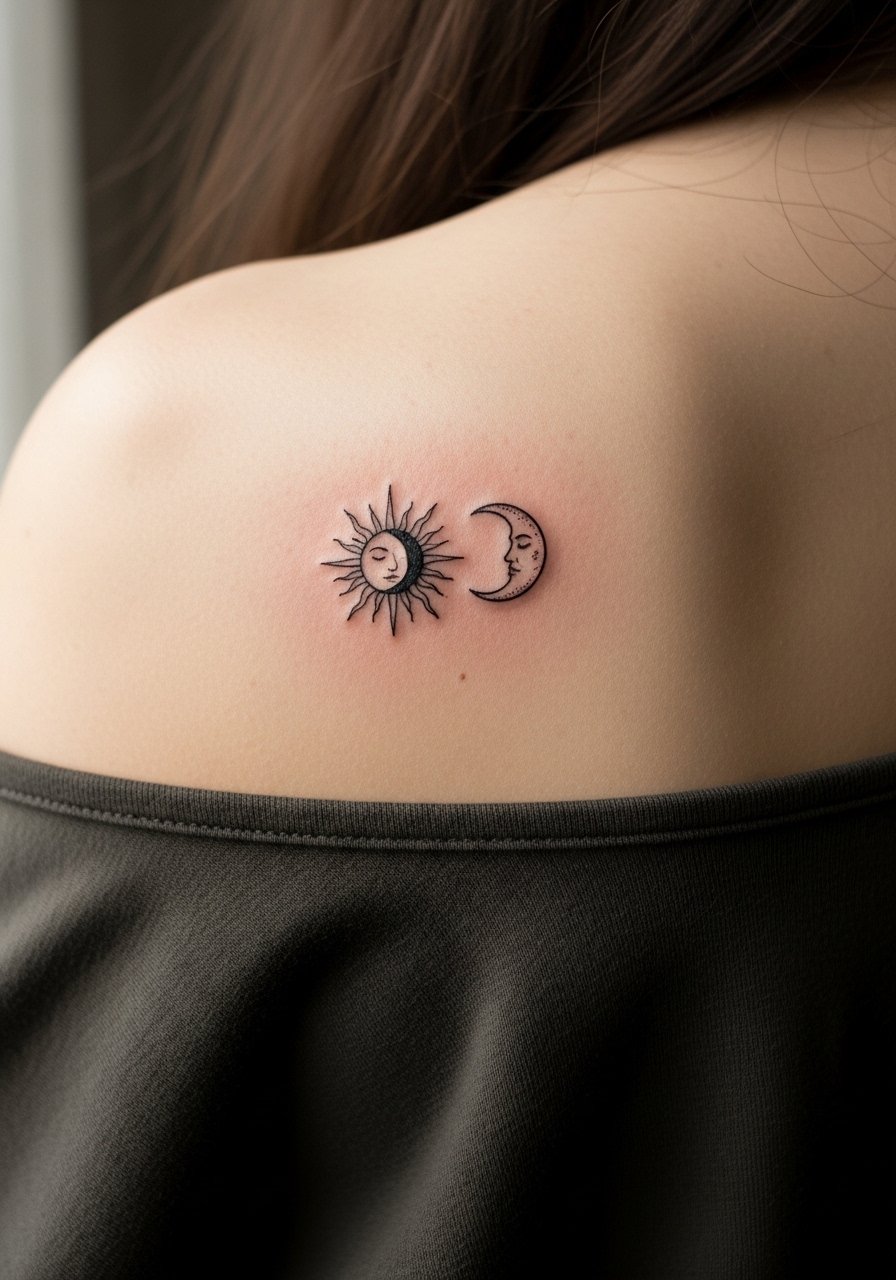
A sun and moon duo fits neatly near the scapula center and ages predictably when scaled to finger-width sizes. Ask your artist to slightly thicken the sun rays to prevent early softening. The session is quick and pain is mild. The mistake people make is requesting tiny filigree inside each symbol, which disappears. For a subtle reveal, wear a strapless tube top that shows just the upper back.
20. Floral Spine Connector That Starts at the Blade Edge
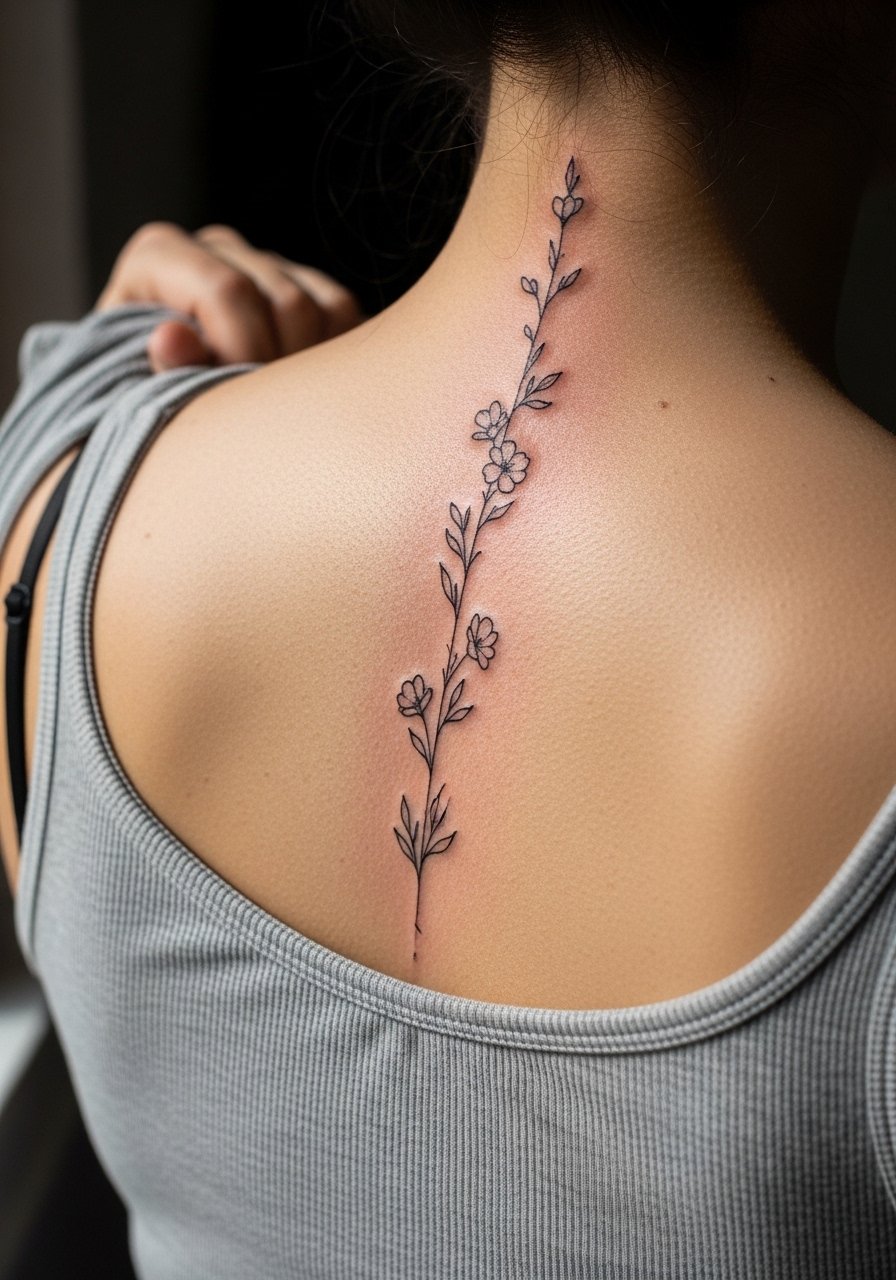
Using the scapula edge as an entry point for a spine connector helps future expansion into larger back pieces. Tell your artist where you want future anchor points so scale matches later additions. Expect a medium session length and moderate pain when working close to the spine. The error is choosing tiny blooms that vanish against the spine motion. For evening events, a delicate chain pendant necklace drops near the connector without overlapping.
21. Abstract Line Flow That Follows the Scapular Ridge
Abstract line work can look modern and less likely to date if planned with anatomy in mind. Ask that the line follows your scapular ridge and that the artist vary thickness in targeted places so the piece keeps contrast. Sessions are typically short and the pain is low. A common mistake is demanding an exact mirrored version across both blades, which can look awkward with natural asymmetry. For gallery nights, a backless sundress in solid black makes the line read like jewelry.
22. Single-Needle Vine with Tiny Leaves
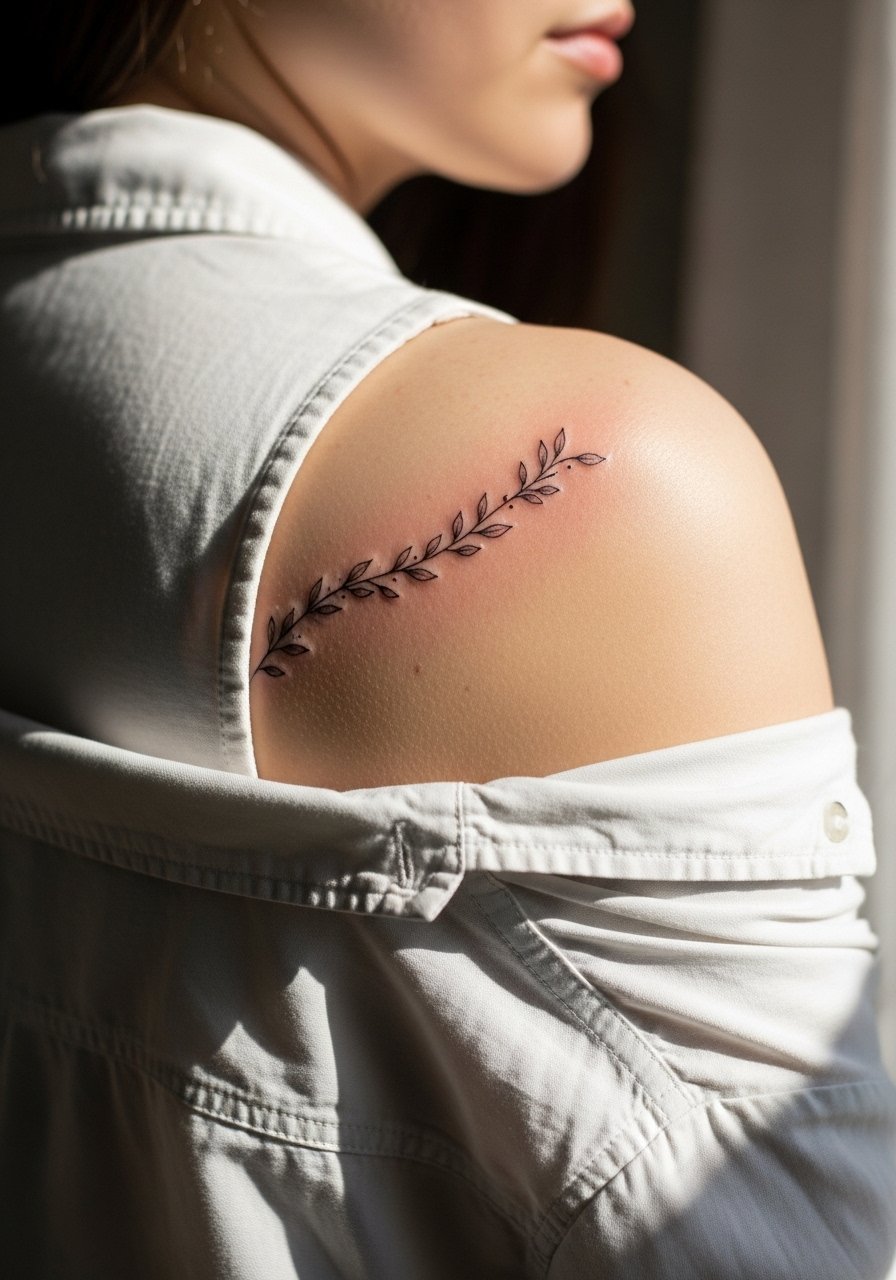
Single-needle vines are delicate and age faster than bolder pieces. Ask for slightly bolder leaf stems so the plant reads even as the thinnest lines fade. The session is quick but may need a touch-up at year two. The mistake is requesting dense leaf clusters in a tight area; those merge into an indistinct shape. For casual days, roll sleeves on a linen shirt so the vine is visible without strain.
23. Small Geometric Arrow Cluster Along the Blade
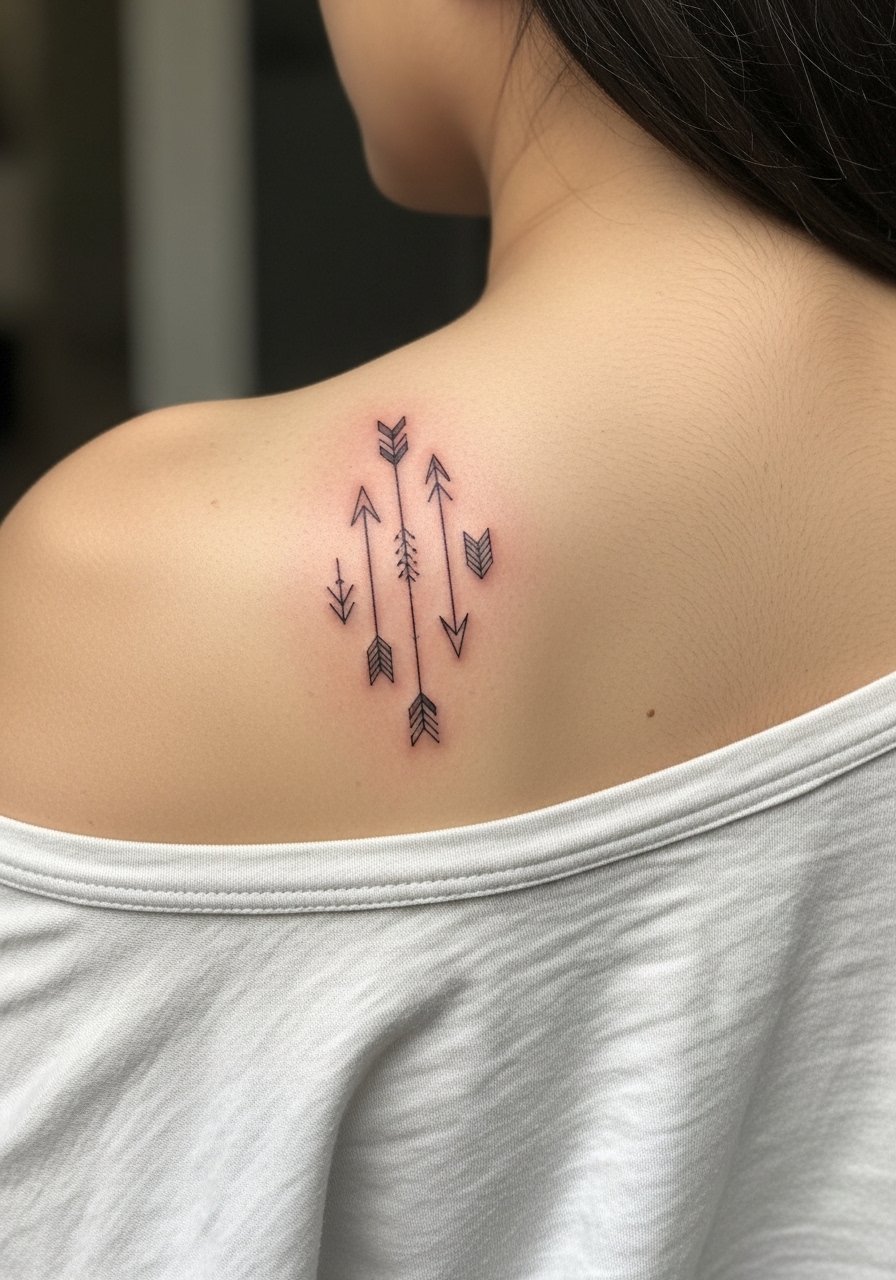
Arrow clusters can work as directional elements across the scapula if each arrow has breathing room. Tell your artist you want consistent spacing and slightly reinforced shafts so shapes remain distinct. Sessions are short and tolerable. The common error is shrinking arrows to tiny sizes that blur. For a polished look, pair with a simple gold hoop earring and a scooped-back top.
24. Botanical Sprig with Tiny Fruit Accents

Botanical sprigs add organic flow and the scapula lends a gentle horizontal canvas. Tell the artist to use slightly larger seed accents to preserve shape over time. The session feels like slow linework with short shading bursts, and pain is moderate. A frequent mistake is overcrowding the sprig with tiny berries, which become indistinct. For warm evenings, a flowy silk tank top complements the natural motif.
25. Nautical Star with Soft Shading
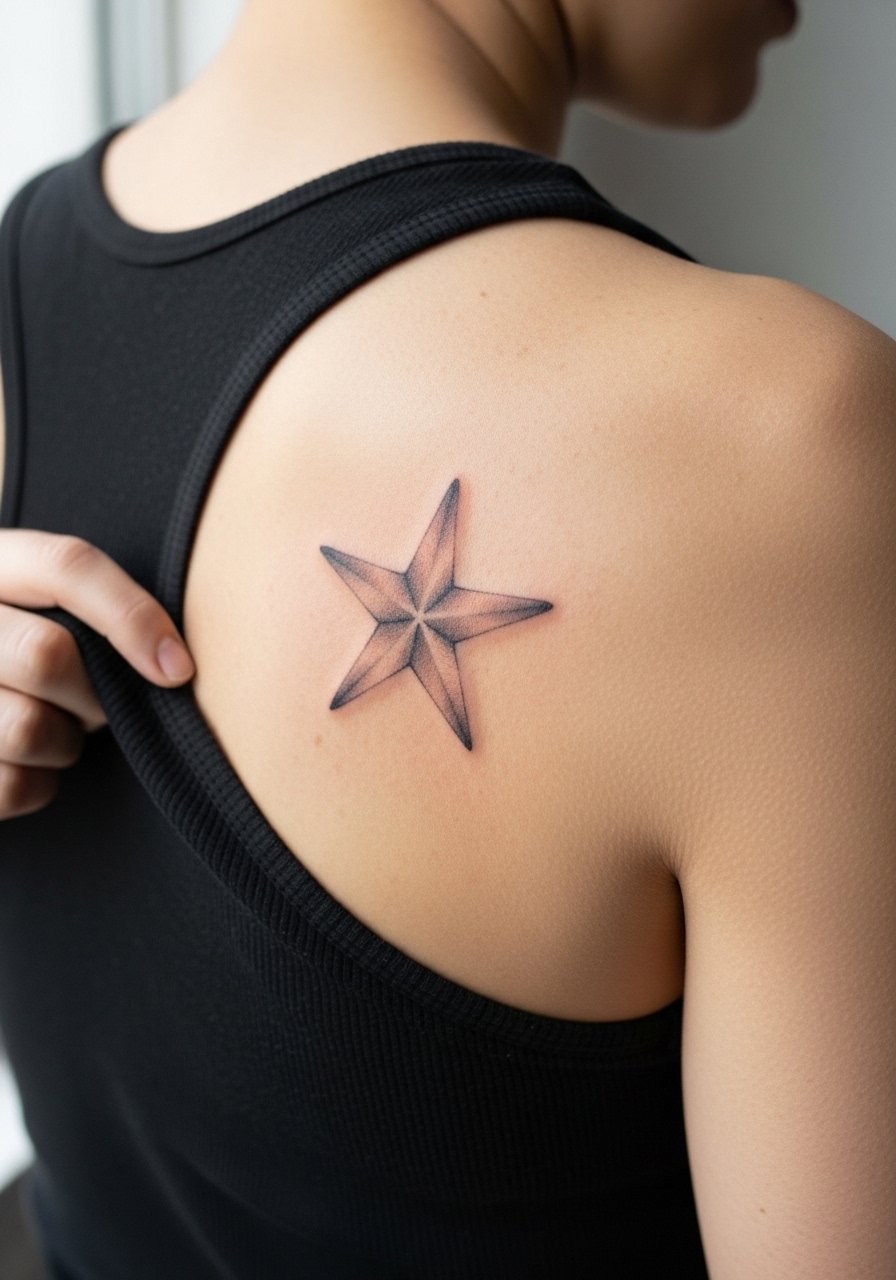
A nautical star is graphic and ages well when points are left slightly bold. Ask for clean angles and minimal interior dots, since added texture can smear. Expect a short session and low pain. The error is forcing micro-patterning inside the star. For seaside weekends, pack a pastel bikini top that sits below the blade so the star shows.
26. Crescent Moon Wreath Nestled Near the Blade Edge
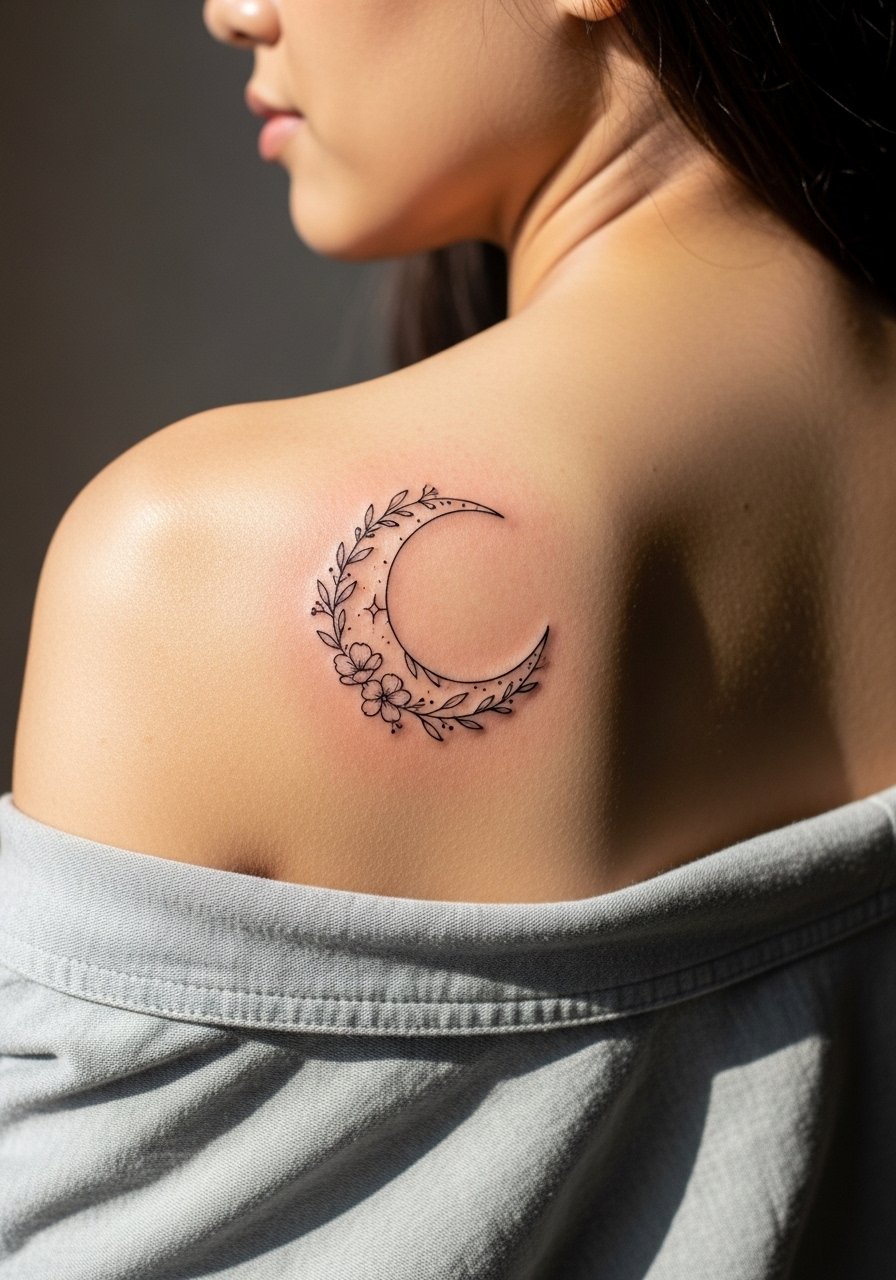
A crescent moon wreath reads intimate near the blade edge and holds detail when scaled properly. Request slightly bolder moon edges and lighter inner flora. The session is brief and pain is mild. A typical mistake is overloading the wreath with micro details. For a soft reveal, layer a thin chain with a thin chain pendant necklace that sits just above the wreath.
27. Custom Cultural Motif Adapted for the Scapula
When choosing motifs with cultural origin, note origin and ask for respectful adaptation rather than direct replication. During consultation say you want elements inspired by the tradition with artist input on adaptation. The session length depends on complexity and pain is moderate. A common misstep is wanting an exact cultural emblem without understanding meaning or community context. For curated looks, wear a backless sundress that keeps the motif visible while you gauge reactions.
Frequently Asked Questions
Q: Will a shoulder blade tattoo distort with arm movement and what should I choose to reduce that?
A: Movement does affect how a design reads, especially with rigid geometry. One camp recommends flowing, organic designs because they move with the scapula. The other camp believes carefully planned geometry can hold if spaced and scaled correctly. To reduce distortion, pick designs that follow muscle lines or tell your artist to mock the stencil while you move your shoulder.
Q: How painful is a shoulder blade tattoo and what helps during a prone session?
A: Pain is usually low to moderate on the shoulder blade, though spots near bone feel sharper. Wear a loose tank or a button-down you can pull aside so you stay comfortable while lying prone. Short breaks, light stretching beforehand, and a topical numbing cream when advised by your artist will make the session more manageable.
Q: How does fine line work age on the shoulder blade versus bold blackwork?
A: From what I have seen, fine line tends to soften faster than bold blackwork in mobile areas. Fine line may need touch-ups around year three, while bold blackwork often looks solid longer. Ask your artist about line spacing and slight reinforcement on critical contours.
Q: Where can I find artists who specialize in upper back or scapula work without naming names?
A: Search hashtags like #shoulderbladetattoo or #scapulatattoo on Instagram, browse Tattoodo or similar directories with a "back tattoos" filter, and check r/tattoos or r/tattooadvice for placement feedback. Booksy or local convention listings are helpful for finding guest spots focused on upper back pieces.
Q: What should I wear to my session for a shoulder blade appointment?
A: Wear a loose tank top, a button-down you can pull aside, or a sports bra that gives the artist clear access while keeping you covered. A loose button-down shirt is usually a practical choice because it stays open near the scapula.
Q: Do certain skin tones affect design choices for color saturation on the shoulder blade?
A: Different skin tones reflect color and contrast differently, so ask your artist to show healed examples on a range of skin tones. From my experience, slightly bolder outlines and tuned saturation choices help colors read consistently across skin tones.
Q: If I want to expand a scapula piece into a sleeve or full back later, what should I plan for now?
A: Plan for anchor points and negative-space buffers now so future additions scale smoothly. Tell your artist you intend to expand and ask them to map a layout that leaves room for connecting elements. That reduces awkward scaling later and keeps the overall composition cohesive.
