
Neo traditional lightning bolt tattoos feel loud in the stencil and surprisingly subtle once healed. They marry bold outlines with painterly shading, so the choices you make before booking decide whether the mark still reads crisp in five years or slides into a soft blur. Start by thinking about placement, line weight, and how much color you actually want, then move into the first handful of ideas below.
1. Neo Traditional Bolt on Inner Forearm
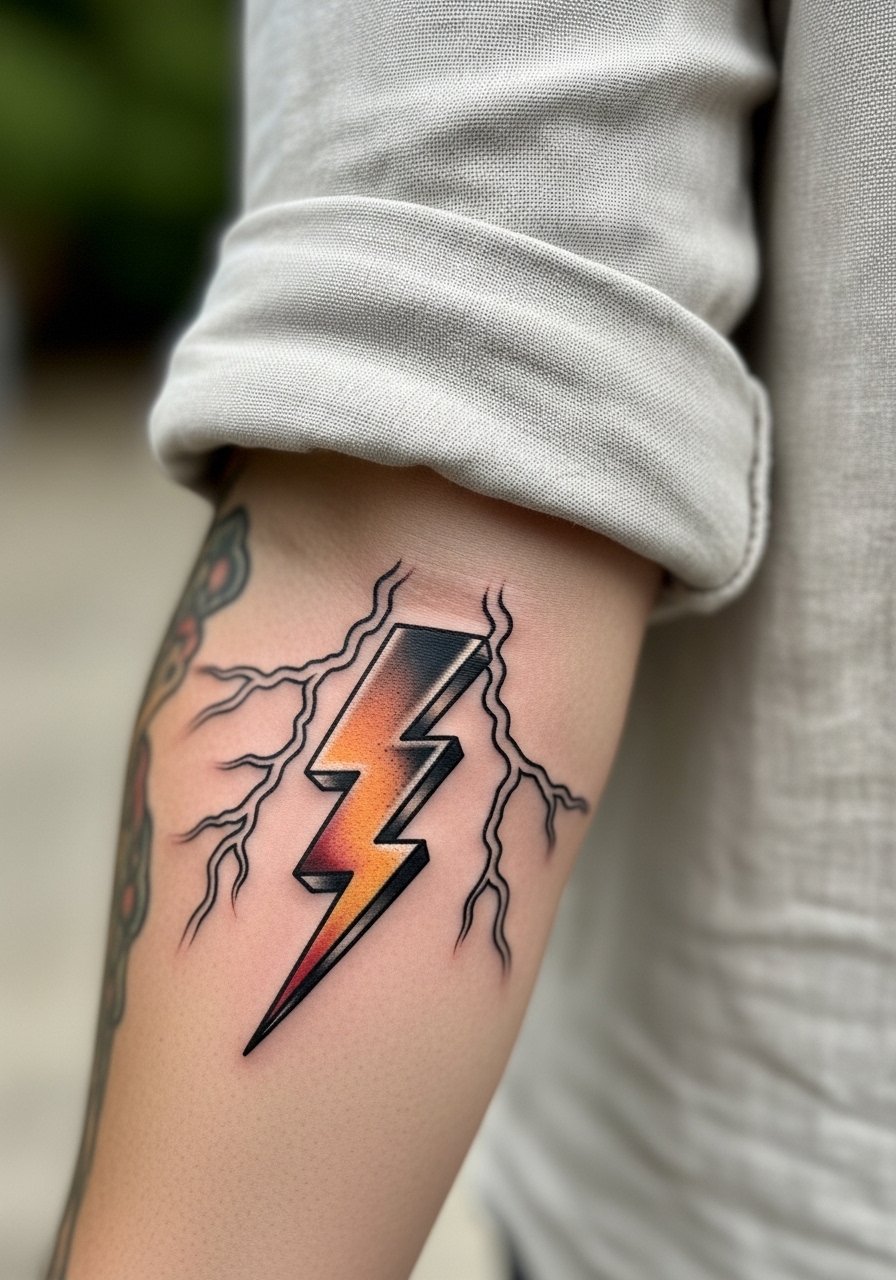
I recommend this when you want visibility and a longer lifespan for the linework. Fair warning, the inner forearm is forgiving but sun exposure speeds fading, so plan touch-ups around year three if you wear short sleeves a lot. Tell your artist you want a slightly thicker contour line and layered stipple shading inside the bolt to keep the shape as it softens. A common mistake is asking for micro detailing inside the bolt that will merge into a blur by year four. Session pain is low, expect 60 to 90 minutes. For showing this off, roll sleeves and consider a rolled-up linen shirt that frames the forearm without covering the ink.
2. Ornamental Bolt at the Wrist
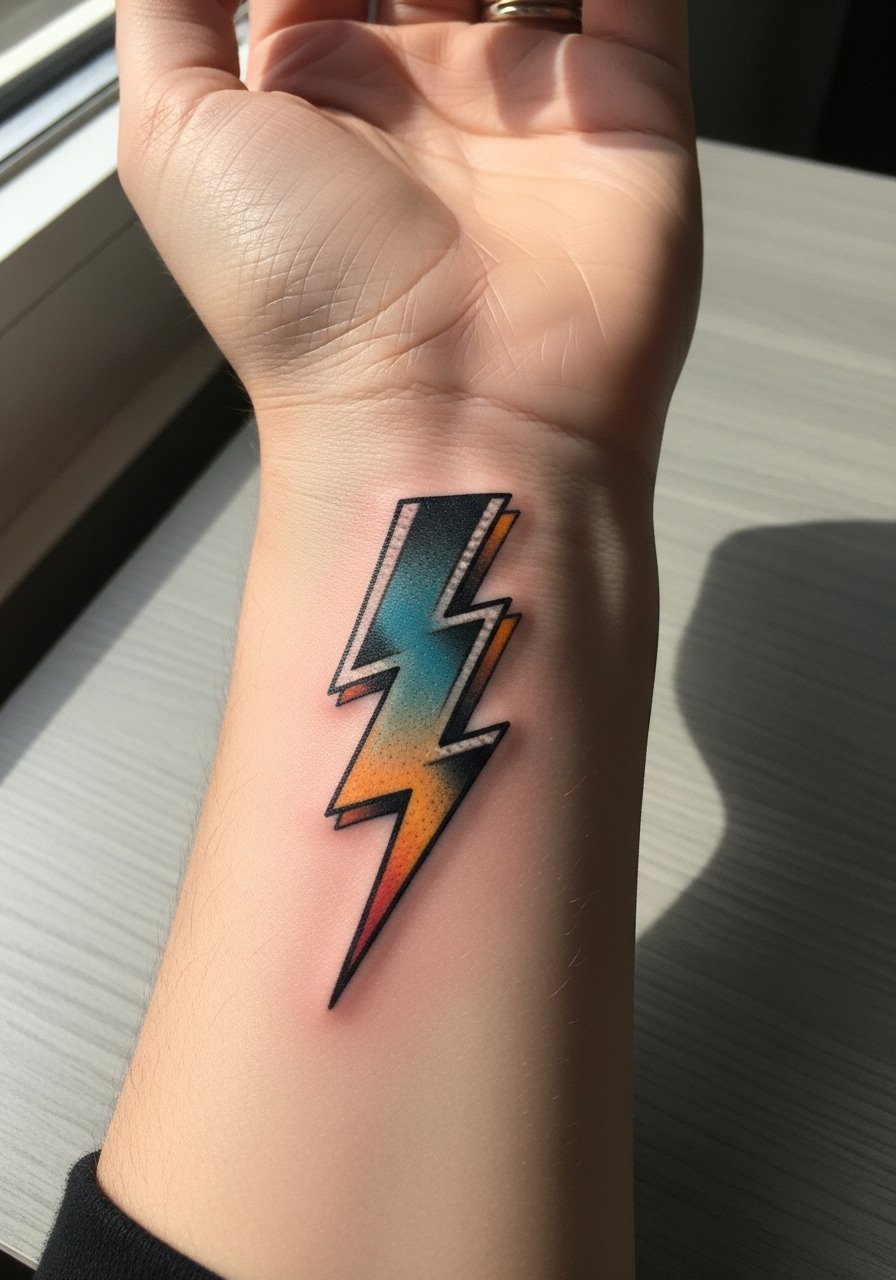
Wrist pieces read intimate and precise. Expect a shorter session but higher sensitivity, and frequent washing and friction mean touch-ups are common around year two. During consultation, ask for a tapered base where the bolt meets decorative filigree so the edges do not feather into surrounding skin. Many people make the mistake of cramming too much detail into the wrist area. If you want to show it off, pair the wrist bolt with a thin chain bracelet that sits beside rather than on top of the tattoo. The wrist ages differently than the forearm, so expect color to soften faster here.
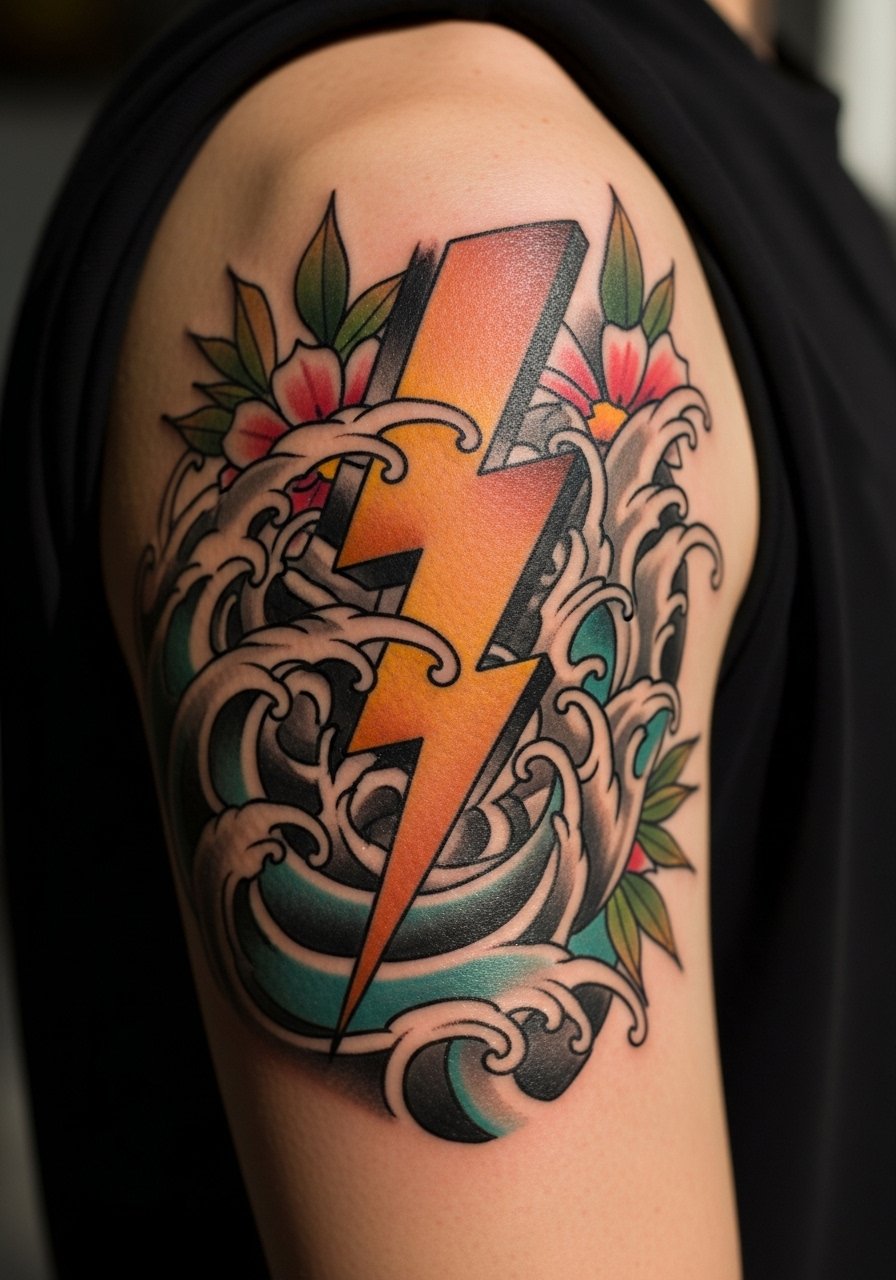
3. Bolt Framed by Floral Shoulder Cap
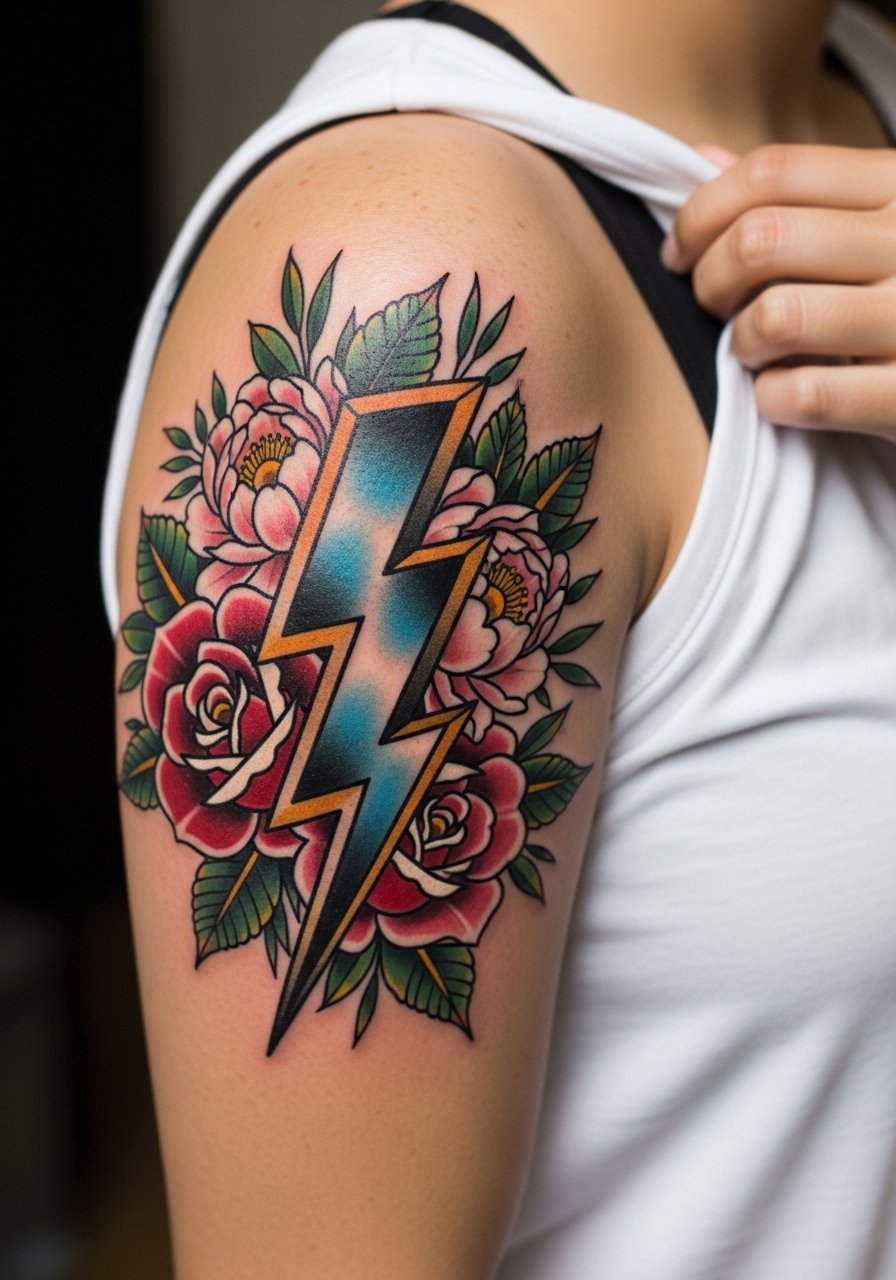
This placement looks great if you want a shoulder piece that peeks out under tank tops. Pain is moderate and sessions run 90 to 150 minutes depending on floral additions. Tell your artist to keep the bolt outline bold and the floral fills more open so the central shape reads from a distance. The biggest mistake is heavy stippling in the flowers that crowds the bolt. Over time the shoulder tends to retain saturation well if you avoid direct sunburn. For the session, wear a loose tank top so the artist has easy access without you changing.
4. Tiny Bolt Above Ankle
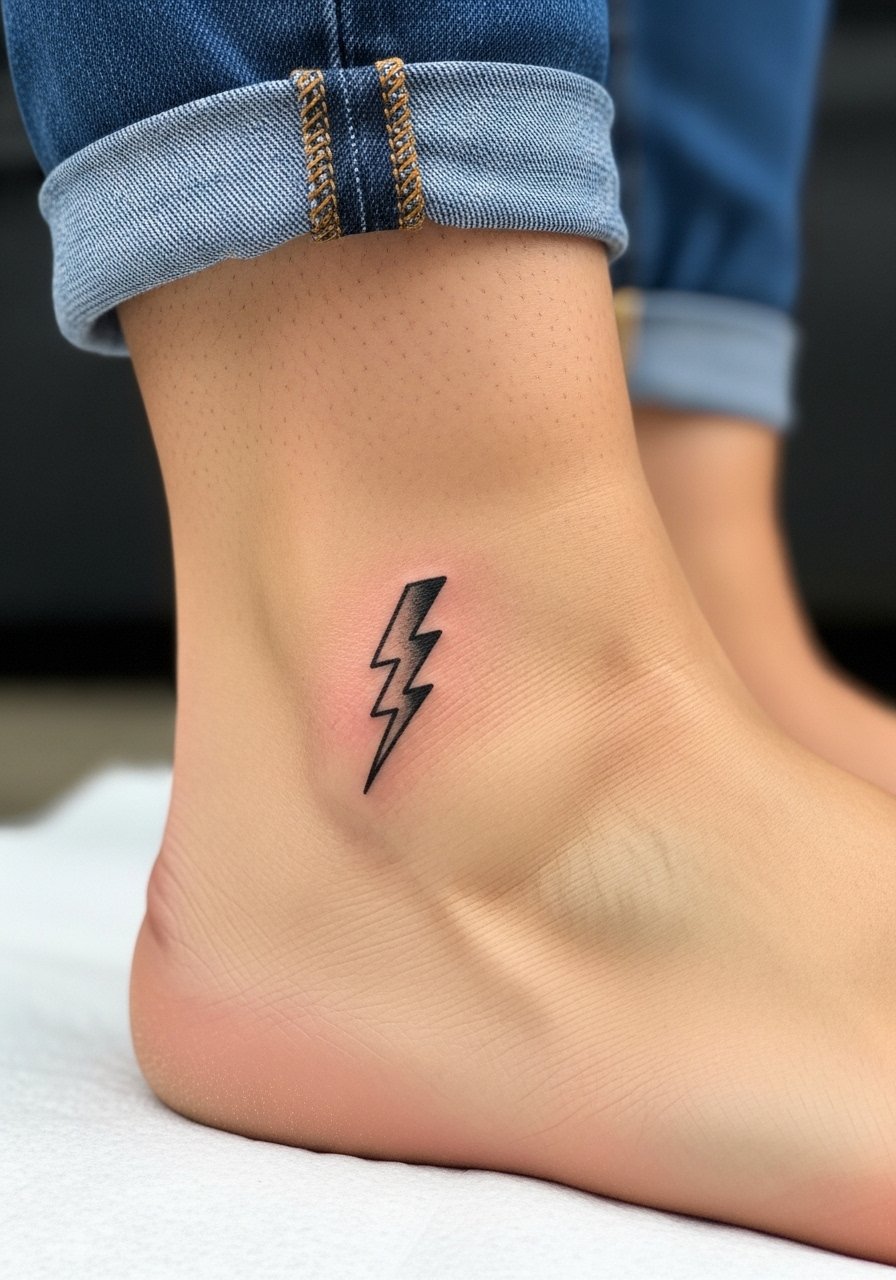
The ankle is subtle and looks great with minimalist neo traditional shading that still reads bold. Pain here can be higher because of thin skin and bone proximity, and the area sees a lot of rubbing from socks and shoes so expect a possible touch-up at year two. For consultation, ask the artist to keep negative space around the bolt to prevent blowout from the start. Avoid requesting ultra-fine inner crosshatching, which tends to lose definition. To show it off, wear cropped jeans or a pair of sandals that leave the ankle visible.
5. Collarbone Bolt with Decorative Filigree

Collarbone tattoos read elegant when designed with flow that follows the bone. Pain is moderate and sessions vary from 60 to 120 minutes. Tell your artist you want the bolt to sit parallel to the collarbone and to avoid too-small filigree that will smudge over time. Artists split on whether collarbone is ideal for fine line. One camp says thinner lines survive with careful placement, the other says thicker contour keeps the image readable longer. Ask where your artist stands before booking. Pair this with a thin chain pendant necklace that sits above the bolt without crowding it.
6. Sternum Bolt with Symmetrical Shading

Sternum work needs a specialist who handles chest curvature. Expect higher pain and sessions that run two to three hours if you include symmetry and shading. The common mistake is asking for dense color right at the sternum center which can pool and require more touch-ups. In consultation, specify symmetry guides and ask about working in short intervals to manage pain. Sensitive placements like this also require an artist experienced with chest contours. For the session wear a strapless top or a fitted sports bra so you can expose only the area without being fully undressed.
Studio Day Picks
Those shoulder, collarbone, sternum, wrist, ankle and forearm pieces above each ask for slightly different prep. A few targeted items smooth the session and the first week of healing.
- Stencil transfer paper kit. Lets you and your artist preview line placement on skin before the needle touches down, especially useful for collarbone and sternum symmetry.
- Thin protective film roll. Ideal for wrist and ankle pieces where friction from clothing and footwear can irritate fresh ink.
- Fragrance-free gentle body wash. Cleans healing areas without stripping the delicate pigment that fine edge neo traditional work relies on.
- Topical numbing cream. Useful for sternum and ankle sensitivity when your artist approves pre-appointment use.
- Aquaphor healing ointment. Thin application during the first few days helps retain moisture without clogging needle channels, especially for forearm and wrist linework.
7. Bolt Weaving Through a Sleeve Motif
Half-sleeves let you make the bolt part of a larger narrative. Expect multiple sessions totaling several hours and plan the bolt placement so it reads when your arm hangs naturally. Tell your artist you want the bolt to act as a negative space element rather than be overwhelmed by surrounding motifs. A common mistake is trying to force a lightning shape into a crowded sleeve without clear contouring, which loses definition over time. Pain and session rhythm depend on how much color saturation you choose. For the session, wear a loose button-down shirt you can pull aside to expose the upper arm.
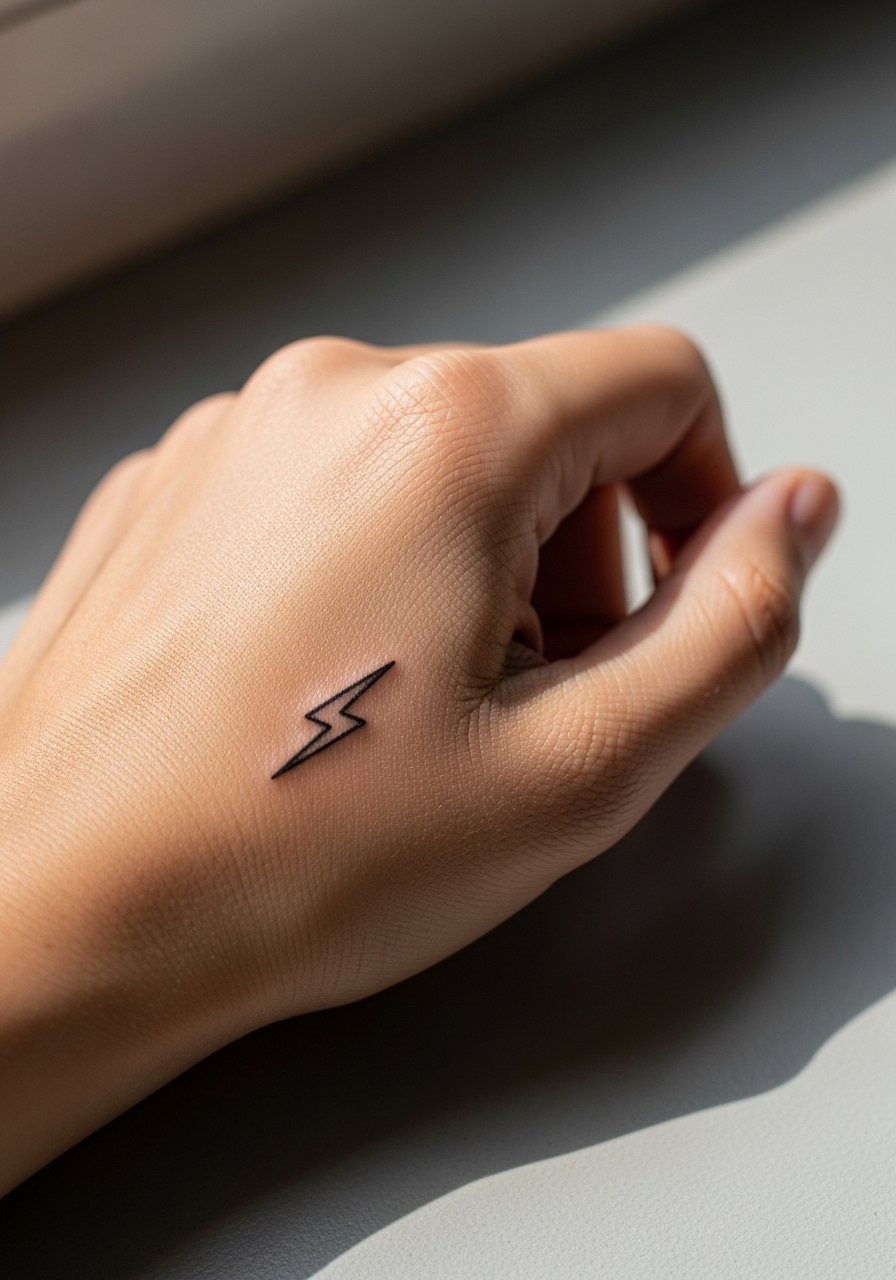
8. Micro Neo Traditional Bolt on a Finger
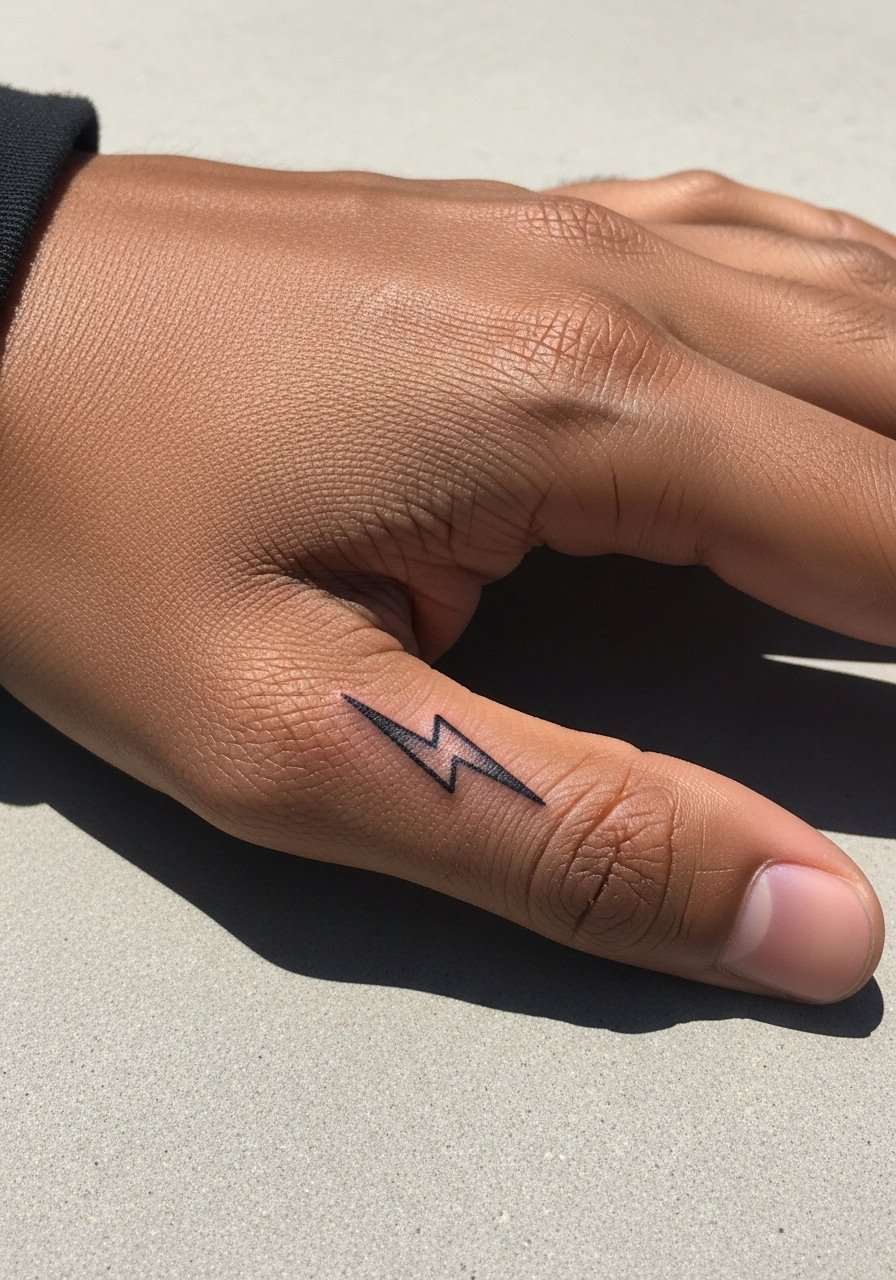
Finger tattoos are high maintenance. Expect blurring and faster fading because the skin there regenerates quickly and endures constant washing. Ask for bolder contour lines and minimal internal detail so the bolt retains shape. The biggest mistake is requesting tiny inner shading that disappears within months. Depending on circulation and work habits you may need touch-ups as early as year one. Hand and finger work can affect professional presentation in some fields, so weigh that before booking.
9. Bold Bolt Across the Calf
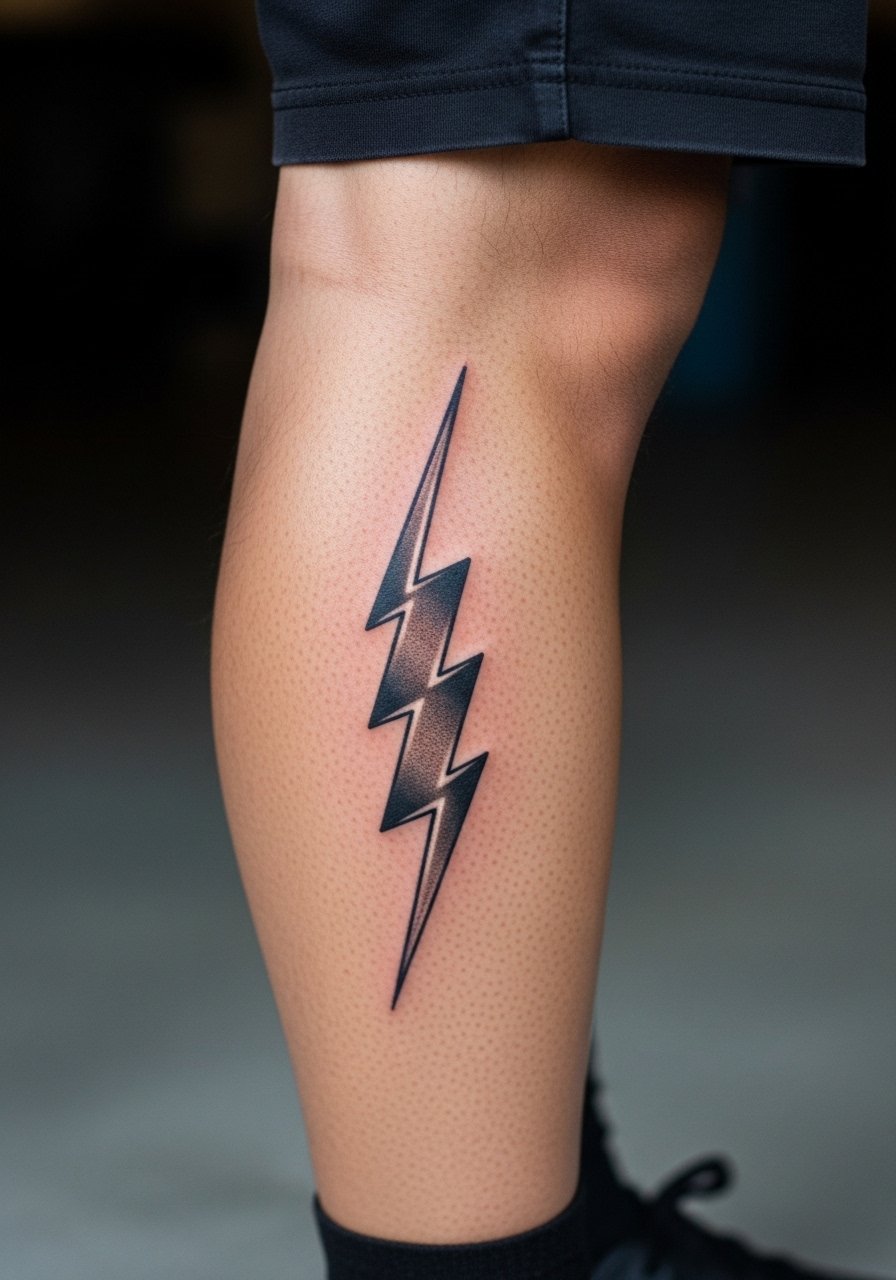
Calf placements keep the design readable and handle saturation well because of thicker skin. Pain is moderate and sessions are comfortable if you can sit for about 90 minutes. Tell your artist to scale the bolt to the muscle so it does not look pinched when you stand. A common error is making the bolt too narrow, which later looks insubstantial from a distance. For casual display, pair with mid-length shorts that show the calf shape without cutting across the design.
10. Bolt Over the Ribcage with Painterly Shading
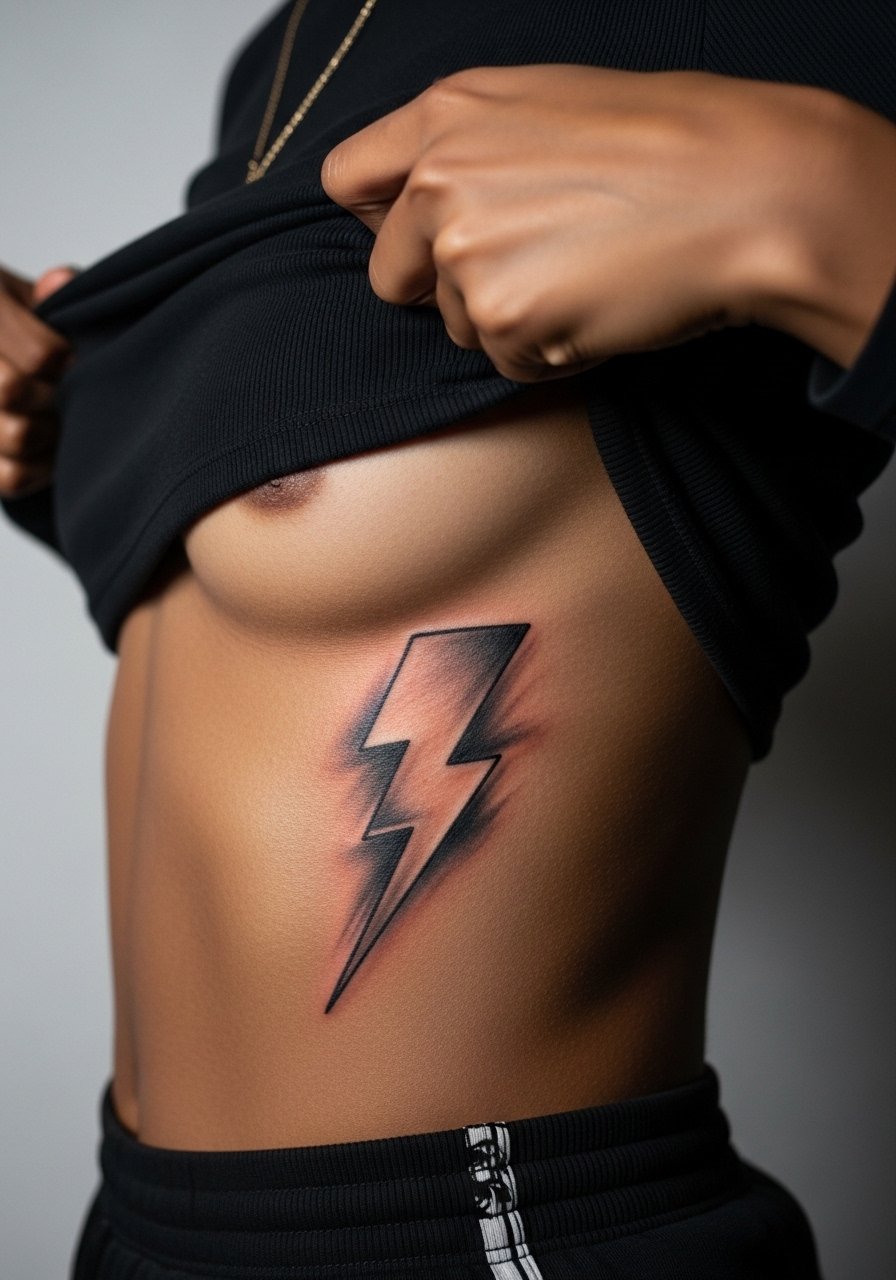
Ribcage work is known to be painful and healing varies with body movement. Artists are split on fine line here. One camp says the skin stretch compromises thin line survival within two years. The other camp says with experienced depth control and spacing, lines can hold. Be explicit in consultation about line weight and space between elements. Also plan for shorter sessions because breathing and movement matter. The rib area needs careful aftercare and a realistic expectation of touch-ups.
11. Bolt Behind the Ear with Tiny Accents
Behind-the-ear placements read discreet and modern. They require precision and an artist comfortable with tight curves. Expect brief sessions and sensitivity due to thin skin. For this zone ask for strengthened outline and minimal interior shading. A frequent mistake is requesting script or tiny filigree that looks illegible after healing. Because the area sits near hair, keep aftercare in mind to avoid product buildup. This placement benefits from a stylistic wardrobe that lets hair reveal the tattoo occasionally.
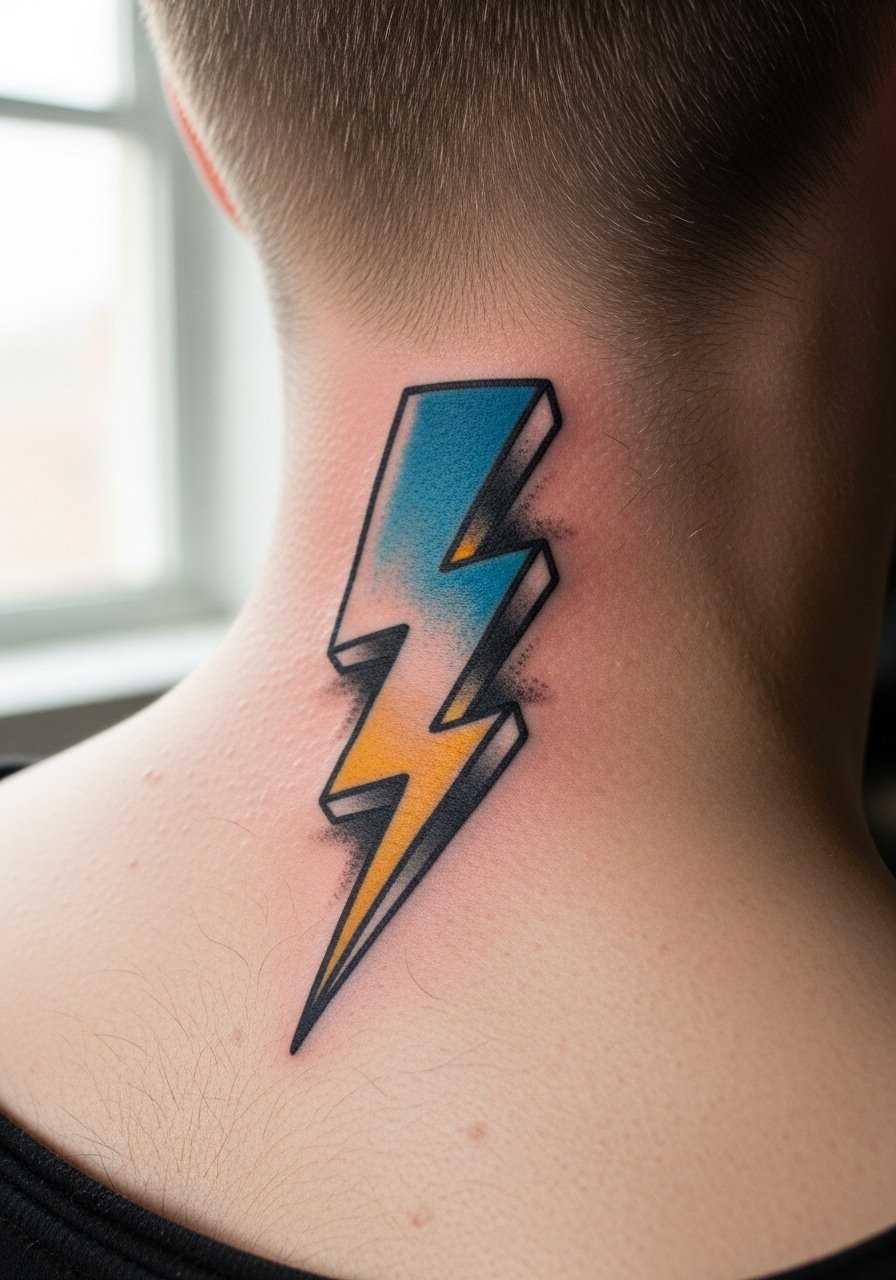
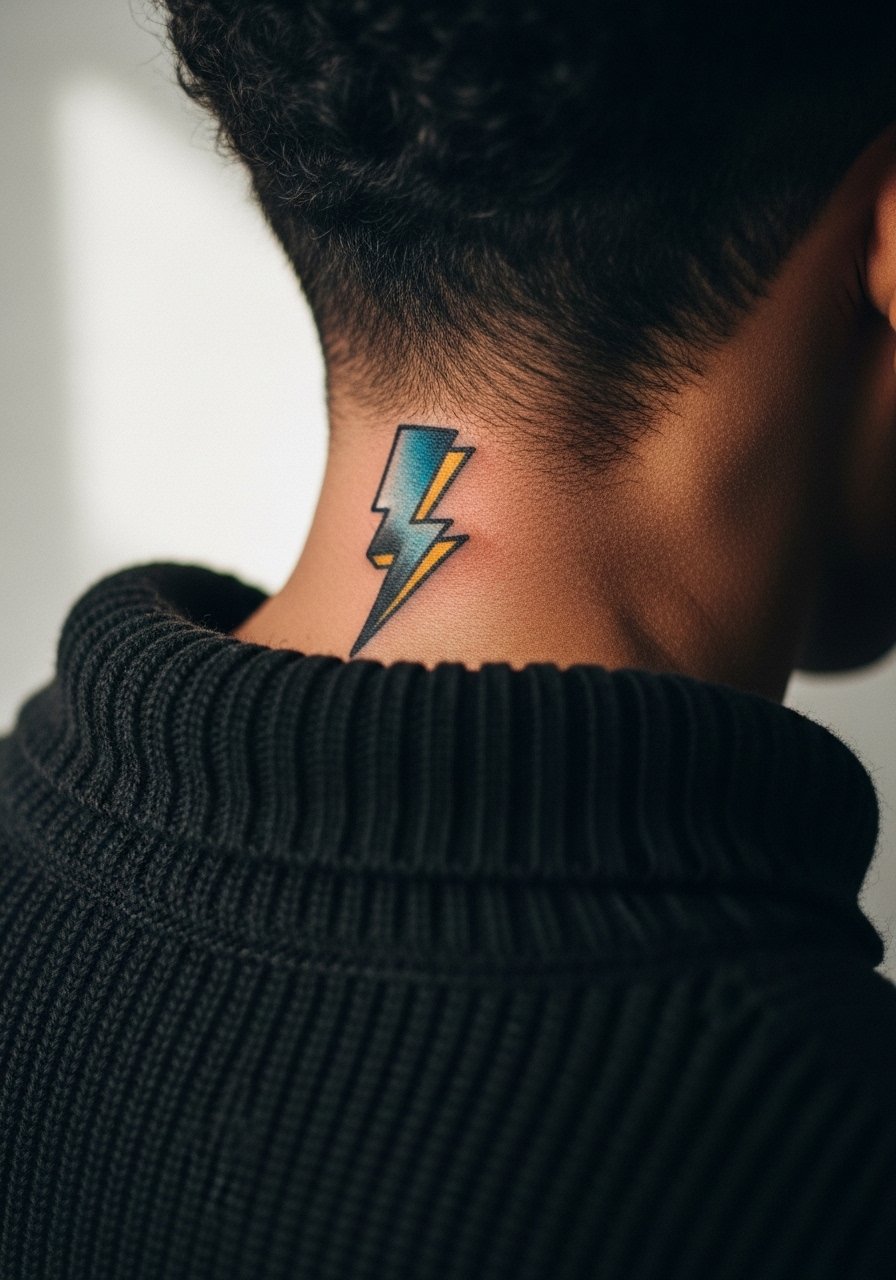
12. Mini Bolt on the Side of the Neck
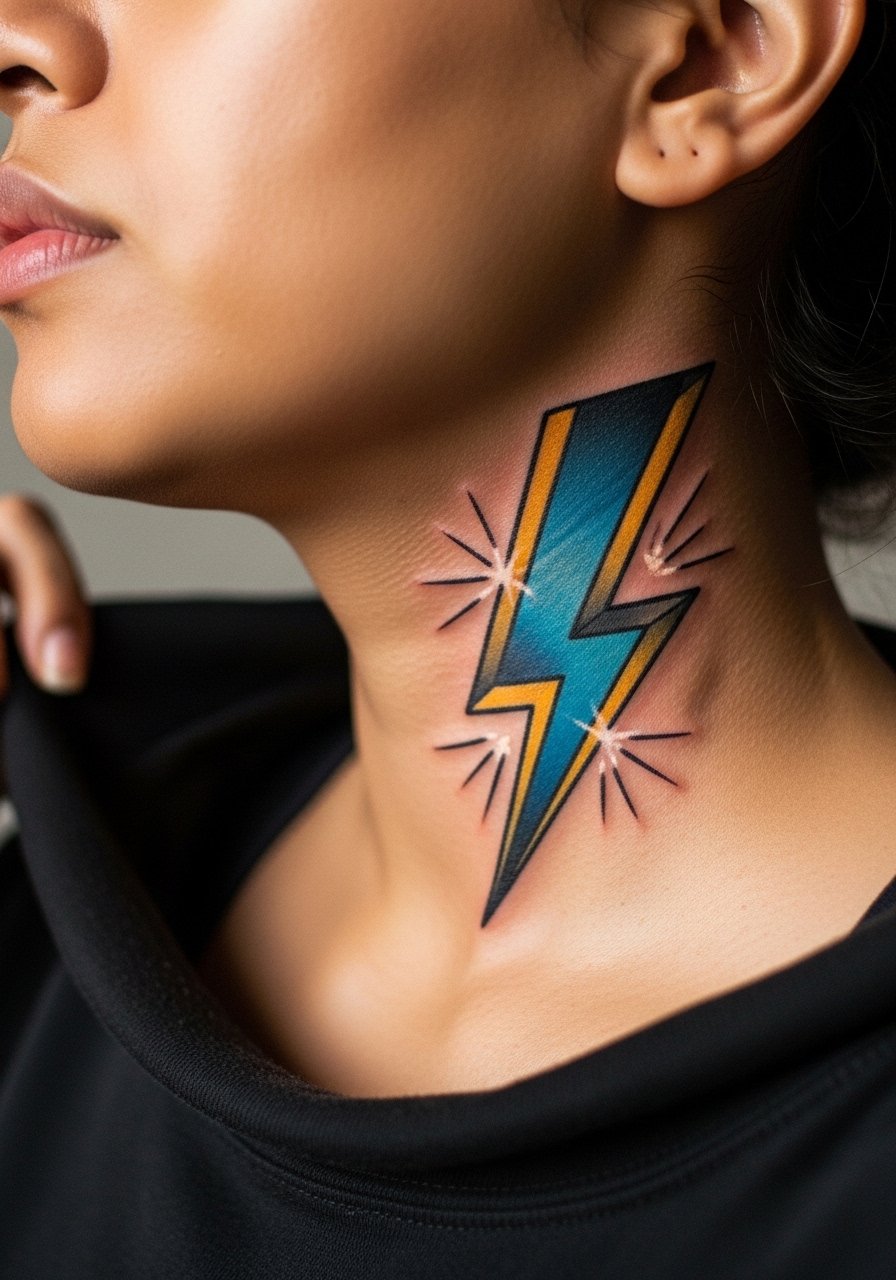
Neck tattoos are visible and not suitable for everyone. Pain is moderate to high and sessions are short. Tell your artist you want a thicker contour to resist blowout and avoid tiny interior dots. The mistake is asking for delicate interior detail that will soften into indistinct shading within a couple of years. If visibility concerns you, consider placement lower on the neck or under clothing for work. For the session wear a wide-neck shirt that exposes only the neck area without revealing the chest.
13. Bolt with Banner Script on the Upper Arm
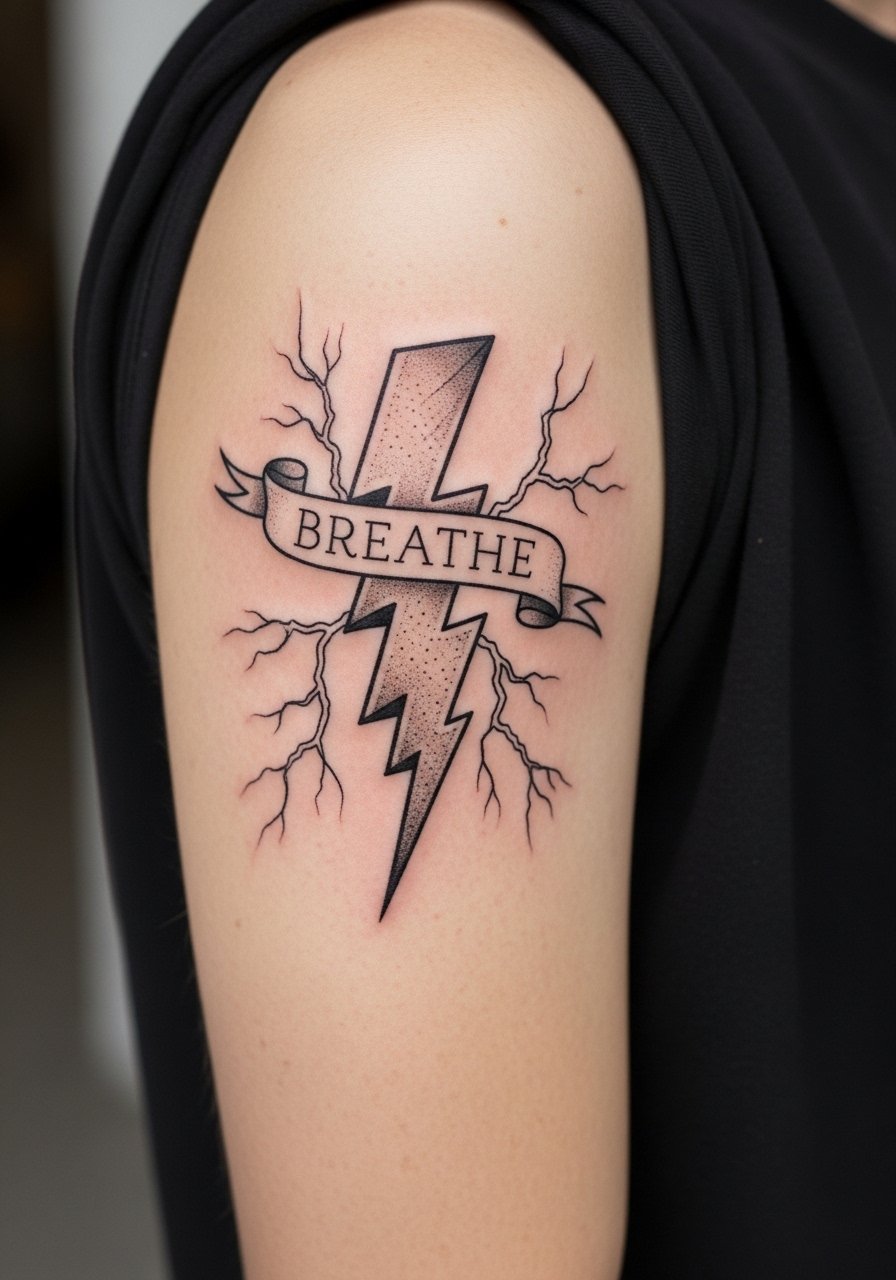
Adding script gives extra meaning but requires exact text in the stencil. Specify the exact word and font during booking so the artist can test placement. The upper arm handles saturation and linework well and pain is low. A common mistake is choosing a dense script size that competes with the bolt outline. Ask for spacing between the banner and bolt so both elements age independently. For casual outfits, rolled sleeves and a short-sleeve tee show the upper arm without hiding the banner.
14. Bolt Interacting with a Crescent Moon on the Back
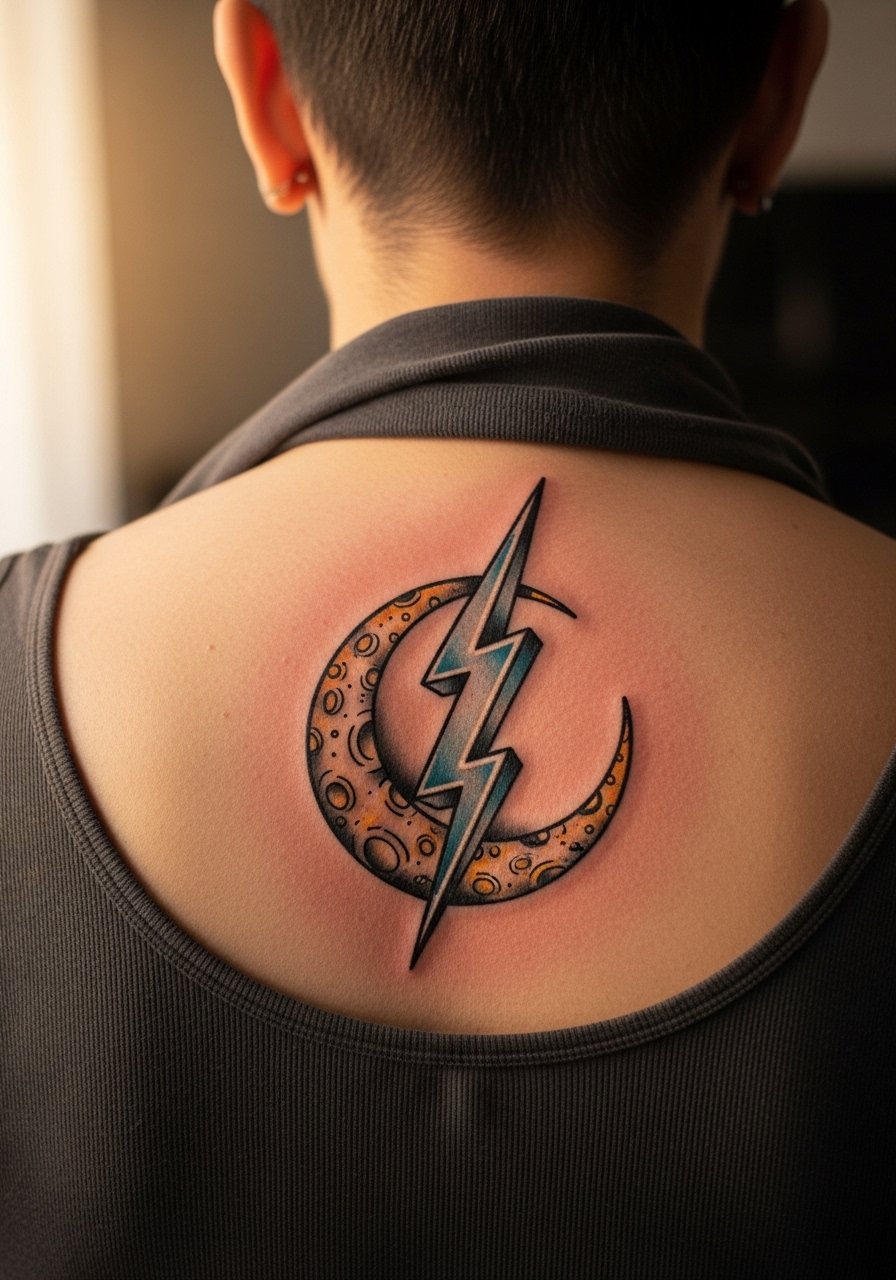
Upper back placement allows larger compositions and reads well under clothing. Sessions run longer but are comfortable. Ask your artist to map the bolt so it aligns with shoulder blades when you move. One mistake is concentrating too much tiny shading that merges as the skin settles. The back holds color nicely if you avoid tight line clusters. For showing it off, a low-back or strappy top works well while keeping exposure minimal during daily life.
15. Bolt as a Nape Accent
Nape tattoos sit high on visibility depending on hair. Pain is moderate and healing is generally predictable. Tell your artist you want a compact bolt with a reinforced outline because the nape sees friction from collars. The common mistake is picking an overly long vertical bolt that looks awkward with hair up. If you work in environments with strict policies, consider visibility implications before booking. A crew-neck sweater that can be adjusted during healing is useful.
16. Split Bolt Across the Chest and Sternum
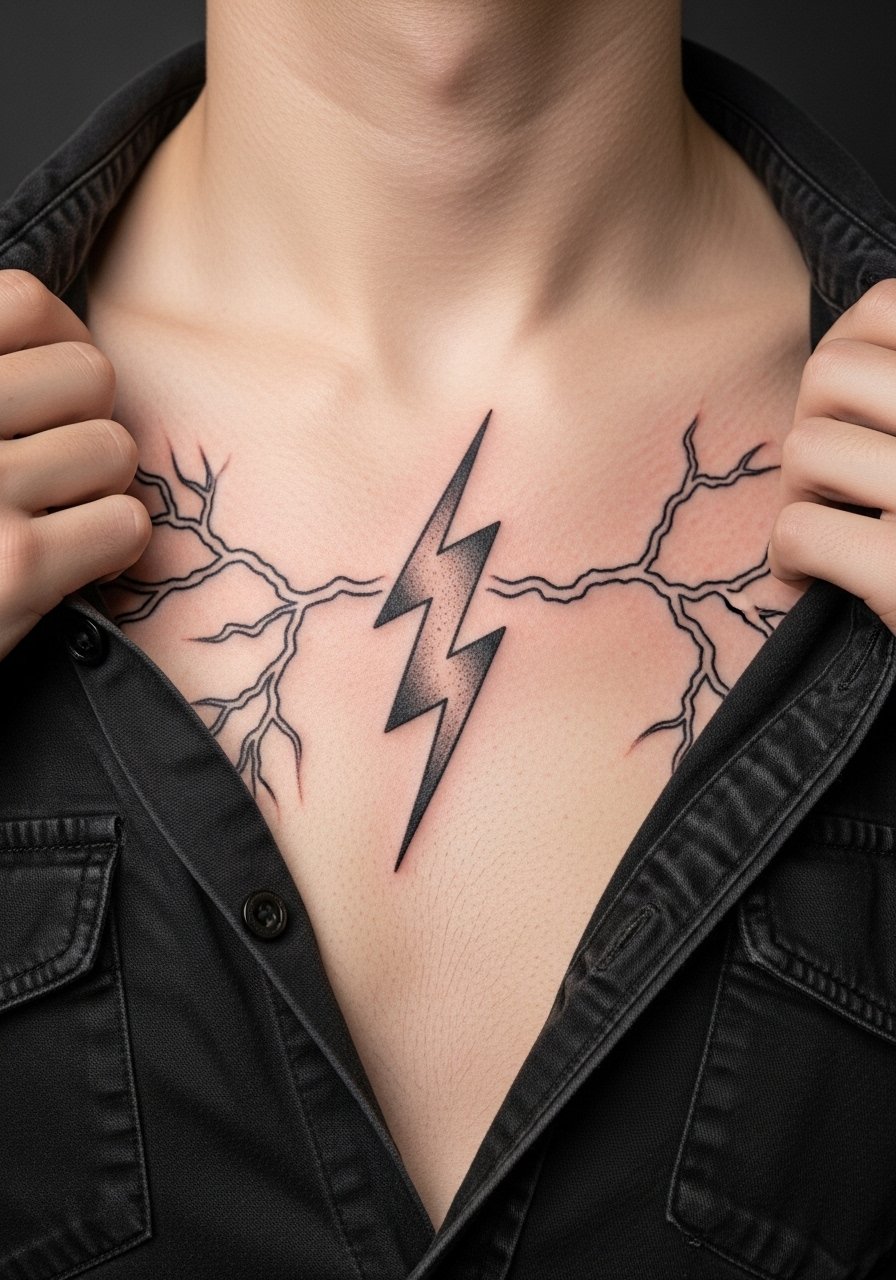
Large, split compositions across chest and sternum demand precise mapping and multiple sessions. Pain is higher at the sternum and expect staged appointments. Tell your artist you want negative space around the bolt edges to prevent color pooling. A common error is attempting symmetry without accounting for the chest's natural asymmetry, which can make the bolt look off-center once healed. If you plan exposure for nights out, pair the piece with an open collar shirt that frames the split without exposing the full chest.
17. Bolt Wrapped Around the Wrist as a Band
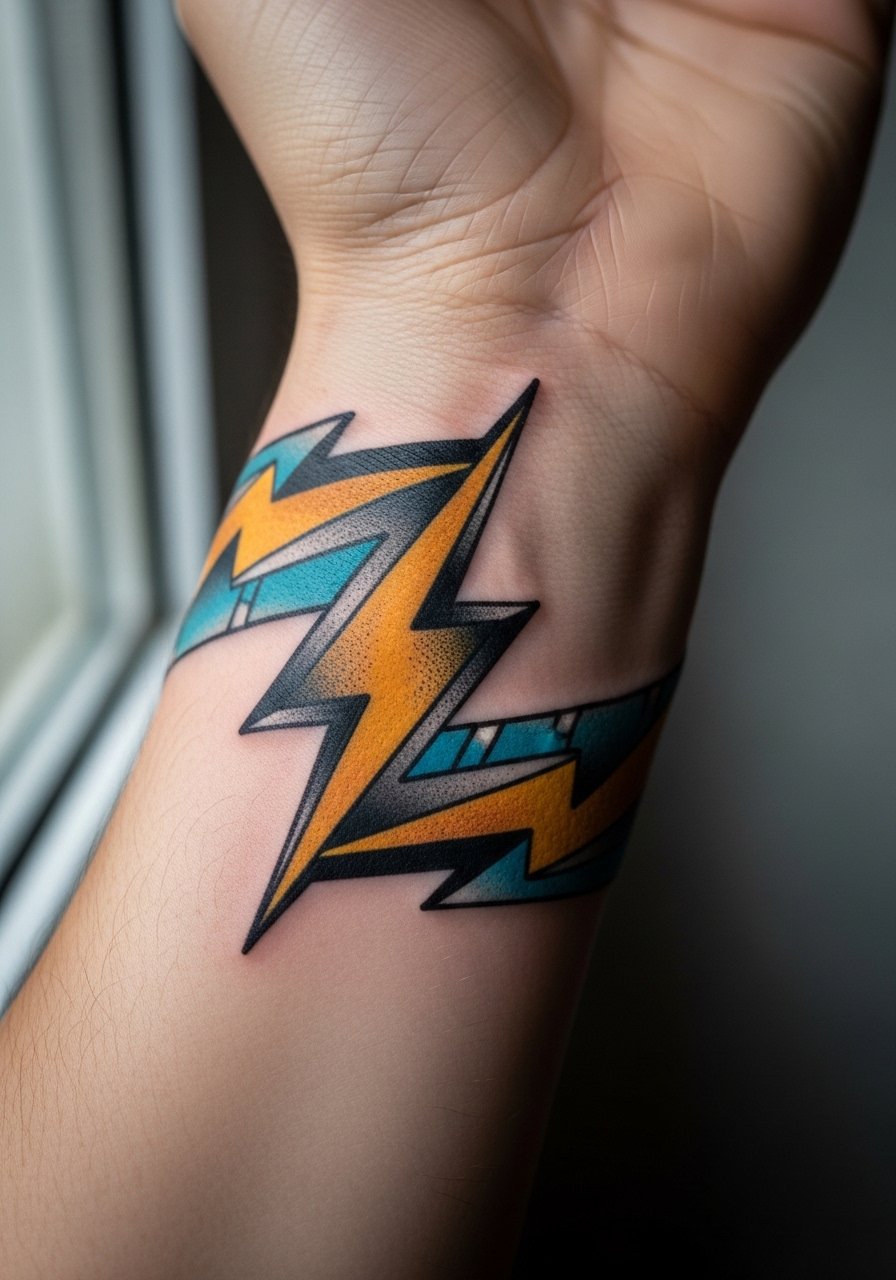
Cuff-style bolts work like jewelry but face heavy friction. Expect accelerated fading and possible need for touch-ups at year two. For consultation, request a slightly thicker rim so the cuff reads as a continuous shape even as edges soften. The mistake is adding too much internal detail which will disappear. This placement benefits from accessories that sit adjacent to rather than over the tattoo, such as a minimalist watch.
18. Bolt Punctuating a Sleeve of Stars on the Forearm

Linear forearm pieces read well because they follow the limb. Ask for a bold primary contour and airy fills in the stars to stop overcrowding. A mistake is stacking too many tiny stars around the bolt which creates visual noise. Forearms get sun so expect softening of color without regular SPF use. For showing off the piece, roll sleeves or pick shirts with short sleeves that end above the artwork.
19. Bolt with Dot Work Halo on the Thigh

Inner thigh and upper thigh placements are intimate and require careful consultation about pain and dressing. Pain varies and sessions can be longer depending on the halo. Specify how dense you want dot work because excessive stippling can feel heavy on the skin. The mistake is choosing extremely tight dot gradients that darken into a patch over years. For the session wear high-waisted shorts so the artist can access the area without you disrobing fully.
20. Bolt on the Outer Hip with Floral Trail
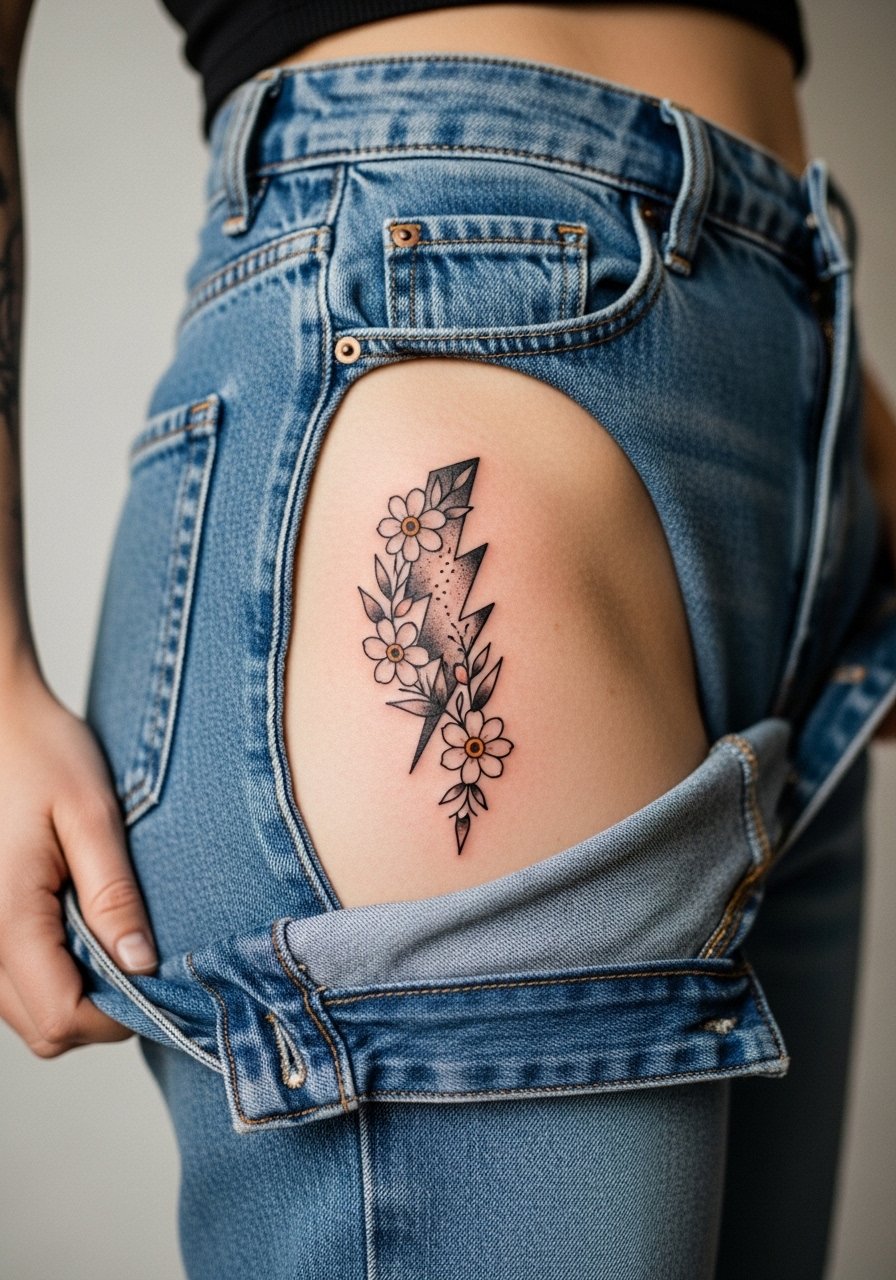
Hip placements sit under clothing much of the time which slows UV fading. Pain is moderate and sessions are usually 60 to 120 minutes. Tell your artist you want the floral trail to curve with the hip so the bolt reads even when you are seated. The common mistake is making the bolt too horizontal which can appear distorted with body movement. For recovery, wear loose waistbands or high-waisted denim that do not rub the site.
21. Bolt Accent on the Ribcage Bloom
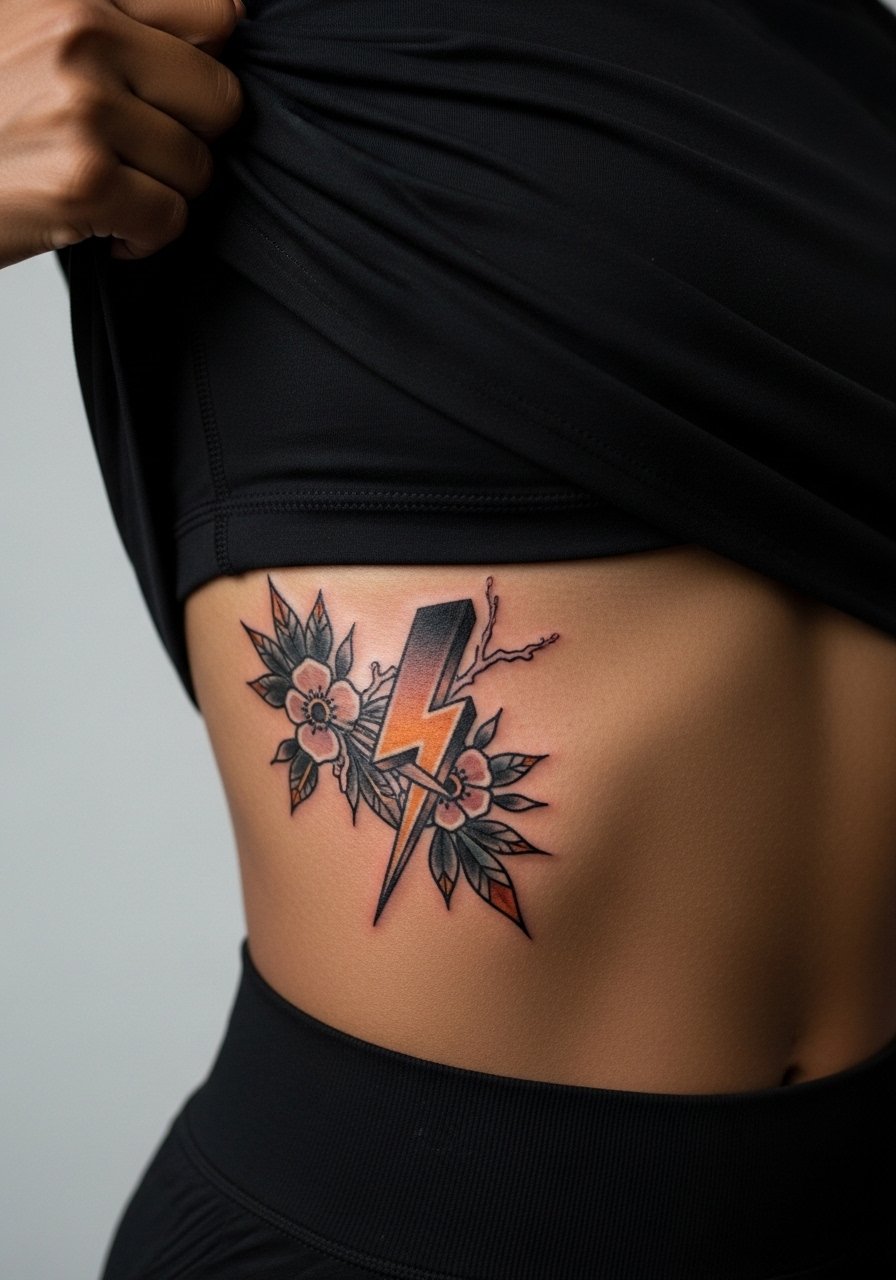
When the bolt is part of a larger ribcage bloom, plan for shorter sessions because the area is sensitive. Ask your artist to place more spacing between the bolt and dense floral shading to prevent merging. The controversy over fine line on ribs applies here too. One camp warns that skin stretch and movement will blur fine work fast. The other insists careful needle depth and spaced composition keeps lines readable. Decide which approach you prefer and ask the artist about their track record.
22. Bolt as an Ear Cuff Tattoo Accent

Ear cuff accents are discreet and modern. Sessions are quick and targeted but require steady hands. For this spot you want reinforced contour and minimal interior shading. The mistake is asking for too many micro details that cannot be seen without close inspection. Because this sits near the hairline, expect some fading where hair oils contact the area. Consider coordinating hair styles to reveal the piece for nights out.
23. Bolt Over a Clavicle Scar Cover
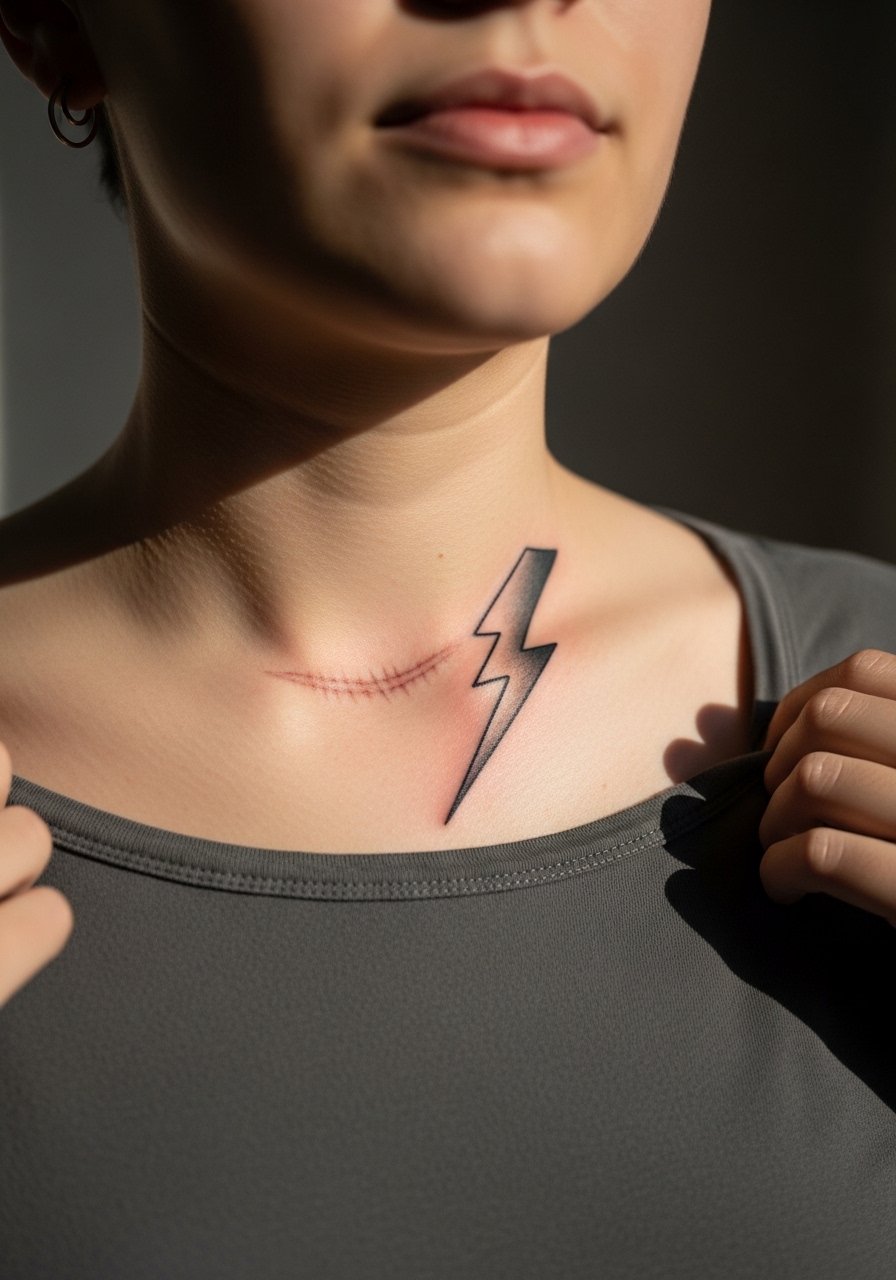
Using a bolt to integrate or mask a scar is common. In consultation be explicit about scar tissue location and age because fresh scars react differently under the needle. The artist may recommend a bolder outline and textured shading to camouflage irregularities. A typical mistake is expecting a scar to disappear under ink; it will change in texture but not vanish. For the session wear a wide-neck shirt so only the area in question is exposed.
24. Bolt as Chest Pocket Replacement
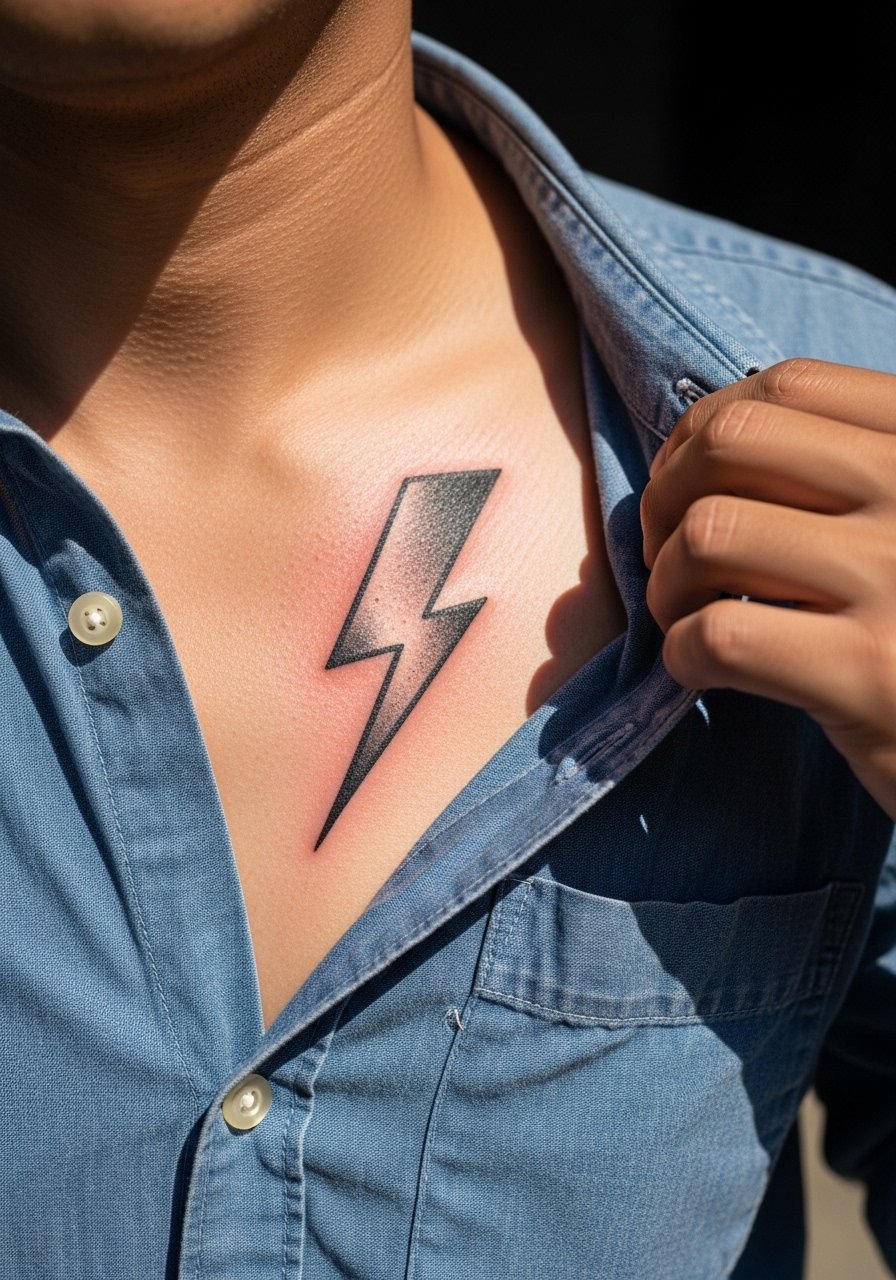
This playful placement mimics a pocket and reads well under shirts. Sessions are usually brief and pain is moderate. Tell your artist you want the bolt to align with the chest seam so it looks intentional when you wear button-ups. Mistakes include making the bolt too small to notice at casual distance. For styling, an open collar shirt frames the area and keeps attention focused where you want it.
25. Bolt Dancing Around a Wristwatch
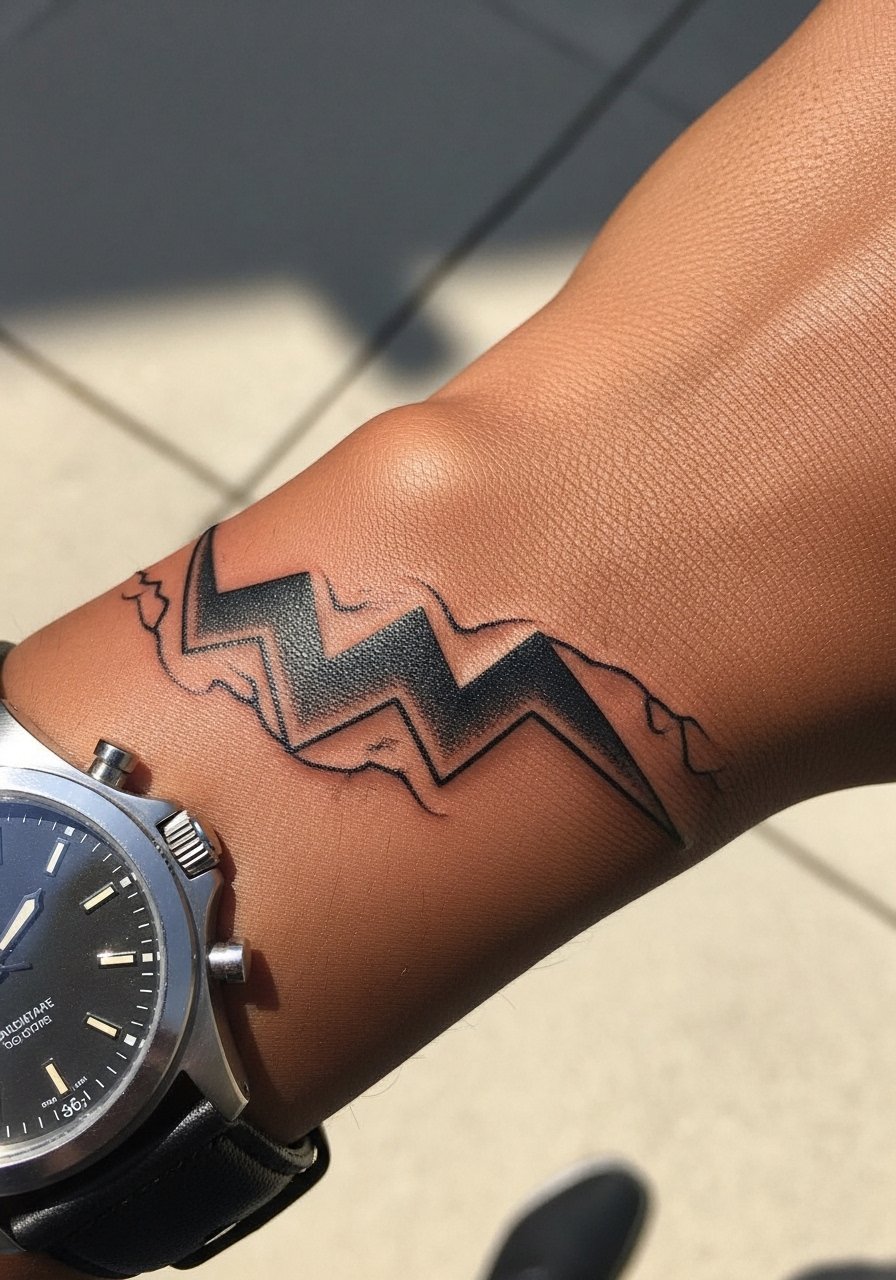
Designs near watches must account for constant movement and pressure. Ask your artist to place the bolt slightly away from where straps sit to avoid chronic rubbing. The mistake is centering the bolt under a watch strap which accelerates fading. For showing off, pick a watch that sits adjacent to the tattoo rather than directly on top. A minimal leather watch strap complements the neo traditional look.
26. Bolt Paired with Geometric Backdrop on the Lower Back
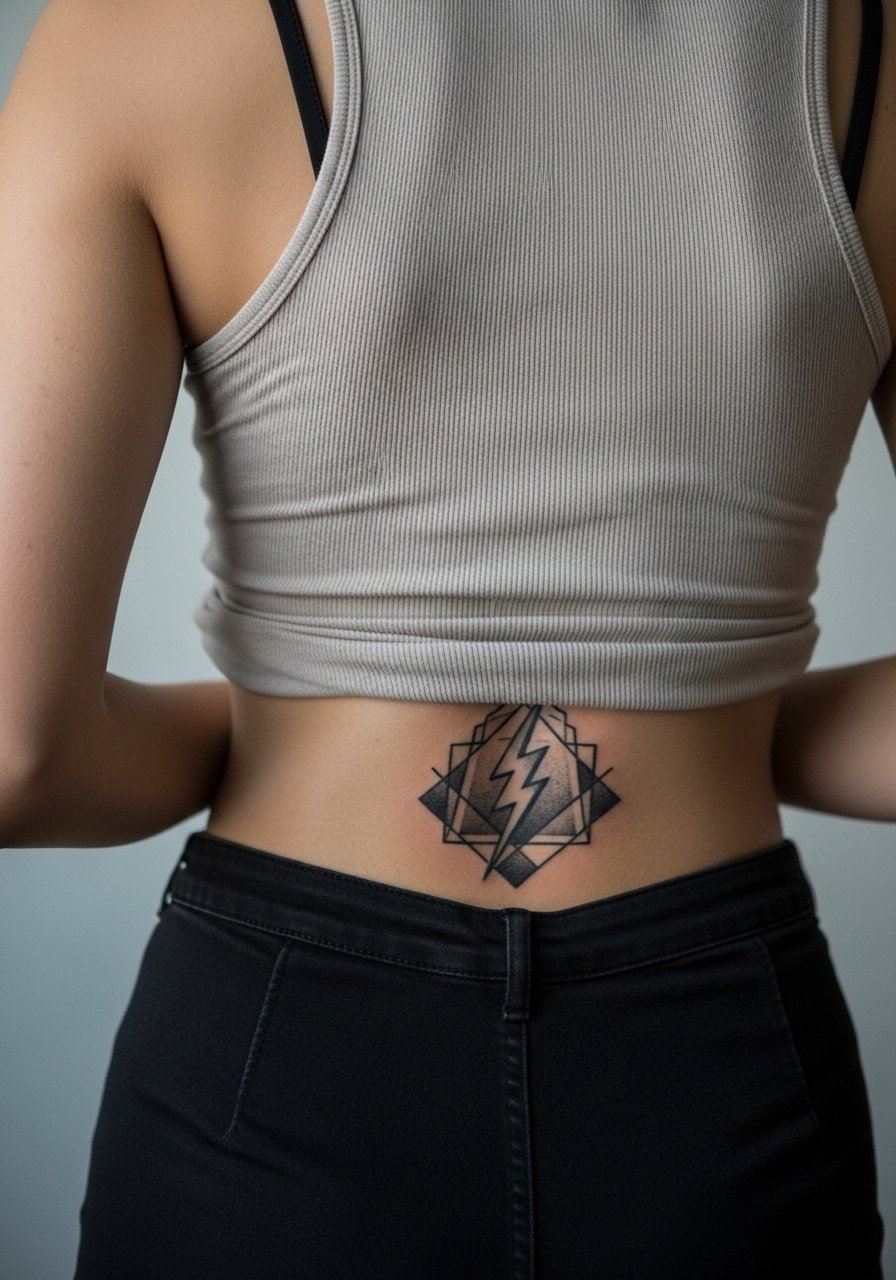
Lower back pieces allow interplay between curved lightning and rigid geometry. Sessions can be long but the area tolerates heavy saturation. Ask the artist to keep geometry lines spaced so the bolt does not get lost in intersecting strokes. A common error is overcomplicating the grid which then competes with the bolt. For the session wear a tank top you can lift slightly so the artist accesses only the tattoo area.
27. Neo Traditional Micro Bolt on the Thumb Side
Thumb-side tattoos face intense wear from grip and washing and therefore fade quickly. For this spot ask for a reinforced edge and minimal interior work. The usual mistake is trying to include tiny gradients that vanish in weeks. Expect higher touch-up frequency than other hand placements and consider whether daily exposure fits your lifestyle. Sessions are very short but may require follow-ups. If you need to keep hands discreet at work, weigh this before booking.
Frequently Asked Questions
Q: How long will a neo traditional lightning bolt keep its crisp outline on the forearm?
A: In my experience a bold contour on the forearm can stay readable for three to five years before a touch-up is likely, depending on sun exposure and skincare. If you protect the area with SPF and avoid chronic abrasion the edges last longer. Schedule a consult about line weight to match your lifestyle.
Q: Is fine line detail inside a bolt a bad idea for ribcage or sternum placements?
A: That depends. Many artists say fine line fades faster in those moving, thin-skin areas, while others report success with careful spacing and depth. If you prefer delicate interior work insist on spacing and plan for a potential touch-up at year two to three.
Q: Can a bolt be designed to cover or incorporate an old scar?
A: Yes, but results vary with scar age and texture. Older, flatter scars integrate better than raised or recent ones. Be clear with your artist about the scar location and expect them to advise bolder outlines and textured shading rather than promising full concealment.
Q: What should I wear to a session for a shoulder or upper arm bolt?
A: Wear something that gives the artist access without making you undress completely, for example a loose tank top or a button-down you can pull aside. Comfortable clothing helps you sit still for longer sessions and keeps healing friction minimal.
Q: How often do hand and finger bolts need touch-ups compared with forearm pieces?
A: Hands and fingers usually need touch-ups sooner because the skin regenerates faster and these zones endure washing and contact. Expect touch-ups as early as year one on fingers, while forearms often go two to three years before significant color loss.
