
Fine line trends get the likes, but the tattoos that still read clean after five years are often the ones planned with aging in mind. Pick a subject, placement, and line weight that match how you live and what you wear. Below are 17 modern takes on traditional imagery and a few fresh directions, each with what to ask your artist, session realities, and how the design will look months and years down the road.
1. Neo-traditional Turtle Portrait on Outer Forearm

I recommend a turtle portrait for forearm work when you want something figurative that still reads at a glance. Tell your artist you want heavier primary linework around the shell with softer stipple shading inside for depth. Many people ask for micro-detail everywhere and get a design that blurs into shading after a few years. Expect one to two sessions, moderate pain while the artist works near the wrist. For showing it off, a fitted crewneck tee with rolled sleeves frames the forearm without covering the piece. Touch-ups are common at year three for the finer interior shading.
2. Floral Wreath with Eagle on the Shoulder
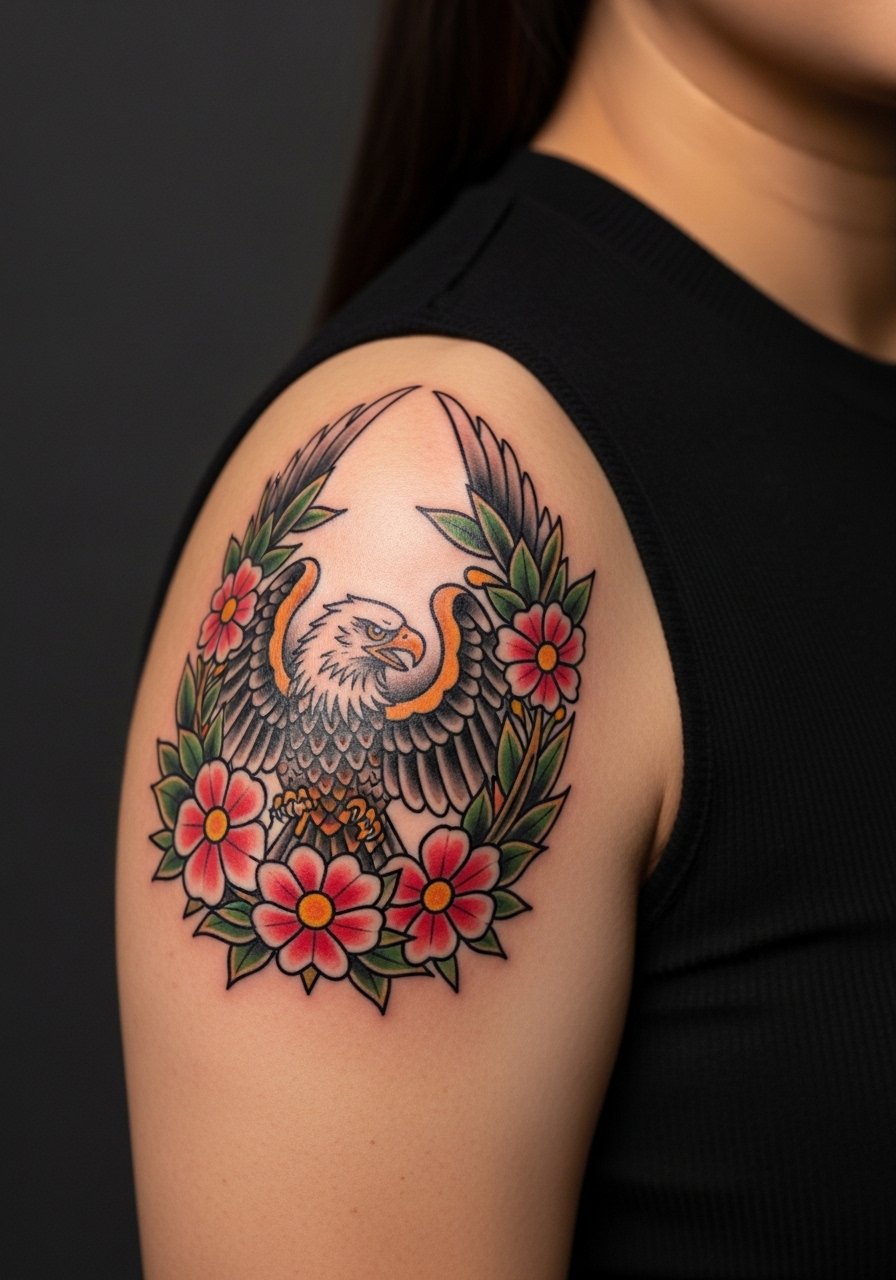
This composition reads as a single emblem that sits well under a sleeve or peeking from an off-shoulder top. Ask for defined outer linework on the wreath so the shapes do not merge with time, and request open negative space behind the eagle for contrast. Shoulder skin is forgiving, so session pain is lower and the artist can work longer in one sitting. For evenings, pair the piece with an off shoulder blouse to let the motif breathe. Avoid overfilling tiny petals with shading, a common mistake that causes muddiness as the ink settles.
3. Rose and Dagger on the Inner Bicep
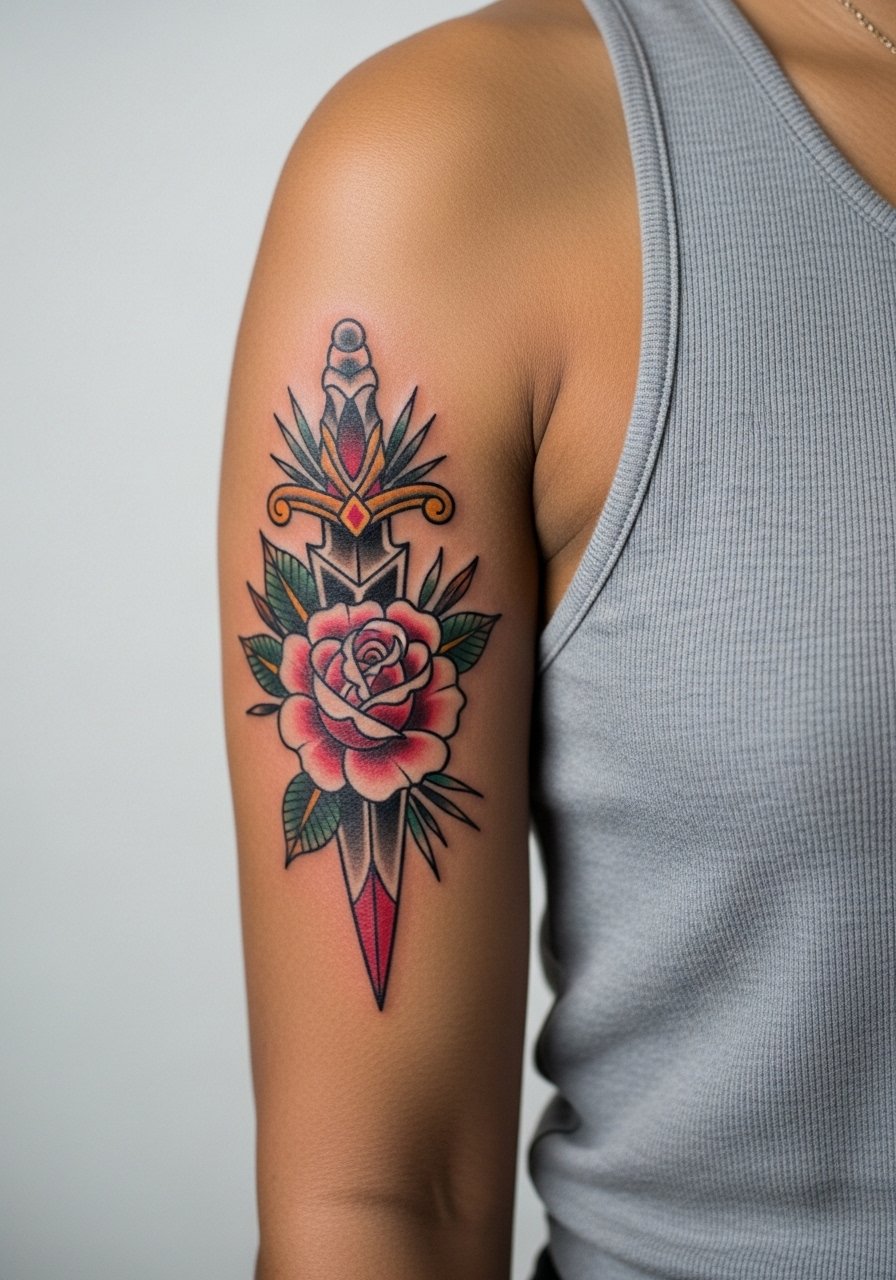
Fair warning, the inner bicep can be a high-movement zone and it reads different as it heals. One camp argues fine line here blurs within two years, the other says correct depth and spacing settle fine. Name both camps during the consult and ask which approach your artist prefers. The session can feel tender when the needle works near the crease, expect a shorter focused session. For the appointment, wear a sleeveless muscle tank so the artist gets full access without you being uncomfortable. Plan a possible touch-up at year two for the dagger's thin edges.
4. Anchor with Rope on the Ankle
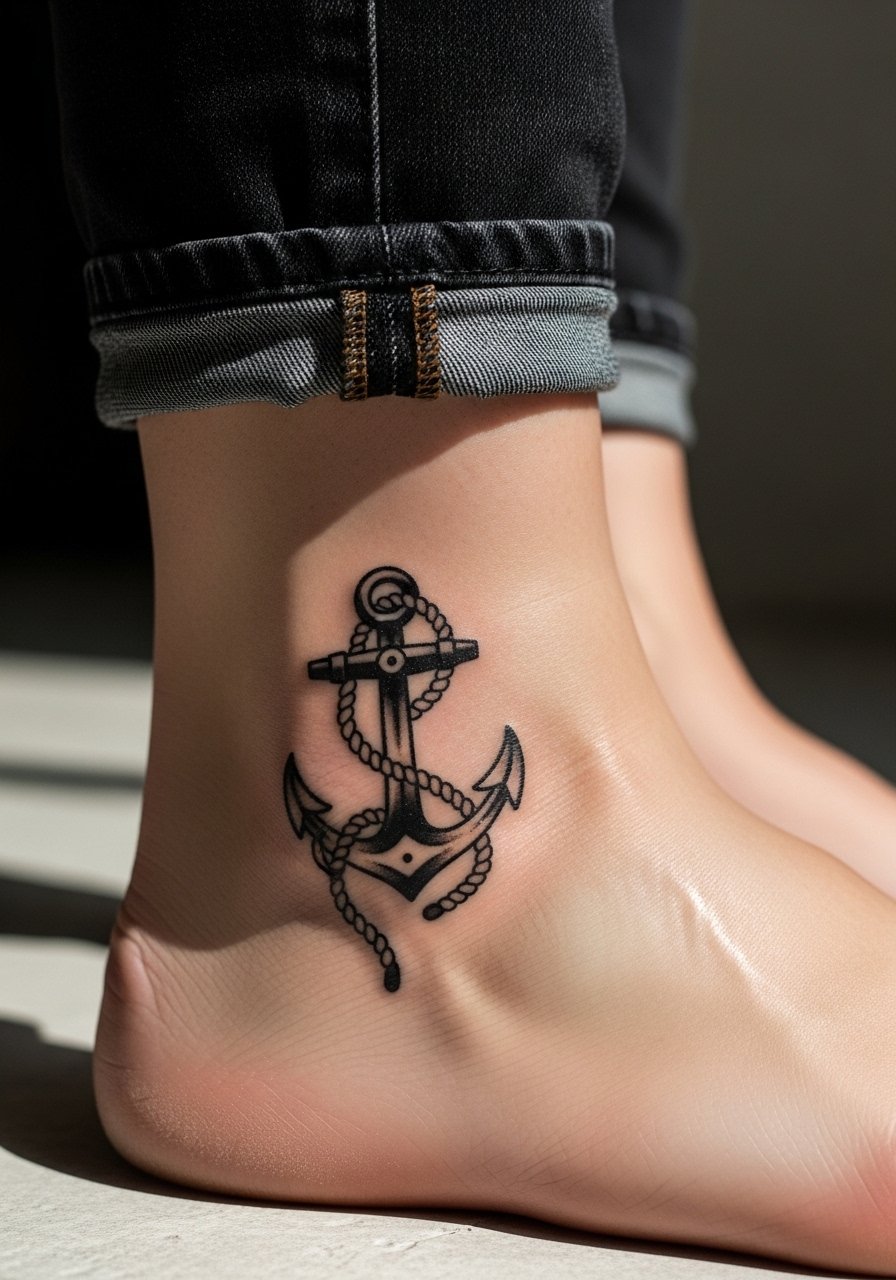
Ankle anchors work best when kept small to medium and with firm outer linework. The ankle sees a lot of friction from socks and shoes, so ask your artist to keep dense fills away from edges that will rub. Pain is usually higher around the bone, but sessions are short. For show-off moments, cuffed slim jeans or a delicate chain anklet draws attention without obscuring the rope detail. Many people underestimate friction zones and lose crisp edges faster than expected, so plan conservative placement near softer tissue if longevity is your priority.
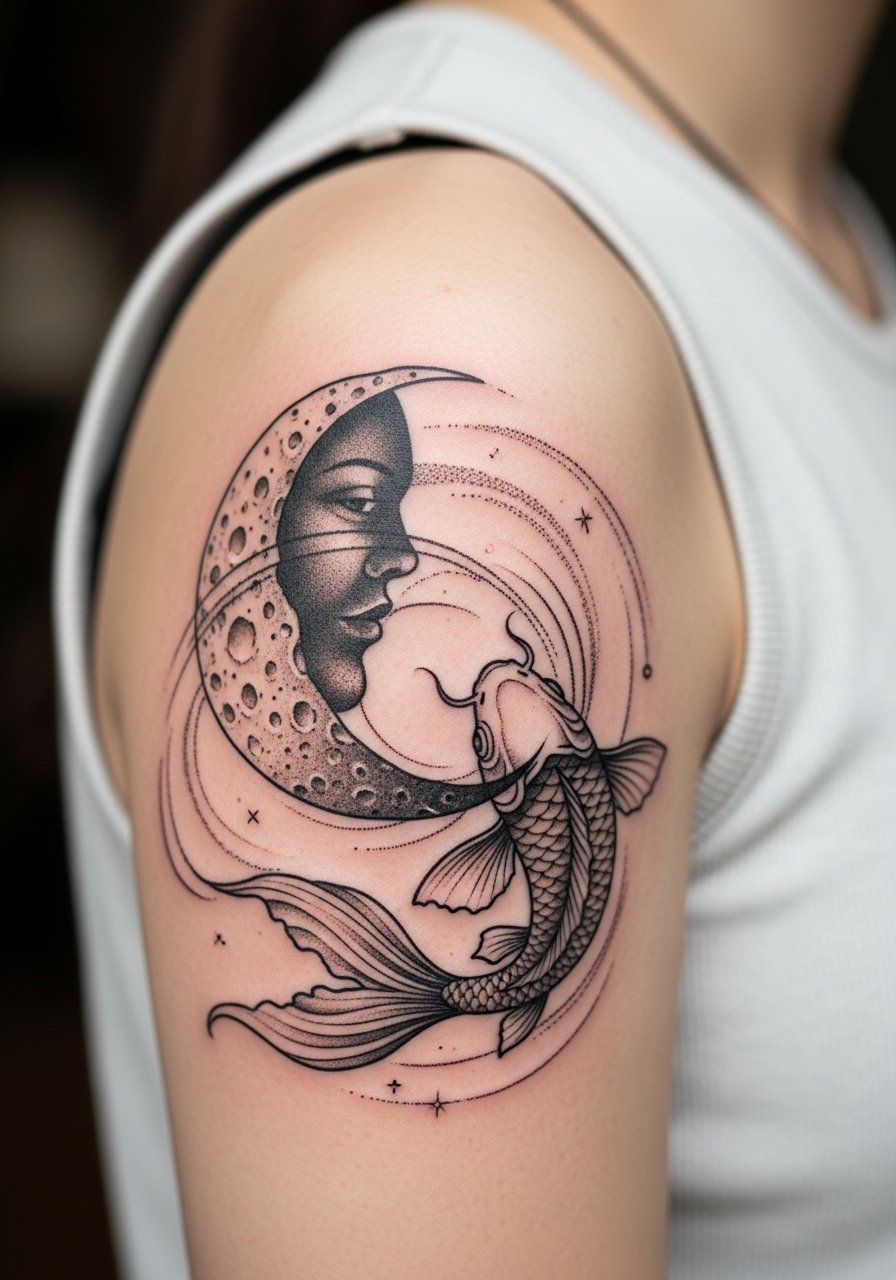
5. Koi Fish in Waves on the Calf
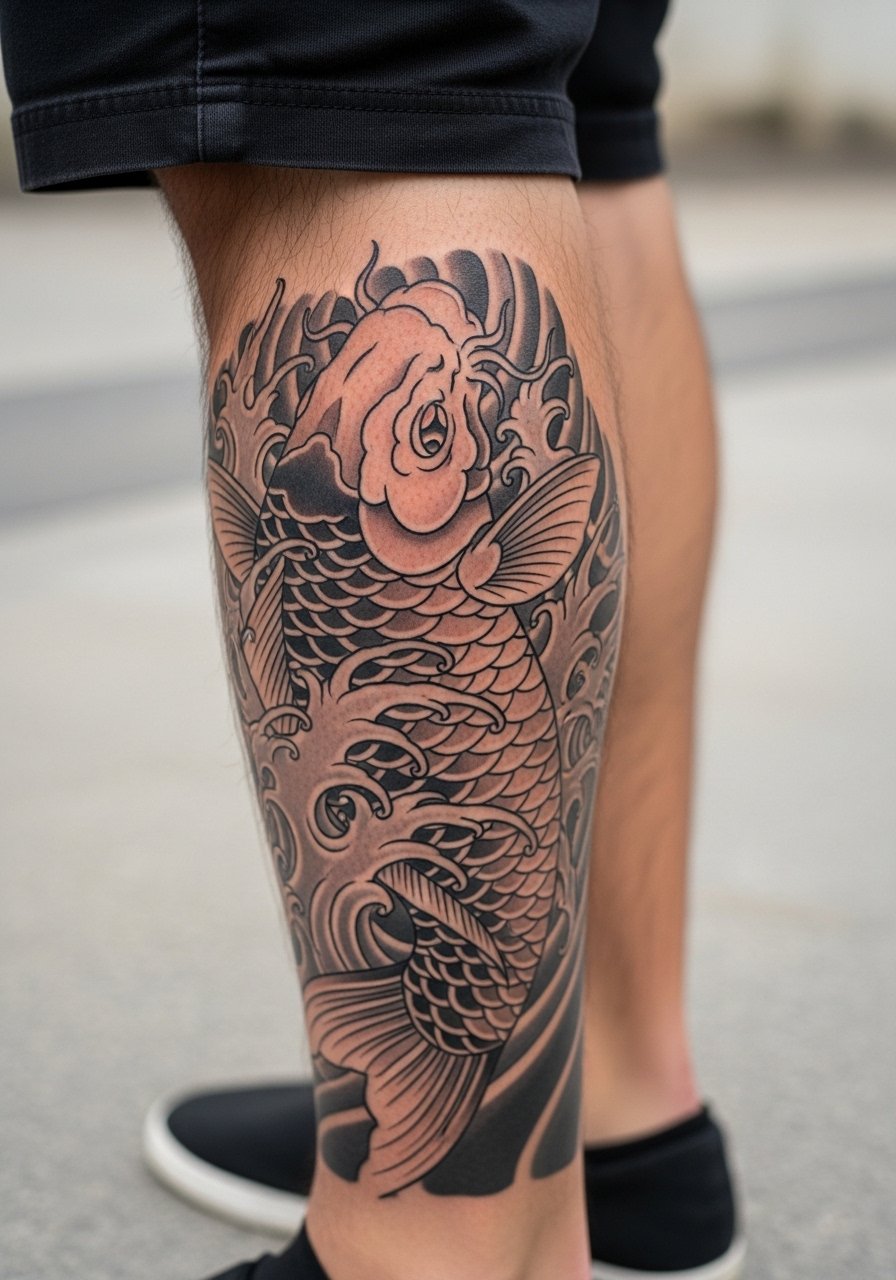
Large leg pieces like a koi are forgiving with scale. I suggest scaling the main fish to at least 6 inches so stipple and whip shading have room to age without turning to gray. Some artists argue that neo-traditional shading needs frequent touch-ups to keep saturation vivid. Other artists prefer heavier single-layer fills that hold longer. For the session, wear loose shorts so the artist can position the leg easily. A slim-fit chino or cropped jogger looks good for showing the piece; try slim fit chinos if you want a tailored reveal. Expect two to three sessions for full color and waves.
6. Eagle Head on the Upper Arm

The upper arm is the classic spot for a headpiece, and it ages well if you keep confident linework around the beak and eye. Tell your artist you want a high contrast between the eye area and the surrounding feathers, and ask for a handful of bold anchor lines rather than hundreds of hairlines. Pain is low and many people book one session with a short follow-up. If you prefer easy daily styling, rolled sleeves on a button up chambray shirt frame the bicep without covering the work. Avoid packing tiny feather strokes into a small area, that is a common aging mistake.
Studio Day Picks
The ankle, calf, forearm, shoulder, inner bicep and upper arm above need different prep. These picks smooth the appointment and the first healing window for the designs above.
-
Stencil transfer paper kit. Lets you preview placement on skin, which matters for forearm and calf layouts where scale changes how the design reads.
-
Topical numbing cream. Applied per instructions before an inner bicep or ankle session it can reduce discomfort and keep you still for cleaner linework.
-
Thin protective film roll. Useful for ankle and wrist pieces that face frequent rubbing during the first week.
-
Fragrance free gentle body wash. Gentle cleansing protects fresh ink on lower body pieces that get sweat and friction.
-
Aquaphor healing ointment. Thin layers during the initial days lock in moisture without suffocating the linework on small forearm details.
7. Pin-up Girl with Floral Accents on the Ribcage
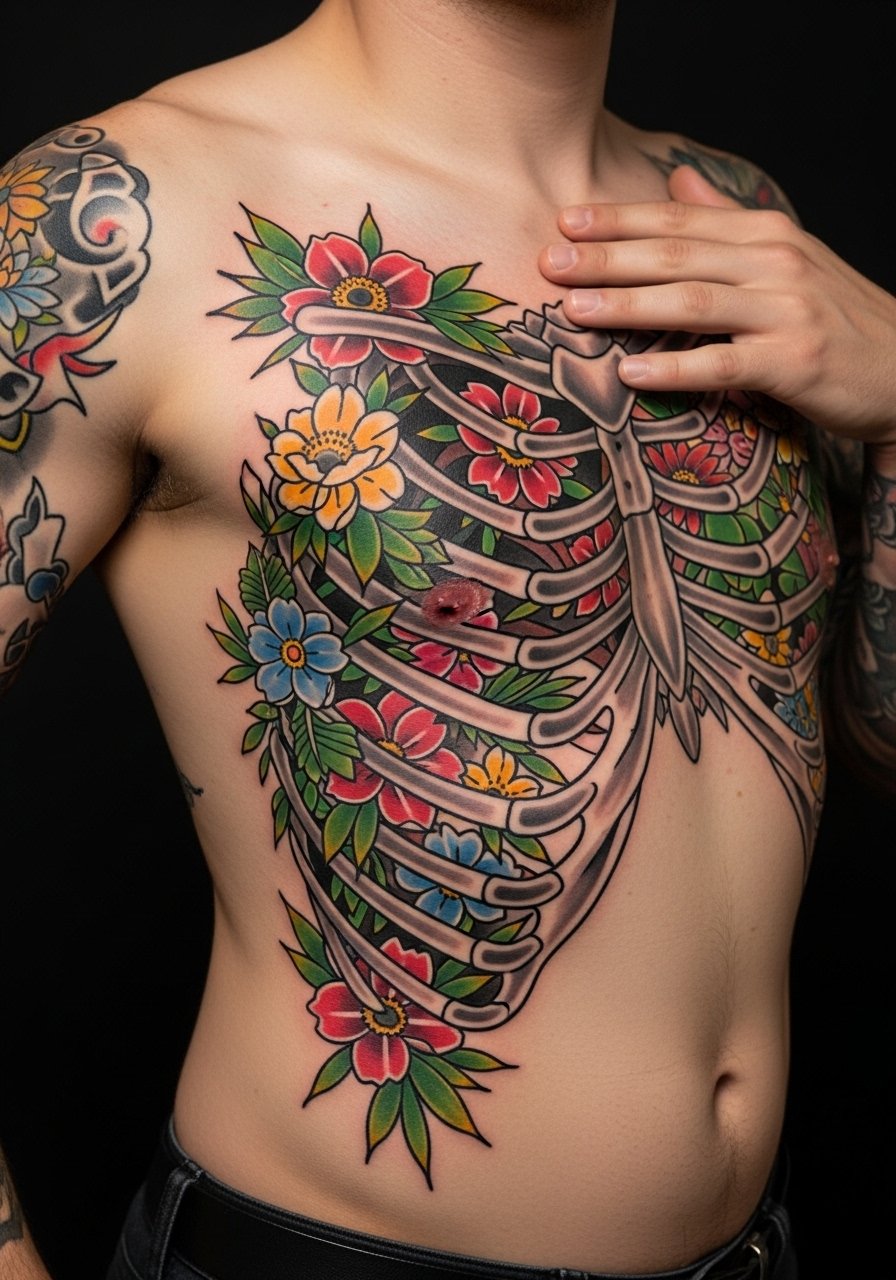
Ribcage pieces look dramatic but the area rates high on pain scales and movement causes stretching during healing. When you consult, specify that you want the face and primary forms a touch larger than the reference, so features remain readable as the skin ages. Artists split into two camps on rib detail. One camp warns that fine facial lines on the ribs blur within two years, the other says careful spacing and touch-ups keep it sharp. Bring a loose tank or open robe for the session, and expect at least two sittings if you want full color. If a pin-up is the focus, keep tiny facial linework minimal to avoid early softening.
8. Skull with Roses on the Forearm
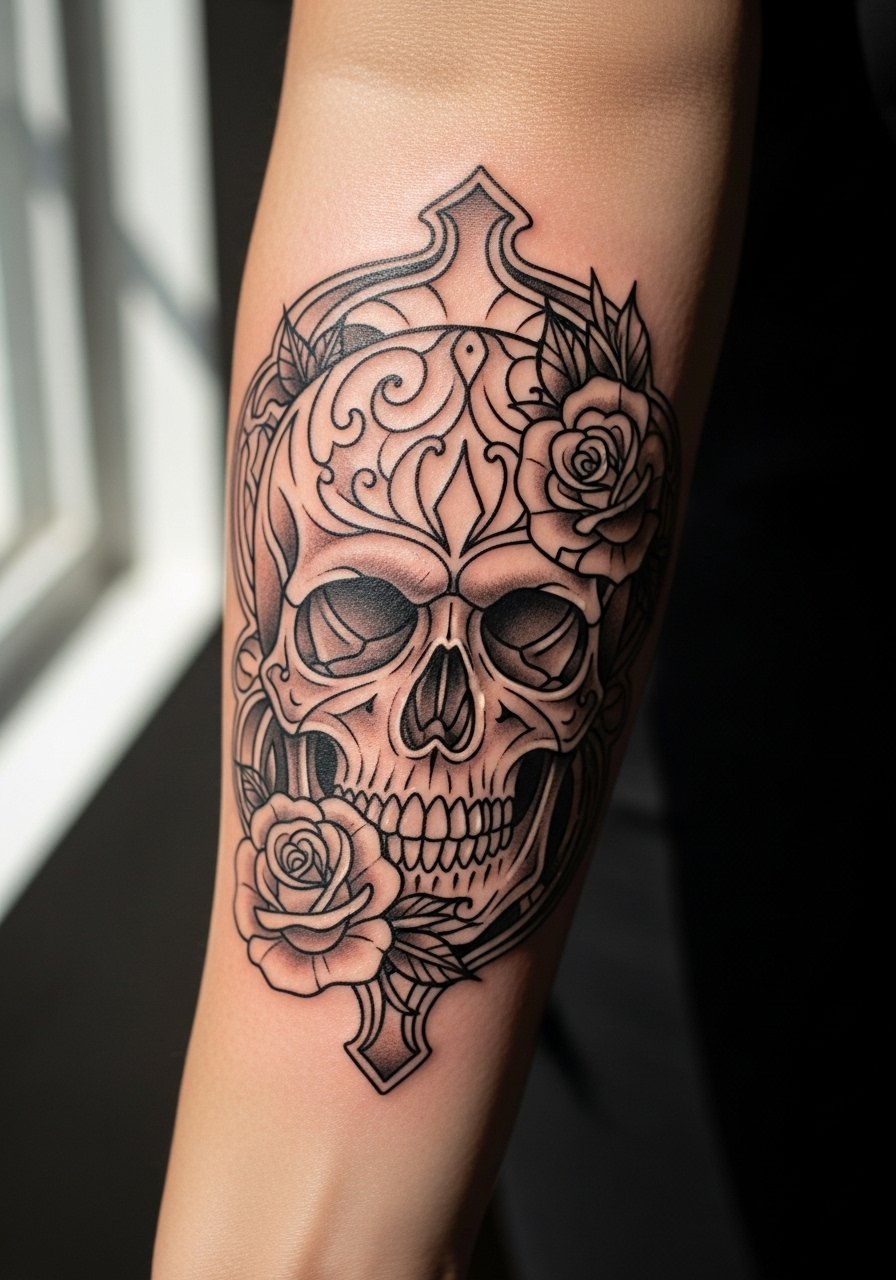
Skull-and-rose combos suit forearms because they can read both from close and at a distance. Tell your artist to prioritize contrast on the skull cavities and let rose petals use broader hatch shading rather than micro lines. A frequent mistake is over-detailing the petals in a small piece, which turns into a gray patch after a few years. The session is moderate, and forearm skin handles touch-ups well. For showing it off casually, roll sleeves or wear a v neck tee black so the art sits in a clean frame.
9. Heart with Banner on the Collarbone
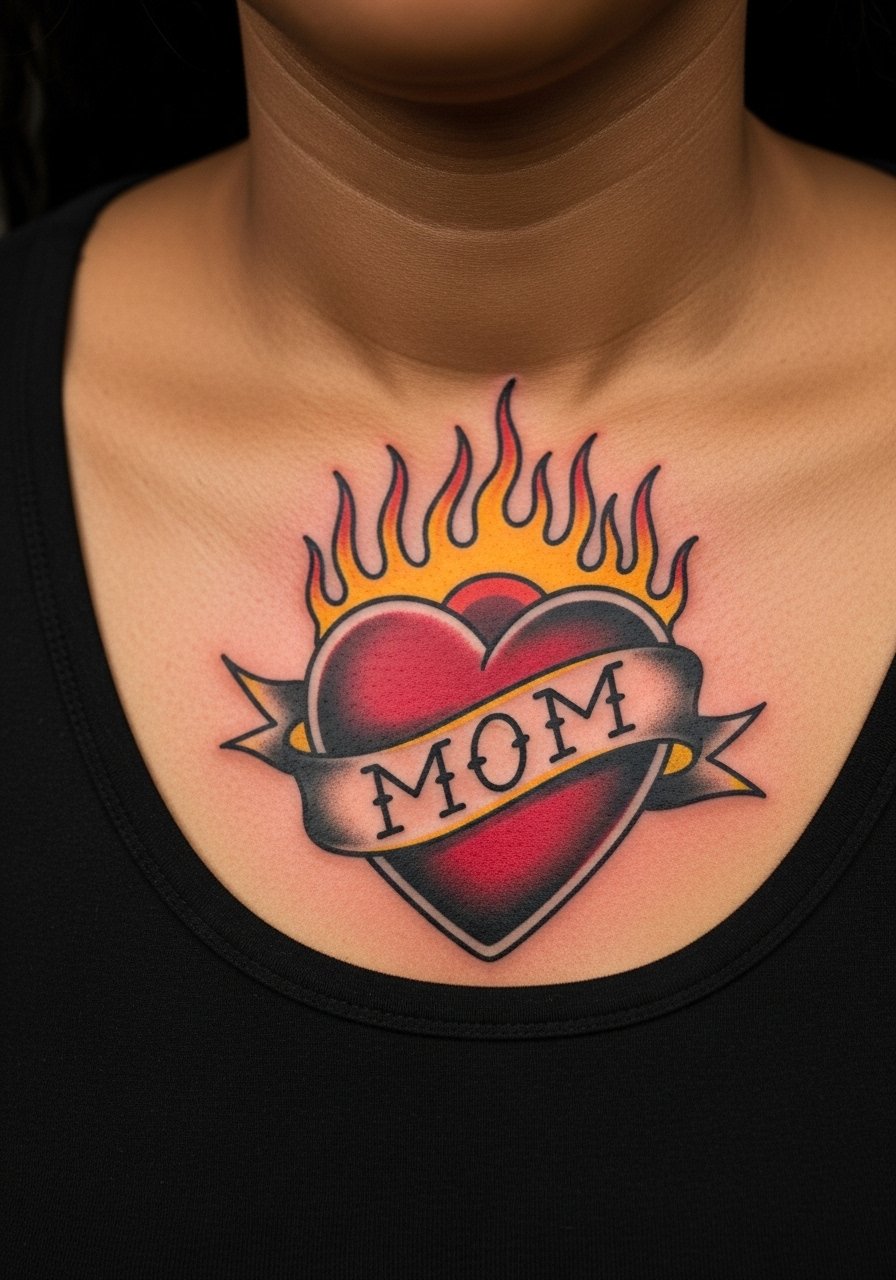
Collarbone placements need crisp outer edges because the area receives stretch when you move. Specify banner text size clearly and ask for slightly thicker script lines to avoid blurring. Session pain varies depending on proximity to bone. For evening wear, a crisp white button down with an open collar frames the banner naturally. Common mistakes include too-small lettering that becomes illegible; plan for readable type at the start.
10. Dragon Silhouette for Back or Sleeve Start
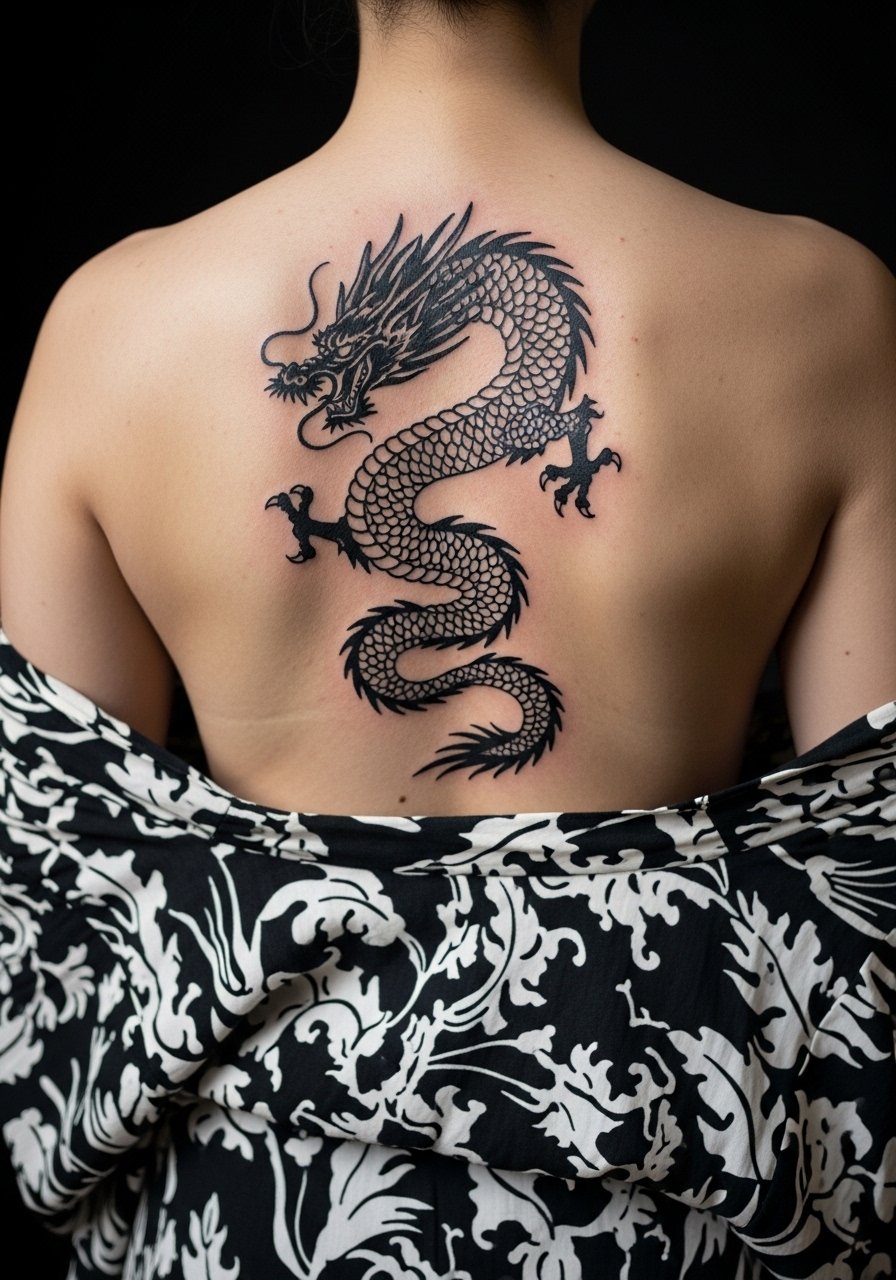
Large silhouettes allow storytelling and keep contrast from washing out over time. I suggest establishing a strong silhouette with spaced interior shading so the dragon keeps shape when seen from distance. Back sessions can be long and require prone positioning. For a sleeve start, discuss how the dragon will flow into arm pieces to avoid awkward seams. Expect three sessions for a full colored silhouette and waves. A planning consult with placement mockups prevents stretching surprises later in life.
11. Swallow Bird on the Hand or Collarbone
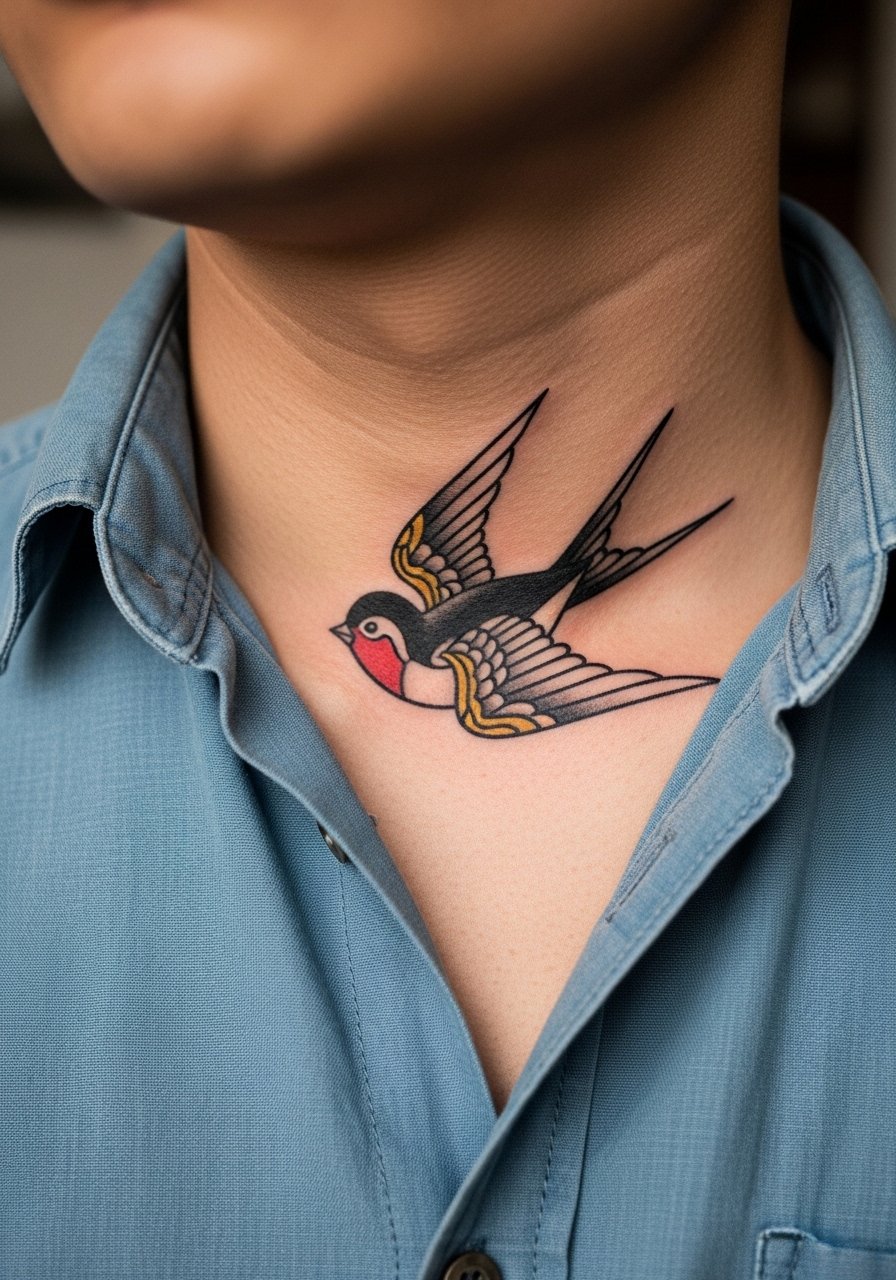
Hand and collarbone placements read differently. Hands face constant washing and friction so linework fades fastest there. Collarbone work lasts longer if kept slightly larger. If you want a small hand swallow, ask for simpler fills and accept yearly touch-ups may be necessary. For collarbone show-off, a thin leather cord bracelet opposite the wrist keeps attention balanced. Hand placements require a clear conversation about career implications and maintenance.
12. Peony Bloom on the Wrist
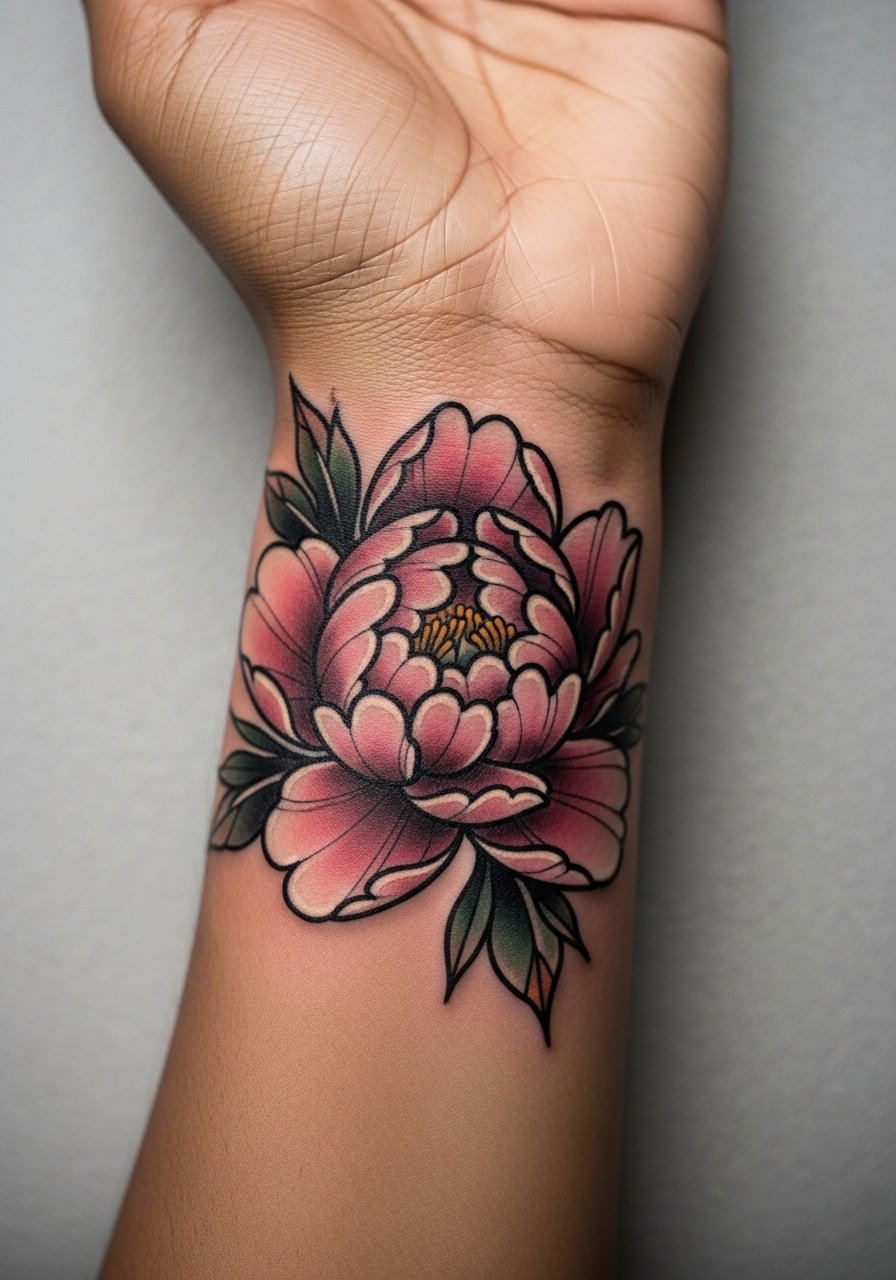
Wrist florals look intimate but are exposed to sunlight and wear. Ask the artist to leave modest negative space between petals so the bloom does not merge over time. Sessions are short but can sting around tendons. For the appointment, wear a short sleeve or a thin leather cord bracelet on the opposite wrist to keep the new piece free from irritation. People often request excessive tiny detail on a wrist and then wonder why the lines soften within a couple of years.
13. Dagger Through Rose on the Outer Thigh
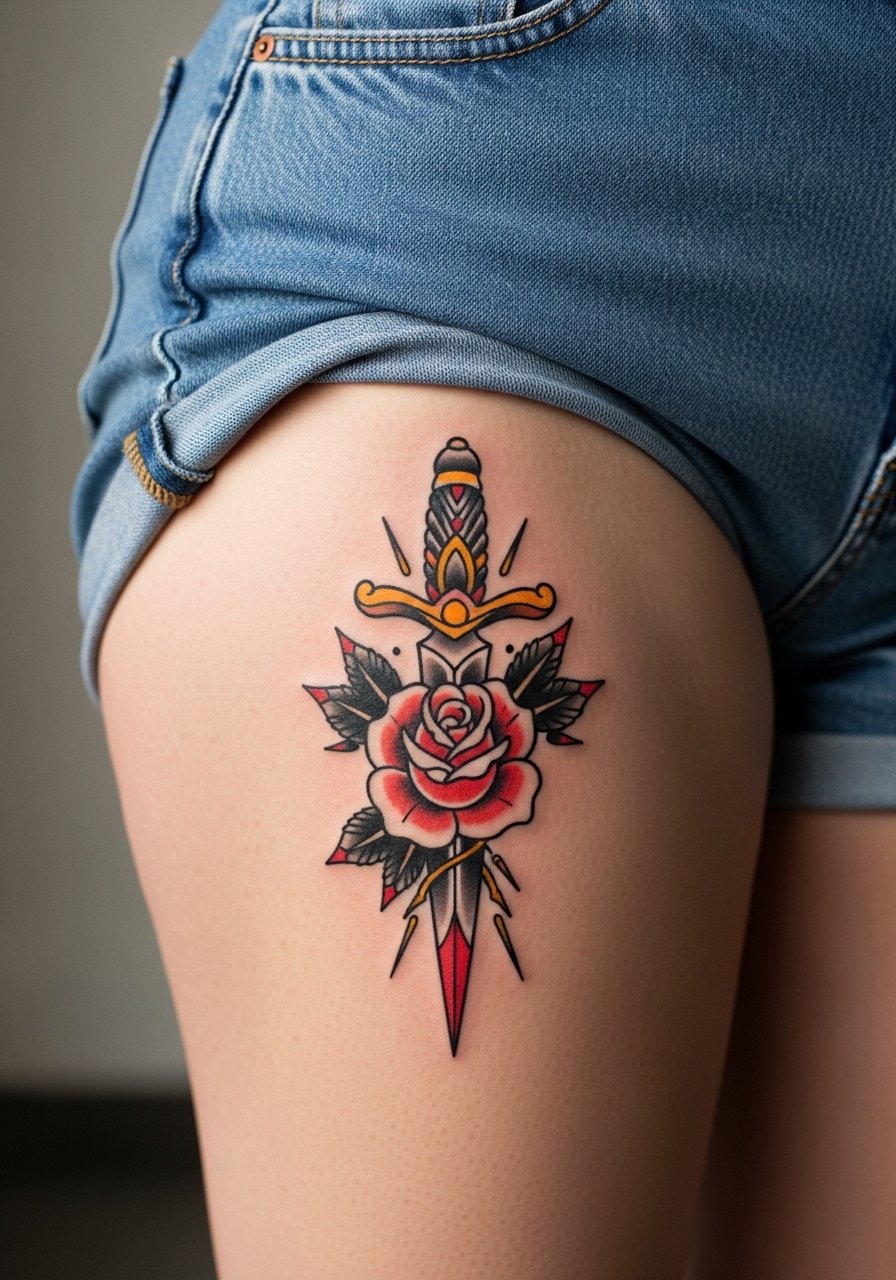
Thigh placements are forgiving and excellent for larger contrast pieces. Specify how much negative space you want between the dagger and petals to keep the silhouette readable. Sessions are comfortable, you can sit or lie depending on artist preference, and two sessions often finish a medium piece. For summer visibility, pair with cropped joggers or shorts. Outer thigh projects age well because they avoid constant rubbing from clothing when planned with the fabric in mind.
14. Cybersigilism Fragment on the Inner Forearm
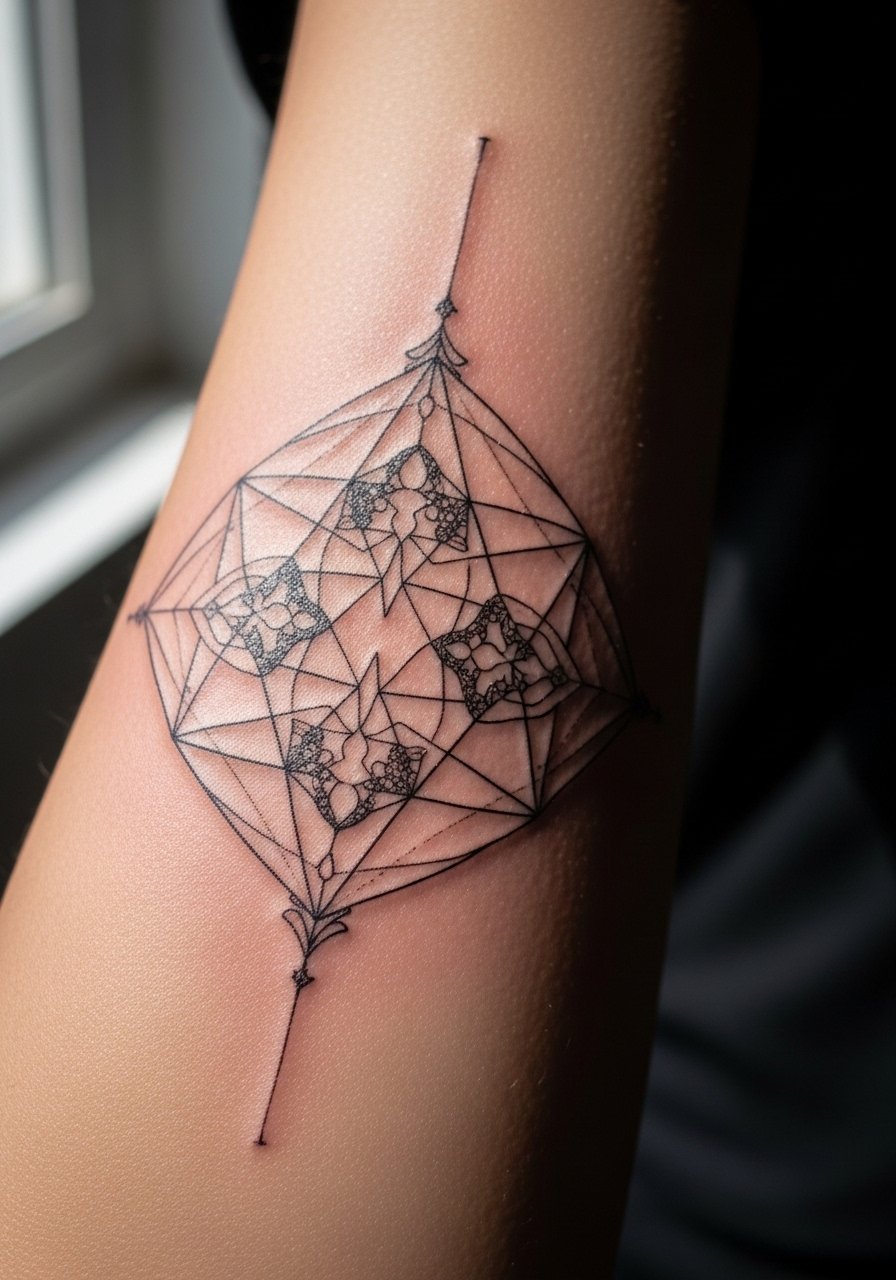
This emerging angle mixes tech sigils with geometric fractals for a personal code-like piece. I recommend asking your artist to scale the fractal gaps so they do not become a gray field as they settle. Inner forearm is visible and heals predictably, but dense linework needs spacing. For the consult, bring the exact symbol proportions you want and confirm how it looks at life size. The session is generally comfortable and quick if the piece is small. Avoid micro-fill everywhere, choose deliberate negative space instead.
15. Biomechanical Skin-Machine Fusion on the Thigh
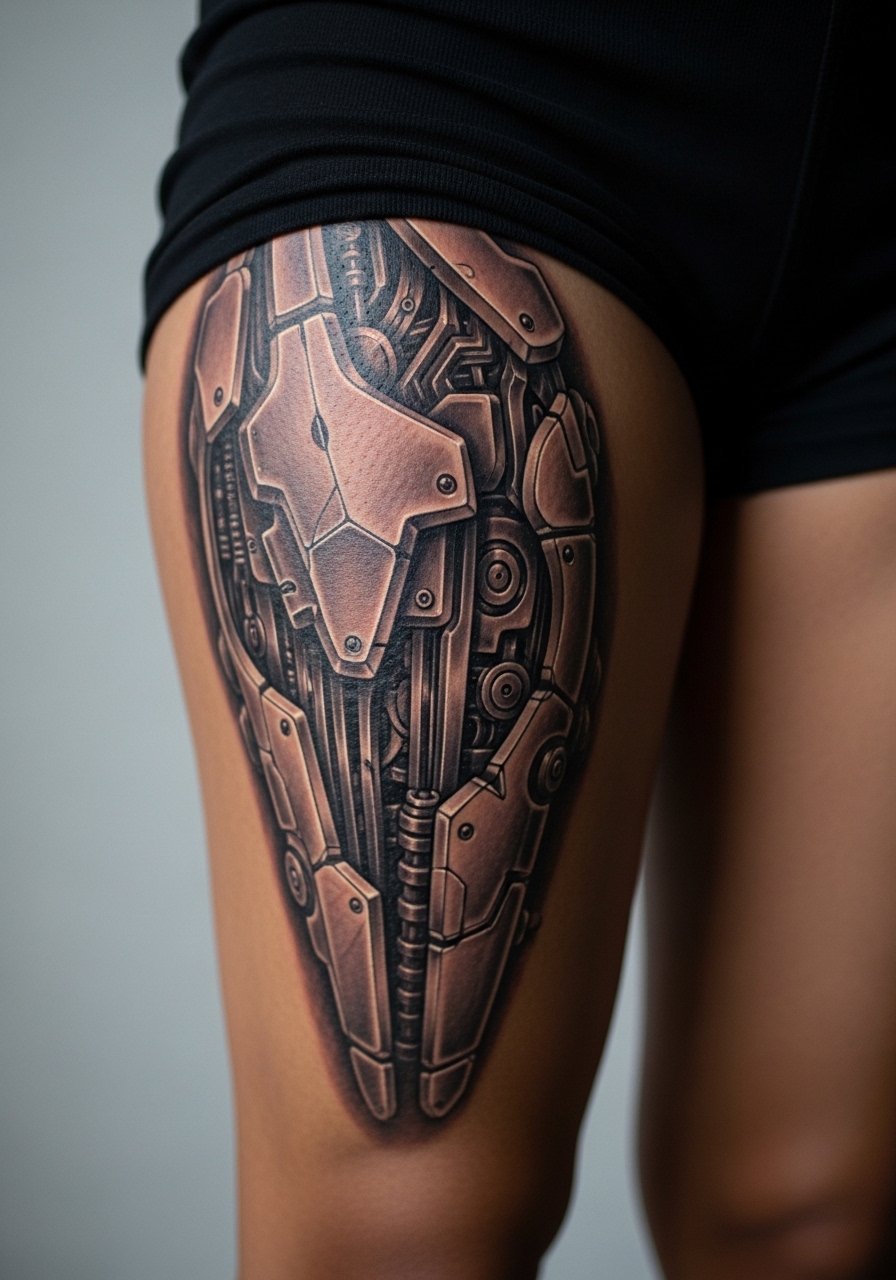
Biomechanical pieces rely on 3D shading to read as depth, and the thigh gives the artist space to build that illusion. Ask for separated layers of shadow so motion over time does not collapse the effect. Sessions can be long and require position shifts. For session wear, loose shorts make access easy and keep blood flow comfortable. If you want the illusion to hold, avoid over-texturing small zones that can blur after several years.
16. Surrealist Dreamscape Sleeve Fragment on the Upper Arm
Surrealist pieces let you stitch odd elements together while using spacing to preserve each motif. I advise marking the negative space between motifs in your mockup so nothing settles into another shape later. The upper arm tolerates dense imagery well and sessions can be grouped. For casual framing, a loose tank top keeps the sleeve visible without interference. Expect one to two follow-ups for any fine stipple areas.
17. Art Nouveau / Art Deco Floral Accent on the Shoulder Blade
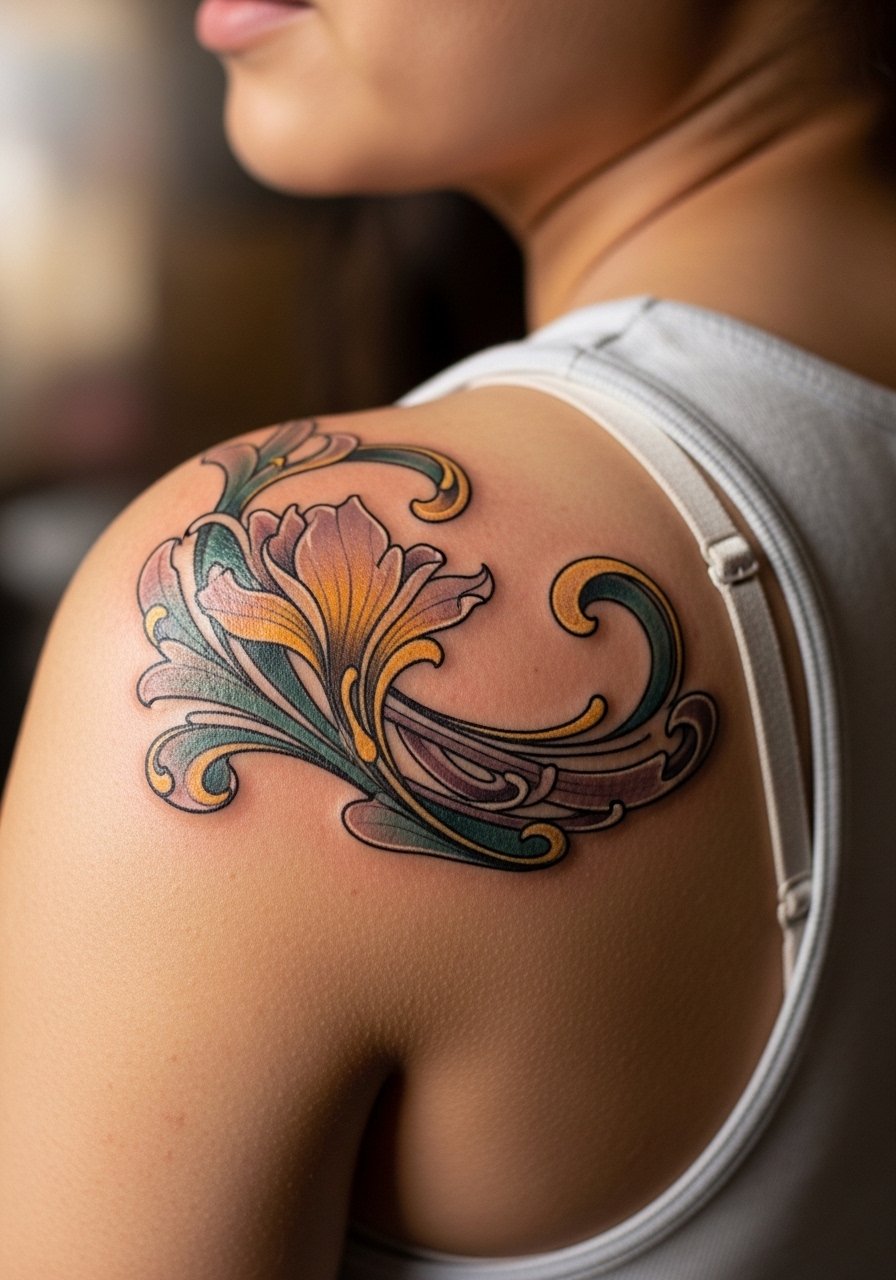
Art Nouveau and Deco elements pair well with neo-traditional palettes for a refined floral accent. When you ask for stylized petals, request flowing curves and minimal micro hatching inside each leaf so the forms stay legible over time. Shoulder blade pieces are easy to hide or show depending on wardrobe, and session comfort is high. For show-off looks, a backless crop top or halter tank frames the shoulder blade elegantly. Avoid packing fine cross-hatching into small curves, that is a common aging trap.
Frequently Asked Questions
Q: How much does a neo-traditional tattoo cost for a medium shoulder piece?
A: Prices vary by region and artist, but expect a medium neo-traditional shoulder piece to fall in a mid-range budget bracket depending on color and sessions. Ask your chosen studio about hourly rates and estimated session count during the consult, and plan for one or two sessions for a shoulder piece with color.
Q: Will fine line elements in neo-traditional work blur faster than bolder areas?
A: From what I have seen, finer lines do soften sooner than heavier linework, especially in high-movement zones like the inner bicep or ribs. Ask your artist to point out which parts of your design might need thicker anchors or planned touch-ups over time.
Q: How should I dress for a ribcage or sternum session to keep the artist comfortable?
A: Wear a fitted sports bra or a cropped top that you can lift slightly so only the tattoo zone is exposed during the session. That keeps the artist’s access clean and your comfort intact, and it limits unnecessary skin exposure.
Q: Do large neo-traditional color pieces need different aftercare than small traditional pieces?
A: The basics are the same, but larger color pieces often need more careful sun avoidance during the early months and may require a longer window before intense workouts. Follow your studio’s recommendations and plan for at least one check-in after the initial healing.
Q: Where can I look for neo-traditional guest spots or conventions near me?
A: Search style-specific hashtags, check local tattoo directories by style filter, and look up guest spot listings with your city plus "neo-traditional." Conventions are also a good place to see multiple artists working in the style and to ask about booking and touch-up timelines.
