
Fine line bird tattoos read like a quiet signature on skin. They can be a whisper on the wrist or a small statement along the collarbone, and how they age depends more on placement and spacing than the initial stencil. Pick the right spot, ask for slightly heavier line weight in the densest areas, and you get a little mark that keeps its clarity for years. The first idea dives into a classic forearm placement and why spacing matters.
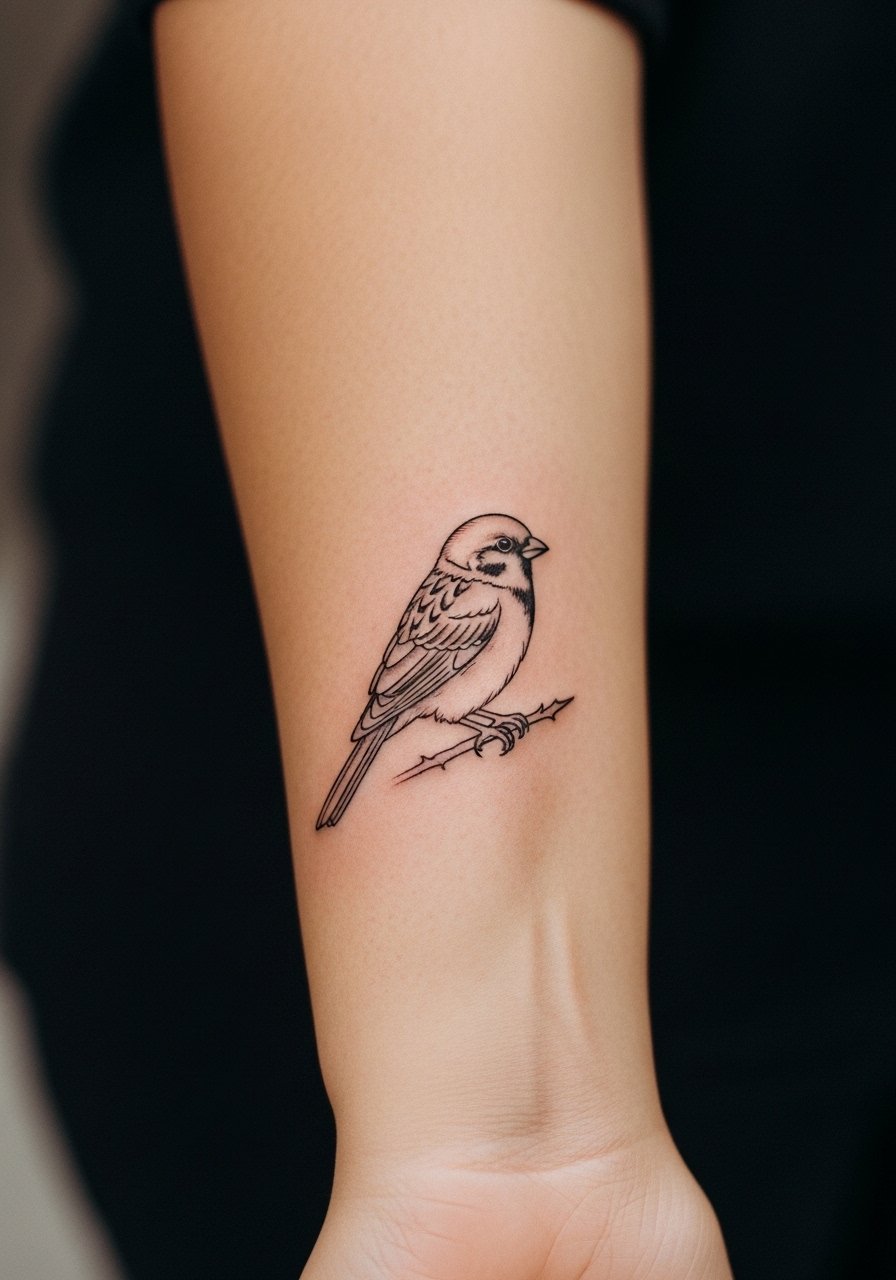
1. Minimal Sparrow on Inner Forearm
I've seen this exact placement last clean for three years when the linework had deliberate breathing room. Ask your artist to space the beak and wing joints a touch wider than the reference so the fine lines do not merge as the skin settles. Session comfort here is moderate, usually 30 to 60 minutes depending on size. Common mistakes are trying to cram feathers into a tiny area or requesting hairline strokes that sit too shallow. For showing it off, roll up sleeves and layer with a linen button-down that frames the forearm without stealing focus. Expect a touch-up around year two if you swim a lot or get heavy sun exposure.
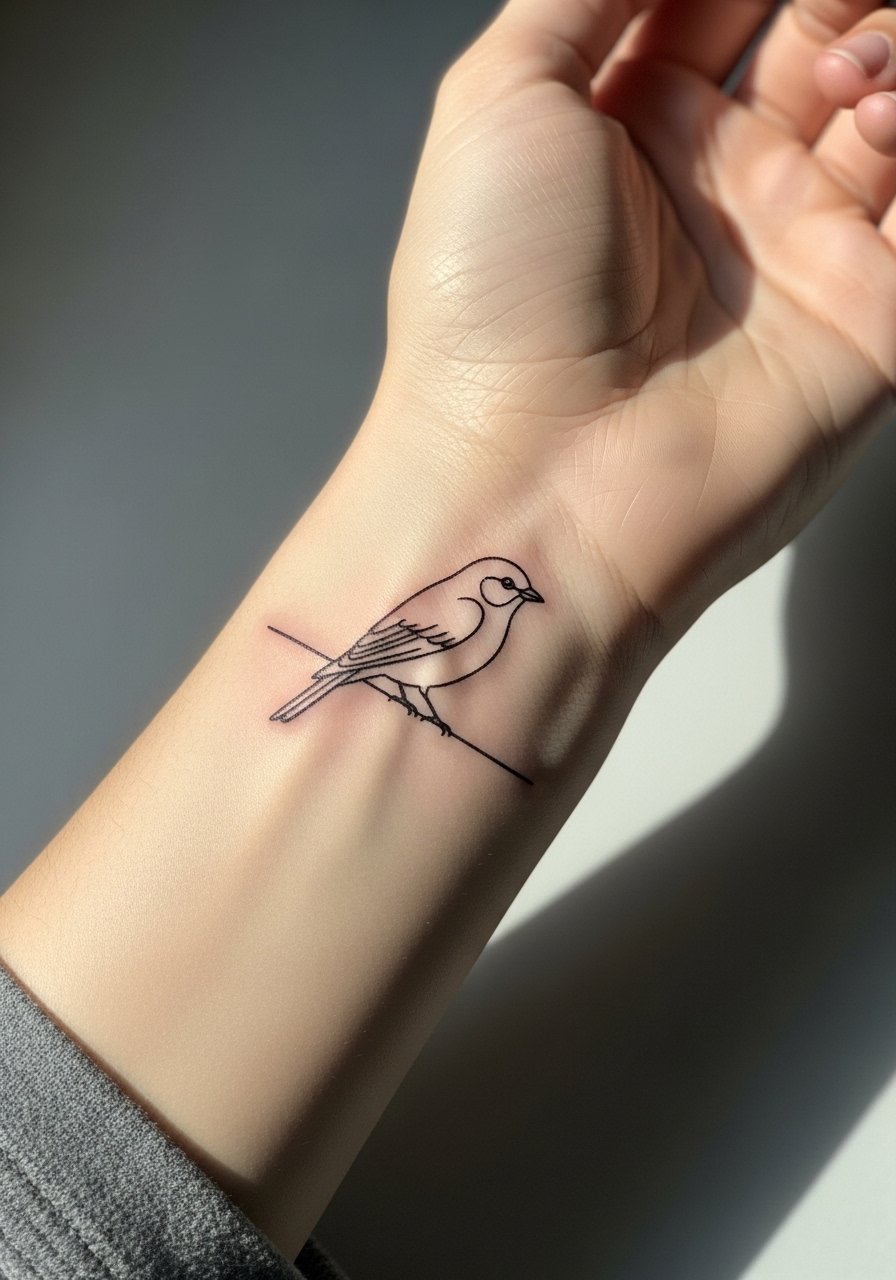
2. Tiny Bird Perched on the Wrist
Fair warning, wrist skin reads fine line differently from softer forearm flesh. The area faces friction from watches and bracelets and may need a slightly bolder outline to hold. A small perched bird takes 20 to 40 minutes and hurts more than the forearm but less than the ribcage. Tell the artist you want a single pass with steady depth, and avoid requesting hair-thin strokes that sit too shallow. For sessions wear a loose cuffed long-sleeve you can roll up easily. For showing it off try a minimalist watch worn on the opposite wrist so the tattoo remains the focal point.
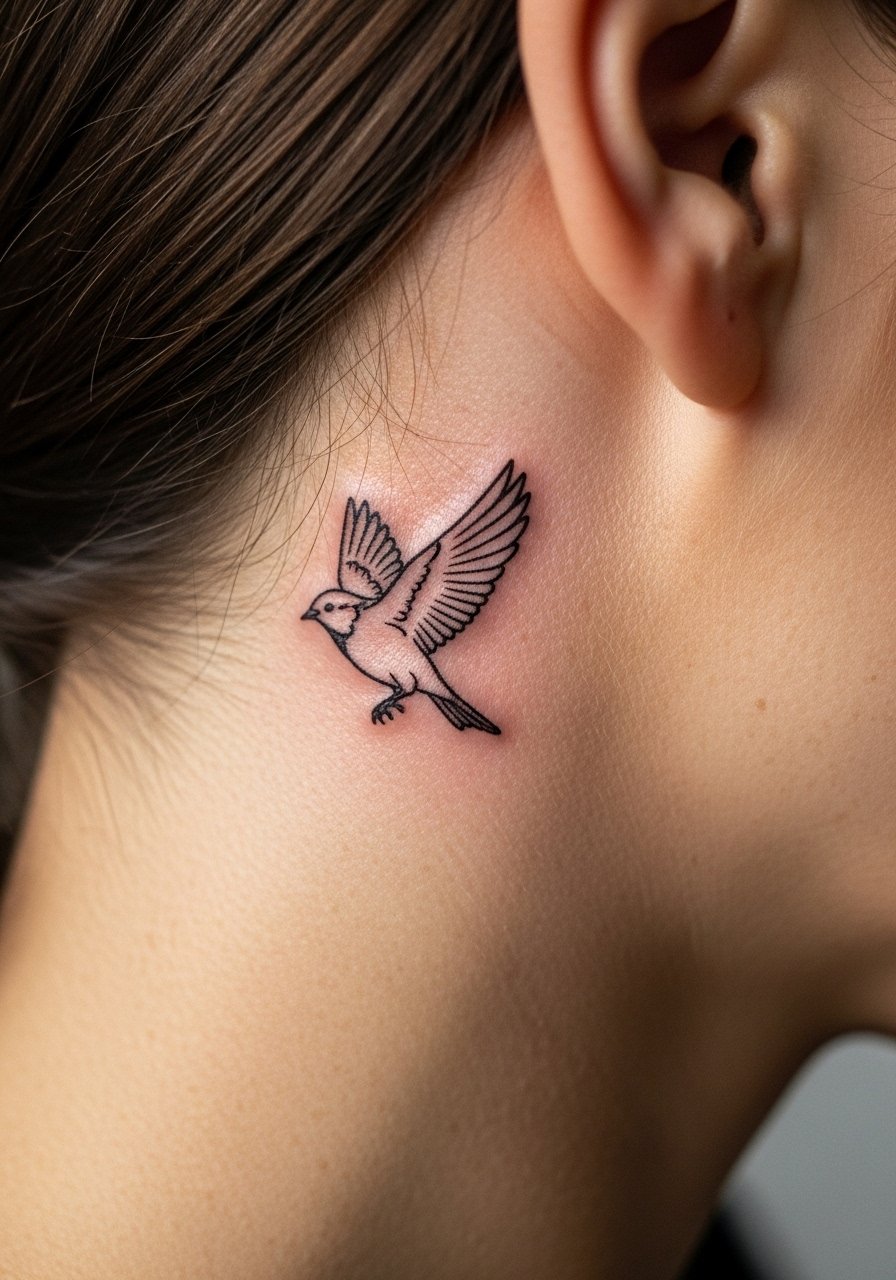
3. Micro Bird Behind the Ear, Below the Hairline
When you sit down for this one, bring photos that show scale against the jaw and hairline so the artist can position it under the hair rather than on the ear itself. The session is quick, often under 30 minutes, but precision is critical. A common mistake is requesting script-sized details near the ear where skin moves more when you talk and sleep. For the appointment wear your hair up so the artist can assess placement, and after the session style with a thin chain pendant that draws attention to the neckline when the tattoo peeks out. Note the placement needs an artist comfortable with tiny, stable linework.
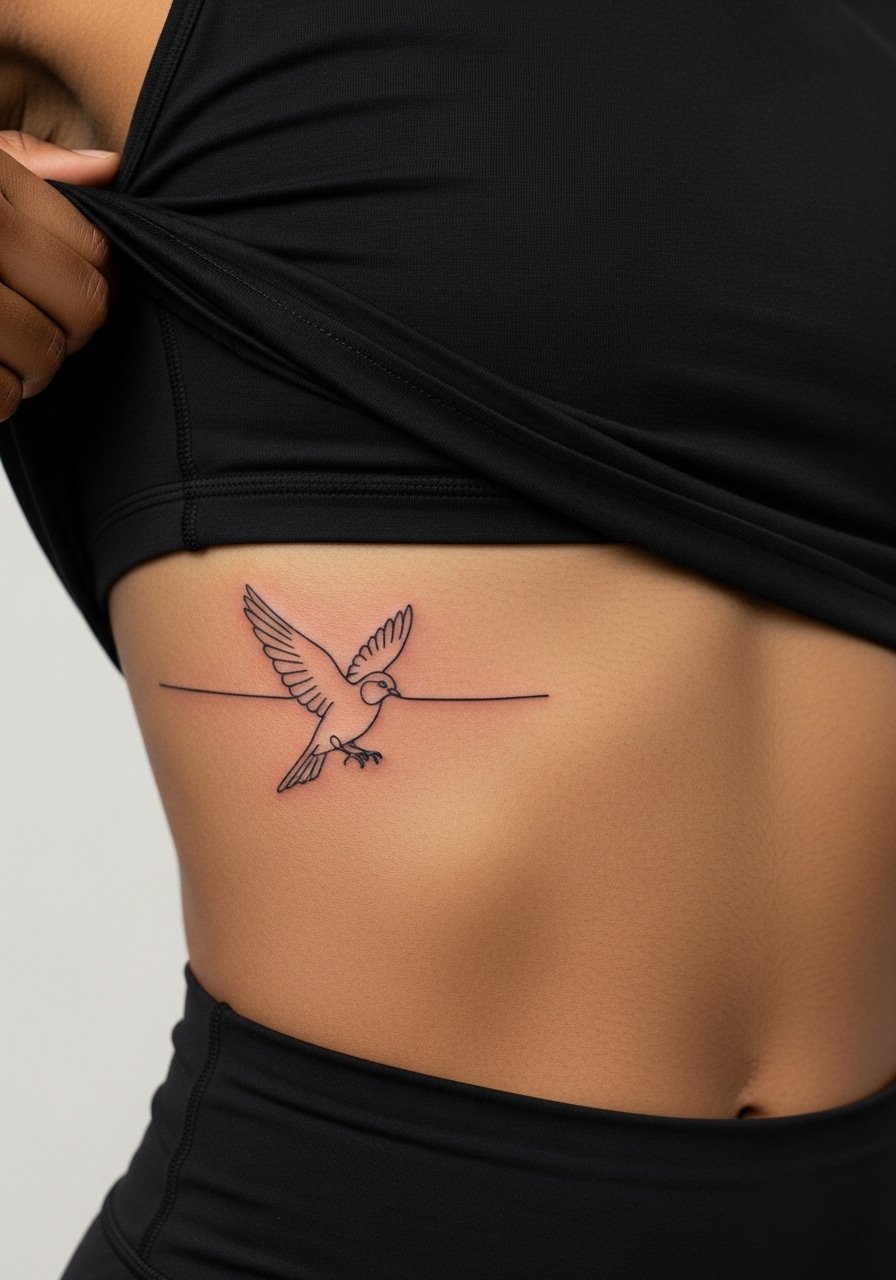
4. Fine Line Bird on the Side of the Ribcage
The ribcage is a high-pain spot, often a 7 out of 10 on most scales. Artists split into two camps on fine line here. One camp says the skin stretch blurs delicate lines within two years. The other camp argues that with proper depth and slightly increased spacing the work settles and keeps its shape. Ask your artist which approach they use and request spacing in dense areas. Sessions take longer because of breaks and breath control, plan for 60 to 120 minutes. For sensitive placements wear a cropped top you can lift so the artist exposes only the tattoo zone during the session.
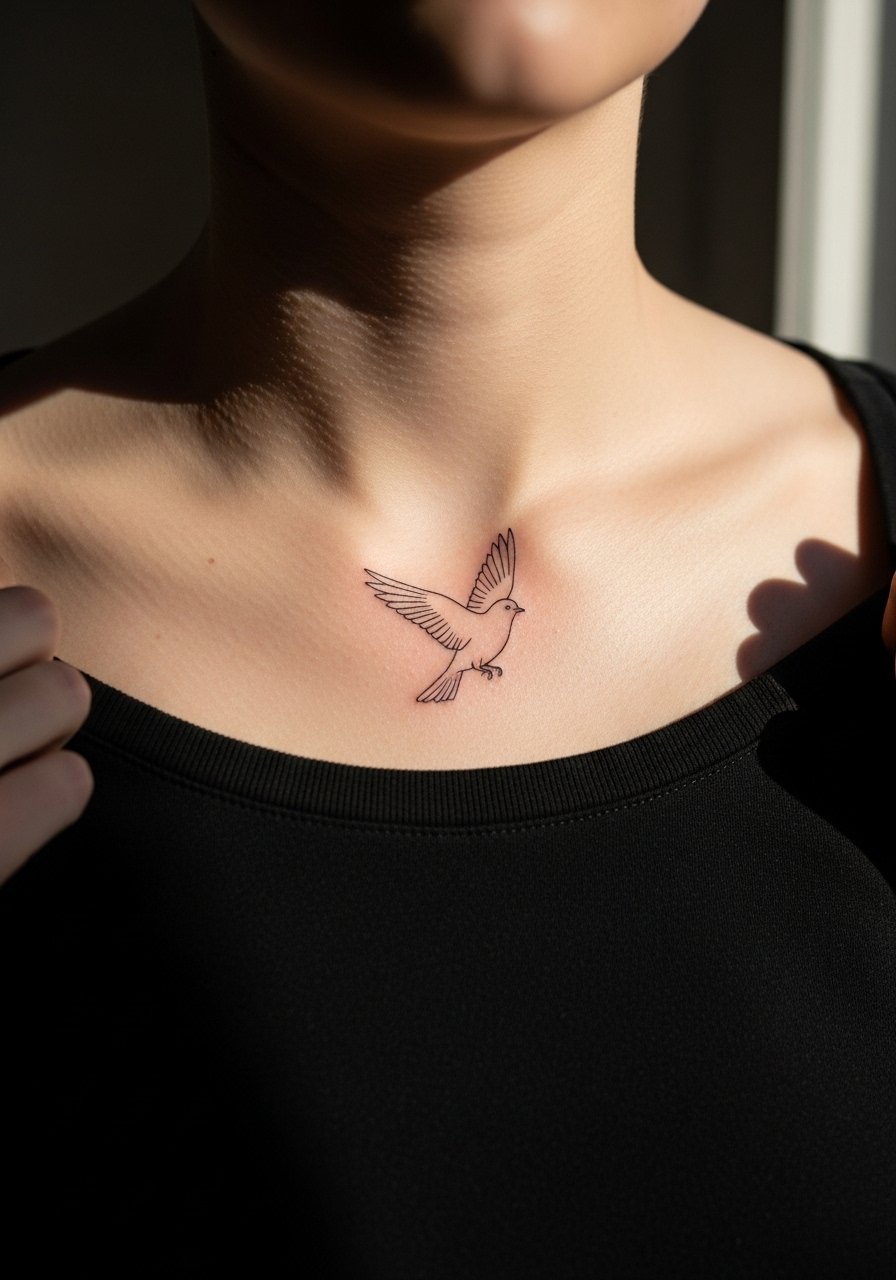
5. Tiny Flight Line on the Collarbone
Most collarbone placements age well if the linework avoids the bone edge. The mistake people make is going too central and letting the clavicle create irregular spacing as the skin stretches. Ask for the bird to sit slightly above the bone with a touch more weight in the wing joints. Session time is usually 30 to 50 minutes and the pain is sharp over the bone. Style this with a wide-neck blouse or an open-back midi dress that lets the tattoo peek out at different angles. Over five years expect natural softening, and plan touch-ups only if the lines lose their crispness.
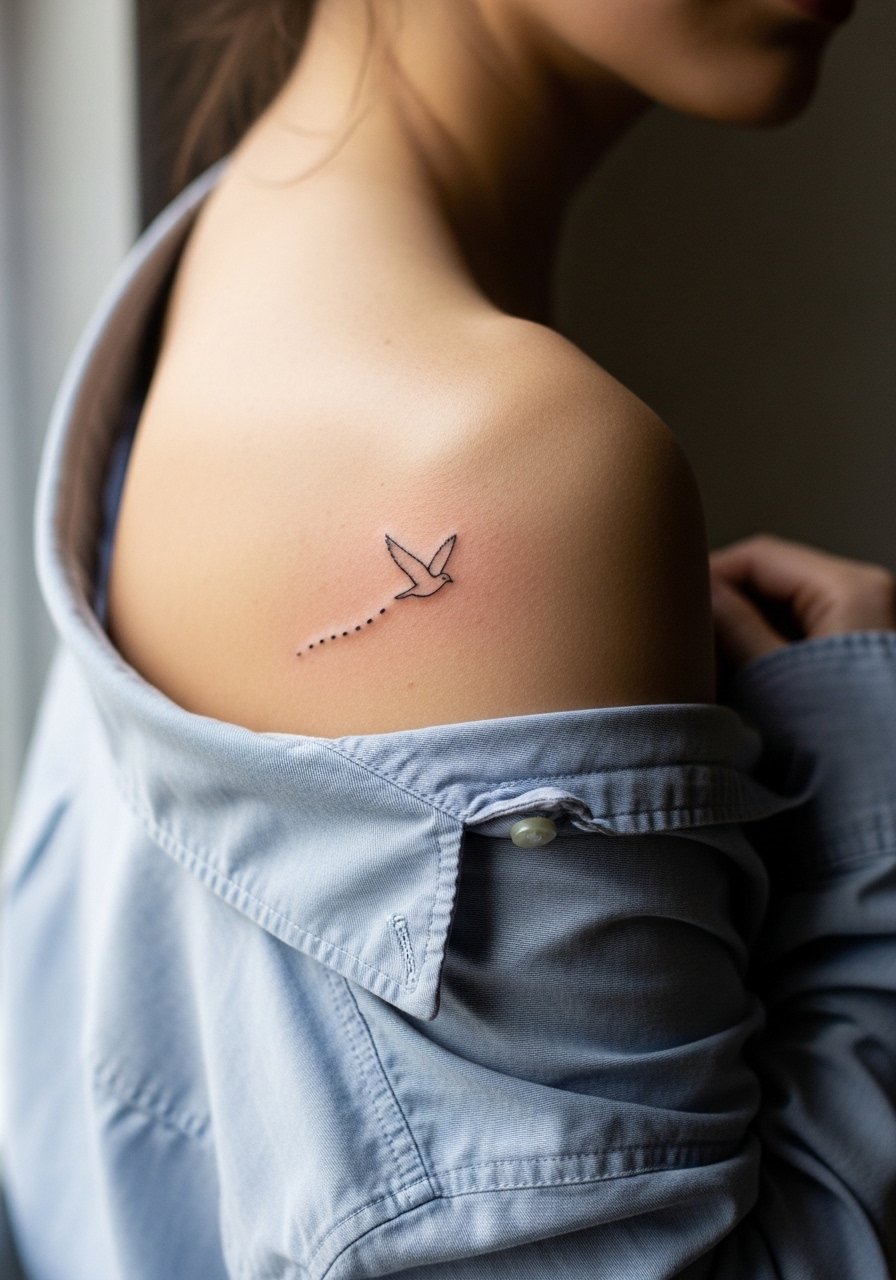
6. Single-Line Bird on the Outer Shoulder
This placement looks effortless from across a room and it tolerates slightly finer linework than hands or ribs. Most sessions take 30 to 60 minutes and the shoulder is forgiving because the skin is stable and the area sees less daily friction. A common mistake is packing too many feathers into a small silhouette which ages into muddied detail. Tell your artist you want negative space in the wing and a single pass for the outline. For showing it off wear a loose tank top or a button-down pulled aside so the shoulder reads clean on camera.

Studio Day Picks
The shoulder, collarbone and forearm pieces above benefit from small prep and healing products that make sessions and the first week easier.
-
Stencil transfer paper kit. Lets you preview line placement on skin before the needle hits, useful for the collarbone and inner forearm positions.
-
Topical numbing cream. Applied before a wrist or rib session it can ease the sharp edges of pain while still allowing the artist to work accurately.
-
Thin protective film roll. Ideal for finger and wrist tattoos to reduce friction from daily washing and keep lines intact during the first days.
-
Fragrance free gentle body wash. Cleanses healed and healing linework without irritating the delicate ink channels common to fine line pieces.
-
Aquaphor healing ointment. A thin layer in the first days locks in moisture for small black linework without clogging the area, helping tight lines settle.
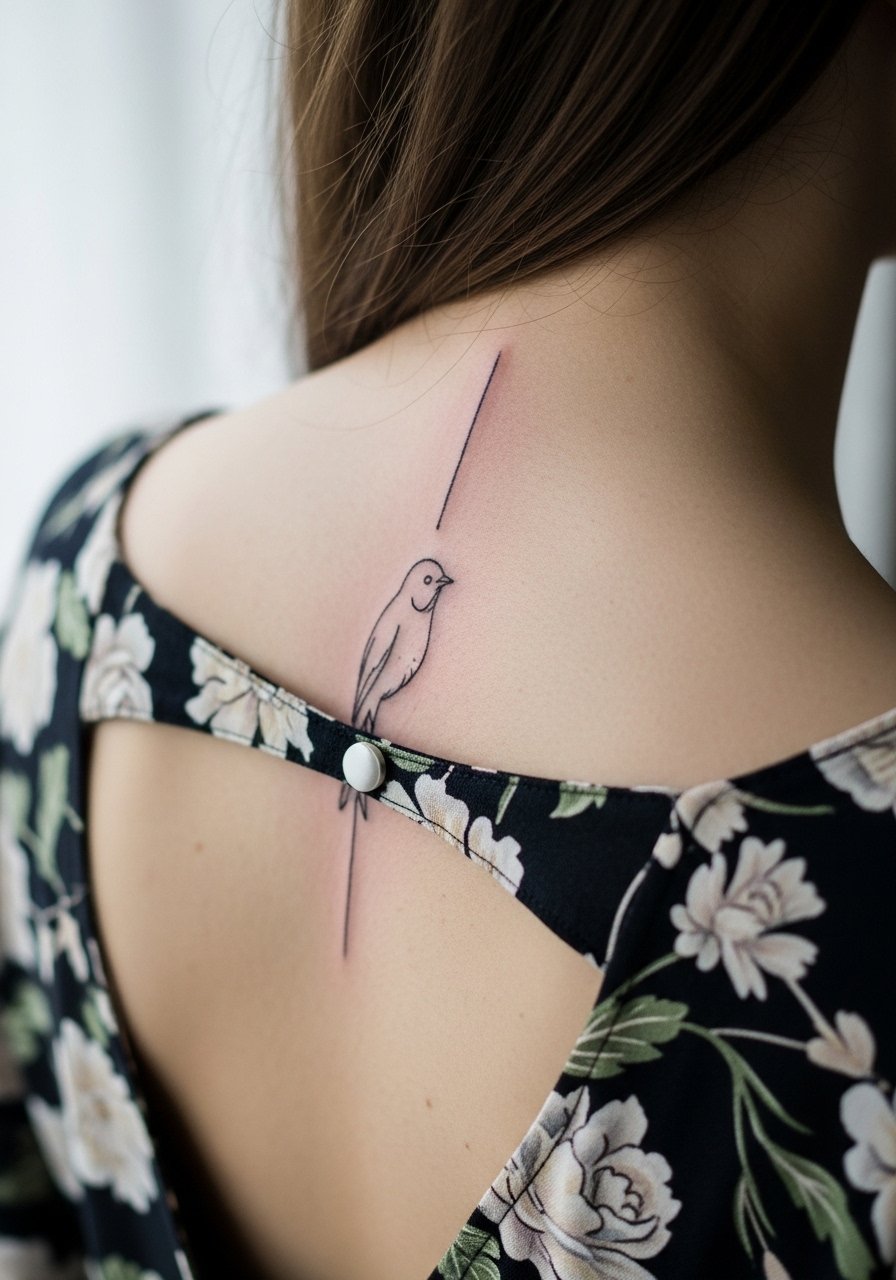
7. Tiny Flying Bird Along the Spine Edge
This placement reads beautifully with clean vertical spacing, and it handles slightly heavier linework than micro wrist pieces. The session usually runs 40 to 90 minutes depending on how many birds you place along the spine. Ask for spacing between each bird that accounts for curvature and movement. For showing it off on date nights try an open-back dress or a halter top that frames the column of birds. Be aware of touch-up timelines because the spine sees occasional stretching with weight change, which can nudge lines over several years.
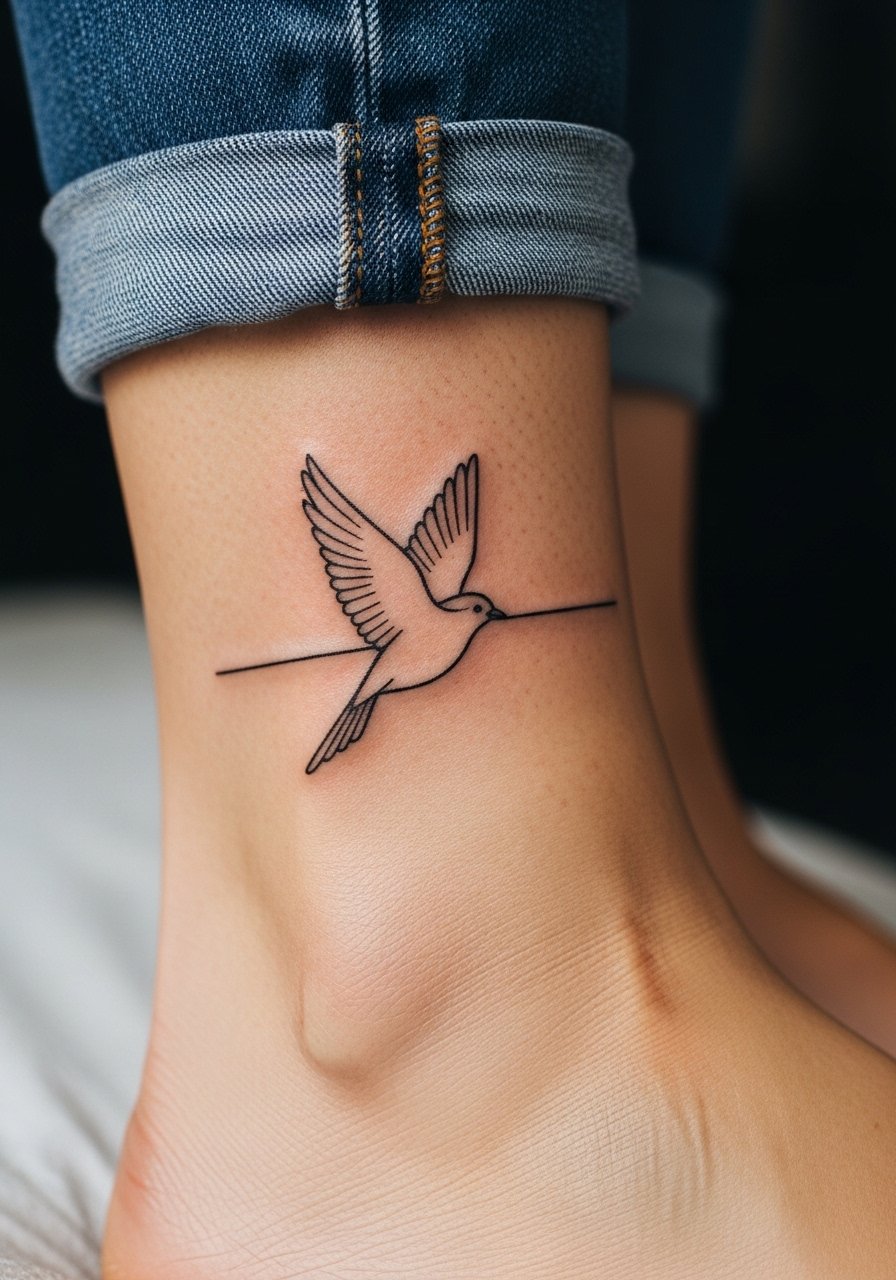
8. Micro Bird on the Side of the Ankle
There is something about tiny ankle birds that reads like punctuation with footwear. The area is prone to rubbing from socks and shoes so tell your artist to expect slight thickening in the outline to compensate. Sessions are quick, 15 to 30 minutes, but plan for careful aftercare because the ankle sees constant movement. For styling pair this design with sandals or with jeans rolled up at the cuff so the tattoo peeks out. Over two years expect softening if you wear ankle boots daily, and factor that into any decision about line weight.
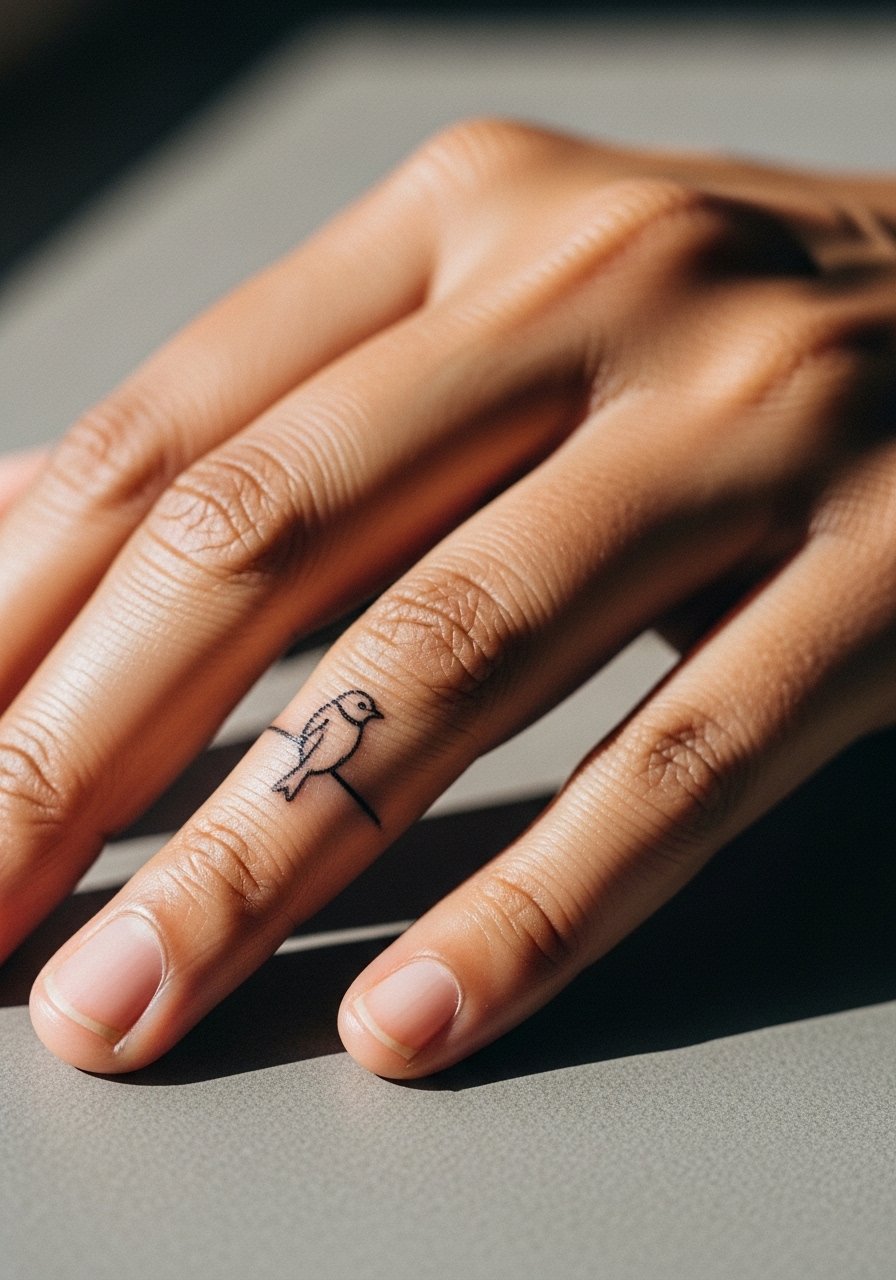
9. Tiny Bird on the Side of a Finger
I've seen these look delicate and intentional when artists use a slightly heavier contour. Fingers are high blowout risk because skin is thin and hands are washed constantly. Artists disagree about longevity on fingers. One camp treats finger pieces as temporary statements that need touch-ups every year. The other camp says precise depth and bold contours can hold for several years. If you go for this placement, accept a higher touch-up likelihood and ask for simple silhouettes rather than internal detail. For showing it off consider stacking with a delicate ring set that frames the finger without hiding the tattoo. Note that some workplaces still restrict visible hand tattoos.
10. Minimal Outline Bird on the Upper Calf
Fair warning, this placement has low daily friction and tolerates finer detail, but sessions are longer if you add a flight trail. Most upper calf pieces take 45 to 90 minutes and the pain is mild. A common mistake is asking for dense stipple shading in a tiny silhouette which ages into muddiness. Tell your artist you want a clean outline with negative space in the wings and a single-pass fill if any. This spot pairs well with rolled shorts or midi skirts when you want to show the tattoo. Expect solid longevity on darker skin tones because saturation reads strong there.
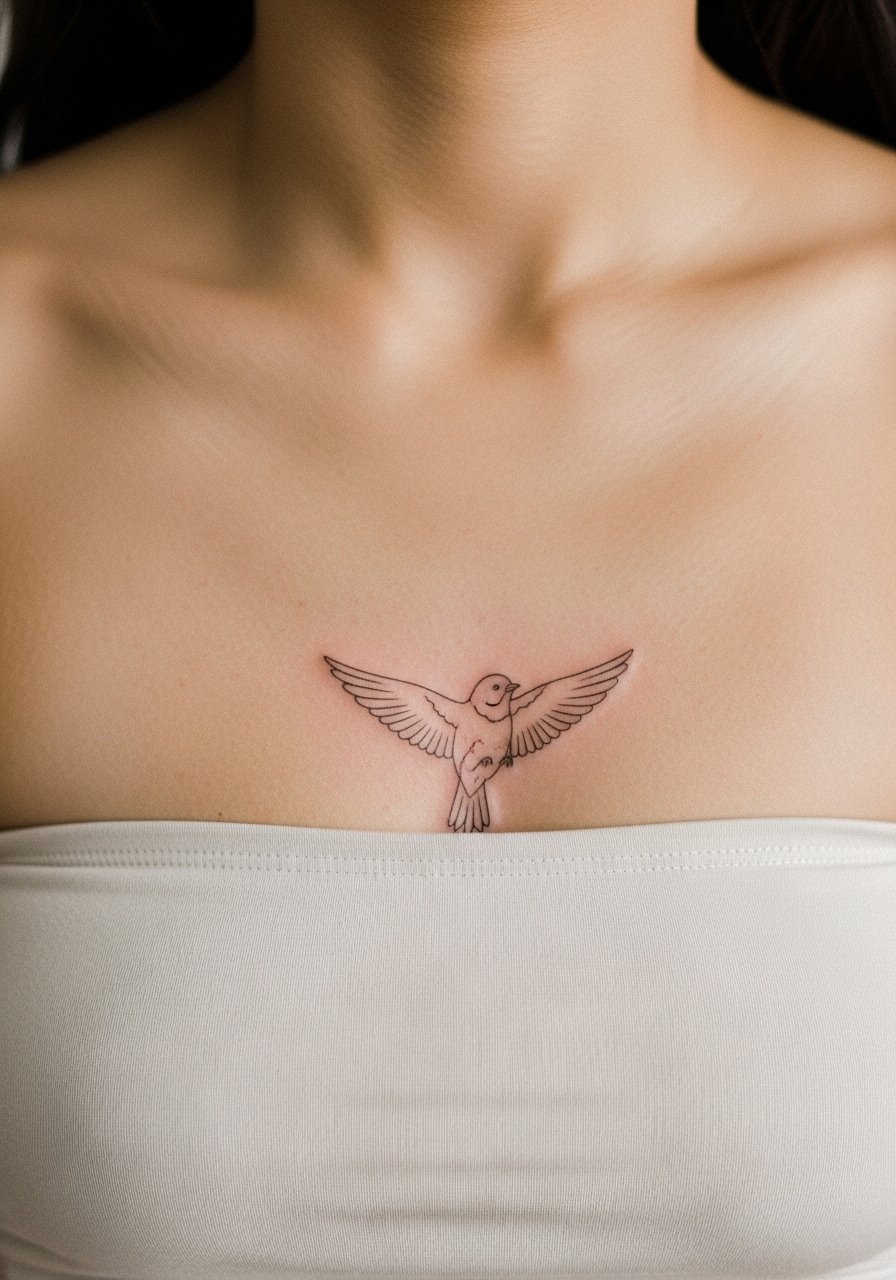
11. Single-Line Bird Over the Heart, Sternum Edge
When you sit for a sternum edge piece, bring a fitted sports bra or bandeau so the artist exposes only the area and nothing more. The placement is intimate and the skin shifts with deep breaths which can complicate fine strokes. In consultation ask for slightly larger negative space inside the wing to avoid early softening. Sessions can be 45 to 90 minutes depending on how many breaks you need. For session wear try a strapless sports bra so adjustments are simple and discreet. This placement also means thinking about who sees it and when.
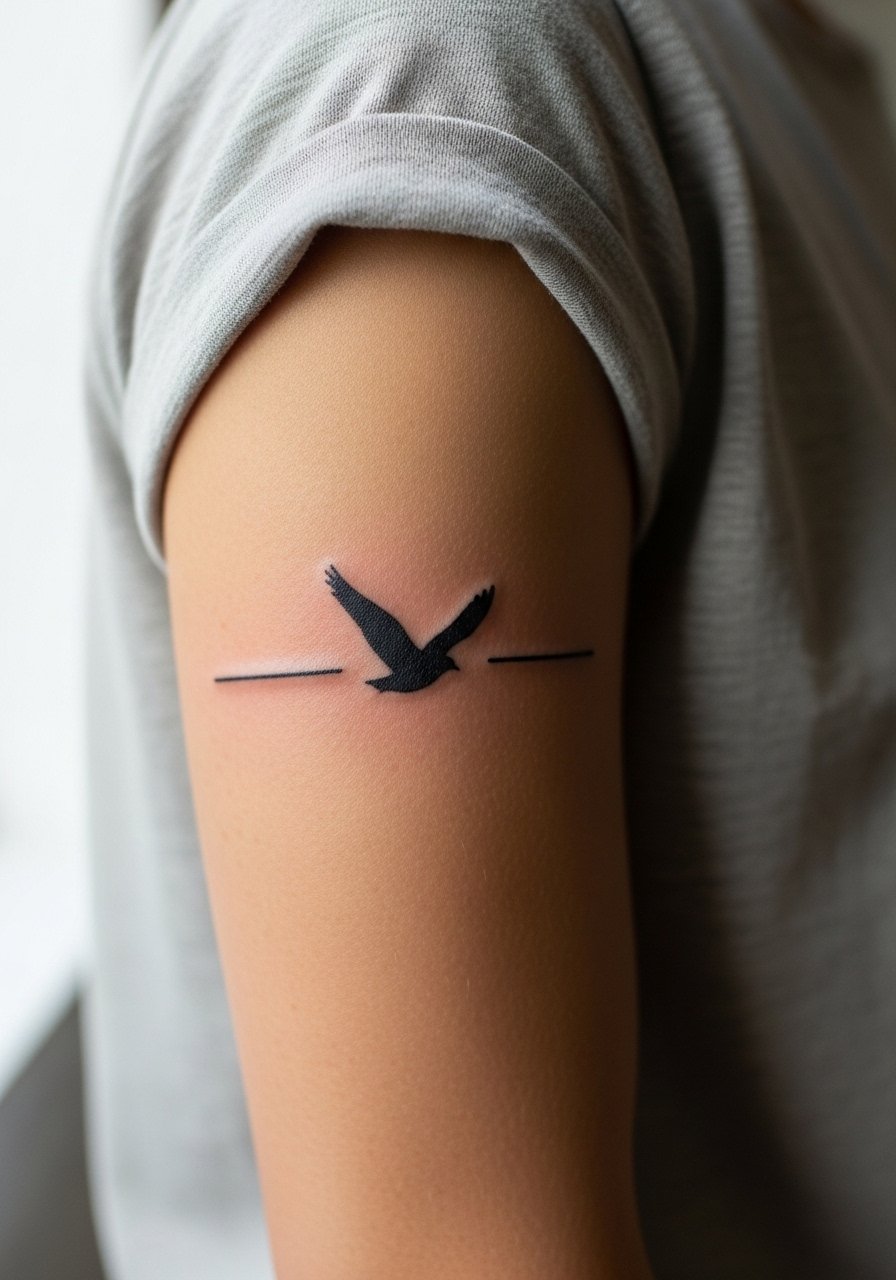
12. Minimal Bird Silhouette on the Upper Arm
The upper arm is forgiving and perfect for slightly more detailed tiny birds. The biggest mistake is crowding multiple small designs in a narrow band which reduces negative space over time. Tell your artist you want a single pass for outline and a touch more weight at anchor points. Sessions usually last 30 to 60 minutes and pain is low. For showing it off during warm months wear a short-sleeve linen tee with the sleeve just grazing the top of the artwork. The upper arm also makes a good candidate for future expansion into a sleeve if you want to build around the bird later.
13. Tiny Line Bird on the Lower Back
Most lower back birds age nicely because the area is relatively protected from sun and friction. The common mistake is placing the bird too low near waistband zones that rub against clothing. Ask for the design slightly higher than you think so it sits above typical waistlines. Sessions run 30 to 60 minutes and pain is mild to moderate depending on thickness of flesh. For showing it off pick a low-rise with a cropped top so the tattoo sits in the visual gap intentionally. Note that lower back work can be sensitive to weight change across years.

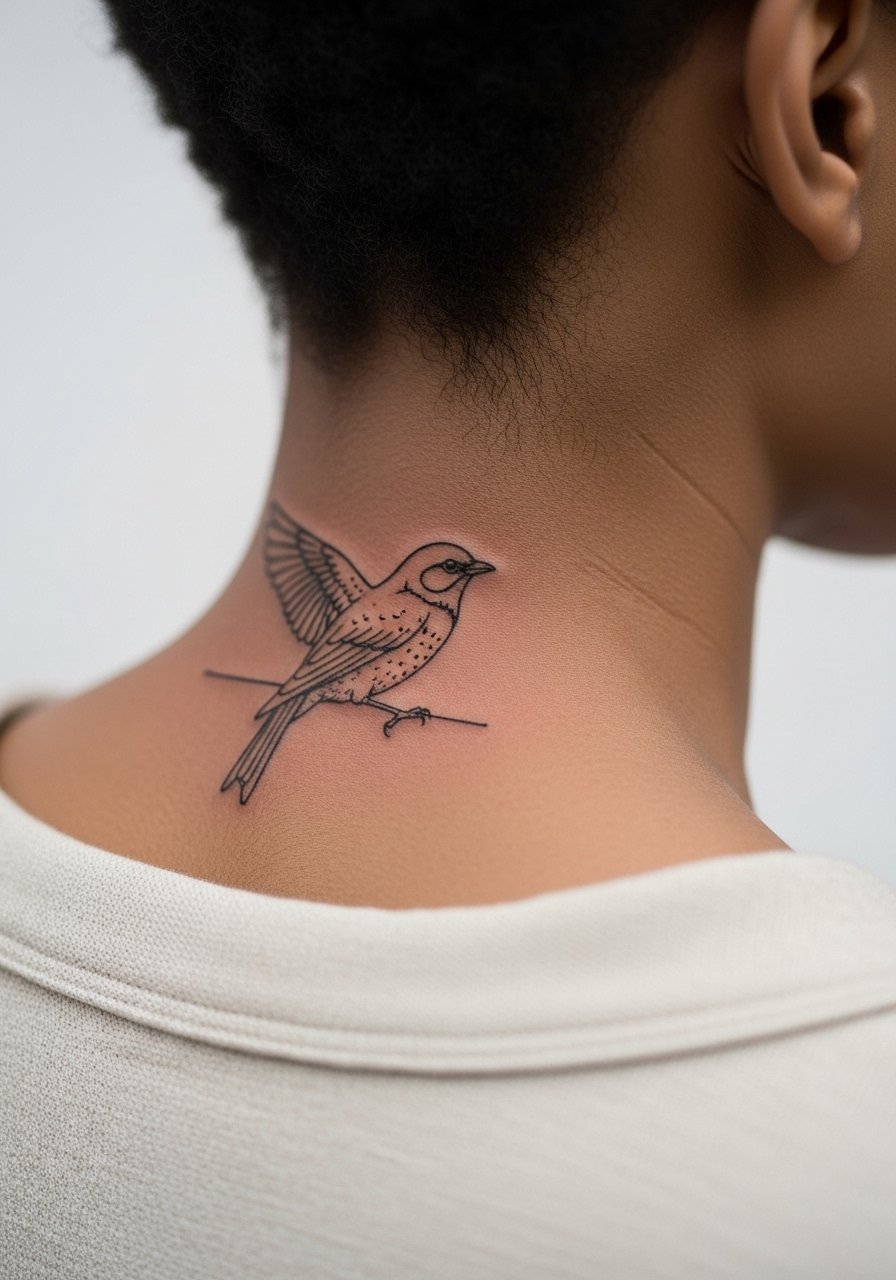
14. Fine Line Bird on the Back of the Neck
There is a visual impact to a small bird centered at the nape that moves with hair and collars. The skin here tolerates fine work if the artist accounts for hairline placement. A common error is centering too low or too high which affects how hair covers it. Sessions are around 30 minutes and pain is brief but sharp. For the session wear a wide-neck shirt you can pull slightly to one side so the artist has clean access to the nape. This placement also slides under workplace policies in some fields, so consider visibility.
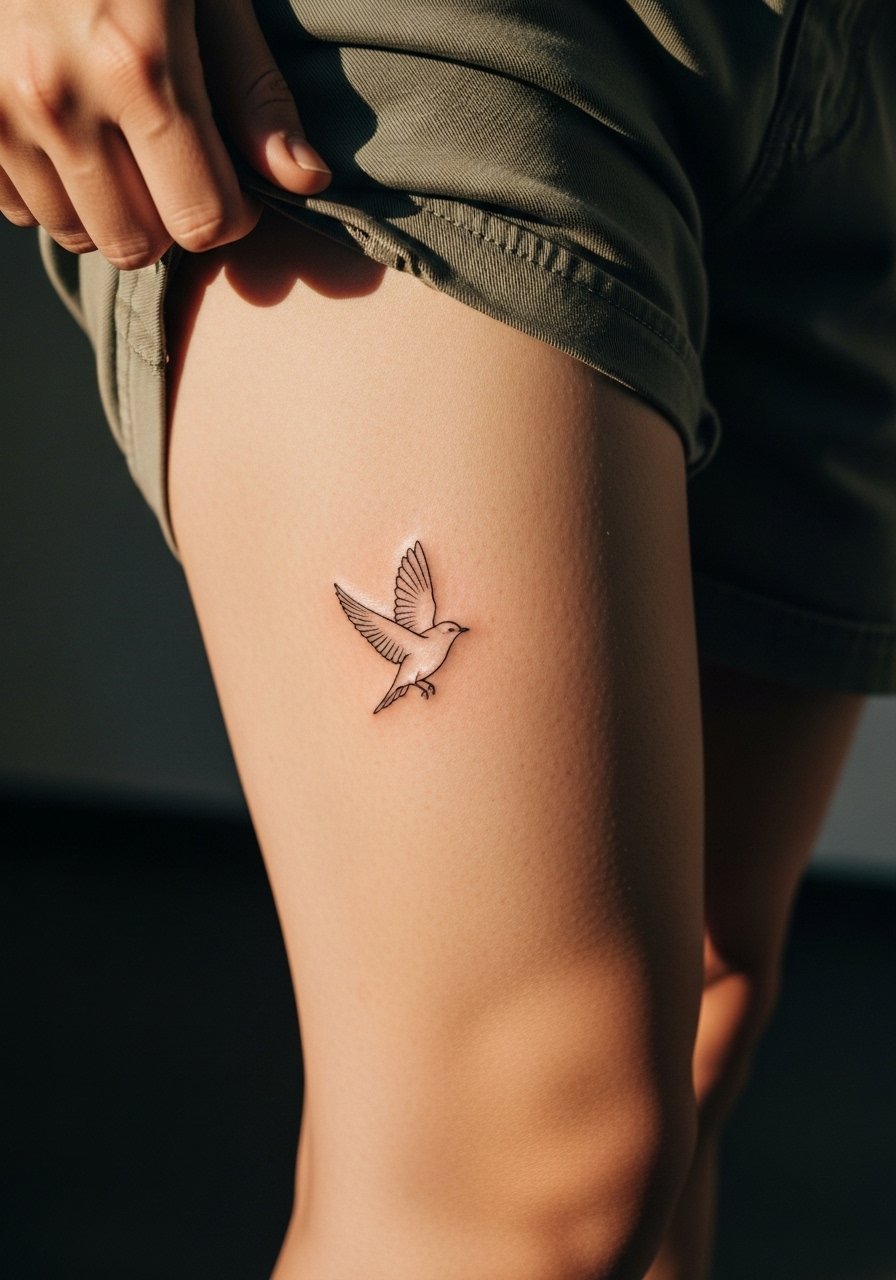
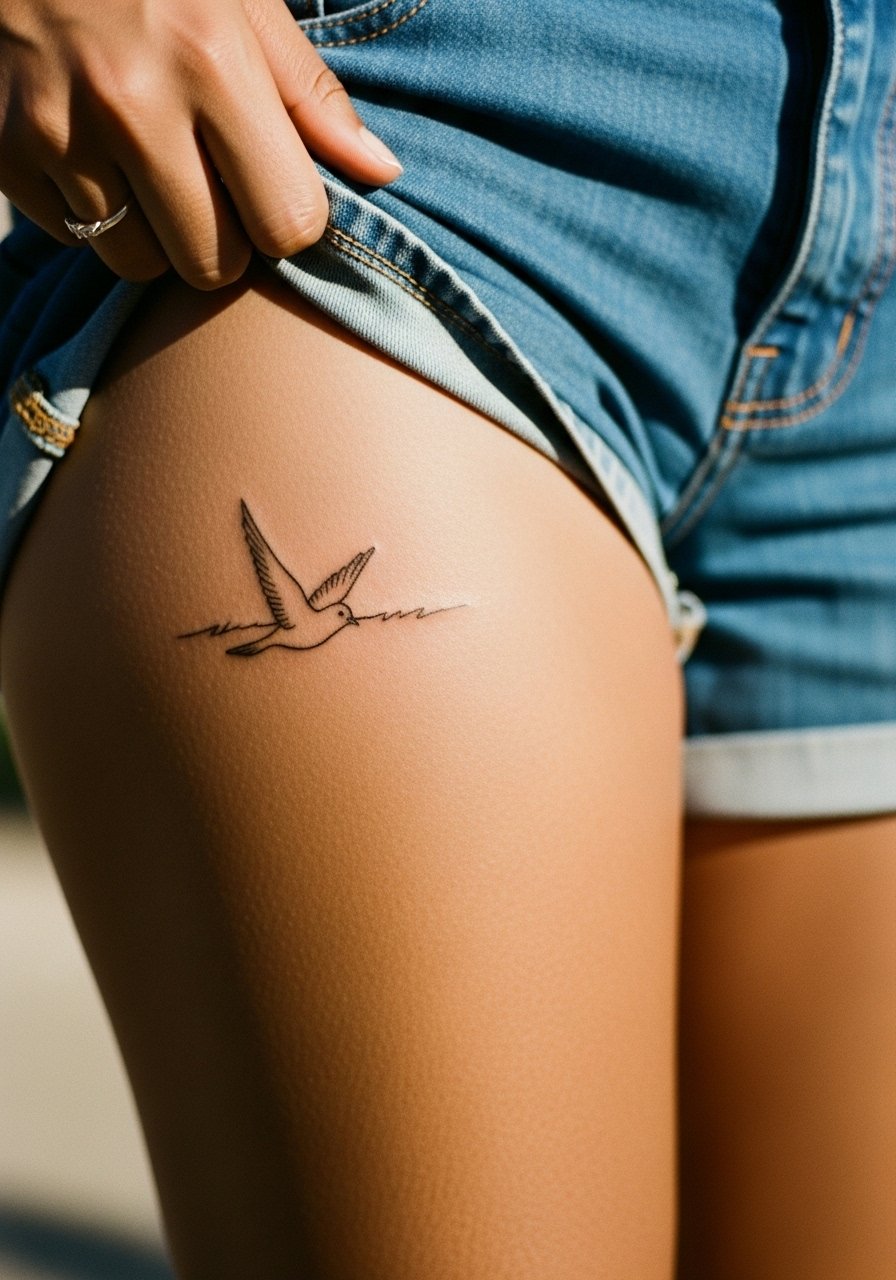
15. Tiny Bird on the Hip
Artists split when it comes to hip and upper thigh fine line work. One group worries that shifting clothing and body changes blur tiny strokes. The other group points out that with measured spacing and the right depth the hip keeps crisp marks for years. The session is moderate in time and pain, usually 45 minutes for a small piece. During the appointment wear high-waisted denim or a swimsuit bottom you can lower slightly so the artist only exposes the hip zone. For showing it off, pair with high-cut shorts or a swimsuit. Expect possible touch-ups if your waistline fluctuates.

16. Minimal Bird Flying Over the Shoulder Blade
I've noticed shoulder blade placements hold detail well because the skin is stable and sees less daily friction. This area allows for a slightly longer flight trail without risking blowout. Sessions are comfortable to moderate and usually take 45 to 90 minutes. Avoid asking for micro stippling inside tiny shapes because it tends to soften into a blur. For the session throw on a loose button-down shirt you can pull aside so the artist has room to work. The shoulder blade also makes a smooth transition point if you later expand into a back piece.
17. Tiny Bird Above the Ankle on the Inner Thigh Edge
This inner-thigh-edge placement reads intimate and it ages differently than outer ankle or calf work. The skin here is sensitive and session time is moderate, often 30 to 60 minutes. A common mistake is asking for too much internal detail in a tiny silhouette which can blur as the area heals. For the appointment wear shorts you can shift slightly so the artist sees only the inner thigh zone. If you plan to show this piece in swimsuits the location sits naturally with high-cut swims, otherwise expect it to stay mostly private.
Frequently Asked Questions
Q: Will a fine line black bird blur faster on the ribcage than on the forearm?
A: It depends on placement and spacing. Rib skin moves with breathing and stretches differently, so delicate strokes often need more spacing or slightly heavier outlines to maintain clarity. If you want a long-lasting crisp look on ribs, ask your artist about spacing and touch-up plans.
Q: How often should I expect to touch up a tiny bird on a finger or hand?
A: Fingers and hands face constant washing and friction so annual touch-ups are common. Some people plan for a refresh at year one and then reassess. If consistent longevity matters, discuss slightly bolder contouring with your artist during consultation.
Q: Are there clothing tips for showing off a collarbone bird without exposing too much?
A: Yes. A wide-neck blouse or a shallow V top gives the tattoo space to breathe while keeping coverage. Layer with a lightweight blazer if you want to frame the area without full exposure.
Q: Do fine line bird tattoos work on darker skin tones?
A: They can look excellent, especially when artists adjust line weight and spacing to the skin’s texture. Darker skin shows saturation well, but the key is contrast. Talk with your artist about slightly stronger anchors in the design so the silhouette reads clearly.
Q: Can I get a tiny bird tattoo if my job has strict appearance policies?
A: Consider placement that stays easy to cover, like the upper thigh or ribcage, if you expect to present a conservative look at work. Hands and fingers remain the most scrutinized areas in many industries.
Q: How should I prepare clothing-wise for a chest or sternum-area bird session?
A: Wear a fitted sports bra or bandeau so the artist can expose only the area needed and you keep privacy. A bandeau is especially useful for tiny sternum-edge pieces because it creates a clear fabric line the artist can work around.
