
Fine line is everywhere on feeds right now, and it pays to be picky about placement, line weight, and how the design will age. Finger and wrist minis can look crisp for months and then blur if the linework is too thin. If you want a tiny piece that still reads clearly at year three, think bold where friction hits and keep delicate work for low-movement spots. Read the first idea next for a tech-forward mini that scales into larger work later.
1. Cyber Sigilism Sigil on the Finger or Wrist
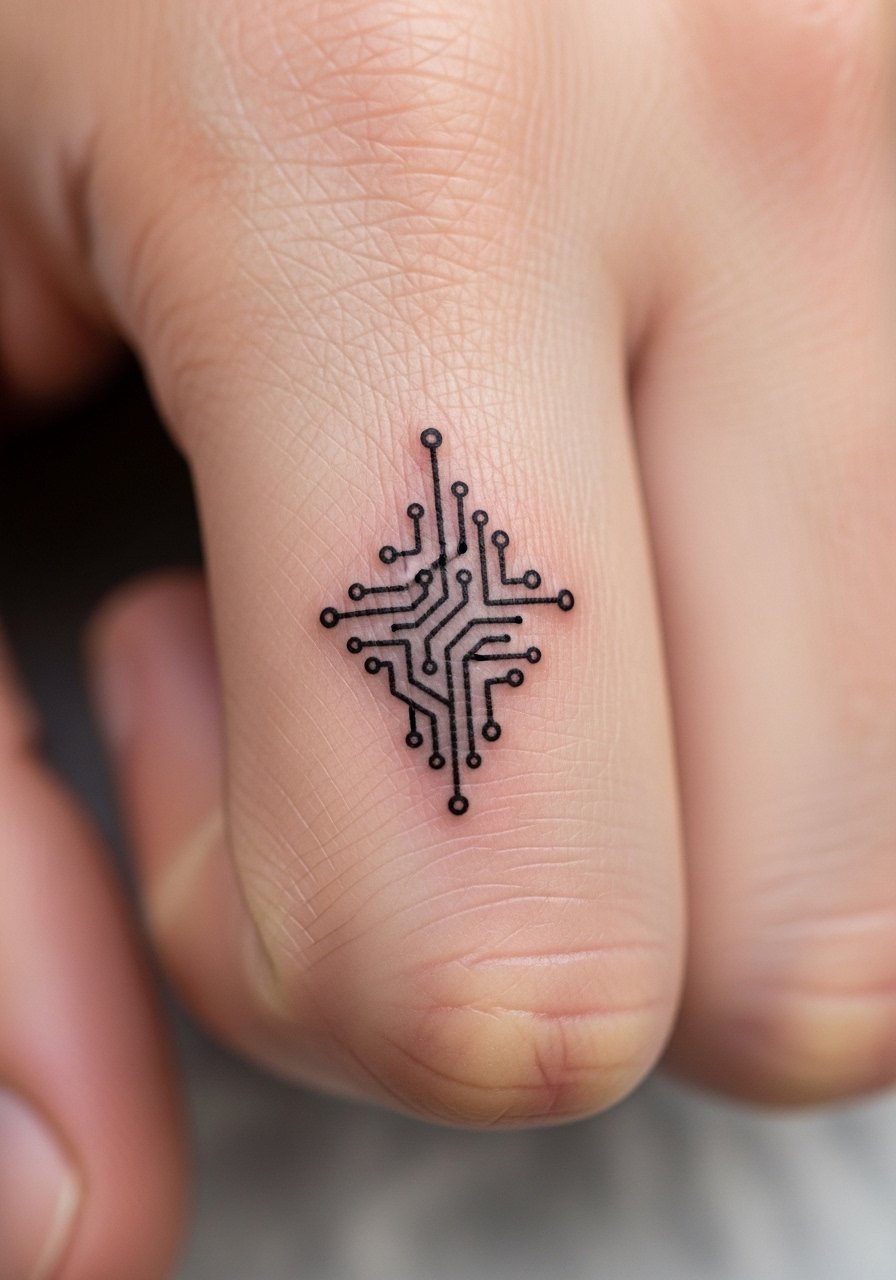
Cyber sigilism fits guys who want a futuristic mark without committing to a full sleeve. Ask your artist for compact geometric shards and 1.5 to 2 millimeter negative space so the motif does not smear on the finger. Fair warning, fingers are high-friction zones, so plan for a touch-up at six to twelve months. The session is short and the pain is sharp but quick. For showing it off, pair the finger piece with a metal signet ring or a thin chain ring stack that frames the ink without covering it. If you want this to scale into a glitch sleeve later, leave space toward the wrist for connecting elements.
2. Matchstick with Flame on the Finger
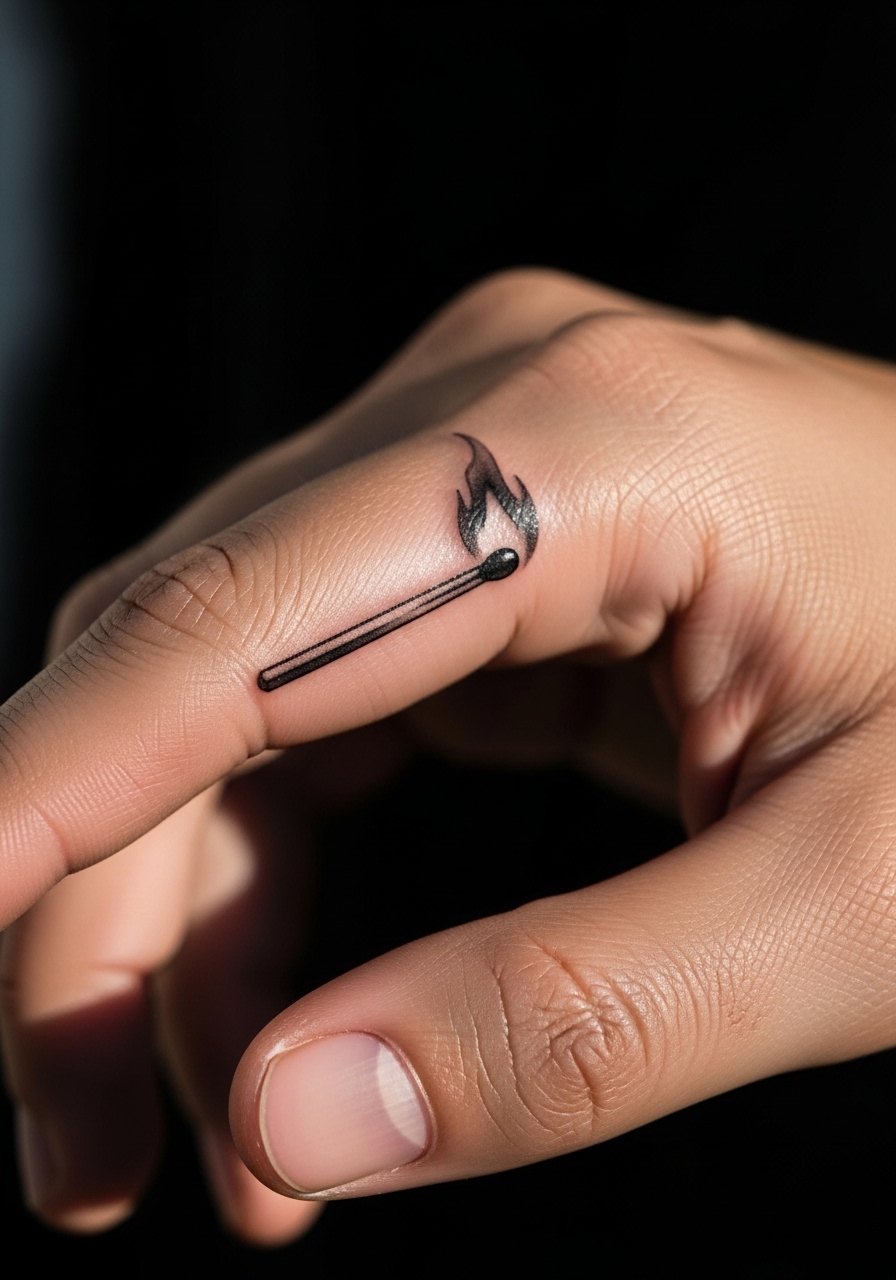
This is the toned-down aggression option. It reads clean when done with slightly bolder contour lines than a pure fine line approach. Tell your artist to keep the flame small but give the stick a hair more saturation so the shape holds under frequent hand washing. The pain is brief and sharper than a forearm piece, and most sessions are under twenty minutes. For the appointment wear loose shorts or rolled sleeves so the hand is easy to access. Pairing it with a slim leather bracelet on the opposite wrist keeps the focus on the finger without cluttering the look. Common mistake is asking for ultra-thin lines on finger tips, which often blur into fine gray smudges.
3. Small Flames, Finger Line Work
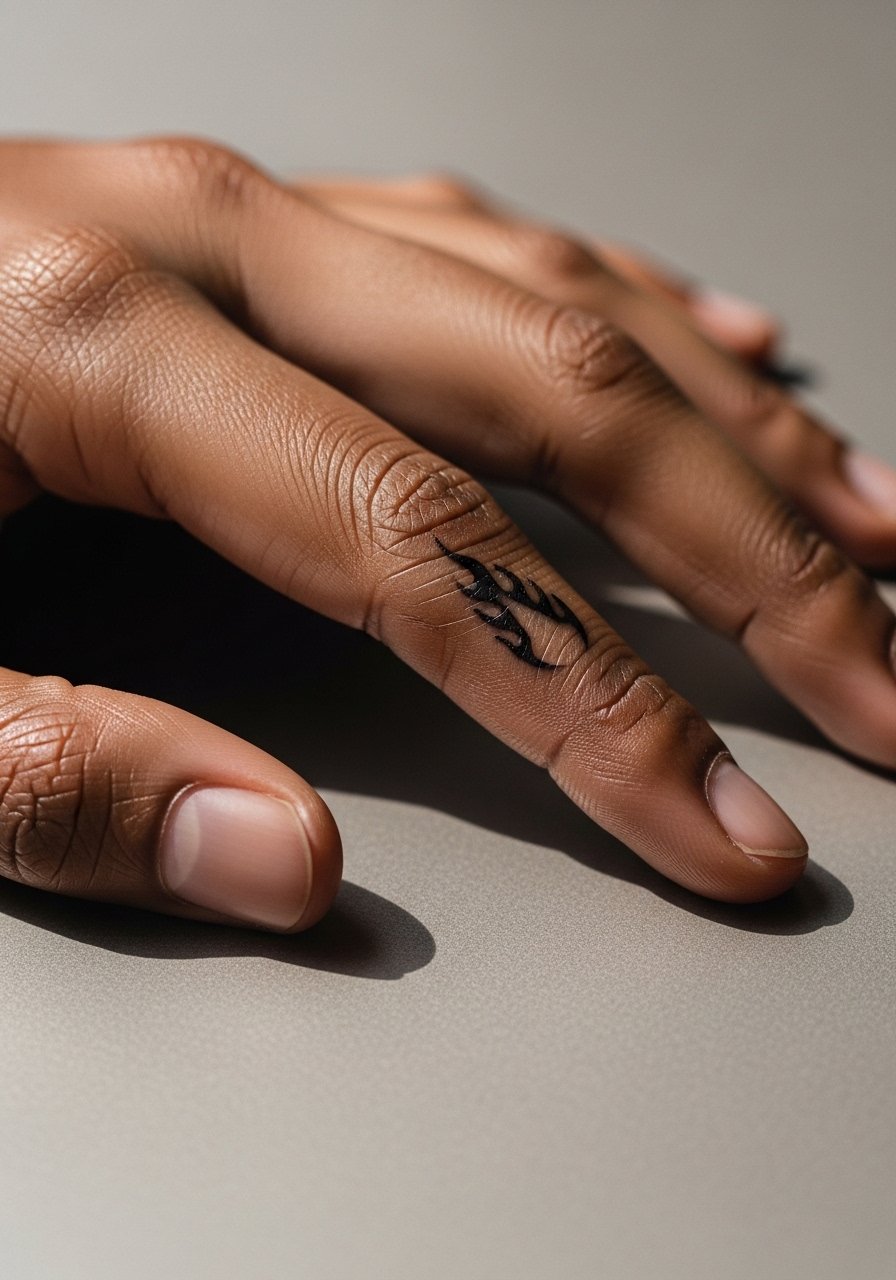
Small flame motifs are versatile and wear well across hand and finger placements when the artist uses bold single-line anchors rather than whisper-thin details. In the consultation, ask for a slightly heavier outline and minimal internal shading so the flame keeps its shape through frequent contact. Expect a stinging sensation for the first handful of minutes, then steady buzzing. A thin protective film in the first week helps against friction from typing and washing. For a polished look wear a thin chain ring stack the day after the scab falls to frame the design. Avoid squeezing too many flames into a 1cm space or they will merge as they heal.
4. Vintage Sword or Dagger on the Side of the Hand

A tiny dagger reads masculine without needing a full hand piece. Ask for clear linework and avoid heavy dot shading in the handle if you want long-term clarity. The hand is tactically visible and the session is short but can feel sharp because the bone is close to the surface. If you plan to show rather than hide, wear a fitted crewneck tee with bare forearms in warm weather to keep attention on the hand. The most common mistake is asking for excessive tiny details in the handle that soften after six months. For longevity prefer bold outline with restrained interior texture.
5. Colorful Cluster Postcard Doodle on Forearm or Ankle
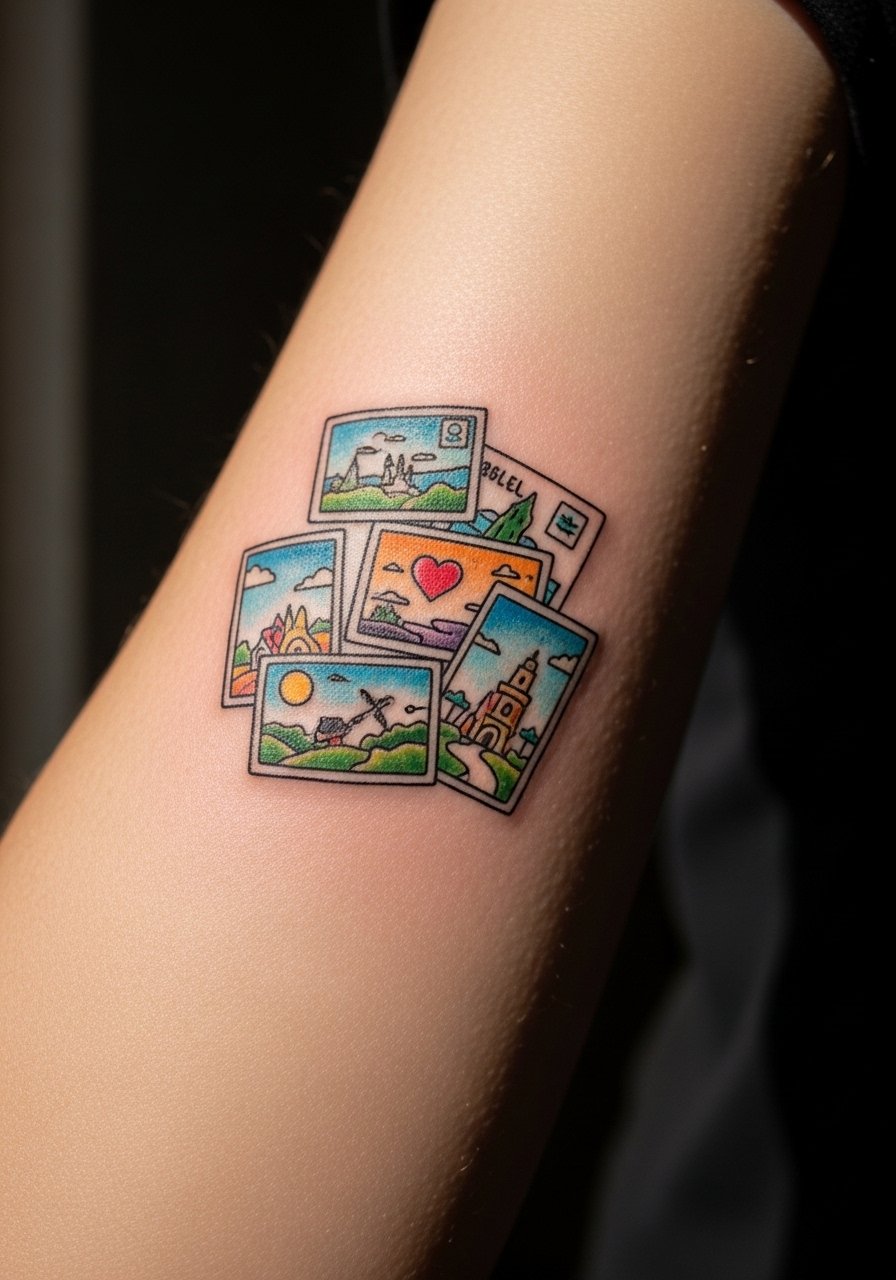
This cluster approach lets you tell a short story in a 2 to 3 centimeter grouping. Forearm placement gives better longevity for color than the ankle, which can stretch with changes in weight. Ask your artist to use color sparingly, with black anchors to protect contrast as pigments fade. Expect a two-session timeline if you want crisp watercolor edges and multiple tones. For showing it off wear a rolled sleeve chambray shirt or a simple olive henley shirt so the colors pop against muted fabrics. Avoid asking for dense color fields in a tiny cluster or the pigment will migrate and look muddy when healed.
6. Realistic Red Kiss Mark on Collarbone or Neck
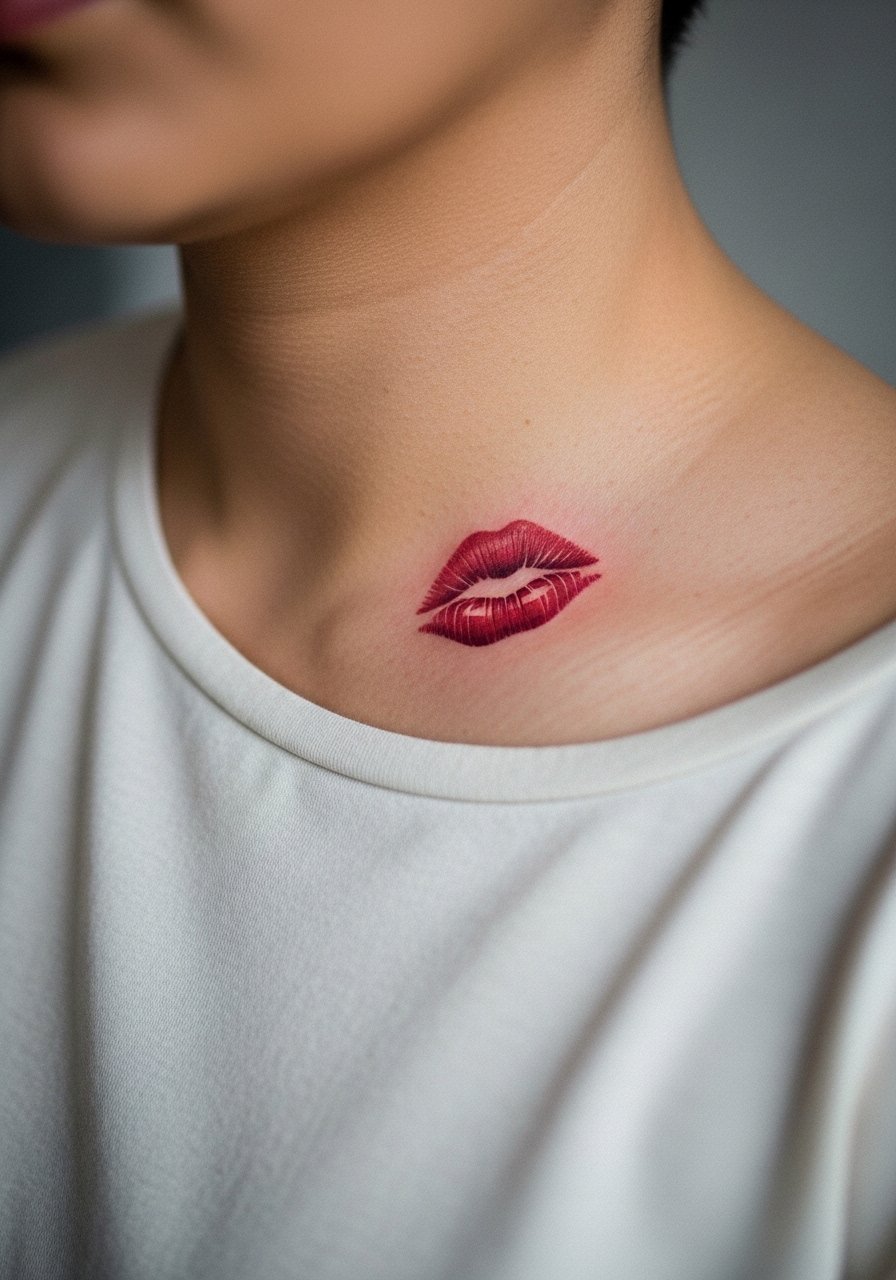
A red kiss mark works as a bold accent in a small area near the collarbone. Micro-realism needs slightly larger canvas than a 1cm dot, so expect two short sessions for saturation and layering. The collarbone is sensitive and the session feels like repeated pinching in spots. When you sit down, bring healed reference photos showing how the red looks on different skin tones. For showing it off try a v-neck tee or an open button-down so the mark sits above the fabric line. Some artists avoid heavy reds on darker tones because red can change visibly while settling, so discuss pigment behavior ahead of time.
Before You Book
The wrist and finger pieces above heal differently from larger forearm and collarbone work, so a small kit that takes friction and sensitivity into account makes the session and first week smoother.
-
Stencil transfer paper kit. Lets you preview placement on the skin before the needle touches down, which is handy for the small, precise designs listed above.
-
Topical numbing cream. Apply per product instructions about 30 to 45 minutes before a sensitive wrist or collarbone session to reduce edge pain without masking too much sensation.
-
Thin protective film roll. Useful for finger and wrist tattoos that face constant washing and typing in the first week.
-
Fragrance free gentle body wash. Cleans the area without stripping pigment, which matters for fine line and watercolor minis alike.
-
Aquaphor healing ointment. A thin layer during the initial days helps lock in moisture while the scab forms, especially on small delicate pieces.
7. Coiled Snake on the Wrist or Ankle
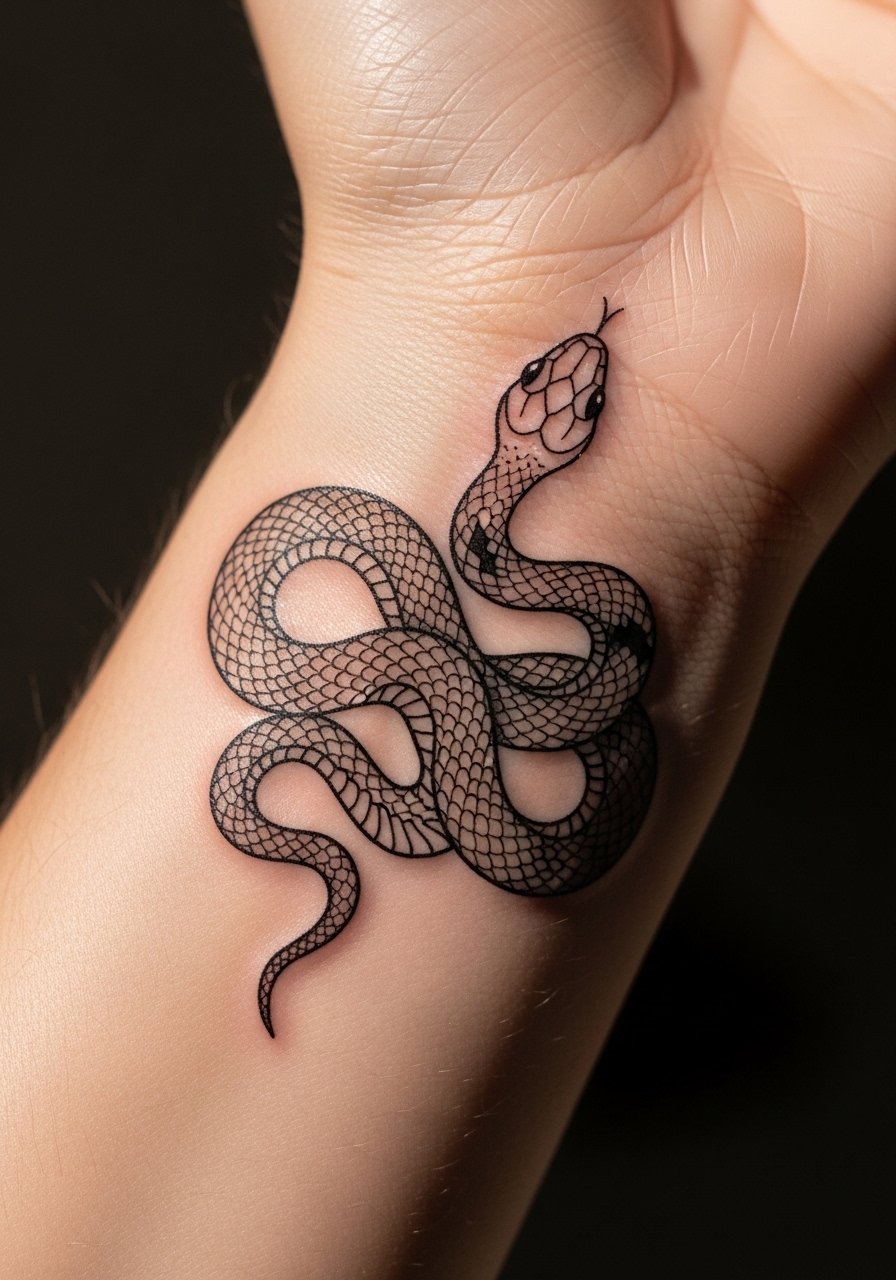
A compact coiled snake carries transformation symbolism without taking up much space. For wrist placement request a continuous flow that follows the curve so the head reads upright even when the arm moves. Fine line works well here, but artists split on whether pure fine line will last on a wrist. One camp says fine line holds on low-movement spots with proper depth. The other camp argues wrists still need bolder anchors to avoid blur. Ask which approach the artist prefers. The session is short and feels like a concentrated scratch. For the session wear a rolled sleeve tee or short sleeve so the artist has clear access.
8. Spiderweb on the Hand or Forearm
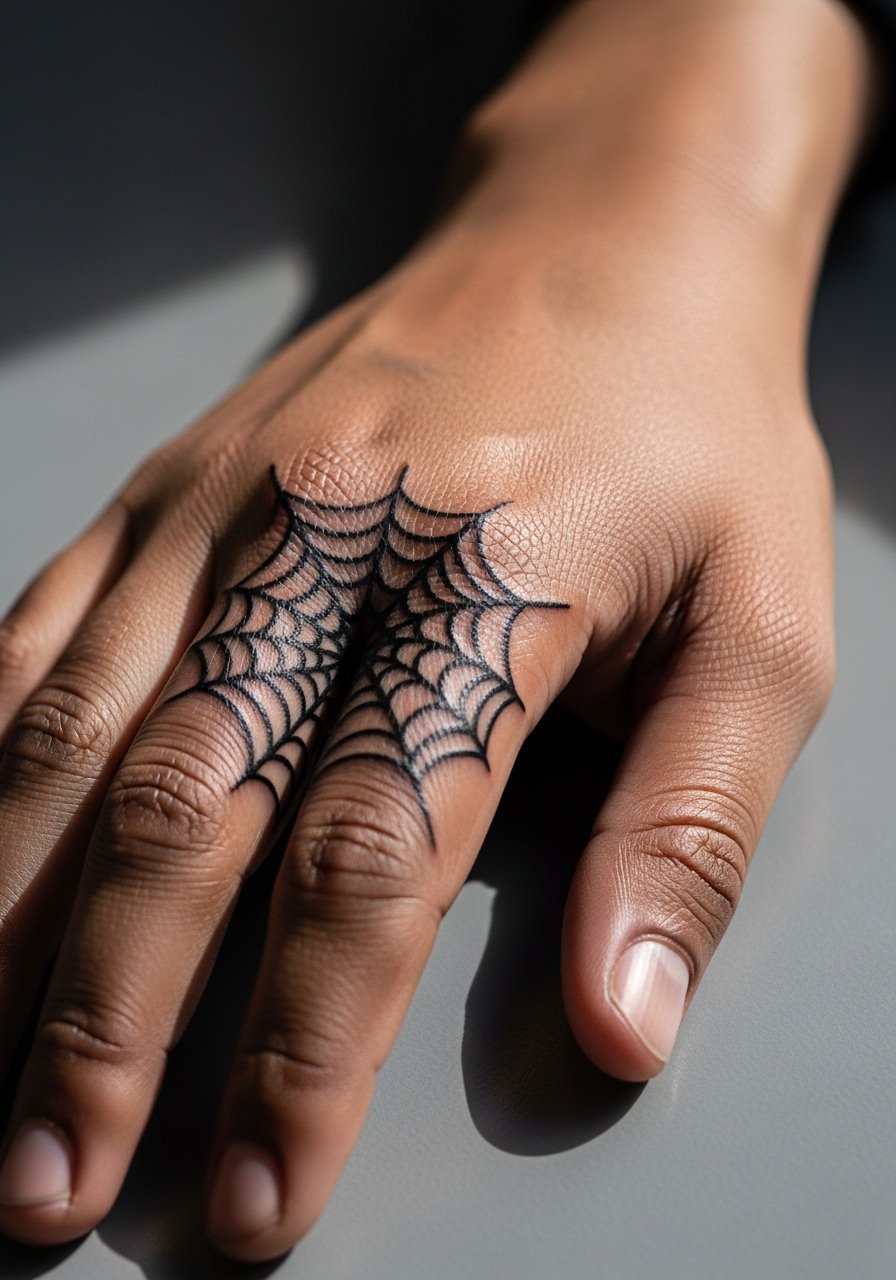
Spiderweb motifs work as small geometric anchors that can connect into larger sleeves later. On the hand, bold radial lines are the practical choice because they survive daily contact better than dense stipple. The usual mistake is cramming too many concentric rings into a tight area, which causes lines to fuse as they heal. Sessions are short but the hand is more painful than the forearm. To show it off wear a wide leather wristband on the opposite arm so the web reads as a deliberate design choice. If you work in a conservative field think about visibility before booking.
9. Small Skull on the Ankle or Wrist

A miniature skull reads edgy without dominating. Ankle placement can feel odd during the session because the foot rests at an angle, but it is lower on the pain scale than a hand. The big caveat is stretching from weight changes on the ankle over time; flat areas like the outer forearm age more predictably. For showing this off wear cuffed slim chinos or sockless loafers when the weather allows. The common error is requesting extreme detail at a 1cm scale. Keep outlines bold and shading simple for better five-year results.
10. Small Tree on the Wrist or Ankle
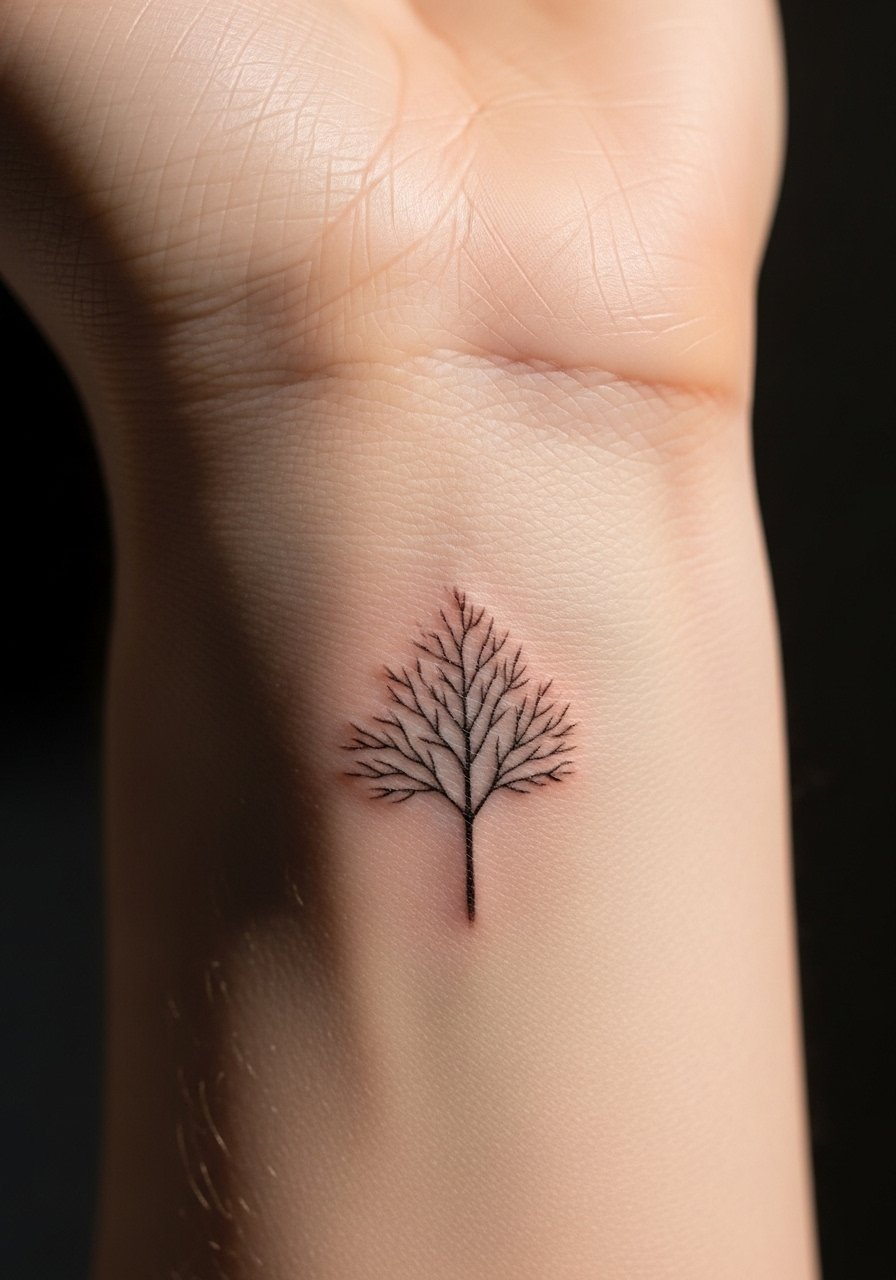
A tiny tree fits negative space beautifully and symbolizes growth without heavy ornamentation. On the wrist, keep the trunk slightly thicker than branch lines to resist early blur. The session is quick and the pain is tolerable for most. For the appointment wear a sleeveless tank or a minimalist leather watch on the opposite wrist to keep the area accessible. A common mistake is asking for filament-thin branches across a 2cm canvas, which tends to soften into gray lines after a year.
11. Single Celestial Body on Inner Arm or Chest
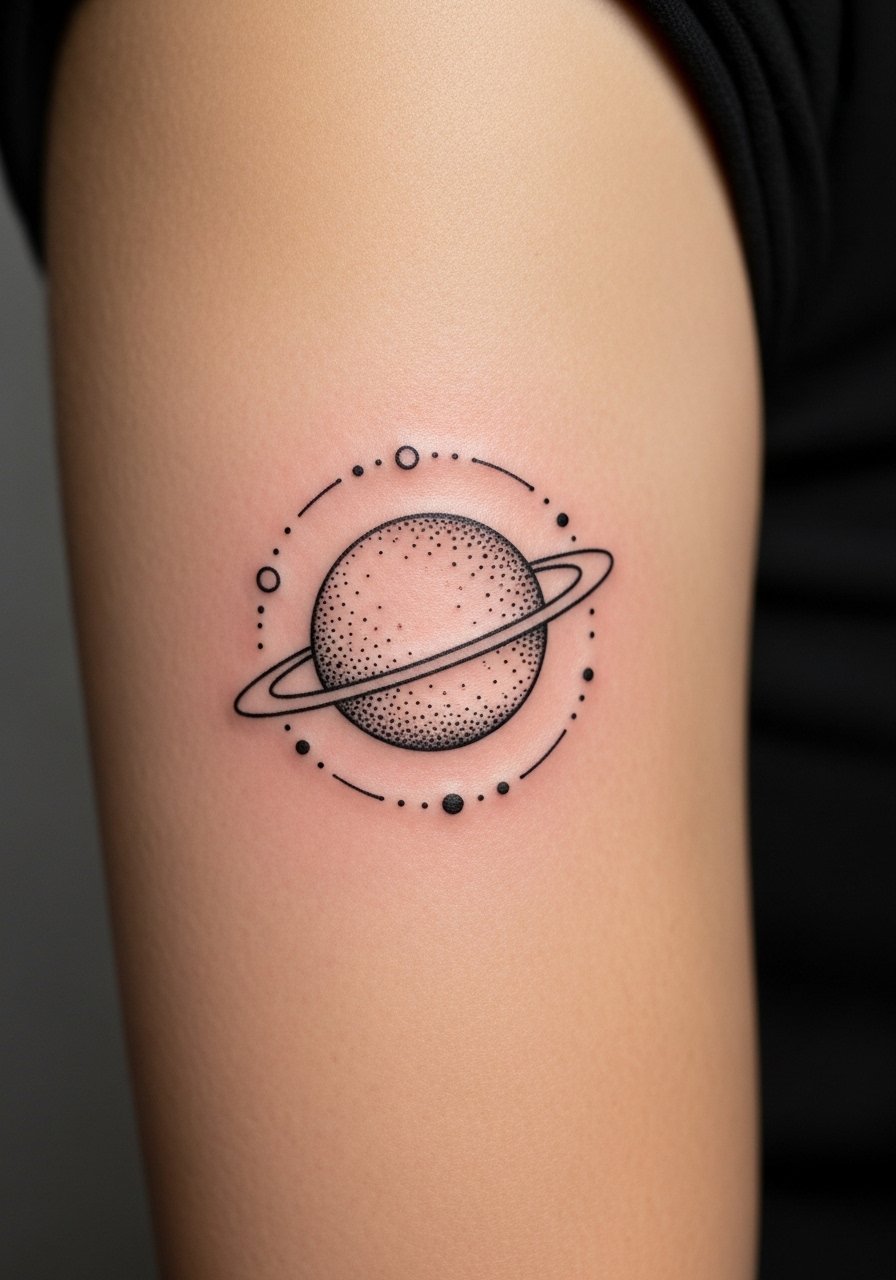
A single planet or moon is a low-commitment way to tap into cosmic aesthetics. For inner arm placement, stipple shading can create depth without heavy saturation. Artists debate fine line for this look. One group says fine line ages gracefully on the inner arm with low friction. The other group warns dense stippling can lump if placed too small. Ask your artist to show healed examples for your skin tone. Session time is brief and the area is low-pain. For showing it off a rolled henley or short sleeve keeps the motif visible without forcing constant exposure.
12. Minimal Sunset on Calf or Shoulder
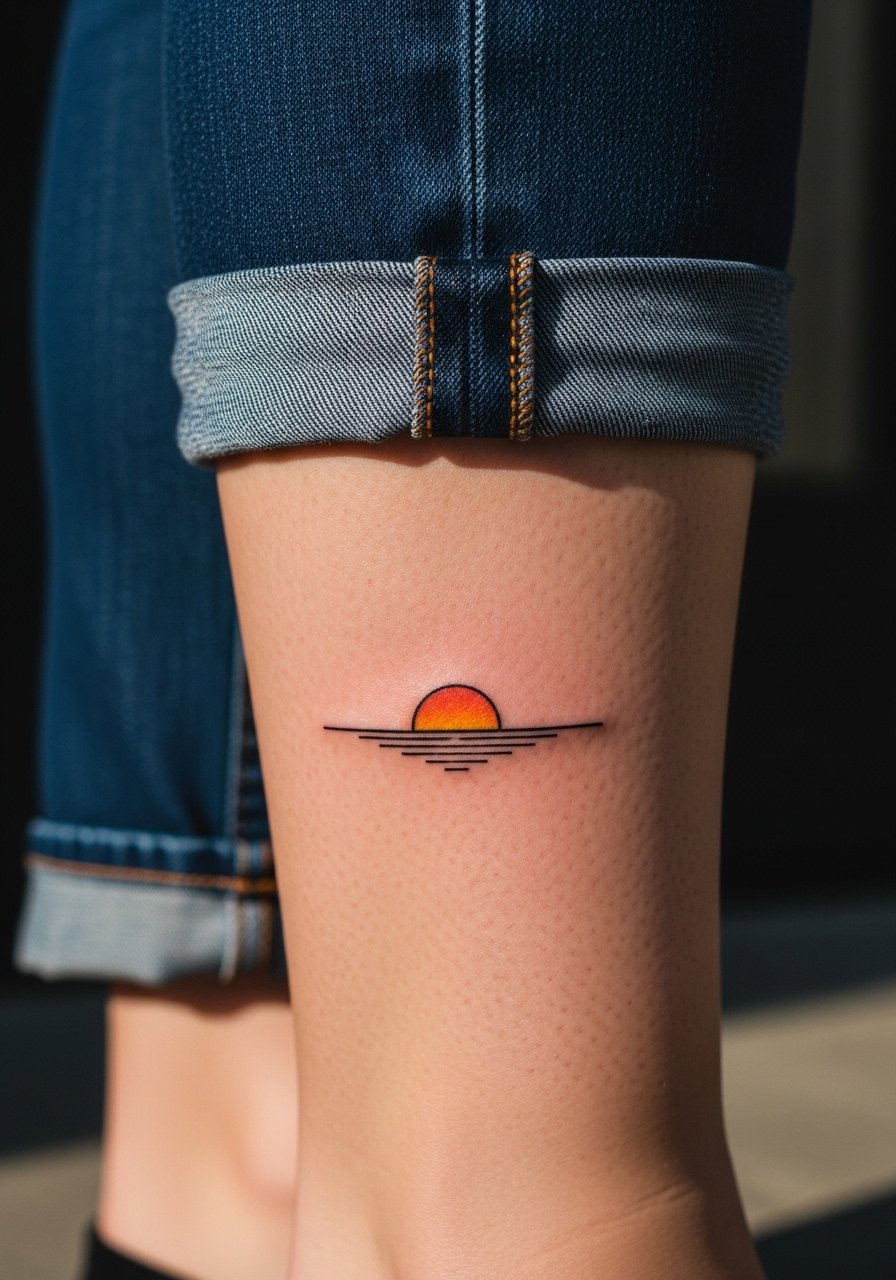
A tiny sunset balances wanderlust with restraint. Calf placement keeps color safer from daily abrasion than the shoulder in summer, which sees sun exposure. If you want orange or faded tones, expect touch-ups at year two to keep saturation even. Sessions are one to two short sittings depending on color layering. For showing it off on the shoulder try an open button down shirt or a muscle tank top so the horizon peeks out naturally. Avoid asking for heavy watercolor fills in under 2.5cm or the pigments will migrate.
13. Anime Icon on Forearm or Thigh
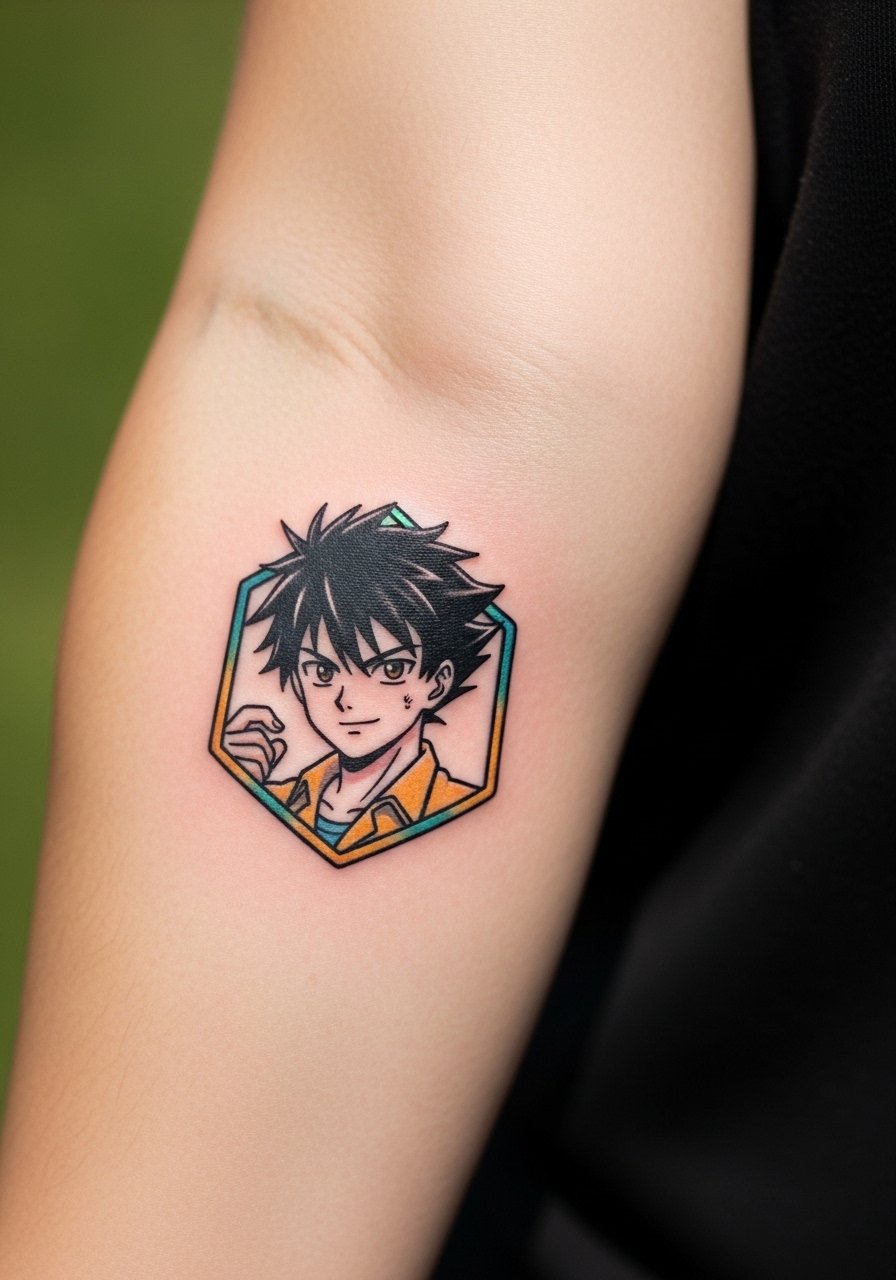
Anime icons tap nostalgia while staying compact. Forearm placement lets character details read clearly; thigh allows slightly larger, more color-rich work. Ask for simplified linework and selective color spots rather than full poster-style shading for longevity. Sessions often span two short sittings when color is involved. For session day wear a short-sleeve tee or a black cotton henley you can roll up to give full forearm access. A common mistake is requesting crowded facial details in a 2cm space. Scale up the canvas if you want recognizable expressions.
14. Fine Line Arrow on Inner Forearm
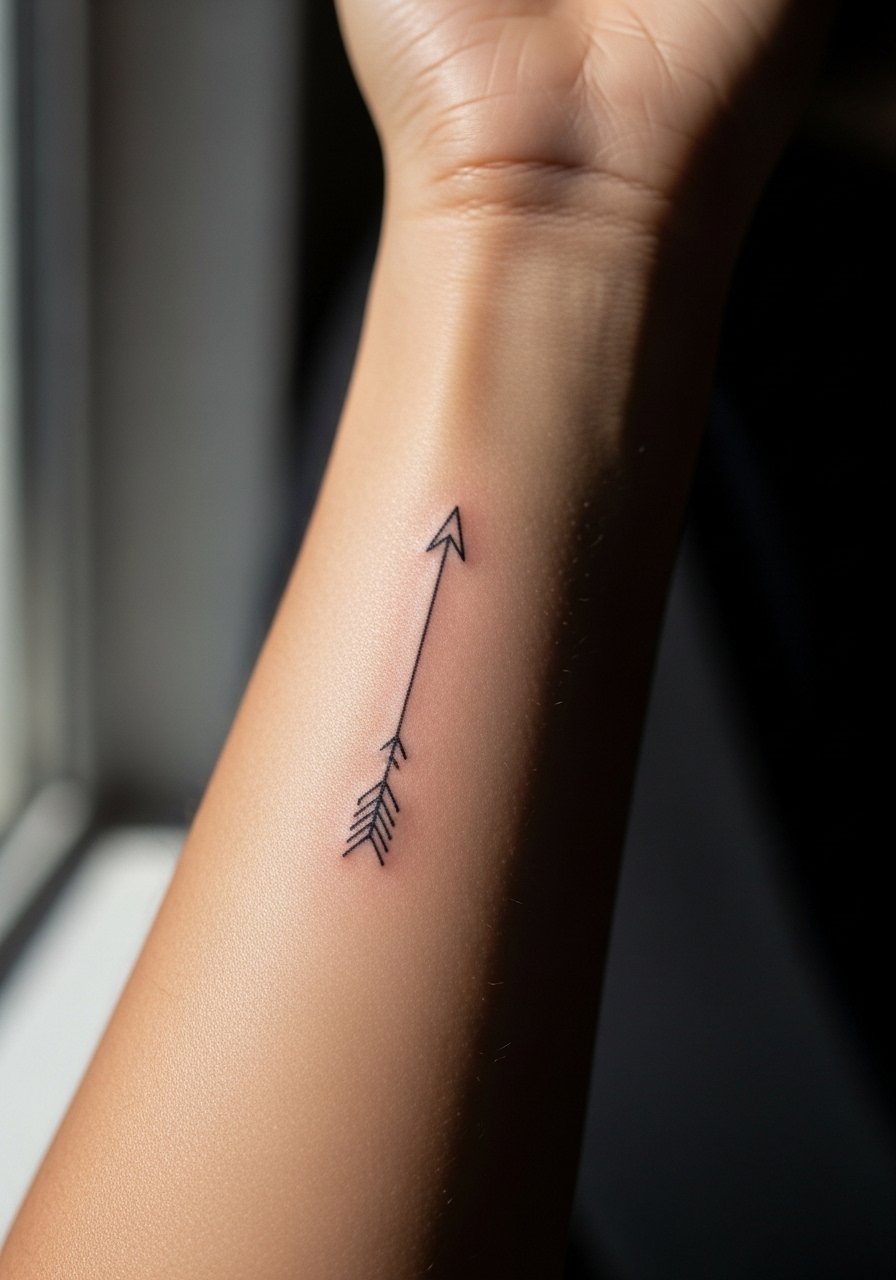
An arrow is a classic mini that ages well when spaced correctly. For the inner forearm ask for slightly increased line weight on the shaft so the silhouette reads from a distance. The pain level is low and sessions are typically under thirty minutes. Artists split on fine line viability on certain forearm locations. One camp endorses delicate linework because the area has low friction. The other camp recommends modestly heavier anchors to protect against early softening. Ask your artist which healed examples they can show. For the session wear a rolled sleeve chambray shirt you can pull back easily.
15. Minimalist Wave on the Ankle
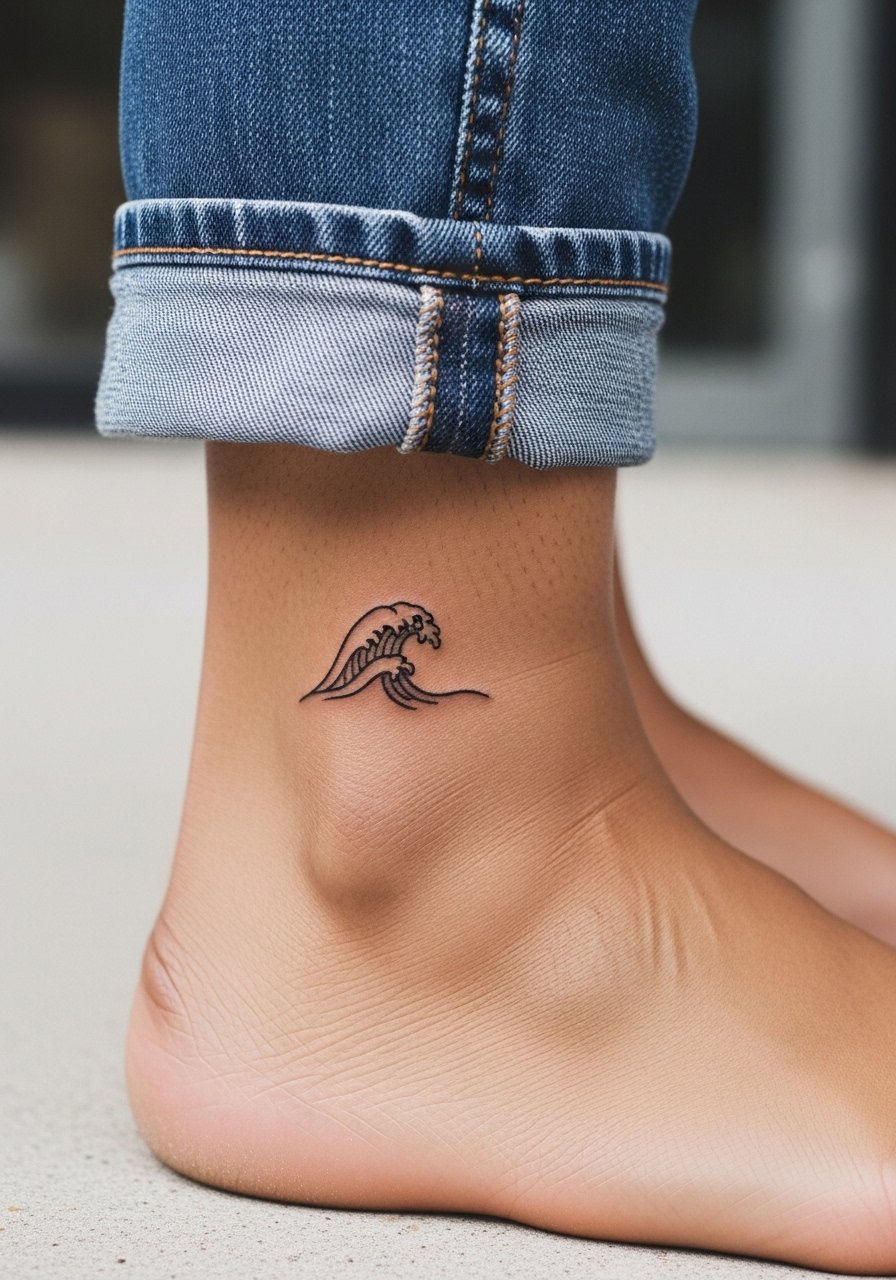
A tiny wave captures coastal energy without being literal. The ankle is a bit trickier for permanence because of skin movement and shoe friction. In the consultation, ask for a slightly bolder crest line and limited interior detail. Sessions are quick and the discomfort is mild. For showing it off try cuffed chinos or boat shoes so the ankle gets attention without rubbing. Avoid asking for extremely fine cross-hatching in this spot, which tends to blur with movement.
16. Tiny Anchor on the Wrist
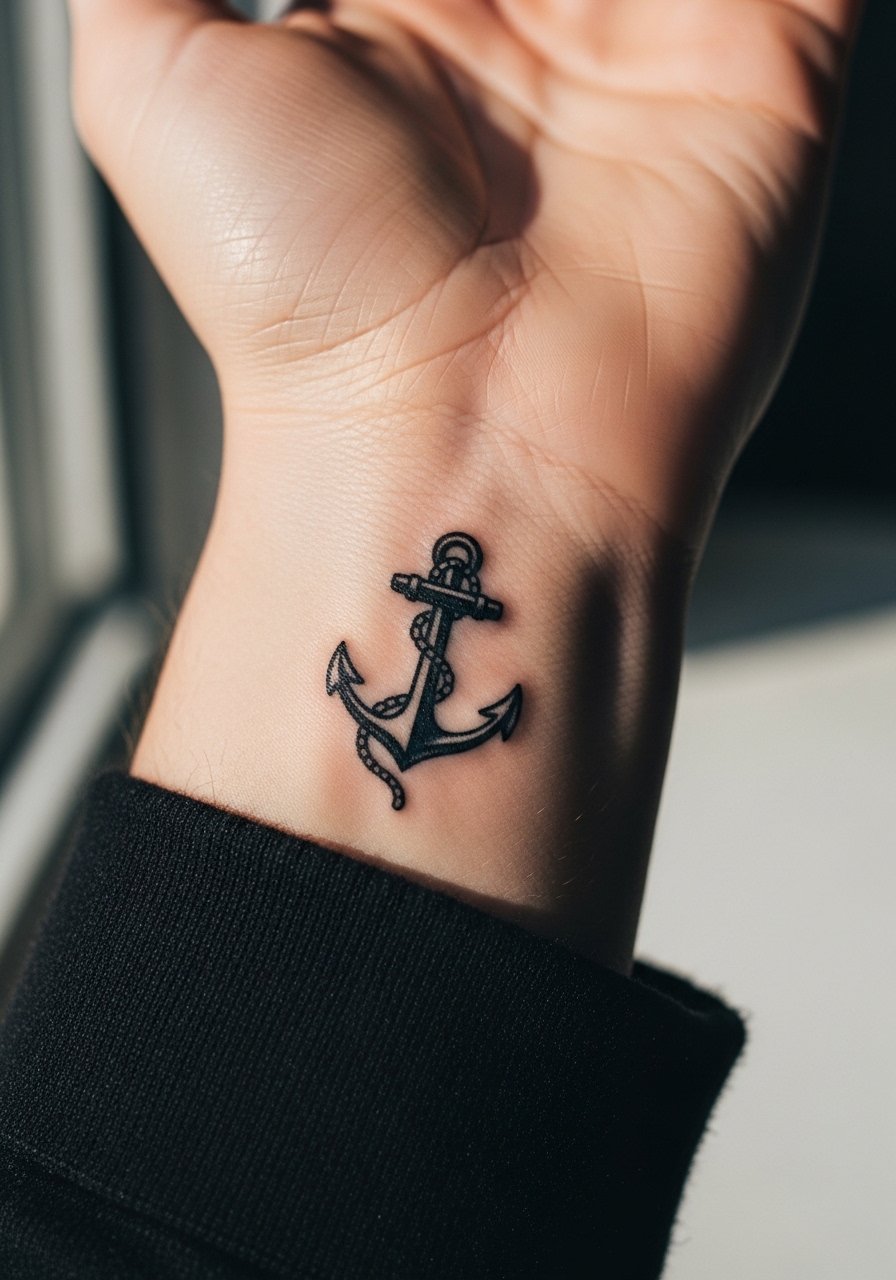
The tiny anchor reads vintage and clean when done with crisp negative space. For wrist placement ask the artist to keep the shank slightly thicker than typical fine line so the symbol survives frequent contact. Sessions are short and the pain is manageable. Wear a minimalist leather watch on the opposite wrist to frame the piece. A common misstep is packing nautical detail into a 1cm mark. Keep it iconic and the silhouette will last.
17. Micro Compass on the Inner Wrist
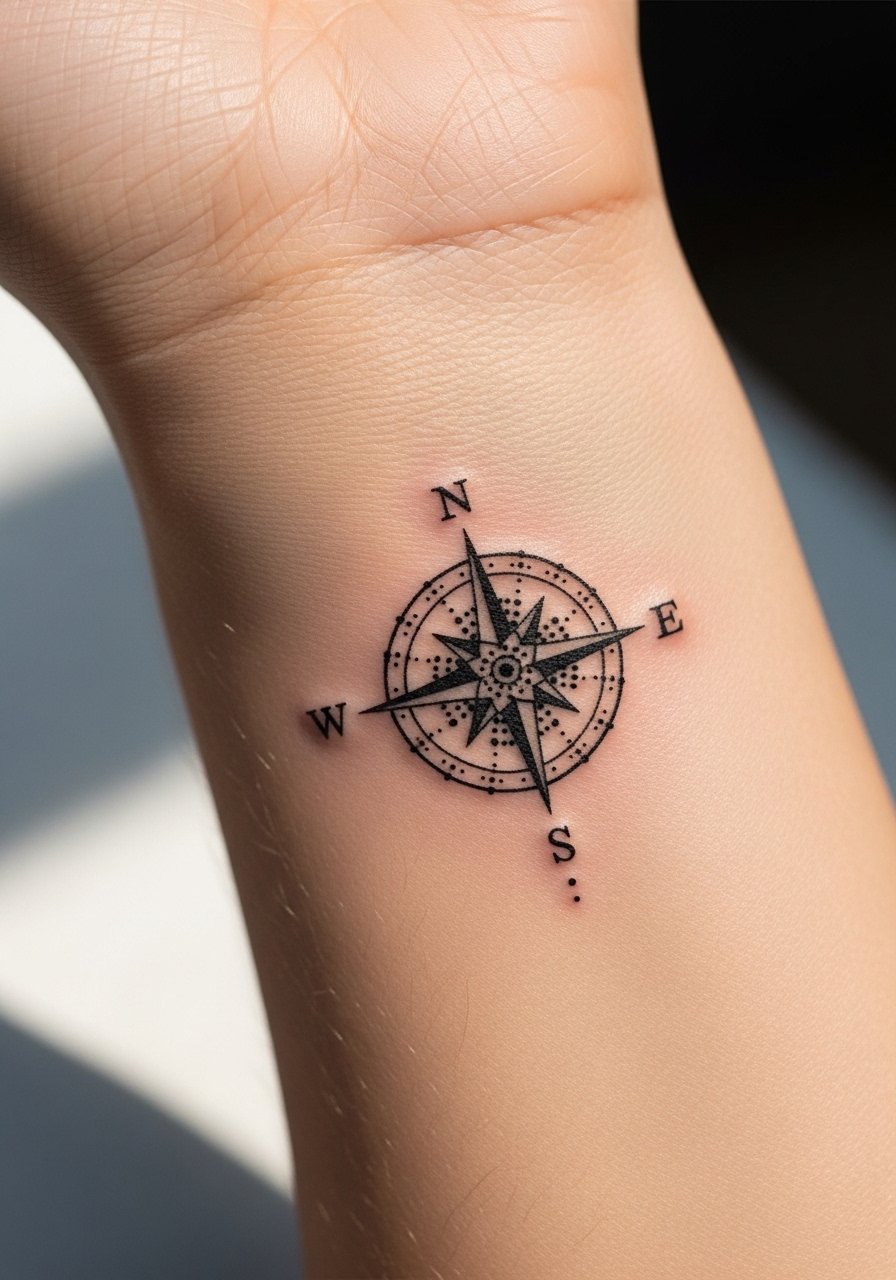
A micro compass is a practical choice for small directional symbolism. Tell the artist you want clear cardinal points and avoid tiny decorative flourishes around the compass that can bleed into gray patches. The inner wrist is low to mid pain and the session is typically brief. For the session wear a rolled sleeve tee so the artist has clear access. Overly intricate markers at this scale are a frequent mistake, so simplify for longevity and clarity.
18. Minimal Script on the Collarbone
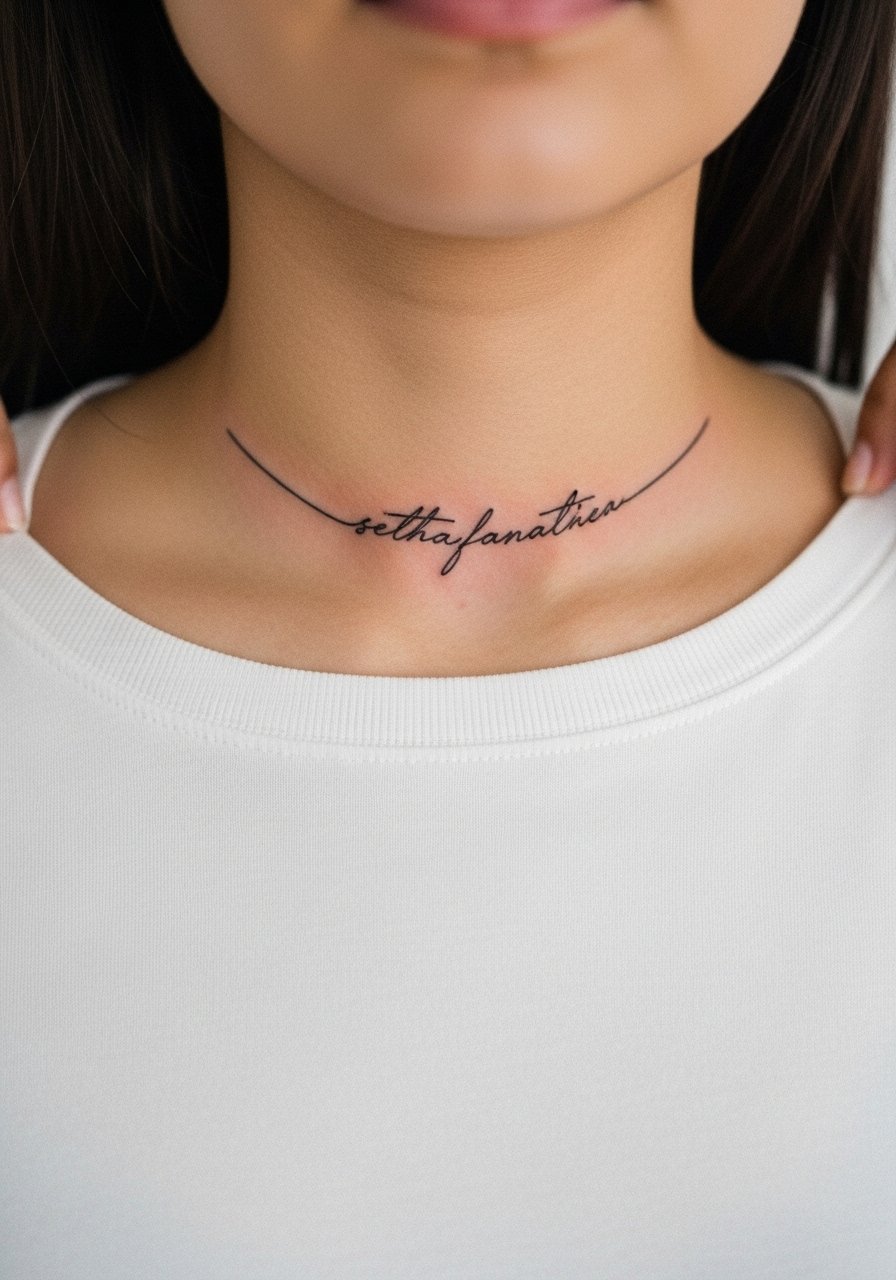
Script on the collarbone sits in a very visible spot and it heals differently across skin tones. Ask for the exact font and request healed reference photos from the artist for similar placements. The collarbone can be sensitive and the session feels like repetitive pinpricks. Some artists avoid ultra-thin scripts here because the area moves and rubs against clothing. For showing it off choose an open button down shirt or a wide-neck tee that reveals just the line. Also mention whether you want the text parallel or slanted to the bone so the layout sits naturally.
19. Geometric Dot Work on the Inner Forearm

Dot work and stipple shading create texture without heavy saturation, but they need space to breathe. On the inner forearm insist on spacing between dense dot areas so the geometry does not merge over time. The session can be longer than a single-line mini because dot work is layered. Pain is low to moderate. A common error is asking for too-tight mandala-style density inside a 2cm circle. If you want to accessorize, a simple olive henley shirt rolled at the cuff shows the piece without distracting from the pattern.
20. Pottery Mania Abstract Doodle on the Hand or Forearm
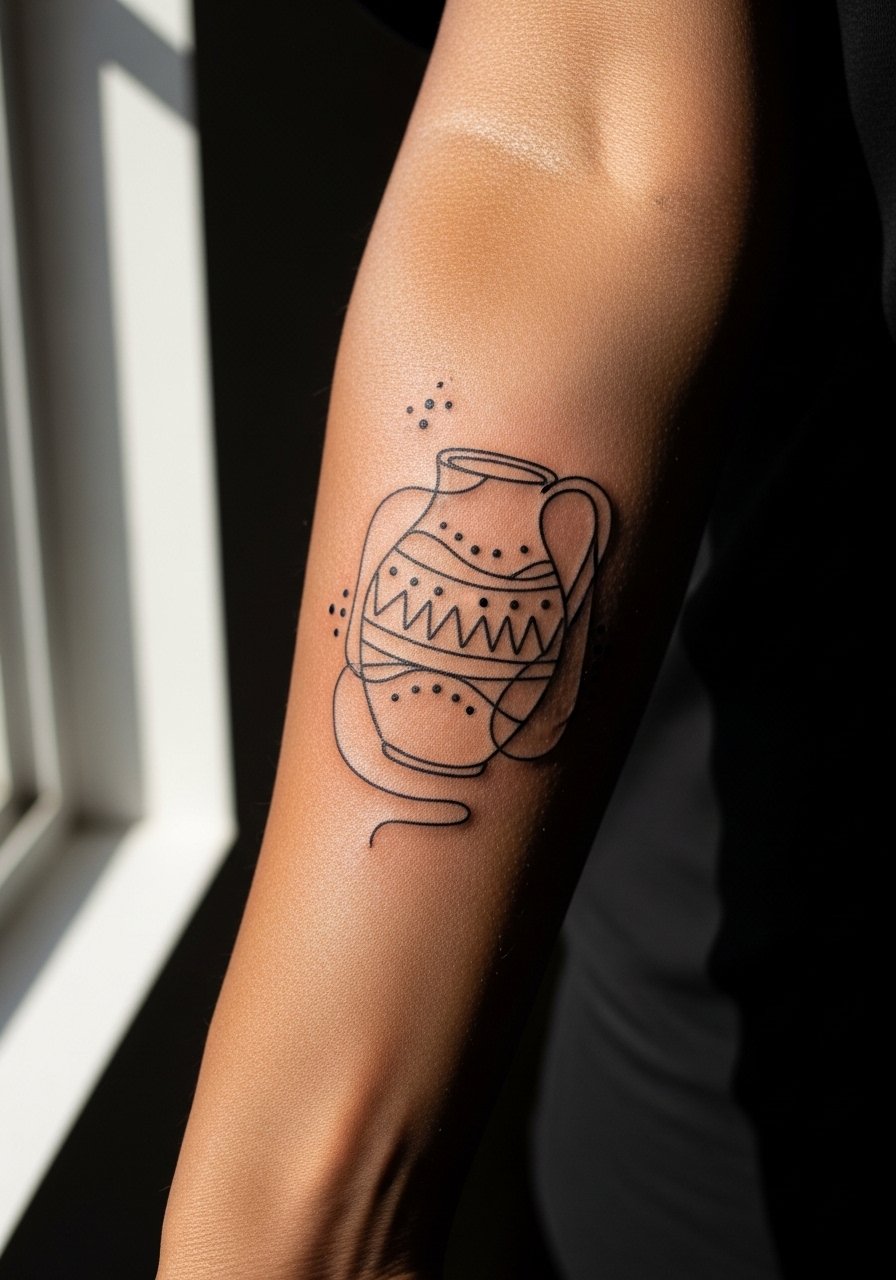
This pottery doodle concept borrows tactile ceramics shapes and reduces them to pleasant, tactile linework. Forearm placement is ideal if you plan to add pieces later, while the hand option gives a more tactile, hobbyist vibe. When you consult, bring sketches from your own pottery or ceramics photos so the design feels personal. Sessions are short and the pain is easy on the forearm. For showing it off wear a black cotton henley with sleeves rolled to the elbow. Avoid cramming multiple tiny doodles in a single 1.5cm area or they will lose definition.
21. Alipore Postcard Cluster for Ankle or Forearm
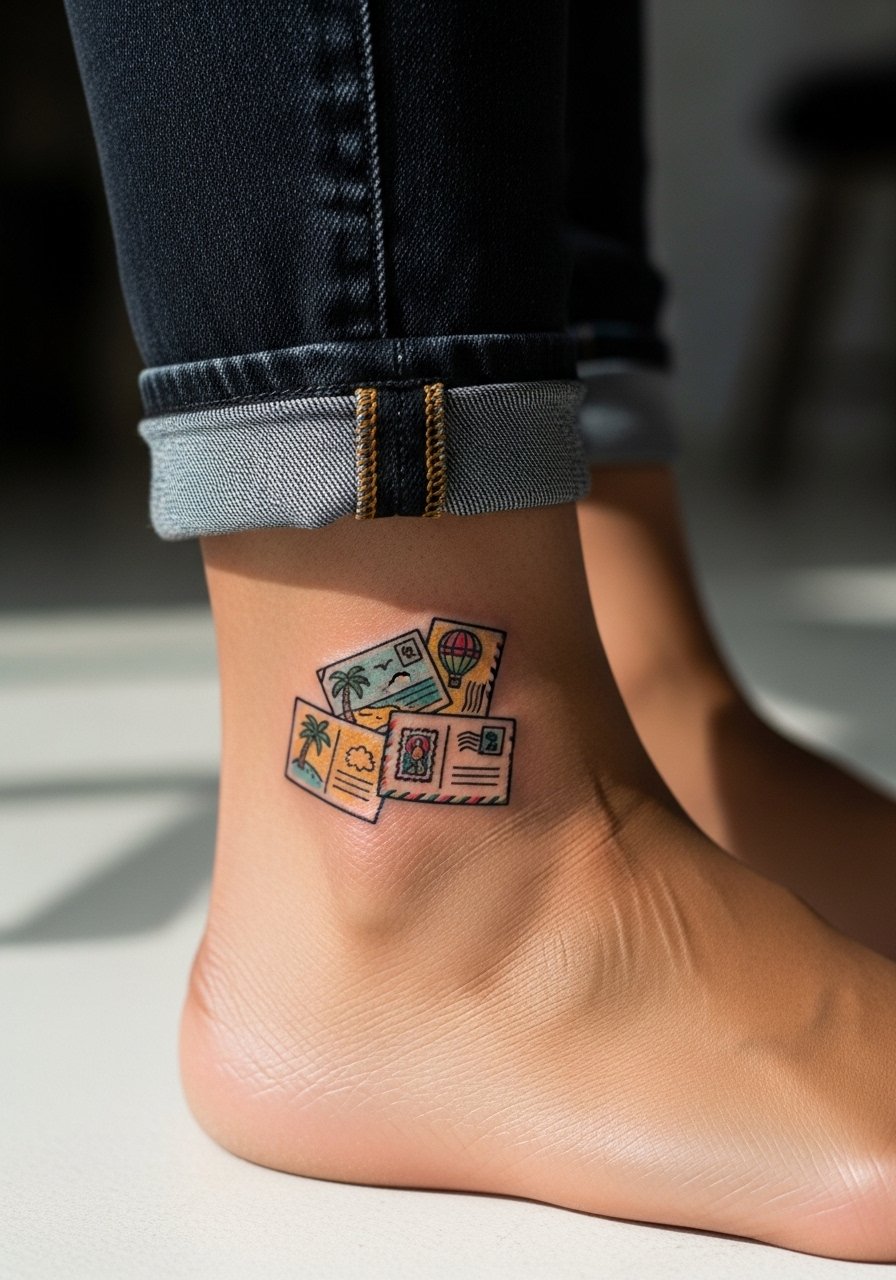
The Alipore postcard cluster plays like a little sketchbook on skin. Ankle versions feel playful, forearm versions read like a short narrative. If you want color keep the palette minimal and anchored by black outlines so the hues do not fade into indistinct patches. Expect a two-session timeline for crisp micro-color. For session day wear loose joggers or shorts so the ankle is easy to reach. A frequent mistake is insisting on full watercolor washes in a tiny grouping; those washes blur faster than small punchy color dots.
Frequently Asked Questions
Q: Will tiny finger and wrist tattoos fade faster than forearm pieces?
A: Yes, high-friction spots like fingers and some wrist locations experience more immediate fading. Many artists split into two camps on this topic. One camp says fine line can age gracefully on low-movement spots with correct depth. The other camp argues that fingers and wrists need bolder anchors to avoid early blur. Ask to see healed photos for the exact placement you want before booking.
Q: How do I pick between fine line and bolder work for a small design?
A: It depends on placement and your daily habits. Fine line suits areas with low contact, like the inner forearm. Bold anchors work better on hands and fingers. Tell the artist where you plan to place it and request healed examples of both approaches on similar skin.
Q: Do numbing creams affect the artist's work and should I use them?
A: Artists disagree. Some use numbing cream on sensitive spots to make the session tolerable. Others avoid it because heavy application can alter skin texture temporarily. If you plan to use a topical, tell the artist so they can advise on timing and brand.
Q: Can I expect color to look the same on darker skin tones?
A: Pigments behave differently across tones. Darker skin can make some colors read more muted after healing. Ask your artist for healed photos on similar tones and consider black and gray anchors to preserve contrast.
Q: How often do minis need touch-ups?
A: Expect a touch-up window around six to twelve months for high-friction areas and around two to three years for low-friction spots depending on sun exposure and skin type. Plan touch-ups as part of the design lifecycle rather than an emergency.
Q: What should I wear to the session for a collarbone or chest mini?
A: For collarbone work wear a wide-neck shirt or something that pulls aside easily so the artist can access the area without you getting uncomfortable. Keep jewelry minimal.
Q: Where can I find artists who specialize in tiny, detailed work?
A: Search themed hashtags and local directories, like mini tattoo tags or small-tattoo filters on studio listings. Tattoo forums and short-form video portfolios are good discovery pathways. Look for healed work images rather than just fresh photos.
