
The tiny mantis trend is proof that small things can make a big impression, especially when they sit on a wrist or curl along a collarbone. Pick the wrong line weight or placement and you will be booking a touch-up before you meant to. Read on for 27 mini praying mantis tattoo ideas, each with realistic expectations, what to say in consultation, and the wardrobe notes that keep these small pieces looking intentional.
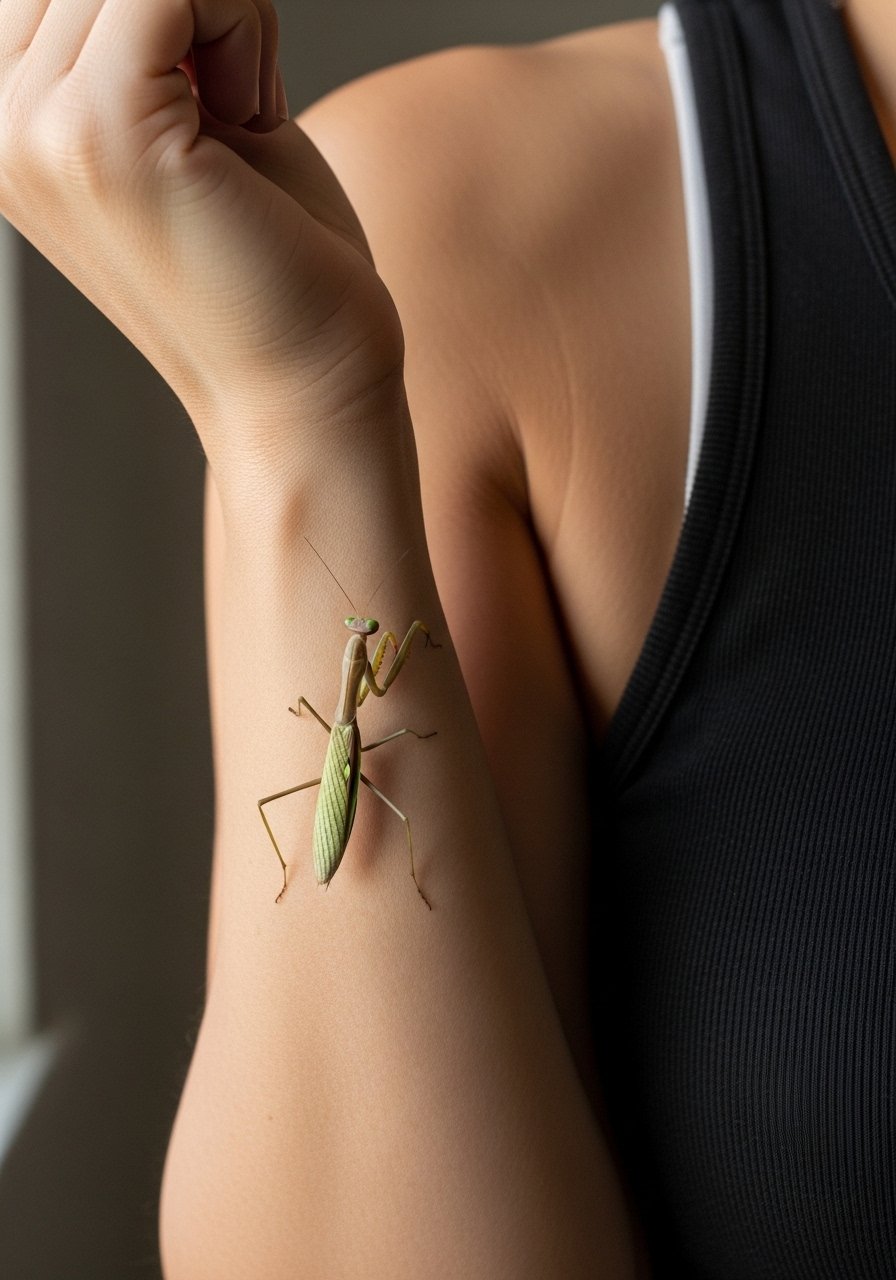
1. Miniature Realistic Praying Mantis on Inner Forearm
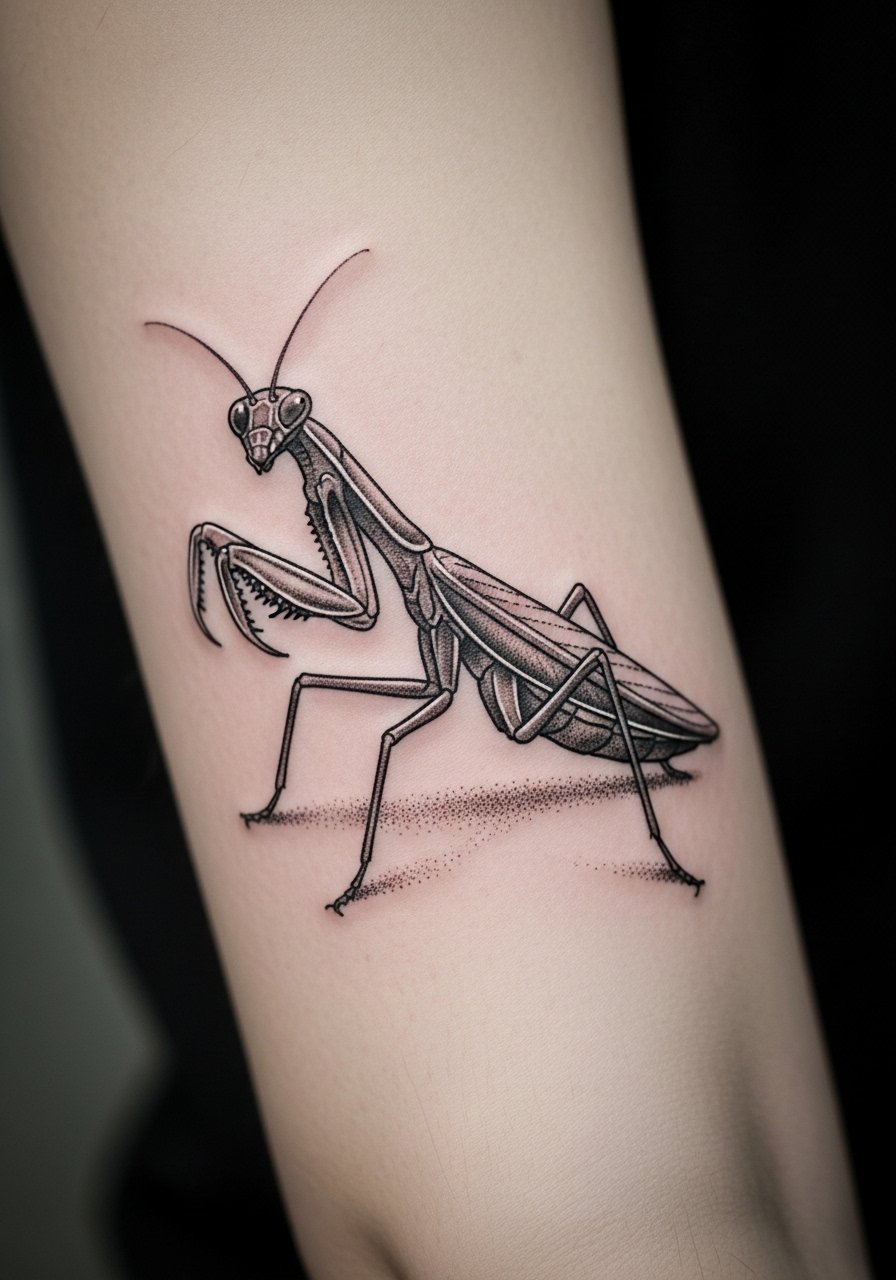
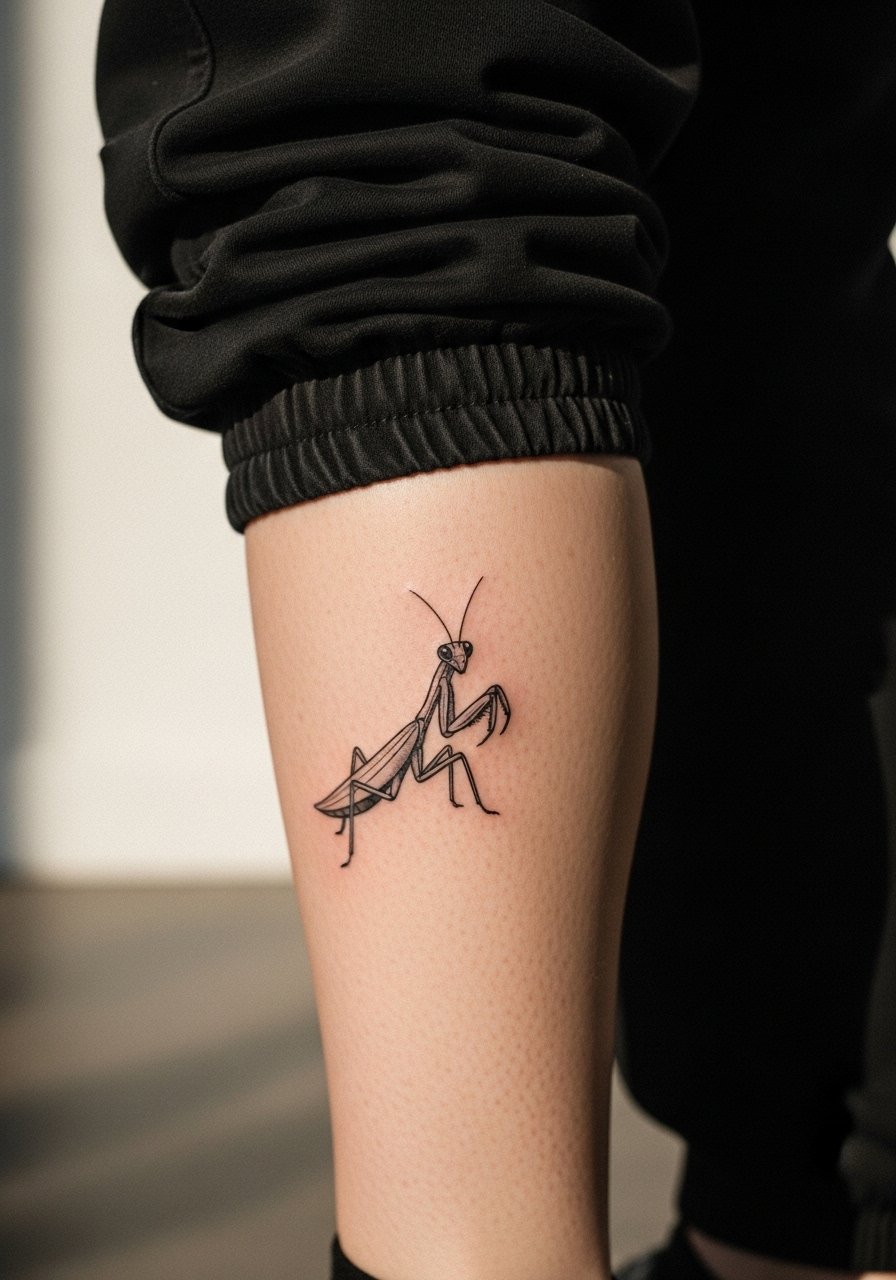
I see this placement a lot because the forearm gives room for tiny leg segments and a defined eye. Ask your artist for slightly bolder linework than the reference so the legs keep their separation as it heals. Expect low to moderate pain and a single short session under an hour. Common mistake is requesting hair-thin lines that merge by month six. For the session wear, roll up a sleeve or wear a sage green tank top so the artist can work without fabric tugging. Plan a touch-up at six to twelve months if you want crisp micro-realism longevity.
2. Fine Line Silhouetted Praying Mantis on Inner Wrist
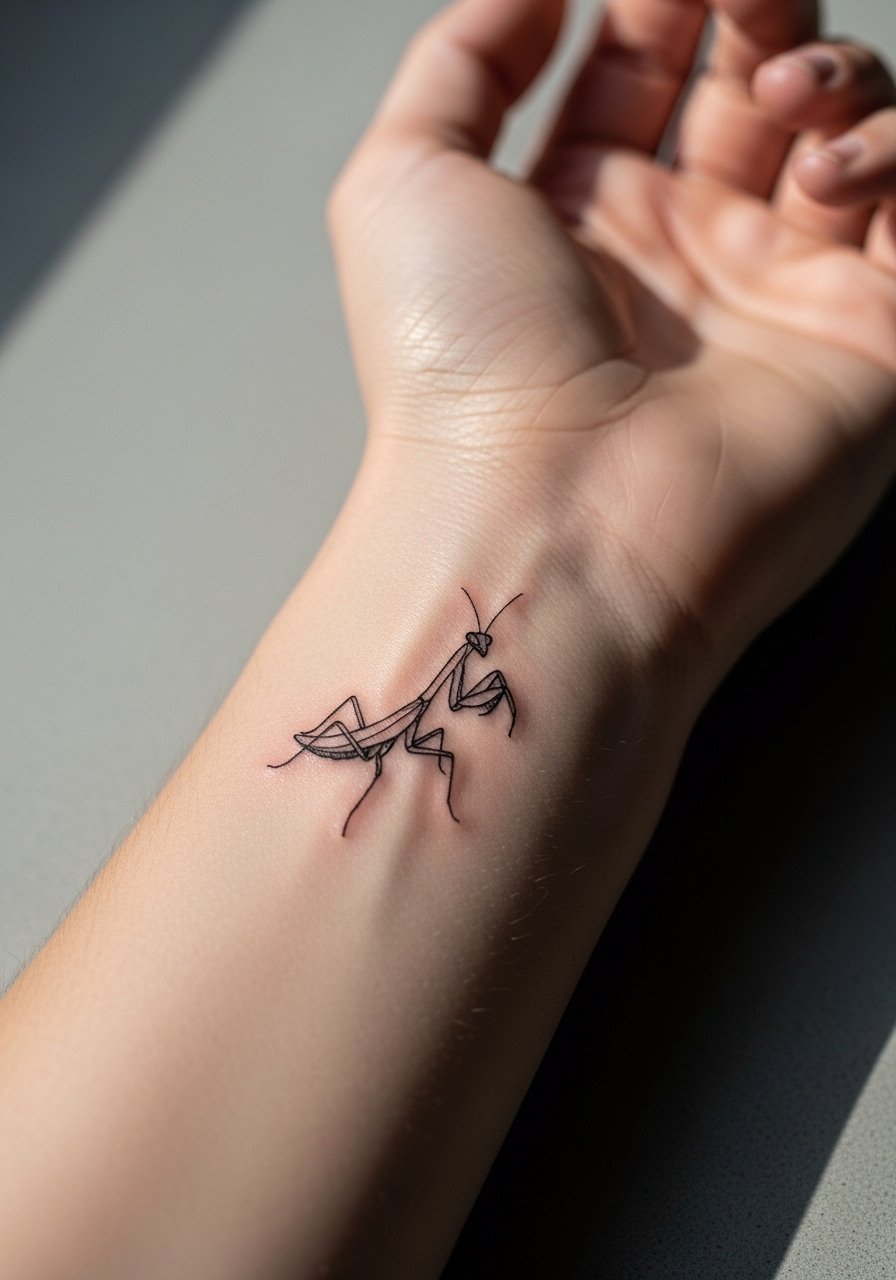
Fair warning, the wrist is where fine line either shines or fades fast. Artists divide over whether wrist skin makes delicate lines hold; one camp says the motion blurs lines, the other says proper depth keeps them crisp. Tell your artist you prefer a 2 to 3 millimeter minimum line weight so the silhouette reads after a year. Session time is short, pain low, and touch-ups often needed at year one. Show-off pairing for this spot works well with a thin gold bangle stack that frames the mantis without crowding it.
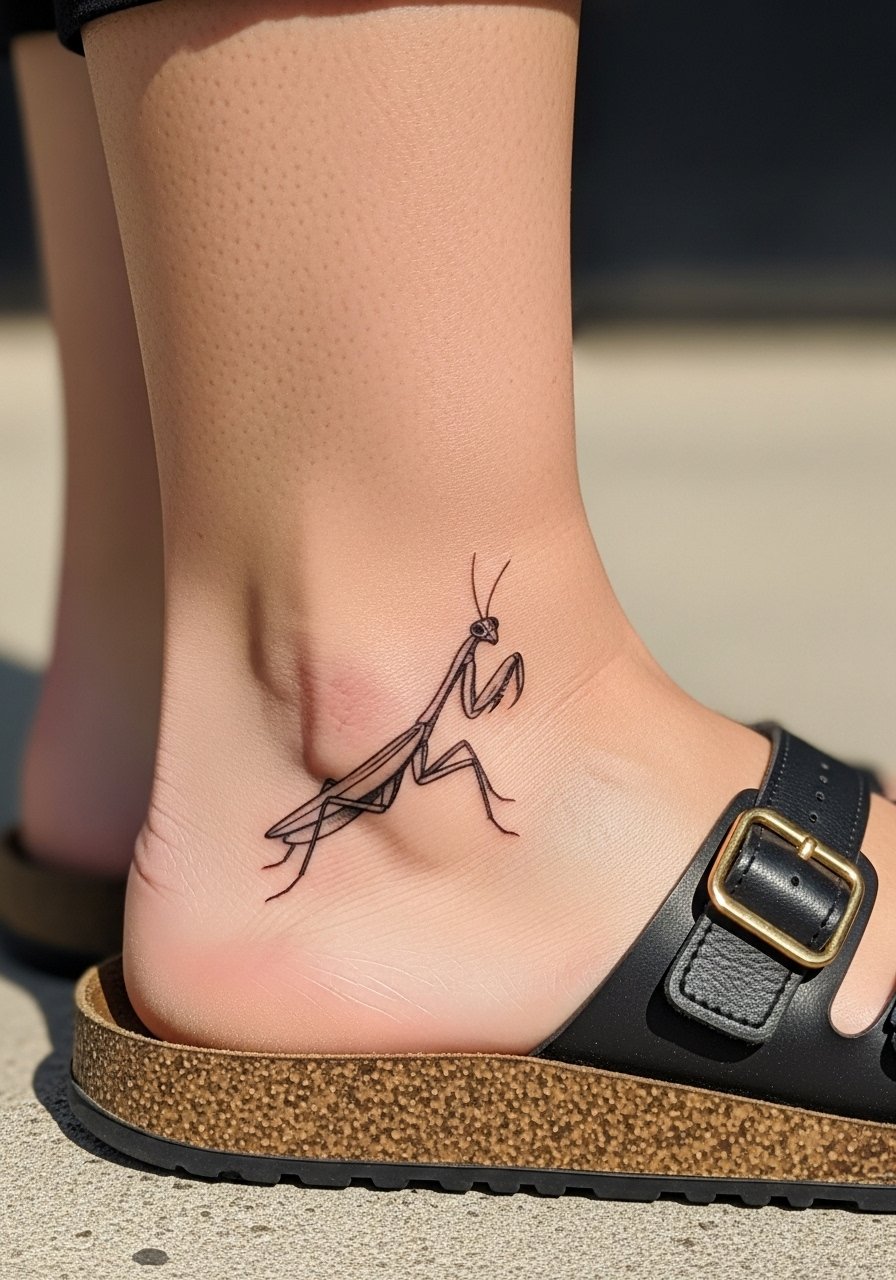
3. Dotwork Praying Mantis on Outer Ankle

Ankle dotwork ages well if you give the composition space from the bone. Tell your artist to build contrast with denser dots near the body and lighter dots along the limbs so the pattern holds under friction. Expect noticeable itching during week two and light pain during the session. The common mistake is packing too many tiny dots close together which softens into a gray patch after a year. For showing it off, pair with cuffed slim chinos or a cuffed ankle pants look so the mantis peeks out with movement.
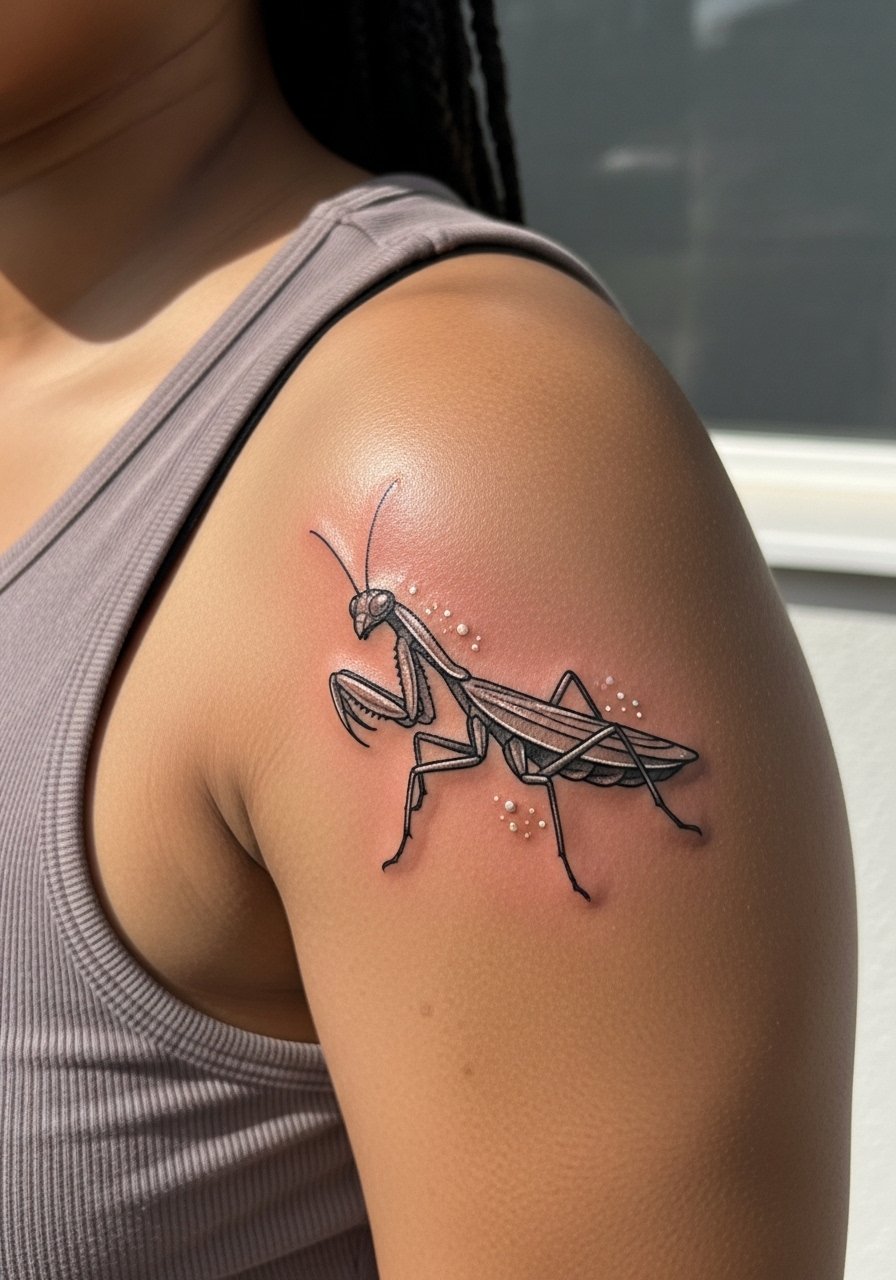
4. Blackwork Bold Mantis on Upper Shoulder
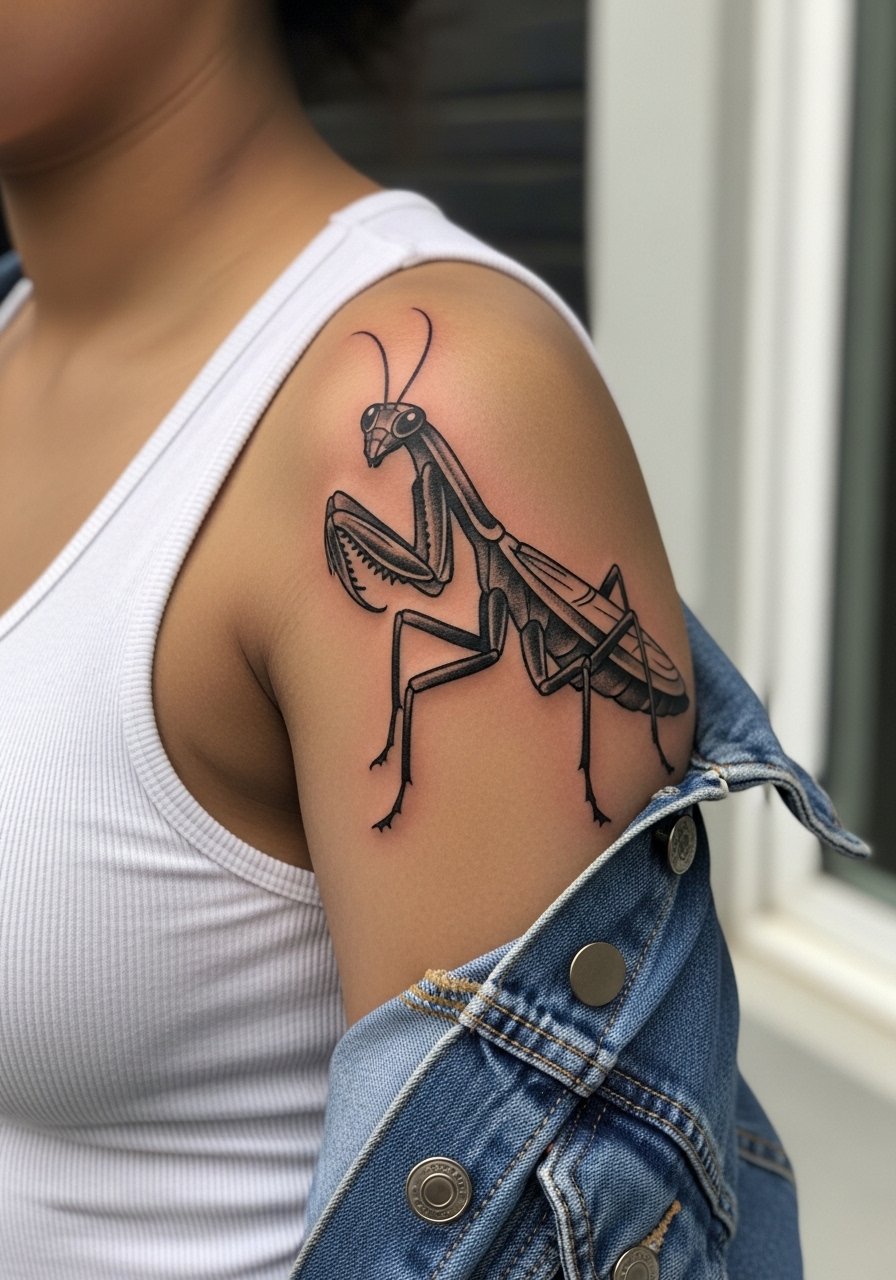
There is a lot to like about a bold blackwork mantis on the shoulder. The saturation holds up and larger fields of black age into strong shapes instead of blurring. Tell the artist you want solid fills rather than thin cross-hatching to keep contrast on darker skin tones. Session is usually under an hour with low to moderate pain. A common mistake is requesting tiny black blocks that end up muddy on textured skin. For outfits, a fitted tank under a denim jacket cropped frames the shoulder without distracting patterns.
5. Minimalist Praying Mantis Outline on Side of Finger
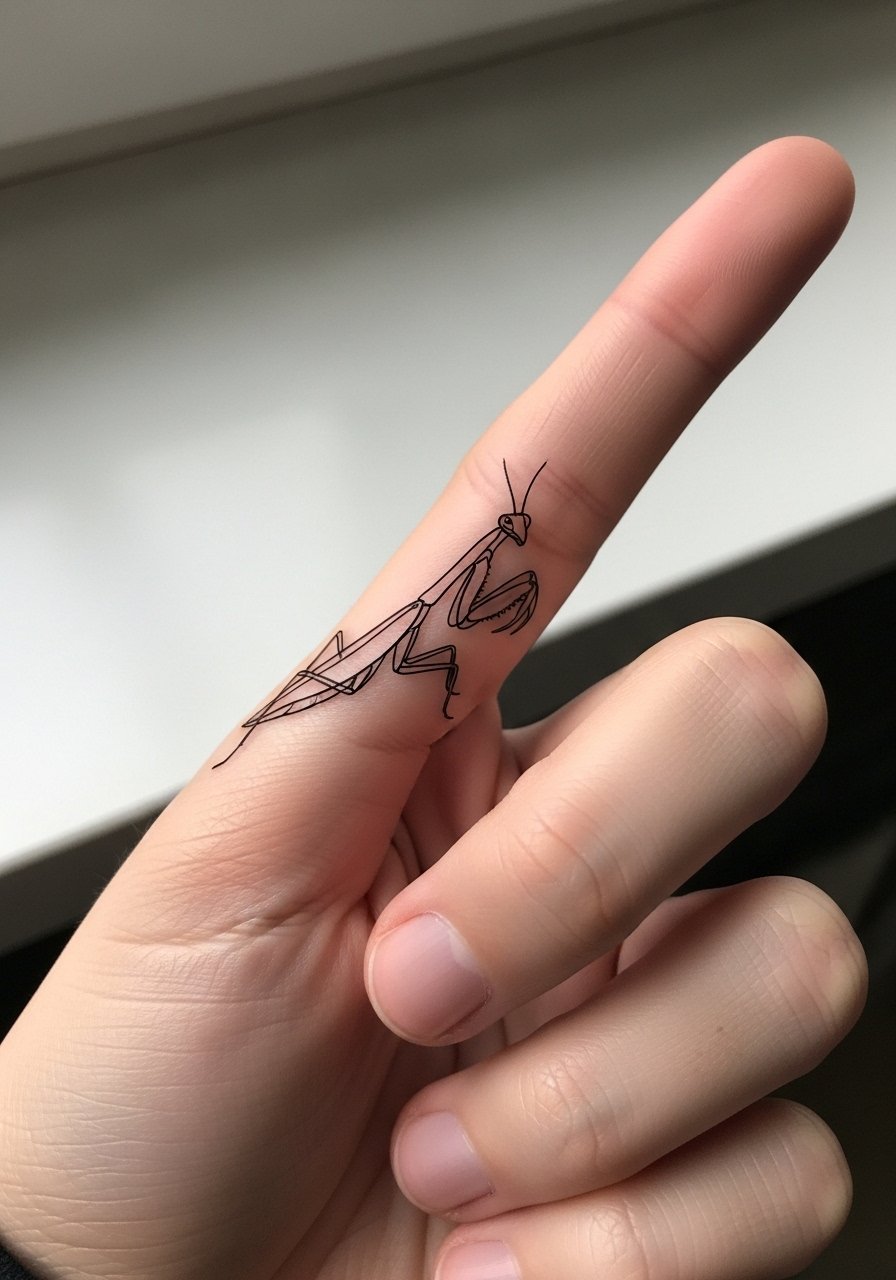
Finger tattoos are tiny commitments with surprisingly high wear. The side of the finger is discreet but subject to friction from rings and washing. Ask for a slightly thicker outline than you think you need and confirm the artist has experience with finger work. The session is brief but the touch-up rate is high; expect at least one follow-up. For access during the session, remove jewelry and wear a short sleeve button shirt so the arm sits flat. The biggest mistake is choosing hairline outlines that disappear in months.
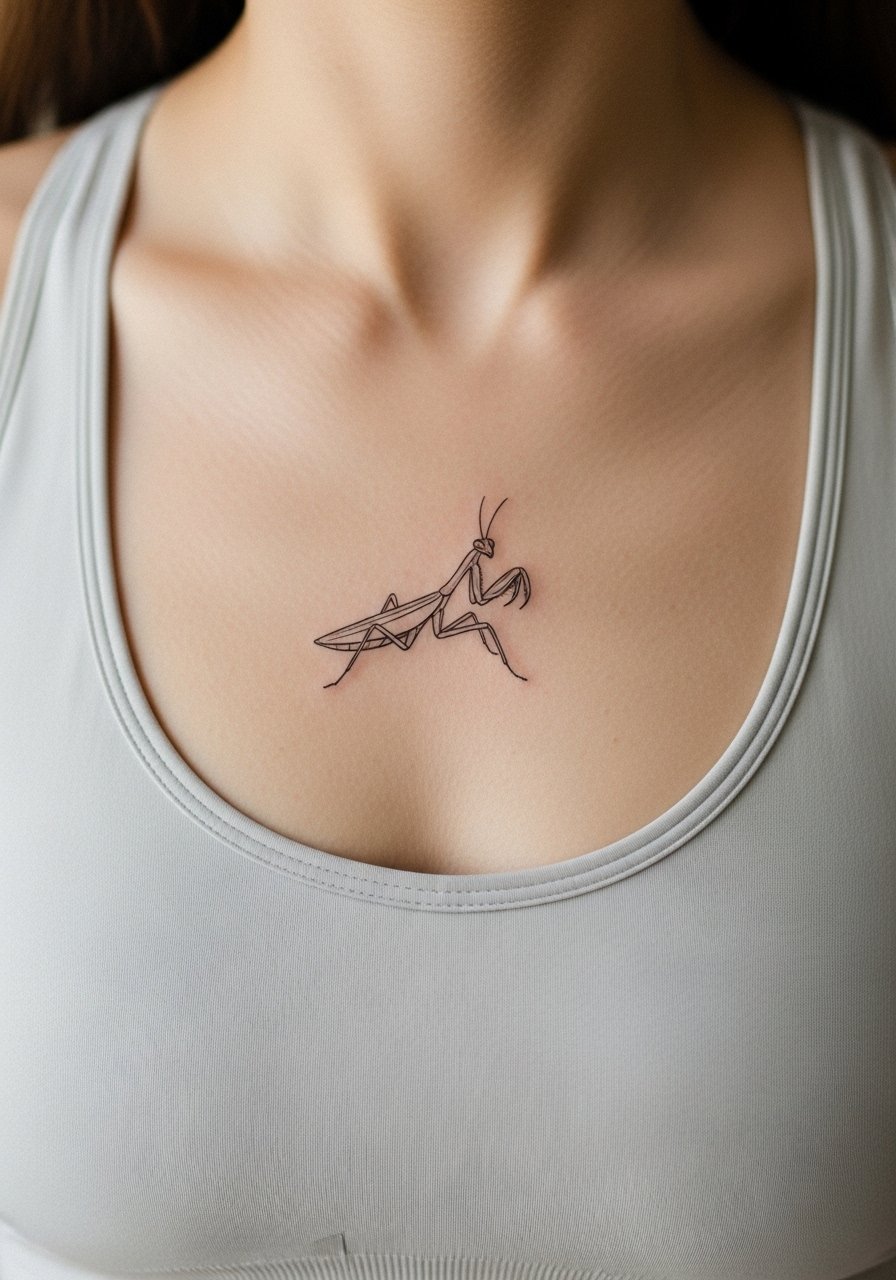
6. Neo-Traditional Praying Mantis with Flowers on Collarbone
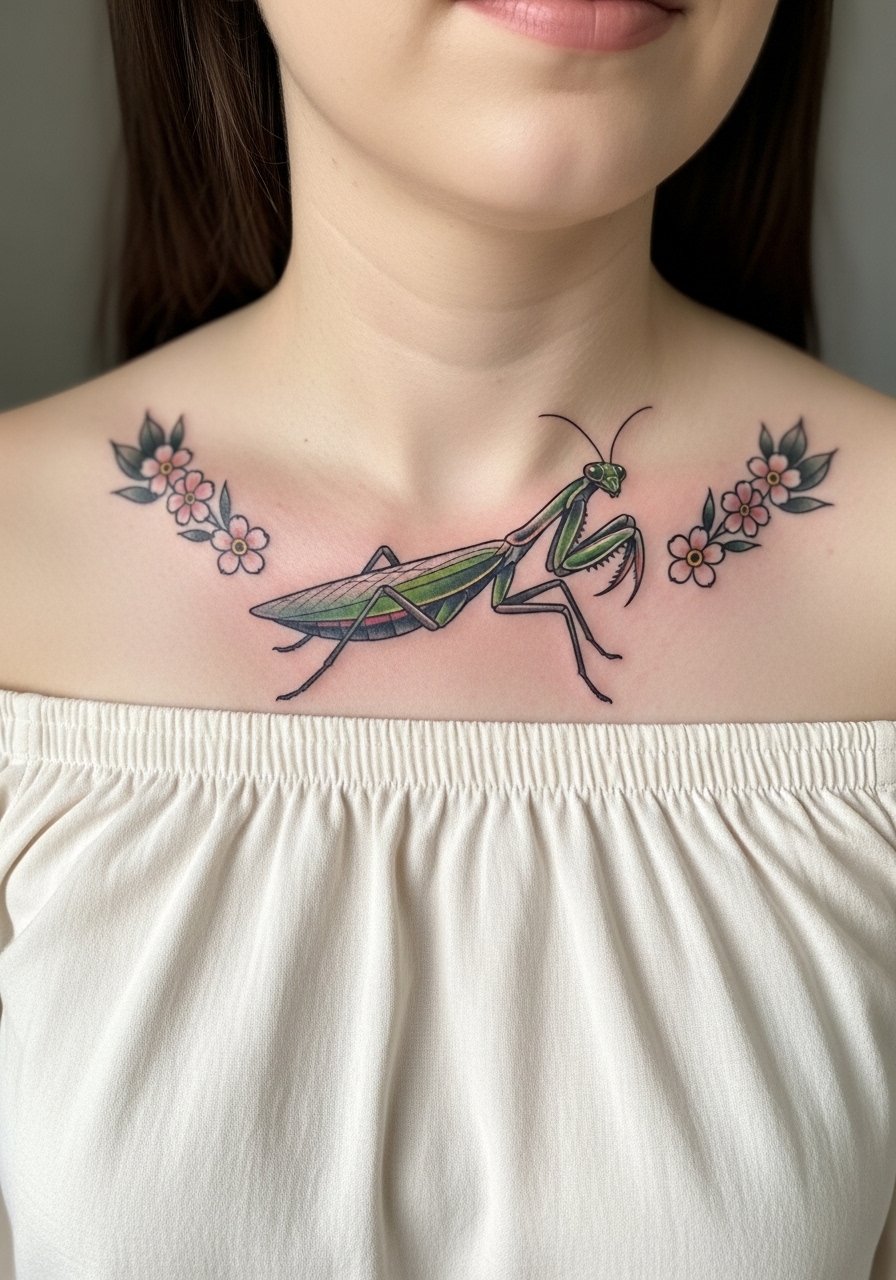
The collarbone curve is flattering for a mantis paired with blossoms because the shell of the clavicle creates natural flow. Tell your artist you want color accents confined to the insect, not spilled into the flowers, so the design keeps its silhouette. Expect moderate discomfort near the bone during the session and plan for two shorter sessions if you want dense color saturation. For showing it off, an off shoulder blouse highlights the collarbone and keeps attention on the composition. Avoid watercolor washes too close to the bone or they will look patchy after healing.
Pre-Session Essentials
Those first six ideas include several wrist, finger, and collarbone pieces that need different prep than larger arm work.
-
InkSafe balm. A non-greasy finish that users say sits well on fine line work during warm, humid days and does not mask the detail.
-
Aussie Tattoo Goo. Favored in winter months for faster absorption and less buildup on small areas like the wrist and ankle.
-
Cetraben cream. Fragrance-free and gentle, useful for sensitive collarbone and sternum areas where irritation is more likely.
-
Hada Labo lotion. Thin texture helps prevent thick crusting on micro-realism pieces, which preserves tiny eye and leg details.
-
Hustle Butter. Thinner than heavier ointments, it is a common go-to for maintaining moisture on small colored accents without clogging.
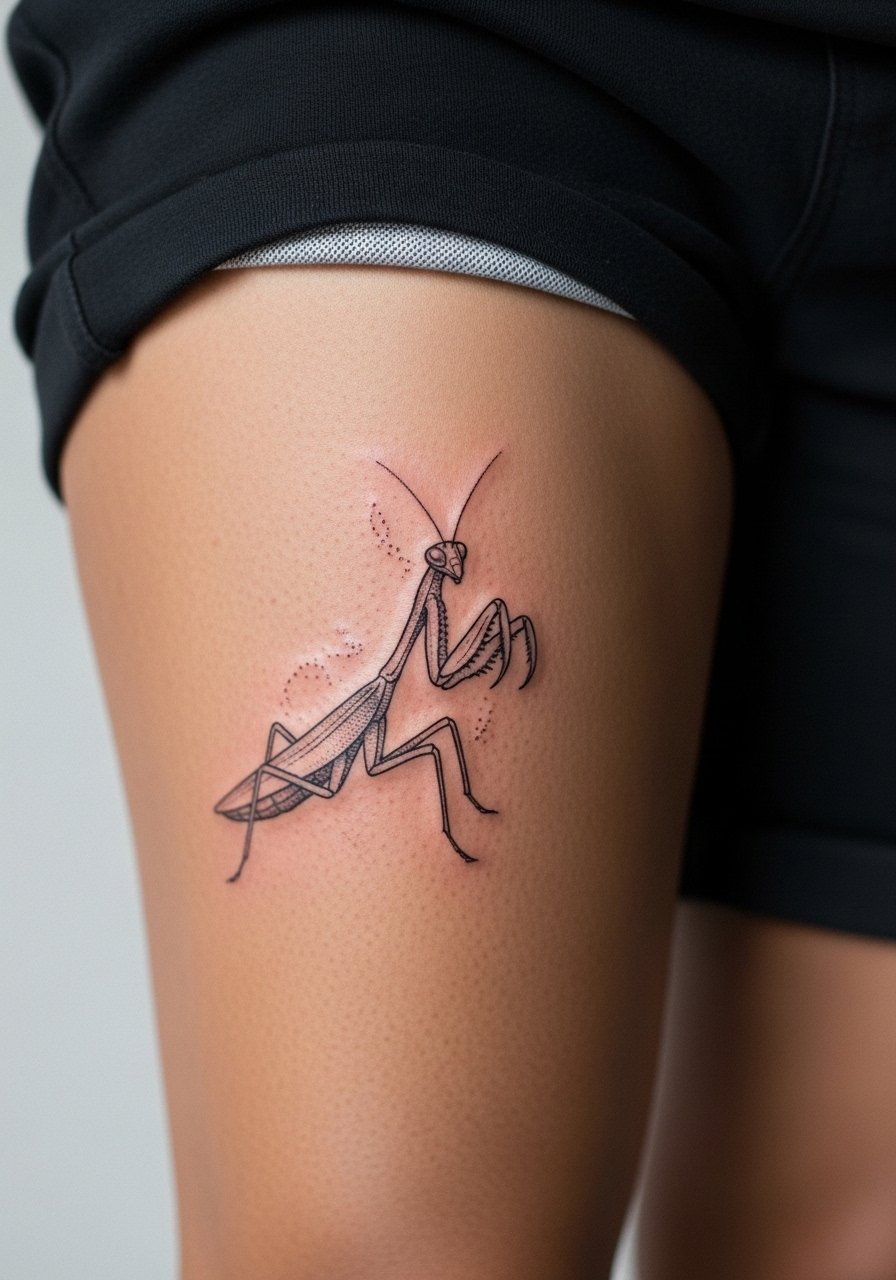
7. Watercolor Praying Mantis on Inner Thigh

Watercolor on the thigh gives a big canvas for soft washes, but small watercolor pieces bleed faster if exposed to sun or friction. For a mini watercolor mantis, ask the artist to anchor washes with fine black outlines to preserve shape as color softens. The session tends to be comfortable to moderate because the inner thigh has flesh to absorb vibration. The mistake is choosing full bleed washes without anchor lines, which become ambiguous after a year. Wear loose shorts or a high-waisted denim pulled slightly down at the hip for session access and to avoid fabric rubbing during the first week.
8. Ornamental Praying Mantis Down the Upper Spine
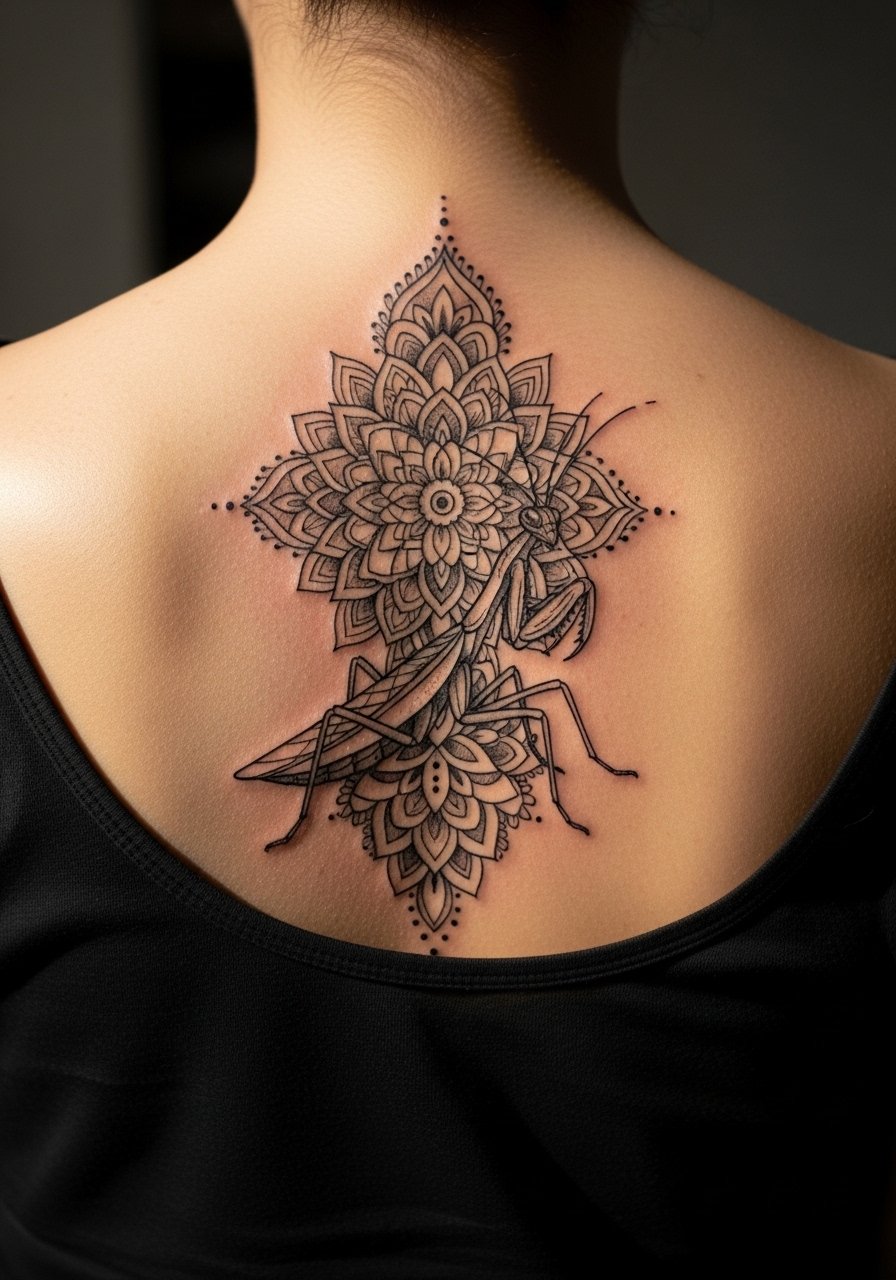
Vertical spine work reads as a poised, meditative column when the mantis is integrated into geometric mandala shapes. Tell your artist to space the mandala rings so they do not compress as the spine moves. Expect moderate to higher pain because of proximity to bone and thin skin. The common mistake is packing dense mandala work too small which merges by year two. Consider an open-back top or a tank top with the back pulled slightly down for the session so the artist can work comfortably. This placement pairs well with vertical necklaces when shown off.
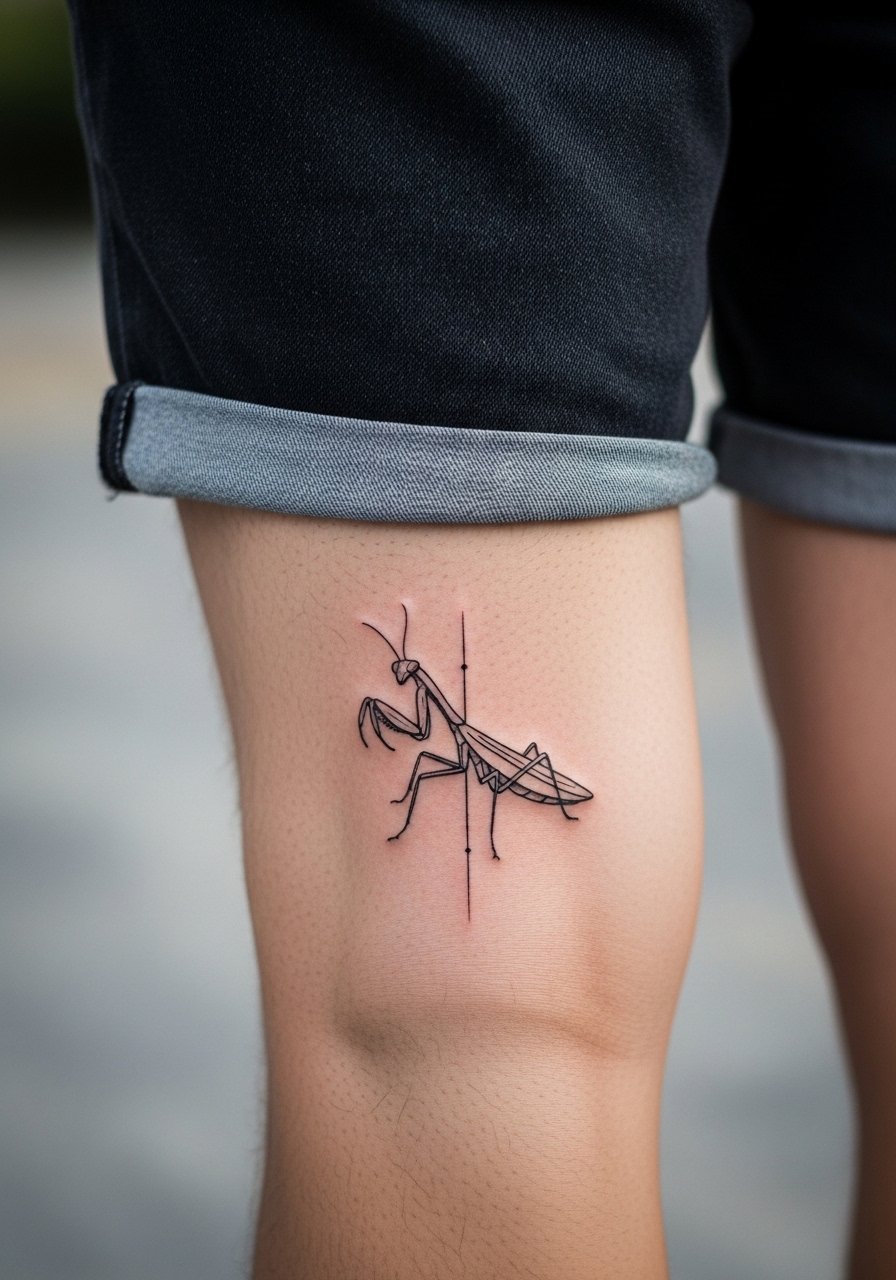
9. Ignorant Style Chunky Mantis on Outer Calf
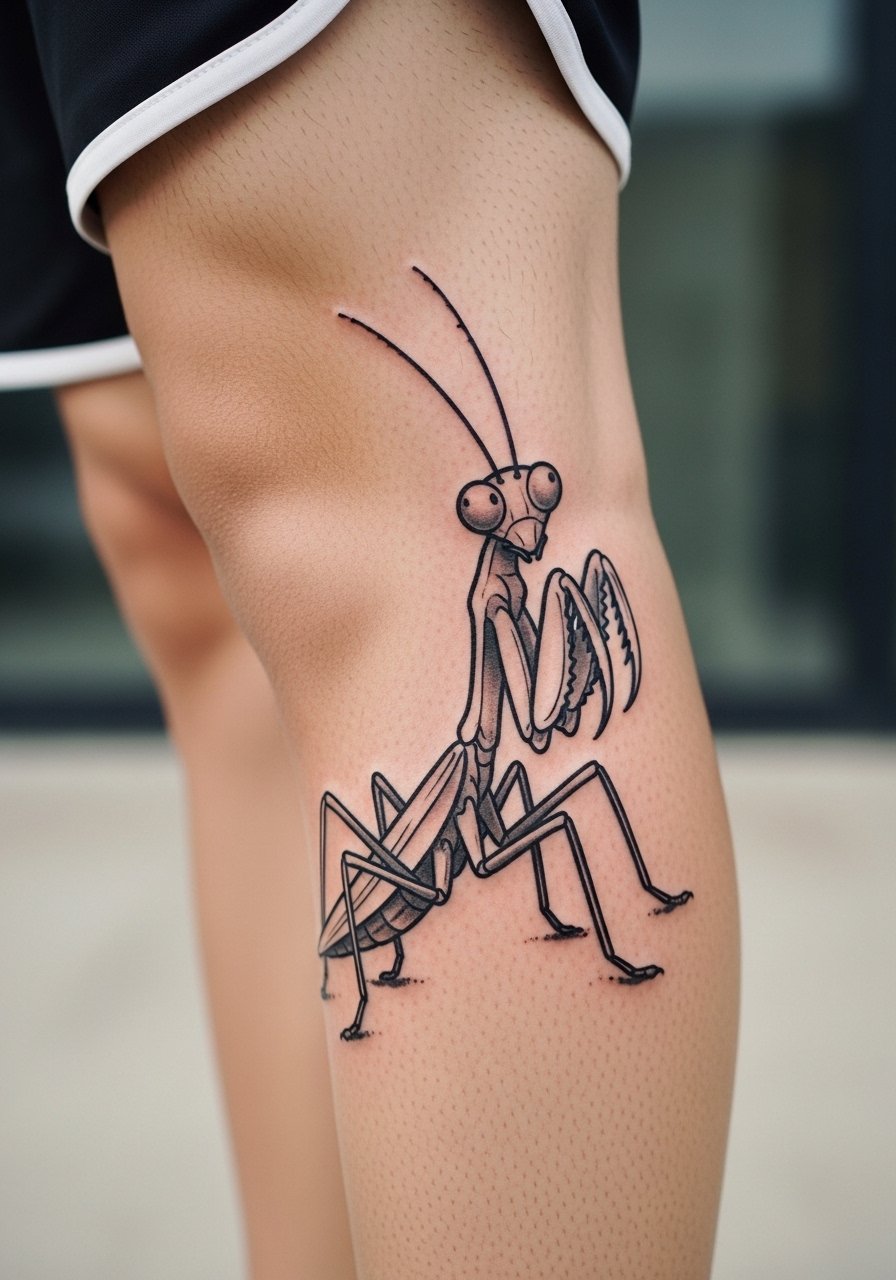
Chunky ignorant-style mantises are fun because they read from a distance and age into bold silhouettes. The calf is forgiving for thick lines and handles large black fills without blowout. Tell your artist you want confident, simple shapes rather than micro detail. Session time is short and pain is low. A common mistake is asking for micro-realism at this size which contradicts the ignorant aesthetic. For showing it off, pair with rolled bootcut jeans or an athletic calf shorts look and chunky socks on the opposite leg.
10. Micro-Realism Praying Mantis Behind the Ear
Behind-ear minis are almost private by design and can look surprisingly lifelike when placed correctly. Ask for crisp contrast in the eye and raptorial arms so the tiny anatomy remains legible. The session is fast and pain is low, though placement sensitivity varies person to person. Because the area is small, touch-ups are common after six to twelve months. For the session, tie hair up and bring a hair tie ponytail so the artist has unobstructed access. Note that behind-ear work needs a steady hand and experience to avoid blurred micro lines.
11. Ribcage Mini Mantis that Syncs with Breath
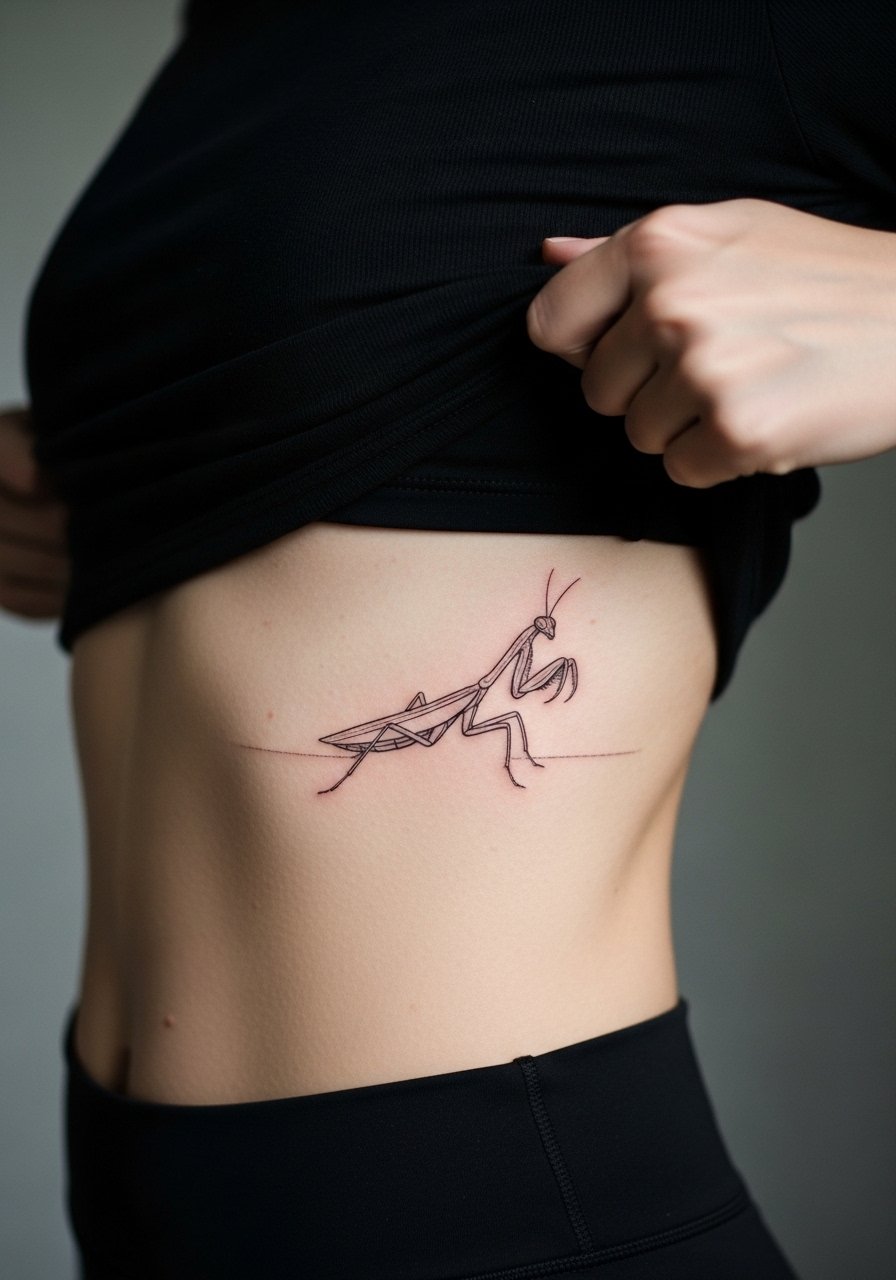
Ribcage placement creates a kinetic effect as the body inhales and exhales, which can make a mantis feel alive. Artists split over fine line on ribs. One side warns that skin stretch blurs lines, the other says careful depth and spacing solve that. If you want fine line here, insist on spacing and slightly heavier line weight. Expect higher pain and longer session time for even a small piece. The frequent mistake is asking for dense detail in an area that flexes constantly. For the appointment, wear a fitted sports bra you can lift slightly so the artist can reach the area without full exposure.
12. Tiny Mantis on the Side of the Toe
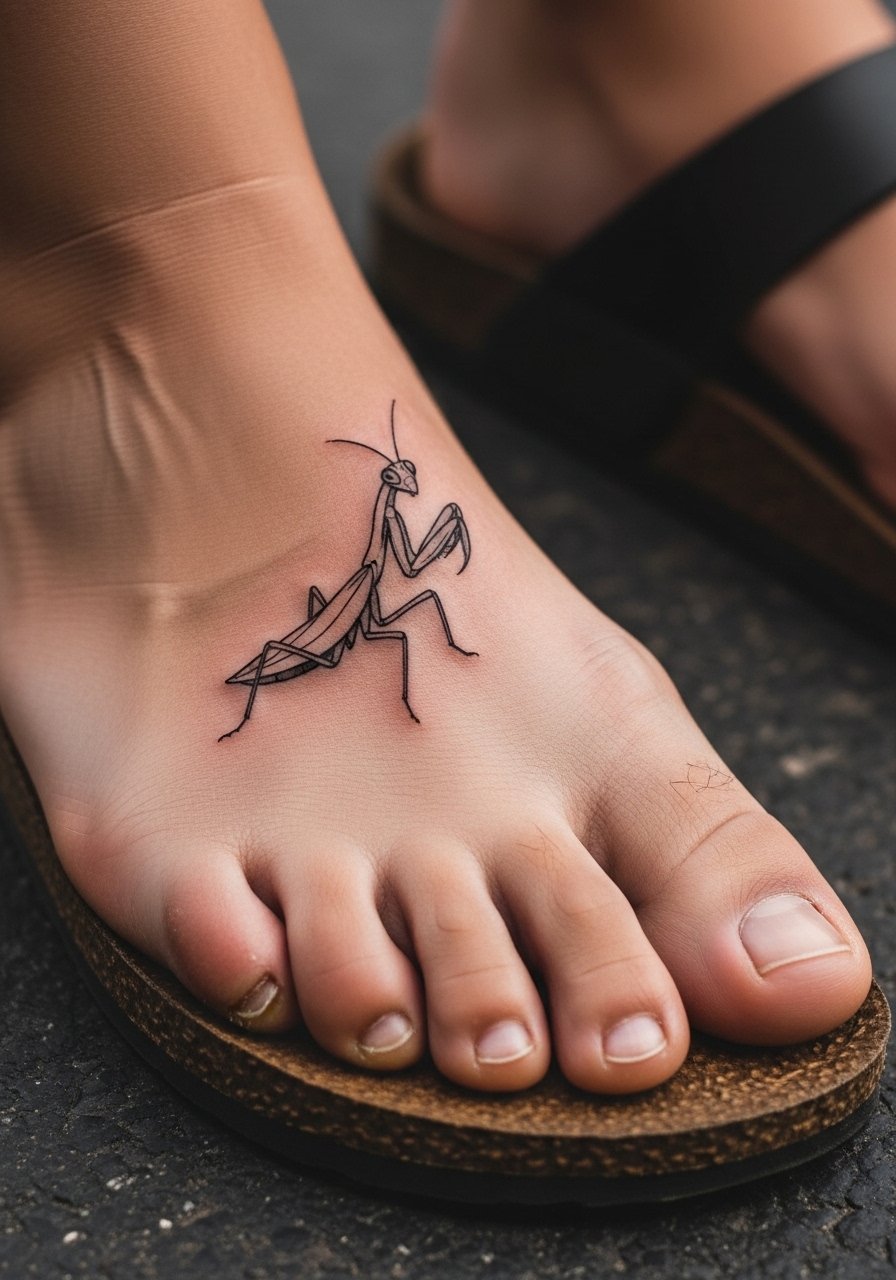
Toe tattoos are extremely exposed to friction and water, so they demand honest expectations. I recommend bold single-line shells rather than micro legs to avoid fast fading. Expect a painful session because the toe has thin skin and bone proximity. Many people underestimate the wear from shoes and end up with patchy spots. For healing, choose sandals during the first two weeks and avoid closed shoes. Keep in mind touch-ups are almost always part of the process for this placement.
13. Patchwork Mini Mantis Linking into an Insect Sleeve
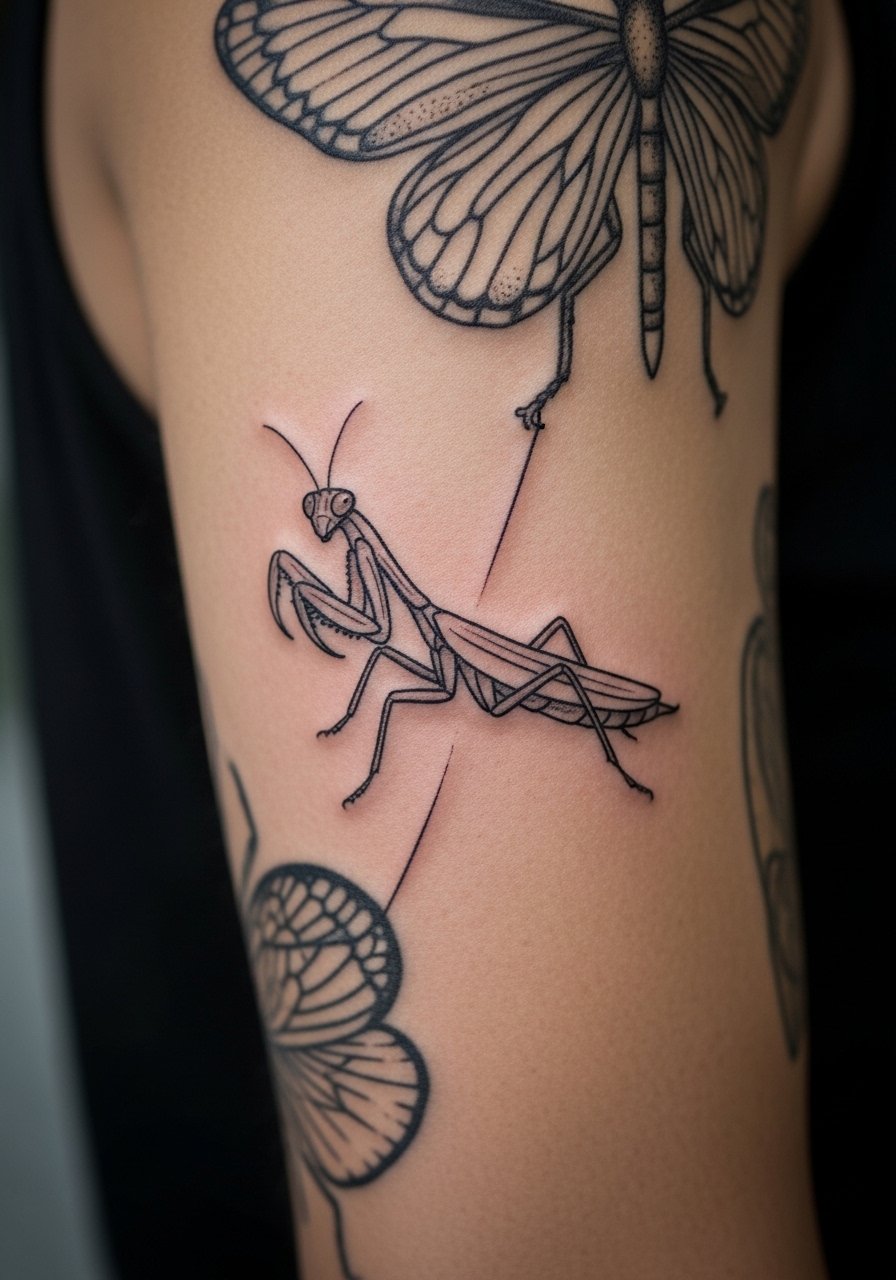
If you already have an insect sleeve, a patchwork mini mantis can look intentional when the line weight and shading match. Bring clear photos of the existing work and ask your artist to sample the palette and needle density. A common mistake is assuming any artist can match another's texture; portfolio matching is essential. Session time is brief when adding a mini, but color matching may take a follow-up. This approach is best for someone building an ongoing sleeve narrative rather than a standalone piece.
14. Praying Mantis with Subtle Kanji on Inner Forearm
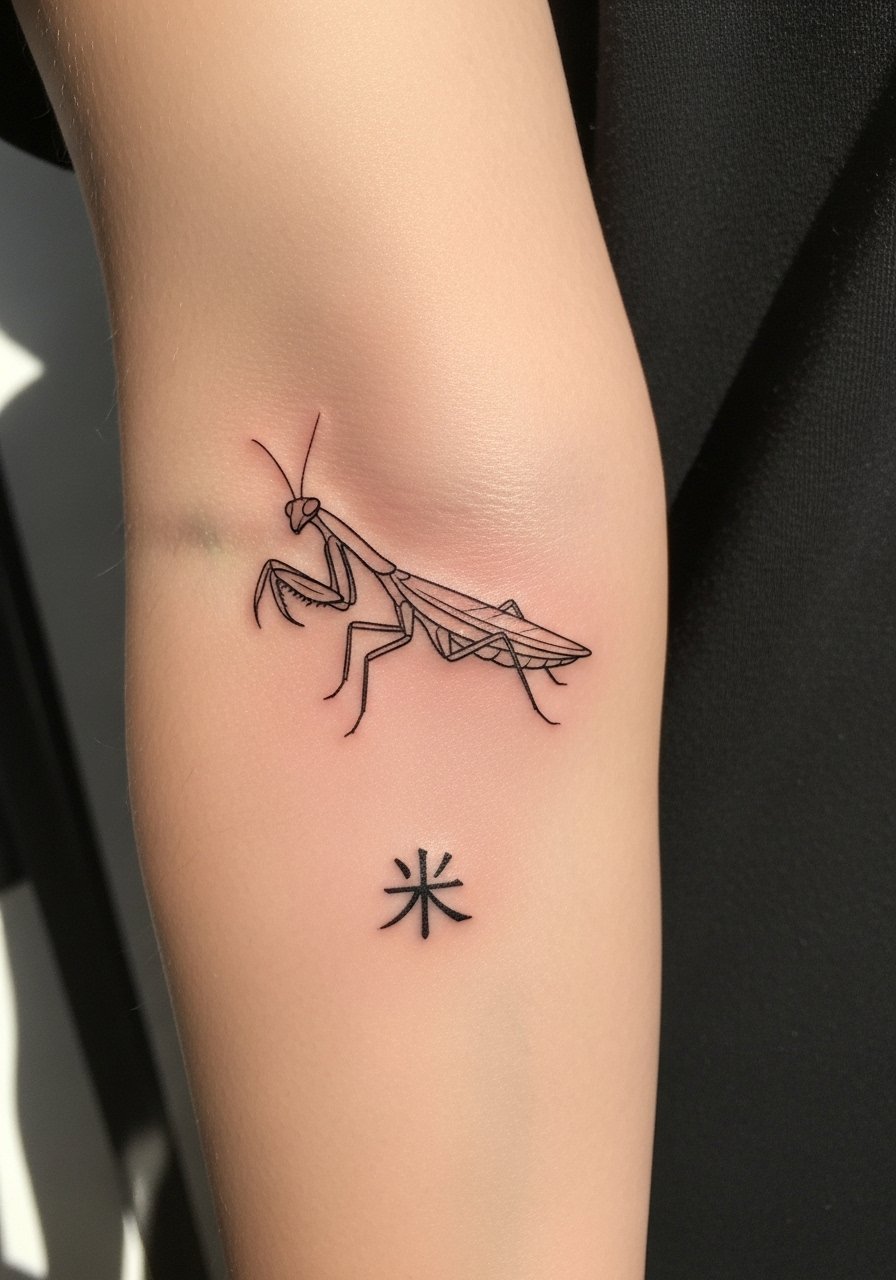
This fusion pairs a tiny mantis silhouette with a single kanji character for a layered visual. If you include kanji, be precise about the exact glyph so the artist uses accurate lettering. The session is low pain and quick, but double-check translation and cultural context. The usual mistake is picking a character from an online generator without vetting its nuance. For session wear, a rolled cuff chambray shirt lets you expose the forearm without fabric interference. Consider asking for a slight space between the insect and text so both elements age separately.
15. Mini Mantis on the Back of the Hand
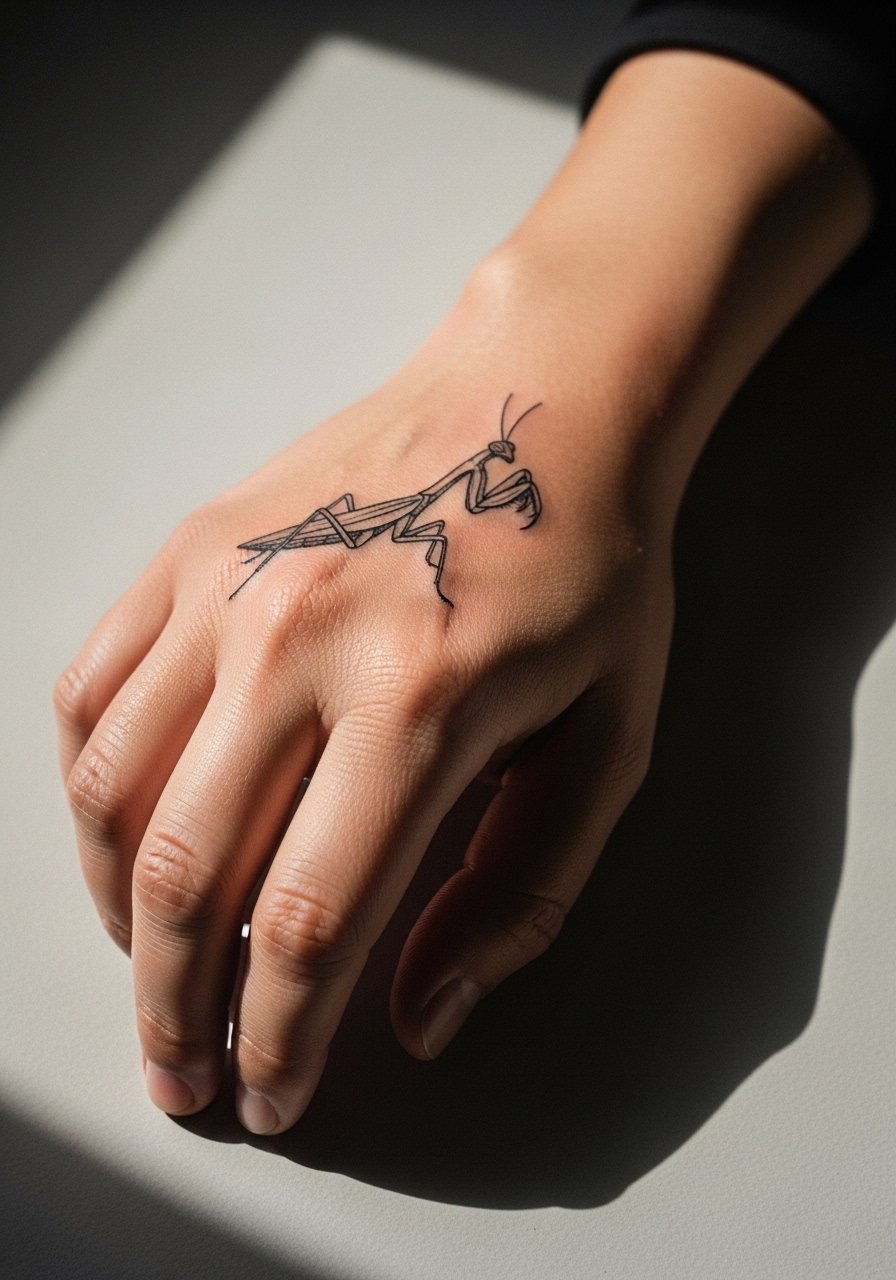
Hand pieces show off quickly but also see rapid wear from sun and washing. Ask for bold, simple lines and expect touch-ups within a year. The session is painful because the hand has thin soft tissue over bone. A frequent misstep is requesting intricate micro realism on the back of the hand; the area cannot hold tiny separations long term. If your job tolerates visible ink, this spot is a great statement. For the appointment clear your hands of rings and wear comfortable sleeve lengths that do not rub the area immediately after.
16. Dark Skin Optimized Mantis with Iridescent Pearl Ink Accent
Darker skin tones can benefit from high-contrast layering and tested pearlescent inks for subtle shimmer. If you are exploring pearl or reflective pigments, ask the artist about how the ink reads in photos and how it behaves under sun exposure. Session times are comparable to regular color fill, though some pigments need patch testing. The biggest mistake is assuming every artist stocks specialty inks; confirm availability and a healed example beforehand. For showing it off, a solid color tank top frames the shimmer without busy patterns.
17. Geometric Mantis with Mandala Fill on Upper Arm
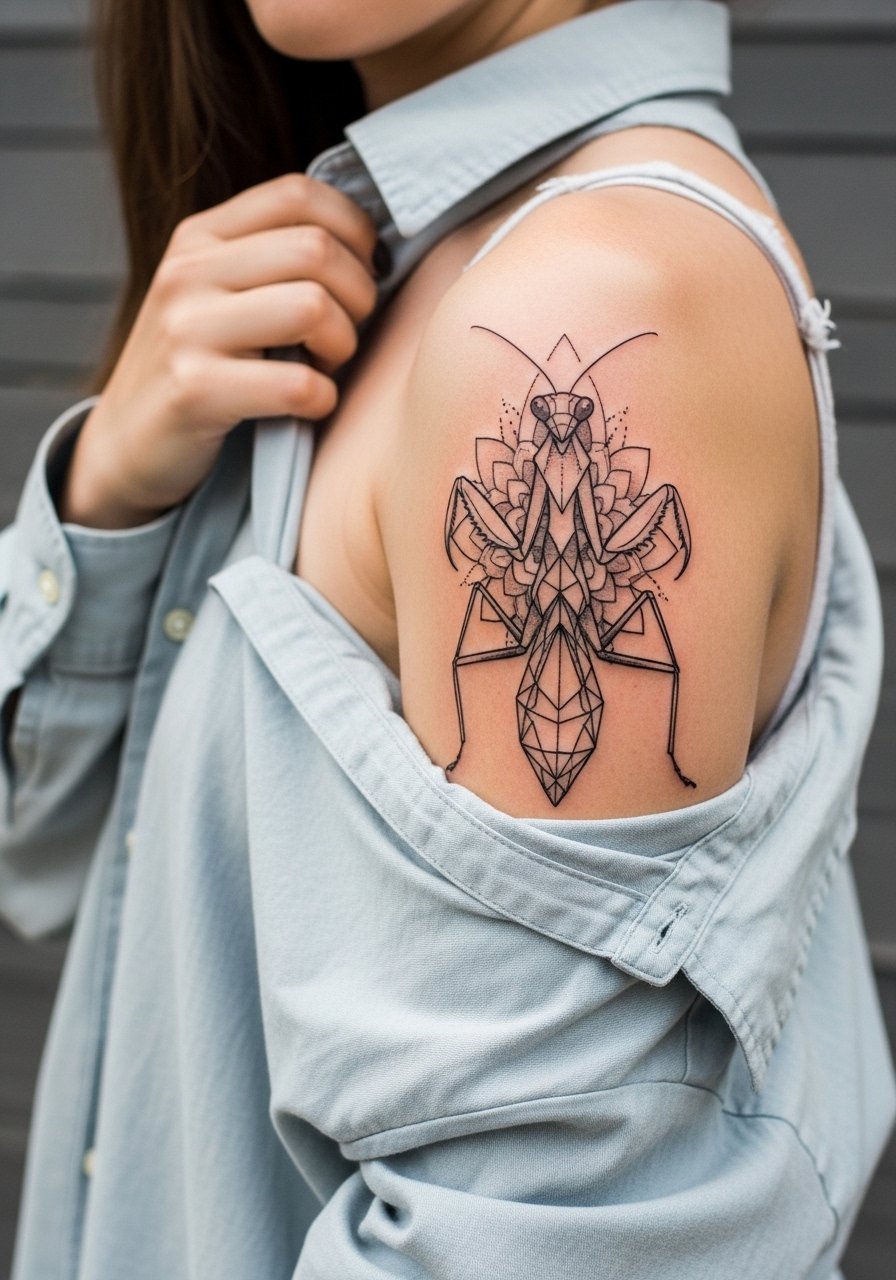
Geometric mantises bring structure to a small insect by using shapes to form the body and wings. Ask for spacing in the mandala fills so dots do not become a gray mass after two years. The session is moderate and usually done in one go. A common error is shrinking the mandala too much which makes the pattern collapse under healing. For the session, wear a loose button-down shirt you can slide to expose the upper arm without full undressing.
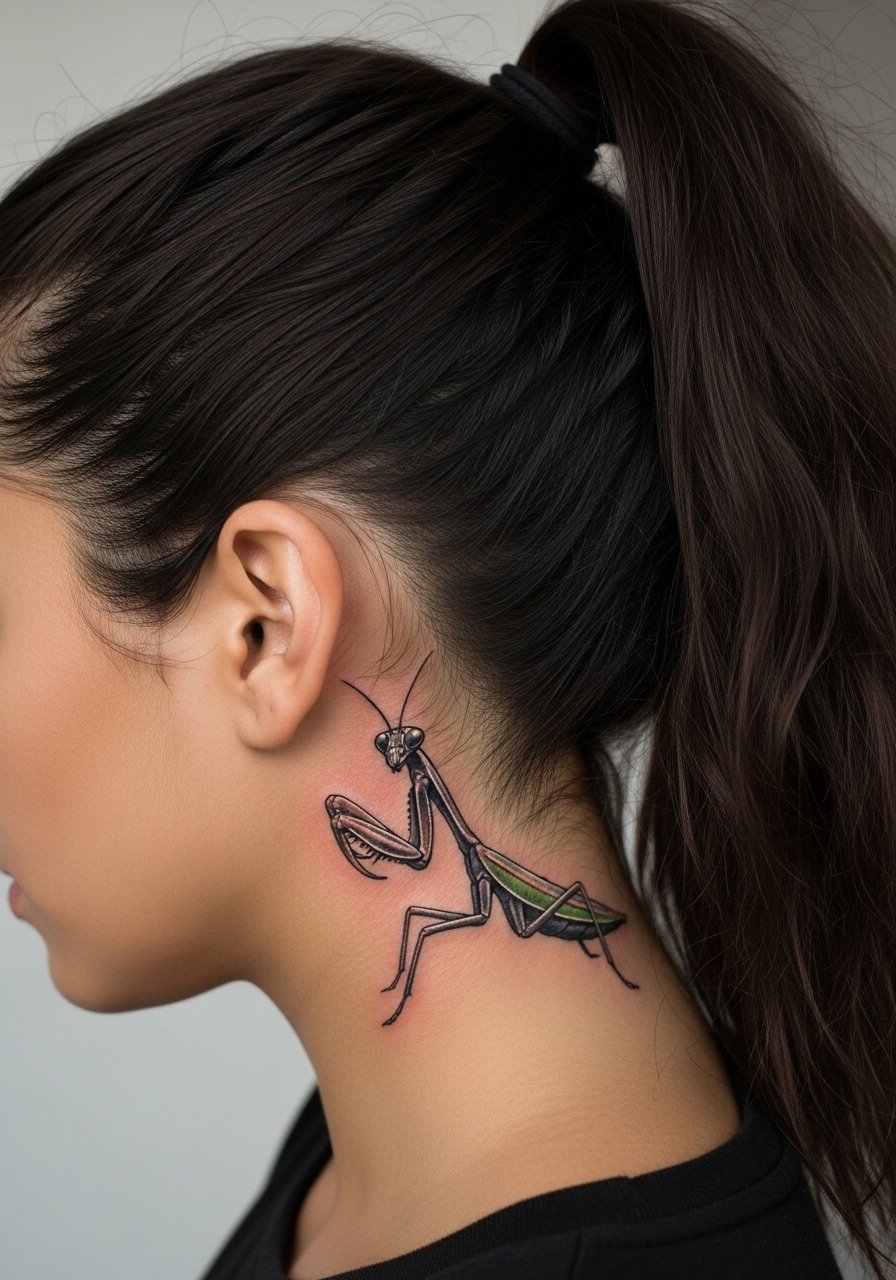
18. Minimal Mantis on the Side of the Neck
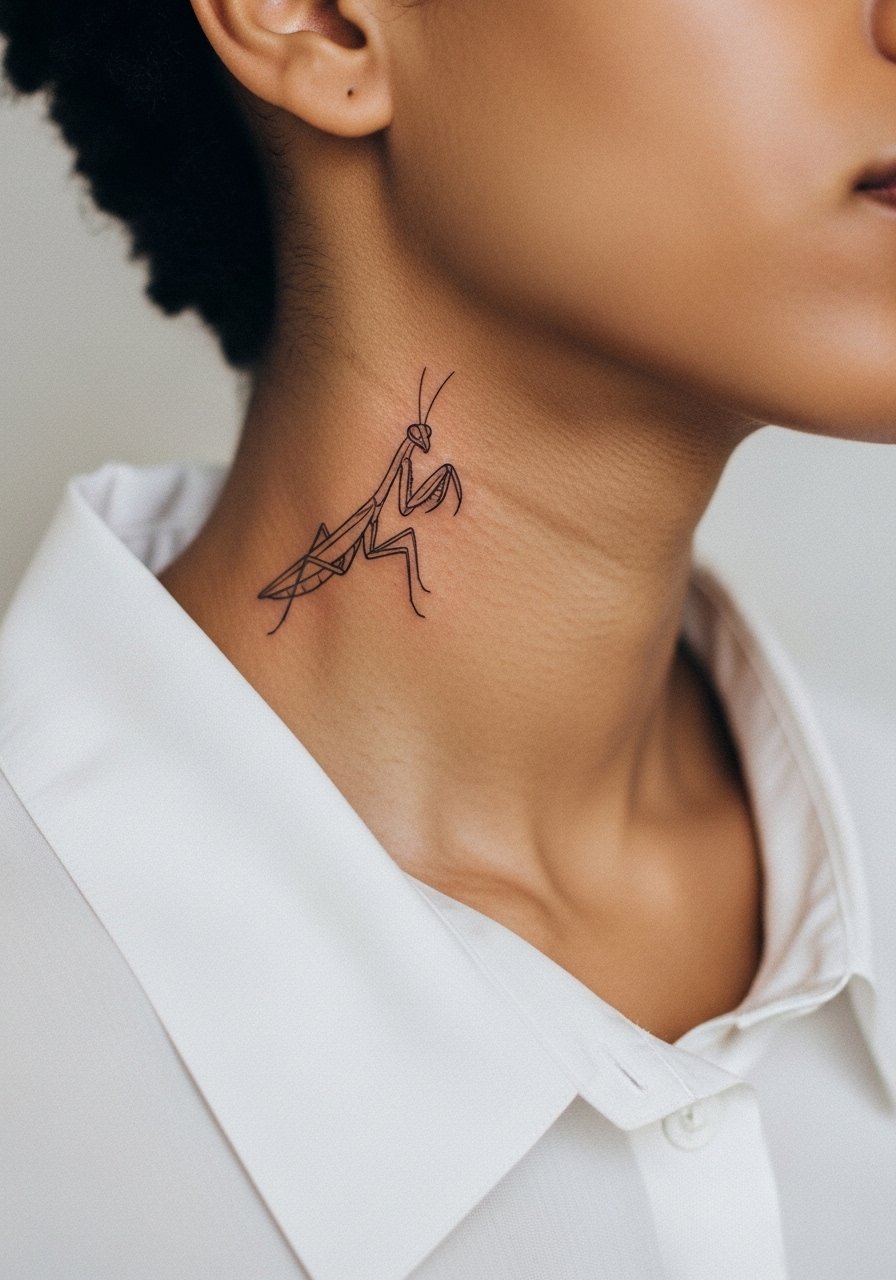
Neck minis are visible and carry social costs in some industries, so think through placement and visibility. Ask for a subtle silhouette that can be concealed by hair or clothing when needed. Expect moderate pain and a short session. The frequent mistake is choosing text-heavy complements that clutter the small neck area. For the appointment wear a wide-neck shirt that can be moved aside easily. If concealment at work is a concern, this placement offers options for both visibility and discretion.
19. Tiny Mantis Along the Sternum
Sternum minis are intimate and move with breathing, which can be an advantage if you want motion in the design. Artists differ on fine line usage here because of the skin's texture and motion. One camp avoids ultra-fine lines on the sternum, the other will do them with careful technique. Expect higher pain than forearm work and plan for a steady hand during the session. The common mistake is requesting dense detail right on the midline which can blur as the area heals. For session access, a strapless or fitted sports bra works best.
20. Tiny Mantis Nestled on the Lower Back
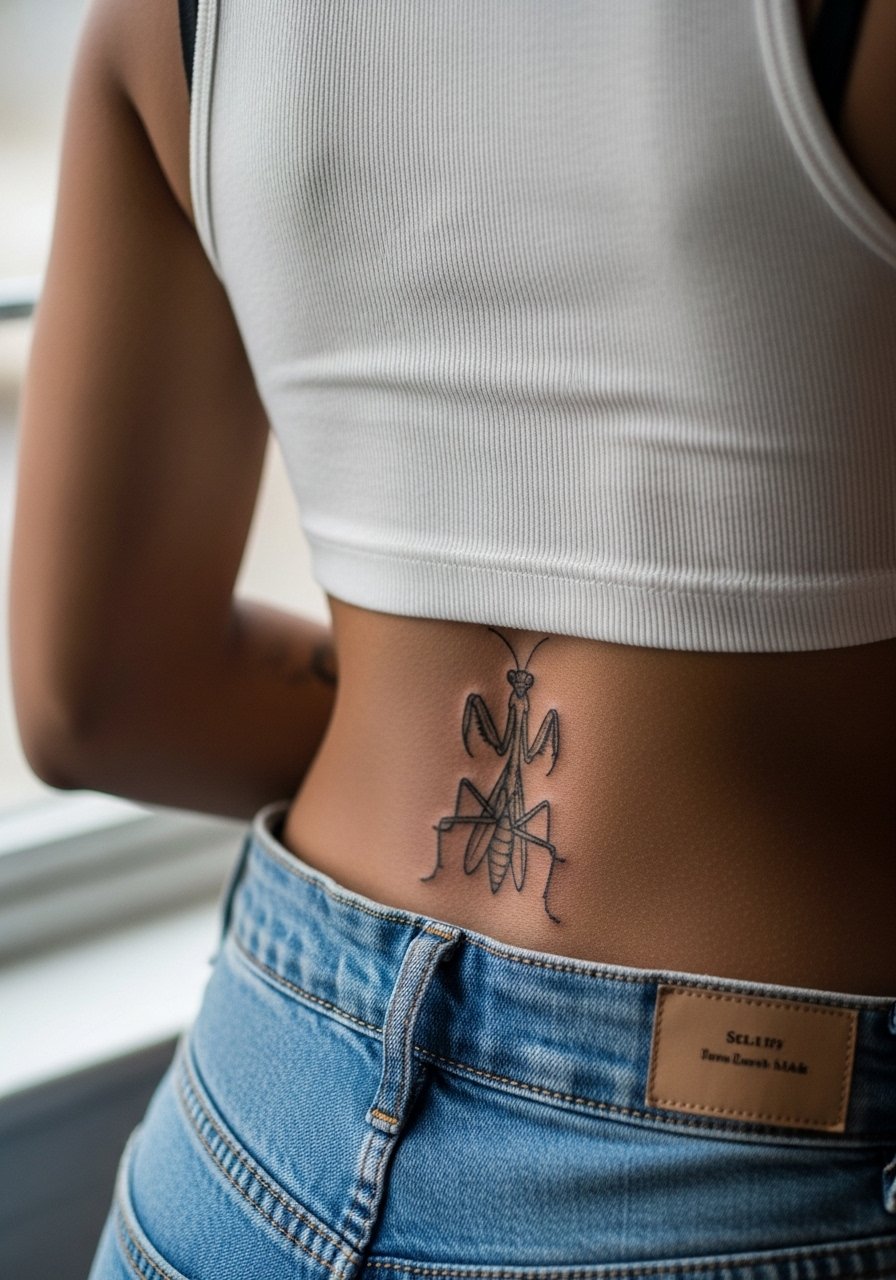
Lower back minis sit low on clothing lines so their visibility depends on outfit choices. This area tolerates small blackwork well and has low daily abrasion. Tell your artist you want a compact composition that will not be partially covered by waistbands. Session pain is low to moderate. The mistake is letting the design sit on the belt line where friction and clothing wear can dull detail. For the session, wear a tank with high-waisted bottoms you can lower slightly to expose the area without full removal.
21. Inner Bicep Micro-Realism Mantis
The inner bicep provides a private plane for micro-realism and holds detail well because it is usually shielded from sun. Ask for slight saturation boosts in the eye and forelegs to keep them legible after healing. Pain is moderate and sessions are comfortable if you keep breathing steady. A common error is picking too many tiny strokes near the armpit which can smudge with friction. For the appointment a tank top with the arm raised gives the artist clean access.
22. Hip Curve Mantis with Floral Accent
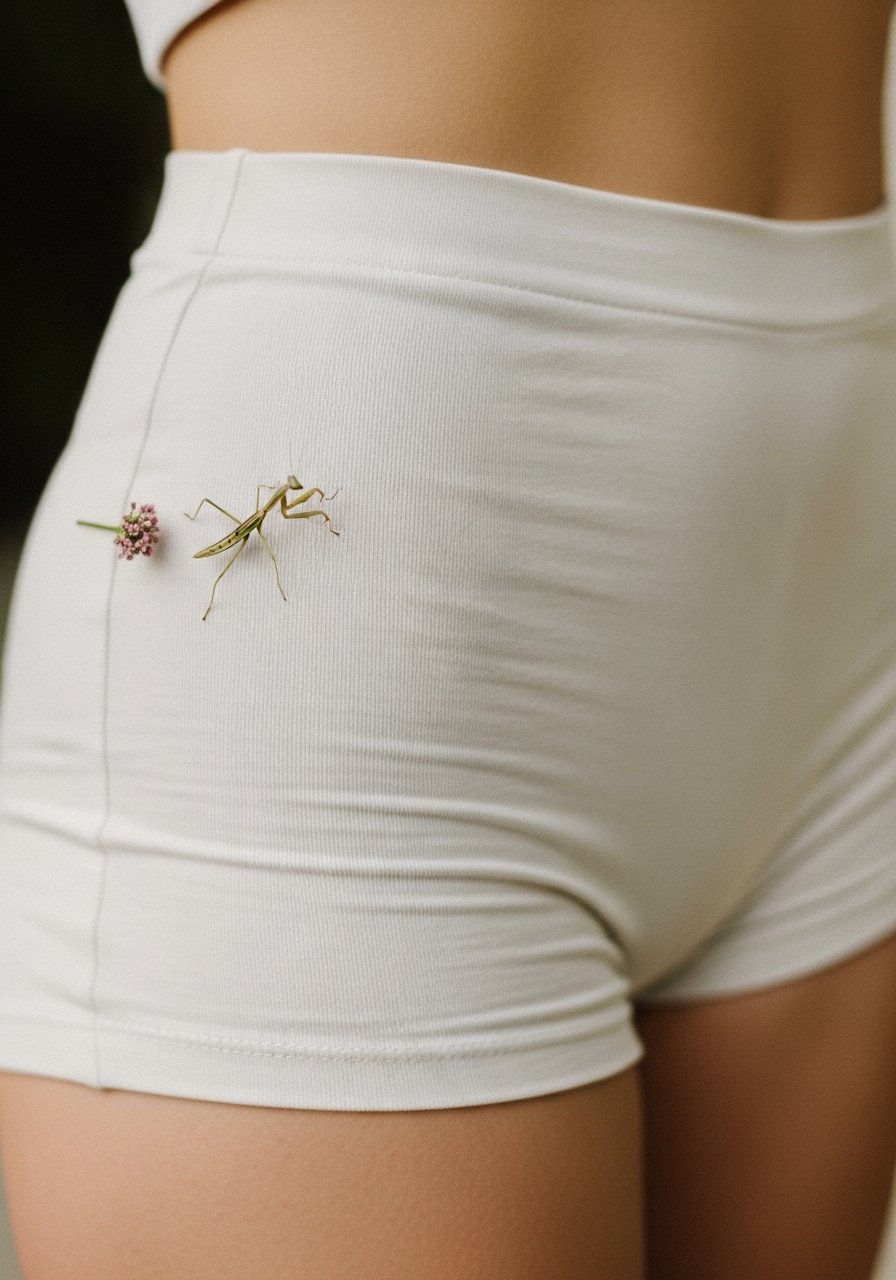
Hip placements look sensual because they follow the body curve, and a small mantis with a flower sits naturally there. Expect low pain and a quick session. The usual mistake is placing the design too far under clothing rim so it never gets seen. For session wear pick high-cut shorts or a swimsuit bottom so the artist can expose only the area needed. Consider how waist changes could stretch the piece and ask for a design that tolerates mild body change.
23. Inner Thigh Mini with Stipple Shading
Inner thigh work is private and heals well when kept dry, but it is sensitive to sweat and rubbing. Ask for stipple shading rather than continuous tone to age gracefully with skin movement. Sessions can be moderately uncomfortable depending on placement depth. A common mistake is choosing large saturated color here which can bleed under friction. For the session, wear loose shorts you can shift slightly so the artist has clear access without full exposure.
24. Tiny Mantis Along the Collar of a Shoe on the Ankle
Placing a mantis right where the shoe collar sits can be playful but demands honest care. The area gets friction from shoes and socks, so ask for slightly bolder outlines. Expect light pain and a quick session. The common mistake is leaving the piece directly under tight shoe collars which can rub during early healing. For showing it off, pair with sandals during recovery and keep shoes loose for the first two weeks.
25. Tiny Mantis Behind the Knee in Negative Space
The back of the knee is an unusual but striking spot that moves with walking. Negative space designs can read clearly if the surrounding lines are bold enough. Expect moderate discomfort because the skin flexes a lot. A common error is making the negative space too fine, which loses clarity when the limb bends. For the session wear loose shorts so the artist can flex and photograph the area. Plan to avoid long periods of bending during the first week.
26. Tiny Mantis on the Side of the Calf with Athletic Styling
A side-calf mini works well for sporty aesthetics and tends to age clean due to lower daily abrasion. Ask your artist for clear separation between legs and body to avoid later merging. Sessions are quick and pain is low. Mistakes include crowding the area with background texture that muddies the small image. For showing off and session wear, pull up loose joggers so the artist can roll the leg without pressure on the area.
27. Micro Mantis Near the Ear Lobe for Tiny Surprise Detail

A tiny mantis tucked near the lower ear or jawline is a discreet surprise that peeks out around hair and collars. Ask for a compact silhouette and avoid long appendages that catch on clothing. Expect a fast session with low to moderate pain. The frequent mistake is using too much detail in a tiny space which becomes a dark smudge as it heals. For the appointment, wear a v neck loose tee so the artist can access the area without hair product interference.
Frequently Asked Questions
Q: Will a fine line mini mantis on my wrist need touch-ups sooner than a blackwork piece on the shoulder?
A: Yes, fine line wrists generally need touch-ups earlier because the skin and motion there cause lines to soften over time. Blackwork on the shoulder usually ages into solid shapes. Expect a possible touch-up at six to twelve months for delicate wrist work.
Q: What should I wear to a collarbone or sternum session for comfort and access?
A: Wear a wide-neck or strapless top you can pull aside so the artist can work without you removing clothing. A fitted sports bra is practical for sternum sessions because it exposes the area while keeping you covered and comfortable.
Q: Are pearlescent inks safe for darker skin and do they photograph well?
A: Some pearl or reflective pigments can show subtly on darker tones but results vary by brand and placement. Ask for a healed example from the artist and consider a small patch test before committing to visible shimmer.
Q: How do ankle and toe mini mantis tattoos hold up if I run or wear sneakers regularly?
A: High friction areas need bolder outlines and realistic expectations. Runners or people who frequently wear snug shoes should plan for more frequent touch-ups and avoid placing the piece directly under tight collars where wear is worst.
Q: If an artist cancels after I pay a deposit, what practical steps reduce the chance of that happening?
A: Use a booking platform that documents deposits and confirm the appointment 48 hours beforehand. It helps to have a backup list of local shops or search hashtags like #miniprayingmantis and #finelinemantis to find guest artists quickly.
