
Fine line trends look gorgeous on a saved board, but when people talk about regrets in forums what comes up most is fading, unexpected cost, and cultural uncertainty. Mini Polynesian blackwork answers two of those at once when it is designed to prioritize line weight and spacing, and when you ask the right questions before booking. Read the short descriptions below for compact ideas that hold up, what to tell your artist, and which placements cut the risk of early blur.
1. Mini Enata Figure Koru Spiral
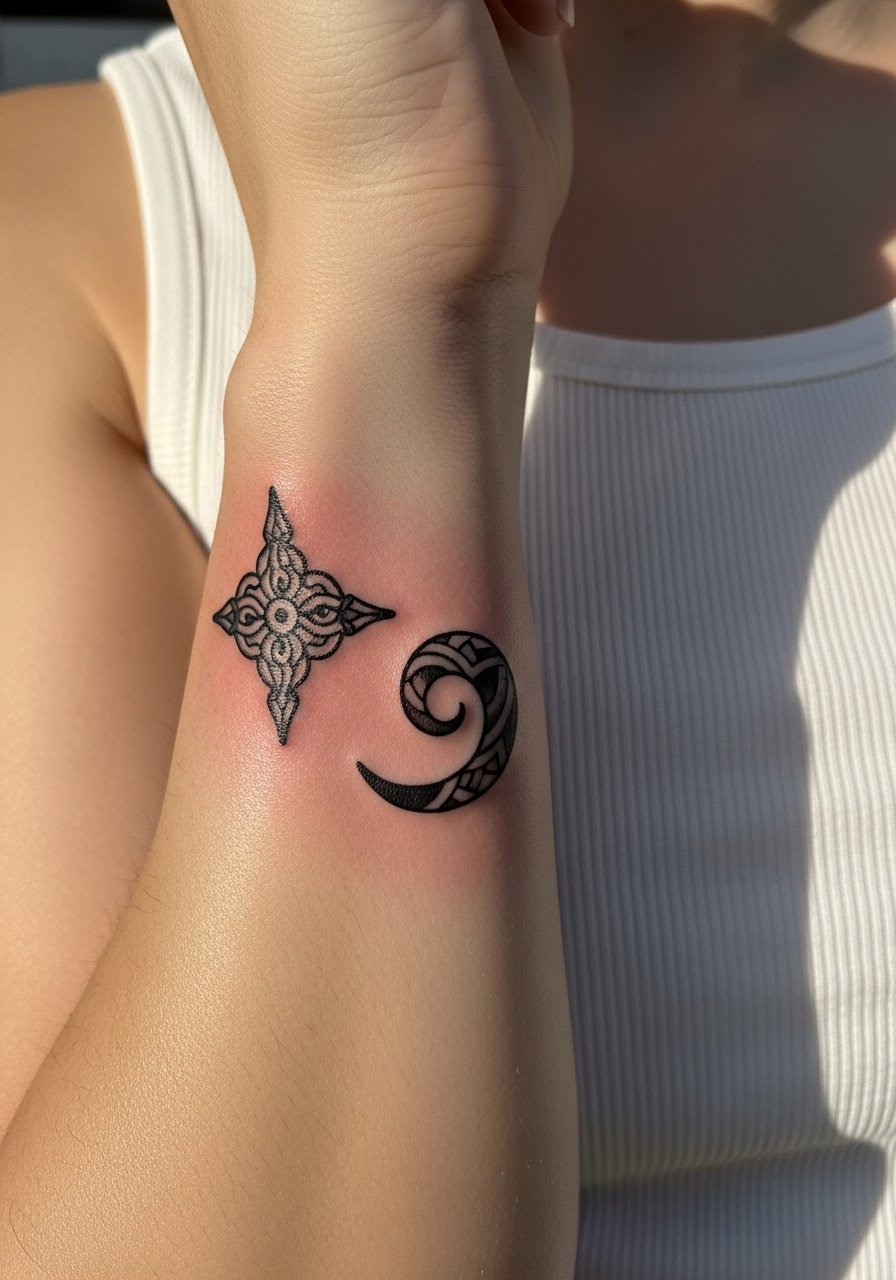
I recommend this when you want ancestry cues without a sleeve. Tell your artist you want packed linework and a slightly larger negative space between figures so the enata stay distinct as skin shifts. Common mistake is shrinking the entire motif to fit a 1 inch token size. At six months the spiral reads crisp if saturation was strong. Expect touch-up around year three for wrist friction. For showing it off try a solid white tank top that contrasts the blackwork.
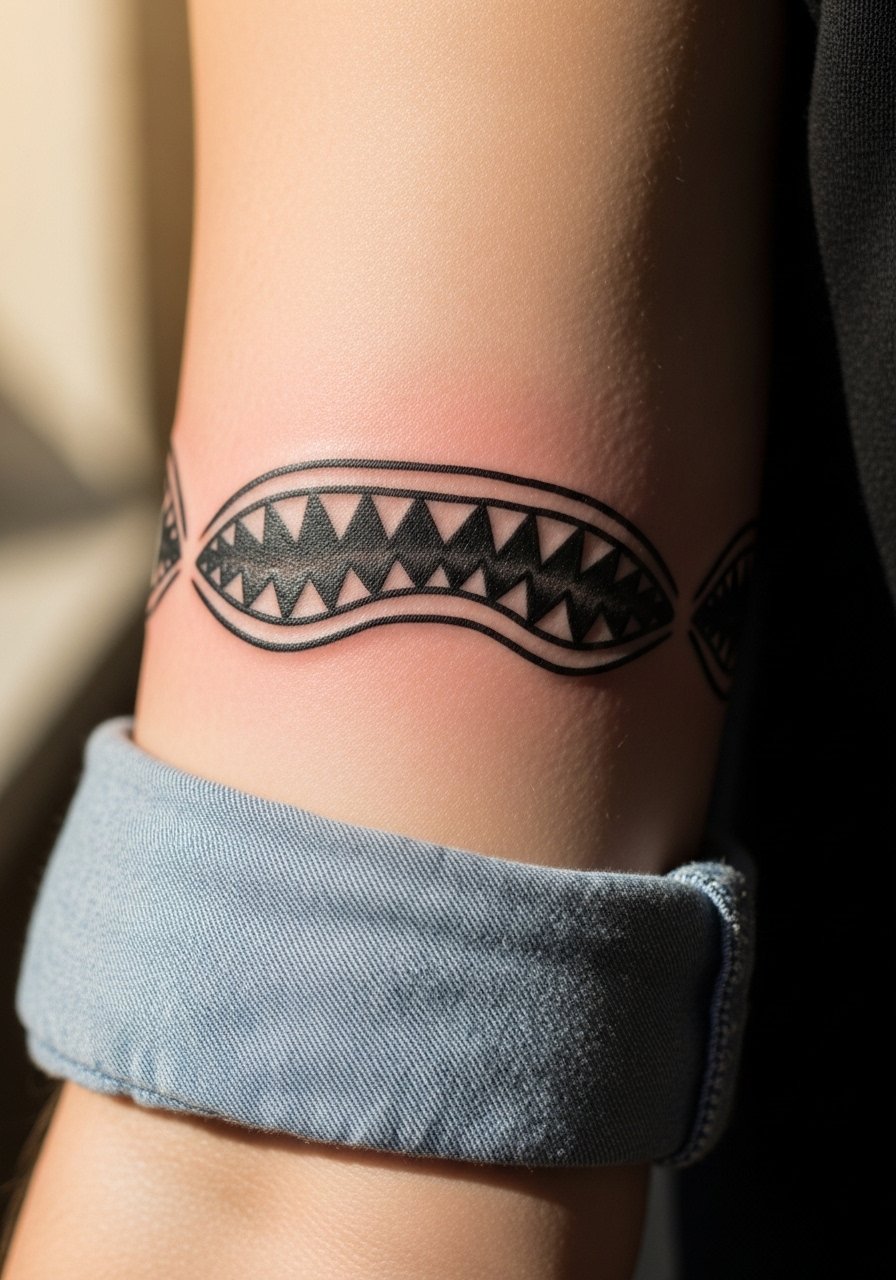
2. Hyperaesthetic Wave with Shark Teeth Band
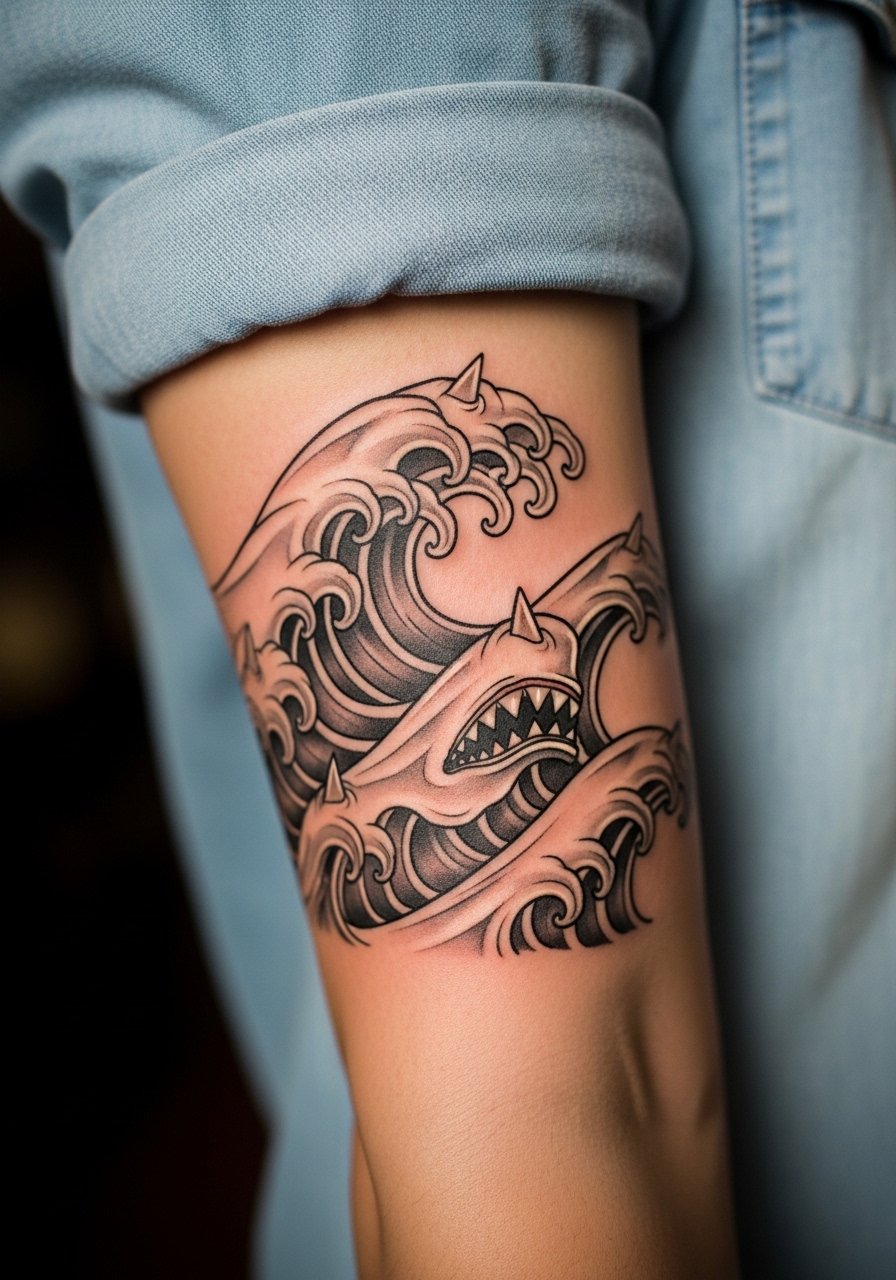
Warning: forearm sees a lot of sun and gym friction. I suggest a two-inch layout so the shark teeth can retain sharp triangular points. Ask for solid black fill rather than hairline gaps to keep the teeth readable on darker tones. The typical mistake is over-detailing the waves, which softens into gray blotches over years. Session time is usually under an hour. Pair with a chambray button shirt rolled at the sleeves to frame the piece.
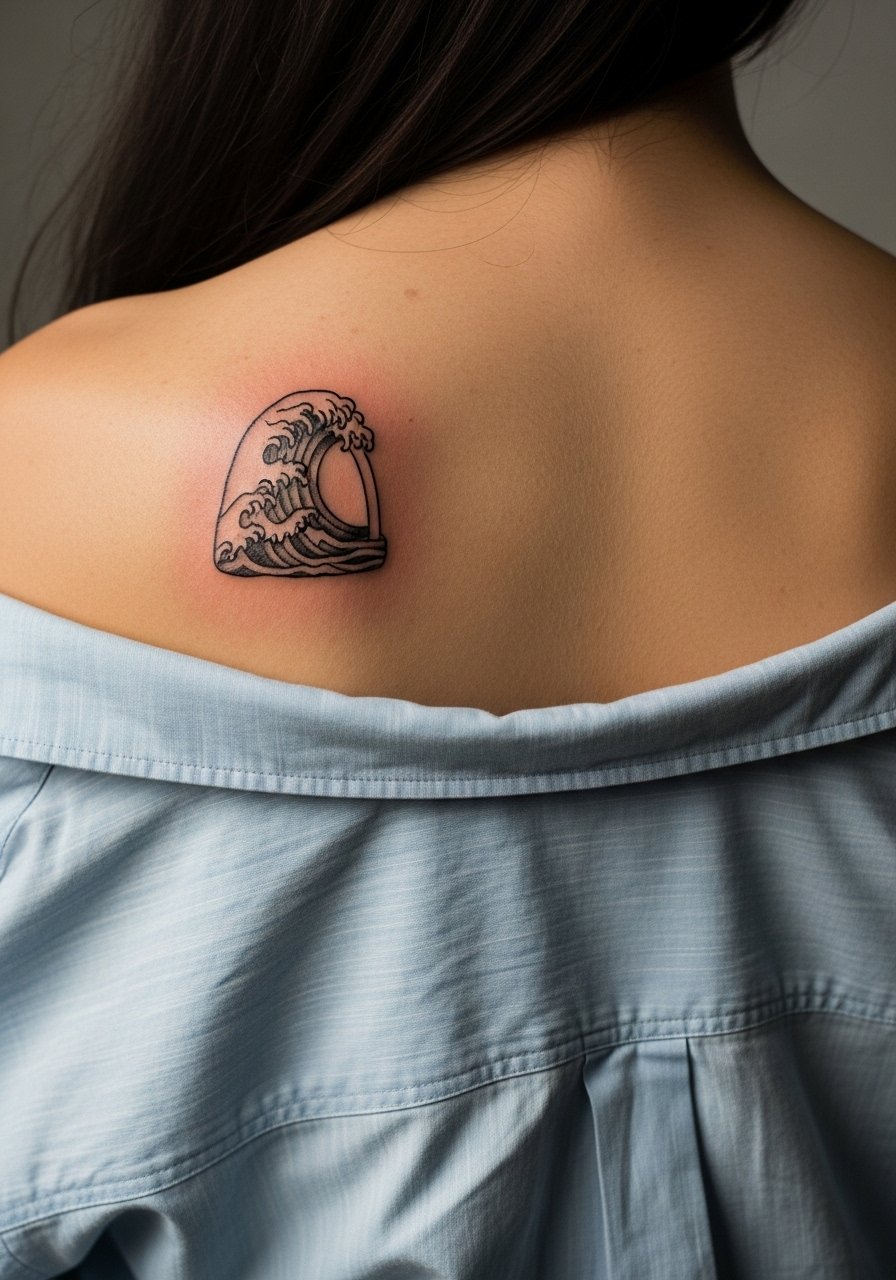
3. Simplified Tiki Mask Outline on Shoulder
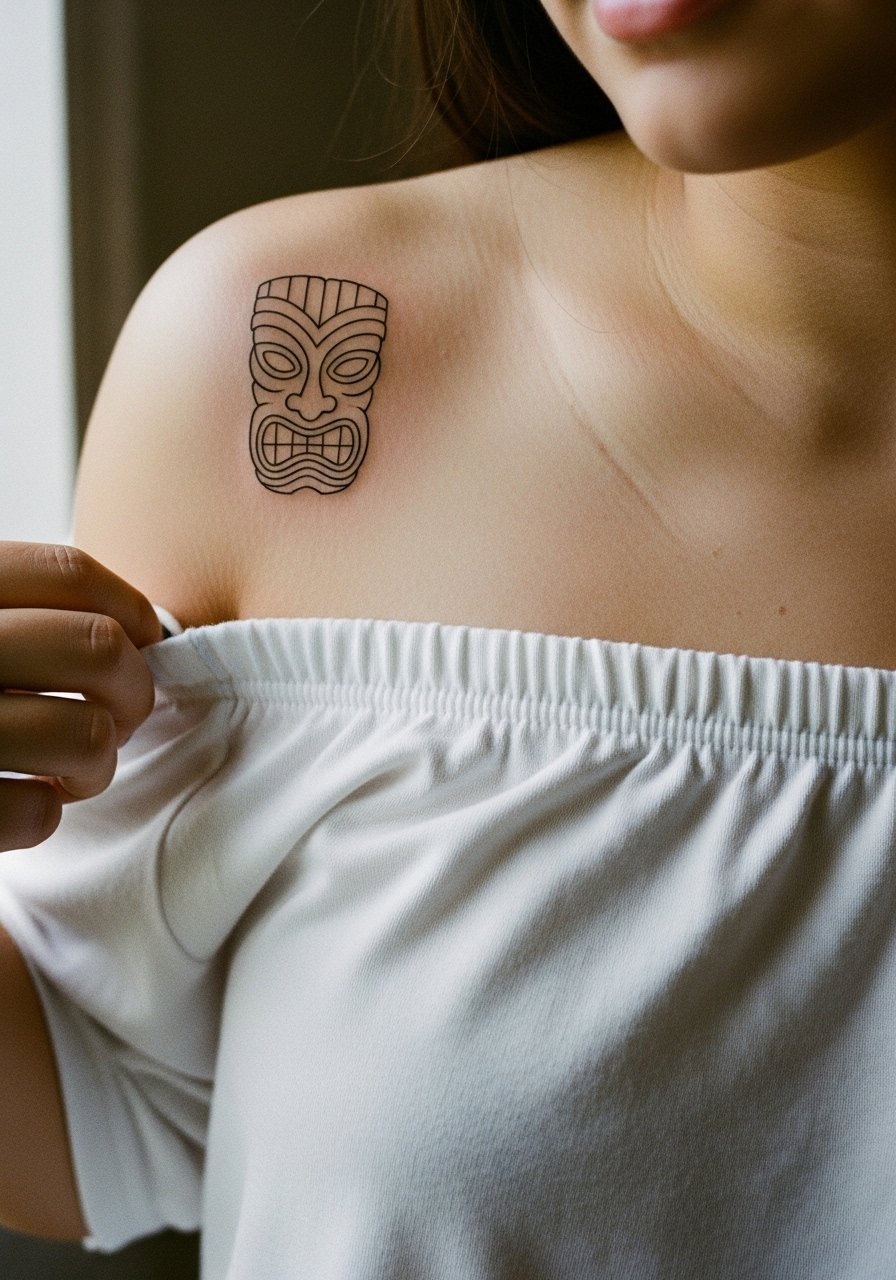
The shoulder is forgiving for minis and it ages predictably. During consultation say you want bold contour lines with light gray filler if you want depth. A common error is tiny facial details that blur into a single dark shape after a year. Pain is low and session time is short. If you plan to show it off pick an off shoulder top in earth tones so the mask reads against skin and fabric.
4. Turtle Shell Geometric Motif on Inner Bicep
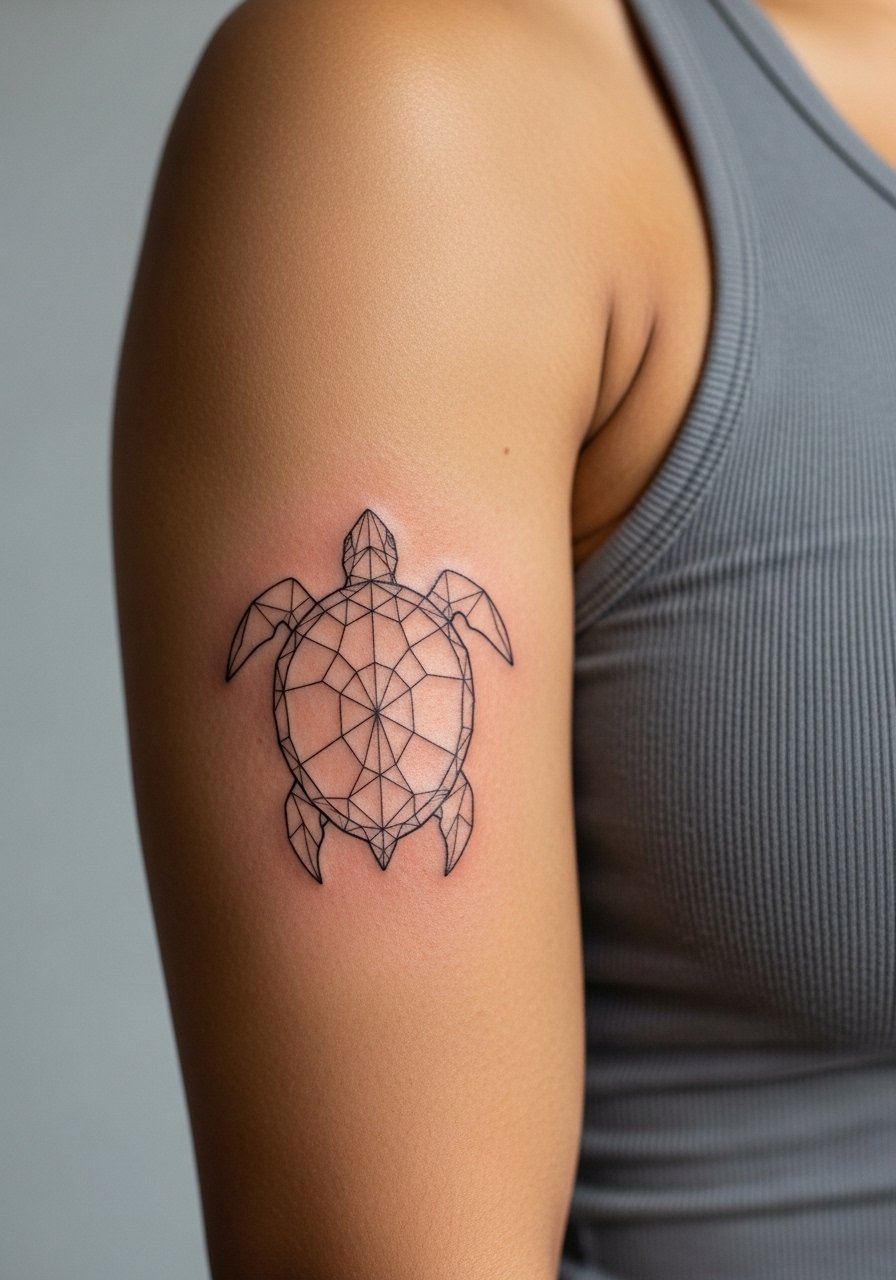
The inner bicep compresses and expands with muscle. I advise slightly thicker linework and simplified geometry so the hexes age cleanly. A frequent mistake is using delicate hairlines for complex tessellation. Expect more touch-ups if you vary weight training often. For session wear, bring a loose tank top so the artist can position your arm easily.
5. Manaia Birdman Hybrid at Collarbone

Collarbone placements read wide and elegant. Tell your artist you want the Manaia rendered as a silhouette with negative space for eye details. A mistake is overfilling the area with twiggy lines that flatten on healing. Expect moderate pain when needles cross the bone. Pair the final piece with a v neck tee or a delicate chain that sits just above without competing.
6. Oceanic Arrow Band with Dots for Ankle Wrap
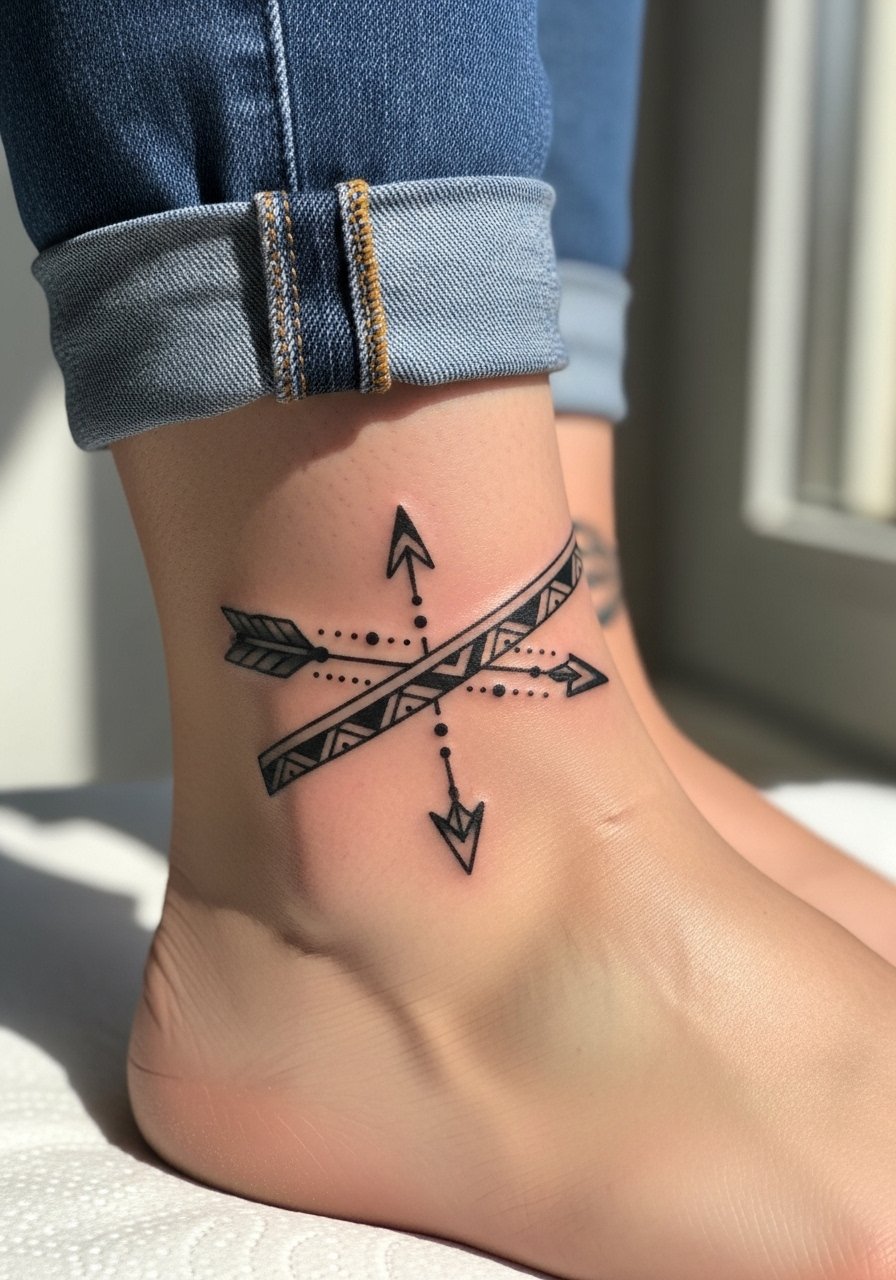
Ankle wraps are seasonal showpieces but they face constant rubbing from socks and shoes. Ask for a one-inch band with thick triangular teeth and spaced dots. A common regret is overly fine teeth that bleed into a gray line after a few months. Plan a touch-up at six to nine months if you wear closed shoes often. For summer wear try strappy flat sandals to let the band breathe.
Studio Day Picks
Those first six ideas include wrists, ankles, and a collarbone option, and each needs slightly different prep for a smooth session and first-week healing.
-
Stencil transfer paper kit. Lets you preview placement on the wrist or ankle so you can confirm scale before the needle hits skin.
-
Topical numbing cream. Useful for collarbone or ankle sessions to manage the sharp bone crossings without changing how your artist works.
-
Thin protective film roll. Keeps ankle and wrist wraps clean from daily friction and moisture during the first week.
-
Fragrance free gentle body wash. Mild cleansers help the collarbone and inner bicep areas during showering without stripping pigment.
-
Aquaphor healing ointment. A thin layer early on helps protect fine line edges that minis depend on, especially in high-friction spots.
7. Frigate Bird Silhouette on Clavicle
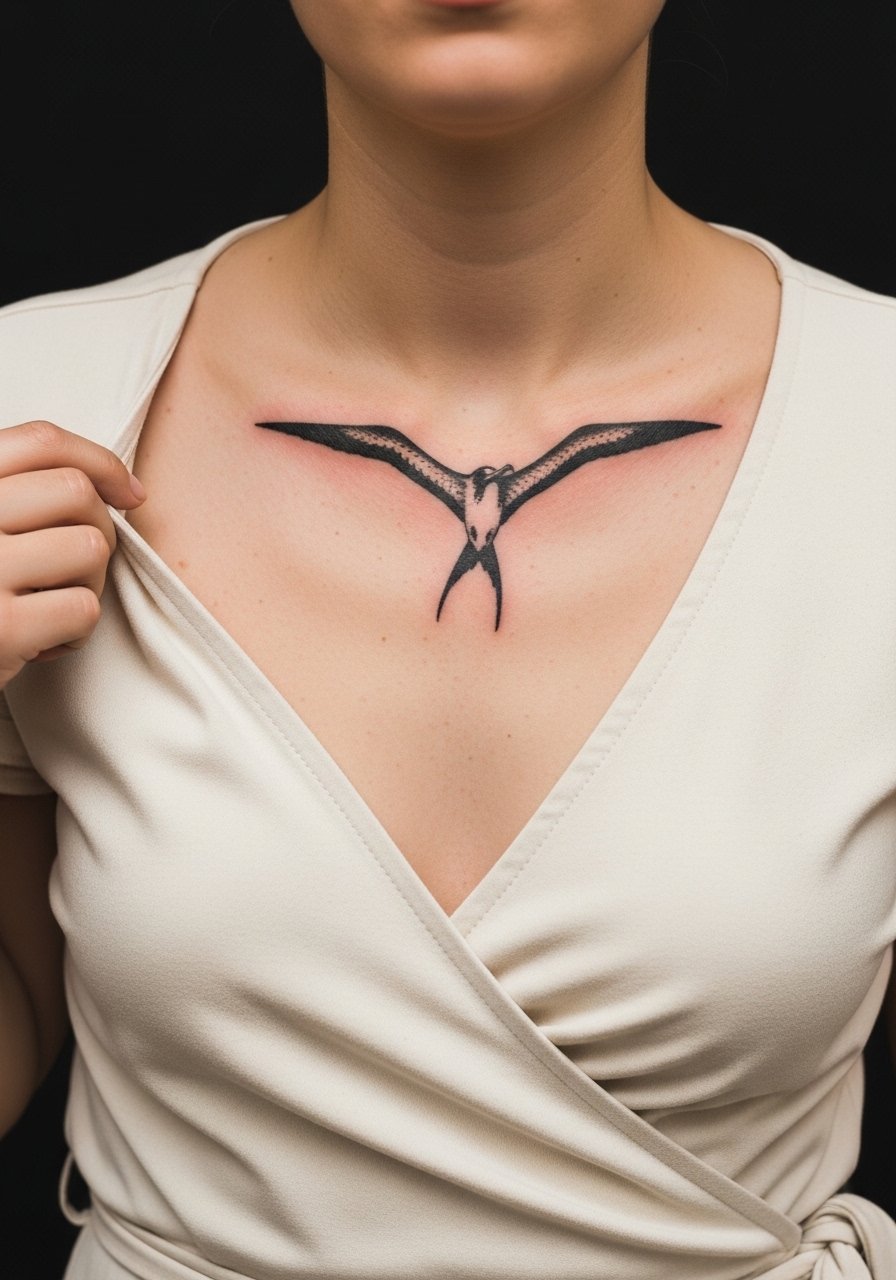
Visual impact lead: a two-inch frigate bird silhouette reads from across a room and sits flat on the clavicle. Tell the artist you want clean negative space under the wing to prevent the silhouette from appearing as a blob later. A common mistake is overly textured shading that softens into gray. Pain around the clavicle is moderate. For show-off looks choose a wrap dress cream.
8. Hammerhead Shark Profile on Outer Thigh
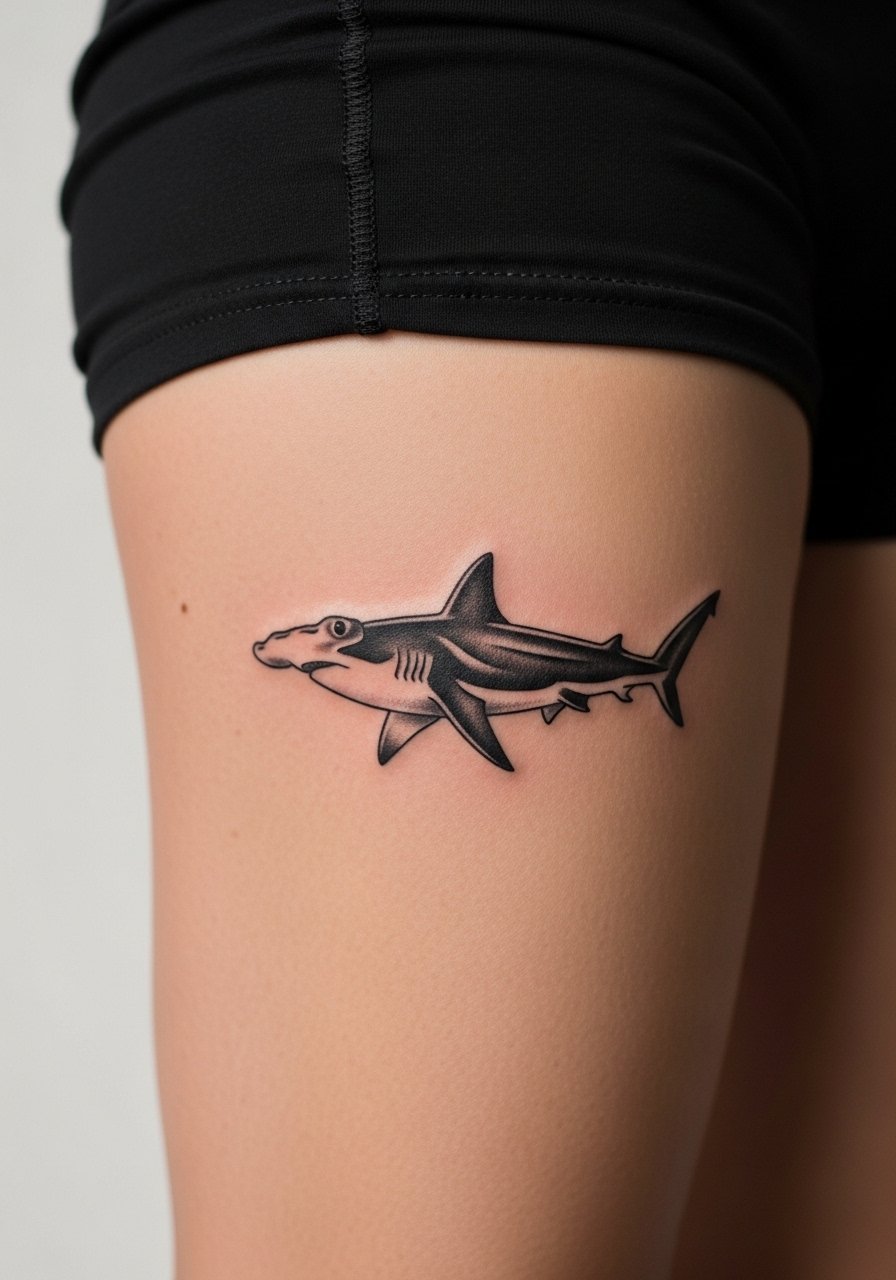
Pain warning lead: the outer thigh is low on pain and great for bold fills. Request a solid silhouette with packed black so the hammerhead stays readable after beach seasons. The mistake is tiny realism lines that dissolve when the area moves. Healed at two years the profile holds if saturation is deep. Pair with high water shorts or midi skirts for summers.
9. Lizard Moko Curl Pattern for Ribcage
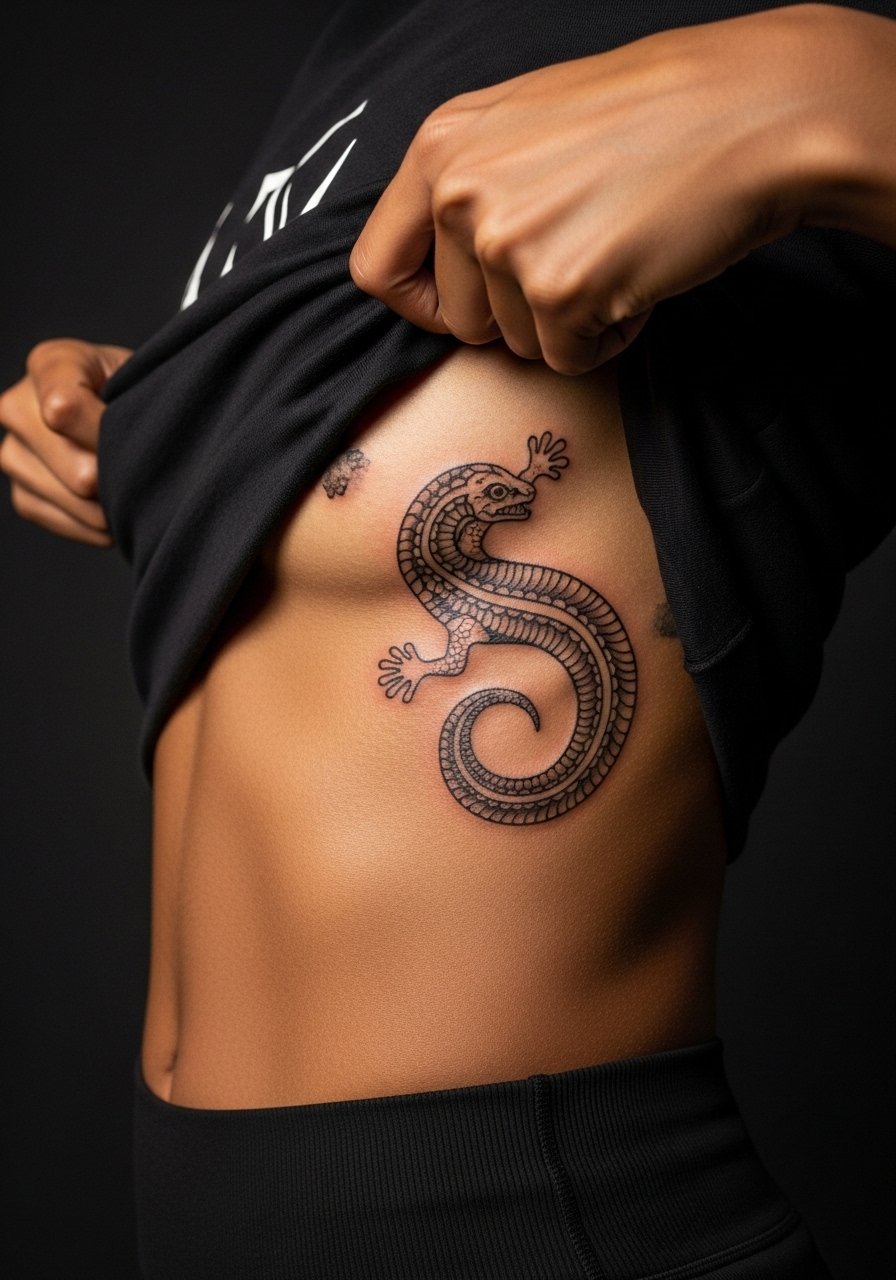
Aging reality lead: ribs shift with breathing and weight changes. One camp says fine line on ribs blurs quickly. The other camp says that with proper spacing and depth, it can settle fine. If you choose this pattern, ask for bolder anchors and open negative spaces between curls. Expect higher pain. Professionals who specialize in the torso can advise spacing for longevity.
10. Sunburst with Wave Accents on Upper Arm
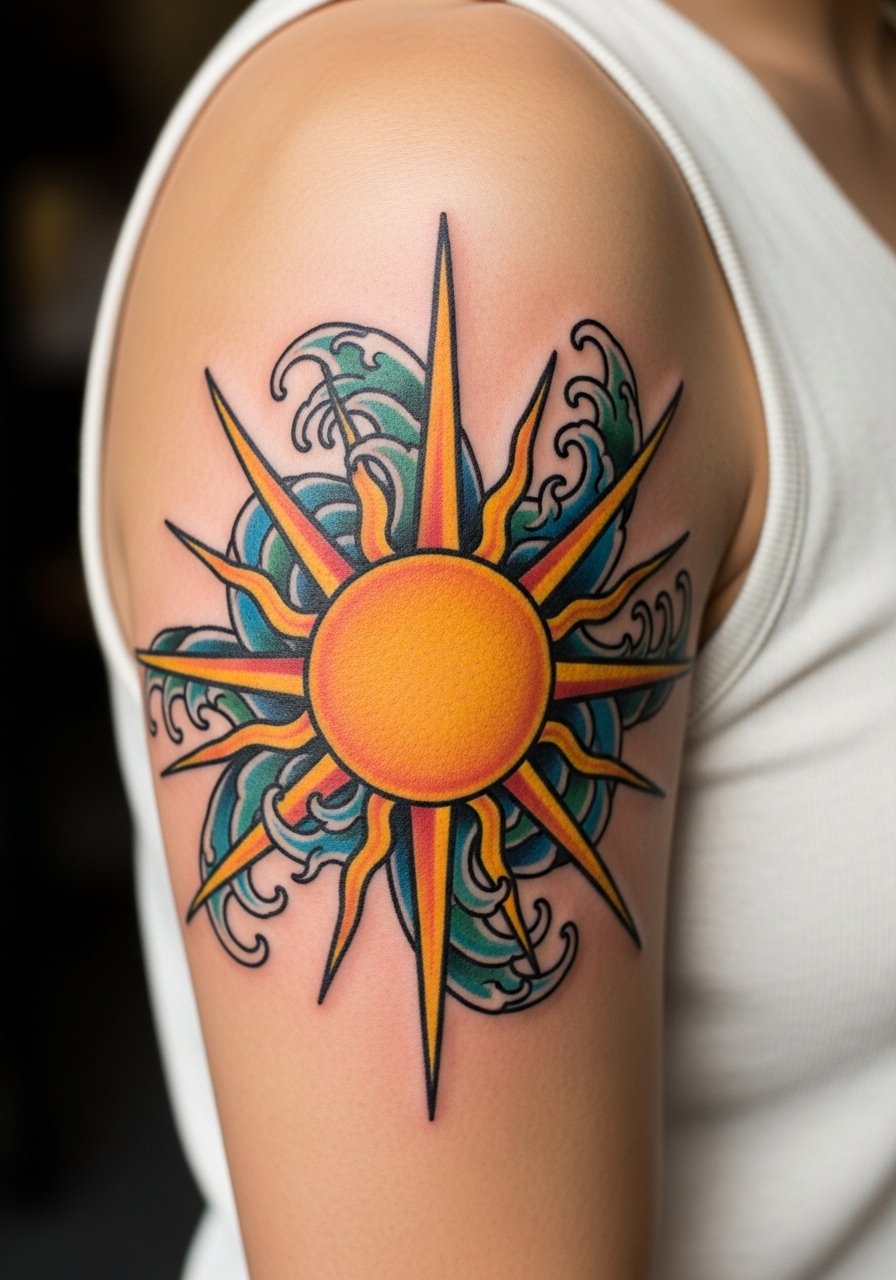
Visual impact lead: the upper arm takes saturation well and offers enough real estate to keep the sun rays spaced. Tell your artist you want thicker primary rays and lighter internal dot work so the rays do not merge. Common mistake is compressing too many wave crescents into a small circle. Session is usually under an hour. Show it with a cotton tank sleeveless.
11. Centipede Zigzag Along Spine Edge
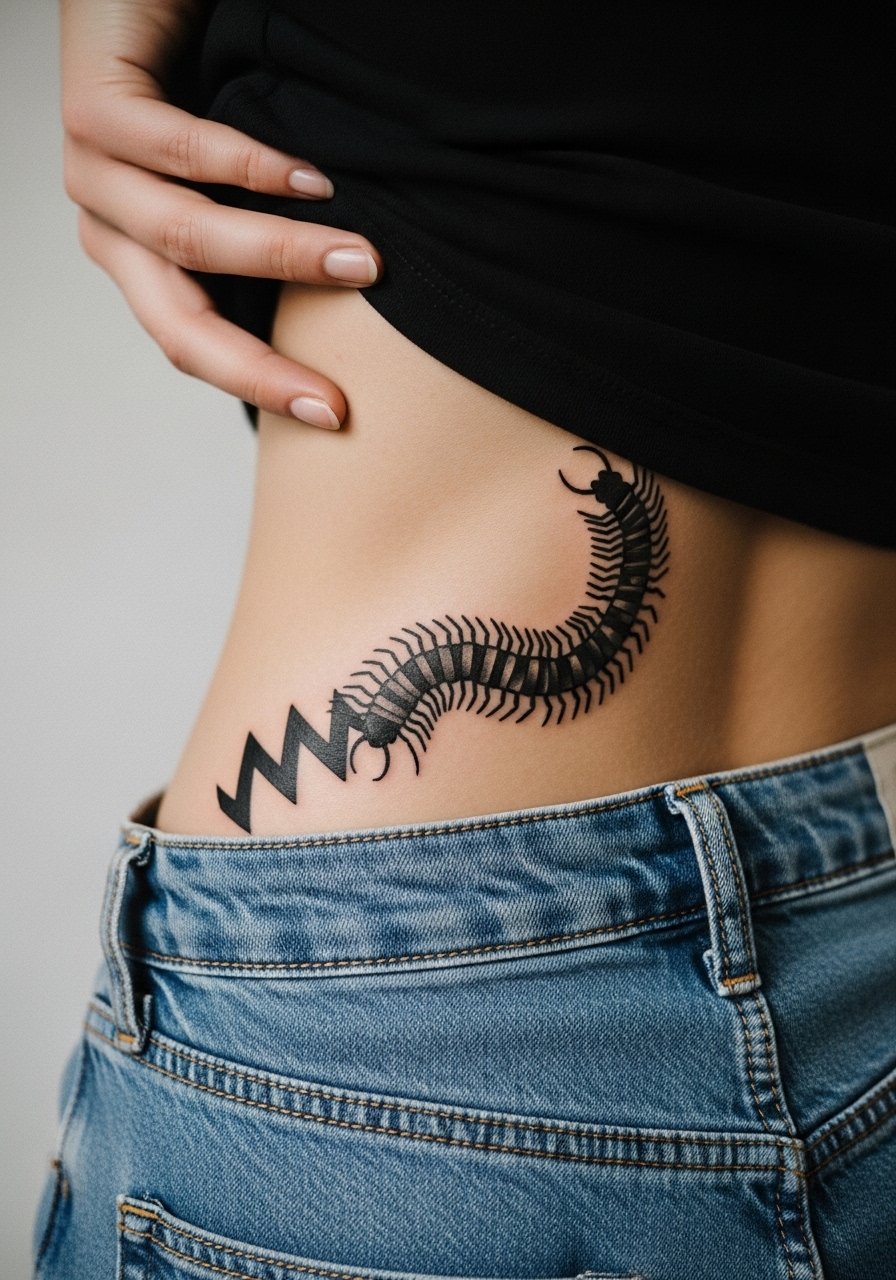
Mistake lead: linear spine pieces need room. The biggest error is running thin zigzags too close together. Opt for stronger stroke weight so the pattern resists blowout along the spine. The lower back offers a surface that moves less than the ribcage, so it ages better. Keep in mind clothing friction from waistbands. For session wear choose comfortable high-waisted bottoms you can lower slightly.
12. Flower Pod Cluster on Wrist
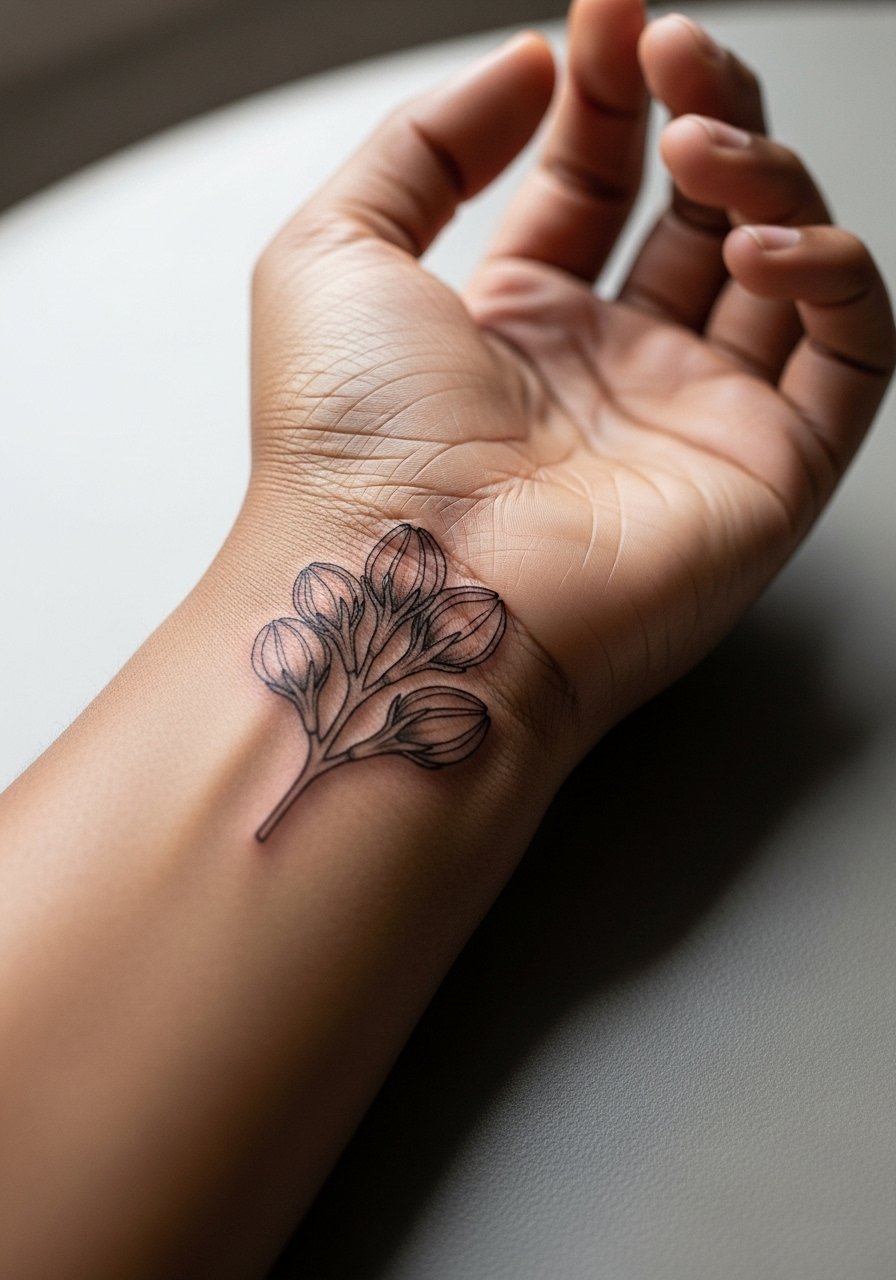
Consultation lead: ask for slightly thicker outlines on the petal edges and minimal inner stippling. Wrist friction from watches and bracelets causes early fading. Expect touch-up at six to twelve months on the wrist. For showing the cluster wear a tortoiseshell bangle or a linen cuff that complements the cluster without overcrowding the wrist.
13. Samoan Ava Drum Mini Icon on Shoulder Blade
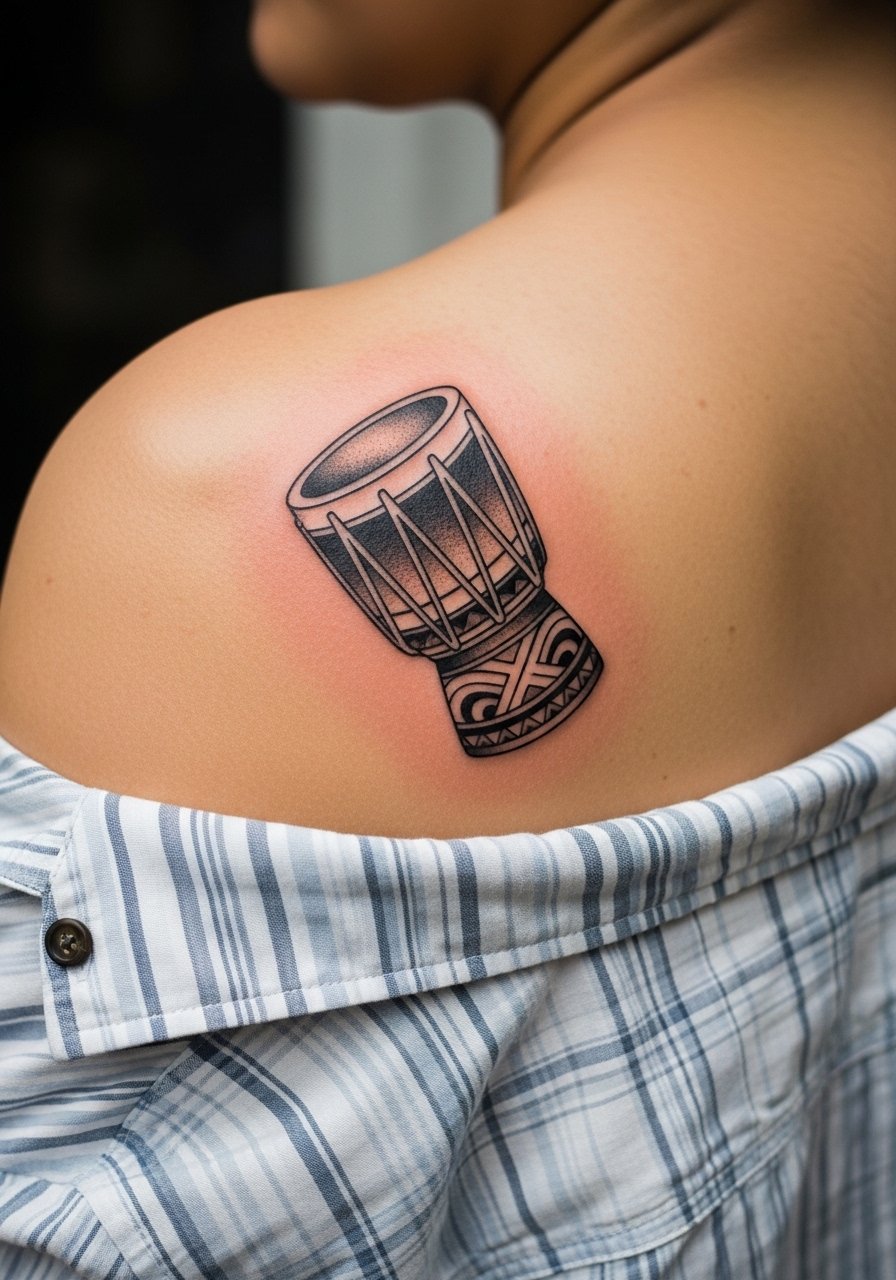
Mistake lead: small ritual icons need strong anchor lines. If the drum is too finely engraved it can wash out across the shoulder blade over time. The shoulder blade is forgiving for minis and handles touch-ups easily. When you consult, mention the drum's cultural origin and that you want a respectful, simplified rendering rather than a direct copy.
14. Forearm Shark Teeth Band That Survives Gym Sessions
Consultation lead: for active gym-goers ask for packed black triangles with clear negative spacing. The mistake is hairline teeth that redden into gray after frequent rubbing. Forearm pieces usually heal in one session under an hour. Pair with a roll sleeve chambray or a thin leather bracelet on the opposite arm.
15. Tiny Turtle Motif on Outer Thigh
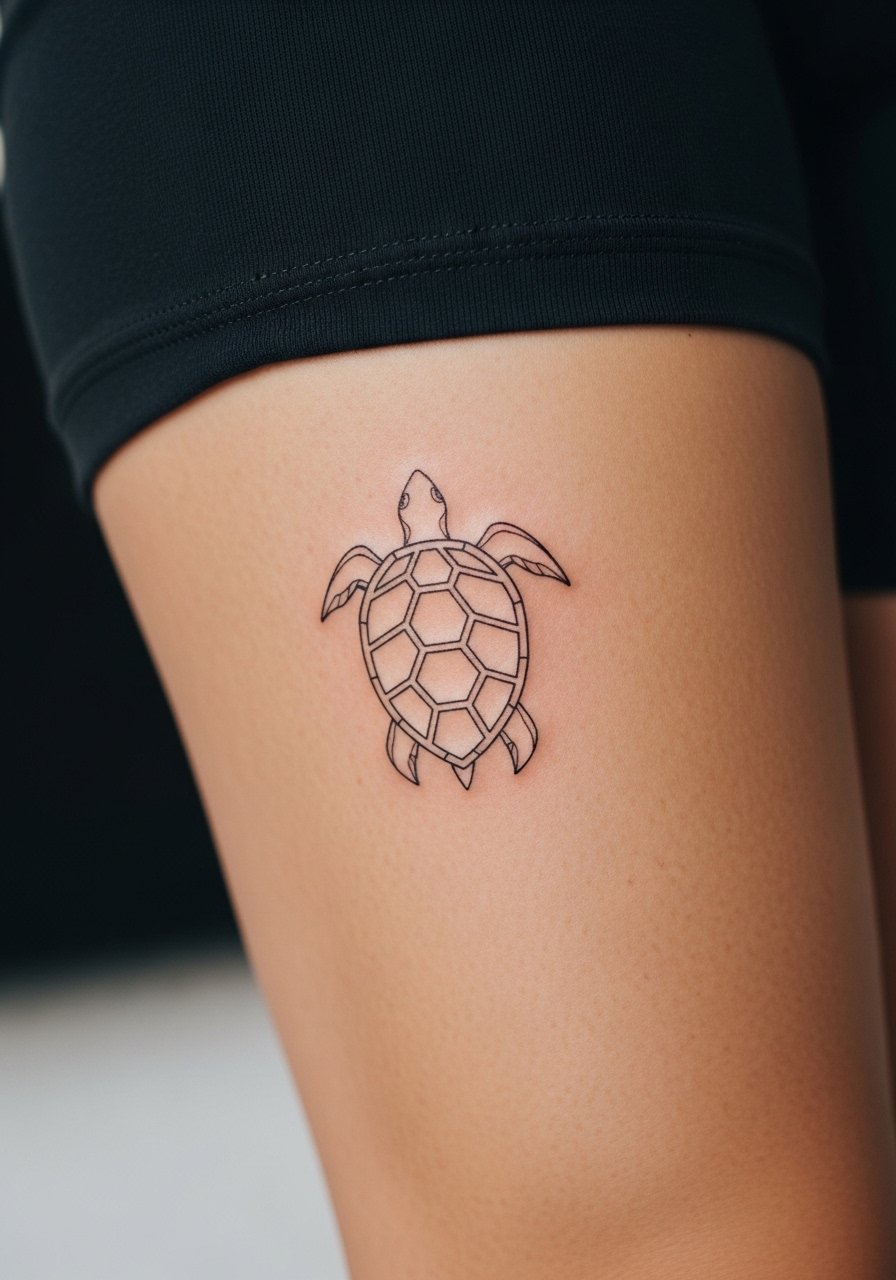
Personal observation lead: outer thigh tolerates detail and changes in body weight better than the ankle. Ask for clear shell segments with thicker borders. A common mistake is making the shell too small for the placement which loses the segmentation effect when healed. For outings try bike shorts women or asymmetrical skirts for a peek.
16. Fractured Wave Micro on Foot Arch
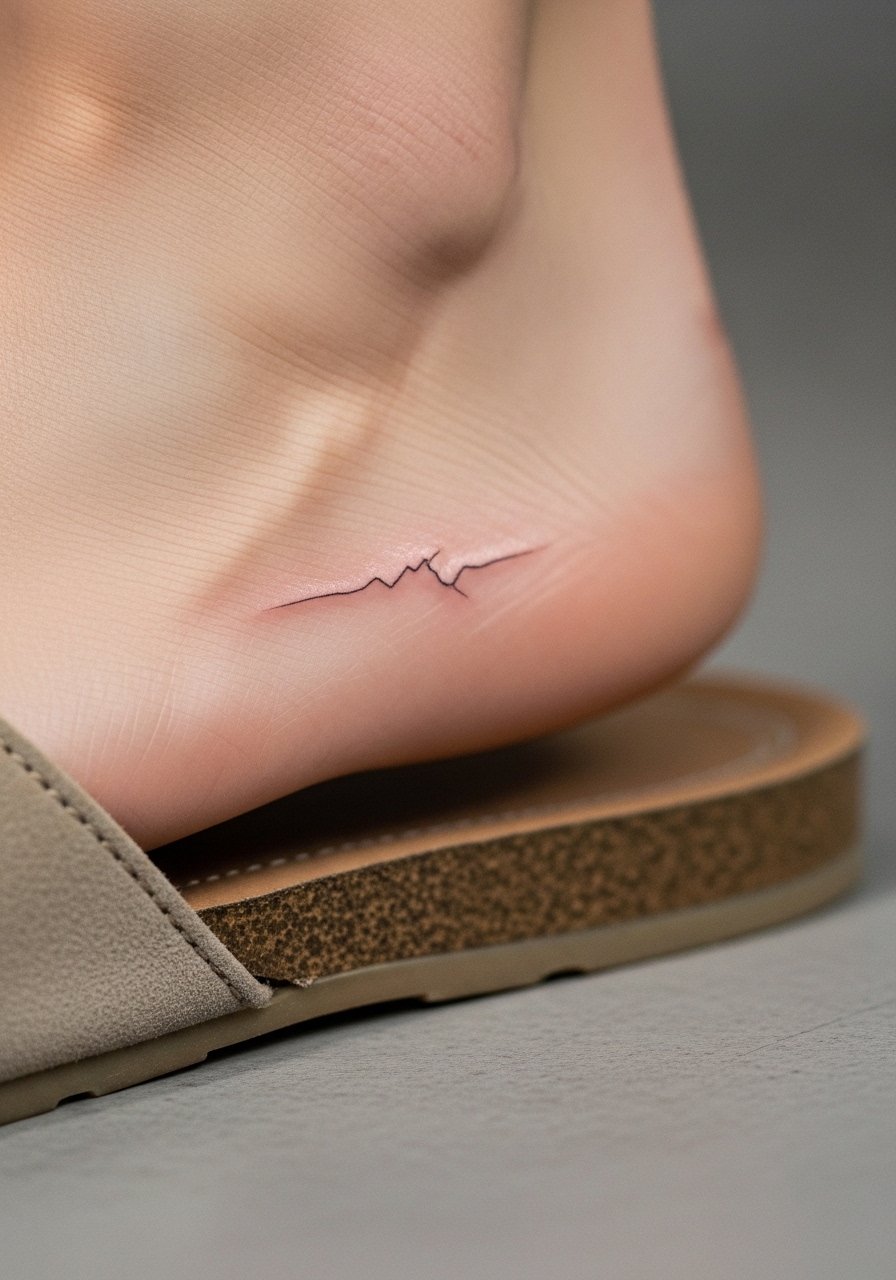
Mistake lead: foot tattoos face heavy wear from shoes and showers. If you want longevity choose bolder wave breaks and expect more touch-ups than a forearm piece. The session is short but healing is sensitive due to sweat and friction. For summer display, pick sandals rather than closed shoes for the first two weeks.
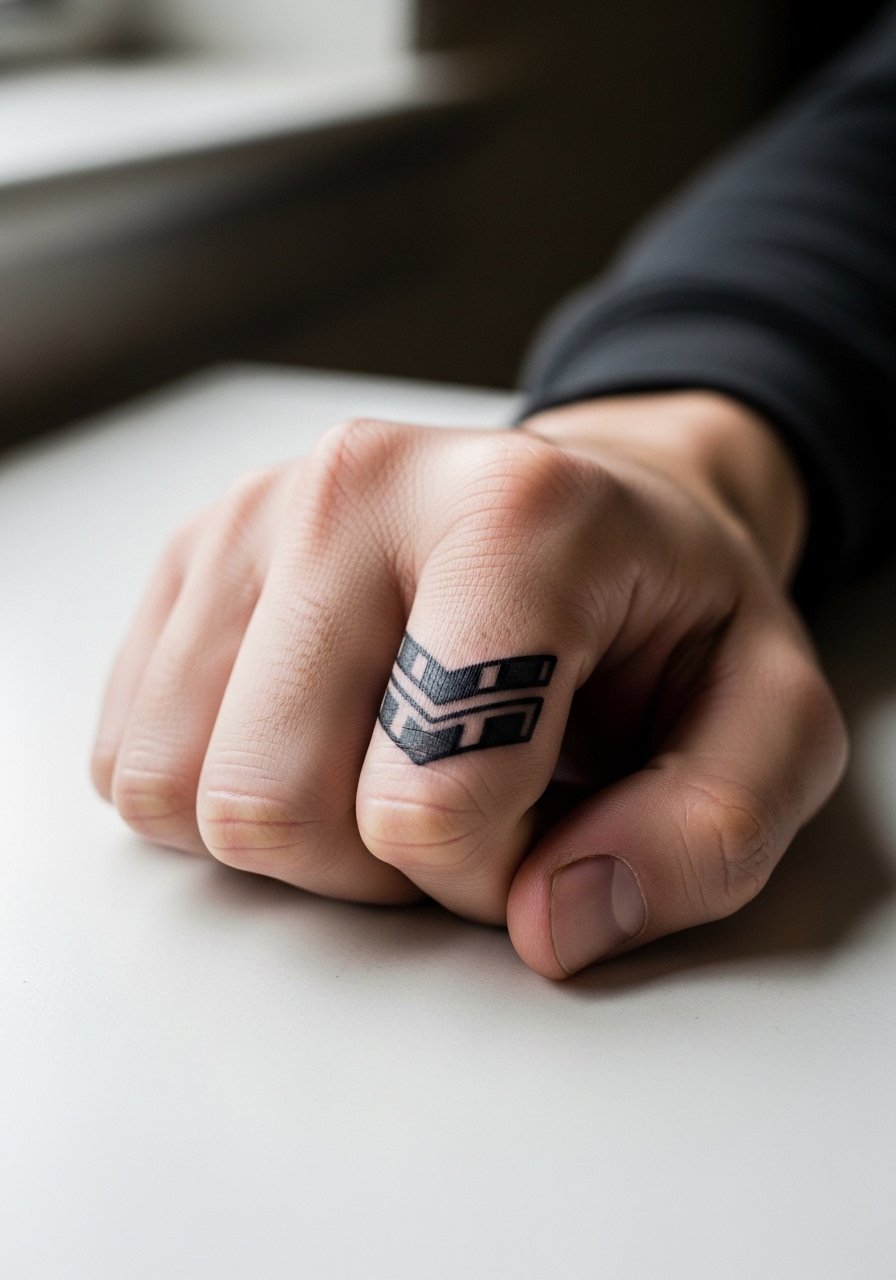
17. Knuckle Band with Polynesian Chevron
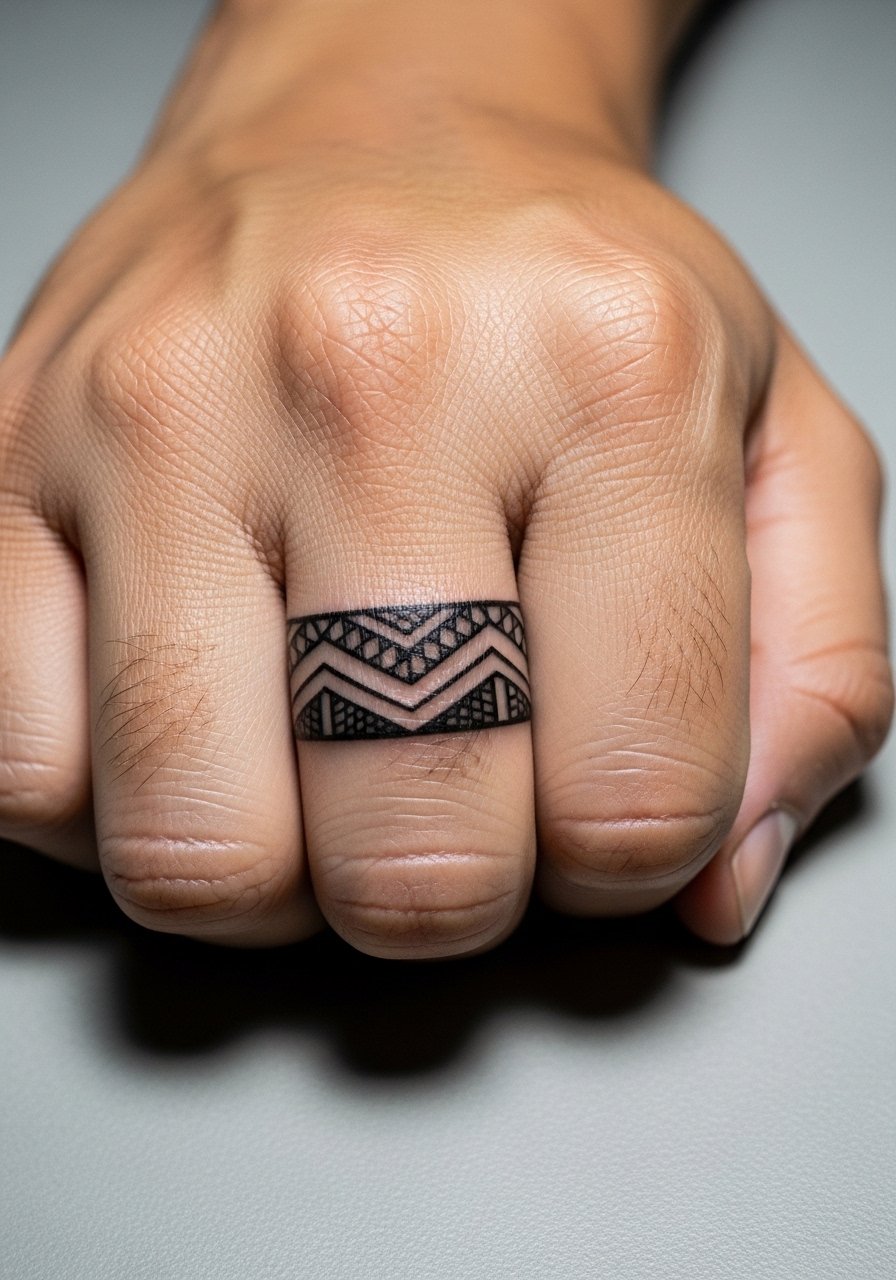
Consultation lead: knuckle work needs confident, slightly heavier linework because skin there spreads and blurs fast. One common error is trying to cram too many motifs across limited knuckle space. Expect more frequent touch-ups. Consider careers that might be affected by visible hand tattoos before committing.
18. Stippled Sun Disk Near Sternum
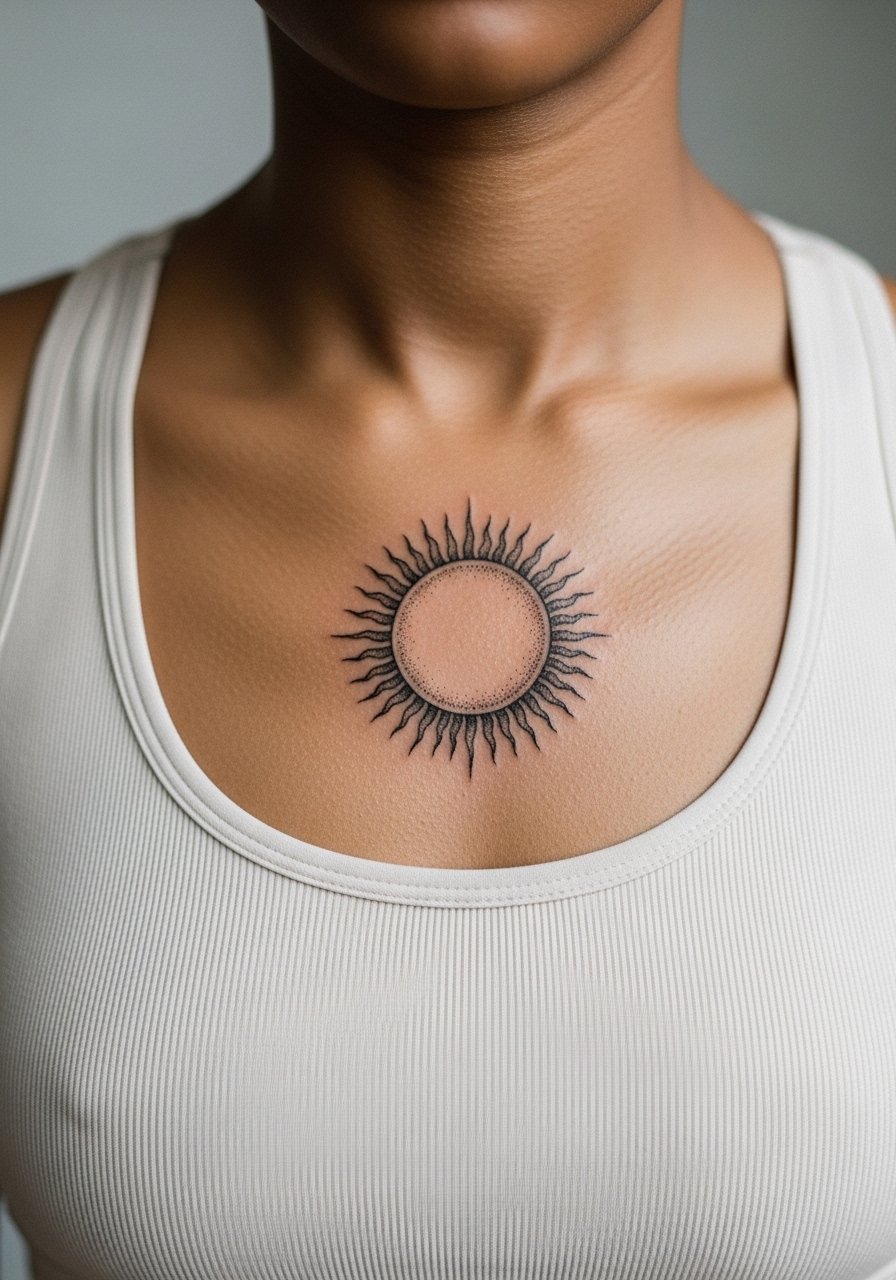
Aging lead: sternum work sits close to bone and can be painful, but well-spaced stipple ages predictably. Artists disagree on whether heavy dot work traps moisture under Saniderm or benefits from dry healing. One camp favors protective film for less mess. The other camp prefers dry scab formation. Ask the studio which method they use for sternum pieces.
19. Arrowhead Micro at Behind-the-Ear Neck Spot
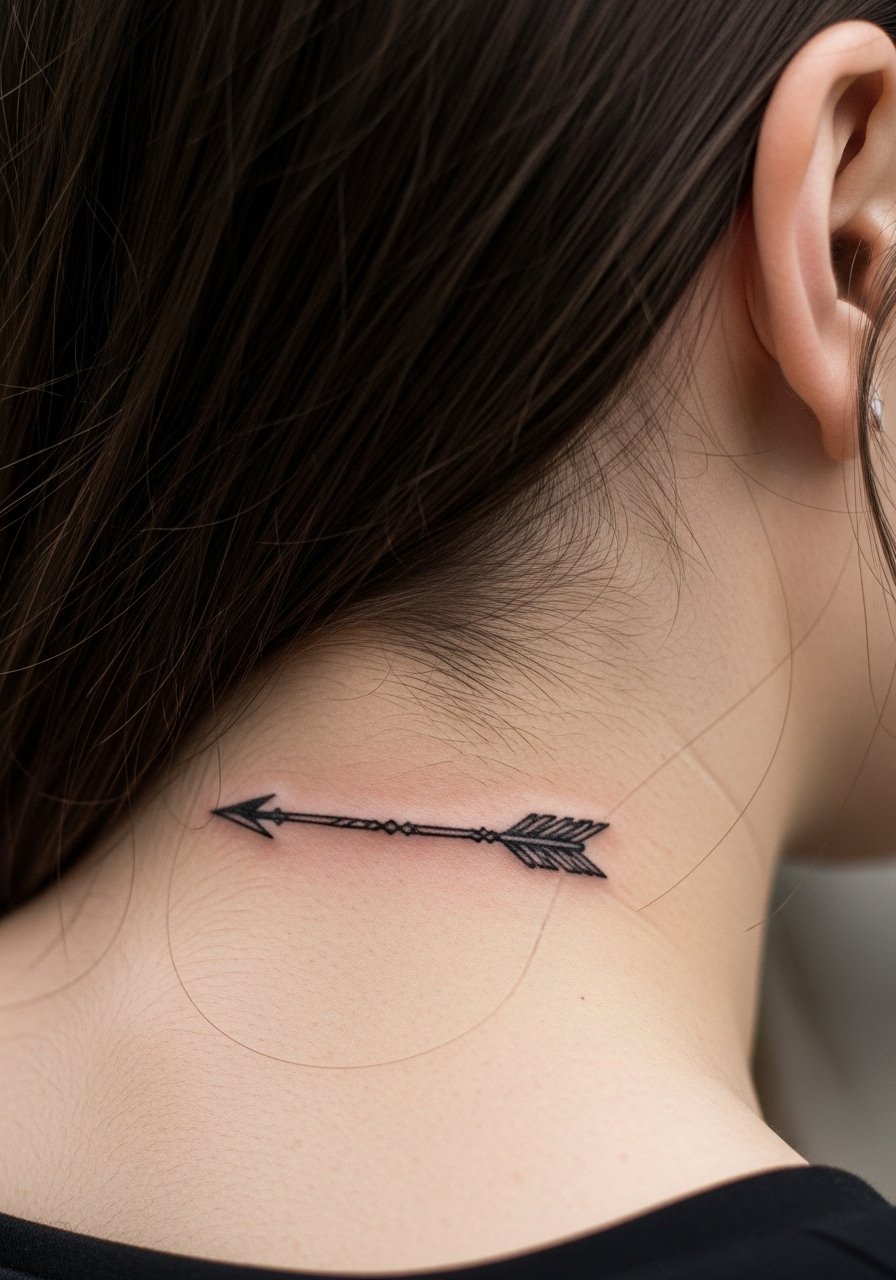
Consultation lead: this area heals quickly but needs precise placement because hair and clothing can rub it. Make sure the artist places the design a few millimeters lower than where you first point to avoid hairline overlap. Session time is brief. For subtle display, style hair to tuck behind the ear.
20. Gecko Curl on Inner Thigh
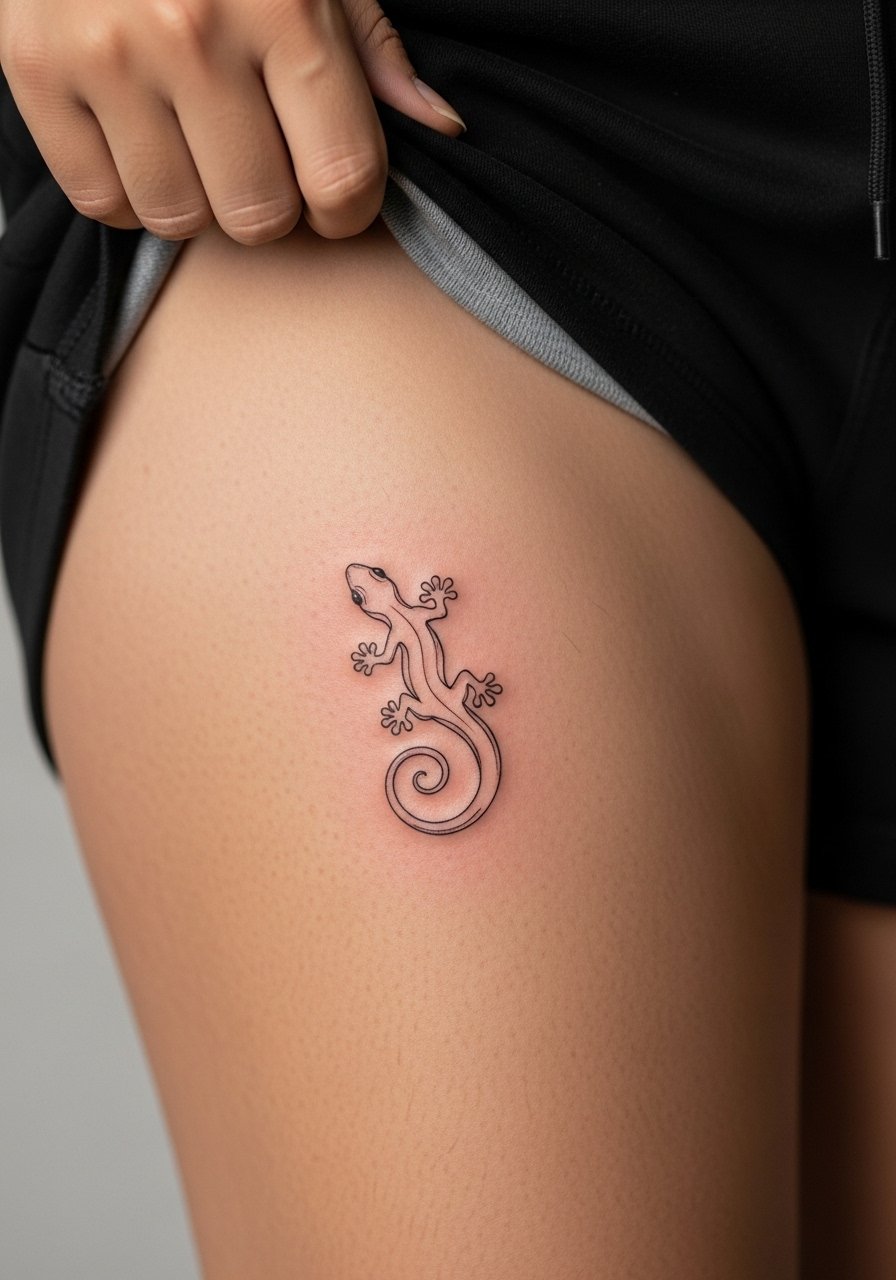
Pain warning lead: inner thigh sessions are more sensitive and require careful aftercare during healing to avoid friction. Choose slightly bolder anchors so the motif stays readable after bath cycles. The mistake is too-fine filigree that disappears. For session wear bring loose athletic shorts you can pull aside without binding the area.
21. Tiny Hooked Blade on Finger Side
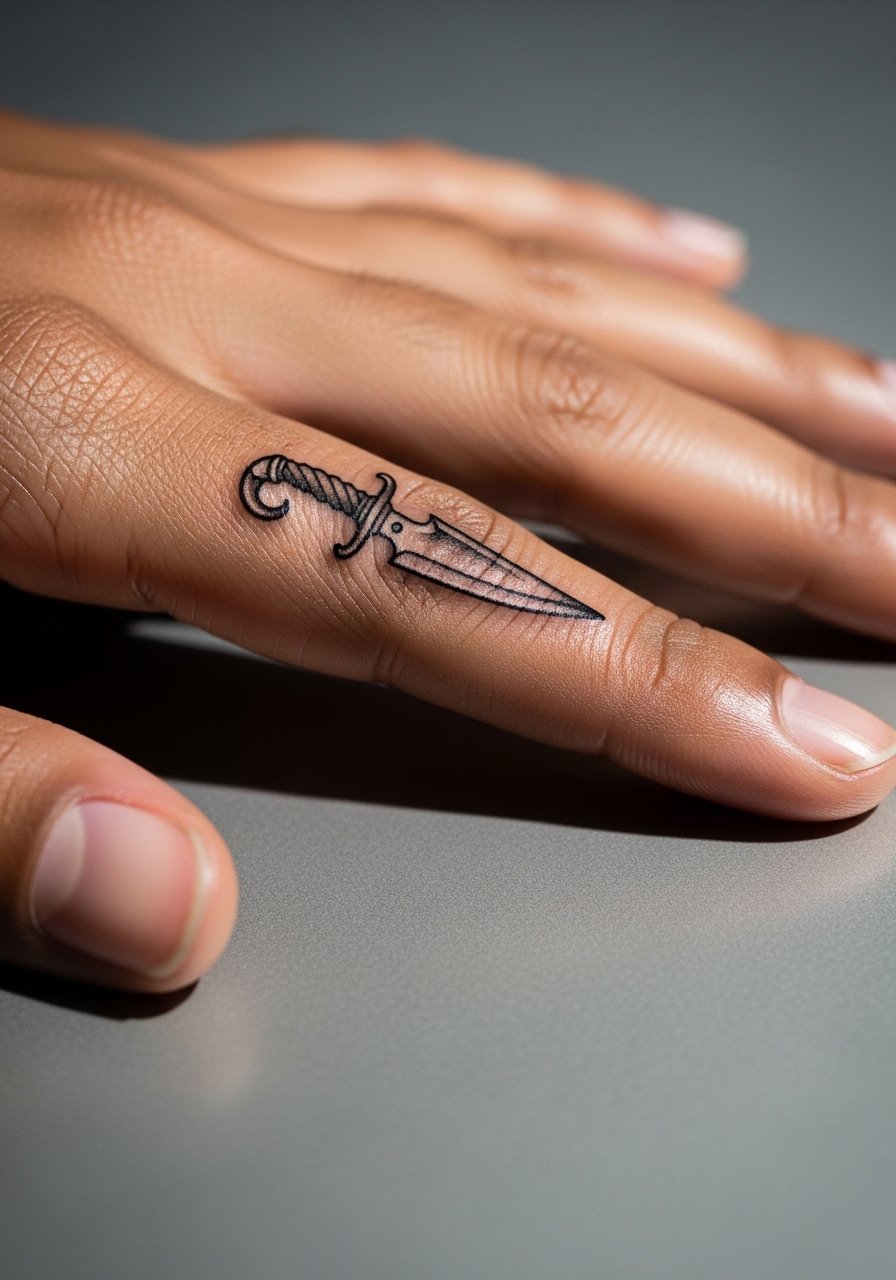
Mistake lead: side finger tattoos often fade fast because of constant washing and use. Request packed edges and expect a touch-up at six months. If you want a ring-like effect without frequent maintenance, consider an ankle band instead. Small finger pieces can be charming but are high maintenance.
22. Compact Wave Mandorla on Upper Back
Personal observation lead: the upper back is a forgiving canvas for mini symmetry. Ask for slightly expanded negative space in the mandorla to prevent the central area from filling in over time. Session is comfortable and healing is straightforward if you avoid tight straps. For styling, wear a loose button down shirt you can slip on without rubbing the area.
23. Micro Compass with Enata Accents on Calf

Consultation lead: for navigation motifs ask the artist to emphasize cardinal points with thicker strokes so they remain legible. A mistake is over-ornamenting the interior, which softens when the calf catches sun. Calf placement suits shorts and midi skirts. Pair with midi skirt rolled looks.
24. Micro Samoan Line Cluster on Side Rib
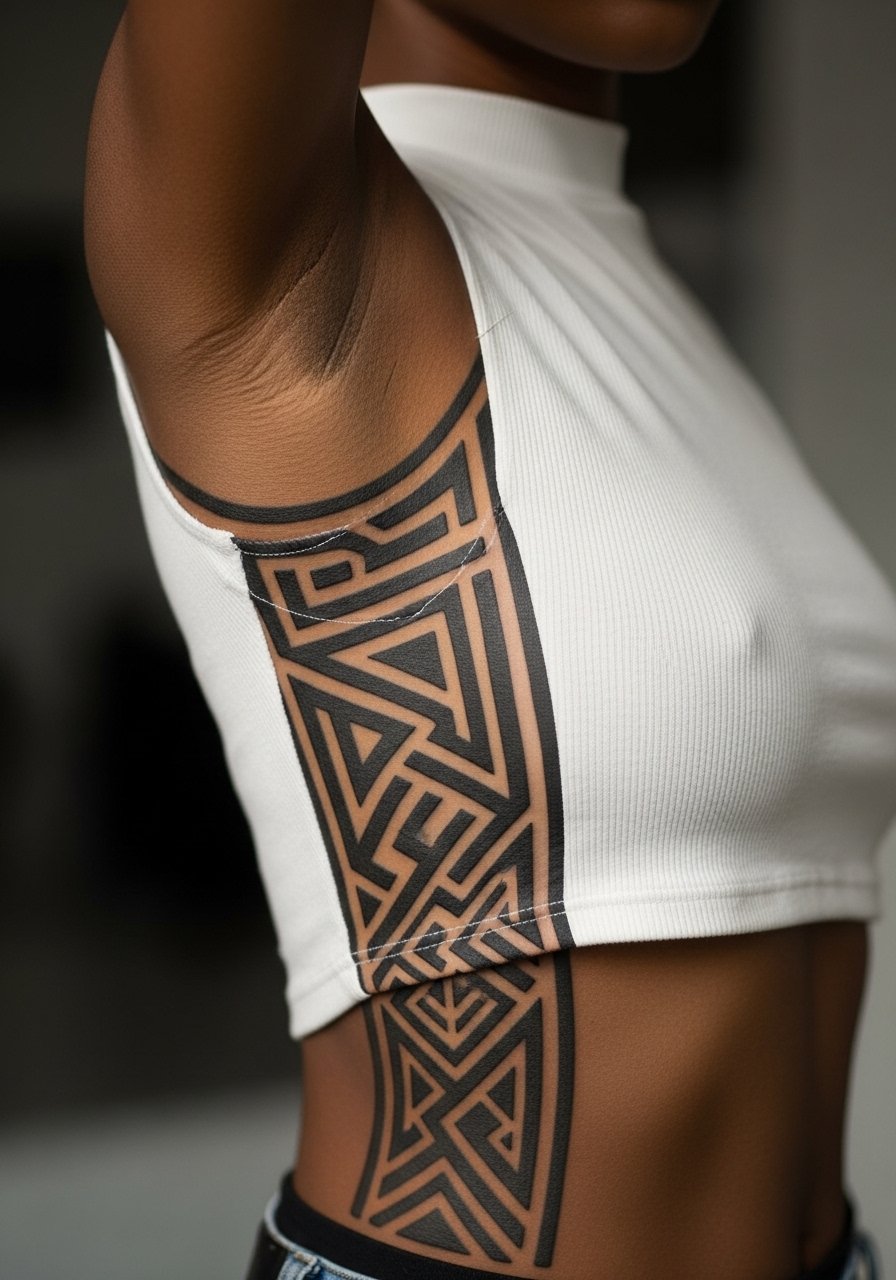
Controversy lead: authenticity conversations show two camps. One camp stresses strict traditional patterns and cultural protocols. The other camp supports personal reinterpretation and hybridization. If you select direct Samoan motifs, mention the origin and ask your artist about respectful simplification. The ribs are high pain but can hold bold anchors well.
25. Small Sun and Shark Hybrid on Calf
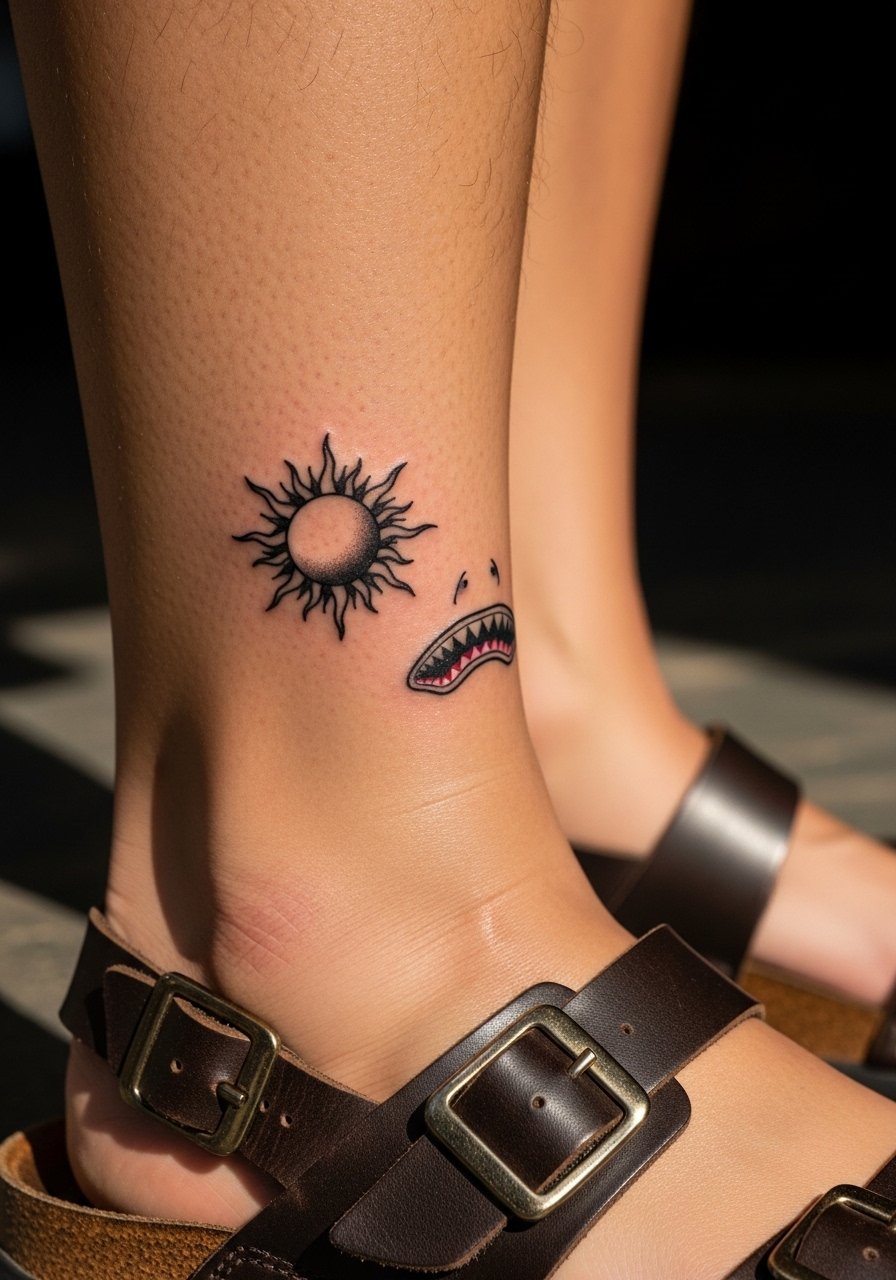
Visual impact lead: calves take saturation and handle small hybrids well. Tell the artist you want the sun rays thicker than the teeth so the silhouette reads at distance. The common mistake is balancing both elements at the same scale which muddles the design. For footwear pair with leather flat sandals.
26. Micro Band for Finger Knuckles That Mimics Ankle Wrap
Consultation lead: knuckle and finger bands should be wider than you think and use clear negative gaps. The mistake is copying an ankle wrap scale directly to fingers. Expect more touch-ups on hands. If you want less maintenance, pick the outer ankle instead of fingers.
27. Hybrid Enata Family Tree on Inner Forearm
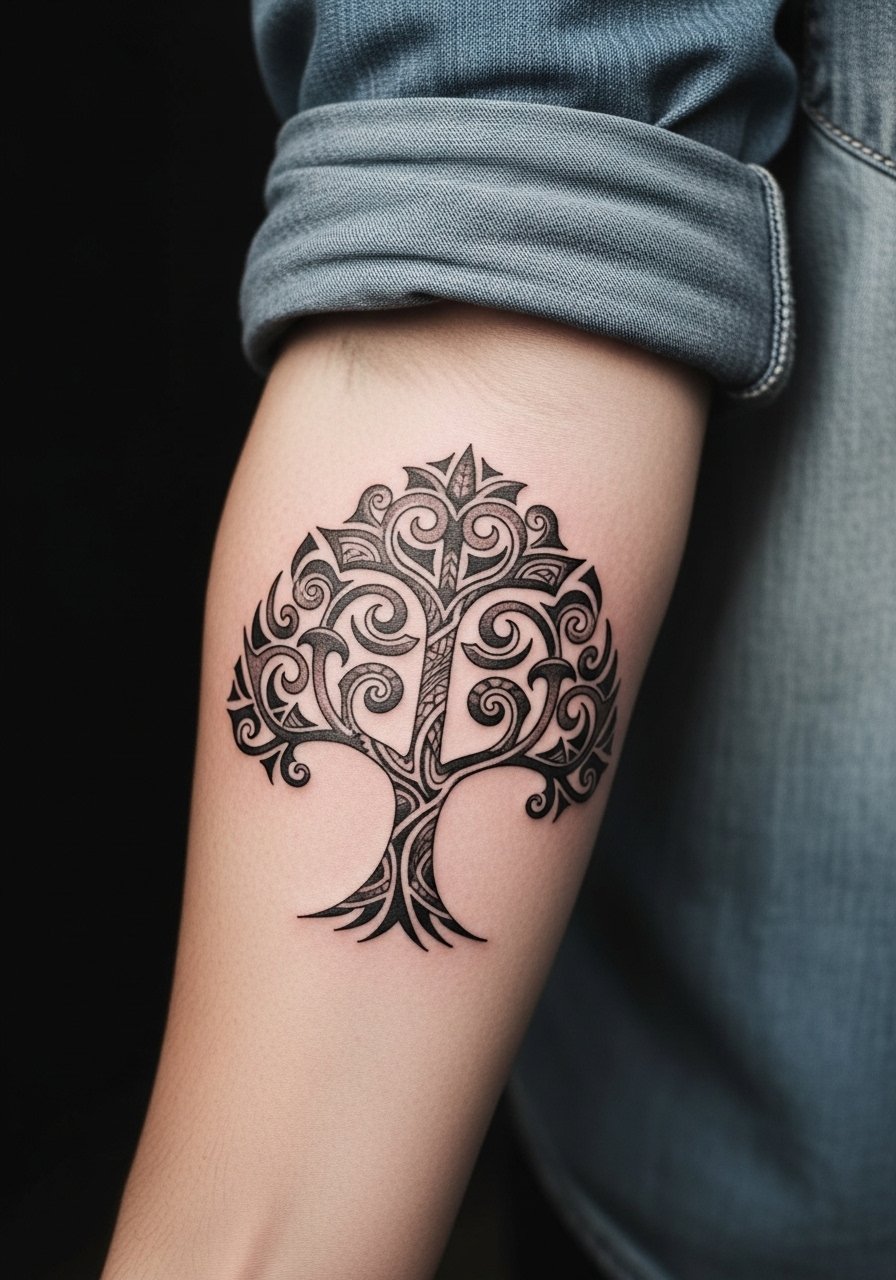
Decision pressure lead: the inner forearm is visible every day so scale matters. For an enata family tree, ask for clear parent-child spacing and slightly heavier anchors at the trunk so the figures read individually as years pass. A common mistake is compressing figures for symmetry rather than legibility. For showing it off consider a chambray button shirt rolled at the sleeves.
Frequently Asked Questions
Q: How much does a mini Polynesian tattoo typically cost in a rough range?
A: Expect a range between 100 and 500 depending on city, artist demand, and session time. Guest spots at conventions can shave off twenty to thirty percent versus high-demand studio bookings. Always get a written quote so you know how many sessions are included.
Q: Will fine line Polynesian elements blur faster than bold blackwork, and what are the trade-offs?
A: Fine line can blur faster in high-friction zones like wrists and fingers. One camp argues fine line is too fragile for those spots. The other camp says careful depth and spacing can make fine line hold up. If longevity is the priority, pick slightly thicker anchors or place the fine line on the inner forearm where friction is lower.
Q: What aftercare approach should I expect for bold Polynesian blackwork versus a delicate fine line piece?
A: Bold blackwork tolerates short protective film use and light moisturization since heavy saturation resists early fade. Fine line benefits from minimal occlusion and gentle cleansing to avoid smudging early scabs. Studios differ on Saniderm versus dry healing, so ask which method they prefer at booking.
Q: How often should I plan touch-ups for small Polynesian pieces on wrists, ankles, and fingers?
A: For wrists and fingers expect touch-ups around six to twelve months, sometimes sooner for heavy-use hands. Ankles often need a six to nine month check. Forearms and calves usually hold until year two or three before minor softening appears.
Q: Are there placements I should avoid if I want my mini Polynesian design to last with minimal upkeep?
A: High-friction and high-movement spots like side of finger, inner wrist with constant bracelet wear, and the foot arch need more upkeep. Choose inner forearm, calf, or shoulder for less maintenance. If career considerations matter, remember hand and neck visibility affects perceptions in some workplaces.
Q: How do I find a Polynesian-specialist artist without naming people directly?
A: Search hashtags like #MiniPolynesian, #SamoanTattoo, and #TonganBlackwork on social platforms. Use directories by searching "Polynesian tattoo [city]" on tattoo apps and check portfolios for healed photos on varied skin tones. Reddit communities and convention listings are good places to spot guest artists.
Q: Can I combine personal motifs with traditional Samoan or Tongan elements respectfully?
A: Yes, many people hybridize personal enata figures or place-specific elements while keeping protocol in mind. One practical step is to ask the artist for simplified patterns rather than direct replicas and to be explicit about which elements are personal versus traditional. Trust your artist for technical execution and ask about origin respectfully.
