
Fine line tattoos dominate Pinterest right now, and the same artists who post them are quietly booking touch-ups at year two. The aesthetic looks incredible fresh, but longevity depends on placement, line weight, and how the piece sits with existing ink. Read on for 17 mini gap filler tattoo design ideas that work with real sleeves and patches, plus what to ask your artist in that chair.
1. Tiny Dot Cluster on Finger Gaps
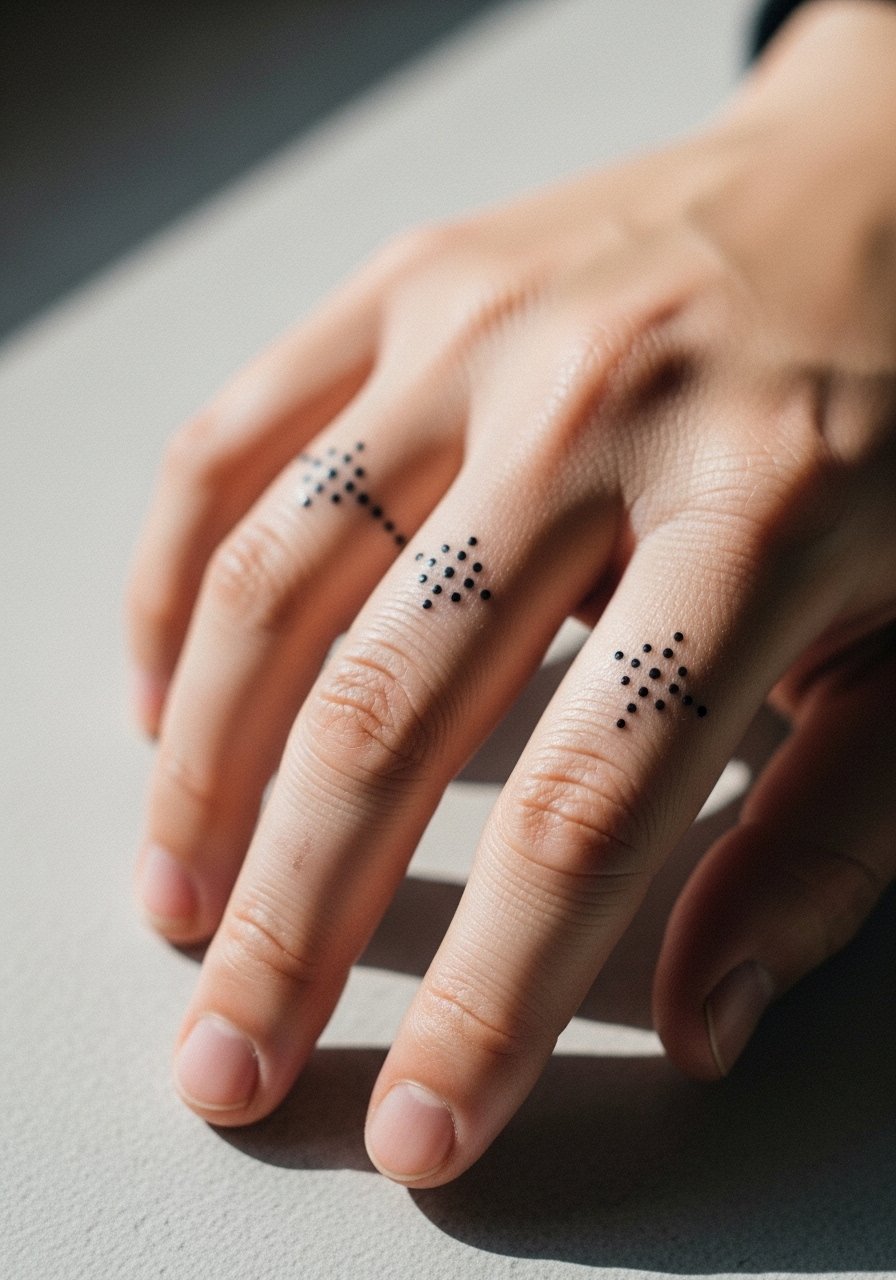
I recommend tiny dot clusters for tight finger gaps when you want something that reads at a glance without crowding existing rings. Tell your artist you want bold dot weight instead of ultra-fine pinpricks so the dots hold through regular hand washing. A common mistake is asking for dots the size of a pin head. Those can fade into specks within a year and blur into each other. Expect a short session and moderate discomfort on the fingertip areas. To show the piece off, go bare handed or wear a thin stackable ring on a non-tattooed finger and a matte manicure.
2. Celestial Moon and Mini Planet for Forearm Gaps

When a sleeve has a small void on the forearm, a crescent with a dot planet ties into celestial themes without overwhelming nearby pieces. In consultation, ask for slightly heavier linework and very small gray wash under the planet so it reads after six months. Artists split on fine line here. One camp says ultra-fine lines fade fast in sun-exposed forearms. The other camp says properly spaced fine work settles well. Name both camps to your artist and ask which approach they use. Expect low pain and a quick single session. For showing it off, roll up a rolled cuff chambray shirt sleeve and wear a slim chain necklace to keep attention on the arm.
3. Tiny Hearts or Arrows on the Inner Wrist
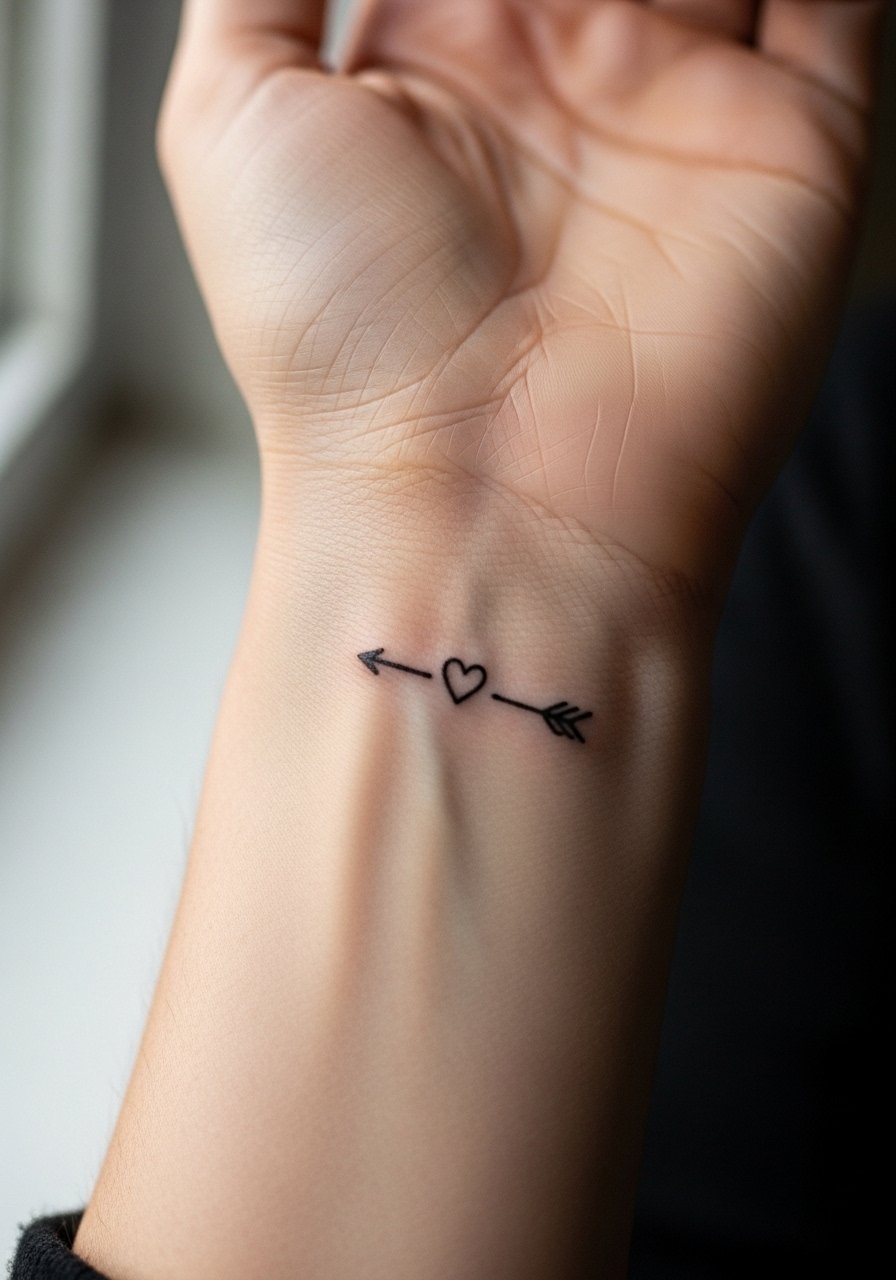
Inner wrist gaps respond well to minimalist hearts or arrows when balance and symmetry matter next to existing script. Tell your artist you want clean, consistent linework and a clear gap between the heart and any nearby tattoos to prevent merging over time. The wrist moves a lot, so expect slightly higher fading and a touch-up window at six to twelve months. A mistake I see is asking for tightly packed mini motifs. They need breathing room. For a polished look, pair the wrist piece with a thin gold bangle bracelet on the opposite wrist and ditch jewelry on the tattooed wrist during healing.
4. Mini Butterflies or Bees at the Ankle
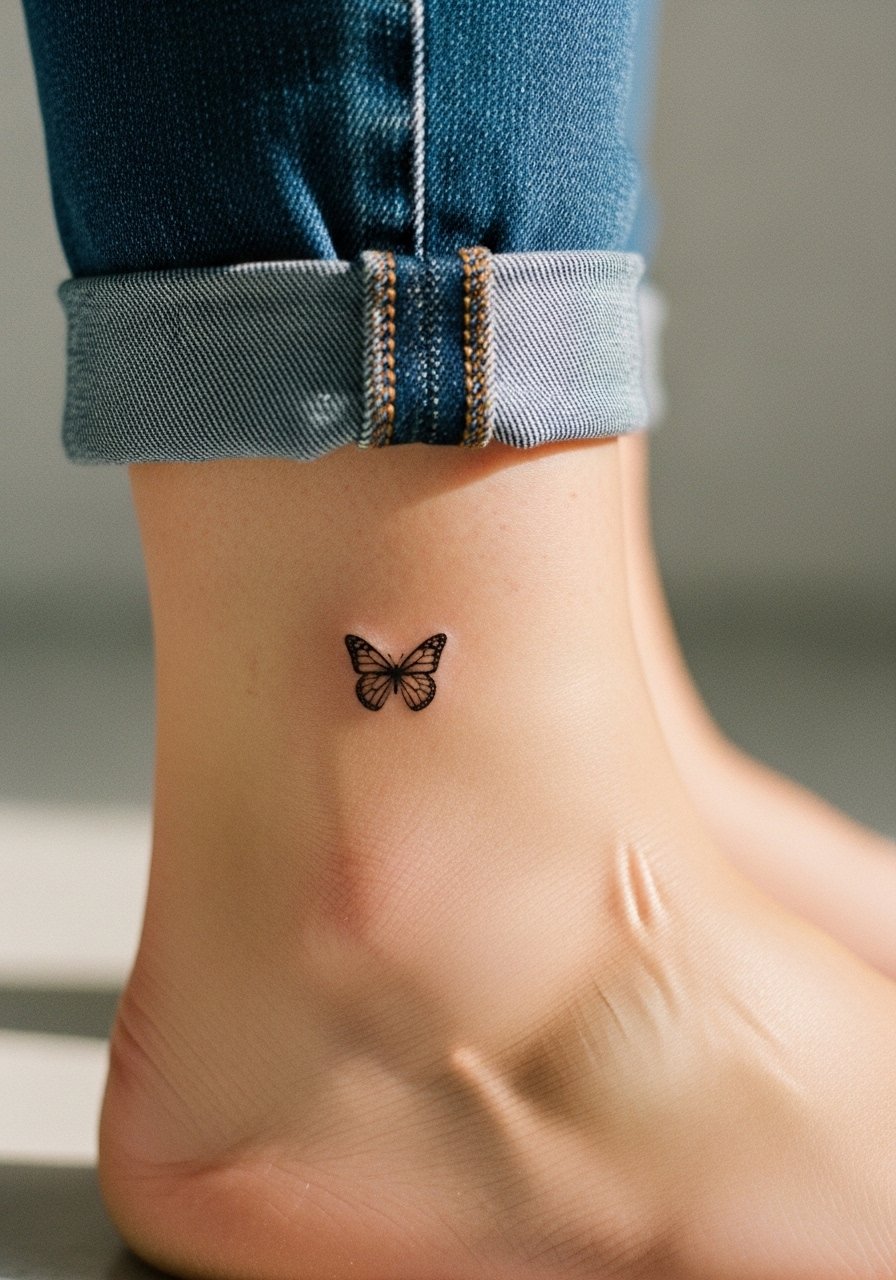
Ankle gaps that sit between larger leg pieces get playful lift from small insects. Ask for slight contrast in wing shading rather than heavy color so the design keeps shape even with shoe straps rubbing. The ankle sees friction from socks and shoes and needs a careful touch-up plan at 6 to 18 months. Pain is low to moderate for most people. During the session wear loose joggers you can roll up easily. For summer show-off looks, cropped ankle pants and strappy flat sandals frame the motif without covering it.
5. Abstract Swirl to Connect Bicep Pieces
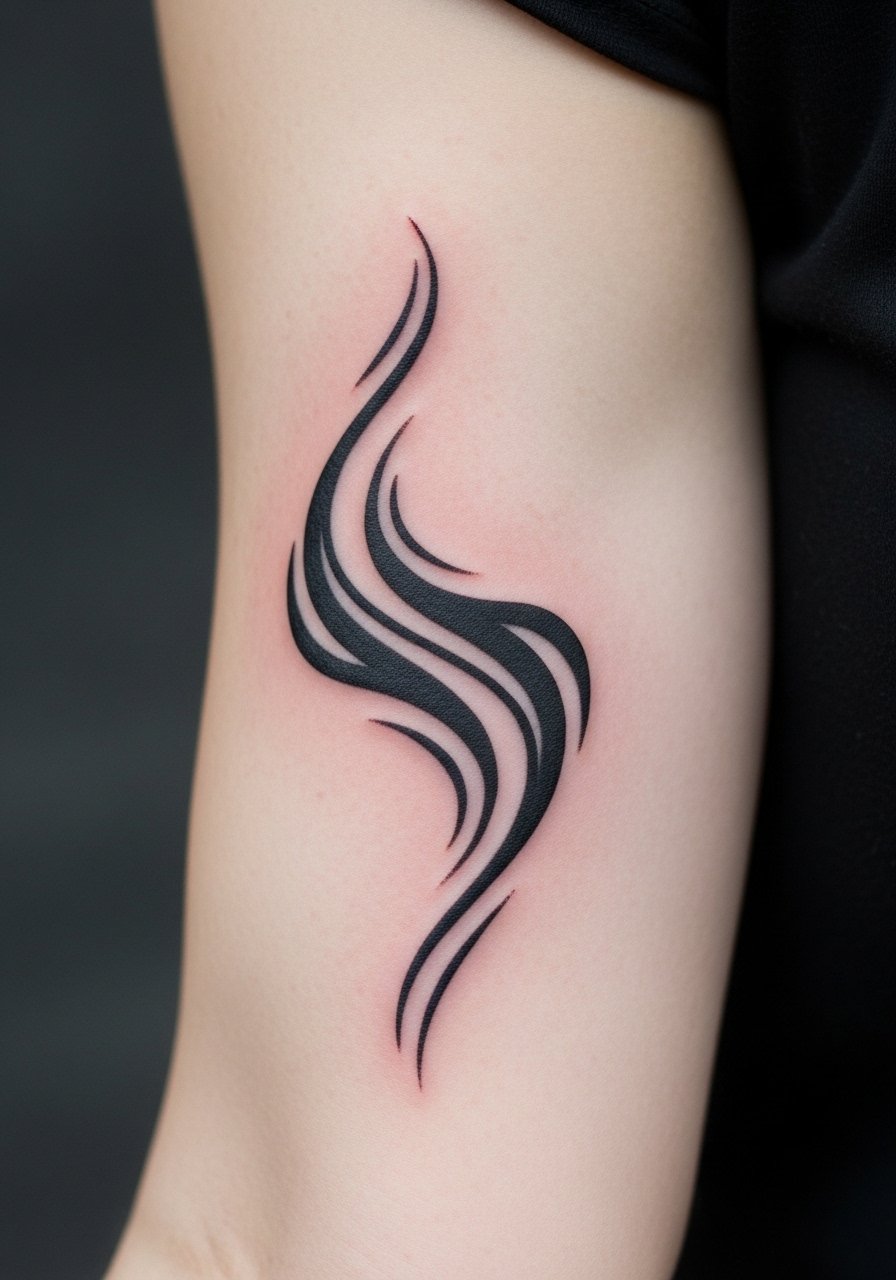
When a bicep patch feels visually disconnected, a small black swirl or wave adds texture and flow between disparate elements. Ask for solid black fill and confident line weight so the shape does the connecting work instead of fussy detail that will soften. The biggest mistake is making the swirl too fine where blowout risks appear on softer skin. A session runs briefly and the bicep is forgiving on pain. For the artist, specify you want the fill saturated rather than stippled. If you like a rugged vibe, pair it with a sleeveless muscle tee to show the area without crowding the design.
6. Tiny Music Notes Along the Collarbone

Small clefs or quavers fill narrow collarbone gaps and echo larger musical sleeves without stealing focus. Ask your artist to place the notes so they sit above the collarbone line and to use slightly bolder lines than a hairline. The collarbone moves with breathing so fine hairlines risk blurring. Expect a short session and mild pain. For sessions wear a strapless top or an open button shirt so the artist can access the area cleanly. For showing it off, an off shoulder blouse and layered pendants center attention.
Studio Day Picks
The wrist, finger, and forearm pieces above heal differently from larger work, so a few small items smooth the session and the first week.
-
Stencil transfer paper kit. Lets you preview exact placement for tiny motifs like dots and music notes so you can adjust before the needle touches skin.
-
Topical numbing cream. Applied 45 minutes before can take the edge off wrist sensitivity without affecting linework for mini pieces.
-
Thin protective film roll. Useful for finger and ankle work to shield the area from friction during the first couple of days.
-
Fragrance free gentle body wash. Cleanses the healing zone without irritating delicate fine line pieces on hands and forearms.
-
Aquaphor healing ointment. A thin layer in the early days helps lock in moisture for tiny linework without suffocating the skin.
7. Mini Feather or Leaf to Tie Shoulder Gaps
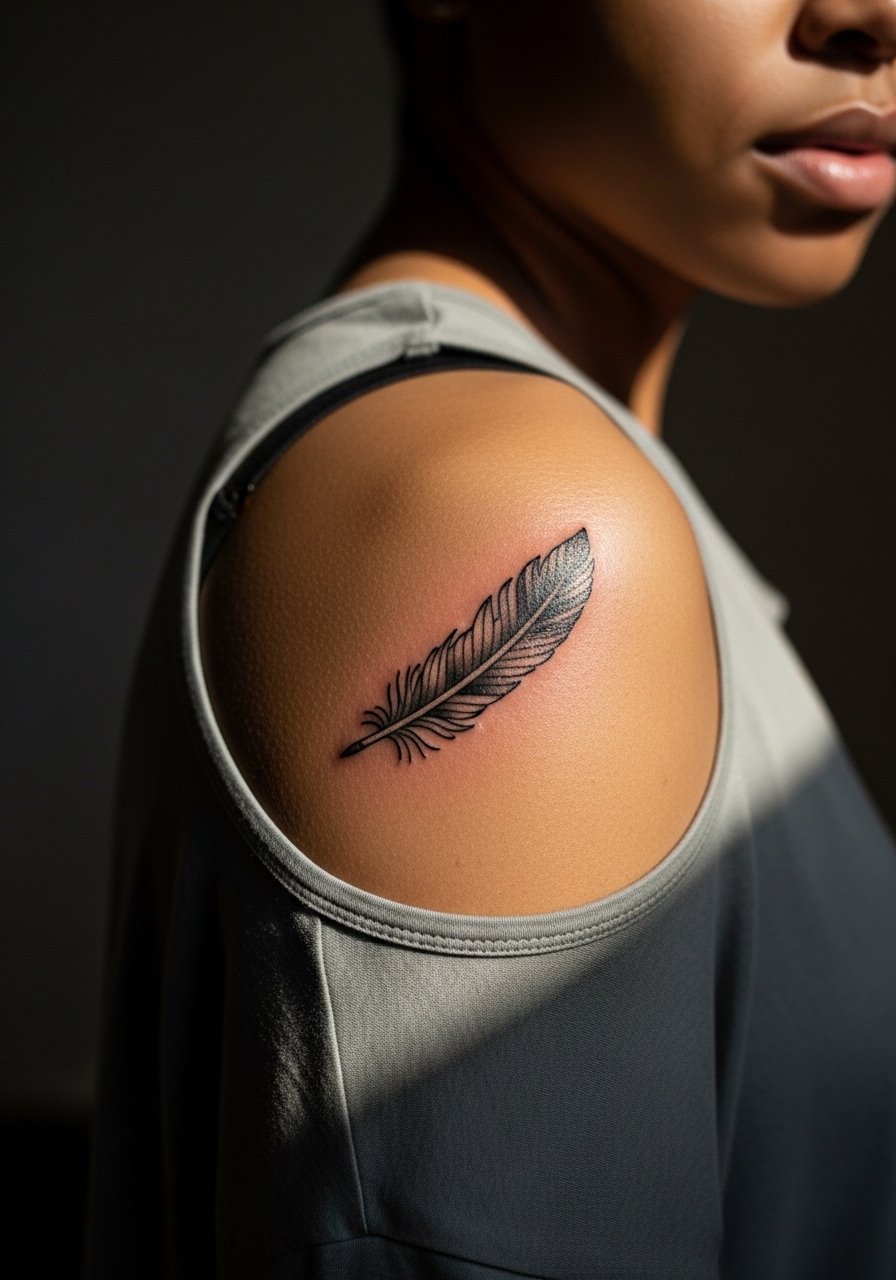
Shoulder voids between shoulder caps and sleeves pair well with small feathers or leaves that follow the natural fall of muscle. Tell your artist you want a tapered stem and one or two subtle color accents rather than heavy saturation so the piece moves with existing art. Common errors include overloading the feather with tight cross-hatching which can age into muddy texture. The shoulder is forgiving on pain and touch-ups usually fall after two to four years. For legibility during the session wear a loose tank top you can slide off and on. For style, an olive cropped leather jacket draped over the shoulder creates a natural frame.
8. Mini Flower Cluster for Inner Arm Gaps
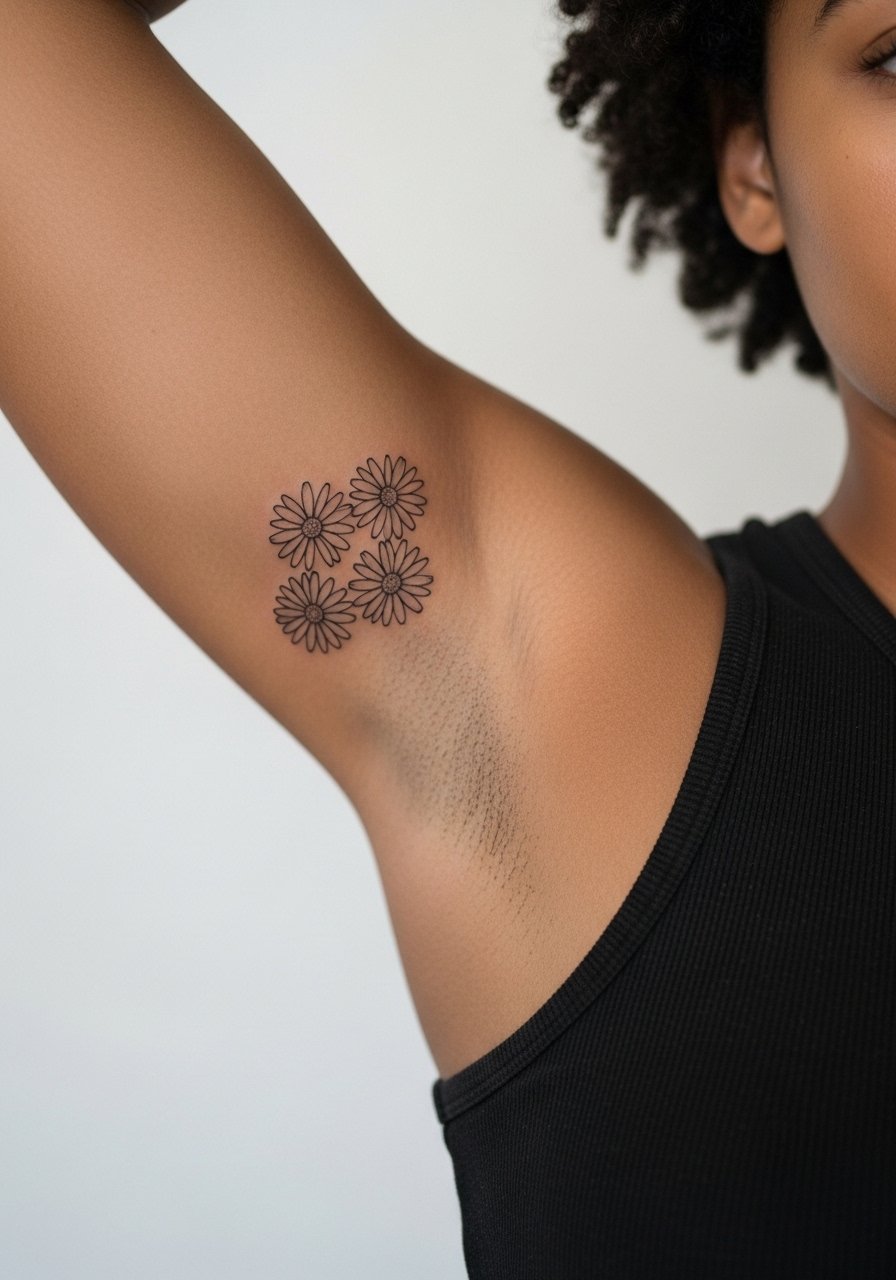
Tiny flower clusters work well on inner arm gaps because they echo larger botanical sleeves without forcing scale. In consultation, ask for slightly heavier petal outlines and open centers so the flowers keep separation as they age. There is a debate in the community about fine line versus bold here. One camp insists fine line looks elegant at first but blurs sooner. The other camp says with proper spacing and depth, fine line can look clean for years. Discuss both positions with your artist and decide on spacing. Expect moderate pain and a quick single-session appointment. Pair the healed piece with rolled-up linen shirts to let the inner arm breathe.
9. Lightning Bolt Accent for Calf Voids
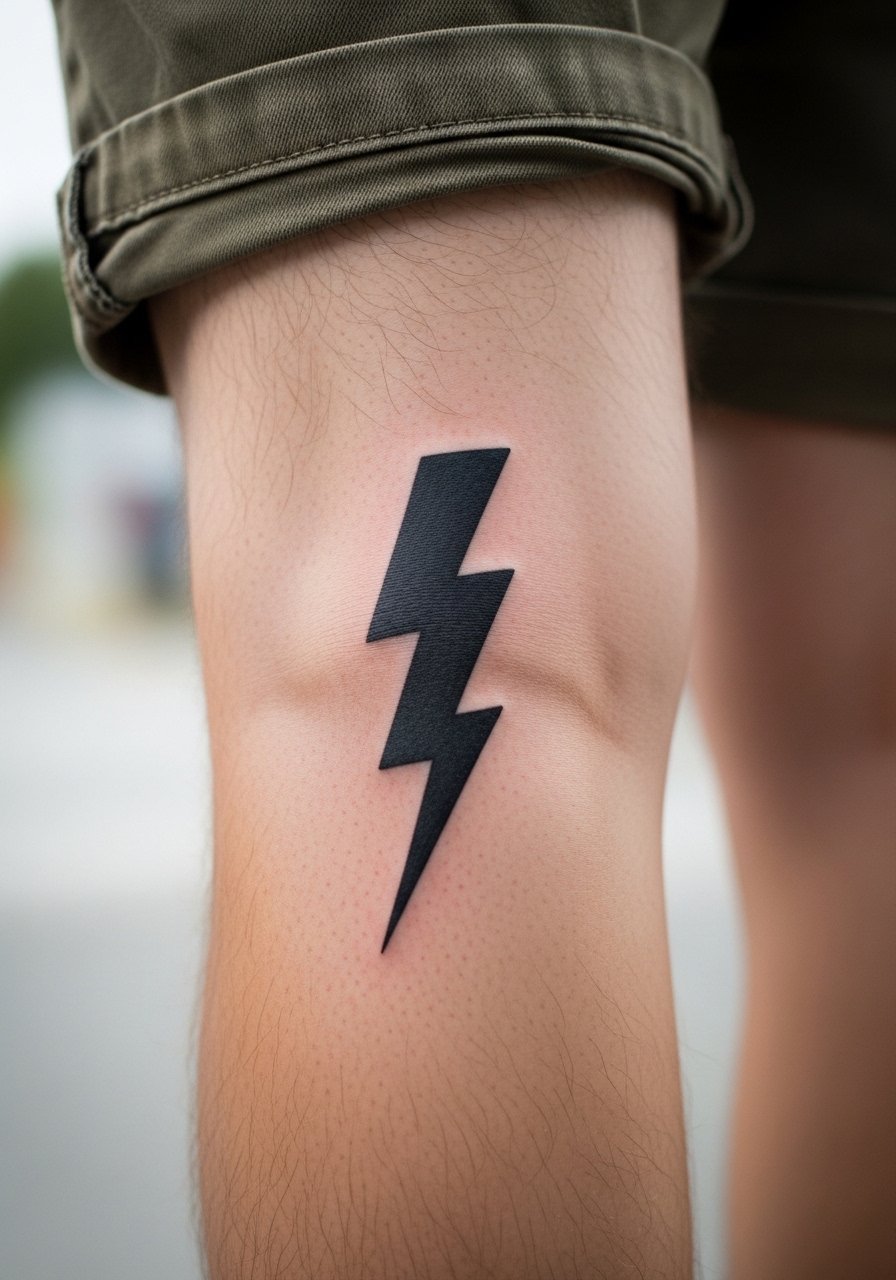
Calf gaps near larger leg pieces take dynamic energy from small lightning bolts or smoke lines that push the eye along a sleeve. Request solid blackwork for contrast and ask the artist to avoid razor-thin lines that can feather on moving skin. A wrong move is placing too many tiny bolts where they crowd when the leg flexes. Calf sessions are low on pain and usually quick. For showing it off roll slim fit chinos or wear canvas boat shoes with shorts to keep focus on the lower leg.
10. Micro Geometric Triangle Behind the Elbow
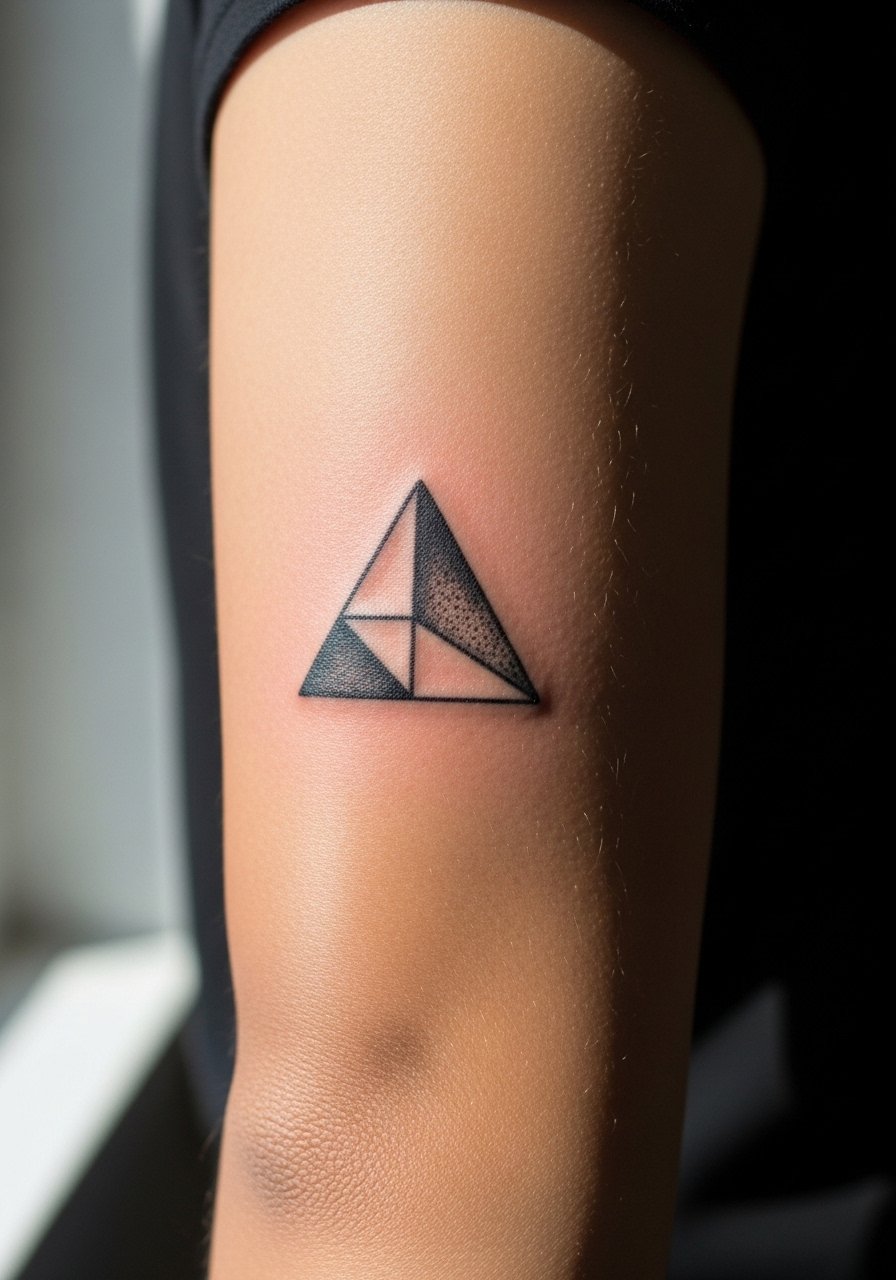
Elbow-adjacent gaps look clean with small geometric shapes positioned off the high-fold line. Ask your artist to place the triangle slightly above the crease so it avoids immediate rubbing and to use consistent linework rather than multiple tiny lines. The mistake I see is insisting the shape sit directly in the crease. That invites faster fading and potential blowout. Pain is higher near the elbow compared with flat skin, and you may need a brief touch-up at the one-year mark. For the session wear loose sleeves you can pull up easily.
11. Micro Script or Single Word at the Neck
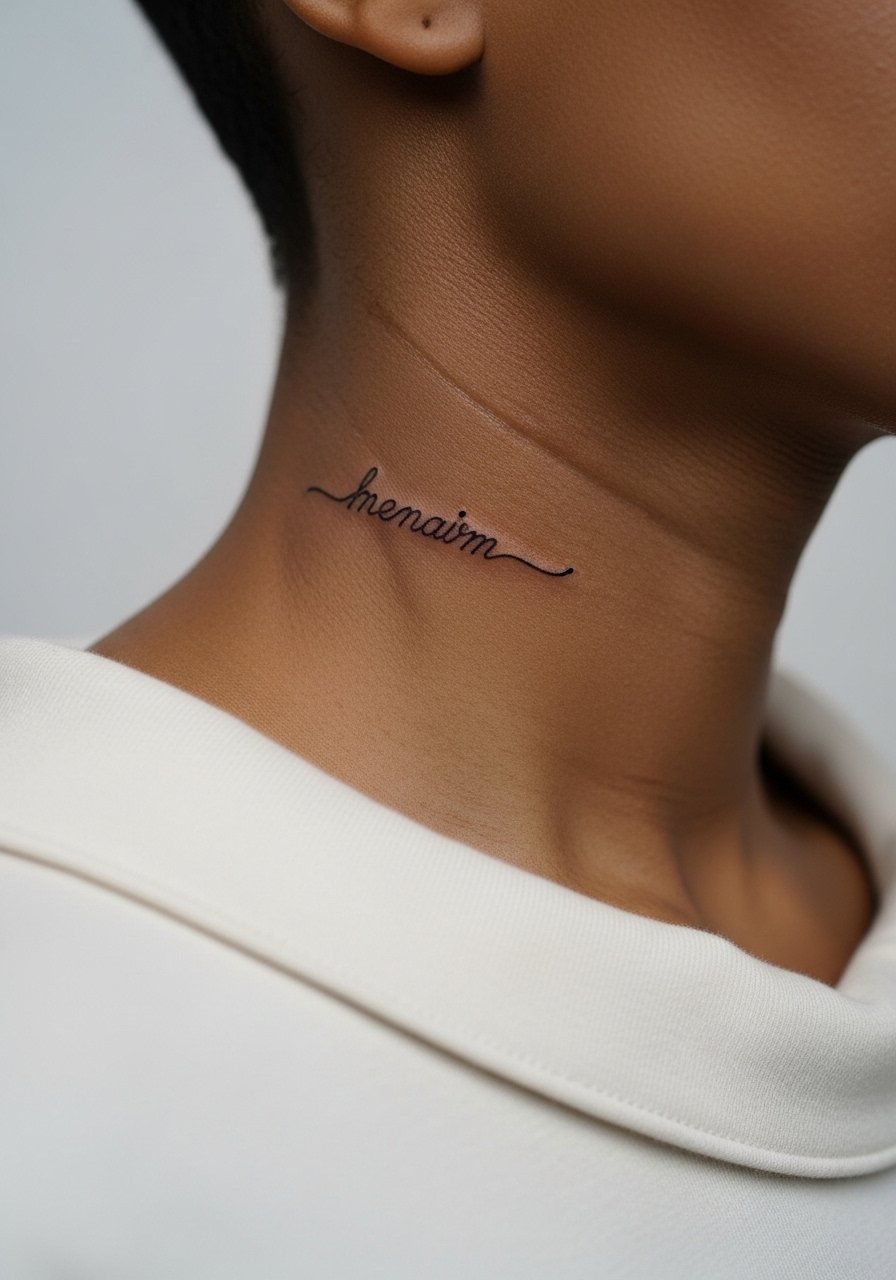
A single-word script in a small neck gap can balance upper chest pieces when placed carefully. Ask your artist for test stencils so you can confirm baseline alignment and font scale. The neck moves and stretches, and fine thin scripts can lose crispness sooner than bolder lettering. Expect higher sensitivity and a clear discussion about long-term visibility. A common misstep is choosing ornate calligraphy that reads poorly at small scales. For session wear pick a wide-neck top you can shift aside. For evenings wear a layered pendant necklace that frames the piece.
12. Tiny Geometric Dots on the Nape of the Neck
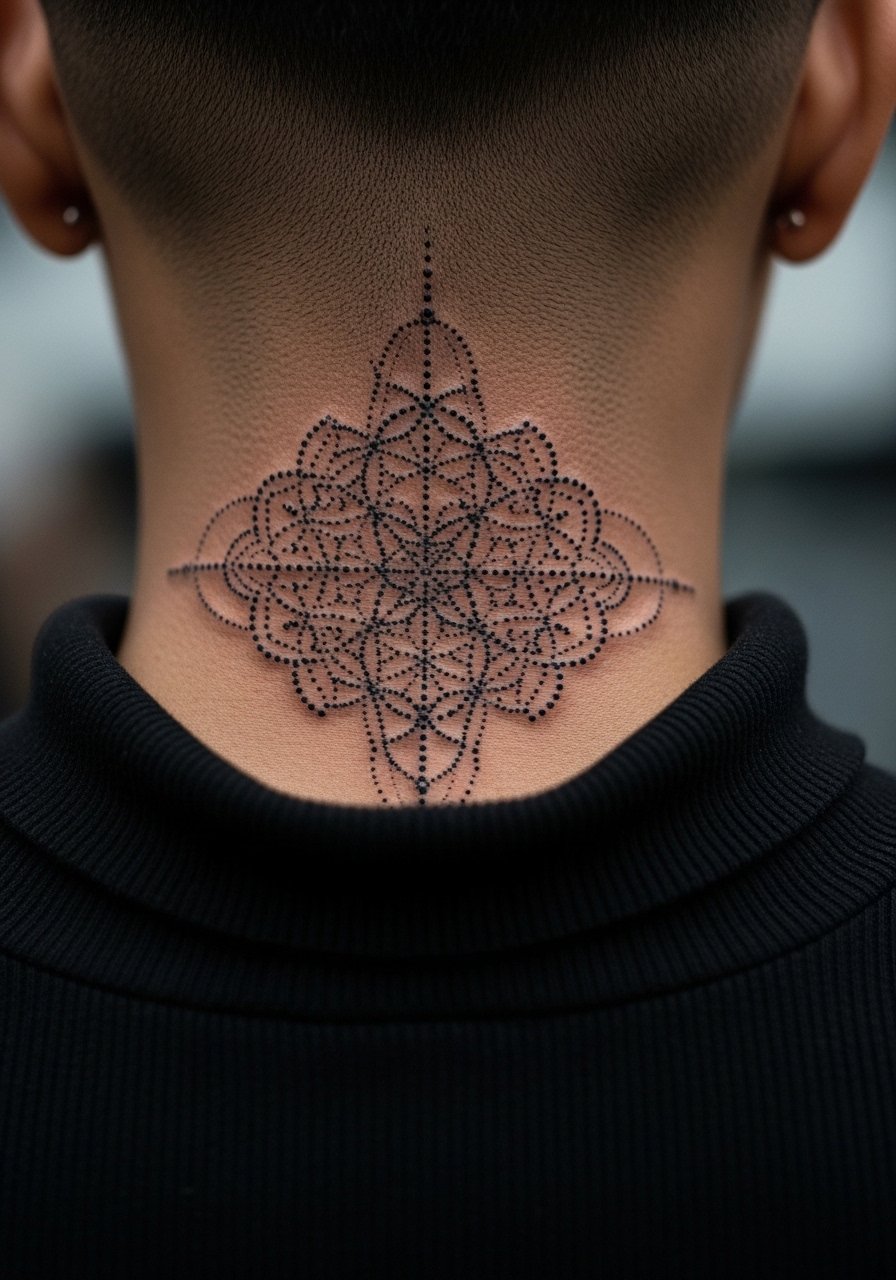
Small dot clusters on the nape act as subtle fillers between shoulder or upper back work. During the consult request concentrated dot density in the center and fading outward so the dots read as texture, not a dense block. The key mistake is asking for a heavy compact dot matrix in a high-motion area. That will blur faster. Pain is moderate. If you plan to wear short hair, remember the area will be visible when grown out or tied up.
13. Tiny Sparkles or Stars for Hand Edges
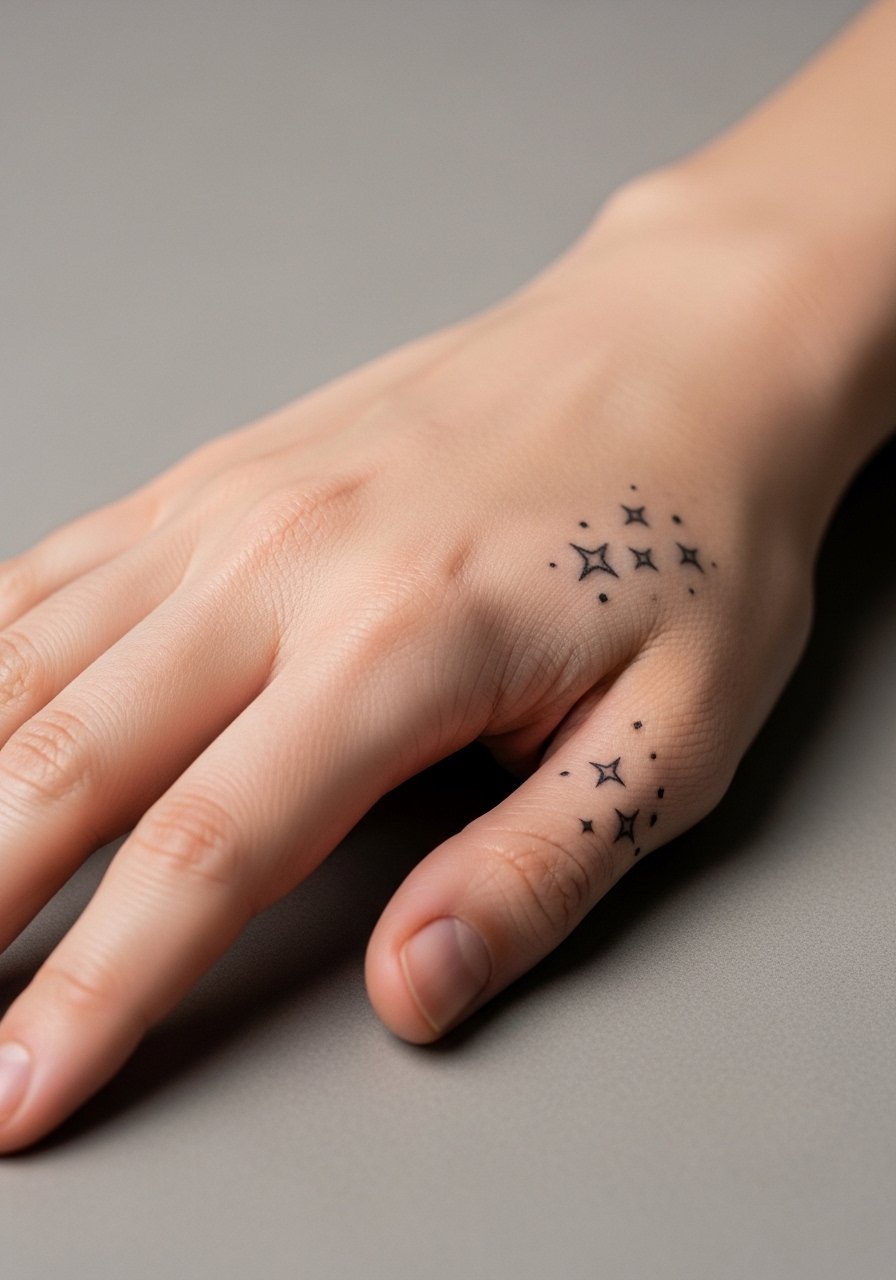
Edges of hand gaps benefit from tiny stars or sparkle marks that age more predictably than dense linework. Tell your artist you want the stars spaced so they do not sit over knuckles where skin flexes heavily. Hands are notorious for fading so expect touch-ups at six to twelve months. A common error is over-detailing each star which disappears first. For session prep wear loose long sleeves you can pull up and avoid rings during the appointment. Show the healed look with bare hands or a simple matte nail polish set.
14. Mini Geometric Triangle Cluster on the Hip
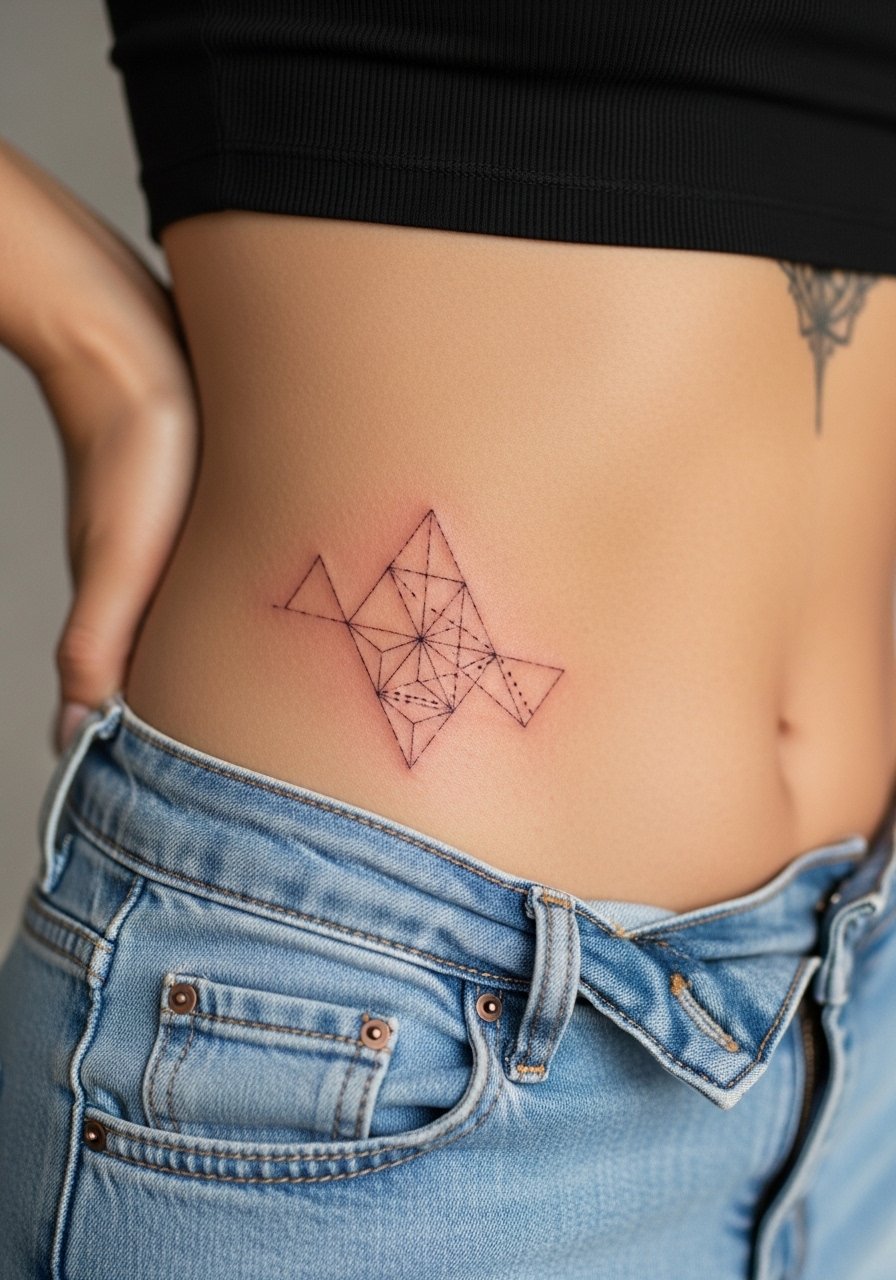
Hip gaps next to lower-back or thigh pieces work nicely with small geometric clusters that echo larger shapes. Ask for discrete spacing and to keep the cluster within a compact footprint so the design does not drift with clothing lines. The hip heals slowly and can be sensitive depending on padding. Avoid placing dense patterns under waistband lines where friction will wear them faster. For the session wear high-waisted pants you can untuck or a swimsuit bottom so the artist only exposes the target area.
15. Smoke Pattern Accent for Chest-to-Rib Gaps
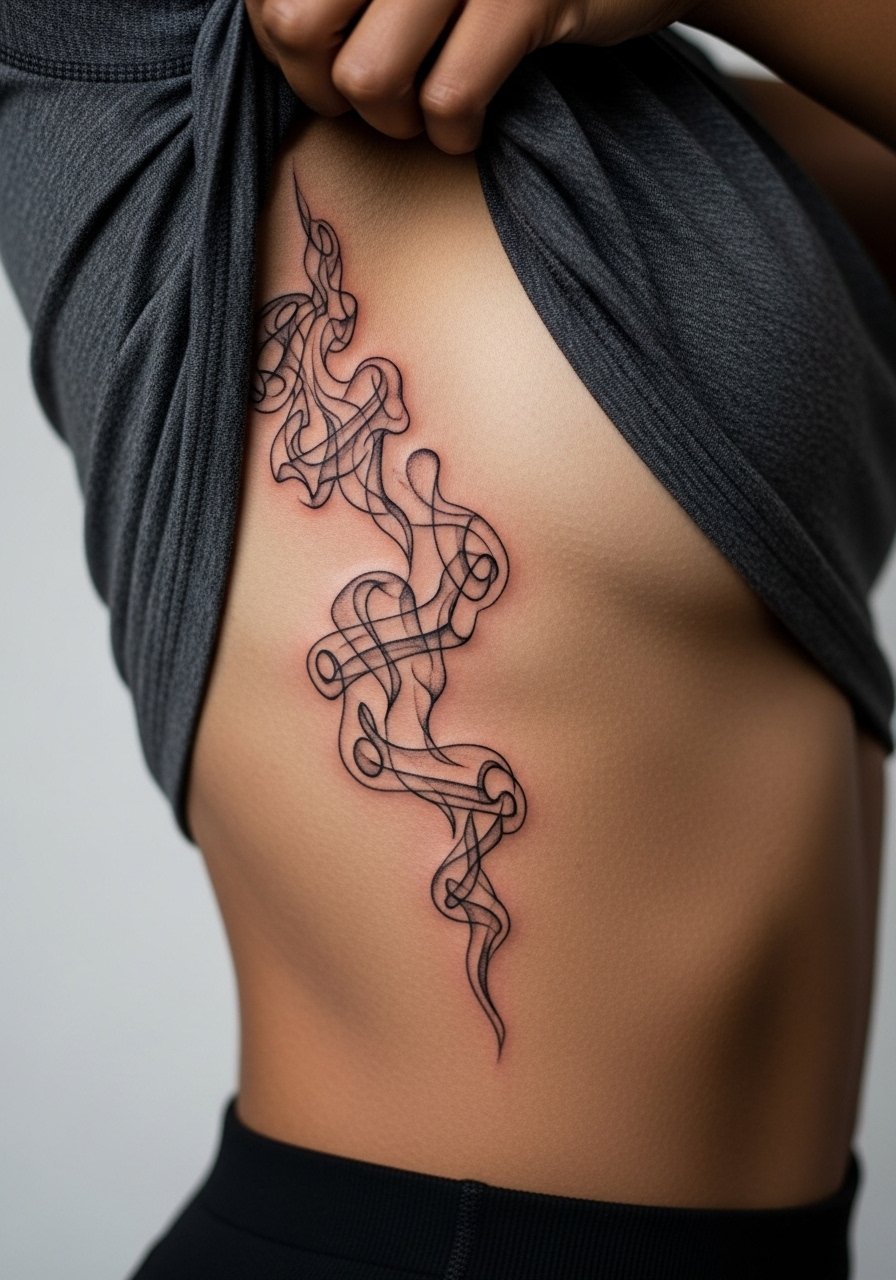
Smoke or wisp patterns bridge chest work and rib pieces without creating heavy contrast. Ask for thin trailing wisps with varied negative space so the smoke does not read as a blob after healing. There is a known split about fine line on ribs. One camp argues the skin stretch and breathing blur delicate lines by year two. The other camp says with proper depth and spacing, lines can remain crisp. State both positions to your artist and ask for mockups in movement. Expect higher pain and a likely touch-up within two years.
16. Tiny Daisy or Botanical Accent on the Inner Arm
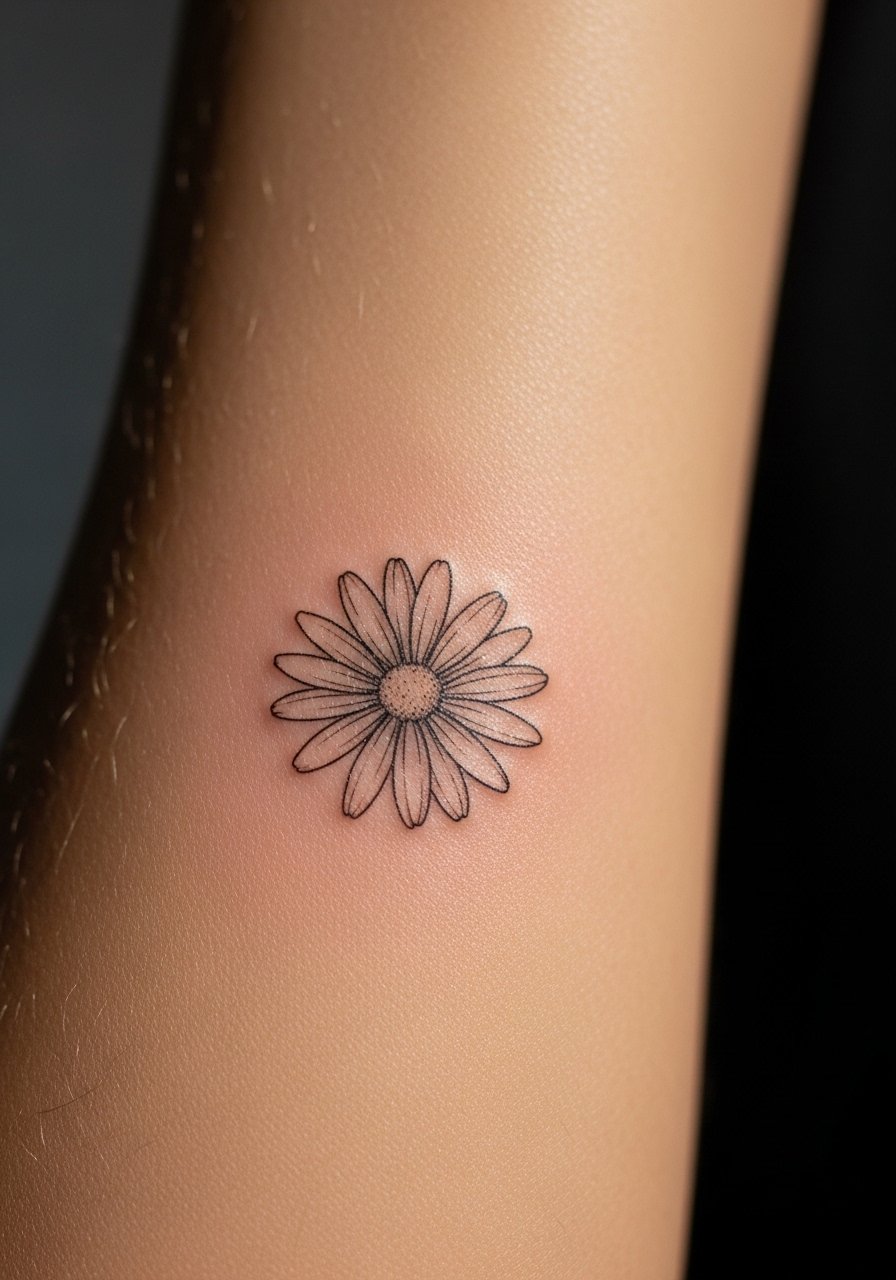
When a sleeve leaves a narrow void along the inner arm, a mini daisy or sprig reads as intentional filler. During consultation show reference photos that match the line weight of your existing sleeve so the artist can match saturation. The inner arm flexes but is less exposed to sun than the outer side, which helps longevity. Common mistakes include asking for colored fills in ultra-tiny petals which can blur. For the session wear a short sleeve button-up so the artist can access the area without tugging. For wear, a short sleeve button up men style keeps the arm visible without shadowing the lines.
17. Tiny Arrow Cluster Near the Collarbone Edge
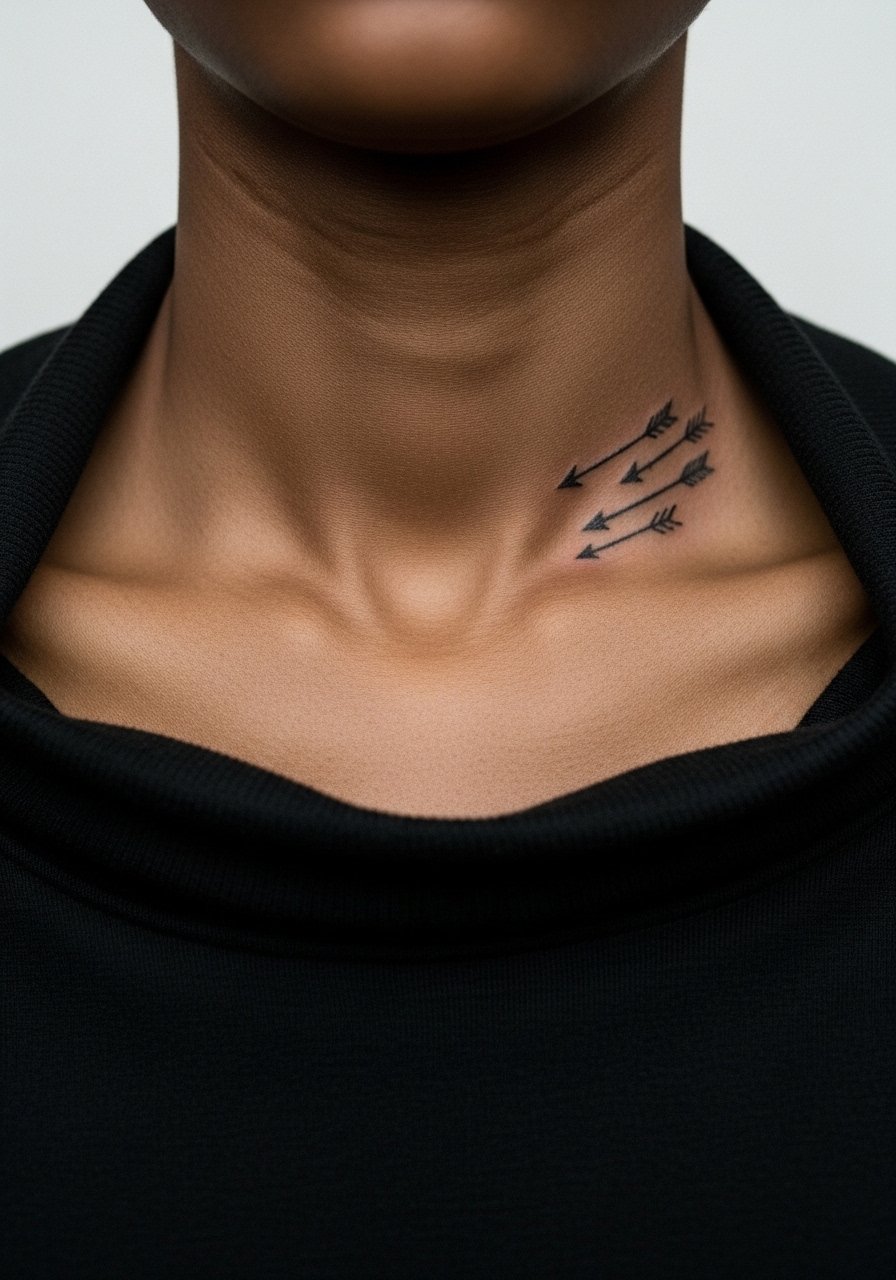
Small arrows grouped near the collarbone edge solve asymmetry when one side of a chest piece looks lighter than the other. Ask your artist to align the arrows with natural bone landmarks so they sit balanced when you move. A mistake is having the arrows point into an adjacent tattoo which creates visual conflict. Pain is mild and session time is short. For the session bring a strapless bralette or wide-neck top so the artist can adjust access easily. For evenings pair with a simple chain that sits above the arrows.
Frequently Asked Questions
Q: How much does a mini filler tattoo cost these days?
A: Expect a wide range depending on studio and city, roughly 40 to 220 for tiny fillers. Walk-in flash pricing tends toward the lower end. Custom micro pieces or those requiring precise matching to sleeves can land at the higher end. Ask about a minimum charge when you book.
Q: Will fine line gap fillers fade faster than bold blackwork?
A: Fine line generally fades sooner on high-movement or sun-exposed areas compared with saturated blackwork. One group of artists prefers bold lines for longevity. Another group uses careful spacing and slightly heavier line weight to keep fine work readable. Discuss both approaches with your artist and plan a touch-up window at one to three years depending on placement.
Q: Which placements are worst for mini fillers because of movement or friction?
A: Fingers, palms, and the sides of the hands see the most daily wear and usually need touch-ups sooner. Wrists and knees also move and rub against clothing. Ankles and lower legs can fare better if you avoid tight shoe straps during healing. Plan your design and aftercare around those realities.
Q: How should I dress for a session that covers multiple tiny gaps?
A: Wear clothing that gives easy access to all target zones. For shoulders pick a loose tank top. For collarbone choose a wide-neck shirt or strapless layer you can shift. For forearms roll up a short sleeve button up men or tee so the artist has clear access.
Q: If a mini filler does not match my sleeve style after healing, can it be fixed?
A: Yes, but fixes vary. A touch-up can thicken lines or adjust spacing. If the style clashes more broadly, a small cover or reworking session can merge the piece visually into the sleeve. Bring portfolio images of the sleeve style you want matched and discuss options before any corrective work.
