
Fine line tattoos dominate feeds and saved boards, but what looks perfect on day one is not the same thing five years later. Trends push delicate single-needle pieces, and realism minis keep rising for character nerds. The useful truth is that micro Life Is Strange tattoos are about placement and spacing more than pure detail. Read these 21 micro ideas with notes on how they age, what to ask your artist, and how to show them off.
1. Micro Chloe Price Portrait on Inner Wrist
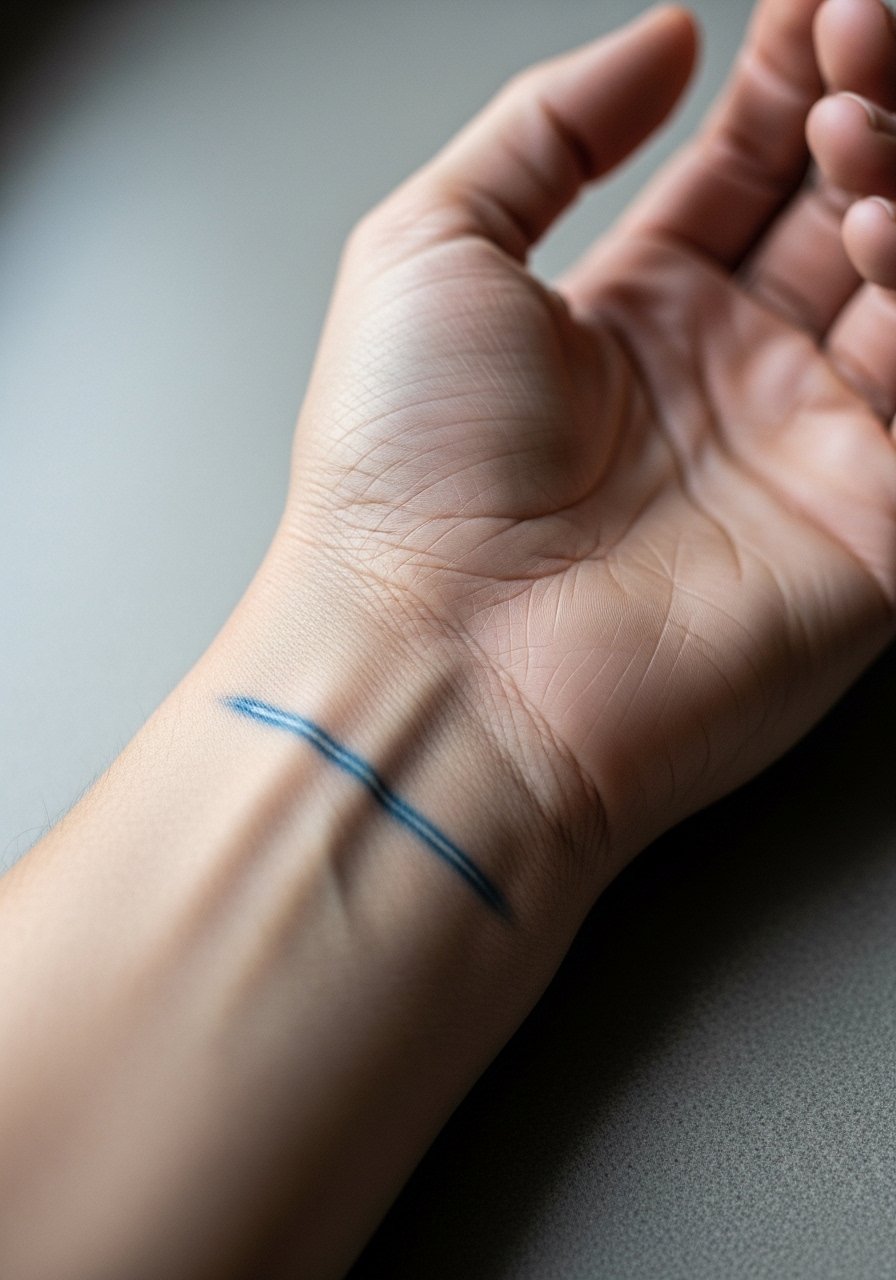
I've seen tiny portraits survive when the artist trades hyper-detail for clear planes of value. For a wrist Chloe, ask for micro-realism but with slightly heavier linework around the jaw and hair so the face reads at arm's length. Pain on the inner wrist is moderate, and session time is short. Common mistake is requesting photo-level detail at 1.5 cm, which blurs within a year. For showing it off, stack with a thin chain bracelet that sits just below the portrait and keeps attention on the wrist without crowding the image. Expect a touch-up at year one if you like crisp contrast.
2. Fine Line Max Doe with Camera Outline, Behind the Ear
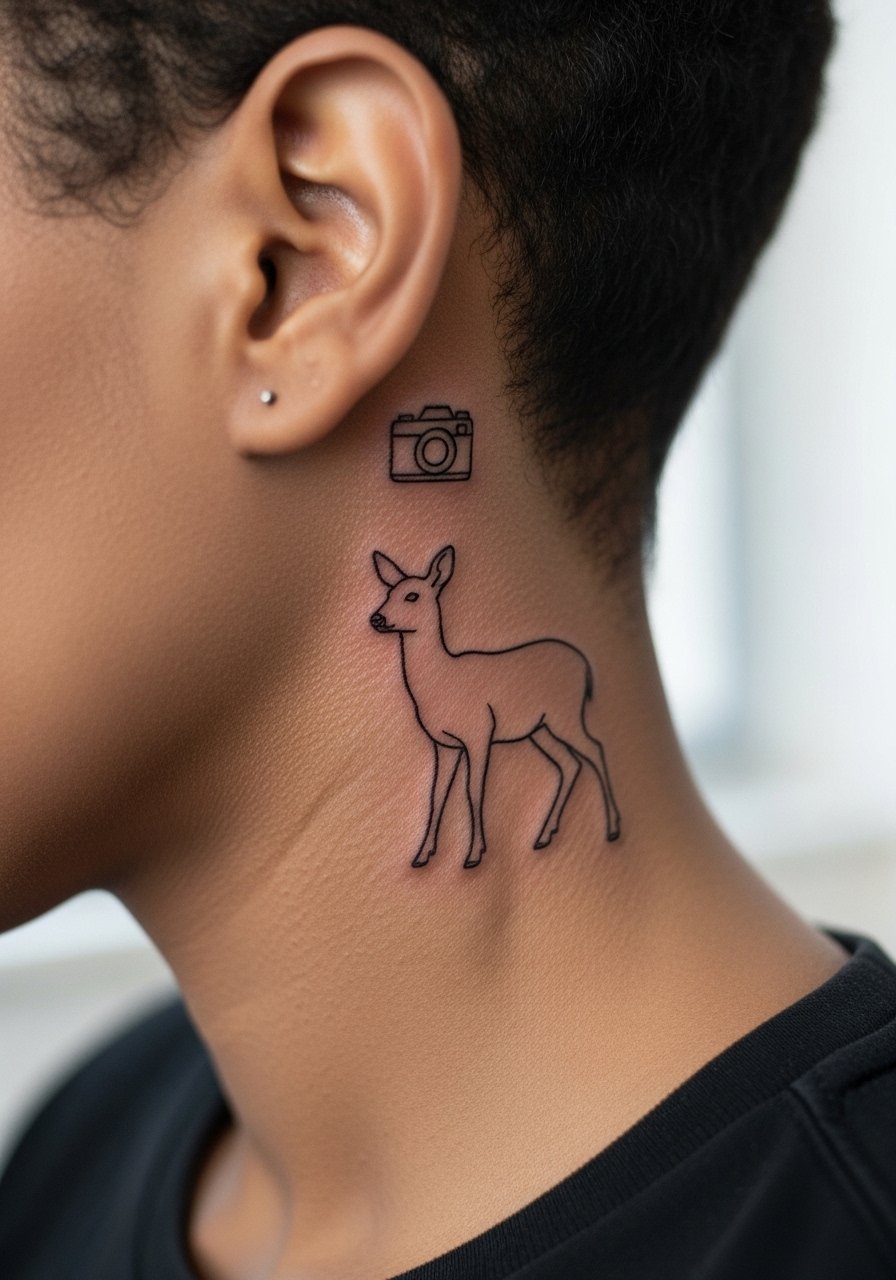
Behind-the-ear pieces read as private nods to the game, and the doe is a perfect symbol for that. When you consult, ask for the silhouette to be open rather than fully filled so it breathes in a small size. The area is low on pain but tricky for long sessions, so expect a quick single-needle visit. A common aging issue is lines placed too close together, which leads to merging. For a daytime reveal, wear your hair in a low ponytail that exposes the little image. Note that artists are split on fine line behind the ear. One camp says the thin skin and movement blur lines fast. The other camp says careful depth and spacing keep it readable. Ask where your artist stands.
3. Mini Blackwork Rachel Butterfly on Collarbone
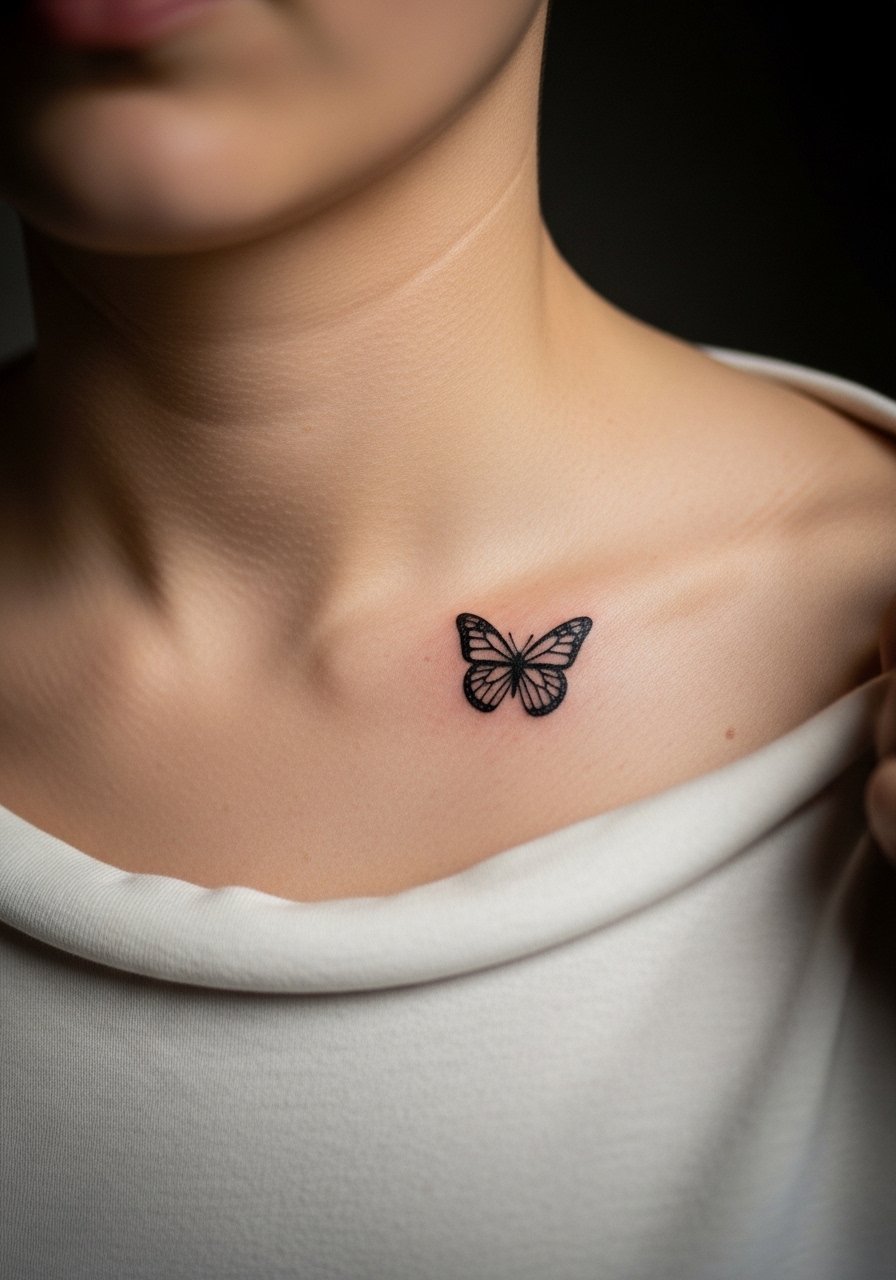
Blackwork butterflies age predictably. When the wings are bold and graphic, the piece translates well into photography and survives sun exposure better than washed watercolor. Tell your artist you want strong saturation in the wing fills and a tiny geometric accent in one corner instead of fragile cross-hatching. This placement hurts a bit but is highly visible in summer outfits. Avoid asking for micro dot shading inside the wings because dots can soften into gray at year two. Pair the collarbone piece with an open-back top to frame the tattoo for nights out. If you are commemorating a character arc, spacing the butterfly at 2.5 to 3 cm helps it read longer.
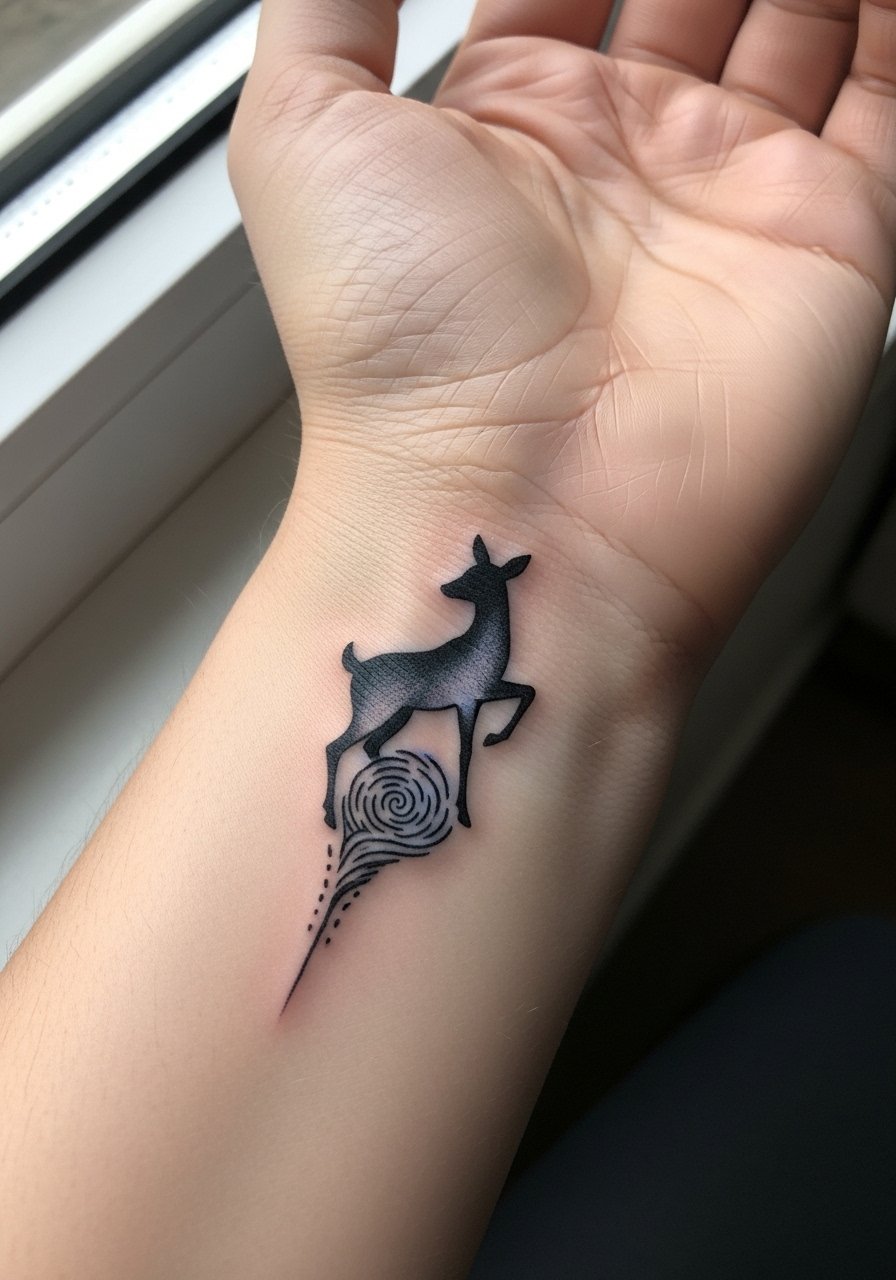
4. Watercolor Time Portal Swirl on Inner Forearm
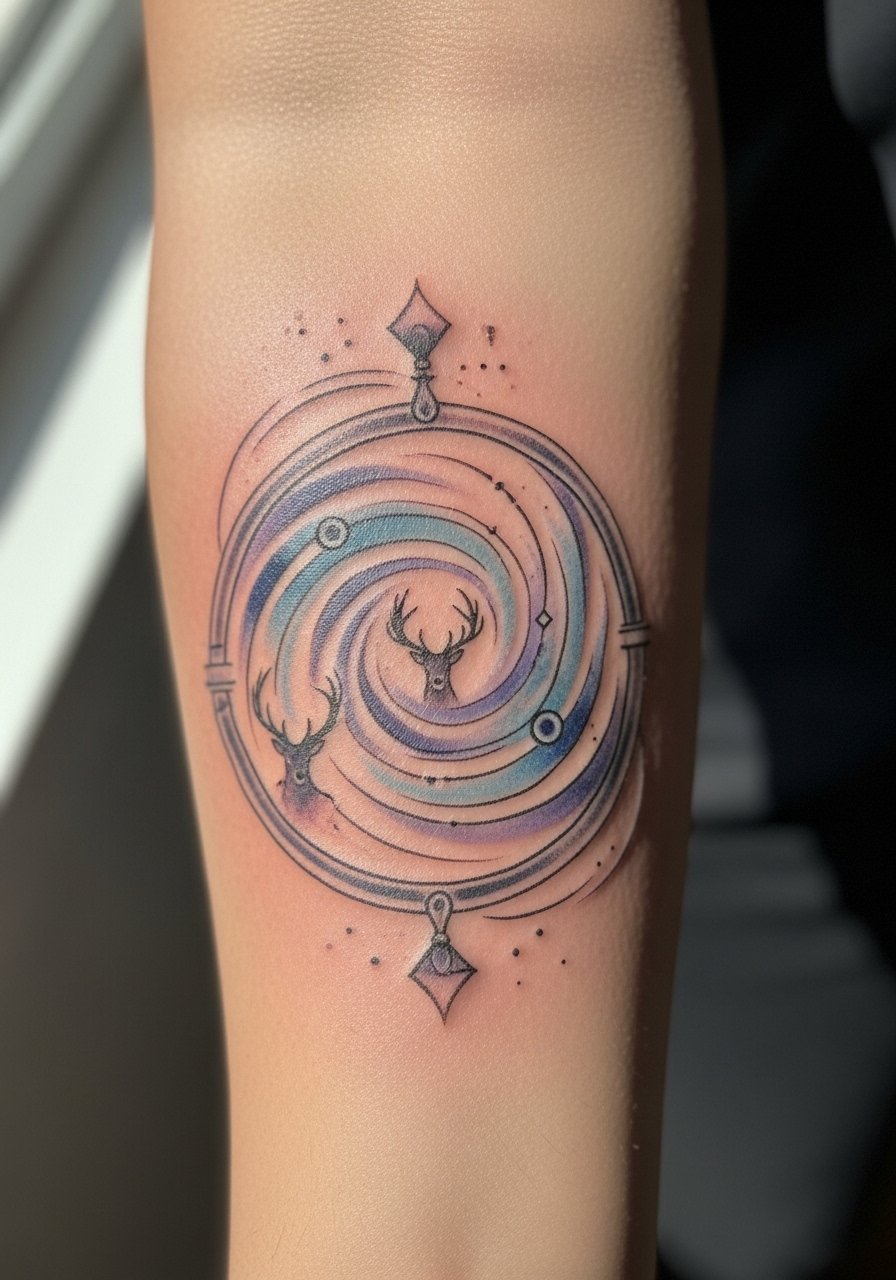
Watercolor captures the rewind mechanic beautifully but it is the style that brings the most longevity questions. I recommend asking for saturated washes that fade into fine line deer silhouettes rather than full wet-on-wet blends at micro scale. Inner forearm sessions are comfortable and you can expect about an hour for a 3 to 4 cm piece. A mistake is requesting soft gradients in a 2 cm layout, which tends to muddle quickly. For easy showing and layering, roll sleeves up and wear a linen button-down you can pull aside. If you want the watercolor look but better longevity, discuss adding a thin black outline to anchor the color.
5. Minimalist Cassette Tape Linework on Finger
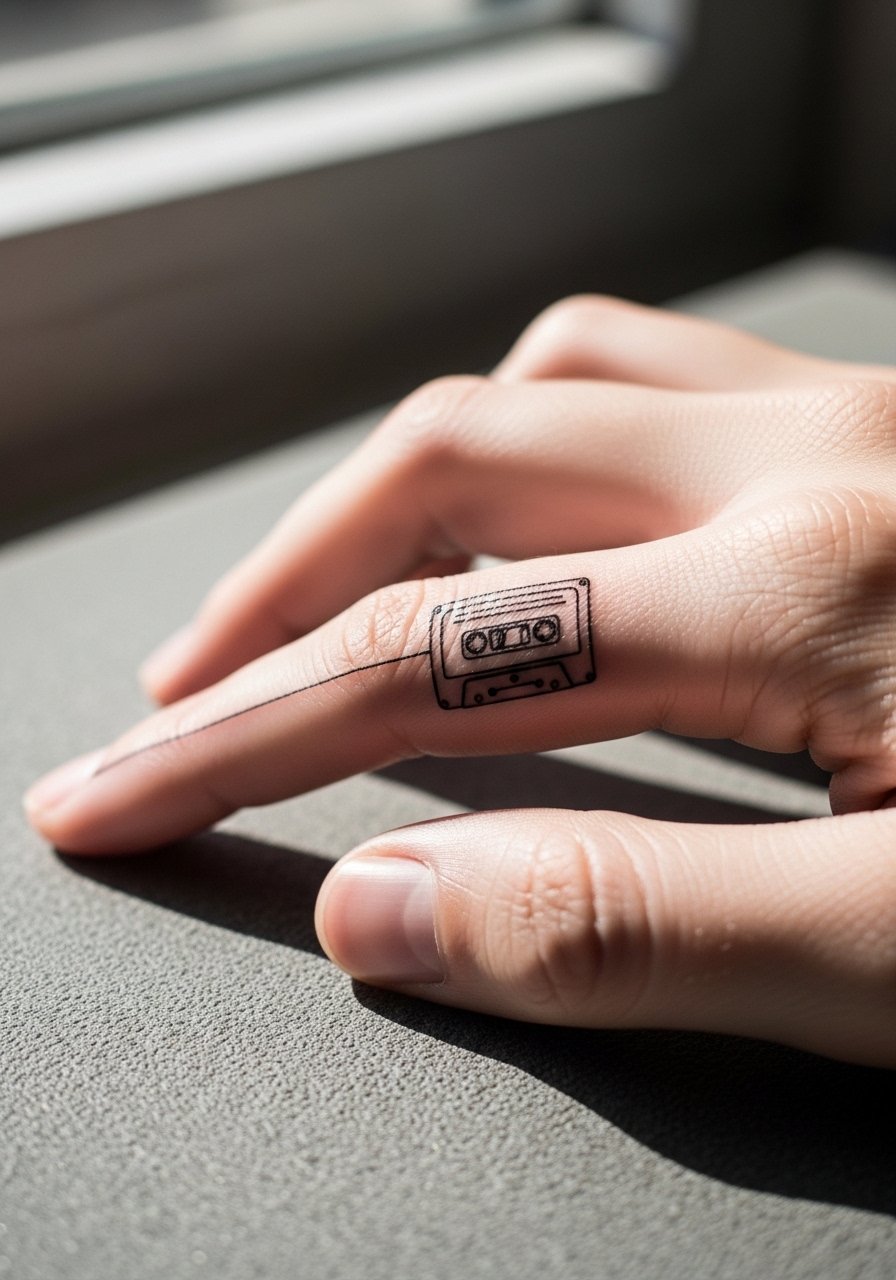
Finger tattoos live under constant friction, so tiny cassette tapes need bolder line weight than they look like in sketches. The session is fast and the pain is higher on the fingertip than on the side. Tell the artist you prefer a slightly thicker outline and simplified interior detail. The common mistake is super-fine inner lines that disappear after heavy hand use. Pair this with a minimalist stackable ring set so the tape motif feels like an intentional style choice. Expect annual touch-ups to keep the symbol sharp.
6. Neo-Traditional Arcadia Bay Lighthouse on Outer Calf
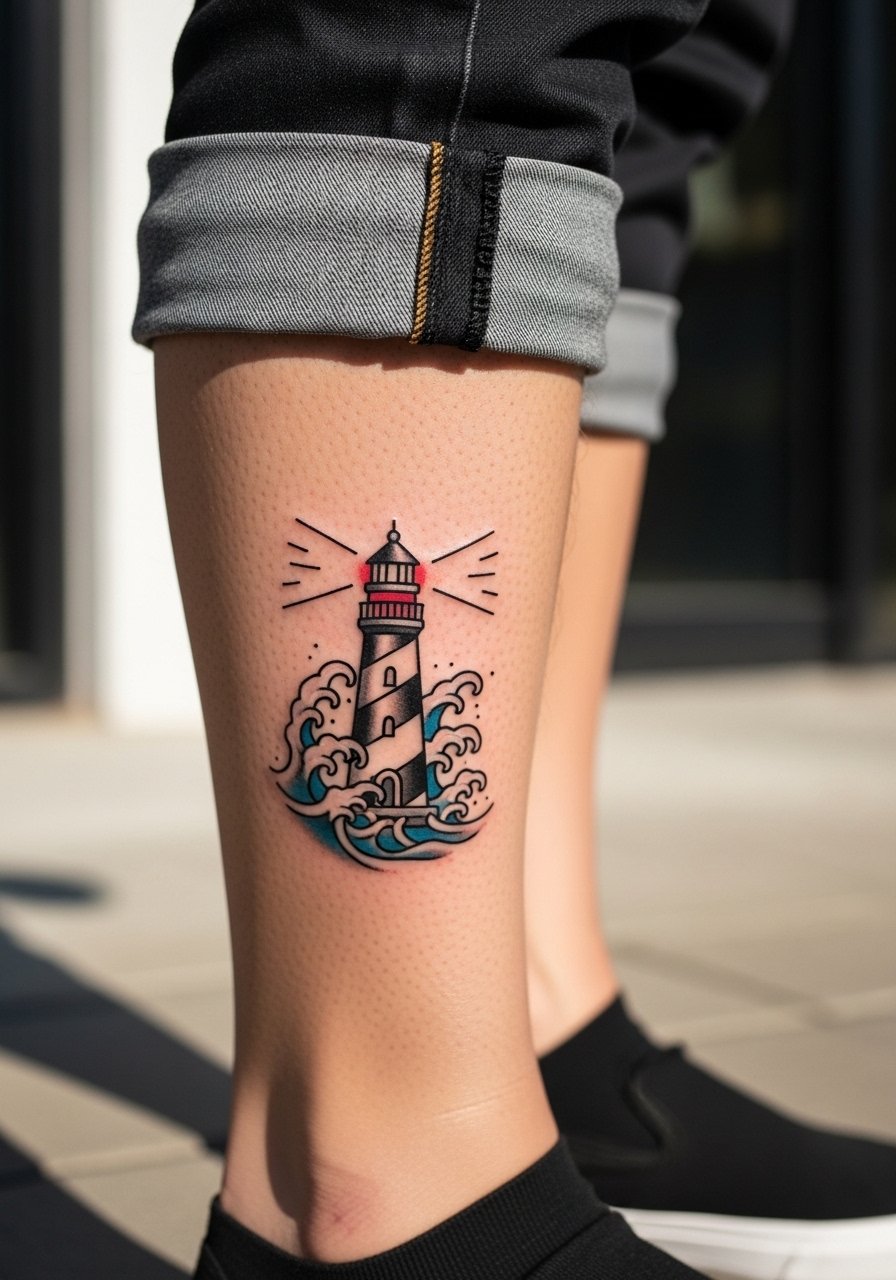
Outer calf is forgiving for micro neo-traditional work and it offers good visibility for showing off boots and skirts. Ask for bold outlines and saturated color spots rather than tight realism. The session feels breezy and you can sit comfortably for longer than wrist pieces. A typical mistake is squeezing too much small text below the lighthouse which becomes illegible. For styling, a midi skirt with a side slit or cropped denim shows the calf in summer. Calf blackwork reported aging well in my experience, especially with sun care.
Studio Day Picks
The wrist, finger, forearm, calf, and collarbone pieces above benefit from small session tricks and minimal kit for the first week.
-
Stencil transfer paper kit. Lets you preview the linework on skin before committing, especially helpful for the portrait and cassette styles in ideas above.
-
Topical numbing cream. Applied 30 to 45 minutes before can make wrist and rib sessions more tolerable without trimming the artist's control.
-
Thin protective film roll. Keeps finger and wrist tattoos clean during the first week of friction from daily washing and typing.
-
Fragrance-free gentle body wash. Cleans the healing area during showers without irritating the delicate linework that fine pieces depend on.
-
Hustle Butter Deluxe. A thinner balm many people prefer after day three because it moisturizes without heavy pore clogging for micro realism on oily skin.
7. Micro-Realistic Polaroid Frame on Ribcage
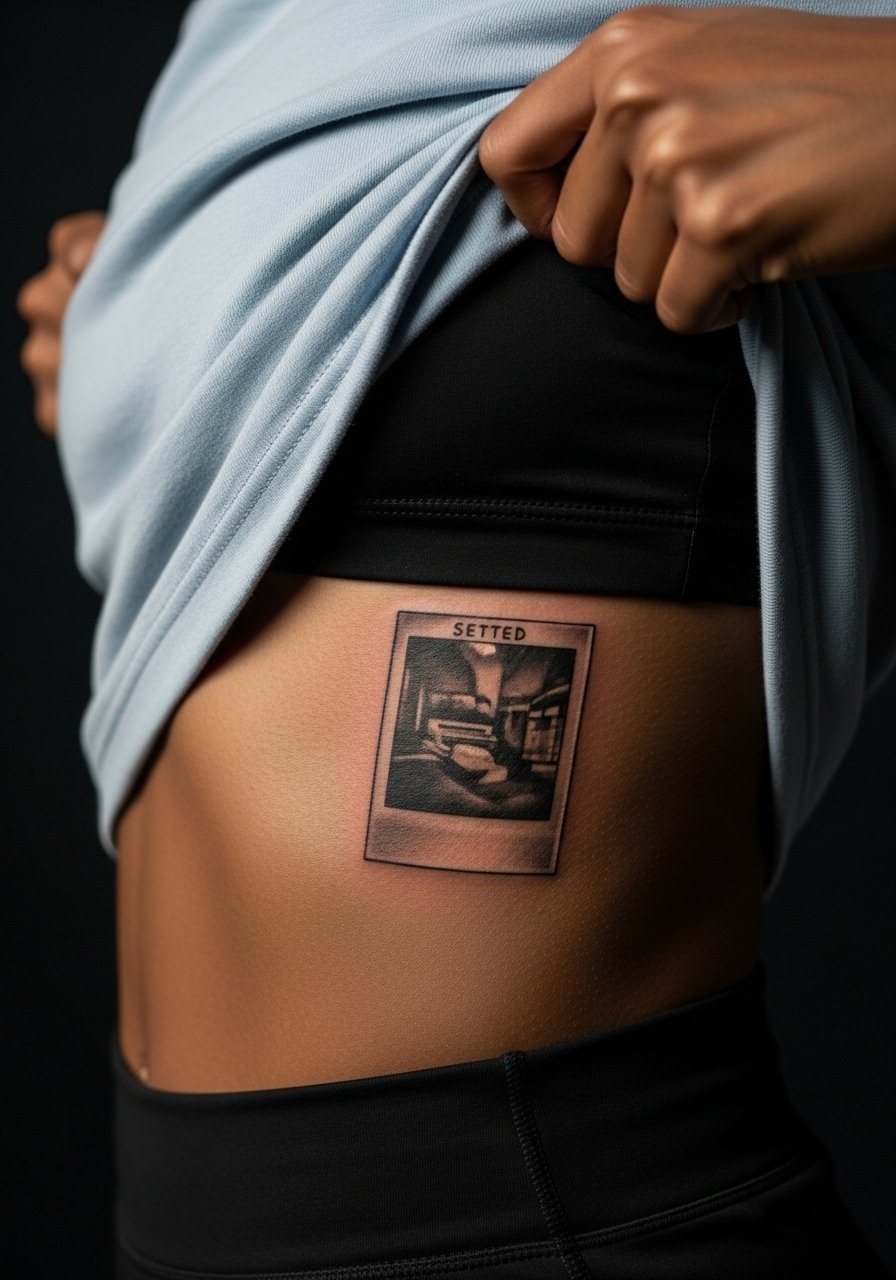
Ribcage work is memorable but it comes with a higher pain score and more movement while healing. For a tiny Polaroid, ask for strong contrast between the dark frame and faint inner shading, which preserves the photo effect. The mistake is packing photo-detail into a 2 cm square, which resolves into smudges. If you plan a piece that reads like a snapshot, place it a bit larger at 2.5 cm. Session feel is intense at first then steady. Because this is near clothing, wear a zip-up hoodie or sports bra to the appointment. Expect touch-up conversations during follow-up.
8. Ignorant Style Messy Doe Skull on Shoulder Blade
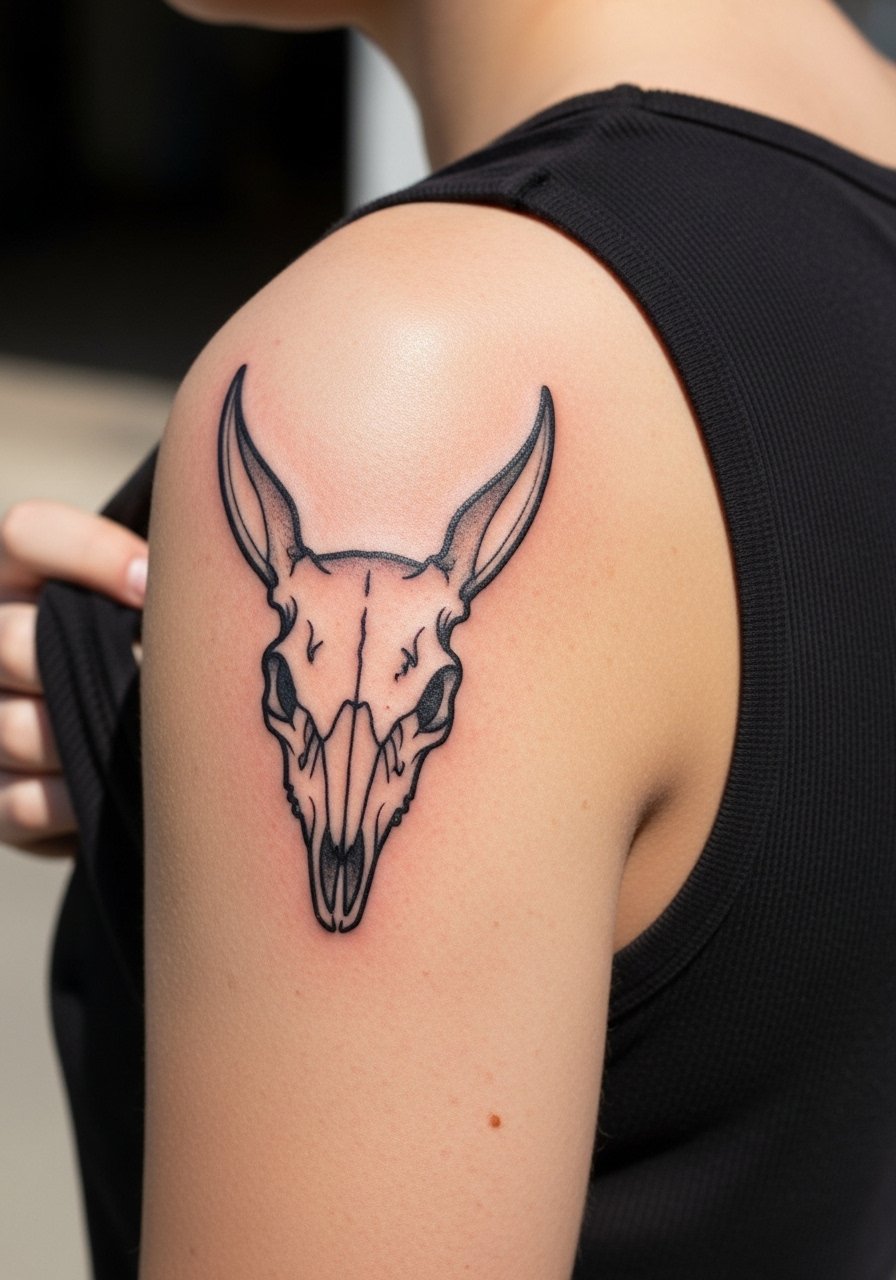
Shoulder blade pieces are great for edgier interpretations, and ignorant style thrives there. The area gives the artist space to use bold marks that age into dark texture. Tell your artist you want heavy outlines and dripping ink elements that are intentionally messy rather than delicate stipple. A typical error is asking for micro drips that become a gray wash over time. Wear a loose tank top to the session so the artist has clear access. Shoulder blade tattoos hide well under shirts and rarely distort with weight changes.
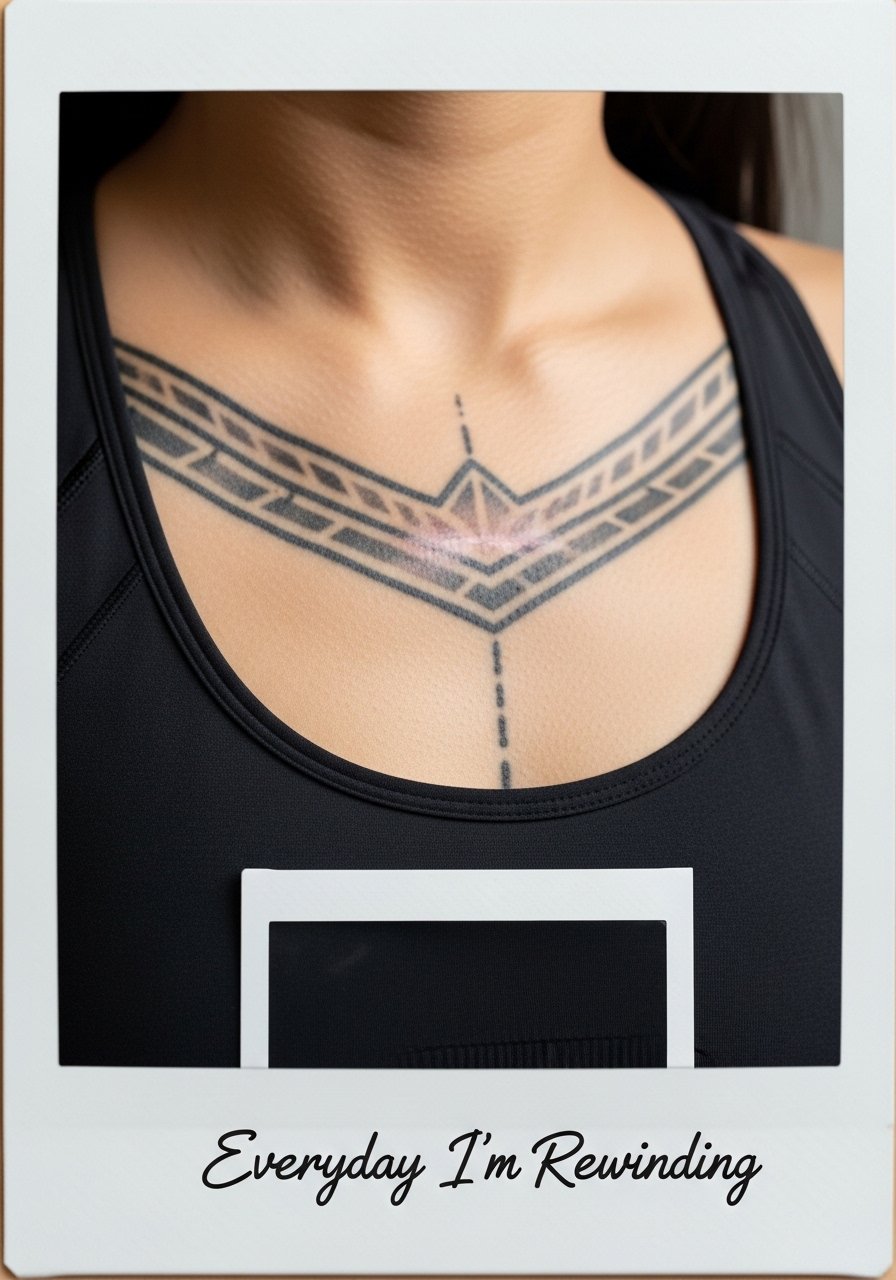
9. Ornamental Heartbeat Line into Rewind Arrow on Spine
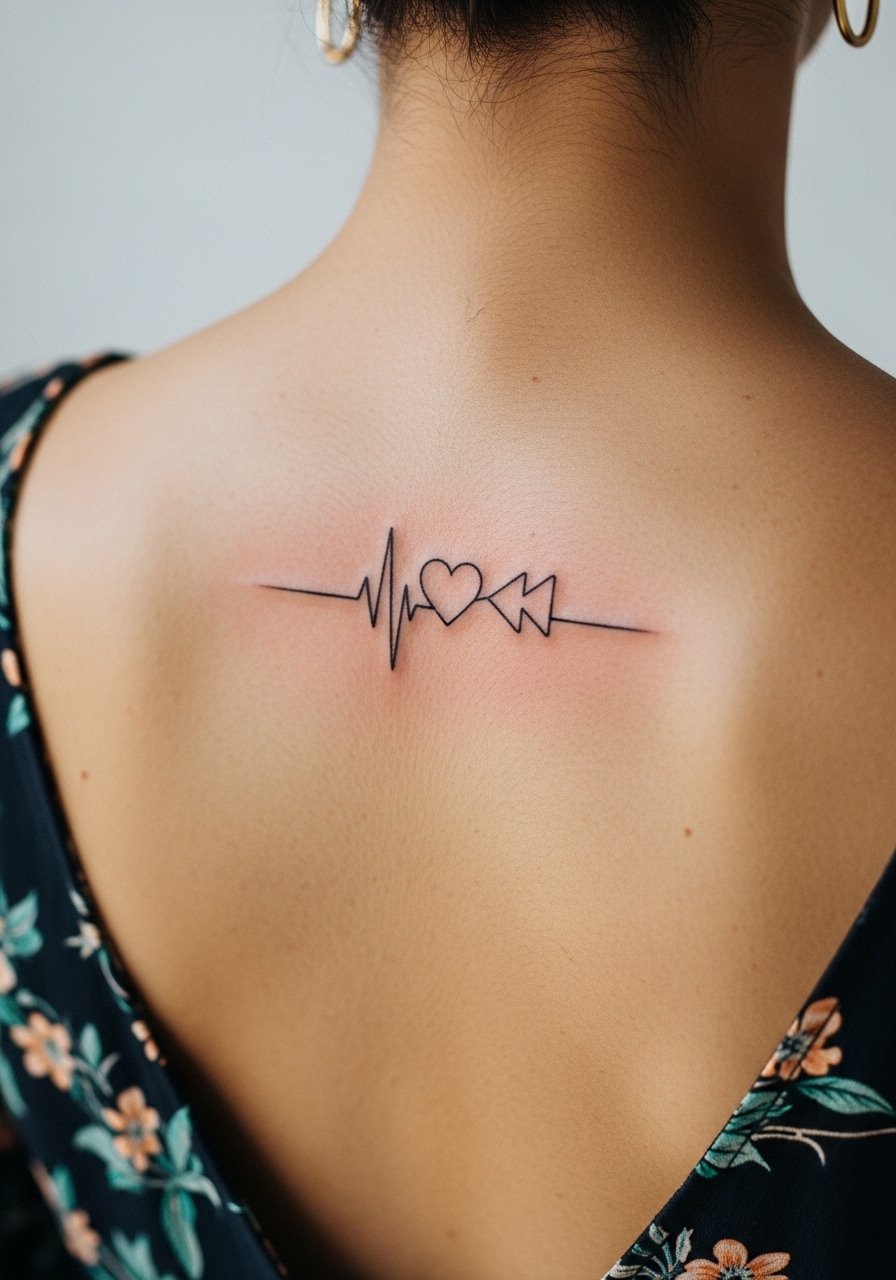
Spine linework needs careful spacing. If the rhythm of the heartbeat becomes too dense the thin lines can merge. I advise asking for slightly wider gaps and a bolder terminal arrow so the rewind element reads after healing. Sessions on the upper spine are moderate in discomfort and require a steady position. For showing off, an open-back dress or halter frames this area beautifully. Be explicit in consultation about the final scale you want visible from a short distance.
10. Joyce's Diner Sign with Coffee Steam on Ankle
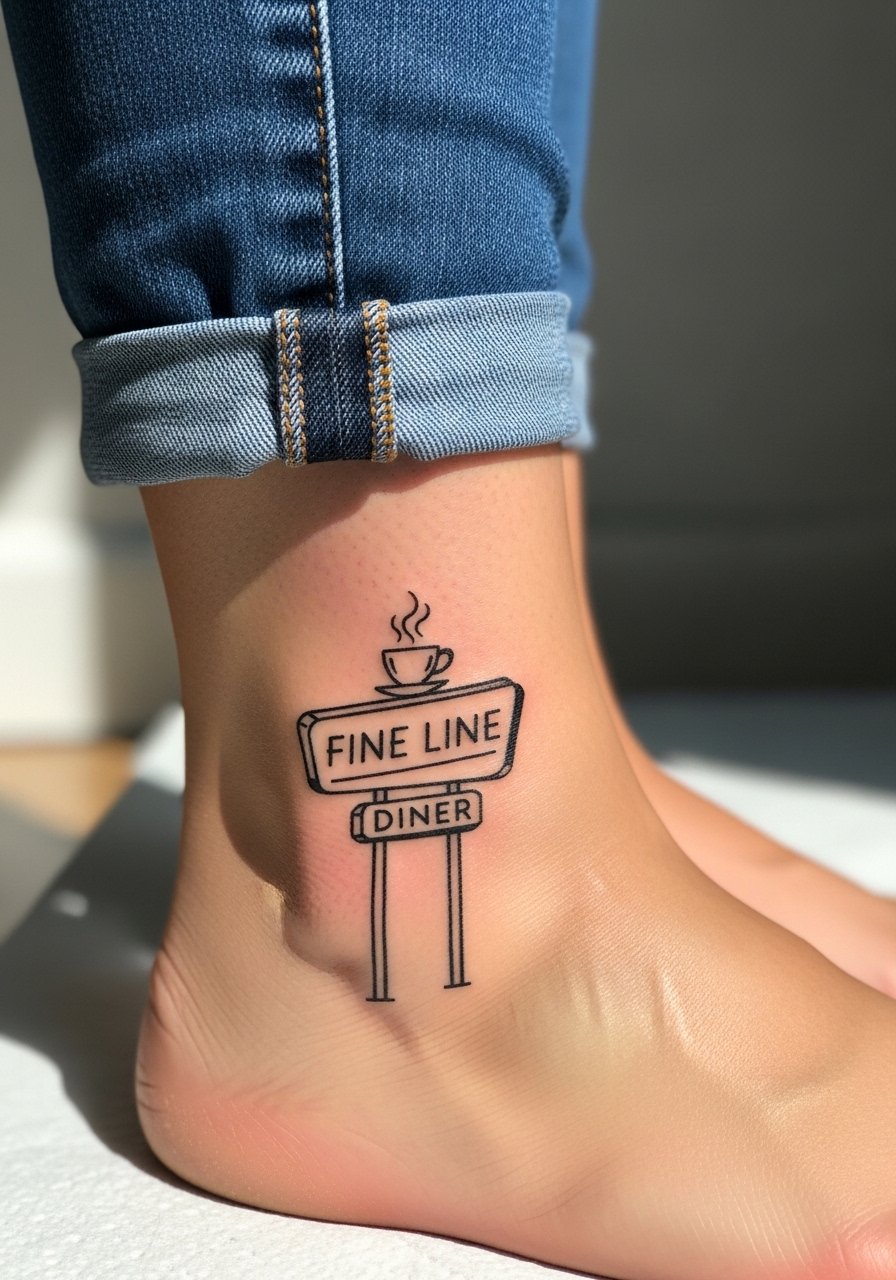
Ankle tattoos sit close to shoes and socks so plan for friction. For a tiny diner sign, ask the artist to simplify the lettering and keep the steam lines airy but not hairline-thin. The session is quick but the spot will tingle after standing for long periods. A common mistake is wanting micro script that blurs under footwear friction. Pair this with low-profile ankle boots or sandals that avoid rubbing the fresh ink. Expect occasional touch-ups if you wear heavy boots regularly.
11. Blackwork Warren Science Orbit on Inner Bicep
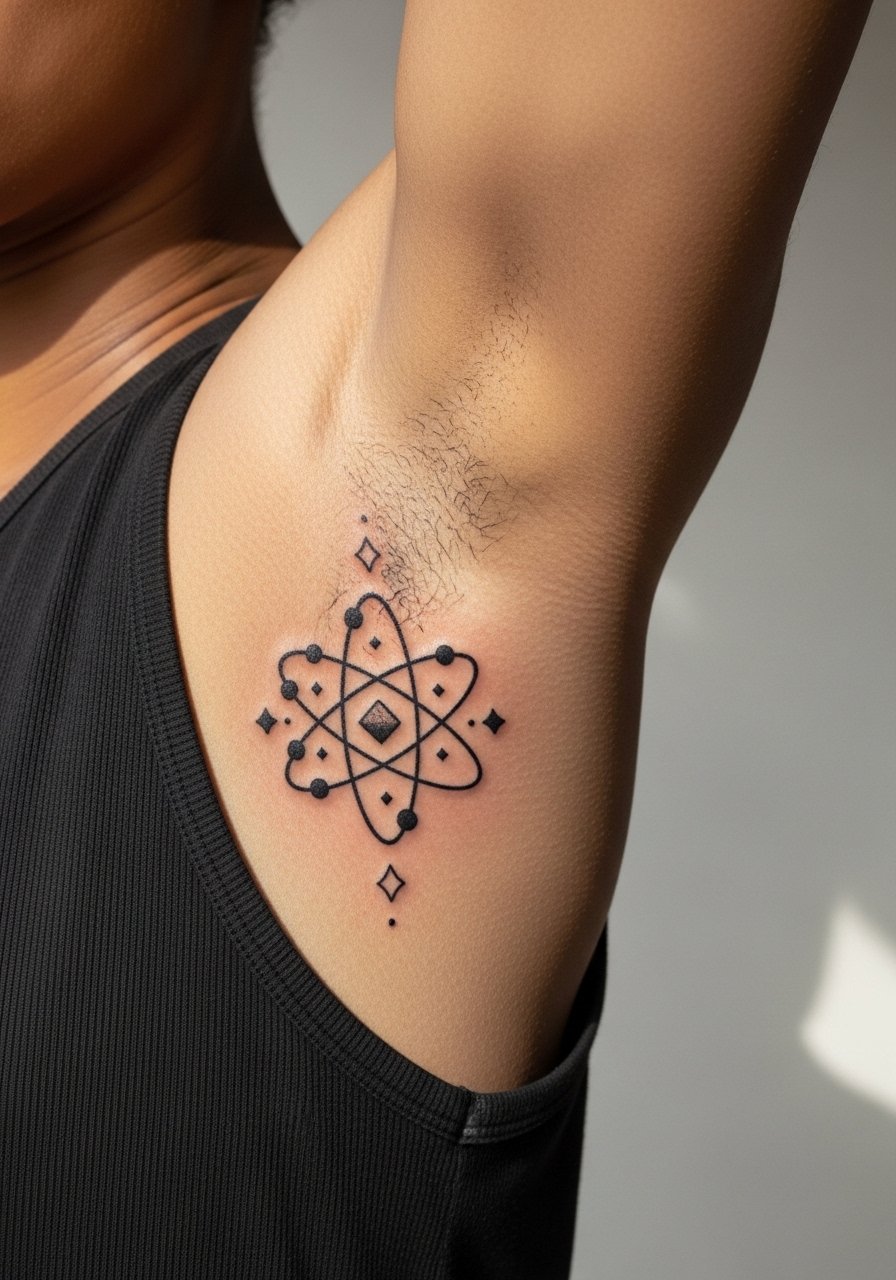
Inner bicep pieces like geometric orbits sit on a soft canvas that can hold solid black well. The area can be tender while the arm is elevated, so expect a steady short session. Ask for solid fills and slightly thicker connecting lines to avoid the fine lines blending into skin texture. A mistake is packing tiny floating orbits that lose definition. For the appointment wear a loose tank top you can lift without stretching. Inner bicep blackwork tends to age better than single-needle pieces in the same area.
12. Micro Watercolor Nathan Mask on Nape
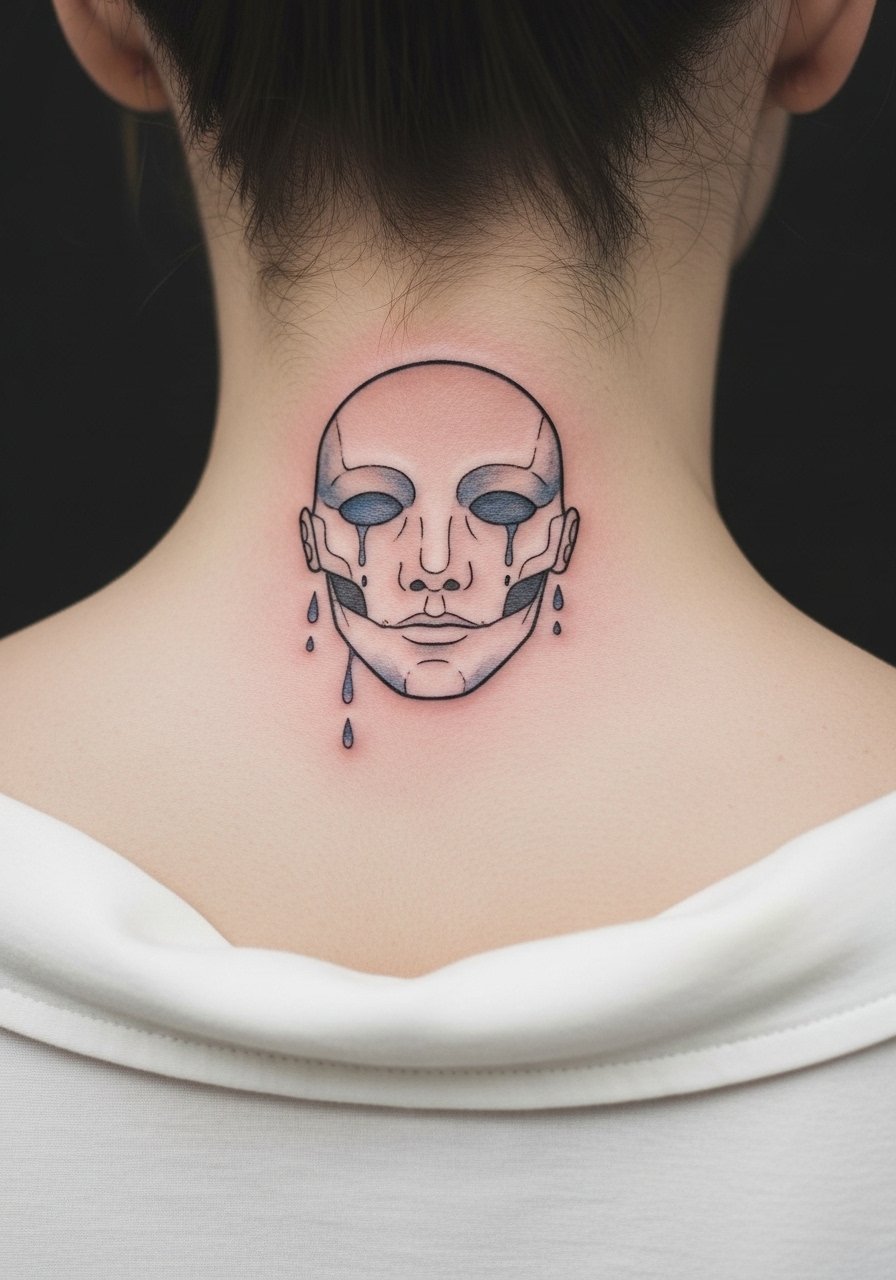
Nape tattoos can be hidden by hair or revealed with a bun, which makes them playful. Watercolor here needs controlled pigment so the tiny teardrops do not bleed into each other. The session is brief but ask the artist about how they handle color saturation on the nape, because movement and sweat can affect pigments early. For showing, try a racerback top or a high ponytail. If you have oily skin, consider blackwork alternatives for longer-lasting contrast.
13. Minimalist Victoria Butterfly Choker on Collarbone Edge
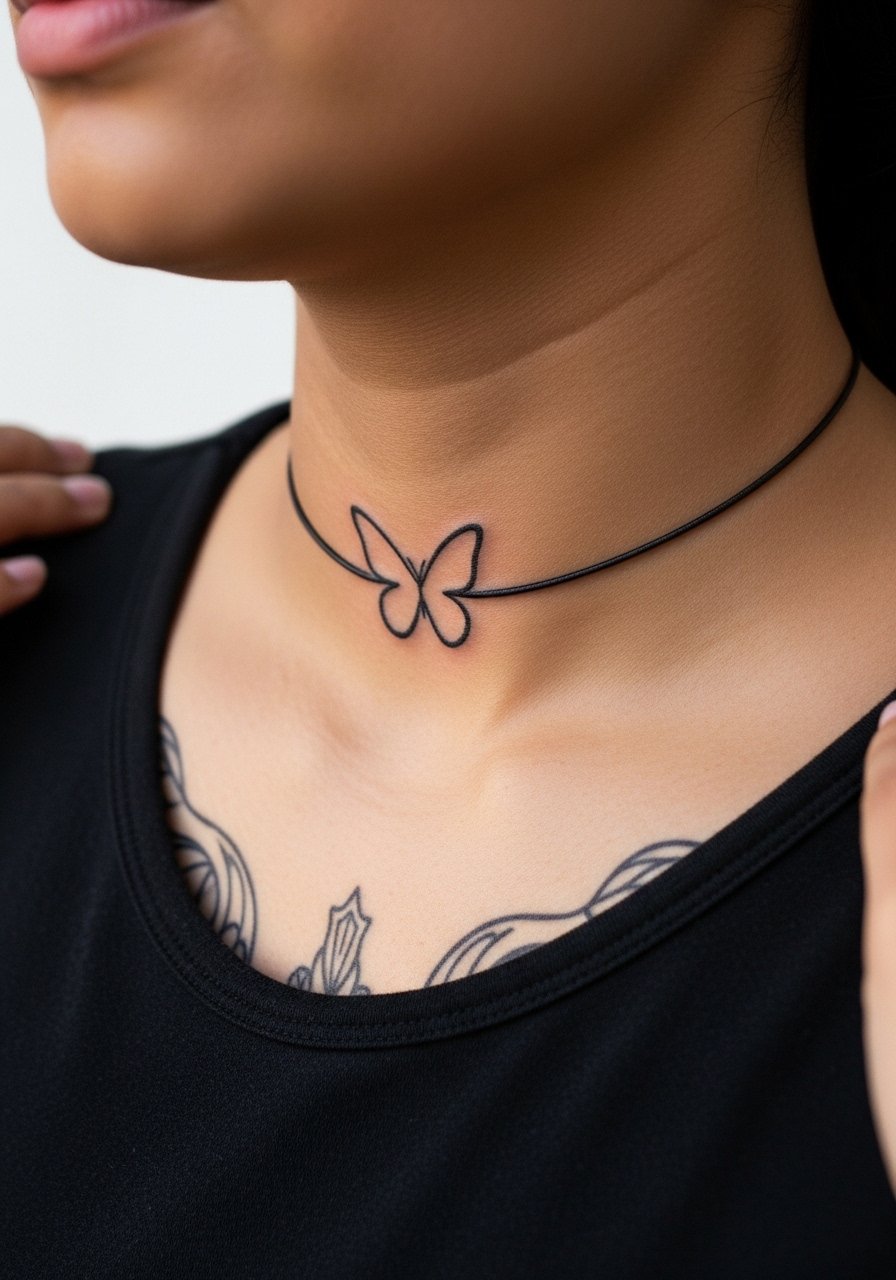
A choker-style micro element reads as jewelry when placed right. The collarbone edge needs even spacing so the chain links or small butterfly do not look cramped. Tell the artist you want a single continuous line with tiny breaks to mimic a delicate chain rather than hairline script. Pain is moderate and the session short. Pair it with a thin chain pendant necklace that sits above without competing. When artists talk about fine line choker pieces they often mention the trade-off between delicacy and longevity; be clear which you prefer.
14. Dark Skin Optimized Blackwork Chloe Pocket on Thigh
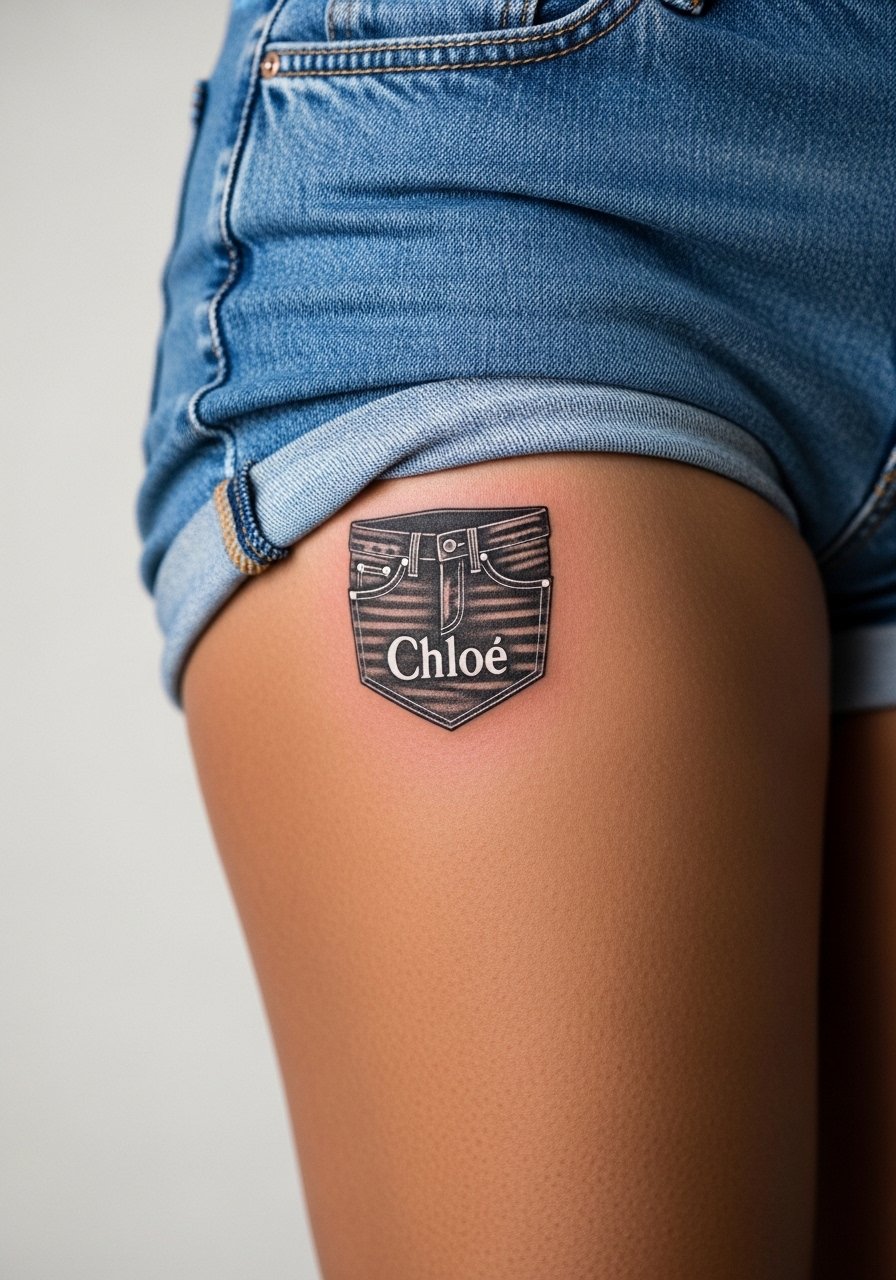
Thigh placements are forgiving for micro portraits and they survive body changes better than wrists. For dark skin tones, opt for high-contrast blackwork and consider tiny white ink highlights for depth rather than relying on subtle gray shading. The session is comfortable and allows for slightly larger scale to keep facial features readable. A common mistake is insisting on soft gray wash that disappears. For apparel, choose high-waisted denim or a mini skirt that reveals the pocket motif when you want to show it. This approach leverages the thigh as a private canvas with good longevity.
15. Thigh Chloe Jeans Pocket Mimic
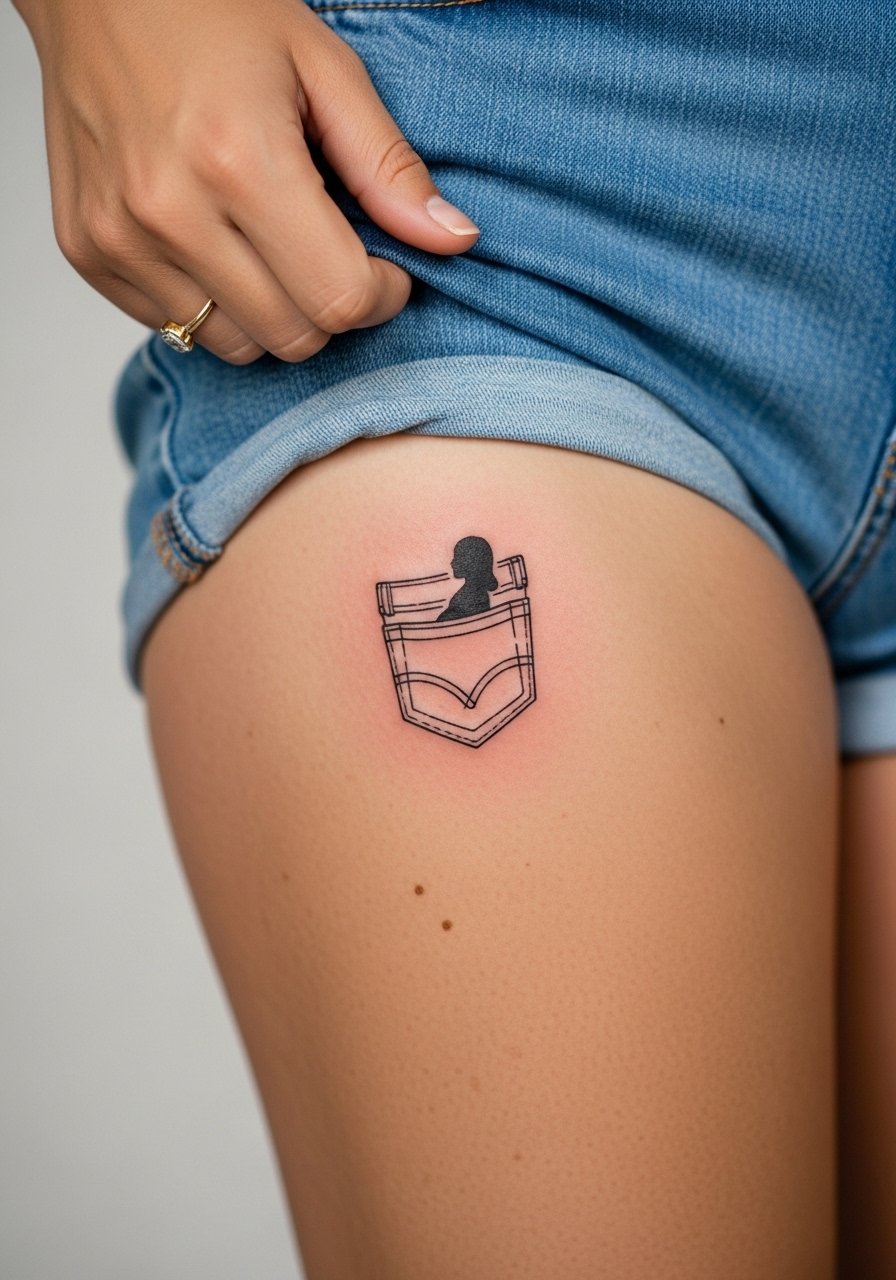
This playful idea copies an in-game screenshot and adapts well to the thigh. The area tolerates a slightly larger micro than wrist placements, which helps maintain detail. Ask the artist to keep the pocket lines bold and the interior character simplified so the motif survives sitting and stretching. The session time is moderate and dressing for comfort matters, so wear loose shorts that you can slide down a touch for access. For showing, try a high-waisted short. Thigh tattoos also offer room to add connecting micros later for a patchwork sleeve idea.
16. Combo Doe and Portal on Inner Wrist
Combining symbols lets you carry multiple references in one tiny piece. The wrist is visible and prone to friction so balance fine detail with bold anchors. Tell your artist you want the portal as an accent and the doe as the focal silhouette, not the other way around. The session is short but the wrist heals under movement, so expect a possible touch-up. For everyday styling, wear a simple leather cuff that frames rather than covers the art. This combo looks deliberate and stacks well with other micros in a timeline.
17. Tiny Polaroid Script on Rib Edge
Script in small frames is atmospheric but risky on ribs. The skin stretches and contracts and micro lettering can blur. Ask for thicker letter stems and avoid cursive flourishes that will soften. The session will be more painful than forearm pieces and may need brief breaks. For visibility, a strapless top or a bandeau works for reveals. If the phrase matters to you, consider spreading the phrase across slightly larger negative space to keep each character legible over time.
18. Ignorant Style Messy Rewind Arrow on Shoulder Cap
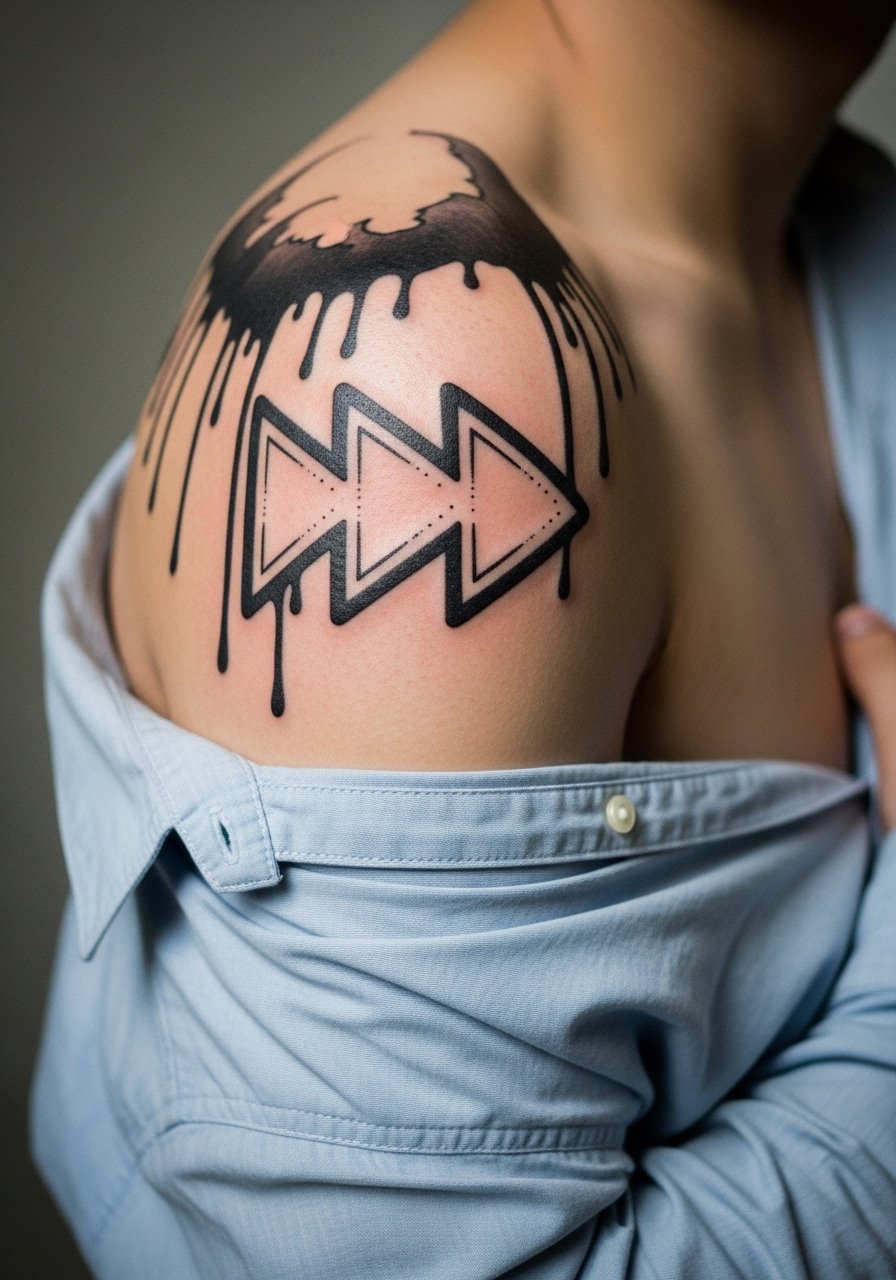
Shoulder cap tattoos tolerate aggressive linework and playful chaos. Ignorant motifs like messy arrows age into textured marks that look intentional. Tell the artist you prefer thicker spear tips and dripping elements that read as design rather than accidental spread. Wear a loose button-down to the appointment for easy access. A frequent error is asking for micro drips that become flat gray. For occasional showing, roll a sleeve up or wear sleeveless tanks. This area is forgiving and works well as the first piece in a shoulder cluster.
19. Minimal Rewind Arrow Nape Surprise
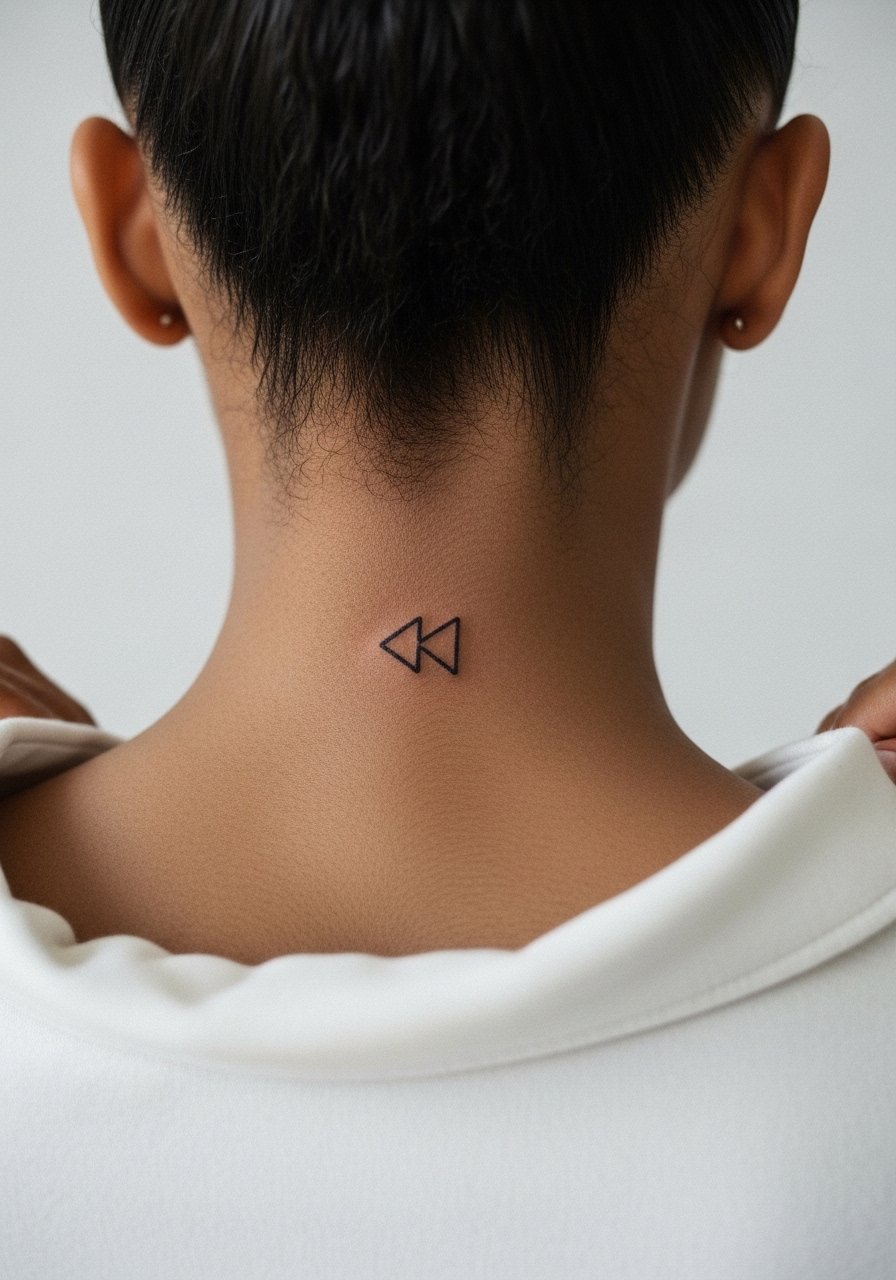
Nape tattoos are a great private reveal. A single rewind arrow at the hairline reads cleanly if you request a slightly bolder shaft so it does not vanish into hairline thinness. The session is quick and sensitive. Style it with a scrunchie or hair clip to control visibility. Artists often debate numbing creams for sensitive spots. Some people swear it helps long sessions and others think it alters skin response. Discuss numbing preferences in your consult.
20. Micro Black-and-Gray LiS Logo on Inside Wrist
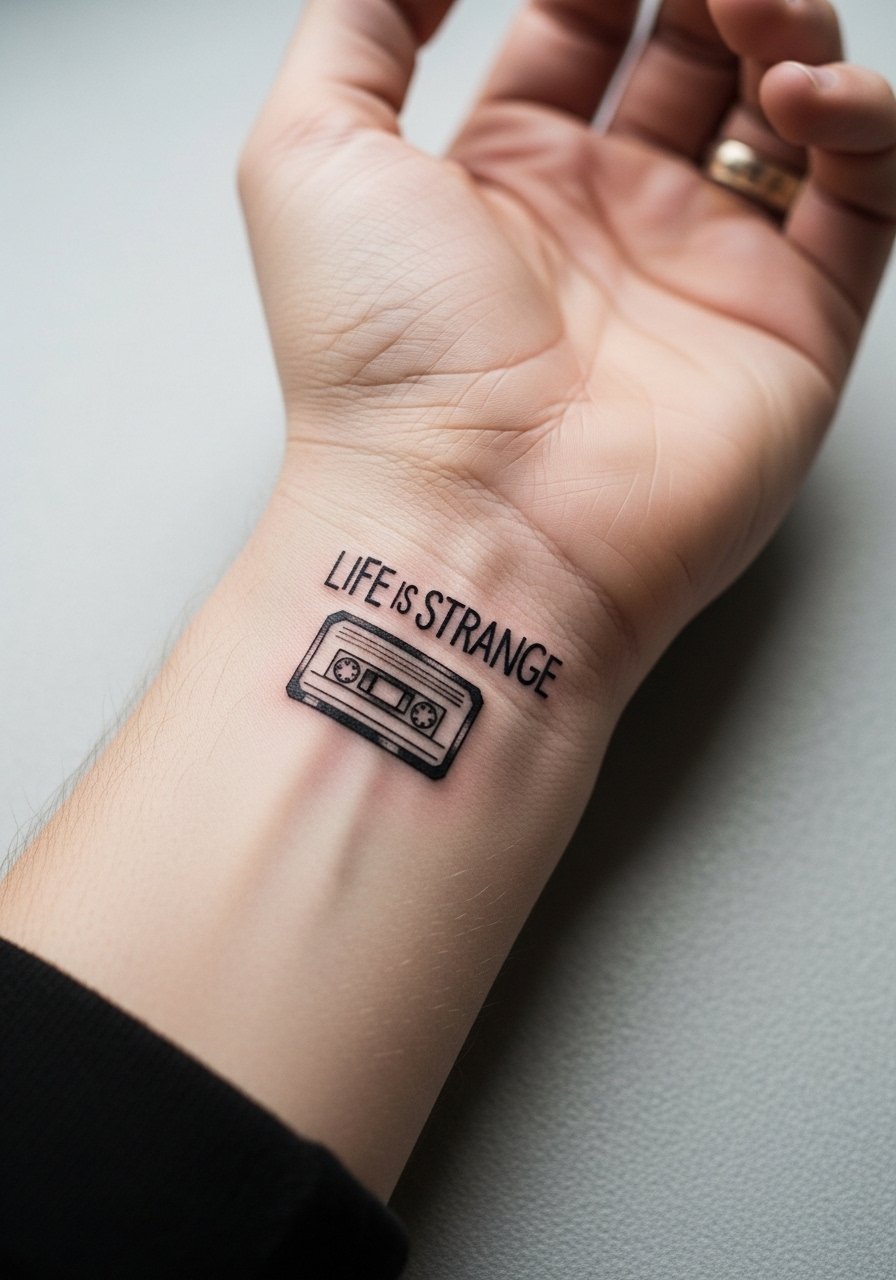
Logo tattoos are iconic but small logos require simplified geometry to stay readable. For a cassette tape logo, ask for engineered negative space and thicker interior lines so the symbol does not close up. The wrist is a high-movement area and will need light protection in early healing. A common mistake is requesting tiny detailed text inside a micro cassette which becomes a blur. Pair it with a slim watch band that complements rather than crowds the motif. Plan for a touch-up by year two if you wear the area constantly.
21. Patchwork Starter Piece for Future Gaming Sleeve
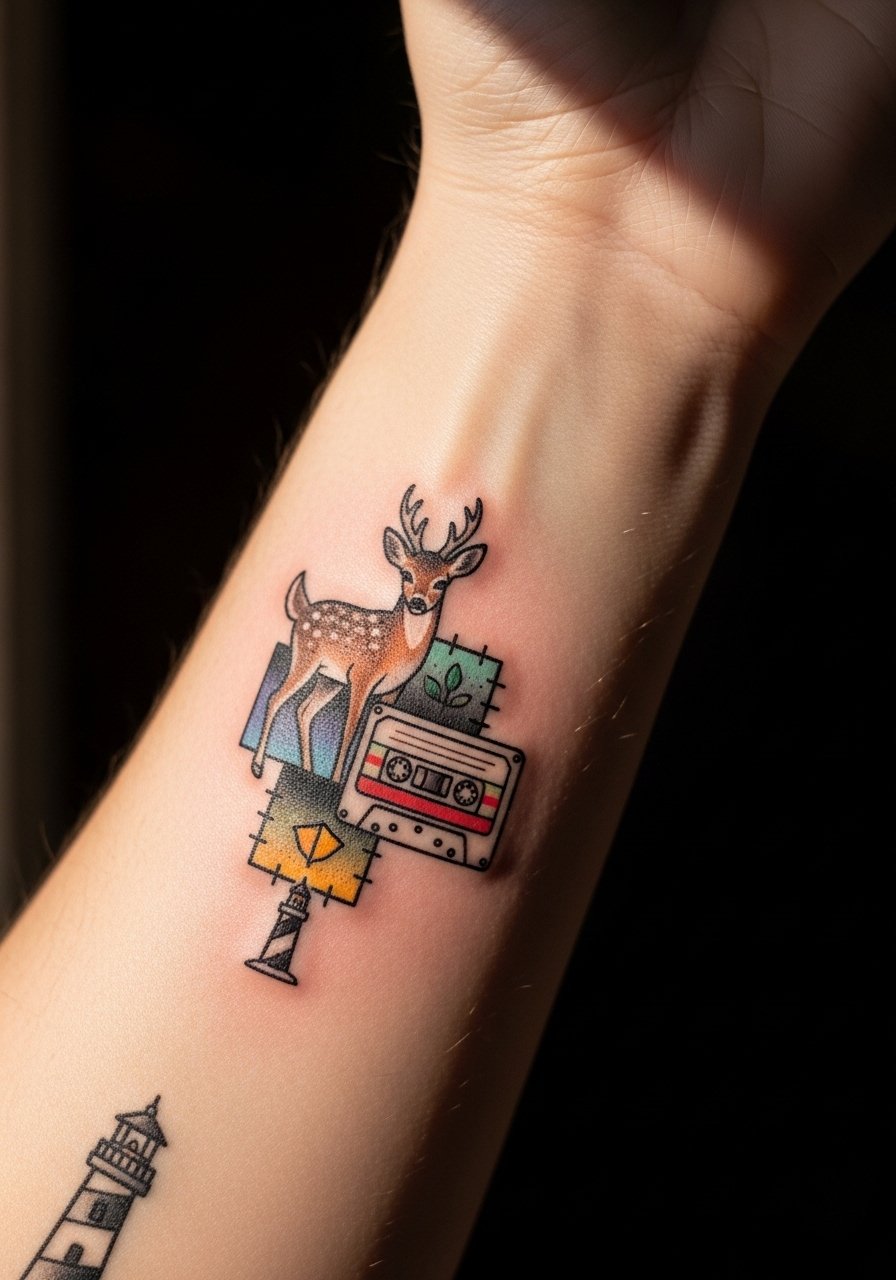
Think of micro LiS tattoos as the seeds of a sleeve. This patchwork starter arranges three small motifs with spacing designed to let future connecting elements breathe. In consultation ask your artist to map the negative space between pieces and consider scale increases as you add work. The outer forearm is ideal for later expansion and tends to keep fine details readable. For session comfort wear a loose long-sleeve button shirt you can roll up. Many collectors design this way so each micro can be a standalone memory and a link in a larger narrative.
Frequently Asked Questions
Q: How do fine line micro designs like the Max doe hold up over time on wrists and fingers?
A: Fine line pieces can blur faster on wrists and fingers because of constant movement and friction. Ask for the boldest viable line weight and slightly larger spacing between strokes to extend legibility. From what I have seen, plan on a touch-up at around year one or two for highly visible spots.
Q: Should I pick watercolor or blackwork for a tiny Rachel butterfly if I want it to last?
A: Artists and fans split on this. One camp prefers blackwork because its contrast endures. The other camp says watercolor can hold if the artist uses concentrated washes and anchors the design with thin black outlines. For longevity choose blackwork or ask the artist to hybridize with an outline around the color.
Q: Are there clothing tips for showing off a collarbone or chest micro without looking like you overdid it?
A: Yes. A wide-neck shirt or an open-back dress frames collarbone and sternum pieces nicely. For chest patches a fitted sports bra with a low scoop reveals the tattoo for photos without exposing more than intended. Link accessories, like a thin pendant necklace, to sit above the art.
Q: What should I ask my artist during consultation to avoid a micro portrait blurring on oily skin?
A: Ask about line depth and pigment saturation strategies for oily skin and whether the artist recommends matte primer before the session. Request test stencils and ask to see healed examples on similar skin tones. If you have oily skin, consider slightly bolder contrasts rather than ultra-soft gray blends.
Q: Do tattoo healing methods like Saniderm or dry healing matter for micro pieces?
A: They do and opinions vary. One camp likes protective films for cleanliness and less babysitting. The other camp favors dry healing to avoid maceration risk. The right choice depends on the placement, your skin type, and the artist's aftercare protocol. Ask the shop which method they prefer for micro work and why.
