
Bold trends meet careful choices for fans who want ink that still reads like the game ten years from now. Kingdom Hearts imagery adapts well to many styles, but what looks great fresh does not always hold up. Below are 27 concepts that balance game-specific symbolism with real-world wear, placement realities, and wardrobe pairings so you pick a design that ages with you.
1. Fine Line Keyblade on Inner Forearm
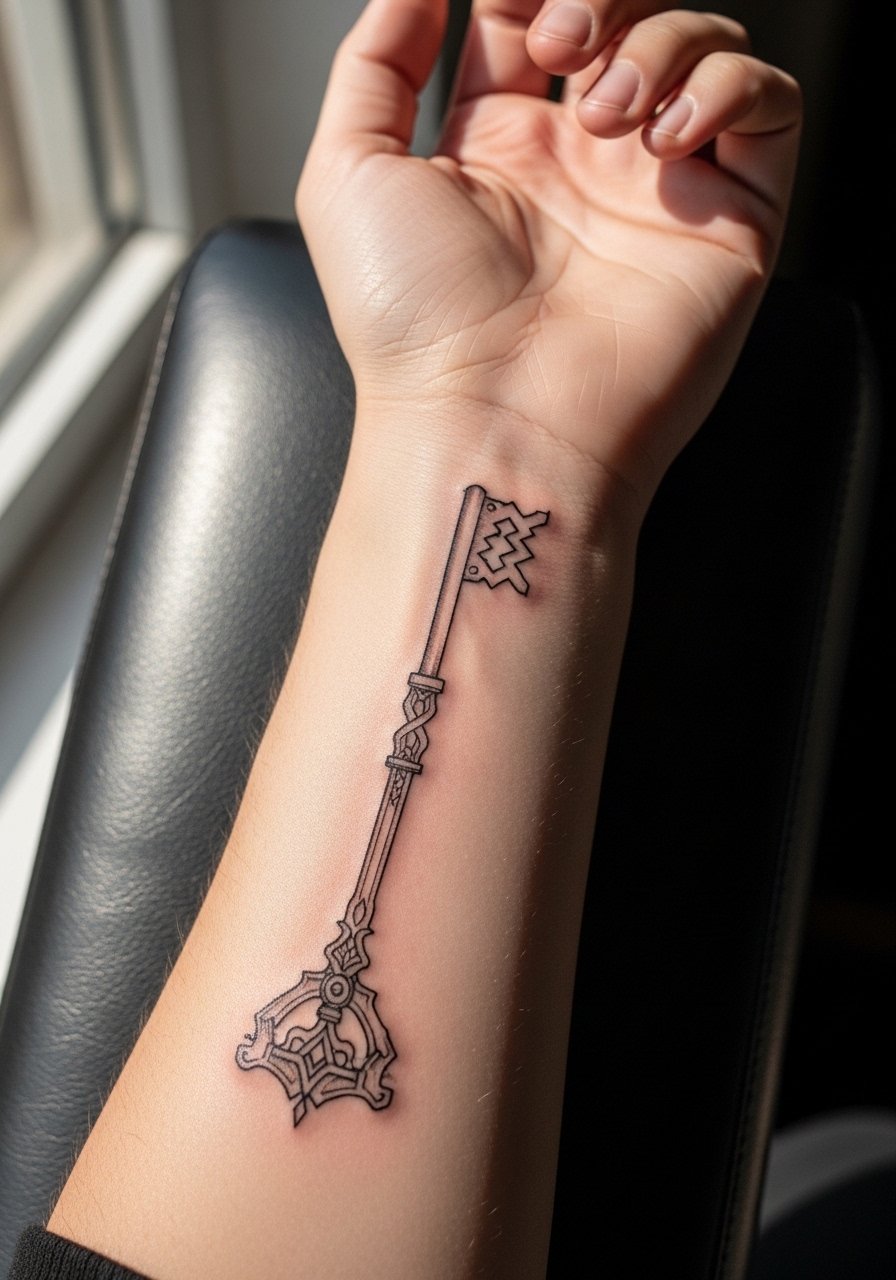
Start this one small and vertical so the shape follows the forearm grain. I've seen fine line Keyblades keep their recognizability longer when artists space the tiny teeth a hair wider than reference art. Tell your artist you want consistent linework depth and slightly more spacing in dense areas. Pain is low to moderate and a single session usually covers it. The biggest mistake is trying to cram extra symbols onto the shaft, which creates line merging over time. For showing it off, roll sleeves or wear a racerback tank so the arm reads clean against linen or cotton.
2. Sora Silhouette with Star Dust on Outer Bicep
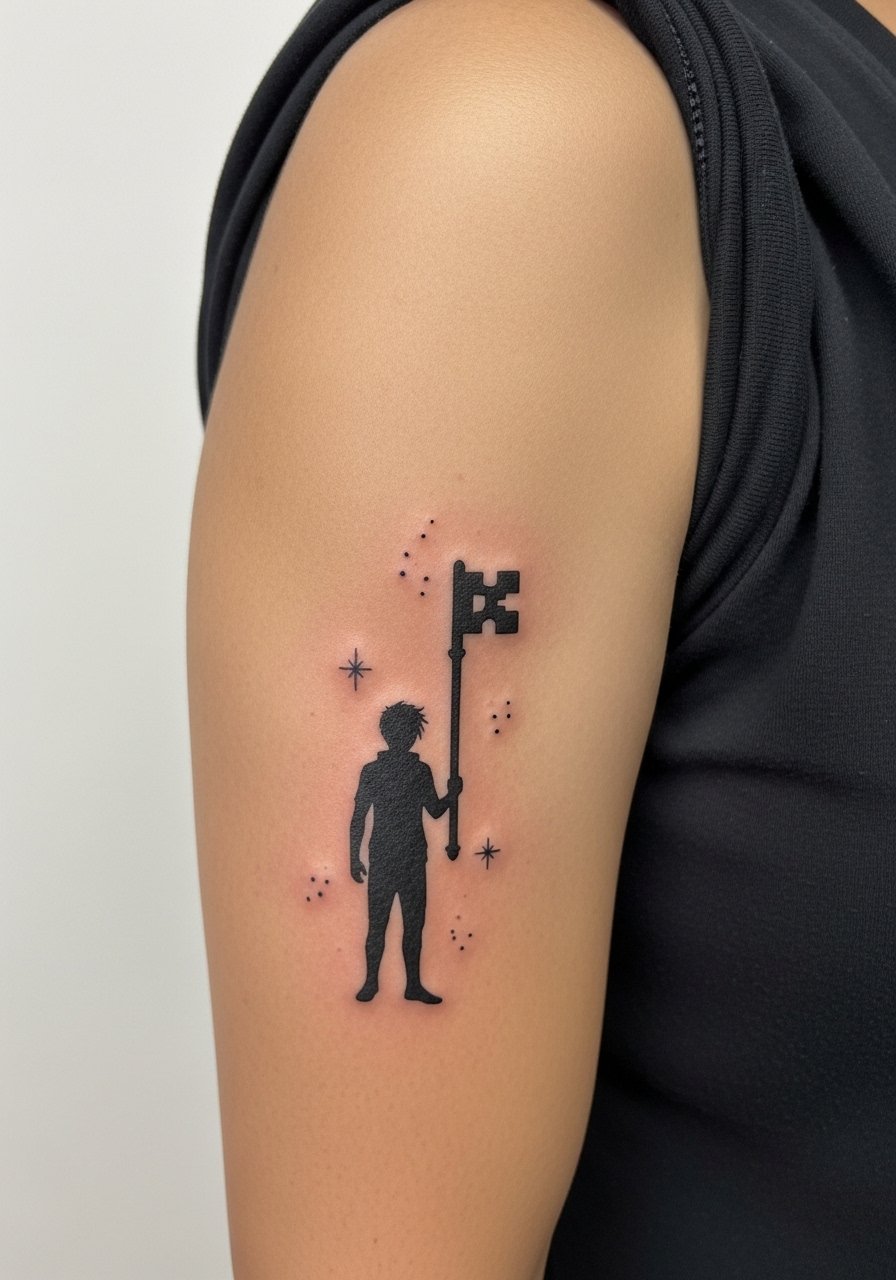
The outer bicep gives enough canvas to render a silhouette without losing detail. Expect moderate pain and a one to two hour session depending on size. During consultation, ask for the silhouette to read as negative space with stipple shading for the stars rather than heavy solid fills. That keeps the piece from feeling blocky as it heals. A common aging issue is oversaturated black for silhouettes that creates heavy edges. Keep saturation controlled. Pair this with rolled short sleeves or a short-sleeve linen button-down to frame the arm when you want to show off the shape.
3. Tiny Heartless Emblem Behind the Ear
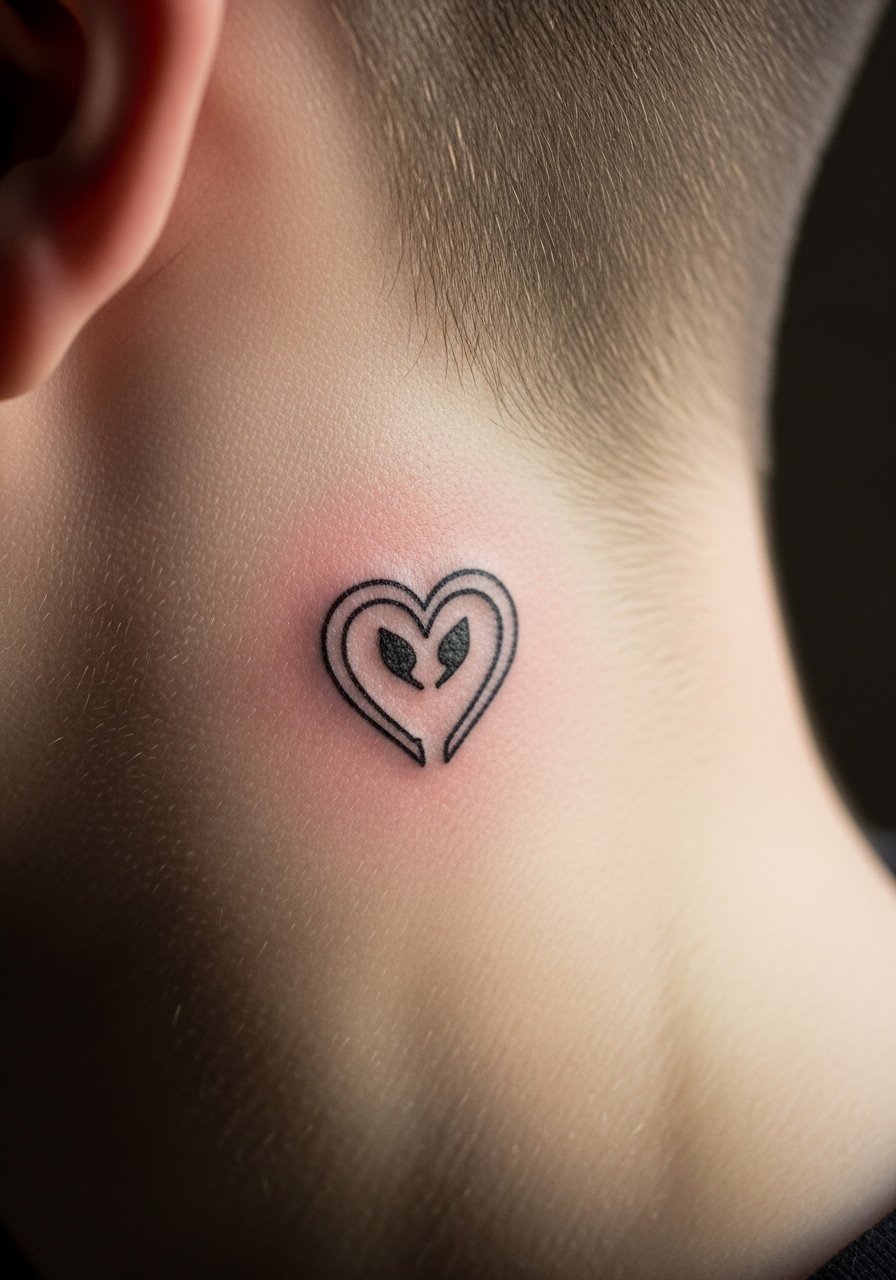
Behind-the-ear pieces read intimate and playful. For sensitive placement like this, the artist needs steady fine line experience. Expect short sessions under an hour and a brief sting while they work. A mistake I see is asking for ultra-fine detail in a very small spot. That detail disappears faster on moving skin. If you want more longevity, enlarge the emblem slightly and request clear, bold linework rather than micro hatch. Career considerations matter because this placement can peek out of certain hairstyles. Keep hair loose or pinned based on whether you want to hide it.
4. Watercolor Paopu Fruit Cluster on Ribcage
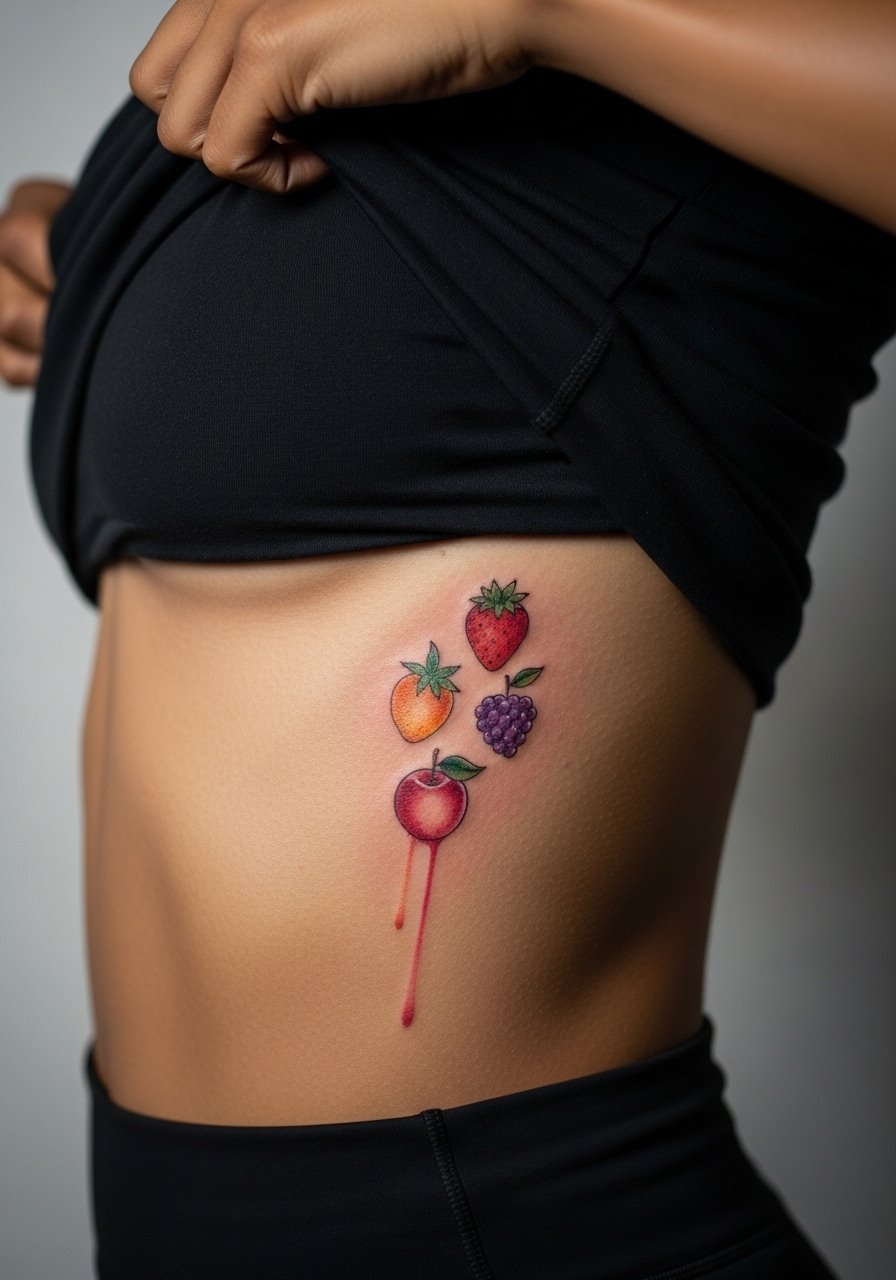
Ribcage watercolor looks ethereal fresh but requires honest expectations about fading. Pain is high and sessions can be long, so plan breaks and wear a loose cropped top to the appointment. Artists split into two camps on watercolor here. One camp avoids heavy saturation because it can bruise and hold poorly. The other camp layers softer washes and accepts touch-ups. Name both views in your consultation and ask how they handle color retention on ribs. To show it in warm months, choose an open-back dress that reveals the side silhouette.
5. Minimalist Oathkeeper and Oblivion Pair on Calves
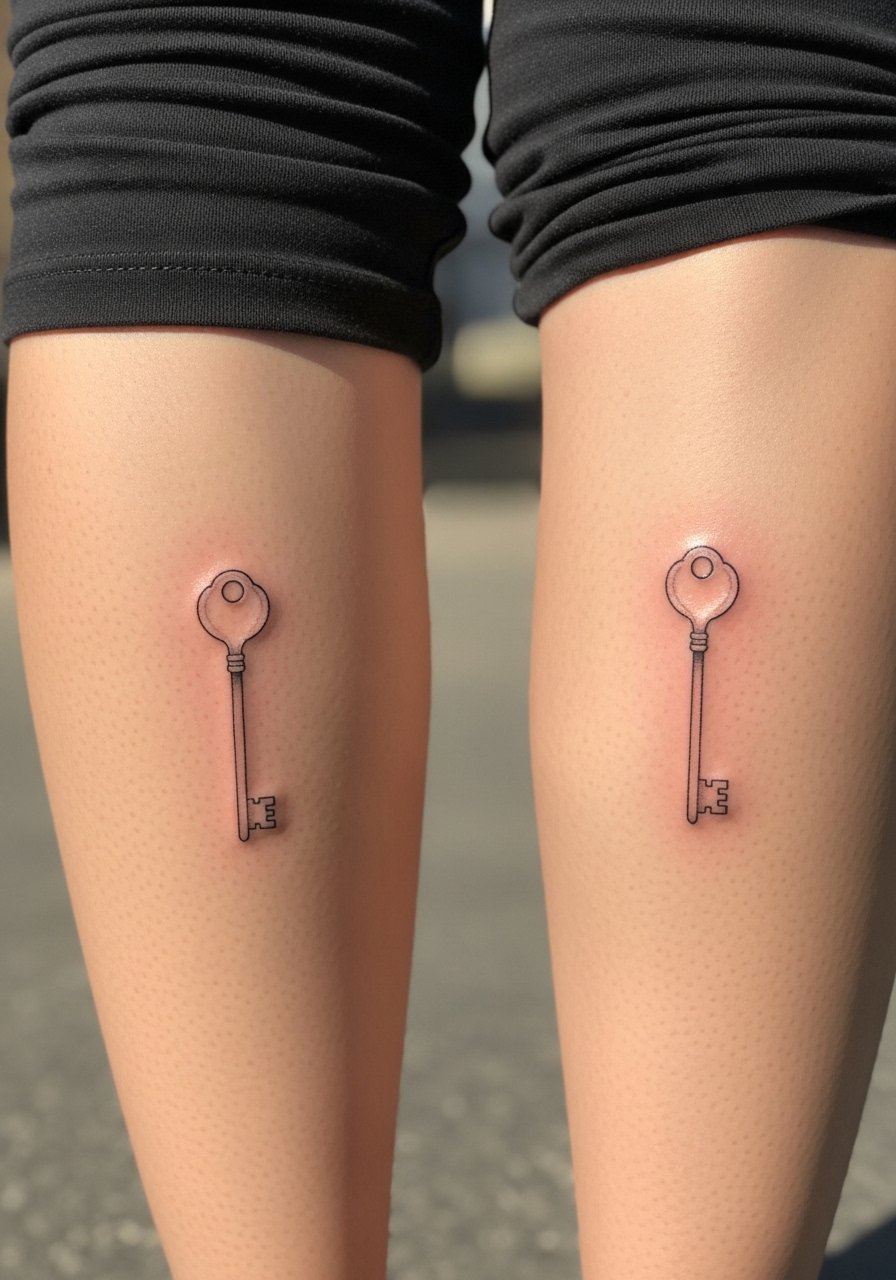
Placing paired blades on the calves gives symmetry that travels well with sneakers or boots. Calf pain is moderate and sessions are comfortable for most. Tell your artist you want mirror placement and matched line weight so the pair ages consistently. A common error is making one slightly heavier, which becomes obvious after healing. Expect a touch-up at year two for thin lines. For showing both at once, wear high-top sneakers and cropped joggers that let the outer calf peek through.
6. Watercolor Kingdom Heart with Light Specks on Sternum
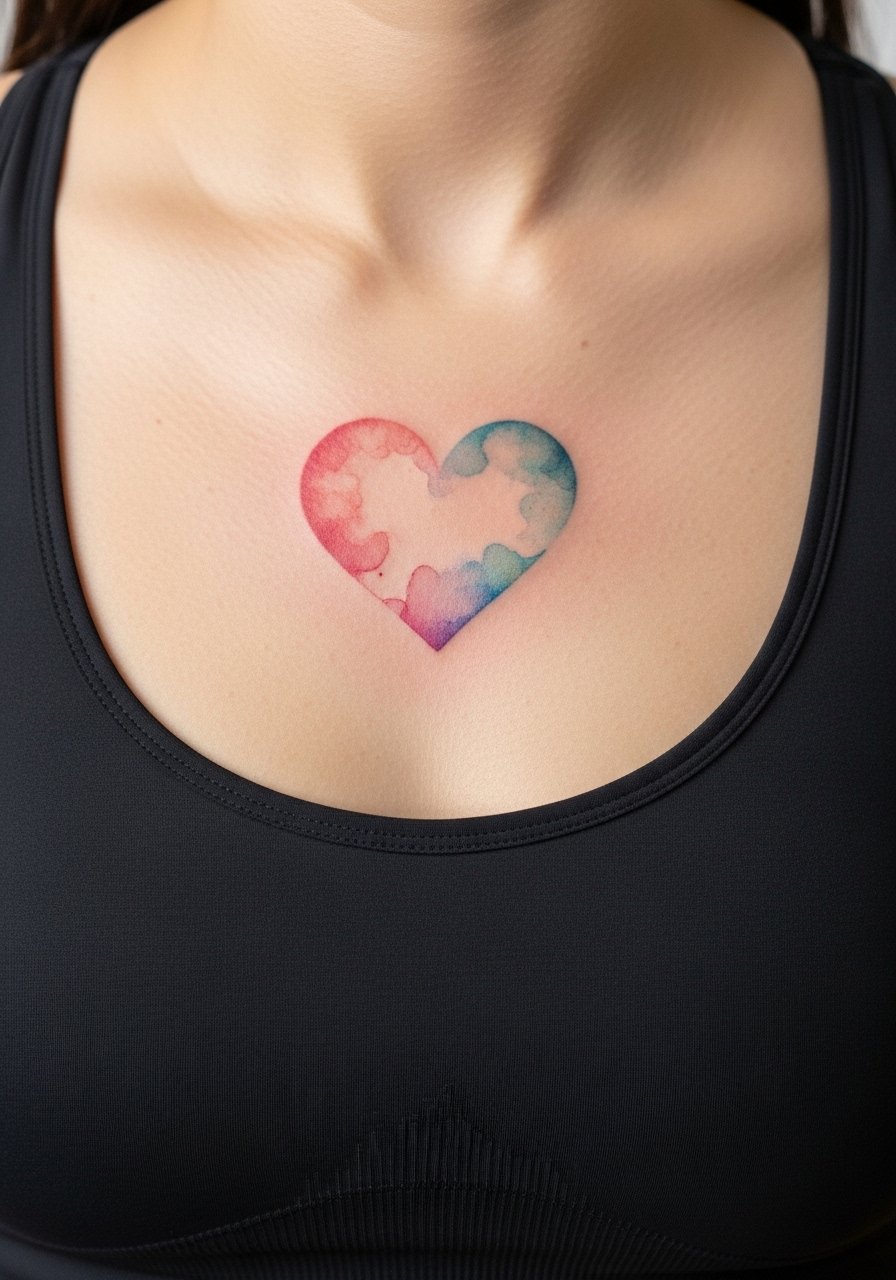
Sternum pieces need strategic placement and artist experience because the skin moves a lot. Pain is high and sessions may require multiple short sittings. Watercolor here can blur if applied too deep, so request softer layering and ask about planned touch-ups. The session-day clothing choice should be a zip front or fitted sports bra for easy access. This is a sensitive area for some professions, so factor that into placement. For nights out, a bandeau top reveals the center chest without overexposing.
Pre-Session Essentials
The small wrist, sternum, and rib pieces above each demand different prep, and these picks smooth the session and first week.
-
Stencil transfer paper kit. Lets you preview how a one-line or silhouette design lays on your actual skin before the needle touches down.
-
Topical numbing cream. Apply as directed before chest or rib sessions to reduce surface sensitivity for people who need a gentler experience.
-
Thin protective film roll. Helpful for tiny wrist and finger pieces that face constant washing and friction during the first week.
-
Fragrance-free body wash. Use during showers to cleanse delicate linework without stripping pigments that fine line work depends on.
-
Aquaphor healing ointment. A thin layer in the first days keeps the area hydrated without smothering the needle channels, which is useful for close-line details.
7. Oathkeeper Script on Inner Wrist
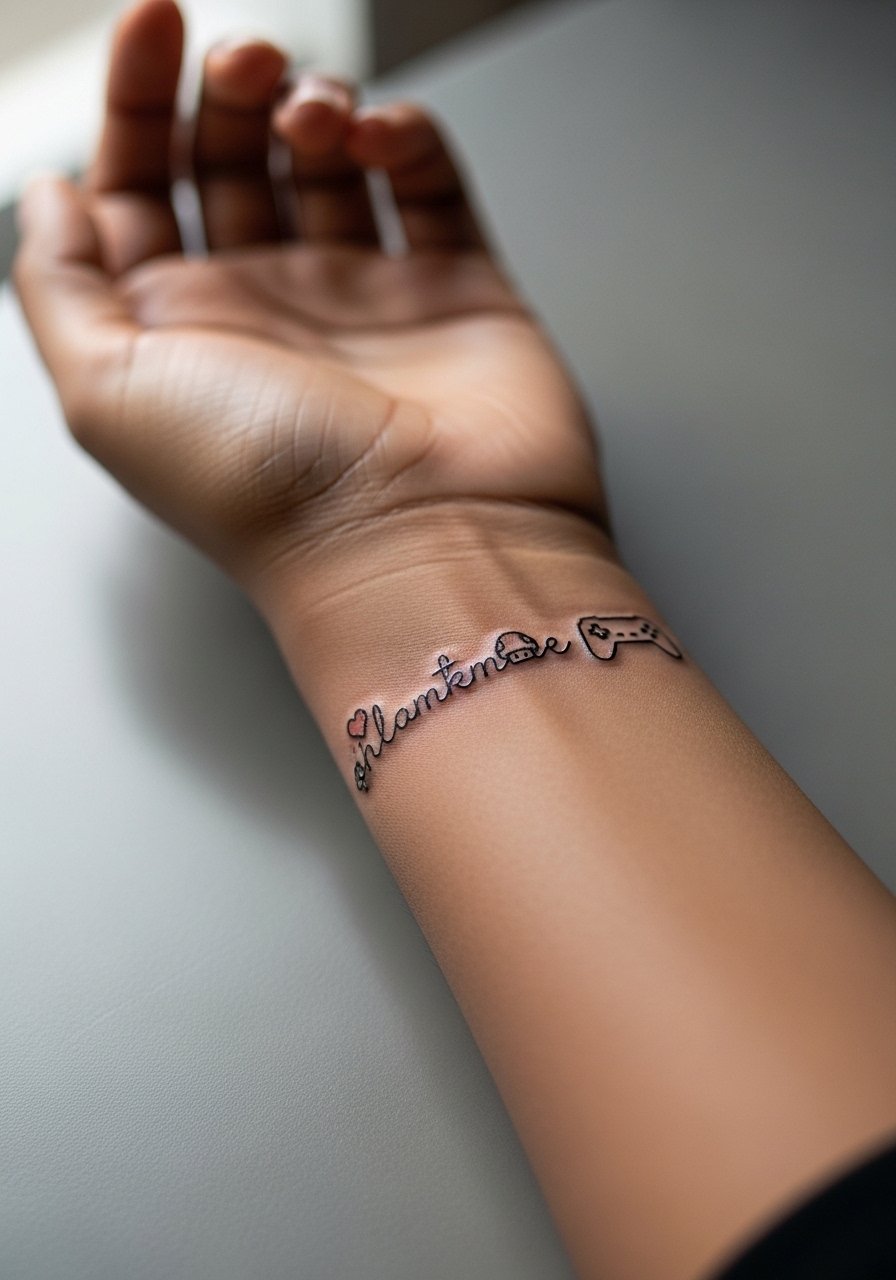
Inner wrist script is classic and highly visible. Pain is low to moderate but the area heals with frequent washing contact. For lettered pieces, specify exact font size and spacing so letters do not merge. Many people pick fonts that are too thin for constant friction from watches or bracelets. Expect a touch-up around year two. For showing it off, a thin chain pendant necklace sits above the script without competing.
8. Chain of Symbols Around the Ankle
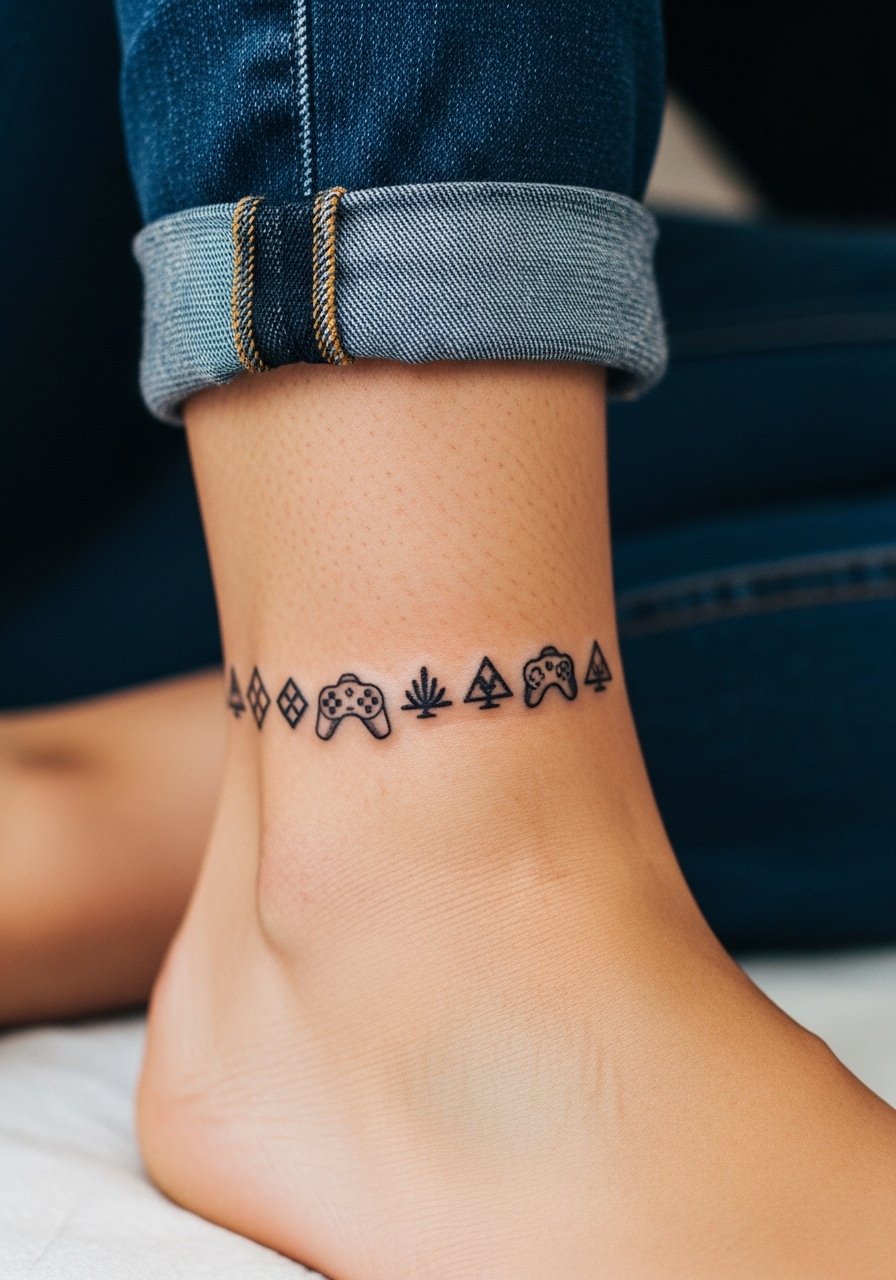
Ankle wraps are charming but face abrasion from shoes and socks. Pain is moderate and sessions are short. Ask for slightly bolder lines on the underside where rubbing is worst. A common mistake is making the band too tight or thin which causes gaps after swelling and healing. For display, roll jeans or wear strappy sandals, and consider a delicate ankle chain to complement the band.
9. Micro-Realism Character Eye on Shoulder Blade
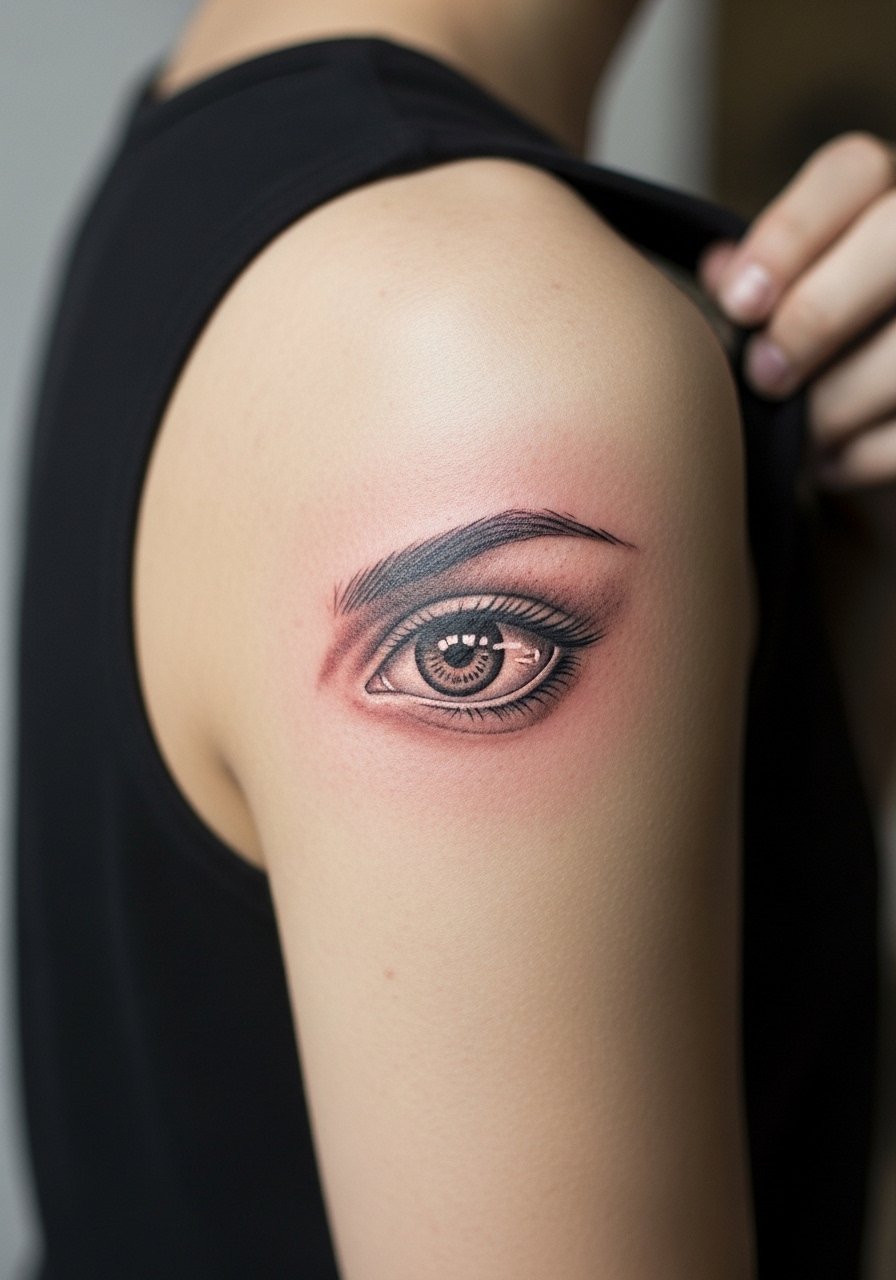
Shoulder blades take detail well when sized appropriately. Micro-realism requires an artist who works with small-scale portraiture and can translate reference art. Sessions are moderate length and may need two passes for saturation. A mistake is pushing for tiny micro-realistic eye detail the size of a coin, which loses clarity on movement. For session comfort, wear a loose tank top so the artist can access the blade without you removing too many layers.
10. Geometric Nobody Emblem on Upper Arm
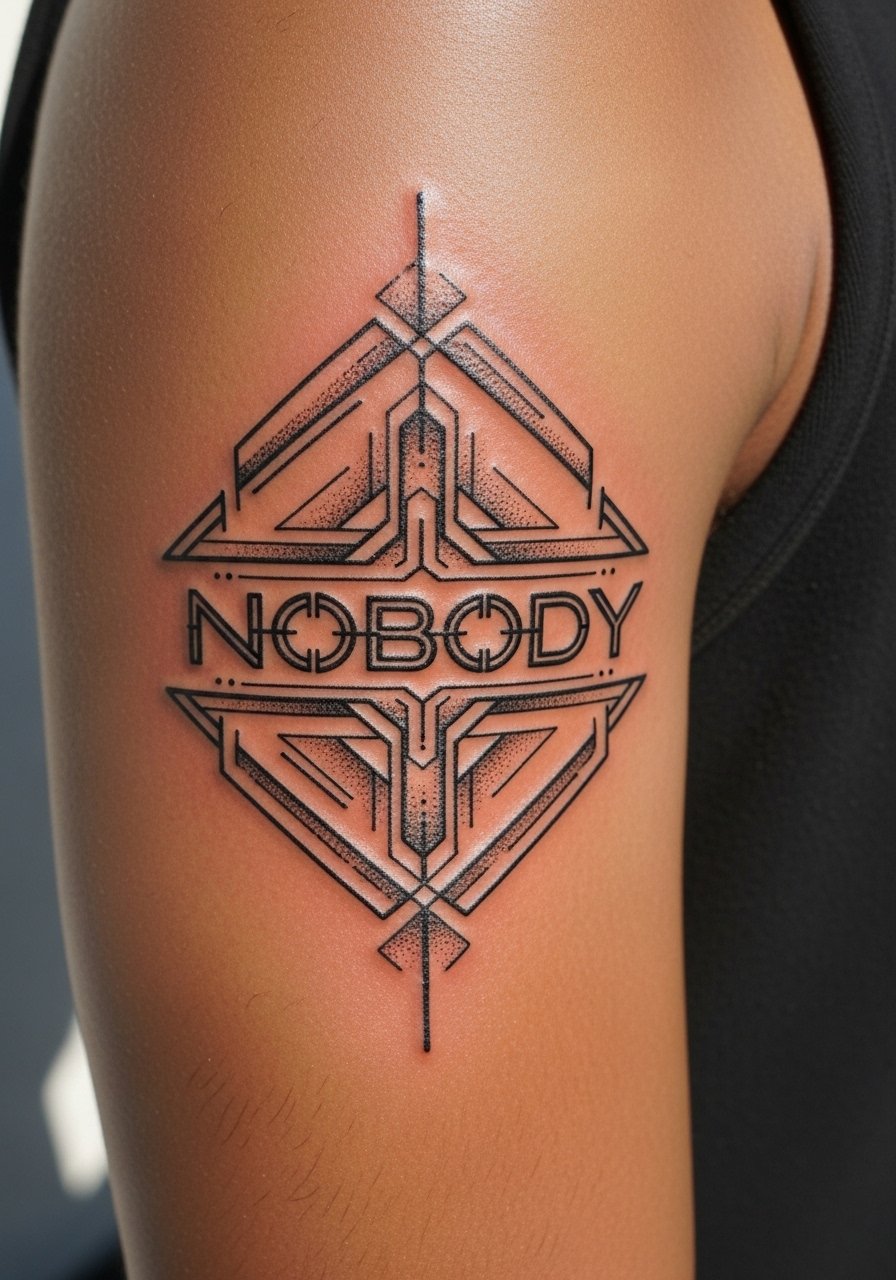
Upper arm geometry ages predictably because the area sees moderate sun and less stretching. The key is spacing between parallel lines so they do not merge into one shape. During consult, ask for a mock-up that shows negative space proportions. People often request too-tight repetition which blurs with time. Pain is low to moderate and most sessions finish in under two hours. Wear a short-sleeve tee you can roll up for the appointment.
11. Minimalist Paopu Fruit Pair on Finger
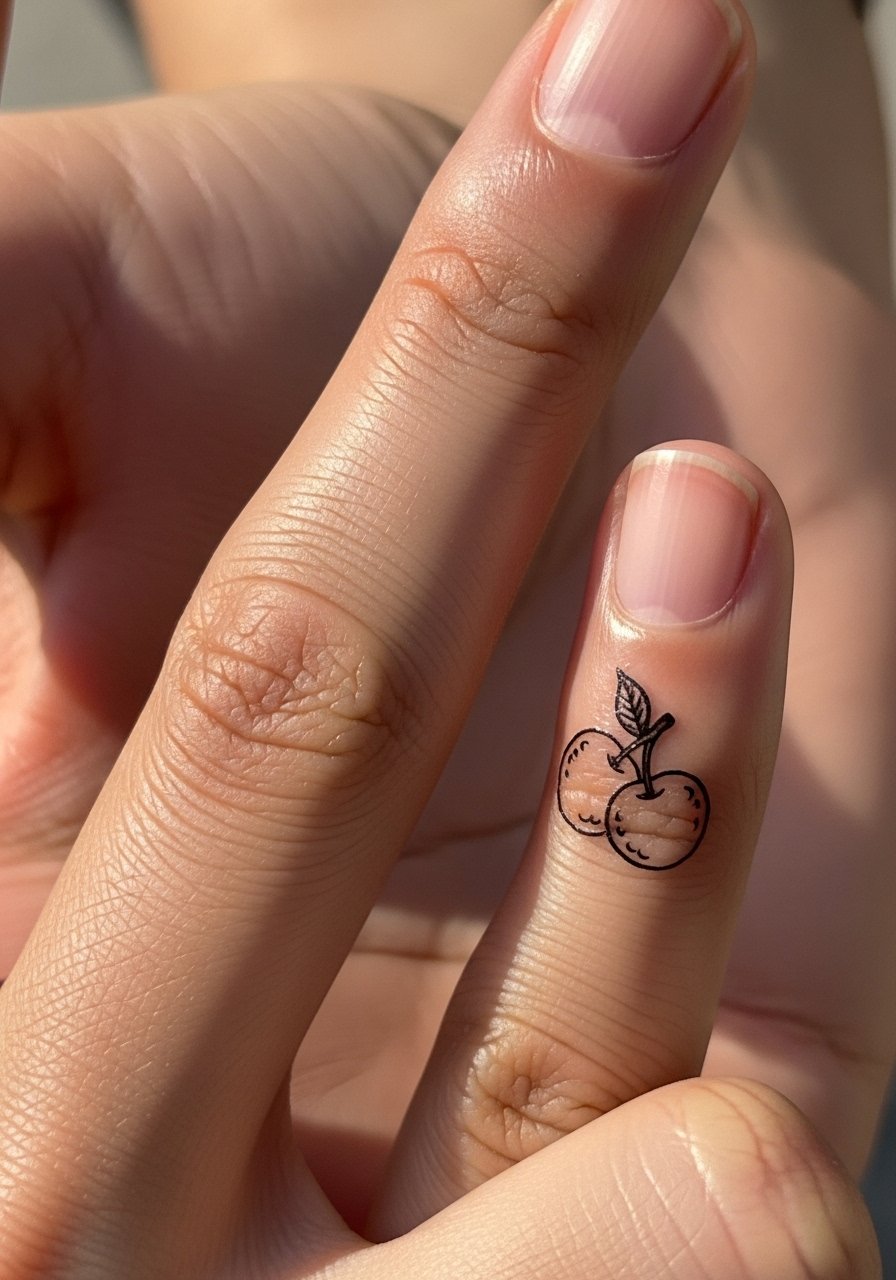
Finger tattoos are high-maintenance and will fade faster than arm work. Expect a higher touch-up rate and possible annual refreshes. The error I see is asking for filled color in very tiny finger motifs. Stick to crisp single-line outlines and accept a lighter healed look. Pain can be sharp but short. Keep in mind some workplaces still react to visible hand tattoos. For sessions and recovery, avoid rings for a week and consider a slim silicone ring if you need something low profile.
12. Bold Blackwork Heartless Back Patch
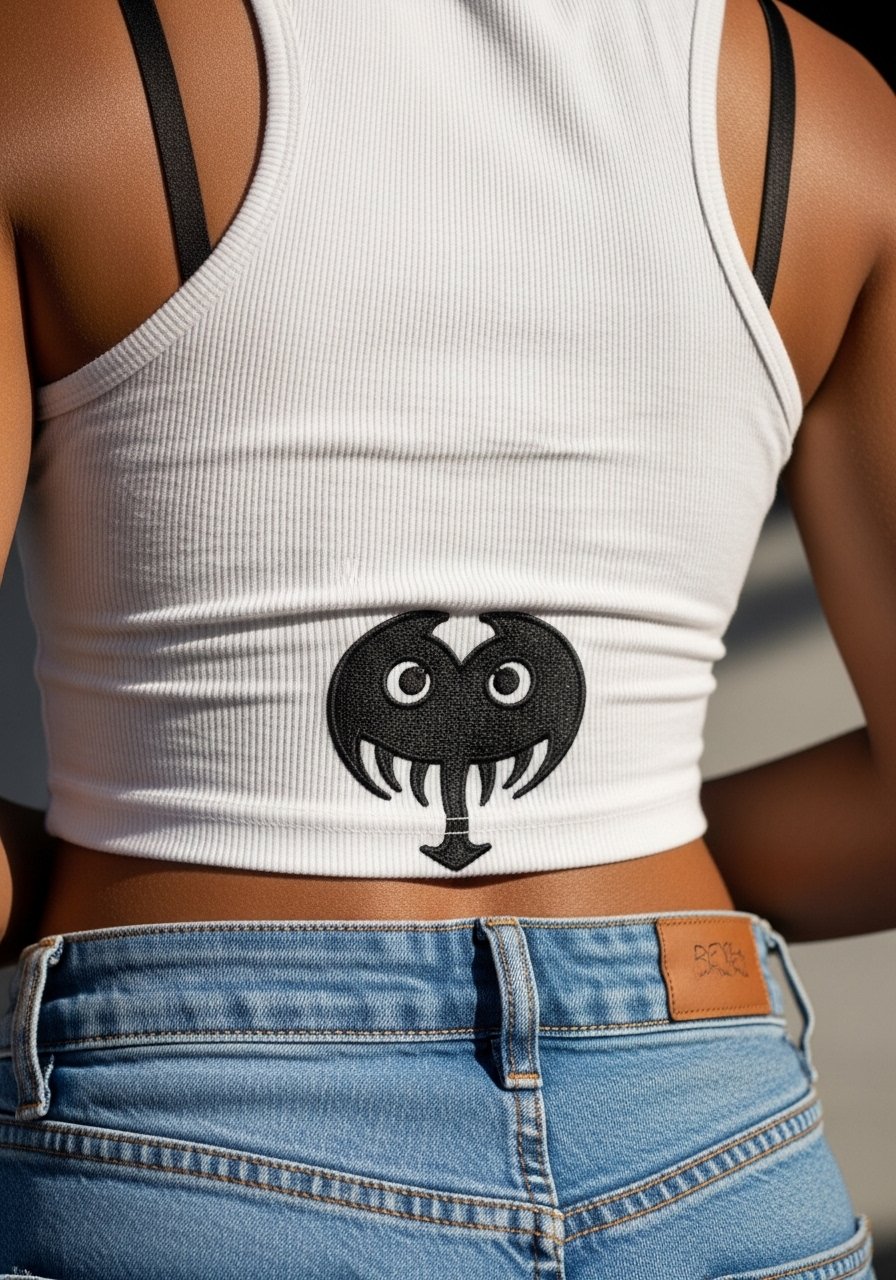
Large back blackwork reads long distance and holds well when saturation is even. Sessions can be long and often broken into multiple visits. Artists debate whether to lay flat black in one pass or to layer in stages. One camp says a single saturated pass seals pigment; the other favors layering to reduce scabbing risk. Discuss their approach. A common mistake is underestimating session length and showing up in tight clothing; bring a loose tank top or zip hoodie. For evenings, a low-back top frames the patch without exposing other areas.
13. Linework Cityscape on Forearm
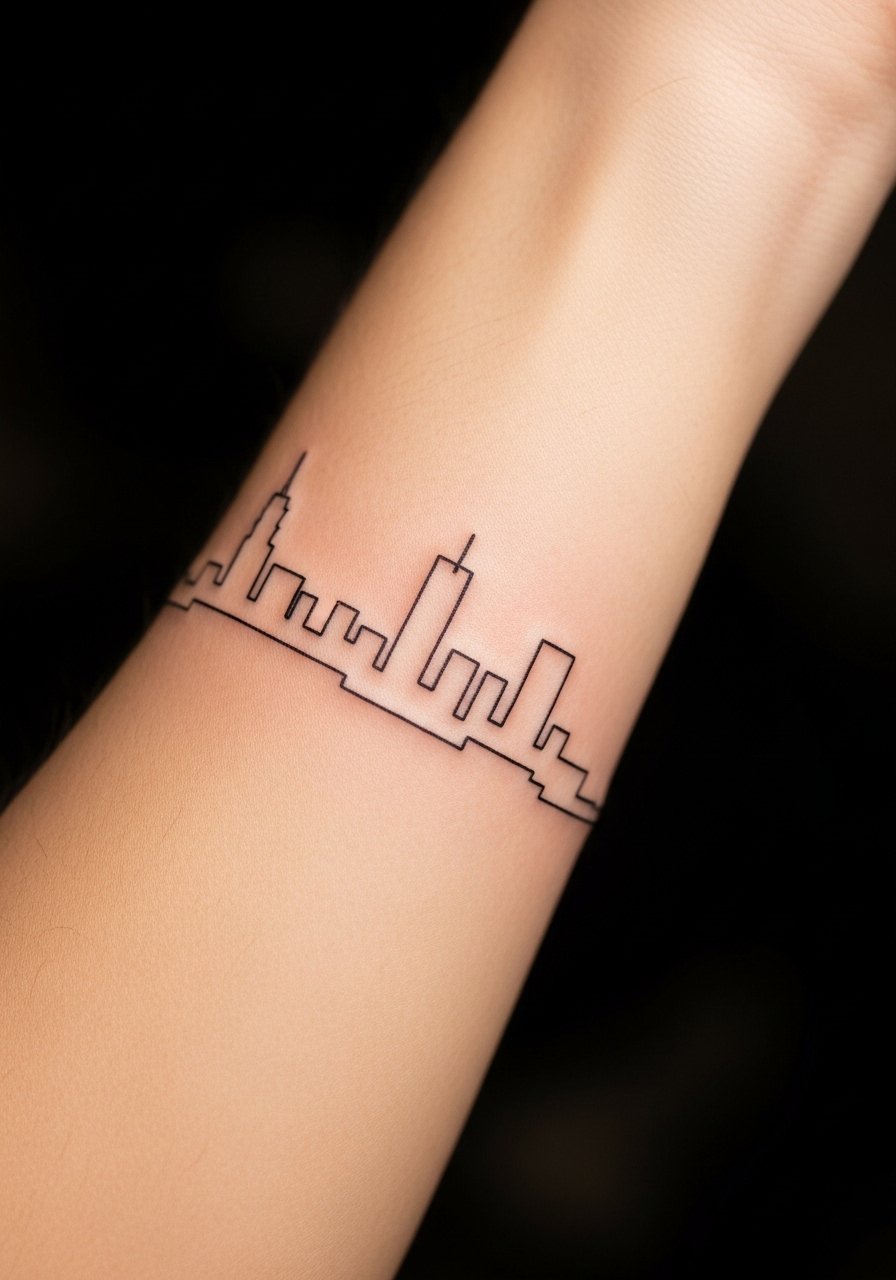
A forearm cityscape benefits from consistent horizon lines and varied building heights. The mistake is over-detailing tiny windows which blur. Tell your artist you want negative space windows and a stronger silhouette. Pain is moderate and a single session usually suffices. At six months the lines should read crisp. Expect a touch-up at year three for thin skyline elements. To highlight it, wear a rolled sleeve linen shirt so the forearm sits in clean contrast.
14. Vintage Game Console Sticker-Style on Upper Thigh
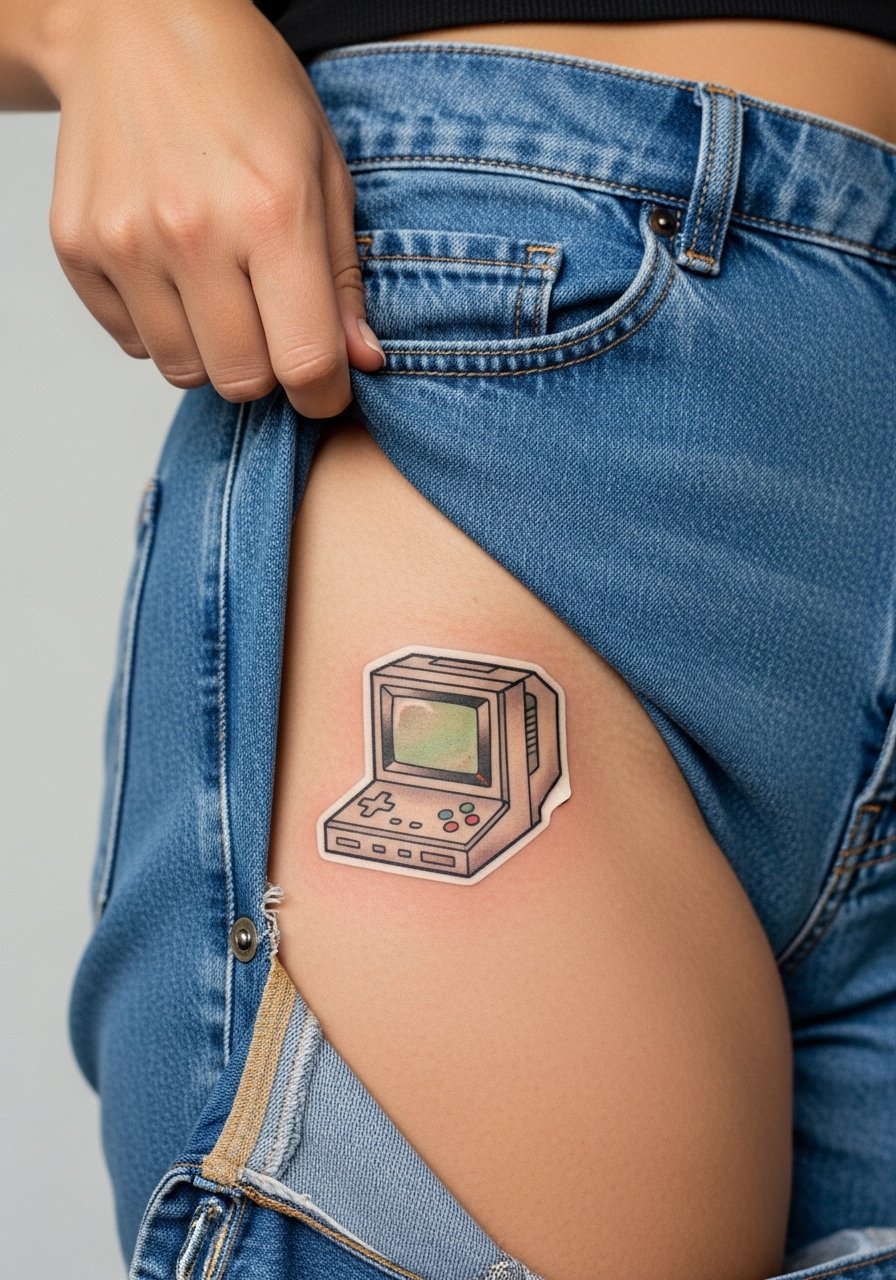
Upper thigh pieces are private and heal under fabric, so plan wardrobe accordingly for the session. Pain is moderate and sessions are comfortable. Avoid asking for hyper-bright low-contrast pastels because they fade faster under clothing friction. A common mistake is too-small sticker sizes that blur with movement. For the appointment, pull shorts down slightly or wear high-waisted bottoms that allow access, and post-session wear loose bottoms like high-waisted denim shorts to reduce rubbing.
15. Dotwork Destiny Islands Map on Upper Back
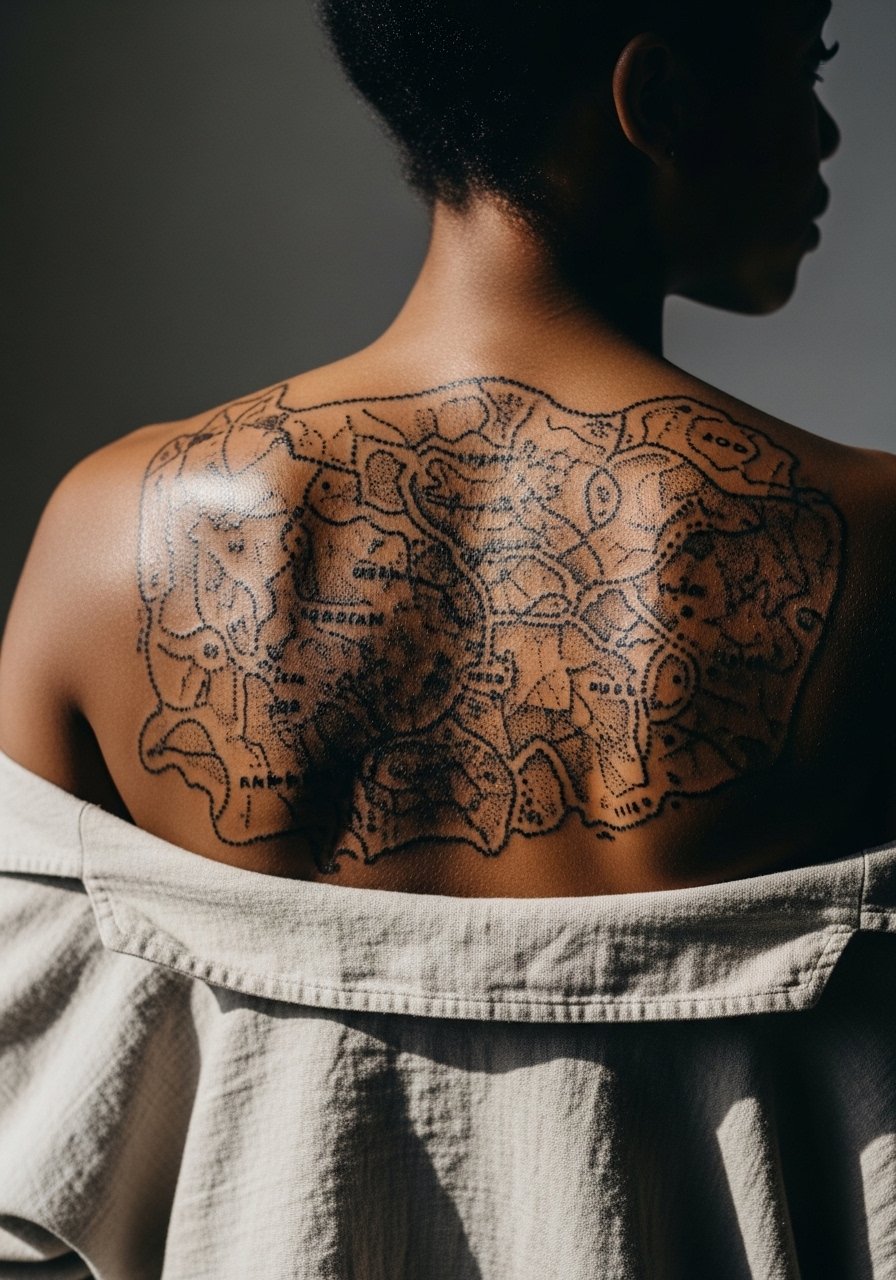
Upper back dotwork can be dramatic and holds well if the stipple is spaced. The biggest mistake is crowding dots too tightly in dense shading areas. In consultation, request test patches so you can see how stipple reads on your skin tone. Sessions are moderate to long and might need a second visit for balance. For show, open-back tops and halter styles frame the piece for evenings.
16. Small Keyhole Lock on Side Rib
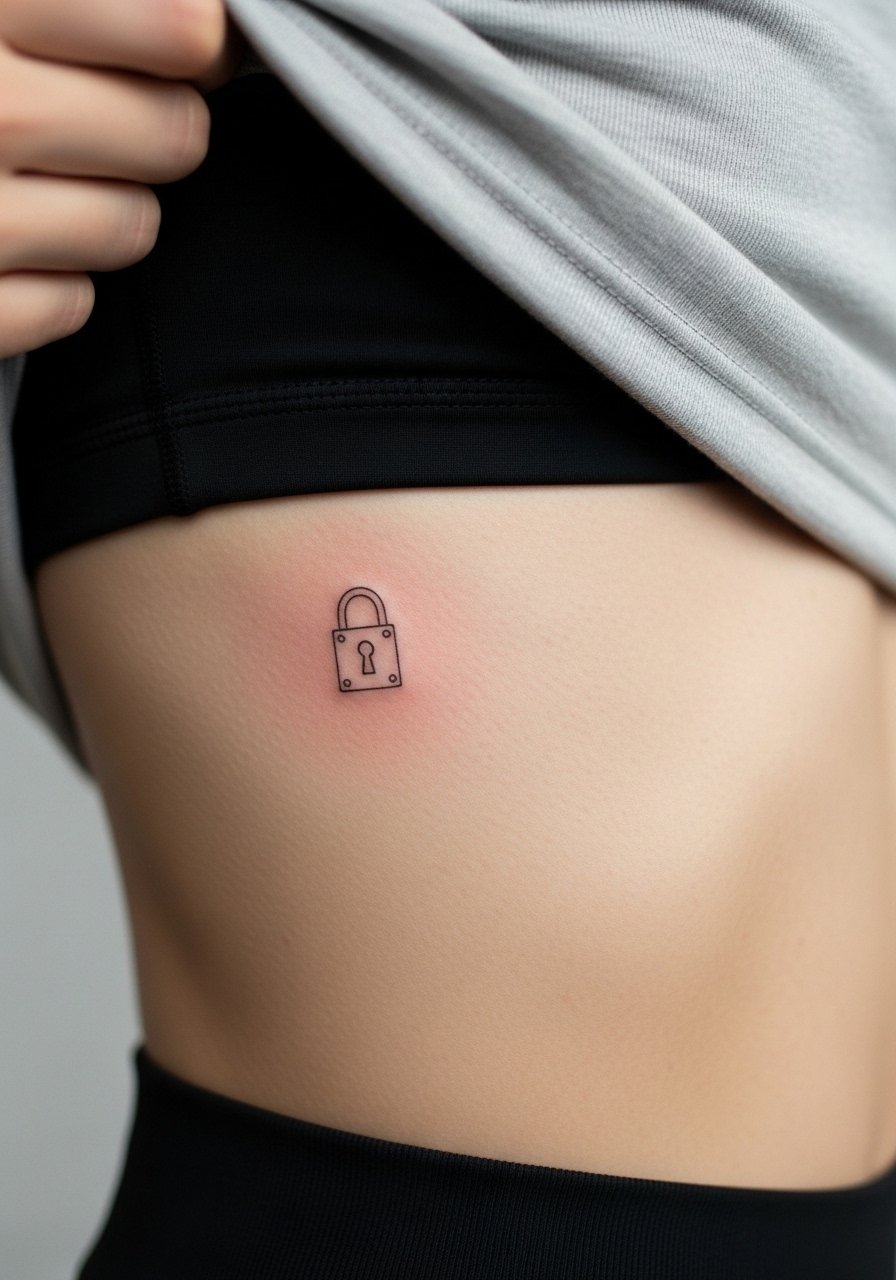
Ribcage placements require honest talk about pain and aftercare. Fine line work here risks loss of crispness from stretching and breathing motion. One camp advises larger spacing to preserve clarity. The other camp says careful needle depth can retain fine lines. Ask where your artist stands. Sessions are painful but short if kept small. For the session, bring a top that you can shift easily like a cropped athletic tank so the artist can access the side without you being cold.
17. Abstract Drive Form Swirls Along Spine
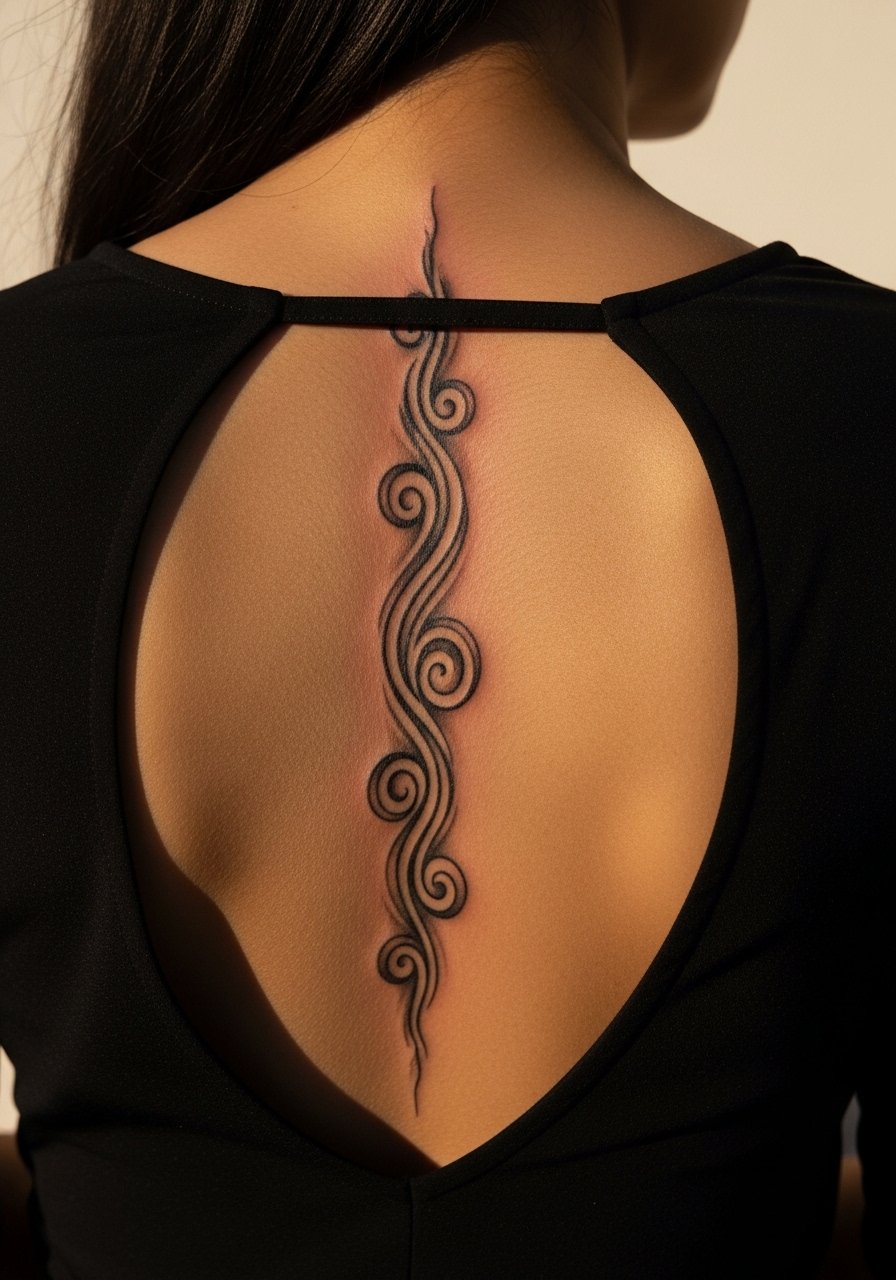
Spine work reads dramatic when the flow follows vertebrae. Pain levels vary with proximity to bone and can be intense toward the lower spine. A common mistake is packing too much detail into a narrow vertical strip. Keep the design airy with deliberate spacing so the swirls do not blend. Sessions are moderate length and may need multiple sittings. For display, open-back garments emphasize the vertical flow and create a clean silhouette.
18. Film-Strip Sequence of Scenes on Inner Forearm
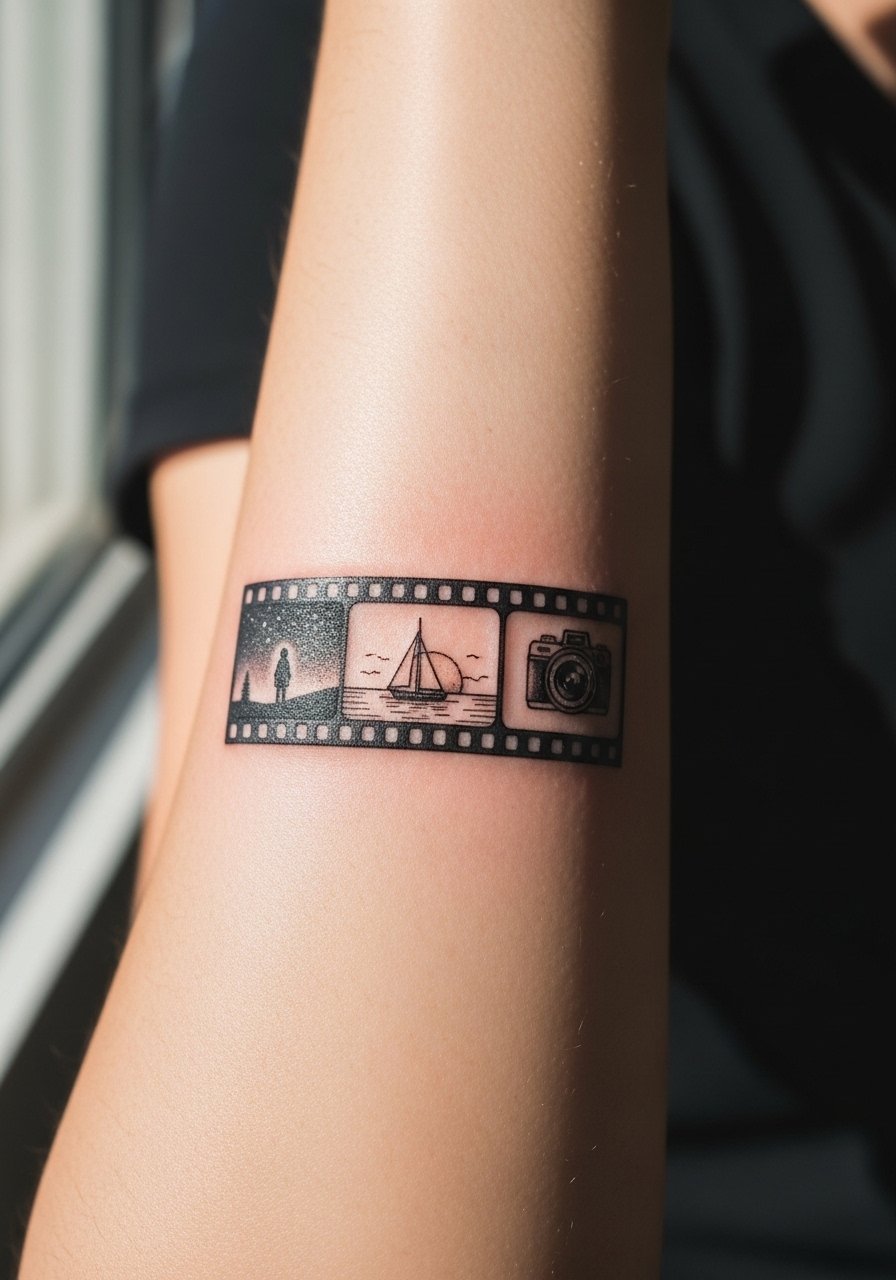
A sequence reads like a snapshot story and works well on the inner forearm. The risk is designing panels so small that interior detail becomes smudge. Ask your artist to prioritize clear silhouettes within each frame. Pain is moderate and a single session often suffices for short strips. For showing the sequence, a rolled sleeve or short-sleeve tee keeps the strip visible. Consider a casual short-sleeve tee for everyday framing.
19. minimalist Compass Rose with Stars on Collarbone
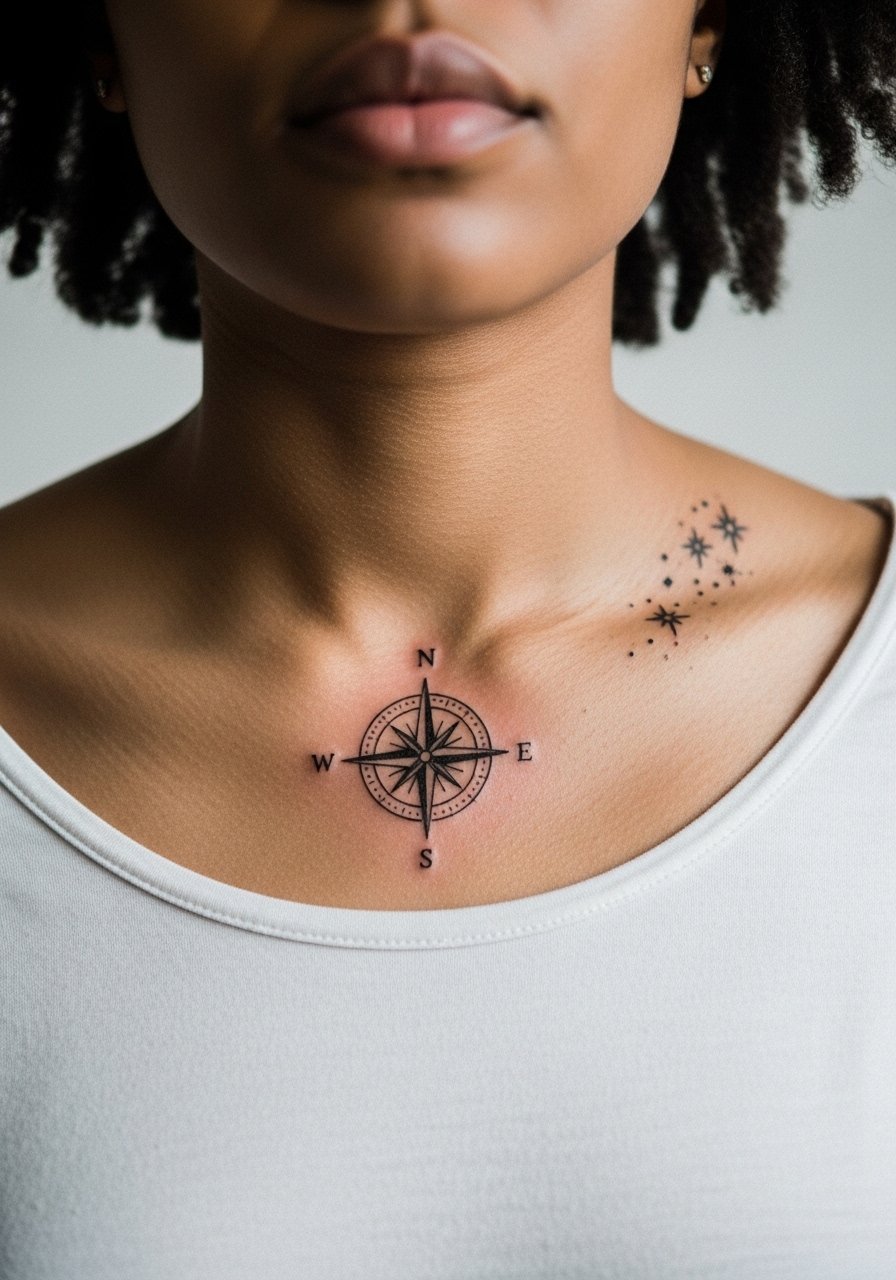
Collarbone pieces must respect the curve of the clavicle so the compass reads balanced. Pain can be sharp on the bone and sessions are short. Many people choose too-narrow line weight which ghosts into a faint line after healing. Opt for slightly stronger single lines and a simple star cluster to anchor the design. For dressed-up looks, pair it with a thin chain pendant necklace that sits just above the details.
20. Tiny Drive Gauge on Behind the Wrist
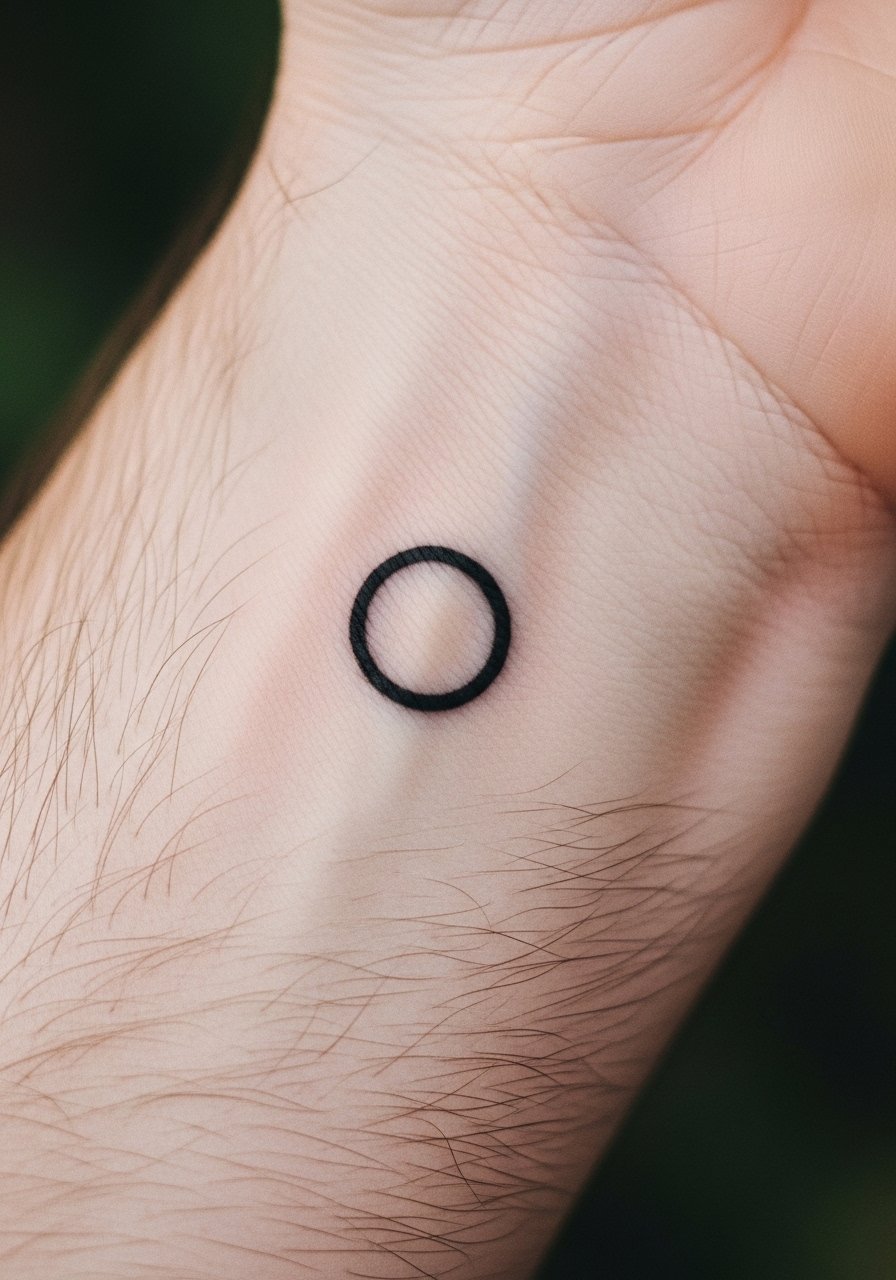
Behind-the-wrist placements are subtly visible and face constant movement. Expect frequent washing to dull line clarity if the design is too thin. Ask for a compact gauge with bolder markers rather than micro lines. Pain is moderate and sessions are brief. A frequent mistake is placing it too close to the hand where skin flex leads to accelerated fading. For wearability, avoid bracelets that sit directly over the spot and opt for a slim minimalist watch if you want wrist accessories without rubbing.
21. Scripted Quote with Game Coordinates on Rib Side
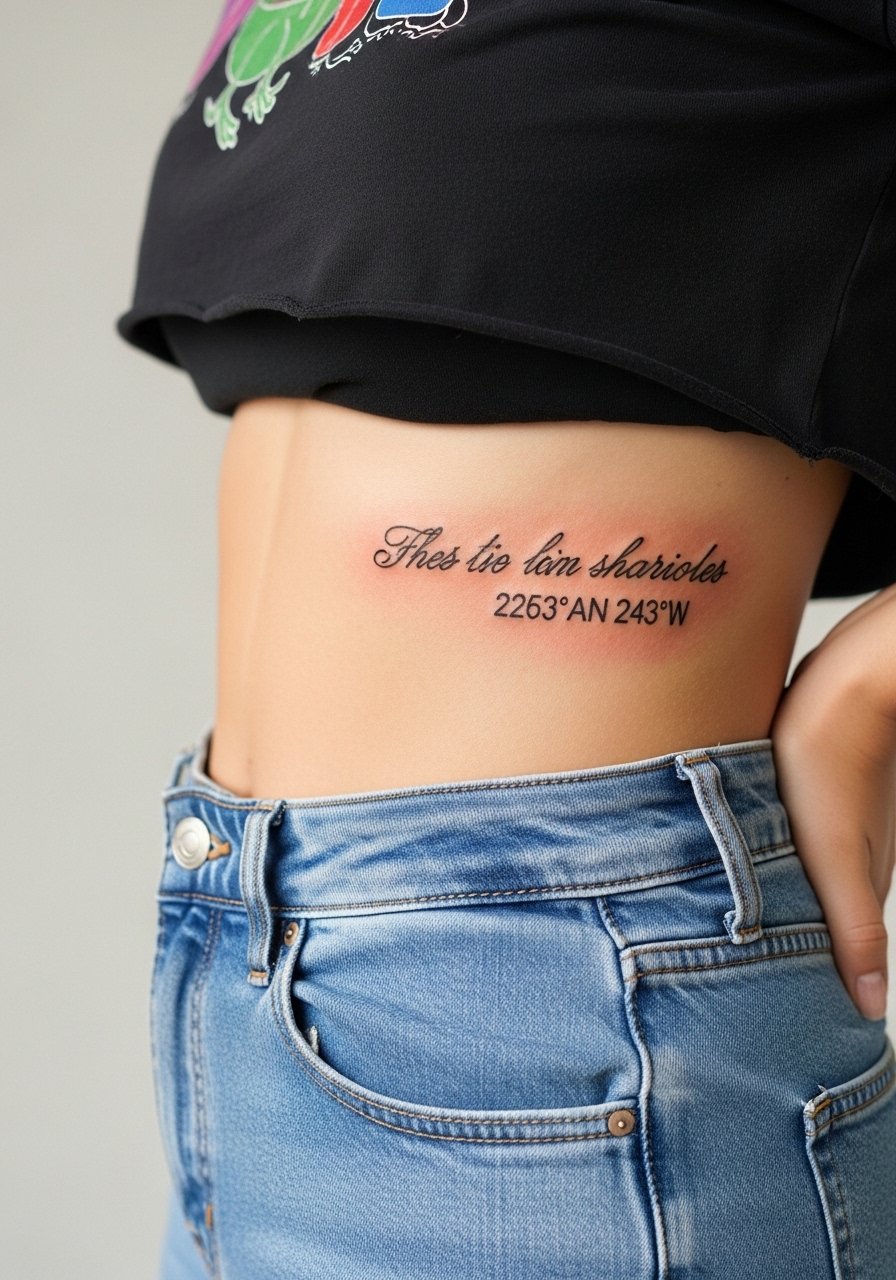
Longer script on the rib side requires proportional spacing so letters do not compress when the skin moves. Pain is high for this area and sessions may need breaks. A common mistake is choosing a handwriting-style font with thin downstrokes that fade. Pick a clear script with slight weight and require a mock-up that shows how text flows with breathing. For appointment wear, use a cropped tee and high-waisted bottoms to keep the area accessible and comfortable.
22. Negative Space Heart-Shaped Map on Thigh
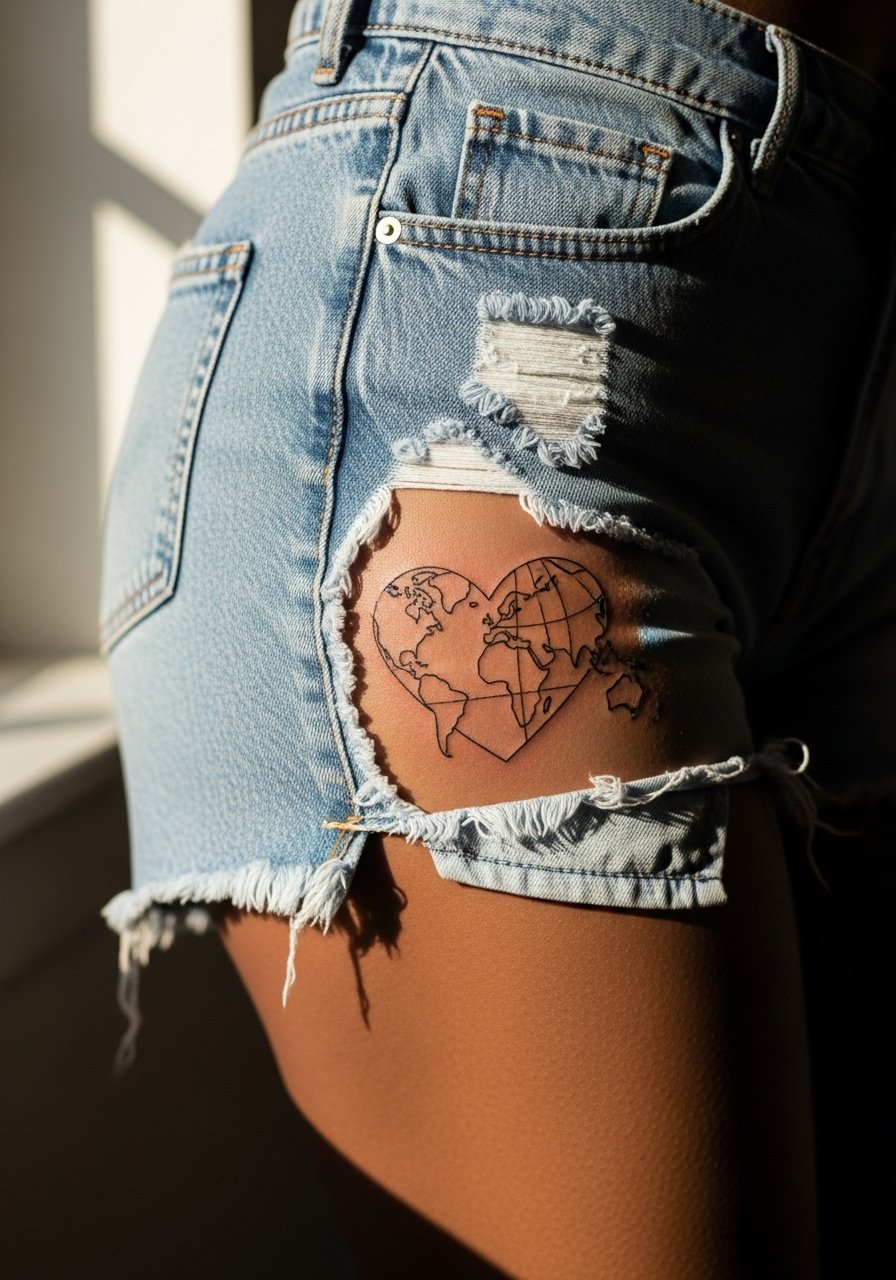
Upper thigh negative space pieces stand up well because they are protected from daily sun. Pain is moderate and sessions are relaxed. People sometimes request too-small negative cutouts which fill in as the skin heals. Ask the artist to test inked edges that define the heart while keeping the inner space clear. For comfort during the session, wear loose shorts and afterward choose high-waisted skirts that avoid tight waistbands over the area.
23. Minimalist Chain and Charm on Side Wrist

Side wrist chains mimic jewelry and can be subtle daily statements. Expect more touch-ups than larger pieces because of constant soap and movement. A common error is making chain links too minute. Ask for a simplified link size that reads after healing. Pain is low and sessions are quick. To showcase this motif, stack with thin bracelets or a delicate bracelet but rotate them out during the first week so the linework is not rubbed.
24. Stylized Heartless Floral Half-Sleeve on Outer Arm
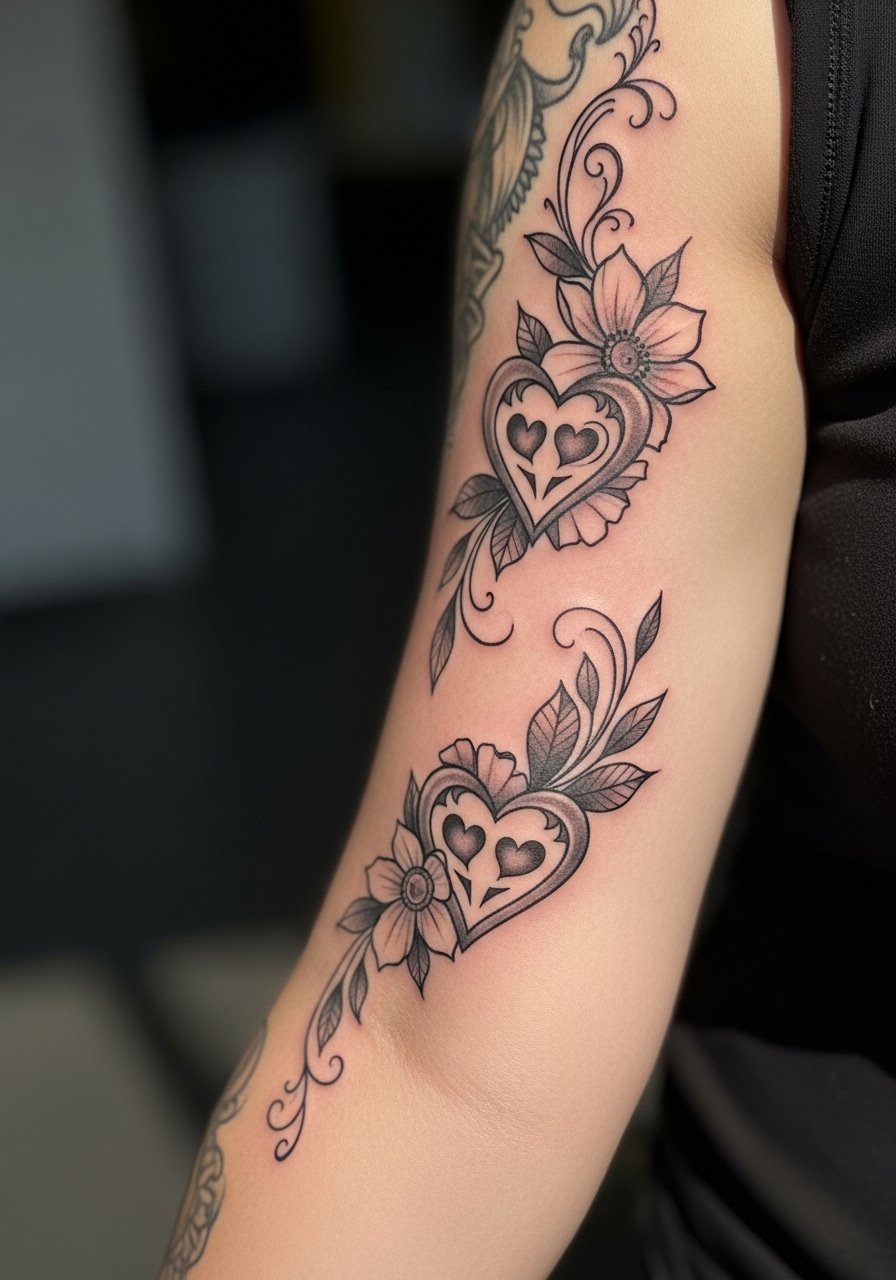
A half-sleeve blends motifs and allows tapering so the piece breathes visually. For a stylized floral approach, balance negative space against solid blackwork to avoid a heavy block as it heals. Sessions are multiple and moderately long. The common mistake is overfilling every petal which becomes a dark mass later. Request staged sessions with color or saturation spread over visits. For casual days, wear a short-sleeve tee to let the outer arm flow.
25. Tiny Moon Phase Row Along Collarbone
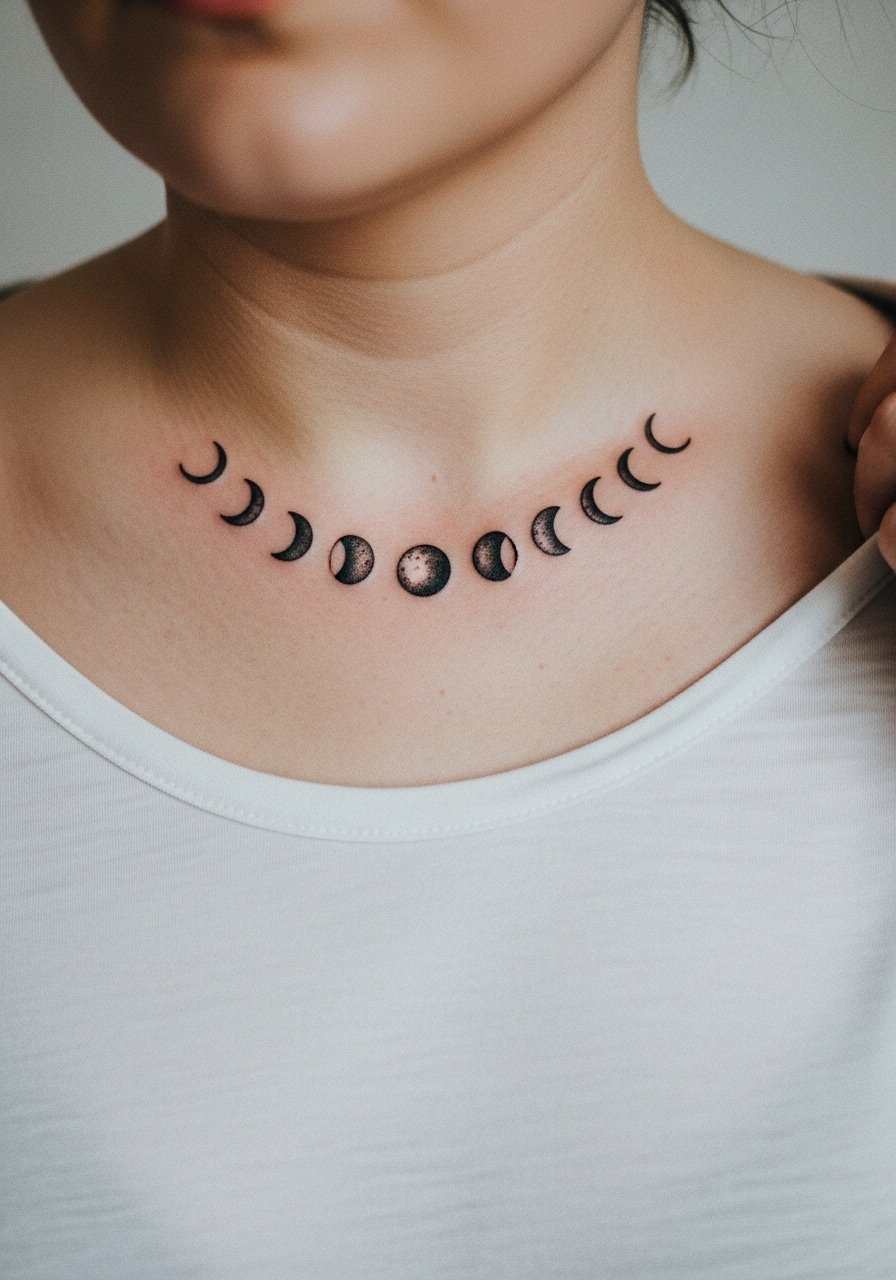
Moon-phase rows read delicate but face merging if individual moons are too small. Pain is sharp on the bone and sessions are short. Ask for slightly larger phase icons and clear spacing to prevent softening. Many people choose a micro size and later regret only being able to make out smudges. For styling, wear wide-neck shirts or scooped necklines and add a thin chain necklace to draw the eye upward.
26. Map Coordinates in Roman Numerals on Outer Foot
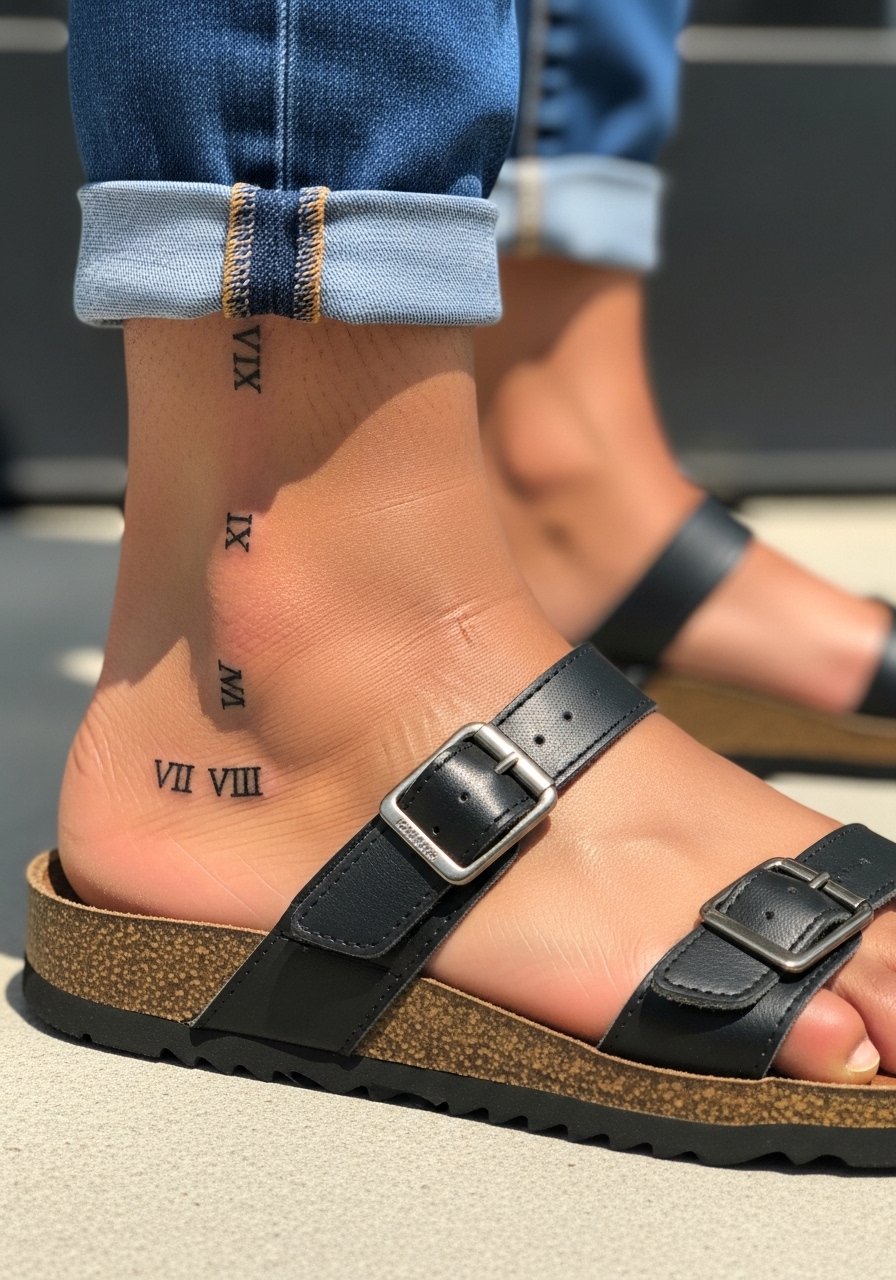
Foot tattoos face heavy abrasion from shoes and frequent washing. Expect fast fading and a higher touch-up likelihood. The main mistake is choosing intricate numerals too small to remain legible after wear. Make numerals slightly bolder and accept annual refreshes. Pain is moderate to high depending on bone proximity. For show, sandals and rolled jeans work; consider a low-profile sandals option that reduces direct strap friction.
27. Tiny Star Cluster Along Jawline
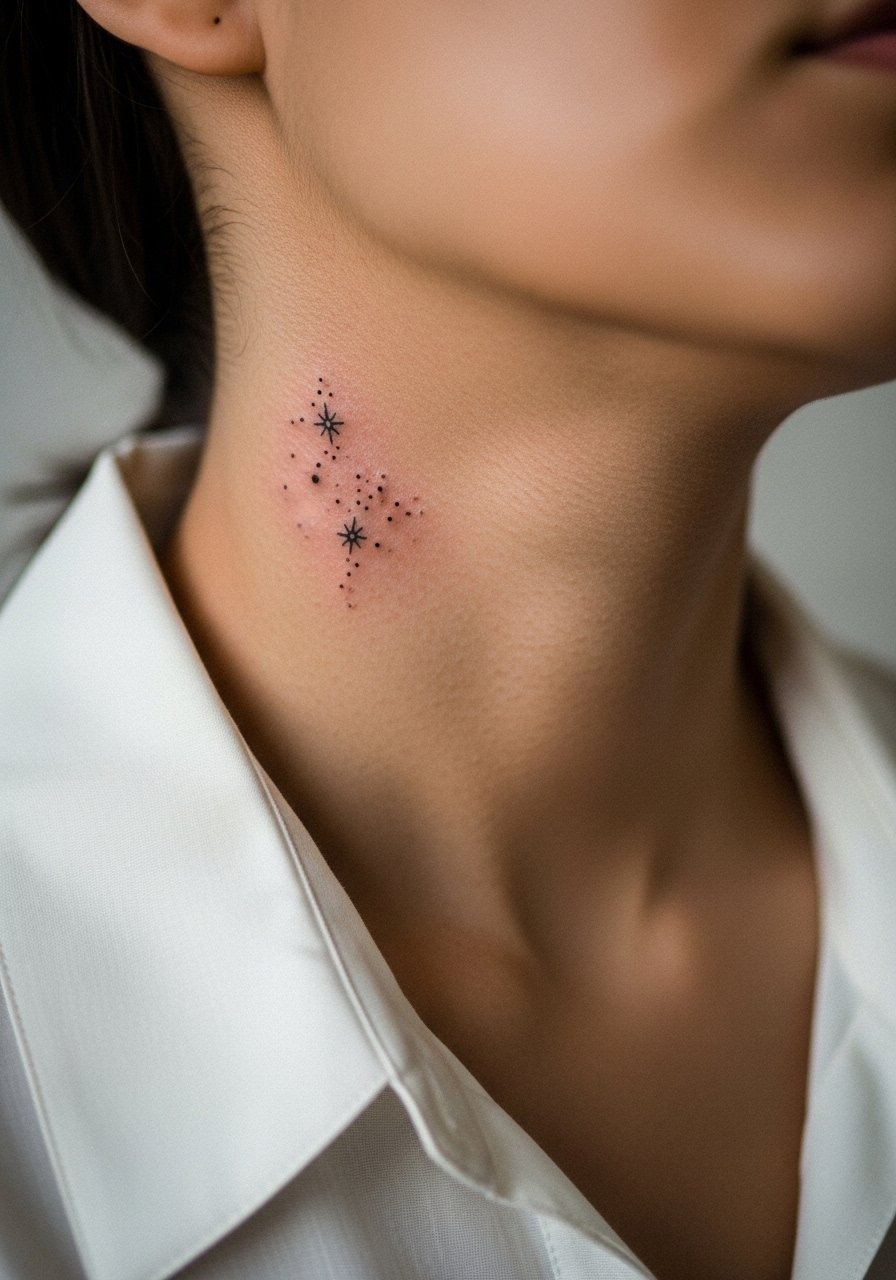
Neck placements are visible and sit near hair and clothing friction zones. Pain varies and is often sharp. People often underestimate visibility and aftercare needs. Keep clusters small but not micro, and ask for clean negative space between stars to avoid a dotted smear later. Professionals vary on neck pieces and you should discuss visibility expectations if your work involves strict dress codes. For a soft reveal, combine it with a wide-neck shirt or collared top.
Frequently Asked Questions
Q: Will fine line Keyblade or script pieces blur faster than bold blackwork on forearms and wrists?
A: Fine line work generally needs more spacing and touch-ups than bold blackwork because thin lines can merge over time. Where skin moves or sees lots of washing, plan for a refresh at year two to four depending on exposure and individual healing.
Q: For ribcage watercolors, what are the two artistic approaches and how do I decide?
A: One approach favors lighter washes and conservative saturation to reduce scabbing. The other layers softer color more aggressively for strong immediate vibrancy but accepts touch-ups. Ask your artist which method they use and request healed photo examples for similar skin tones.
Q: Are finger and foot tattoos worth it if I want longevity?
A: They can be meaningful but expect higher maintenance. Fingers and feet rub against clothing, water, and surfaces more often, which accelerates fading. If longevity is the goal, enlarge details and accept periodic touch-ups.
Q: How should I prepare clothing-wise for a sternum or upper chest session?
A: Bring a zip front sports bra or a wide-neck top you can shift without full removal so the artist accesses the area comfortably. That keeps you warm and preserves modesty while giving proper exposure during the session.
Q: Does blackwork back patching require different healing than dotwork upper back pieces?
A: Yes. Large blackwork needs staged saturation to reduce heavy scabbing, while dotwork depends on consistent stipple spacing to age evenly. Discuss session pacing with your artist so the method fits the placement and your skin.
Q: Where should I look to find artists who specialize in micro-realism or anime-adjacent styles without naming specific shops?
A: Search local convention guest lists, browse portfolios on dedicated tattoo directories, and follow regional hashtag threads to find portfolios. Spending time in community forums and attending walk-in flash days reveals who is practicing the style you want.
