
Fine line trends flood feeds, but contrast pieces that actually age well often look different in real life than they do on a phone screen. High contrast tattoos can blur on darker skin, cost more than a year ago, and heal badly in humid summers if you get ghosted by an artist. The list below pairs durable high contrast ideas with placement tips, what to ask at the consult, and practical wardrobe notes so the design you pick keeps popping long after the first photo.
1. High Contrast Skull with Floral Negative Space
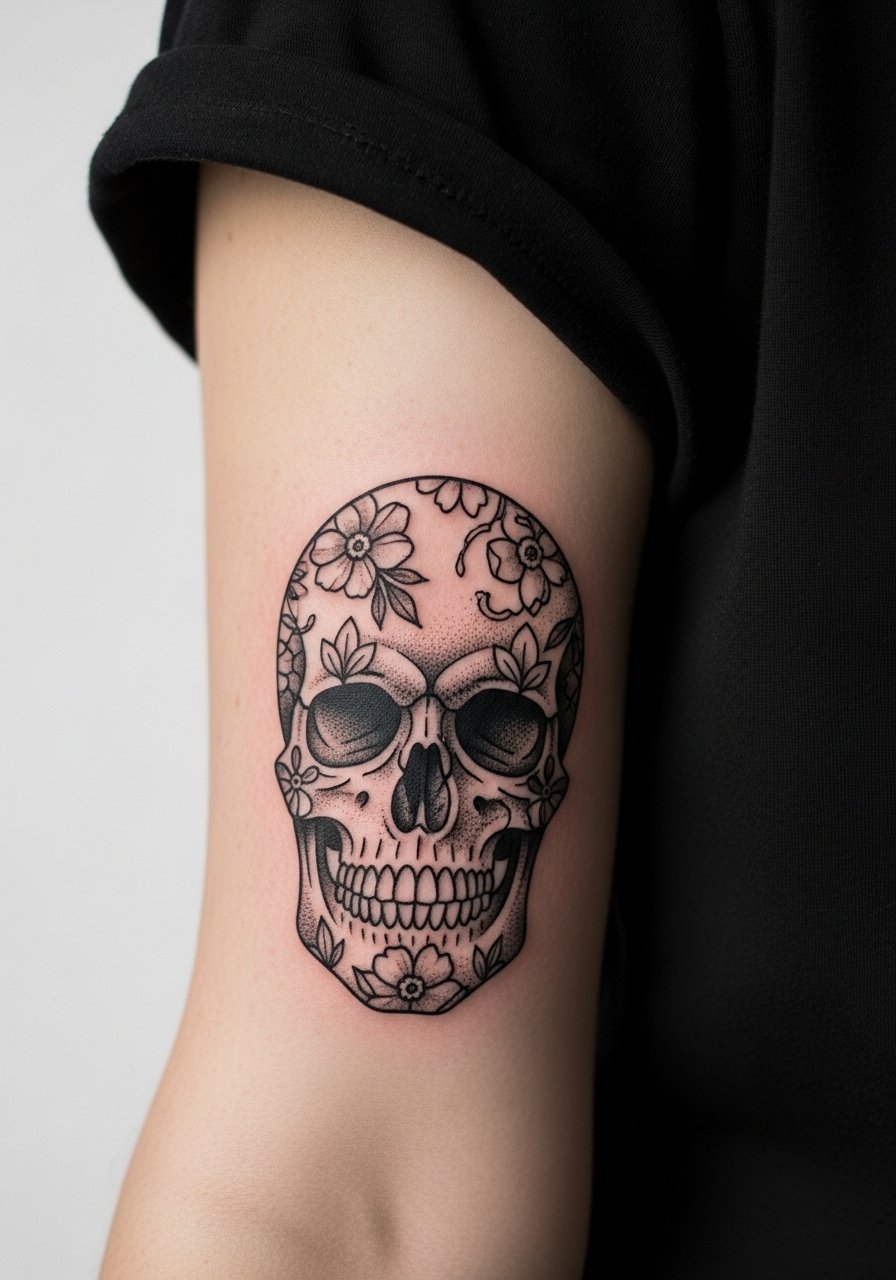
I recommend this version when you want drama without a lot of color. Ask your artist for solid black fields with skin-carved petals so the skull reads from across a room but still has areas that age more gently. Forearm sessions are usually moderate pain and take one to two sessions depending on size. A common mistake is shrinking the floral negative space too tight, which causes the petals to merge after a couple years. For the appointment wear a fitted black tee with rolled sleeves so the artist can work without tugging at fabric, and bring a leather cuff if you plan to frame the piece later with accessories.
2. Bold Geometric Mandala in Black and White
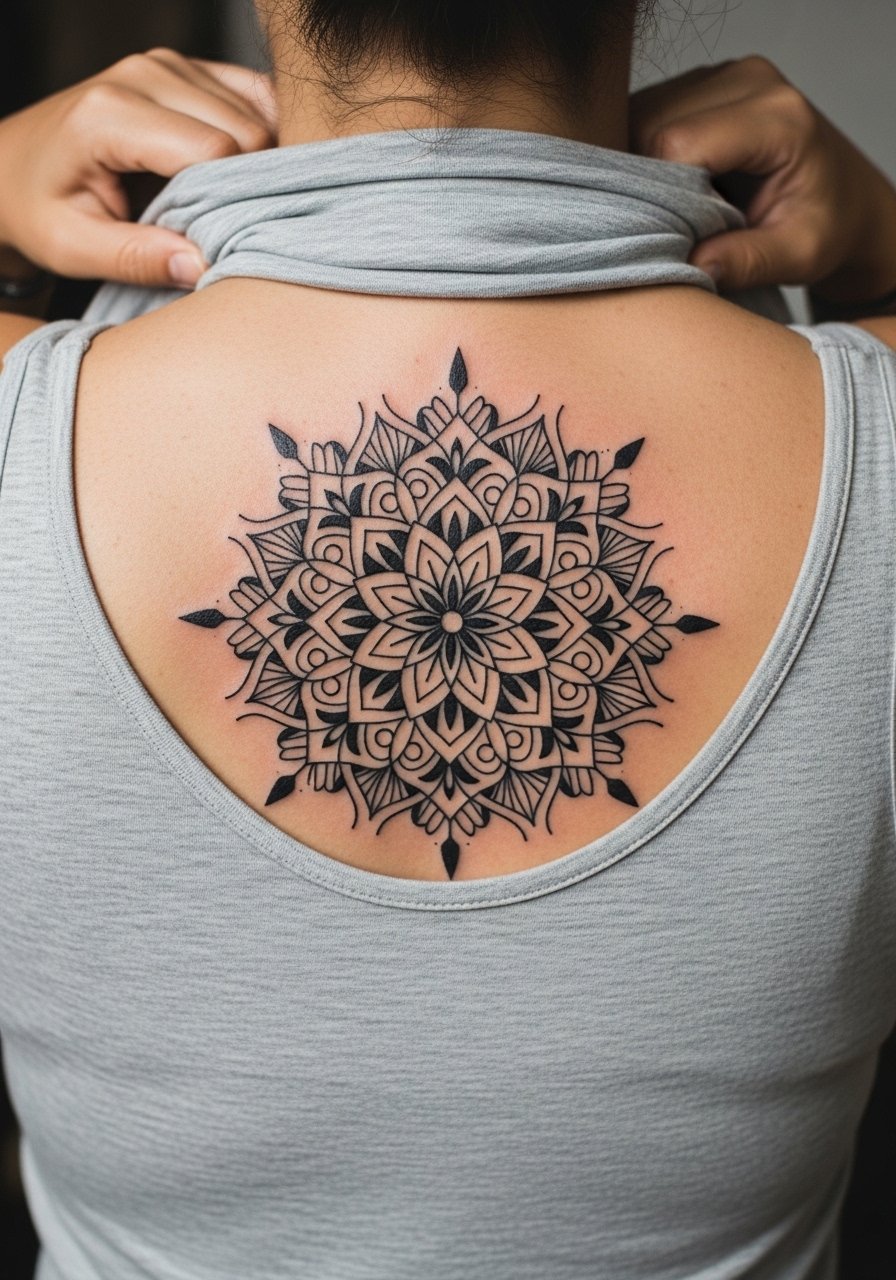
Mandalas rely on spacing more than tiny detail to hold up. I point clients toward 1mm and thicker linework in dense areas to avoid the common issue of lines merging at the one to three year mark. Upper back work feels easier during longer sittings because you can breathe through the session and the artist can layer stipple shading. Bring clear reference photos of exact spacing and tell the artist you want "stipple gradients, not crowding." For show-off outfits, backless or low back tank tops highlight the symmetry without stealing focus.
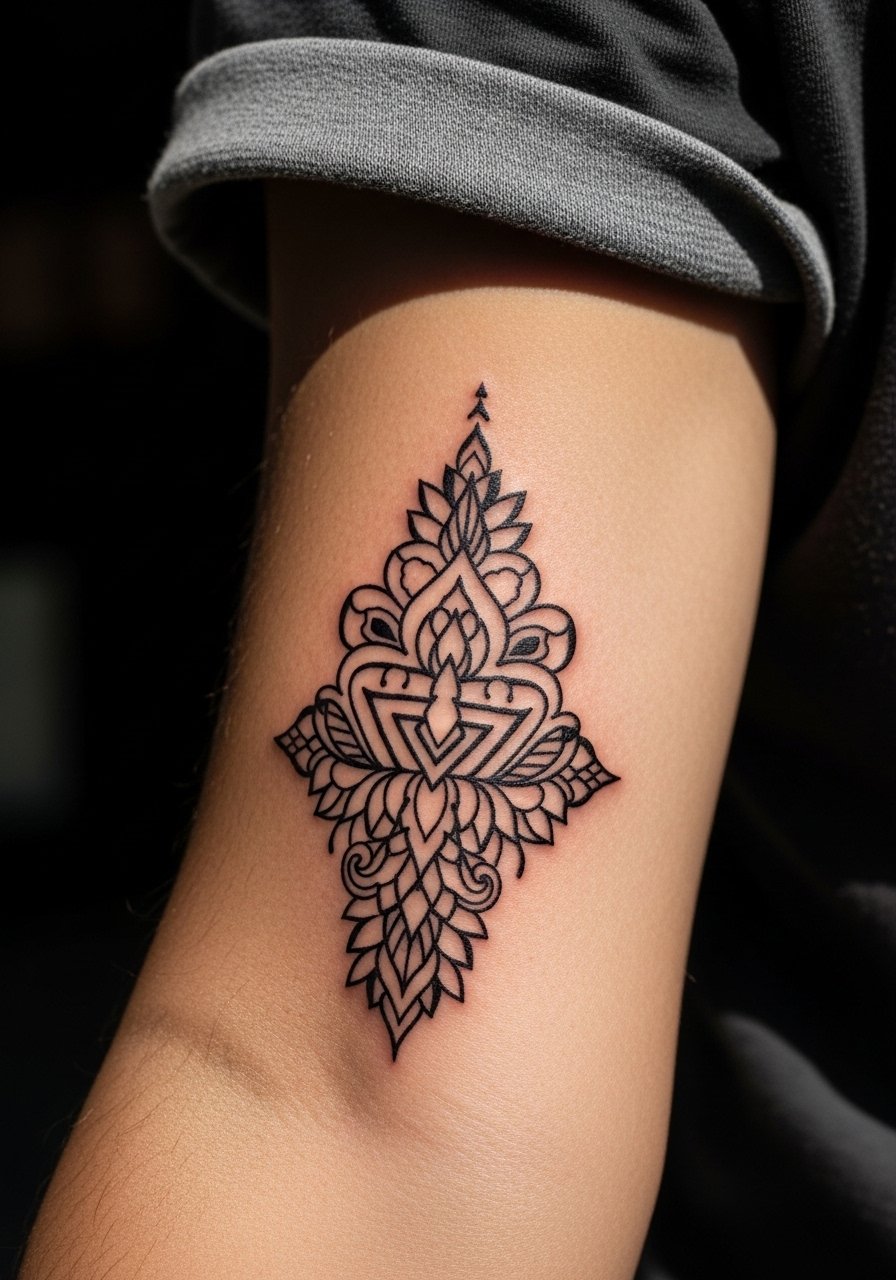
3. Negative Space Wolf Portrait
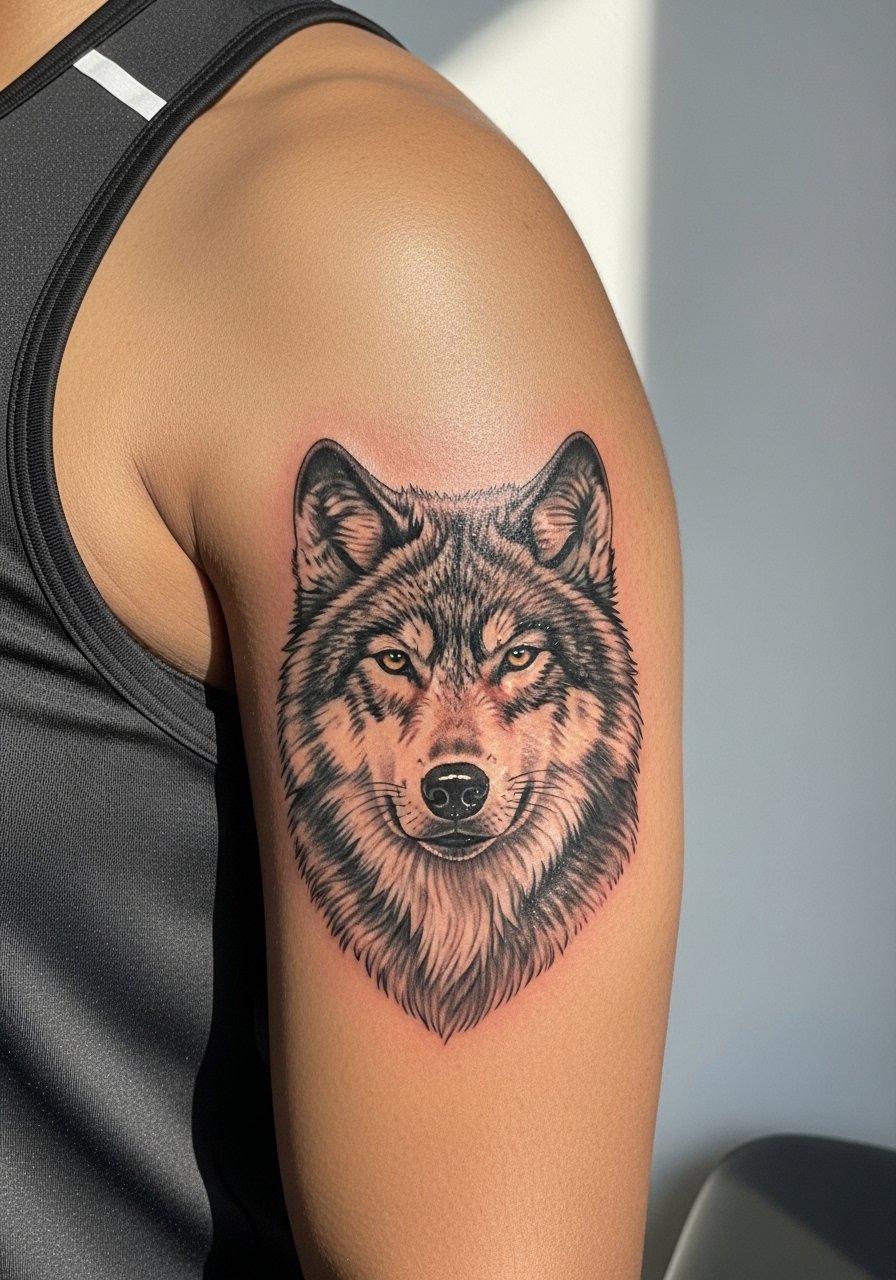
Inner bicep is a great home for negative space animals because the skin there takes blackwork differently than the outer arm. Expect one to two sessions and medium-to-high sensitivity during the tattoo. Tell your artist you want the fur suggested with skin gaps rather than small gray washes; that keeps the image readable as it heals. A frequent error is over-detailing the fur on a small canvas, which blurs into gray within a year. For session wear, use a sleeveless gray hoodie or a button-up you can roll, so the artist has clear access.
4. Contrast Yin-Yang with Dotwork Elements
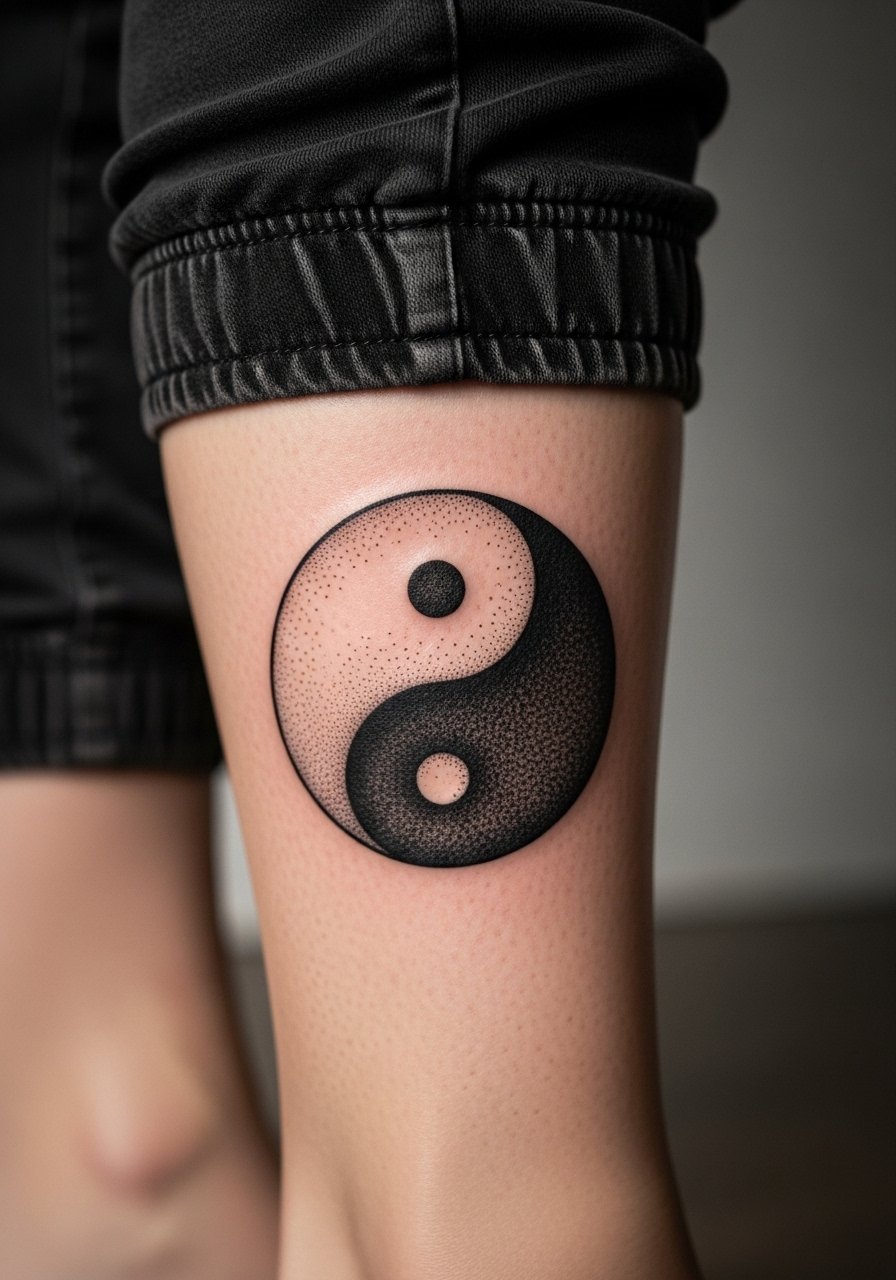
Dotwork brings depth without heavy fills, which makes this a good pick if you want readable gradients on medium skin tones. Calf placement keeps the piece safe from constant friction and usually needs two sessions for crisp stippling. The common mistake is compressing dots too tightly at small scale, which collapses into a muddy gray. For summer show-off, cuffed cuffed joggers or boat shoes work well so the calf reads cleanly.
5. High Contrast Rose Thorn Sleeve Outline
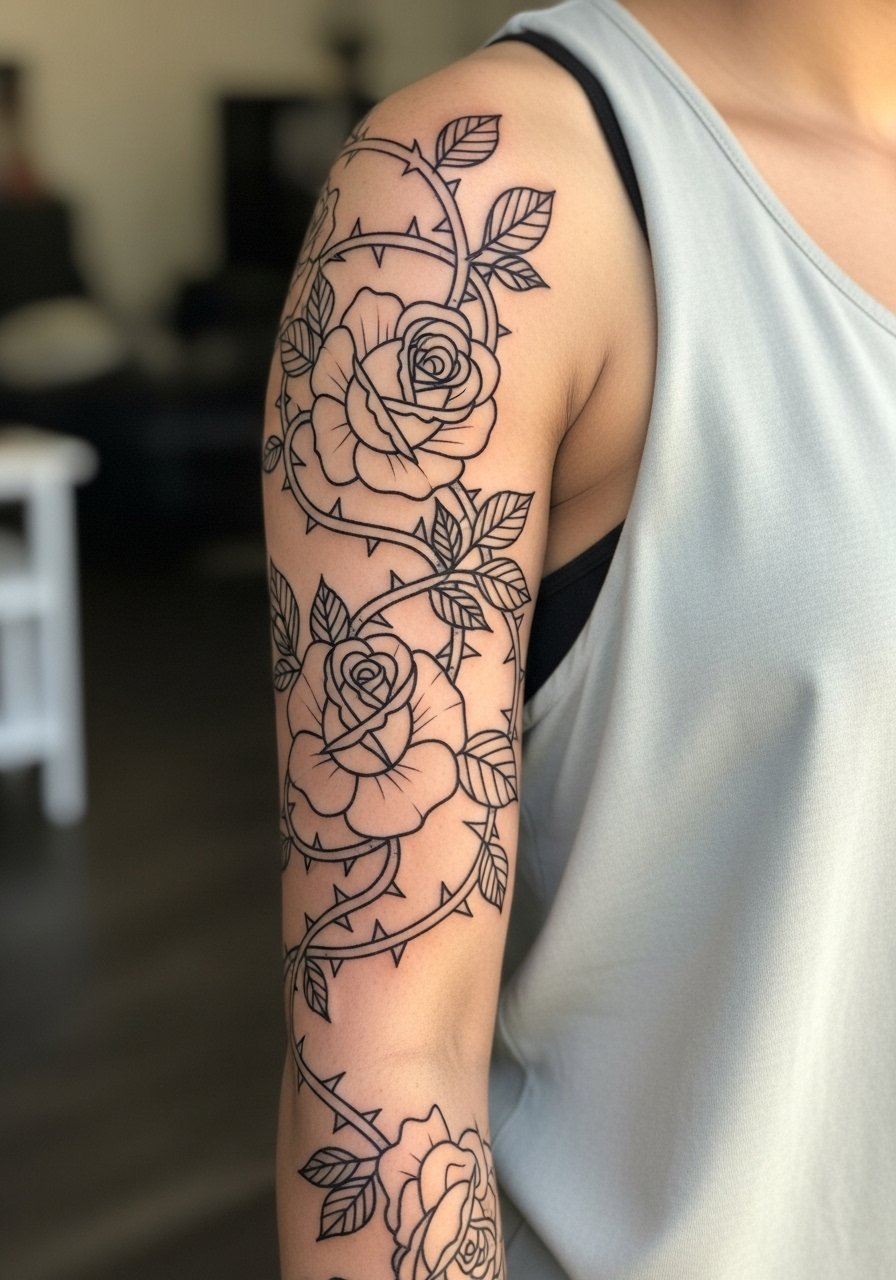
Sleeves are a multi-session project and this outline style benefits from a long-term plan. Expect four to six sessions and ask for thicker primary outlines in the first pass so negative space remains sharp as the inner detail ages. A typical mistake is trying to cram tiny white highlights into tight spaces; those wash out faster than you expect. For session wear go loose with a fitted muscle tank or a button-down you can push up so the artist can work the whole arm without fabric compressing fresh ink.
6. Abstract Light-Dark Wave Pattern
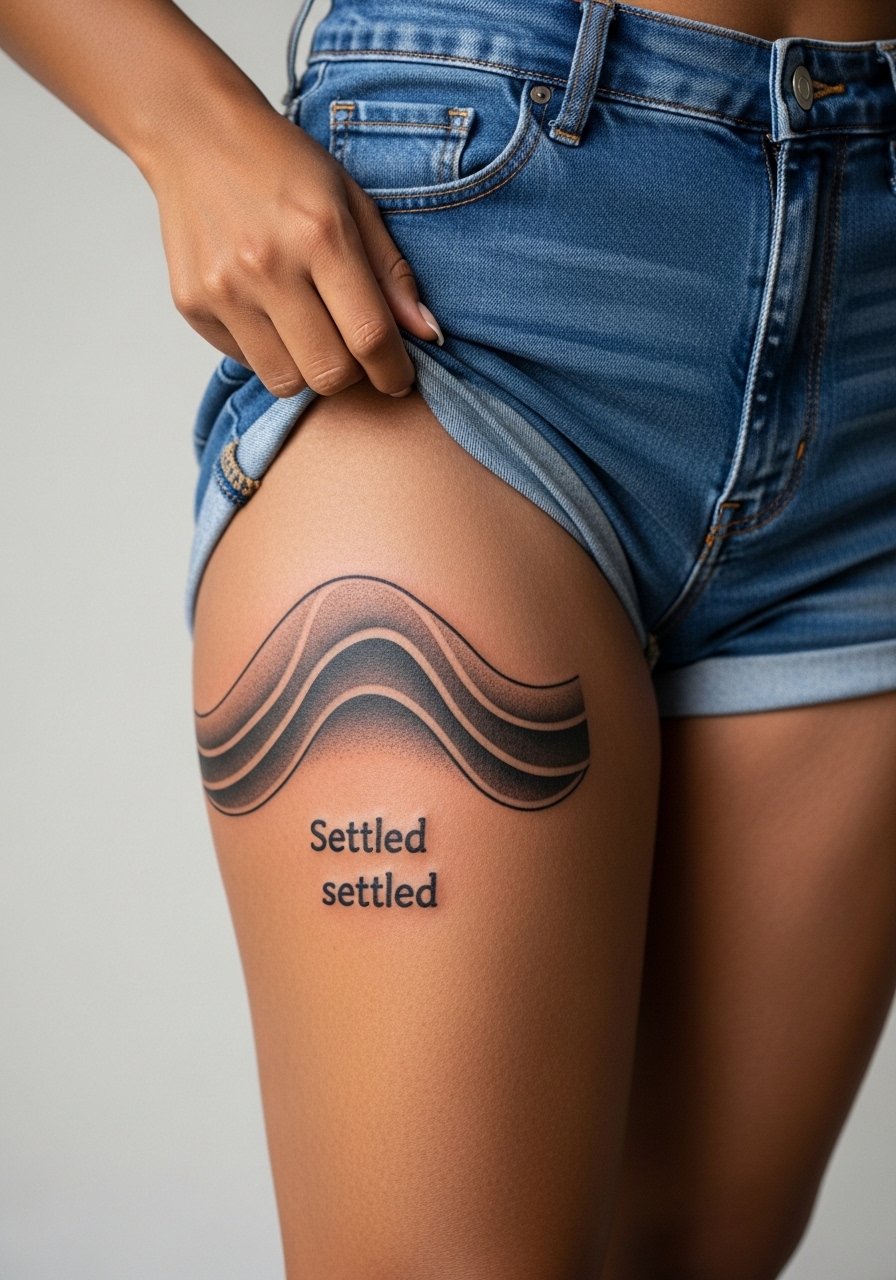
Thigh pieces are forgiving for contrast gradients because the canvas moves less and takes saturation well. This eight-inch wave pattern often finishes in about three sessions and is a seasonal show-off for warmer months. The main mistake is over-blending the gradients at the start which flattens the illusion after healing. For outfits, pair with high waist athletic shorts or asymmetrical skirts so the wave reads against solid fabric.
Pack Smart
These first six pieces include everything from forearms to thighs, and prep differs by placement. A few small items cover the range of needs from wrist sensitivity to thigh saturation.
-
CeraVe Healing Ointment. Reddit users often prefer a lightweight, non-greasy barrier for blackwork fills, which helps keep dense areas from looking shiny during the first few days.
-
Tattoo Goo Lite. A thin balm that's easier to spread on negative space and avoids excess residue that can obscure small stipple shading.
-
H2Ocean Saline Tattoo Spray. Saline mist keeps large fill areas clean without the pastey feel that traps sweat in humid conditions, helpful for summer thigh and sleeve work.
-
Revive Lightweight Tattoo Lotion. Breathable moisture for larger sessions that feel tight after long sittings, handy for sleeve and rib sessions.
-
Aquaphor Healing Ointment. Thin application in the earliest window locks moisture for fine line sections and is familiar to many artists as a safe short-term protectant.
7. Skeleton Hand Gripping Black Rose
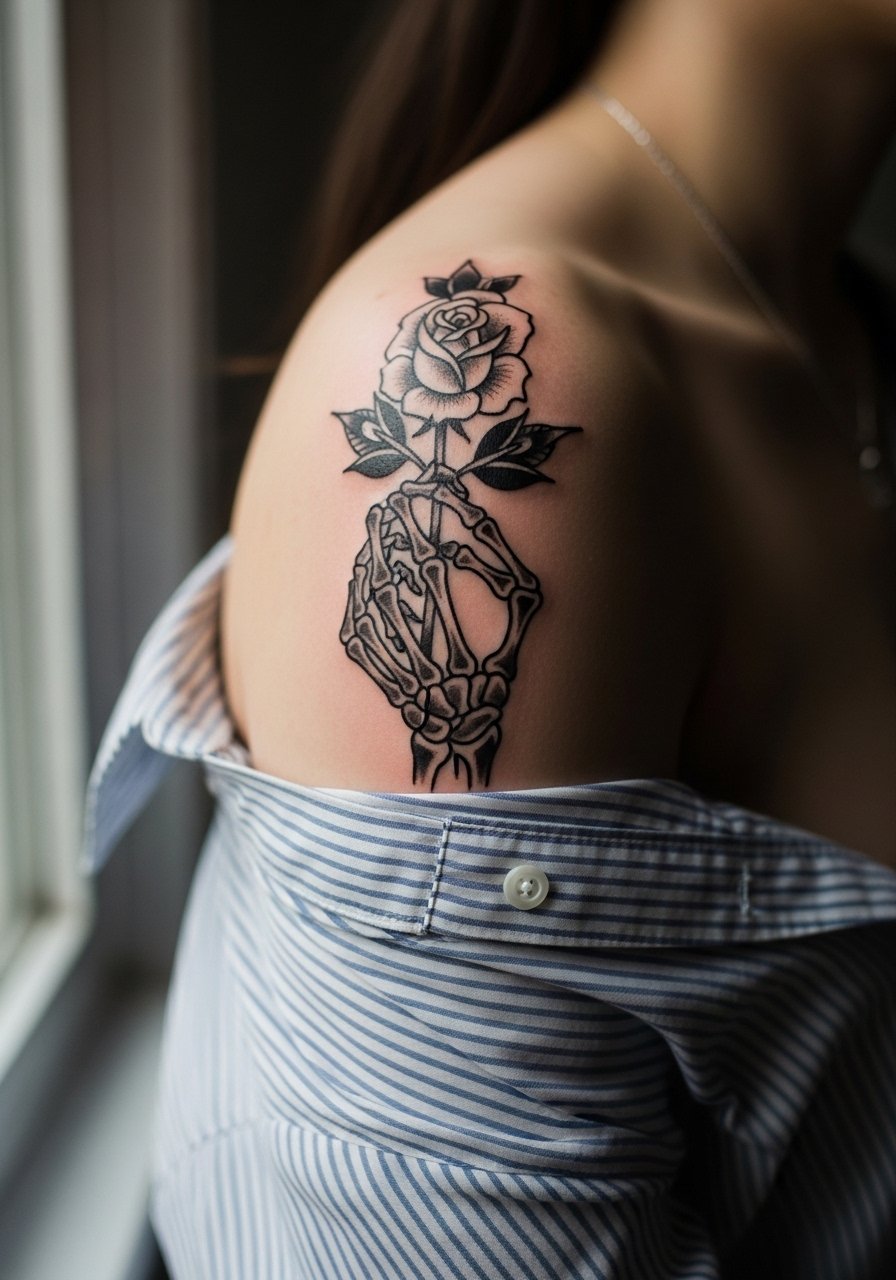
Shoulder work is lower on the pain chart and tends to hold contrast well. This gothic motif reads best with stark black petals and white skin gaps to form the bones. Watch out for over-detailing the knuckles at small scale since blowout risk increases where skin stretches. Sessions are usually two sittings for a five-inch motif. For styling, an off shoulder black top or studded leather jacket frames the shoulder without covering the edges.
8. Minimalist Hourglass with Sand Flow
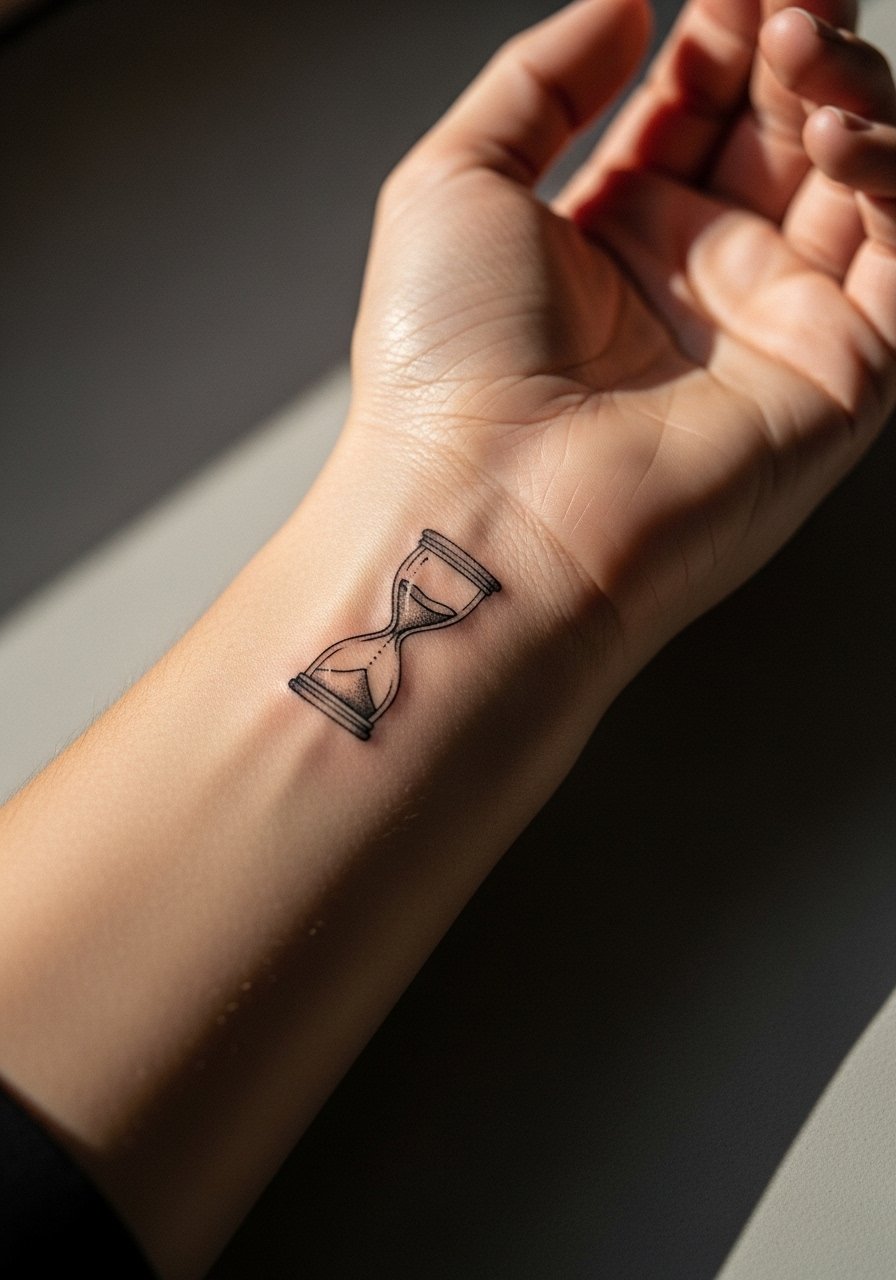
Wrist tattoos need scaled-up line weight compared with the same design elsewhere. The hourglass works best at two to three inches with a clean single line and a small shaded base. Expect one session and plan a touch-up at six to twelve months for constant wash and wear zones. The mistake is asking for micro lines that disappear after a year. For showing it off, stack a thin leather wrap bracelet on the opposite wrist so the hourglass breathes visually.
9. High Contrast Owl Eyes in Negative Space
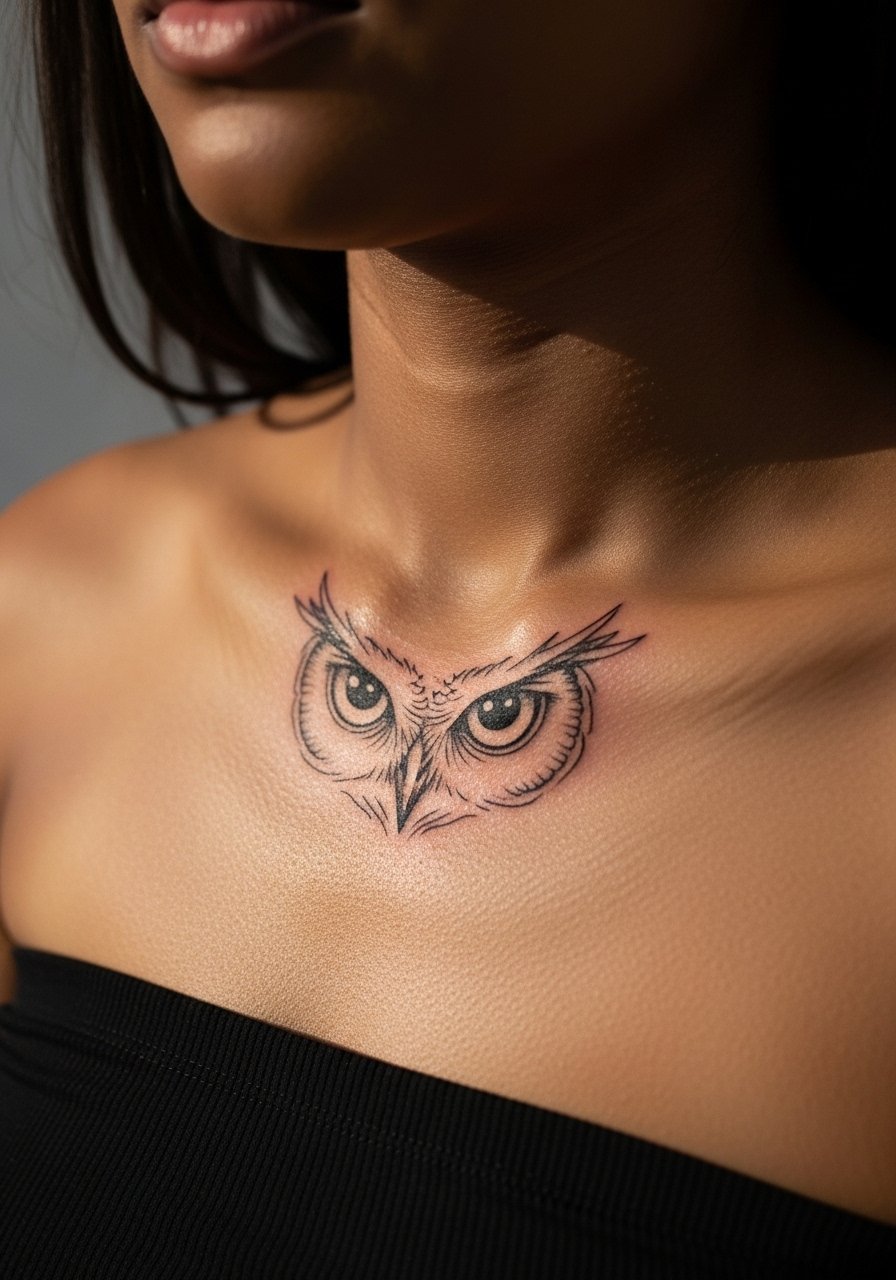
Collarbone pieces pop with negative space pupils against saturated feather fills. Collarbone healing can be bumpy and the area is visible with many outfits. Tell your artist you want high-contrast whites preserved as skin islands and thicker outer lines to avoid softening. Typical pain is moderate and the session is two sittings for a four-inch piece. Pair with a strapless cream top or a delicate pendant necklace to draw a vertical line from collarbone to chest.
10. Dual Phoenix Rising from Dark Base
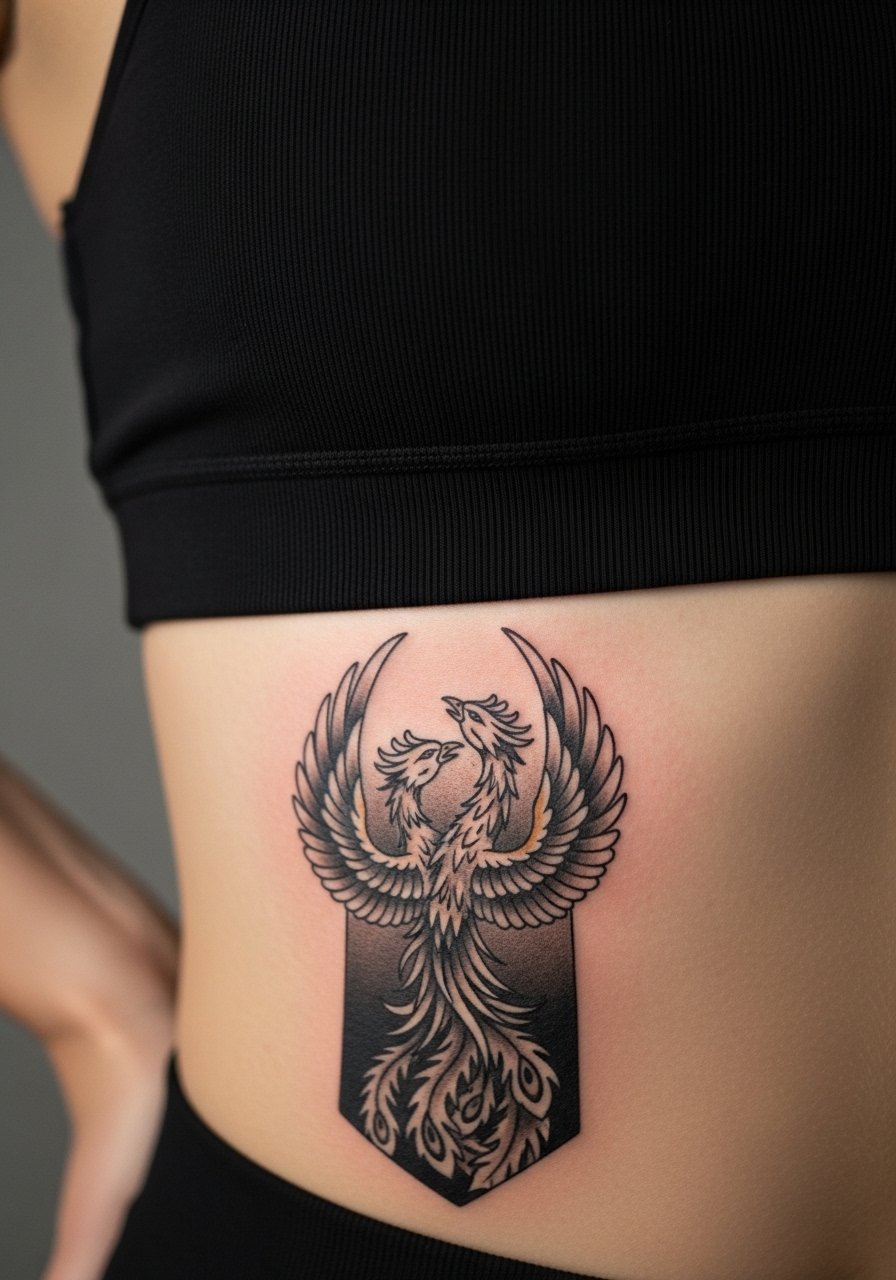
Ribcage sessions are high on pain and need planning. I tell clients to expect multiple sittings and a lot of breathing breaks. The phoenix benefits from layered shading that moves from saturated base to lighter wing tips. Artists split on fine line here. One camp says the skin stretch ruins delicate lines, the other says correct depth and spacing keep fine work stable. Ask where your artist stands and plan touch-ups in the second year. For session comfort a fitted sports bra or zip front top that you can move aside helps.
11. Blackwork Tiger Face with White Stripes
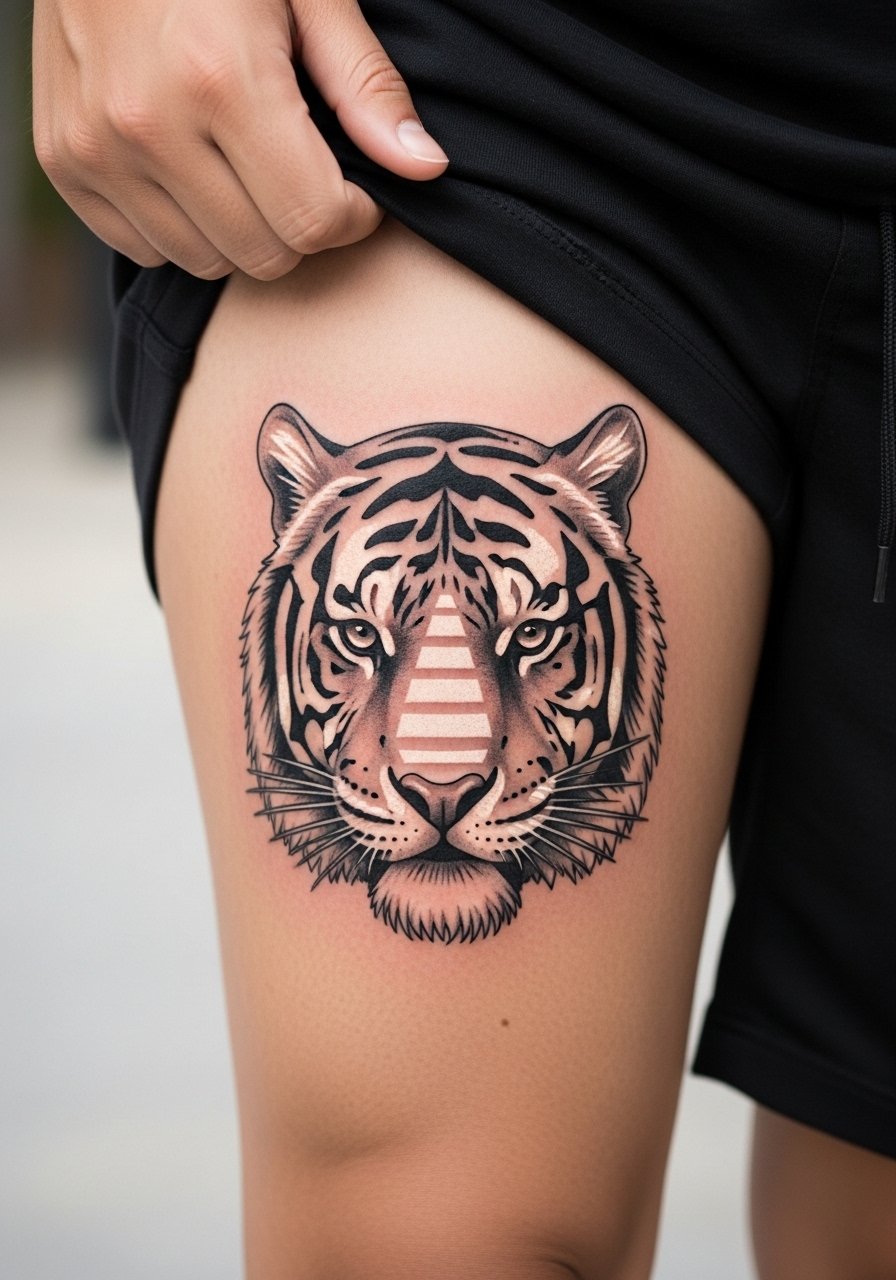
Thighs hold saturation well which makes inverted stripes pop. This six-inch piece often runs three sessions and benefits from bold negative space stripes rather than tiny white highlights. A common error is trying to render whisker texture too thin which softens quickly. For showing it off, match with high waist athletic shorts or asymmetrical skirts that stop at the line of the design.
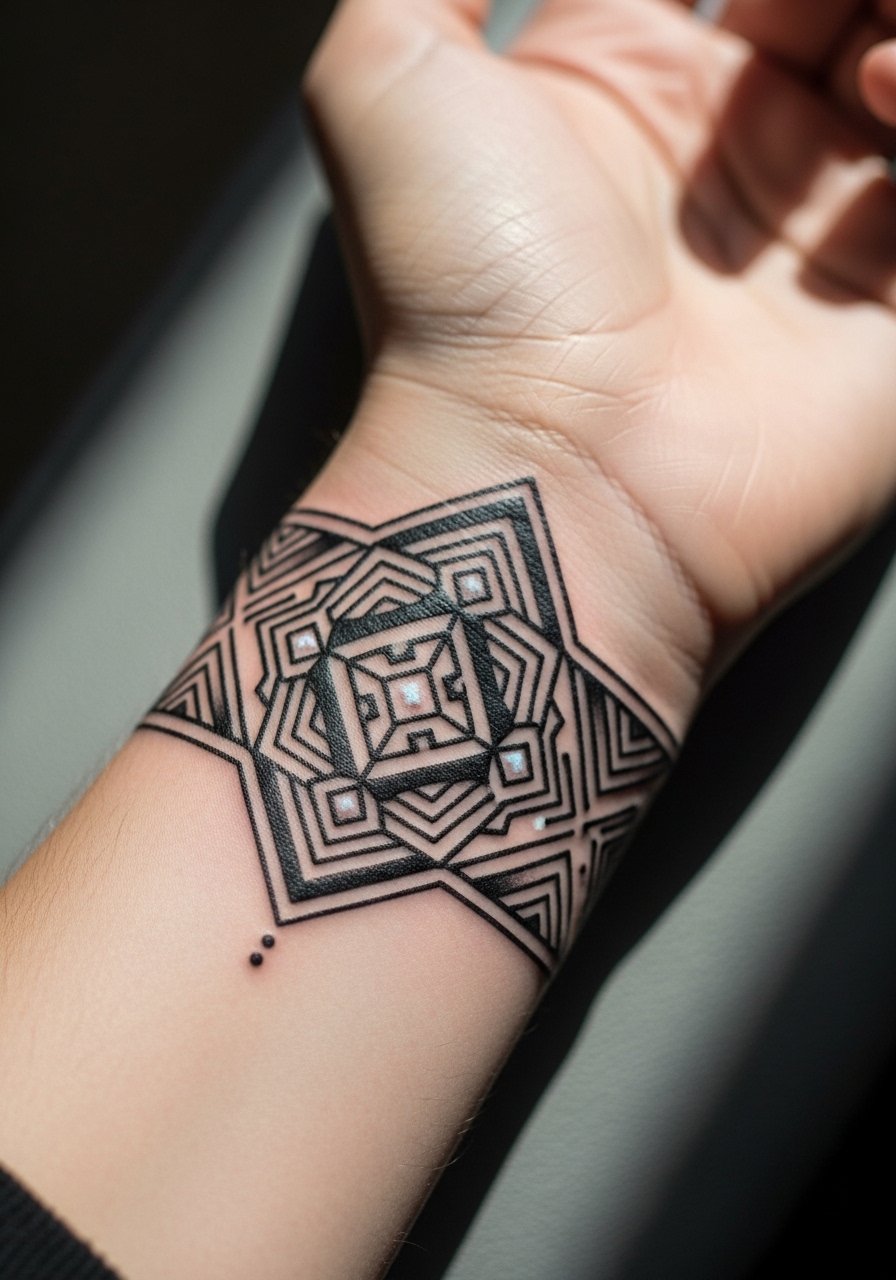
12. Contrast Labyrinth Maze Forearm Band
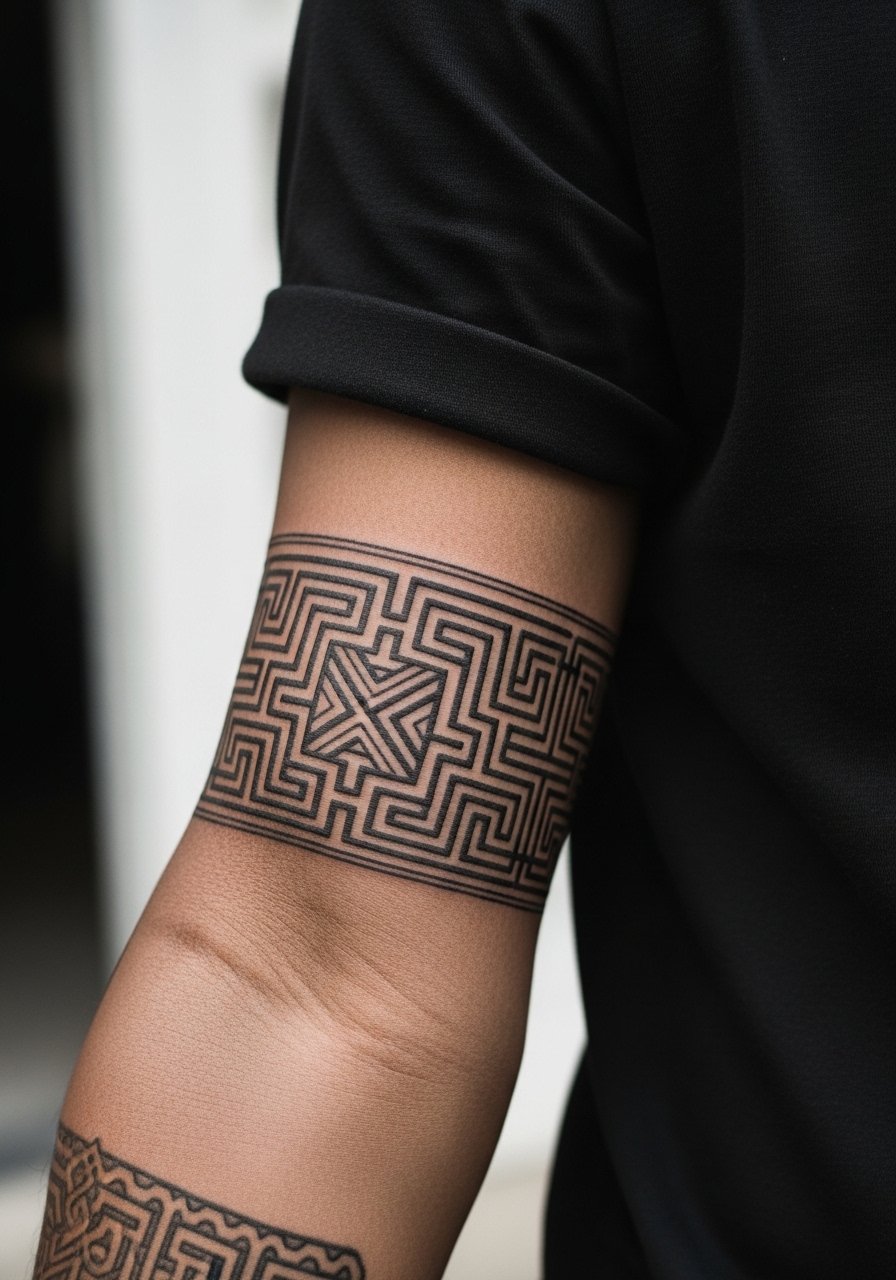
Forearm bands need space to breathe. If you want the maze to still read at year five, have the artist increase the path width and keep negative corridors wider than you think. Forearm sessions are medium pain and usually finish in two sittings for a four-inch band. The mistake is making the paths too narrow for the skin to hold. For daily wear, pair with a leather cuff bracelet so the band reads as intentional styling.
13. High Contrast Anchor in Storm Waves
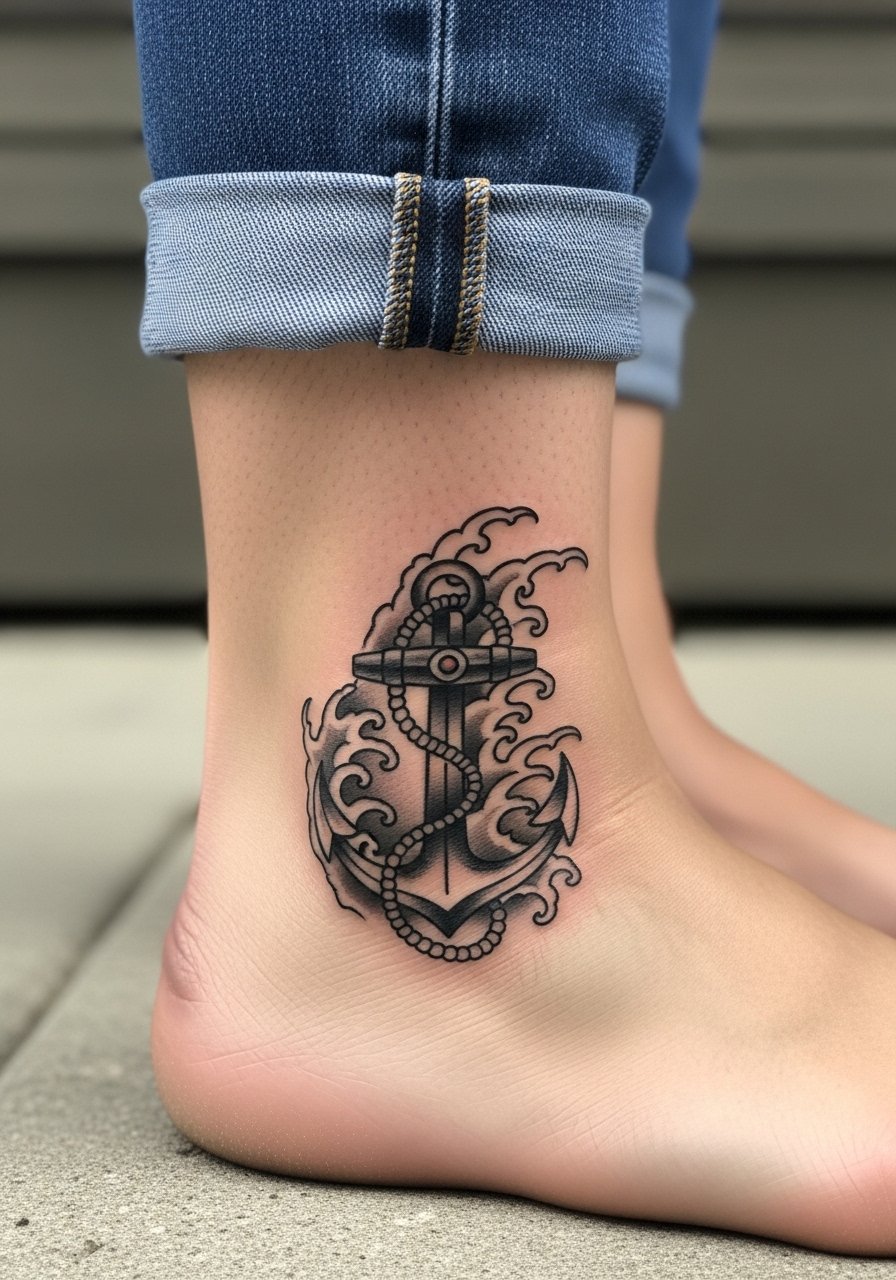
Ankle pieces take friction from shoes and socks, so thicker lines help. A three-inch anchor with bold waves finishes in one to two sessions and needs a small touch-up window if you are a runner or hike a lot. People often request tiny anchors that lose clarity after a year. For footwear, roll your jeans or wear sandals while healing, and try boat shoe loafers when you want to show it off.
14. UV-Reactive White Ink Accent
UV-reactive white ink is an experimental add-on for party-ready contrast that shows under blacklight. Discuss expectations clearly because white ink can fade faster in sun and may require seasonal refreshers. The controversy here is about durability. Some artists use UV selectively for highlights and advise regular touch-ups. Others avoid white ink on hands and wrists because of quick fading. If you go for it, plan a maintenance schedule and consider limiting the reactive spots to accents rather than large fills.
15. Knuckle Phased Negative Space Letters
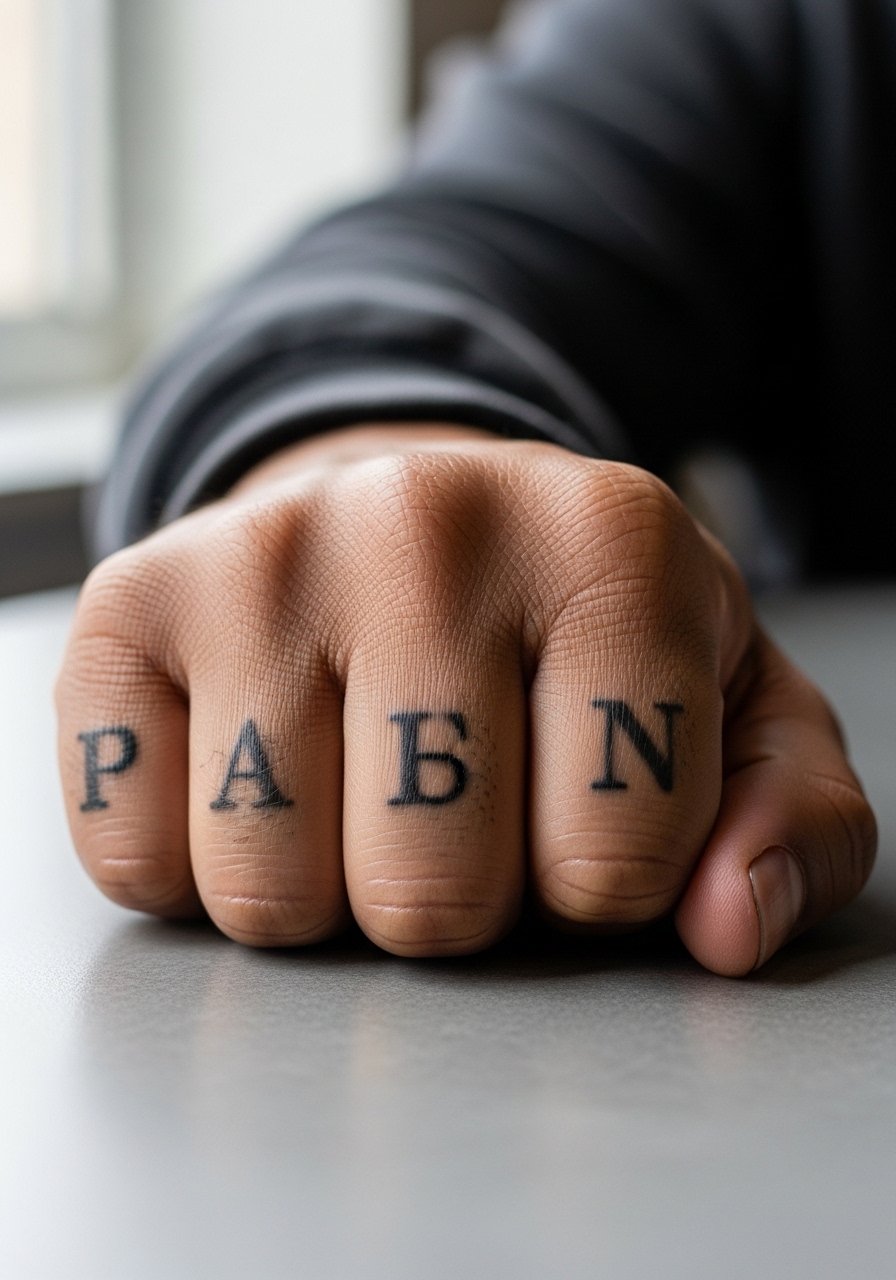
Knuckle work is high-friction and high-visibility. The phased negative space idea reveals letters when you curl your fingers and hides them at rest. Expect a delicate session and touch-ups at the six to twelve month mark. A common mistake is using fine script at knuckle width which fills in quickly. Be explicit in the consult about scale and how the reveal should look when you make a fist. Hand tattoos still affect some workplaces, so factor that into placement decisions.
16. Scar-Inverted Contrast Cover-Up
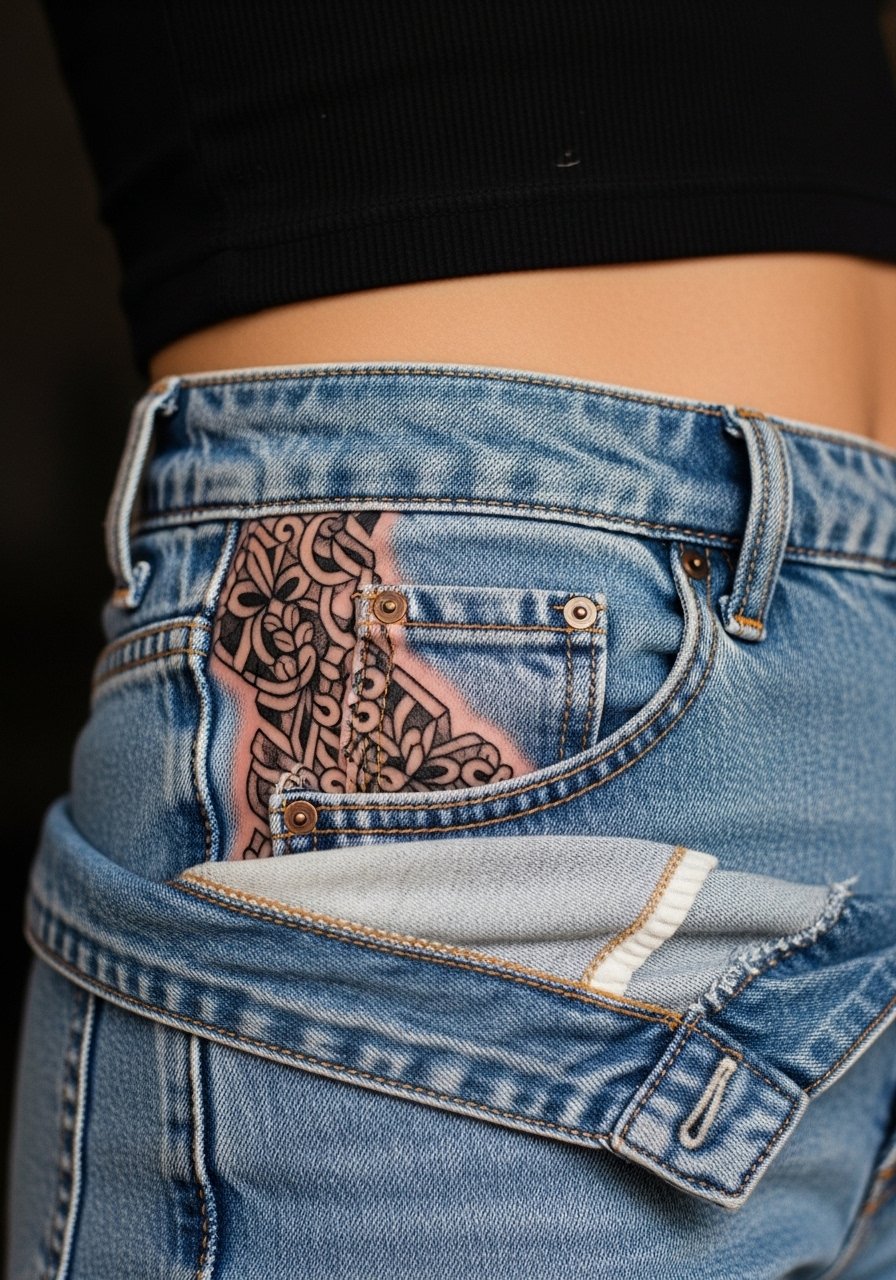
Using negative space to work with scar texture can be highly effective. Scar tissue accepts ink differently so expect a longer consult, a test patch if needed, and the possibility of different saturation results. Tell the artist you want to use the scar as part of the image rather than try to erase it. A mistake is treating scar skin the same as surrounding areas without planning touch-ups. For session wear pull on high-waisted denim or shorts so the artist has clear access without stretching the area too tightly.
17. High Contrast Script in Black Box
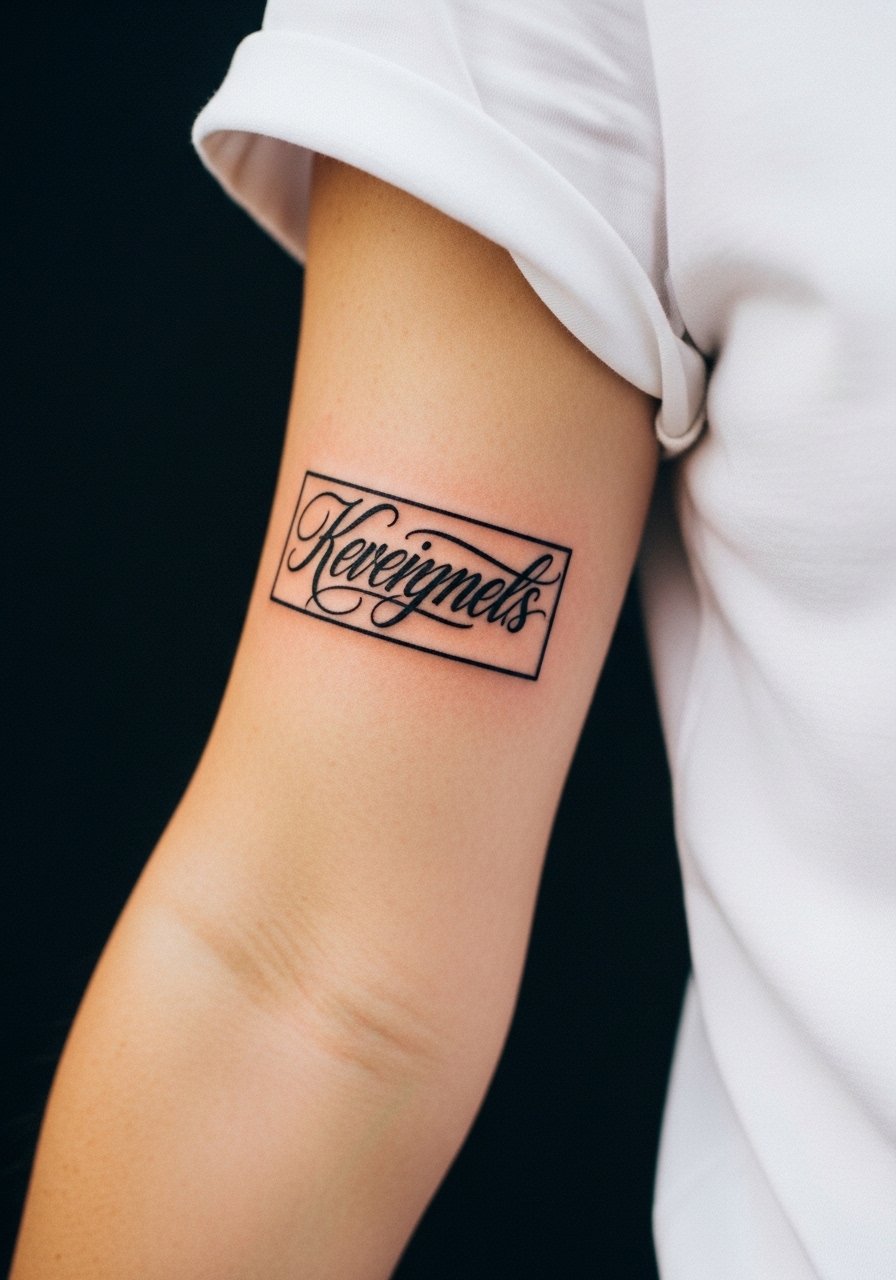
Script inside a saturated black block uses negative text for high legibility across skin tones. Keep the lettering weight high and avoid hairline scripts that vanish in solid fields. This is a one to two session wrist or forearm job and tends to need small touch-ups if you choose dense black. The common mistake is asking for tiny serifs inside tight boxes which blur. Style it with a crisp white cuff shirt with sleeves rolled to show the block cleanly.
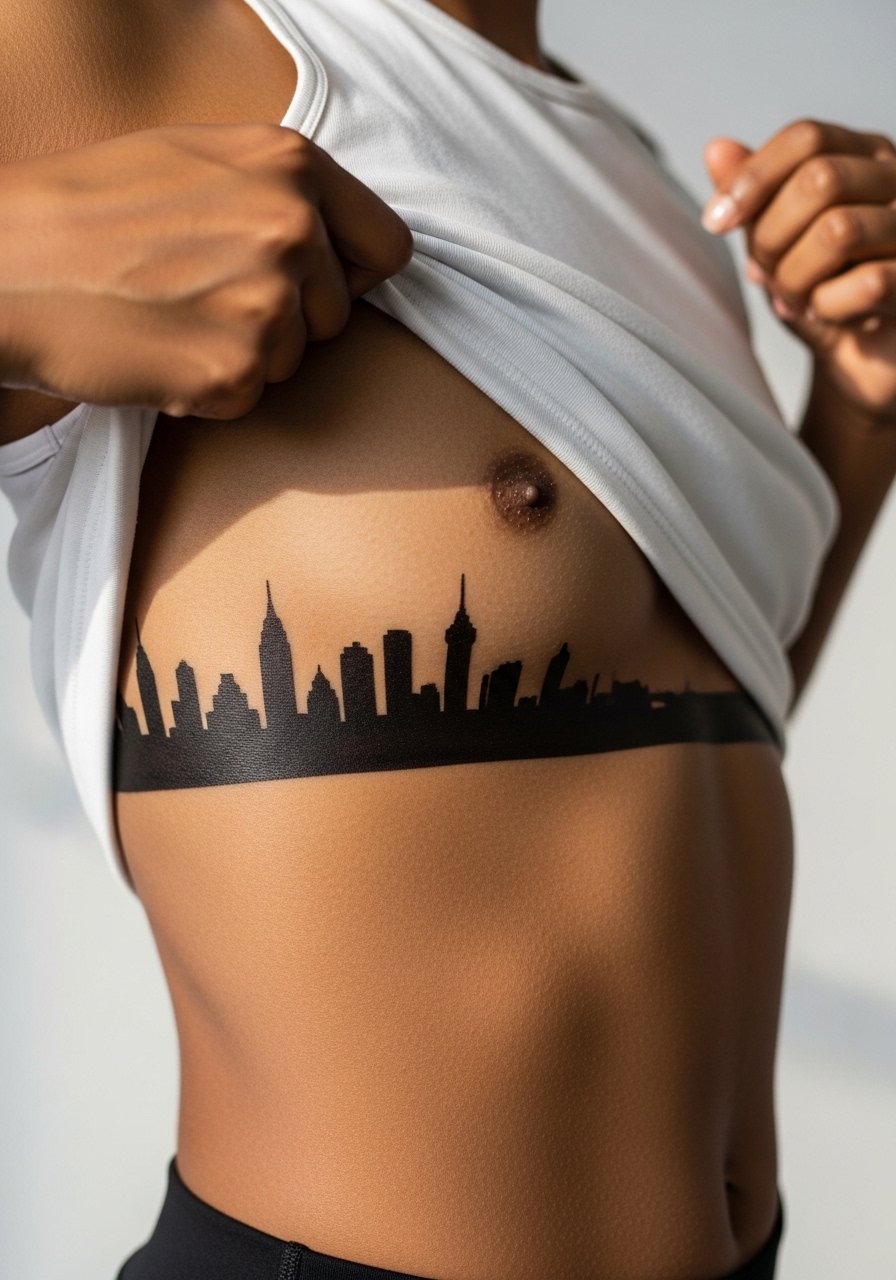
18. Silhouette City Skyline Band
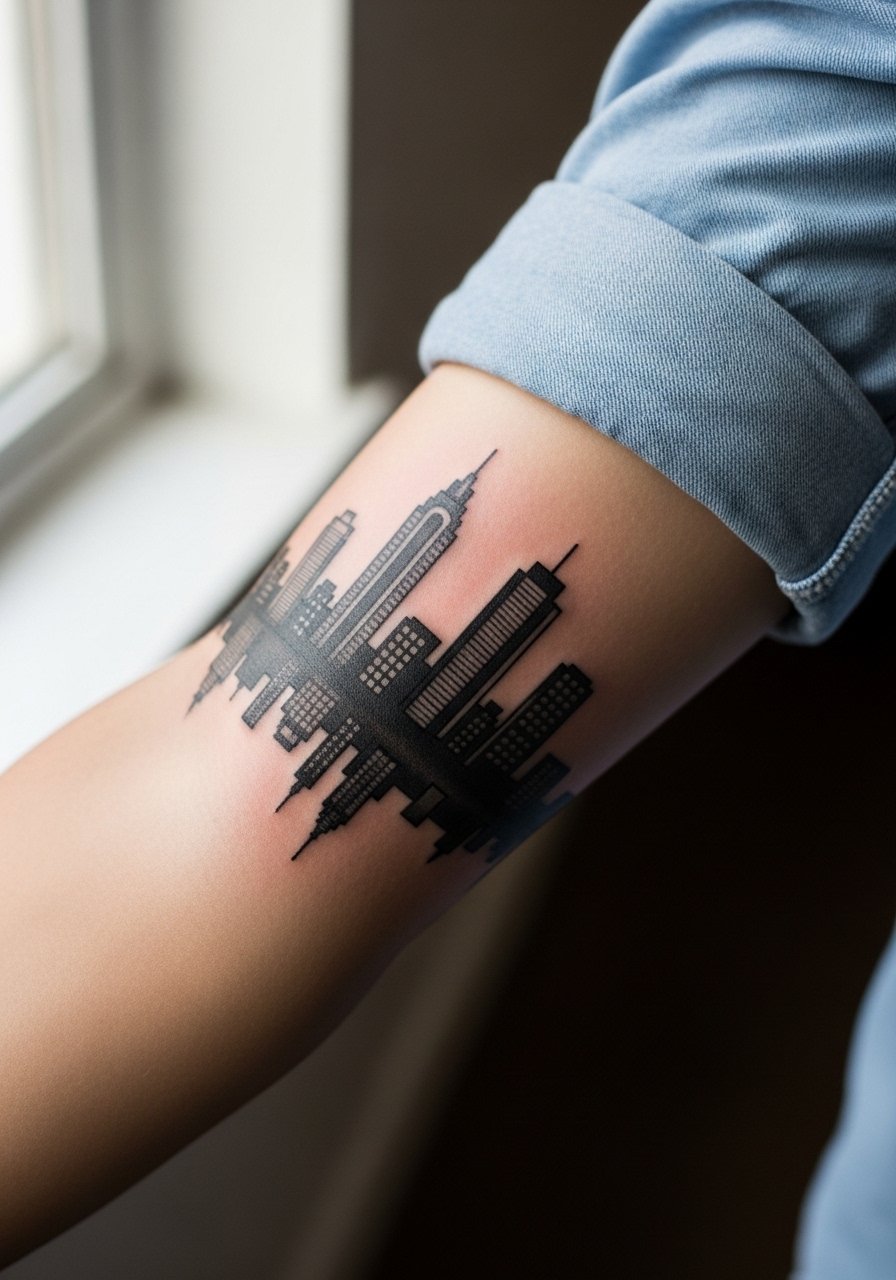
A skyline band reads best with simplified silhouettes rather than small architectural detail. Forearm wrap bands can be completed in one to two sessions. Avoid asking for too many windows or tiny spires that blur with a year of movement. For a daytime look, rolled sleeves or fitted black tees present the skyline clearly and align with casual wear.
19. High Contrast Baroque Frame Chest Piece
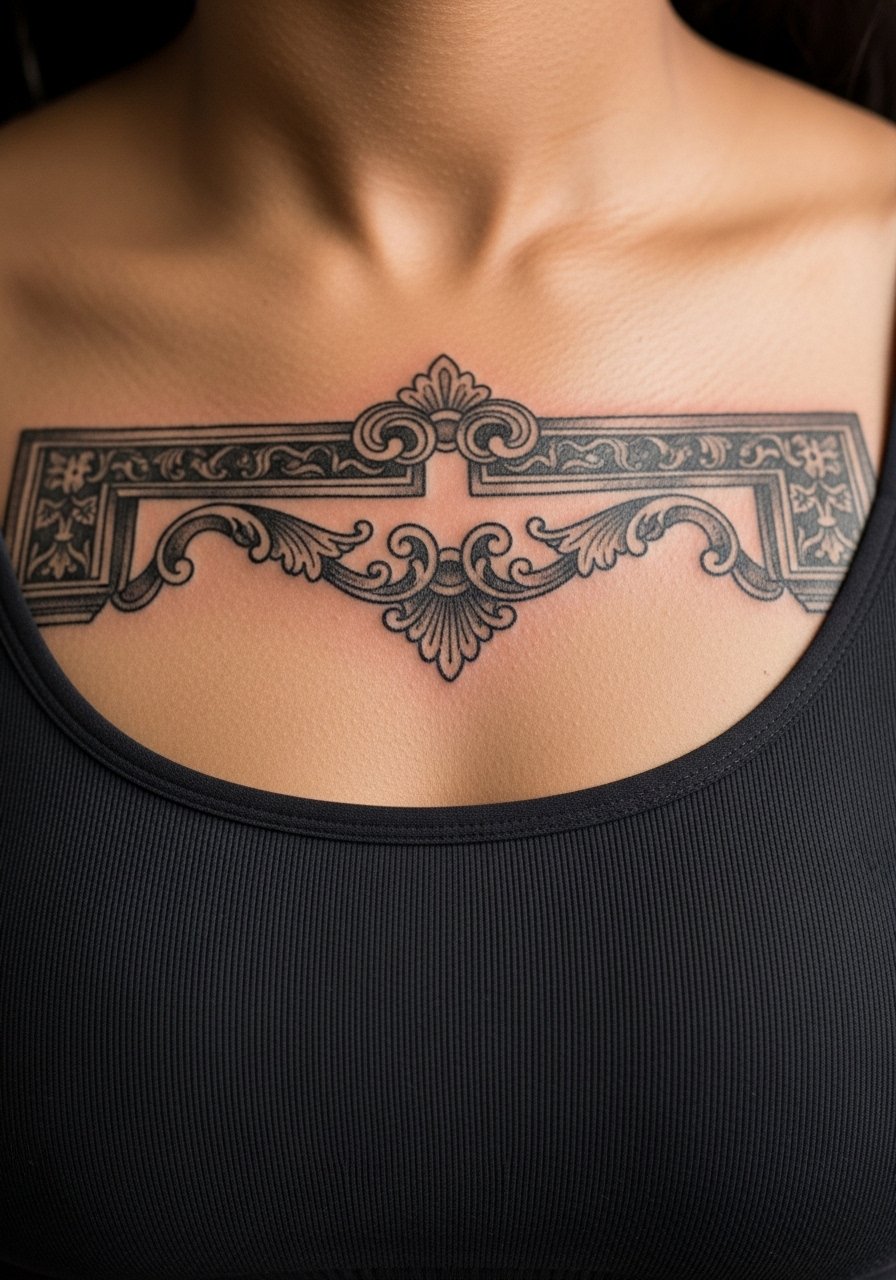
Sternum and upper chest work requires careful framing and often multiple sittings. Ornate frames look impressive when the artist balances thick outer lines with finer inner stippling. Pain is higher and check artist experience with chest curvature. The key mistake is over-crowding inner details which disappear as the skin stretches. Wear a fitted sports bra or a strapless top during the session for ease of access.
20. Blackwork Koi with Negative Water
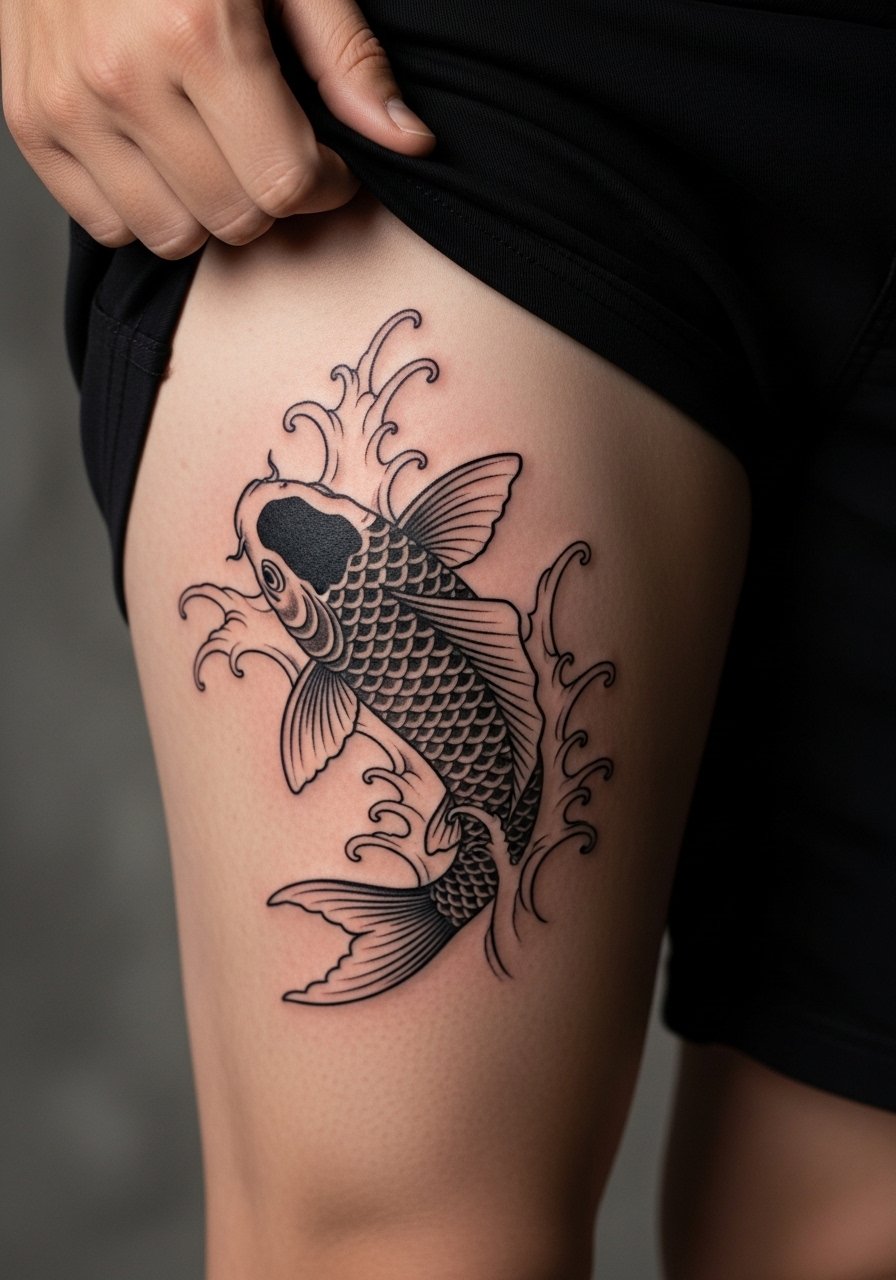
Koi in pure blackwork reads beautifully on thigh real estate. Use negative water currents to lift the fish from dense black backgrounds. The design takes two to three sessions depending on size and wants solid key outlines in the first pass. Common error is detailing scales too finely which softens after healing. For display, pair with asymmetrical black skirts that stop above the design.
21. Geometric Sleeve with High Contrast Gradients
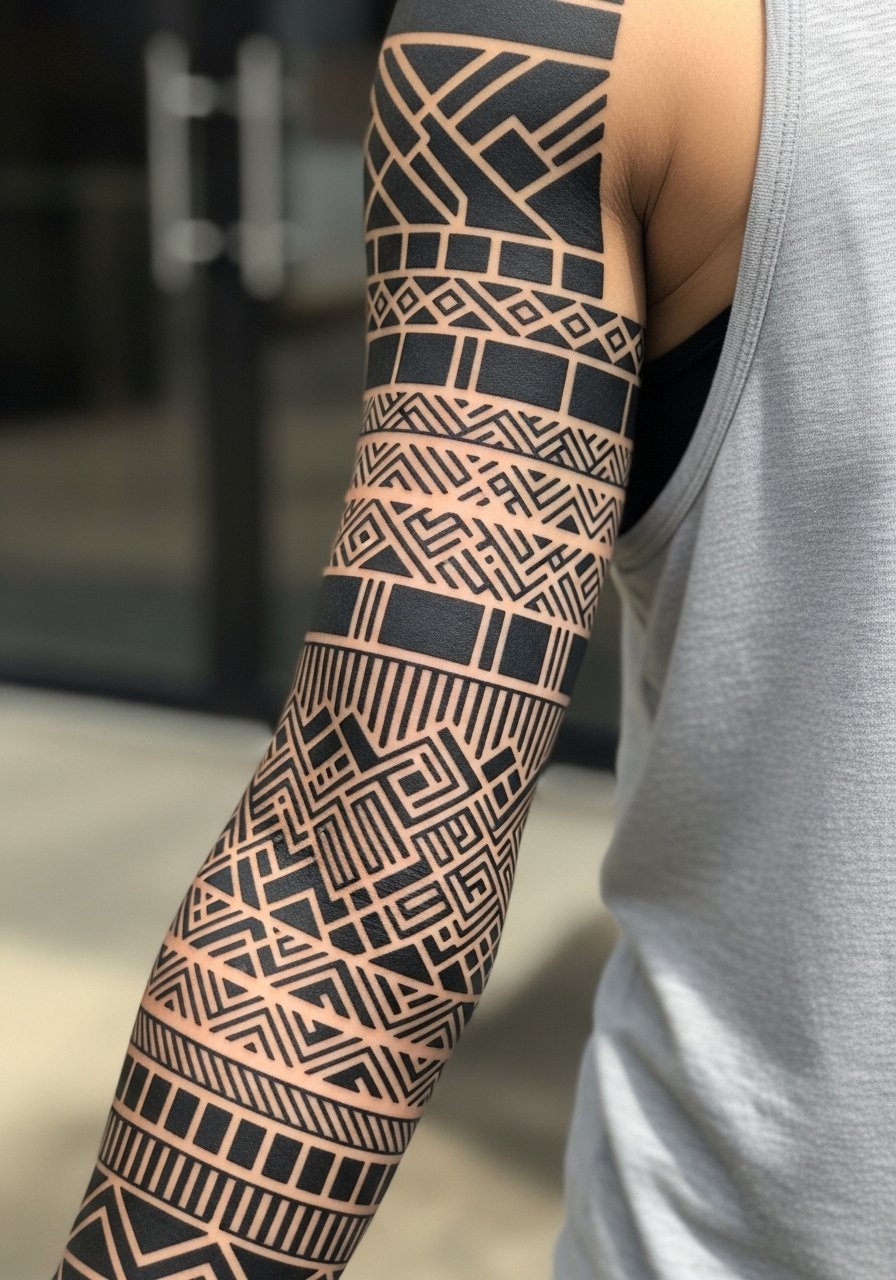
A full sleeve of contrasting geometry needs a staged plan. Build in three to four sessions and define which sections are negative space before the first pass. The aging advantage is that geometric edges often read well as they soften because the rhythm remains. A frequent mistake is mixing too many small patterns without a unifying scale. For session wear pick a loose tank top so the artist can work freely and you stay comfortable.
22. Constellation Finger Walk
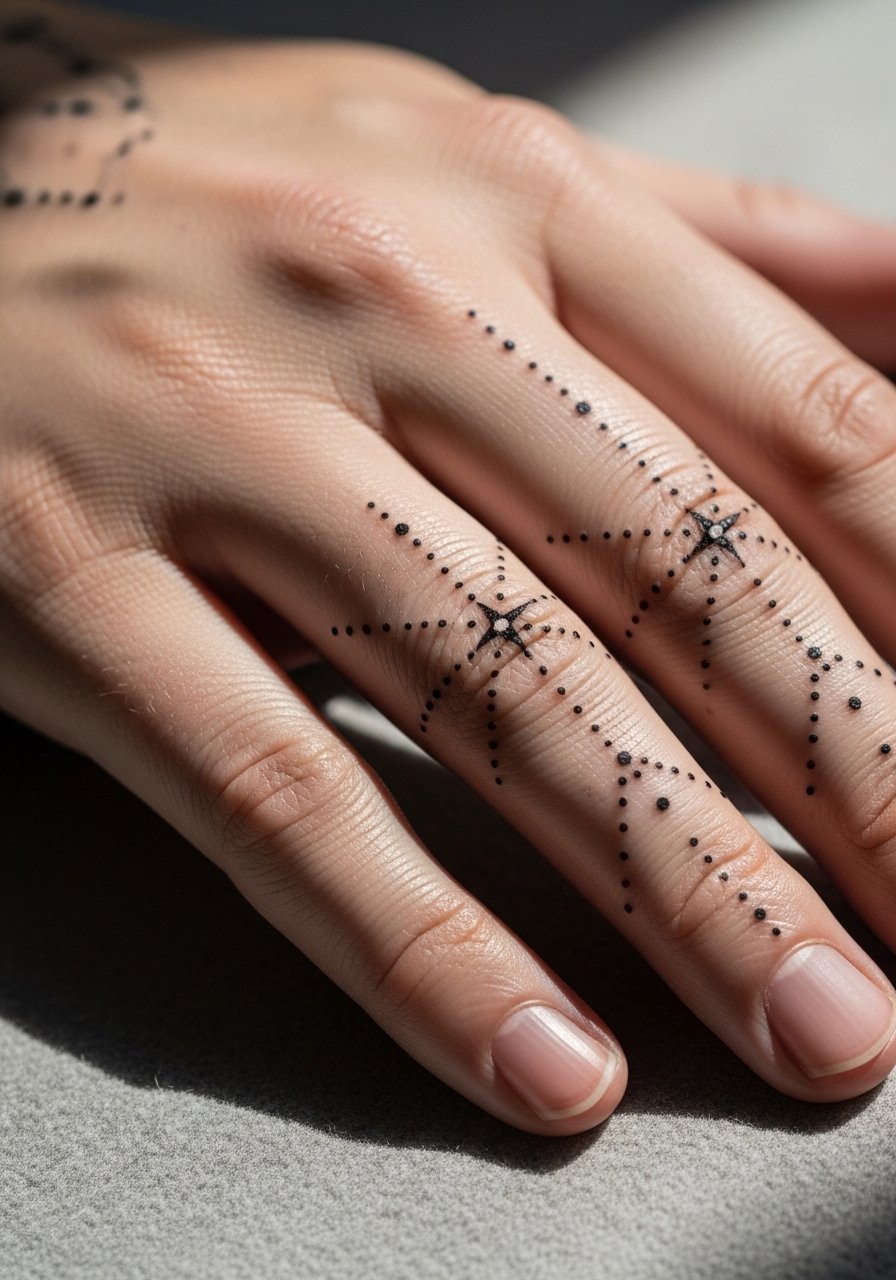
Finger tattoos fade quicker than most placements so scale is everything. Constellation patterns that use negative space and slightly thicker dot points hold longer than hairline connectors. Expect frequent touch-ups in the first two years. The main mistake is insistence on ultra-fine connectors that vanish under daily hand use. Keep the points slightly larger than you think and accept a maintenance schedule.
23. Sun and Moon Chest Pairing
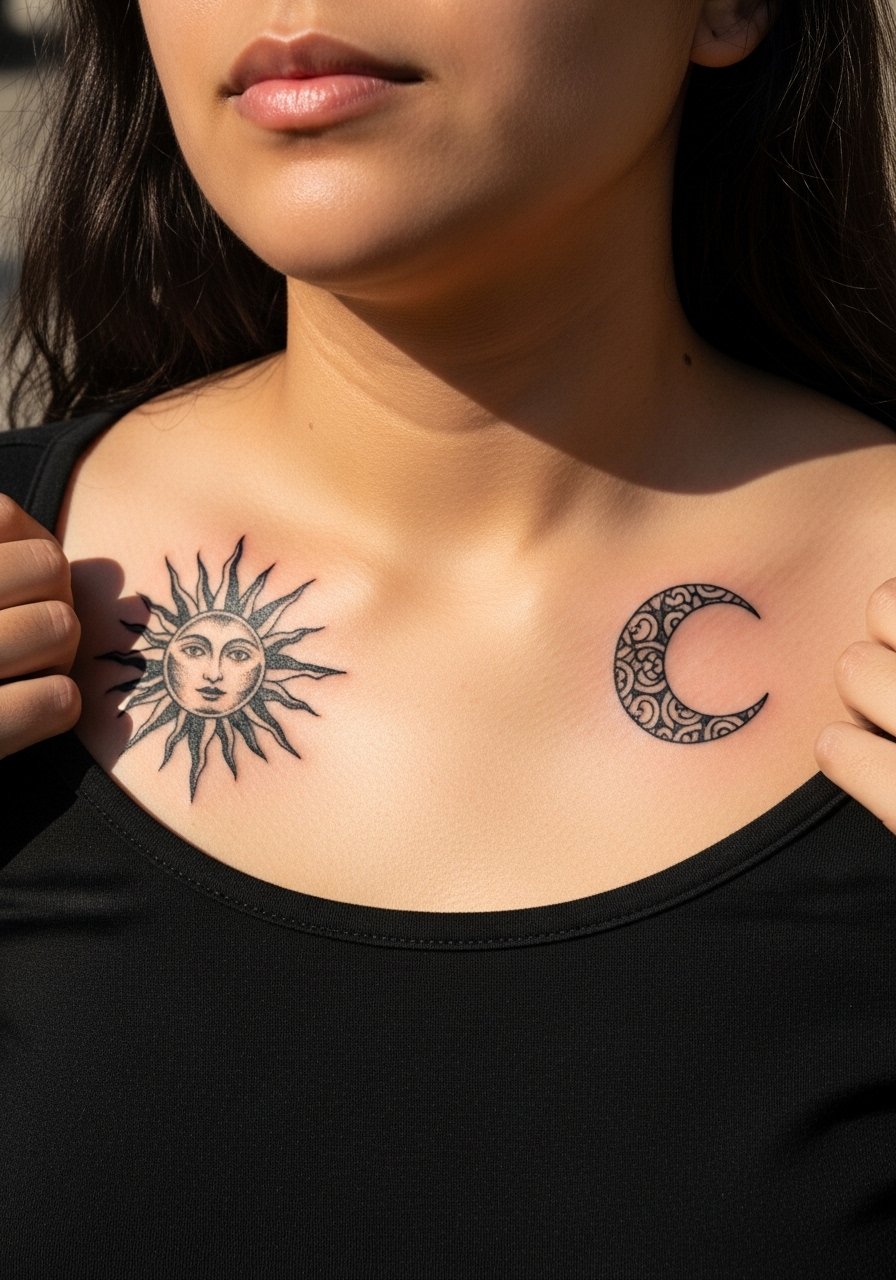
Pairing a sun and moon across the chest reads well when you balance solid fills with clear negative forms. The chest takes bold work well but is sensitive during sessions, so break into shorter sittings if needed. People often ask for tiny moon crescents that lose shape; scale up the negative curve so it keeps its silhouette after a year. For show, a wide-neck top or v neck tee frames each icon.
24. Blackwork Portrait with Stipple Halo
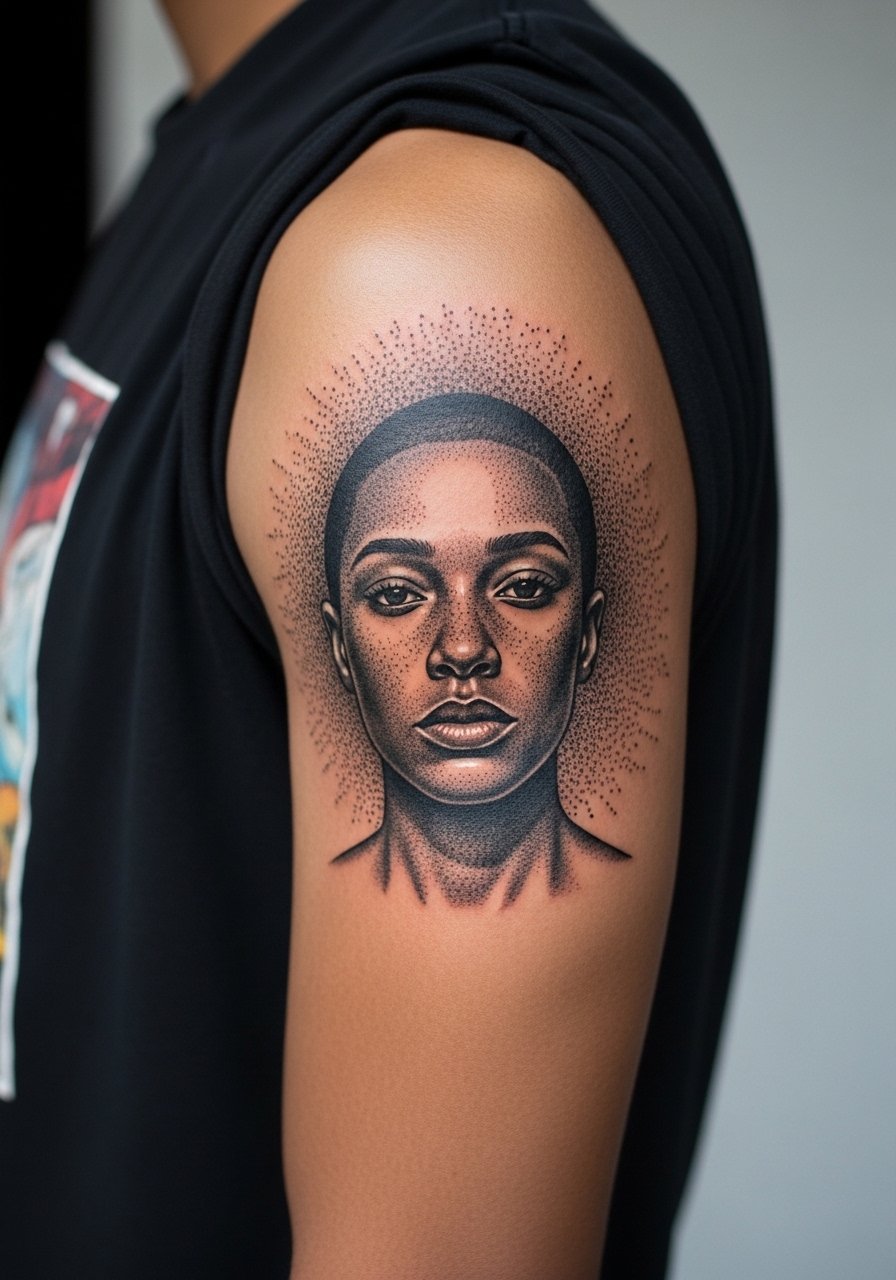
Portraits in blackwork need careful planning for contrast and a halo to set the face apart from dense fills. Ask for stipple shading around the head to maintain separation as the central tones soften. A common error is pushing too much detail into midtones which merges during healing. Upper arm portraits usually take multiple sessions and respond well to staged saturation. Pair with rolled sleeves and a simple chain for a gallery look.
25. Negative Space Mountain Range Across Sternum
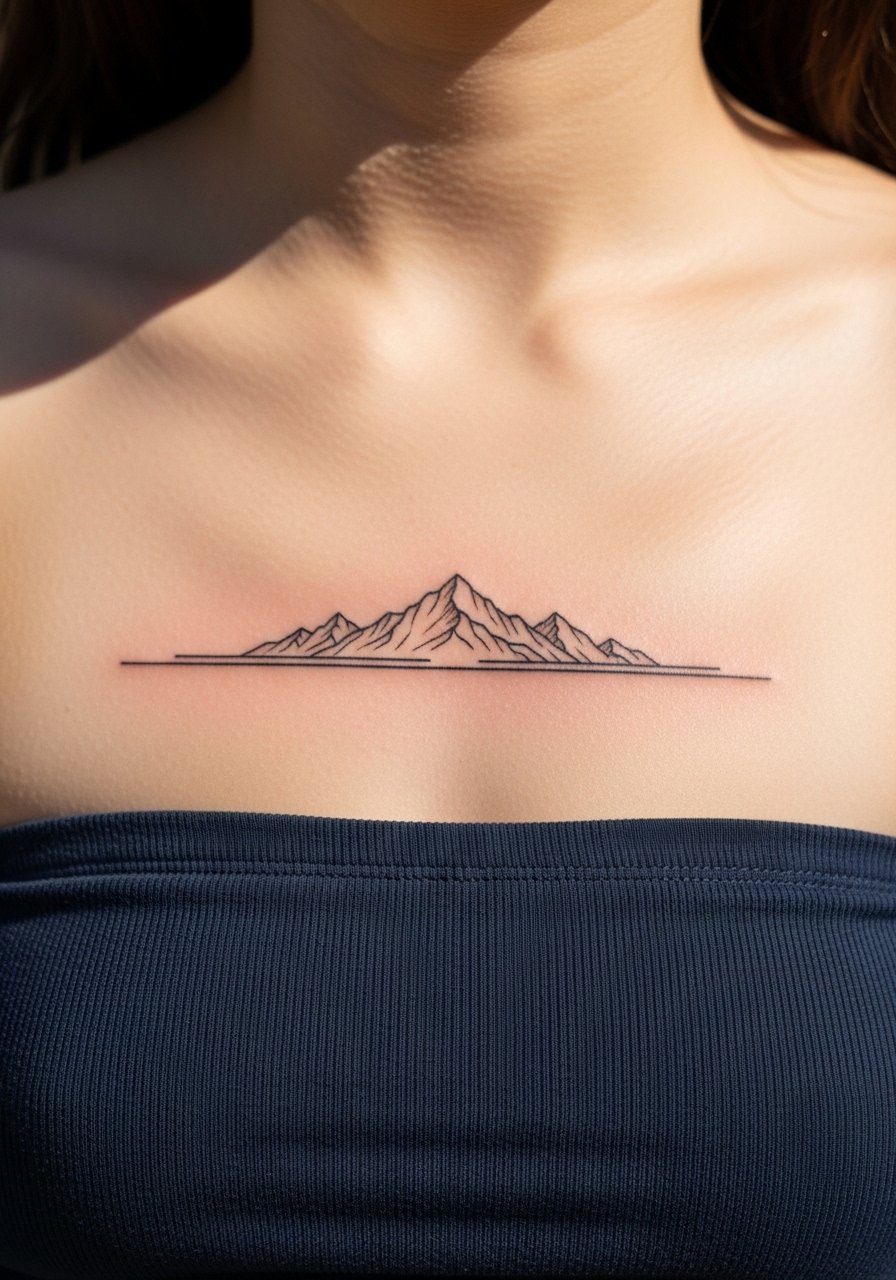
Sternum placements demand scale and a calm plan. A negative space mountain uses skin as ridge lines against a saturated sky. Pain is above average and healing benefits from tight session scheduling to avoid too many changes in skin tension. A common mistake is drawing peaks too thin which vanish once swelling reduces. Wear a bandeau or fitted top so the artist can access the area without full chest exposure.
26. Magnetic Implant Shadow Play Concept
This experimental idea pairs blackwork with external magnetic accessories to create shadow illusions. It is niche and requires clear planning about safety and how the piece will look with and without the magnet. Expect conversation about long-term maintenance and potential touch-ups as skin and layers respond. If you try it, test the accessories with a temporary stencil first so the effect reads the way you expect.
27. Negative Space City Silhouette Rib Band
Rib bands are dramatic but sensitive. A negative space skyline band around the ribs can age well if spacing is generous and line weights are slightly bolder than you expect. Expect multiple short sessions and plan for a touch-up in the first year. The frequent mistake is packing too many small features into the skyline at narrow widths which disappears as skin moves during breathing.
Frequently Asked Questions
Q: Will high contrast tattoos blur faster on darker skin tones?
A: From what I have seen, negative space and thick saturation read differently across tones. The fix is line weight and deliberate skin gaps rather than hairline detailing. Ask your artist for examples on similar skin tones and consider slightly larger scale and heavier outlines where needed.
Q: How should I budget for a high contrast sleeve built over multiple sessions?
A: Plan for staged sessions and add a buffer for at least one touch-up within the first year. Many people I know lock in multi-session pricing when possible to avoid price increases. Bring clear references and ask the artist for a session plan so you know how much time to save.
Q: Do UV-reactive white ink accents hold up in sunlight and on dark skin?
A: UV-reactive accents tend to need more maintenance and show strongest under blacklight rather than daylight. On darker skin they can still pop when used sparingly as highlights, but expect seasonal fading and plan for periodic refreshers.
Q: Should I use Saniderm or dry healing for dense blackwork pieces?
A: Artists and forums split into two camps on this. One side prefers Saniderm for a controlled, faster surface heal. The other side favors dry healing to avoid trapped moisture. The right choice depends on your skin reactions and the artist's workflow. Talk through their preferred method and why they use it before booking.
Q: What should I wear to a ribcage or sternum session for comfort and access?
A: Wear a fitted sports bra or a bandeau that you can push slightly aside so the artist sees just the tattoo area. That keeps the rest of your torso covered while giving clear access to the work zone.
Q: How often do hand, wrist, and finger high contrast pieces need touch-ups?
A: Expect touch-ups at six to twelve months more often than on the torso. These areas see friction and washing that fades fine elements. Planning for a small maintenance window keeps the contrast readable.
Q: How can I find an artist who understands negative space work without naming anyone?
A: Search local tags like #HighContrastTattoo and filter portfolios for negative space examples. Use platforms that let you filter by style and city and look at healed photos on community threads so you can see how the work ages on real skin.
