
Fine line geometric pieces are everywhere on saved boards, and the gulf between what looks great in a photo and what still reads clean in five years is wider than most people expect. I've noticed the same missteps in consultations at five shops across Brooklyn, from undersized mandalas that blur to wrist lines that lose definition. Keep the next few ideas in mind and the first section will show why spacing matters.
1. Micro Triangle Chain on Inner Forearm
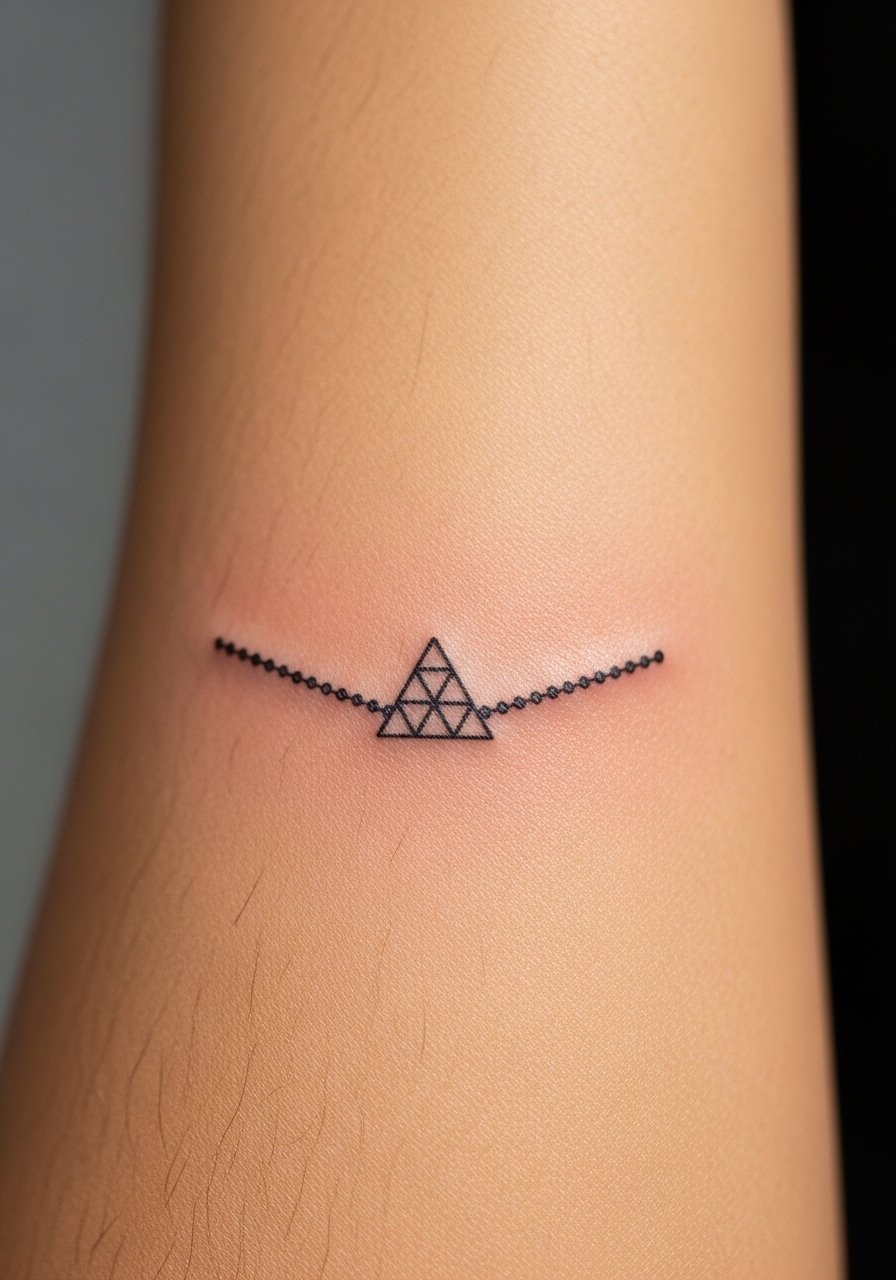
I keep steering people toward the inner forearm when they want tiny geometry because the canvas is flat and ages predictably. Fair warning, the inner forearm is a two out of ten on most pain scales, but the session time is short and the lines hold well if you give them breathing room. Tell your artist you want uniform negative space between shapes and slightly heavier linework than on paper. The common mistake is asking for ultra-fine single-pixel lines set too close together, which tends to merge by year three. For show-off outfits, roll up a linen button-down to keep the forearm visible and let the geometry read clean.
2. Mini Compass on the Wrist
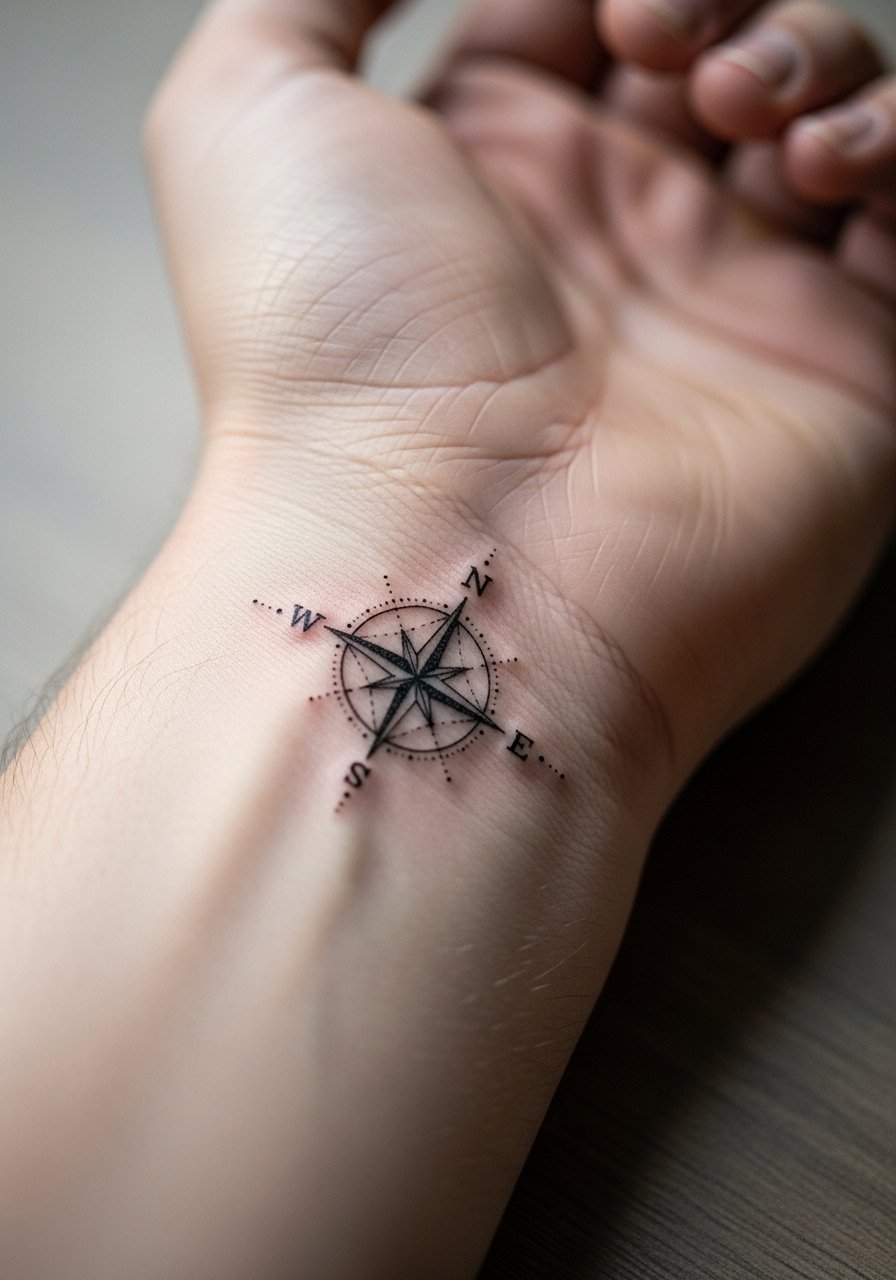
Wrist pieces are popular because they read at everyday glance, but the wrist has friction from watches and sleeves so expect slower saturation. Pain is a five out of ten here and a single short session usually does the job. Ask your artist for slightly thicker primary lines and open negative space in the center so the compass still looks crisp at two years healed. A common error is cramming tiny details into a postage-stamp size, which can blur quickly. Pair this design with a thin chain bracelet that sits just below the tattoo so it frames the compass without rubbing.
3. Constellation Dots on the Ankle

Ankle tattoos feel delicate in person but they get a lot of rubbing from shoes and socks, so plan for touch-ups. The session is usually quick and the pain registers around a four to five. In consultation, explain you want spaced dots with a light stipple connector rather than heavy filled shapes. The version that ages poorly is dense black fills at the ankle because friction softens the edges fast. For showing this off, a pair of low profile sandals or cropped jeans work well and keep attention on the constellation.
4. Tiny Hex on the Side Finger

Finger tattoos are convenient but they carry higher blowout risk and fade faster because of constant washing and movement. Pain is sharper and the session can feel quick but intense. Ask for single-pass simple linework and be ready for a touch-up at year one or two. One camp warns that fingers will never hold fine geometry long term. The other camp says that with bold, spaced lines and acceptance of periodic touch-ups it can stay wearable. Discuss this with your artist so you set expectations. For styling, a slim stackable ring set highlights the placement without covering the ink.
5. Collarbone Fan of Triangles

Collarbones take a medium pain level and they show well with low-slung shirts. The advice I give in consultations is to space each triangle and avoid dense cross-hatching near the bone, because that is where lines blur first. A frequent mistake is pushing a mandala-style density right onto the collarbone which ends up losing definition from the bone's subtle curve. At six months most collarbone geometry looks crisp, at two years thinner lines may soften if they were too delicate at the start. Pair this with a wide-neck tee for nights out so the geometry reads clean.
6. Tiny Mandala at the Base of the Neck

Neck pieces can carry social consequences in some industries so think through visibility before booking. The skin at the nape receives light sun and tends to hold fine detail moderately well. In the chair the area is a four out of ten for pain. When you consult, ask for dot work spacing and a slightly larger scale than the phone photo to avoid future muddling. Artists are split on tiny neck mandalas. One camp worries that regular sun exposure and movement blur lines within a few years. The other camp maintains that proper spacing and sun habits keep the pattern readable. For session comfort bring a wide-neck shirt you can pull aside without exposing the chest.
Pack Smart
Those wrist, finger, ankle, collarbone, and neck pieces above need small but specific prep items that smooth the session and early healing.
- Stencil transfer paper kit. Lets you preview placement directly on skin which is helpful for the wrist and collarbone pieces above.
- Topical numbing cream. Applied 30 to 45 minutes before can ease the sharp sensation on fingers and neck without affecting linework.
- Thin protective film roll. Keeps ankle and wrist tattoos clean during the first week of friction from socks and watches.
- Fragrance-free gentle body wash. Cleanses healing areas without stripping delicate linework on the forearm and neck.
- Aquaphor Healing Ointment. Thin layers in the first few days lock in moisture for small fine-line pieces without clogging the needle channels.
7. Geometric Sunburst on the Shoulder
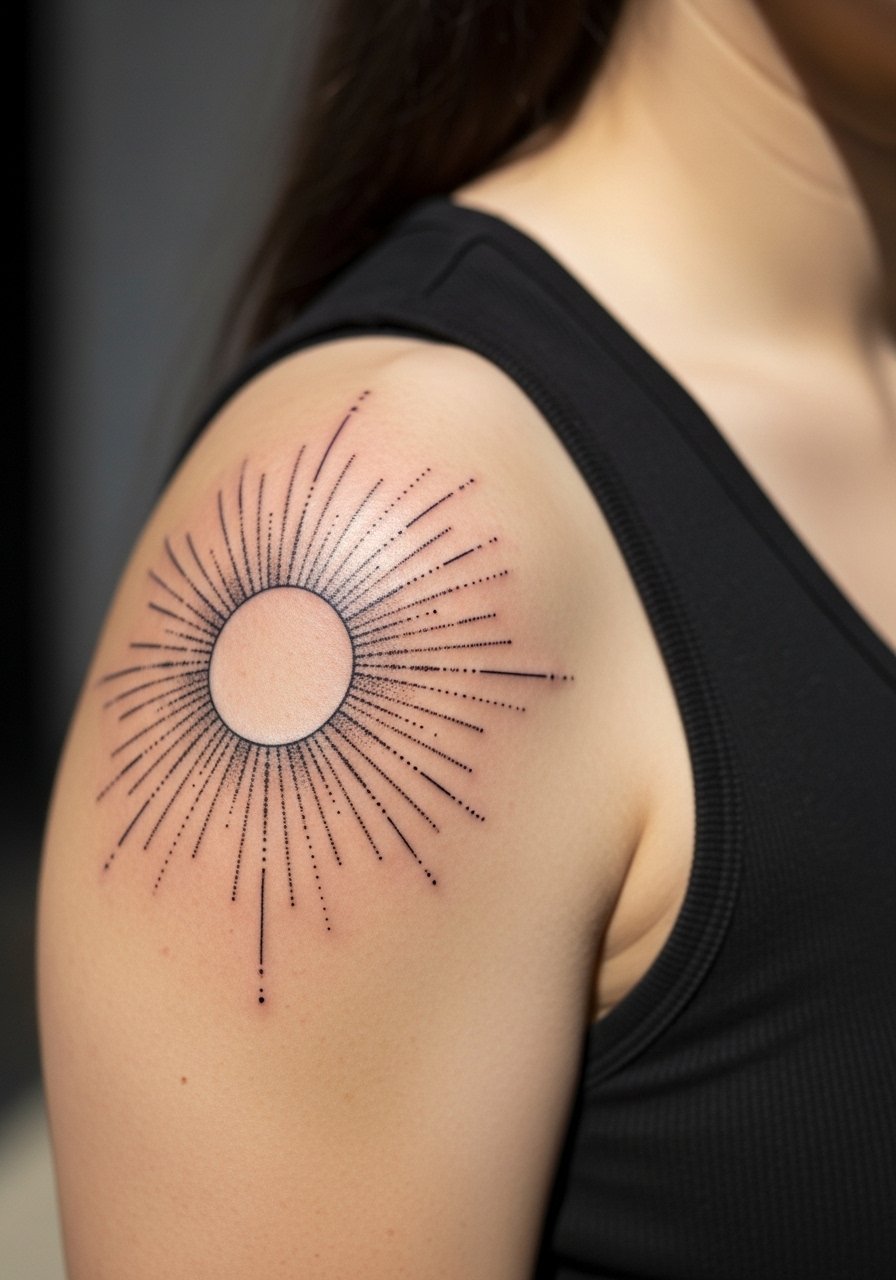
Shoulder tattoos tend to feel easier than ribs and they age well because the skin sits more steadily. Sessions run one to two hours depending on saturation. Tell your artist you want a radial balance with negative space along key rays so the sunburst does not look like a solid blotch after a few years. A common mistake is packing too many thin inner rays into a small area which leads to softening. This placement looks great with sleeveless summer tops. For evenings try an off-shoulder blouse that frames the piece.
8. Stacked Squares Along the Ribcage
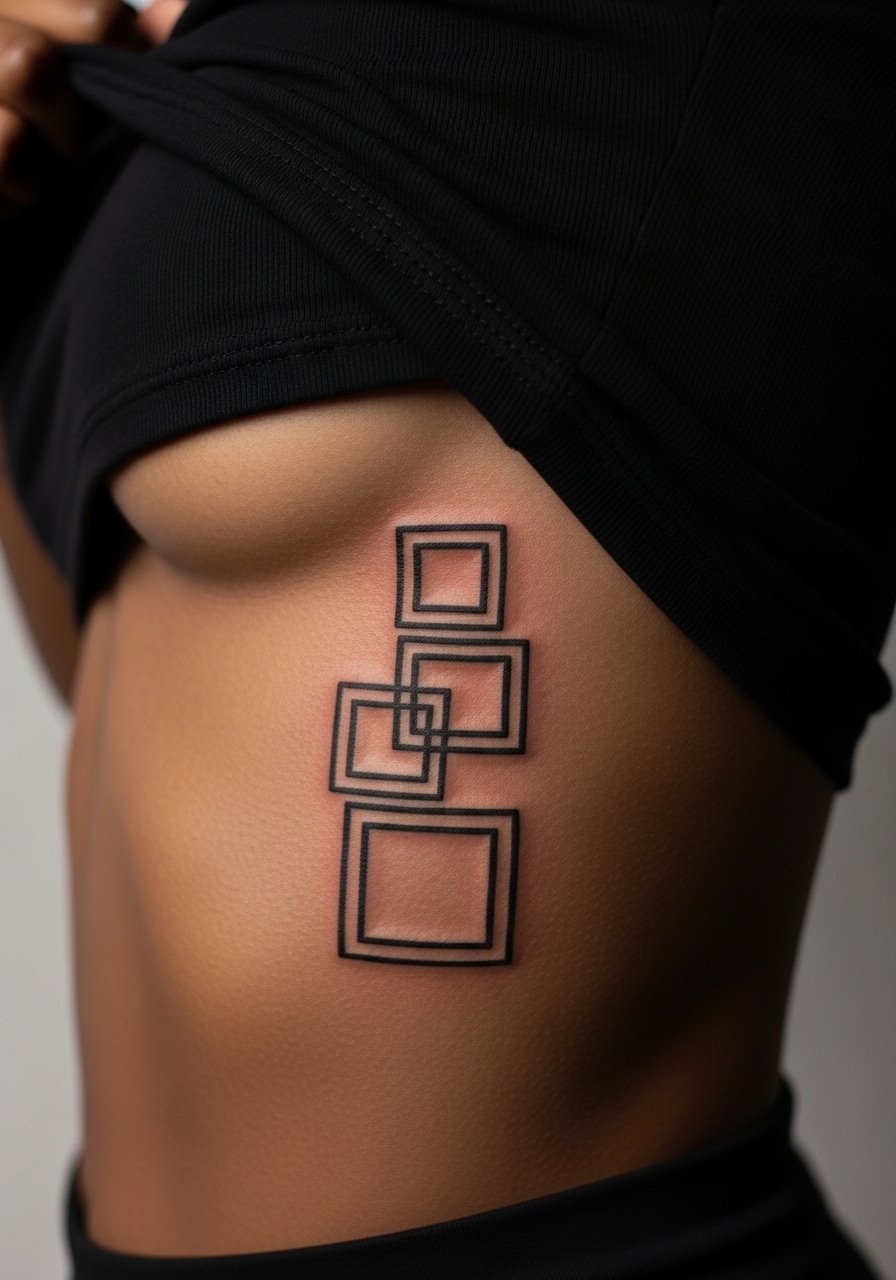
Fair warning, the ribcage is often a higher pain zone and the surface moves with breathing which affects how lines heal. Expect a multi-session appointment if you want even saturation. Artists split on fine geometry here. One camp says the stretch and thin skin blur tiny lines within two years. The other camp argues that larger scale geometry with deliberate spacing settles fine. If you choose the ribcage, ask for stepped spacing and plan for a touch-up around year two. For session comfort wear a cropped tank you can lift and re-drape easily.
9. Minimalist Arrow on the Upper Arm

Upper arms are forgiving and show geometric detail well. Pain is low, and one session usually covers this size. For a lasting arrow, ask for slightly bolder main shaft lines and open negative space inside decorative facets. People often ask for hairline detail that looks lovely fresh but loses crispness by year five. A practical session tip is to wear a short-sleeve shirt with rollable cuffs so the artist has clean access without exposing the torso.
10. Geometric Wave Along the Calf
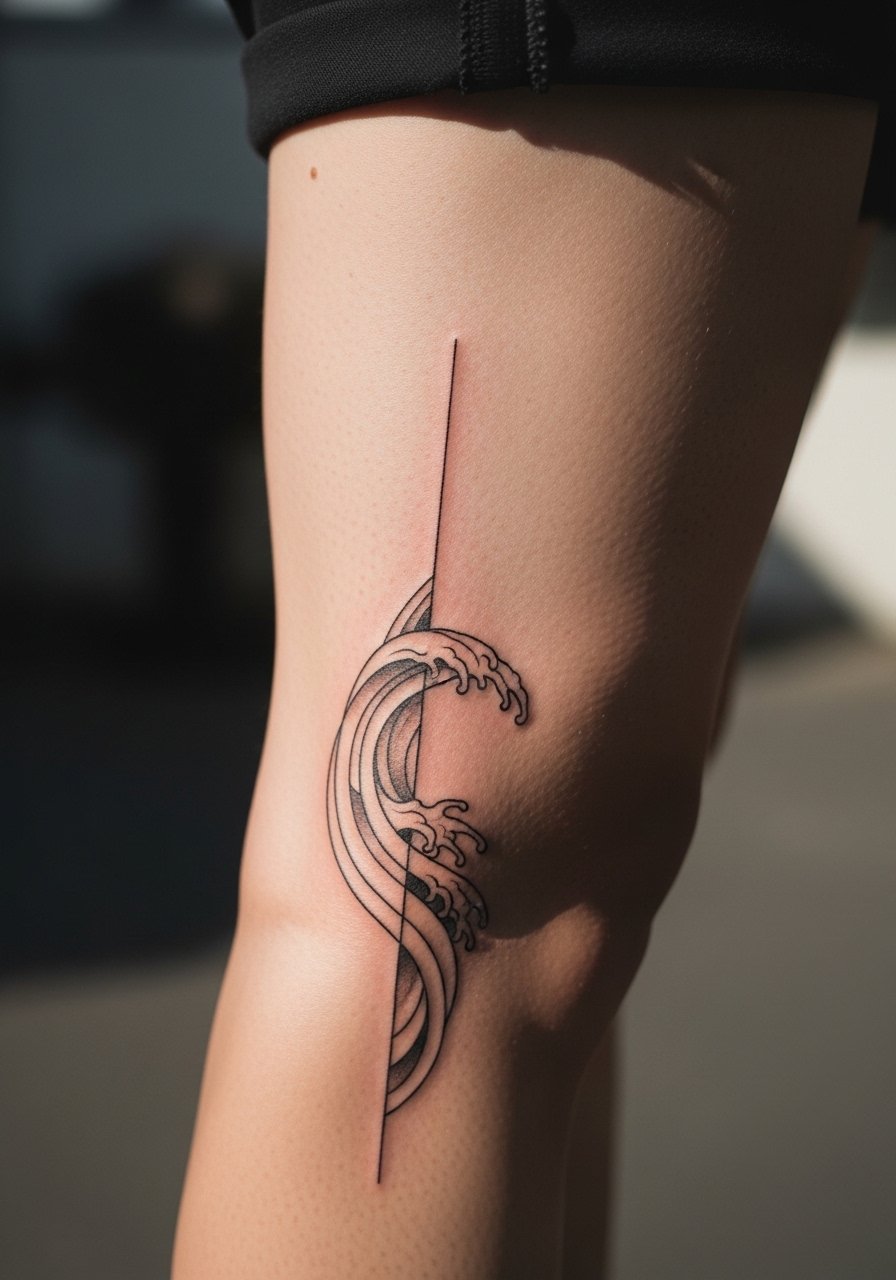
Calf pieces tolerate heavier saturation and tend to age favorably because they do not sit in high-friction zones. Sessions are moderate in length and pain is typically a three to four. In consultation ask for gradient spacing between wave elements so the pattern breathes rather than compresses. A common mistake is trying to translate a curving city skyline into a tiny band; scale matters here. For nights out, cropped trousers or a flowy midi skirt shows the calf design without crowding it.
11. Geometric Heart on the Sternum

Sternum tattoos can be sensitive and they require careful clothing choices for the session. Pain is higher and breathing can make precise lines trickier. When you book, tell the artist you want modest scale and bold outer contours with inner negative space. A frequent error is over-detailing in the midline which becomes a blurred block over time. For appointment-day comfort wear a fitted sports bra you can zip or pull down slightly without exposing more than the sternum.
12. Interlocking Circles on the Back of the Neck

Back-of-neck work is subtle and often visible with a low bun or short hair. The area is a three to four on pain and generally keeps detail well if lines are spaced. Tell your artist you prefer bold outer rings and sparse inner connections. The mistake is requesting micro-texture inside the rings which crowds the design when healed. For showing this off, a low ponytail and a wide-neck sweater frame the piece.
13. Chevron Anklet Band

Anklet bands look like jewelry but they face constant abrasion from socks and shoes. Expect fading and a likely touch-up around year two. Session time is short but the area can be sensitive depending on bone proximity. Ask your artist for an even chain of chevrons with slightly increased outer line weight. The typical mistake is dense interior shading which softens under daily friction. Pair this with low cut trainers or sandals so the anklet reads like real jewelry.
14. Dot Grid on the Inner Bicep

Inner biceps are a soft area that can take fine dot work nicely, but the skin shifts with muscle movement which affects long-term crispness. Pain is a five out of ten and sessions can be interrupted for comfort. When you consult, ask for slightly wider spacing between dots and for the artist to map the grid on the arm, not the photo. A common error is treating the inner bicep like flat paper and ignoring how the pattern curves when the arm moves. For the session wear a sleeveless tank so the artist has clear access.
15. Geometric Fox Outline on the Thigh
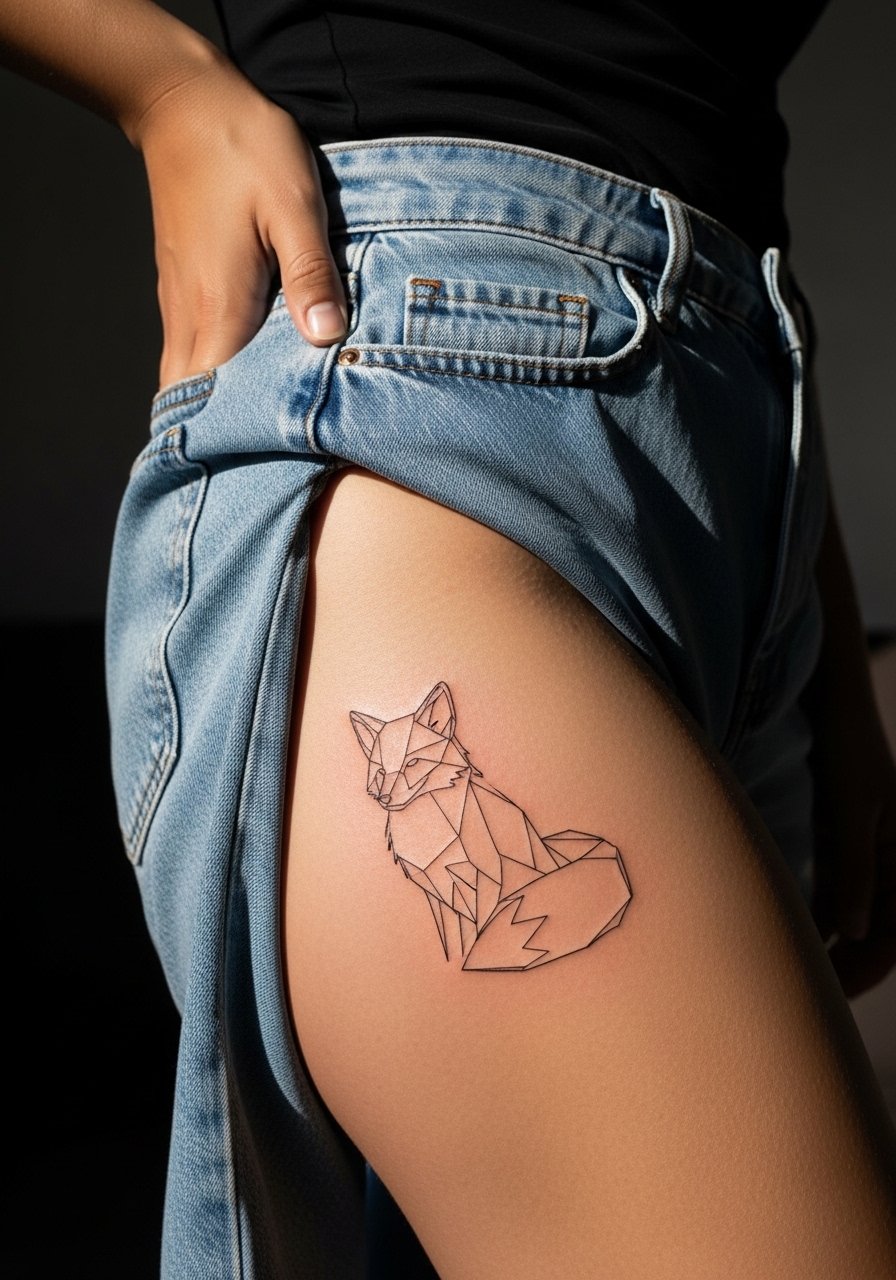
Outer thigh tattoos have generous canvas and heal predictably. Pain is lower here and sessions can be longer without interruption. For a geometric fox suggest to your artist to use clean facet lines and leave inner negative shapes open to avoid a blotchy fill. A rookie mistake is packing small facets too close, which lose definition after a few years. For the session, loose shorts or a high-waisted denim make access easy and comfortable.
16. Symmetric Diamond Between the Shoulder Blades
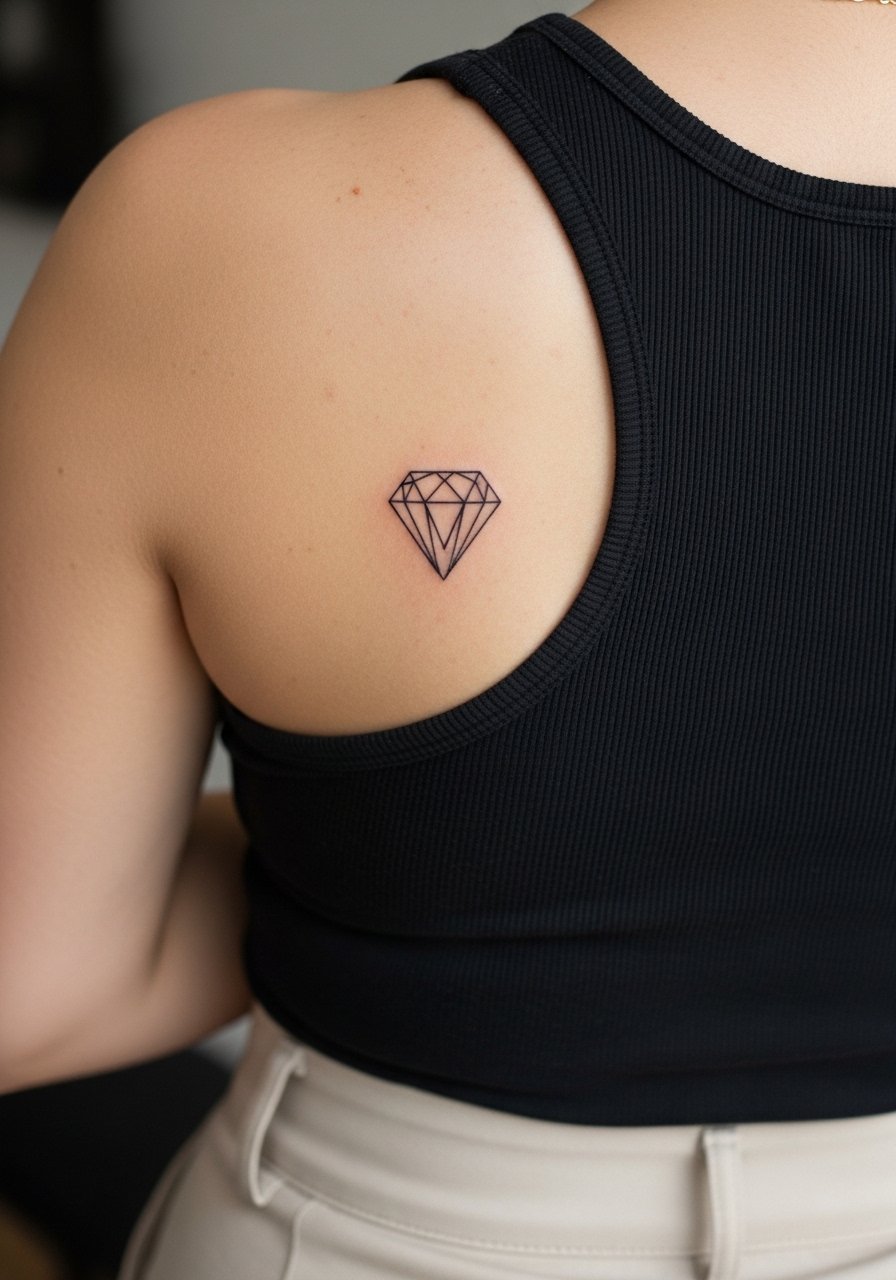
Mid-back geometry reads as subtle peeks under clothes and ages well because the skin is stable. Sessions are moderate and pain is usually a three to four. Tell your artist you want a centered diamond with clear negative space around it to prevent crowding when stretched. A common error is over-detailing inside the diamond which loses crispness. For showing it off, open-back tops or a strappy dress reveal the placement without overexposure.
17. Concentric Rings on the Palm Edge

Hand-edge tattoos are high risk in terms of longevity because of constant use, washing, and friction. Expect touch-ups and possible fading within a year or two. The session itself can feel sharp and the ink sits near the epidermis which increases blowout risk. Ask your artist about pigment choice and accept that maintenance may be needed. One camp says hands are not suitable for fine geometry because of rapid fading. The other camp accepts frequent touch-ups as part of the plan. If you still want it, pair the look with a thin leather cuff that complements the lines without covering them.
18. Origami Bird of Lines on the Clavicle

Clavicle placements show beautifully when scaled correctly. Pain is moderate and the bone can transmit sensation during inking. In a consultation suggest leaving airy negative space around wings so the origami facets do not merge over time. The typical mistake is compressing too many facets into a compact piece which softens as it heals. For show-off wear a boat neck top that frames the clavicle without covering the bird.
19. Geo-Flower on the Hip
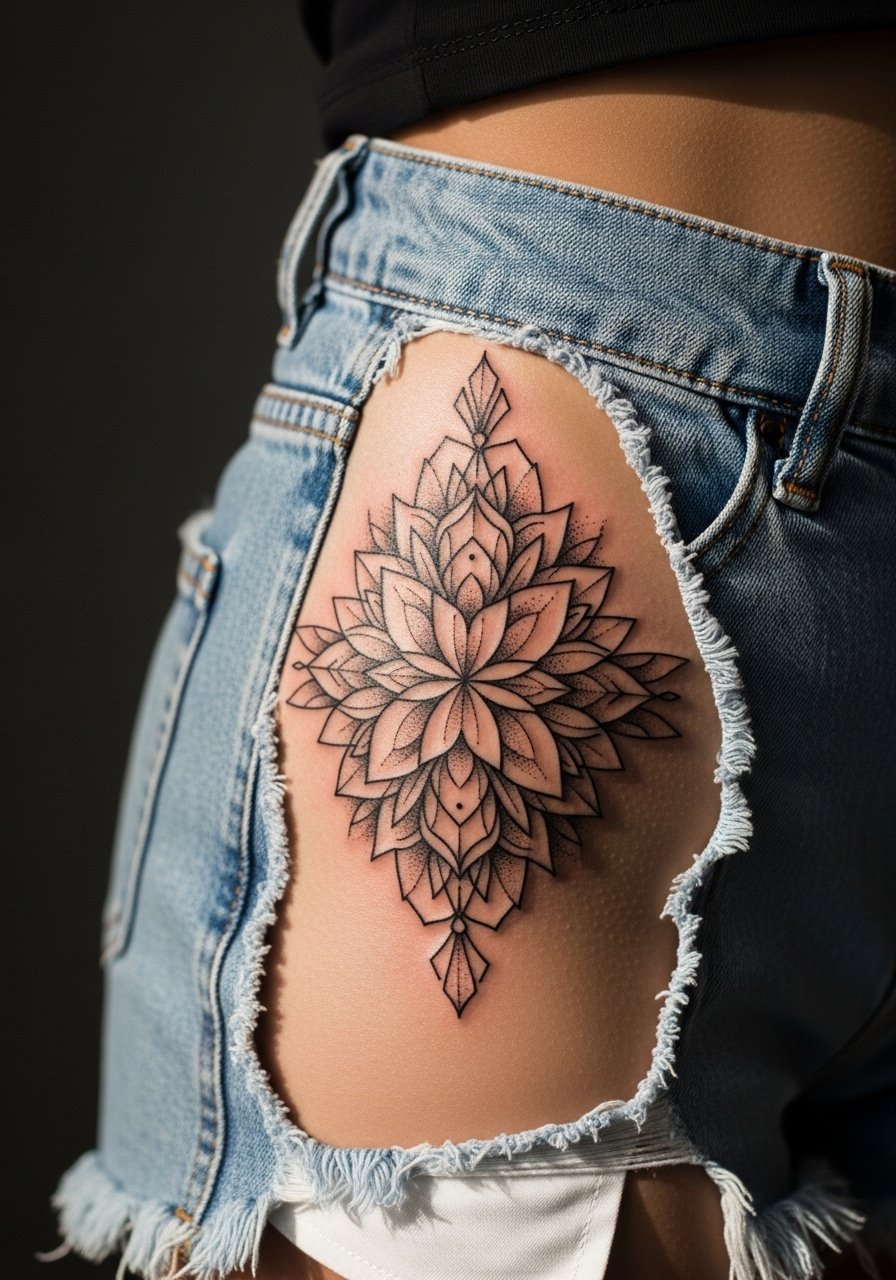
Hip tattoos heal well under clothing but require careful session clothing choices. Pain varies with proximity to bone and is often a five to six. Tell your artist you want clear petal outlines with negative space between geometric petals to avoid muddiness. A common misstep is heavy black fill on the hip which can look like a patch under tight clothing. For the day of the session wear high-rise shorts you can lower slightly while keeping the rest of your outfit in place.
20. Minimalist Mandala on the Palm Side of the Wrist

Inner wrist pieces are public and they take a lot of hand movement which can cause lines to soften. Expect a touch-up in two to three years depending on your routine. When you consult ask for a scaled mandala with larger gaps between rings so the pattern resists merging. Some people prefer bolder outer rings for longevity. For everyday styling a minimalist watch or a thin leather band watch complements the mandala without covering it.
21. Fragmented Polygon on the Forearm Outer Edge

Outer forearm geometry is low on pain and high on visibility which makes it a safe bet for detailed work. Session time depends on how many fragments you want filled. Ask your artist to map negative space so each polygon reads individually as you rotate the arm. A common mistake is packing too many shaded facets which merge when the skin stretches. For casual outfits, a rolled-sleeve button-up shirt keeps the tattoo visible without showing too much skin.
22. Tiny Geometric Leaf on the Side Rib
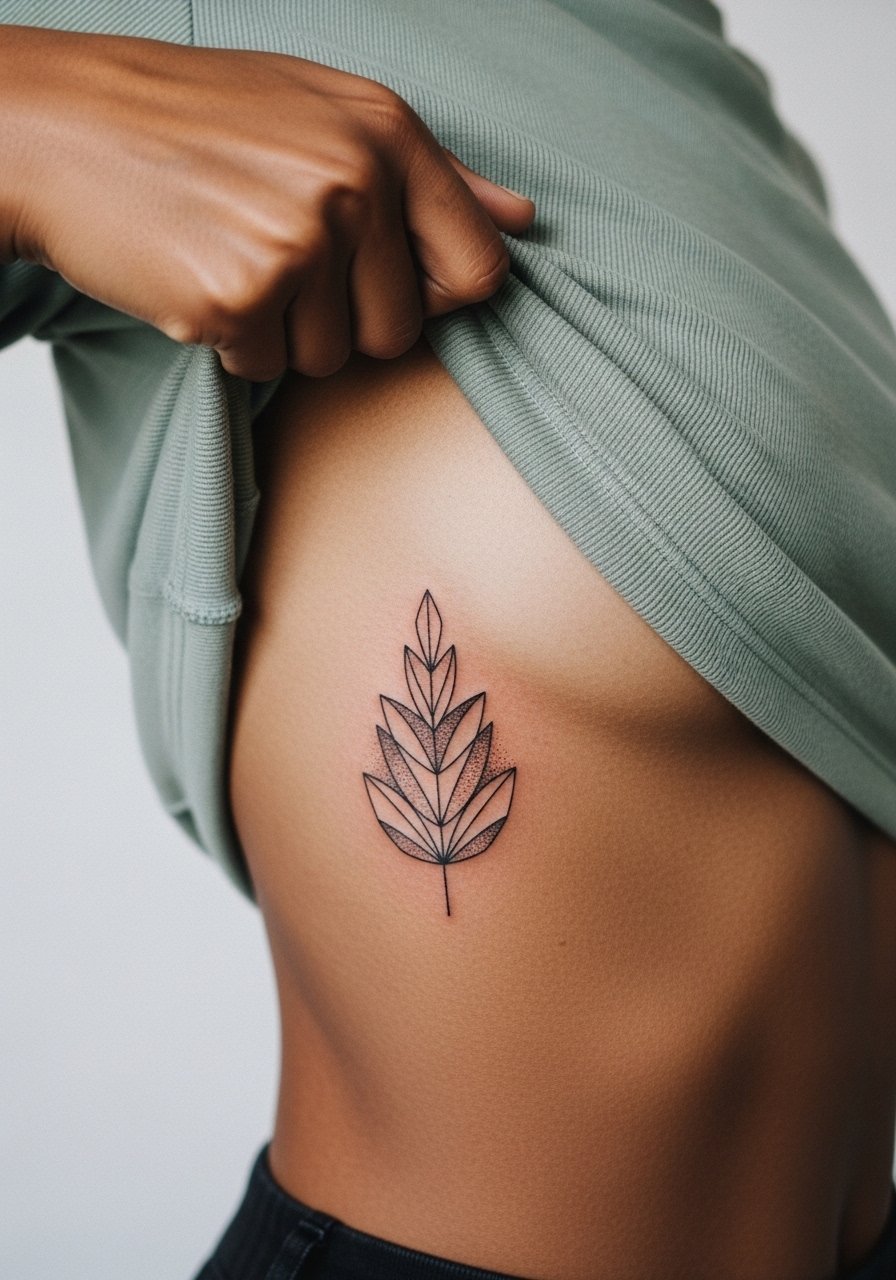
Side rib placements are sensitive and require breathing coordination during the session. Pain is often a seven out of ten and the area moves with respiration. Artists disagree about fine detail here. One group says the stretch and movement blur tiny geometry quickly. The opposing group maintains that larger scale and careful spacing will keep the motif readable. If you pick the ribs, plan for scale up from your reference and a touch-up timeline. For the session, wear a cropped top you can shift without exposing the whole torso.
23. Geometric Arrow Behind the Ear Neck Transition
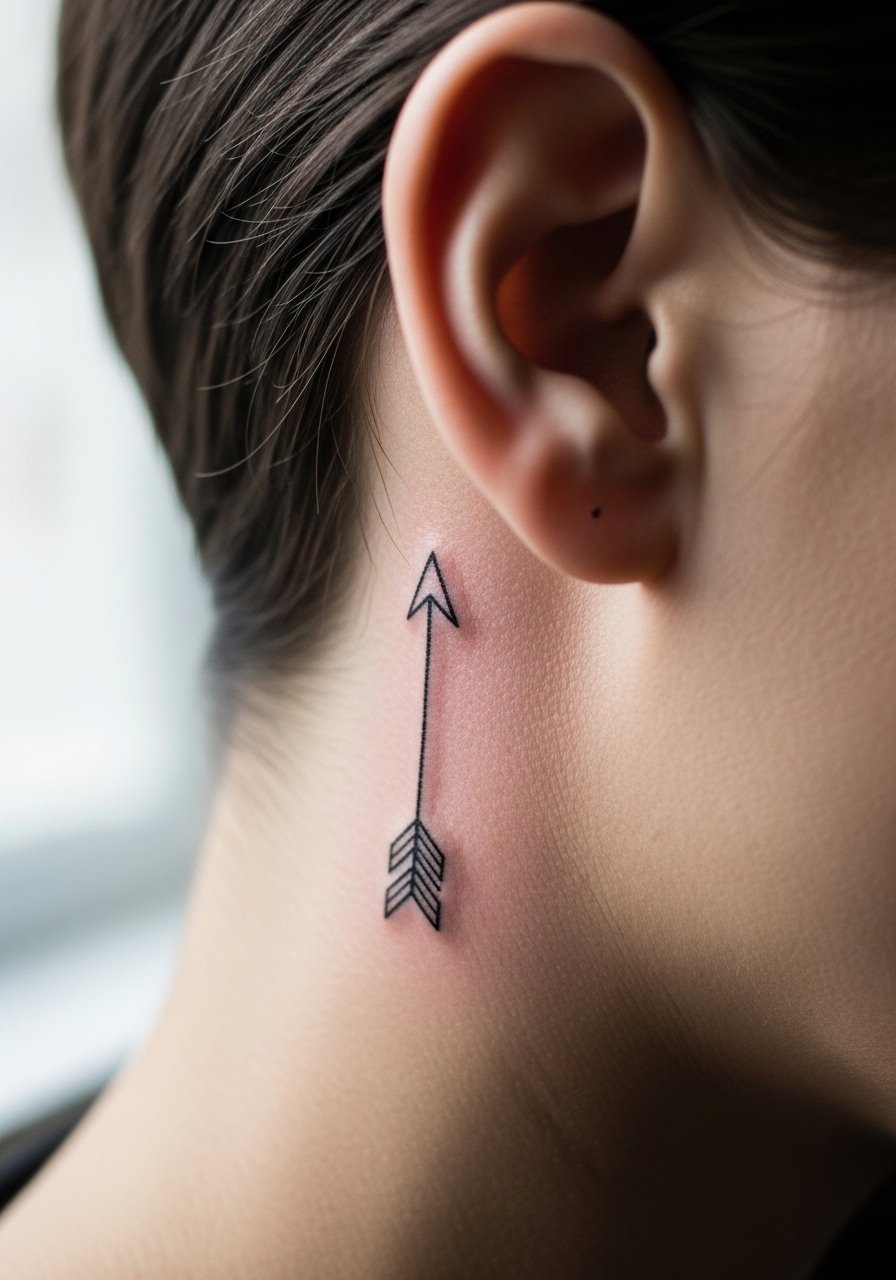
Behind-the-ear placements require precise framing in the stencil because the visibility depends on hair and collars. Pain is lower but the area is small so scale up slightly from reference. Tell your artist to anchor the arrow with a visible spine and sparse inner detail. A common mistake is requesting micro-detail that disappears under hairline and with time. For easy access on session day, pull hair back into a low bun and wear a button-down shirt so the artist has clean space.
24. Geometric Sun and Moon on the Sternum Edge

Sternum-edge placements sit near sensitive cartilage and they demand careful size choices. Pain ranges higher and movement with breathing affects precision. Ask for bold outer contours and open interiors so the sun and moon keep their silhouettes. The usual mistake is compressing two symbols into a very tight area which causes the outlines to blur. For the session wear a bandeau top you can shift without exposing the rest of your torso.
25. Nested Triangles Along the Spine

Spine geometry reads elegantly with the body's vertical line but it can be sensitive. Pain varies notably along the spine and sessions may require breaks. During consultation ask for balanced spacing between triangles and slightly heavier outer frames so the line reads from a distance. One common mistake is tiny interior geometry that blurs when the skin stretches. For showing this off, an open-back top or a strappy dress keeps attention on the spine without full exposure.
26. Geo-Fish Scale Sleeve Accent

Scale patterns along the forearm allow for both detail and breathability. Sessions can be layered and the pain is moderate. Tell your artist you want graduated scale sizes so the pattern breathes and does not create a patch of merged ink. The mistake to avoid is uniform micro-scales over a curved area which can appear smudged as the body ages. For everyday wear a rolled-sleeve linen shirt frames the sleeve accent.
27. Geometric Crescent on the Cheekbone Line

Facial-adjacent tattooing carries professional and social considerations, so be deliberate about visibility before booking. The cheekbone area holds fine line reasonably well but sun exposure and skincare routines affect longevity. Pain varies and sessions are often short. Ask the artist for a scale that sits above makeup lines and for bold outer curves to prevent softening. A mistake is requesting intricate shading on a small cheek area which can blur. For low-key visibility, a wide-neck top keeps the focus balanced.
Frequently Asked Questions
Q: Will fine line geometric tattoos fade faster than bolder blackwork on high-friction spots like fingers and wrists?
A: In my experience fine line fades quicker in friction zones because the needle sits closer to the epidermis and the area gets more contact. For fingers and wrists expect touch-ups sooner than for bold blackwork. Ask your artist for slightly thicker primary lines and plan a maintenance timeline.
Q: How should I describe spacing to my artist when I want a mandala that lasts on the ribcage?
A: Say you want "open negative space between rings" and request the artist map the design on your body rather than shrinking the image from a photo. Mention breathing and movement so they can adjust scale. This gives the mandala room to age without merging.
Q: Are there wardrobe rules for session day when getting thigh or hip geometry?
A: Yes. Wear loose bottoms you can shift without exposing more than needed. For hips and thighs a pair of high-waisted shorts or a wrap skirt makes access simple and keeps you comfortable. The goal is easy access and modesty.
Q: Should I avoid geometric tattoos if I work in a conservative job?
A: It depends on placement and visibility. Forearm and neck pieces are more visible and may affect first impressions in strict workplaces. Hidden placements like upper thigh, upper back, or inner bicep reduce that risk. Think about day-to-day clothing and how often the piece will be on display.
Q: How do geometric pieces typically look at two years healed versus five years healed?
A: Two years in, well-spaced geometry usually reads clean with slight softening in the finest areas. By five years the thinnest lines may soften into subtle shadow if they were too delicate initially. Choosing scale, spacing, and occasional bold anchors keeps the design legible longer.
