
Fine line feathers on fingers are one of those looks that read effortless in photos but demand choices that think five years ahead. I see people pick wafer-thin shafts because they love the fresh photo. The trade-off is faster softening in high-friction spots like the pads and knuckle bridges. Start with a clear plan for line weight, and the first six ideas below show how to get a lasting result while keeping that light, airy vibe.
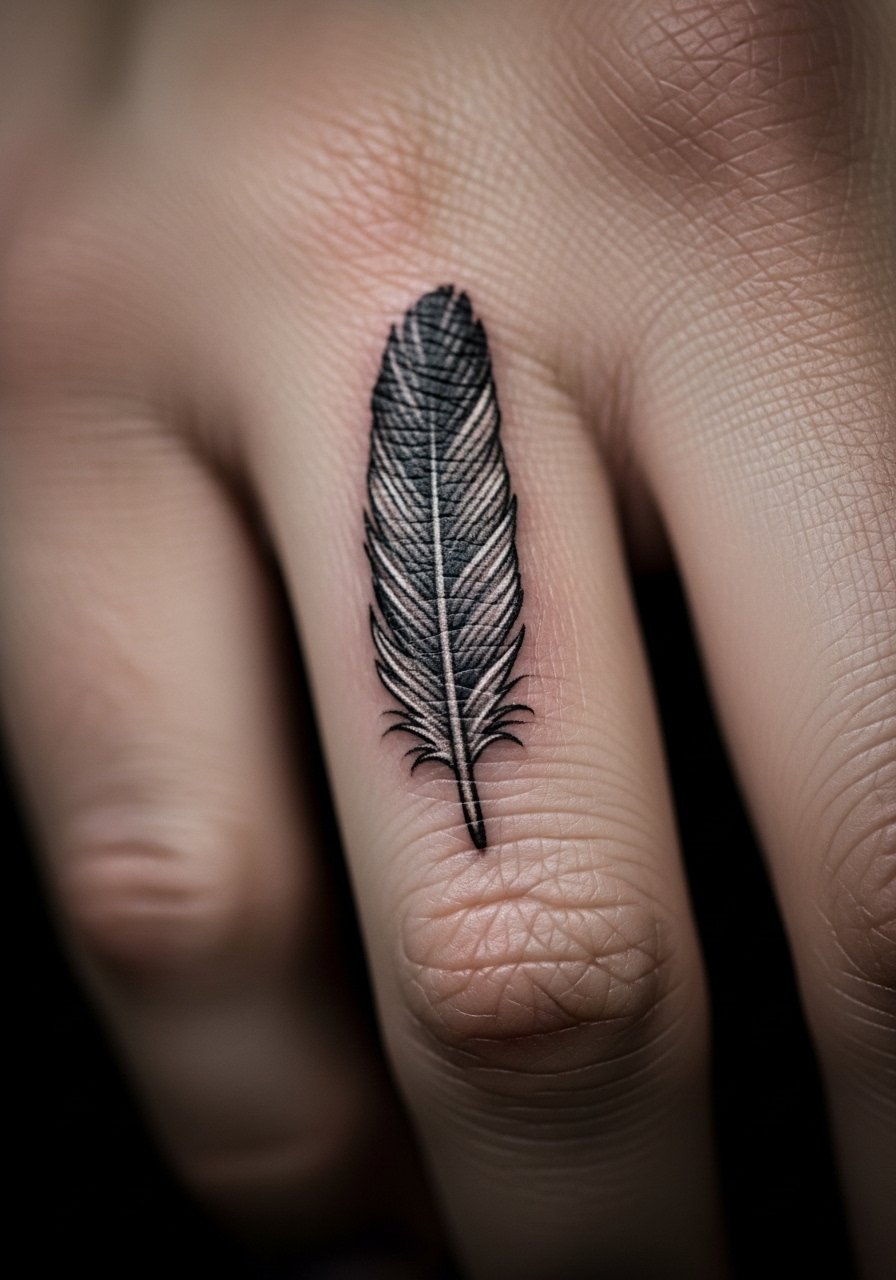
1. Single Fine Line Feather on Ring Finger
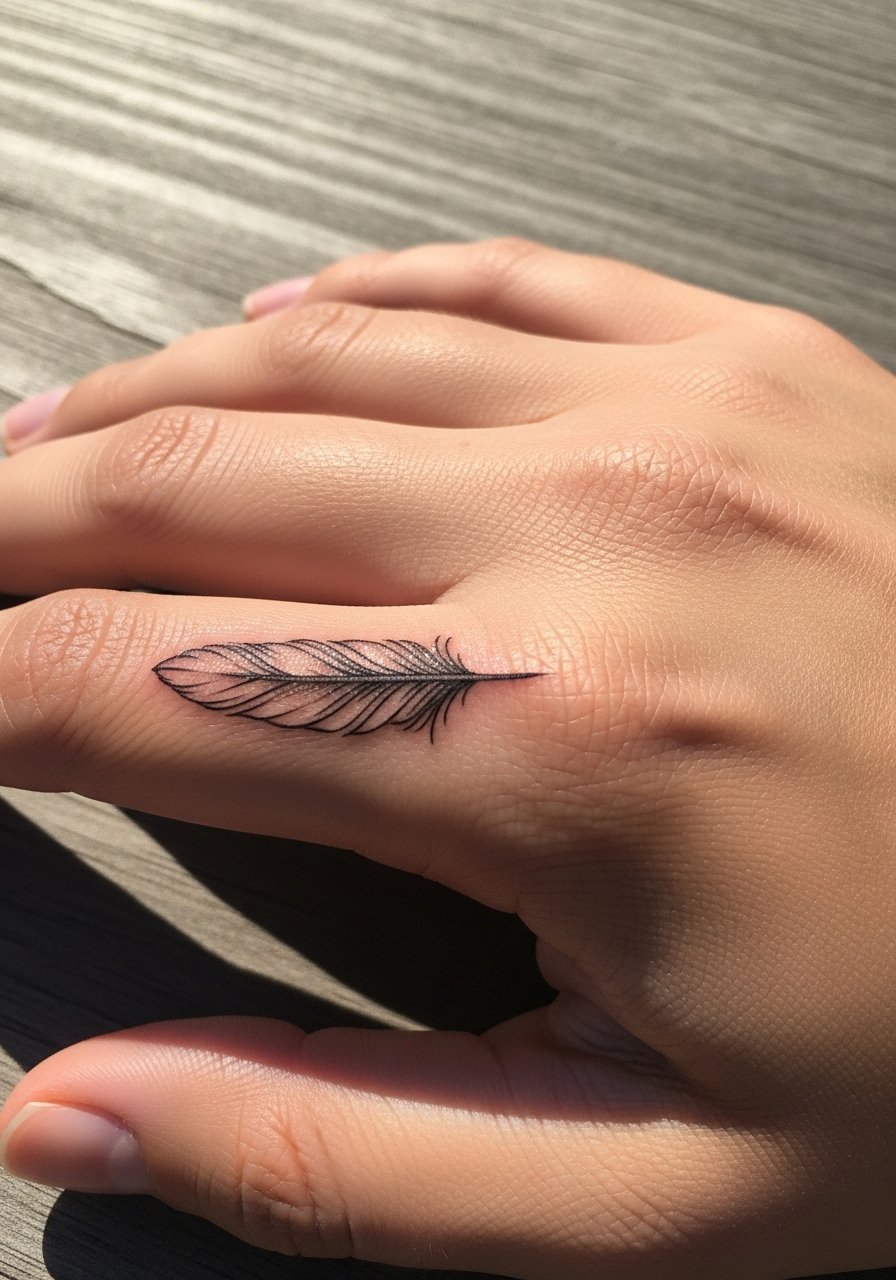
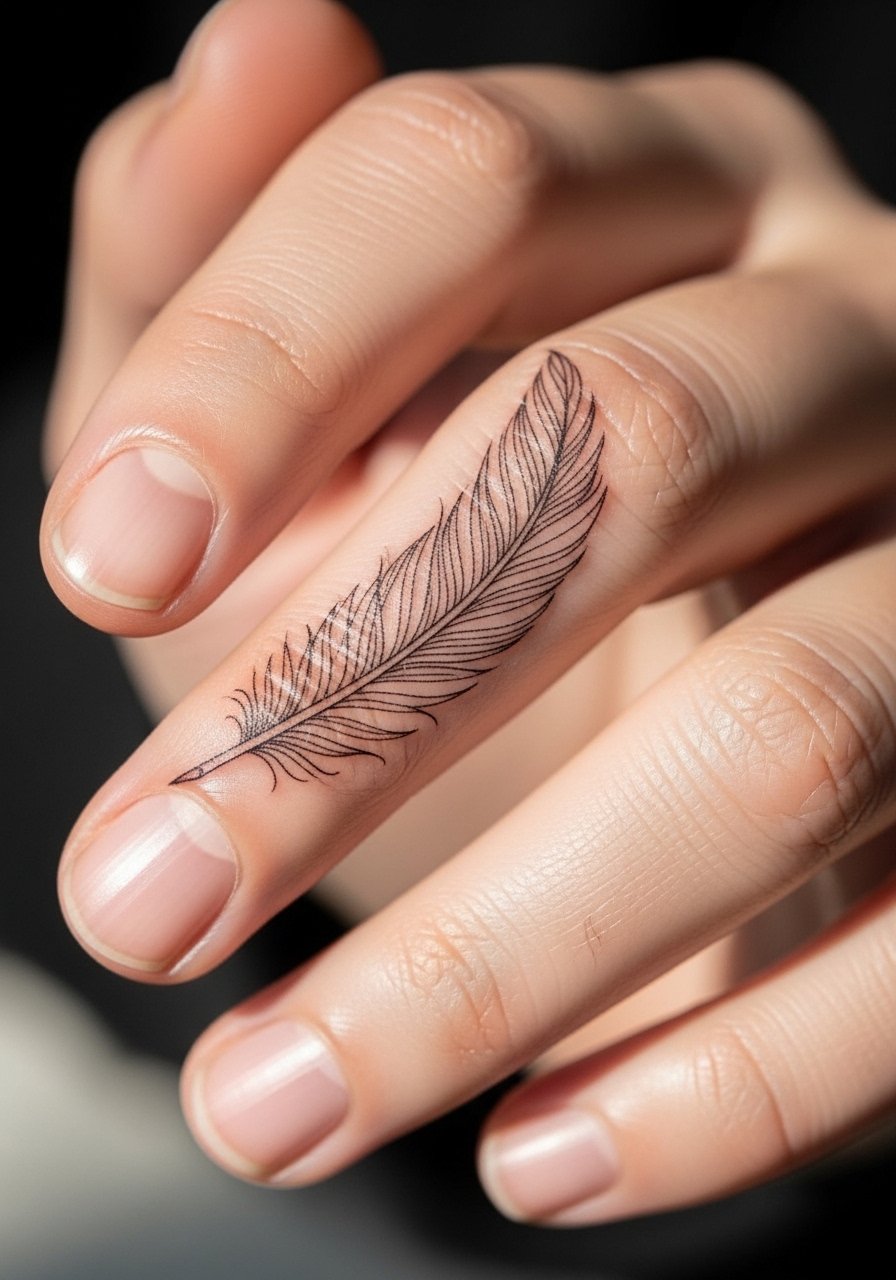
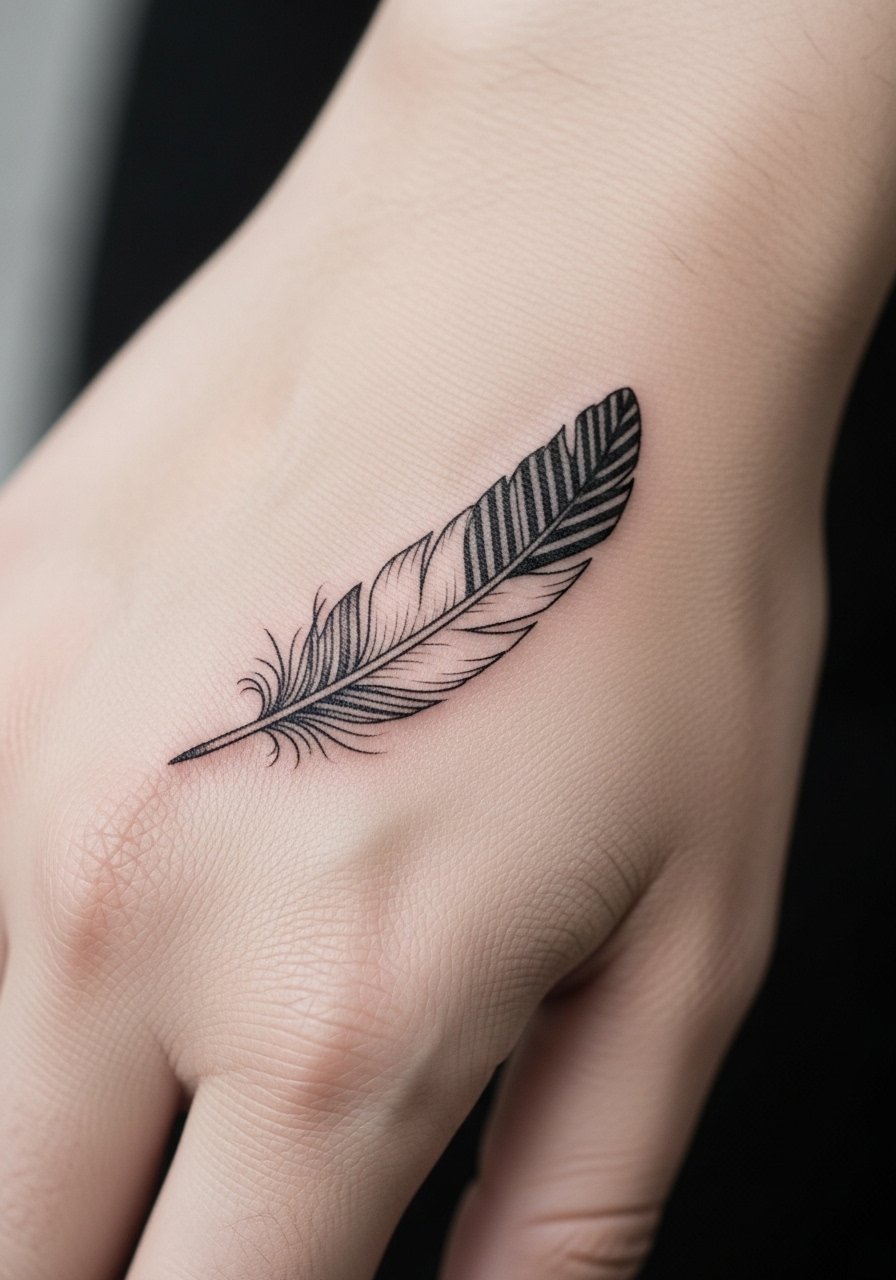
I recommend this when you want a tiny symbol that does not compete with rings. Tell your artist you want slightly thicker central quill linework and feather barbs that taper, so the needle sits just enough depth to avoid early blur. The common mistake is asking for the thinnest possible line and then being surprised at year two when the shaft softens. Expect moderate pain on the bony ring area and a single short session. For longevity request a touch-up at the one-year mark. Pair it with a thin silver ring stack when you show the piece off.
2. Tiny Feather With Bird Silhouette on Pointer Finger

This one works for first-timers who want a narrative in a very small footprint. In consultation show photos at the same scale as your finger so the artist sees the required micro shading. A common aging issue is over-detailing the bird silhouette. Under one centimeter, keep the bird as a solid silhouette rather than shaded micro feathers to avoid turning into a smudge. Session feels sharp but quick because of the small area. For showing it off, wear a minimalist chain bracelet that draws the eye up the arm.
3. Floral-Wrapped Feather on Middle Finger
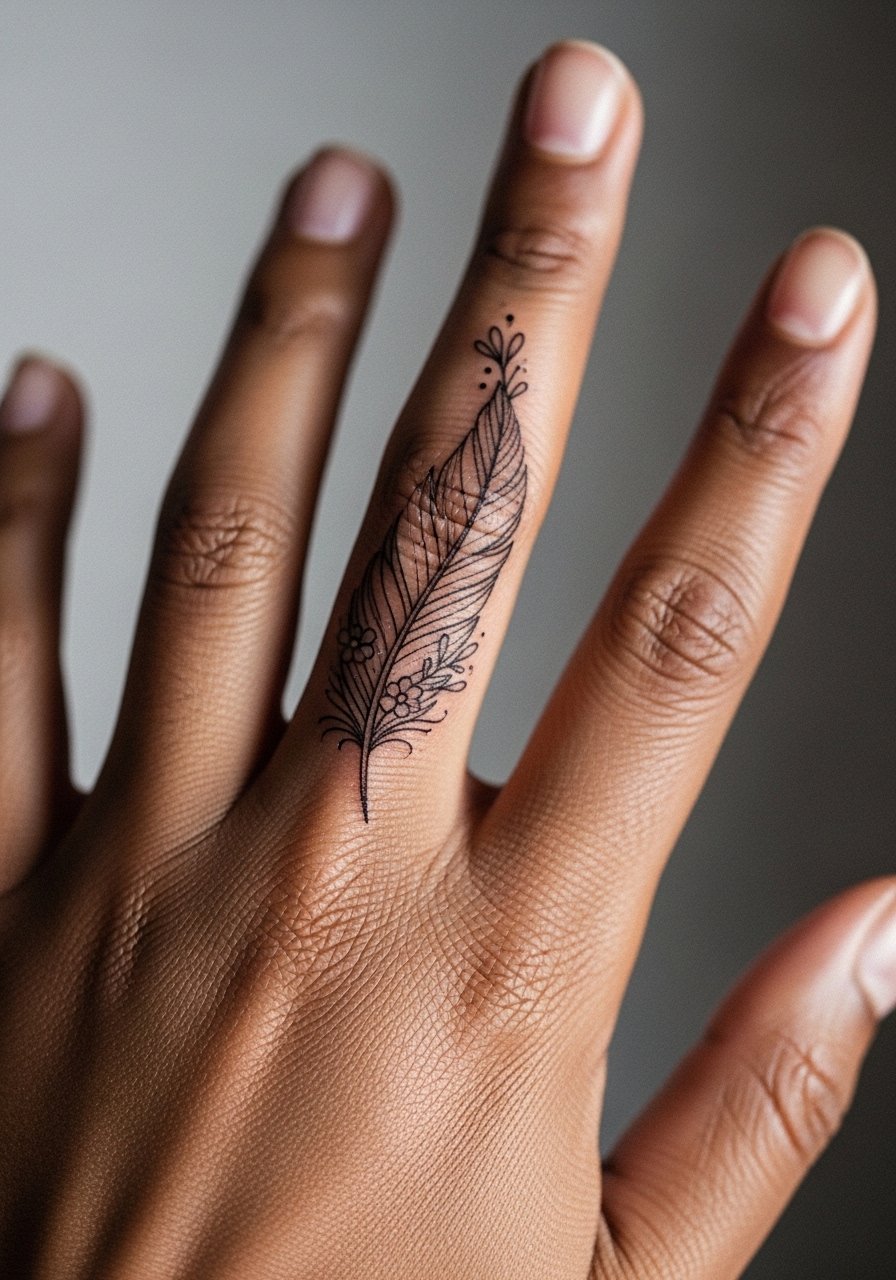
Choose this when you want a layered look without adding bulk. Tell your artist to keep the floral elements as single-line stems and stipple shading so the composition breathes on a 2 to 3 cm vertical plane. The mistake is packing dense petals next to the feather, which ages into a muddled block. Expect more session time than a single shaft because of the extra linework. If you like the look when wearing rings, try a gold hoop earring small on the opposite ear for balance when photographed.
4. Delicate Pastel Watercolor Feather on Pinky Finger

Watercolor on fingers looks striking in photos but it fades faster than black ink in high-wash areas. Ask for stronger black or gray linework beneath the color so the form reads as the pigment softens. The session feels gentle but you may need careful layering to get soft pastels to sit without pooling. Plan on touch-ups in the first 12 to 18 months if you want the pastels to stay. For evenings out pair this with a pastel pink stacked ring set and a light silk blouse cuff rolled back to show the pinky.
5. Minimalist Outline Feather at Thumb Base
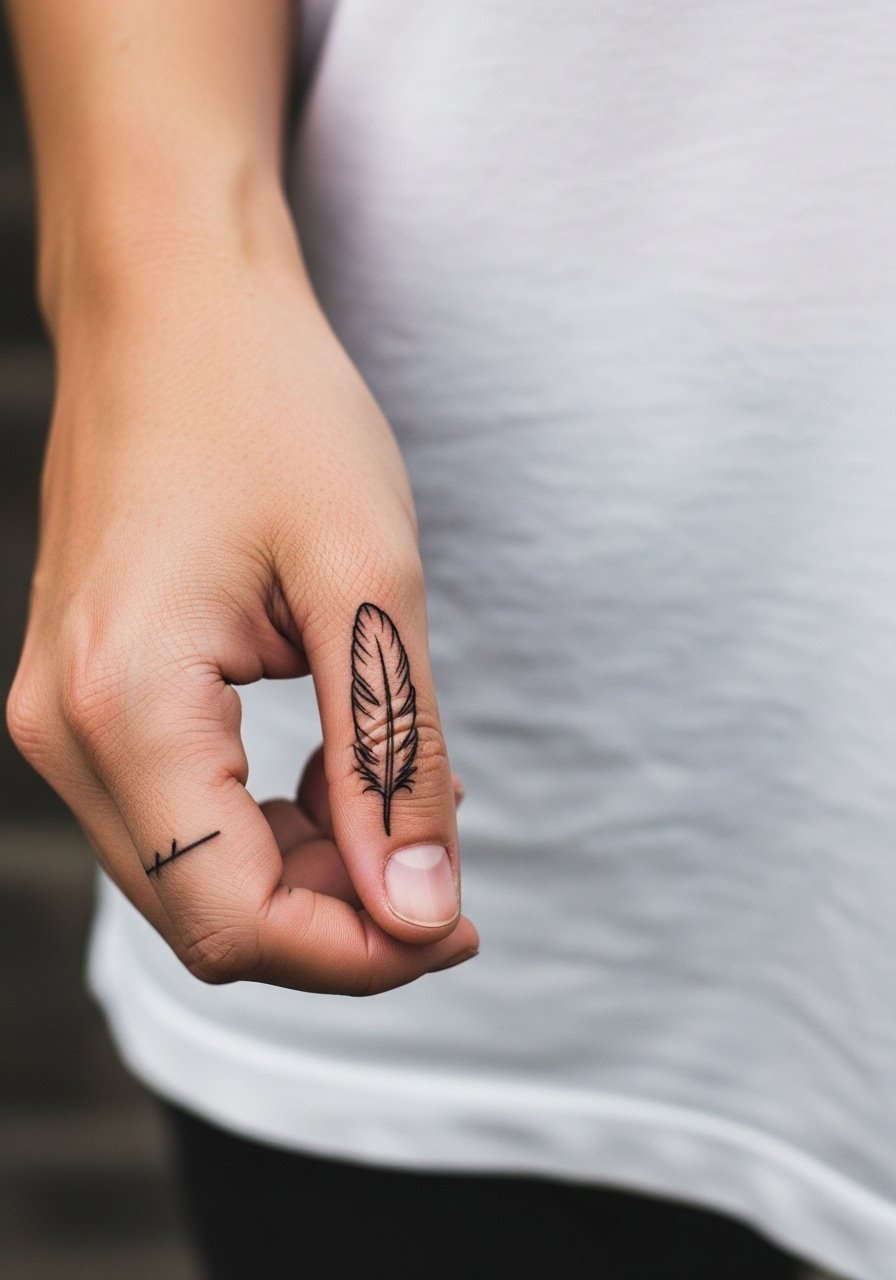
Thumb-base placements get a lot of movement so bold outlines age better here. Ask your artist for a clean, single contour line with minimal internal detail and slightly stronger line weight at the quill. The biggest mistake is putting micro-detail where the skin folds. Session time is short but expect soreness when gripping. For the appointment wear a loose cotton tee so the thumb is easy to access. To show it off, a wide cuff bracelet on the opposite wrist keeps visual balance.
6. Feather With Quote Script on Index Finger
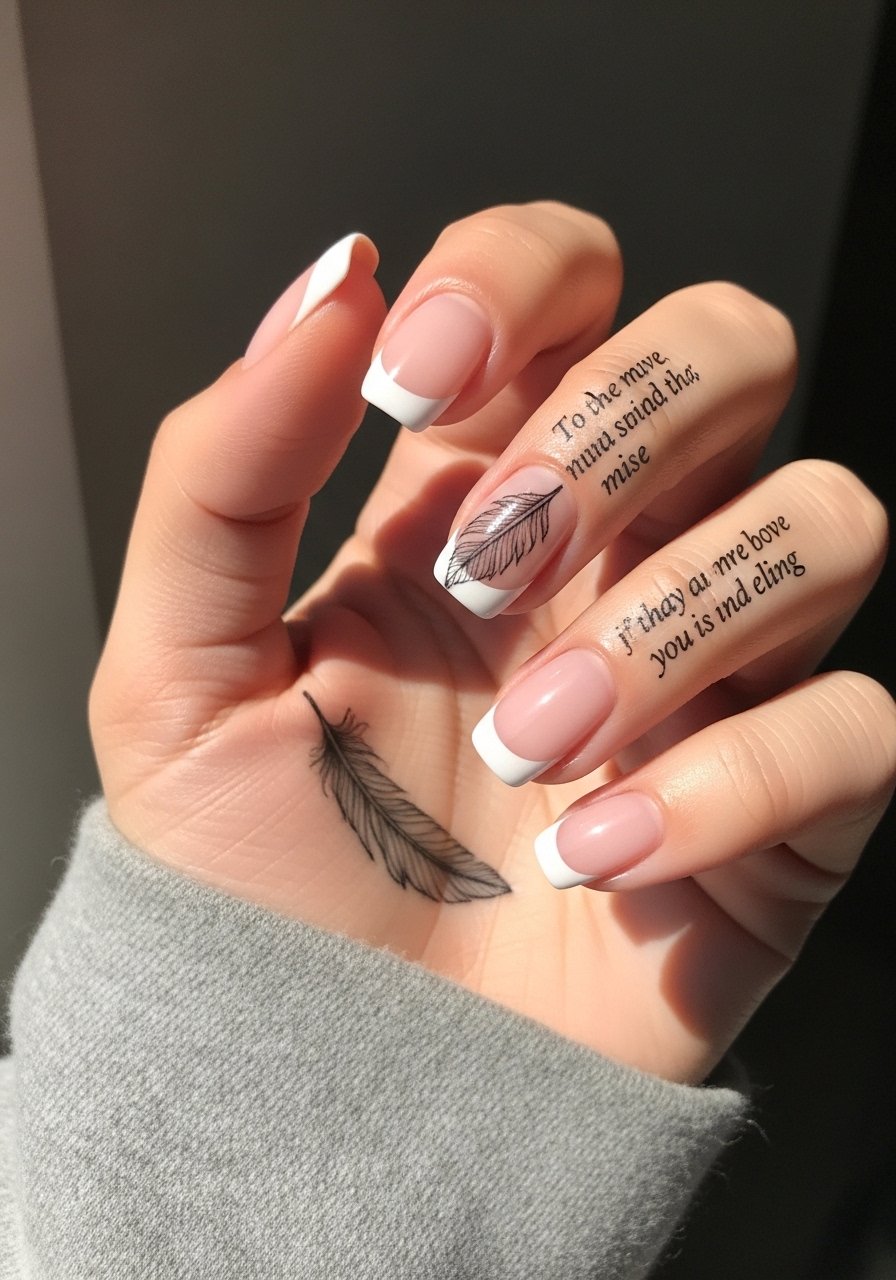
Pairing script with a feather makes the message personal and visible when you gesture. During consult bring exact lettering reference and specify font size as it sits against the feather. The common error is choosing a script that is too ornate for the tight space. Expect the inner index to sting more than the outer side. Ask for slightly bolder script strokes to hold through hand-washing. For styling, a leather wrap bracelet complements the text without crowding the finger.
Pre-Session Essentials
The finger and thumb pieces above heal under more friction than forearm work, so a few small items smooth the session and the first week.
-
Stencil transfer paper kit. Lets you preview exact placement on tiny fingers so you are not surprised under salon light.
-
Topical numbing cream. Applied per instructions reduces the bite on bony finger spots when the artist allows topical anesthetic.
-
Thin protective film roll. Useful for covering finger tattoos between showers when water and friction risk early scab lift.
-
Fragrance-free gentle body wash. Cleans the area without irritating the delicate linework during the first week.
-
Aquaphor healing ointment. A thin layer for day one keeps fine line work moisturized without clogging the needle channels.
7. Hyperrealistic Single Feather Shaft on Ring Finger
This appeals to realism fans who want texture in a tiny space. Tell your artist you want micro-realism scale references and healed examples on fingers. The frequent mistake is asking for photoreal detail too small for finger skin. Expect a longer session and possibly two short sittings if the artist layers shading for depth. Blowout risk rises if needle work is too deep on the lateral shaft. Realistic pieces often need touch-up at year two because tiny shading softens with frequent hand use. No styling link here so the idea stays focused on technique.
8. Arrow-Pierced Feather Across Middle Finger
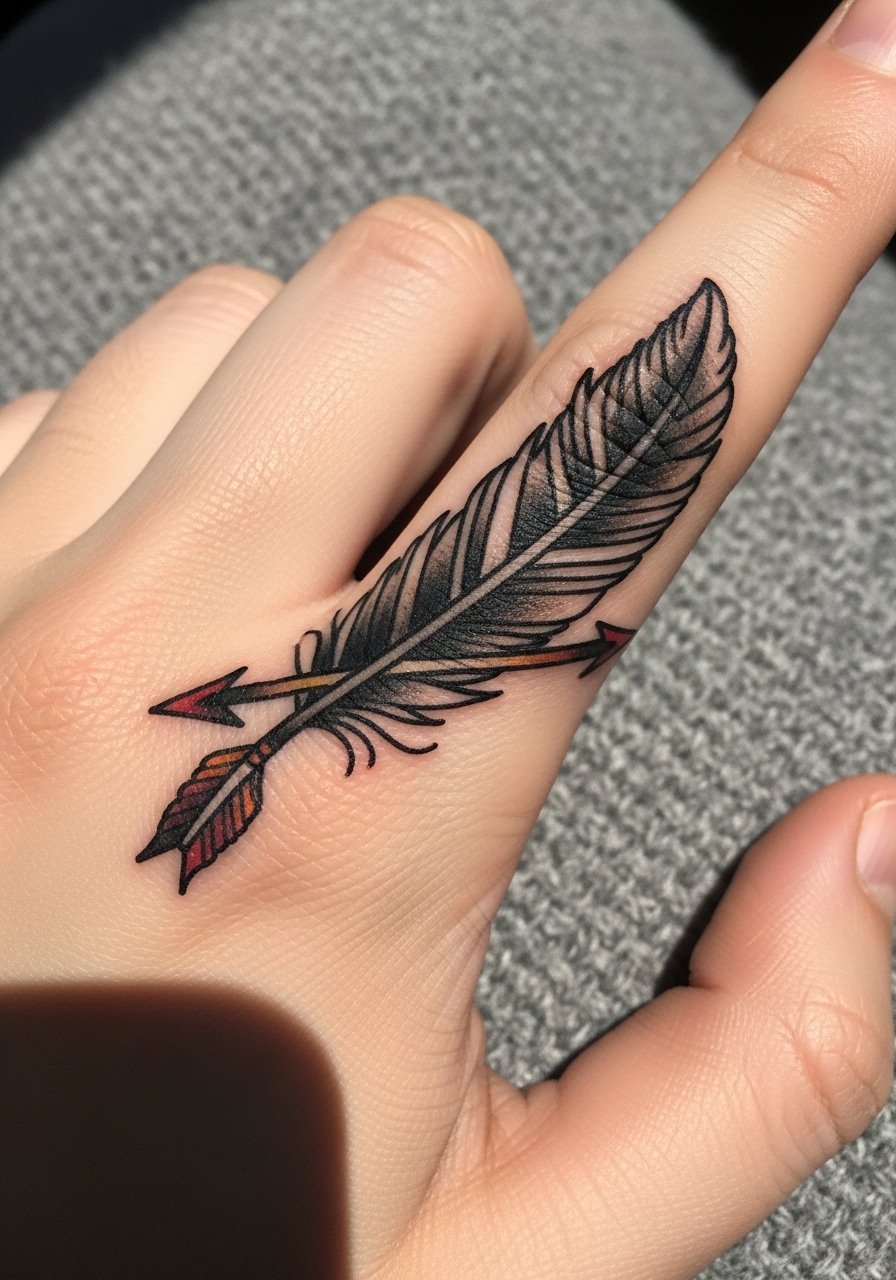
Combine motion symbolism with feathers by threading an arrow through the shaft. Ask your artist to keep the arrow simple and slightly thicker than the feather barbs so it reads as a separate element over time. The mistake is creating a tiny, ornate arrow with cross-hatching that blurs on knuckles. Expect the hand to be sensitive where the arrow meets the knuckle. For showing off, a dainty gold hoop on the opposite ear helps frame photos without cluttering the fingers.
9. Cluster of Three Tiny Feathers on Knuckles
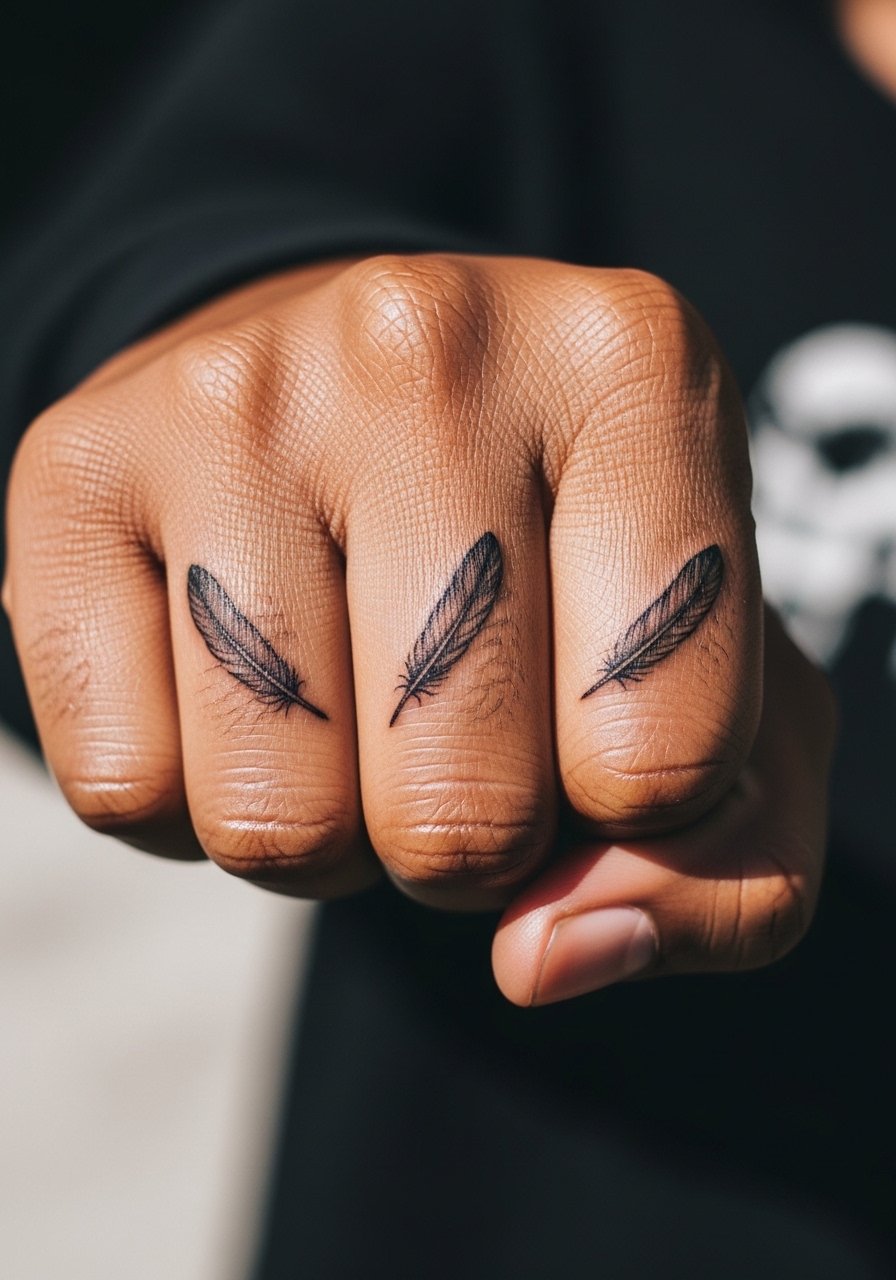
Knuckle tattoos show immediately and age differently because of constant movement. Space each feather with at least 6 mm of breathing room to avoid line merge over time. The common error is packing three micro-feathers too close. Session feels sharp over bone and may sting more than finger pads. This placement can affect hiring in some industries, so consider career implications. Plan for touch-ups every 12 to 18 months if you want crisp separation. No styling link here because knuckle styling uses bold nails rather than accessories.
10. Ornamental Feather With Geometric Base on Pinky
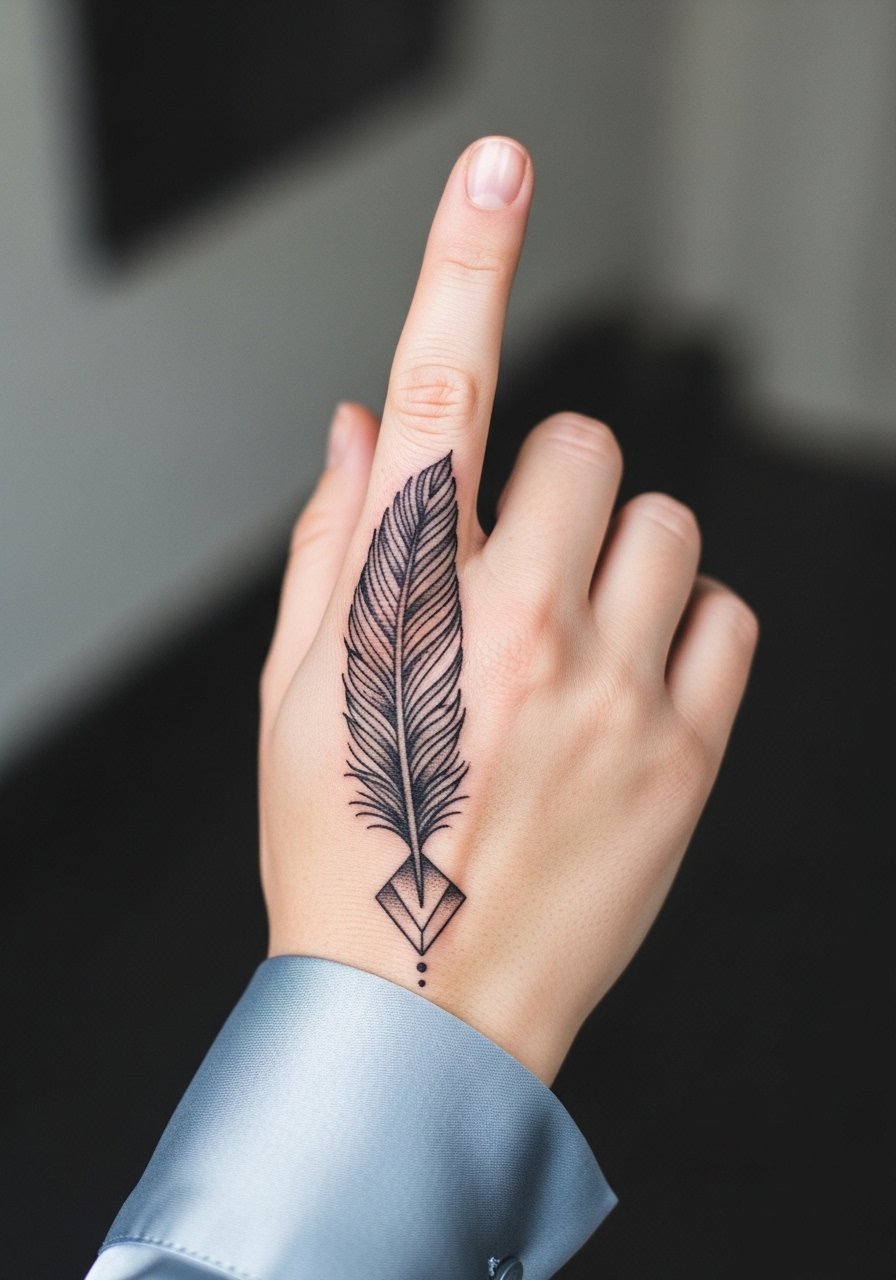
This mixes modern geometry with traditional feather anatomy for a structured look. During consult show the scale you want so the geometry does not swallow the feather. The mistake is dense geometric fill next to thin barbs. Expect moderate session time for the pattern and careful linework. For showing it off, slip on a silk blouse women with cuff rolled to expose the pinky and stacked pastel rings for contrast.
11. Solid Blackwork Feather Outline on Index Finger

Blackwork is chosen by people who want longevity in high-friction zones. Ask for a slightly larger negative space inside the feather to prevent a uniform blob as it fades. The typical mistake is shrinking the silhouette too small. Session time is brief but note that heavy saturation may feel hotter during healing. Longevity here beats fine line in most cases, but expect color softening with time. No styling link in this section to keep the emphasis on durability choices.
12. Feather and Flower Combo on Thumb Side

This feminine pairing softens the thumb placement without overcrowding. Ask for minimal color accents only on petals so the feather's linework remains the focal point. The mistake is layering saturated flowers that fade unevenly next to black lines. Session feels tender at the thumb joint. For the appointment wear a minimal cuff bracelet on the opposite wrist so the artist can access the thumb easily. Expect a touch-up if flower pigments fade faster than the black.
13. Ignorant Style Jagged Feather Wrap on Ring Finger
The ignorant style embraces imperfection and hand-poke vibes. Tell your artist you want uneven barbs and irregular quill strokes to keep the raw aesthetic. A frequent mistake is trying to force symmetry into an intentionally imperfect design. Session feels brisk but the look reads casual, so plan for touch-ups if you later want cleaner edges. This is a niche choice and works best if you like a lived-in, rougher finish. No styling link here to let the style speak for itself.
14. Pocket Watch and Feather at Finger Base
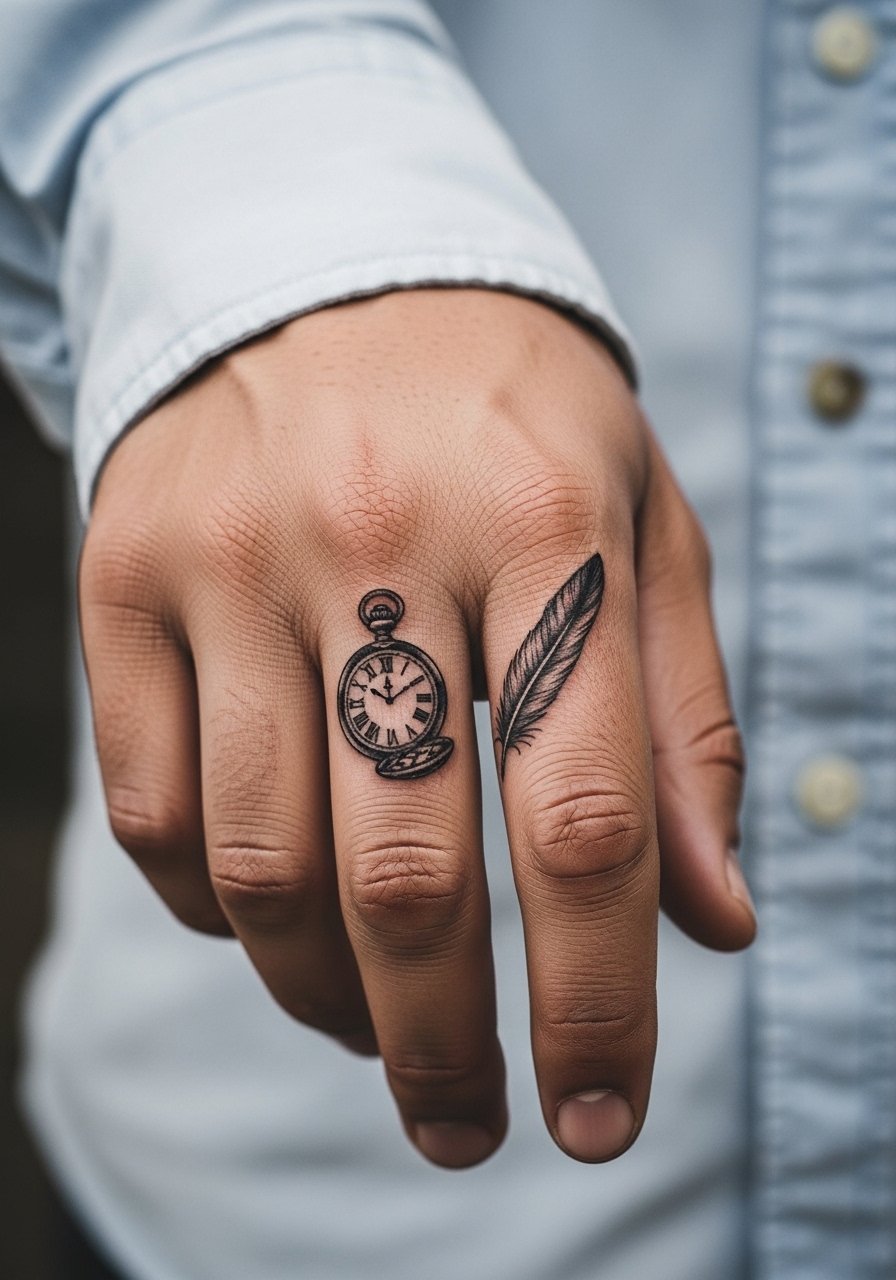
Pairing a pocket watch with a feather gives a time-freedom narrative on a small scale. In consult show the exact watch face detail you want because small numbers and hands blur quickly. The mistake is packing a full watch with tiny Roman numerals into a 1.5 cm space. Session time increases with micro detail. For the appointment wear a loose button-down shirt so the artist can access the finger base without pulling on your sleeve.
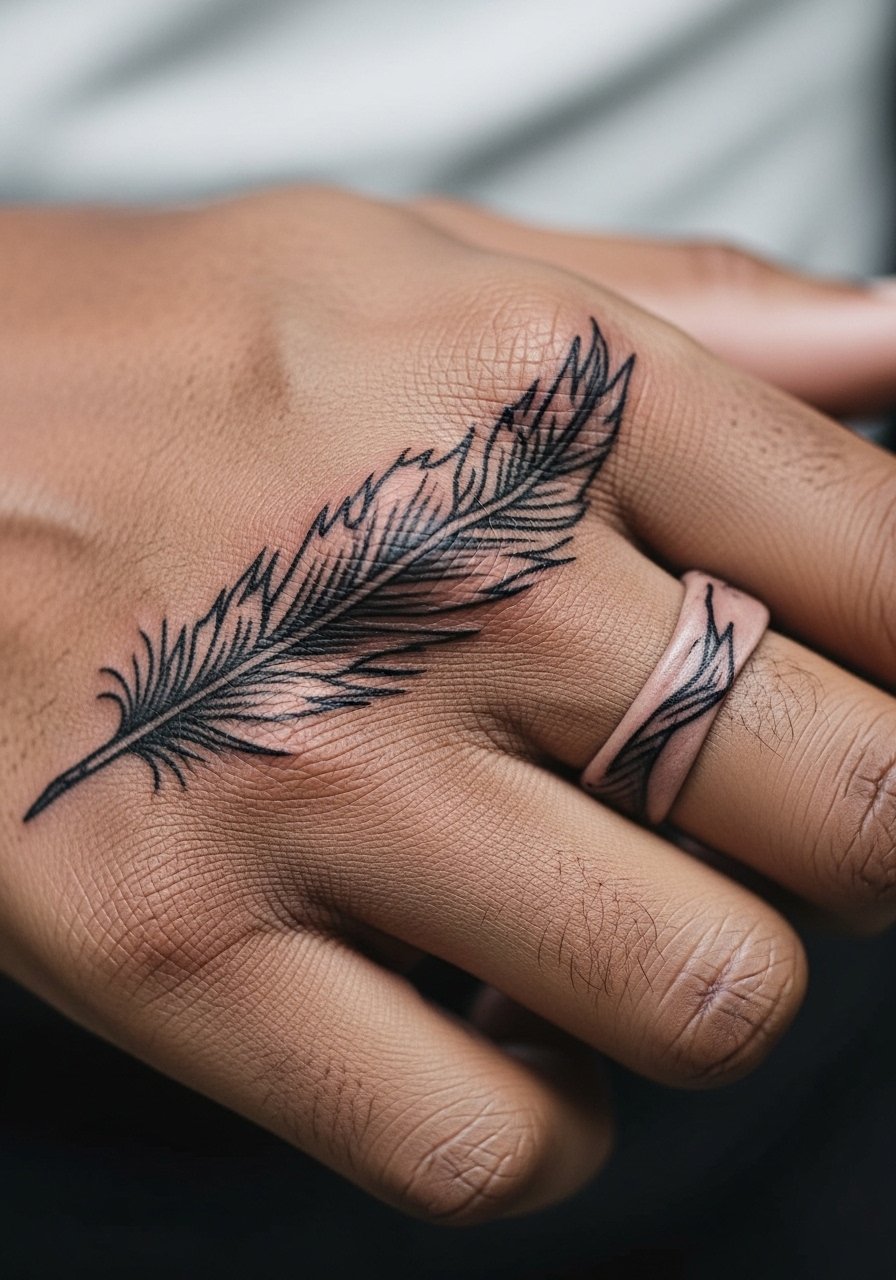
15. Feather Wrap That Curves Around the Finger

A wrap uses the finger's curve for motion. Ask your artist to map the wrap while your hand is relaxed so the feather sits where you want during normal gestures. The common mistake is ignoring how the design reads when fingers bend. Expect the session to involve periodic hand positioning to keep the wrap aligned. Blowout risk increases where the wrap crosses creases. Touch-up at year one keeps edges crisp. No styling link here to avoid over-cluttering the wrapped aesthetic.
16. Tiny Feather Along Nail Side
This sliver placement is subtle and visible when you gesture. Make sure the artist tests the stencil along the nail edge so the feather does not land on the nail matrix. The mistake is stretching the design into the nail bed. Session is quick but sensitive because the area is thin. For showing it off, keep nails short and try a nude gel nail polish that complements the tiny linework.
17. Feather With Roman Numeral Accent

Adding a date in Roman numerals makes a personal talisman. Provide the exact numerals during consult because image generators and references can misread spacing. The error is picking numerals too small to be legible in a year. Session time increases slightly for precise lettering. Linework needs to be a touch bolder than you might think. No styling link here because the piece is meant to stay intimate and minimal.
18. Dotwork Feather Band Across Knuckle Bridge
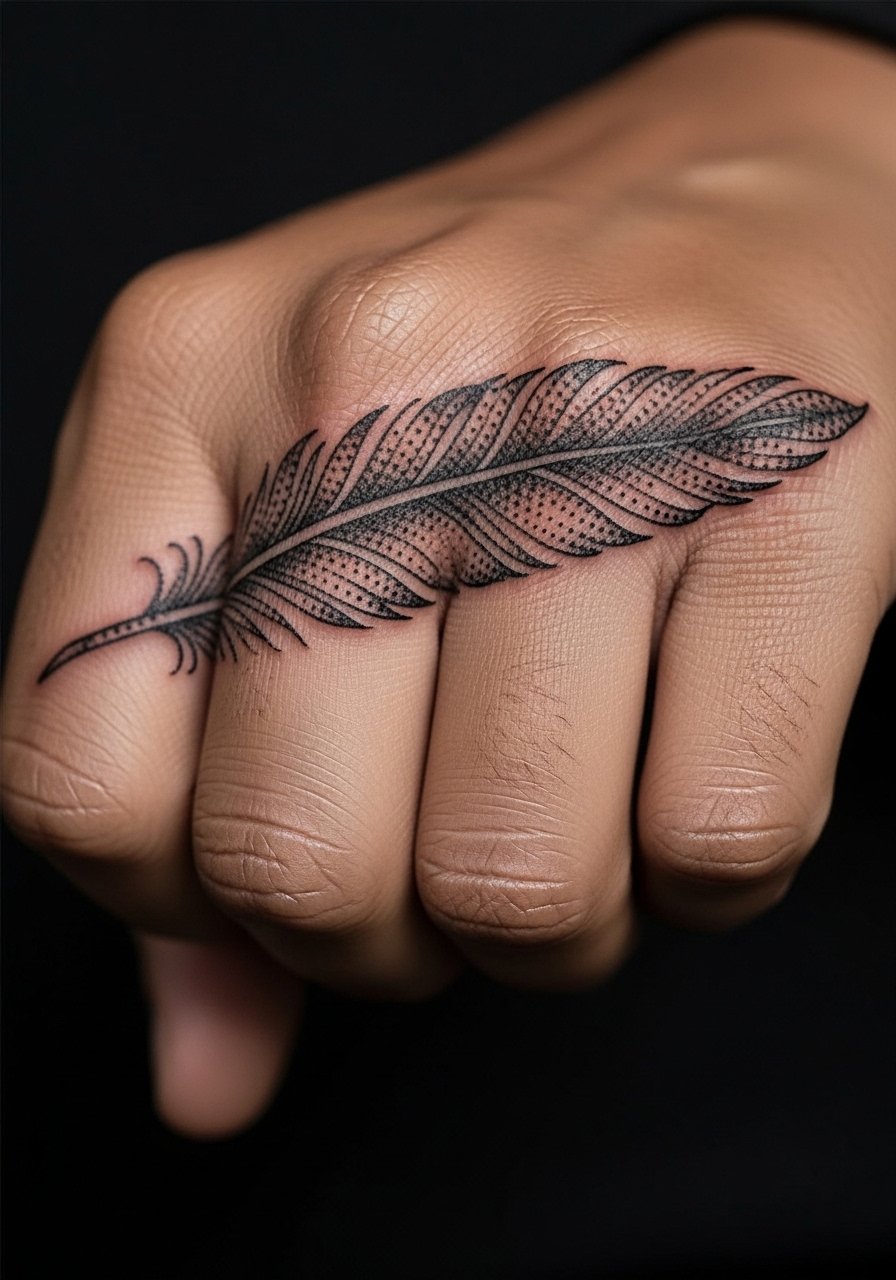
Dotwork gives texture without heavy lines. Ask your artist for even stipple density to avoid dense patches that merge. The mistake is packing too many dots into a small band which consolidates into a blur over time. Session feels long because dotwork is point-by-point. Expect a gentle sting and plan for a touch-up if dots soften. For edge styling wear fingerless leather gloves in photos for an edgy contrast.
19. Feather Turning Into Tiny Flying Birds on Side Finger
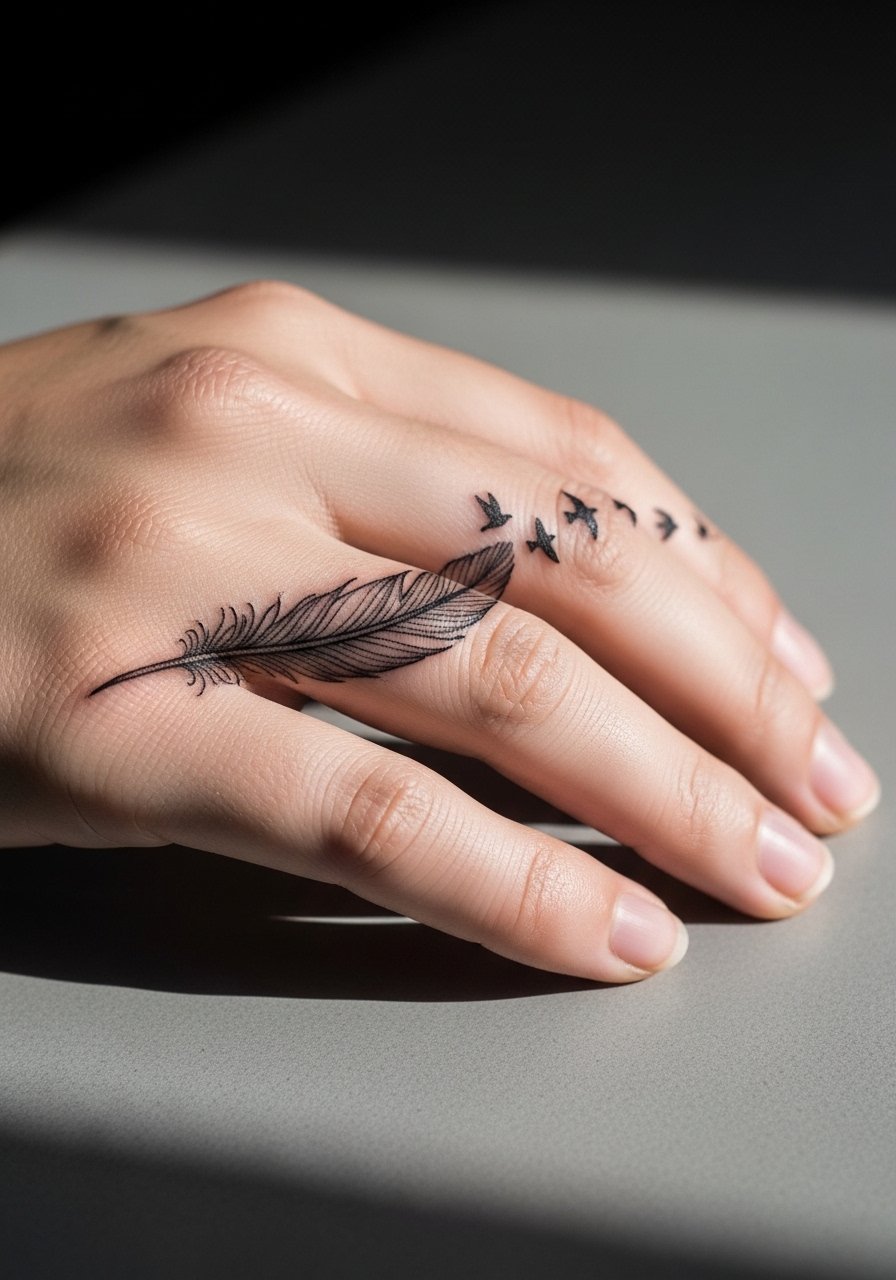
This motif signals transformation and motion. Tell the artist the scale you want for the birds so they remain solid silhouettes rather than tiny shaded birds that blur. The mistake is making each bird too detailed for the small canvas. Session time is moderate because of the transition area. Plan on touch-ups at year two if the birds soften. No styling link here so the narrative image stays clear.
20. Ornamental Feather With Geometric Dot Base on Pinky

This variation uses a geometric anchor to modernize a classic feather. Ask for negative space in the geometric base to prevent heavy-block aging. The common error is a solid dense base that becomes a single dark shape later. Session time increases with dot shading in the base area. For showing it off, pair with a pastel ring set and rolled silk cuffs as seen in the prompt.
21. Tiny Feather Behind First Knuckle

Placing a feather behind the first knuckle is discreet and visible only in certain gestures. Have the artist place the stencil while your hand is relaxed so the feather does not end up skewed. The mistake is placing it too low into the crease. Session is quick but sharp because bone is close. Expect subtle softening over time from typing and washing. No styling link here since the spot is best shown with nail color rather than accessories.
22. Feather With Tiny Crescent Moon Accent

A moon accent adds a quiet symbolism. During consult specify the moon size and its placement relative to the feather because tiny crescents can look like smudges when under-scaled. The mistake is putting too many small icons next to a feather. Session time is short. Plan on a one-year check to see if the crescent needs redefinition. For photos, a subtle thin chain pendant necklace sits above the hand without competing.
23. Mirrored Feathers on Adjacent Fingers

Mirrored placements read as a pair when you bring fingers together. Ask for symmetric stencils and mark the position with your hand in both relaxed and extended states. The common mistake is assuming symmetry without testing hand position. Sessions are efficient if the artist maps both at once. Expect small alignment touch-ups at year one if they settle differently. No styling link here to keep the focus on matching scale.
24. Feather Stacked With Minimal Rings Look
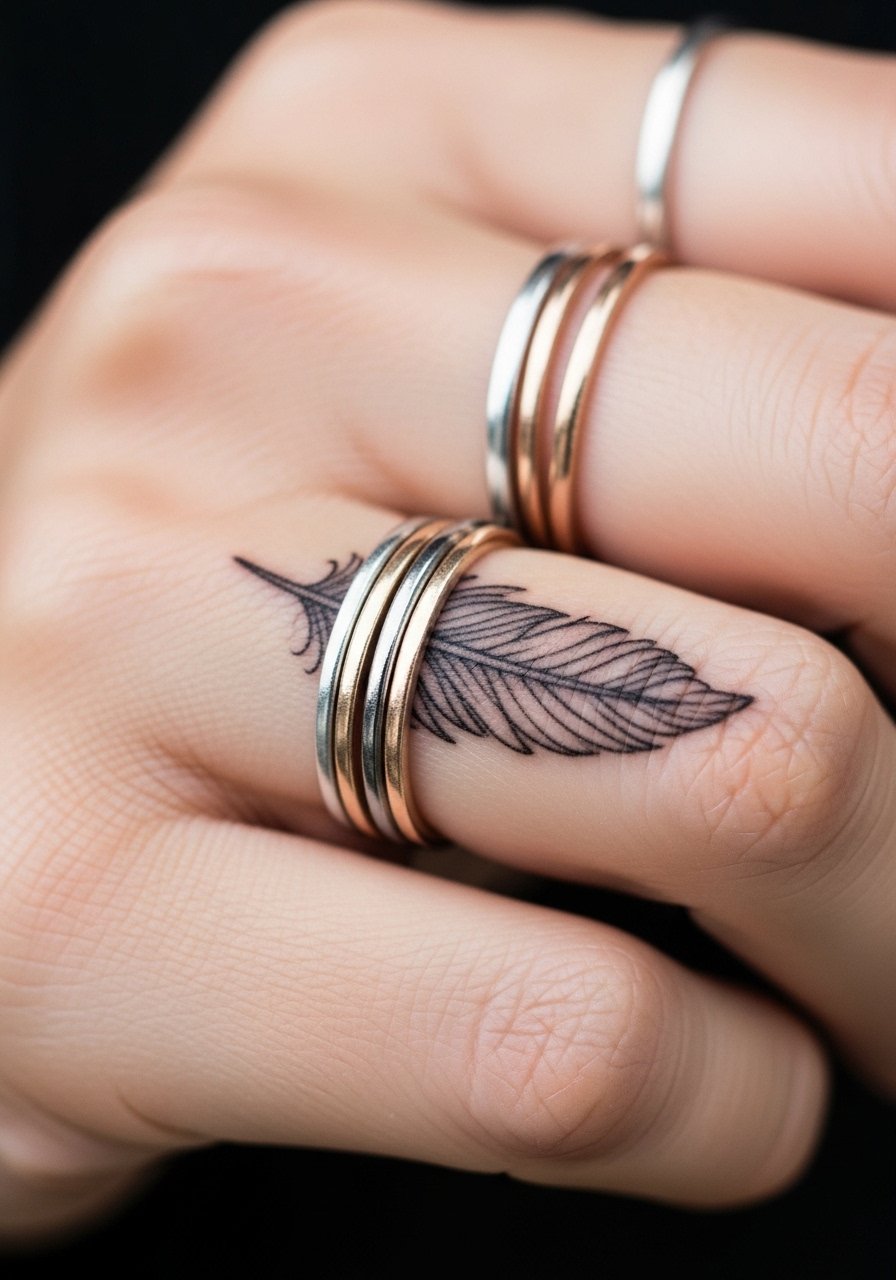
This idea is explicitly about how the tattoo plays with jewelry. Ask for placement that leaves room for rings so the feather does not sit under metal. Mistakes happen when the design is wrapped under a ring, which speeds wear. Session time is short. For showing it off, choose a dainty finger rings set that complements the feather without covering it.
25. Braided-Shaft Feather on Side Finger

A braided shaft gives an unexpected textural twist while staying compact. During consult request reference images of the braid scale so it reads as texture rather than a thick line. The mistake is overcomplicating the braid pattern in a narrow space. Session feels moderate because of the repeating strokes. Touch-ups help preserve braid clarity as it ages. No styling link here for a quieter, tactile finish.
26. Barcode-Inspired Linear Feather Motif
This experimental take uses linear graphic language for a modern look. In consult clarify the number of bars and their thickness so they do not merge over time. The typical mistake is making bars too close together. Session time is short but precise. For a photo-ready outfit try a nude gel nail polish that keeps the hand visually clean and complements the linear motif.
27. Feather With Subtle Gold Foil Accent

A tiny metallic accent can photograph brilliantly, but pigments that mimic gold fade faster. Ask your artist for a hint of gold-toned ink layered over secure black linework rather than an all-gold fill. The mistake is relying on metallic alone for definition. Session may require careful layering. Expect that the gold will need refresh work sooner than black. For showing it off, roll a silk blouse cuff to catch the light on the accent.
Frequently Asked Questions
Q: Will a fine line feather on a finger blur faster than a bold black feather?
A: In my experience fine line pieces on fingers soften sooner because of constant washing and friction. The trade-off is the initial look. One camp argues fine line is worth the upkeep. The other camp recommends bolder line weight for longevity. Talk with your artist about a slightly stronger central line and plan for a touch-up at about year one if you choose fine line.
Q: How painful is getting a feather on the knuckle bridge compared with the thumb base?
A: Knuckles sit directly over bone and usually score higher on pain scales than the fleshy thumb base. Expect sharper, shorter discomfort on knuckles and a more spread-out ache on the thumb. Numbing is an option some artists allow. If pain is a major concern, schedule a quick consult and consider session breaks.
Q: Do watercolor feathers need different aftercare than black line feathers?
A: The core aftercare steps are the same, but watercolors can fade faster so you may want gentler cleansing and predictable touch-up timelines. Avoid heavy scrubbing and keep UV exposure low. Aftercare products are listed in the pre-session essentials above rather than here so you can locate them easily.
Q: How do I find artists who show healed finger work rather than only fresh photos?
A: Search hashtags like #feathertattoo and #finelinefeather and filter for recent posts that explicitly say "healed" in the caption. Tattoodo and local shop searches with "finger fine line tattoo [city]" help. Ask for healed photos during consult and request that the artist point out any touch-ups they expect.
Q: Can dark skin wear fine line feather tattoos effectively?
A: Yes, but strategy changes. On darker skin tones a slightly bolder quill and more shading give contrast so the feather reads longer. Some people prefer blackwork or added shading to maintain visibility. Bring healed examples to your consult so the artist can match the approach to your tone.
