
Fine line fairies are everywhere on saved boards right now, but trend photos hide a truth. Tiny wrist pieces look ethereal fresh, and then the daily rub of sleeves and handwashing softens the linework faster than most people expect. If you want a wrist fairy that still reads crisp at year three, the choices you make in line weight, placement, and session prep matter more than the initial flash. Below are 27 wrist-friendly fairy designs that balance current looks with how they age.
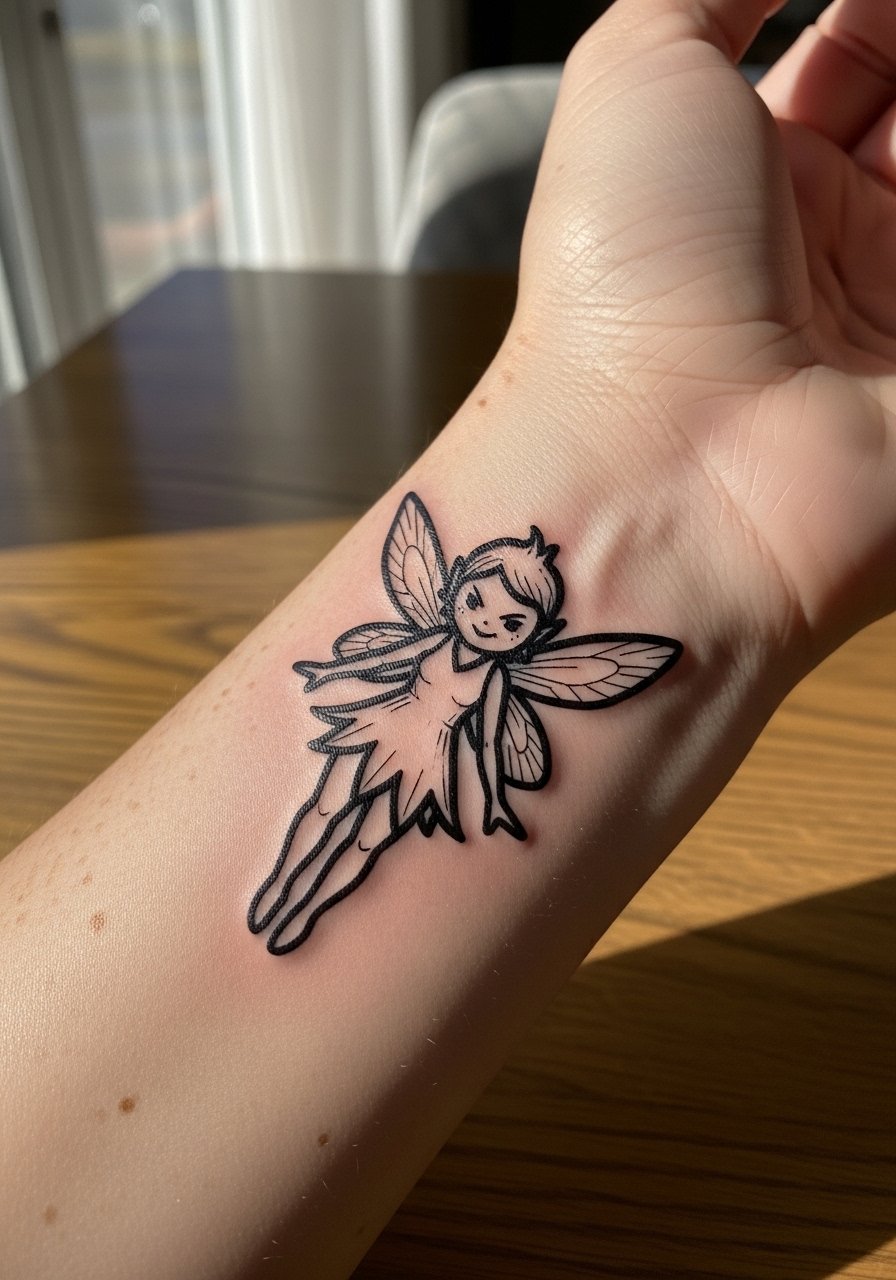
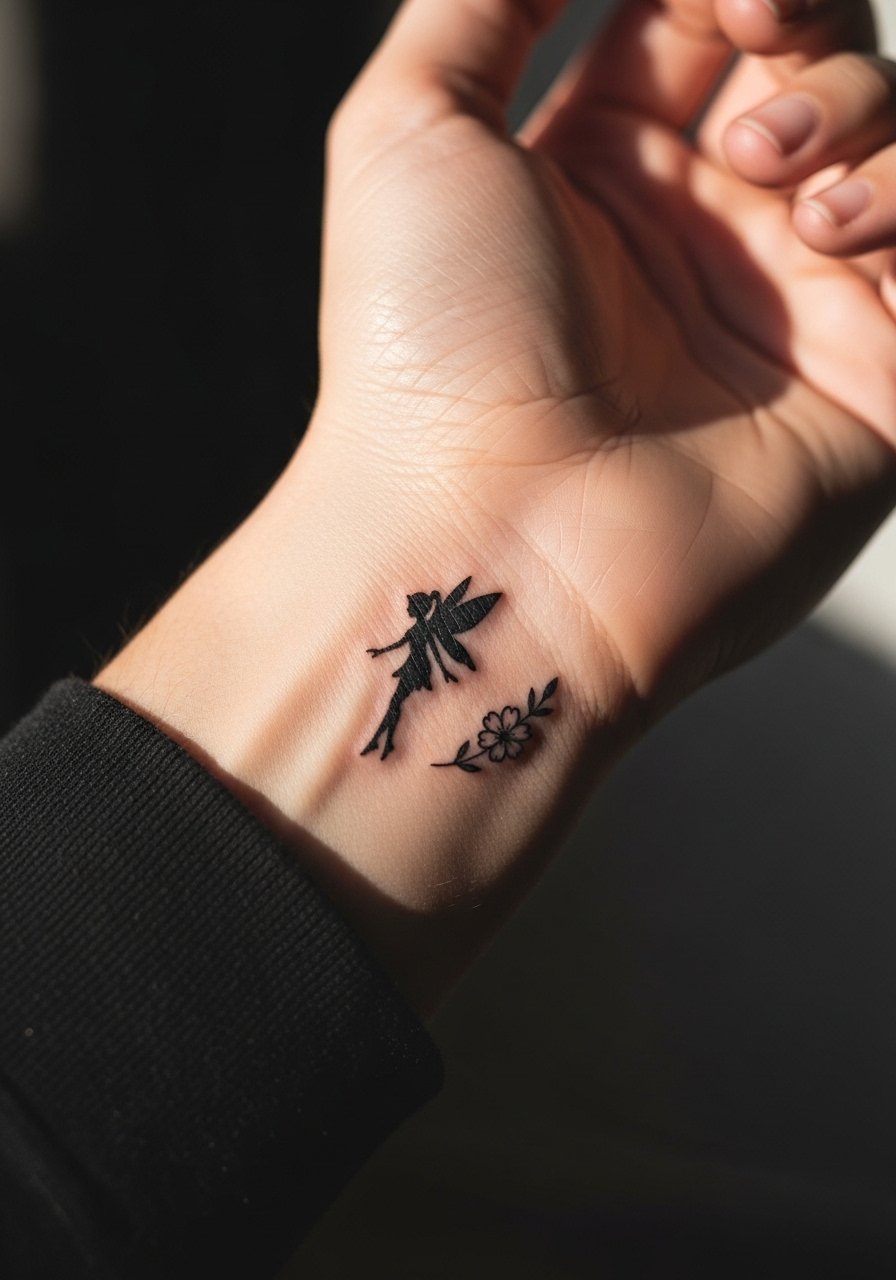
1. Fine Line Fairy Silhouette on Inner Wrist
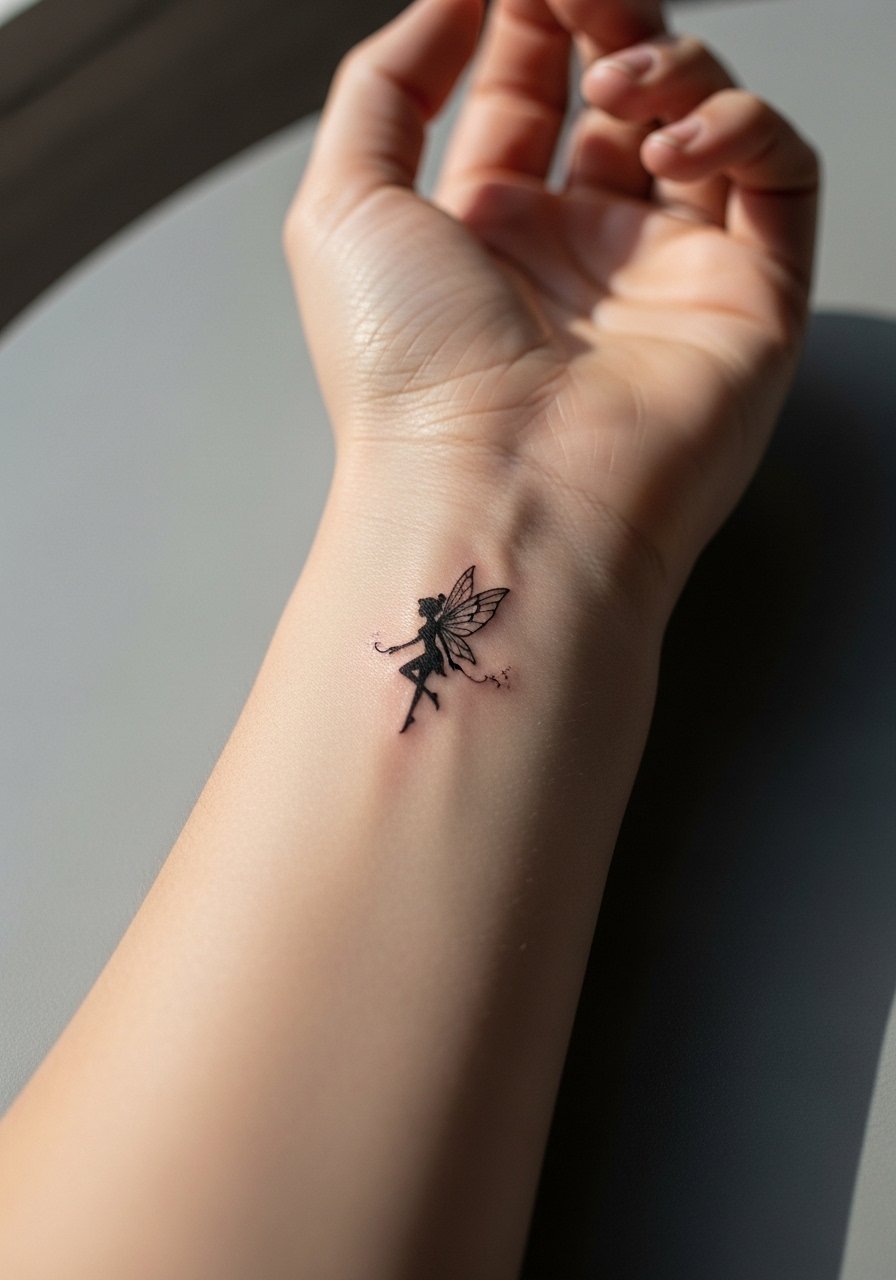
I've seen this silhouette on inner wrists that get a lot of cuff contact, and the single-needle look is flattering at first. Tell your artist you want slightly heavier outer contours so the shape keeps reading after a year. The common mistake is going ultra-micro for a one-inch piece, which risks fading into a smudge. Expect a quick session under an hour and moderate pain along the pulse side of the wrist. For the appointment wear a sleeveless tank so the artist has full access.
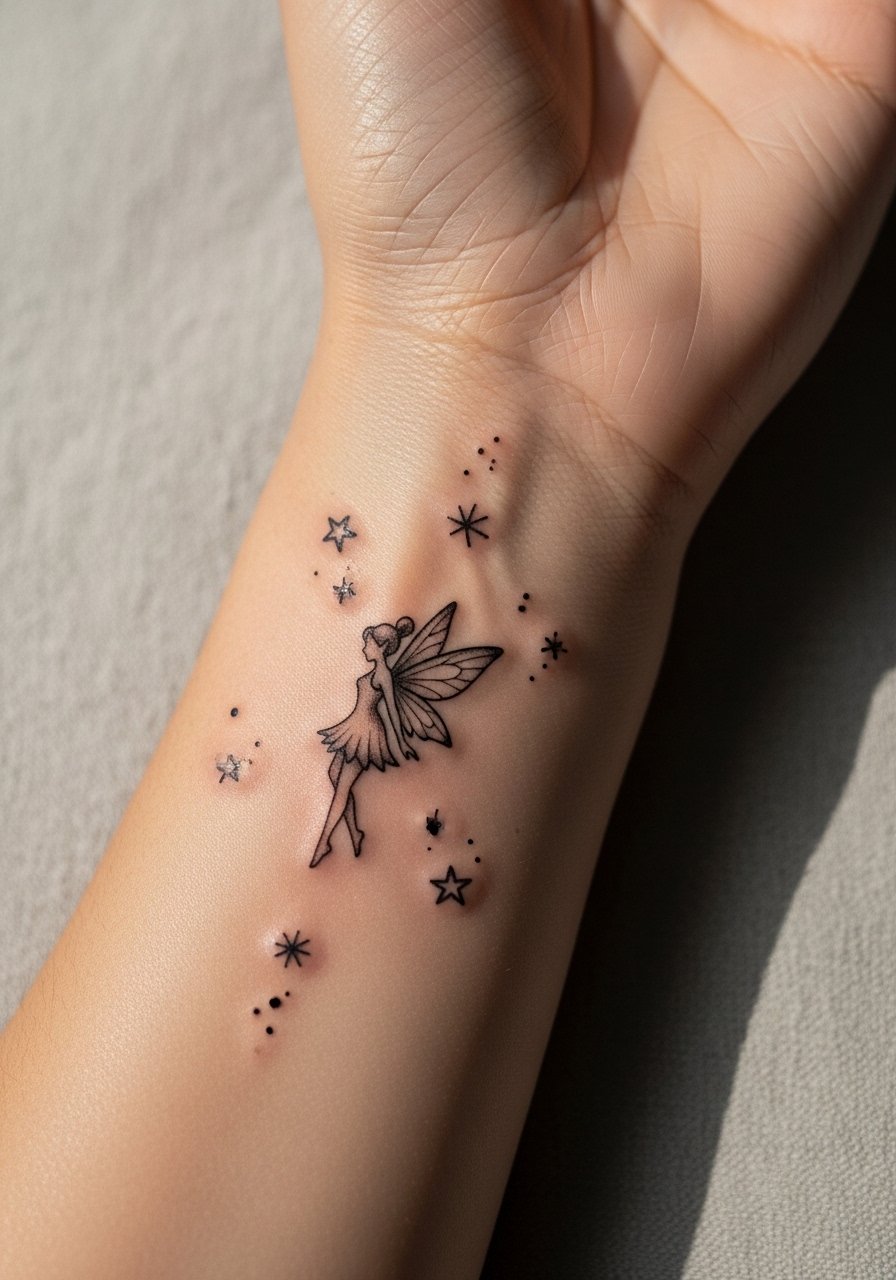
2. Dainty Outline Fairy with Stars on Outer Wrist
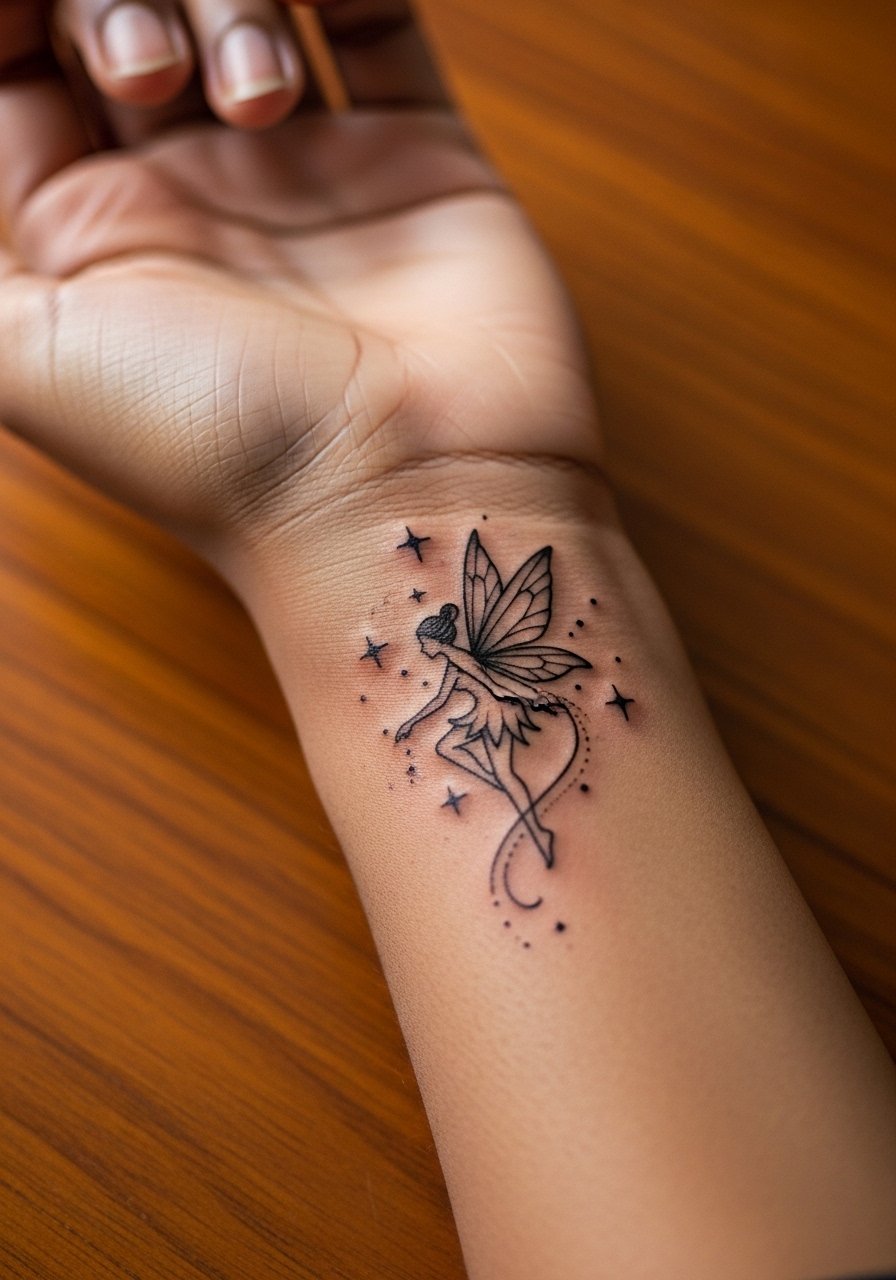
This outer wrist placement lets the fairy peek out when you gesture. A good consultation note is "tiny stars spaced apart and light gray fill only where noted." Artists split on line weight, so name a portfolio example that holds up on darker skin. Pain is low for most people and the session is quick. Avoid asking for clustered micro-dots near the edges because friction from bracelets can blur them. Show-off pairing includes a slim leather cuff, try a slim leather cuff bracelet opposite the tattoo to frame it.
3. Minimalist Fairy Wing Motif Wrapped on Inner Wrist
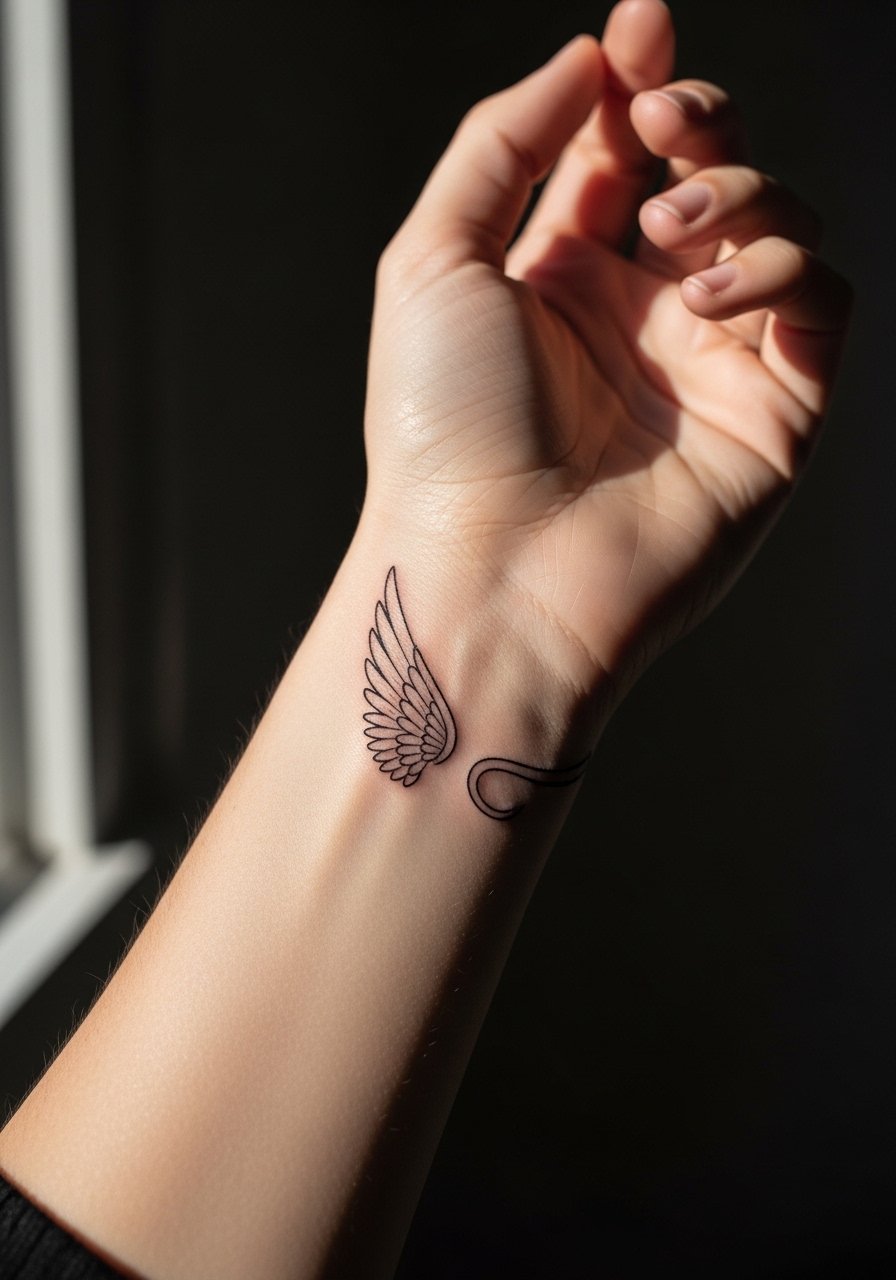
A wraparound wing is subtle and reads like a bracelet. The trick is to keep negative space where the wrist creases, otherwise the wrap breaks when you move. Tell your artist to plan the arc to avoid veins and to use a modest line thickness. Healing feels like mild irritation because the area moves with every wrist turn. For showing it off, rolled cuffs highlight the arc, so try a rolled cuff blouse women for outings.
4. Watercolor Fairy with Floral Accent on Top of Wrist
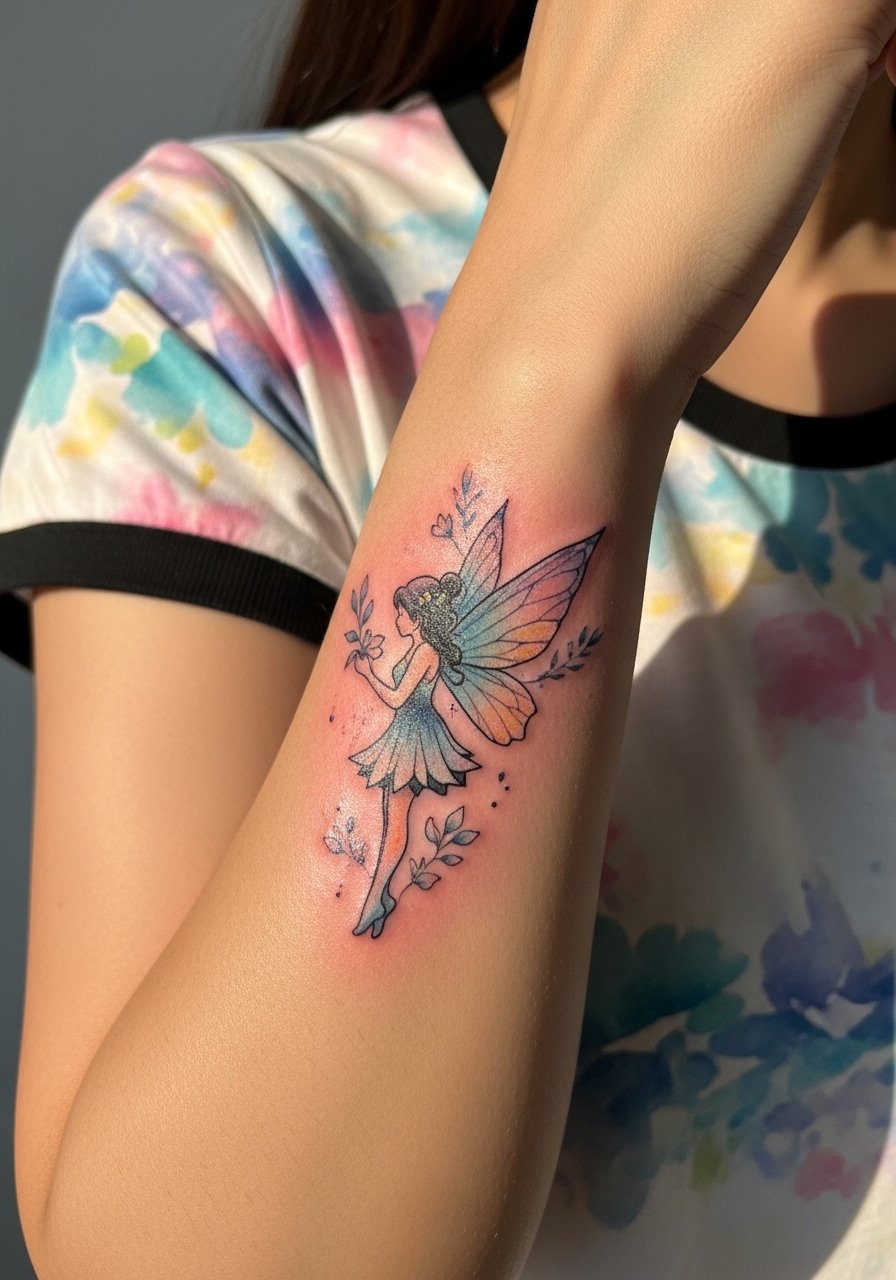
Watercolor brings color storytelling to a small wrist piece but it ages differently than blackwork. The beauty is visible for the first two years and then colors can soften and muddy on wrists that see a lot of sun. Ask for black outlines around key forms so the composition keeps structure as saturation drops. This one might take two sessions for layering. During the appointment wear a short sleeve tee you can push up without trapping the fresh tattoo.
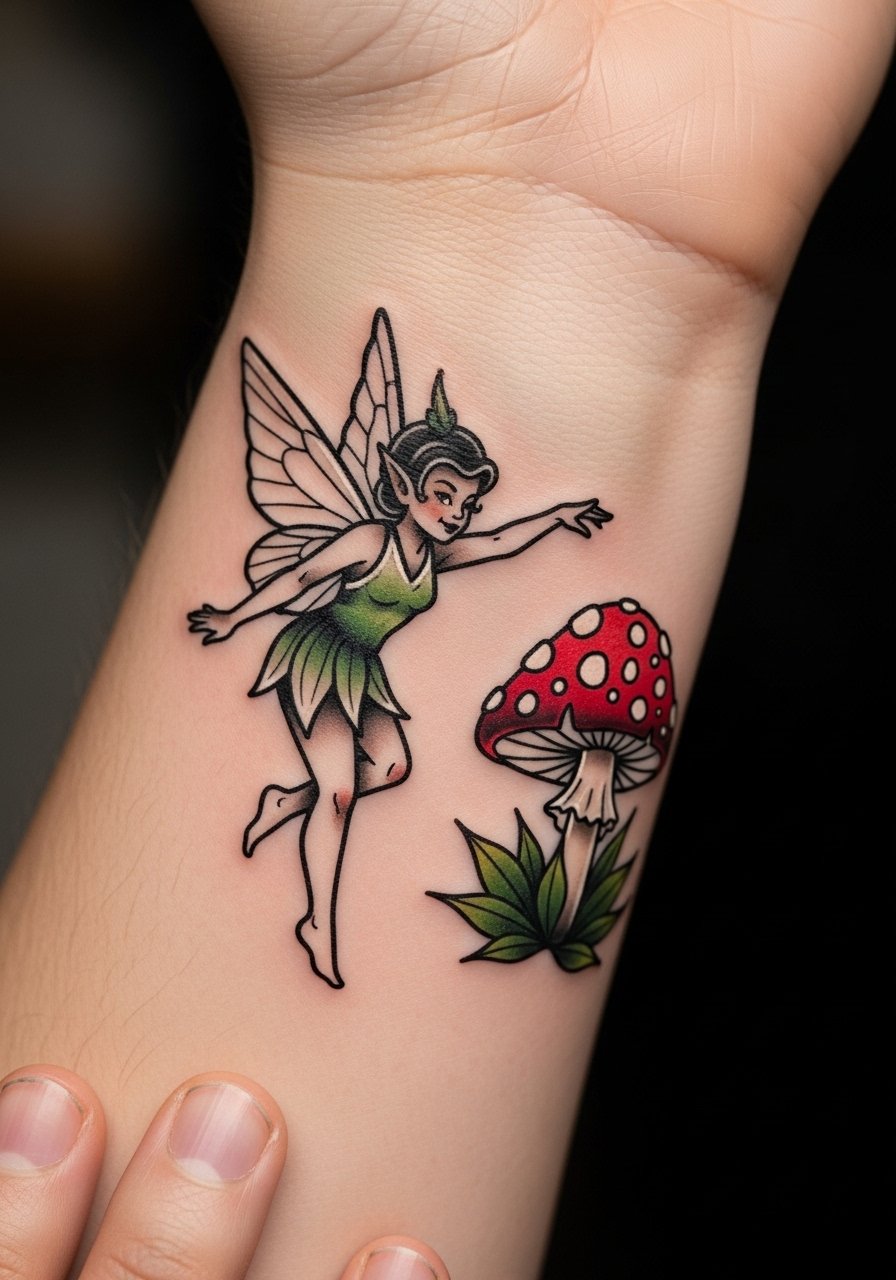
5. Neo-Traditional Fairy with Mushrooms Extending to Wrist
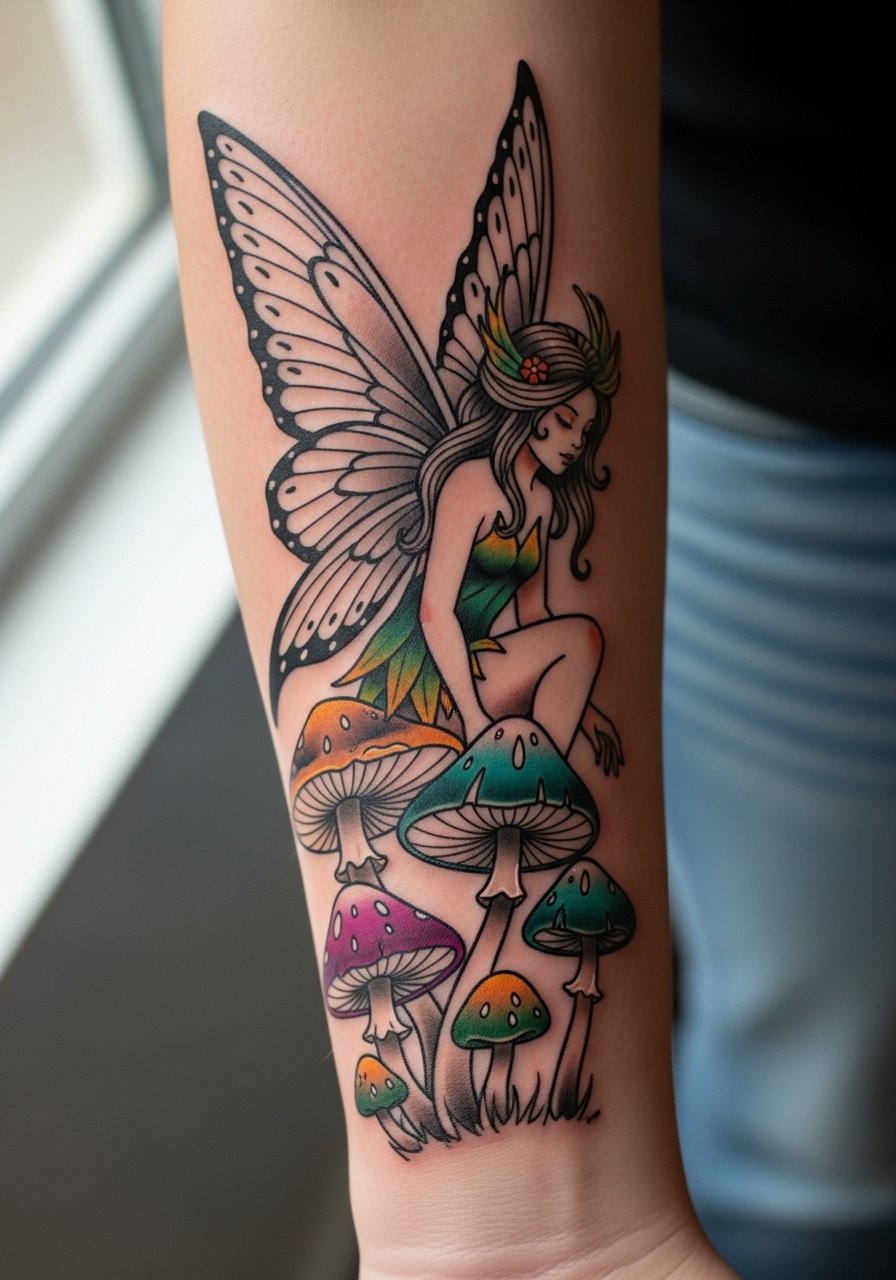
This design scales well because the forearm gives room so the wrist part does not get crammed. Tell the artist you want the fairy head at the wrist edge and the mushrooms higher up on the forearm for visual breathing room. Sessions may run longer because of color saturation and layering. Expect more soreness than a tiny wrist-only piece but better longevity because lines have more room. Pair with rolled-up chambray or chambray button up shirt sleeves to show the forearm flow.
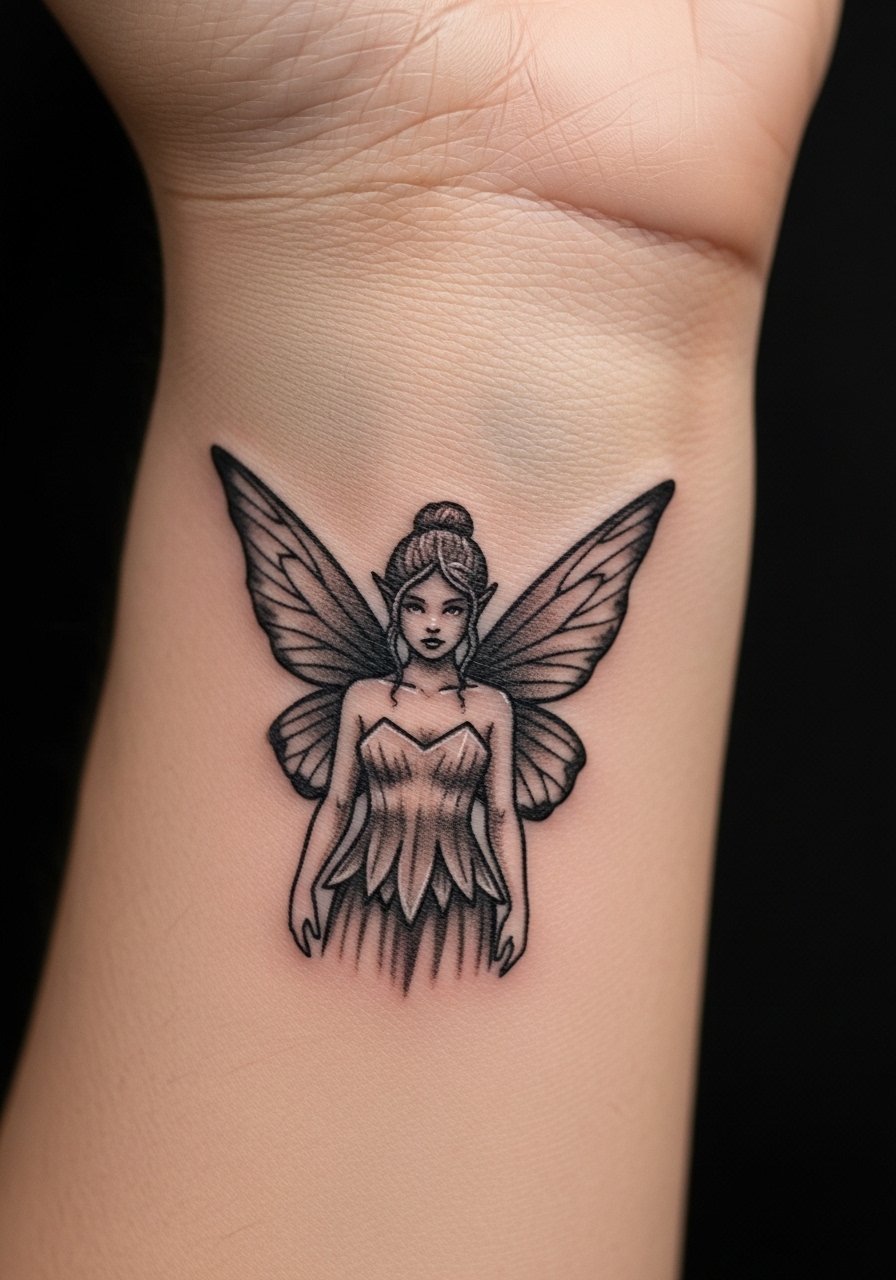
6. Blackwork Fairy Portrait on Side of Wrist
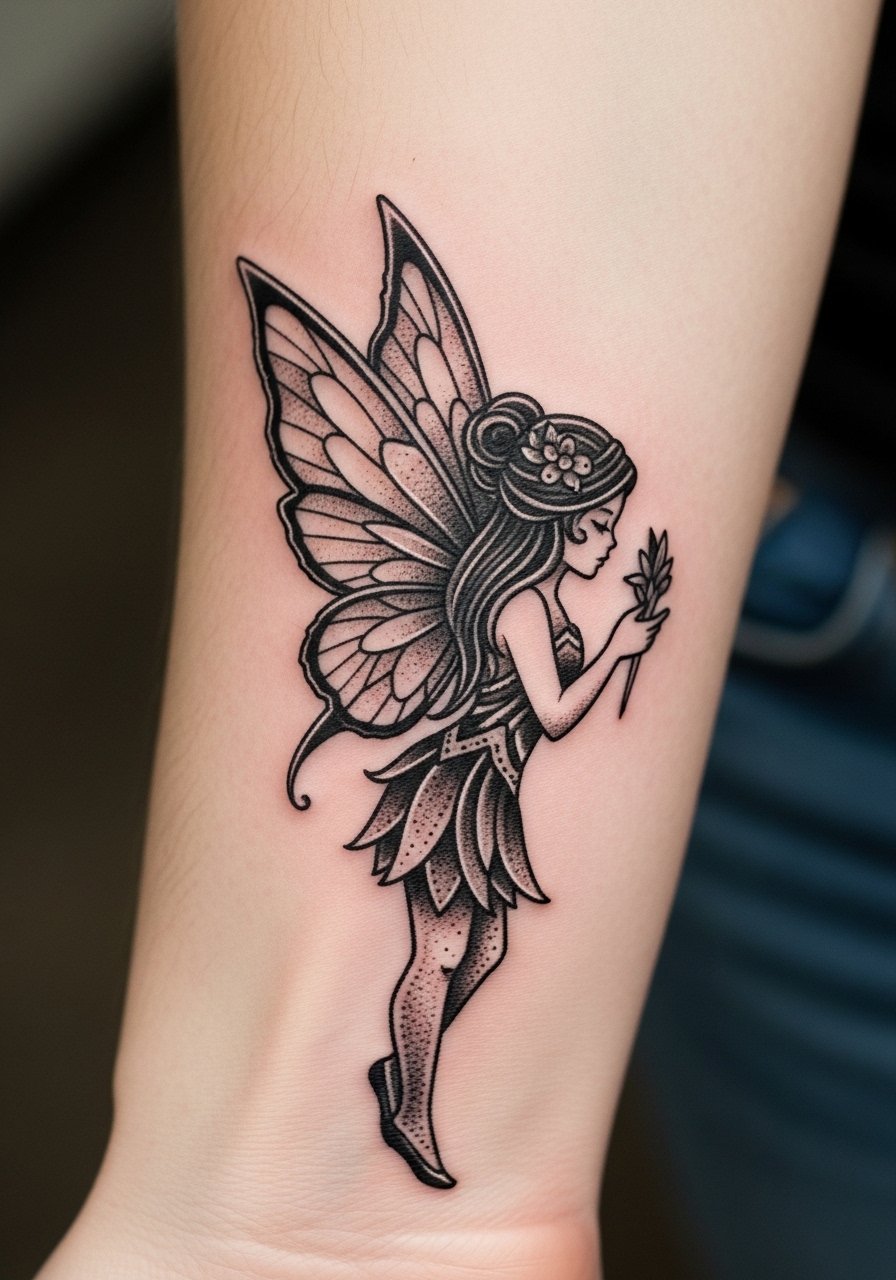
Blackwork gives dramatic contrast that holds on darker skin and in high-friction zones. The common mistake is a face with too-small features which disappear as the skin settles. Ask for simplified facial planes and strong negative space. A one to two session job depending on how much fill you want. Pain is more noticeable on the side of the wrist where bone sits closer to skin. For the session wear a short sleeve tee you can move aside easily.
Pre-Session Essentials
The wrist pieces above are small but finicky, and a few targeted items smooth out the appointment and the first week.
-
Tea tree balm alternative (thin formula). A lighter balm helps with wrist sweat and itch without clogging the tiny needle channels that fine line work needs.
-
Rice-based moisturizing lotion from Japan style. Non-greasy hydration suits delicate color gradients and stops pastel watercolor from turning patchy.
-
Comfrey-infused salve style from UK indie brands. Users report reduced itching on active healing areas like the wrist and inner forearm.
-
Hemp seed oil balm mix alternative. A diluted hemp formula gives affordable, light moisture for micro-realism dust trails.
-
Second Skin protective film. Breathable protective film can prevent sheets from sticking to a fresh wrist tattoo and reduce friction for the first 48 hours.
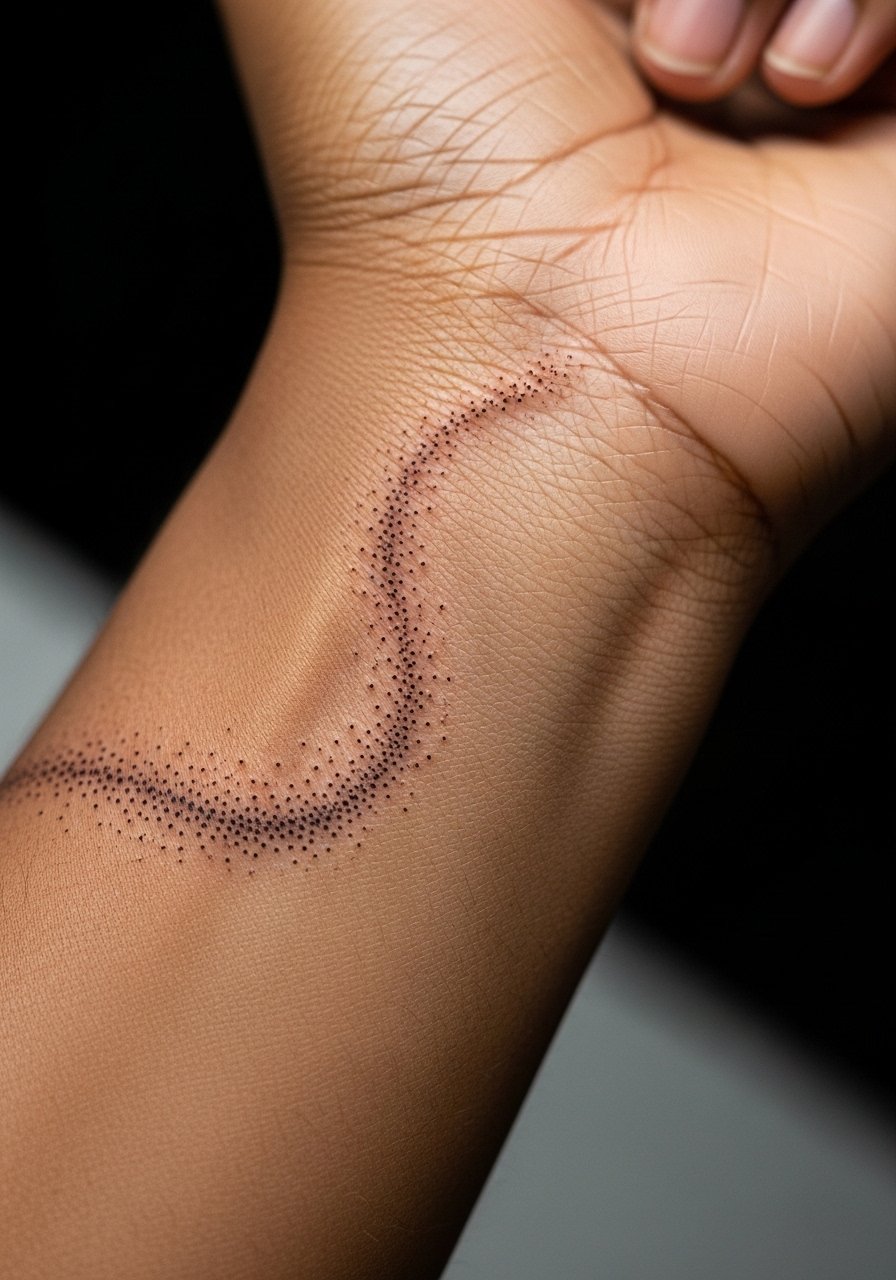
7. Micro-Realism Fairy Dust Trail on Pulse Side
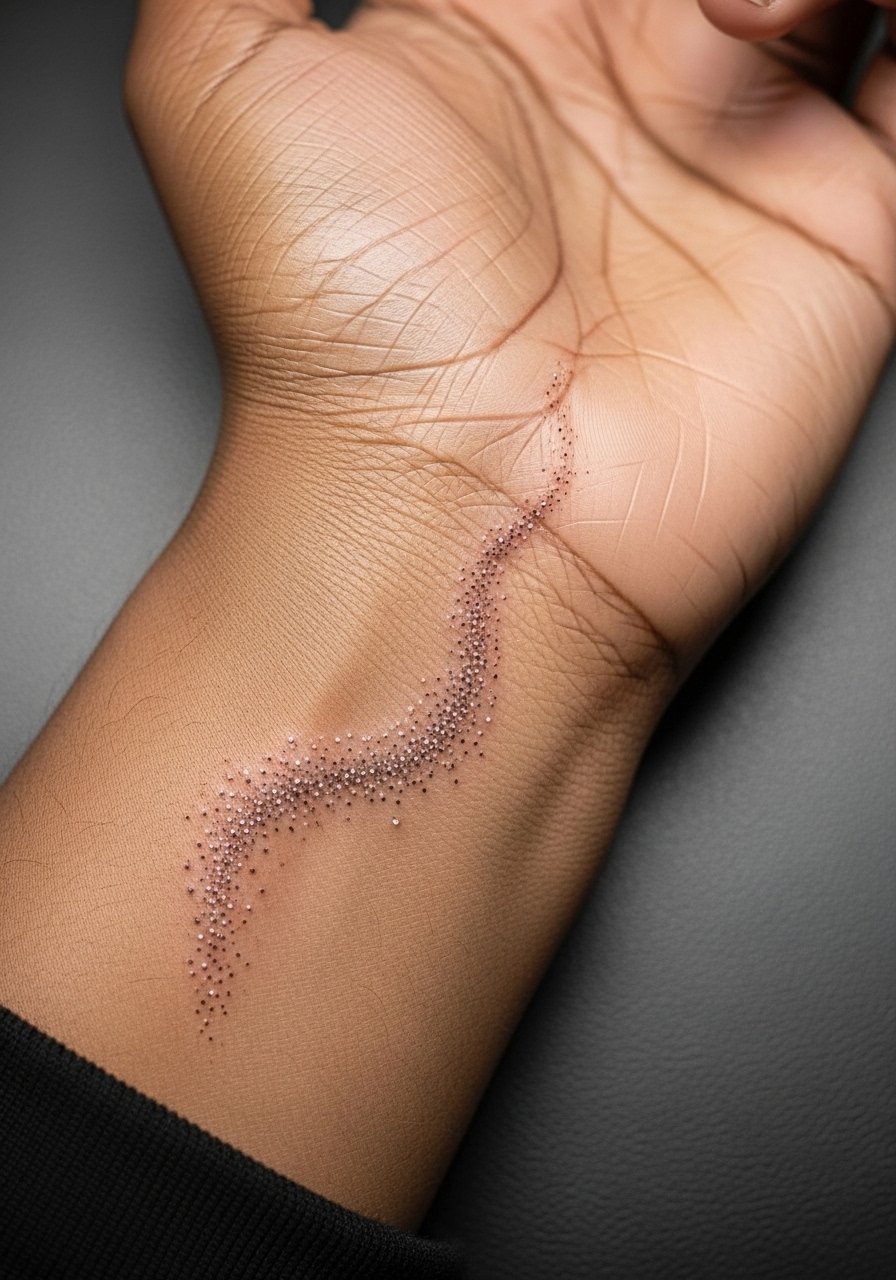
Micro-realism gives a sparkling trail effect that mimics dust with tiny dots and minuscule highlights. The issue is the wrist sees a lot of motion so isolated dots can migrate or blur if placed too close to creases. Ask for a slightly staggered dot pattern and avoid placing the densest dust directly over the pulse. Sessions are short but require precision. For showing it off pair with a thin silver ring set on the opposite hand so attention moves across both hands.
8. Ornamental Fairy Mandala Around Wrist
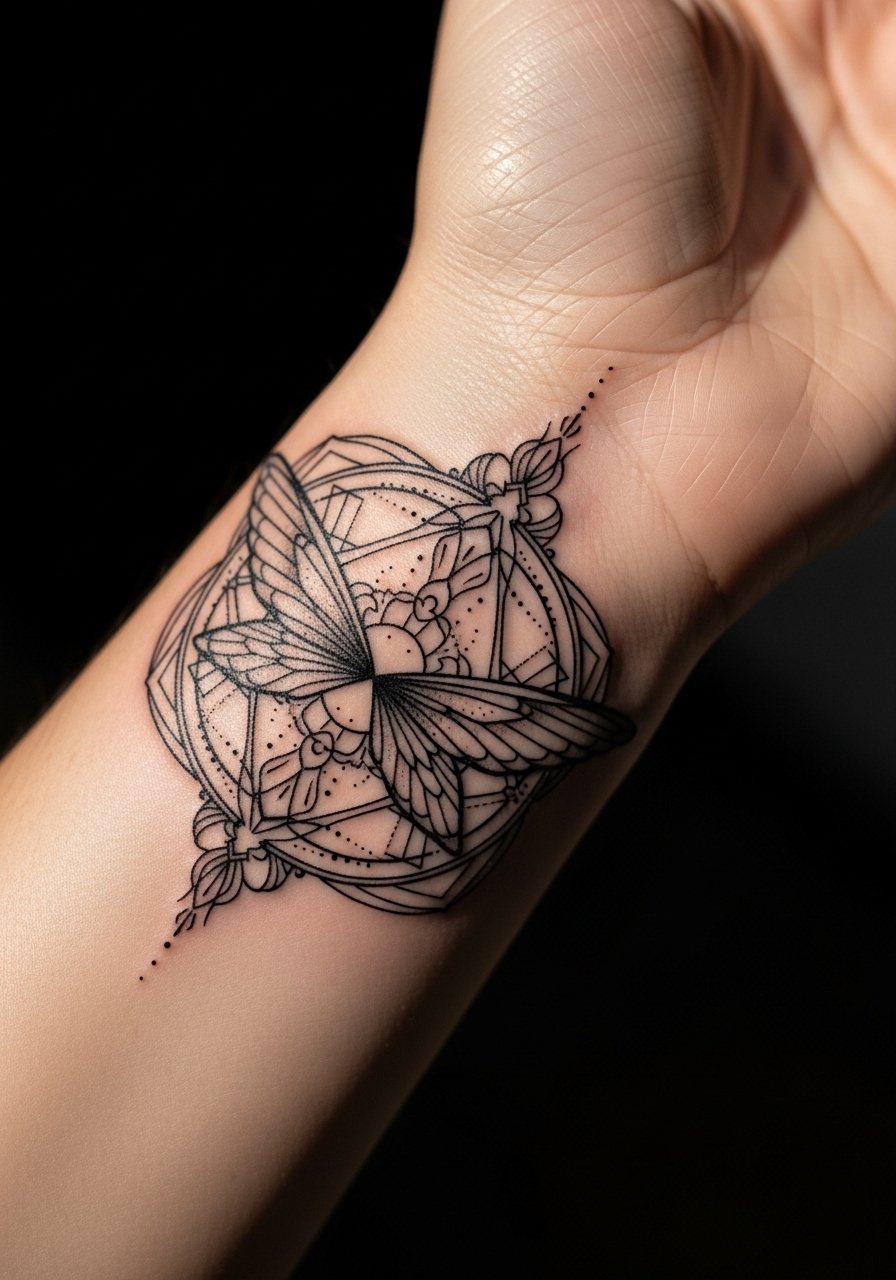
A mandala-style wrist piece reads like protection and pattern when scaled to the wrist circumference. The common mistake is cramming complex geometry into a one-inch band which leads to merging lines after healing. Ask for simplified motifs and more spacing between concentric rings. The session is moderate in time and can be done in one sitting. Bracelets can crowd the design, so let the mandala breathe when you show it off.
9. Ignorant Style Bold Fairy on Outer Wrist
Ignorant style embraces thick, raw outlines and playful proportions that translate well on the outer wrist. This style ages best when lines are purposefully thick rather than accidentally heavy. Tell your artist you want deliberate bold strokes and no tiny interior detail. The session is quick and relatively low pain. Pair this with a linen shirt cuffs look for casual days when you want the design to peek out.
10. Traditional Fairy Band with Stars and Moon
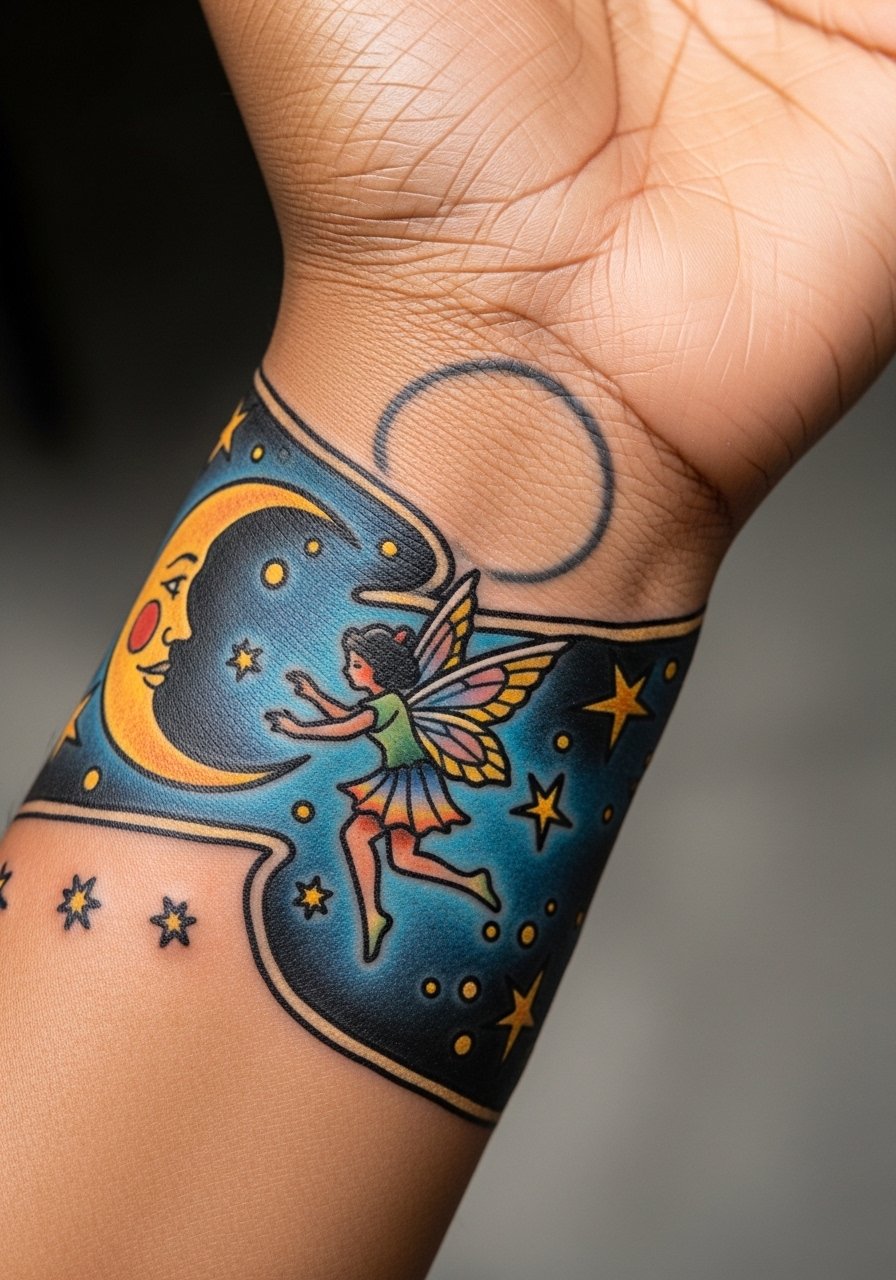
A wrist band lets a fairy and celestial elements form a readable narrative in a two to three inch band. Good planning keeps the stars separated so color saturation does not bleed into tight detail. This one benefits from confident linework and medium-sized color fields. Sessions may span two sittings if you want saturated color. For the session wear a short sleeve tee or a top with sleeves that pull up easily.
11. Birth Flower Fairy Hidden on Inner Wrist

Combining a birth flower with a fairy gives a private personalization that reads as a small symbol rather than a statement piece. Ask your artist to scale the flower so petals remain distinct after healing. The mistake is asking for intricate petal veins at micro scale. Expect low to moderate pain and a session under an hour. To show it off, pair with a dainty chain bracelet opposite the tattoo for gentle framing.
12. Bracelet Illusion Fairy Wrapping the Wrist
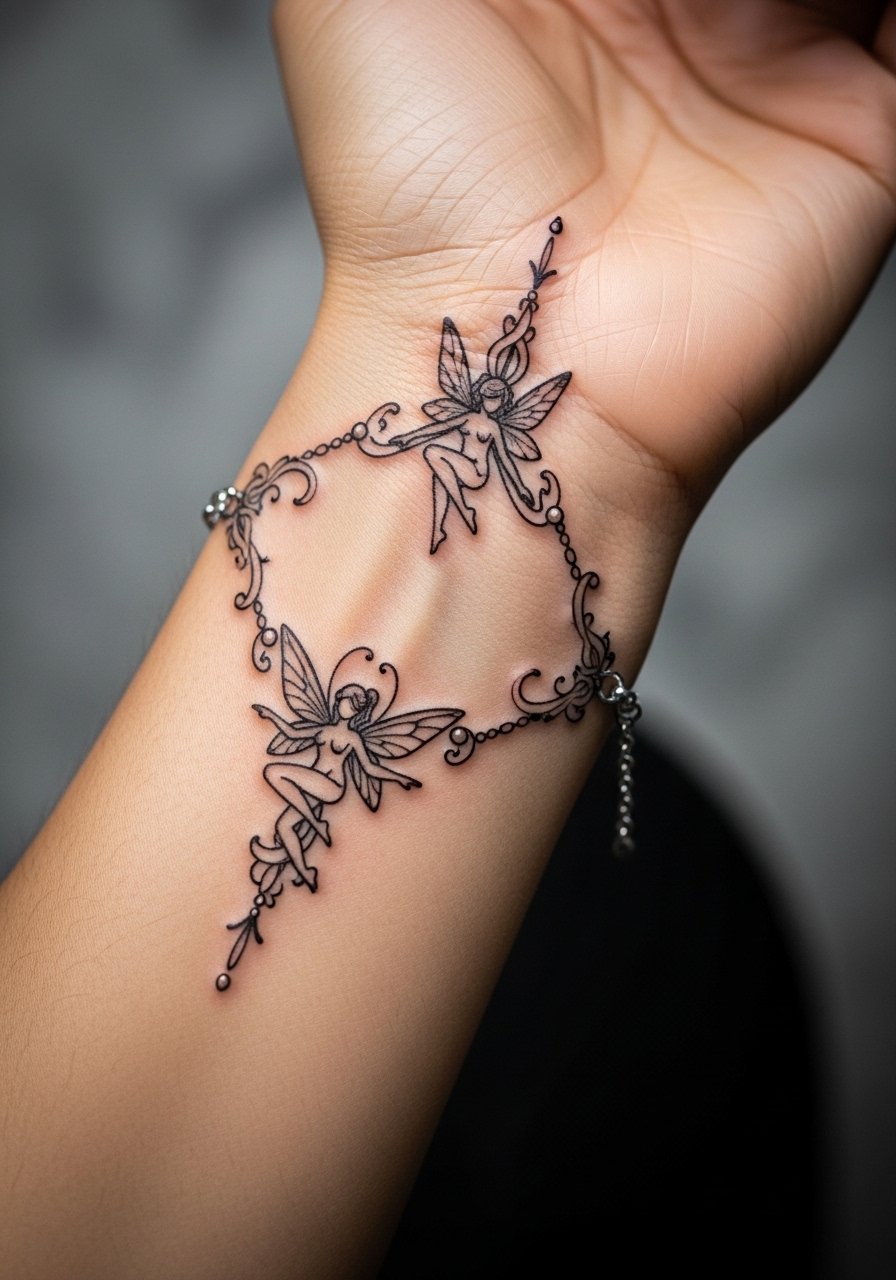
A bracelet illusion uses repeated motifs so the wrist looks like it has permanent jewelry. The key is leaving breathing room at the joint. Tell the artist to avoid placing the main motif directly over the crease. This ages more gracefully than a single tiny motif because the repeated pattern diffuses friction. The session is about an hour depending on detail. For the session wear a sleeveless top to make access easy.
13. Fairy Dust Trail That Follows Vein Lines
Designing a dust trail that complements vein lines can read as organic and personal, but it requires the artist to map the vein anatomy first. The common mistake is forcing symmetry where veins are naturally irregular. Ask for a mockup directly on your skin so you can see how the trail flows. The piece is sensitive because of the pulse zone, so expect sharper sensations during the session. Pair with a thin silver ring set when you want subtle contrast.
14. Memorial Fairy with Personalized Stars
Memorial fairies with dedicated star accents are a quiet way to mark someone. Ask the artist to place stars so each has its own negative space. A controversy to be explicit about is healing method. One camp prefers breathable film for the first two days while another argues that dry healing avoids trapped moisture. Name your preference in the consult and ask how they handle wrist sweat during the first week. Sessions are short and emotionally intense for many people.
15. Tiny Fairy Peeking from Under a Cuff

A peeking fairy works well if you want discretion because cuffs hide it most of the time. The key is to place the main mass where the cuff does not constantly rub. Tell your artist you wear a lot of fitted cuffs so they should avoid the outermost crease. Healing can be tricky if cuffs snag the area, so plan wardrobe for the first week. For the session wear a rolled cuff blouse women or similar so the artist can access the site easily.
16. Moon Phase Fairy Along the Wrist Edge
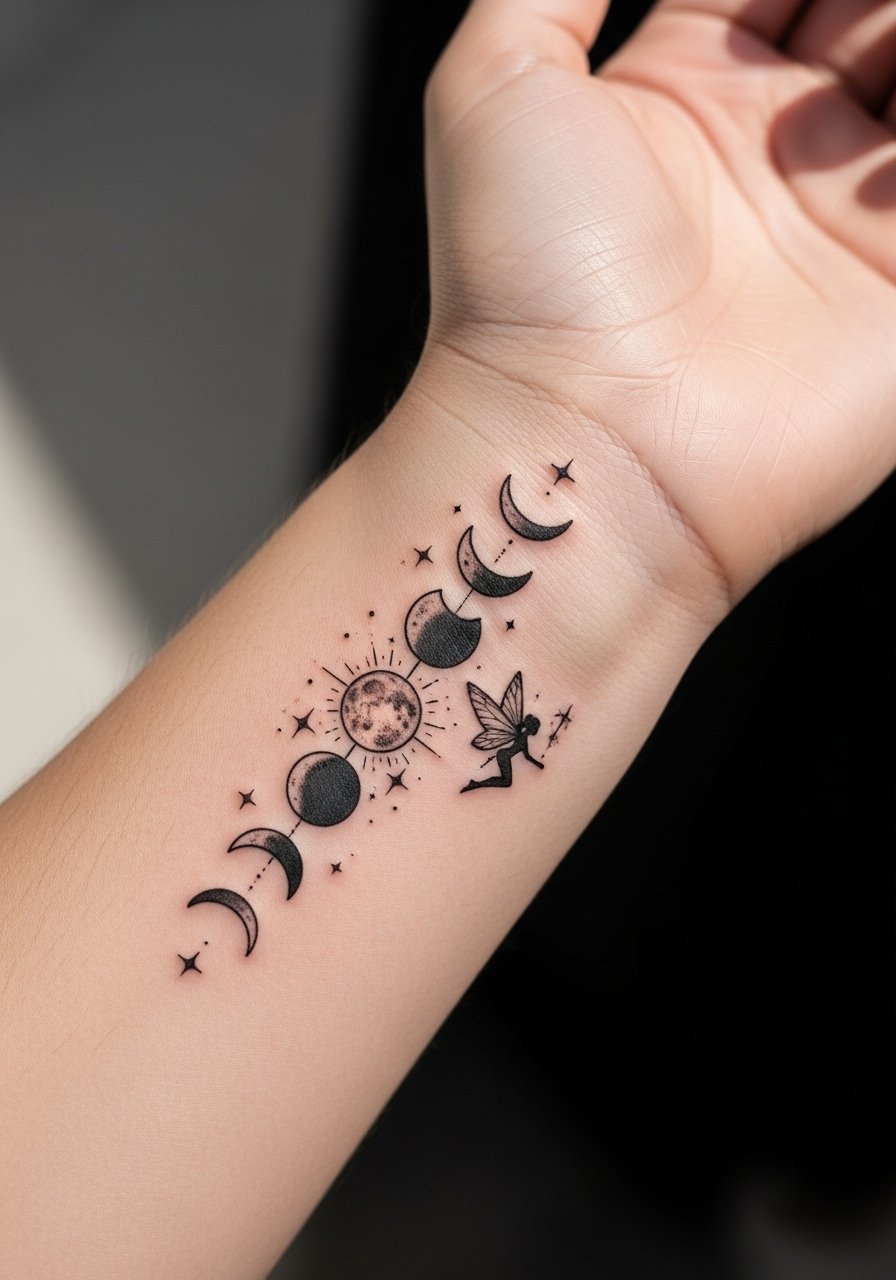
A moon phase band is symbolic and reads well on the wrist edge where the curve follows lunar progression. The artist should space each phase to allow tiny crescents to heal separately. The common mistake is compressing phases so they blur together after a year. Sessions are tidy, usually one sitting. Pair with a dainty chain bracelet for evenings out.
17. Constellation Fairy That Aligns with Birth Star
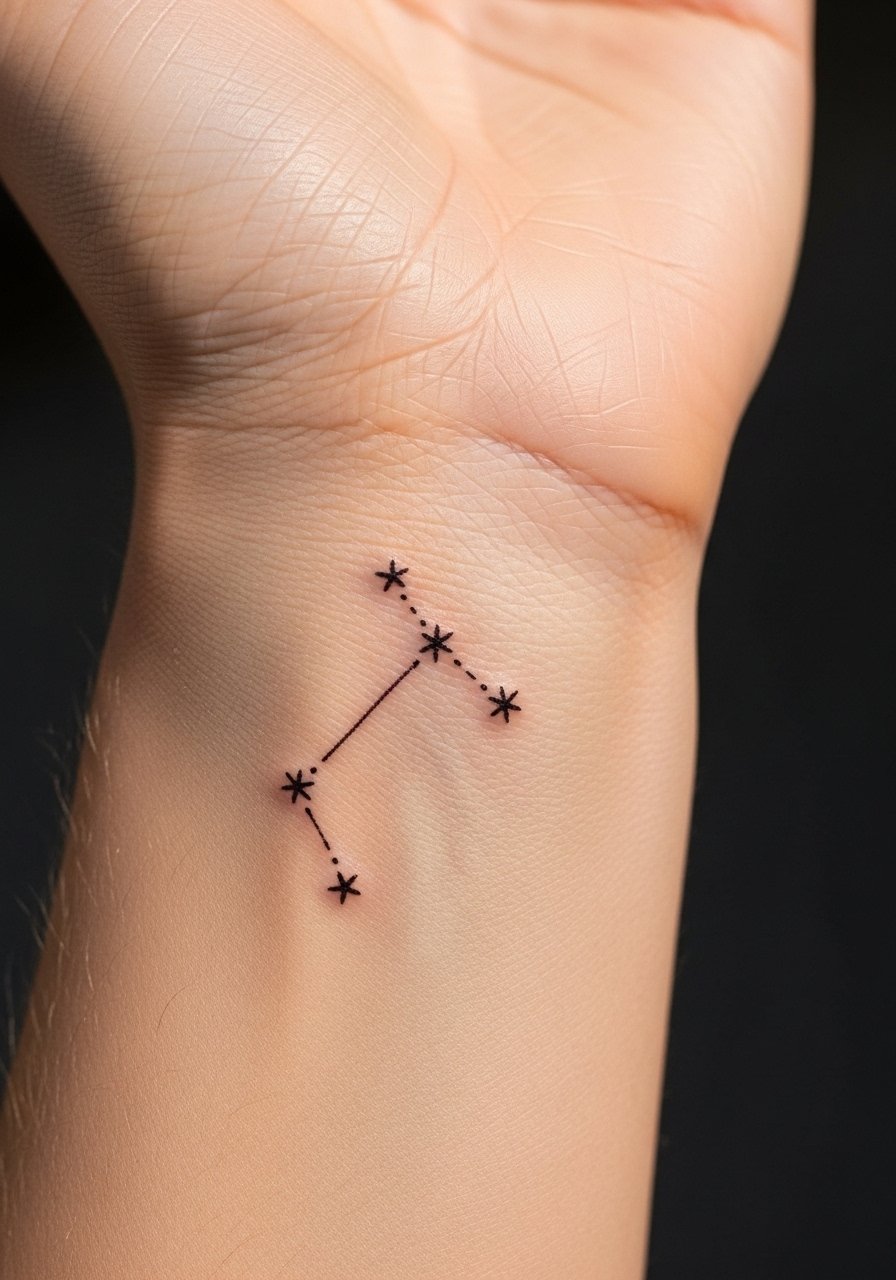
A constellation layout that mirrors your birth star is subtle and meaningful for those who want coded symbolism. The mistake is piling stars too close which leads to dot merging. Ask for slightly larger star gaps and a primary star that reads as the anchor point. This piece is low pain and quick to do. Style it with a pushed up sweater or short sleeve so it peeks naturally.
18. Scripted Mini Fairy Name on Inner Wrist
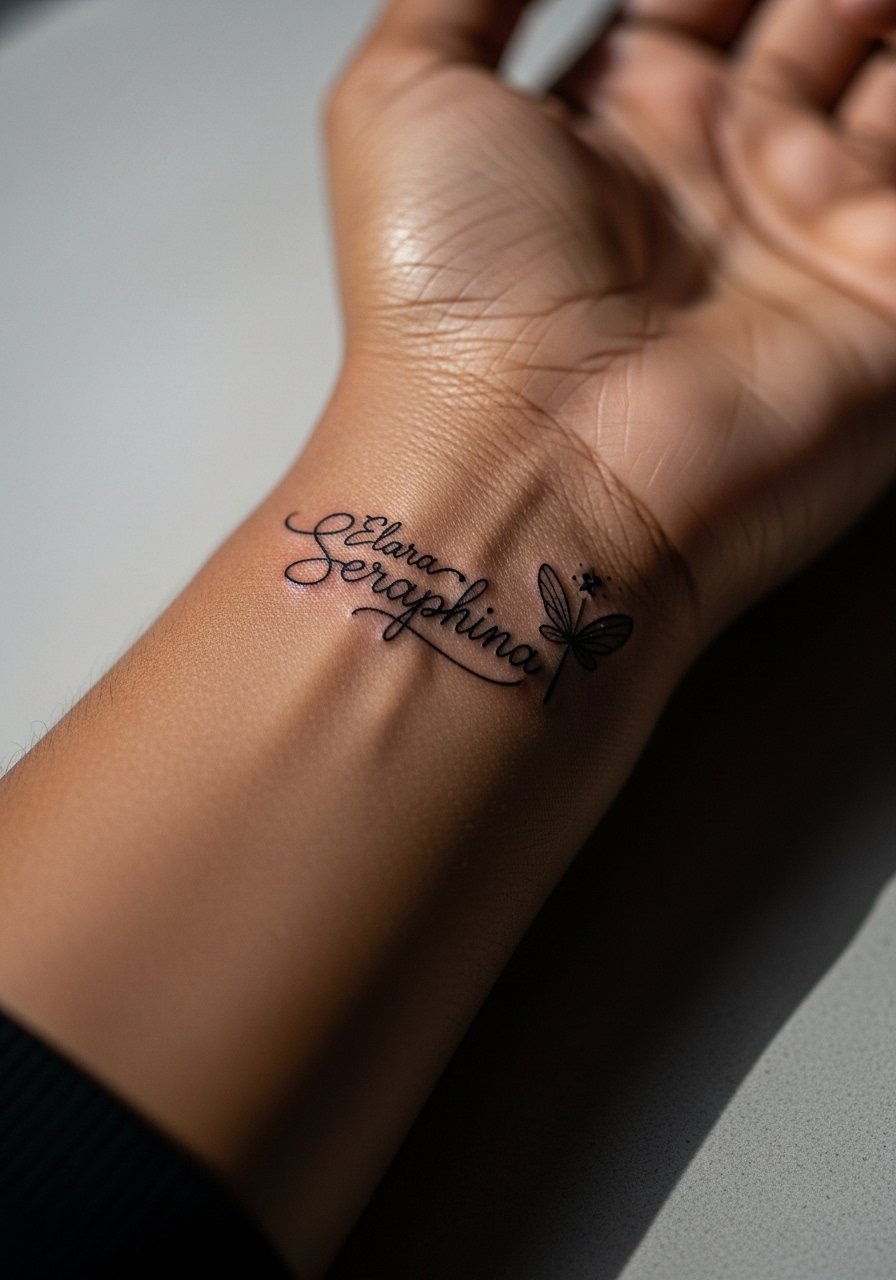
When integrating a name with a fairy, specify exact lettering size and ask to see the stencil placed on your wrist. Text tends to blur faster at very small sizes, so choose a slightly bolder script or all lowercase simple lettering. This is an appointment of modest discomfort and quick duration. For the session wear a sleeveless tank to give full access.
19. Silhouette with Floral Accent Near Wrist Crease
Placing a floral accent just above the crease creates a frame without sitting on the joint itself. Ask your artist to center the flower higher so the wrist motion does not remodel the shape. The common mistake is placing heavy shading over the crease which softens quickly. Sessions are short and healing is straightforward if you avoid tight watches. Pair with a thin silver ring set to balance the look.
20. Micro-Realism Fairy Eye Detail on Side Wrist

A single micro-realism eye is a focal study and it reads best when scaled to at least an inch so detail survives. The mistake is shrinking the pupil detail under the assumption that small looks delicate. This piece demands a steady hand and may need touch-ups at year two. Expect sharper sensations near the bone. For artist discovery use tags and directories that filter by micro-realism rather than broad flash.
21. Geometric Fairy with Dot Work on Top of Wrist

Geometric elements with stipple shading look modern and can give structure to a fairy motif. The error is making tightly packed geometry too small which leads to merging stipple fields. Ask for slightly more spacing between points and for the stipple to have gradient breathing room. Sessions vary in time depending on dot density. Wear a flowy boho blouse when you want the geometric composition framed casually.
22. Tiny Fairy Silhouette Behind Watch Band
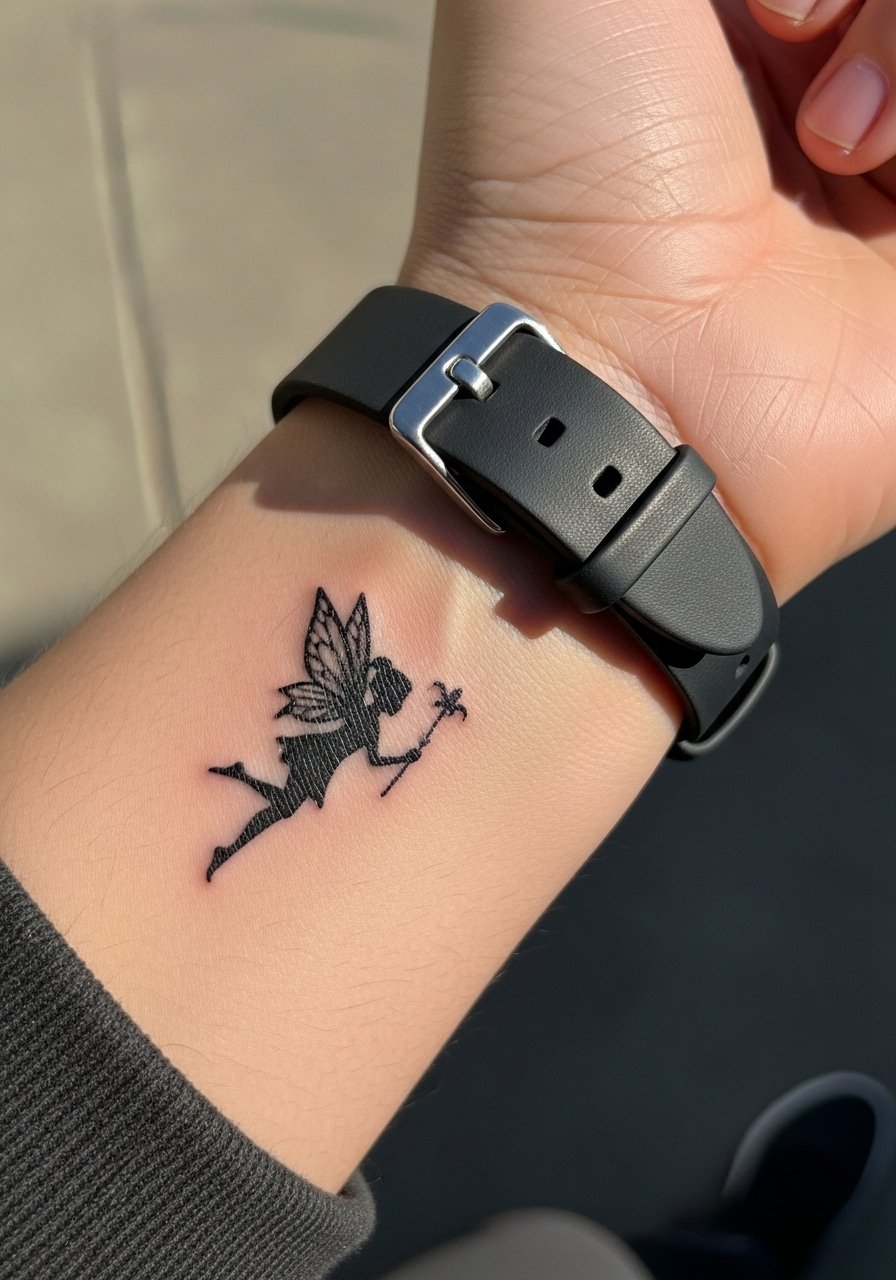
A fairy hidden under a watch band gives discretion for professional settings and can be revealed during downtime. Plan placement so strap edges do not continuously rub the ink. The session is quick but you must keep the band loose while healing. If you wear a watch daily, expect accelerated fading and plan touch-ups at year two. For the appointment, remove your watch and wear a short sleeve tee.
23. Fairy with Mushroom Accent Near Tendon
Tendon-area placements show sculptural motion but are higher risk for blowout if the artist works too deep. One camp of artists avoids delicate work on tendons for this reason. The other camp will do it with a controlled shallow depth. Ask the artist how they manage blowout risk before booking. Sessions are short and can feel sharper. For show-off pairing consider rolled-up vintage tees when you want to highlight the forearm continuation.
24. Tiny Fairy with Halo of Dots on Outer Wrist
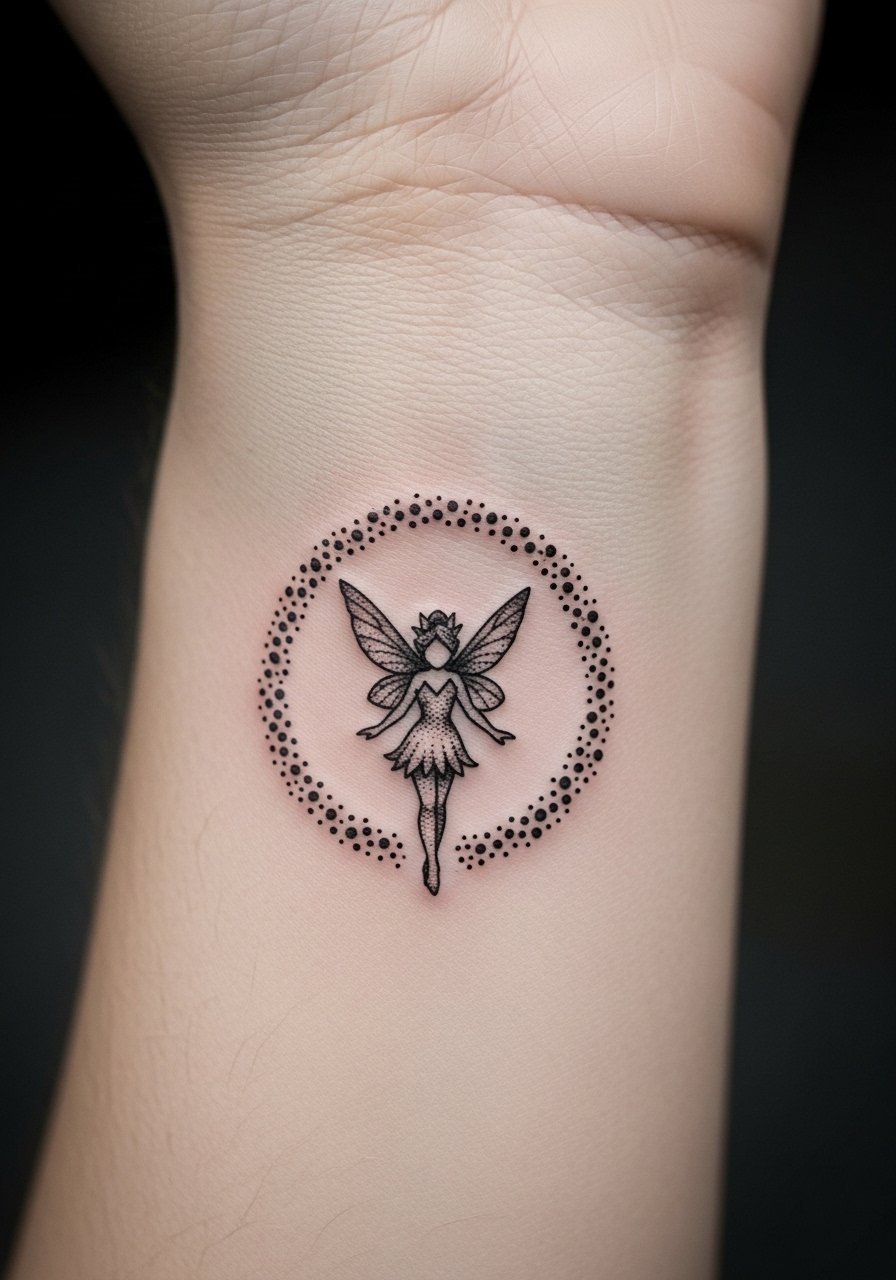
A halo of dots frames a fairy and gives a sparkle without color. The common mistake is over-densifying the halo which causes dots to merge after healing. Request a graduated density with larger gaps at the outer edge. This piece is low pain and quick to tattoo. It holds best on the outer wrist where friction is slightly less. Pair with a slim leather cuff bracelet for an edgier look.
25. Minimalist Fairy Outline on Top of Wrist

Minimalist outlines are popular because they fit easily into everyday wear, but fine line on the top of the wrist is vulnerable to sun exposure and washing. The solution is to ask for conservative line thickness and a faint supportive rim of shade so the outline keeps its shape. Sessions are quick and tolerable. For showing it off, push up a pushed up sweater or wear short sleeves.
26. Fairy Portrait with Negative Space Wings on Inner Wrist
Using negative space for wings gives a graphic silhouette that reads even as gradients soften. The mistake is using too much stipple inside the wings which can fill in over time. Ask for crisp negative edges and reserved shading. This piece feels more sensitive along the artery line and may need a calm breathing practice during the session. For wardrobe pick a sleeveless tank so the artist can position your arm easily.
27. Tiny Fairy with Moon and Leaf Accent on Side Wrist

This compact trio reads well because the elements are spaced and give breathing room. Ask your artist to scale each motif so the leaf and moon are clearly different sizes. The common mistake is compressing them into a one-inch cluster which blurs over time. Session time is short and pain is low to moderate. For showing it off wear a loose button-down shirt you can roll to the elbow.
Frequently Asked Questions
Q: Do fine line fairy wrist tattoos really fade faster than bold blackwork?
A: From what I have seen fine line tends to soften sooner on wrists because the area gets more friction and sun exposure. Bold blackwork generally keeps contrast longer, so if longevity is your priority ask for slightly heavier outer lines and plan for a touch-up around year two or three.
Q: Should I use protective film or dry healing for a new wrist fairy?
A: Artists and collectors split into two camps. One camp prefers breathable protective film for the first 48 hours to limit rubbing and sheets sticking. The other camp favors dry healing to avoid trapping moisture on a high-movement site. Ask your artist what they recommend for wrist placements and follow their timing for removal.
Q: How much will a small wrist fairy cost and how long will it take?
A: Prices vary by studio and city, and small wrist pieces often finish in a single session that lasts under an hour. Expect to budget for a touch-up later because wrists are high-friction. Ask about the studio's cancellation and guest-spot policies when you book so you are not surprised by reschedules.
Q: My skin tone is dark, will a fairy tattoo show up on my wrist?
A: Many people with darker skin find high-contrast blackwork and simplified silhouettes read best on the wrist. Request mockups on skin similar to yours and ask the artist for portfolio examples on darker tones before booking.
Q: What should I wear to the session for a wrist fairy?
A: Choose something that gives the artist clear access like a sleeveless tank or short sleeve tee, and avoid bracelets or watches. If you want the tattoo to show off afterward, consider a dainty chain bracelet or rolled cuff styles depending on the design.
