
Bold trends look great on saved boards, but what keeps a red heart looking intentional after a few summers under the sun is a different conversation. Fine line reds, saturated traditional fills, and neo-traditional bleeding hearts all have trade offs with longevity and touch-up needs. Read on for 27 ways to make a red heart feel edgy today and hold up through the next chapter of your style.
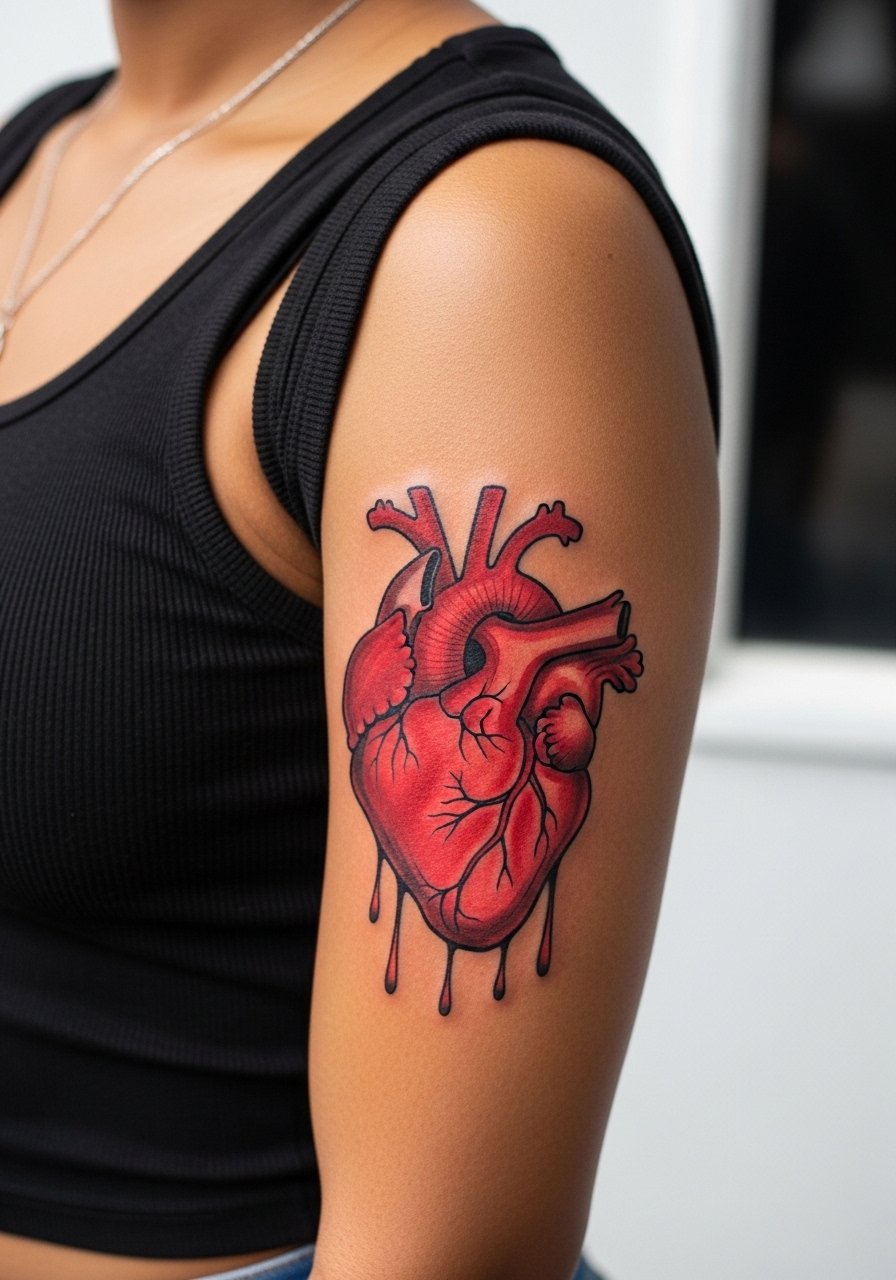
1. Anatomical Bleeding Heart on Upper Arm
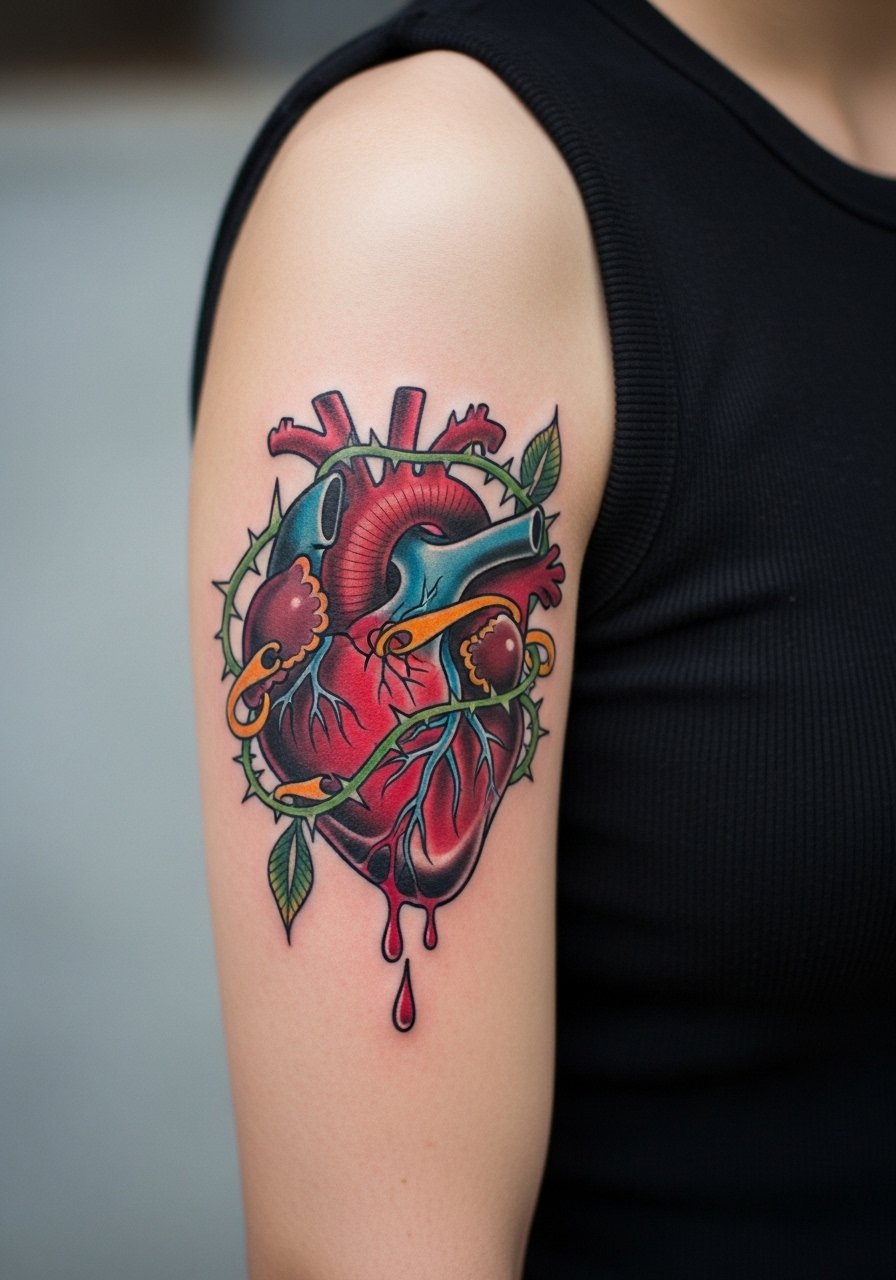
I recommend this when you want drama without the hand-fade risk. I have seen upper arm anatomy pieces hold saturation longer because the area moves less than fingers. Tell your artist you want heavy saturation in the red core and crisp black shading around the drips so the bleed reads intentional, not like an ink spread. The session feels moderate, expect one to two hours. Mistake to avoid is taking a tiny reference and scaling it too small. For showing it off, pull up a black fitted tank top and wear a leather jacket with sleeves pushed up.
2. Minimal Red Outline with Subtle Crack on the Hand
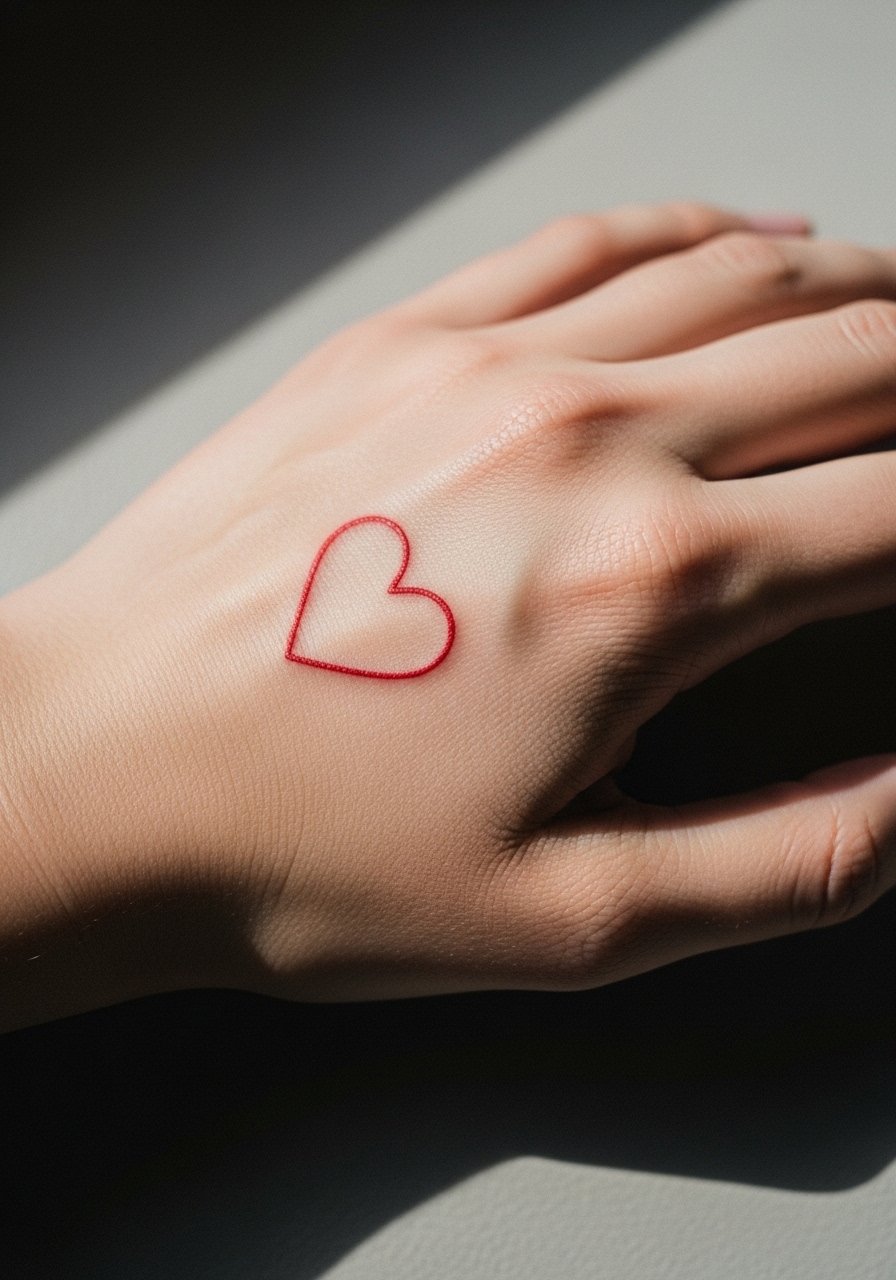
Fair warning, hand pieces age differently. The visual is clean and rebellious when done bold, but fine line versions blur quickly from daily washing and friction. For a hand piece ask for thicker linework and deeper saturation rather than a whisper-thin needle. The session is quick, under an hour, but plan touch-ups every 6 to 12 months. Wear no rings during the appointment and keep the hand dry the first week. A common mistake is asking for overly delicate lines that vanish into blur.
3. Traditional Dagger Pierced Heart on Forearm
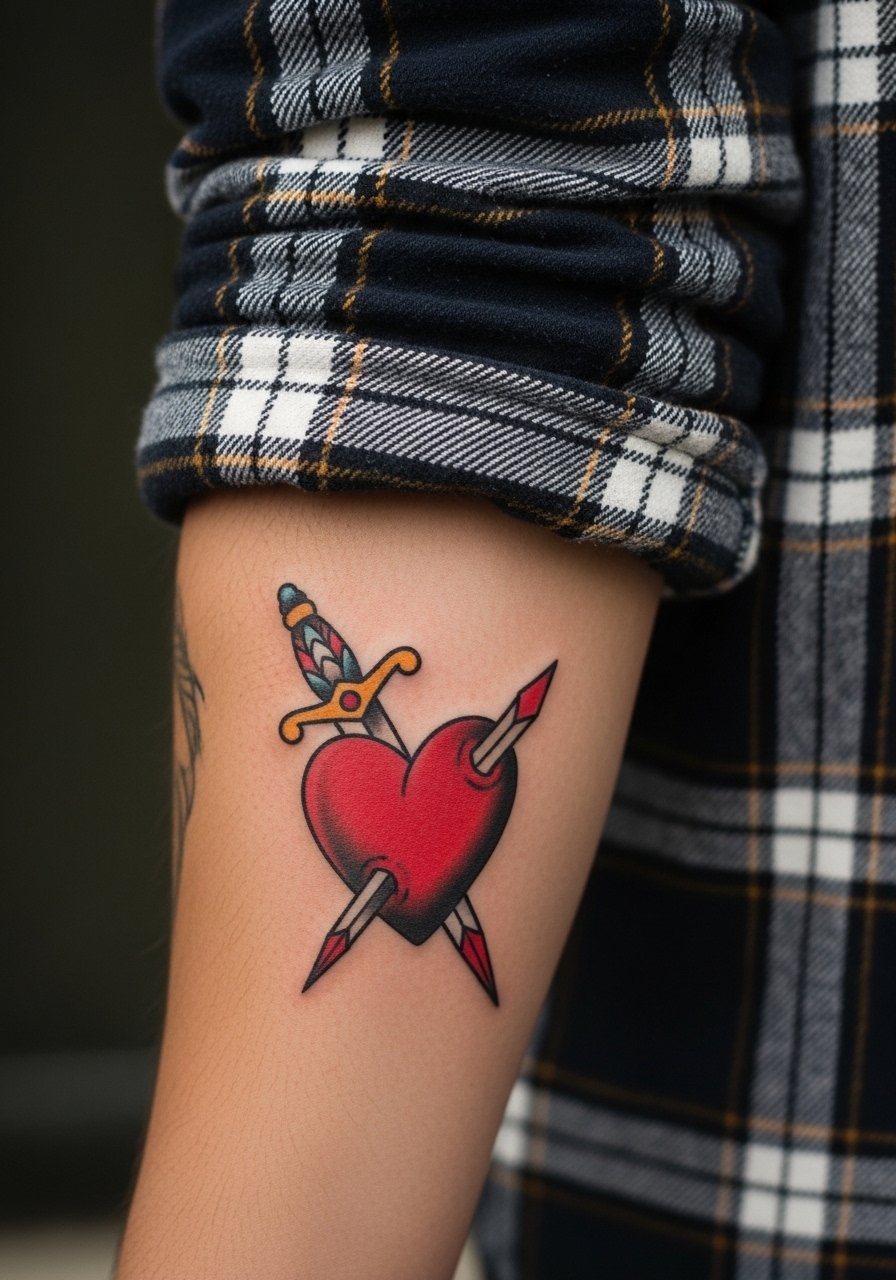
There is something about bold black outlines framing saturated red that reads across rooms. When you sit in consultation bring images showing the exact line weight you want and ask for strong black anchors to protect the red fill. Expect one solid session around an hour and a half and medium pain on the forearm. Avoid asking for ultra-small daggers because they lose detail. For everyday wear roll a rolled cuff flannel shirt to frame the piece.
4. Thorn-Wrapped Shaded Heart at the Collarbone
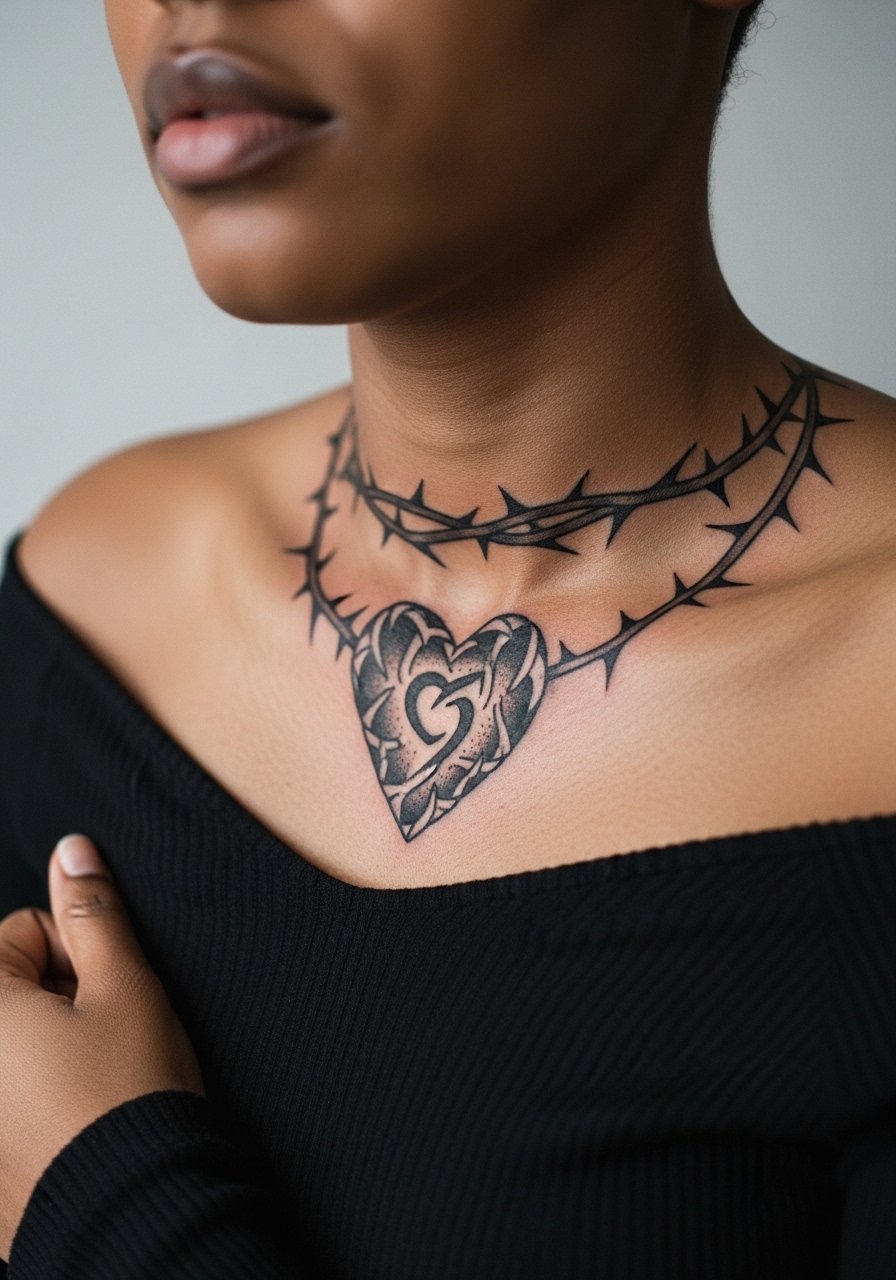
The collarbone gives a flattering sweep that ages well when spacing is respected. Ask your artist for thicker vine stems near the edges and delicate stipple shading in the red core, that approach keeps detail visible as skin moves. Pain is moderate to high on the collarbone, plan two sessions if you want heavy shading. A frequent mistake is crowding the design over the bone with too much tiny detail. Show it off with an off shoulder black top to highlight the negative space.
5. Micro-Realism Heart with Vein Details on Inner Wrist
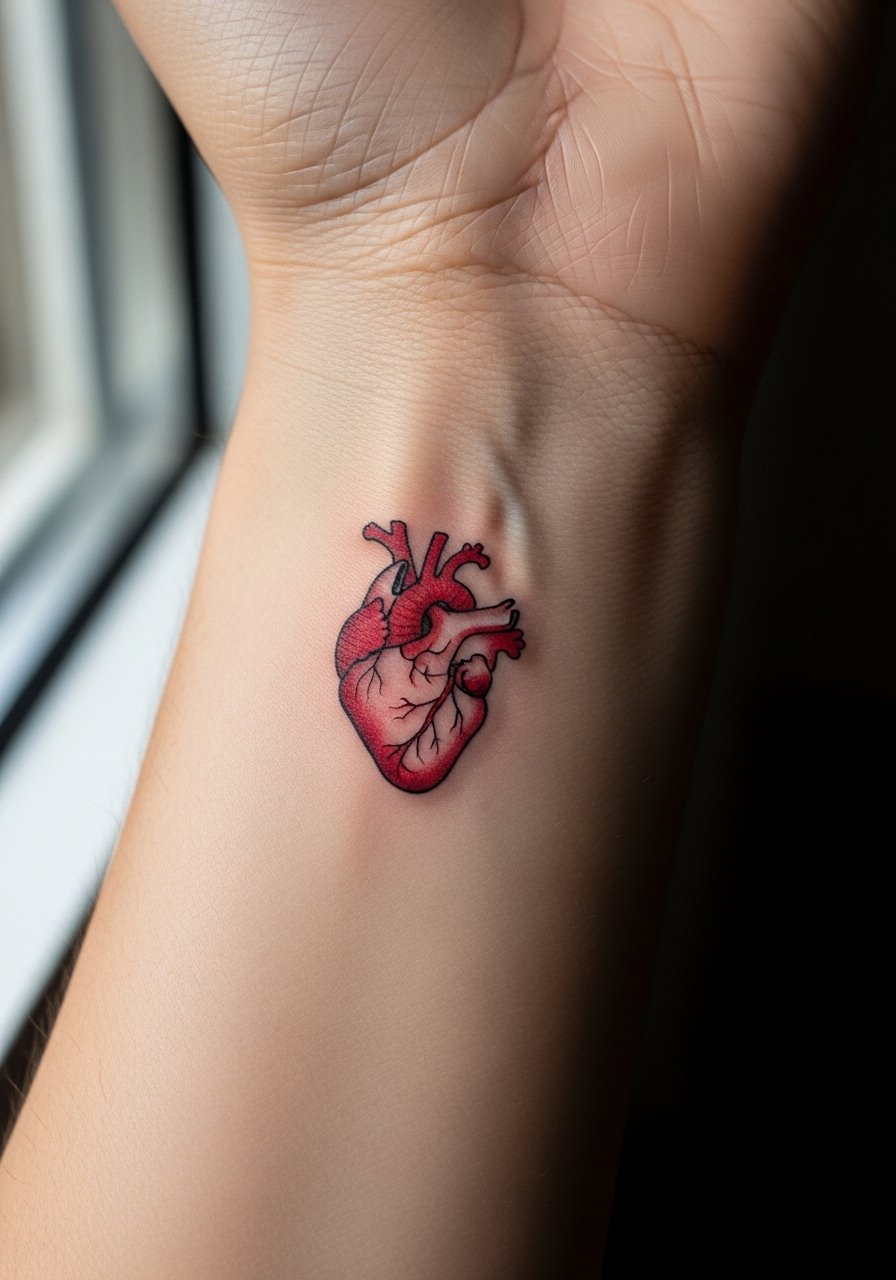
I've seen micro-realism read as intimate and fragile on the wrist, but red there needs saturation to avoid turning pink over time. Artists split into two camps about fine line on wrists. One camp says thin red needlework fades and blurs quickly from washing and motion. The other camp argues that with deeper saturation and smart placement fine detail can last. Ask where your artist stands before booking. Expect sharp pain near the bone and plan for a touch-up at year two if you want crisp veins.
6. Negative Space Cracked Outline on Ankle
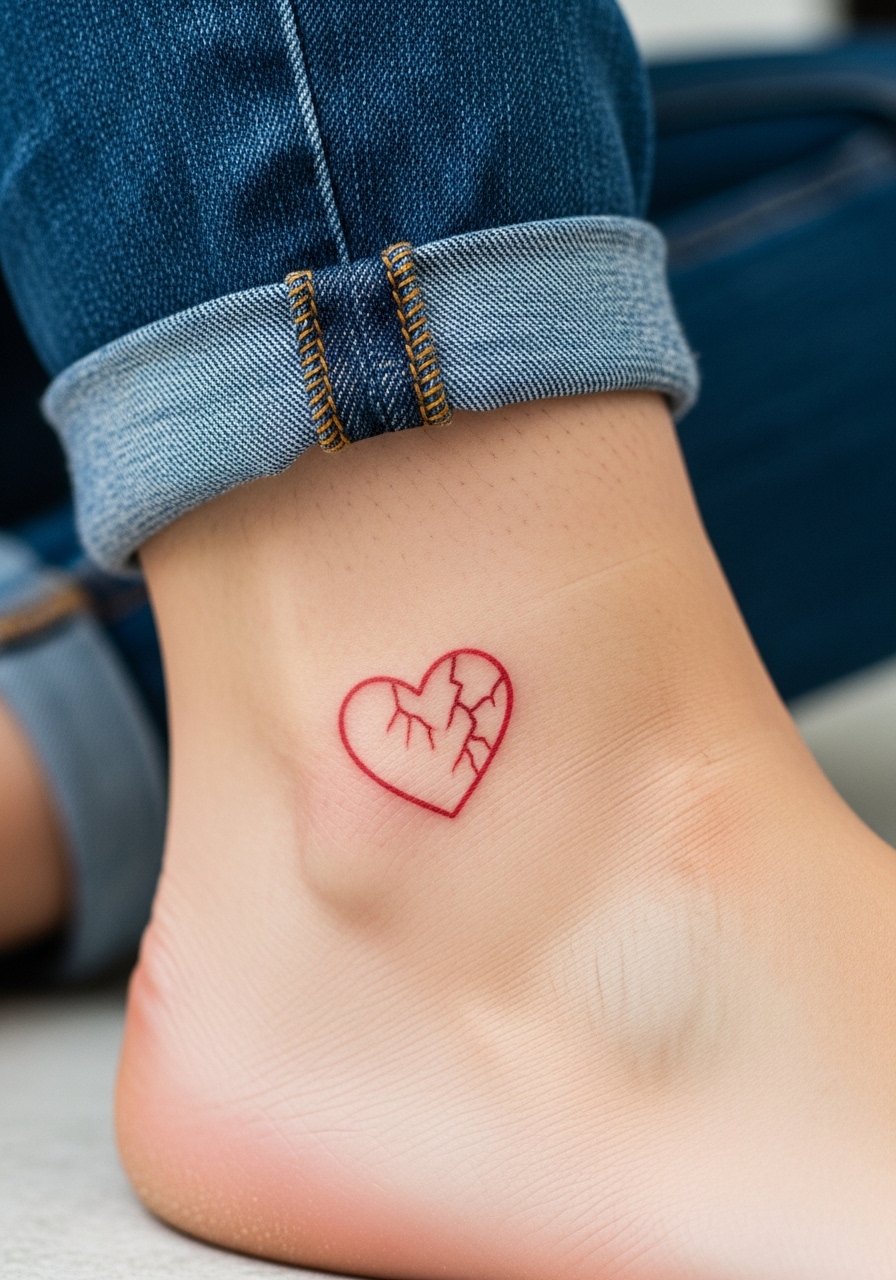
Ankle pieces age nicely when lines have breathing room. Tell your artist you want deliberate negative space inside the crack so skin texture becomes part of the composition rather than a filler. The area is low pain but friction from shoes can dull linework, so expect a single session and a touch-up possibility after seasonal wear. Showing it off with cutout ankle boots or cropped pants gives that subtle edge.
Studio Day Picks
The wrist, ankle, and collarbone pieces above have different prep needs from larger arm work, so these small items smooth out the session and the first week.
- Stencil transfer paper kit. Lets you preview the linework on skin before committing, especially helpful for the micro-realism wrist piece and the negative space crack.
- Topical numbing cream. Applied before the session eases sensitivity on the wrist and collarbone without altering the artist's linework.
- Thin protective film roll. Keeps ankle and hand tattoos from excess friction during the first week of healing.
- Fragrance-free body wash. Cleanses healing areas like the collarbone without irritating delicate ink channels.
- Aquaphor healing ointment. Thin layers for the first few days lock in moisture for fine red work without clogging the needle paths.
7. Neo-Traditional Flame Heart on the Shoulder
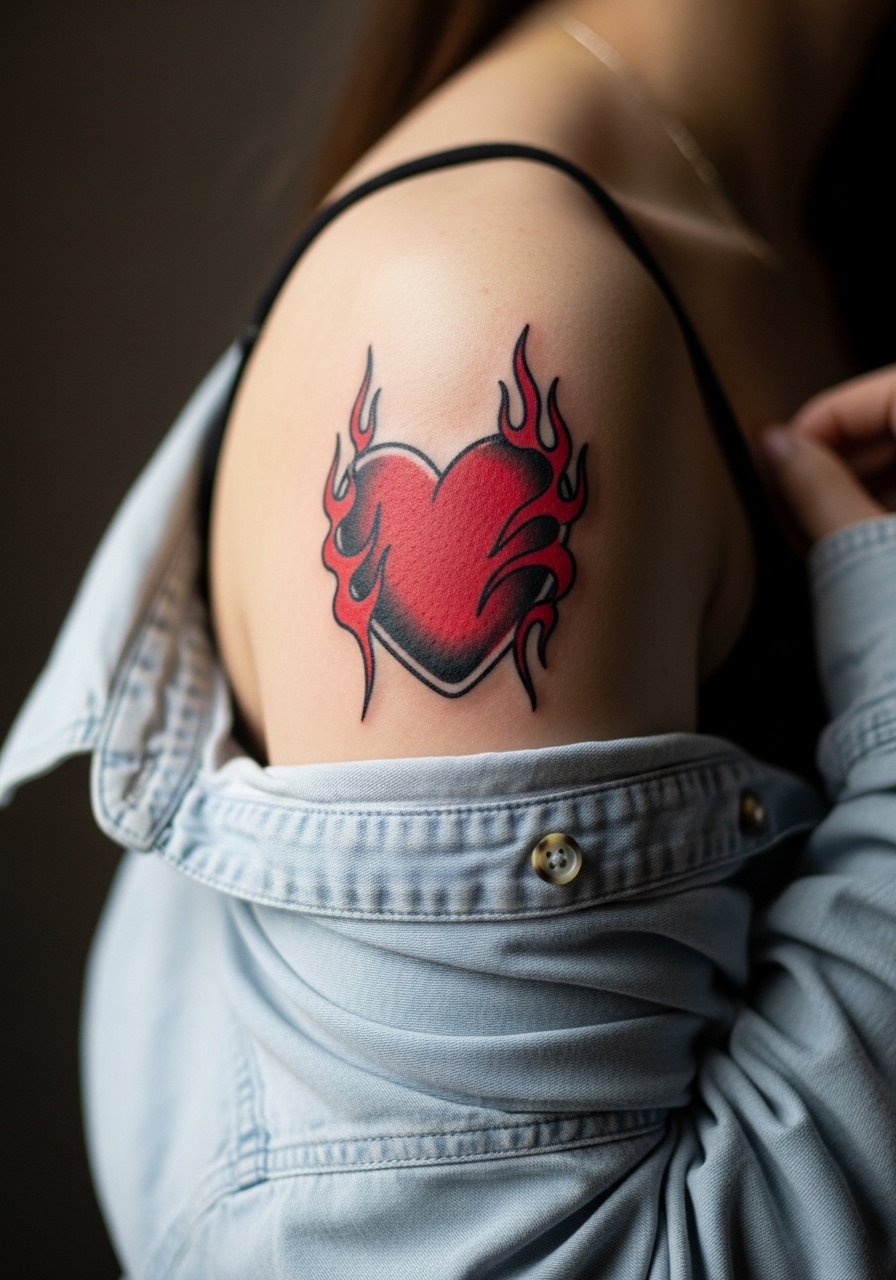
Visual impact is high with flame accents because the silhouette reads from across a room. When you consult, specify bold outlines and saturated red fills so the flames do not disappear as they heal. The shoulder is comfortable during sessions and holds color well because the skin is thicker. A typical mistake is pushing too much micro shading into a small flame area, which blurs over time. For the appointment wear a loose button down shirt so the artist can expose the shoulder easily.
8. Outline Heart with Strategic Negative Space on the Thigh
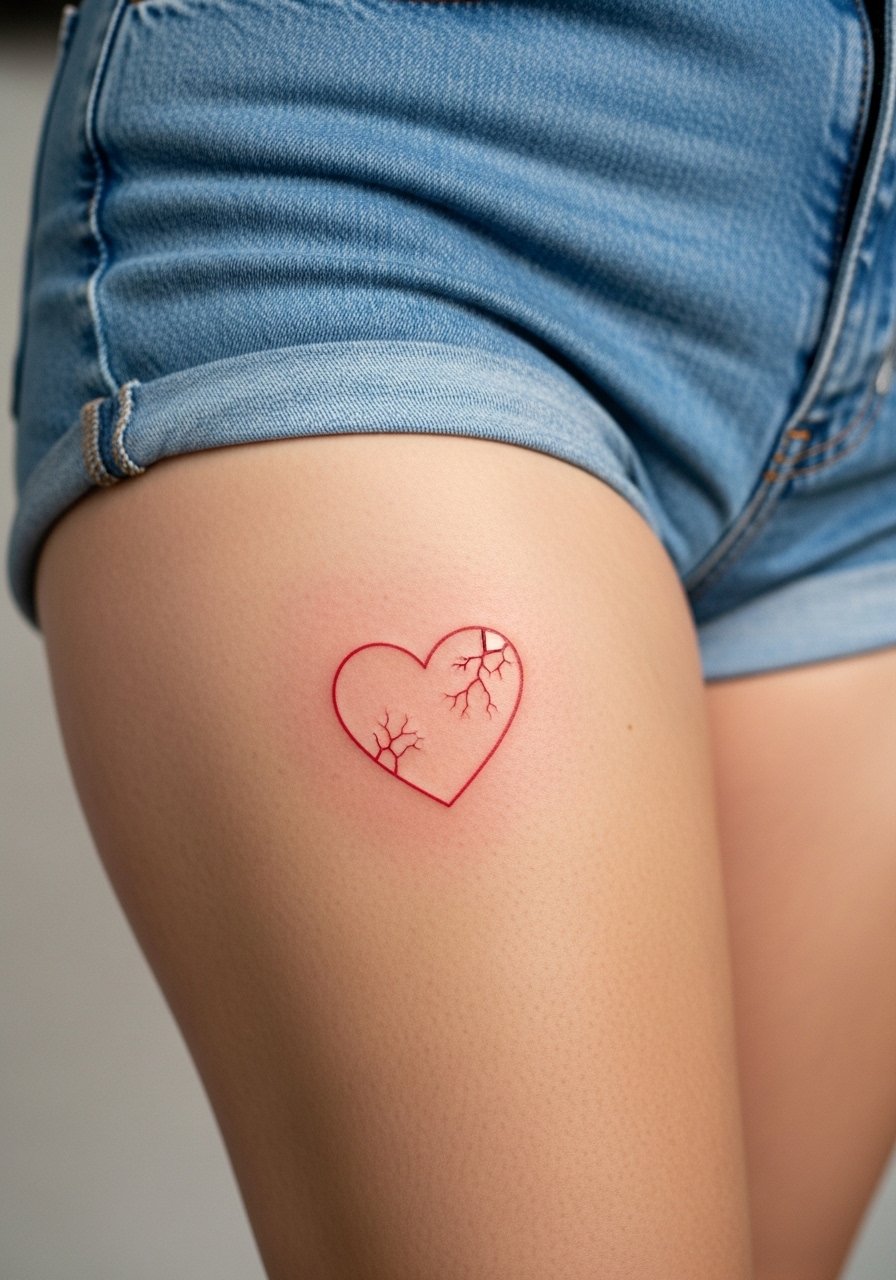
Thigh placements let you go larger and keep details readable over years. Ask your artist to place the negative space where skin tone enhances the 3D effect, not where compression from clothing will distort it. Pain is low to moderate and sessions can be longer, so plan comfortable clothing. A common aging mistake is tight, high-detail interiors in a small thigh piece that pool. Style with high waisted denim shorts or slit skirts to reveal the work when you want.
9. Chunky Ignorant-Style Heart on Calf
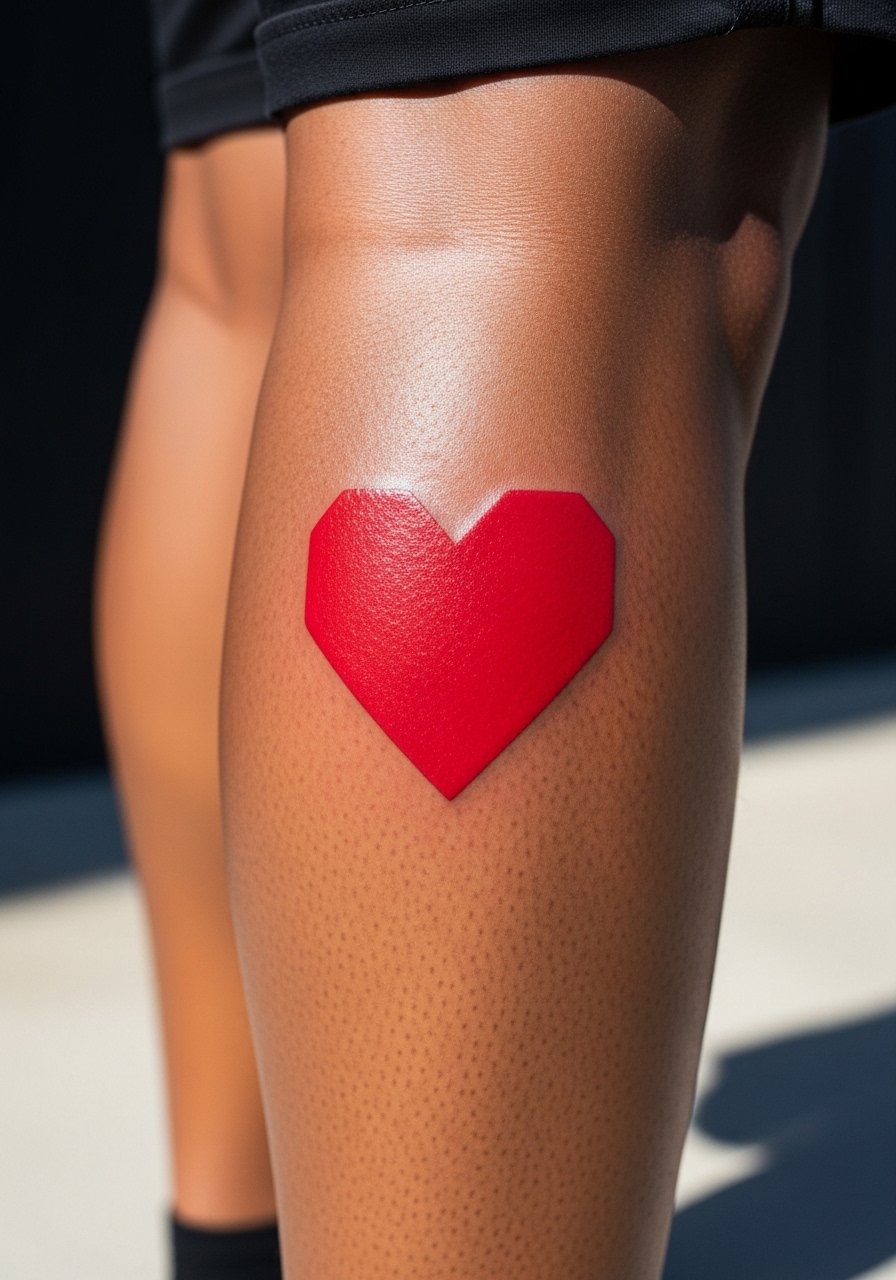
The ignorant style is fast, bold, and raw, which makes it a good fit if you want anti-polish energy. Expect one session under 90 minutes and good saturation that resists early pinking. There is a debate over red ink safety and allergies. One camp urges caution and patch testing because older red pigments caused reactions. The other camp points to modern inks and experience backing safer outcomes. If you have sensitive skin ask for a small test patch. Calf pieces handle saturation well and are low blowout risk.
10. Watercolor Red Heart with Abstract Drips on Ribcage
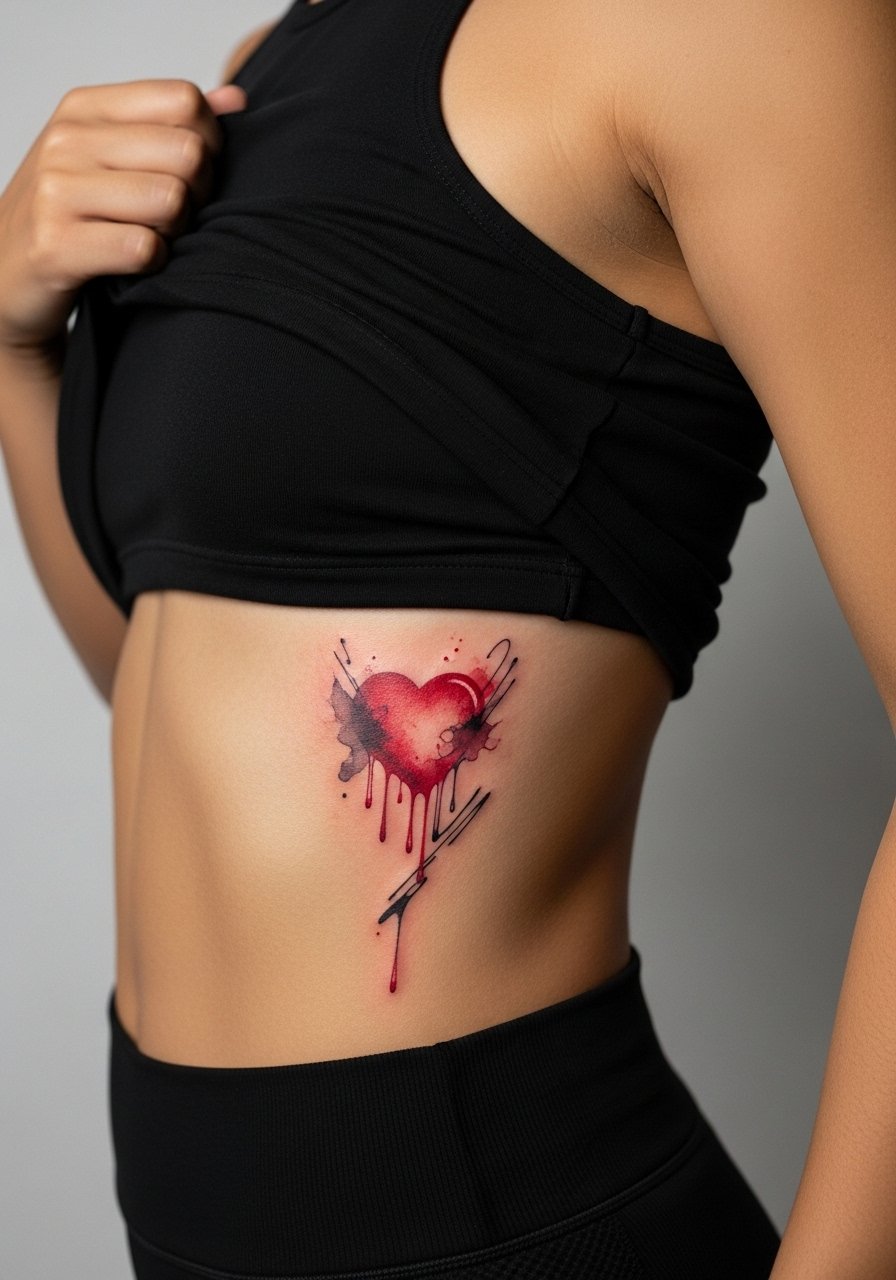
Fair warning, ribs are a 7 to 9 on most pain scales, but the canvas there gives dramatic flow. The watercolor approach needs a balance between soft washes and enough pigment so the reds do not fade into bruise tones. Artists split on whether watercolor holds on the ribs. One group argues the constant stretch and thin skin blur washes quickly. The other group says careful saturation and layered sessions can stabilize color. Plan two sessions and a longer healing window. Wear a strapless sports bra or cropped top or similar to keep access clean.
11. Black-and-Gray Heart with Selective Red Glow on the Back
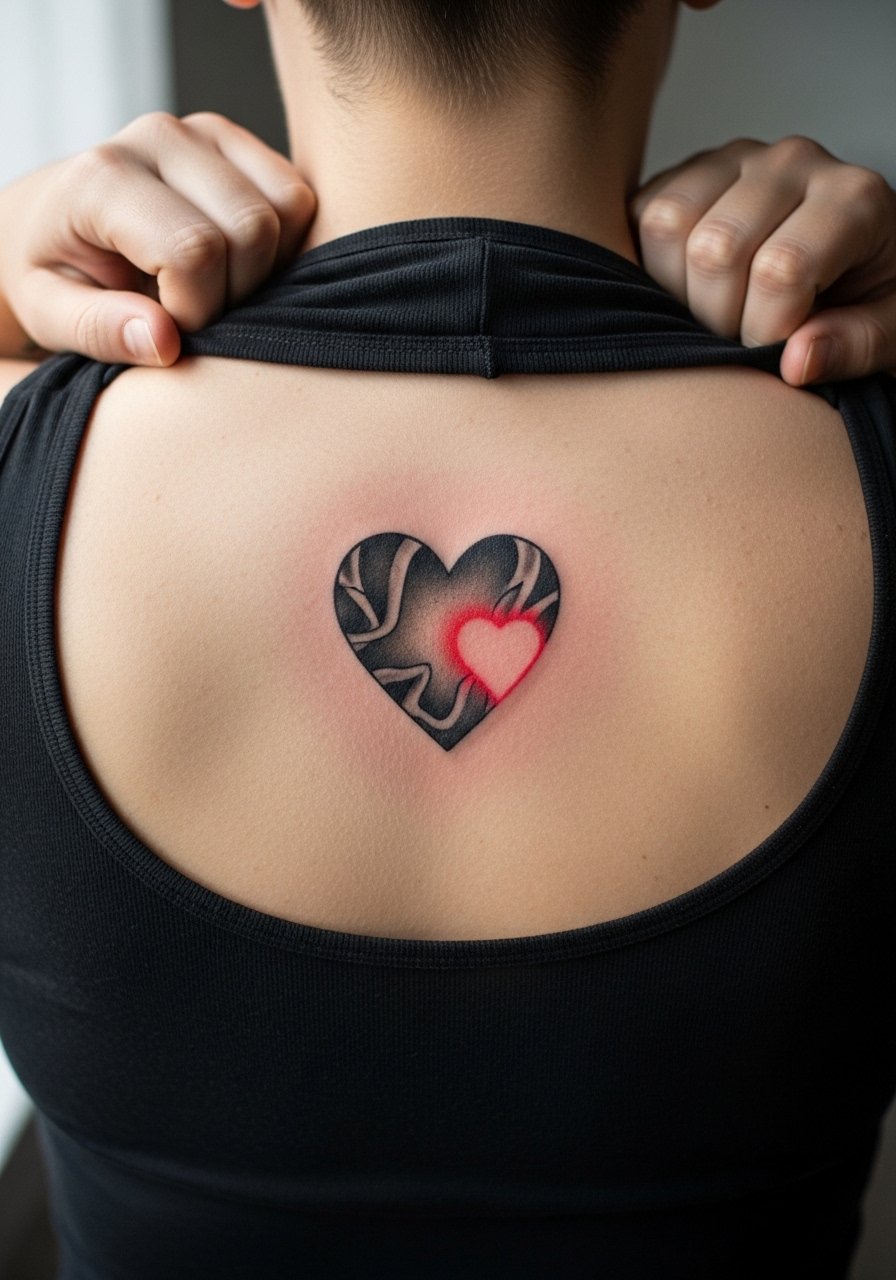
Back pieces let you play with scale and subtle pops of color. Ask your artist for muted gray gradients and a narrow band of red saturation so the glow looks intentional rather than painted on. Sessions are longer and you will need a helper to reach initial aftercare areas. A mistake is overusing red highlights across the whole piece which can muddy the realism. For larger back work wear a loose tank top you can slide down to expose the area.
12. Fine Line Heart Entwined with Barbed Wire on the Neck
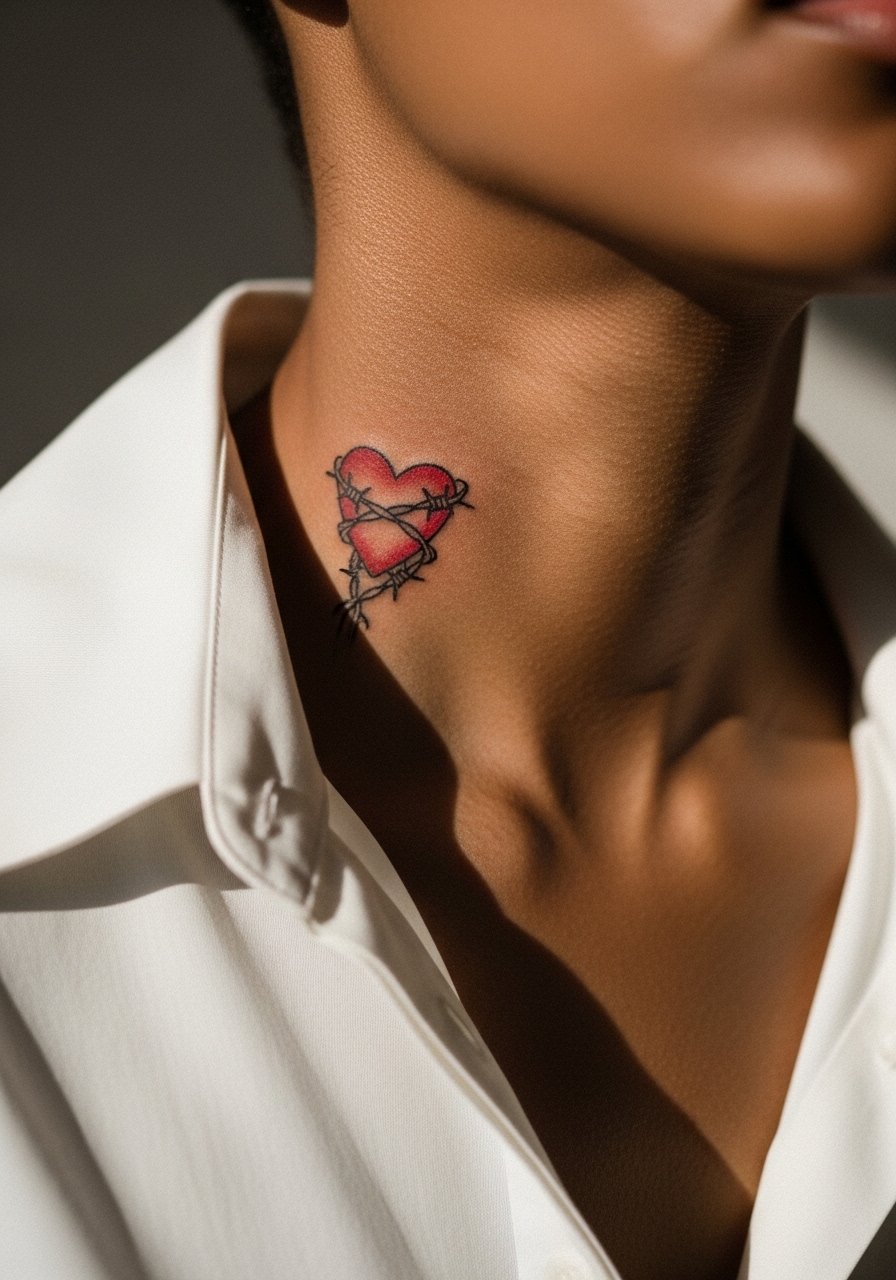
Neck pieces read hidden edgy because they can be covered or revealed easily. This design needs confident linework and deliberate spacing so the barbs do not merge over time. Ask for slightly heavier lines in the wire and light stipple shading in the heart to prevent early blur. Neck skin moves and stretches, so expect a touch-up at two to three years. Also think about career context because neck tattoos can affect perceptions in some industries.
13. Ornamental Geometric Heart on Thigh
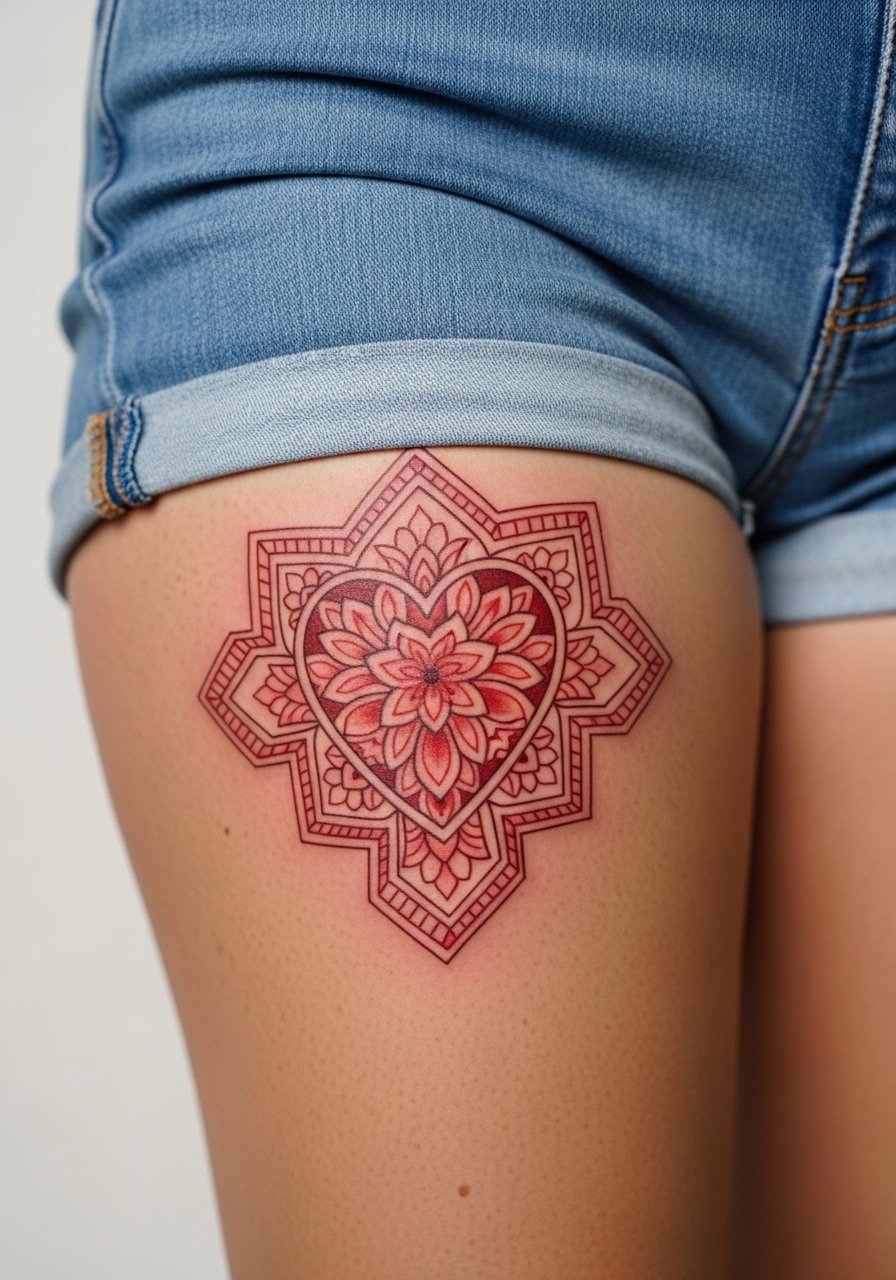
Geometric borders give symmetry and modern edge, but tiny angles need room. I advise scaling the pattern so linework has clear separation, that prevents merging as the piece heals. Thigh pieces are comfortable to sit through and tend to hold color well. Artists sometimes compress too many shapes into a compact space. Avoid that by asking for expanded spacing. Show it off with high waisted denim shorts or slit skirts.
14. Pixelated 8-Bit Heart on the Inner Forearm
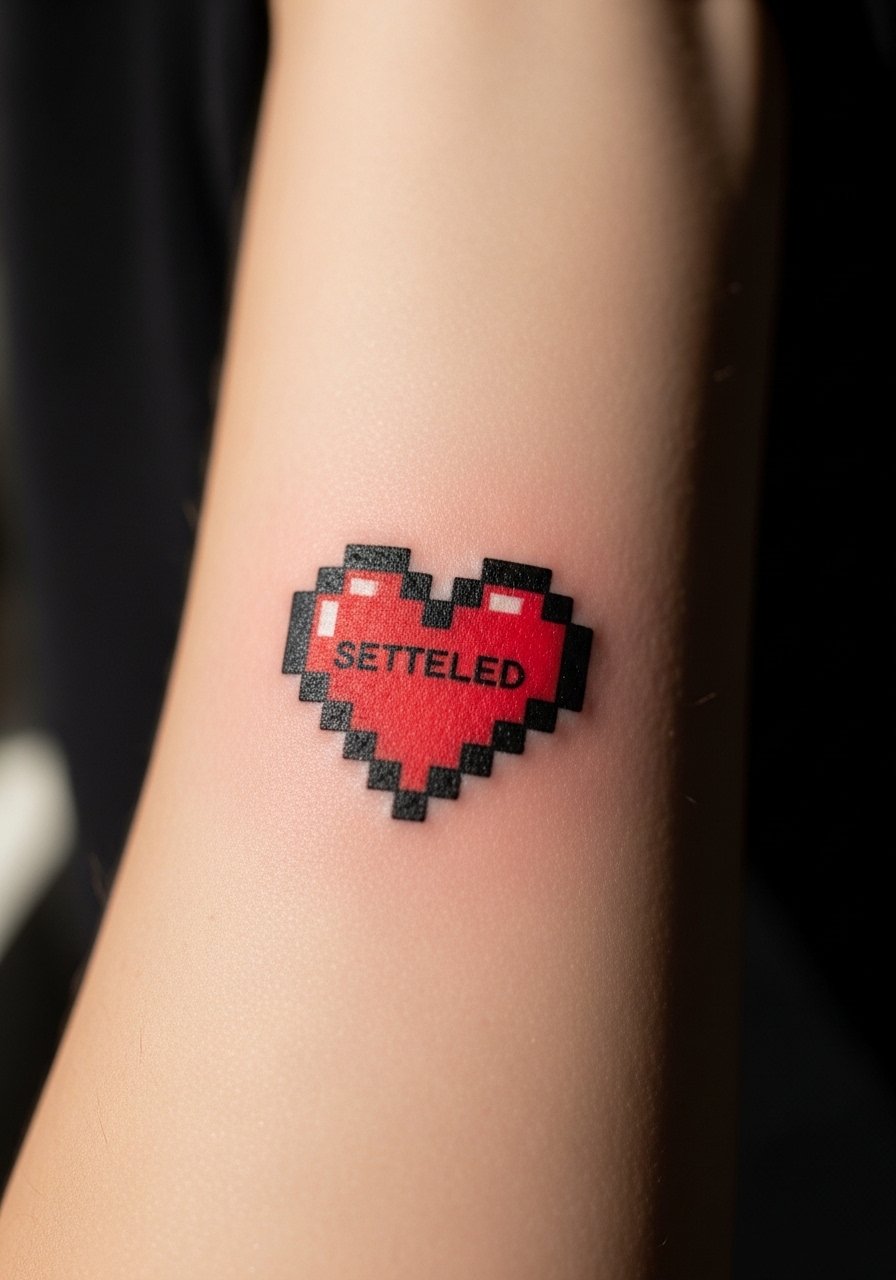
This playful take reads vintage gamer and survives well when blocky pixels are bold. The inner forearm is forgiving, so squares maintain crisp edges if the artist uses slightly thicker boxes. The session is short and pain is low to medium. A frequent mistake is making pixels too tiny, which causes the blocks to bleed into each other over time. Wear a loose short sleeve tee to keep the area exposed for the artist.
15. Stitched Heart with Thread Ends on the Sternum
Sternum work needs careful planning because sensitivity is higher and breath matters. Tell your artist you want open spacing between the stitch marks so each thread reads individually as it heals. Sessions may be split and pain is above average. A common mistake is trying to compress a sleeve of stitches into a tiny sternum piece. Ask about staging and bring a strapless or sports bra for the appointment.
16. Micro-Realism Tiny Heart with Pulse Line Behind the Ear
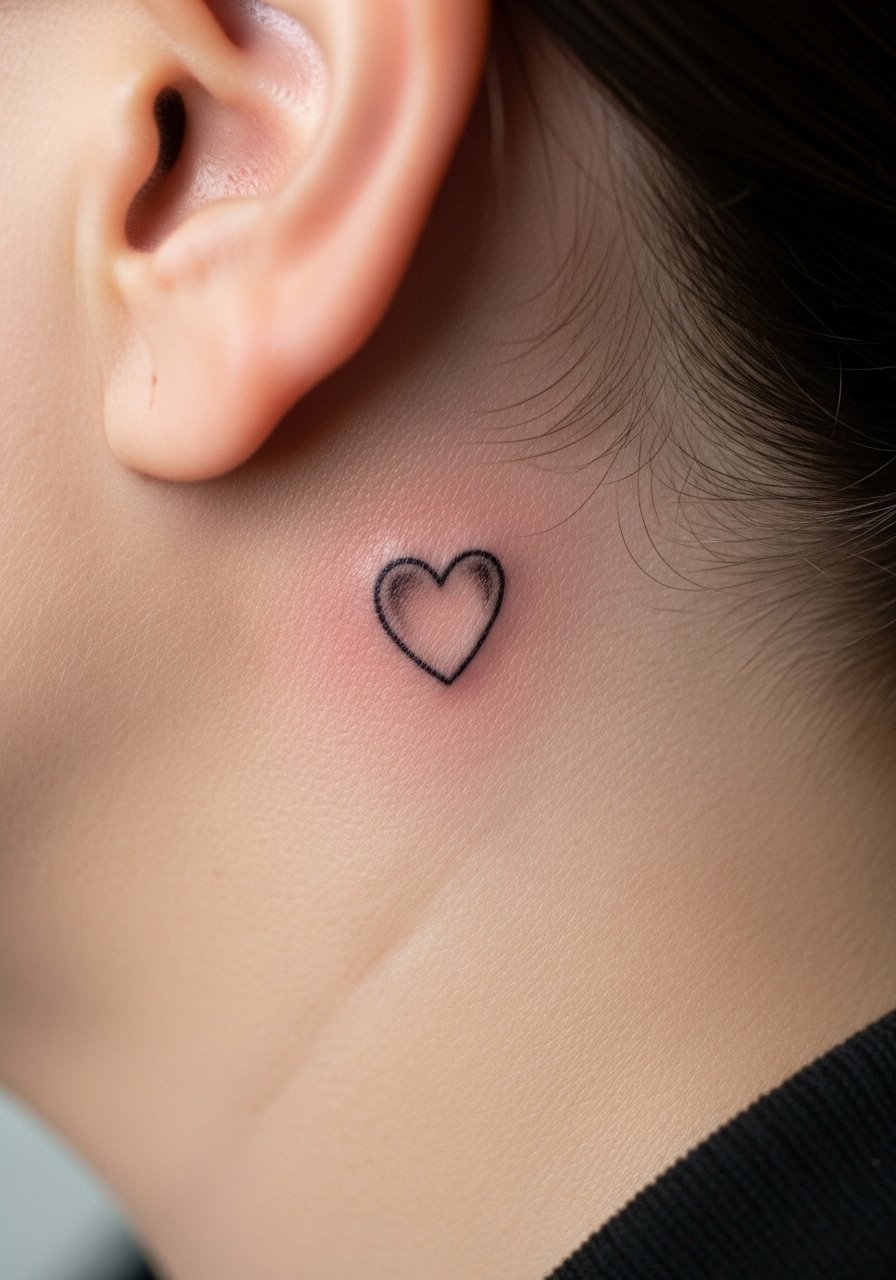
Behind-the-ear small work is discrete and intimate. Keep the design tiny and simple because the area is bony and detailed work can blur. The session is quick and pain is moderate. A mistake is asking for intricate shading there. For session comfort wear hair up so the artist can access the spot easily. This placement benefits from being a secret piece someone sees close up rather than from across a room.
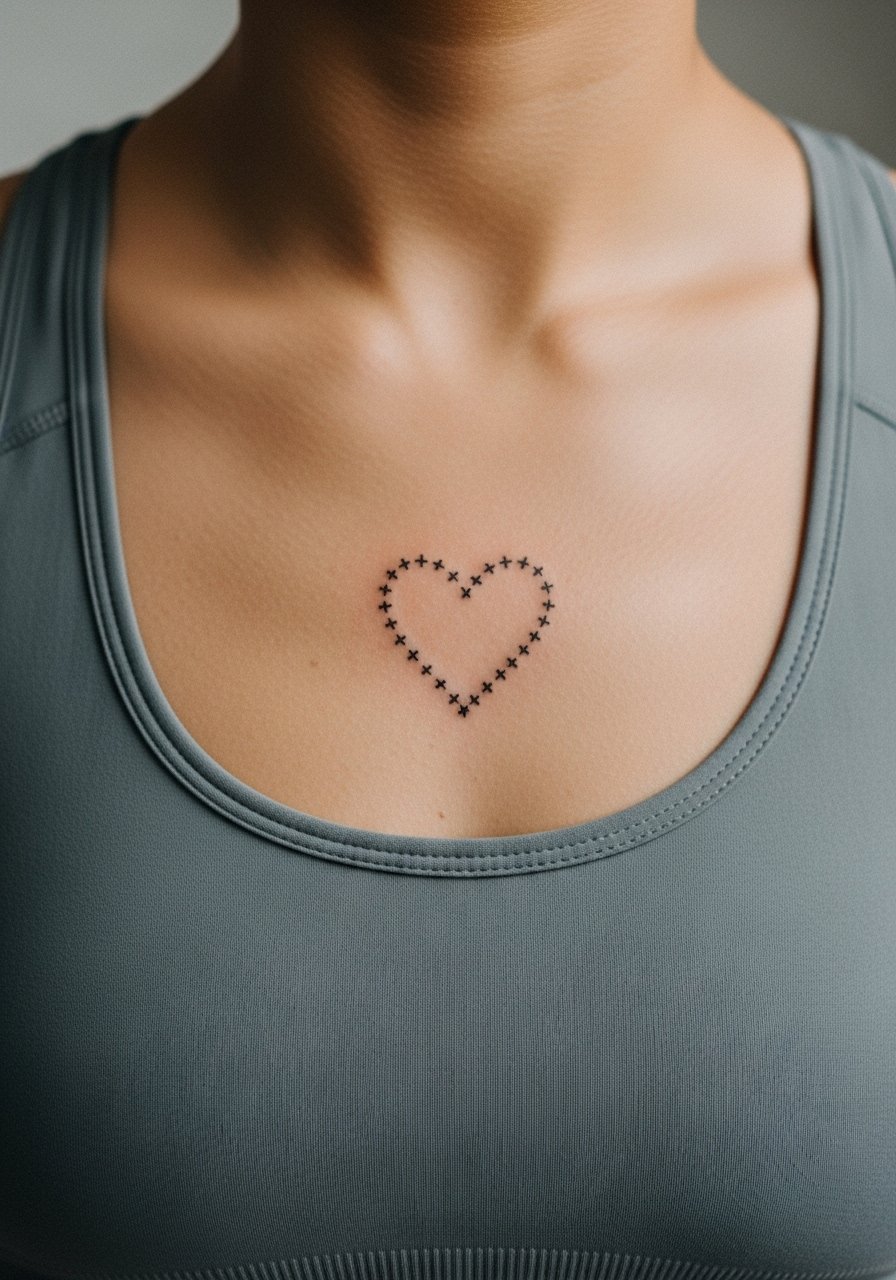
17. Crowned Heart with Tiny Thorns on the Chest
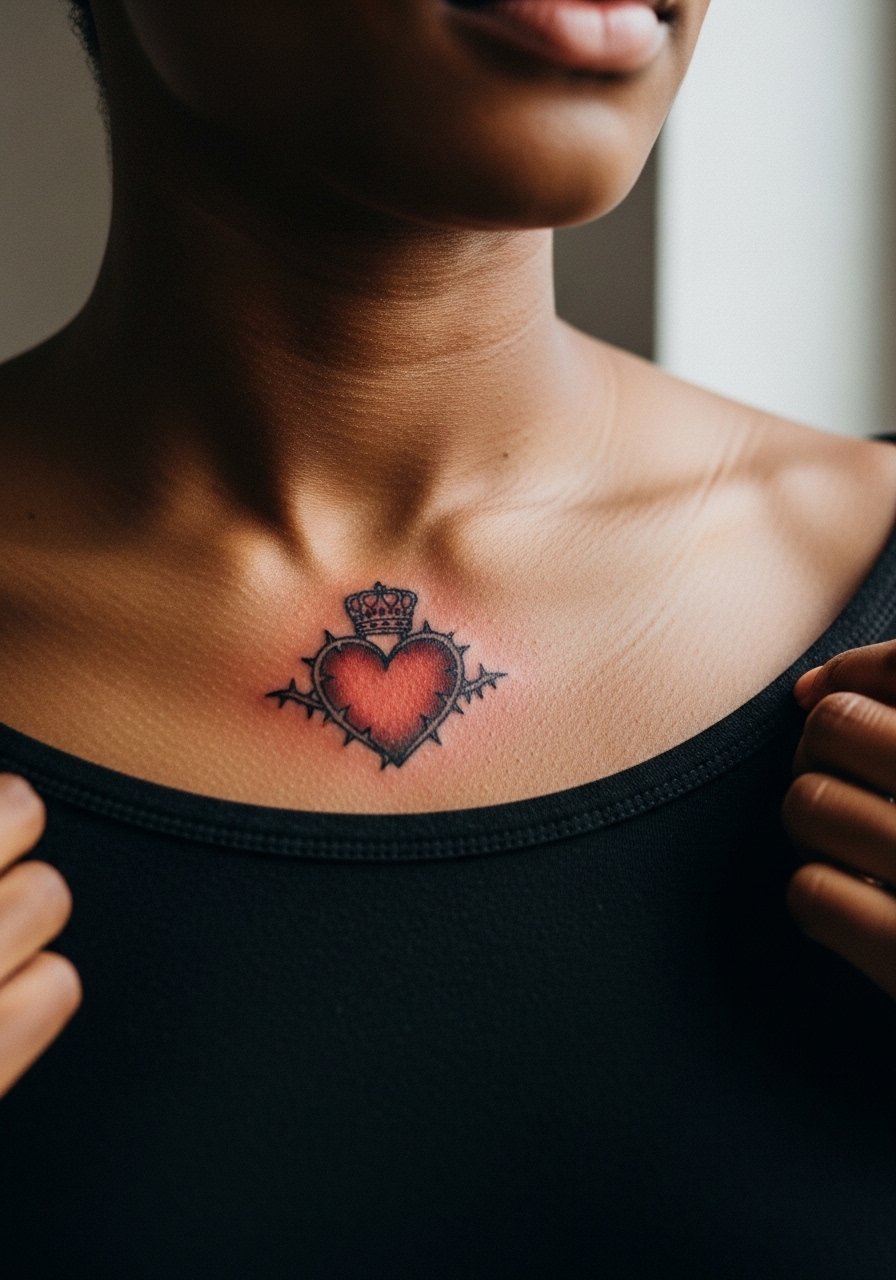
Upper chest allows for central, balanced compositions. Ask for a thin crown outline and heavier thorn stems so the texture survives healing over the sternum curve. Sessions are moderate and may need a touch-up in two years. Common mistakes include over-detailing the crown which loses sharpness on curved skin. For the appointment choose a wide-neck top you can easily move aside.
18. Heart Pierced by Snake on Outer Calf
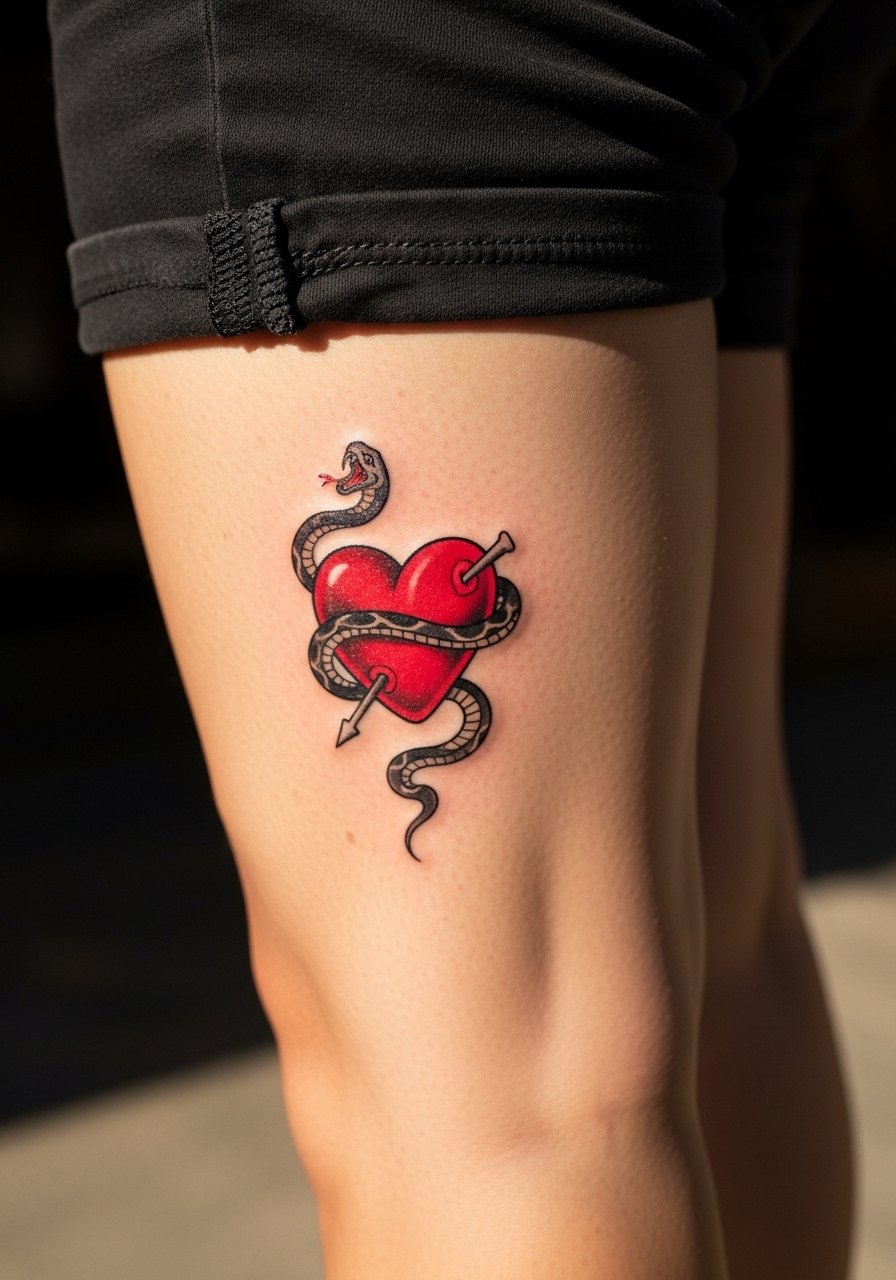
Calf placements let you go elongated and narrative. Tell the artist where you want the snake wrap to cross so key features do not fall under clothing seams. The session is comfortable and shows strong saturation. A mistake is asking for a too-thin snake body which loses definition as it ages. Pair this with boots or shorts to show the vertical composition.
19. Broken Glass Heart with Sharp Fractures on the Wrist
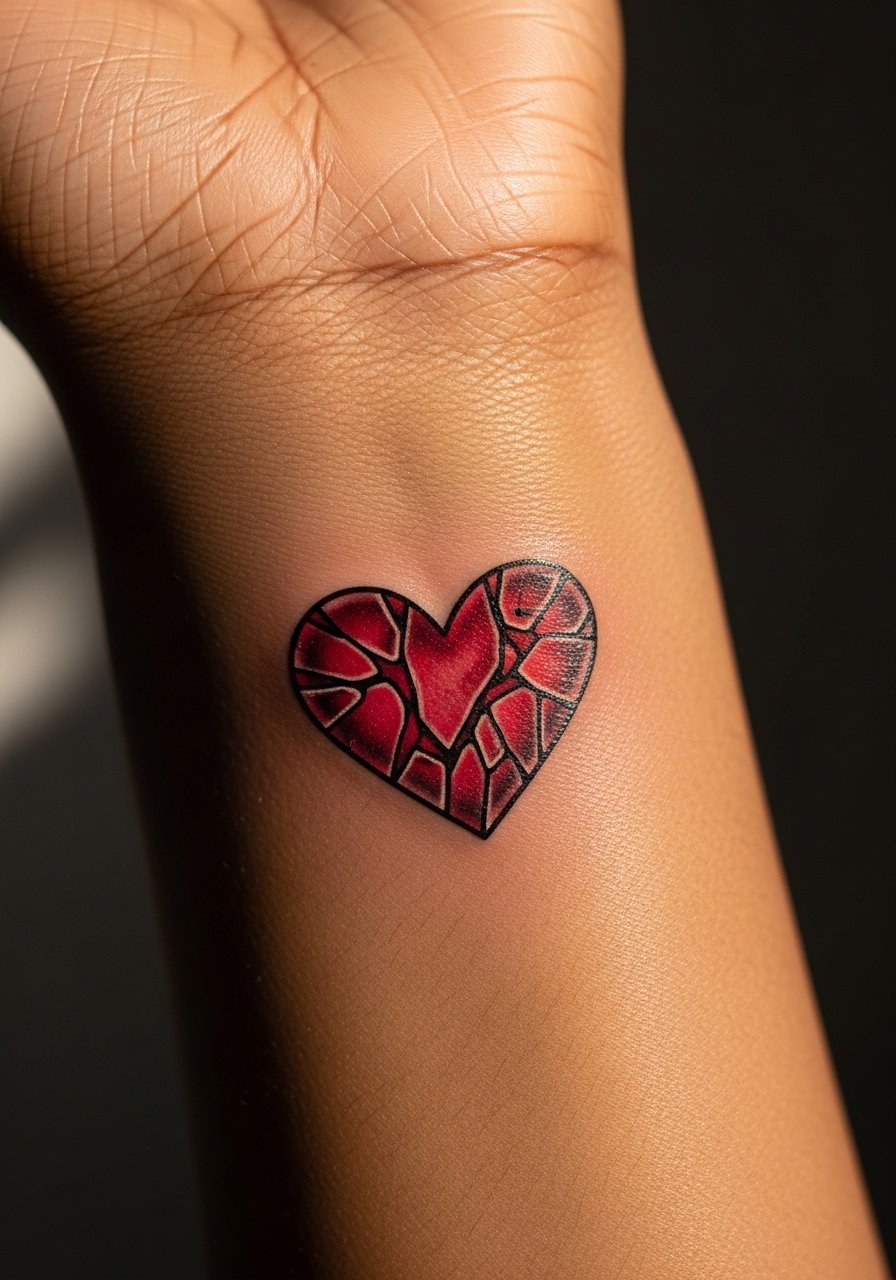
Wrist pieces demand bold choices if you want longevity. The fractures should be negative space set against a thick red outline to survive frequent hand use. Artists split on fine line here too. One camp says tiny fracture lines fade within a year. The other camp says slightly heavier lines with saturation compensate. Expect frequent motion and washing to be the main culprits of fade. Wear a dainty cuff bracelet on the opposite wrist when showing this off.
20. Ornamental Lace Heart on the Lower Back
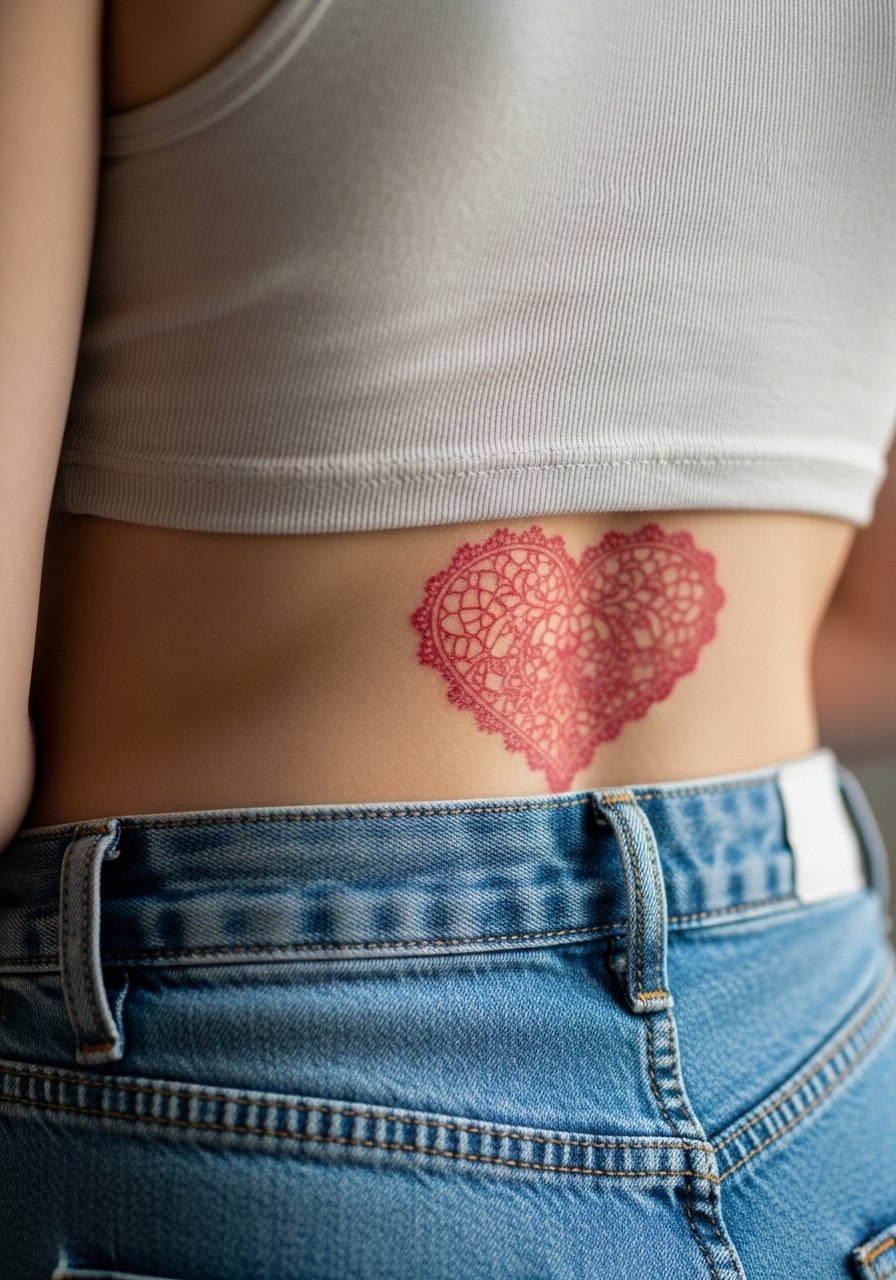
Lower back pieces allow for delicate ornamentation while staying private. Ask your artist to map the lace so high-detail elements sit away from areas of constant friction with clothing. Sessions are moderate and healing is straightforward. A mistake is expecting ultra-fine lace to hold without touch-ups. For showing off throw on a tank top with low rise bottoms or a back-skirting dress.
21. Heart Made of Roses on the Shoulder Blade
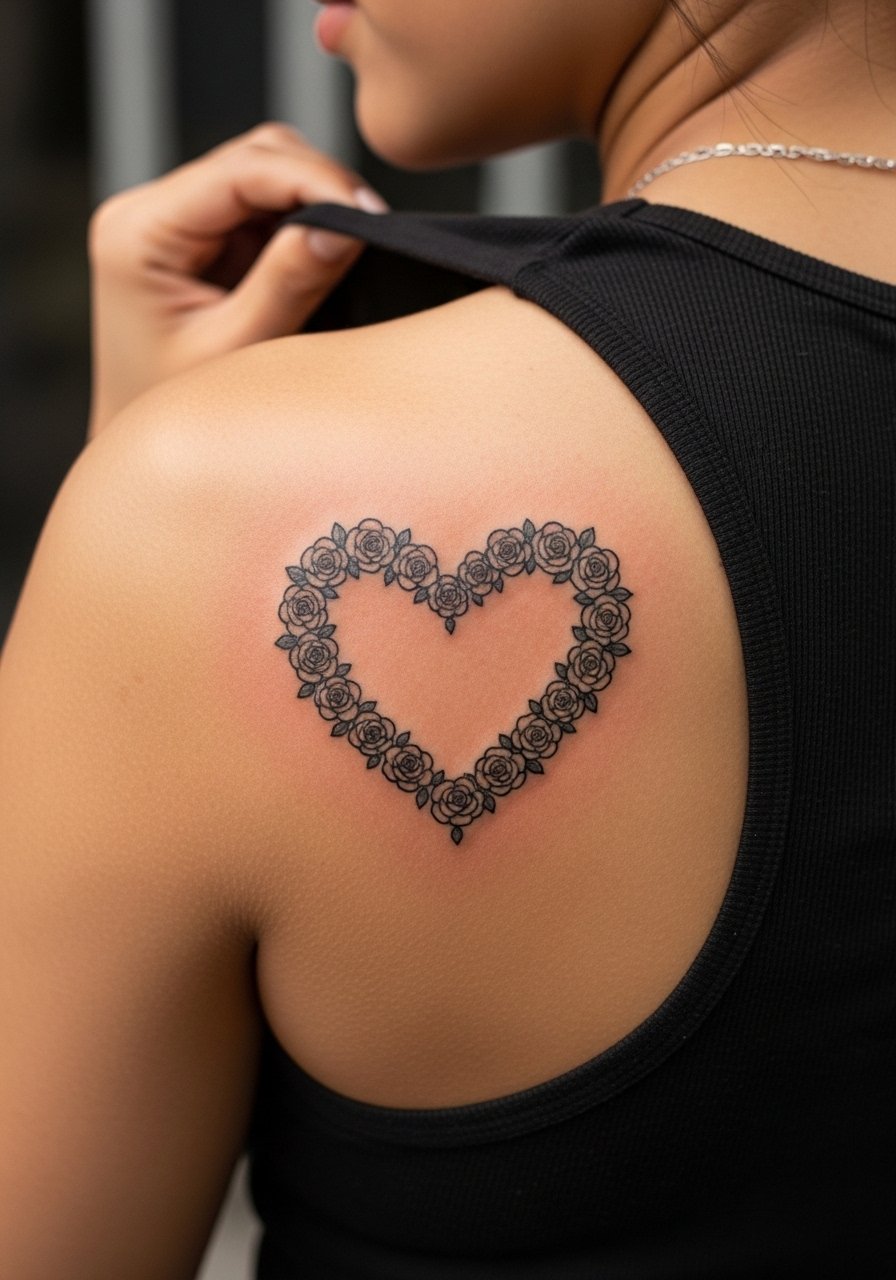
Shoulder blade placement gives you a broad surface to layer floral textures. Tell your artist to keep rose centers distinct and to prioritize contrast between petals and red core so the heart silhouette stays readable over years. Sessions are comfortable lying on your side. A common error is crowding too many tiny petals into a narrow space which loses clarity. Wear a loose tank top that you can slide to expose the area.
22. Barcode Heart with Hidden Coordinates on the Inner Bicep
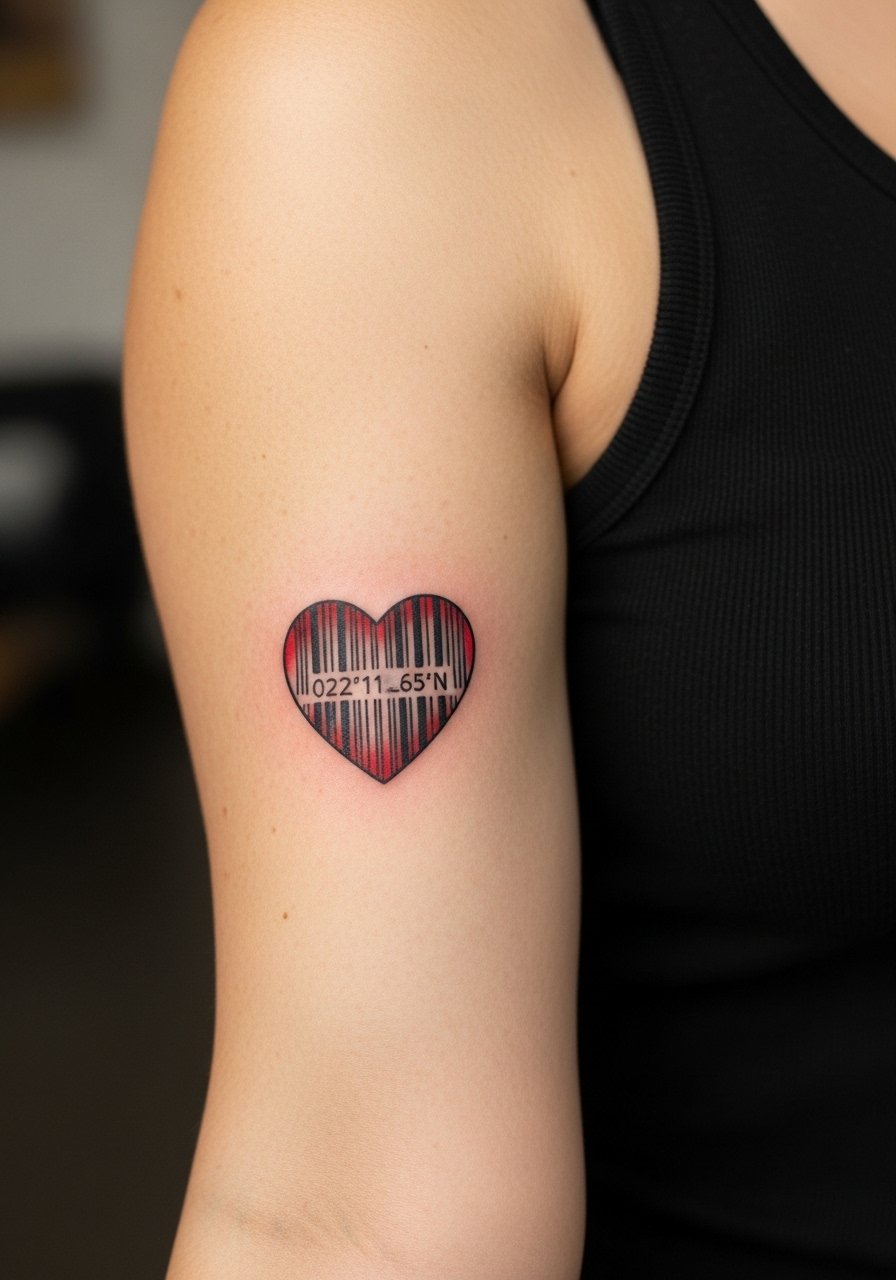
Inner bicep gives privacy and reveals only on purpose. If you want text like coordinates be explicit about the exact wording so the stencil is accurate. The skin is softer and the artist may recommend a slightly heavier bar for longevity. Sessions are short to moderate. A common mistake is not confirming the exact text. Bring clothing that lets you raise the arm easily.
23. Patchwork Heart with Mixed Textures on the Thigh
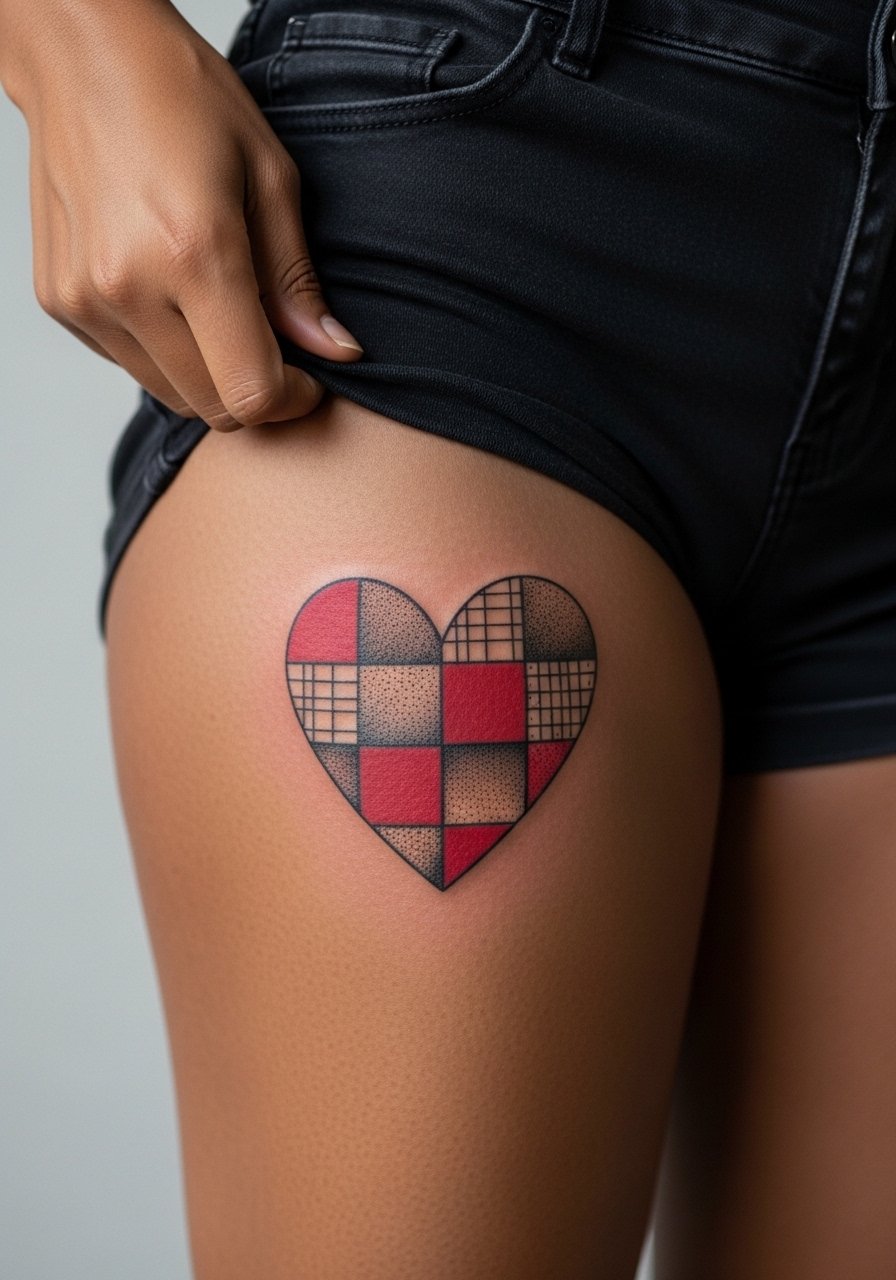
Thigh space is forgiving for mixing techniques. Tell your artist which texture should dominate so the eye reads one cohesive heart rather than competing patches. Sessions can run long, so plan breaks. Mistake to avoid is expecting tiny stitches or stipple to remain crisp without spacing. Pair with shorts when you want to show the layered work.
24. Heart with Lightning Bolt Accent on the Forearm
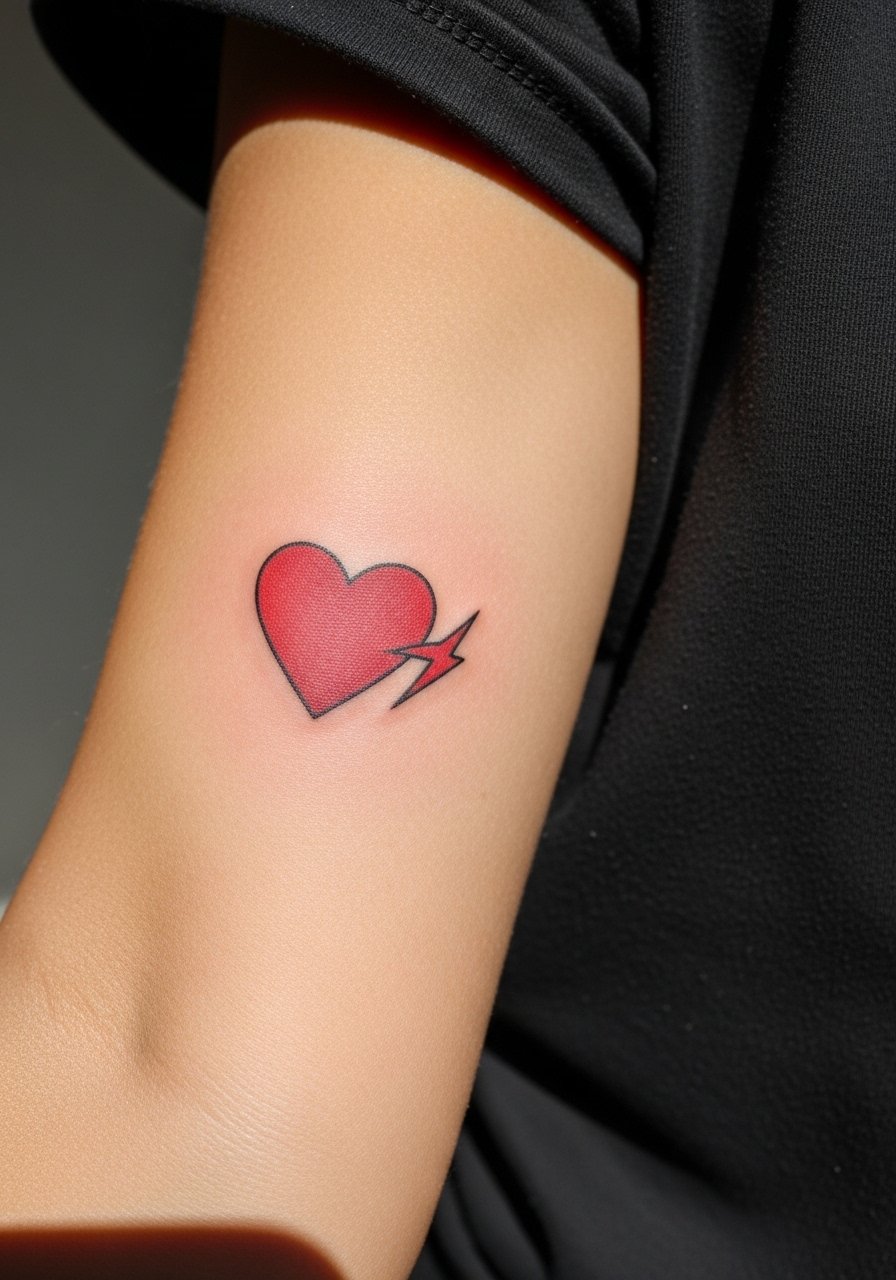
Forearm work balances visibility and longevity when linework is bold. Ask for a strong black bolt outline and saturated red fill so the accent remains sharp. The forearm tolerates one-session pieces well. A common mistake is choosing a bolt that is too thin which dissolves into the red. Roll up a plaid button down or short sleeve to frame this look.
25. Anatomical Upper Arm Heart with Vein Drips
This variation leans into realism but keeps placement practical. The outer upper arm holds pigment well so the veins can be drawn with a mix of micro realism and bold anchors. When you consult, specify which veins you want emphasized so the piece does not become a flat shape. The session runs one to two hours and touch-ups are less frequent than on the hand. A mistake is asking for ultra-fine veins without saturation.
26. Barbed Wire Heart on the Ankle
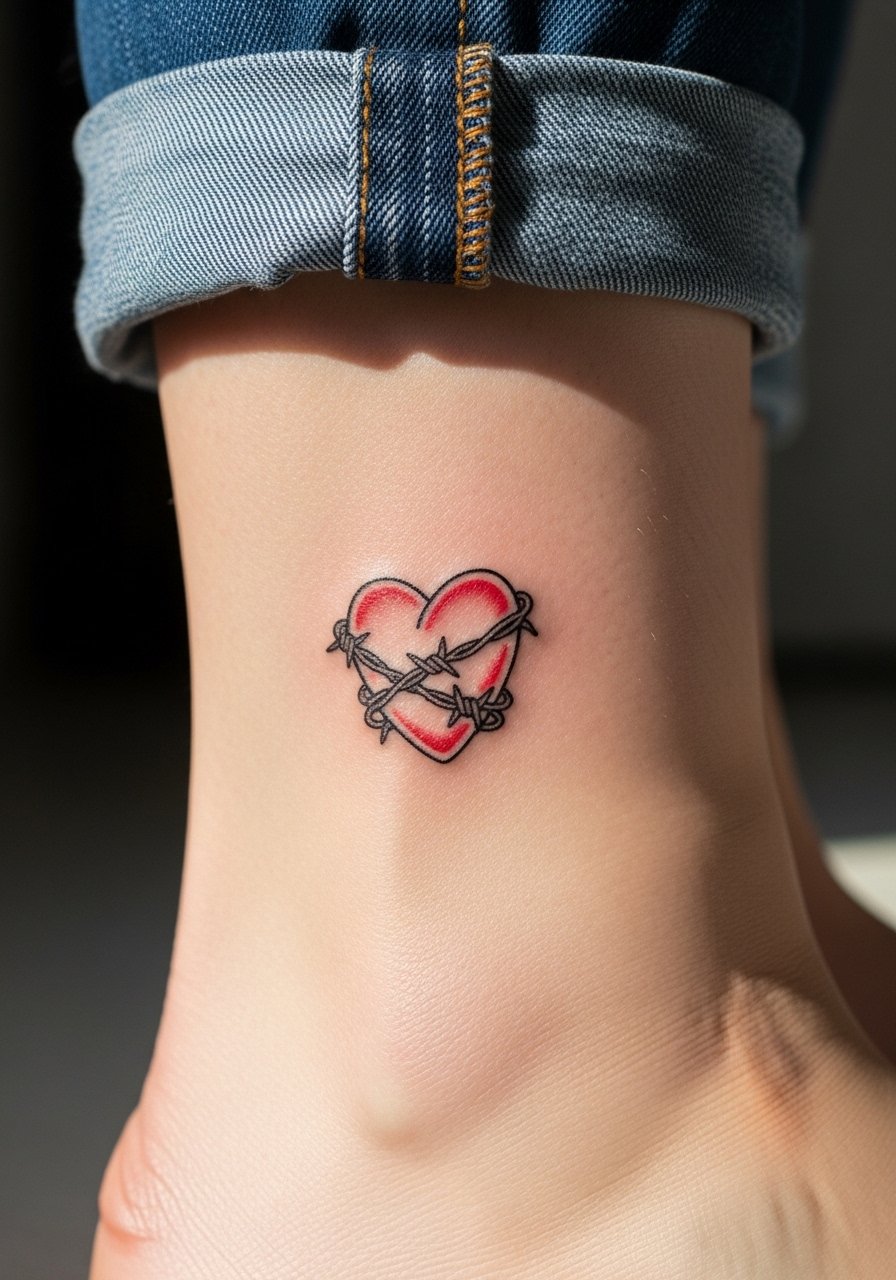
Ankle barbed wire reads like a quiet statement. Keep the wire slightly thicker than you might expect so the barbs remain distinct through seasonal wear. The area is low to moderate pain and friction from shoes will be the main challenge. A common mistake is expecting tiny barb tips to last. Wear cropped pants or sandals to show the detail.
27. Tiny Matching Red Heart Pairs for Fingers
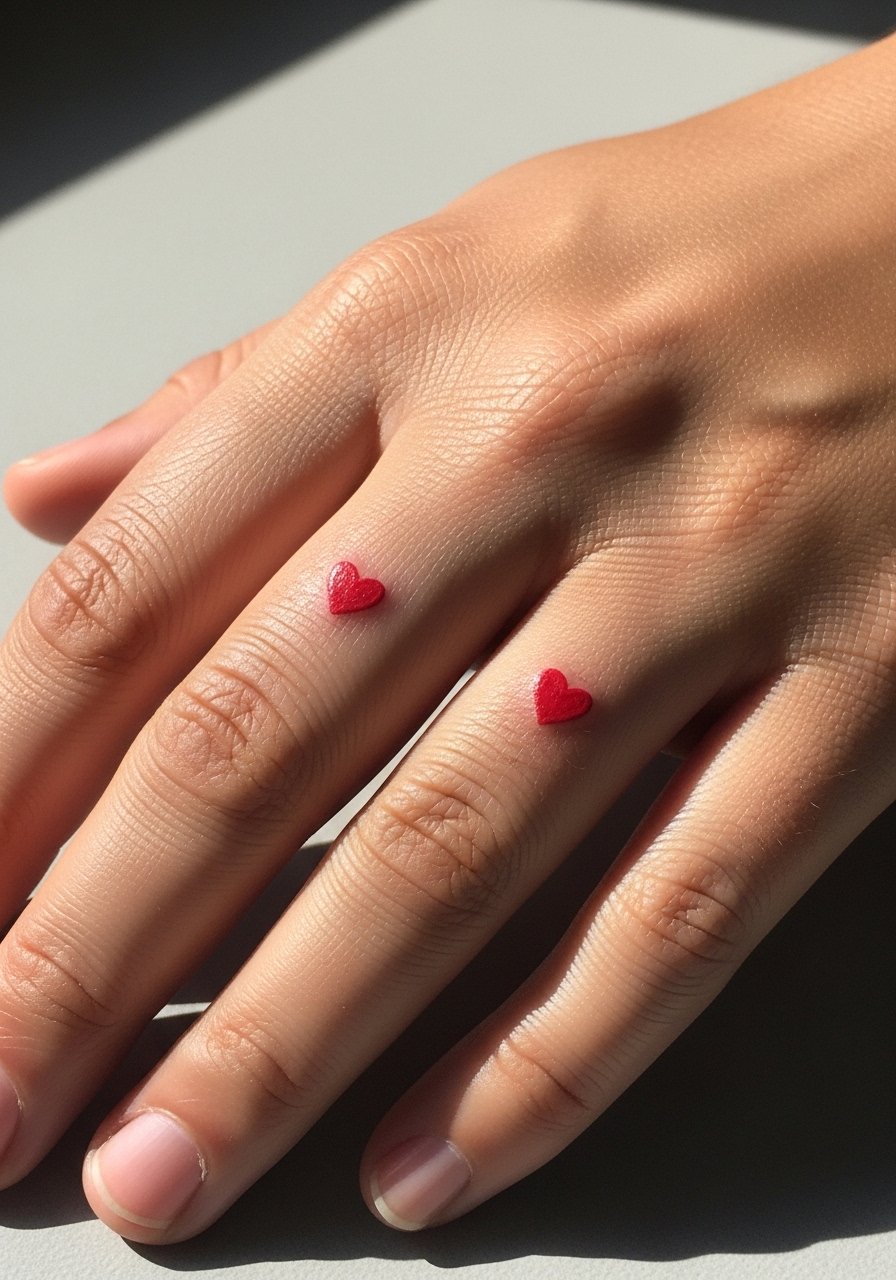
Finger tattoos are visibly bold but age fast. If you want matching mini hearts go for slightly thicker outlines and allow for periodic touch-ups. Expect higher fade and possible touch-ups every year depending on activity and soap use. For the session remove rings and keep the fingers dry during the first week. The charm comes from their discreteness and repeatability across sessions if you decide to add more.
Frequently Asked Questions
Q: How does skin tone affect red ink visibility and longevity?
A: From what I have observed, reds can read warmer or cooler depending on undertone. On medium to darker tones a saturated red with solid black anchors reads vivid longer, while on lighter skin a slightly softer red may blend more naturally. Always ask your artist to do an in-person patch or show healed examples on similar skin before booking.
Q: Will a small red heart on my hand need touch-ups more often than one on the arm?
A: Yes, hand and finger tattoos face more washing and friction so they usually need touch-ups earlier, often within one to two years. Ask for bolder linework over ultra-fine lines if you want fewer touch-ups. If you plan to show the piece, wear minimal rings during the first month to limit rubbing.
Q: Are there safety concerns with red ink and allergic reactions?
A: There is a split in opinion among artists. One camp recommends testing because some pigments have historically caused reactions. The other camp notes modern formulations are safer but still advises a patch test if you have sensitive skin. If you have a known reaction history consult with a dermatologist before booking.
Q: What should I wear to a session for a collarbone or sternum red heart?
A: For collarbone and sternum pieces choose a wide-neck shirt or fitted sports bra so the artist has clear access without you being exposed. A simple wide-neck shirt or strapless top works well for comfort and easy access.
Q: How do I ask an artist to make a negative space heart read three-dimensional?
A: Tell your artist you want the negative space placed where the skin tone will act as a highlight and request deliberate spacing rather than filled micro detail. Ask for reference images and a preview stencil on your skin to confirm the effect before ink hits the needle.
