
Dotwork holds up in ways a lot of trending fine line work does not. The texture reads clean as it heals, and small flaws fade into pattern instead of turning into a smeared mess. If you like One Piece imagery but want something that still looks intentional at year five, dotwork gives you that quiet durability and visual depth. Here are 21 One Piece dotwork ideas with placement notes, styling tips, and what to ask your artist.
1. Straw Hat Jolly Roger Medallion on Upper Arm
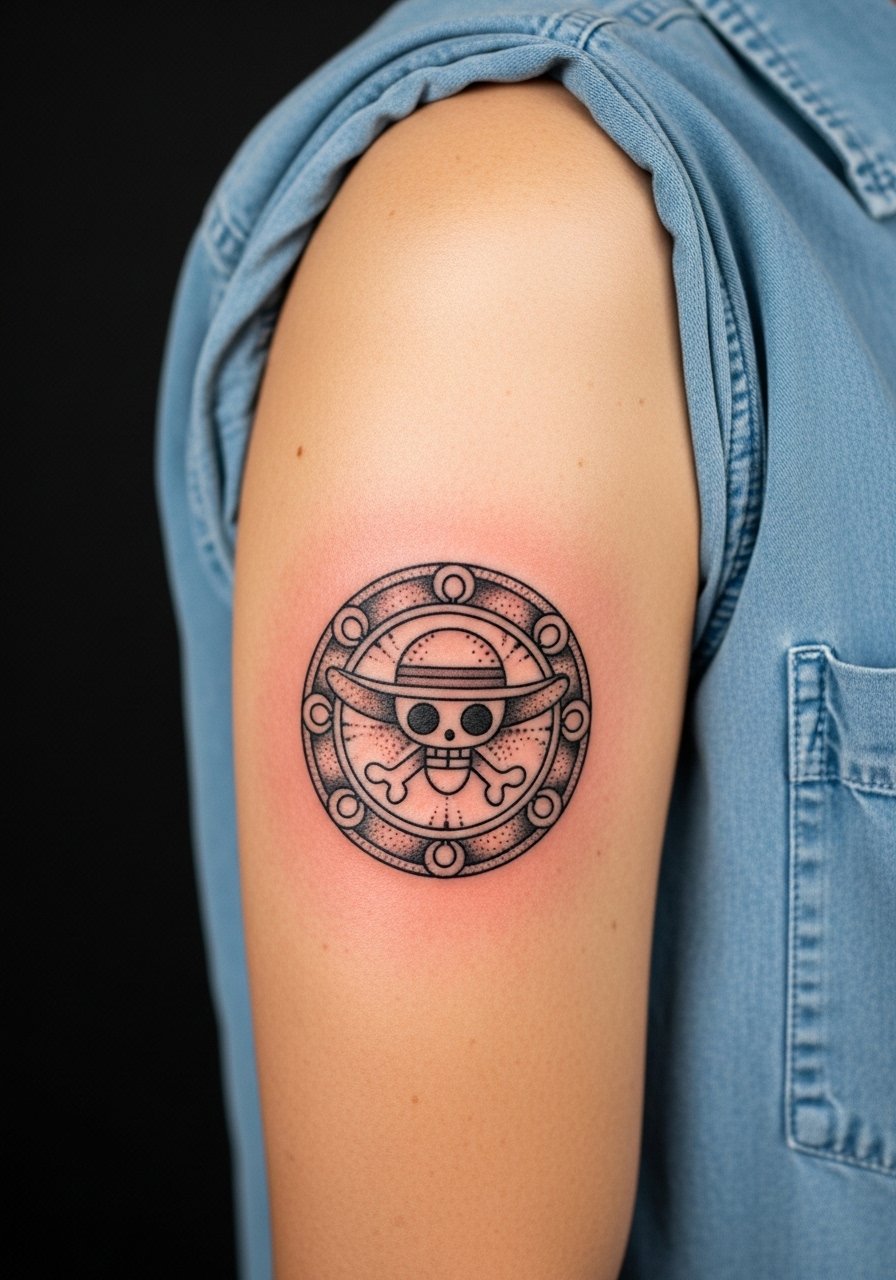
I've seen this motif become a go-to for fans who want iconic imagery without anime-style color. Ask for the skull and hat rendered as a circular medallion with stipple shading filling the negative space. Fair warning, the common mistake is cramming too many tiny details into a small medallion. Tell your artist you want generous spacing between dot clusters so the image keeps its silhouette at two and five years healed. For showing it off, roll sleeves or wear a loose button-down shirt you can pull aside during the session.
2. Luffy Silhouette with Dotwork Ocean Band on Forearm
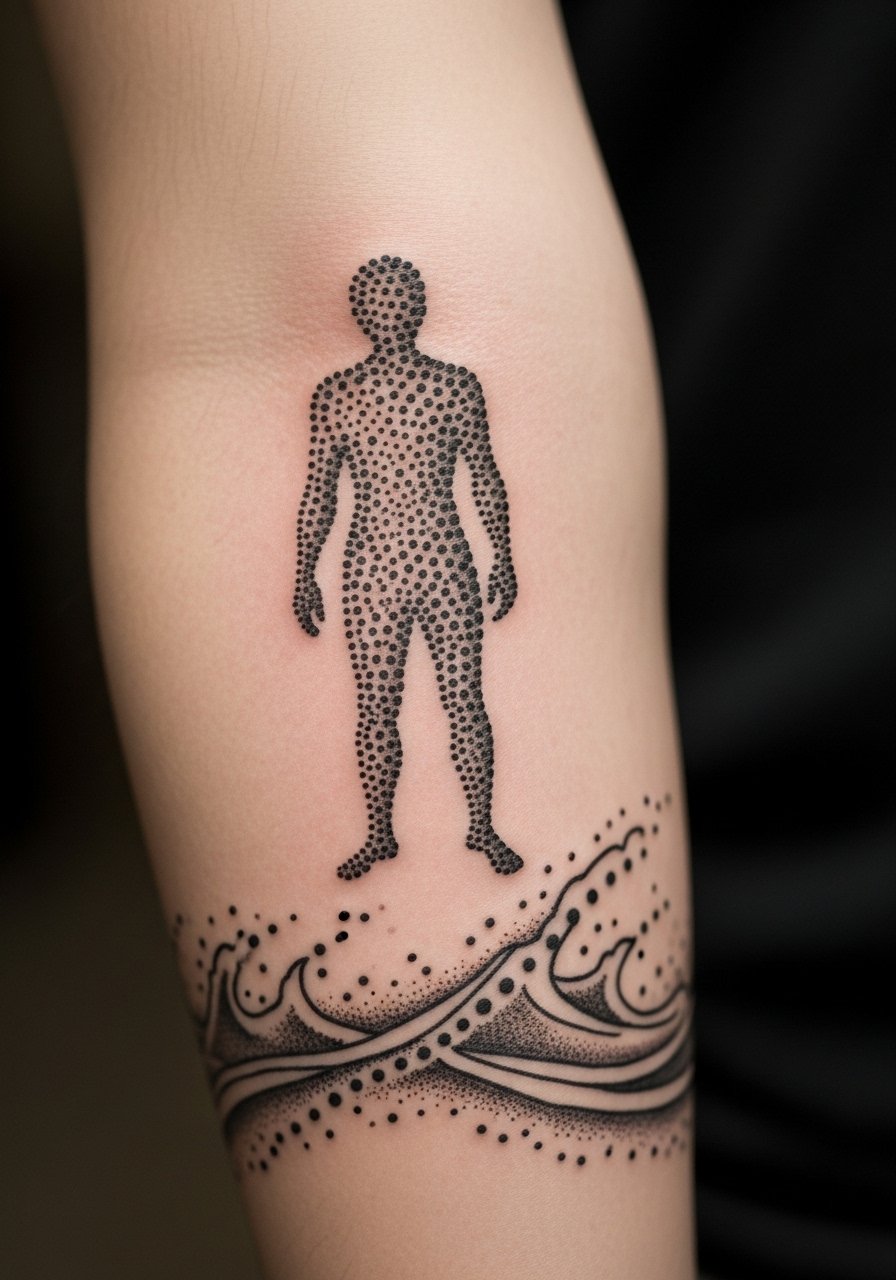
When you want movement without color, a silhouette framed by a dotwork wave band reads like a poster on skin. Consultation tip, bring a silhouette image and ask for contrast between dense stipple near the figure and airy dots at the edges. A mistake I see is asking for the band too thin. Keep it at least two finger-widths so the texture does not collapse over time. Expect a forearm session to feel like medium discomfort and run around an hour to 90 minutes depending on detail. Pair the piece with rolled sleeves and a racerback tank for casual show-off looks.
3. Tiny Chibi Straw Hat on the Ankle

This playful micro piece reads best sized so it breathes. If you want a chibi Jolly Roger, ask the artist to build the shape with stipple rather than solid fill. The typical mistake is shrinking the motif to match a ring tattoo size. That loses the facial cues and the hat shape. Ankle sessions are lower on the pain scale than ribs but you will feel the needle more than on fleshy spots. For the appointment, wear jeans you can roll up and a pair of slip-on shoes so you do not need to tug socks on right after. A jeans roll-up cuff is handy for access during the session.
4. Zoro Three-Sword Dotwork Collarbone Crest

Consultation lead, bring silhouette references for blade length and curvature. The collarbone area is unforgiving if you ask for razor-thin blades drawn too close together. A common aging issue is that narrow lines over the collarbone can fragment where the skin moves most. Ask for slightly heavier dot anchors along the blades so the motif holds its edge at year three. Pain here is moderate and the session is often under two hours for a medium-sized crest. For show-off wear, a wide-neck shirt frames the piece without covering it.
5. Nami Log Pose Compass on Inner Wrist

Mistake lead, the inner wrist is a small canvas and people ask for too many directional marks. Keep the Log Pose simplified to the main compass points and a ring of stipple to suggest texture. Wrist tattoos blur faster because of washing and friction, so expect touch-up conversations at consultation. The session is short, often under 45 minutes, and the pain is lower than ribs but higher than the outer forearm. Pair this with dainty stacking bracelets that do not cover the compass. Try a thin chain bracelet to complement the wrist without rubbing the ink.
6. Thousand Sunny Micro Dotwork Sternum Accent
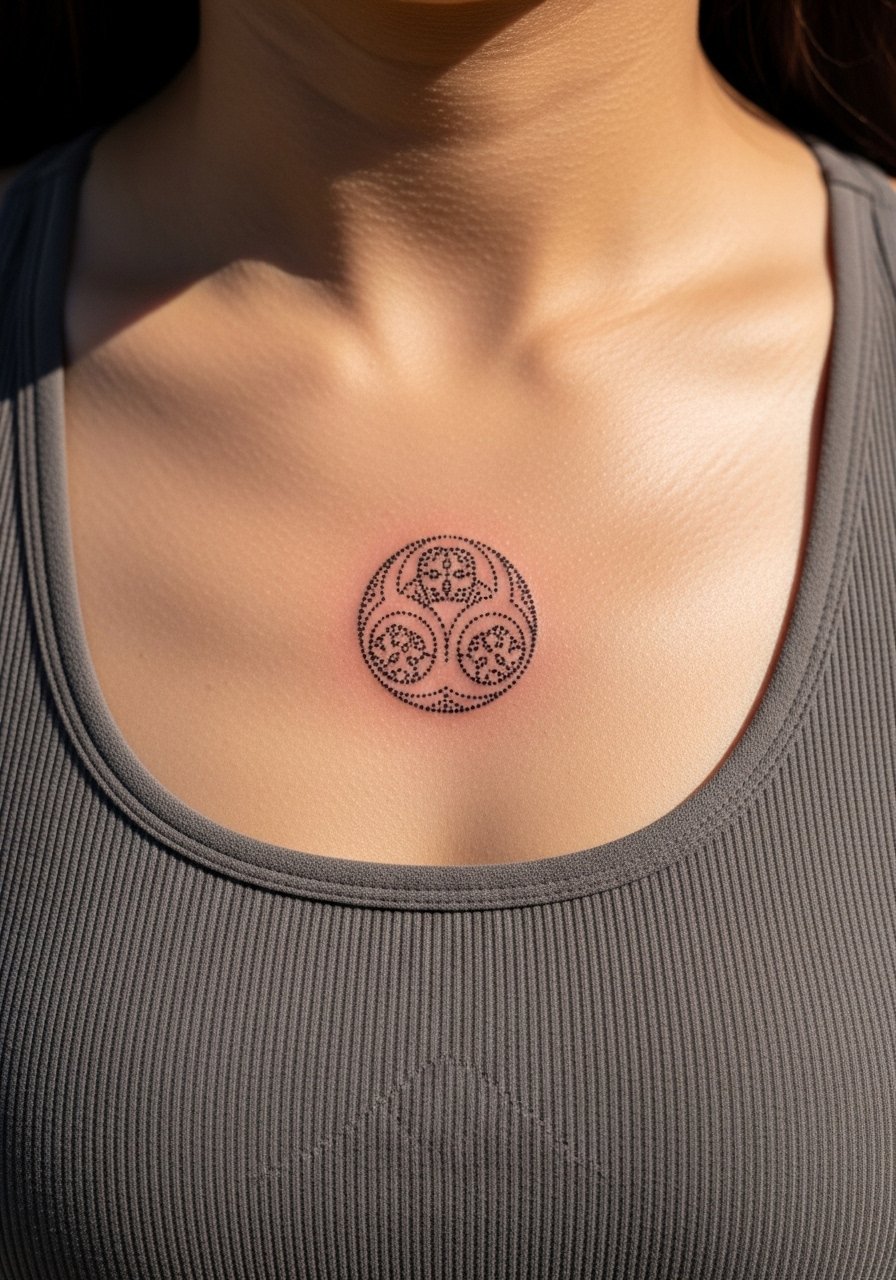
Consultation lead, sternum work needs careful stencil placement because the curvature of the chest changes with breathing. Artists split on how fine to go on sternum dots. One camp says ultra-fine stipple preserves detail and reads delicate. The other camp warns that constant movement and garment friction can blur tiny dots faster than expected. Ask the artist which approach they prefer and why. Sternum sessions are higher on the pain scale. For the appointment wear a fitted sports bra you can shift slightly so the artist has clean access.
Studio Day Picks
The upper chest and wrist pieces above demand different prep than forearm medallions, so a few specific items smooth the session and the first week.
-
Stencil transfer paper kit. Lets you preview the placement and lineweight on skin, which helps with symmetrical chest and wrist designs above.
-
Topical numbing cream. Applied as directed before appointments softens the edge on sternum and collarbone sessions without affecting the artist's stencil work.
-
Thin protective film roll. Keeps wrist and ankle pieces clean during the first week of frequent washing and movement.
-
Fragrance-free gentle body wash. Cleanses healing areas without irritating stipple shading that fine dotwork depends on.
-
Aquaphor healing ointment. Thin layers in the initial days preserve moisture for dotwork without clogging the tiny ink channels.
7. Ace Flame Dotwork on the Ribcage
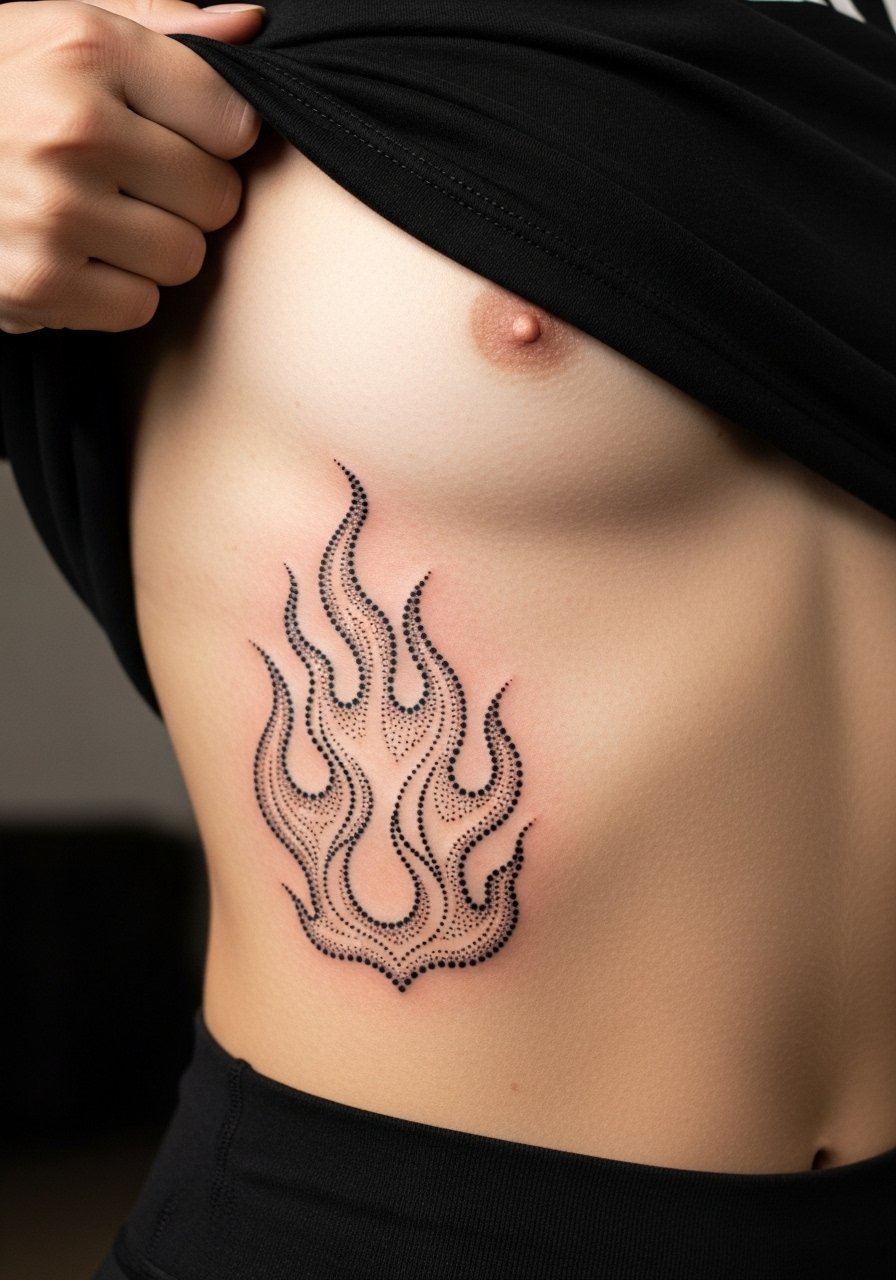
Controversy lead, fine detail on ribs splits artists into two camps. One group argues the skin stretch and motion blur lines within a couple of years. The other group says with correct spacing and deeper dot anchors the design will settle well. Name both camps and ask your artist where they fall before booking. For this flame motif, I recommend slightly larger dot clusters and a looser layout that follows the rib curve. Rib sessions are painful and usually done in shorter passes. Expect the session to be longer than it looks and plan your recovery clothing accordingly.
8. Trafalgar Law Heart Pirates Collarbone Accent
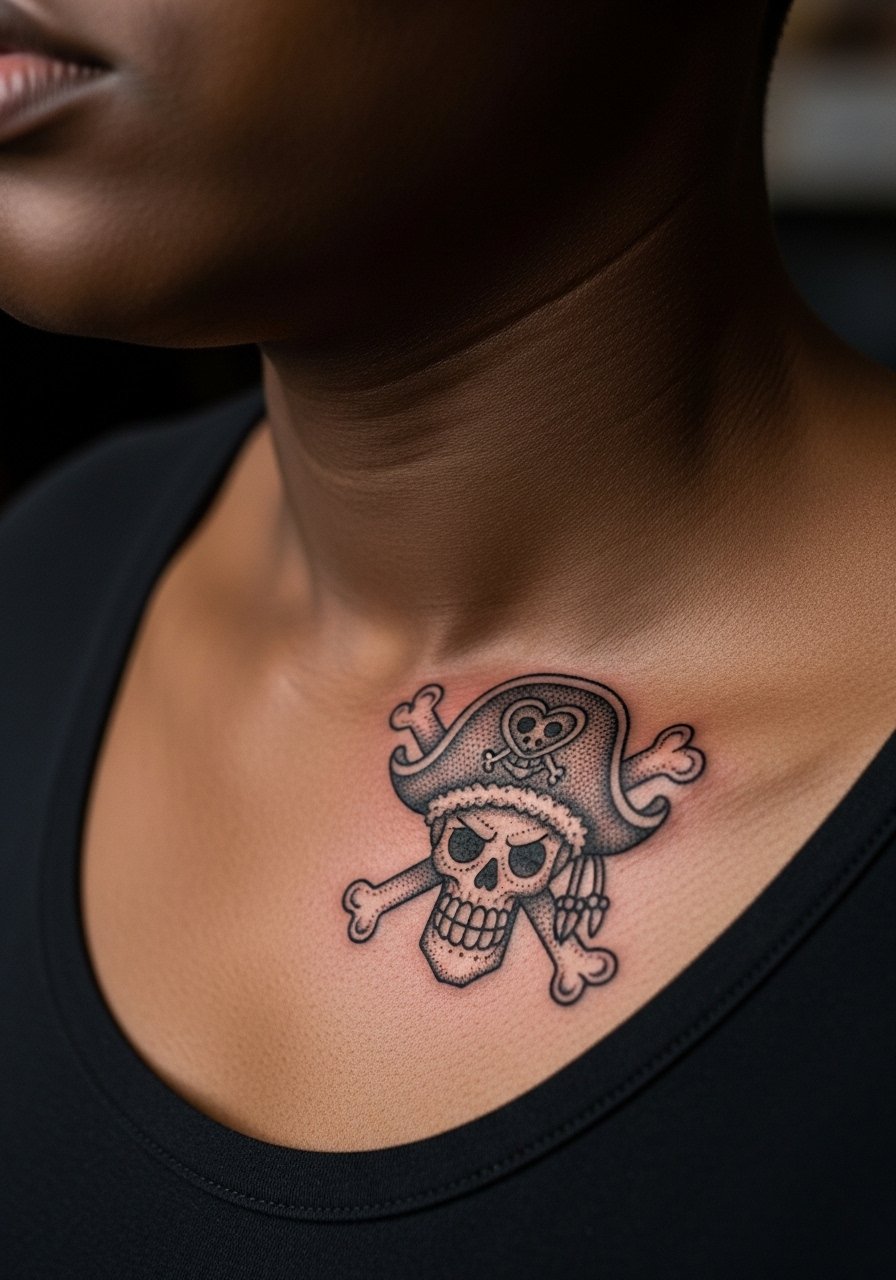
Personal observation lead, a small emblem just above the collarbone reads like jewelry when placed right. Tell your artist you want the heart filled with stipple rather than solid black for texture that catches light. The typical mistake is centering it too far from the collarbone line. Keep the emblem tucked close to the bone so it follows the natural ridge. Sessions here are medium pain and often under 90 minutes. For show-off wear, a delicate pendant necklace sits just above the emblem without crowding the composition.
9. Brook Violin Micro Dotwork on Outer Bicep
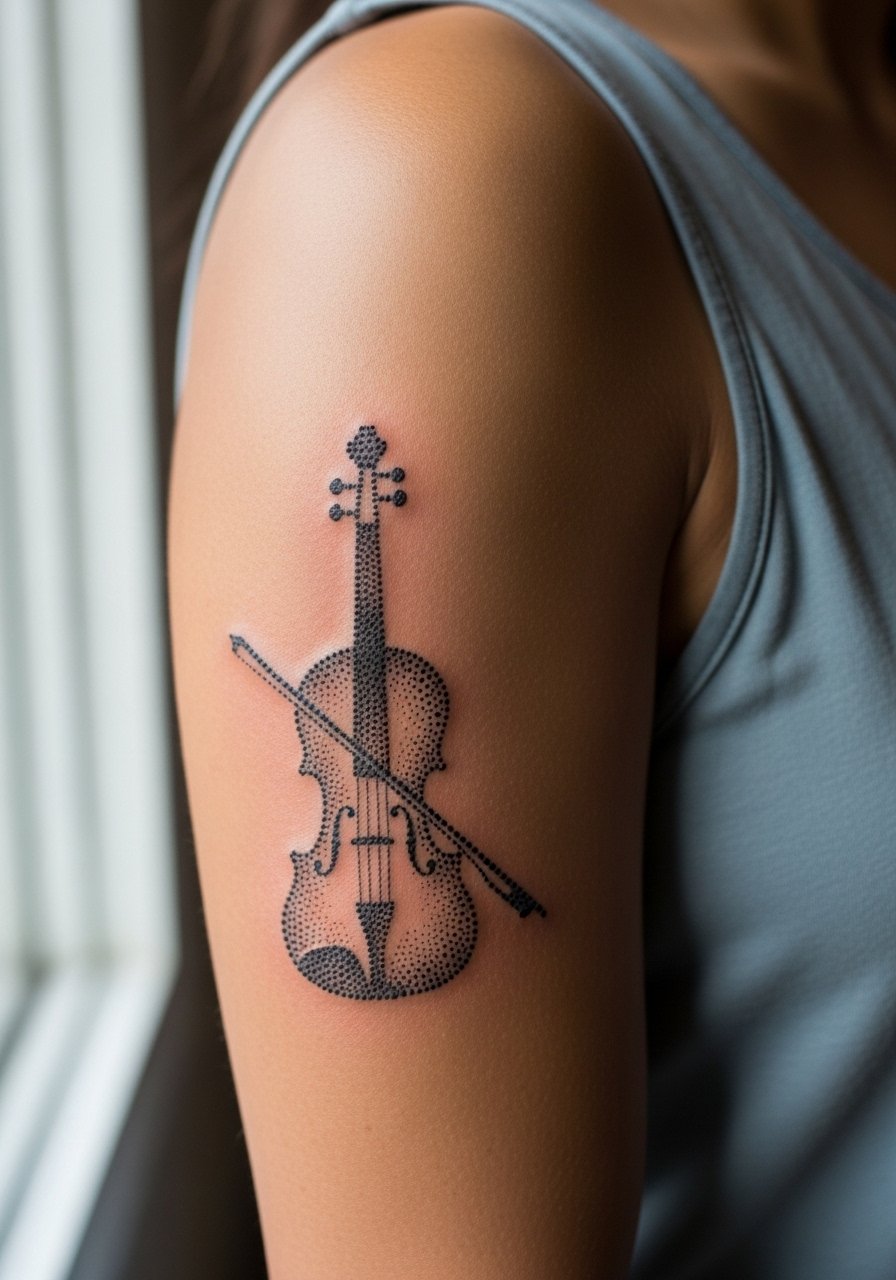
Styling lead, the outer bicep is forgiving and shows well with sleeveless tops. When you bring violin references, ask for the f-holes and scroll to be suggested with light stipple rather than dense lines. A common mistake is asking for micro filigree that will blur where the arm flexes. Expect a one-hour session and medium pain. Wear a loose tank top that you can shift to give the artist full access without exposing other areas.
10. Devil Fruit Cross-Section Calf Panel
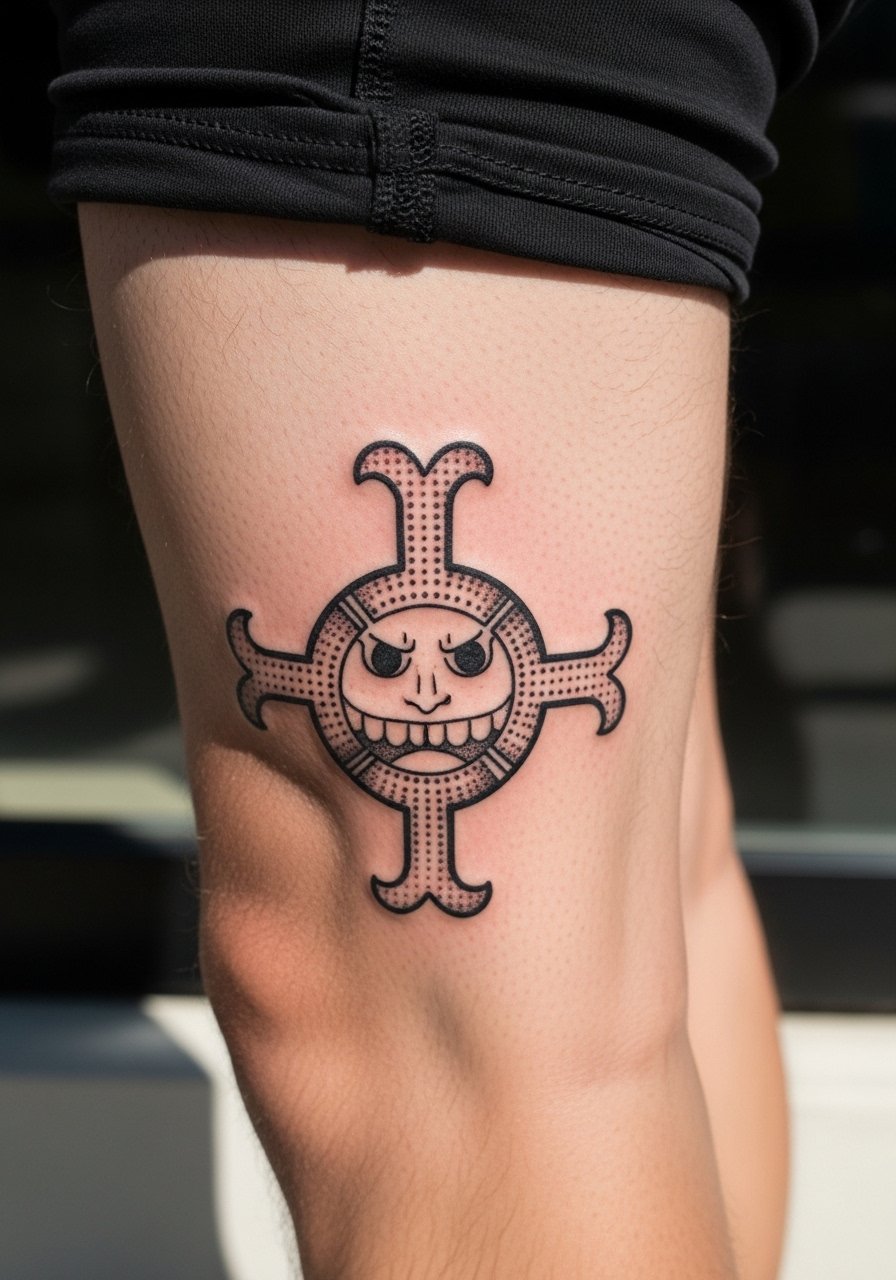
Visual impact lead, a vertical calf panel reads well when the dot texture emphasizes fruit segments. Tell your artist you want denser stippling in the center and airy dots toward the rind so the shape stays legible at a distance. The calf tolerates longer sessions and the pain is moderate. For the appointment, wear loose drawstring shorts so the artist can roll the leg without pressure from tight clothing.
11. Smoker Jitte Minimal Dotwork on Inner Bicep
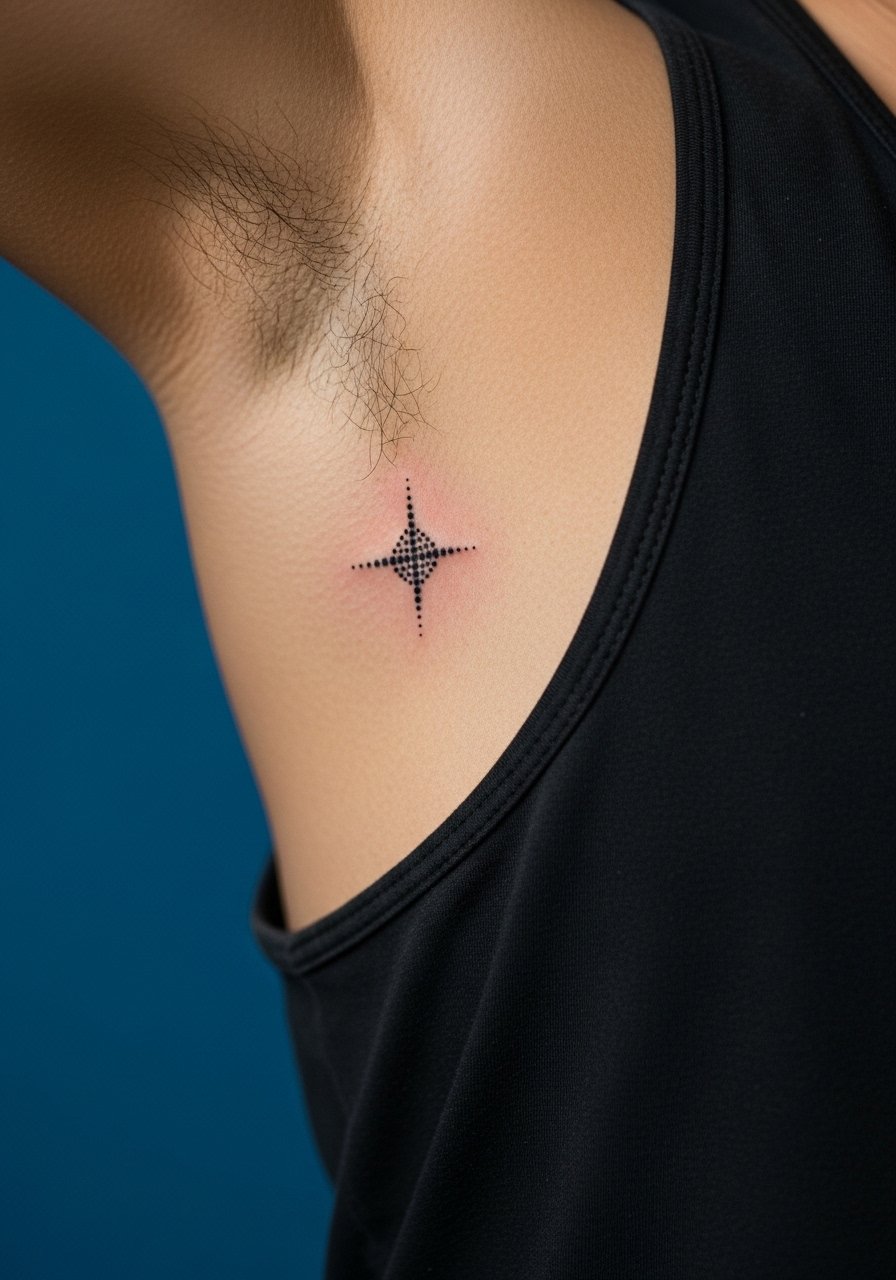
Mistake lead, inner bicep work can lose crispness if lines are too close to the armpit crease. Ask for a composition that sits higher up the inner arm to avoid constant rubbing. Expect the area to feel more tender due to thin skin. The session may require short breaks because of sensitivity. For session comfort, wear a loose tank top you can raise without twisting the body.
12. Full Dotwork Pirate Map Half Sleeve on Forearm

Consultation lead, map pieces demand clear negative space between islands to age well. A frequent mistake is packing tiny islands, text, and tiny icons into a narrow sleeve. Instead, request layered stipple planes so each element reads at multiple distances. Forearm sleeves can be done over several sessions. Expect moderate pain and realistic touch-up needs at year three for tight text. Pair the sleeve with rolled sleeves and a linen button-up when you want to show just the lower forearm.
13. Chopper Tiny Micro Dotwork Finger Icon
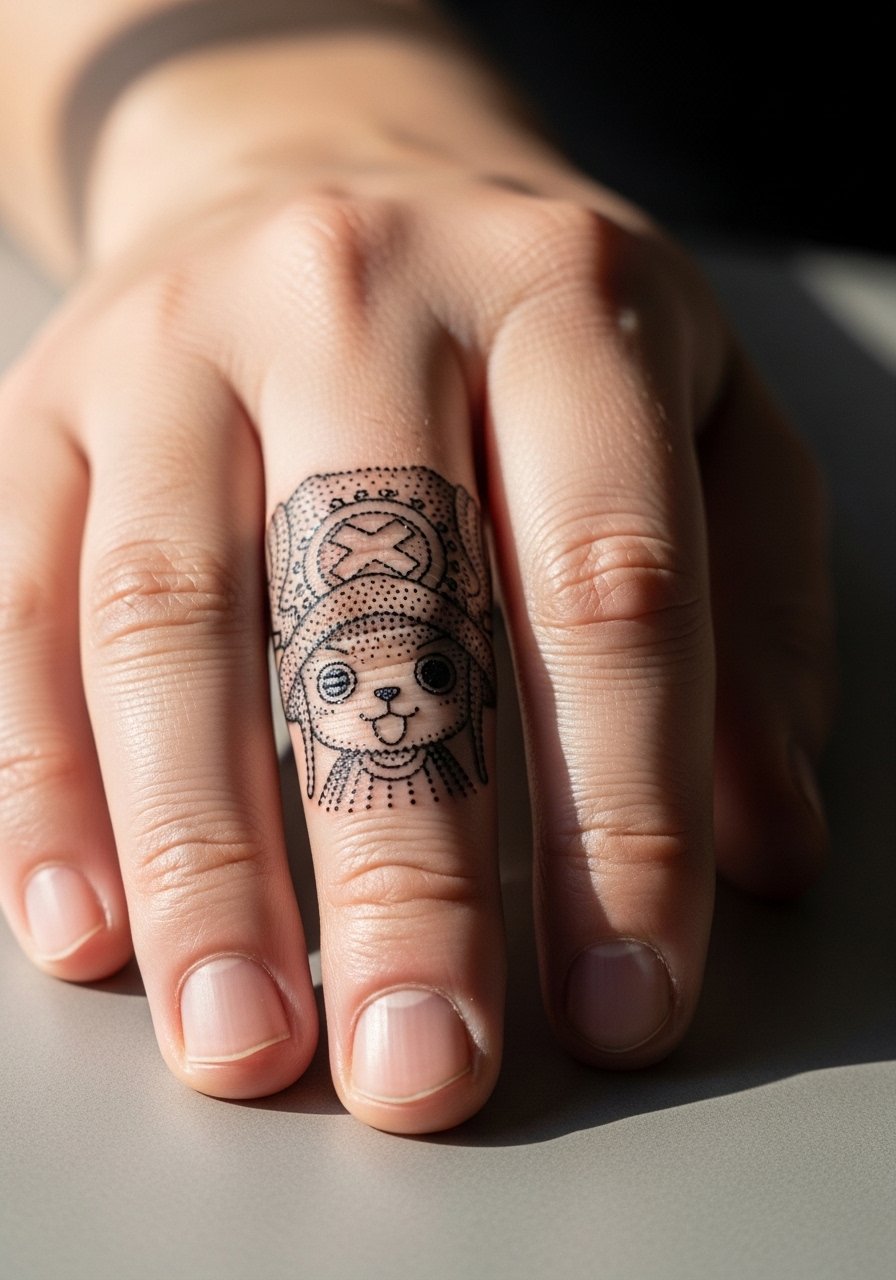
Personal observation lead, finger dots require bold anchors because fingers see constant friction and washing. The usual error is treating a finger icon like a fine line wrist script. Ask for heavier dot anchors and accept that touch-ups are common in this zone. The session itself is short and sharp in sensation. For wearing jewelry that complements but does not rub, go for a thin stacking ring set that sits above the tattooed joint.
14. Usopp Sniper Scope Shoulder Blade Accent
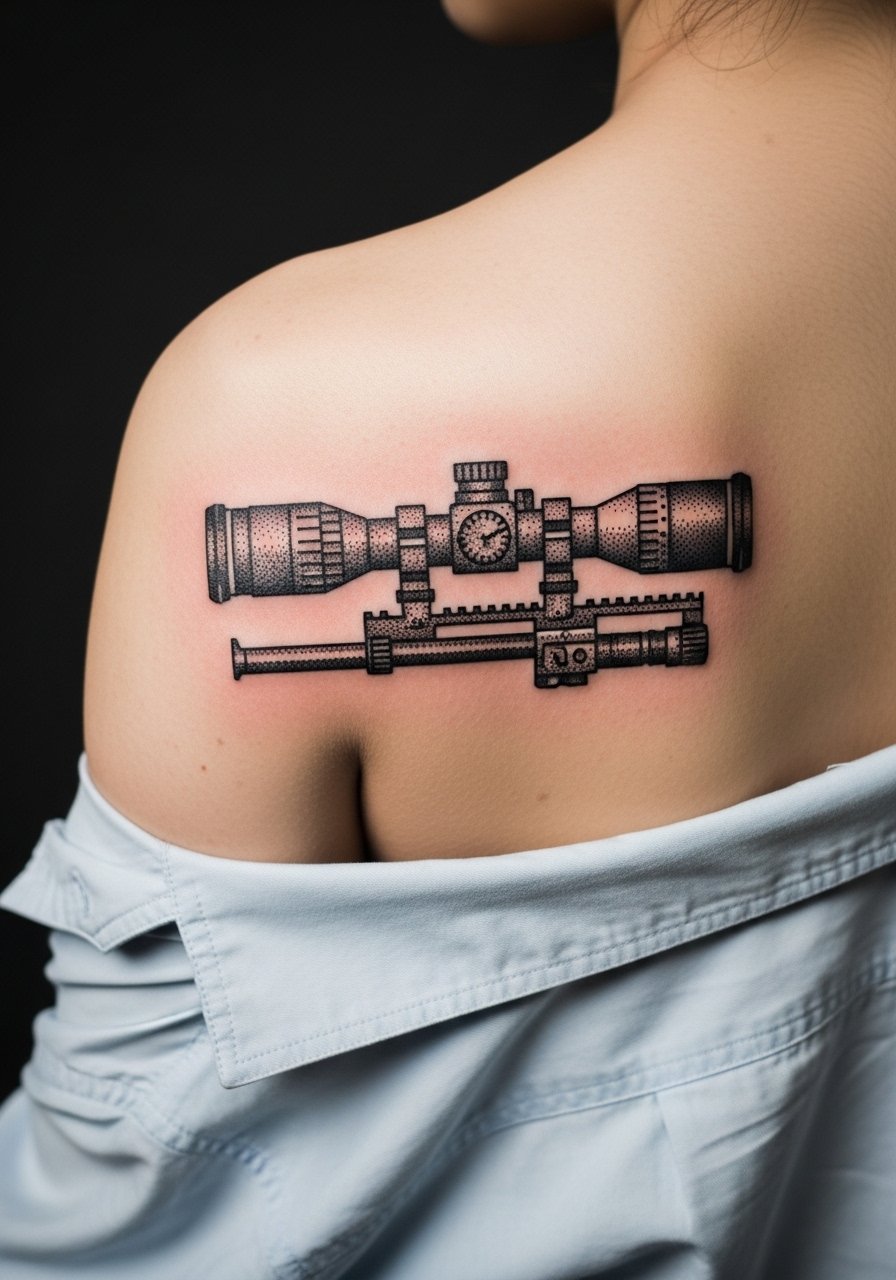
Visual impact lead, shoulder blade work looks dramatic with concentric stipple rings. Tell the artist you want softer outer dots and denser inner stippling to create depth. A common mistake is asking for heavy black fills that create a hard edge when the piece would benefit from airy texture. Shoulder blade sessions are moderate and the area heals well with low blowout risk. For showing it off, wear an open-back top.
15. Robin Script Book Spine Dotwork Along the Spine
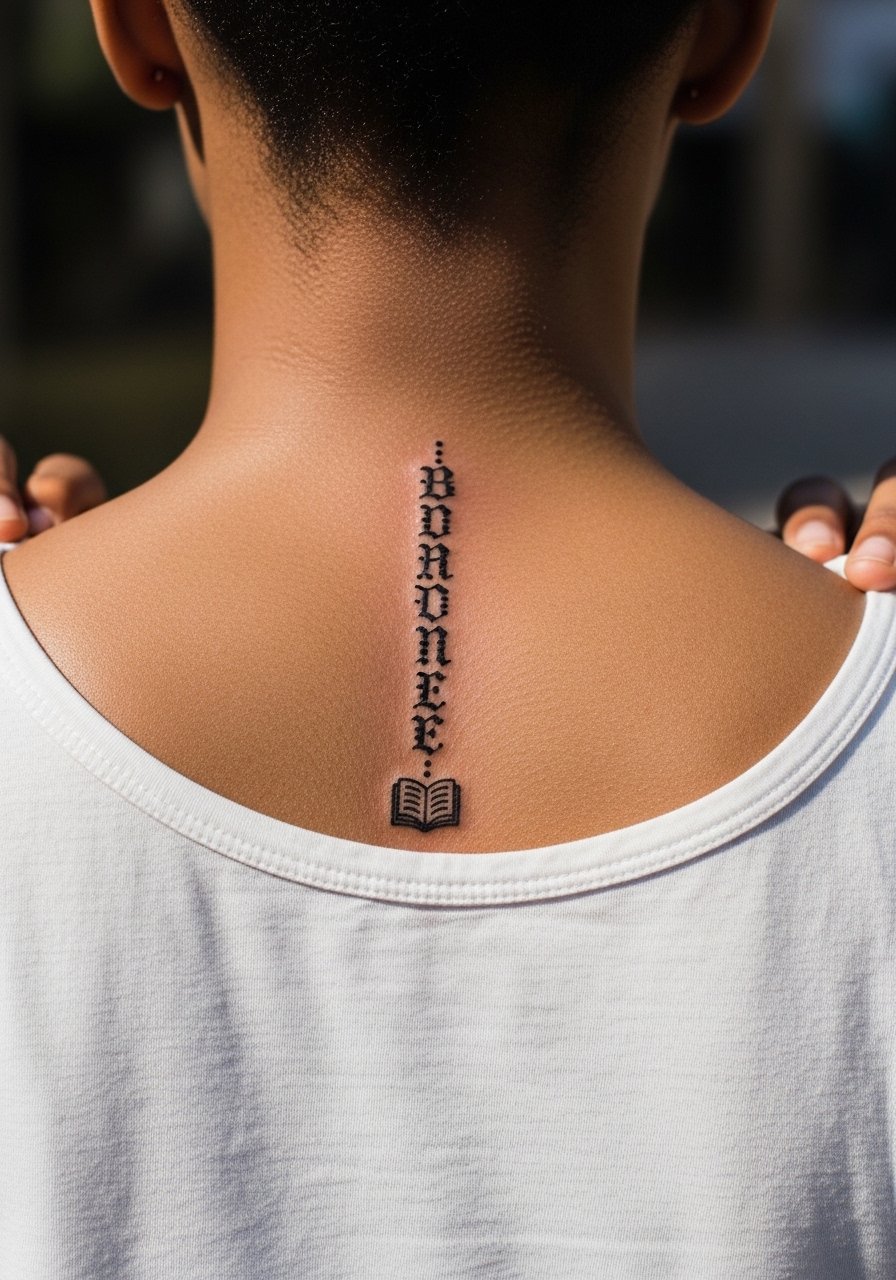
Aging/healing lead, spine art moves with posture and breathing, so spacing between dot clusters is important. The mistake I see is requesting tight script without accounting for stretching as you sit and move. Ask for slightly larger letter spacing and dot anchors that will keep the script legible at two to five years. Spine sessions can be quite painful and are best done in shorter passes. If you need to keep the piece private for work, position it lower so shirts conceal it easily.
16. Whitebeard Split Emblem on Upper Chest
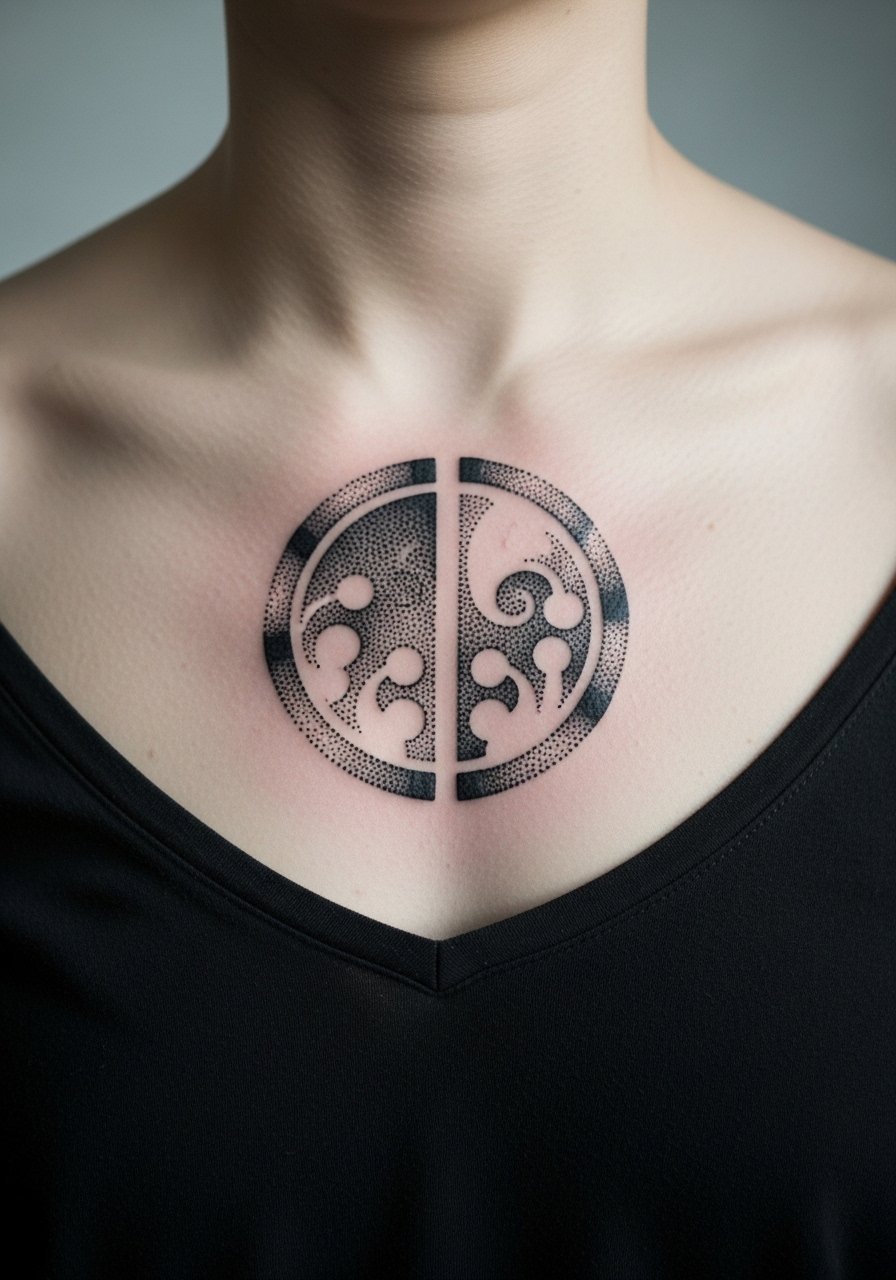
Mistake lead, chest emblems suffer when artists try to use thin connected dots across moving tissue. Request bold anchoring at the emblem points and softer stipple for shading. Chest skin moves a lot with breathing and lifting, so expect a reality check on how much fine detail will survive. Sessions here are medium to high pain and may need more than one visit for saturation.
17. Kaido Dragon Dotwork Wrap on Thigh
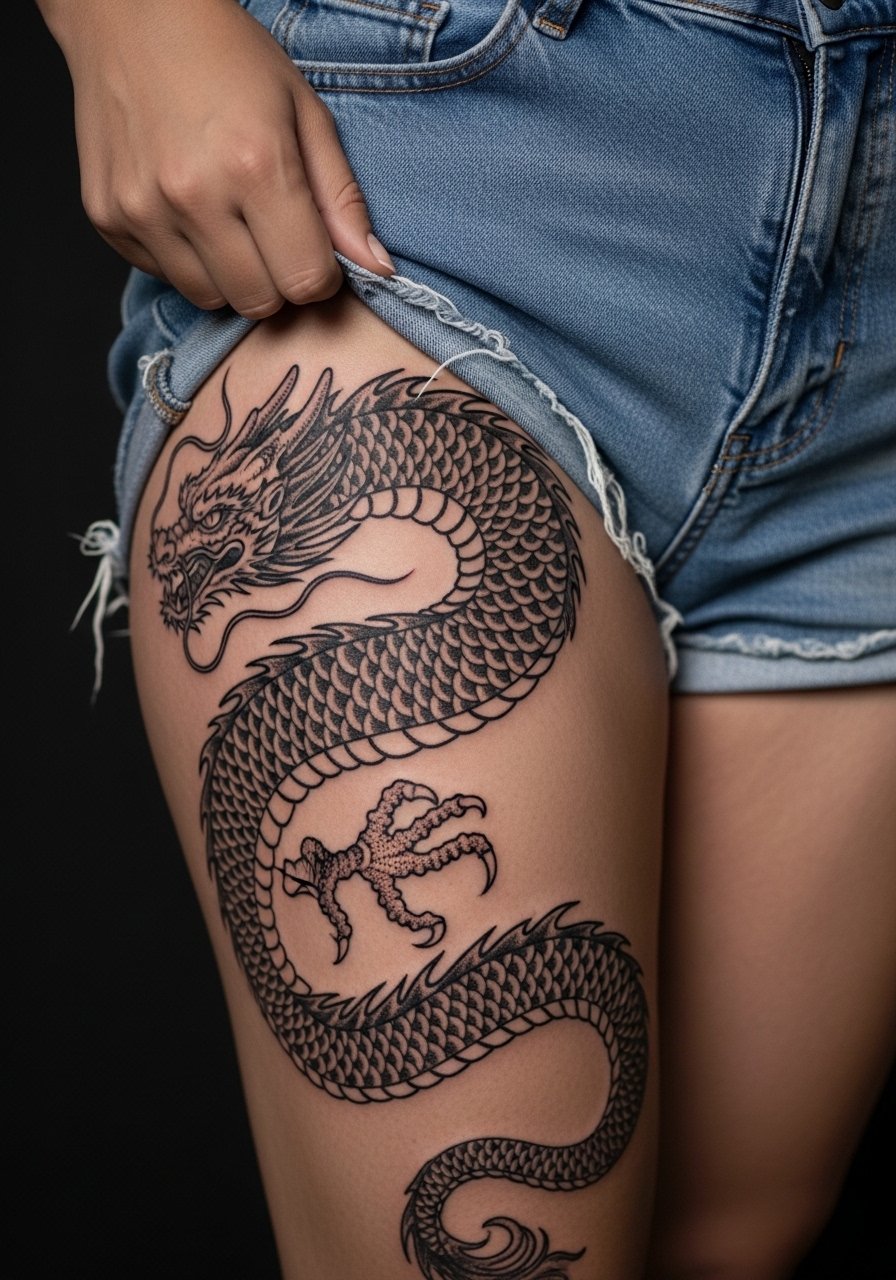
Styling lead, thigh wraps are forgiving and let you scale detail without risking hand or neck blowouts. A common mistake is insisting on ultra-fine scales that merge over time. Ask for scale clusters made with varying dot sizes so texture remains readable. Thigh sessions are tolerable and allow longer sittings. For the session, wear high-waisted shorts you can lower slightly and then pair the finished piece with an open-back midi dress to show it off.
18. Wave Dotwork Half Sleeve That Reads from a Distance

Visual impact lead, dotwork thrives when you design for distance and close inspection. For a wave sleeve, ask for graduated stipple density so the arm reads as a flowing shape from across a room. The common error is detail overload in areas that will compress with arm movement. Expect multiple sessions to build texture and medium pain across each pass. Roll sleeves or wear a short-sleeve linen shirt to frame the piece when you want it visible without full exposure.
19. Tiny Jolly Roger Behind the Ear Accent
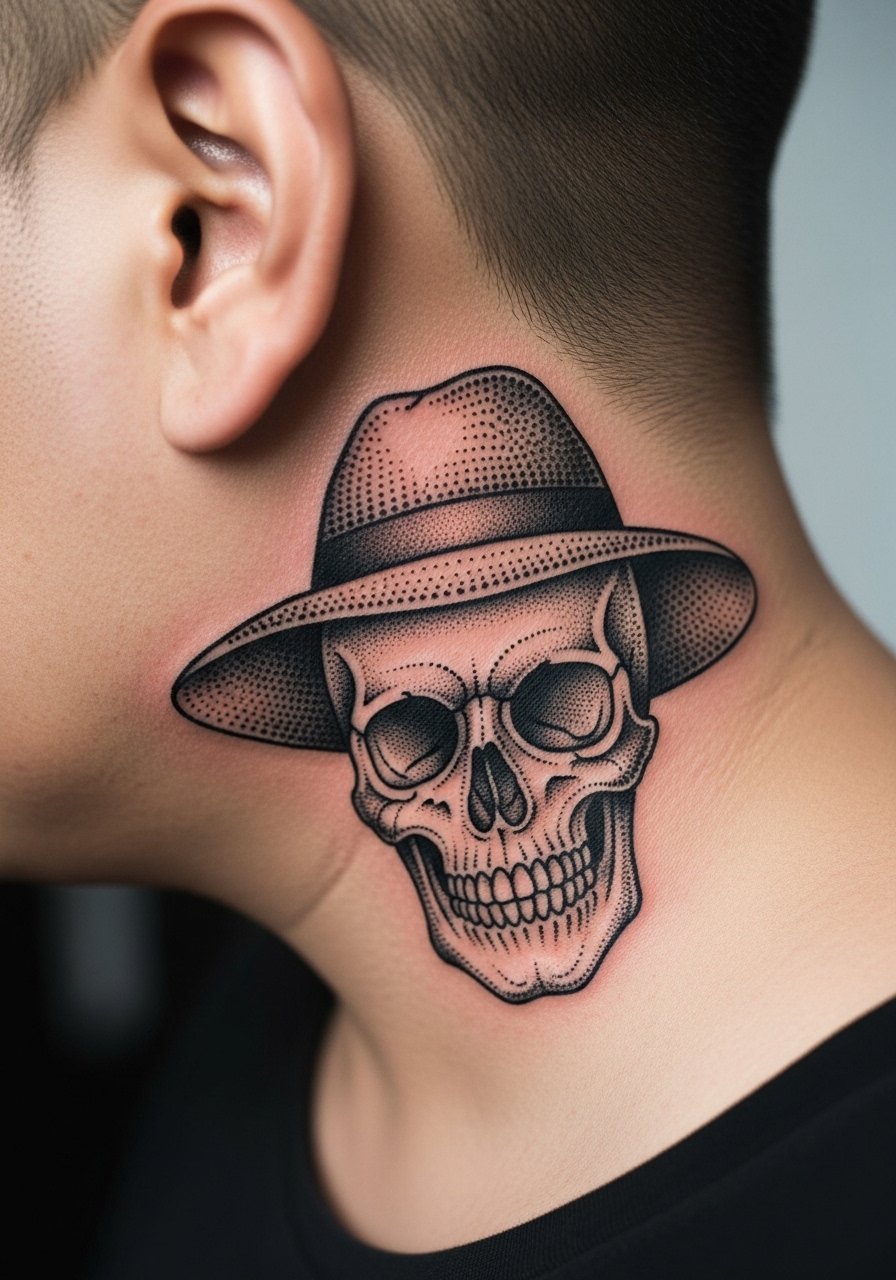
Consultation lead, behind-the-ear accents need precise placement because hairline changes and jaw movement affect visibility. The mistake is asking for too much micro detail where hair and clothing will obscure it. Note, behind-the-ear placements require an artist experienced with small, curved surfaces. The session is quick and the pain is lower than ribs but higher than a forearm.
20. Geometric Log Pose on Upper Thigh
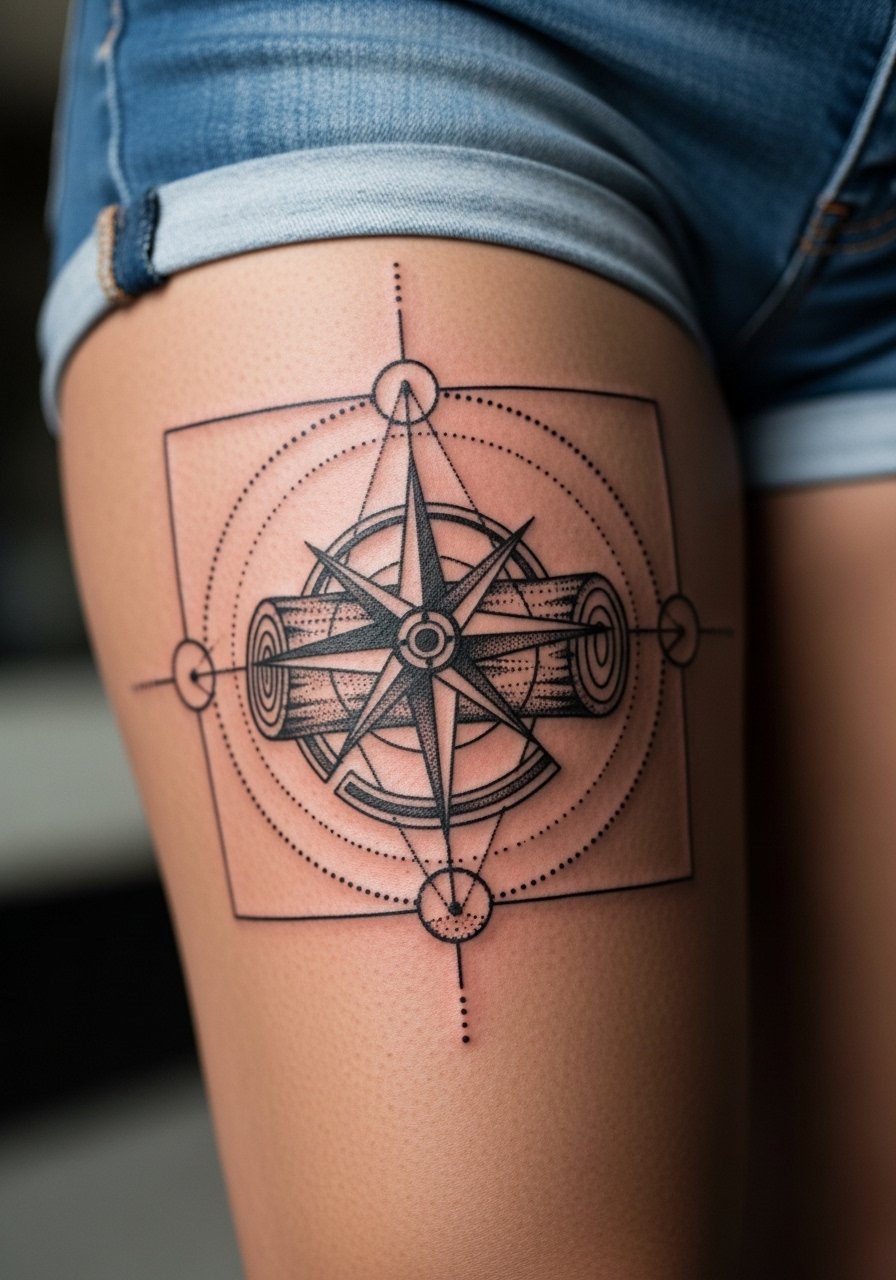
Consultation lead, geometric panels on the thigh allow for larger negative space that helps longevity. The error I see is compacting geometry into a tiny patch. Ask for breathing room and clear edge lines made by dot anchors rather than thin single dots. Thigh work is among the least painful placements and supports long sessions. For the session, wear shorts you can shift easily and plan outfits that let the panel peek out, like high-slit skirts.
21. One Piece Quote in Circular Dotwork Wrist Band
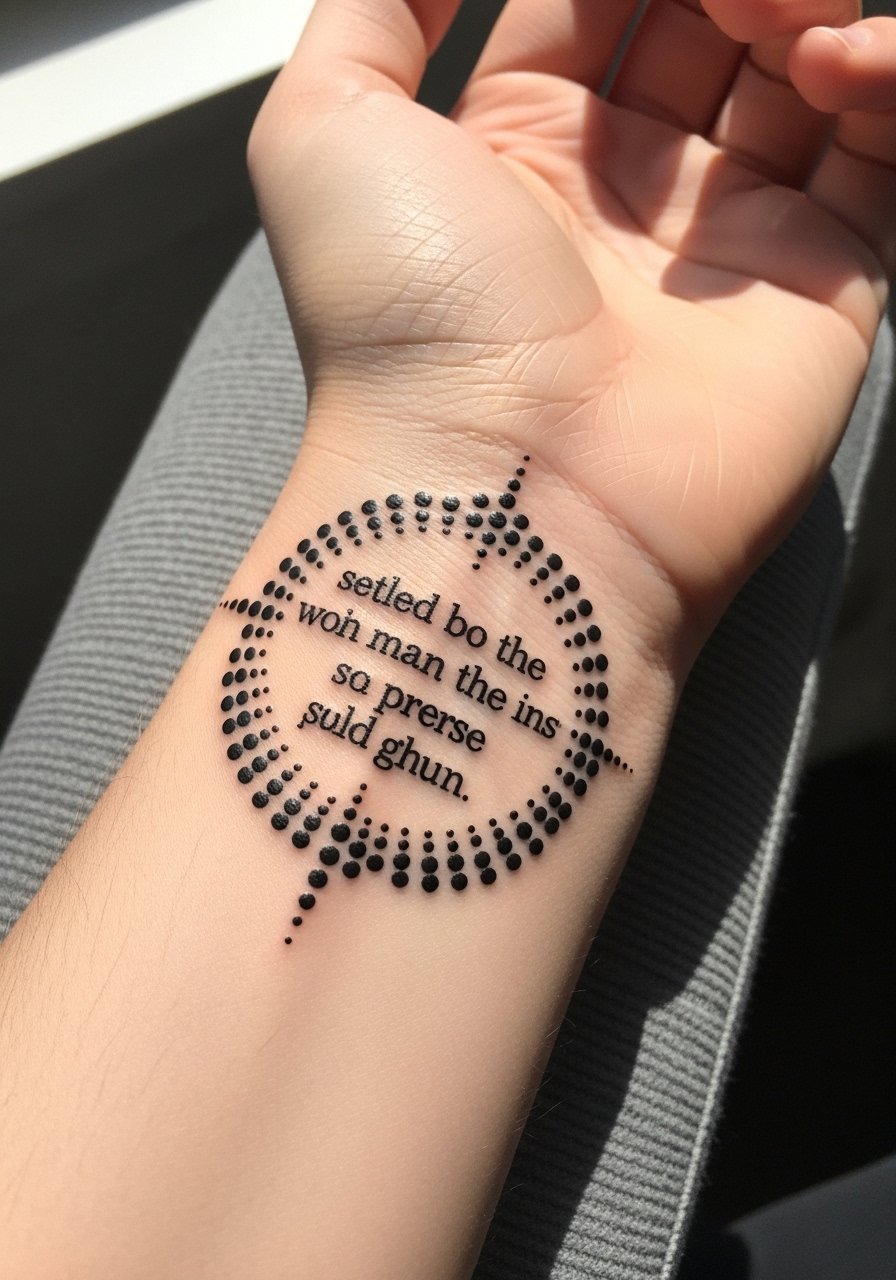
Consultation lead, text inside dot bands needs exact letter spacing and clear font choice, because tiny script blurs faster than block shapes. When you pick a quote, specify the exact words and font weight. A common mistake is choosing long phrases that compress into unreadable text. Wrist bands face friction and washing, so expect touch-ups sooner than for chest pieces. Pair the band with a thin chain bracelet to accent the script without rubbing the ink.
Frequently Asked Questions
Q: Will dotwork One Piece tattoos blur faster on curved areas like ribs and sternum?
A: It depends on placement and spacing. Curved and high-motion areas put more stress on tiny dots, so artists recommend larger dot clusters and more spacing there. Ask your artist how they anchor dots for moving tissue, and prepare for the possibility of a touch-up at year two to three.
Q: How should I prep clothing-wise for a sternum or ribcage session?
A: Wear a fitted sports bra or a cropped top you can shift so the artist has clean access without you exposing more than necessary. Loose button-downs work well for shoulder and back pieces. Bring layers you can put on gently after the session to avoid rubbing the fresh ink.
Q: Do dotwork pieces require different aftercare than solid blackwork?
A: In my experience, dotwork benefits from gentle cleansing and thin layers of healing ointment early on. The recovery is similar to other blackwork but be extra careful about friction on wrist and finger pieces because repeated rubbing can pull at tiny dots during the first week.
Q: Should I expect more touch-ups for finger and wrist dotwork compared with upper arm work?
A: Yes, fingers and wrists see more washing and friction, so they usually need touch-ups sooner. Plan for a realistic maintenance conversation at booking and choose slightly bolder dot anchors for those spots.
Q: How do I tell if a dotwork version of a One Piece motif will age better than a color or linework version?
A: Ask your artist to show healed photos of similar dotwork pieces on comparable placements. Look for examples that demonstrate spacing and dot density. In my experience, dotwork hides small imperfections better than ultra-fine linework and often holds an attractive texture as it ages.
Q: Are there career or visibility considerations for hand, neck, or behind-the-ear placements?
A: Yes. Hand and neck placements remain more visible and can affect work impressions in some fields. Behind-the-ear is easy to conceal with hair but still shows in certain styles. Think about long-term visibility and how that matches your daily life before committing.
