
Fine line dotwork of Kurapika chains often looks flawless on a phone screen but holds up very differently on real skin. The tight stippling and micro links that photograph crisp can blur if placed where the skin stretches or rubs. Choose placement and spacing with longevity in mind and bring the right references to your consultation. The first six ideas below show variations that photograph well and age more predictably when done with dotwork in mind.
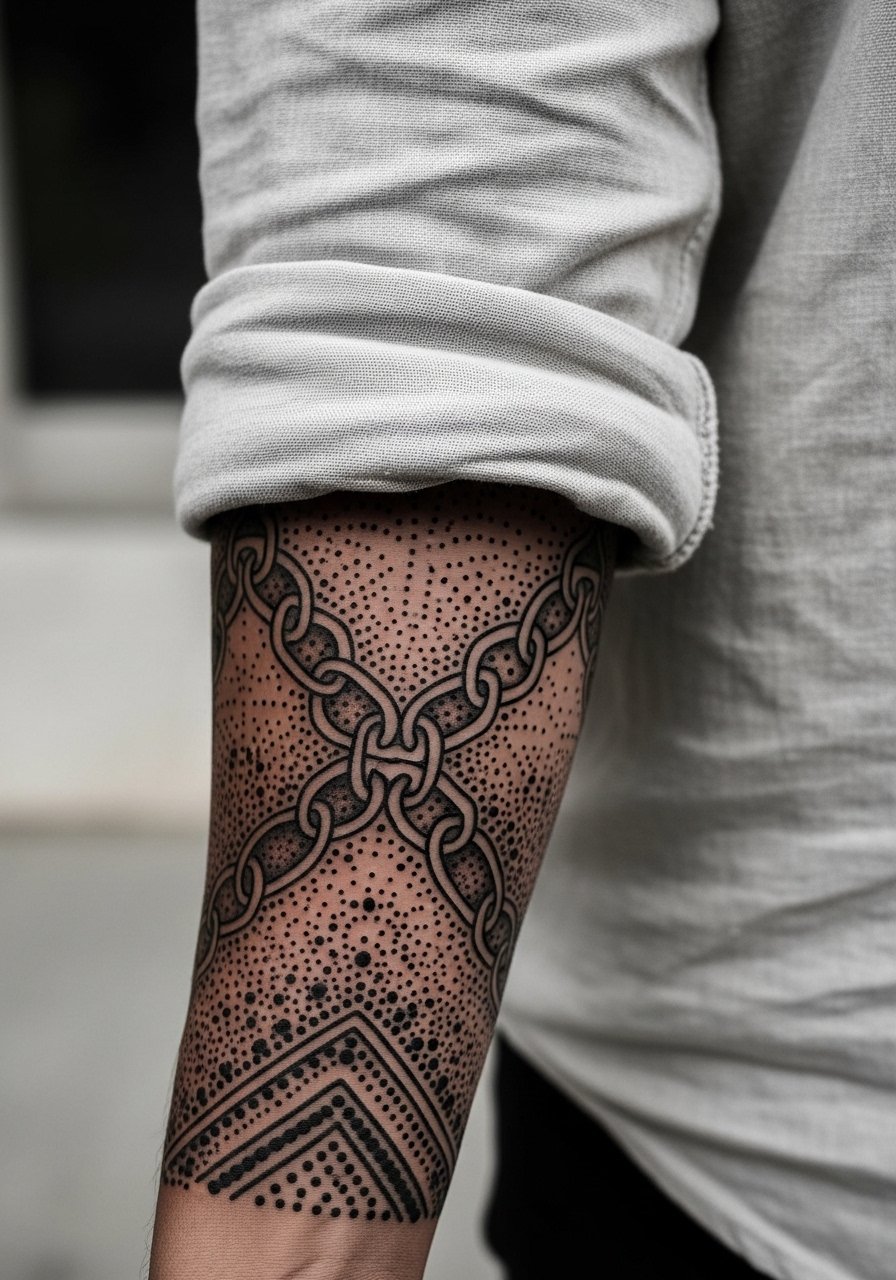
1. Inner Forearm Linear Chain with Tiny Cuffs
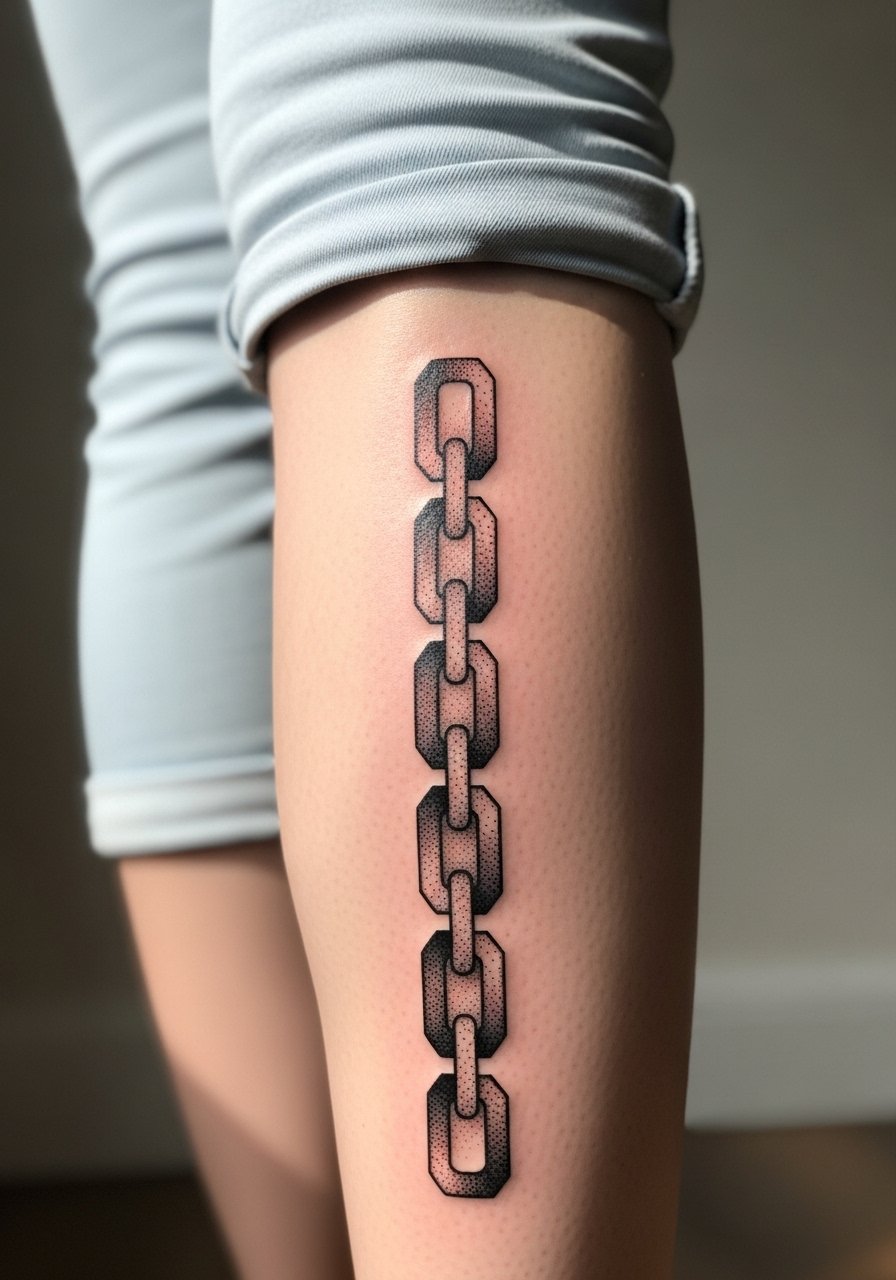
I've seen this placement age well when the links are given breathing room. Ask your artist to space the dots slightly wider than the reference photo and request stipple shading instead of solid fill to keep texture without saturating the linework. Fair warning, the inner forearm is visible and gets sun exposure, so expect gradual softening at year three unless you commit to sunscreen. Session time is usually one to two hours. Pain is low to moderate and touch-ups for crisp edges are common around year two. For showing it off, rolled-up sleeves and a loose button-down shirt frame the chain without competing with the detail.
2. Wrist Wrap Chain with Micro Dots
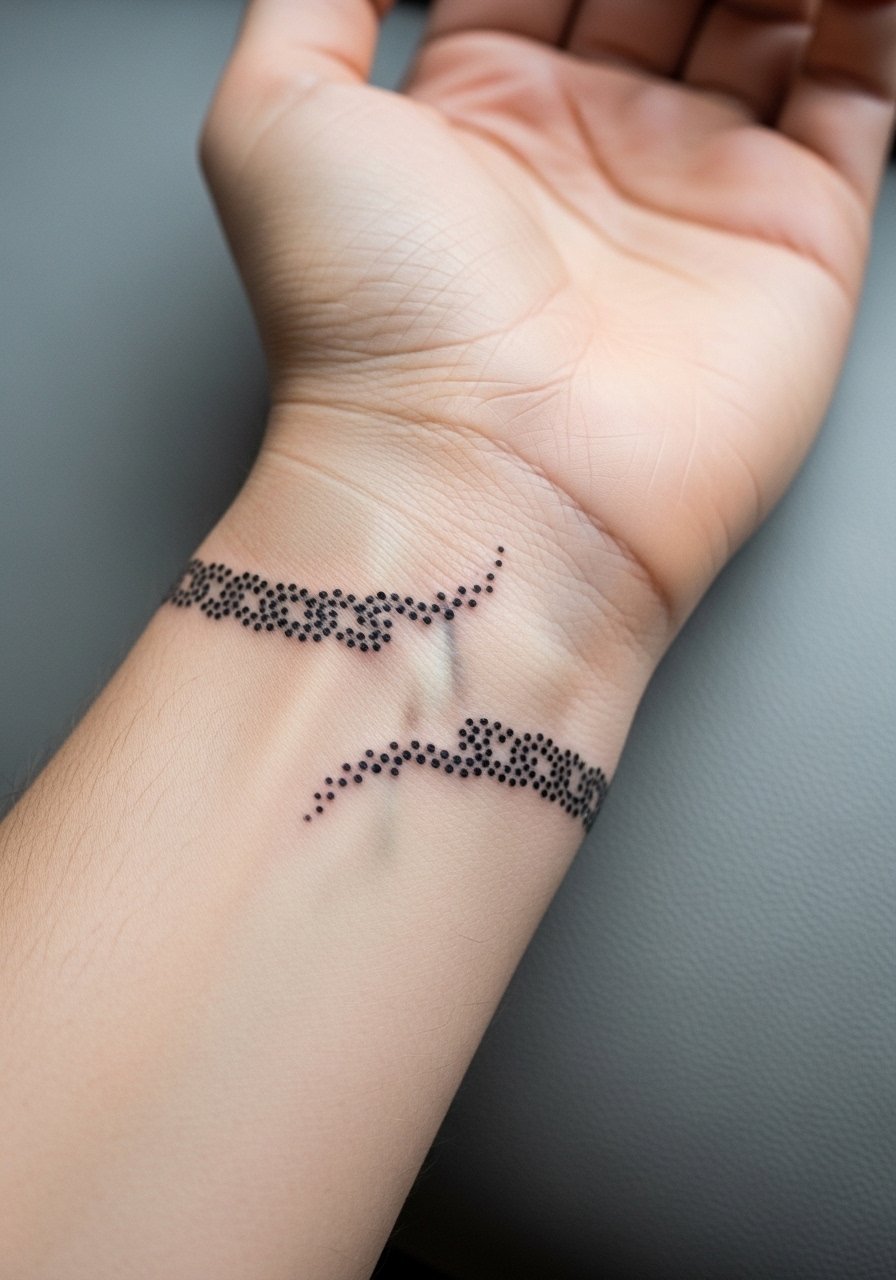
Pain is mild but the wrist endures constant washing and friction. The biggest mistake is requesting ultra-thin links that will merge from frequent contact. Tell your artist you want slightly thicker link outlines and dense but subtle dotwork inside each cuff so the pattern reads after a few months. Expect one short session and a likely touch-up at year one. For appointment day, wear a loose bracelet or watch you can remove easily so the artist can work without obstruction. This placement splits opinions among artists about durability, and it helps to hear how your prospective artist handles wrists before booking.
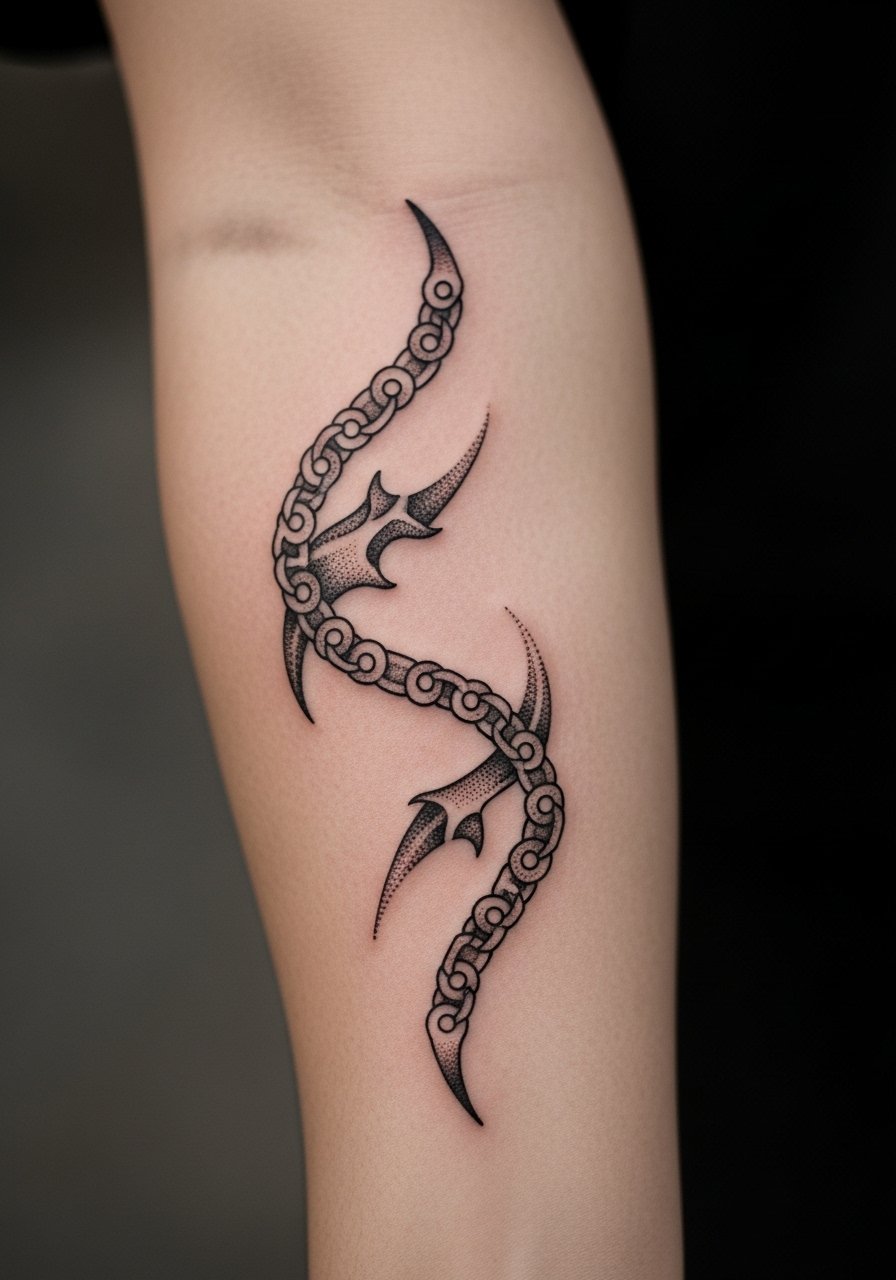
3. Outer Bicep Floating Chain Segment
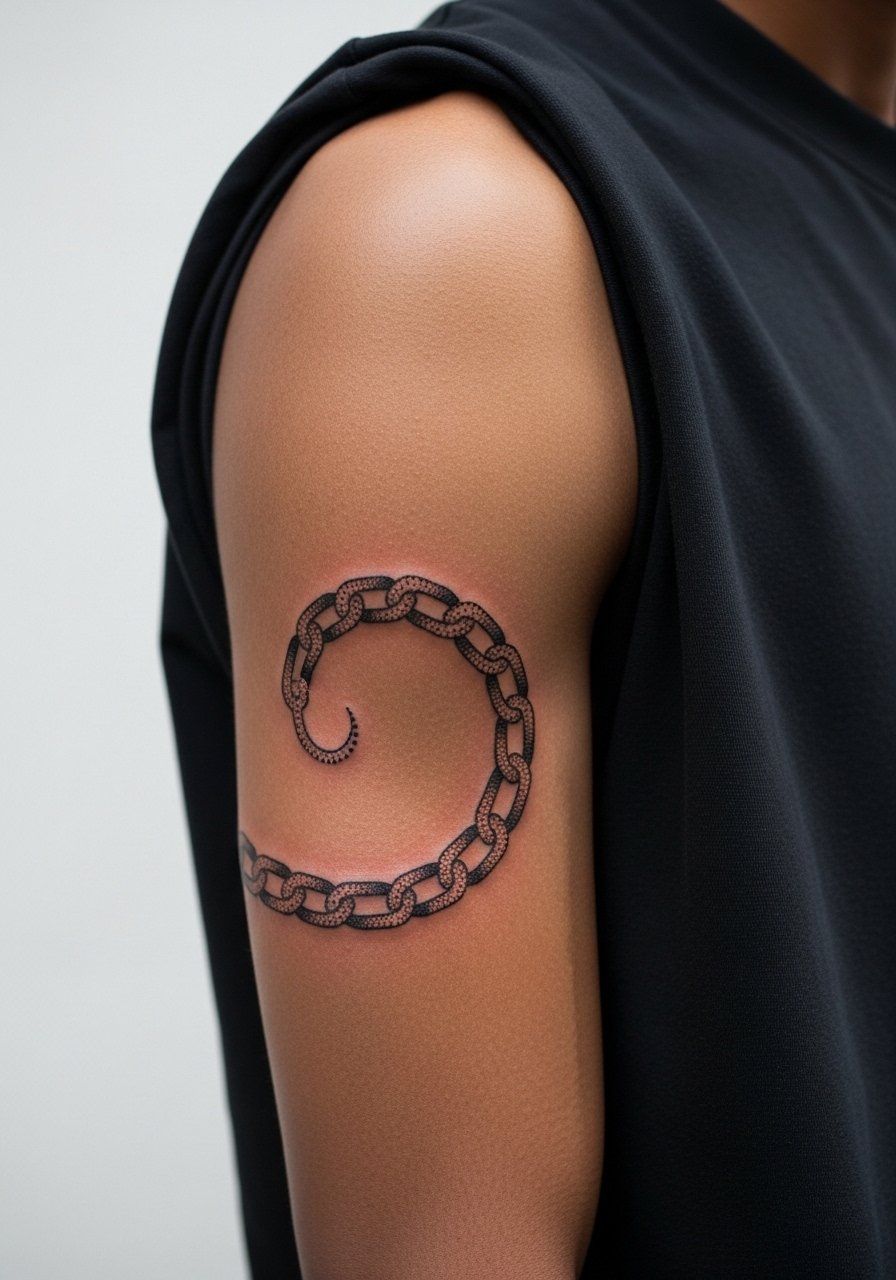
I've noticed outer bicep chains keep crisp linework longer than inner arm pieces. The skin there moves less, which reduces blowout risk. Bring photos showing the exact link scale you like and specify that the links remain open, not solid black. Session time is moderate and pain is below average. Expect this piece to hold detail for several years with occasional touch-ups. Pair it with casual sleeveless tees or a ribbed tank top to show the motif. If you want a wraparound effect, discuss how much negative space you want so the chain does not look overcrowded.
4. Sternum Central Chain Ornament
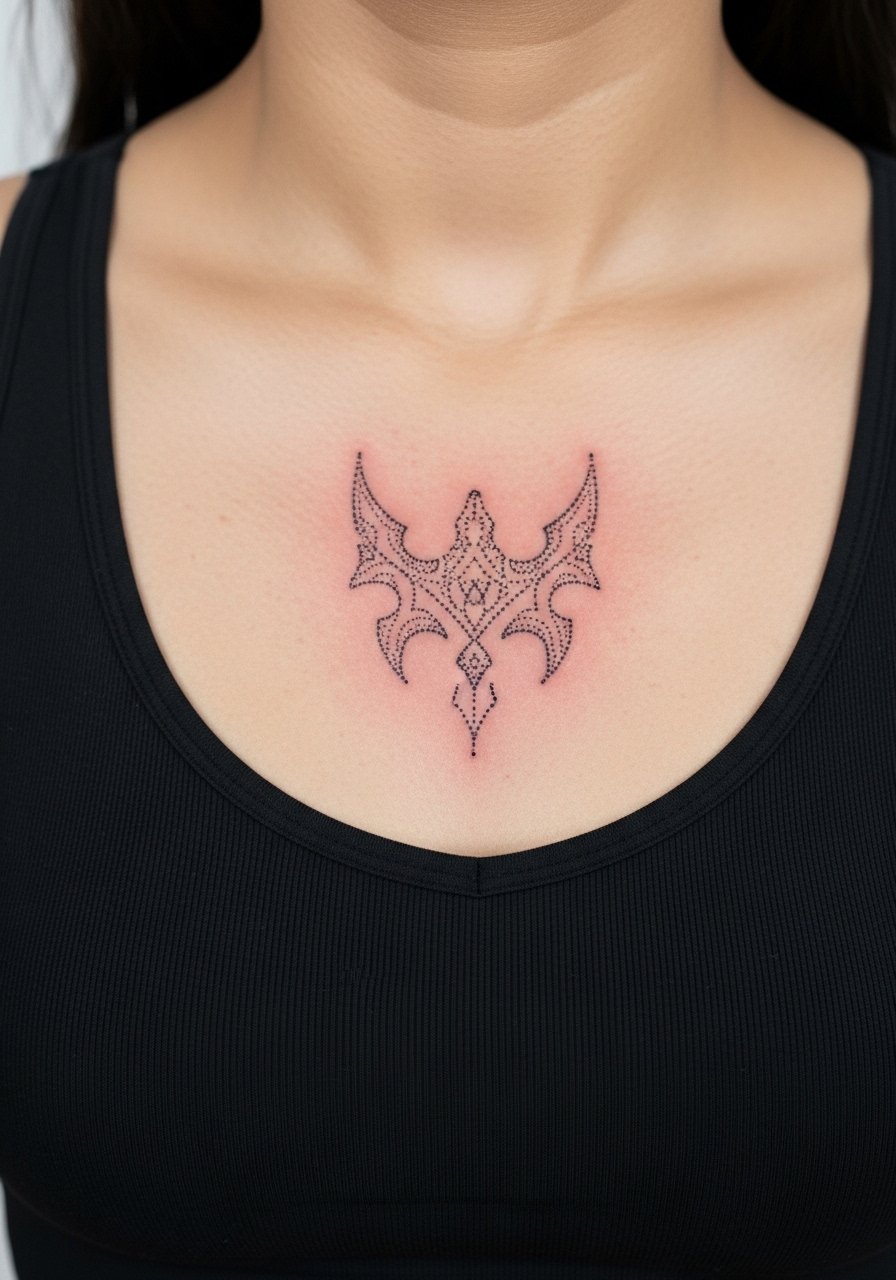
Fair warning, sternum work can be painful and it moves when you breathe. One camp of artists says fine dotwork here blurs quickly. The other camp says careful needle depth and spacing keep details intact. Name both concerns in your consultation. Ask for slightly heavier dot clusters and fewer micro links to combat stretching. Session time can be longer because the artist will pause more often. Wear a zip-up or a sports bra you can easily adjust for access. Expect visible aging sooner than on the arm and plan for a touch-up around year two to three.
5. Collarbone Chain Accent with Negative Space
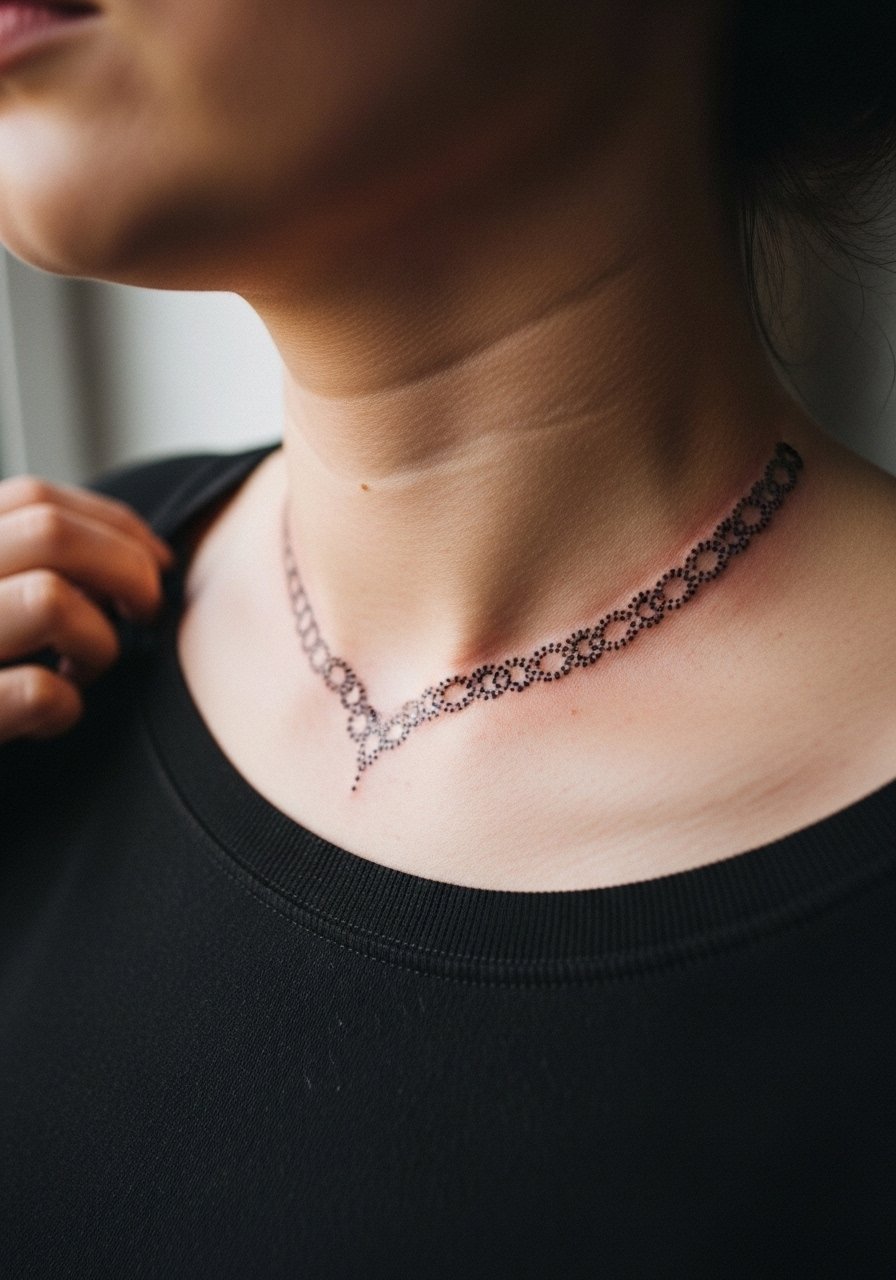
The visual impact of a collarbone chain comes from smart negative space. A common mistake is packing links too close to the bone which makes the piece look muddy when healed. Tell your artist you want airy spacing and subtle stipple shadows beneath each cuff so the chain reads against the contour. Pain is moderate because of proximity to bone. Session is often under two hours. Showing this off with open-back tops or scoop-neck tees draws attention to the chain. This placement also ages differently by gendered clothing choices and sun exposure, so factor wardrobe into placement decisions.
6. Ankle Chain with Micro-Bead Detailing
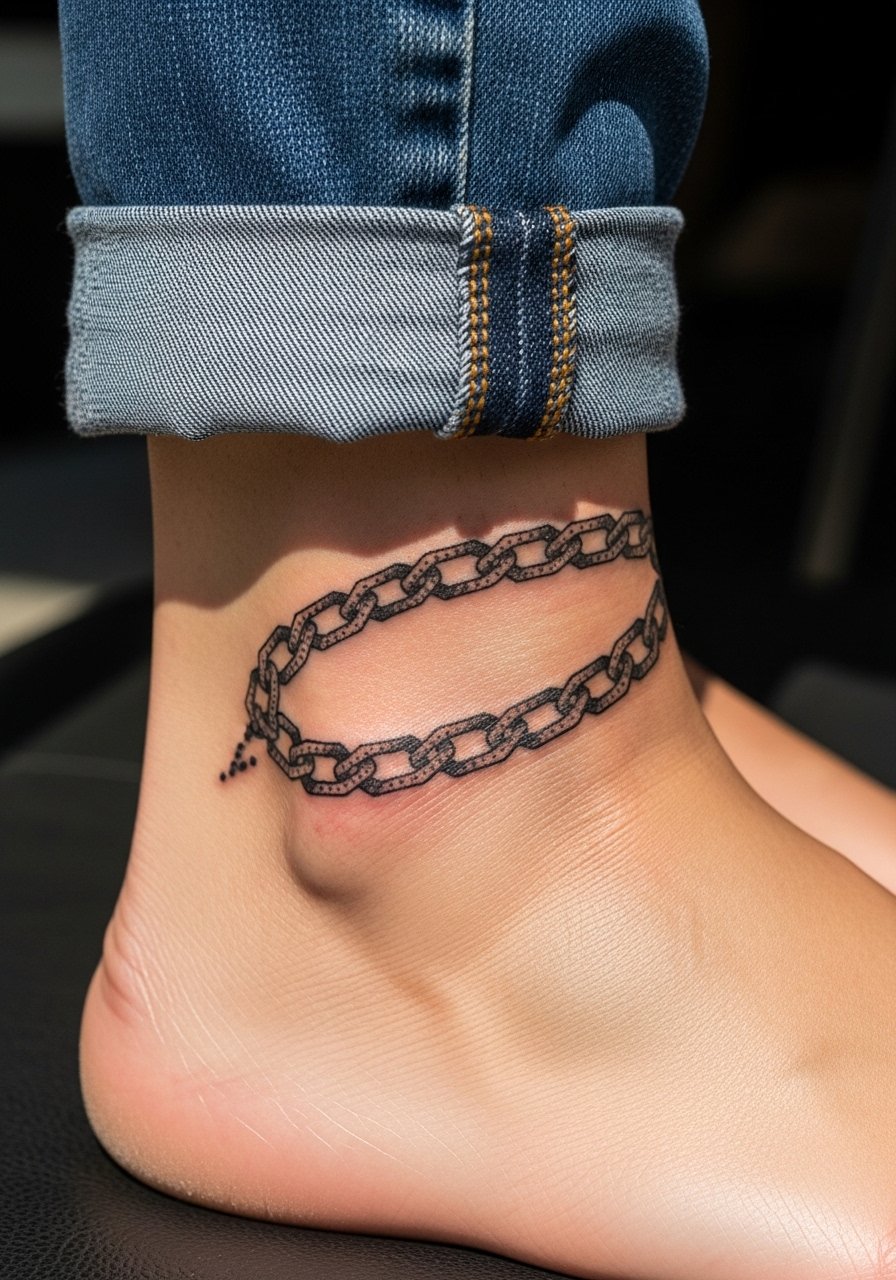
When you sit for an ankle wrap, expect some sensitivity and a short session. The ankle rubs against shoes and socks which accelerates fading. A common version that ages poorly uses ultra-fine dots and tiny links. Instead, ask for slightly denser dots on the underside of each cuff to hold the visual weight after weeks of friction. For the session, wear pants that roll up easily and slip-on shoes. For evenings out, a strappy sandal showcases the chain without covering it. Touch-ups are routine at year one because of constant abrasion.
Pre-Session Essentials
The wrist, collarbone, and ankle pieces above have different prep needs, and the right supplies smooth out the session and the first healing window.
-
Stencil transfer paper kit. Lets you preview the chain scale and link spacing on your skin before committing, especially useful for the collarbone and forearm ideas.
-
Topical numbing cream. Applied 30 to 45 minutes before can ease sensitivity on the sternum and ankle without affecting linework when used properly.
-
Thin protective film roll. Helps wrist and finger pieces survive hand washing and friction during the first week.
-
Fragrance-free body wash. Cleans the healing area without irritating delicate dotwork that fine links depend on.
-
Aquaphor healing ointment. Thin layers for the initial days lock in moisture for detailed stipple work without clogging the channels.
7. Full Sleeve Concept with Broken Chain Panels
When planning a sleeve, personal observation says broken chain panels give the design breathing room and prevent long runs of tiny detail that age into a blur. Start the consultation with layout photos that show where you want gaps so the artist can design negative space. Sessions are longer and often split across multiple appointments. Blowout risk increases near the inner elbow and wrist. A common mistake is asking for the same micro scale across the whole arm. Instead, vary link size and stipple density to create focal points. For showing off the sleeve, rolled-up linen shirts in neutral tones help the chains pop, so consider a loose linen shirt on cooler days.
8. Finger-Link Accent Between Knuckles
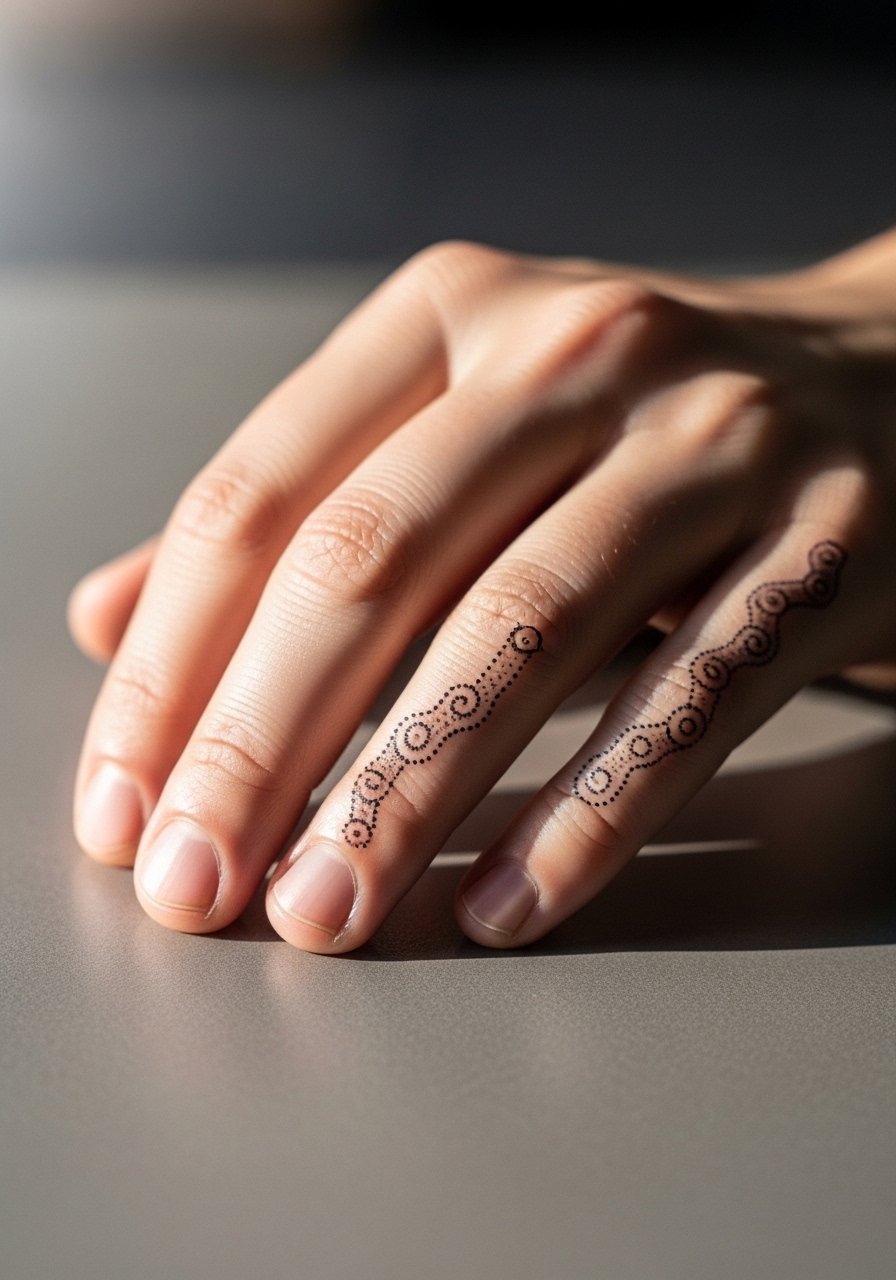
Fair warning, finger tattoos can blur fast because of thin skin and constant motion. One camp of artists avoids microdotwork on fingers, stating that the tiny gaps close within months. The other camp offers dense, short runs with frequent touch-ups. If you choose this, accept likely touch-ups at year one. Keep the links slightly larger than you want visually so they do not disappear. Sessions are quick but can sting. For daily wear, minimal rings that do not press on the ink are ideal. Consider a delicate thin chain ring for balance without crowding the links.
9. Nape of Neck Chain Drop
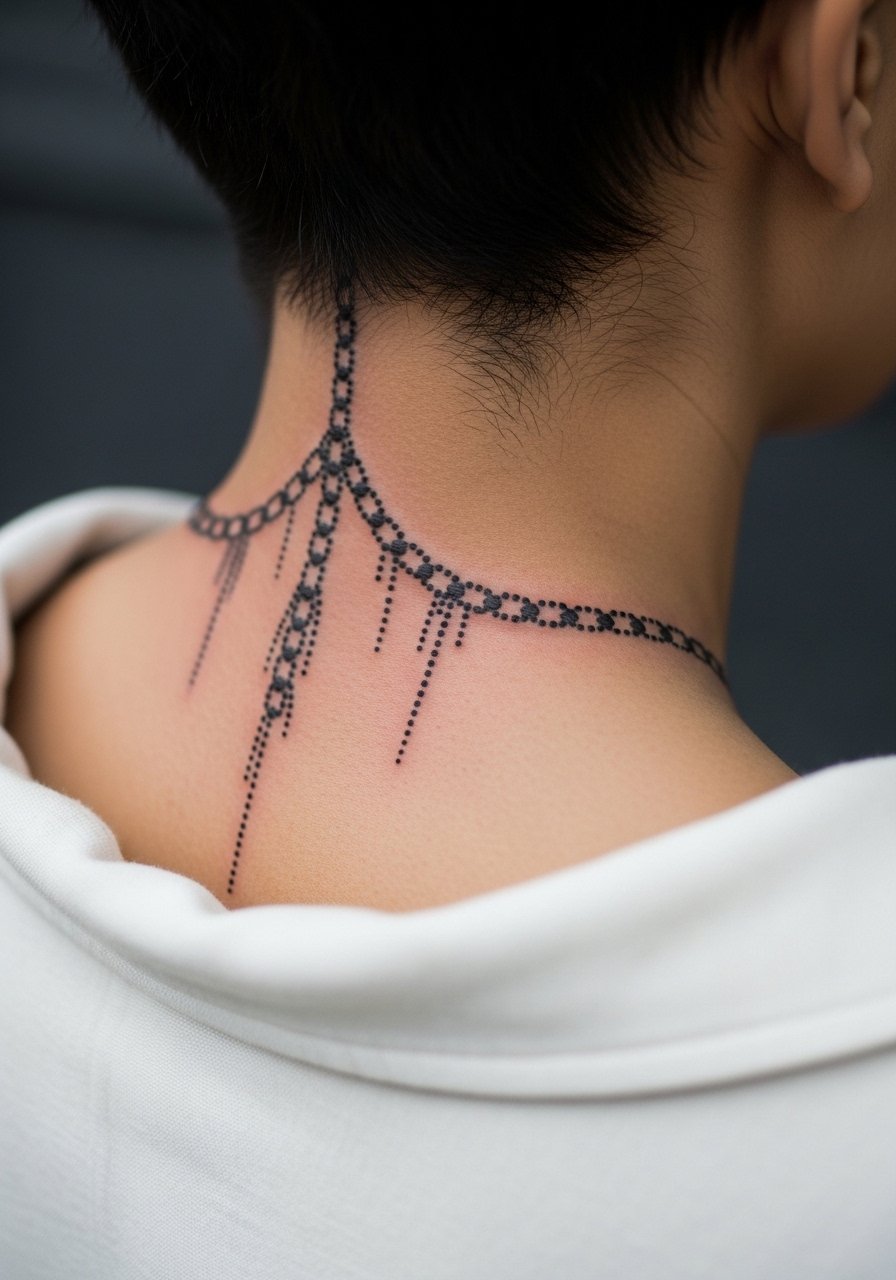
The nape is forgiving for dotwork if you want a vertical drop. Pain is low and sessions are brief. A common mistake is placing the chain too high under the hairline which hides detail in daily life. For longevity, ask for slightly bolder dots near the center of each link. This placement pairs well with updo hairstyles and crew neck shirts pulled to one side. For appointments, wear a wide-neck top so the artist has clear access. Expect good visual longevity because the area sees lower friction than hands or ankles.
10. Ribcage Curved Chain with Stipple Fill
Pain warning, the ribcage rates high on most pain scales. Artists split on whether fine line on ribs holds up. One group warns that skin stretch and movement blur micro details quickly. The other group argues that deep, consistent needle work and strategic spacing preserve the pattern. If you pick ribs, request larger link spacing and bolder stippling for the cuff areas. Sessions are longer and you will need to breathe through bursts of sensitivity. Expect to plan a touch-up around year two. For the session, wear a sports bra you can adjust easily.
11. Behind-the-Ear Mini Chain Accent
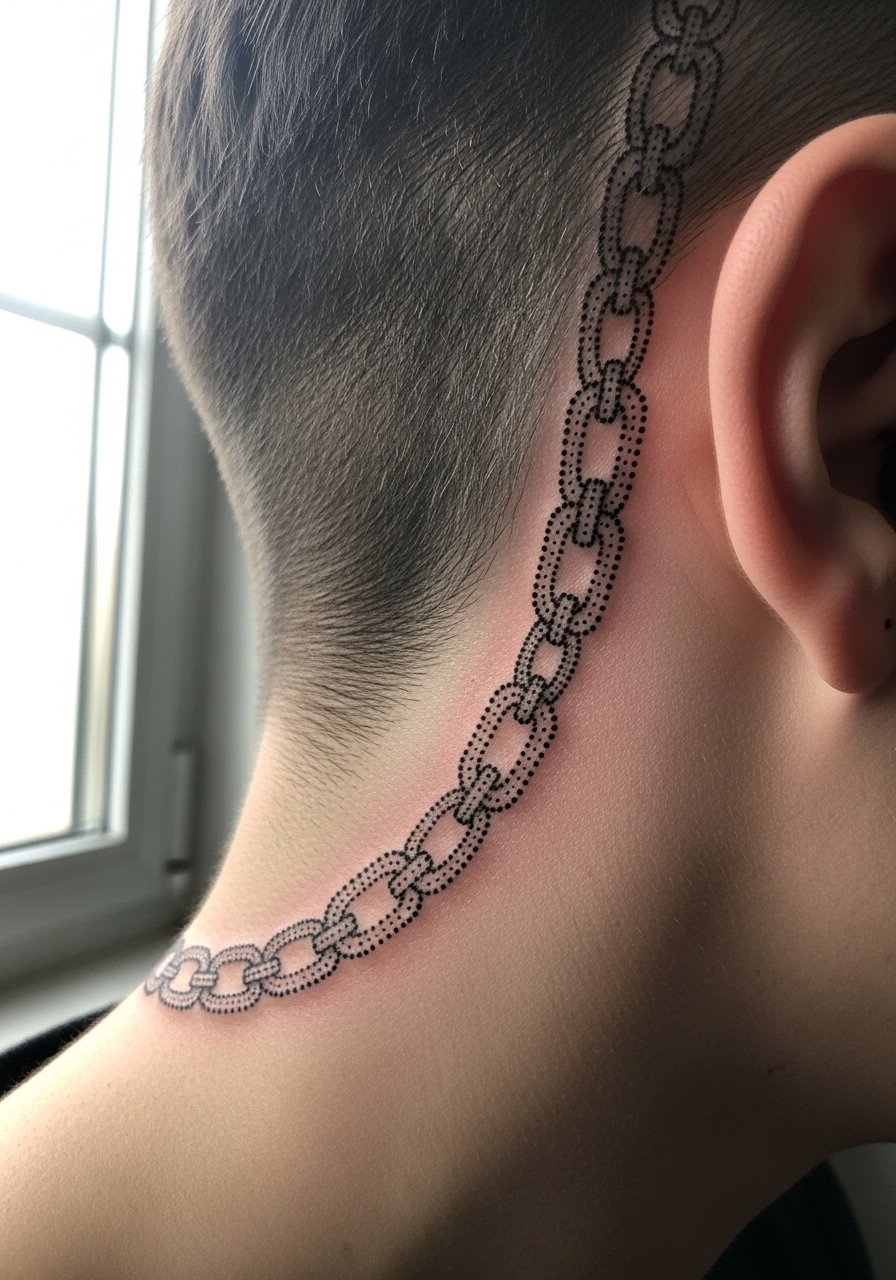
This micro placement feels intimate and is subtle under hair. The biggest mistake is asking for too many tiny links which read as a smudge at six months. Tell the artist you want only a few well-spaced cuffs and stipple shadow that follows the hairline. Pain is minimal and sessions are very short. For showing it off, short hair or a tucked-back style works best. If you are concerned about workplace policies, remember hand or visible neck markings still affect perception in some fields. Expect touch-ups only if you notice blurring along the hairline.
12. Upper Thigh Chain with Floral Interlace
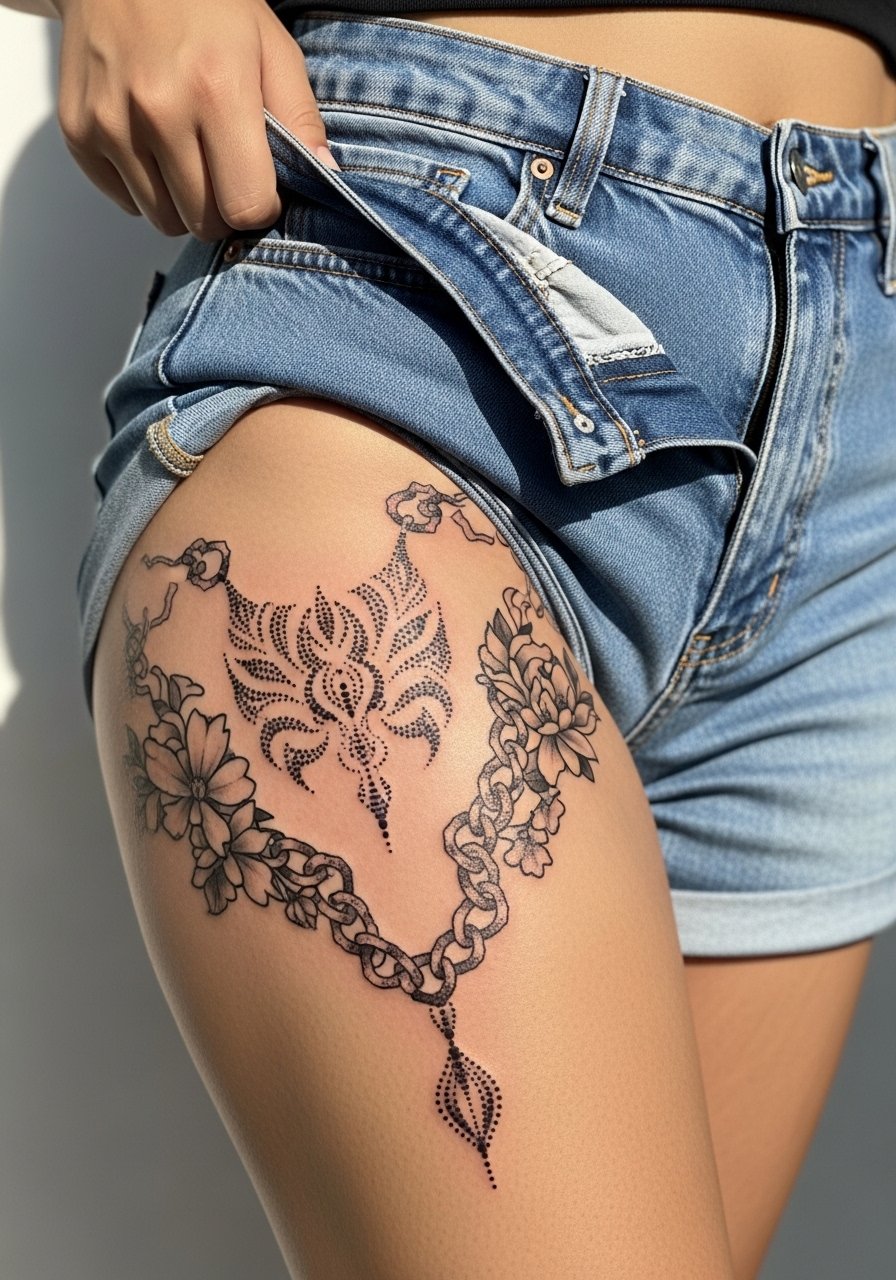
Visual impact lead works here because adding floral interlace softens the chain and makes a custom composition. Session time is moderate and pain ranges from mild to moderate. A common mistake is too much micro detail near the groin which can blur and become uncomfortable. Ask for bolder link edges on the parts that will see friction from clothing. For the session, wear shorts you can shift easily. For evenings out, a high-waisted skirt or shorts accentuates the piece. Plan for touch-ups if you spend a lot of time in tight clothing.
13. Chest Harness Chain with Symmetrical Links
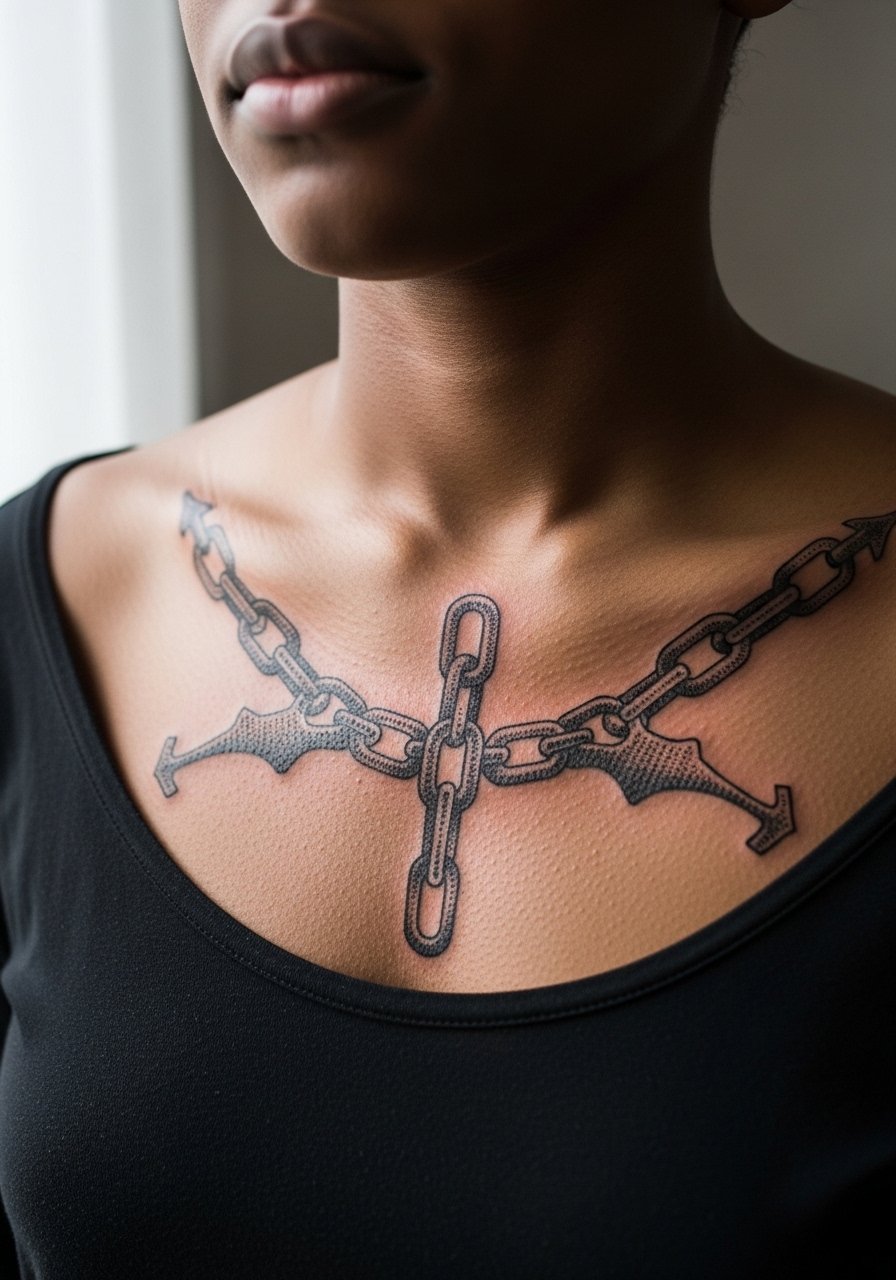
Mistake lead: the biggest mistake with chest chains is mirror-imaging tiny links without accounting for muscle movement and breathing. Ask your artist to sketch the chain on while you move so you see how it flows with your posture. Pain is moderate and sessions may be split. Expect the central links to retain clarity longer than the outer, pressure-prone edges. For showing off, a thin chain pendant or a thin chain pendant necklace sits above the work and complements the tattoo without competing. If you want symmetry, budget a touch-up after the initial healing to even out any settling.
14. Calf Chain Runner with Gradient Dotwork
Visual impact: the calf allows longer runs of chain that read from a distance. A common error is overloading the chain with tiny inner dots that merge when the leg moves. Ask for gradient stippling that fades outward so the central links hold focus. Sessions are comfortable and recovery is straightforward. For casual wear, rolled-up jeans or shorts make the runner visible. Consider a pair of low-top sneakers on cooler days to balance the look. Touch-ups at year three are typical if you spend time outdoors.
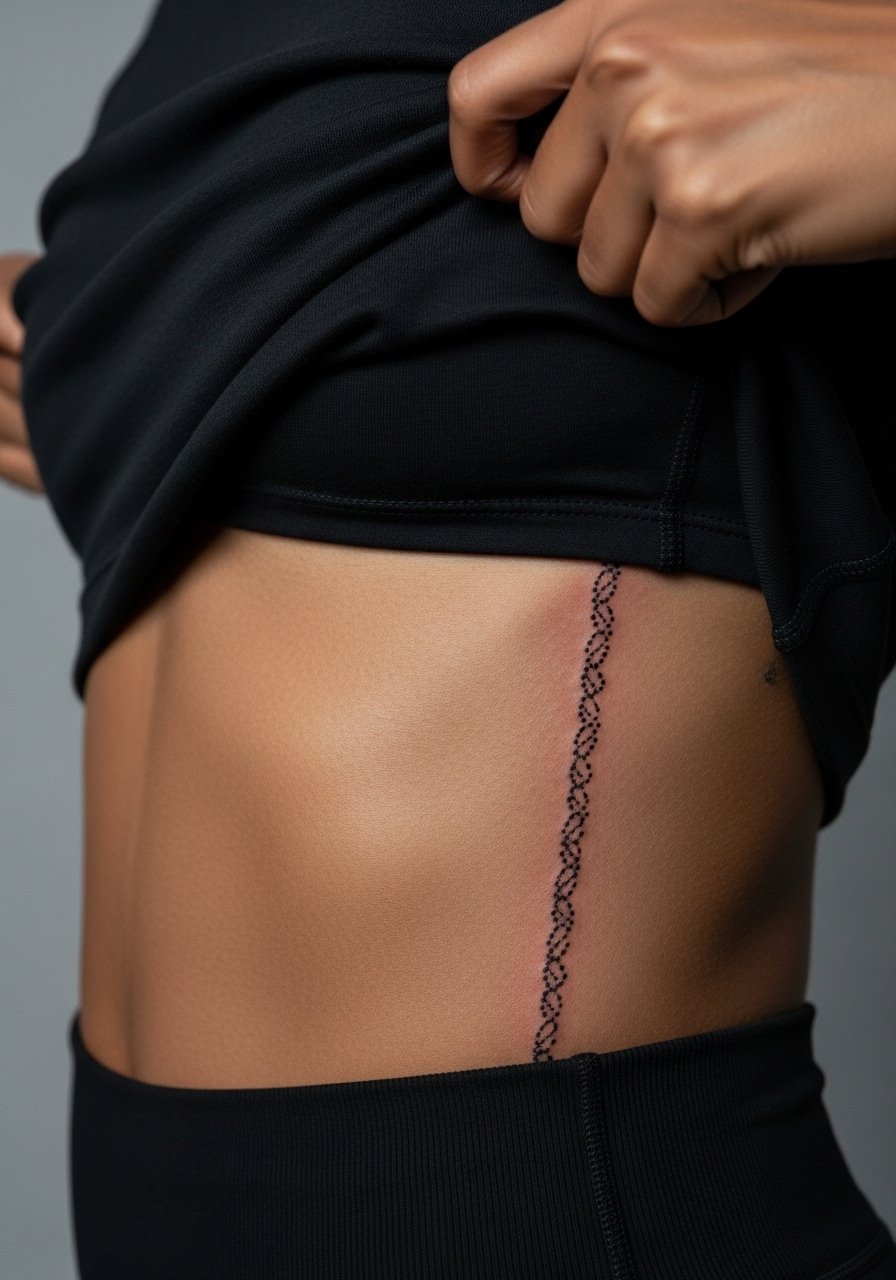
15. Back Spine Chain Falling into Small Cuffs
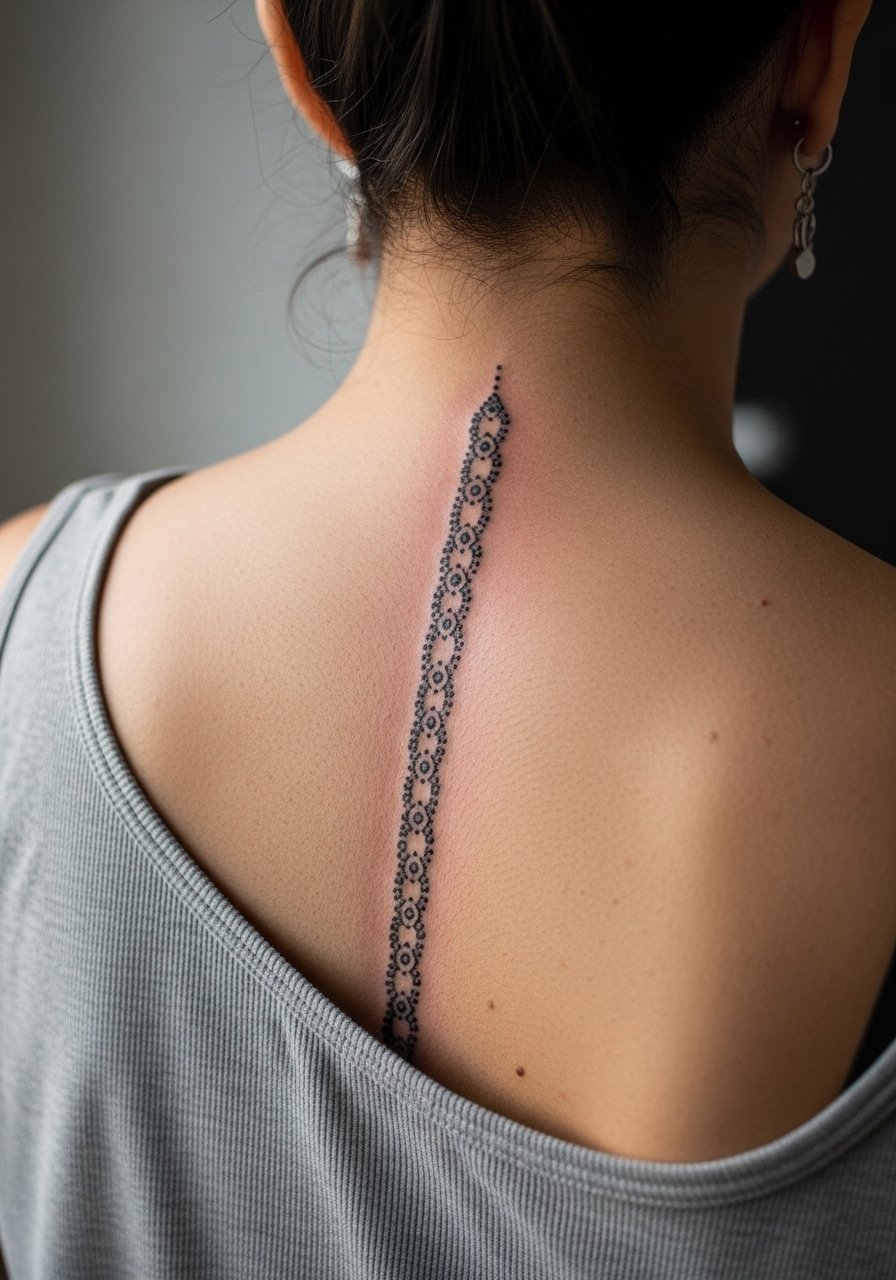
Consultation lead: when you sit down, ask the artist to check the chain alignment with your spine as you bend and twist. The spinal area shifts with posture, so spacing must allow for movement. Session time is moderate and pain is typical for back work. A common mistake is tight link spacing that disappears when skin stretches. For showing off, open-back tops make this placement sing. For the appointment, wear a tank top you can lower or pull aside. Expect a touch-up at year two if the central links see movement-related fading.
16. Shoulder Cap Single-Link Statement
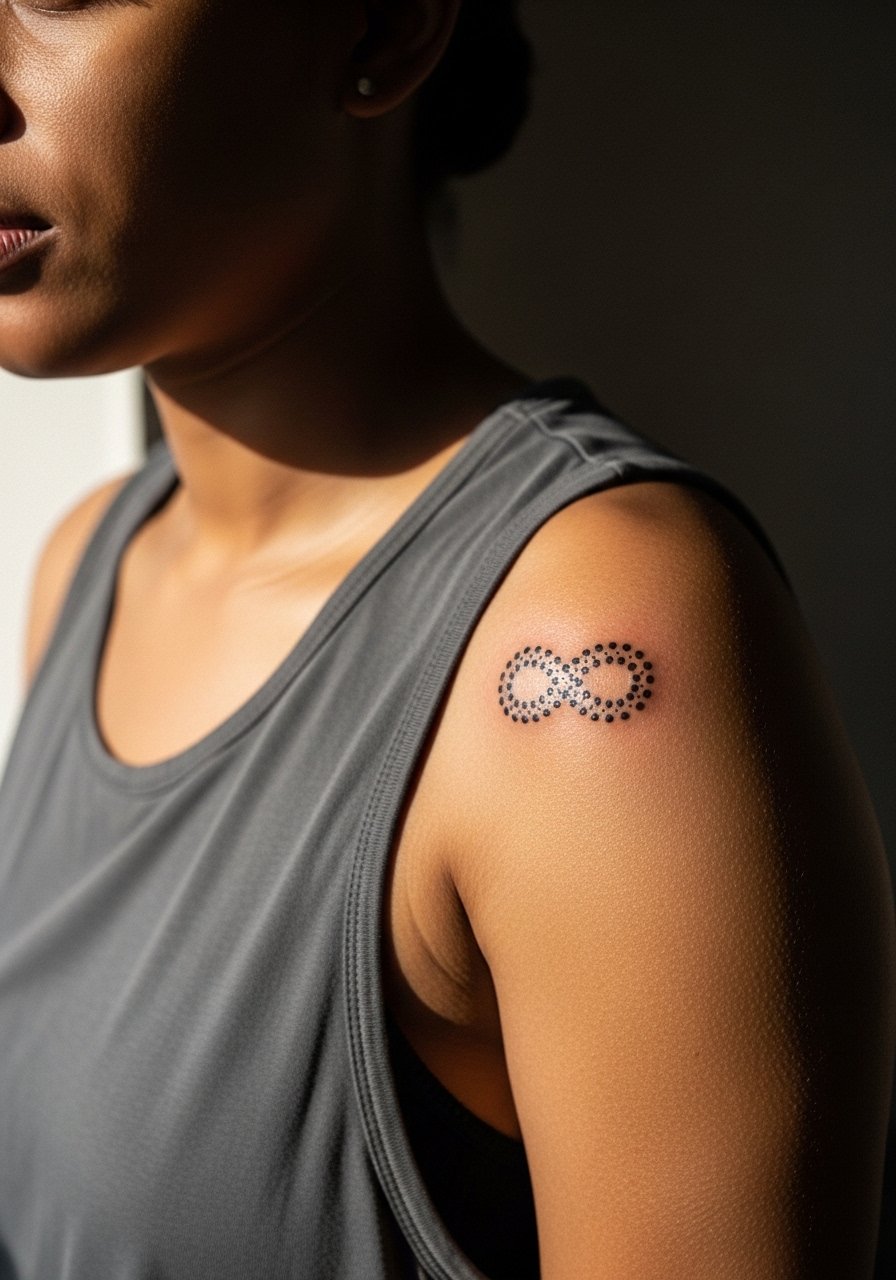
Personal observation: a single-link statement on the shoulder reads like jewelry and holds detail well. Pain is low and sessions are short. The most common mistake is oversizing the link which then looks cartoonish. Ask for a scale that sits proportionally with your shoulder width. This placement pairs with off-the-shoulder tops or a loose tank top for a minimalist look. Expect minimal touch-ups because the area sees less friction than hands or ankles.
17. Finger-to-Wrist Chain Trail
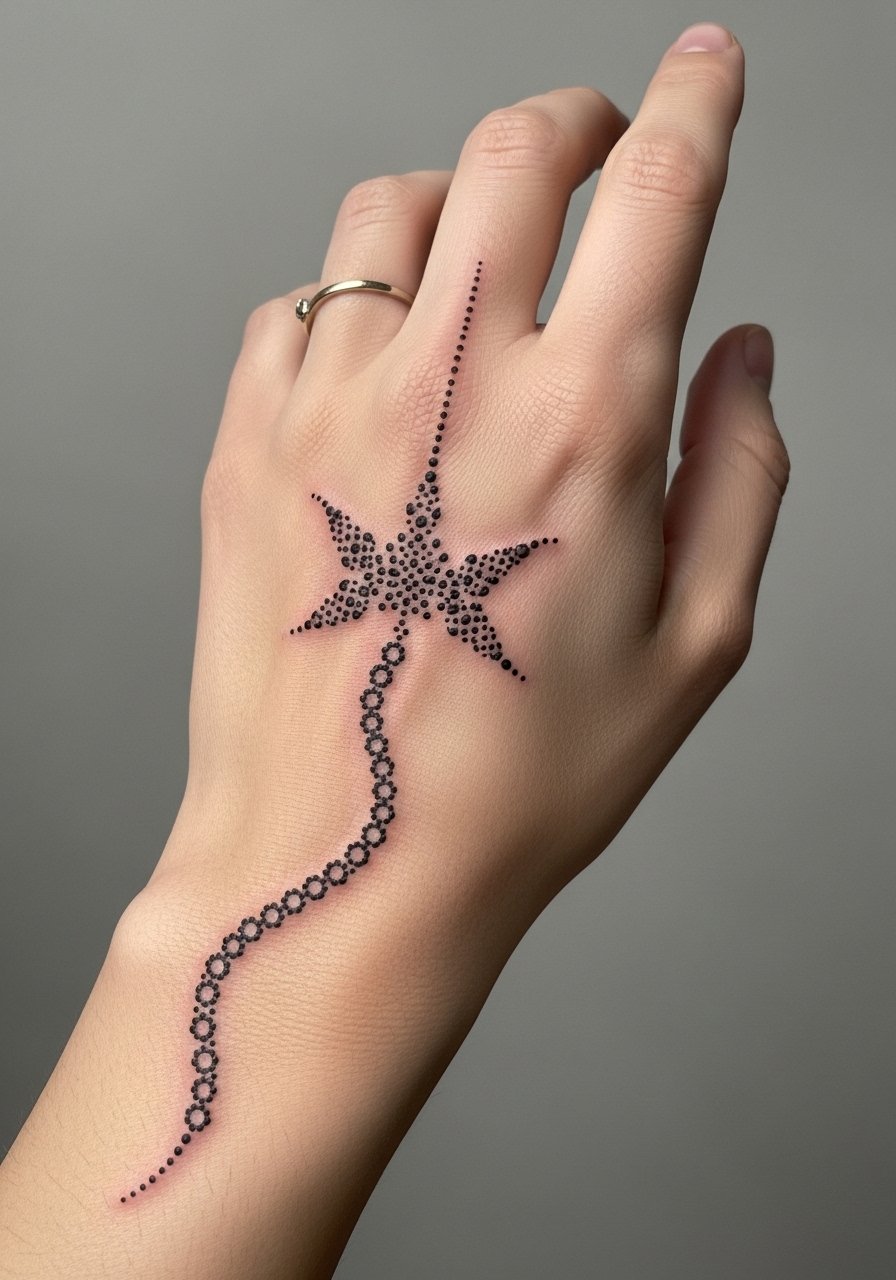
Aging lead: fine runs from finger to wrist take a beating because the hand is used constantly. If you want this route, ask for slightly bolder dots at connection points to avoid early merging. Sessions are split because fingers may need separate, focused passes. Expect touch-ups at year one and possibly sooner for finger segments. For showing it off, opt for minimal rings that do not press on the ink. A subtle thin chain bracelet can accent the trail without crowding it.
18. Behind-Shoulder Blade Curved Chain
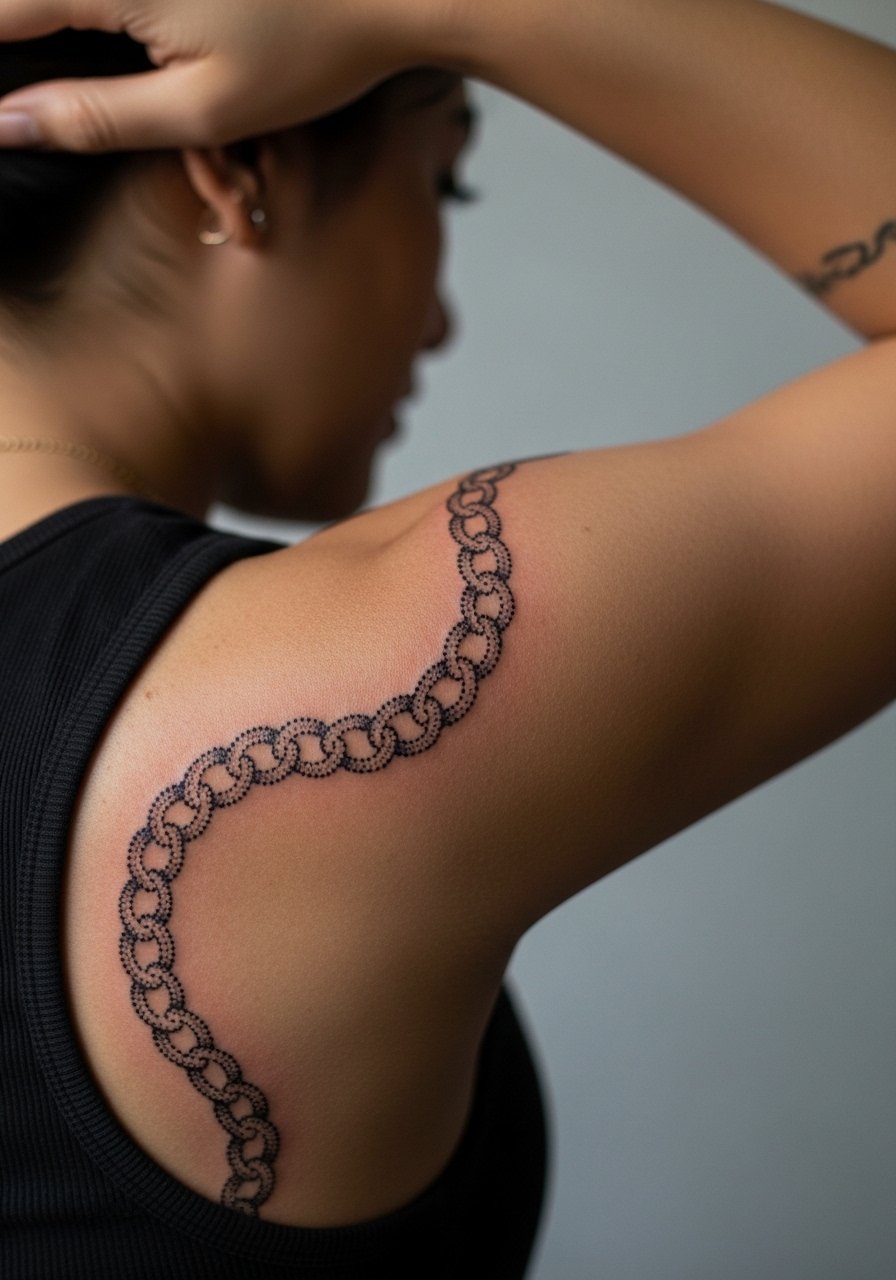
Mistake lead: people often place continuous micro links along the shoulder blade without pausing for negative space, which makes the piece age into a flat texture. Request panels separated by small gaps and stipple shading to define each cuff. Session time is moderate and pain is low to moderate. For showing, off-shoulder tops or tank dresses work best. For the appointment, wear something you can shift easily. This placement holds detail well because it sees less daily abrasion.
19. Low Back Chain Arc with Center Motif
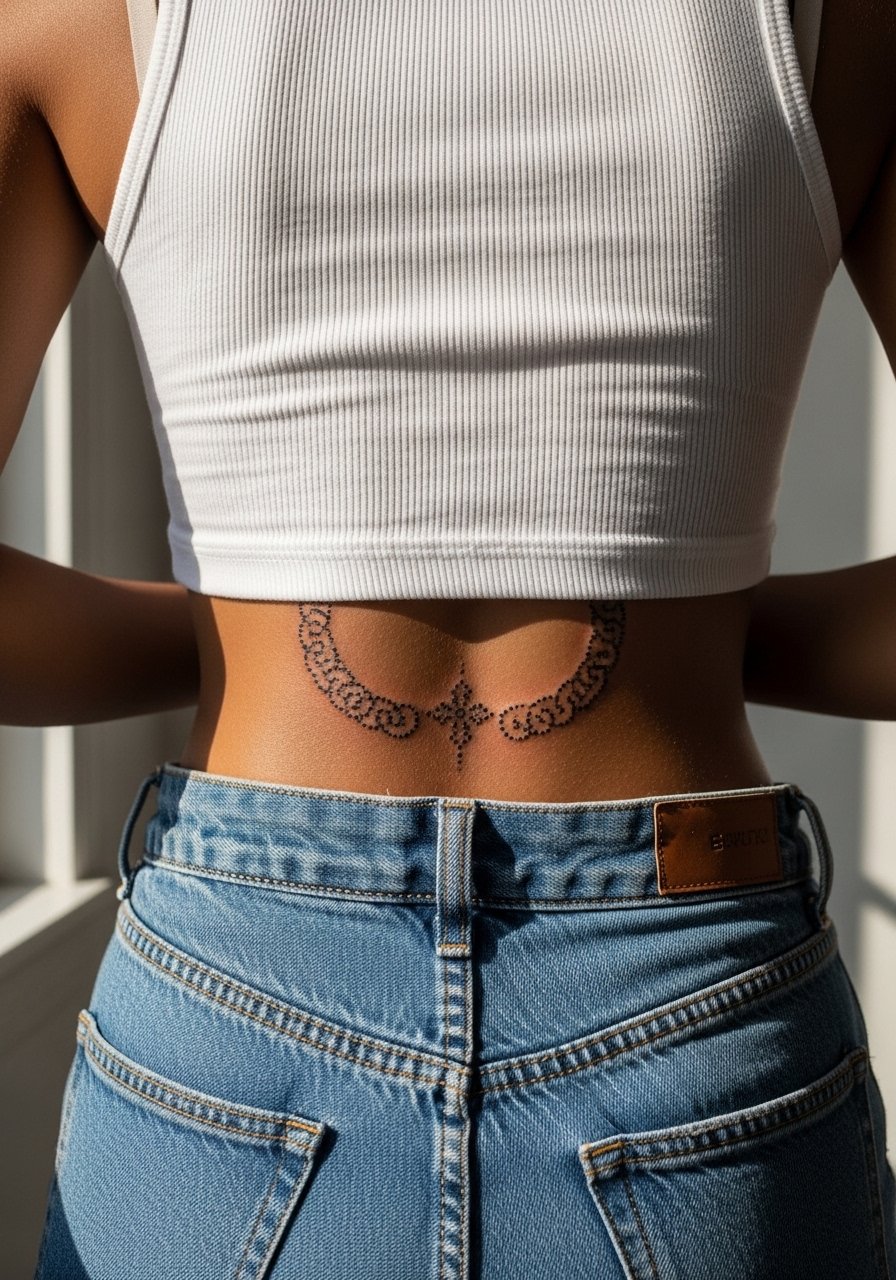
Visual impact lead: low back arcs photograph well and balance wide clothes. The common mistake is placing too much tiny detail near the waistline where clothing rubs. Ask the artist to keep central motifs slightly bolder than the outer links. Session time is moderate. For showing the piece, low-rise jeans or crop tops highlight the arc. For the session, wear a top you can shift and high-waisted bottoms. Expect touch-ups depending on how often garments press against the area.
20. Ear-to-Collarbone Chain Connector
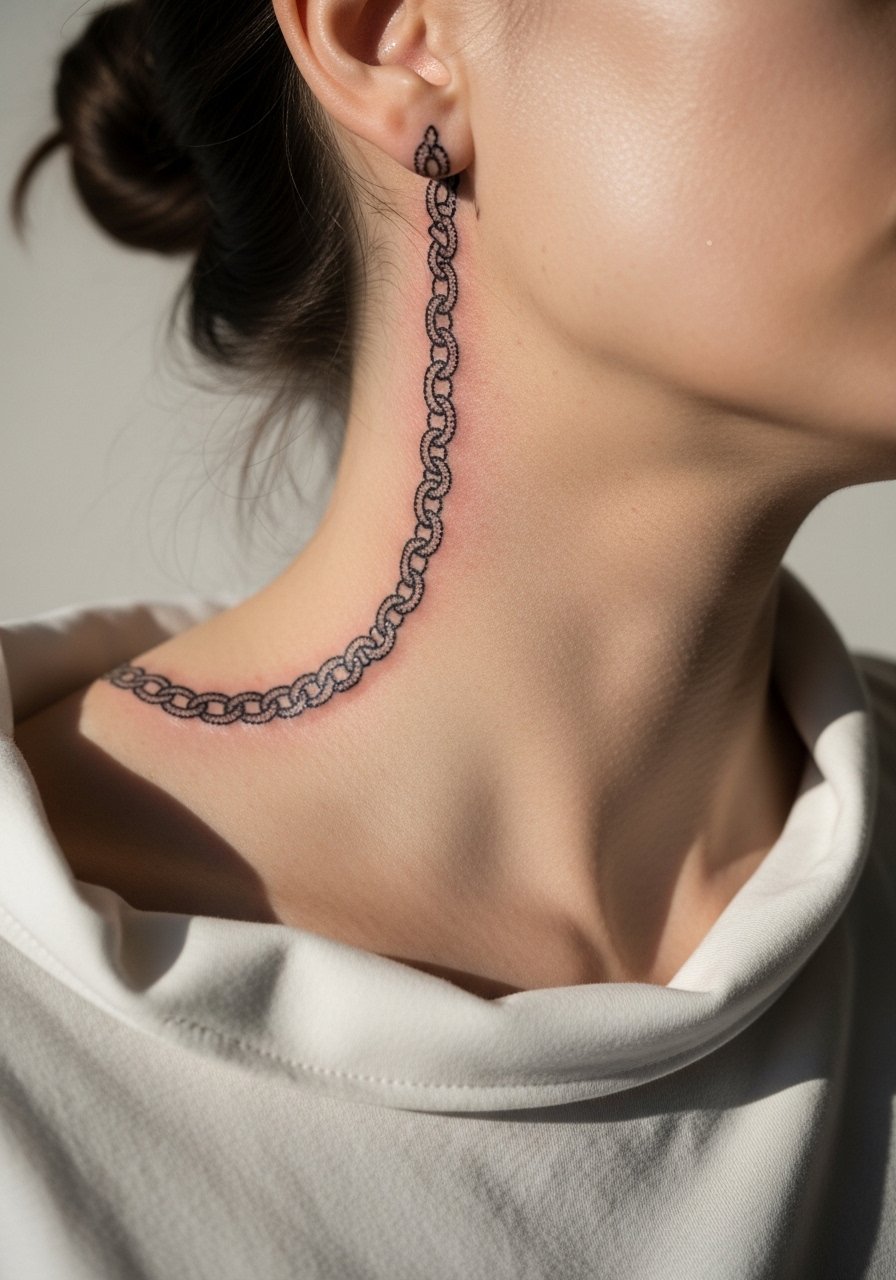
Consultation lead: connectors that run from behind the ear to the collarbone require a preview while you move your head. Ask to see the transfer when you tilt and look down. Pain is low but the artist needs clear access, so wear a loose wide-neck shirt. The biggest mistake is forgetting that the hairline and neckline change how much of the chain shows. For show-off moments, off-the-shoulder tops create an elegant reveal. Expect touch-ups rarely unless the chain sits under friction from collars.
21. Minimalist Chest Key Link Near Heart
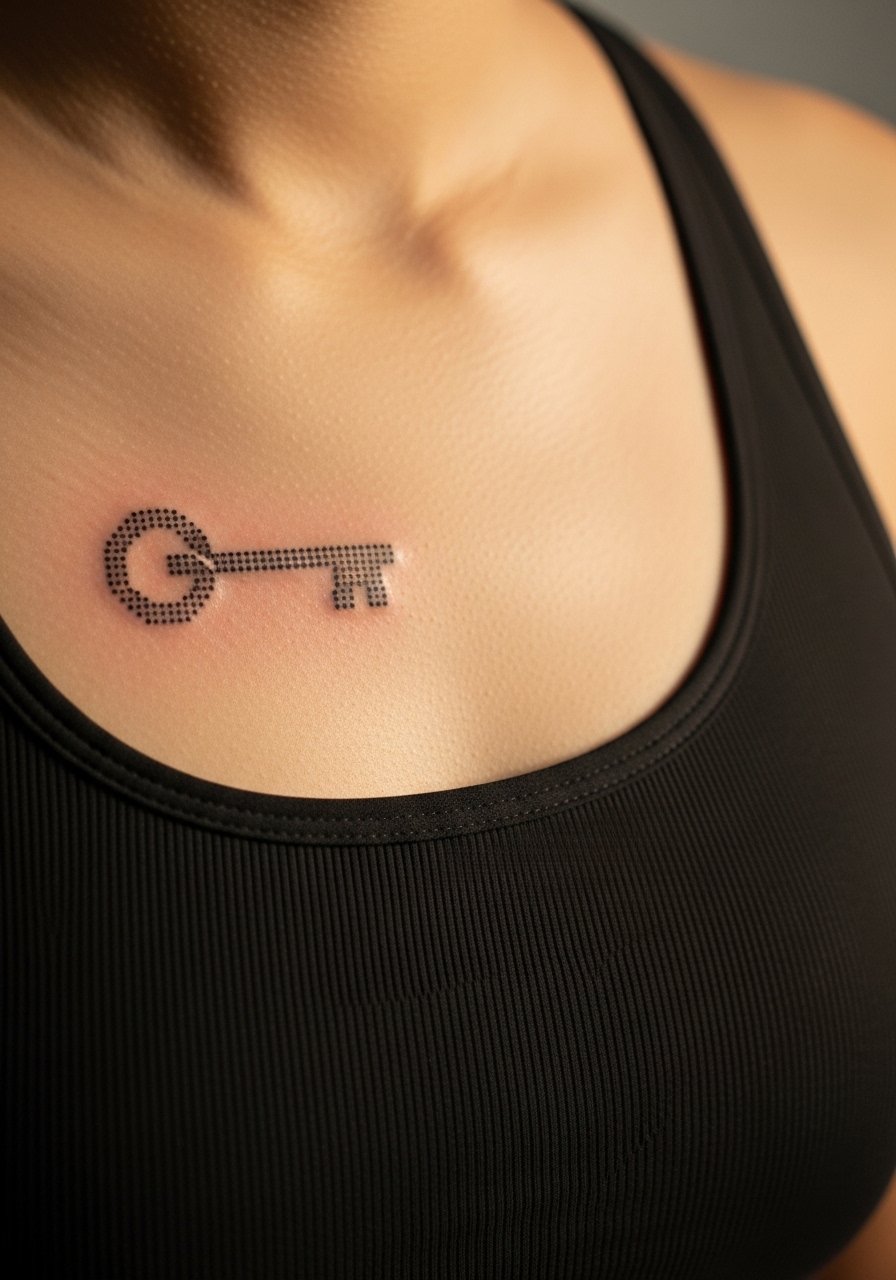
Personal observation: a tiny link near the heart reads quiet and intentional. Pain is moderate because of the sternum. The common mistake is asking for micro detail that will not hold on the chest. Request a slightly more open link design and stipple shadow under the lower curve so the shape reads over time. Session time is short but sensitivity is higher than the shoulder. For sessions, wear a sports bra you can easily adjust. This placement also invites emotional meaning for fans, so be explicit about scale in the consultation.
Frequently Asked Questions
Q: Will dotwork chains blur faster on ribs and sternum than on the forearm?
A: Yes, from what I've seen ribs and sternum are more likely to blur because of skin stretch and breathing motion. One group of artists emphasizes deeper, consistent needle work and wider spacing. The other group recommends avoiding micro scales there. If you want a chain in those spots, ask your artist which approach they use and budget for touch-ups.
Q: How often should I plan a touch-up for micro dotwork chains on hands or fingers?
A: Expect a touch-up at around year one for fingers and possibly sooner if you do heavy manual work. Hands see constant washing and friction which accelerates fading. If longevity matters, choose slightly bolder dots and plan a short follow-up appointment.
Q: What should I wear to a session for a sternum or lower chest chain?
A: Wear a fitted sports bra or a wide-neck top you can shift so the artist has clear access. For a sternum session, a zip-up hoodie is also handy because you can remove it without raising your arms. This keeps the area exposed only as long as needed.
Q: Can I combine floral elements with Kurapika chain dotwork without losing readability?
A: Yes, combining florals can work if you keep the chain links slightly larger and the floral shading in stipple rather than solid fill. Tell your artist which element should read as the focal point so they prioritize spacing and contrast.
Q: Are there wardrobe pieces that help the collarbone and chest chains stand out?
A: Yes. Open-back or wide-neck tops and thin chain necklaces complement collarbone and chest chains. A simple racerback tank or scoop-neck tee highlights the work without covering it.
Q: Do chest and back chain placements require different aftercare than wrist pieces?
A: The basics are the same, but areas with more movement or friction benefit from lighter ointment layers and careful clothing choices during the first week. Follow your artist's specific instructions and consider a protective film for high-friction spots.
