
Fine needle branchwork is all over saved boards and short-form video feeds, but the pieces that age gracefully are the ones planned around skin type, placement, and everyday wear. I bring this up because small branches that live on wrists and fingers face more rubbing and sun than those on the chest, and that reality changes how you sketch the line weight. Read on for 17 small olive branch designs and practical notes to help your next appointment go smoother.
1. Ring of leaves around a finger, single-needle jewelry look
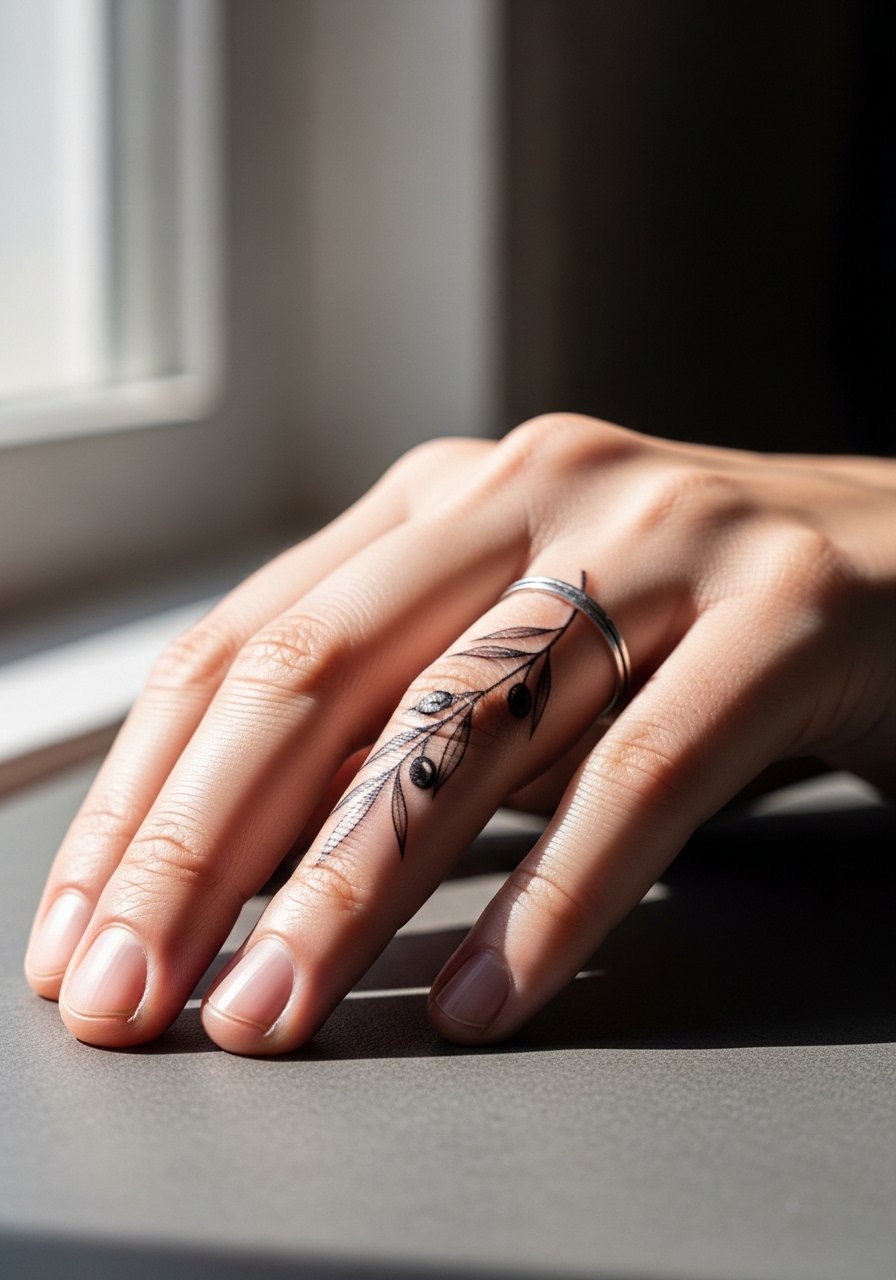
Start small and say exactly how wide you want the leaves to sit around the finger. The common mistake is asking for ultra-thin leaves and ending up with blurry, merged shapes after daily handwashing and rings rubbing the skin. Ask your artist for slightly bolder single-needle stems and tiny gray wash at the leaf bases so the motif keeps its silhouette after a year. Plan for a one-session appointment that is short but sensitive. For showing it off, try a nude manicure and stack plain metal rings on neighboring fingers, both choices keep attention on the tattoo without crowding it.
2. Inner wrist wrap that curves with the pulse
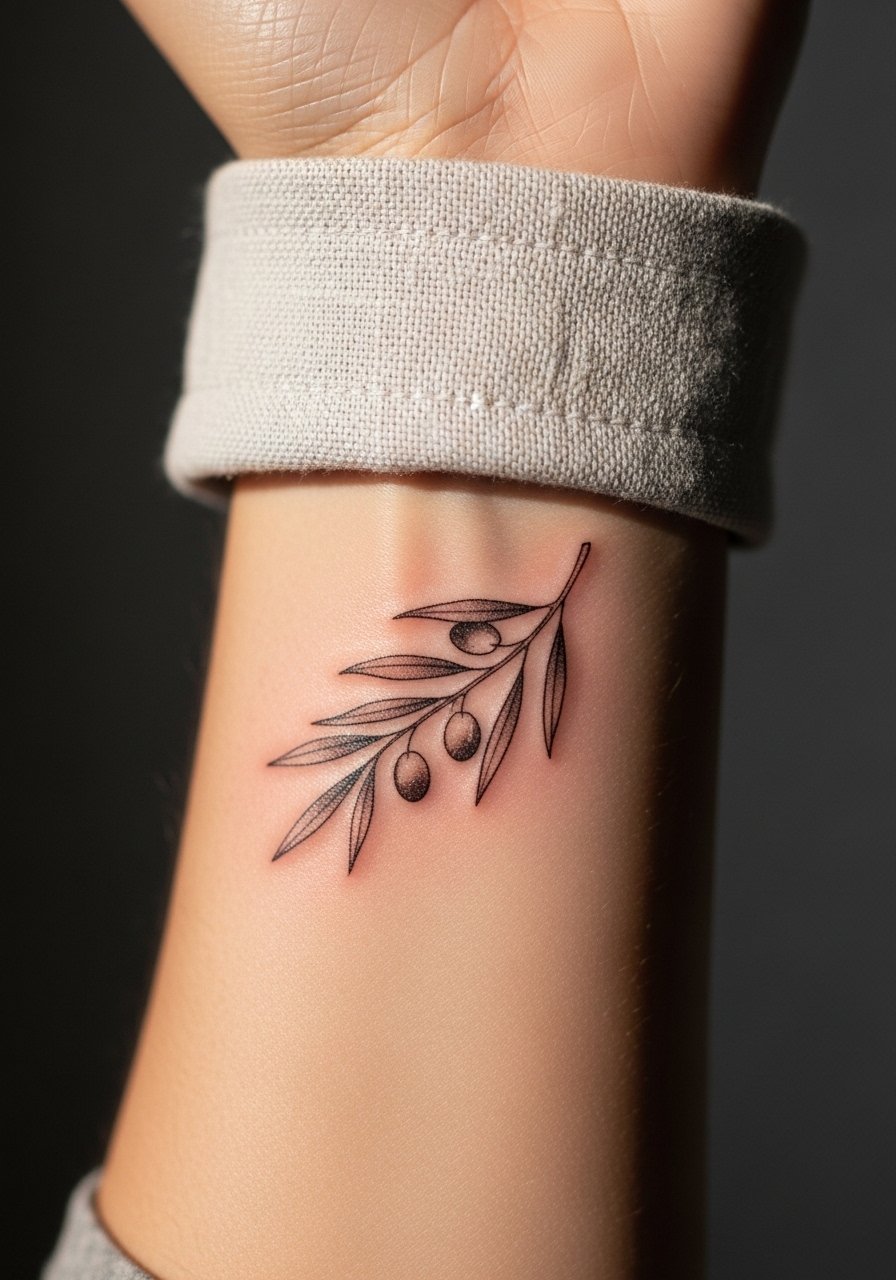
Fair warning about this placement, the inner wrist sees a lot of friction from watches and sleeves. Most people ask for hairline stems that vanish; a better move is to request slightly thicker stems and open spacing between leaves. Bring reference photos that show the exact spacing you want. Pain is usually mild to medium because the area is thin. Expect a single-session piece that might need a touch-up at one year if you wear jewelry against it often. For sessions, wear a sleeveless tank or loose short sleeve so the artist has clear access to the spot without fabric tugging.
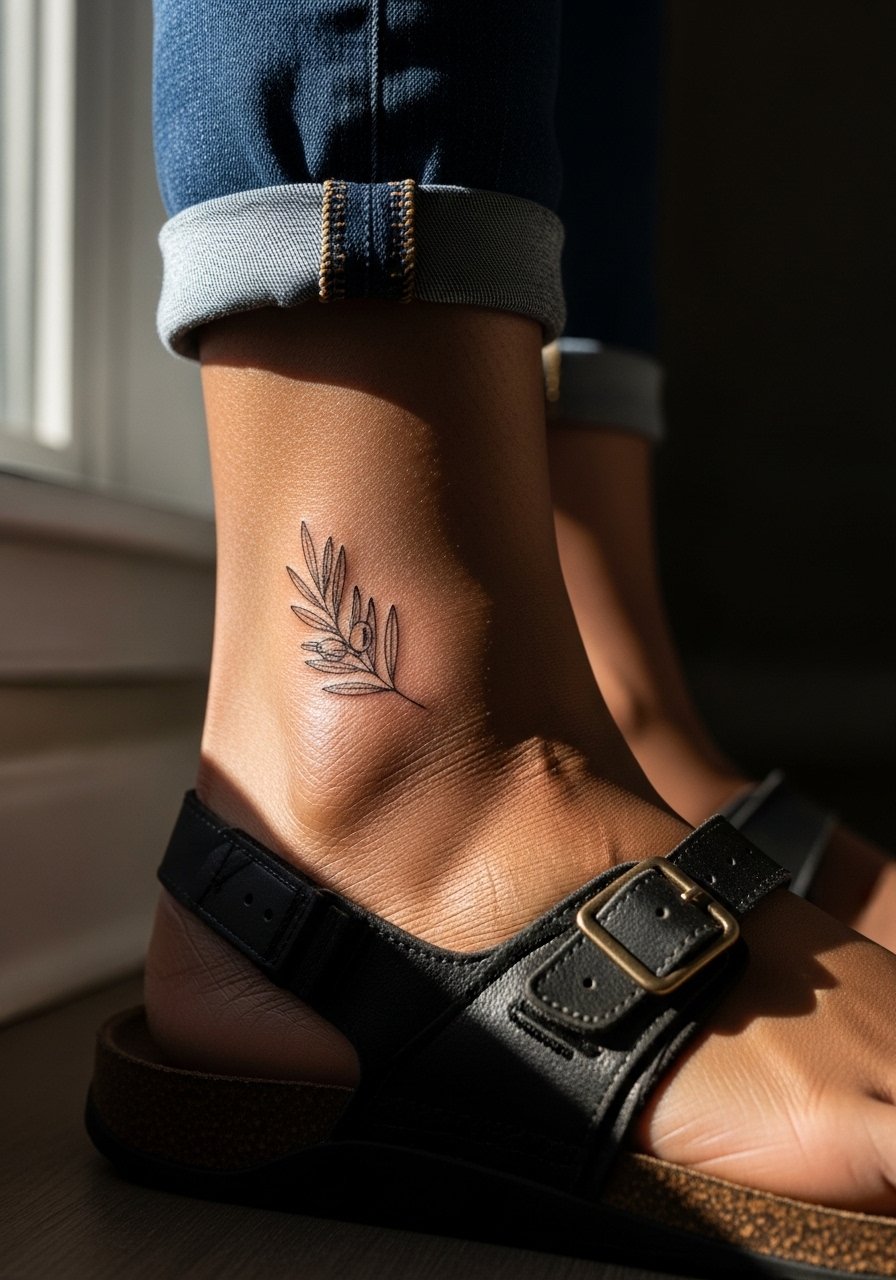
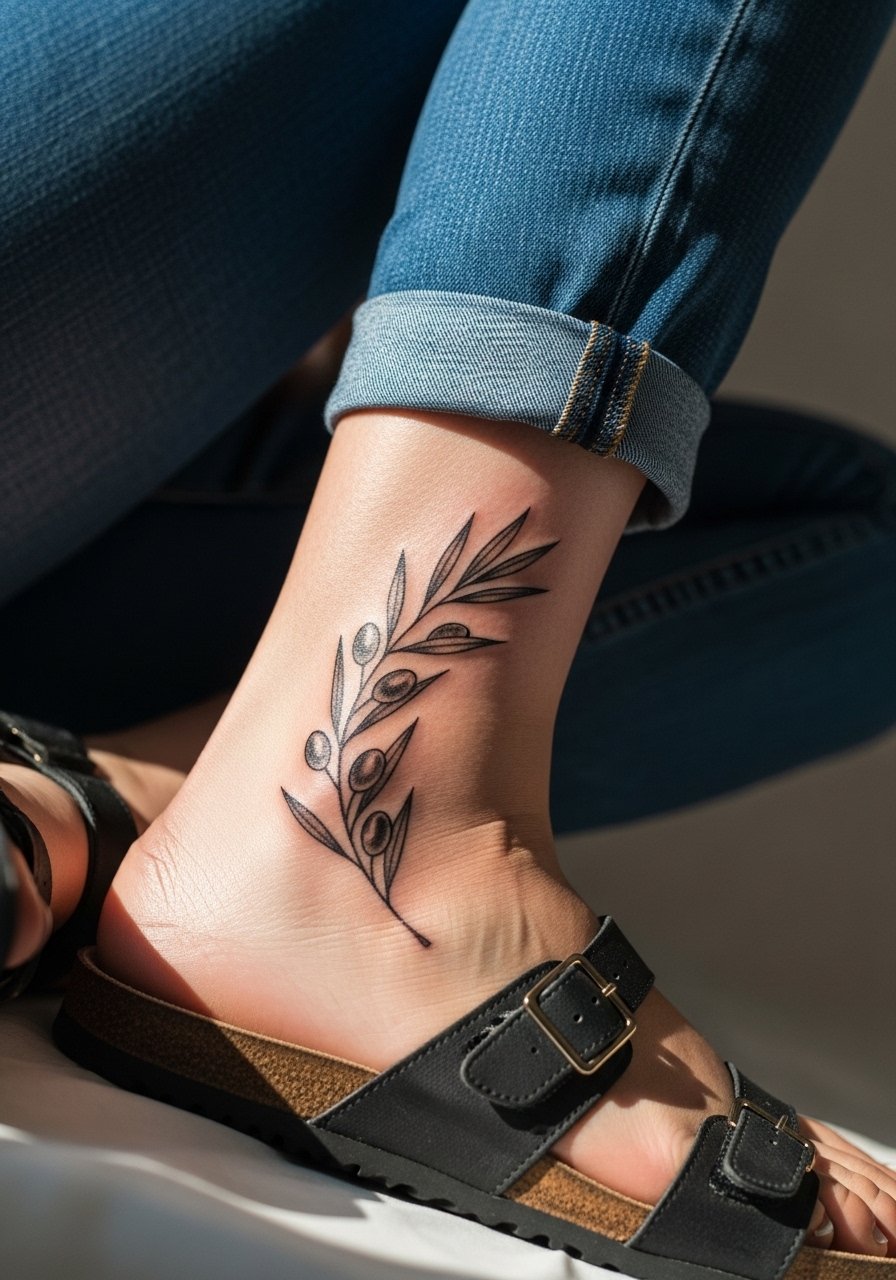
3. Ankle sprig that peeks above a sandal
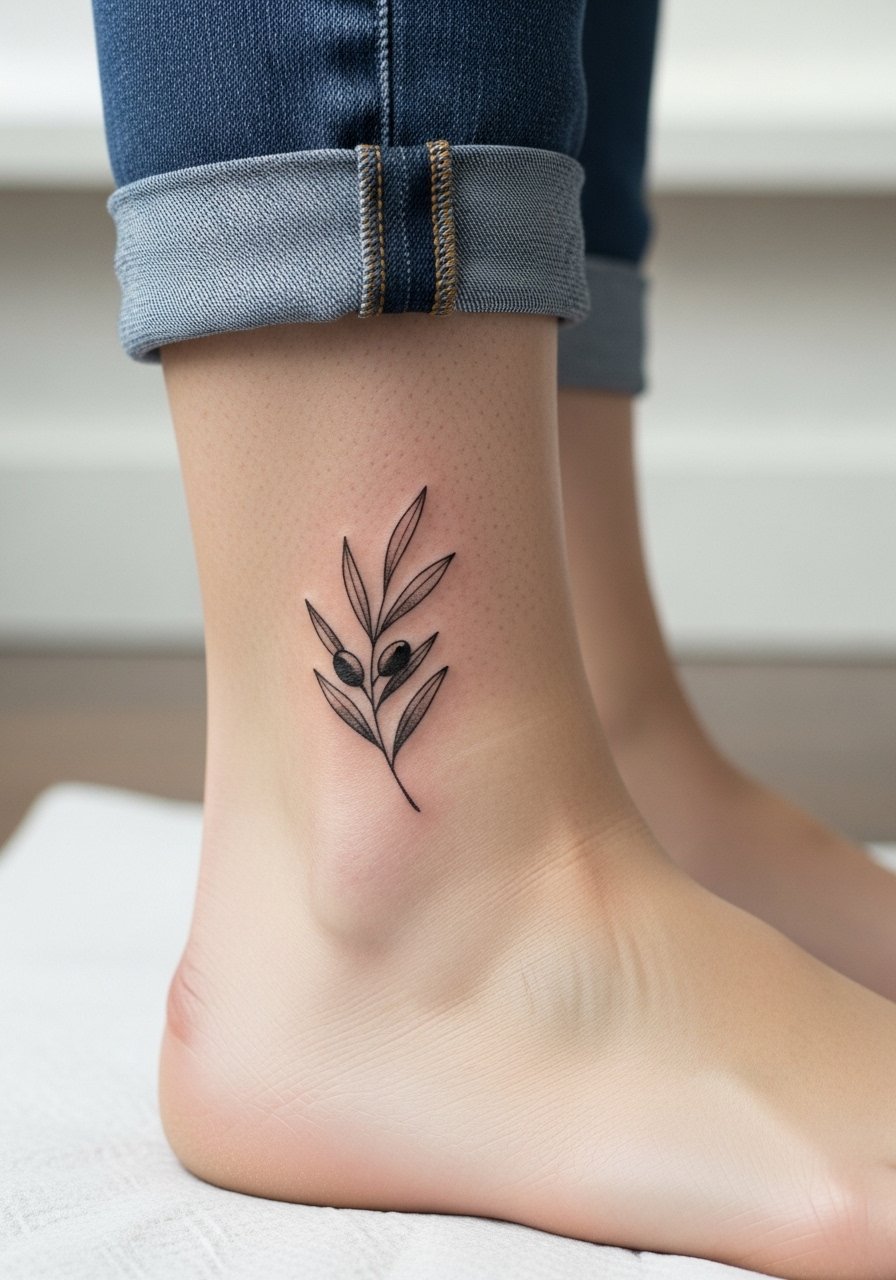
Ankle pieces rub against shoes and socks which makes them one of the first small tattoos to need a touch-up. Tell your artist you want the leaves spaced so each leaf has its own negative space. The common aging mistake is packing too many leaves into a tiny band. Session time is short but expect a stiffer sensation when the needle hits bone. For showing it off, cuff your jeans or wear cuffed ankle jeans or a flowy midi skirt in summer, both keep the design visible without pressure on the fresh ink.
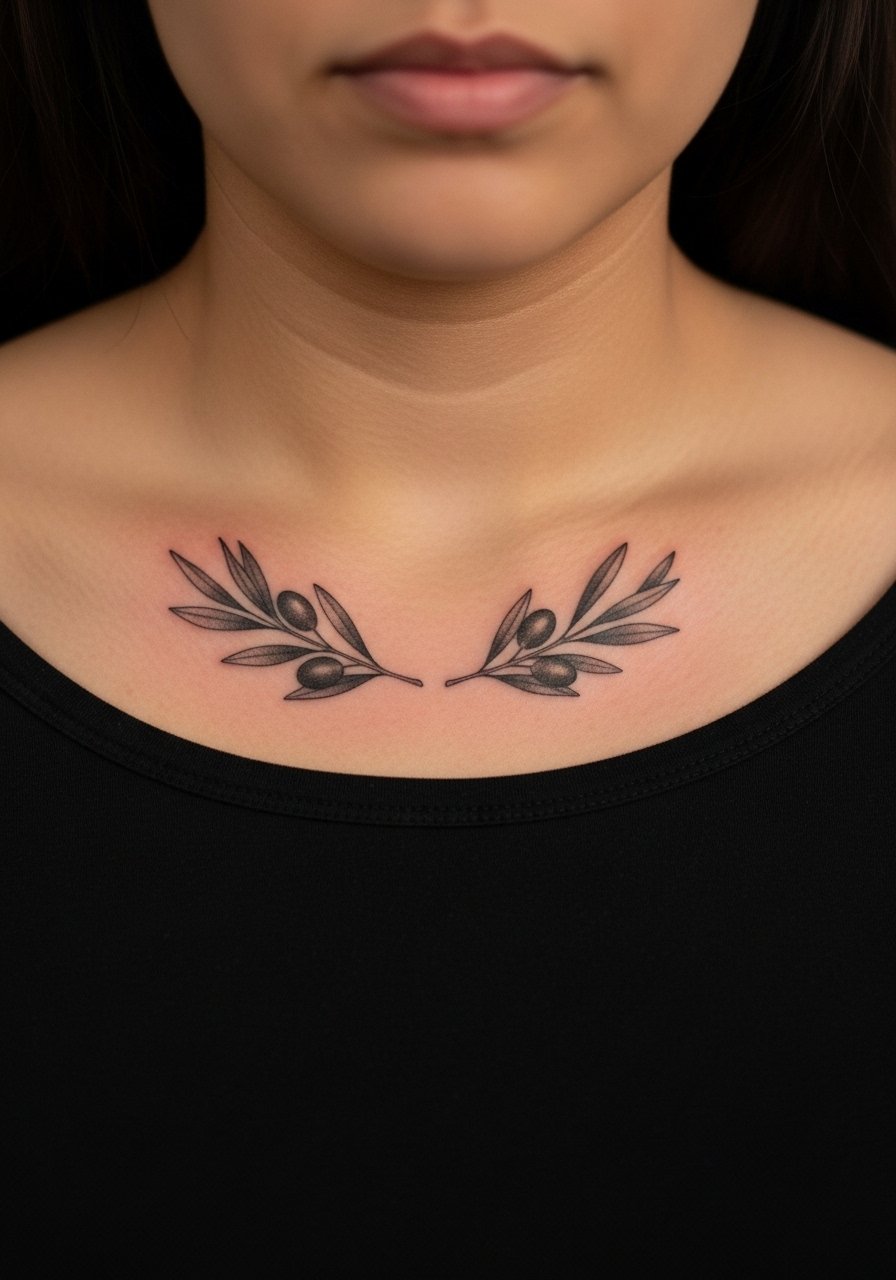
4. Collarbone arc that follows the clavicle curve
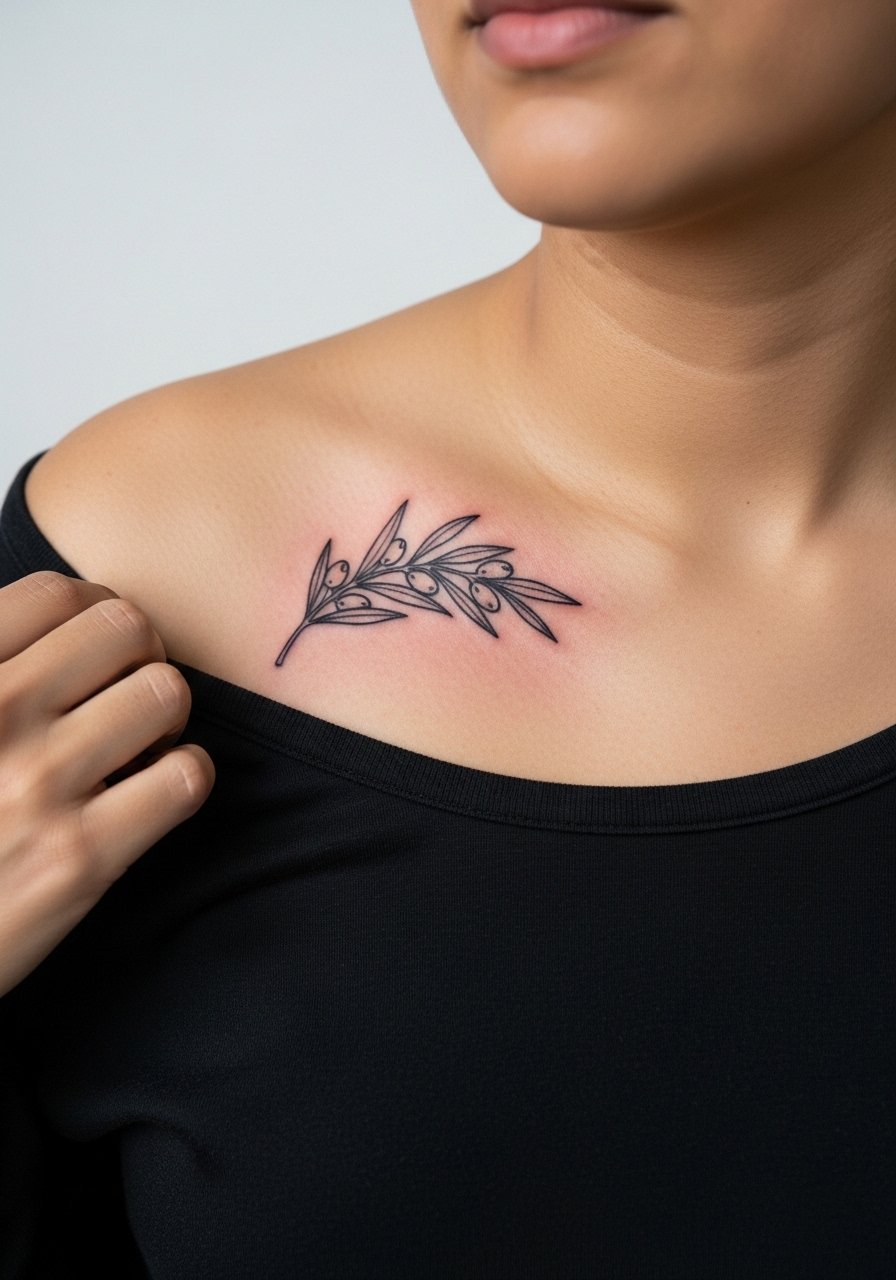
This arc works when the stems respect the collarbone curve. A common error is drawing a straight branch across a curved bone which makes the design read crooked once you move. Ask for a subtle gray wash behind the leaves to keep contrast on darker skin tones. Pain is mild to moderate and the session can run longer for a 4 to 6 inch arc. Pair it with an off shoulder sweater or a strapless top when you want the arc to peek through without competing jewelry.
5. Circular wreath mandala on the shoulder blade
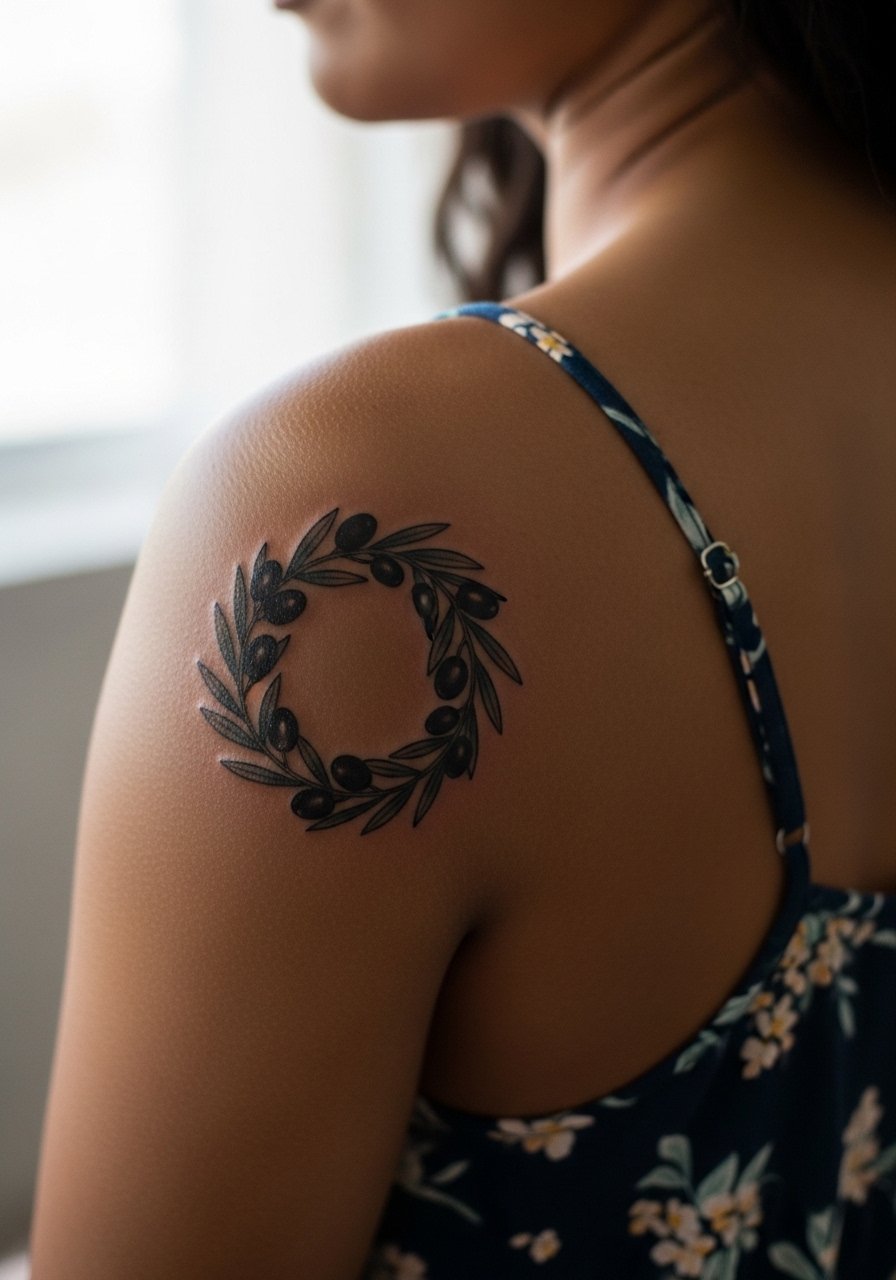
A mandala of branches blends ornament with the branch motif and reads well across body types. The mistake I see is cramming too many tight details into a medium sized piece which leads to softening after a few years. Ask for slightly wider spacing and stipple shading instead of dense solid fills. Sessions usually need two sittings if you want symmetric detail across the circle. For evenings out, pair this with a sleeveless linen dress or a backless crop to show the work without risking irritation from straps.
6. Inner forearm wrap that moves with the arm
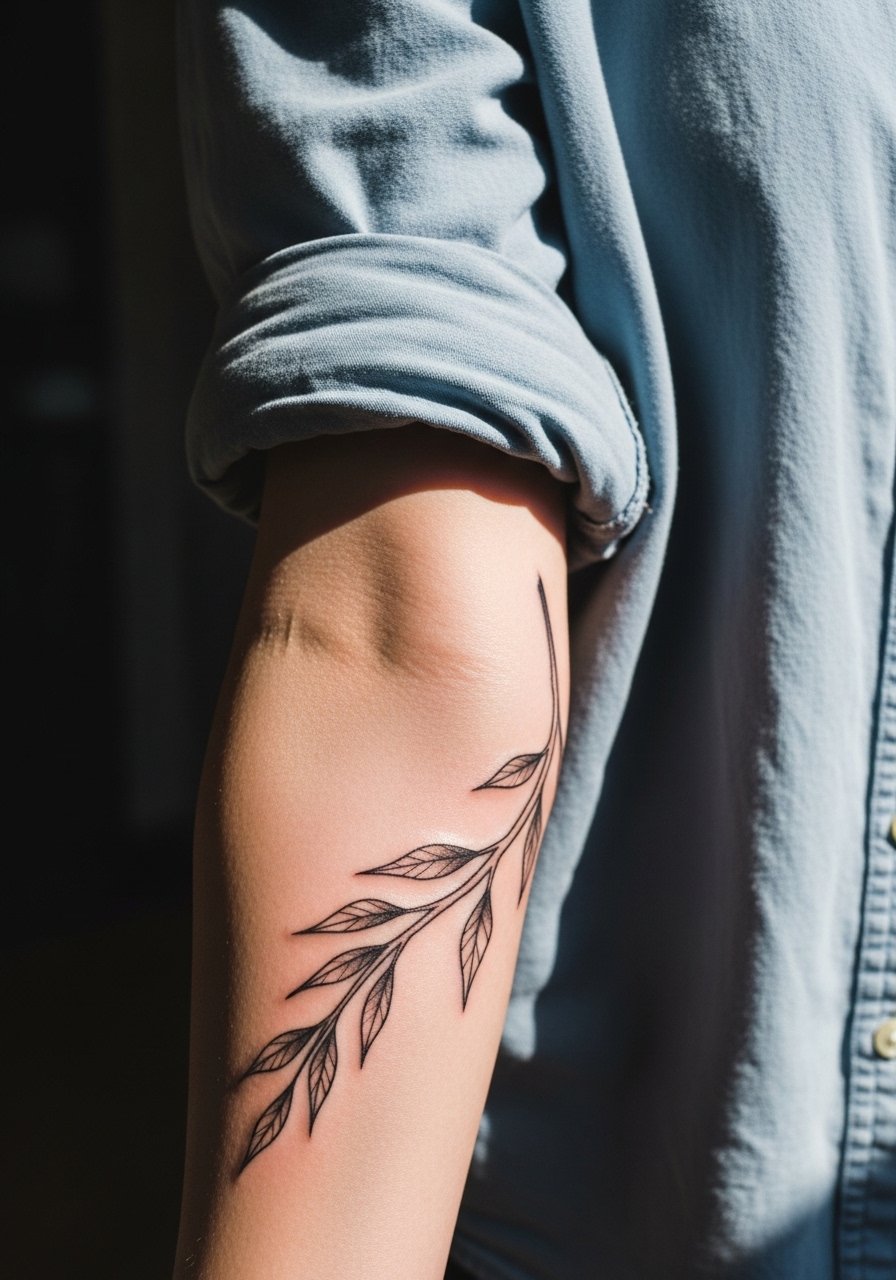
This is where single-needle branch work really shows its personality. Most people over-detail the leaves thinking it will look more delicate, but small details can blur when the arm flexes. Say you want the branch to flow with muscle movement and that you prefer a touch of dot work for shadow rather than solid black fills. Pain levels are low to moderate and a single session usually suffices. For the session, wear a loose button-down shirt you can roll up, and for everyday wear rolled sleeves frame the piece without covering it.
Pre-Session Essentials
The wrist and finger ideas above handle more daily rubbing than chest pieces, so a few small items smooth out the appointment and the first week.
- Indie Tattoo Goo. A non-greasy balm many people prefer for micro work, it helps prevent heavy shine that can obscure fine stems during early healing.
- Australian tea tree balm. Gentle and thin, it soothes winter dryness for small wrist and ankle pieces that are prone to cracking.
- Ink Fixx thinner salve. Recommended by some for keeping single-needle lines from looking swollen while they settle.
- Japanese rice bran salve. Low shine and light feel, helpful when shooting photos of healed ink on deeper tones.
- Hustle Butter. A popular go-to for the first several days of healing that many clients find less clogging than heavier ointments.
7. Micro dove paired with a single sprig on the shoulder top
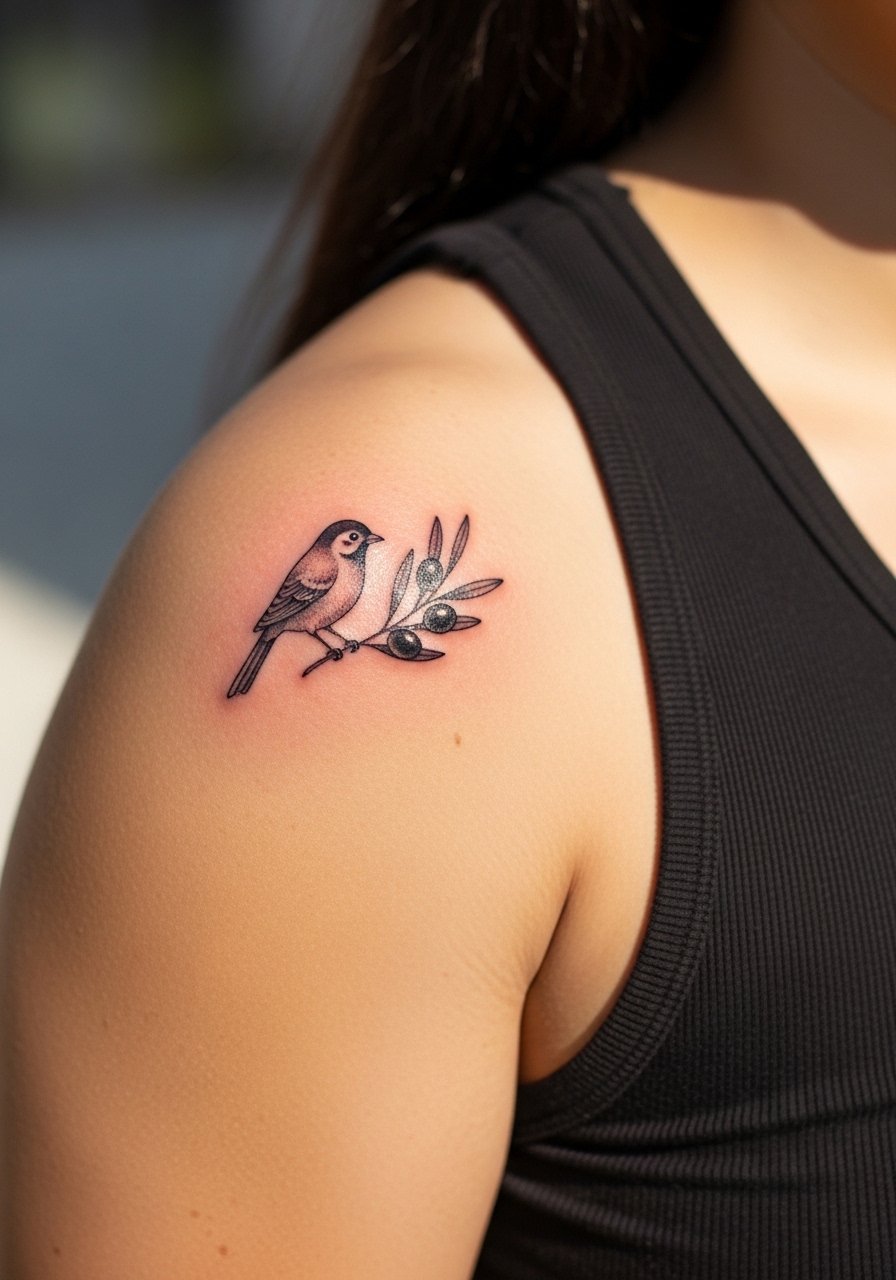
A tiny dove placed just above or beside a single branch makes for a layered narrative without crowding. The mistake here is trying to cram a detailed bird into a micro scale. Instead, ask your artist to simplify the dove silhouette and let the branch lead. Pain is low to moderate depending on how close to the shoulder joint the ink sits. This kind of pairing photographs well with sleeveless tops and thin necklaces, and it is an easy candidate for a guest spot booking if you are watching costs.
8. Single-needle sprig behind the ear, hairline framing
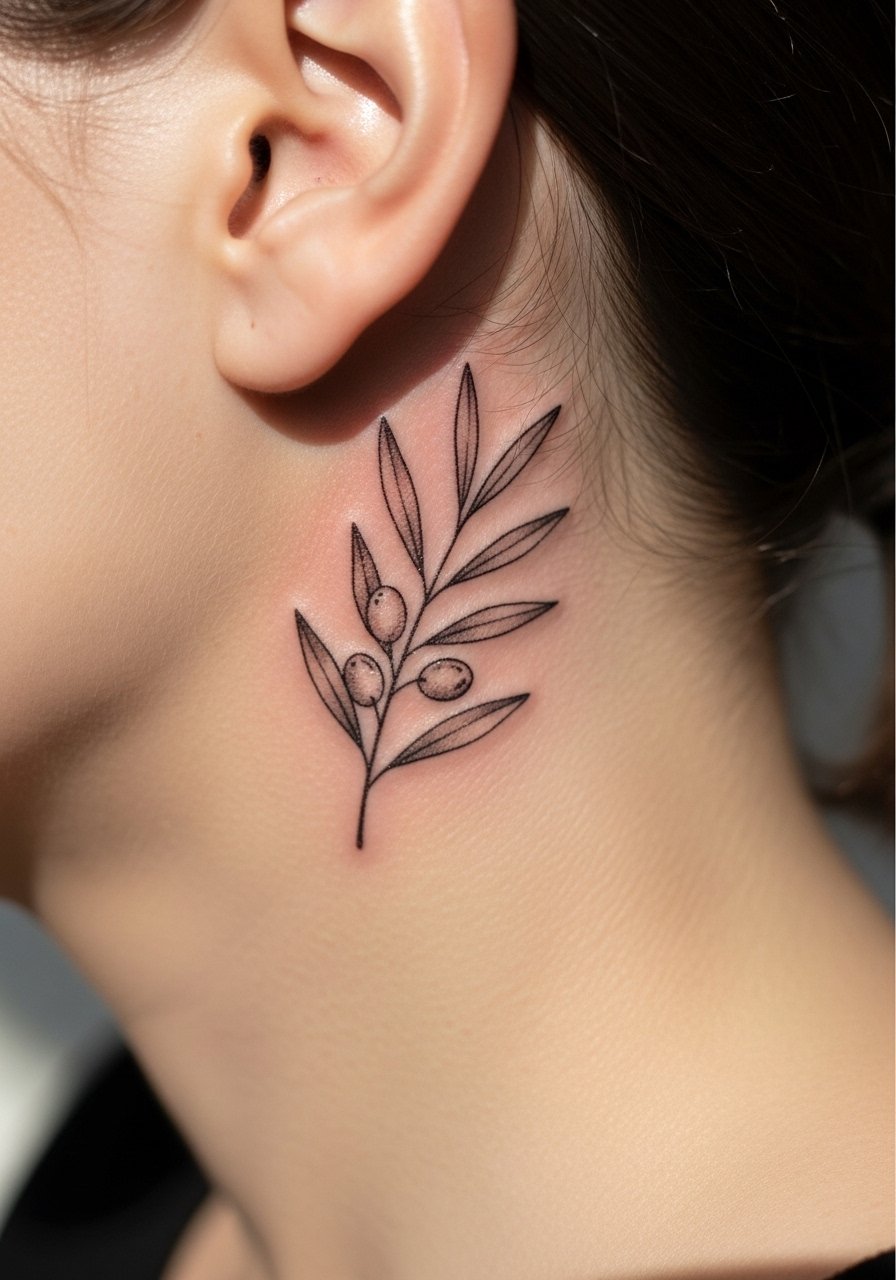
Behind the ear places are subtle and great for first-timers who want something private. A typical error is getting the linework too faint for the skin type which makes the piece disappear once healed. Ask for slightly darker stems and minimal dot shading at the leaf joins. Note that this area needs a precise artist because the skin is small and the stencil must sit perfectly. Pain is usually low but the session requires a steady hand and short breaks. Keep hair down for the trip home and plan wardrobe with a wide-neck top to avoid tugging.
9. Tiny cluster on the ankle bone, hidden by sneakers or sandals
Clustered mini leaves are charming but they meet friction from shoe collars. The common oversight is ignoring how laces and shoe fabric will rub during daily wear. Ask for slightly raised spacing between motifs and plan for a quick touch-up after 6 to 12 months if you wear trainers constantly. The session is brief and the sensation can feel sharper on the bone. For summer, bare the design with a flowy skirt or cuffed jeans and a pair of barefoot sandals to keep the ink visible without pressure.
10. Rib-side single sprig that breathes with your torso
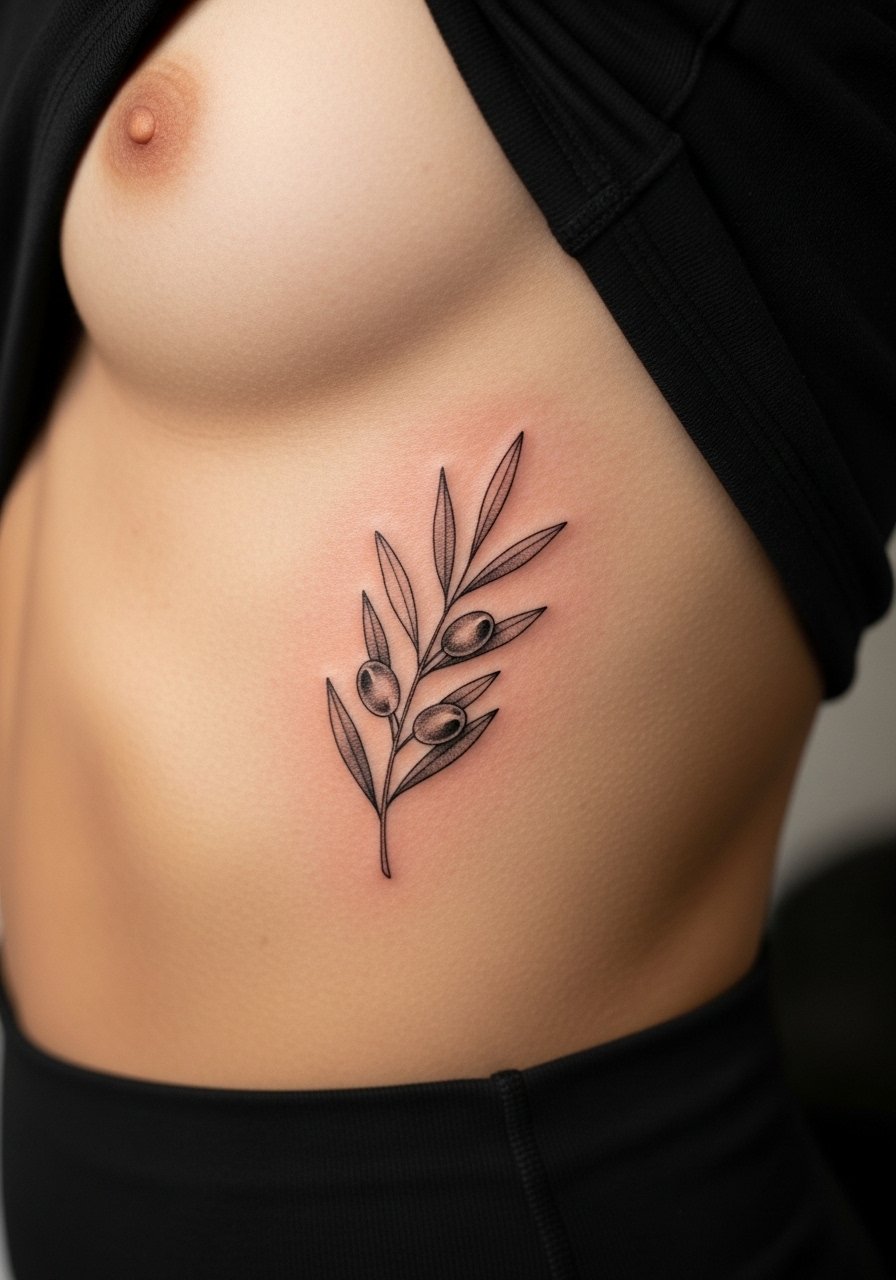
The ribcage sparks a real split in opinion. One camp warns that the skin stretch and breathing will blur thin branches within two years. The other camp says with correct needle depth and spacing, single-needle work can settle fine on ribs. I suggest asking your artist where they stand and requesting slightly wider spacing than you think you need. Expect higher pain for this area and a session that might require breaks. If you plan to show it, a strapless top or bandeau during warm months keeps the art visible without rubbing.
11. Inner bicep vertical sprig that hides with sleeves

This placement is private and ages well because it avoids sun and constant abrasion. People often ask for very tight detail here which can blur when the arm moves or if the piece sits too close to hair follicles. Ask for clean linework with a touch of stipple shading to hold contrast. Pain is moderate and the session is usually short. For the appointment, wear a tank top so your artist can lift the arm without fabric catching, and plan a couple of months before heavy arm workouts to avoid stretching the area during initial settling.
12. Minimalist ankle ring with spaced leaves
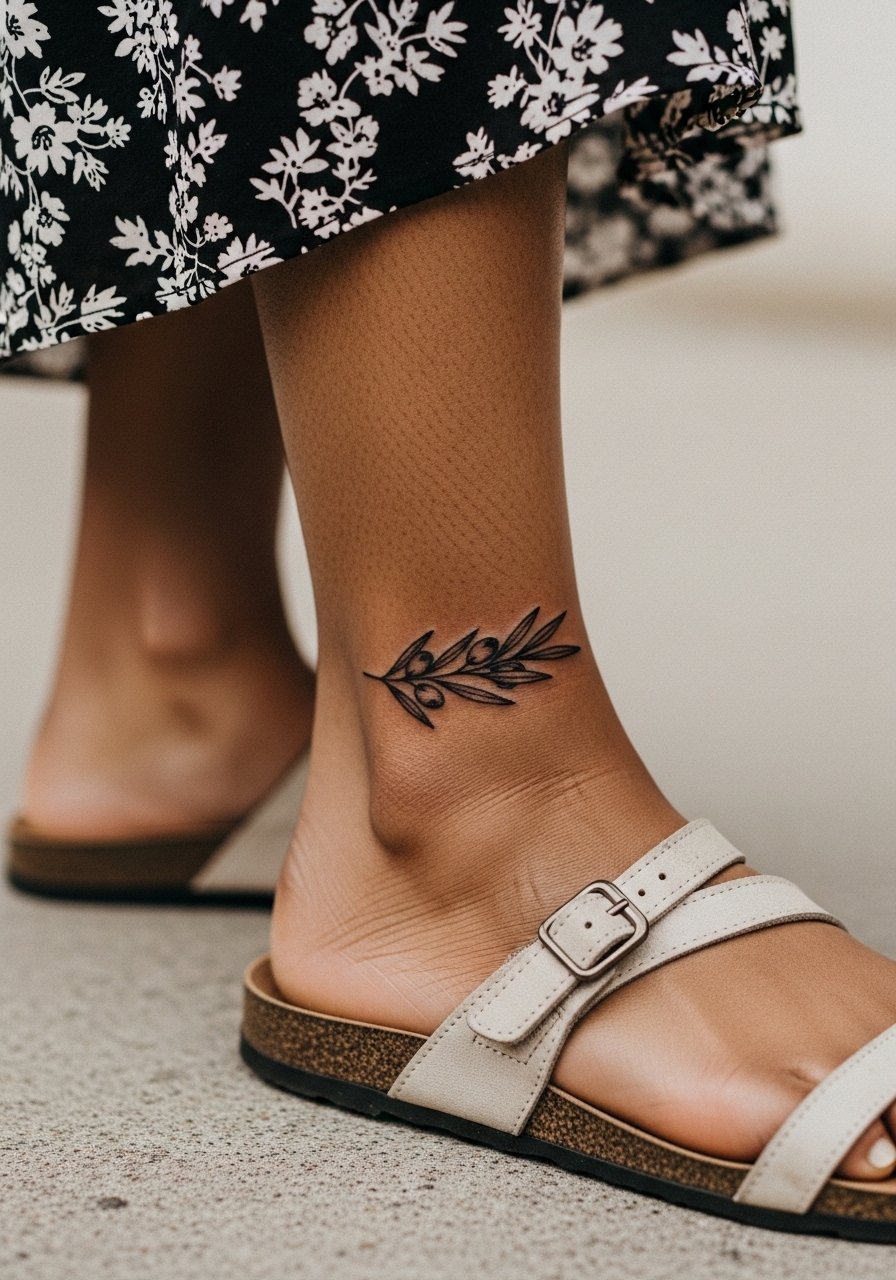
Ankle rings can be designed to avoid spots that get pressure from footwear. The mistake is wrapping the design where shoes will rub the most. Ask your artist to place the leaves toward the outer ankle or front so the inside remains untouched by socks. Expect a single, short session and be mindful of swelling for the first few days. Styling with cuffed jeans or a midi skirt lets the ring peek out without constant friction.
13. Collarbone sprig with small gray accents for visibility
For darker tones I recommend asking for tiny gray accents at the leaf bases to keep the silhouette clear in photos and daily wear. A common regret is relying on hairline stems that fade into the skin. This approach keeps the piece elegant and readable. Pain is mild to moderate and a single session usually covers a 3 to 5 inch area. Pair it with a thin chain pendant necklace that sits just above the sprig to frame the work without competing.
14. Ankle-to-heel trailing sprig that follows your gait
Trailing pieces are unique but they suffer from heel friction. Make sure the artist maps the branch so it avoids the shoe seam and stays on skin that clears laces. The session can be longer depending on length and placement. If you are active, plan for a touch-up after a year because repeated rubbing during runs accelerates fading. Styling with cuffed pants or sandals keeps the flow visible and reduces direct pressure during the early healing window.
15. Scattered micro leaves across the shoulder cap
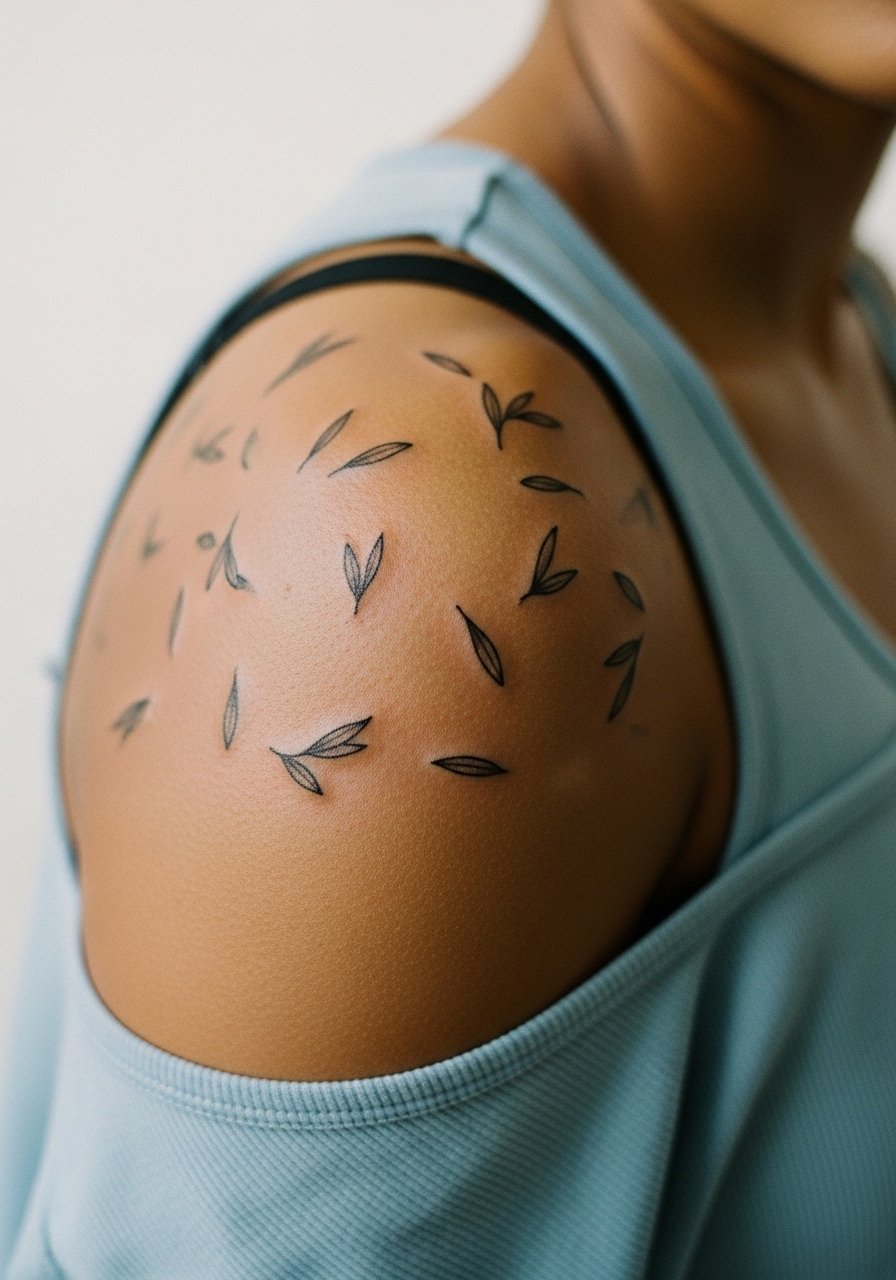
Scattered micro motifs give a breezy, tattooed jewelry effect. The error is clustering them too close so the pieces merge as they age. Ask for a layout sketch that reads at arm's length and keeps each leaf separate by a few millimeters. Pain is low and a single session can cover multiple small marks. For showing off, sleeveless sundresses or tank tops let the scattered leaves read like a pattern rather than a single focal point.
16. Forearm band of alternating leaves and negative space
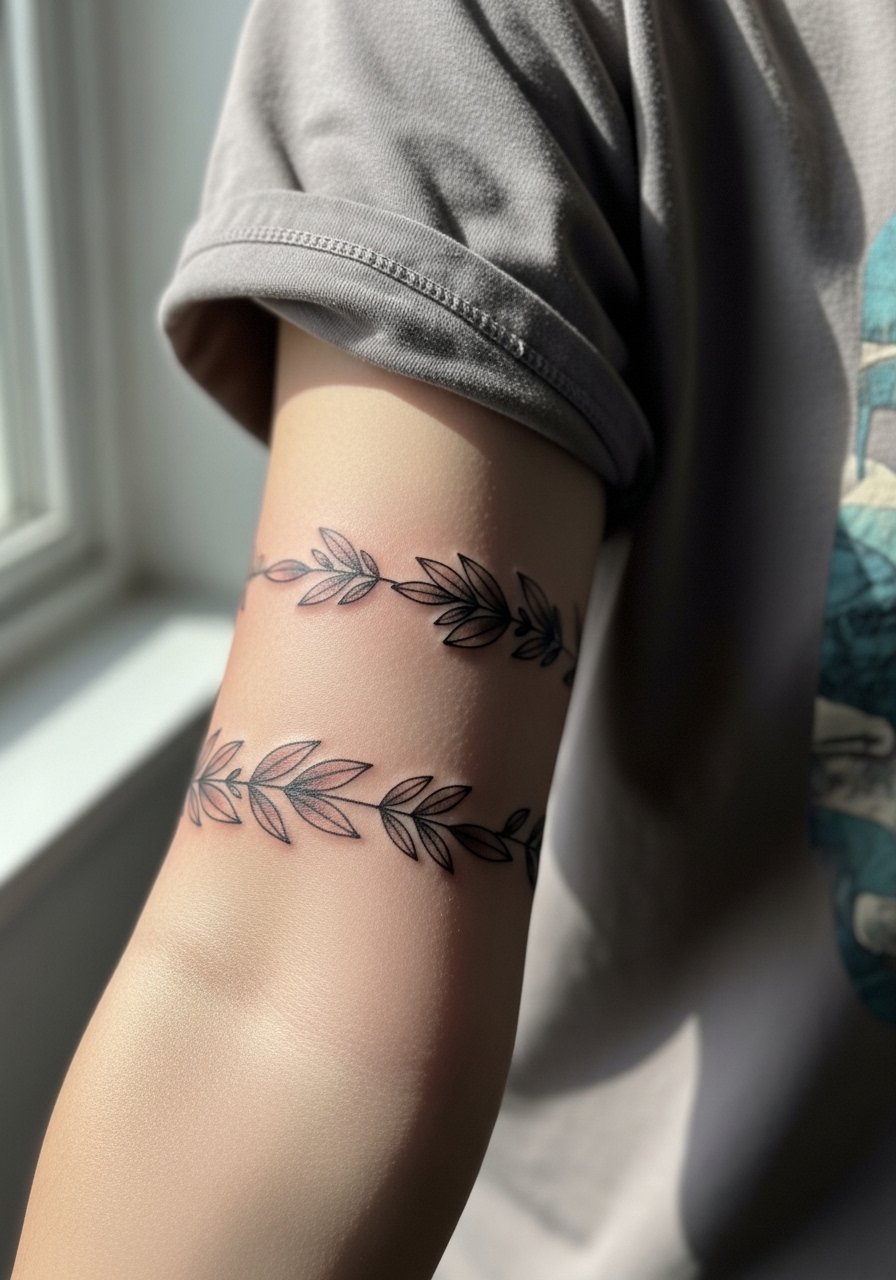
Band work over the forearm looks great when negative space is designed as deliberately as the leaves. A common mistake is shrinking the band too narrow which forces leaves into one line and speeds up blurring. Ask for balanced spacing and a slightly heavier stem to help the composition read after a few years. Sessions are usually a single appointment unless you want extra dot shading. Roll up a loose tee for the session so the artist has arm access without fabric pressure.
17. Micro ring on the index knuckle, single leaf accent

Knuckle work faces constant hand use and cleaning which shortens crispness. The biggest oversight is expecting knuckle micro work to stay pristine without touch-ups. Request a bolder tiny leaf with a short stem and accept that touch-ups are part of the plan. Pain is noticeable because of thin skin and proximity to bone. Keep the session short and avoid heavy handwork in the first two weeks. A neutral manicure helps the tiny motif pop without additional jewelry getting in the way.
Frequently Asked Questions
Q: Will single-needle branch work show up on darker skin tones?
A: It can, but I have seen better longevity when artists use slightly stronger single-needle stems with a touch of gray shading at leaf bases. Ask to see healed photos on similar skin tones and discuss spacing so the design keeps its silhouette after healing.
Q: How often do wrist and finger pieces need touch-ups compared to shoulder or forearm work?
A: Wrist and finger placements usually need touch-ups sooner because of friction from jewelry and daily motion. From what I have seen, expect the first touch-up around the 6 to 18 month window for very small, single-needle pieces depending on your lifestyle.
Q: Is Saniderm or dry healing better for tiny branch tattoos?
A: Artists and clients are split on this. One camp prefers Saniderm for reduced scabbing and faster initial healing. The other camp favors dry healing for crisper line definition. Ask your artist which method they use and why, and follow their protocol for the best chance at crisp lines.
Q: Can I find cheaper single-needle work through guest spots or conventions?
A: Yes. Guest spots and convention bookings often offer more affordable rates if you compare three options. Use hashtags like #finelinetattoos with location filters and apps that list guest artists to find a good match without sacrificing portfolio quality.
Q: My wrist tattoo stretched after weight changes. What placement should I consider if I expect body changes?
A: Choose areas that see less fluctuation in circumference such as the outer forearm or shoulder blade. If you still want a wrist piece, plan for periodic touch-ups and design the branch with room to breathe so expansion does not ruin composition.
