
Fine line and pastel grim reaper trends look gorgeous on a feed, but what really matters is how they wear over time. I’ve noticed small single-needle reapers blur faster than expected, darker skin needs higher contrast to read, and wrist placements often deliver more pain and more touch-ups. Read on for 17 cute grim reaper tattoo options that balance charm with practical choices for placement, aging, and what to ask your artist.
1. Cute Grim Reaper with Flower Crown, Forearm Neo-Traditional
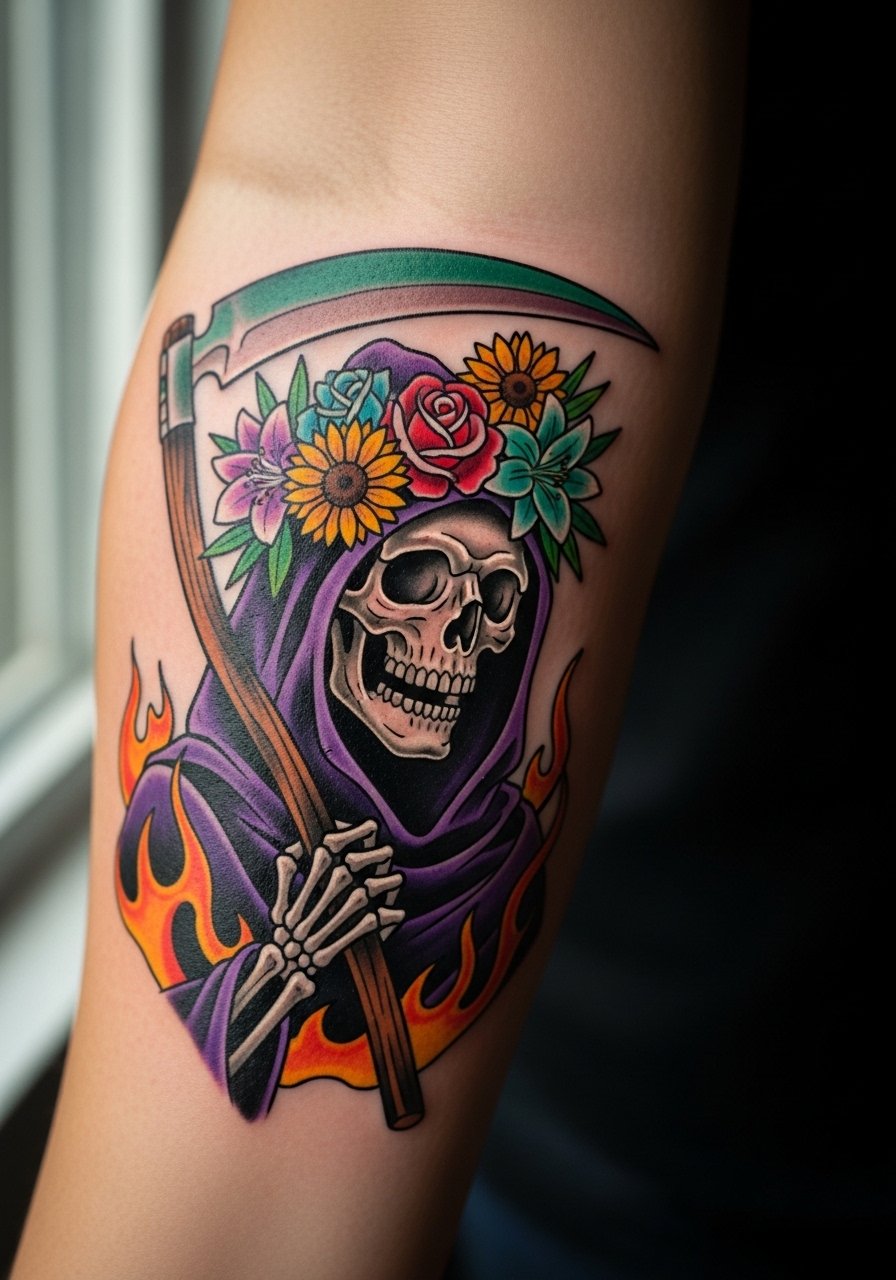
I’ve seen this one age nicely when the artist leans into slightly heavier outlines around the cloak and blooms. Ask for solid linework around the scythe and saturated petal fills so the floral color keeps pop after six months. Forearm pain is moderate and a single session often suffices for a 4 to 6 inch piece. A common mistake is shrinking the flowers too small, which loses the contrast against the reaper. For showing it off, pair with a rolled sleeve graphic tee and wear a loose tank top to the appointment so the artist has clean access.
2. Minimalist Grim Reaper Silhouette on the Wrist
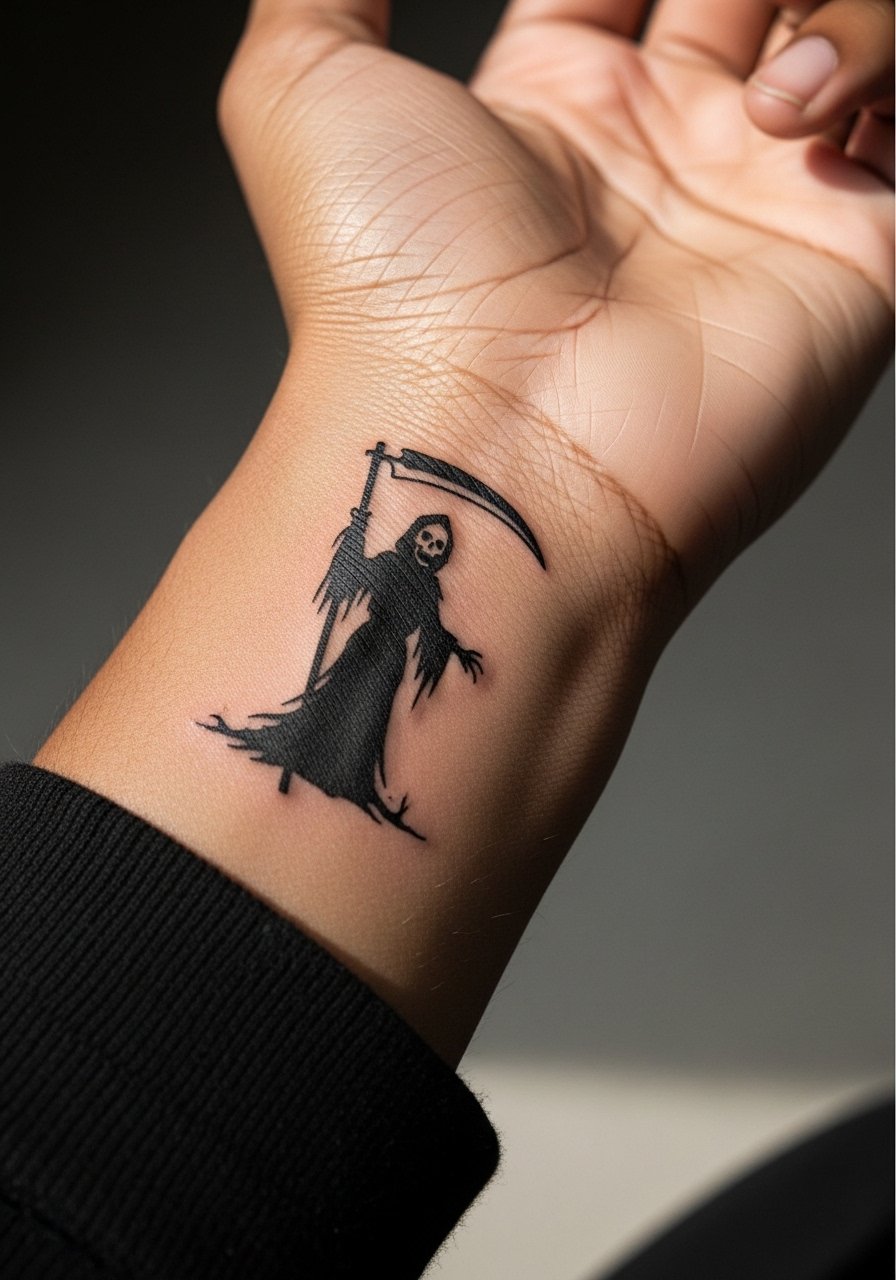
Fair warning, the wrist reads tiny details differently after daily washing and sun exposure. This silhouette works best 2 to 3 inches wide with crisp negative space and slightly reinforced outer lines to avoid early blur. The wrist is among the more sensitive spots for pain and it can need touch-ups at year two if placed too fine. Bring up blowout risk in consultation and request a test stencil to confirm size. For a simple show-off touch, slide on a thin leather cuff bracelet on the opposite wrist so the silhouette keeps the focus.
3. Chibi Grim Reaper Holding a Scythe, Upper Arm Illustrative
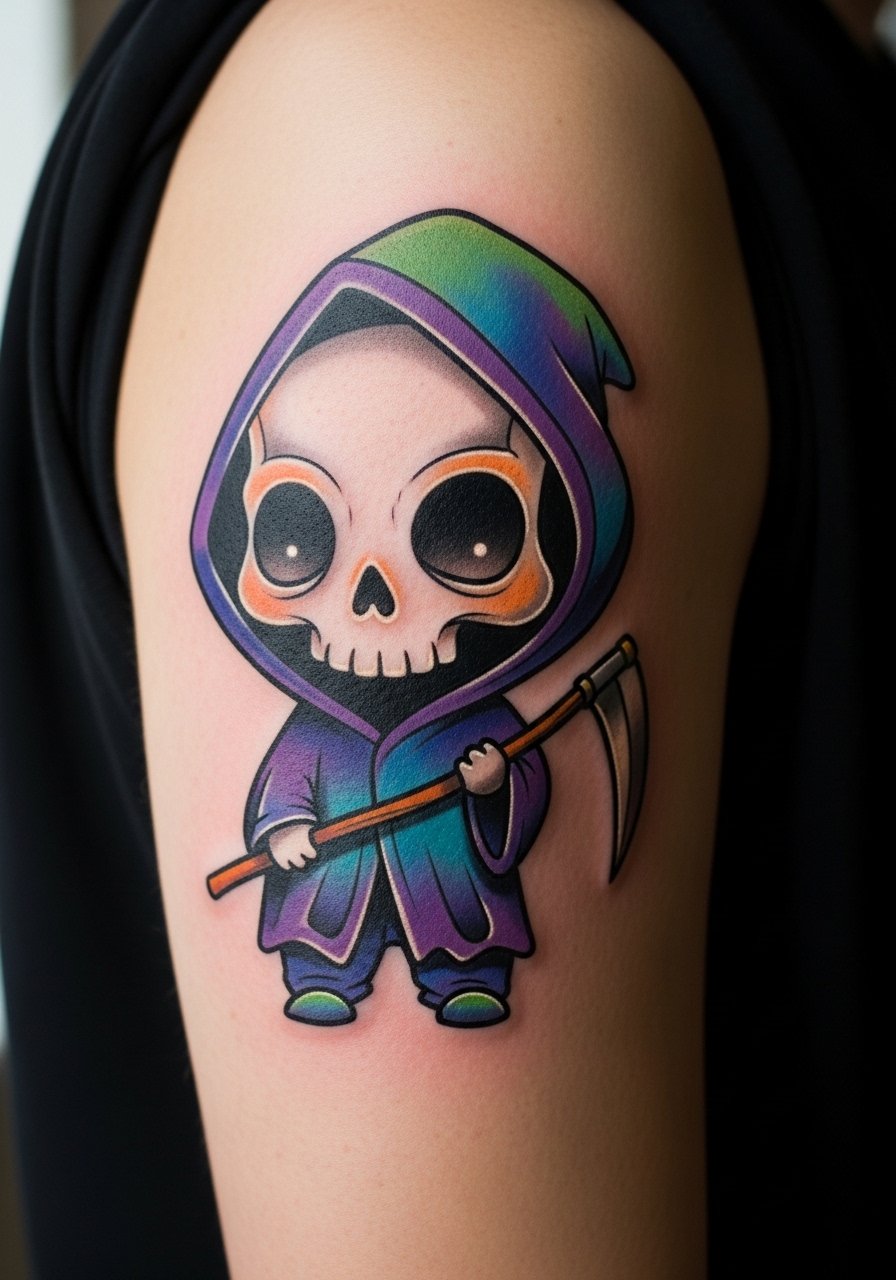
Chibi styles solve the "too dark" worry by leaning into kawaii proportions and bright color accents. On the upper arm the session is usually quick and tolerable, often a single sitting for a 3 to 5 inch design. Tell your artist you want rounded facial features and saturated fills so the character keeps its cute expression as the ink settles. A common error is over-detailing the face, which gets lost as the piece ages. To show it off, a fitted tank works well during warm months and at shows. Wear a fitted tank top to the appointment so the artist has room to work.
4. Fine Line Grim Reaper with Hearts on the Collarbone
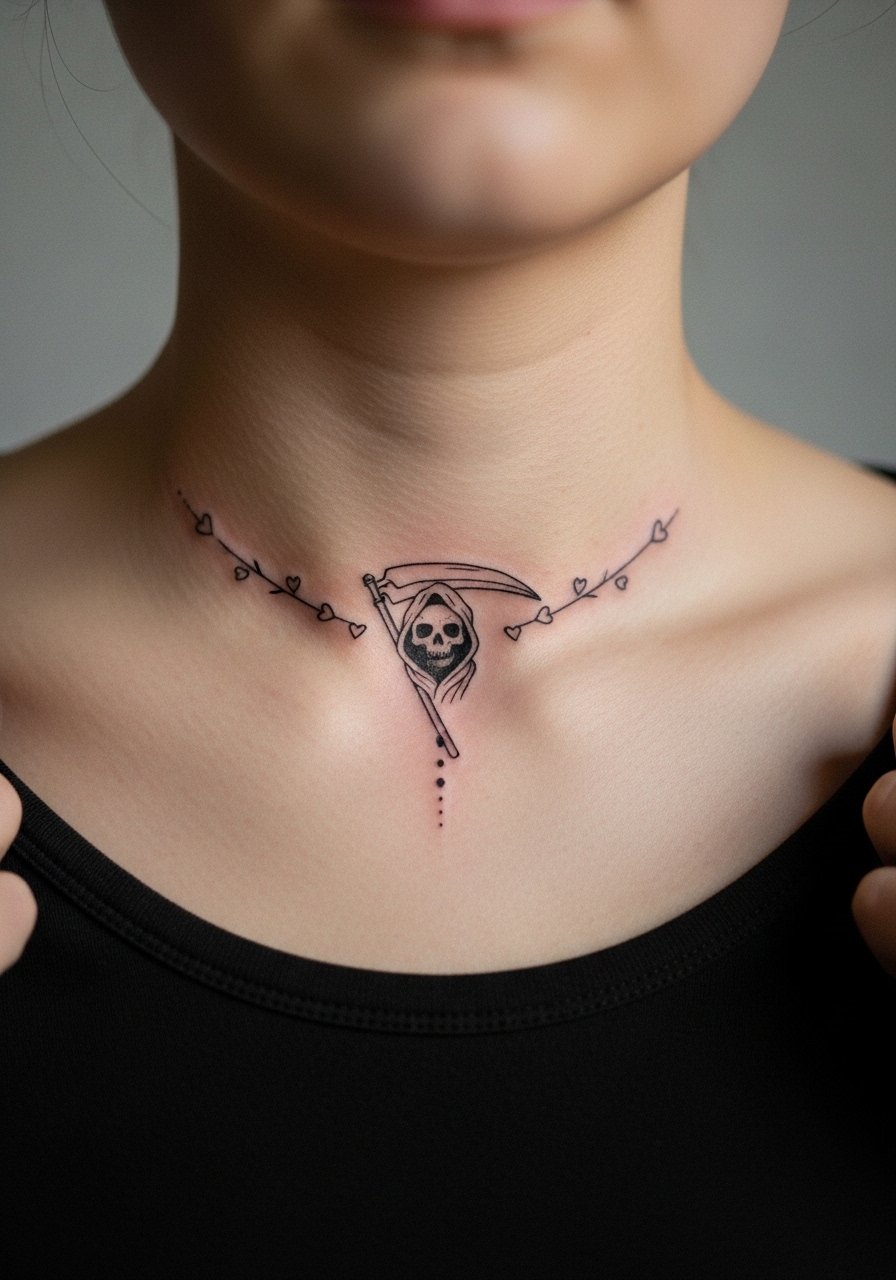
Fine line at the collarbone reads delicate and intimate, but it is one of the placements that splits opinions. One camp says thin work here blurs fast because the skin stretches with movement. The other camp says careful depth and spacing keep the lines crisp. My view is to ask for slightly heavier primary outlines around the silhouette and single-needle details inside. Expect a one-session collarbone piece for around three inches and plan for a touch-up schedule at the year mark if you like the ultra-delicate look. Off-shoulder tops in cream frame this area beautifully and a layered delicate necklace sits just below the linework.
5. Neo-Traditional Grim Reaper Half Sleeve with Roses
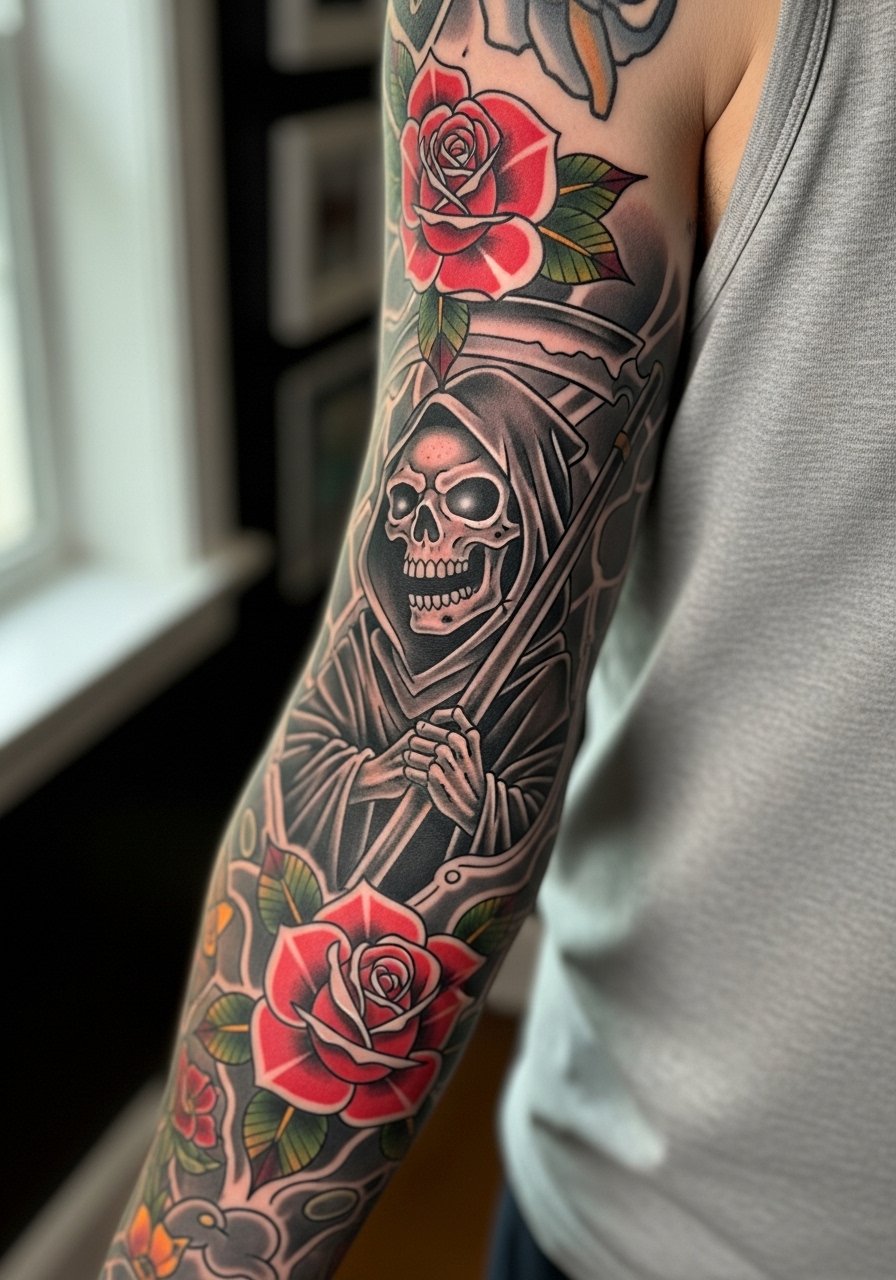
There is something about saturated color and strong fill that helps sleeves age into coherent compositions. For sleeves, plan multiple sessions and discuss the story flow so the reaper and roses read from a distance. The common aging mistake is starting a sleeve with tiny elements that later clash with bolder pieces added around them. When you consult, show reference panels that demonstrate consistent line weight and shading. Sleeves tolerate slightly heavier saturation better than watercolor. Expect longer sessions and bring snacks and a plan for breaks so you get through multiple hours without cutting the session short.
6. American Traditional Grim Reaper with Bunny Ears on the Shoulder
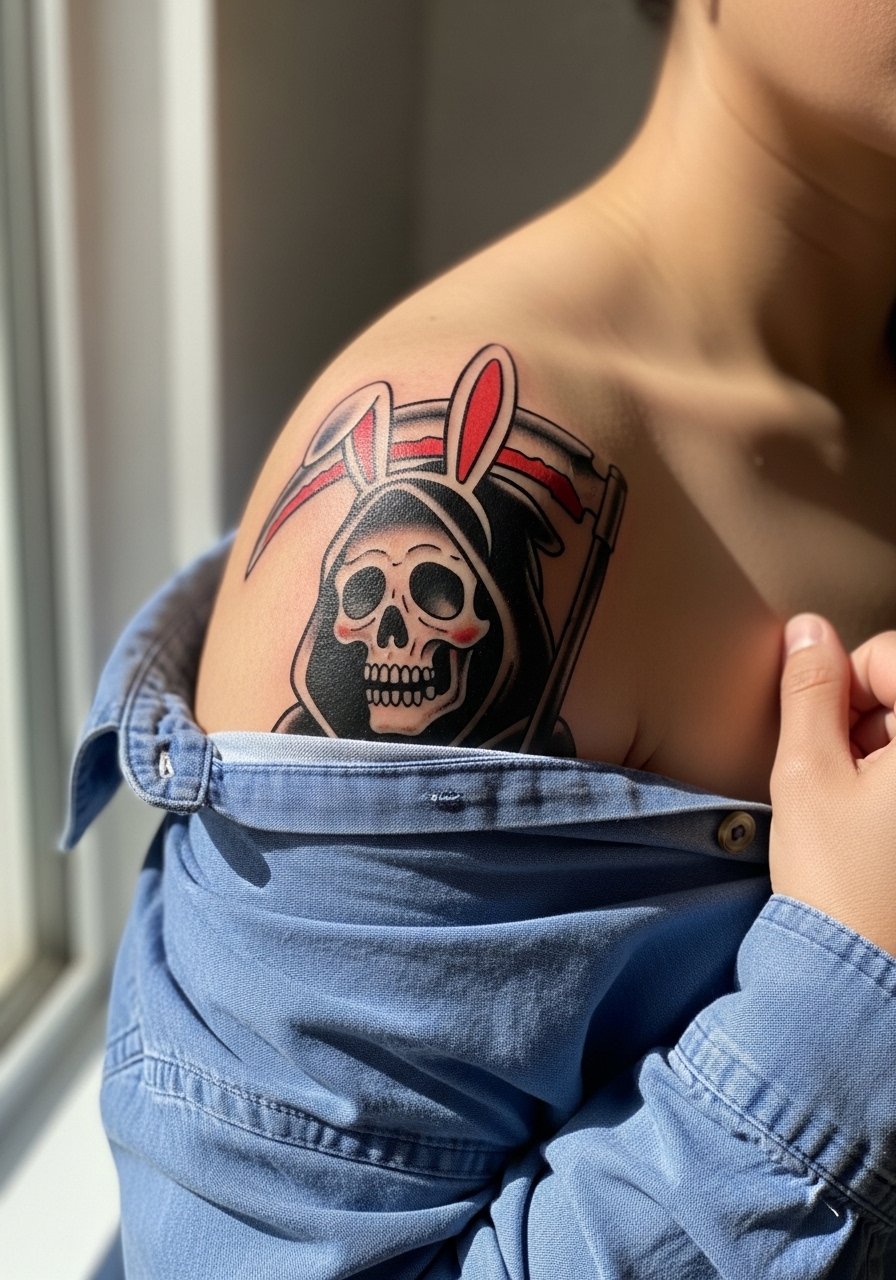
This playful twist on classic flash holds up because traditional linework and saturation are longevity-friendly. Shoulder placement is relatively low on the pain chart and a 5 to 7 inch piece often fits in one or two sessions. The biggest misstep is overcomplicating the flash lines; the charm here is in simplified forms and confident outlines. For session day, wear a loose button-down shirt you can pull aside so the artist has clear access, and plan for a short break midway through longer fills.
Heal Smart
The forearm, wrist, collarbone, sleeve, and shoulder pieces above all have different healing needs, so a few targeted items smooth out the studio day and the first week.
-
Tattoo Goo ointment. A non-greasy option many people prefer over thick ointments for fine line areas because it clears without heavy buildup, which helps delicate collarbone and wrist lines.
-
Indie UK Balm by Inkling. A breathable balm picked by some artists for blackwork and bold color pieces so the saturation settles without the shine of heavier creams.
-
Australian tea tree salve. Used by some for faster scab fall on forearm work, but test on healthy skin first if you have sensitivities.
-
Hada Labo lotion. Lightweight hydration that some people use on micro pieces after the initial scab phase to avoid excessive shine while keeping the ink hydrated.
-
Saniderm protective film. For small fine line and wrist pieces this keeps lines crisp during the first 48 to 72 hours when the area sees the most friction from washing and clothing.
7. Blackwork Grim Reaper Outline with Dot Work, Thigh Placement
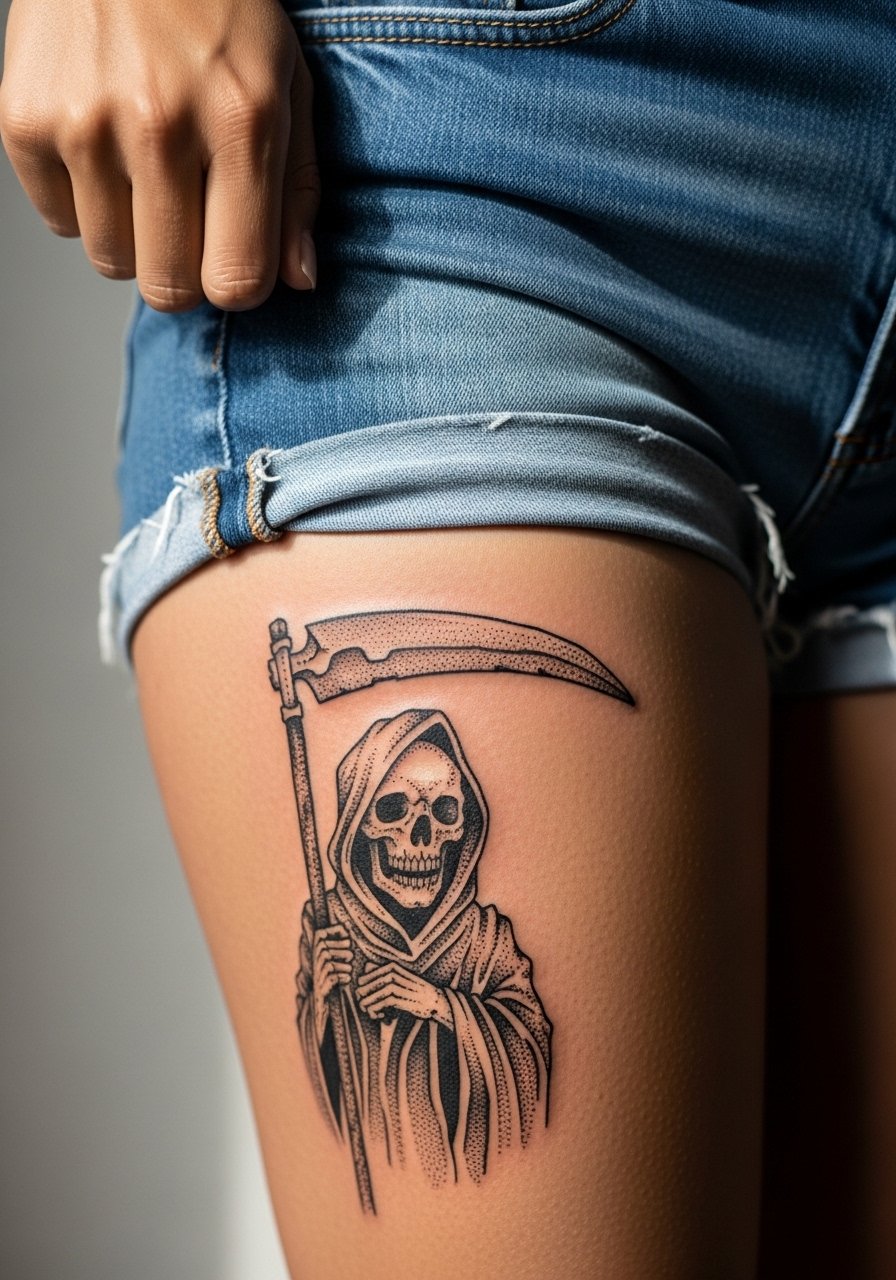
Thighs offer forgiving canvas time and room to scale a reaper up without crowding. Blackwork outlines paired with dot work shading create strong contrast on darker skin tones and reduce the need for bright colors that wash out. Expect one session for a 4 inch version. A frequent mistake is placing too close to the pant seam where friction shortens color life. For the session, bring loose bottoms you can pull down slightly so the artist can work without fabric rubbing the fresh tattoo.
8. Watercolor Grim Reaper Splash on the Calf
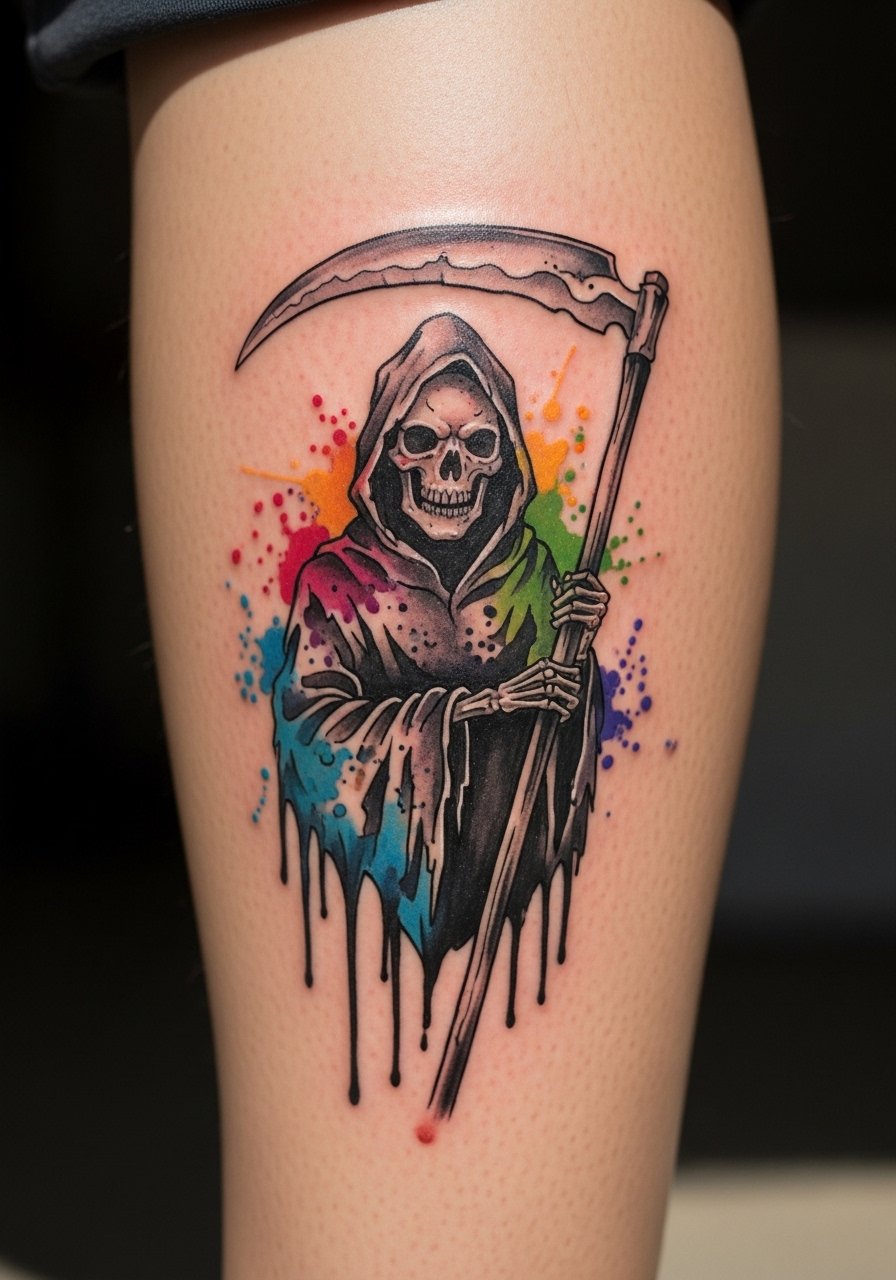
Watercolor treatments look painterly and photograph well when fresh, but they can lose vibrancy faster than saturated neo-traditional fills. If you want watercolor, request concentrated pigments around the silhouette so the central figure keeps shape as the washes age. Calf placement gives room for larger compositions and is less prone to distortion from body changes. The trade-off is a higher maintenance expectation for color refreshes. Roll up jeans or wear cropped pants to show the piece as it settles.
9. Micro Grim Reaper with Skull Eyes, Behind the Hairline Behind Ear
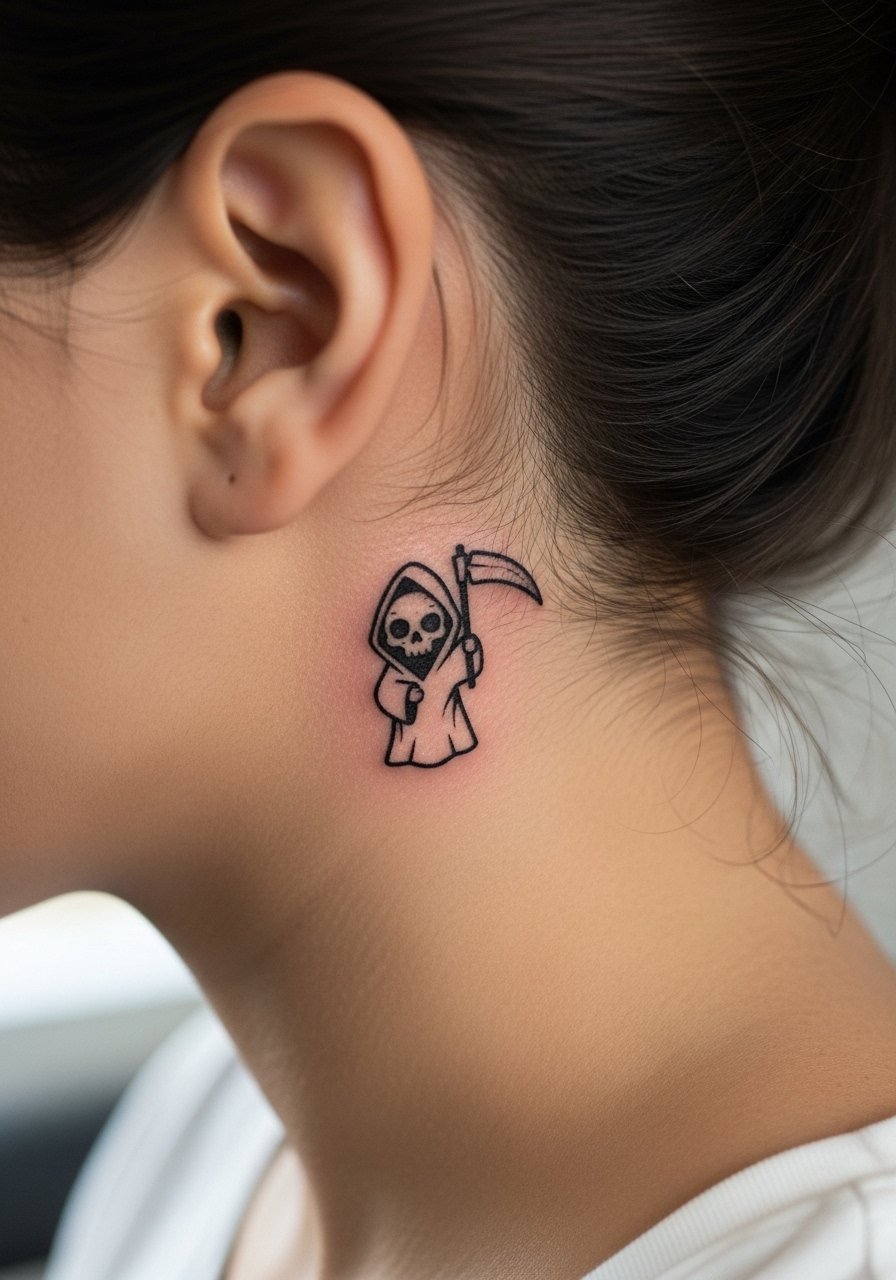
Micro placements demand careful sizing so the skull eyes remain readable over time. Behind the ear is a sensitive spot for placement and the area sees hair oils and shampoo friction during healing. Tell your artist you want the eyes as negative space rather than tiny filled dots so they do not blur together. Expect a quick single-session pinprick and a likely touch-up window at year one if the micro detail softens. Keep hair tied back for the first week for less rubbing and clearer healing.
10. Ornamental Grim Reaper Mandala on the Upper Back
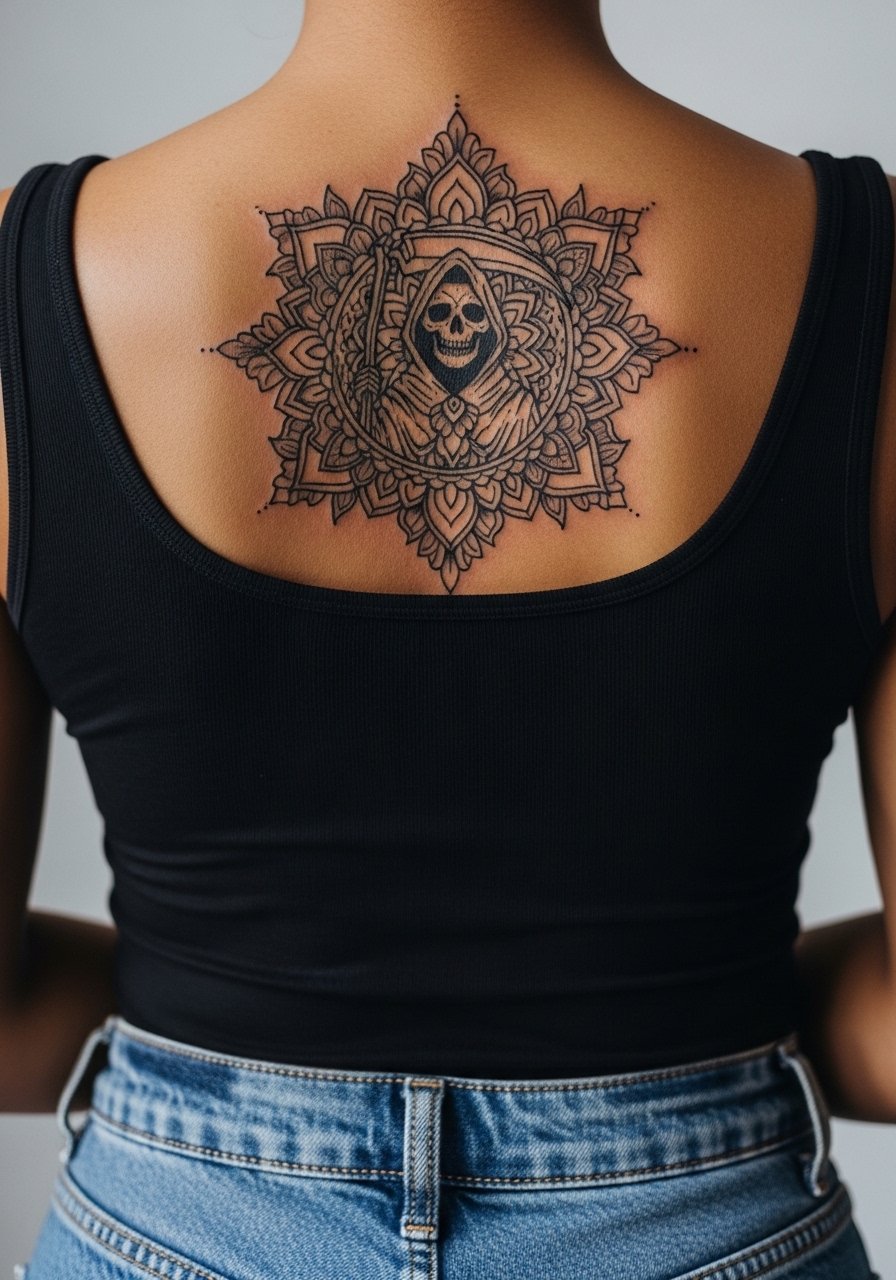
Mandala pairings translate the reaper into meditative geometry and read well at larger scale on the upper back. The risk here is borrowing sacred geometric motifs without acknowledging origins. Consider subtle variation rather than direct replication if the pattern draws from specific spiritual traditions. Upper back pieces need solid spacing between radial elements so lines do not merge as the skin moves. For long-term clarity, ask the artist to prioritize spacing and stipple shading over tight micro-lines in dense zones.
11. Ignorant Style Grim Reaper Cartoon on the Inner Bicep
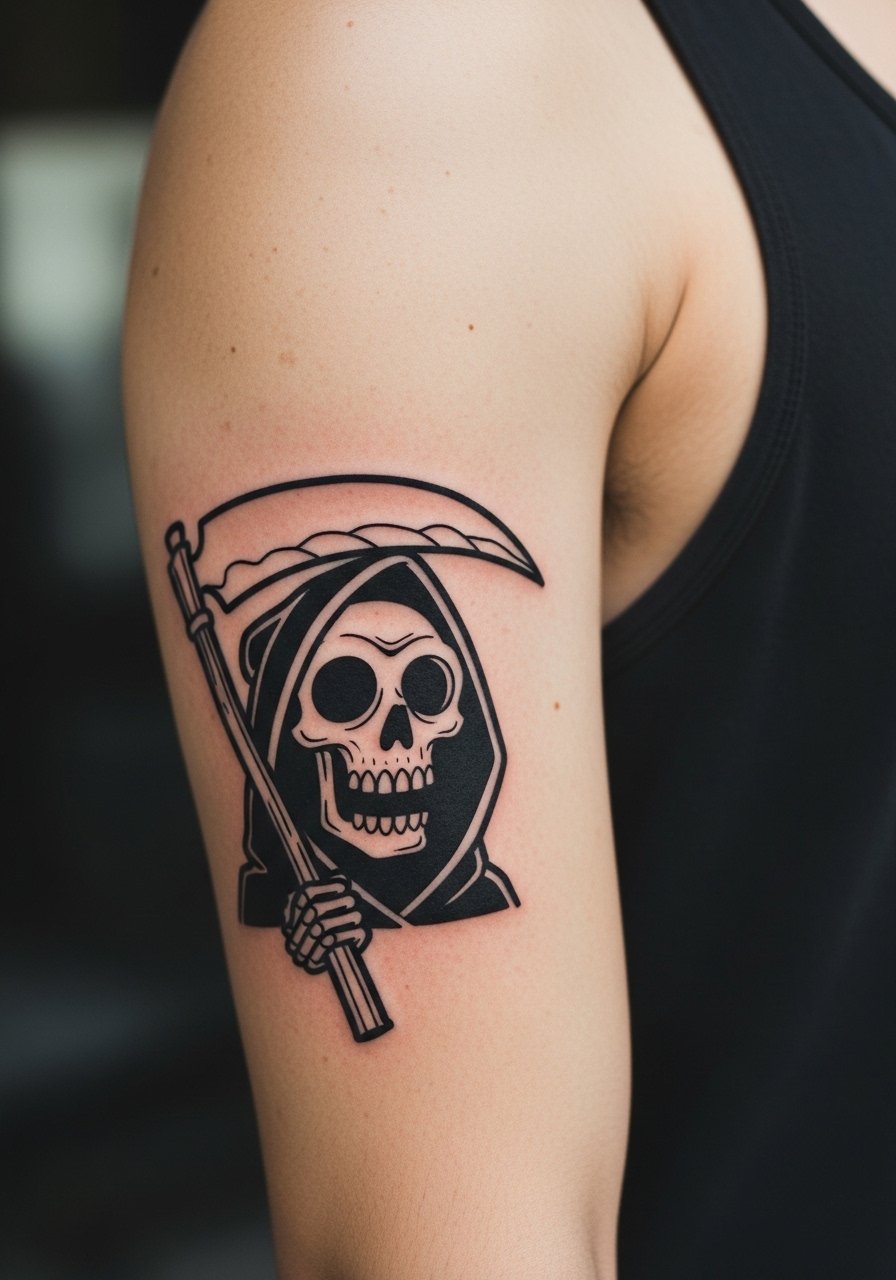
Ignorant style thrives on intentional naivete and looks charming on the inner bicep where the area can be shown off by flexing. The inner bicep can be tender during the session, expect moderate to high discomfort for longer sessions. Keep the linework bold and unrefined rather than forcing micro detail that will read as accidental smudge later. A typical misstep is asking for overcomplicated shading in a style that benefits from simplicity. Wear a sleeveless tee to the appointment to keep the area accessible.
12. Black and Gray Realistic Cute Reaper Face on the Ribcage
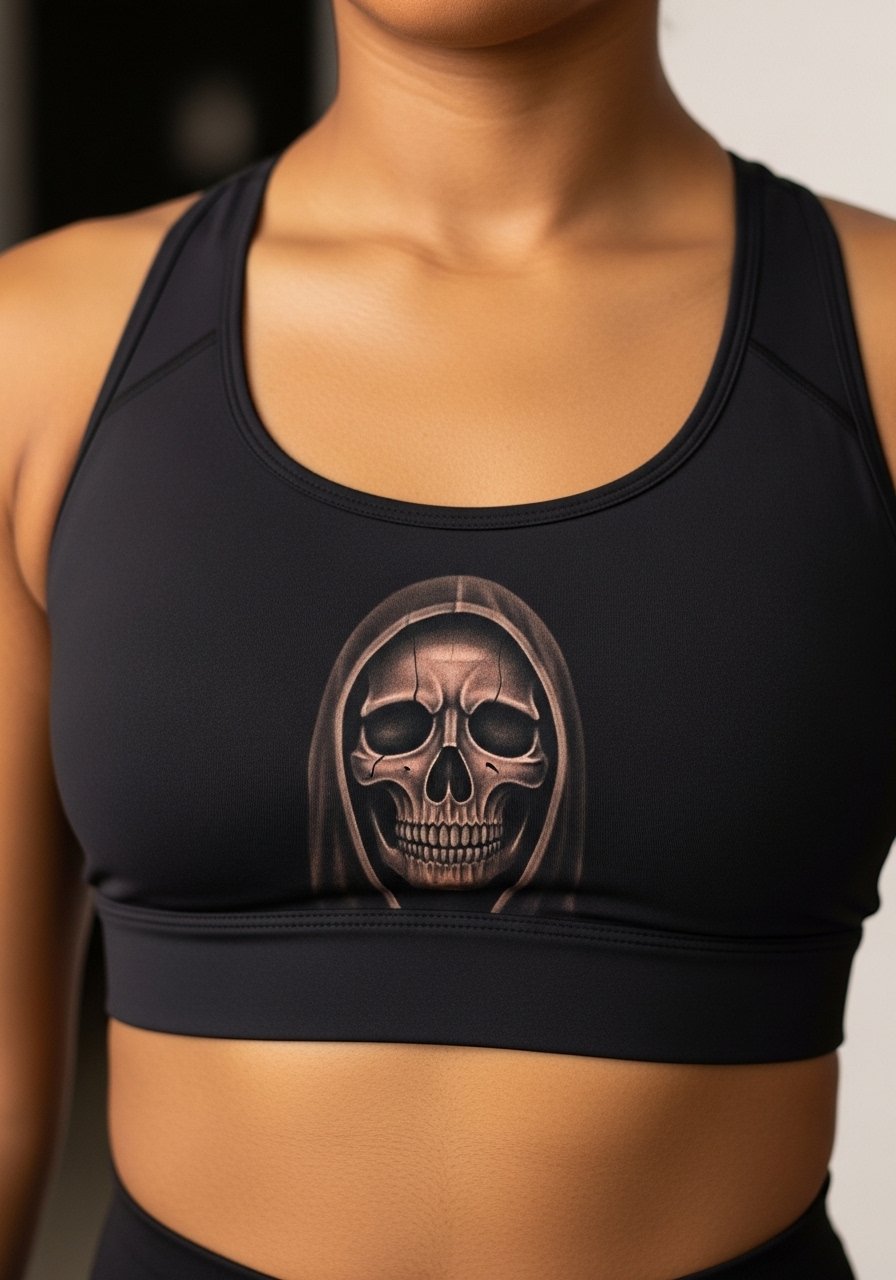
Ribcage realism can look cinematic, but it touches a live controversy. One group of artists cautions that the ribs stretch and cause fine line realism to blur quickly. The other group argues that with correct needle depth and spacing realism holds up well on ribs. My recommendation is to request slightly wider transitions in shaded areas and to schedule a touch-up at the six to twelve month mark if you want photographic depth. Ribs are a high pain zone, so plan for numbing options if you anticipate a long session and bring a calm breathing plan.
13. Patchwork Starter Grim Reaper, Upper Arm for Future Sleeve
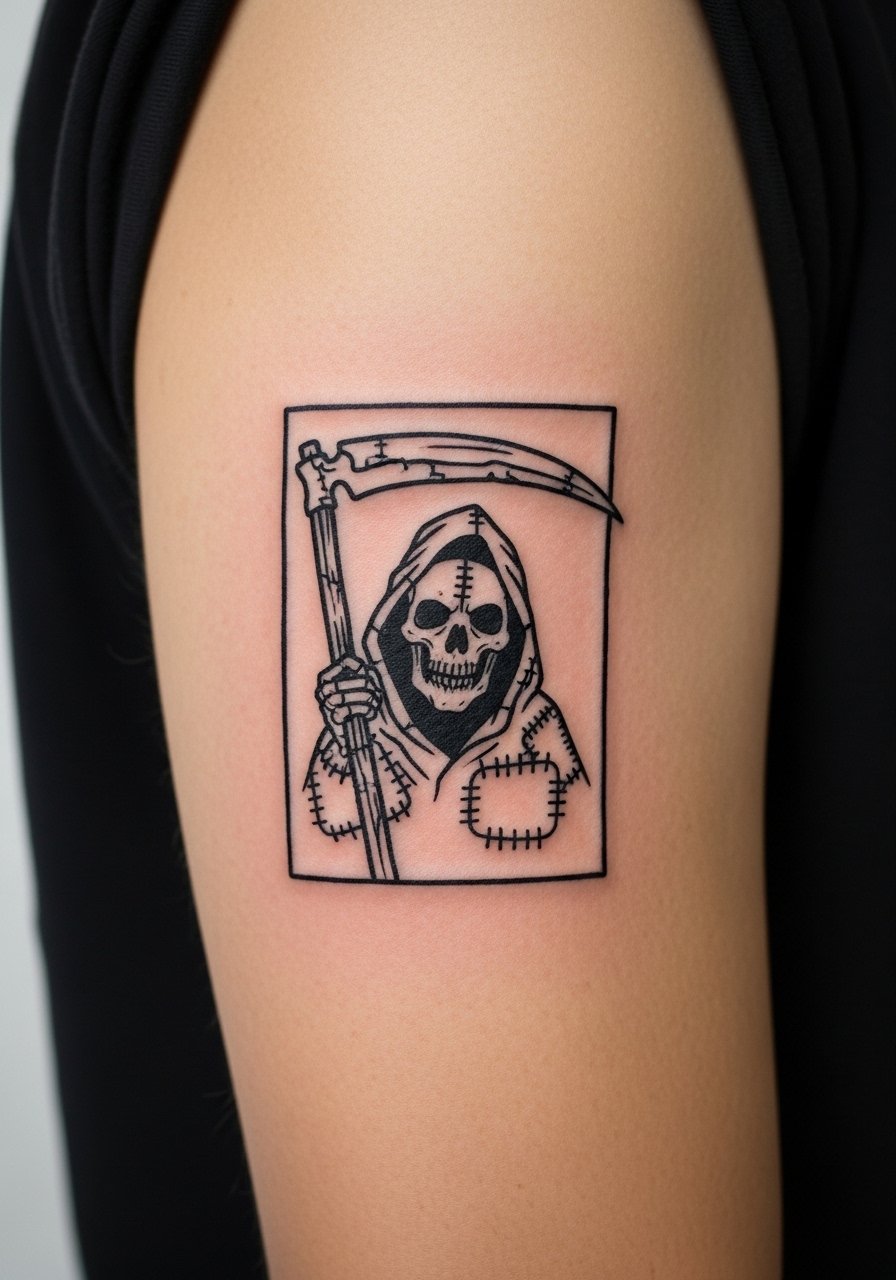
If you want to build toward a horror sleeve later, treat this reaper as a patch you can link into storylines. Start with clear edges and a silhouette that can be extended without reworking the central motif. The mistake is making the starter piece too soft so later additions look tacked on. Discuss future color palette and negative space with your artist so subsequent pieces sit comfortably around the reaper. Upper arm placement gives you room to expand while keeping the starter discreet.
14. Collarbone Reaper with Illusory Hood Drape for 3D Pop
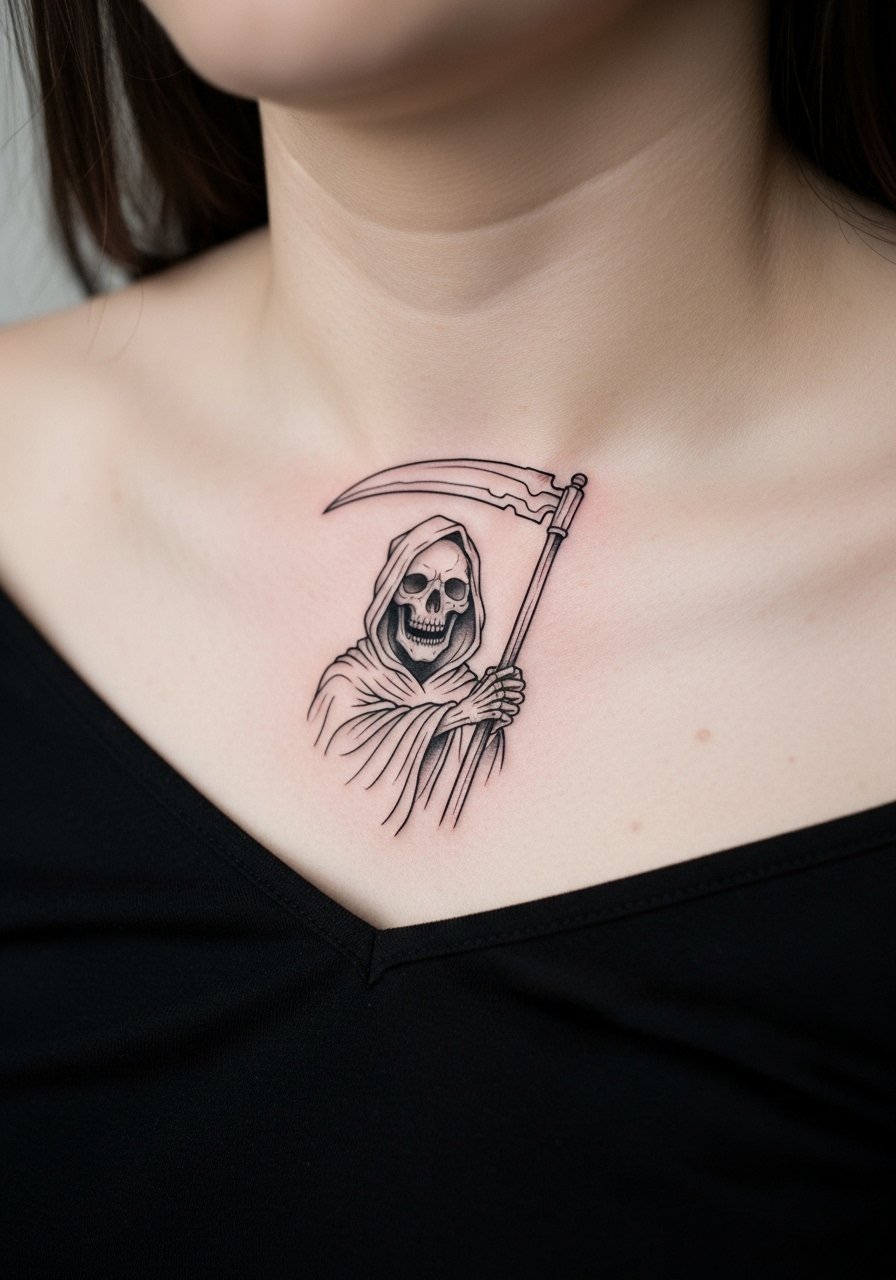
This collarbone variant uses shadowing that mimics fabric fall so the hood appears to lift off the skin. Request shading that follows the collarbone contour and avoid tiny cross-hatching near the neckline. The result gives depth without relying on heavy color, which helps preserve the delicate aesthetic. The collarbone area can show small movement lines from breathing, so ask for slightly broader shadow planes that read at multiple distances.
15. Micro Grim Reaper with Constellation Dots, Ankle Pairing
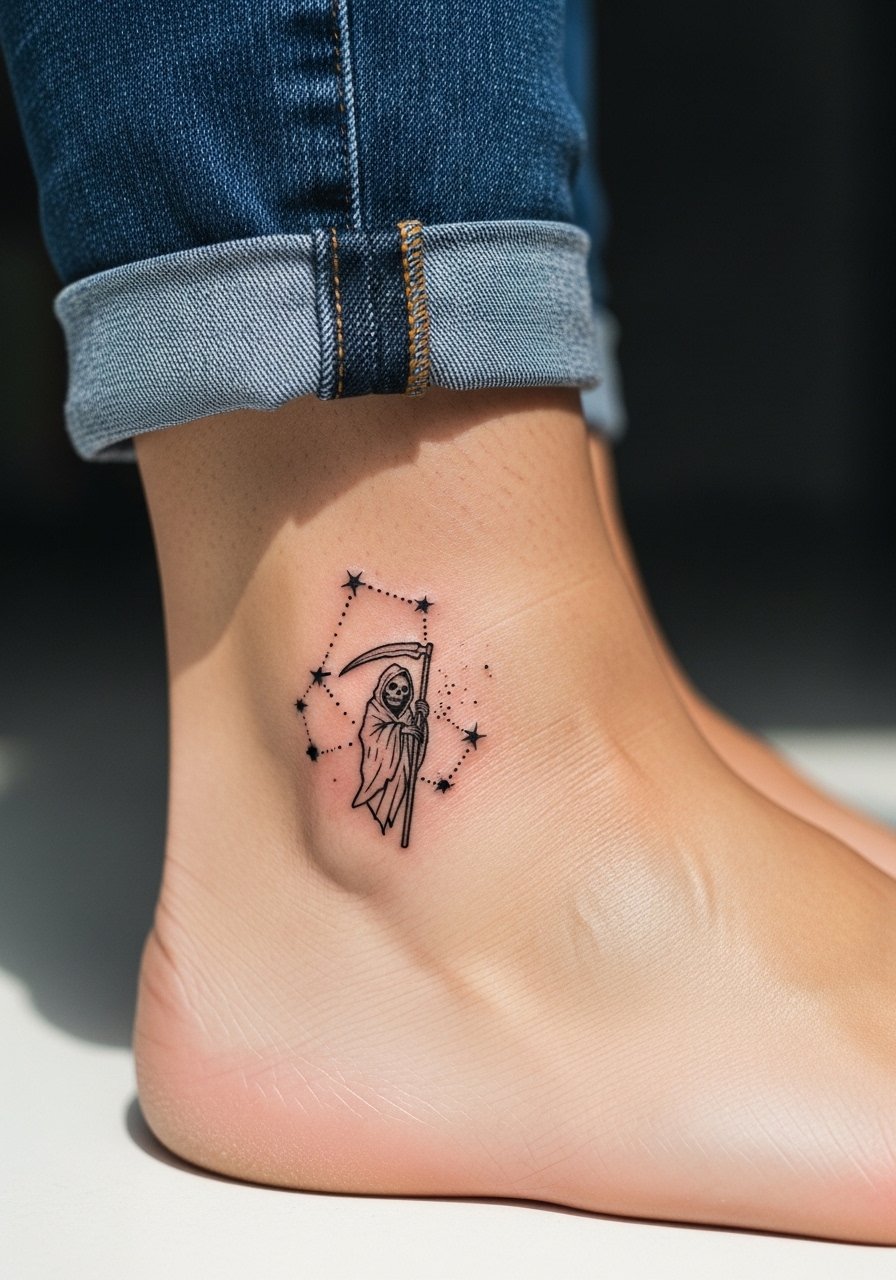
Pairing micro imagery with a constellation of dots gives a small piece narrative without expanding footprint. Ankle placements face constant friction from socks and shoe collars, so plan for protective bandaging and expect a gentle fade along the edges. Keep the core reaper as simple negative space and use dots for the constellation rather than thin lines, which hold better on small scales. A quick single-session cap usually works for a one inch design, but check touch-up needs at the one year mark.
16. Dark Skin Optimized Grim Reaper Using Dotwork Shading, Outer Arm
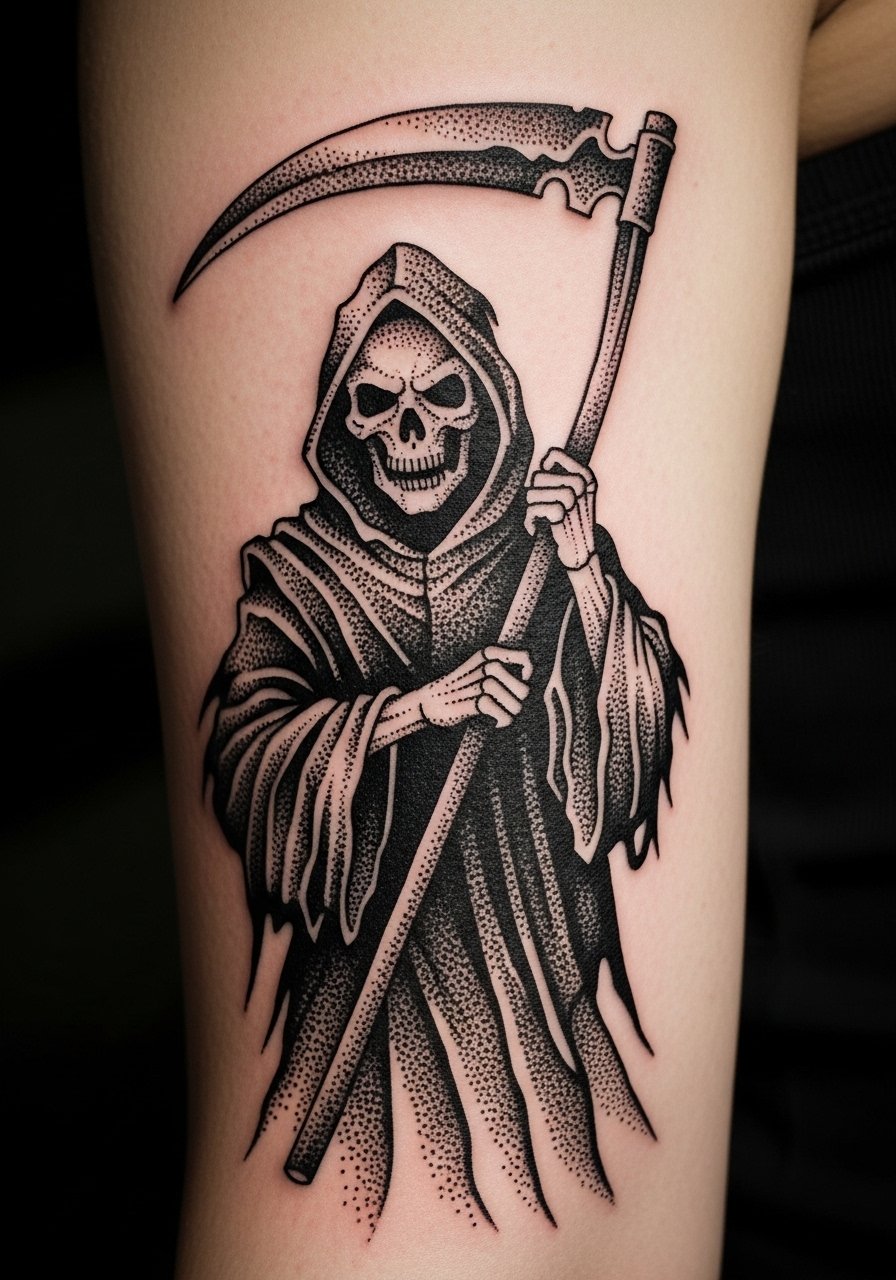
I hear from darker-skinned clients that contrast matters more than color variety. For dark skin, prioritize heavy black silhouettes and stipple or whip shading to create depth without relying on subtle pastels that may vanish. One mistake is asking for low-contrast mid-tones and expecting them to pop. Ask your artist for a compact silhouette with rich negative space and test a small patch if you are uncertain how a specific shade will settle. Use style hashtags and artist directories that list blackwork specialization when searching for someone comfortable with contrast work.
17. Placement Advice for Arm Shape and Body Changes
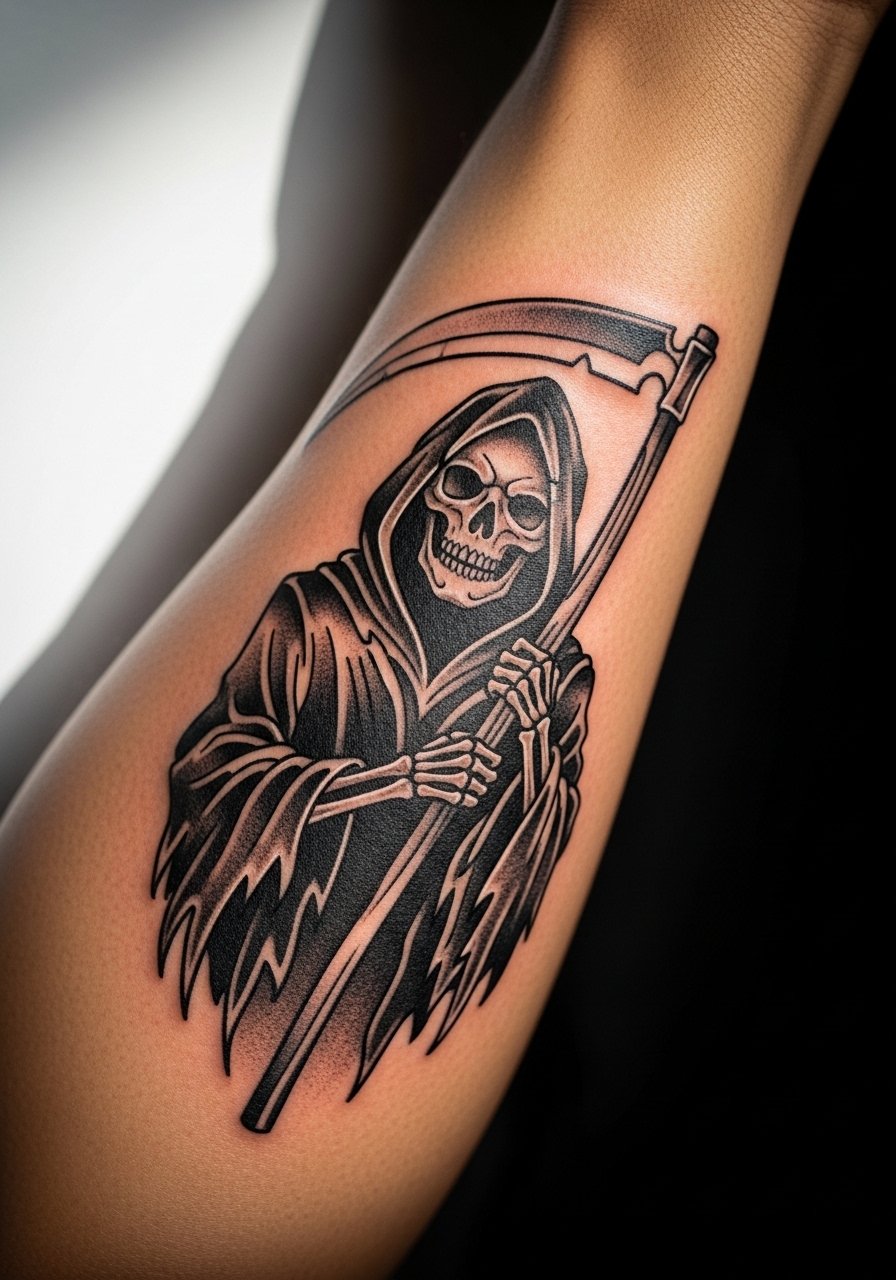
Body changes can alter how a forearm or thigh piece reads years later. If you have concerns about future weight fluctuations, prefer placements with less soft tissue movement such as the outer thigh or ribcage rather than the inner forearm. The common regret I see is choosing a forearm miniature without considering how a bicep expansion might distort proportions. When you consult, ask the artist to map the design on the skin in both relaxed and flexed positions so you see how the contours shift. Planning for a slightly larger original scale reduces the risk of looking cramped after body changes.
Frequently Asked Questions
Q: Will fine line grim reapers blur faster than neo-traditional or blackwork styles?
A: Fine line typically needs more frequent touch-ups than saturated neo-traditional or blackwork pieces because the single-needle channels sit more shallowly and can soften with time. Expect to revisit delicate work around year one to three depending on placement and sun exposure. If you want longevity, ask for slightly reinforced primary outlines at your consultation.
Q: I have darker skin. Which cute grim reaper styles read best and what should I tell my artist?
A: On darker skin, high-contrast black silhouettes, strong outlines, and stipple shading often read best. Tell your artist you prefer dense black fills and dot work rather than pale pastels. Consider testing a small patch or viewing healed examples on similar skin tones through hashtags and portfolios on platforms that let you filter by style.
Q: Is Saniderm or dry healing better for wrist and finger reapers?
A: Artists and communities divide into two camps. One group favors protective film like Saniderm for the first 48 to 72 hours to protect fine line bits from friction. The other group prefers dry healing to encourage proper scab formation and avoid trapped moisture. The right choice depends on your artist’s technique and your daily routine, so ask them which method they recommend for small wrist or finger work.
Q: How should I dress for a ribcage realism session to stay comfortable and give the artist access?
A: Wear a fitted sports bra or a crop top you can lift without shifting the whole garment. A high waist sports bra gives the artist a clean window on the ribs and keeps you warm between passes. Bring a loose hoodie to stay cozy during breaks.
Q: What is the realistic touch-up timeline for micro and watercolor reapers?
A: Micro details commonly need a touch-up within one to two years, especially on high-friction spots. Watercolor pieces often benefit from color refreshes at year two to four depending on sun exposure and skin type. Plan brief touch-up sessions rather than assuming no maintenance.
Q: My artist canceled twice and I’m worried about seasonality and aftercare. Any practical tips?
A: Require clear deposit and cancellation terms when booking so you avoid last-minute gaps, and have one local backup artist flagged via hashtags or app searches. For summer sessions, plan healing around cooler schedules and avoid heavy sweat during the first two weeks to reduce color migration risk.
Q: Can small grim reaper pieces be integrated later into a sleeve without reworking the original?
A: Yes if the starter piece has clear edges and a silhouette sized to accommodate expansion. Discuss future color palette and negative space with your artist so subsequent additions flow naturally. Mapping the sleeve idea during the first consultation avoids surprises later.
