
Fine line styles are trending online, but they do not always hold up the way people expect. The pieces that still read crisp at year five are usually the ones with room between details, deliberate spacing, and slightly bolder anchors. Below are 21 Bugs Bunny takes that balance charm with longevity, with notes on placement, what to ask your artist, and simple wardrobe choices to show them off.
1. Fine-Line Bugs Portrait on Inner Forearm
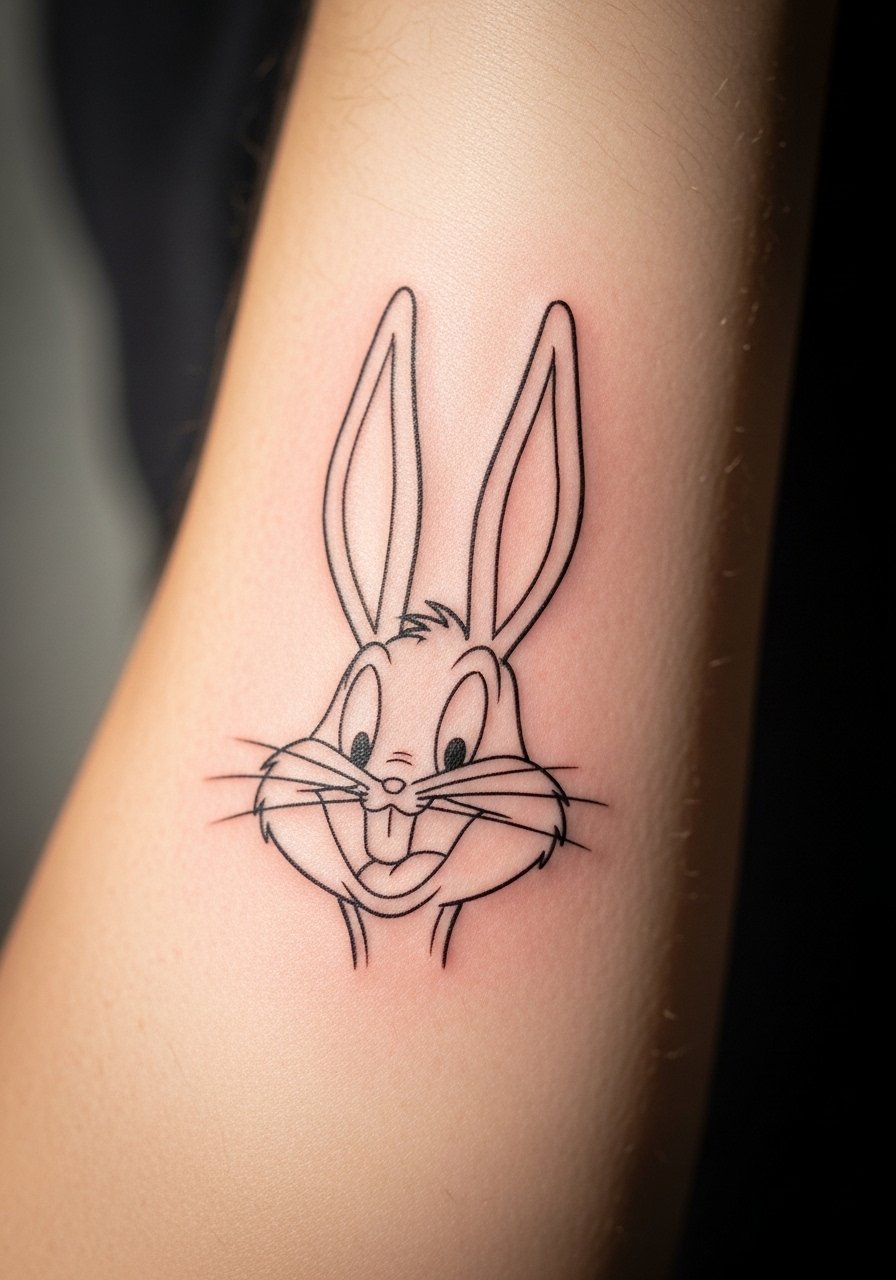
I've seen fine-line character portraits last when the artist uses slightly heavier primary contours and leaves negative space around facial details. This placement is great if you want a visible piece that can be covered with long sleeves. Mention during consultation that you want "anchor lines" around the main features so the whiskers and eyes do not merge over time. Fair warning, inner forearm can show blowout sooner if needles are pushed too deep, so ask about the needle depth and touch-up policy. For the session, wear a loose button-down shirt you can pull aside so the artist has clear access and you stay comfortable.
2. Tiny Micro Bugs Behind the Ankle
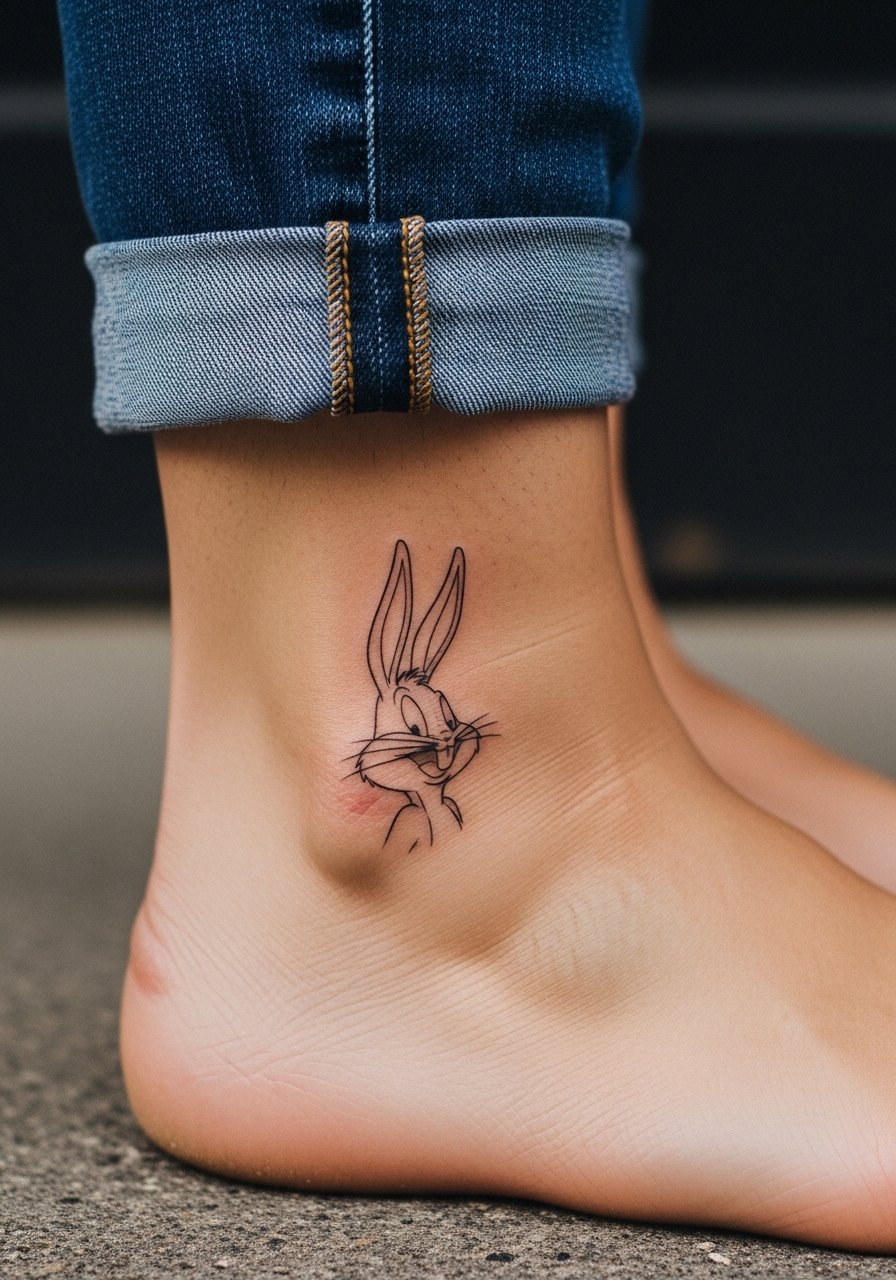
This tiny idea reads playful and low-commitment. It's an option for someone who wants a discreet nod to the character without a large canvas. The ankle sees friction from shoes and socks, so the common mistake is going too small with super-thin lines. Ask for slightly bolder single-line outlines and expect a touch-up window at year one to two. The session is quick and tolerable for most people. For showing it off, a pair of ankle sandals or cropped jeans works well and keeps the tattoo visible without constant friction.
3. Neo-Traditional Bugs with Carrot on Outer Bicep
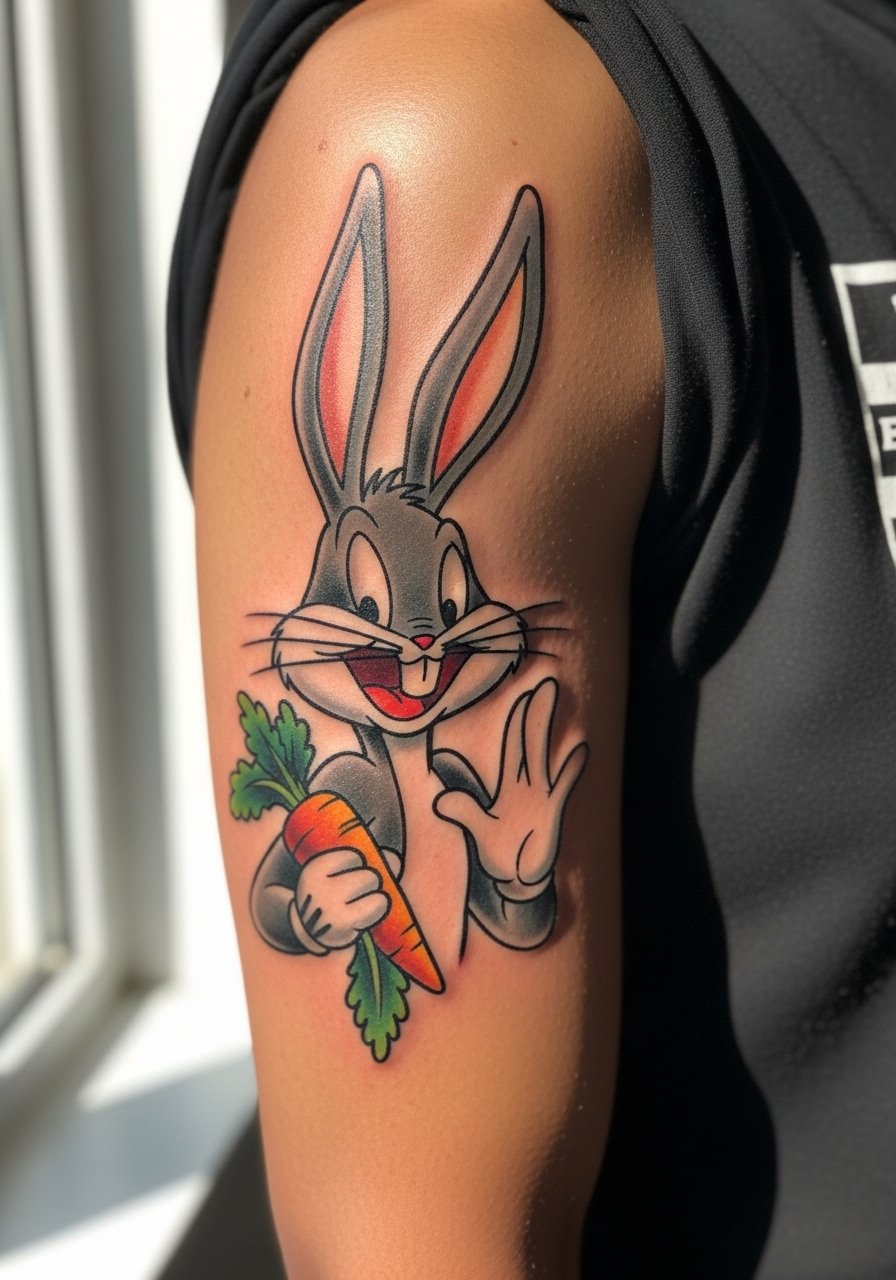
There is something about saturated neo-traditional color that ages into a readable statement from across the room. For the outer bicep, ask your artist for solid saturation and strong outlines around the carrot and ears, and avoid tiny stipple within the main silhouette. The bicep is forgiving on blowout but moves with the muscle, so mention you want the design set to sit well when your arm is relaxed and when flexed. Expect a one to two hour session depending on size. Pair this piece with sleeveless tops like a racerback tank when you want to show the color.
4. Watercolor Splash Bugs on Upper Thigh
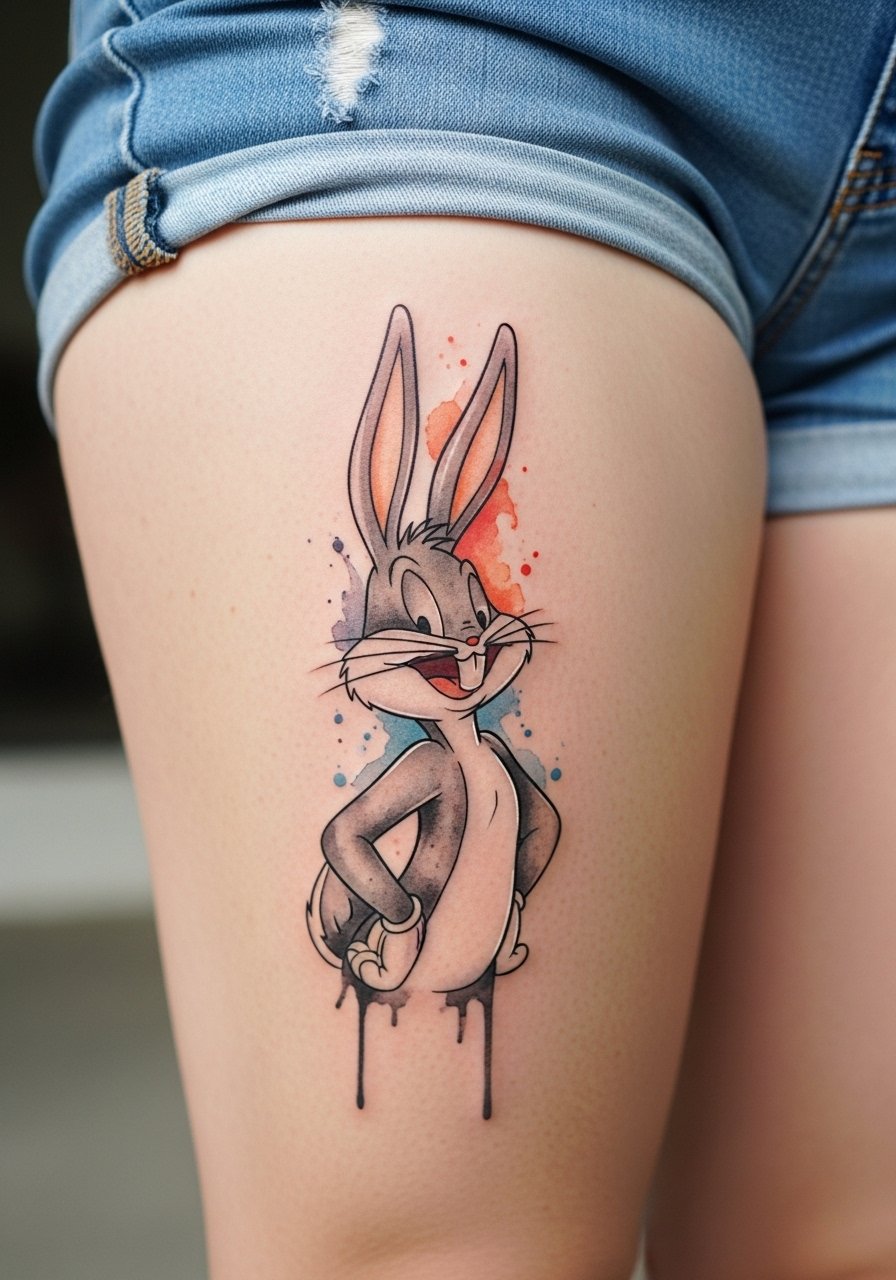
Watercolor effects give a playful, painterly feel but tend to diffuse more than bold color blocks. For the thigh, ask for watercolor washes kept outside a crisp linework core so the character retains structure as the pigments soften. Thigh skin holds color well and is low on blowout risk, but heavy rubbing from tight clothing can fade washes faster. Sessions here are comfortable if you wear loose bottoms. Show-off pairing is high-waisted shorts or a high waisted short that frames the piece without pinching the area while it heals.
5. Chibi-Style Bugs on Calf
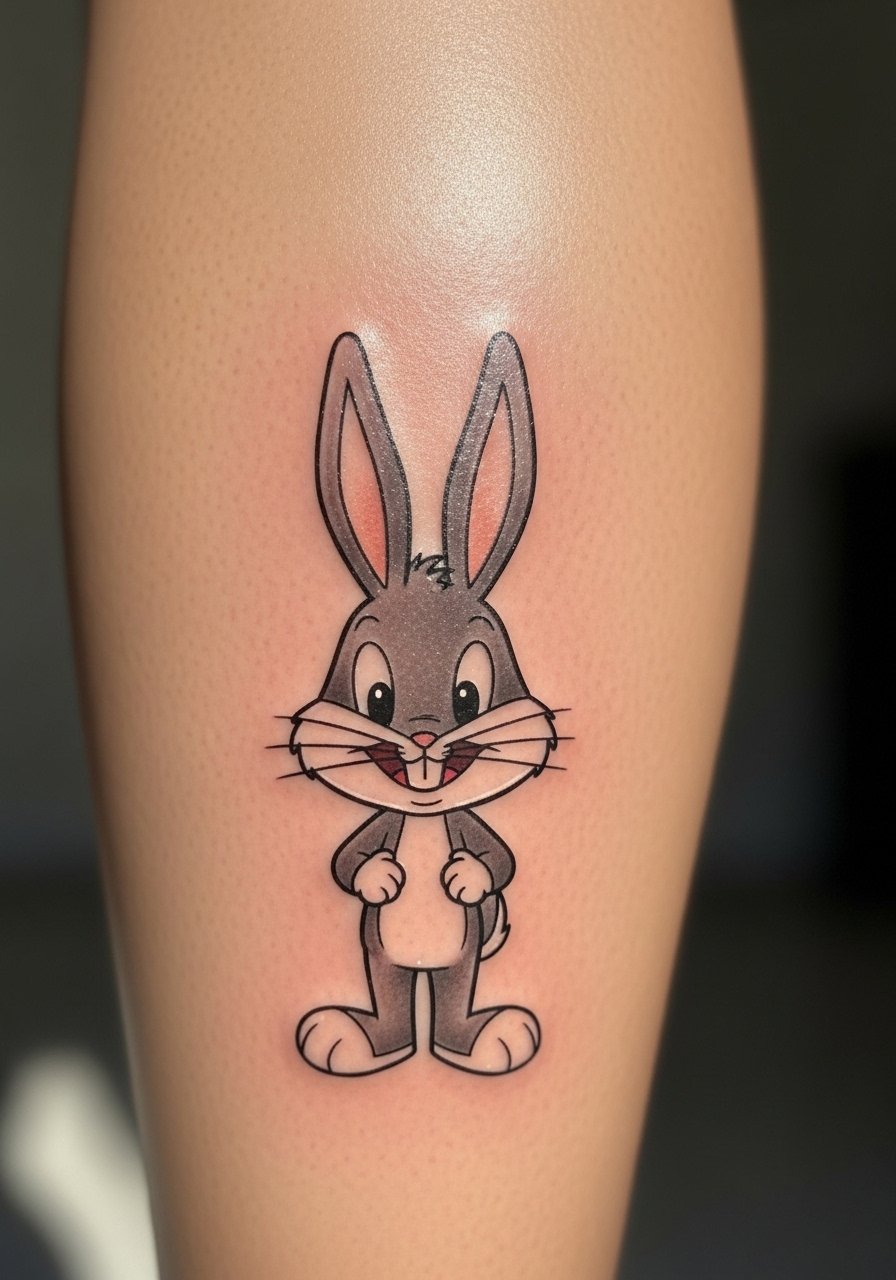
Calf placement is forgiving for size and detail. A chibi approach with rounded features and solid color blocks will keep the silhouette readable even after a few years. Common mistakes include packing too many tiny facial strokes into a small space, which can look muddy later. Tell your artist you want simplified facial anchors and a bold shadow under the feet to separate the character from the skin. The session feels moderate for most people. Pair this with rolled pants and ankle boots or a loose drawstring linen pant during recovery so the area gets air without rubbing.
6. Tiny Silhouette Bugs at Nape of Neck
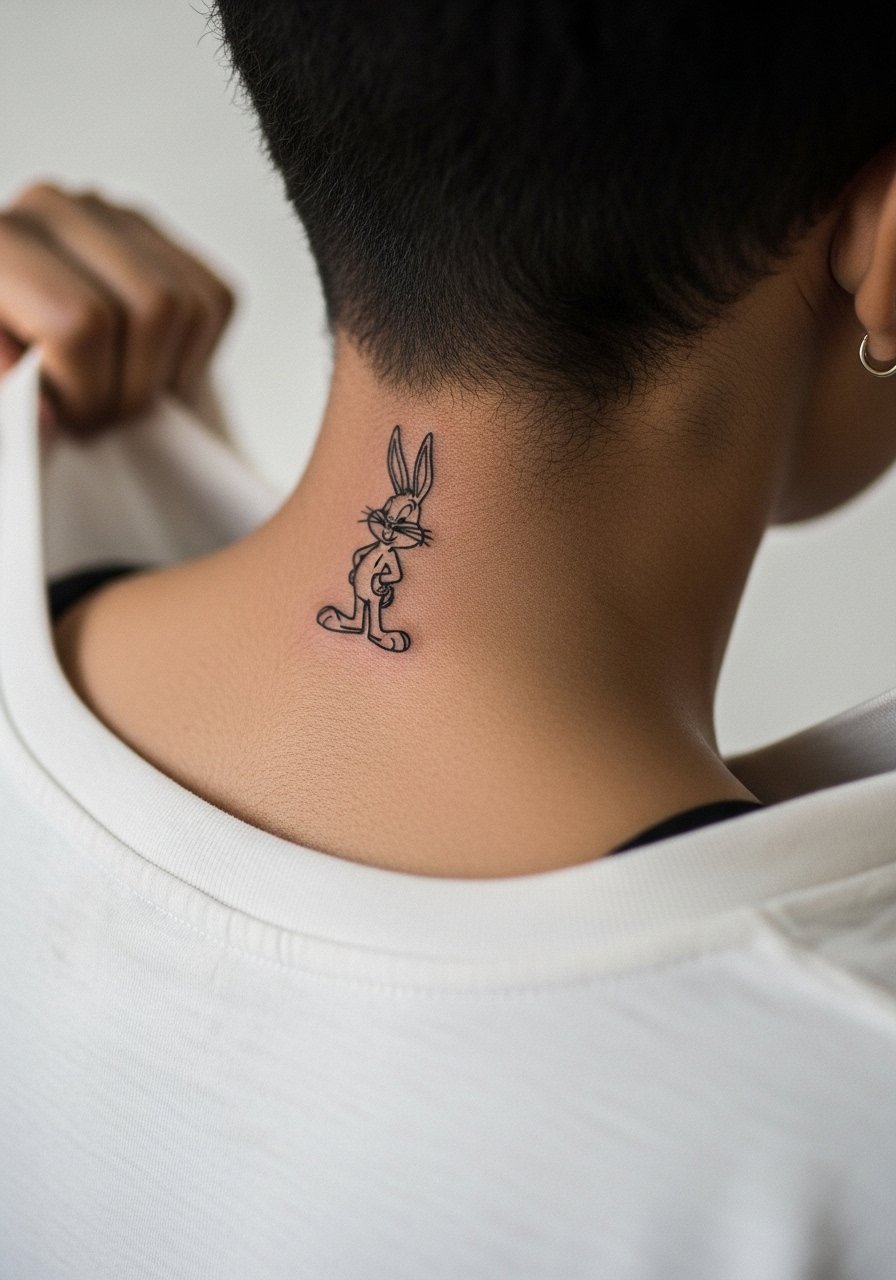
This spot reads like a secret for people who wear their hair up. Neck placements split opinions because visibility interacts with employment concerns. One camp warns that neck tattoos can impact hiring decisions in formal industries. The other camp says tasteful small pieces are increasingly accepted. Name both up front and decide based on your career path. The nape is small and quick but requires an artist experienced with shallow line depth to avoid early blowout. For the session, wear a wide-neck shirt you can shift easily so only the nape is exposed.
7. Scripted "What's Up Doc" Collarbone Tag
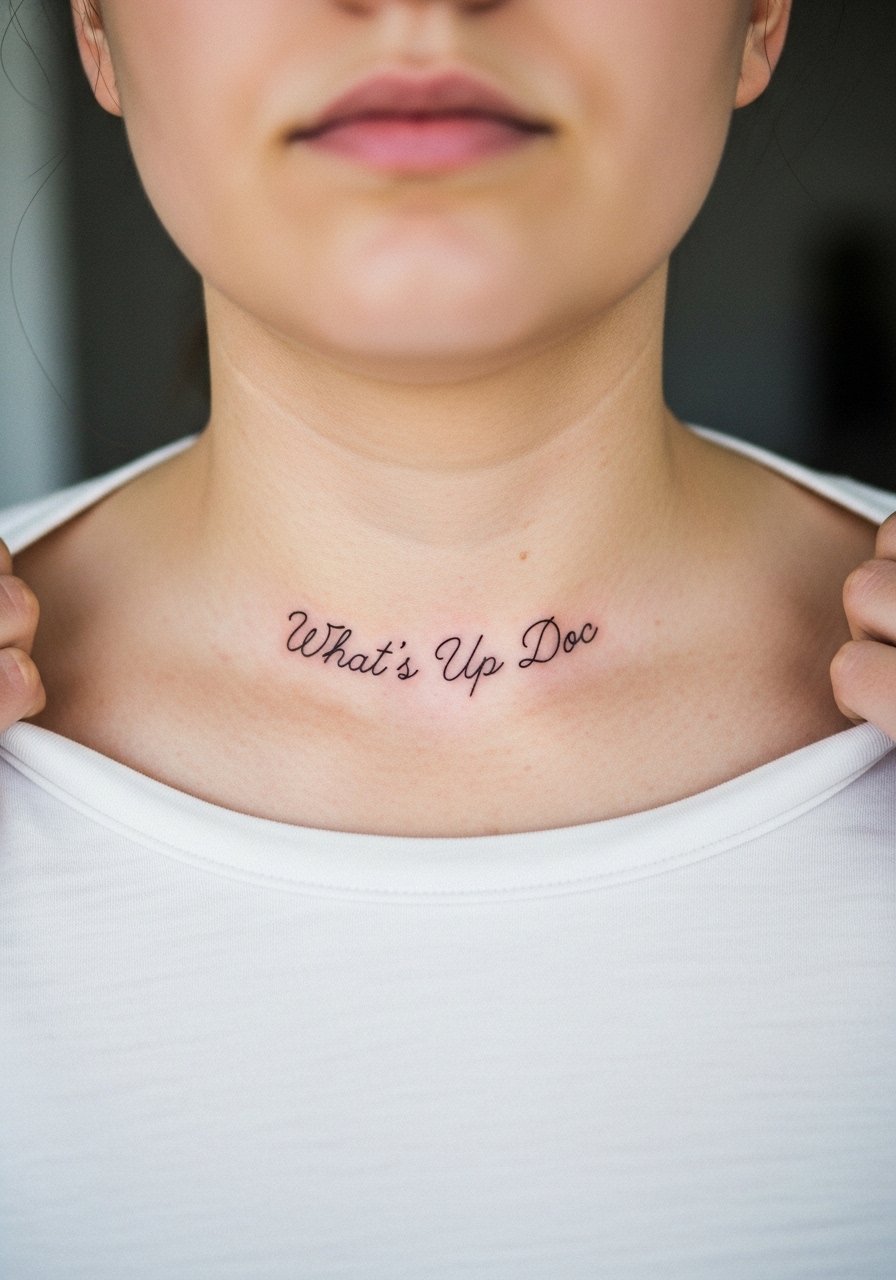
A short script brings humor and a vintage feel when done in the right hand. Collarbone skin moves and can distort tight lettering, so the mistake is requesting very thin cursive that lacks spacing. Tell your artist you want slightly increased letter spacing and a low-contrast ink weight so the phrase reads after healing. This placement can sting more than the arm but sessions are short. Pair with open-neck tops like an open-neck blouse to frame the script without competing jewelry.
8. Ribcage Full-Character Silhouette
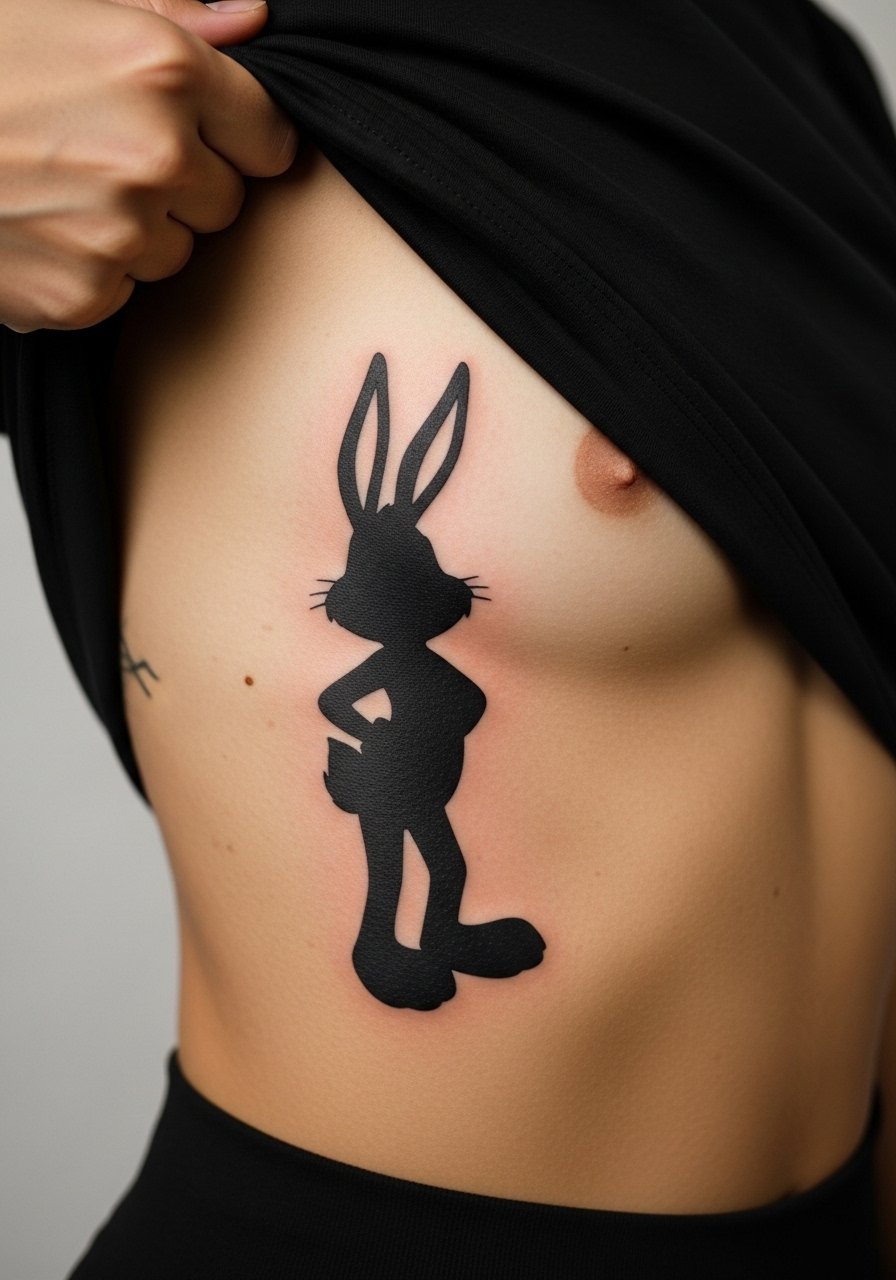
Fine line work on the ribs is a real controversy. One camp argues that the skin stretch and constant movement blur fine lines within two years. The other camp says that with correct needle depth and spacing, detailed ribs settle well. Name both views during your consult and ask the artist which side they fit into. For a silhouette approach, you reduce the risk by using bold shapes rather than tiny internal lines. Sessions on the ribs are among the most painful, so plan longer breaks and a calm schedule. Wear a cropped top you can lift for access.
9. Behind-the-Ear Tiny Bugs Outline
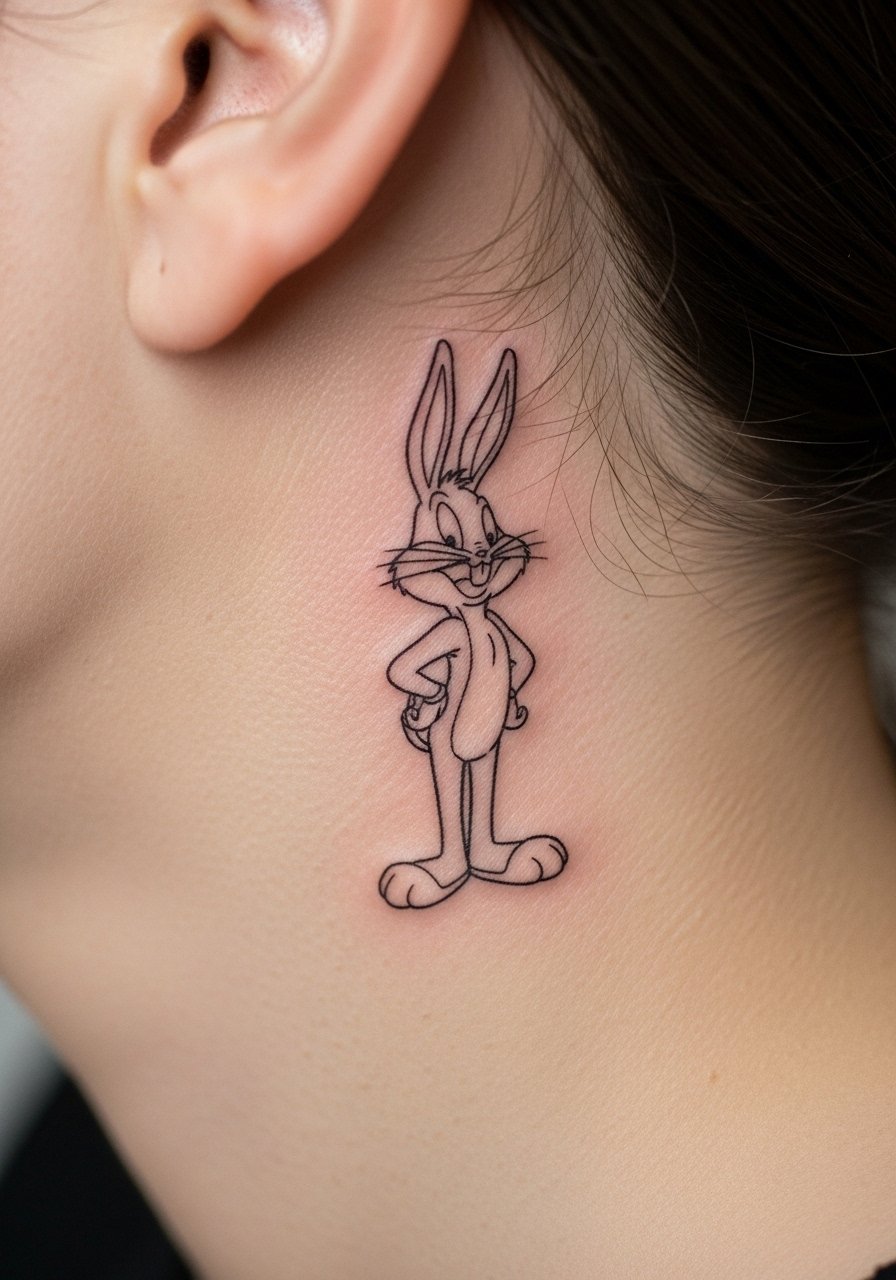
This ultra-small placement reads like a wink when hair is up. The skin here is thin and the main risk is migrating pigment if needles go too deep. Request a shallow approach and be prepared for a small touch-up as the area heals. Sessions are quick but need careful stencil placement to avoid cropping the character awkwardly. For the appointment, wear a hairstyle you can pin up or a hair claw clip so the artist has clear access without tugging at hair.
10. Hand-Edge Bugs Peeking Over Knuckle
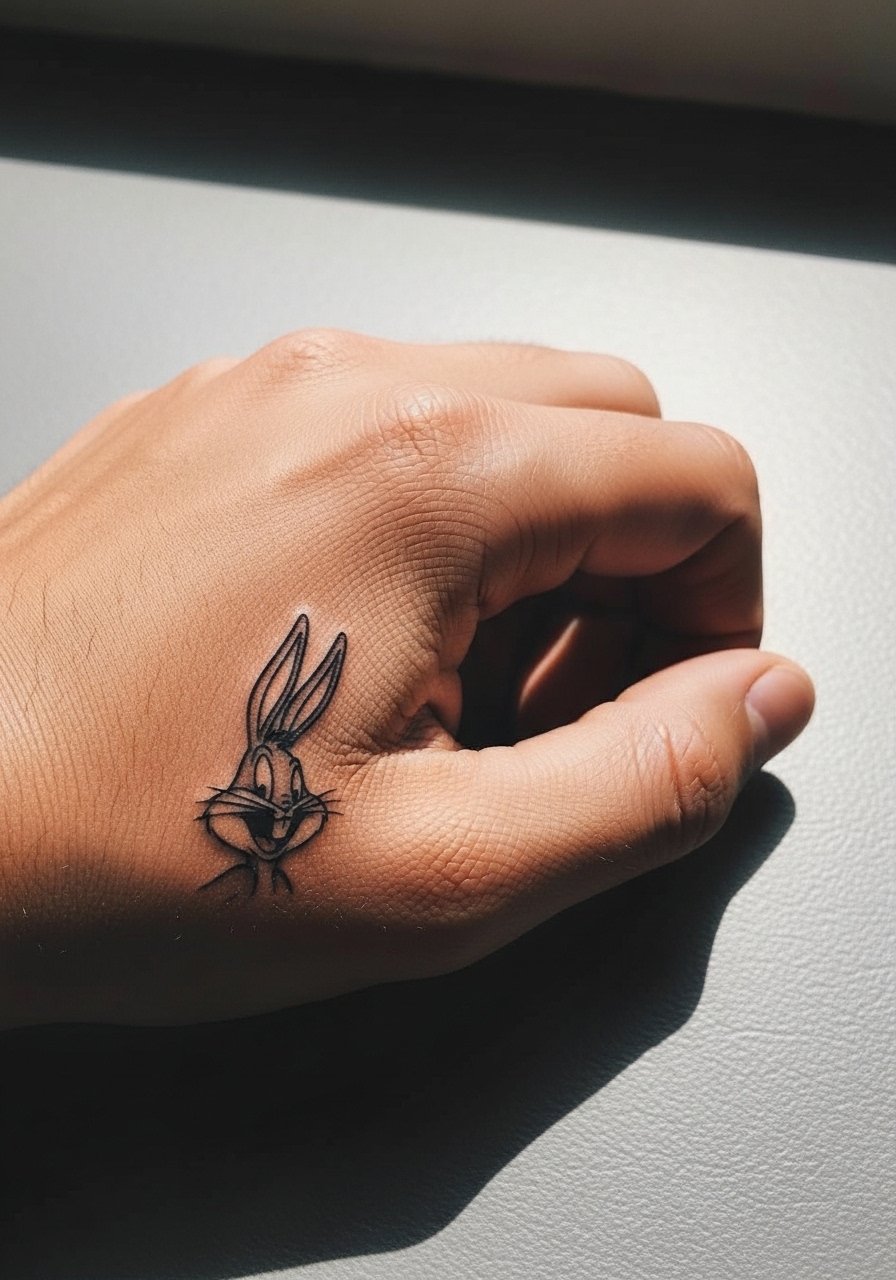
Hand and knuckle tattoos are visible and fade faster due to washing and constant friction. One practical issue is career visibility, so think about professional implications before committing. The common mistake is asking for extremely fine details that disappear within months. If you want a knuckle piece, ask for bolder outlines and accept that touch-ups will be part of the long-term plan. The session is quick but the healing week requires extra care. For showing it off, minimalist stacked rings help draw attention without crowding the tiny design.
11. Shoulder Blade Bugs in Floral Wreath
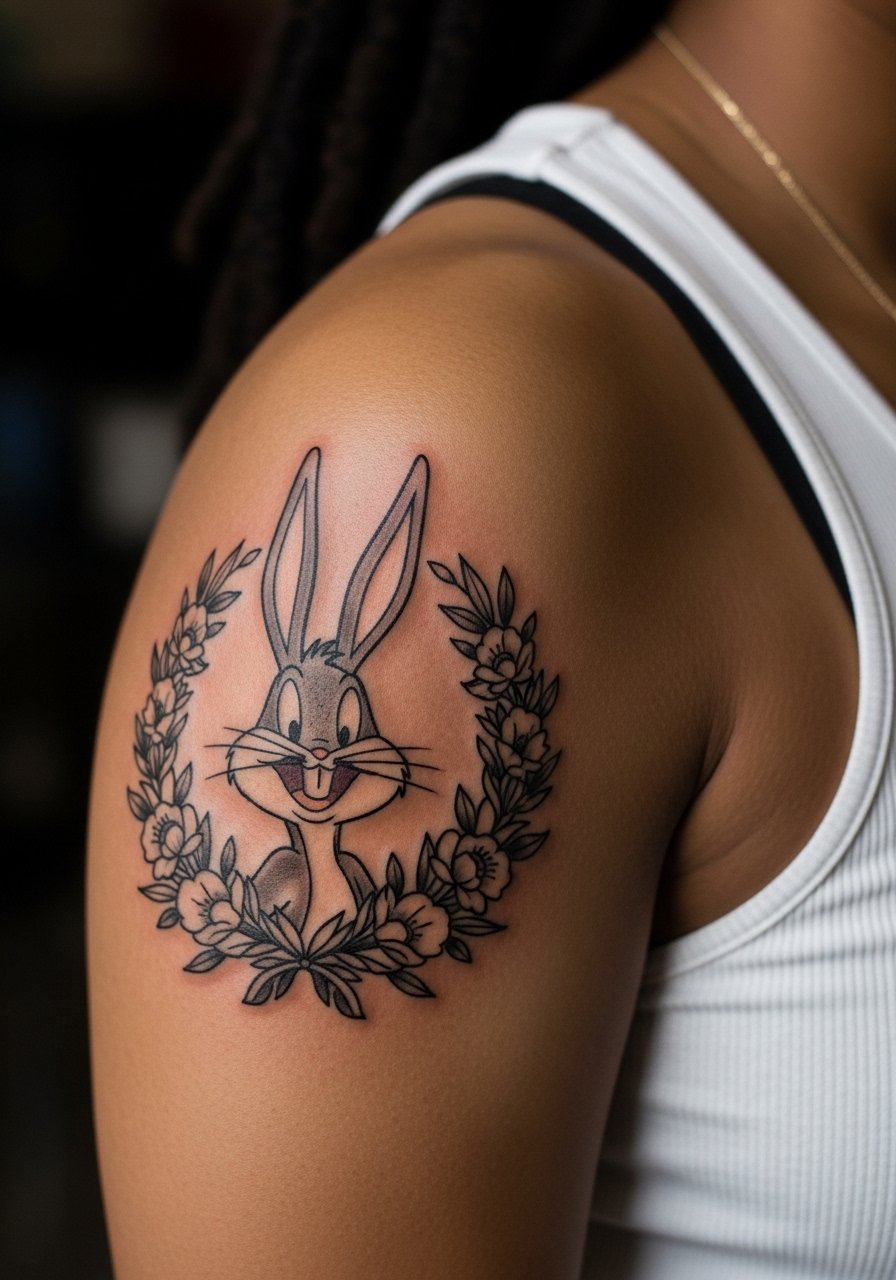
The shoulder blade is ideal for medium-scale decorative pieces. A wreath frames the character and gives breathing space so the face and ears do not crowd each other. Tell your artist you want negative space between the wreath petals and the bunny so the subject does not lose clarity after a few years. This area heals well and is low on blowout risk. For the session, wear a loose tank top you can pull aside so the artist can work comfortably.
12. Minimalist Bugs on Inner Wrist
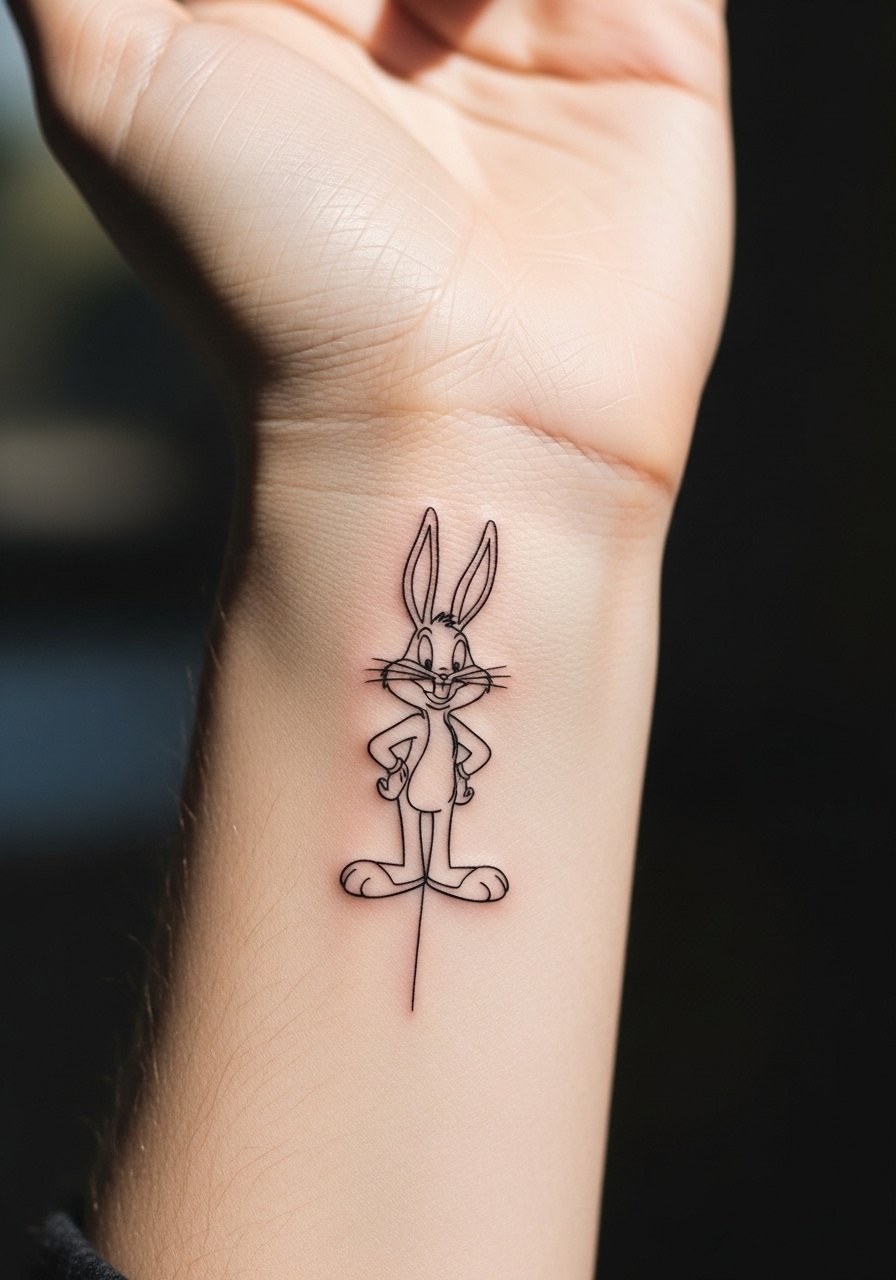
The inner wrist is a show-off spot that also endures lots of sun and movement. The mistake is requesting micro detail in a tiny wrist area with no room for future blurring. Ask for a slightly thicker contour and request UV-safe sunscreen after the healing window. Expect a touch-up at year two depending on sun exposure. The session feels brief but the area is sensitive. For the appointment, wearing a thin chain bracelet is fine afterwards but avoid tight bands while healing.
13. Classic Rubber-Hose Vintage Bugs on Upper Arm
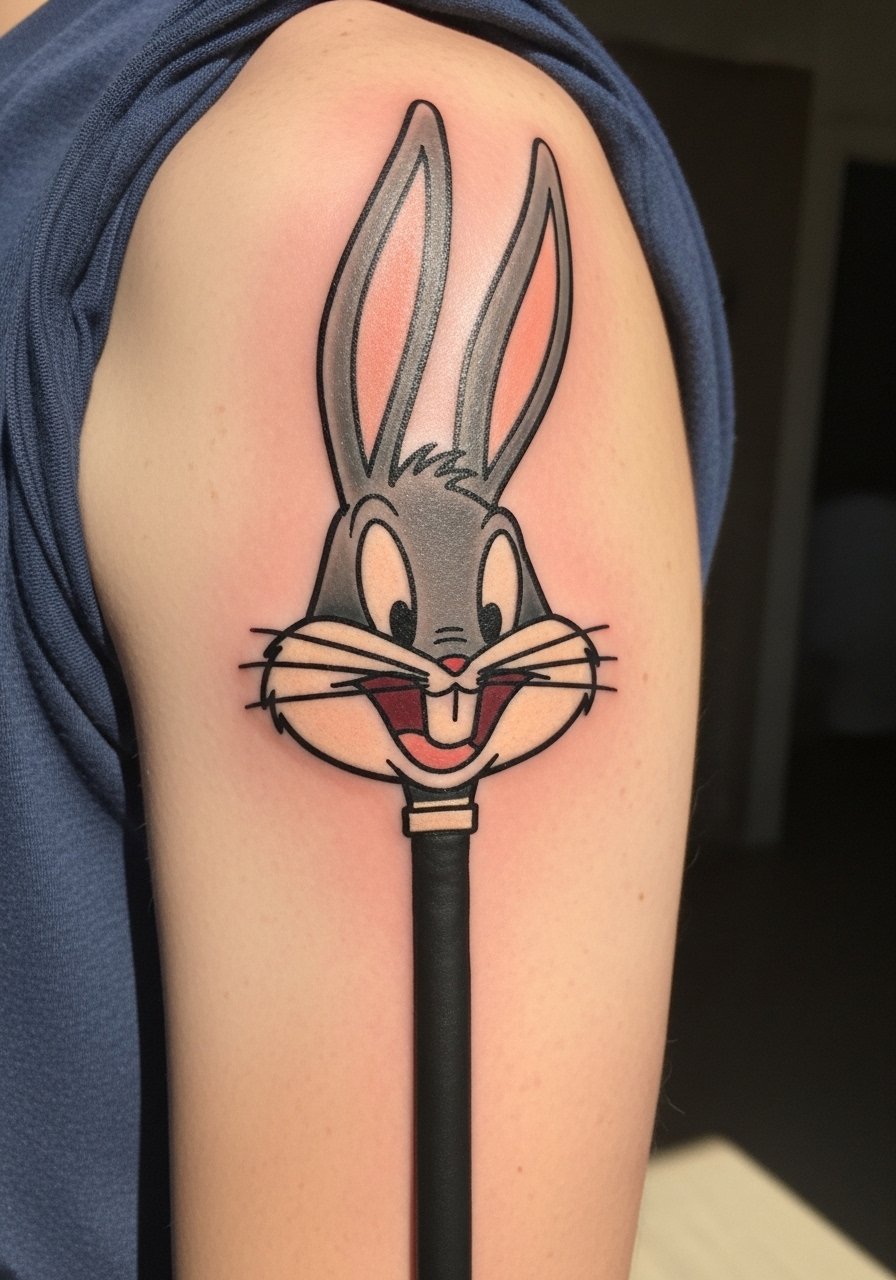
A vintage cartoon approach uses simpler shapes that age gracefully. Classic thick outlines and saturated fills keep the design legible for years. For the upper arm, tell your artist you want that 1930s line weight and a matte color palette. This placement handles larger areas and longer sessions without much discomfort. Pair with sleeveless shirts or a muscle tank top when you want to display the retro vibe.
14. Tiny Blackwork Bugs on Index Finger Side
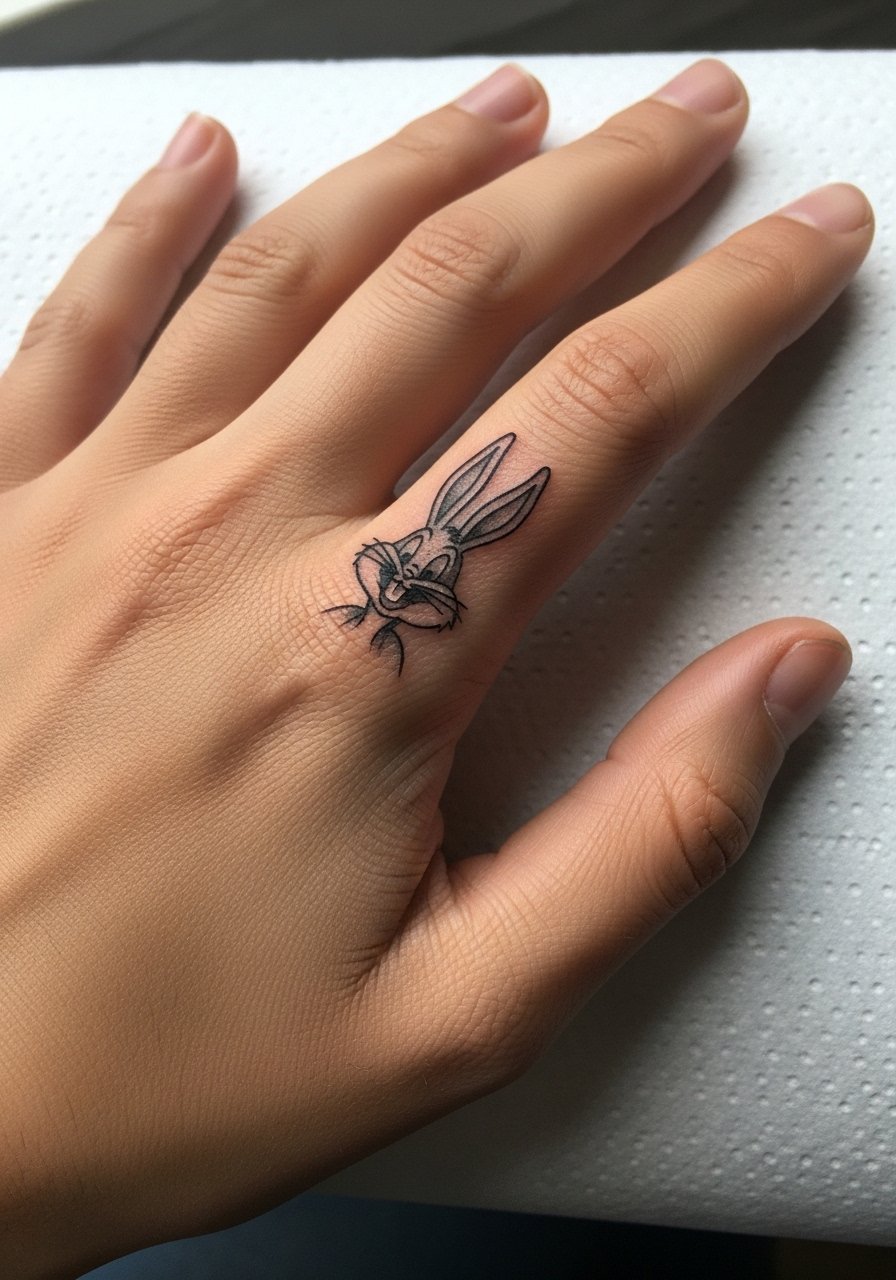
Finger tattoos are notorious for fading and requiring frequent touch-ups. The most common error is asking for shaded gradients on such a thin canvas. Blackwork silhouettes with clean, bold edges last longest. Be frank with your artist about the likely maintenance schedule. Sessions are short but expect the area to lighten within the first year. Keep in mind that daily tasks accelerate fading. For showing off, a slim minimalist ring sits nearby without stealing attention.
15. Bugs Holding a Bouquet on Sternum
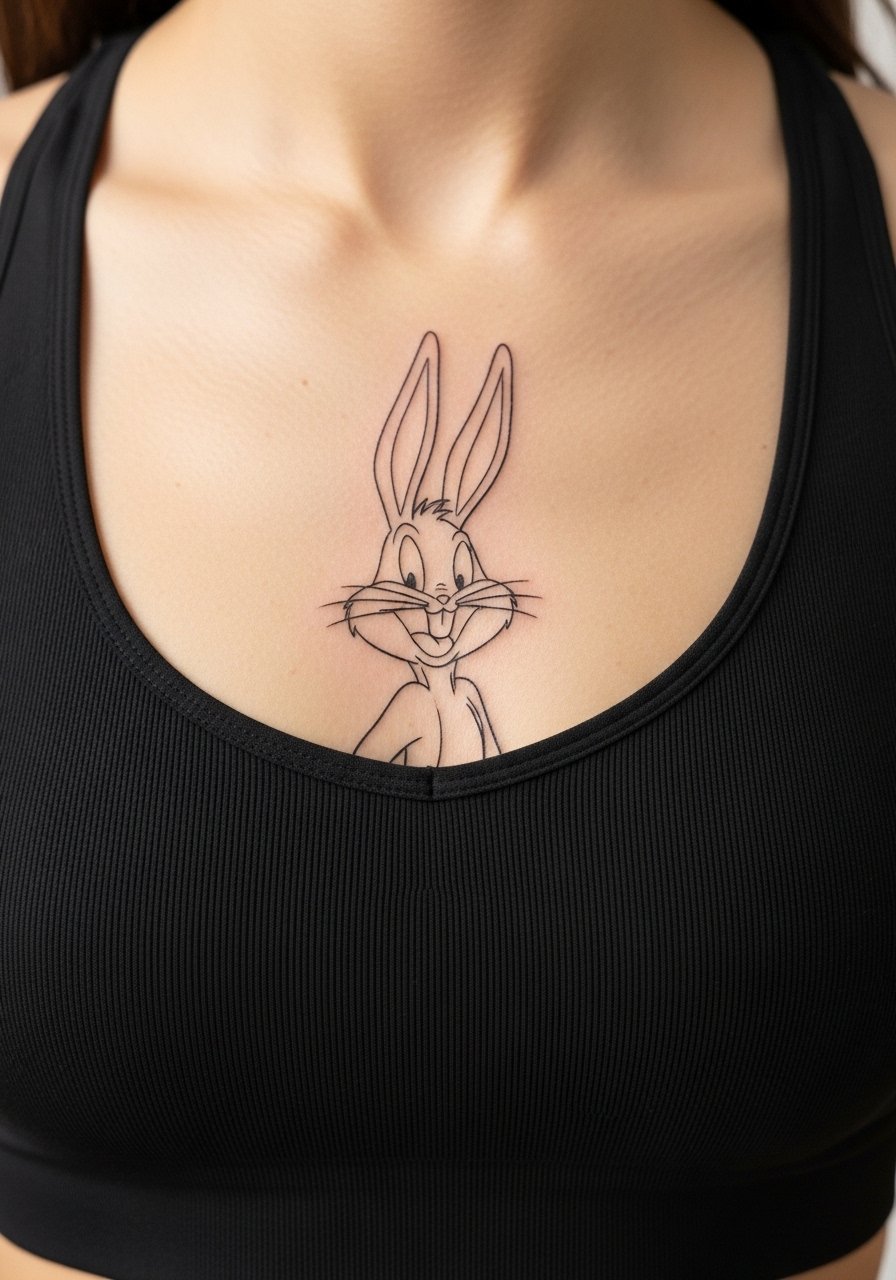
Sternum pieces can be intimate and striking. The skin here moves a lot and the main mistake is packing in too much micro detail in a thin area. For a bouquet motif, ask the artist to use bold floral anchors around the central figure so details do not merge. Expect higher discomfort and longer session breaks. For the appointment, a fitted sports bra is the best option so you can lift and shift fabric without exposing more than the tattoo zone.
16. Blackwork Noir Bugs on Inner Bicep
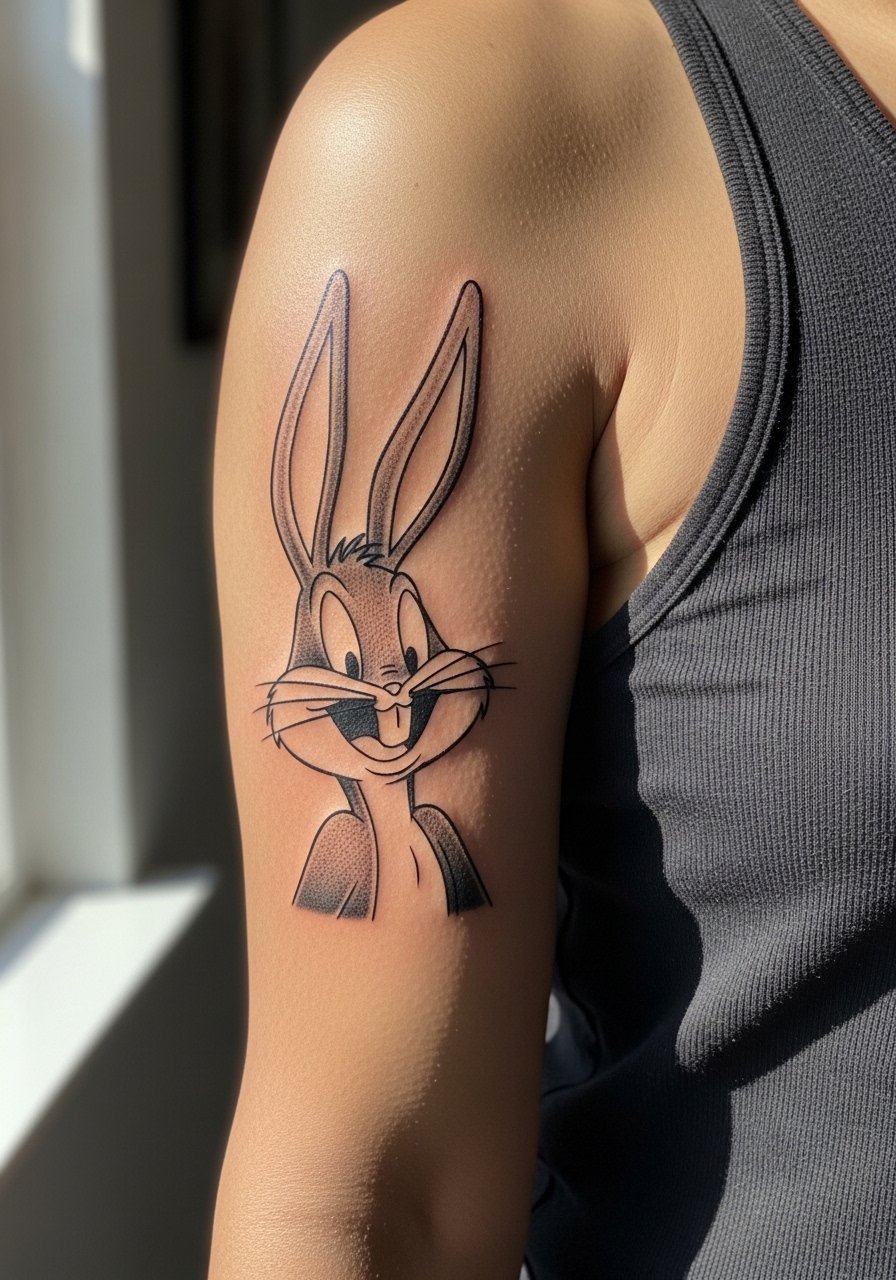
Inner bicep placements allow for bold black fills with minimal blowout risk if the artist spaces lines appropriately. The inner arm skin is softer so the wrong needle pressure leads to feathering. Tell your artist you want solid fills and crisp borders. Sessions can feel more tender because of the skin sensitivity. For session wear, pick a tank top you can shift without rubbing the area.
17. Bugs in Floral Wreath on Hip
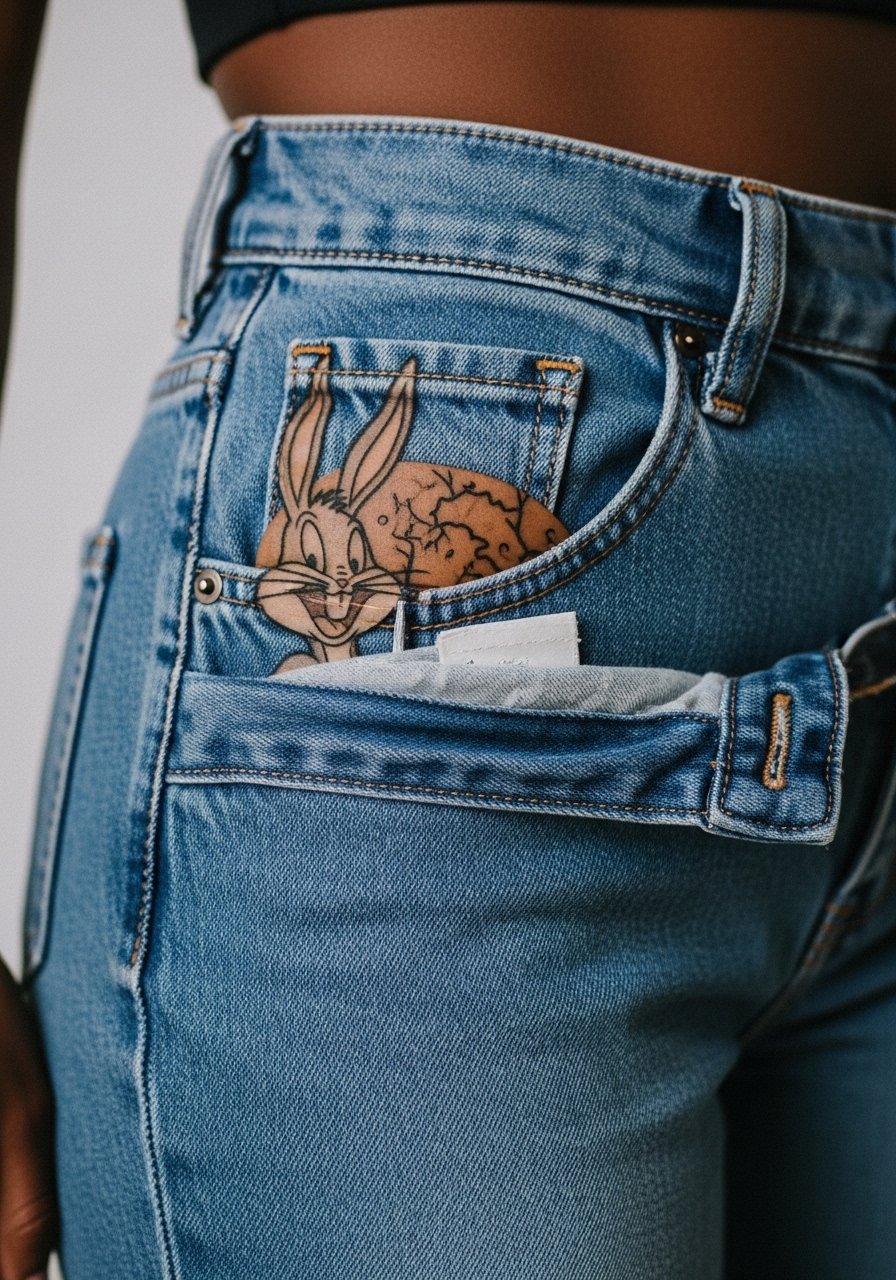
Hip tattoos sit between private and show-off zones. The common error is choosing ultra-fine shading too near seams on tight clothing, which leads to fading. Ask your artist to place the composition slightly higher to avoid waistband friction. Pain varies but is often manageable for this size. For healing and display, high-waisted pieces pair well with a high waisted swimsuit bottom that frames the art without constant rubbing.
18. Stipple-Shaded Bugs on Outer Calf
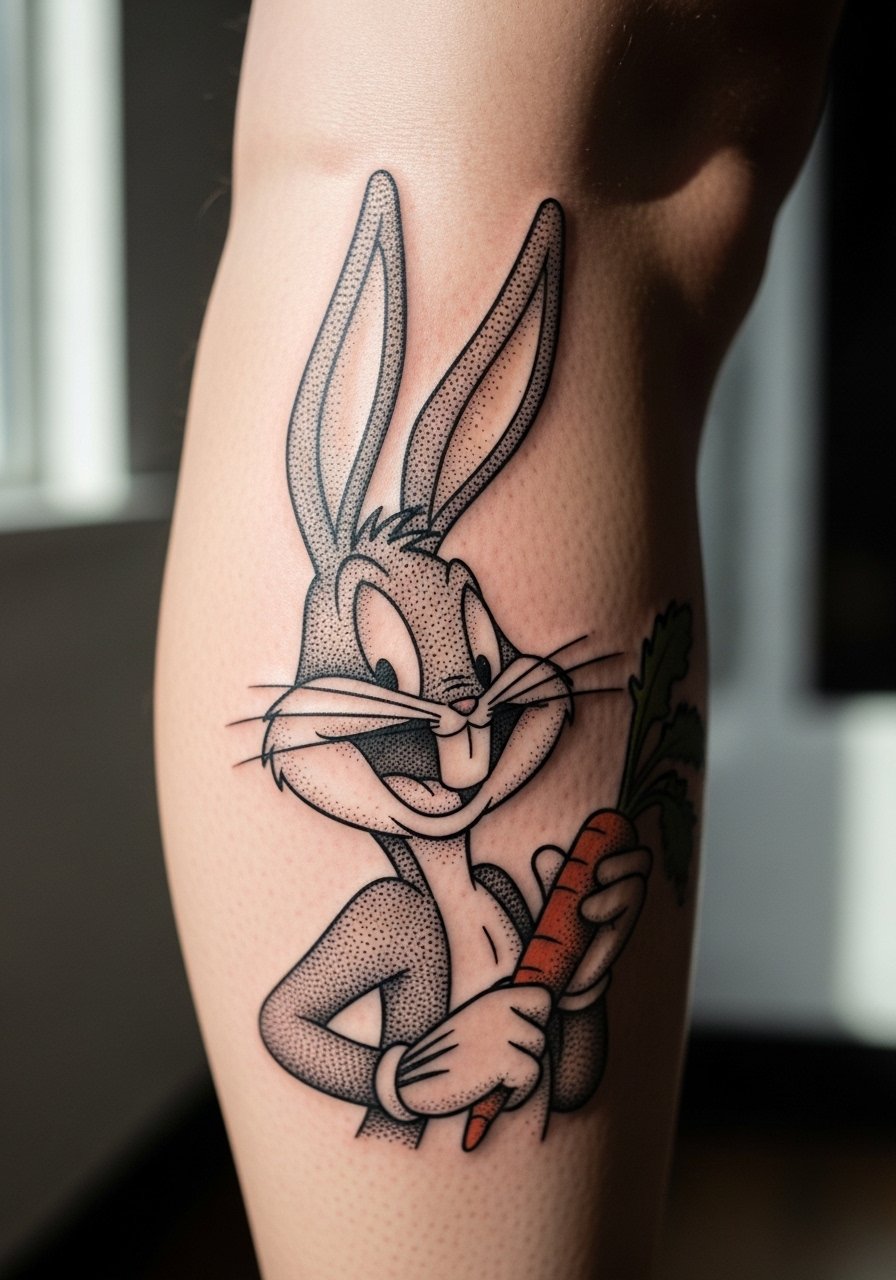
Stipple shading gives texture without heavy saturation. For the outer calf, dot work preserves dimension while avoiding dense fills that can look patchy later. A frequent mistake is requesting tightly packed stipple that merges into a gray patch over time. Ask the artist for spaced dot gradients with clear negative space keys. Sessions are steady and usually comfortable. For showing it off, rolled denim or a mid-length skirt frames the curve of the calf without concealing the art.
19. Black-and-Gray Portrait Bugs on Upper Back
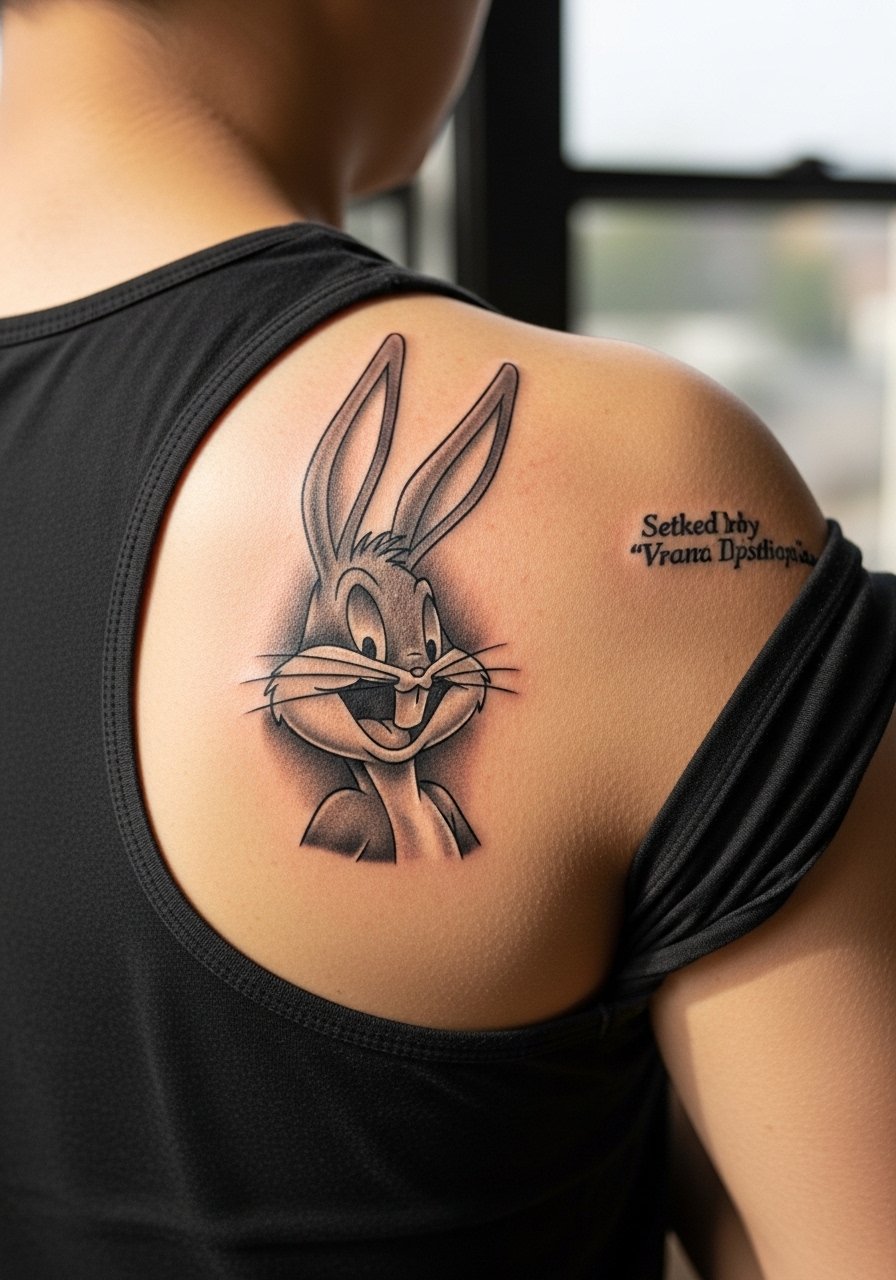
Micro-realism portraits need clear focal points and breathing room. The upper back allows a larger scale so the face can have crisp anchor points and softer midtones elsewhere. The mistake is cramming photoreal detail into a small area. Ask for increased contrast on primary features and expect a multi-hour session possibly split across appointments. For display, open-back tops or a halter dress put the portrait on show without stressing healing skin.
20. Stained-Glass Color Bugs on Upper Back Center
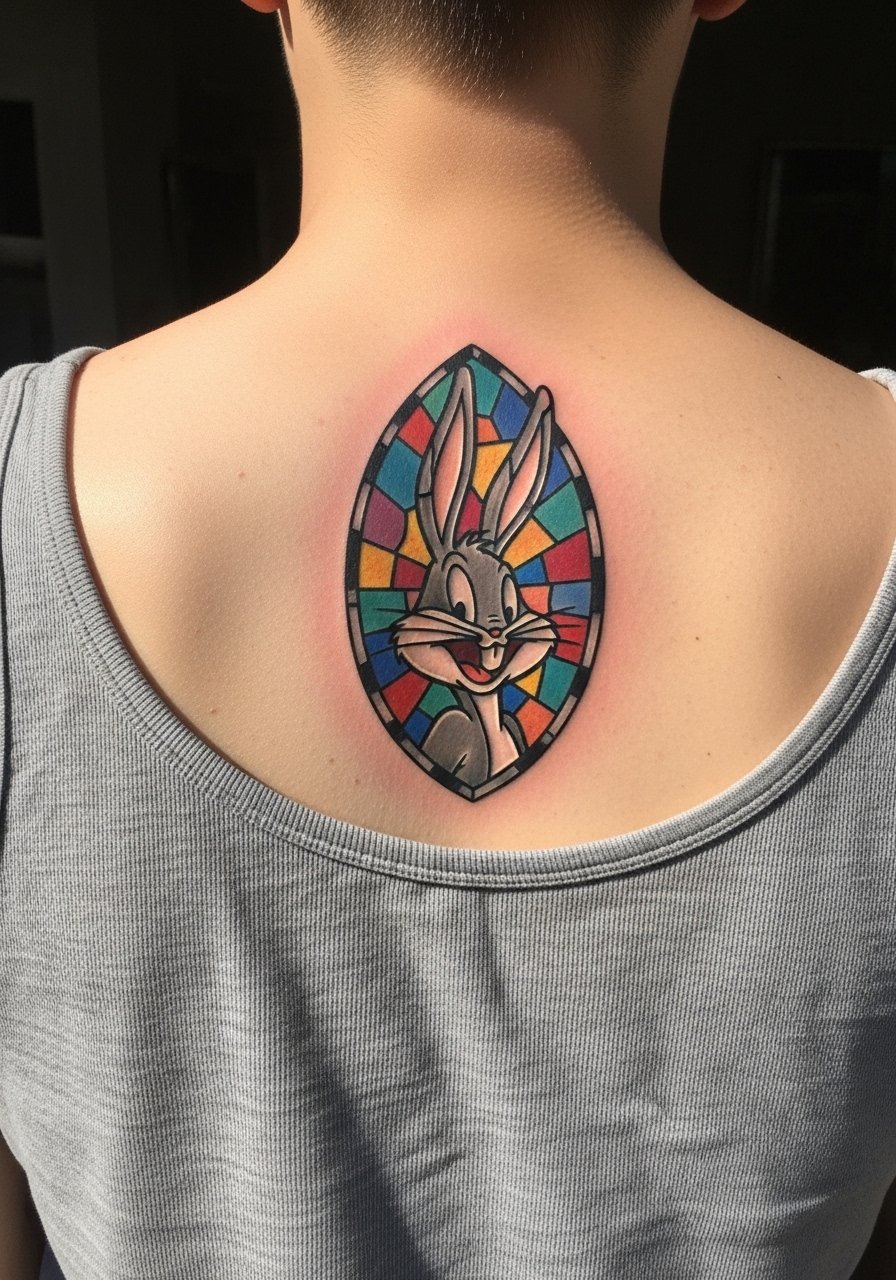
A stained-glass approach uses color panels separated by black leads which helps the piece sustain legibility. The upper back is a forgiving canvas for this technique. The common error is too many tiny color tiles that blend as pigments migrate. Tell your artist you want larger color panes with bold separation lines. Sessions can be long so plan for multiple appointments. Pair with open-back garments to show the geometric color play.
21. Sketchy Linework Bugs on Scapula
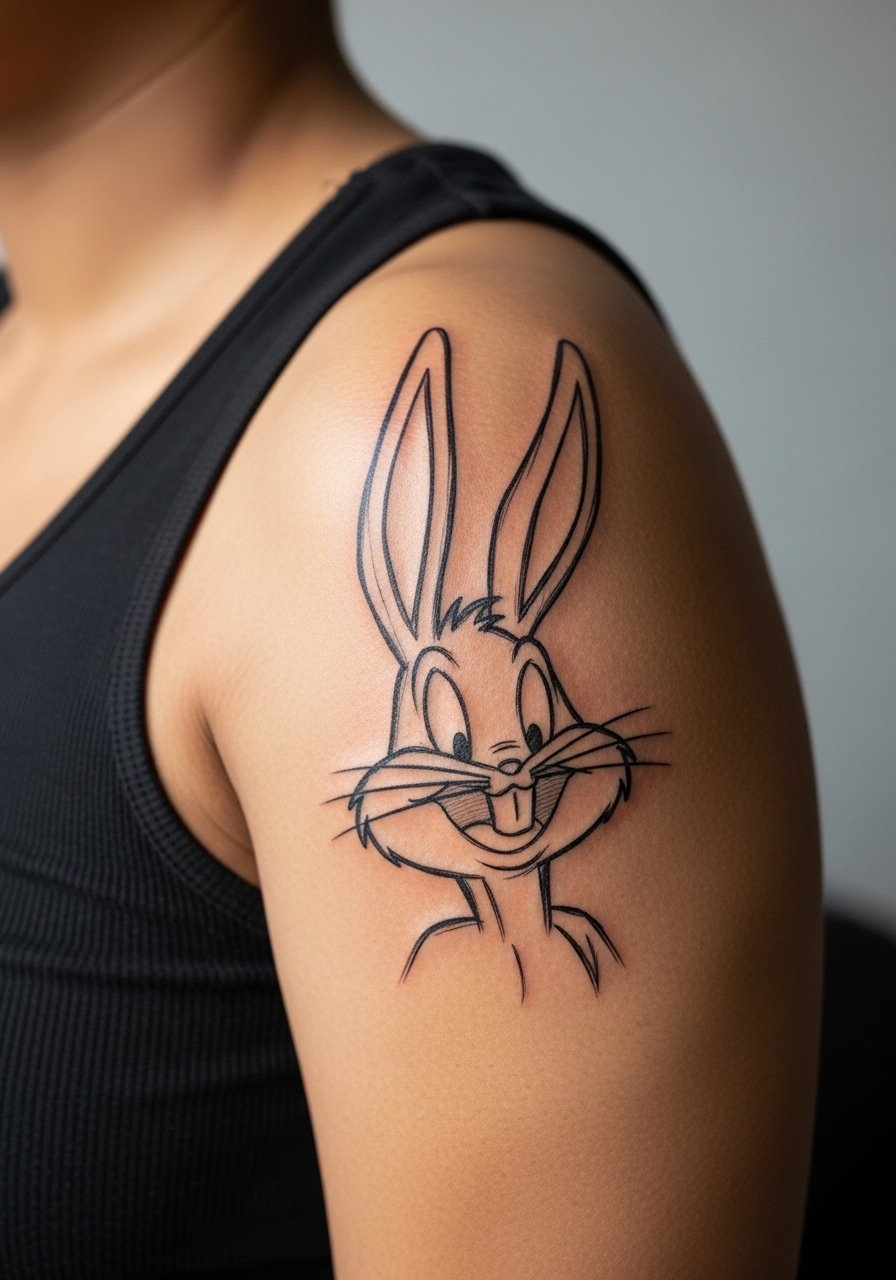
Loose sketch lines give the impression of motion and hold up when the composition centers on a few decisive marks. The scapula accepts flow and length, so ask your artist to prioritize motion lines and let secondary strokes be faint accents. A mistake is over-detailing the sketch, which negates the airy feel. Sessions are comfortable for most people. For showing it off, an open-back top frames the area while keeping healing unobstructed.
Studio Day Picks
Those first six pieces above include wrists, forearms, and neck work, which need different prep than larger canvas sessions.
-
Stencil transfer paper kit. Lets you preview placement on skin before the needle drops, which matters for small Bugs designs on wrists and ankles.
-
Topical numbing cream. Applied as your artist recommends it eases sharp sensitivity during ribcage or sternum sessions without altering linework.
-
Thin protective film roll. Useful for high-friction zones like fingers and ankles during the first few days of healing.
-
Fragrance-free gentle body wash. Cleans the area gently without stripping pigments on delicate fine-line forearm pieces.
-
Aquaphor healing ointment. A thin layer during the initial window helps lock in moisture for small linework tattoos that need hydration without clogging.
Frequently Asked Questions
Q: Will fine-line Bugs portraits blur quickly on forearms?
A: It depends on line spacing and depth. When the artist anchors main contours and leaves breathing room between whiskers and facial detail, forearm pieces tend to read longer. Ask for slightly bolder anchors and a touch-up window at booking so expectations are clear.
Q: How should I dress to a thigh or sternum session?
A: Wear clothing that lets the artist access only the tattoo zone without exposing more than necessary. For thigh work try loose shorts. For sternum a fitted sports bra is easiest. Comfortable, adjustable pieces keep you warm without interfering with the area.
Q: Do hand and finger Bugs tattoos hurt more and require more touch-ups?
A: Hands and fingers do hurt differently and they fade faster due to washing and friction. Expect more frequent touch-ups for knuckle or finger placements and request bold outlines rather than micro shading to maximize clarity.
Q: Are character tattoos like Bugs Bunny viewed negatively by artists or collectors?
A: The community is split. One group worries that character work can look gimmicky when combined with unrelated styles. The other group values pop-culture pieces as personal narrative. Be upfront in consults about why you want the piece and ask to see similar runs in the artist's portfolio.
Q: How do I pick an artist when I want a specific technique like stipple or watercolor?
A: Look for portfolios that show healed photos of that exact technique on similar placements and skin tones. Use discovery paths like local studio directories, convention pages, and forum threads to find artists who post healed images rather than only fresh work. Ask about healing expectations and touch-up timelines before booking.
