
Fine line work is everywhere online right now, but what I keep hearing in chair-side conversations is the same: blue inks fade odd, forearm portraits can distort with muscle gain, and shop minimums keep jumping. Those trends matter because they change what actually holds up over time. Below are 27 design directions that balance what looks great fresh with what still reads clean after a few years, plus practical notes for placement and sessions.
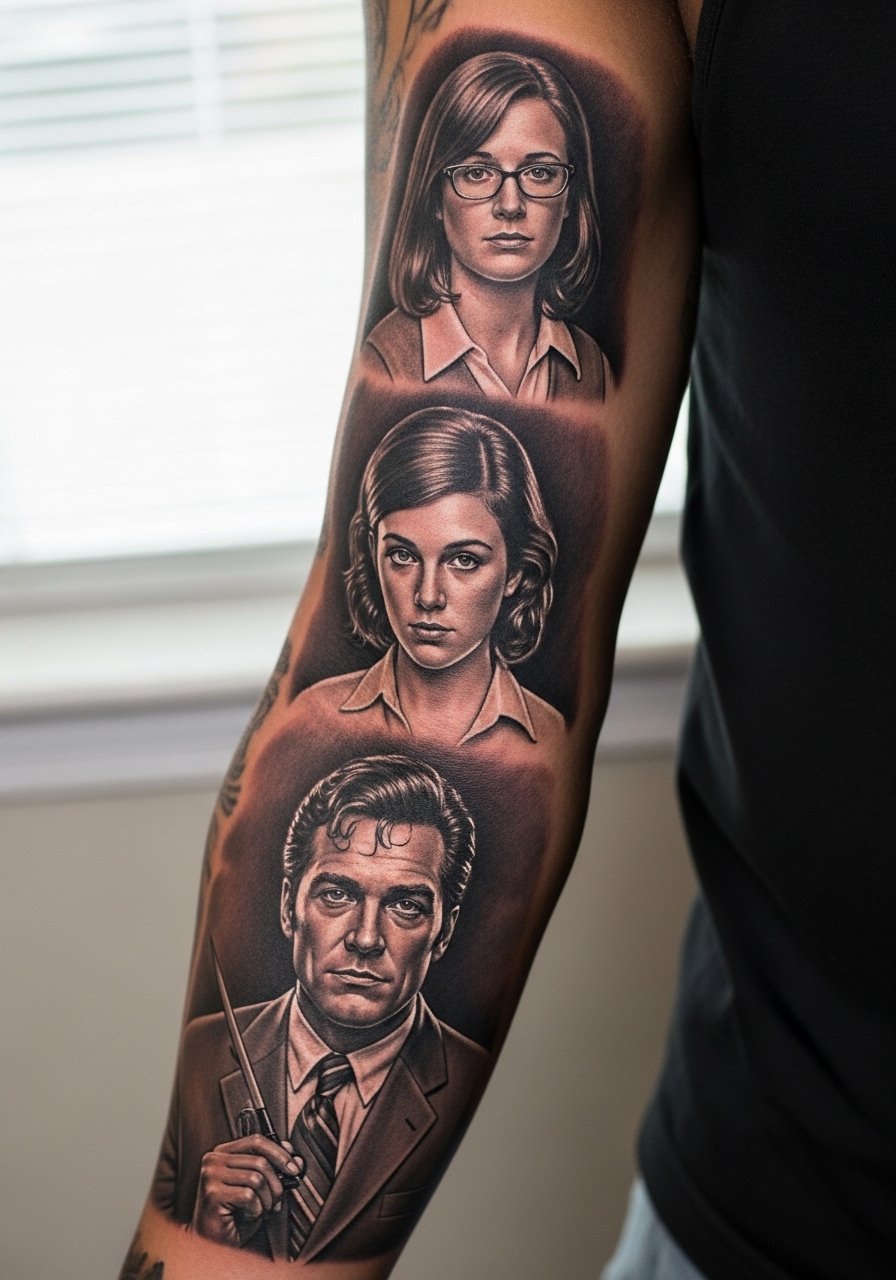
1. Walter White Portrait with Heisenberg Hat on Forearm
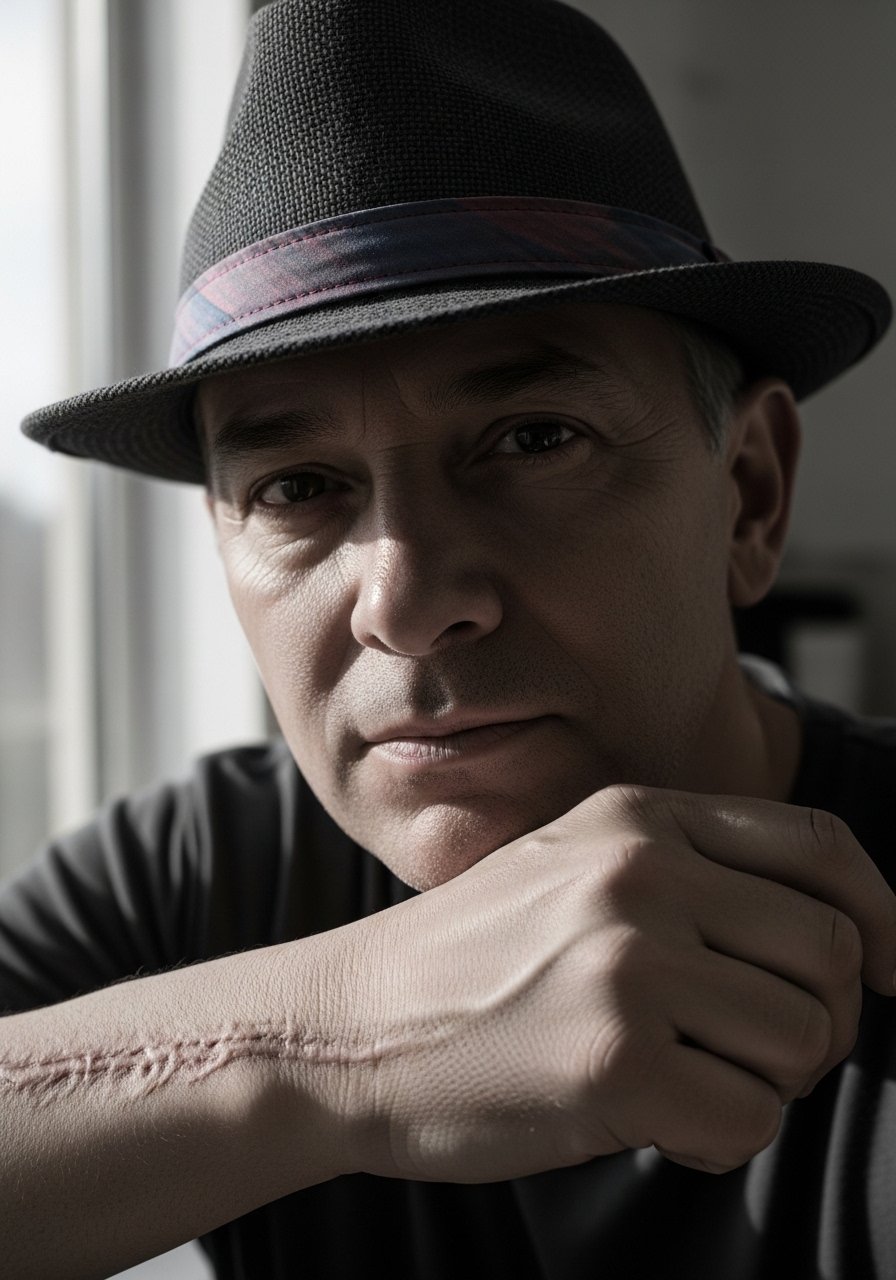
I've seen small forearm portraits hold best when artists treat them like mini-sleeves rather than quick photos. Ask for slightly bolder linework around the hat and heavier saturation in shadow planes so the face keeps its character as the piece heals. Common mistake is tiny fine-line portraits that look crisp day one and soften into mush by year three. Pain is moderate for forearm work and a single long session often works. For showing it off, roll the sleeve up and pair with a fitted henley shirt to frame the portrait without distracting prints.
2. Blue Meth Crystal Cluster on Shoulder
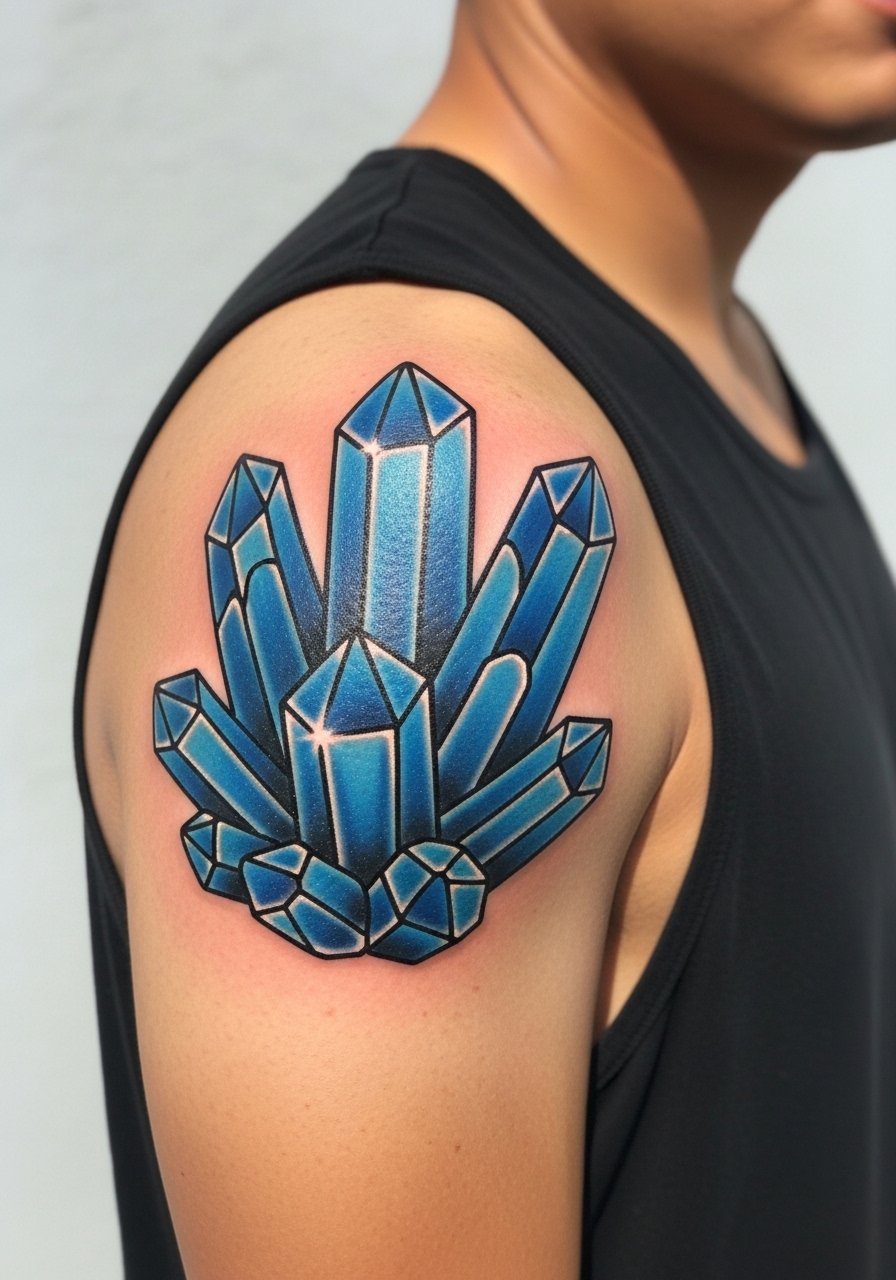
Color fans love the blue crystal for its visual shorthand. Expect a one to two session job with bold outlines and layered saturation so the blue stays vibrant. The controversy here is clear. One camp loves the color and the pop it gives. The other prefers black and gray because blue can shift toward green with sun exposure. If you want color, plan on sun protection and a touch-up after the first year. For the session, wear a sleeveless muscle tank so the artist has clean access and the shoulder looks great for photos afterward.
3. "Say My Name" Script on Inner Bicep
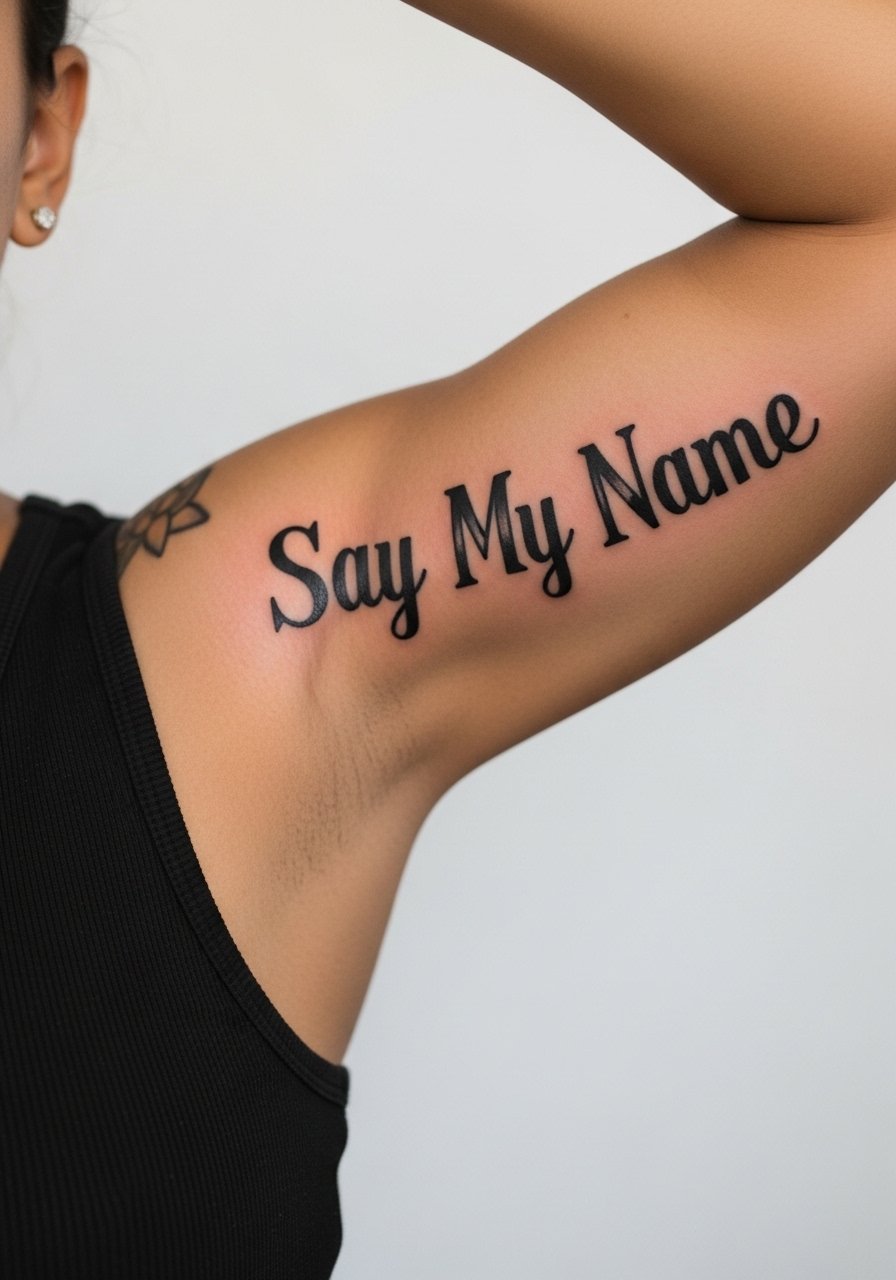
Fair warning: inner bicep reads larger on skin than on screen, and the area moves when you flex. I recommend bold lettering rather than ultra-fine script for longevity. A common mistake is asking for tiny cursive that loses legibility after a year. Tell your artist you want clear counter space around each letter and bring font samples with line weight visible. Pain is on the softer side but expect a brief sharp stretch when the needle hits deeper tissue. For session comfort, wear a white tank top fitted so they can roll the sleeve without tugging.
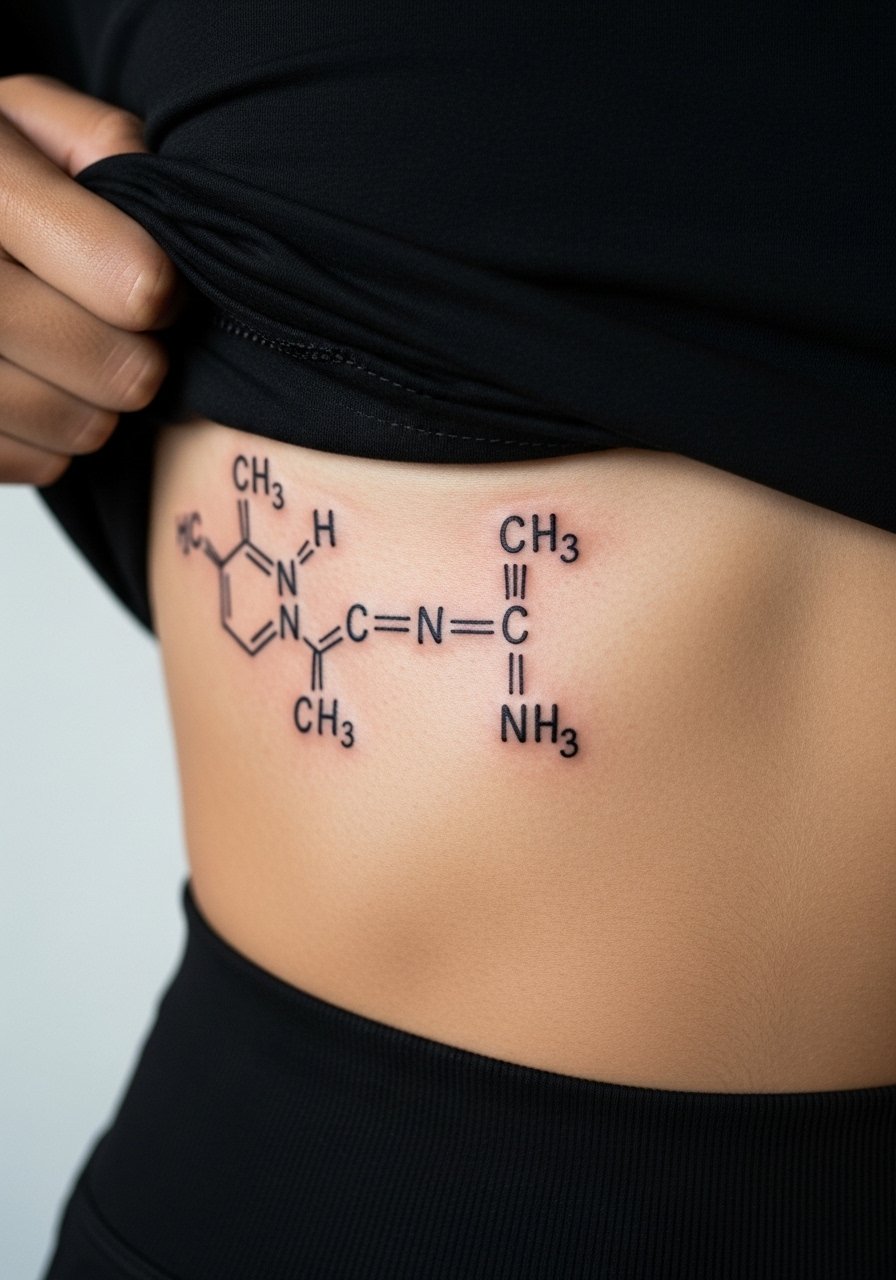
4. Chemistry Beaker with Blue Liquid on Forearm
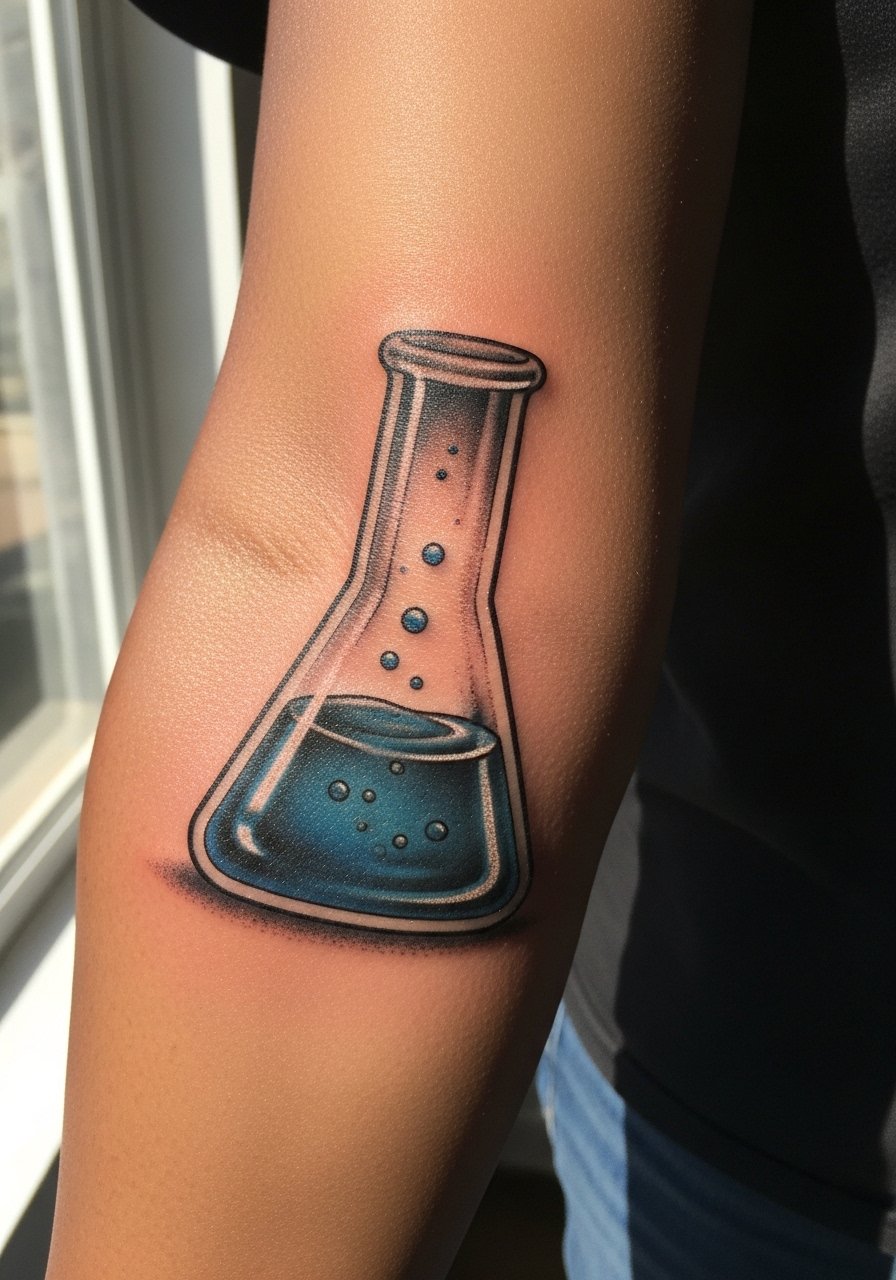
This design reads like a nod to the show's scientist plotline while staying wearable. For longevity, keep the main structure in black and gray and use blue as an accent in the liquid. The mistake is saturating the entire beaker in thin blue ink which can fade unevenly and shift color. Forearm placement makes maintenance easy and touch-ups straightforward. Tell the artist you want a mix of stipple shading and solid blacks to anchor the image. For showing it off, roll sleeves or wear a rolled sleeve tee black that keeps attention on the forearm without clashing.
5. Breaking Bad RV Outline on Ankle
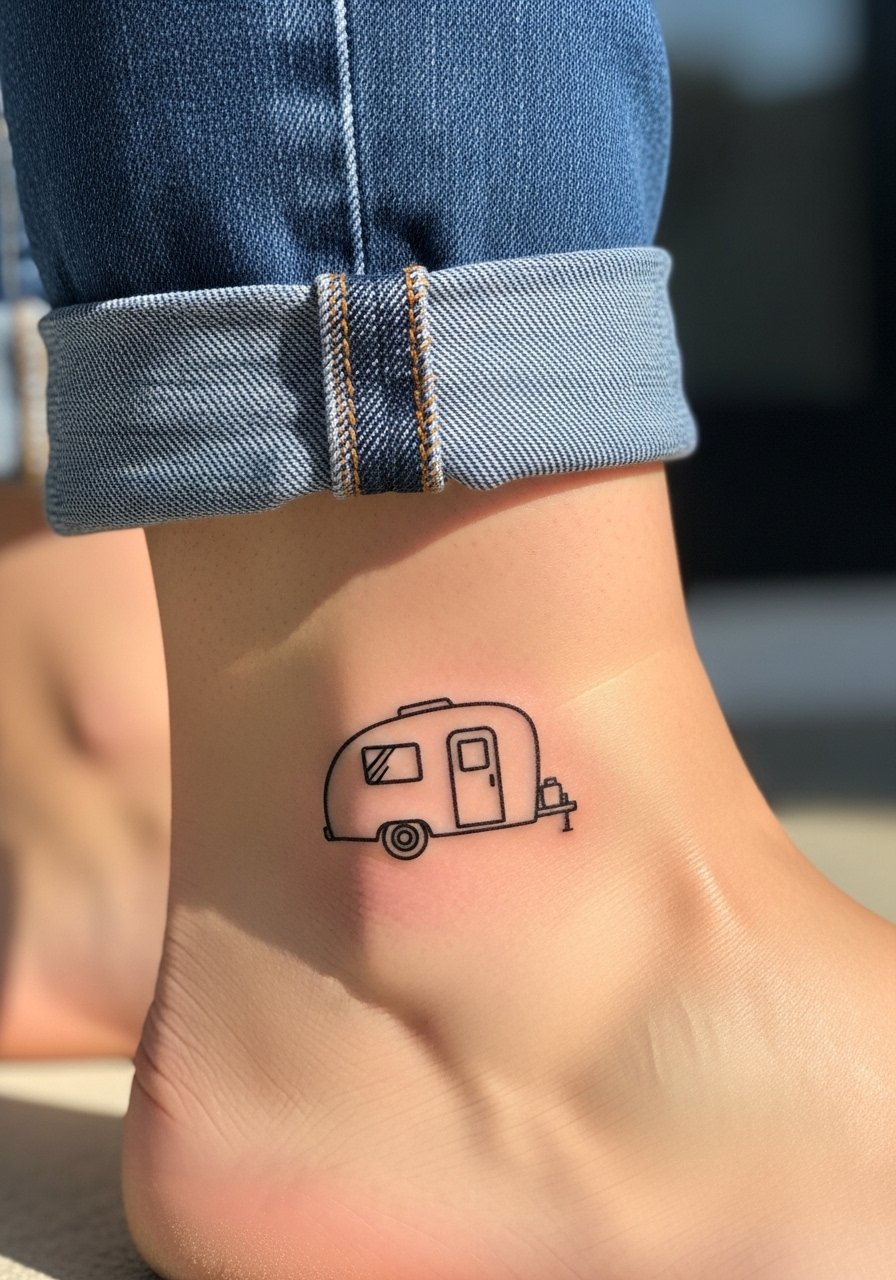
Tiny vehicle outlines land well on ankles because they sit discreetly and age gently. Avoid super-fine single-line flash that risks blowout on thin skin around the ankle. Instead, ask for a slightly heavier line weight and open negative space inside the silhouette. Session time is short and pain is low. These read best with cuffed chinos or summer shorts, so try a look that shows the ankle like cuffed chino pants for casual wear.
6. Jesse Pinkman Micro-Realism with "Yeah, Science" Tag on Upper Arm
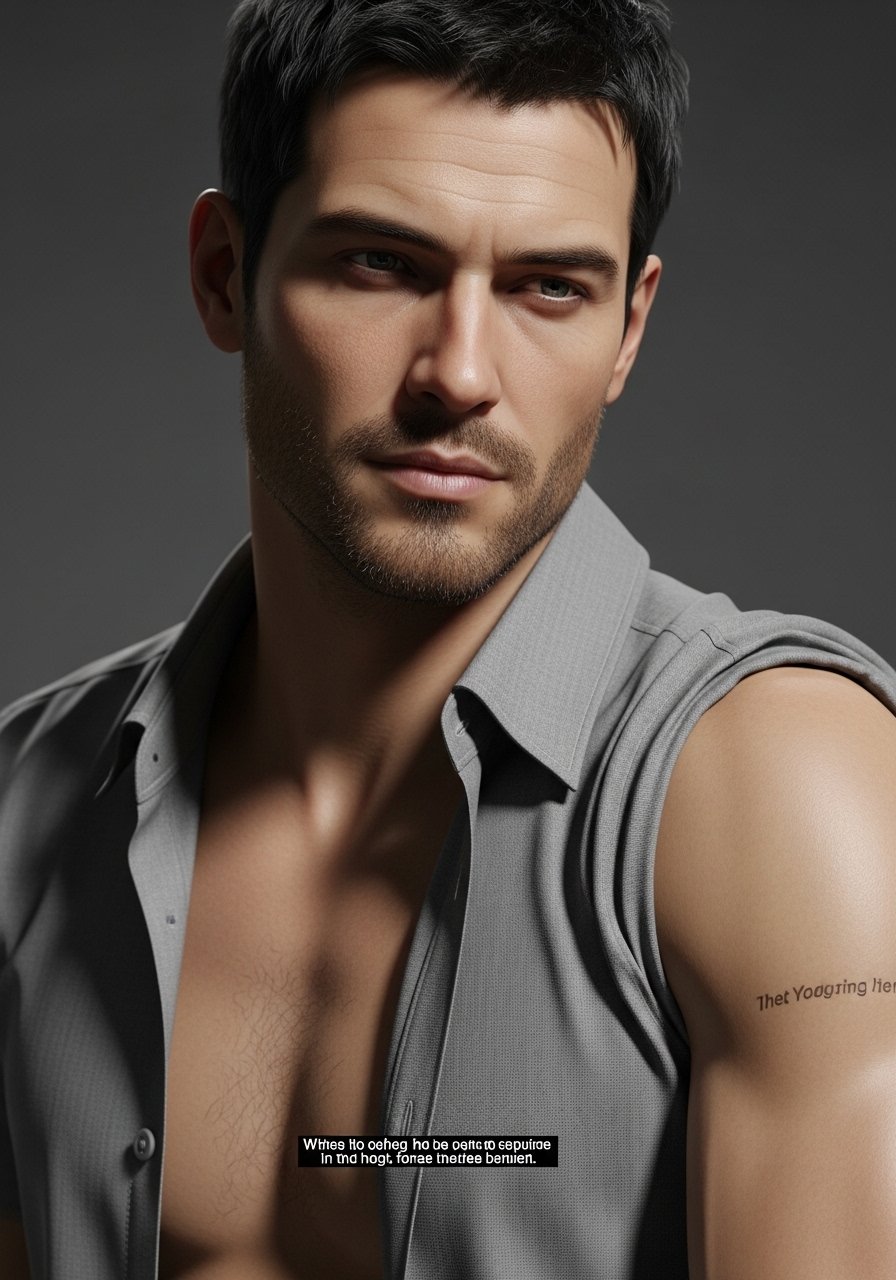
Micro-realism needs time and exacting saturation. Expect multiple sessions for facial detail to stay crisp. Common mistake is scaling the face too small; keep it medium sized on the upper arm for better longevity. The upper arm moves less than the forearm so portraits maintain shape well. For the session wear a loose button down short sleeve you can pull aside. If you want the quote to remain legible, request bold lettering rather than ultra-fine script.
Pack Smart
Those first six pieces include wrist, arm, and ankle work that heal differently than large back or thigh pieces, so a few practical items smooth the session and the first week.
-
Stencil transfer paper kit. Lets you preview the exact placement and linework on your skin before the needle goes in, which matters for small script and portraits.
-
Topical numbing cream. Applied about forty five minutes before the session takes the edge off wrist and ankle sensitivity without affecting shading.
-
Thin protective film roll. Useful for hand and finger work to reduce friction from washing and clothing in the first week.
-
Fragrance free gentle body wash. Cleans the healing area without irritating the linework that fine text and small portraits depend on.
-
Aquaphor healing ointment. A thin layer in the first days helps retain moisture for delicate linework without clogging the skin.
7. Tread Lightly Skull with Hazard Symbol on Thigh
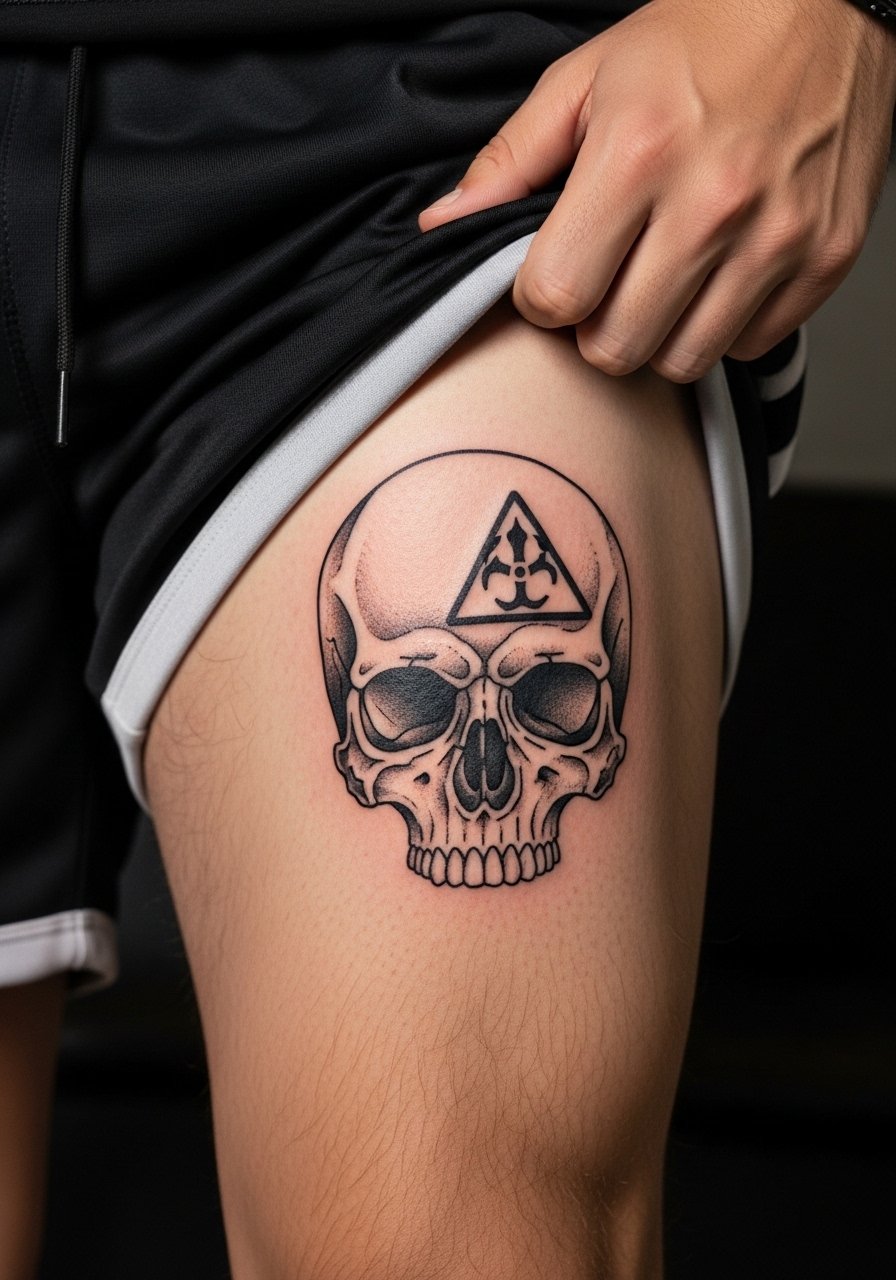
Thigh pieces let you go bigger and play with solid black saturation. If you like stark blackwork, this placement is forgiving and ages predictably. The common mistake is packing too much tiny detail into the skull when heavy solid fills will read better over time. Expect moderate pain and a single session for medium sizes. For visibility when showing it off, pair with slim joggers or cropped pants. Try a look like slim joggers men that lets the calf and thigh feel intentional in warmer months.
8. "No Half-Measures" Knuckle or Hand Piece
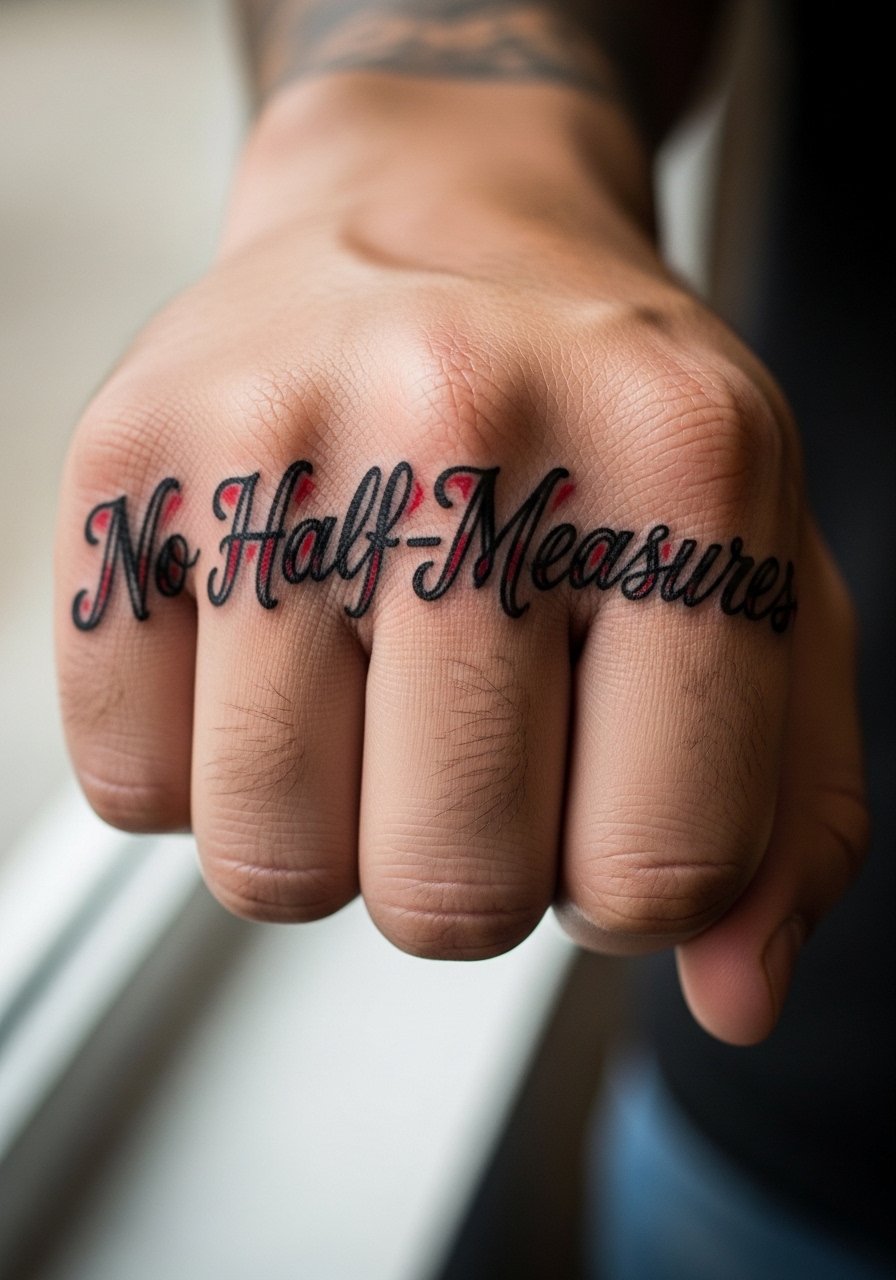
Hand and knuckle tattoos come with real trade-offs. Pain is high and fading is fast because of constant washing and sun. There are two camps on this: one says fine line is too fragile on hands and fades within a year, the other argues bold script and saturated fills last with touch-ups. If you pick hand placement, go bold and plan for periodic touch-ups. Also consider the workplace implications before committing. The session is short but intense. Keep the lettering clear and slightly larger than your initial mockup to preserve legibility.
9. Full Heisenberg Evolution Sleeve
Sleeves are a marathon not a sprint. I recommend mapping the sequence across sessions so contrast and saturation match as the piece builds. A common error is trying to cram too many styles into one sleeve which creates visual noise. Book 5 to 10 sessions spaced weeks apart to let saturation rest between passes. Tipping is usually done per session and most people follow standard percentages. For planning, discuss the arc with your artist so the portraits read as a narrative rather than disconnected portraits.
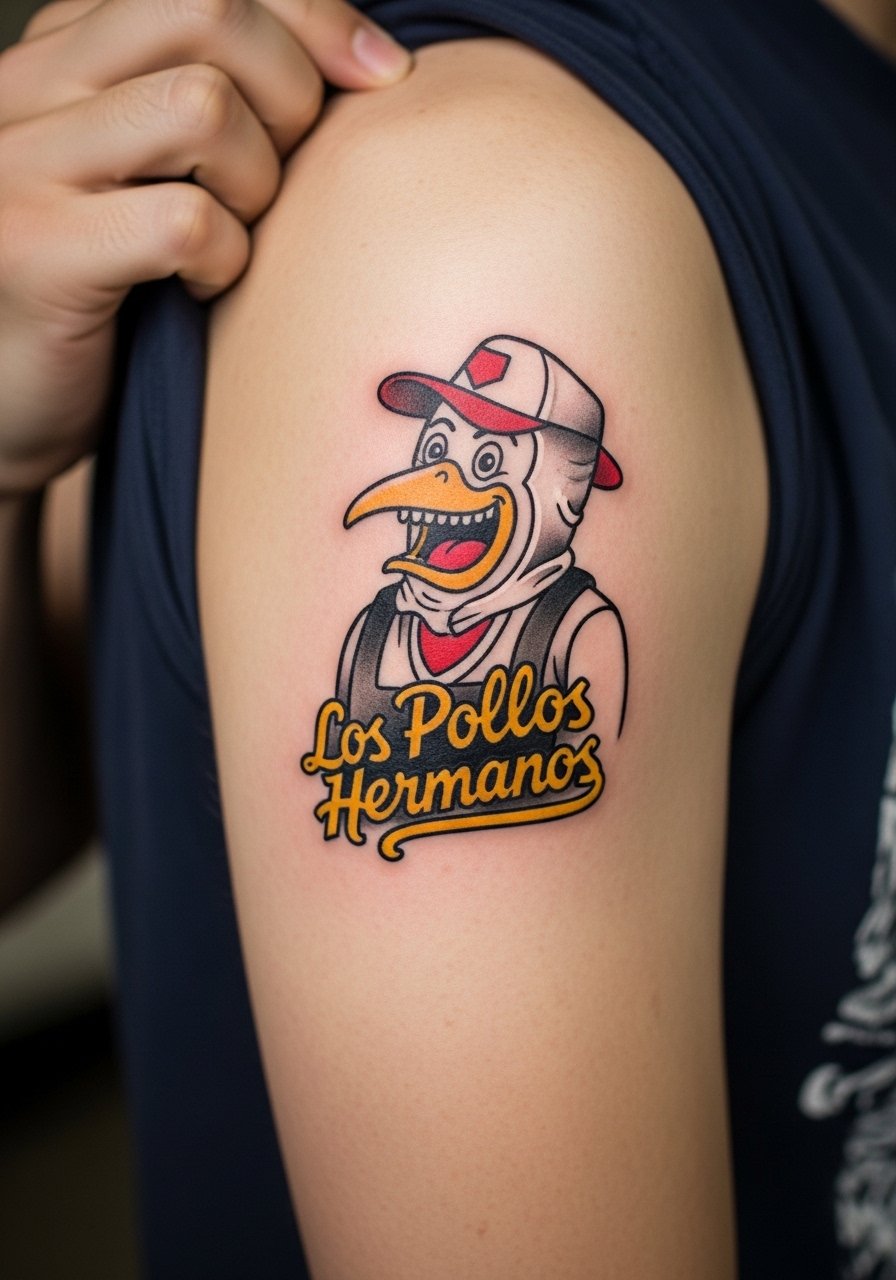
10. Los Pollos Hermanos Logo on Calf
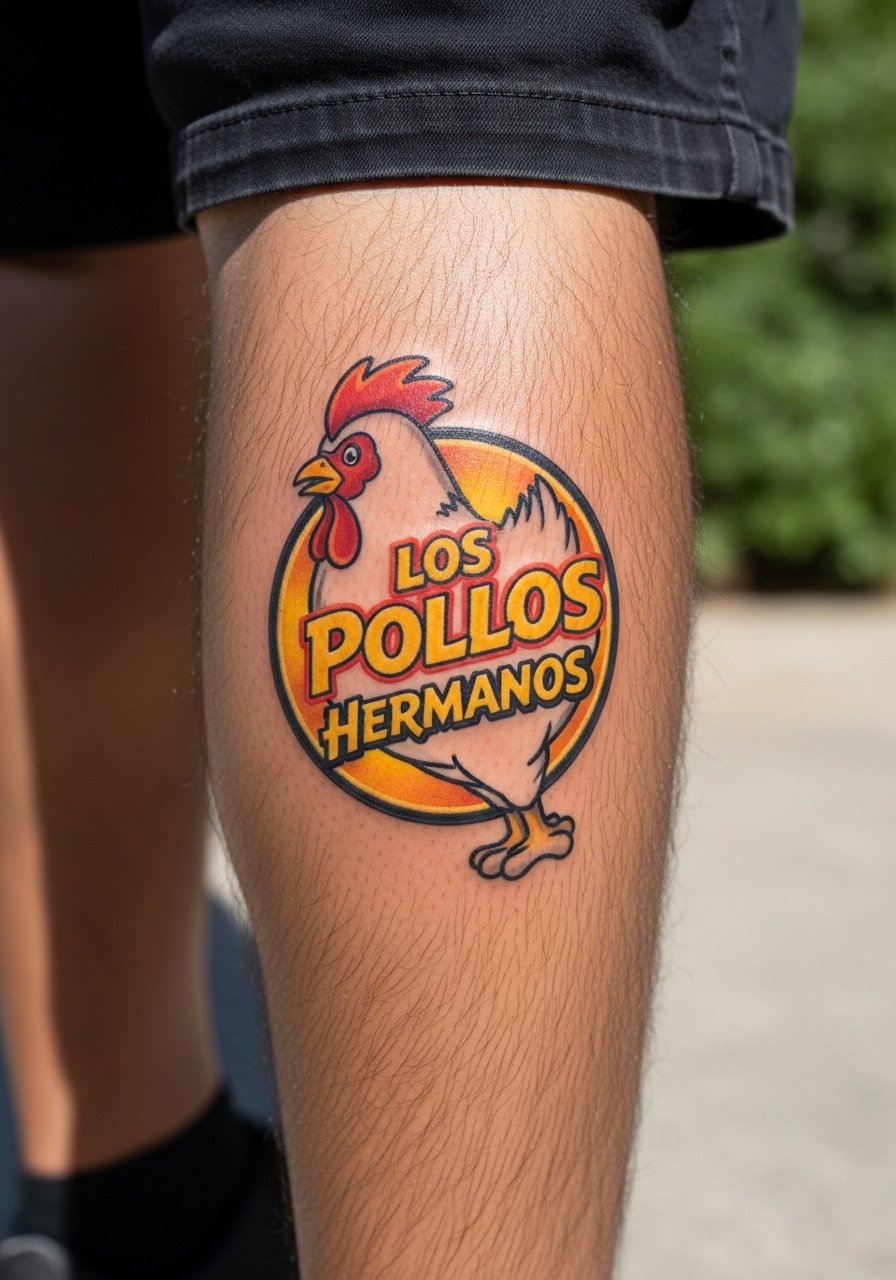
This playful logo works well on the calf because it is easily shown or hidden. Color here is optional but looks great with saturated yellows and oranges framed by black outlines. The common mistake is shrinking it too small which makes the facial detail blur over time. Calf offers generous real estate so go medium size for clarity. For summer wear, pair with boat shoes or cropped pants. Try a boat shoes leather look that complements the vintage fast food vibe.
11. Ricin Cigarette Outline on Inner Wrist
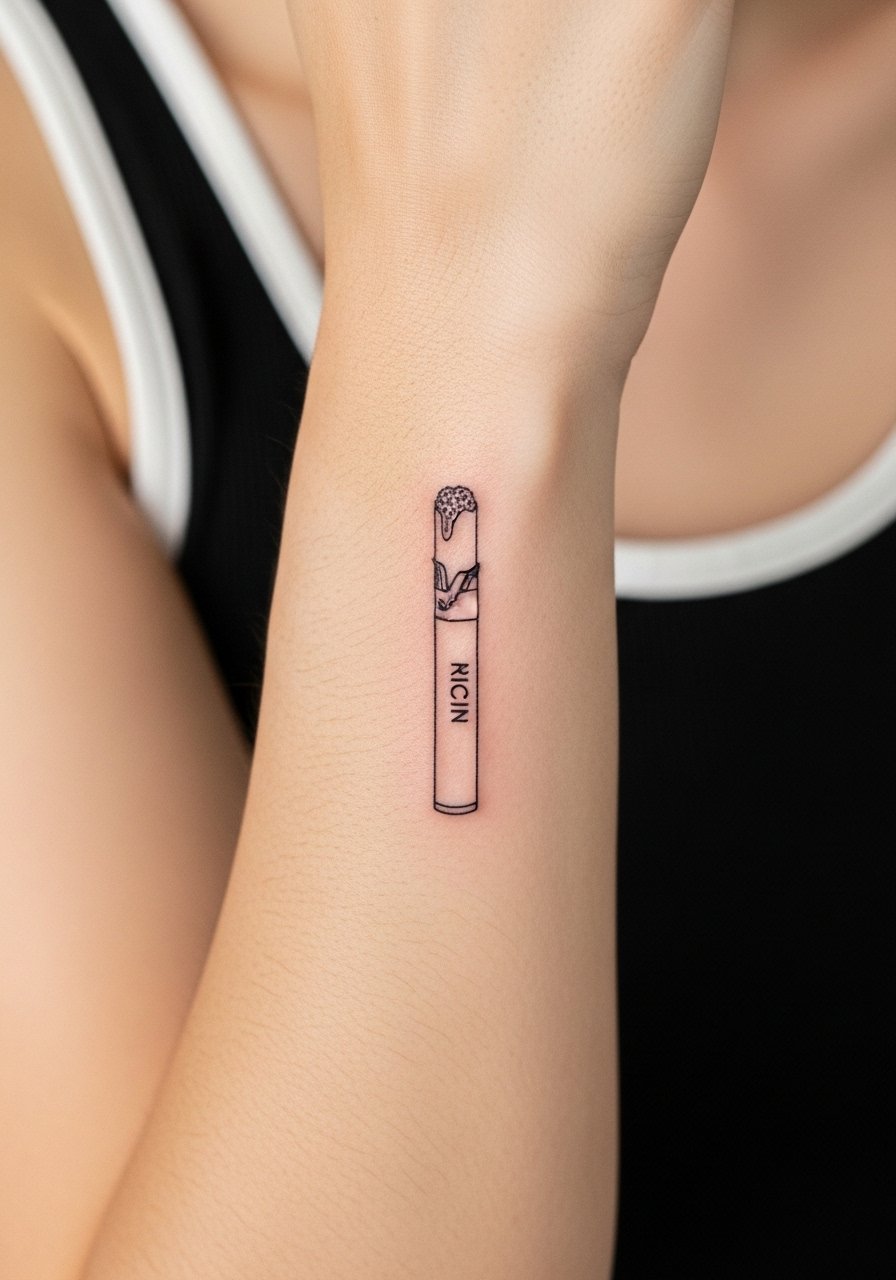
Small and discreet placements like the inner wrist are ideal for subtle references. Fine line works if you keep the design minimal and avoid tiny internal shading. A common problem is putting a micro design on a high-friction spot without planning touch-ups. For better longevity, request slightly heavier outline and plan a touch-up at 12 months. Session time is short but expect ongoing care. Wear a sleeveless tank to keep the wrist accessible during the appointment.
12. BrBa Periodic Table Symbol Behind the Ear
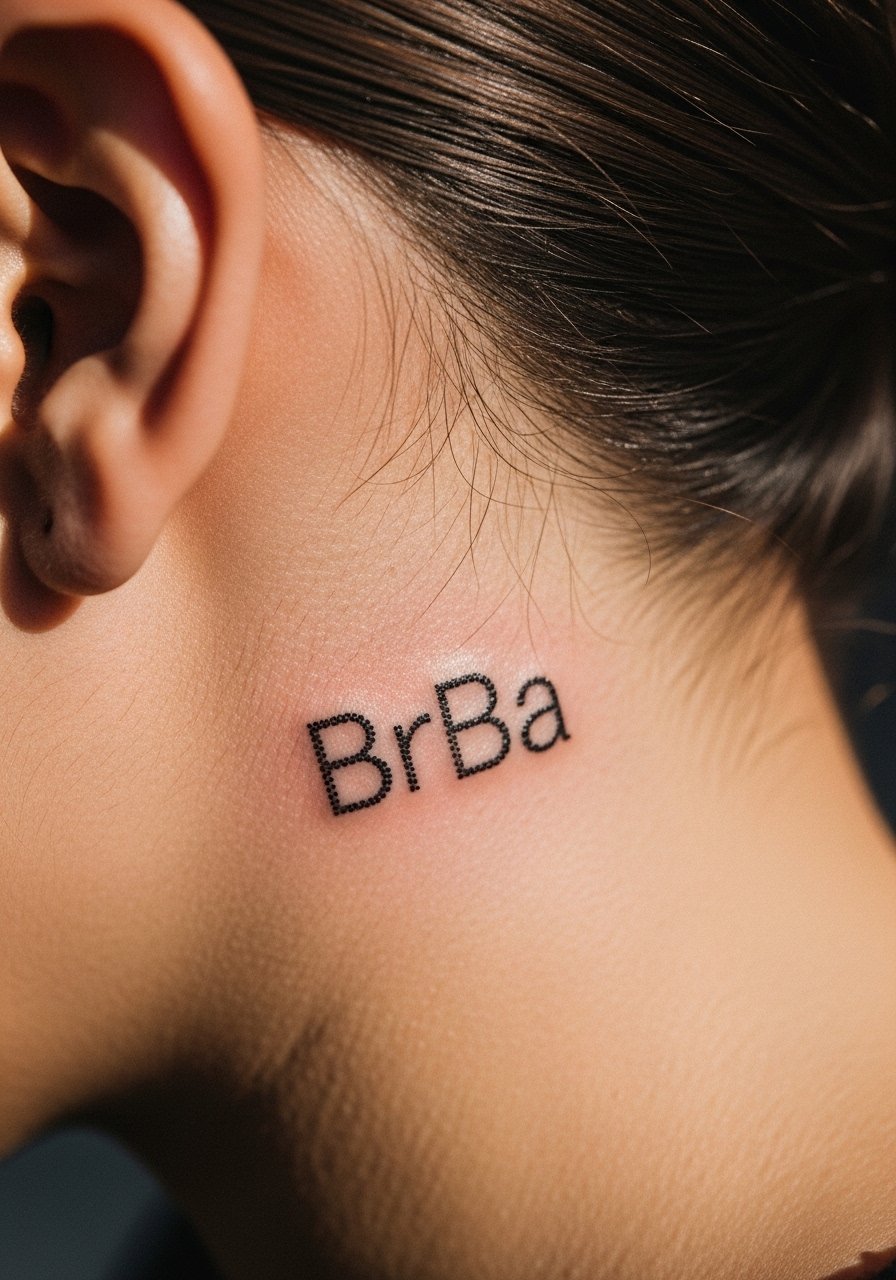
Hidden micro placements make great first tattoos. Behind-the-ear work needs discreet sizing and clear stencil placement to stay legible. The area responds poorly to delicate dotwork done too close together so ask for clear spacing and modest saturation. Pain is low to moderate and touch-ups are common given hair and friction. Keep in mind the sensitive framing for the photo by wearing hair up. A hidden BrBa tile can pair well with subtle ear jewelry for an inside nod to the show.
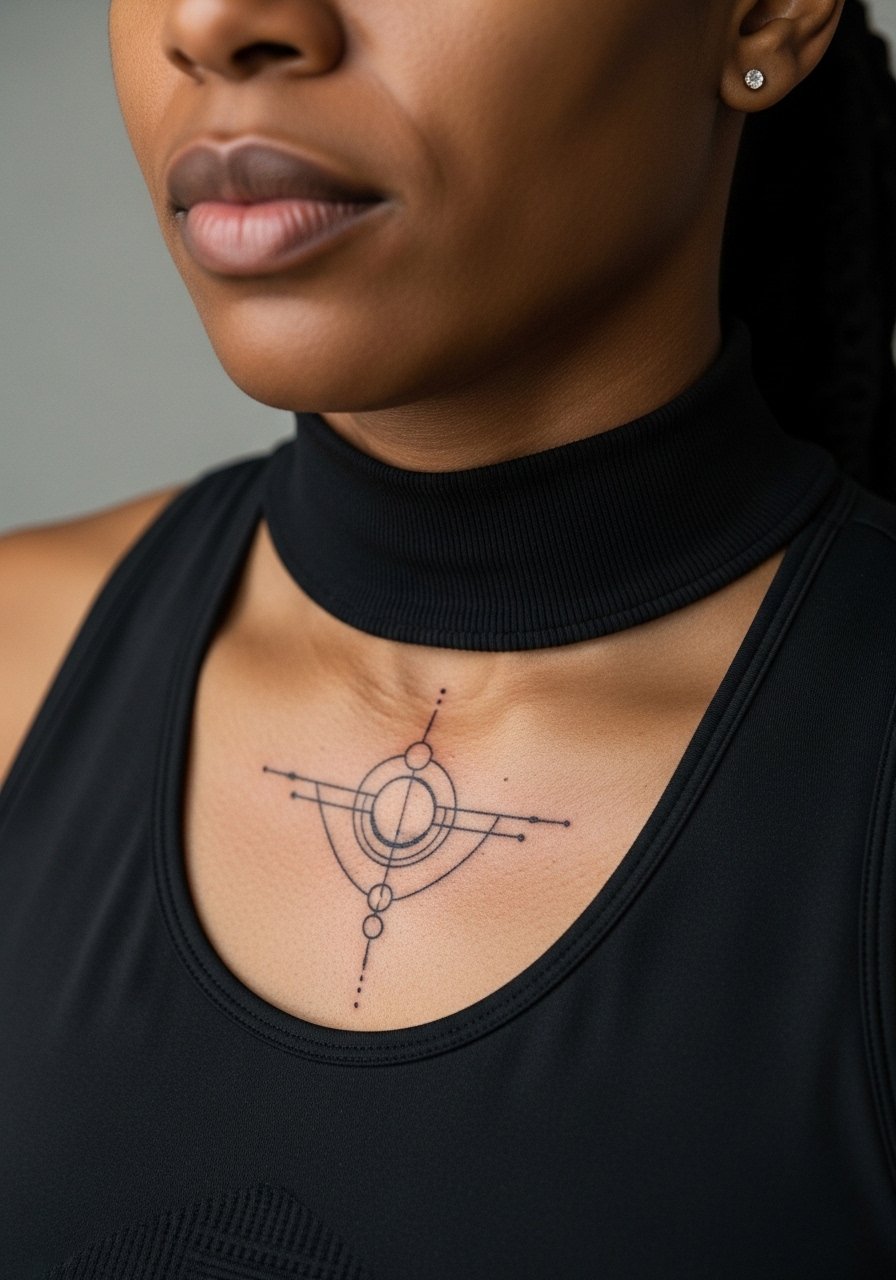
13. Minimalist RV Skyline on Collarbone

Collarbone work needs careful line weight decisions because thin lines can fade into the fine texture of that area. I suggest a slightly heavier outline and moderate spacing between elements. The common mistake is packing too much detail into a skinny band that crosses bone. Pain can spike near the ridge but session time is short. For showing off the piece, wear a wide-neck shirt pulled slightly aside to reveal the design without full exposure.
14. Chemistry Equation Flash on Ribcage
Ribcage placements read dramatic but can be painful and tricky for fine line work. Artists are split here. One camp says the skin stretches too much and tiny scripts blur within two years. The other says with correct needle depth and spacing fine line can hold on ribs. Ask your artist where they stand and see healed photos on similar skin tones. Expect higher pain and a careful session plan. For comfort, wear a cropped athletic top you can lift as needed.
15. Small Meth Baggie Outline Behind Ankle
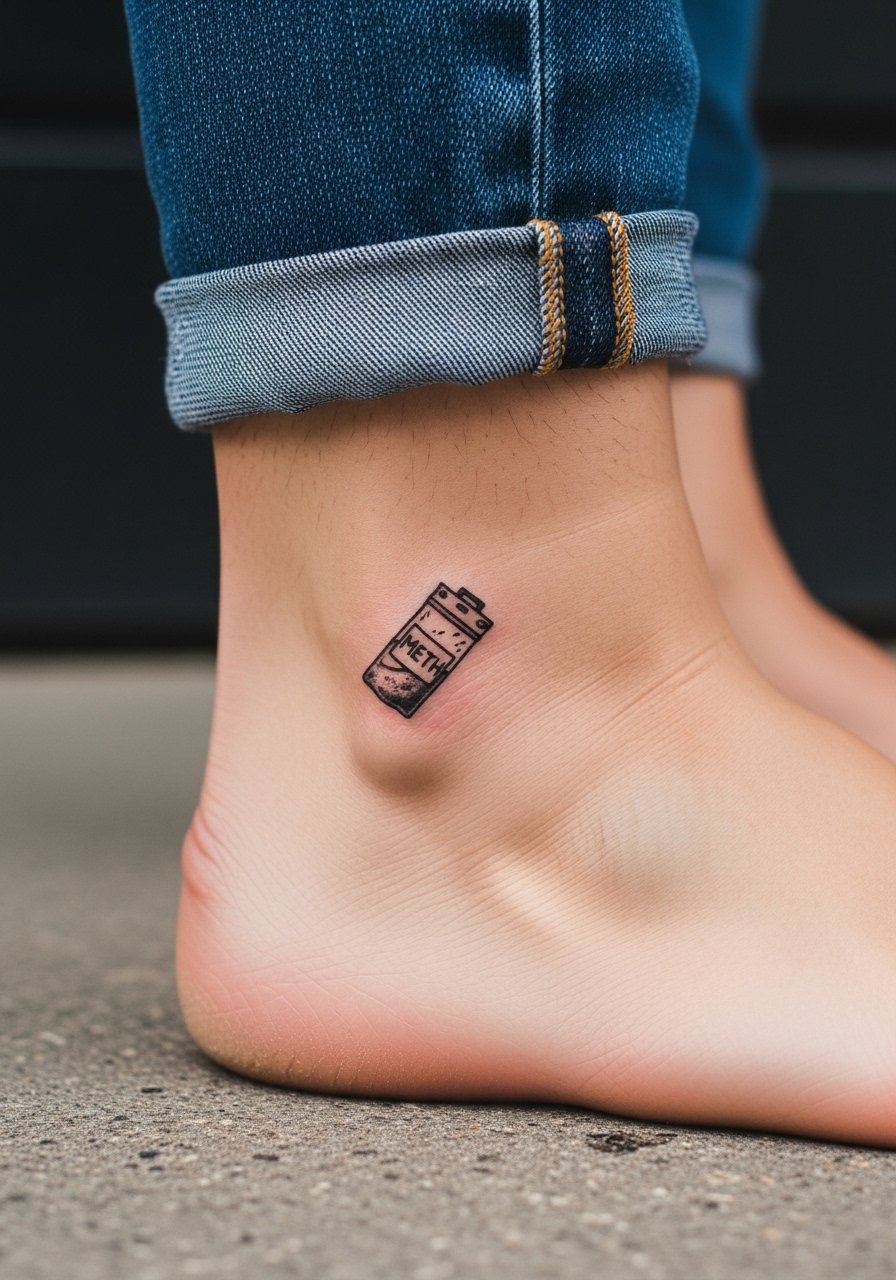
Ankle and foot spots demand a little extra protection during healing because of shoe friction. Keep the design simple and slightly larger than you think to avoid loss of detail. The common mistake is idealizing extreme miniatures that become unreadable. This is a quick session with moderate pain. Pair with ankle-friendly footwear and rolled pants to showcase the design. A minimal outline here stays casual and low commitment.
16. Heisenberg Hat with Broken Glass Effect on Calf
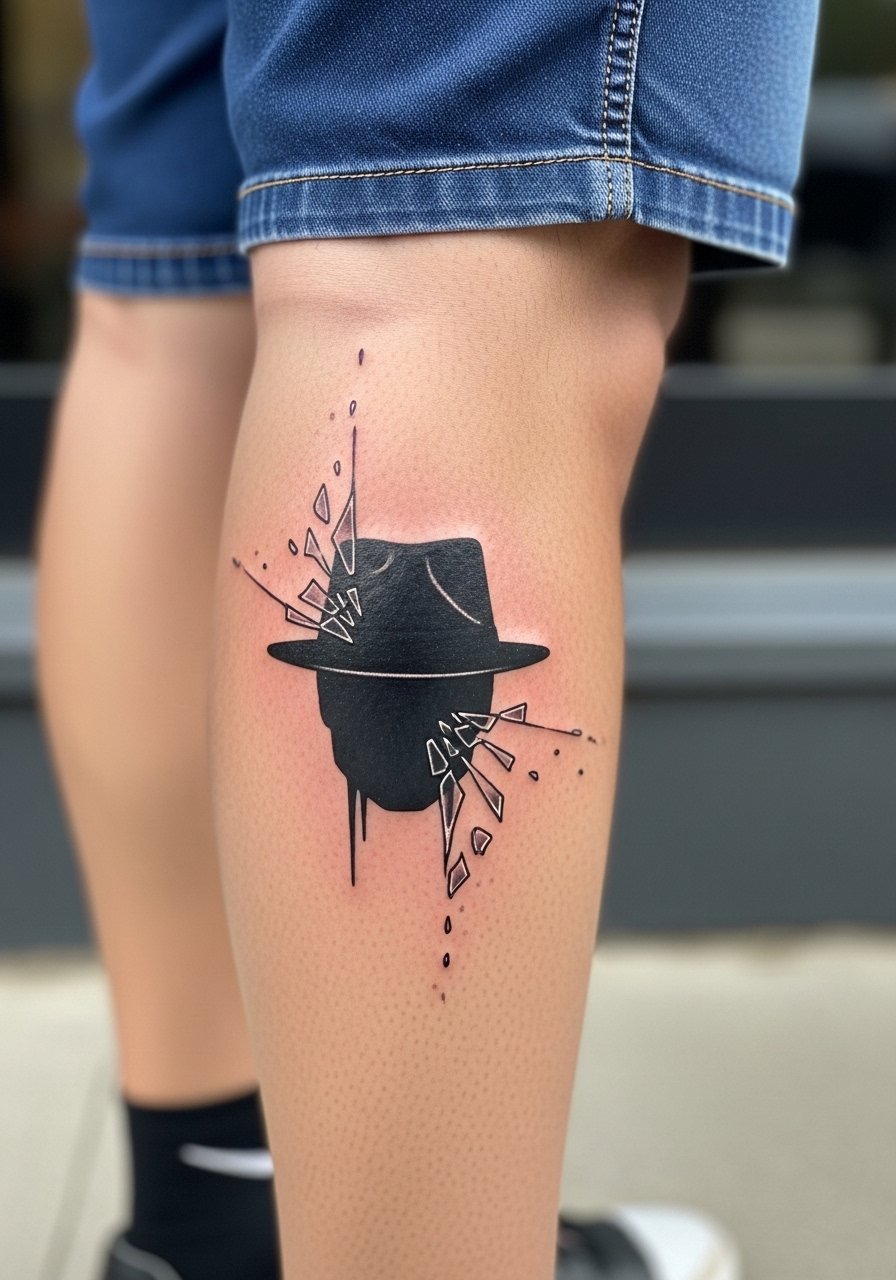
Calf pieces handle saturated detail well and resist the distortion forearms sometimes experience. For hat portraits, add negative-space shards to give the piece motion and to reduce heavy blocks that could flatten over time. The common mistake is layering too much micro detail that competes with the portrait. Sessions are comfortable and you can show off the calf with cropped pants or shorts. Consider a cropped work pants aesthetic for casual reveals.
17. Walter's Glasses with Heisenberg Shadow on Sternum
Sternum pieces are intimate and demand an artist experienced with chest curvature. Keep lines clean and avoid overly dense blacks crossing the sternum which can feel heavy as it heals. A typical mistake is underestimating pain and the time to sit still. Expect moderate to high pain and plan session breaks. For the session, wear a fitted sports bra you can shift so the artist has direct access. These pieces look great with delicate necklaces that sit above the script.
18. Minimal BrBa Tile Finger Band
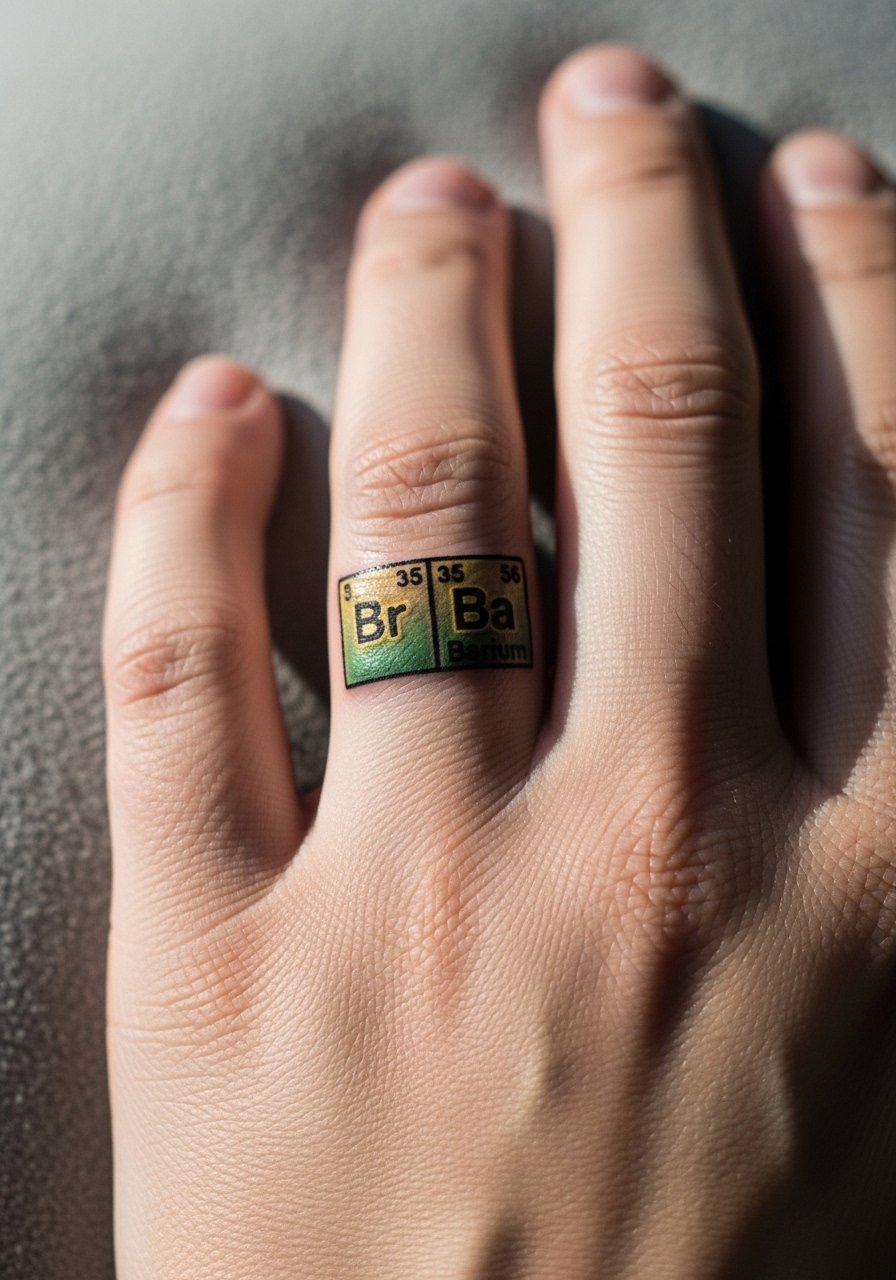
Finger bands are eye-catching but suffer from high fade and frequent touch-ups. The trick is to keep the tile simple and avoid fine internal shading. A common mistake is doing solid fills on fingers which peel fast. If you want durability, plan on annual touch-ups and use a heavier outline. Pain is sharp and quick. For session day, avoid rings and wear a sleeveless option so the artist can work unencumbered.
19. Tread Lightly Skull Half-Sleeve Accent on Upper Arm
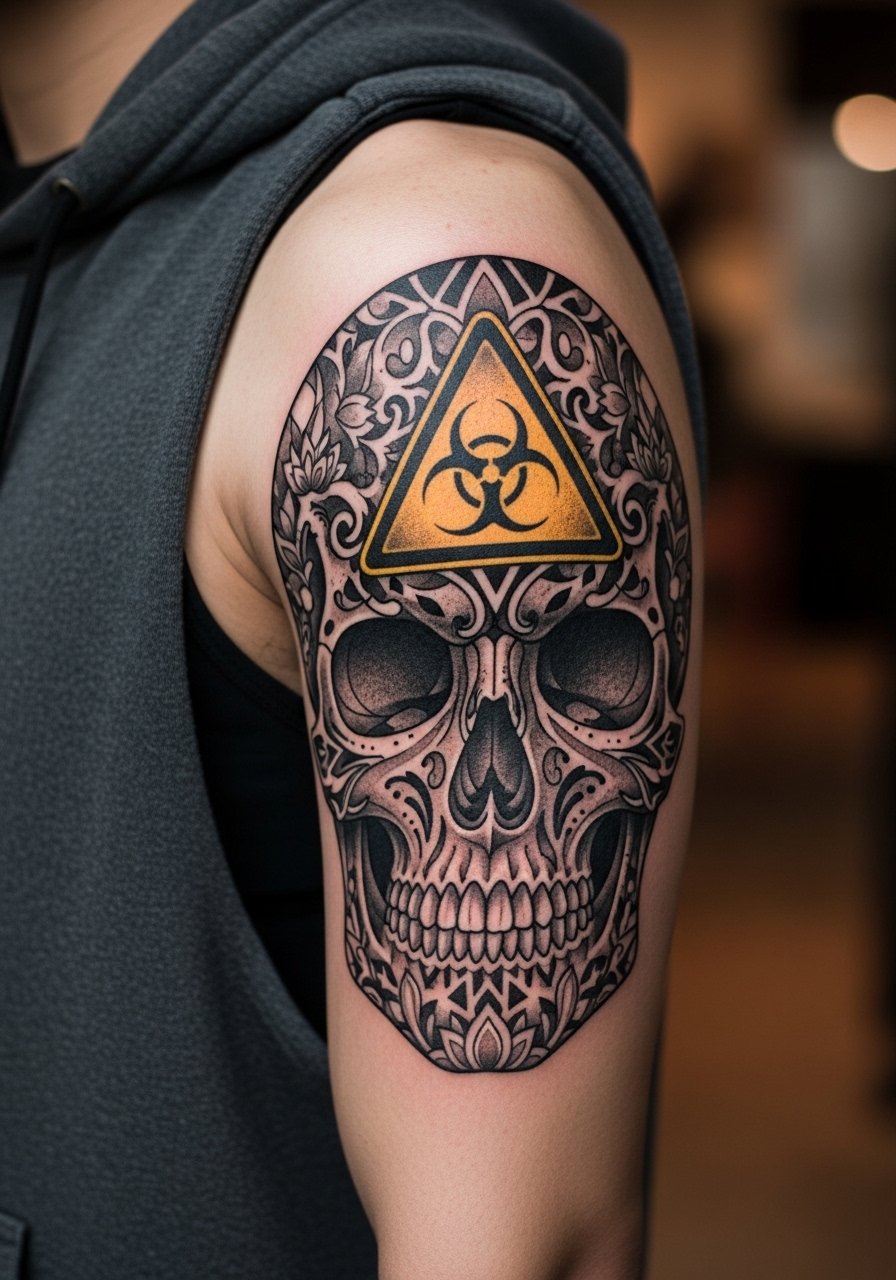
Upper arm half-sleeves let you be bold without the commitment of a full sleeve. Solid blackwork and negative space age well here. The error is crowding too many small motifs into the space rather than using large shapes that read from a distance. Pain is moderate and sessions are manageable. Wear a sleeveless hoodie for easy access and to keep fabric away from fresh ink during travel between sessions.
20. Micro-Realism RV Scene on Back of Shoulder
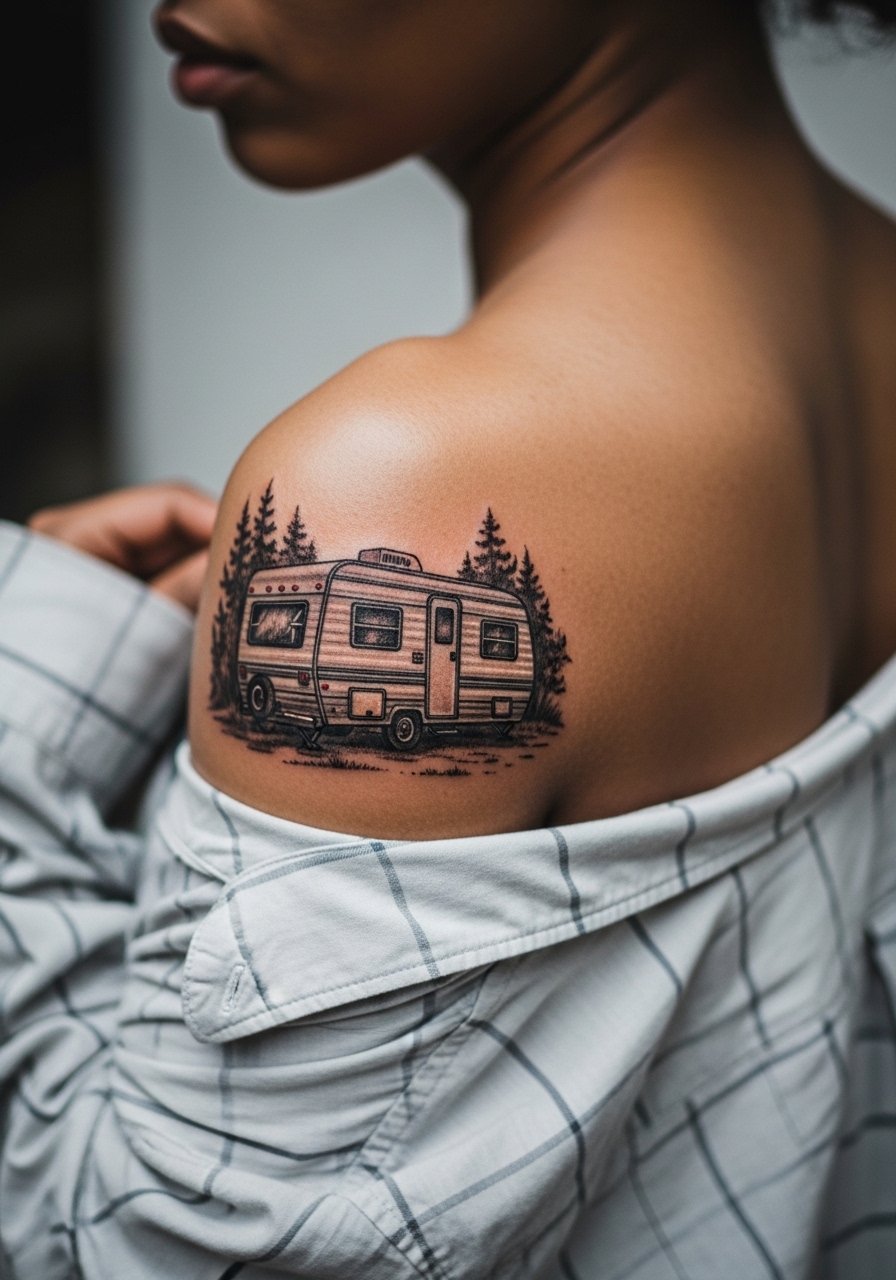
The back of shoulder is forgiving for tiny scenes that would blur on the forearm. Micro-realism needs careful saturation and a consistent session plan so the small values read at arm's length. A frequent mistake is under-saturating the midtones which makes the scene disappear as it heals. For the session, wear a loose button down shirt you can pull aside to expose the area cleanly.
21. Los Pollos Hermanos Retro Badge on Shoulder Blade
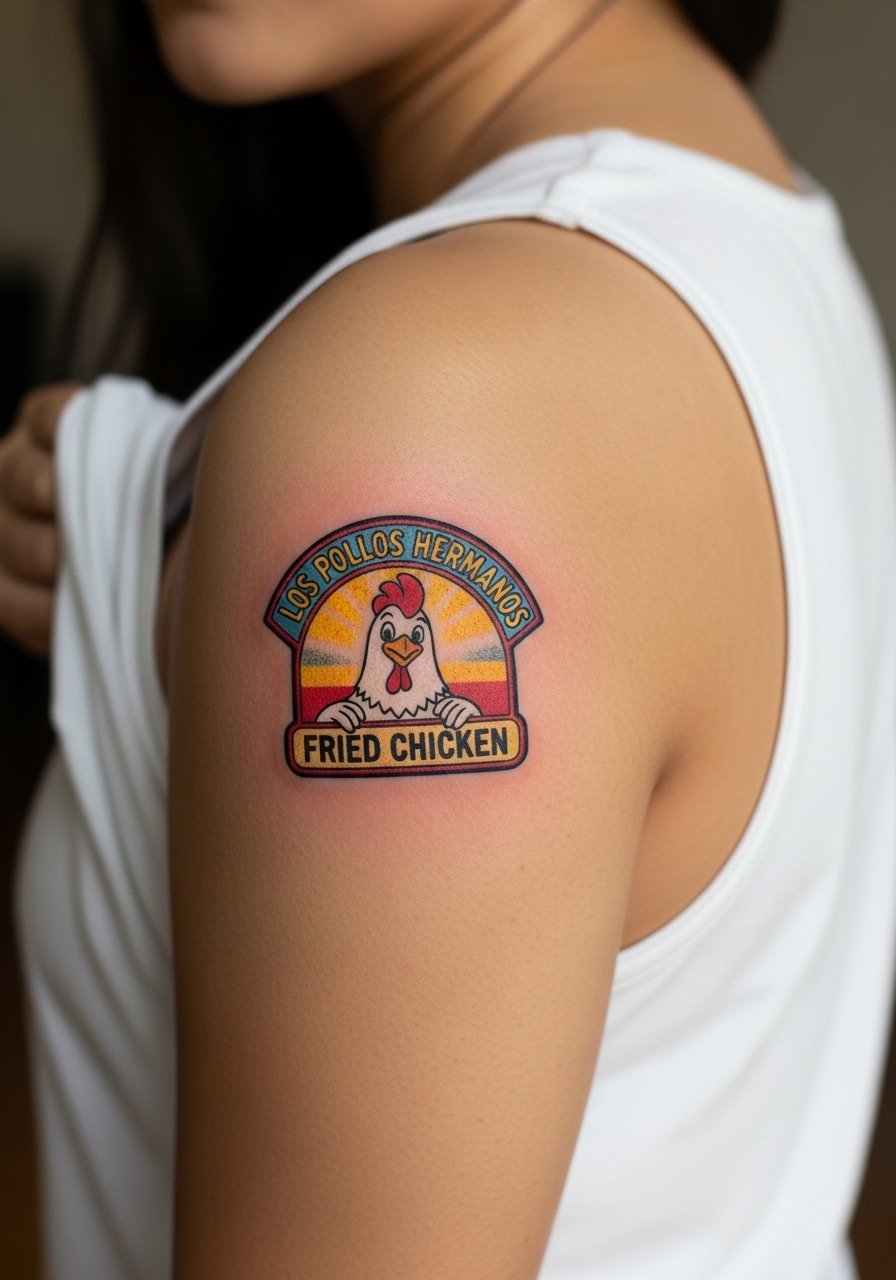
Shoulder blade pieces sit flat and photograph well. Color can last longer here than on exposed arms because the area sees less UV. The common mistake is tiny logo work that loses definition when exposed to sun and movement. Keep scale medium and ask for solid outlines to keep the badge crisp. Pain is low to moderate and session time is comfortable. Pair with backless tanks or low-back dresses for controlled reveals.
22. Ricin Cigarette as Hidden Inner Thigh Tattoo

Inner thigh placements are intimate and shielded from sun which helps longevity. Hidden placements like this let you choose fine detail with less risk of frequent touch-ups. The common mistake is choosing a spot that rubs against clothing constantly. For session wear, pull up loose shorts to expose the area without putting pressure on fresh ink. Pain is moderate and healing requires minimal friction while clothing settles.
23. BrBa Periodic Row Integrated into Science Sleeve
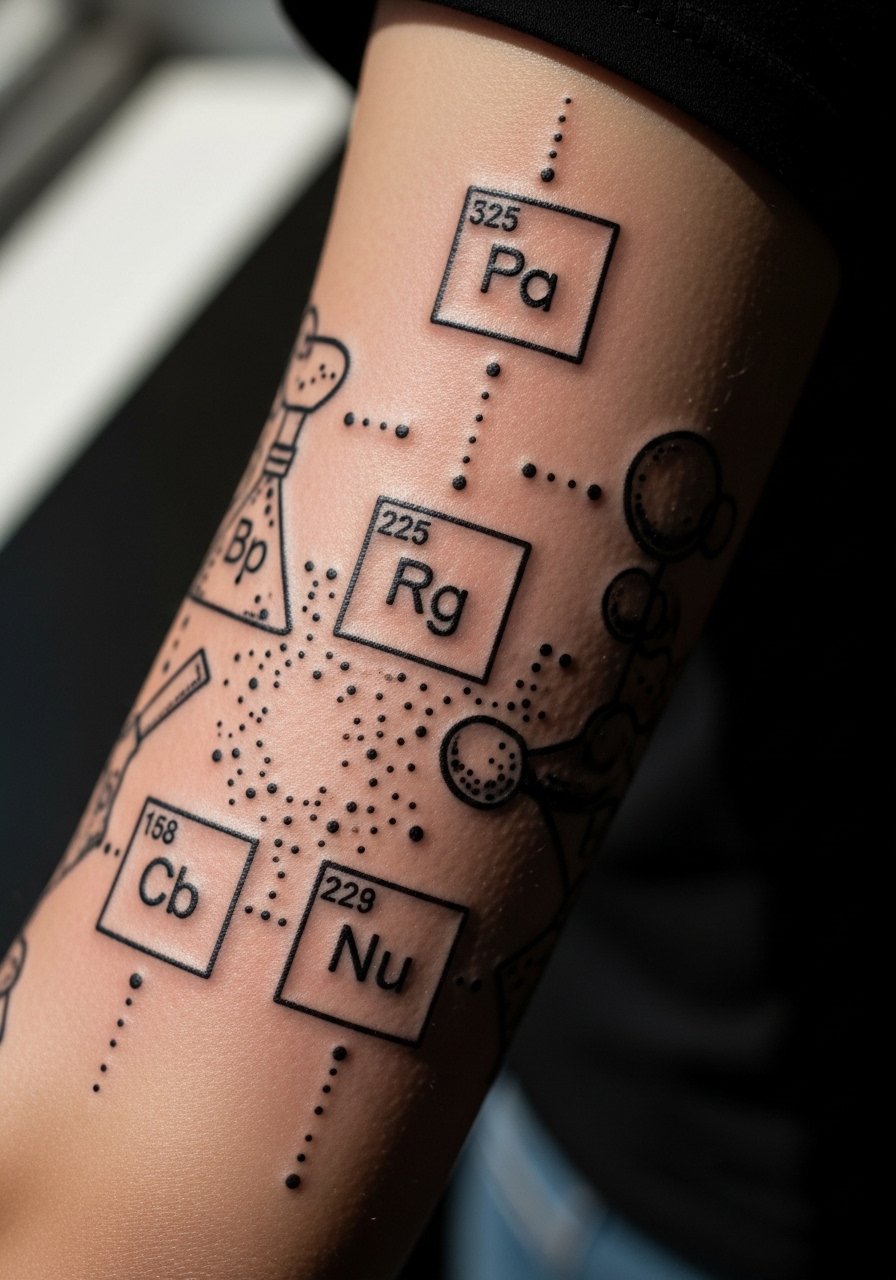
If you already have scientific tattoos, folding the BrBa tiles into a sleeve gives a cohesive look. The key is spacing and avoiding tiny tiles that rub together. Ask for consistent linework and small areas of stipple shading to separate elements. A mistake is matching unrelated scales which makes the sleeve feel inconsistent. Book sessions spaced four to six weeks apart to let the saturation settle.
24. Subtle Pizza on Roof Reference on Calf or Ankle
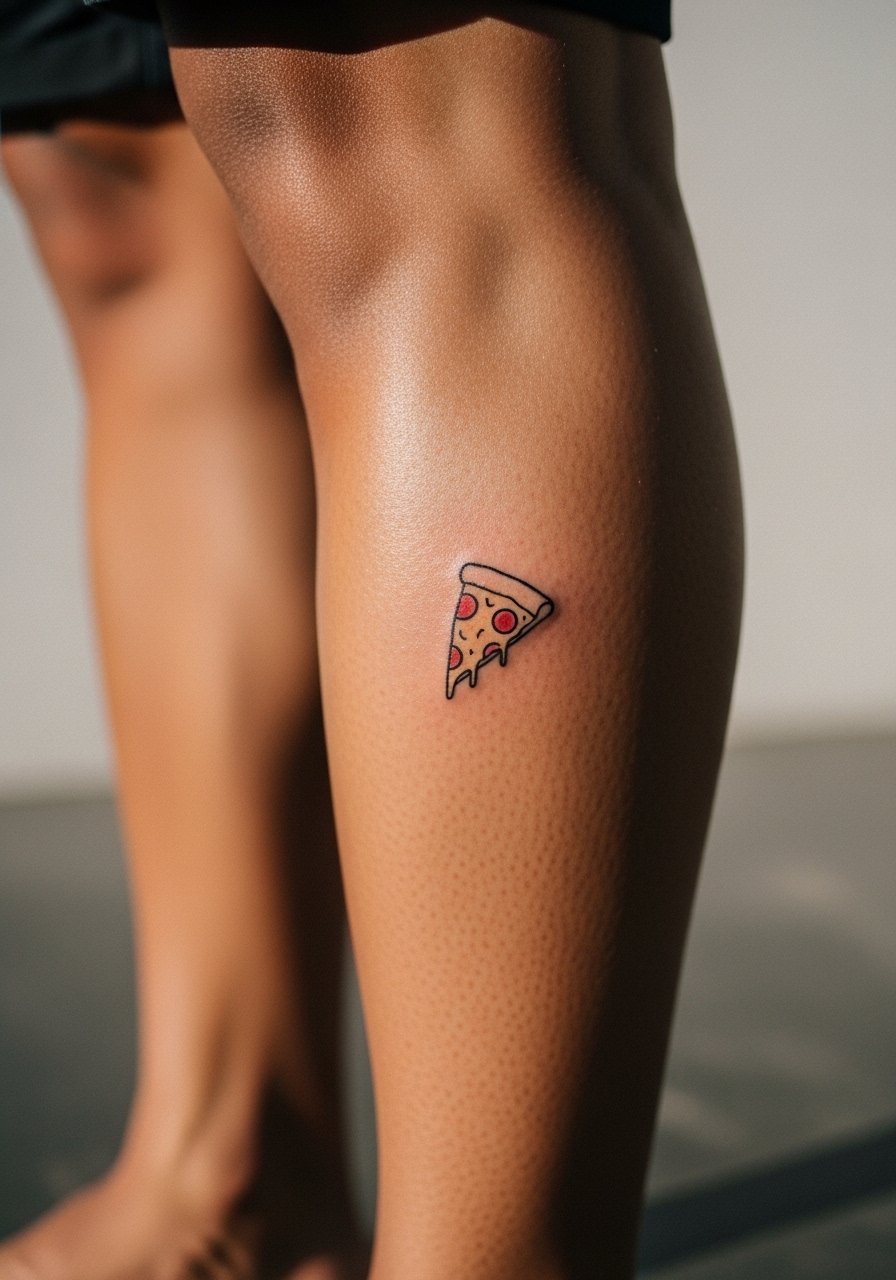
Easter egg references can be fun when kept subtle. For small playful tattoos like a pizza slice, avoid extreme miniaturization. Slightly larger simplified shapes retain clarity. The ankle sees more friction so calf is a safer bet. This is a quick session with low to moderate pain. For casual visibility wear cropped pants or summer shorts that show off the piece.
25. Cover-Up Concept Using Los Pollos Motif
Cover-ups need clever composition and saturation to mask old lines. A restaurant logo with strong color blocks and thick outlines is perfect for disguising older regret pieces. The mistake is trying a light wash over dark lines. Instead, plan for multiple sessions and ask the artist for a staged plan that includes strategic blacks and color saturation. For the session, wear a short-sleeve open button down so the artist can work without constraint.
26. Wrist BrBa Tile with Thin Leather Cuff Pairing
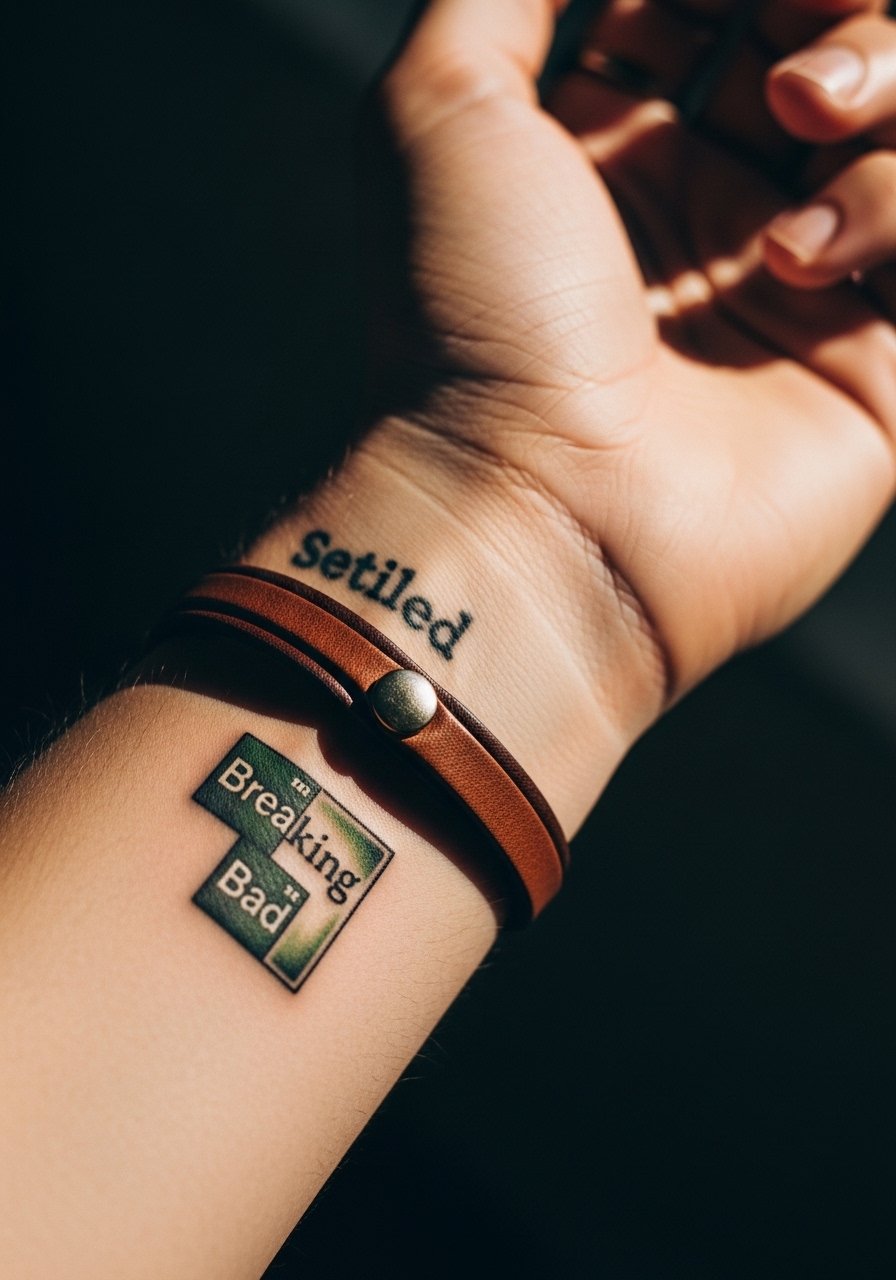
Wrist placements are visible and call for strong, clear linework. For quotes or tiles, choose bold counter lines to help letters and numerals hold. A typical error is choosing ultra-fine scripts that fade with regular washing. For showing it off, layer with a thin leather cuff or a slim watch on the opposite wrist. A recommended accessory is a thin leather cuff bracelet that frames the wrist without crowding the tattoo.
27. Sleeve Evolution Mockup: Young Walt to Heisenberg Across the Arm
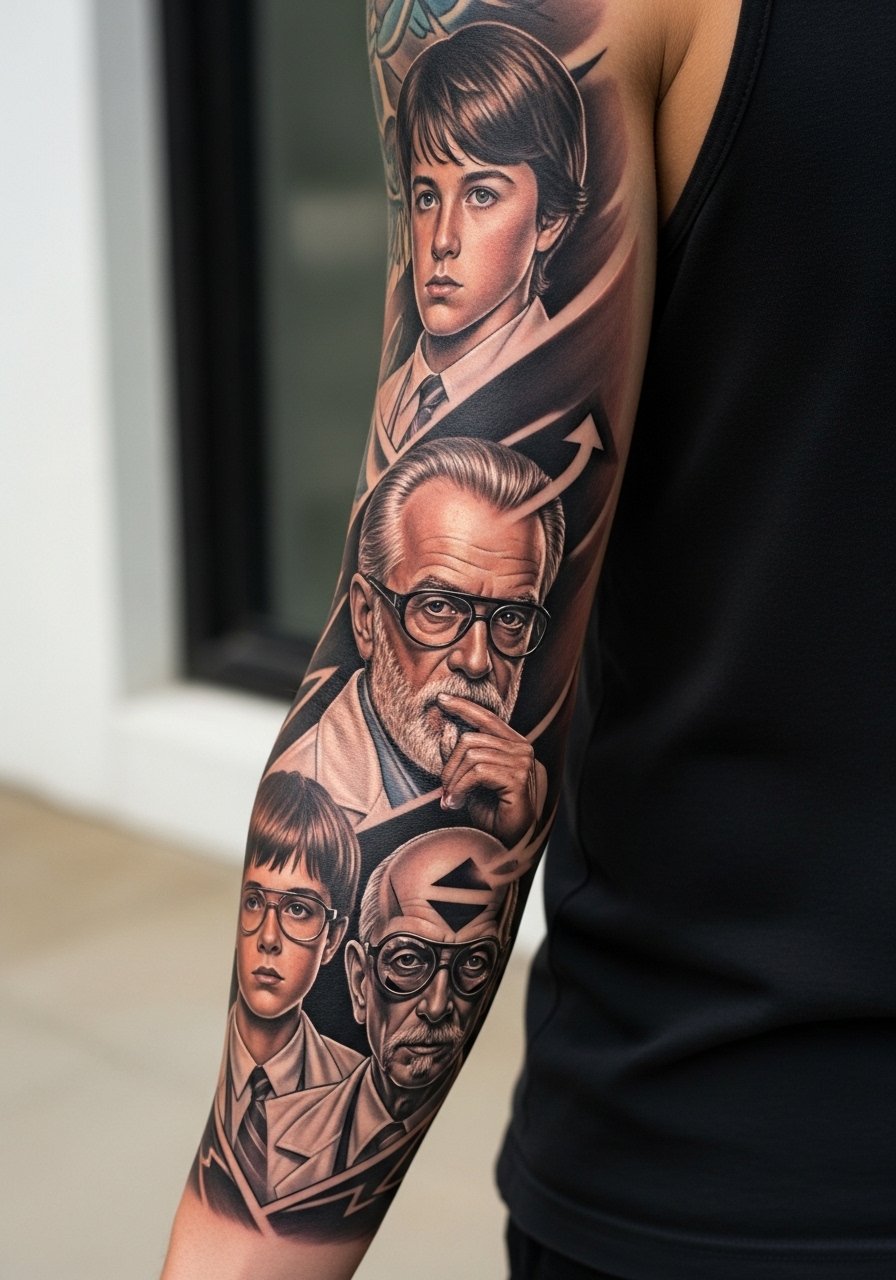
A sleeve evolution is one of the most ambitious tributes and it rewards careful planning. Start with a solid composition map and pick anchor pieces that define the arc. The mistake is jumping into multiple portraits without a unifying flow which makes the arm read disjointed. Expect five to ten sessions and discuss touch-up strategy throughout the build. In convention and gallery settings these pieces photograph well, and the progression becomes the narrative rather than single images.
Frequently Asked Questions
Q: Will blue meth crystal tattoos really turn green over time and how do I avoid that?
A: Blue pigments can shift with UV exposure and depending on the ink chemistry. To reduce risk ask for layered saturation with crisp white highlights and black anchors, cover fresh work from sun in the first month, and plan for a touch-up at around year one if you want to keep the blue vivid.
Q: Which is the best Breaking Bad tattoo for forearm placement if I want it to age well?
A: Bold black and gray portraits or illustrative beakers with solid outlines tend to hold up better on forearms than ultra-fine script. Ask for slightly heavier linework and solid shadow planes to prevent softening over time. If you lift weights or expect major body changes consider calf or back placements instead.
Q: Are hand and knuckle designs worth it given the fade risk?
A: Hand work looks striking but requires commitment to touch-ups and acceptance of faster fading because of friction and washing. If you want longevity go bold with saturated fills and avoid tiny internal detail. Be prepared for periodic maintenance.
Q: How much should I expect to plan for a full Heisenberg evolution sleeve in terms of sessions and set up?
A: Plan on multiple long sessions spread over months. Realism sleeves often take five to ten sessions depending on complexity and healing time. Space sessions to let saturation rest and discuss a staged plan with your artist so tones and transitions remain consistent.
Q: What should I wear to a session for a sternum or ribcage Breaking Bad design?
A: Wear a fitted sports bra or cropped top you can lift without exposing more than the area being tattooed. This keeps the session easy and the artist working on a clean, stable surface.
