
The bold silhouette reads from across a room, then holds up close as it settles into the skin. Blackwork music tattoos age differently than intricate color pieces. Heavy saturation and clean negative space smooth out over years while tiny dots and ultra-fine script often need touch-ups sooner. Below are 21 blackwork music tattoo ideas that balance stage presence with longevity, starting with pieces that show well fresh and still read clear after years healed.
1. Single Treble Clef on Inner Forearm

I've seen this simple call-back piece hold up on the inner forearm for years because it uses confident linework and solid fill where needed. Fair warning, the inner forearm is sensitive for some people, so expect a moderate pain level and a single-session job that often runs one to two hours. Tell your artist you want a slightly heavier line weight than a fine-line reference so it resists feathering. A common mistake is asking for a tiny script-sized clef, which blurs faster. For showing it off, roll sleeves and pair with a minimalist watch to keep attention on the symbol.
2. Bass Clef with Bold Staff on the Wrist

Personal observation tells me wrist work looks sharp short term but sees the most friction from shirts and watches. Pain is mild, session time about 45 to 90 minutes depending on wrap. Ask the artist for stronger spacing between the staff lines to prevent merging at year two. The most common error is squishing the staff too small around the wrist. For display and day-to-day wear, stack with a thin chain bracelet rather than a bulky watch so the lines remain visible.
3. Stave Fragment Behind the Ear, Minimal Nodes

This spot reads intimate and it ages well because the design is small and bold. Pain is low and a session only takes 20 to 35 minutes. When discussing it in consultation, describe exact placement using a photo so the artist positions the fragment under the hairline. A common mistake is asking for thin, delicate notes there, which lose clarity. Hand hygiene and careful shampooing in the first week matter, so plan your hair routine around healing. Finding an artist via local shop directories and convention listings helps with this placement.
4. Bold Metronome on the Upper Arm

There is something about a saturated black metronome that reads from a distance and still looks crisp close up. Expect a medium pain level and a one to two hour session if you want heavy saturation. Tell the artist to keep negative space inside the body of the metronome to preserve contrast as it ages. The common misstep is filling every tiny area which creates muddy patches over time. Wear a loose tank top to the appointment so the shoulder and upper arm are easy to access.
5. Solid Note Cluster Over the Collarbone
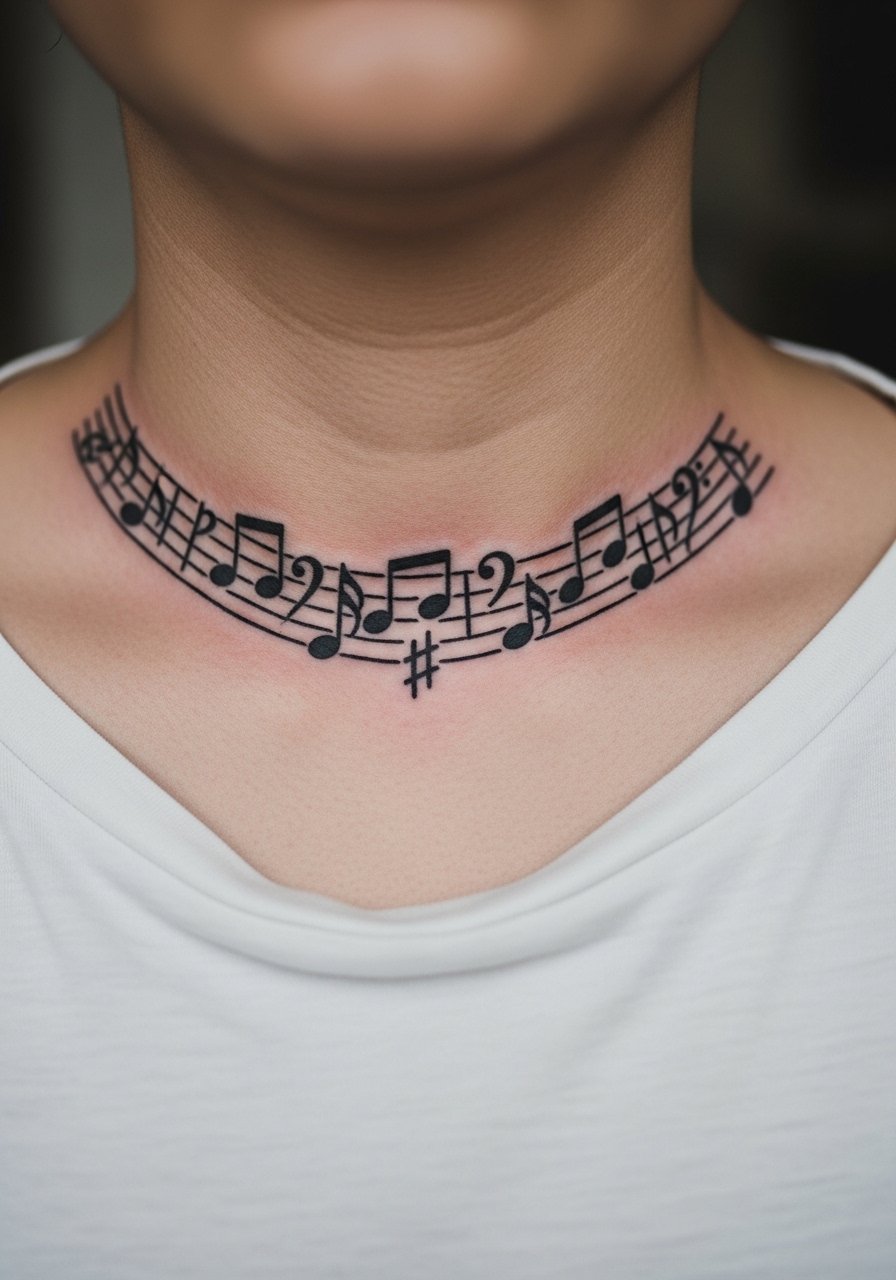
Most people underestimate how visible collarbone pieces are when deciding size. Visual impact is high and the placement is moderately painful. Book a single longer session or split into two for heavier saturation. A frequent mistake is going too small and losing the note heads into the collarbone shadows. For a polished look, pair this design with open-neck blouses when showing it off so the notes sit naturally above the neckline.
6. Ribcage Soundwave in Solid Black

Fair warning, ribcage sessions are painful for many people and often demand breaks. The piece looks striking because the heavy black holds contrast on the curved surface. Artists are split on fine detail here. One camp says dense linework blurs as skin moves and stretches. The other camp says with deeper, even placement and spacing it settles fine. Ask your artist which camp they follow and review healed photos from their portfolio. Wear a zip-up hoodie to the studio so you can expose only the area you need during the session.
Studio Day Picks
The collarbone, wrist, and ribcage pieces above require different prep and protection, so a few targeted items smooth session day and the first healing stretch.
-
Stencil transfer paper kit. Lets you preview exact placement on skin, which is crucial for asymmetrical collarbone and wrist wraps.
-
Topical numbing cream. Applied per instructions before a ribcage session it reduces edge pain for clients who get anxious about longer sittings.
-
Thin protective film roll. Works well for wrist and finger tattoos that face constant washing and friction.
-
Fragrance-free gentle body wash. Cleanses healing skin without stripping saturated blackwork on forearm or chest pieces.
-
Aquaphor healing ointment. Thin layers during the first days help keep heavy black saturation from drying into flaky patches.
7. Bold Vinyl Record Disc on the Shoulder Blade

Visual impact is immediate with a saturated record disc on the shoulder blade. Pain is moderate and the piece usually takes one session. When you consult, show how you expect the disc to sit with your shoulder blades movement so the grooves follow natural curves. A mistake is pushing too much tiny groove detail which softens into muddiness after a few years. For showing it off, a loose button-down shirt pulled off one shoulder frames the disc without covering it.
8. Staff Bar Wrapping the Bicep

A wrap that circles the bicep reads like a band and it ages well with strong line spacing. Pain is low to moderate depending on how close to the inner arm the lines sit. Tell the artist you want slightly wider spacing than your initial reference so the staff does not merge over time. The most common error is asking for continuous micro-detail in a tight band. For session comfort, wear a sleeveless tank you can easily roll or shift.
9. Solid Bass Note on the Calf

There's a confidence to calf placements because healing is easy and visibility is flexible. Expect mild pain and a one-hour session for a bold, saturated note. A frequent mistake is overscaling the note head so it crowds the calf's natural shape. When booking, mention activity levels because runners and cyclists need extra time before resuming training. For showing it off on warm days, cuffed jeans and a pair of minimalist sandals keep the focus on the calf artwork.
10. Solid Headphone Silhouette on the Upper Chest
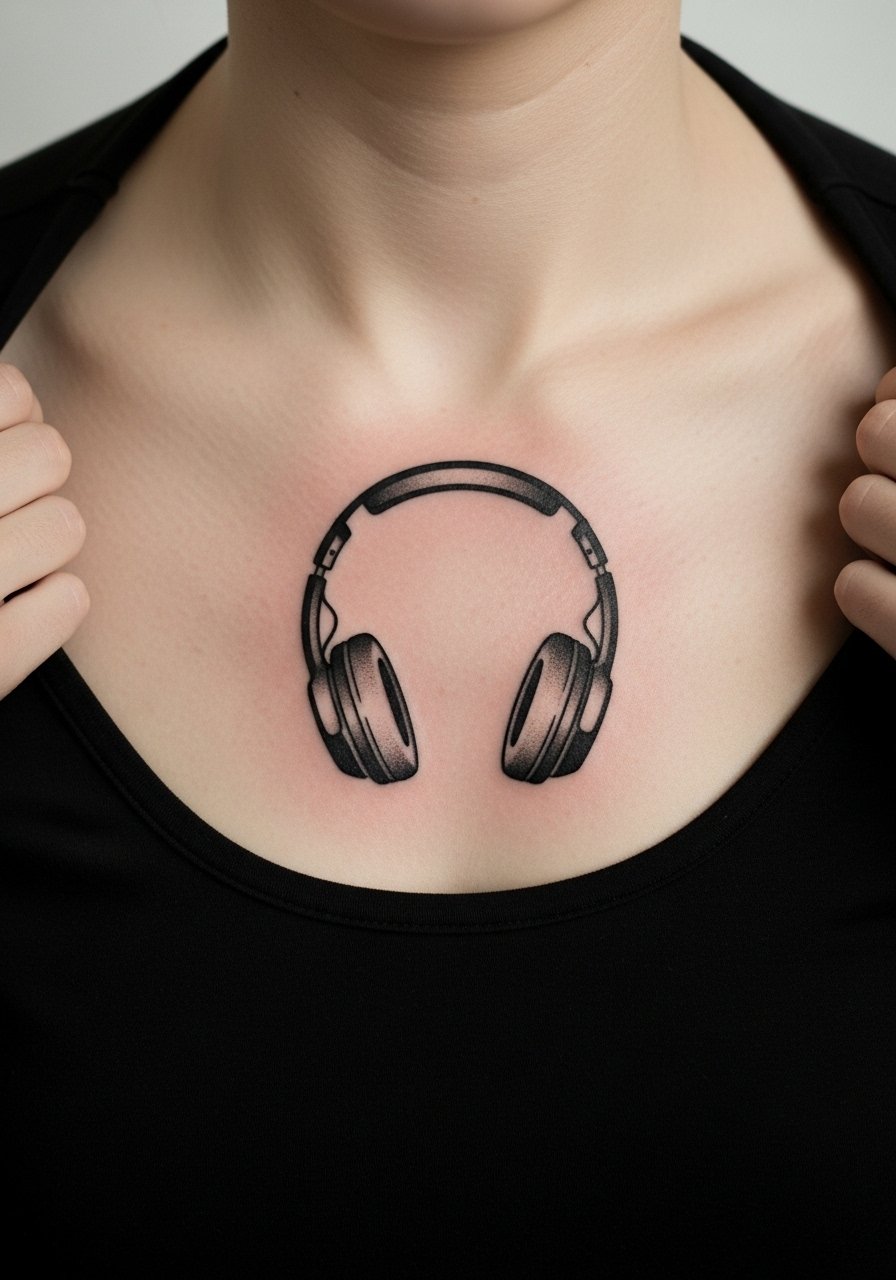
Most people who choose a chest silhouette want something that holds weight visually. Session time is usually one to two hours and pain sits in the moderate range for many. The mistake is using too many tiny interior lines which vanish as the chest moves and stretches. For the studio, bring a wide-neck shirt so you can easily expose the area without full disrobing. If you're debating placement, try taping a printed reference to the area first to see how it sits on your chest.
11. Bold Microphone with Stipple Shadow on the Forearm

When you want visual texture without color, stipple shading gives depth while staying blackwork safe. Expect a moderate pain level and a session of about 90 minutes for a stippled shadow. Tell the artist you want dot density rather than continuous gray so the piece keeps its definition as it settles. A typical error is asking for gray fill with no thought to future touch-ups. For casual wear, roll sleeves to show the mic and add a leather cuff bracelet to complement the chunky silhouette.
12. Compact Piano Keys Along the Side Finger

Hand and finger tattoos are controversial for both longevity and professional considerations. One camp points to consistent wear and friction that blur tiny work rapidly. The other camp insists that dense, simplified black shapes can last if placed and healed carefully. Expect higher touch-up needs here and think about whether your job tolerates hand ink. Keep the design compact and bold rather than detailed ivory and shadow. For the session, wear clothing that keeps the wrist free and bring a soft cotton glove to rest your hand while your artist works.
13. Heavy-Lined Lyric Script on the Rib Flank
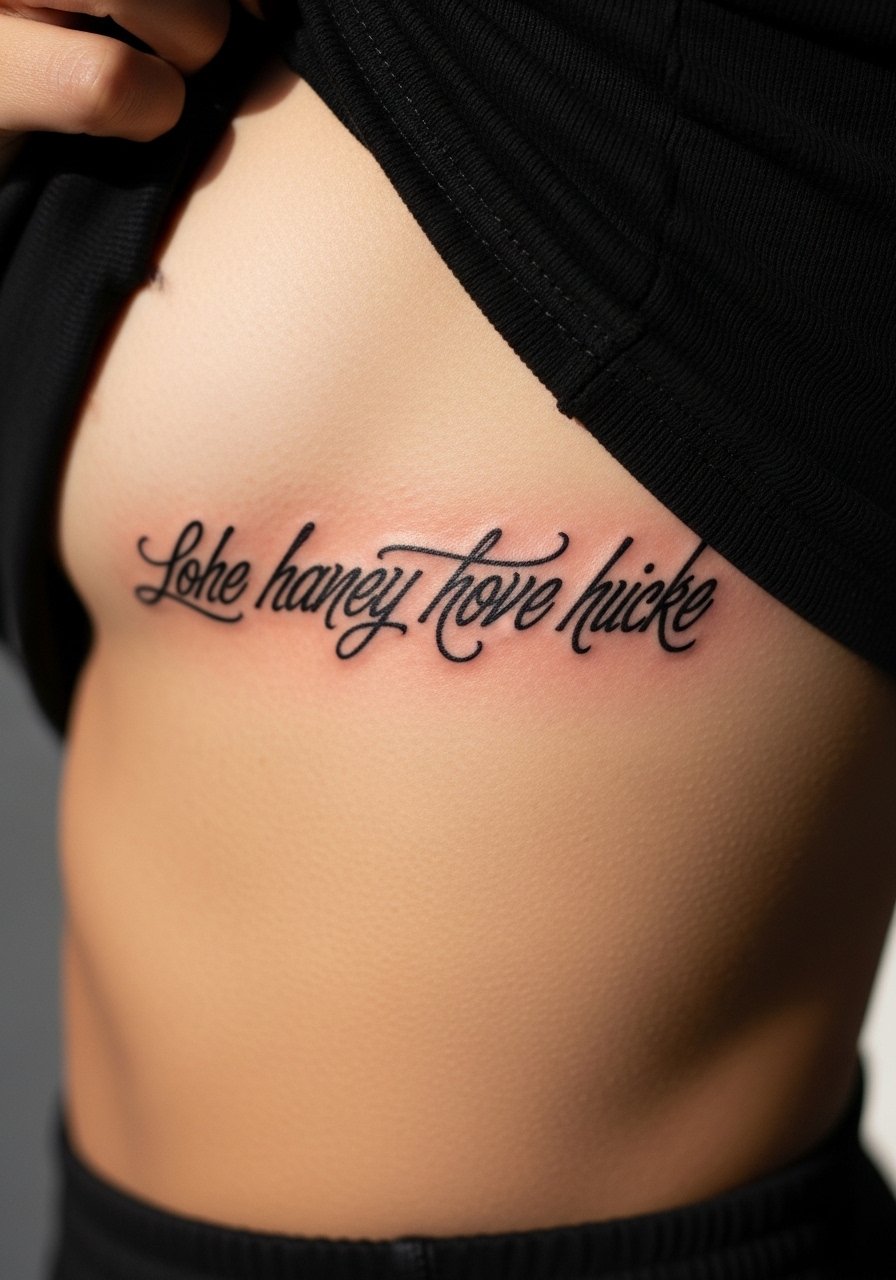
Most lyrical script on the ribs reads cleaner when the lettering uses confident strokes with white space between words. Pain is high here and sessions can stretch long. The biggest mistake is asking for micro-lettering in that area. For durability, request stronger stroke width and ask about touch-up timelines up front. Because ribs move with breathing, expect some settling by year two. Wear a cropped athletic top to the appointment so you reveal only the necessary strip of skin.
14. Bold Drumstick Pair Crossing the Upper Back

I've seen crossed drumsticks hold their silhouette well because the design uses broad strokes and strong negative space. Pain is moderate and a one-hour session often suffices. Ask the artist to keep the ends of the sticks slightly tapered so they read natural across shoulder movement. A repeated error is over-detailing the grain which ends up as visual noise. For showing this piece on casual days, wear a racerback tank that frames the artwork.
15. Heavy Black Clef Spine Running Down the Neck

Neck placements demand a specialist's steady hand and a portfolio of healed neck pieces. Pain can be sharp and sessions might be short but intense. The common mistake is expecting delicate linework to last there. Artists split on neck detail. One group says thin lines blur within a year. The other group believes careful depth and spacing keeps it. Ask directly how many neck pieces the artist has in their healed portfolio and check local shop directories for someone experienced. For day-to-day wear, a wide-neck sweater lets you show or hide the piece easily.
16. Bold Accordion Silhouette on the Side Torso

Side torso pieces age predictably because the skin there does not endure the same friction as hands and wrists. Pain is moderate and sessions vary with size. A common mistake is packing too much interior linework which can blur under repeated movement. During consultation, make sure the silhouette follows torso curves so the instrument reads natural when you move. For studio access and comfort, wear a cropped tee and high-waisted bottoms.
17. Solid Conductor Baton Across the Knuckle Line

Knuckle-adjacent work heals under constant touch and washing, so boldness beats detail. Expect elevated touch-up probability and a shorter session time for each tiny knot. The biggest mistake is requesting script or small ornamentation across knuckles. If you work with hands a lot, weigh the trade-offs. For showing the design without overexposing it, stack a thin ring on the adjacent finger that draws the eye while protecting the knuckle surface.
18. Heavy-Lined Celesta Box on the Thigh

Thigh placements are forgiving of size and allow heavier blackwork that lasts. Pain varies with outer versus inner thigh but outer thigh is lower on most scales. A common error is overly tight detail that loses form when the thigh moves. Session time ranges from one to three hours depending on saturation. For the appointment, slip into high-waisted jeans you can shift down a touch so the artist can access the area without you feeling exposed.
19. Bold Speaker Stack Behind the Ear

Behind-the-ear placements are small and need simplified silhouettes to last. Pain is low and session time is brief. A typical mistake is requesting micro-speaker grills or filigree which the area cannot hold long term. Be explicit in consultation about placing the piece just below the hairline to keep it discreet. Use discovery pathways like local shop hashtags and convention guest lists to find artists experienced with tiny placements.
20. Bold Notation Bar Across the Lower Back

Lower back pieces benefit from broad, solid elements that resist the friction of clothing. Pain is moderate and sessions are usually one to two hours. The common mistake is cramming too much tiny notation into a narrow strip. Ask your artist how the design sits with your usual clothing lines so you do not end up with cut-off notes. For showing it off in summer, a low-back dress or crop top complements the horizontal flow.
21. Bold Soundwave Sleeve Accent Along the Outer Forearm

When integrating a soundwave into a sleeve, the graphic needs room to breathe and confident saturation so it remains readable among other elements. Pain is similar to other forearm work and sessions vary by how much of the sleeve you build in one sitting. A frequent mistake is shrinking the wave to a decorative flourish that vanishes next to bold pieces. In consultation, specify whether you want the wave as a focal anchor or a background texture. For everyday wear, a rolled linen shirt sleeve in neutral tones keeps attention on the forearm art.
Frequently Asked Questions
Q: How do bold blackwork pieces compare to fine-line music tattoos in terms of longevity?
A: From what I've seen, bold blackwork usually holds contrast longer than fine-line work because the heavier ink resists spreading into faint lines. Fine-line pieces can look stunning fresh but often need touch-ups sooner. Placement matters more than style alone, so ask about healed portfolios for similar placements before booking.
Q: Will a ribcage soundwave need touch-ups more often than a forearm treble clef?
A: It depends on your skin and how much movement the area sees. Ribs shift with breathing and sometimes require touch-ups earlier if the initial spacing was too tight. Forearms are less mobile and generally need fewer early corrections. Discuss realistic touch-up timelines with the artist and look at healed examples.
Q: Are hand and finger music tattoos acceptable in professional settings?
A: Opinions split on this. One camp says visible hand tattoos still affect hiring in some industries. The other camp notes changing norms and more acceptance in creative fields. Consider your career trajectory before committing and ask about placement that can be easily covered if needed.
Q: How should I prepare clothing-wise for a collarbone or chest tattoo session?
A: Bring a wide-neck shirt or button-down you can pull aside to expose only the tattoo area. That keeps you comfortable and maintains modesty during longer sittings. For collarbone pieces, light layers are helpful so you can adjust without full undressing. A wide-neck shirt is a practical studio choice.
Q: Do stipple or dot-shaded blackwork techniques fade faster than solid fill?
A: Stipple holds up differently because the technique depends on dot density. When artists use well-spaced dot work with deliberate negative space, it retains texture as it heals. Dense stippling that mimics solid gray may soften into a patchier look. Ask to see healed stipple samples from the artist to set expectations.
