
Bold black bands and heavy fills do more than look imposing. They simplify aging, hide early blur, and read clean from a distance, which is why so many guys choose blackwork for a forearm sleeve that should still look strong in five years. Below are 17 forearm-forward blackwork sleeve ideas, the exact language to bring to a consult, and what to wear the day of the session.
1. Solid Band Sleeve with Negative Space Chevron
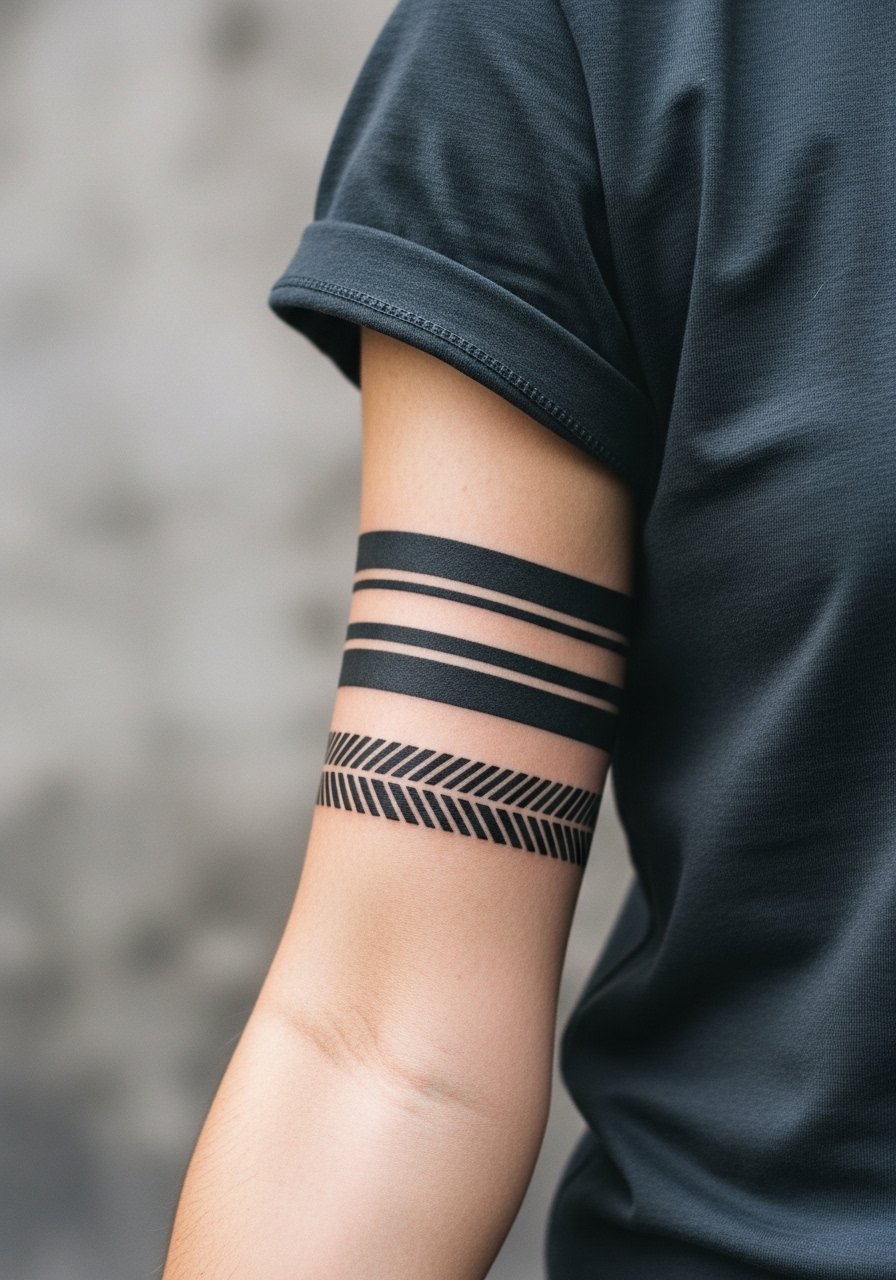
This is the kind of bold blackwork that reads strong from across a room and still reads clearly after a few years because the shapes are large and the saturation is even. Tell your artist you want bands at varying widths and intentional gaps so the skin between them ages into the design. The common mistake is making the chevrons too thin, which invites line merging as the skin moves. Expect a two- to three-hour session for a tidy half sleeve and a possible touch-up at year two depending on sun exposure. For the appointment wear a loose button-down shirt you can pull aside without rubbing the fresh ink.
2. Interlocking Knotwork That Wraps the Forearm
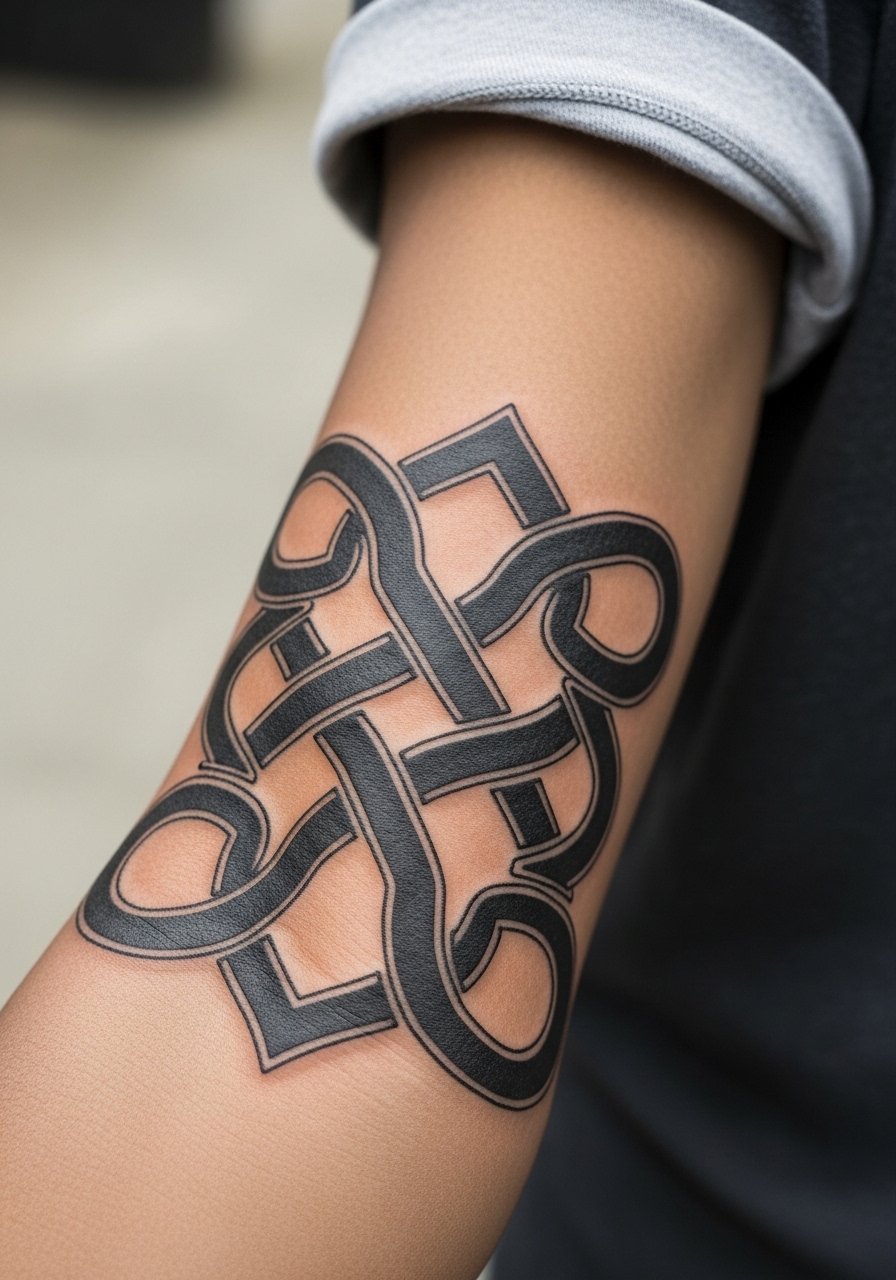
Knotwork scaled to forearm proportions avoids the tiny tricked-out fills that tend to blur. I recommend bringing a clear reference of the exact knot intersections you like and asking for slightly softened junctions so the pattern reads if the skin settles. One real mistake is asking for dense crosshatching inside every loop. That density will soften into a muddy patch over time. This design can be done across two appointments for saturation and final edge crisping. For session comfort choose a shirt with loose sleeves so the artist has full access to the wrap without you feeling cold.
3. Bold Tribal Panel with Stipple Shading Edges

A polished tribal panel holds up because the contrast between solid fills and stipple edges reduces visible merging. In consultation say you want stipple shading, not dense gradient, so the texture survives years of wear. Artists split over whether stipple or whip shading keeps edges cleaner long term. One camp says stipple keeps texture intact, and the other prefers soft whip shading for movement. Ask where your artist stands before booking. Expect moderate discomfort on the mid-forearm and a session length of three to four hours for a crisp panel.
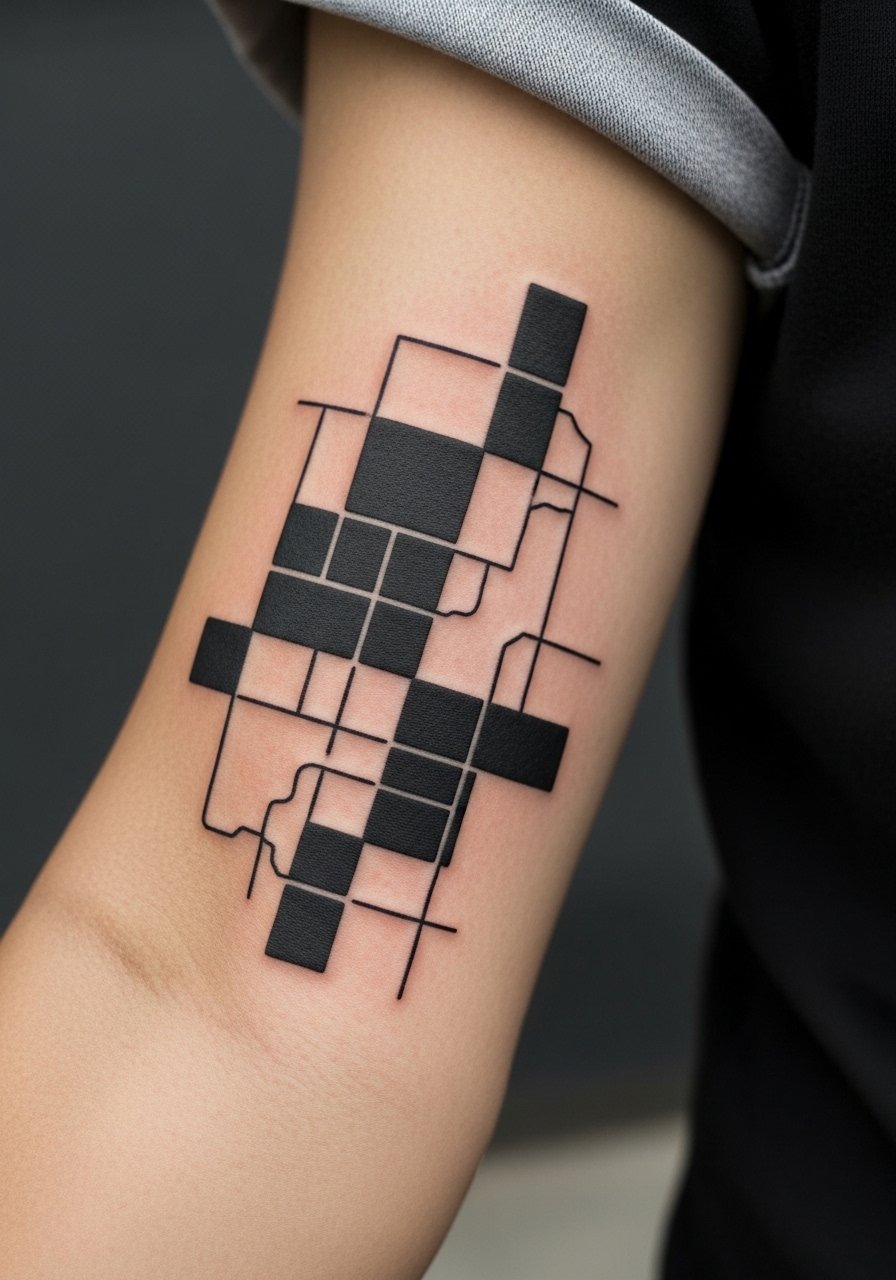
4. Geometric Grid Converted to Optical Blackwork
This is a modern take that borrows from counted-thread patterns but translated into thick black fields and crisp negative shapes. Tell the artist you want room between motifs so the optical effect stays intentional as the skin ages. A common error is compressing too many repeat elements into a small forearm span. That packing makes the optical pattern collapse into a single dark block after a few years. Session time varies by complexity, but plan for multiple passes when saturation is key. For showing it off wear a racerback tank or a rolled sleeve so the geometry reads cleanly with simple garments.
5. Bold Black Skull Stack with Negative-Line Details

Large solid skull silhouettes age well because the artist can place ink deep and even without relying on fragile fine lines. During consultation ask for negative-line teeth rather than tiny inked teeth. Tiny teeth blur into a single dark mark. This placement can be sensitive on the inner forearm for some people, but many find it manageable. Expect two sessions if you want both saturated fills and crisp negative details. Pairing this with a thin chain pendant necklace keeps attention on the forearm without crowding the visual field.
6. Bold Mandala Band That Flows Into the Sleeve
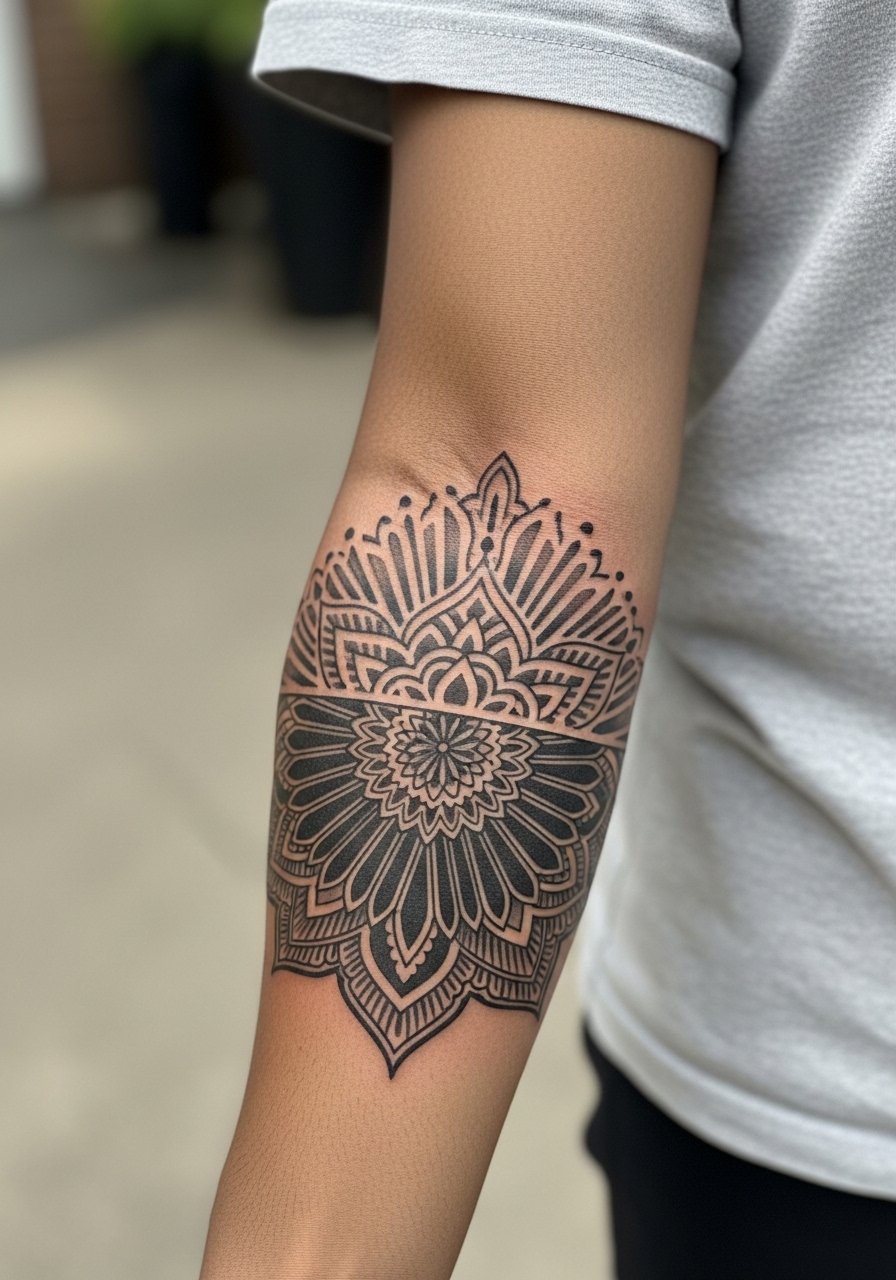
A mandala built from bold black blocks and clear gaps is a safer choice than an ultra-fine mandala on the same spot. In the consult request wider spacing between petals and ask the artist to map out where negative skin will be left. A frequent mistake is asking to miniaturize a chest mandala directly onto the forearm without scaling. That creates dense detail that blurs. This design can feel crunchy during long fill passes, so split into two sessions if possible. For the chair wear a loose drawstring linen pant if you plan on a session day that pairs with other work, or just remove restrictive cuffs so the artist can move freely.
Before You Book
The first six forearm pieces above lean into heavy saturation and negative space, so a few pre-session items make the tattoo day and the first week easier.
-
Stencil transfer paper kit. Lets you preview line placement on the forearm so you can confirm wrap and alignment before the needle starts.
-
Topical numbing cream. Applied per directions about 45 minutes before some sessions eases the edge on longer fill passes for inner forearm work.
-
Thin protective film roll. Useful for the first day when clothing friction over a sleeve section can irritate fresh saturation.
-
Fragrance-free body wash. Gentle cleansing during the first week keeps bold black fills from being scrubbed under hot water.
-
Aquaphor healing ointment. A thin layer in the initial 48 hours helps keep the surface moist for dense blackwork without suffocating the area.
7. Single-Needle Script Block Filled in Black
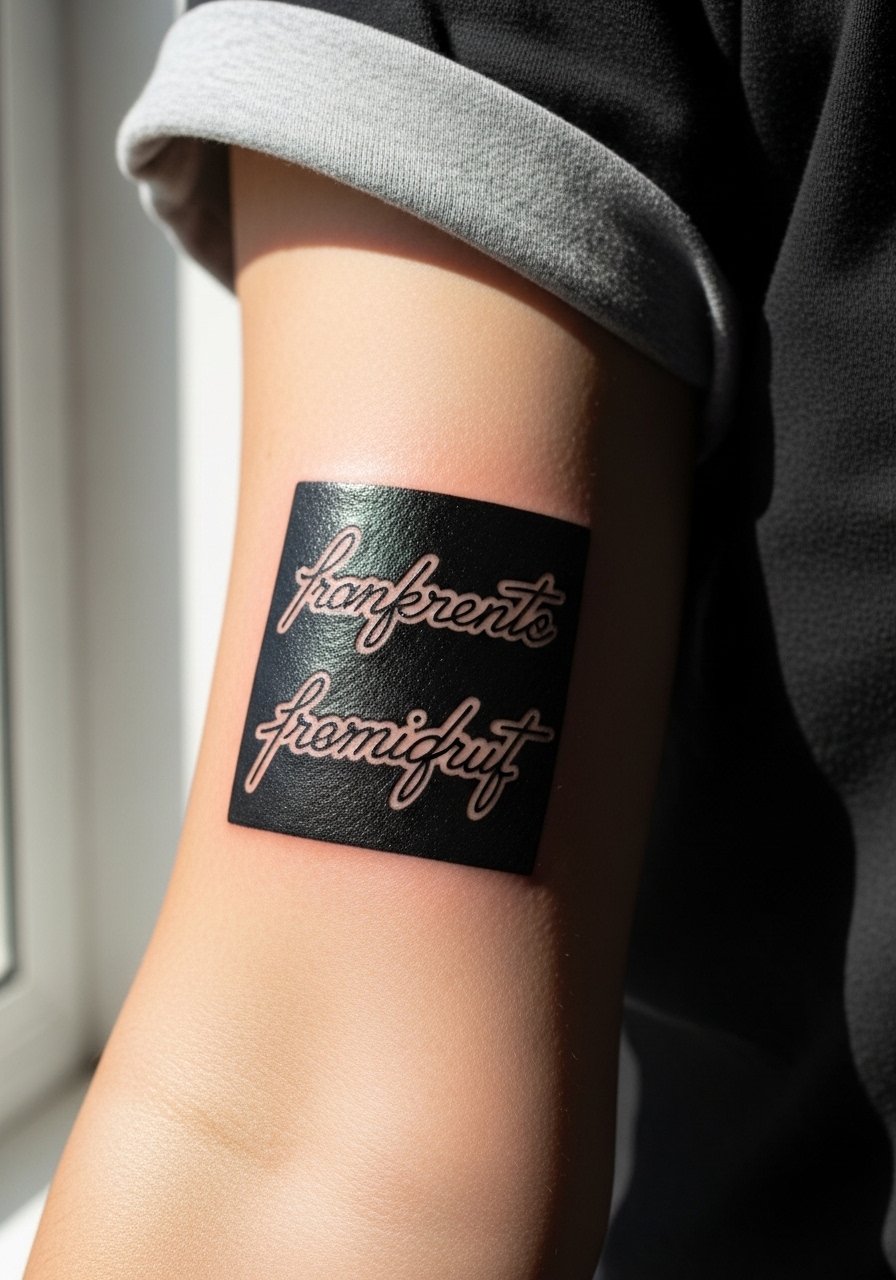
This uses heavy black backgrounds with letters left as skin for contrast. Ask your artist to stencil and check readable spacing because fine inner counters can disappear over time. The most common mistake is demanding tiny lettering inside a saturated field. The counters need width to survive. Session time depends on how many letters you want left as negative space, and you will likely need a touch-up once the ink has fully settled. For showing off, simple rolled sleeves or a short-sleeve cotton tee keep the negative lettering visible without distraction.
8. Ribbed Mechanical Blackwork with Bolt Motifs

This industrial look reads like armor and benefits from broad black sections and sparse linework for bolts. During consult explain you want the plates to read as separate blocks so motion does not merge them. Designers sometimes overcrowd bolt details which leads to a blotchy look later. This is a medium-pain spot with long fill passes. Wear a shirt you can move or pull aside easily. The design pairs well with layered short sleeves and a loose short-sleeve hoodie for casual show-off.
9. Fragmented Totem with Bold Icon Silhouettes
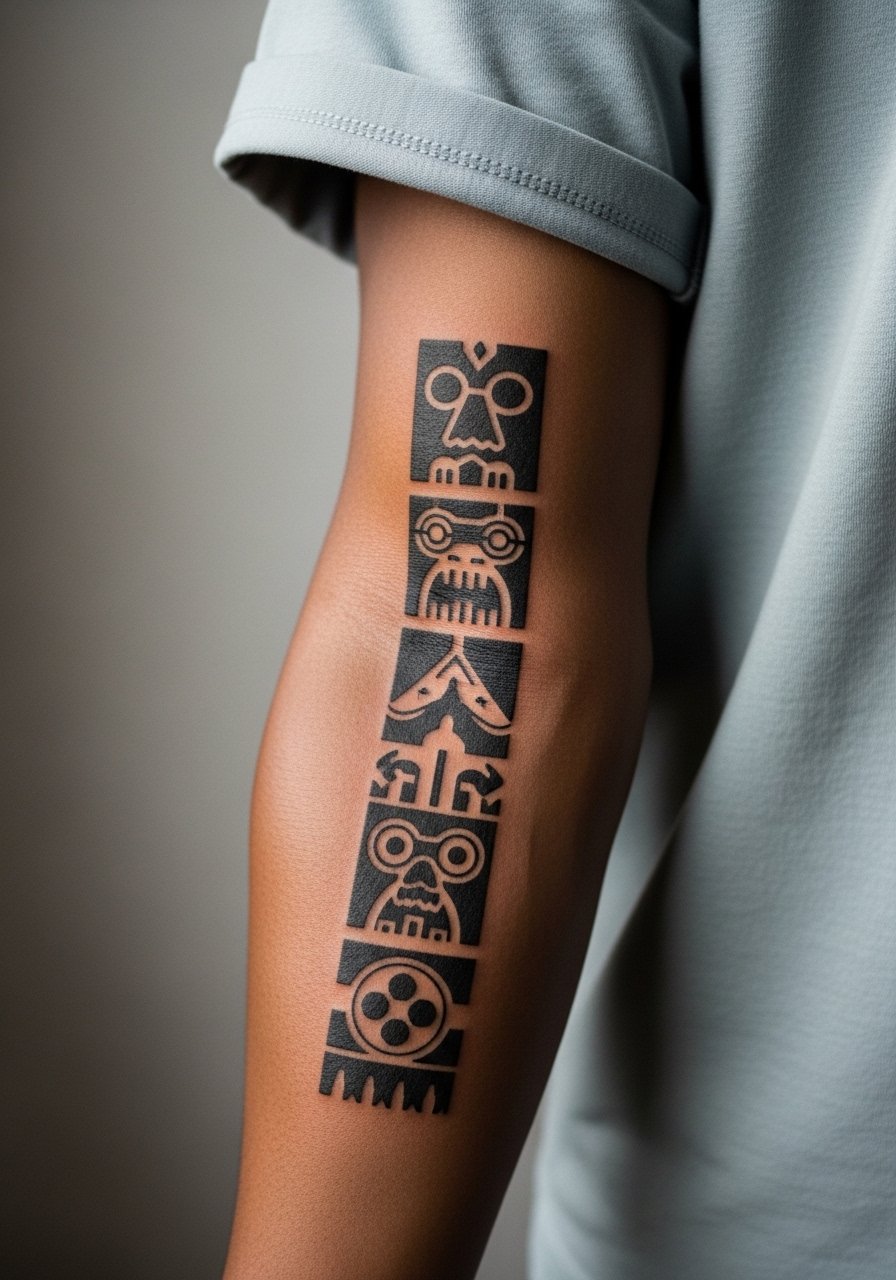
Stacking bold silhouettes gives the eye clear anchors so the piece stays legible as the skin changes. In the consult choose icons with differing silhouettes to avoid repeated shapes that read as one mass later. A mistake is packing similar shapes without separators. The session feels like repeated short bursts of buzzing and then longer filling, so hydration and rest before the chair help. For evening looks, pair the totem with a cuffed sleeve or a simple bracelet so the icons have room to be the focal point.
10. Blackwork Wave Panel with Open Negative Lines
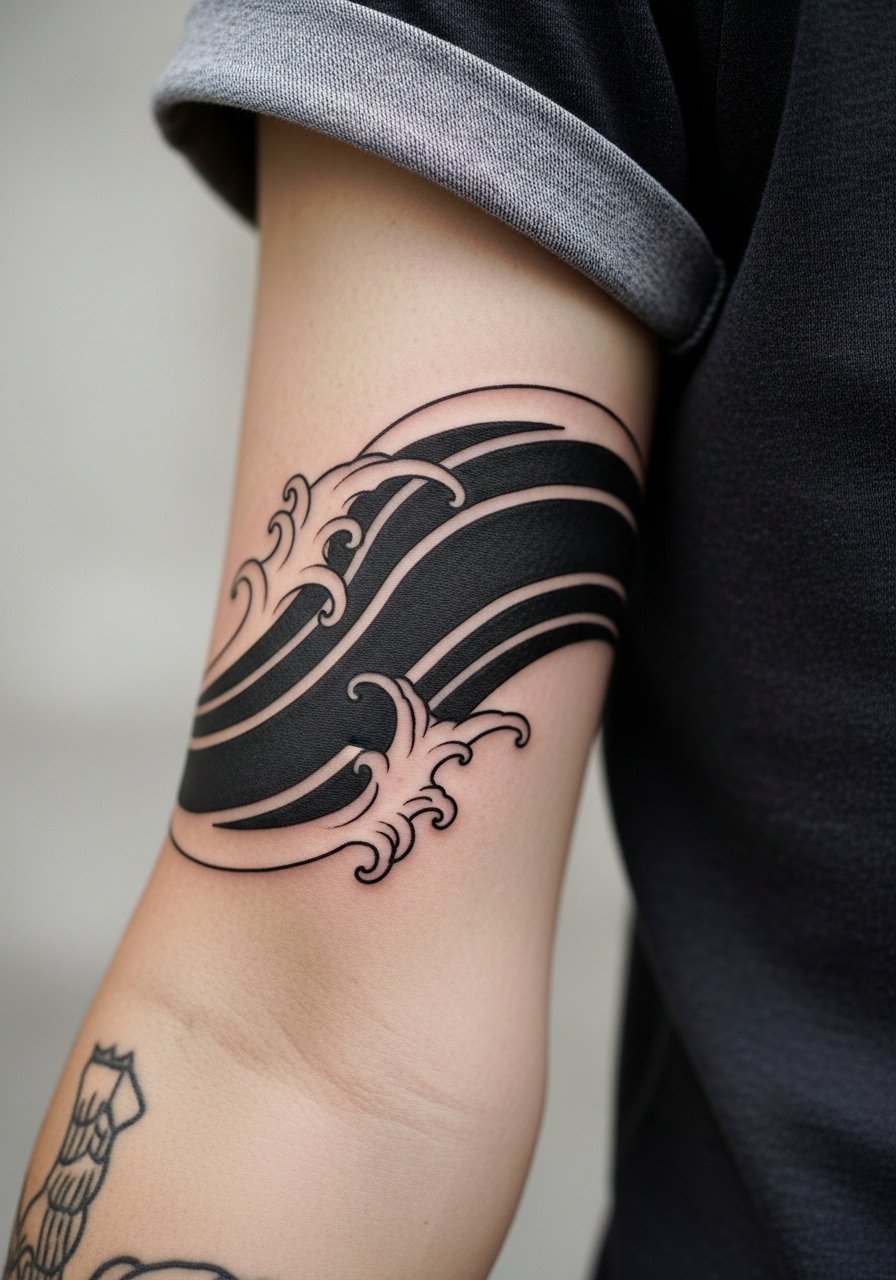
Flowing panels that respect the forearm curve avoid the wobble you see when artists force straight motifs across rounded anatomy. Tell your artist to map the waves along muscle lines and to keep the negative highlights at least a few millimeters wide. The common error is making those highlights razor-thin, which means they disappear. This design tends to take two sessions for tone consistency and lasts well when kept out of excessive sun. A rolled sleeve or a short cuffed shirt frames the flow without covering it.
11. Fragmented Map Lines in Dense Black Blocks
This is a blackwork interpretation of cartography, where bold fills represent landmass and thin negative lines are coastal edges. Be explicit about the width of your negative lines during consultation. Artists split on acceptable thinness. One camp says very thin negative lines keep visual interest, and the other warns they will vanish. Name both camps in the consult and follow your artist's experience for your skin type. Avoid asking for ultra-fine map routes unless you want scheduled touch-ups. For travel-friendly outfits, rolled sleeves and a simple watch make the map readable without fuss.
12. Heavy Floral Silhouette Sleeve in Black

A bold floral silhouette uses form over linework to stay legible. Tell your artist to favor large petals and clear negative spaces between blooms. Small filigree inside petals is a trap because that detail will soften. The forearm allows for comfortable positioning, but long fill sessions can tire the hand and wrist. Plan breaks and bring an arm pillow if needed. Pair this visually with a rolled linen shirt or a minimal bracelet so the flowers are the focus.
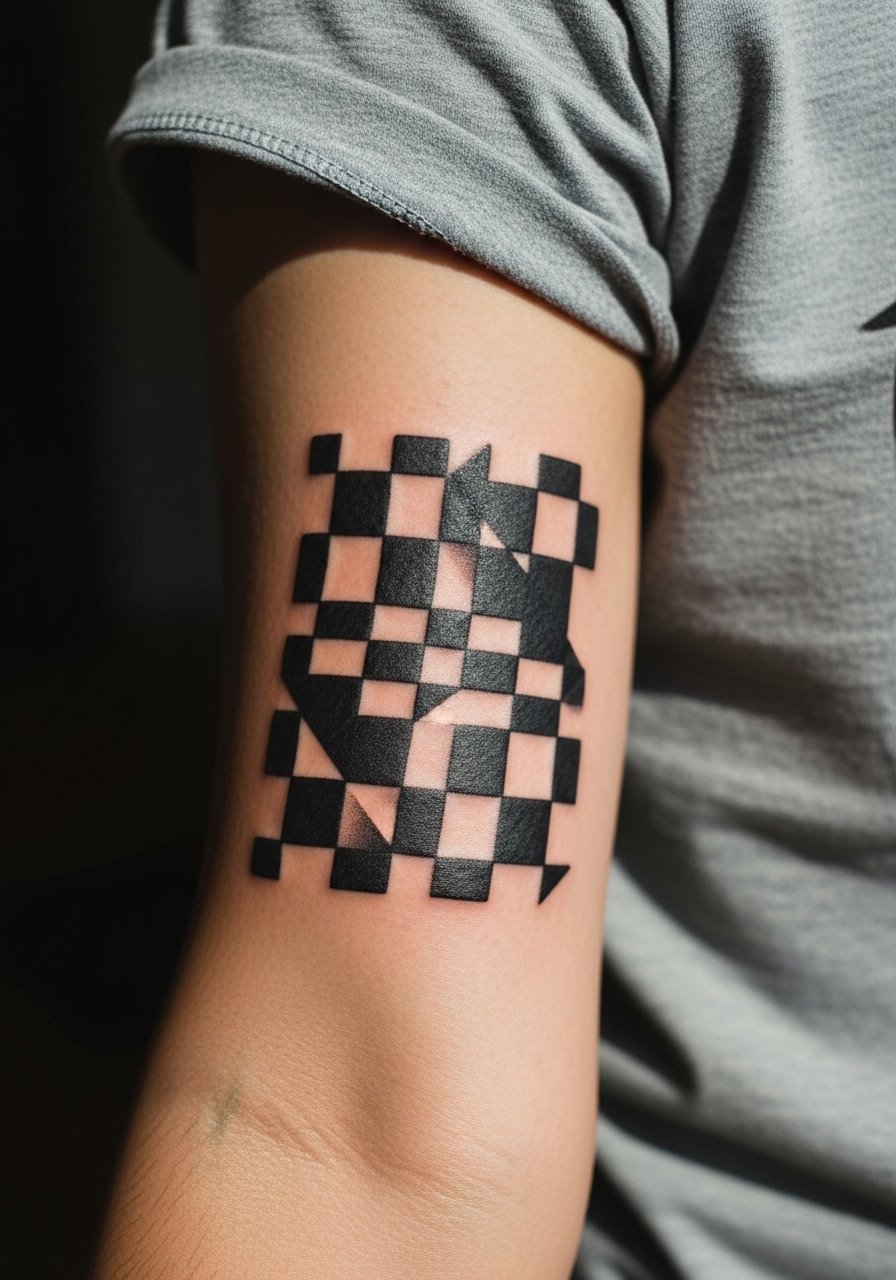
13. Checkerboard Fade Into Solid Black Cuff
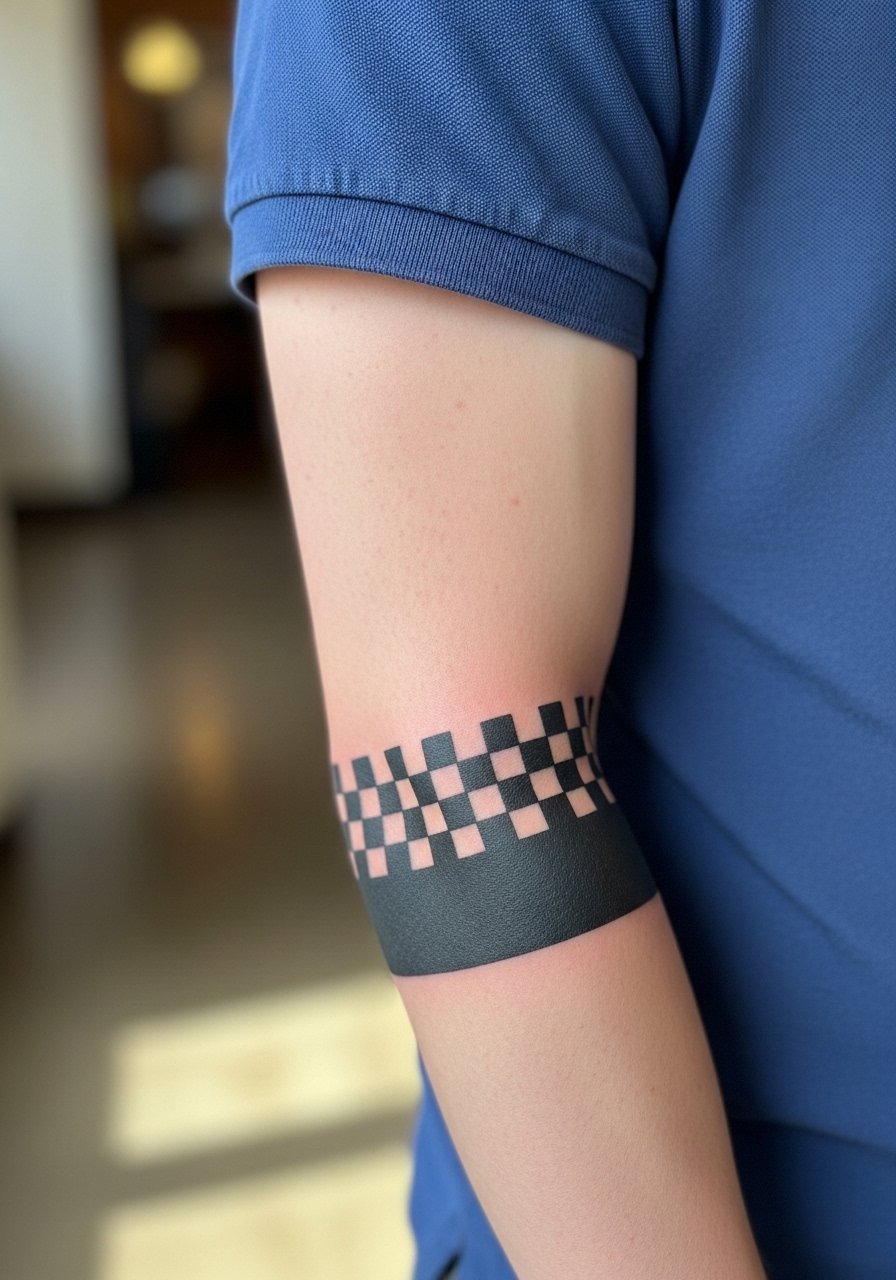
A fade-to-cuff gives visual contrast and protects the cuff from early smudge by making it intentionally dense. During consult show where you want the fade to start and ask for slightly larger squares near the transition to prevent early blending. A common mistake is a too-tight checkerboard that becomes a flat black band. Session time is moderate and you may prefer a touch-up at year two if you are often in the sun. Wear a minimal wristwatch or keep wrists bare to show the cuff off.
14. Bold Script Locked into Black Folds

Large black folds with negative script require spacing discipline so letters remain readable. Tell your artist to test the letter counters on your skin with a temporary stencil and to increase inner widths where necessary. Tiny counters are the usual mistake and they disappear. This layout usually needs a two-step approach with block fill first and refined edge work second. For nights out a fitted short-sleeve shirt keeps the negative script visible and elegant when you move your arm.
15. Bold Animal Silhouette Sleeve with Patterned Backdrop
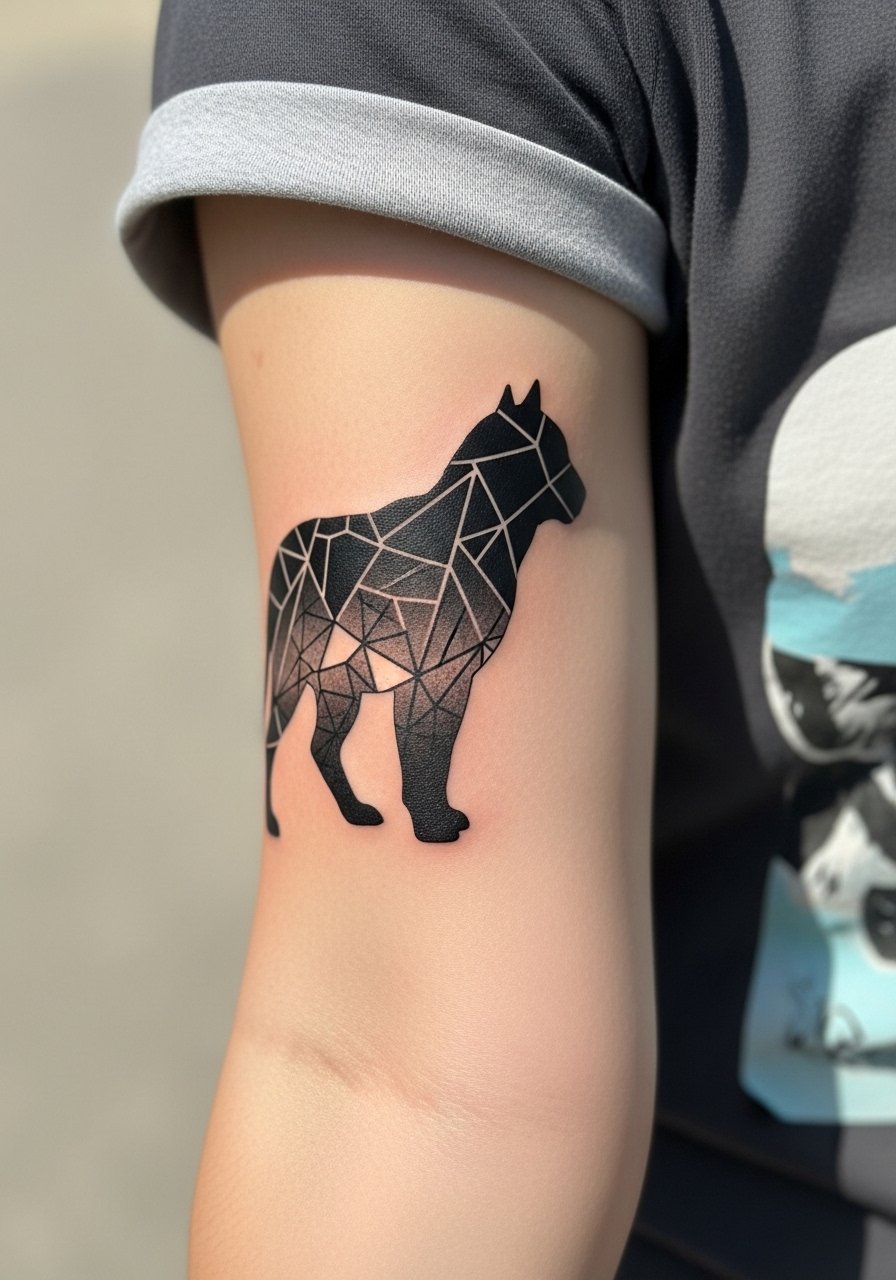
A single large silhouette over patterned blackwork reads clean because the focus is on the form, not tiny texture. In the consult state that the silhouette must remain an uninterrupted block and request a modest backdrop pattern rather than dense fills. The real mistake is carving tiny texture into the silhouette itself, which erases the shape over time. The inner forearm can be more sensitive for some people, so short breaks help during long fill passes. Pair the look with rolled sleeves so the silhouette leads the visual.
16. Negative-Space Portrait Outline with Bold Fill
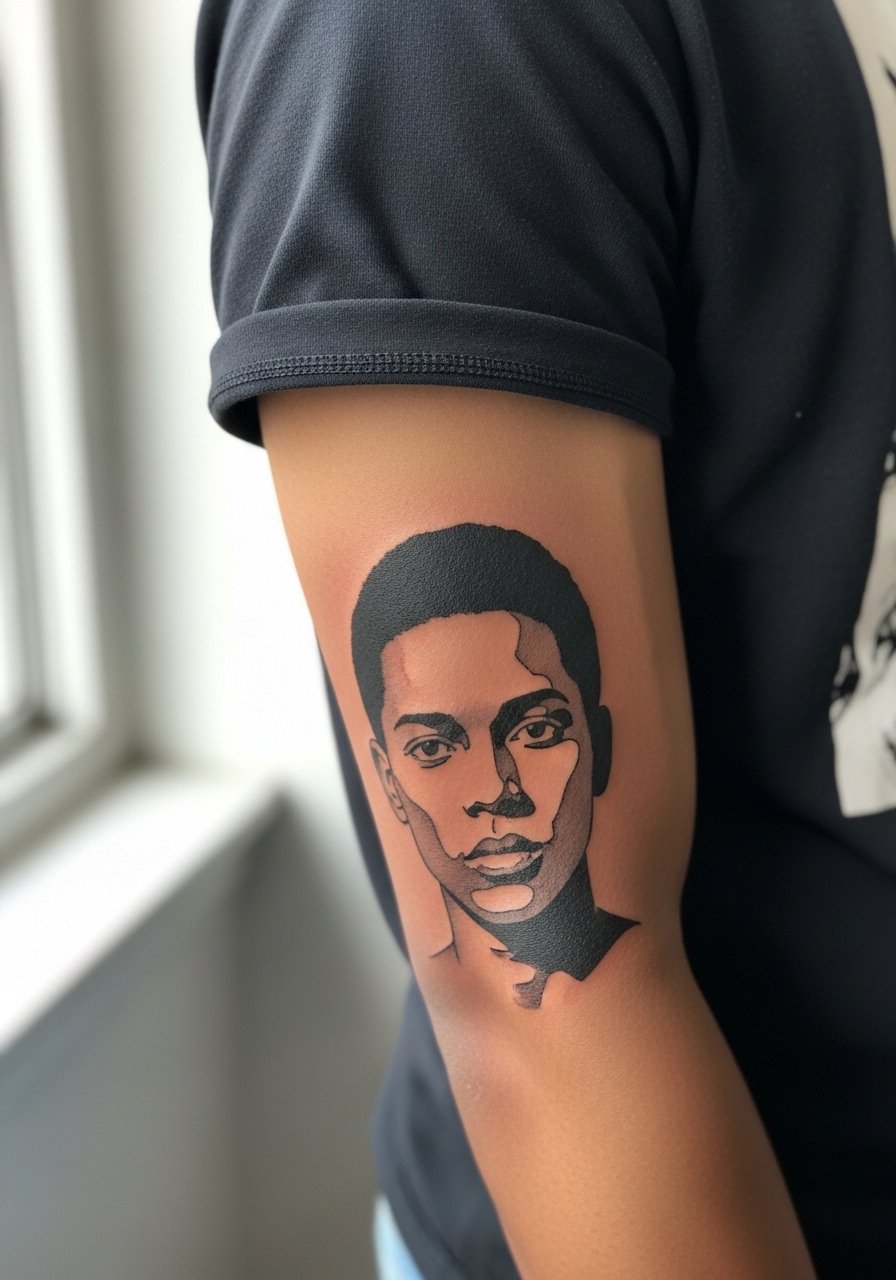
This approach leaves the portrait as skin while the background becomes the graphic element. Bring clear reference photos and ask the artist to scale the silhouette so facial features are implied rather than finely detailed. The mistake is treating it like a micro-realism portrait which will not survive in negative skin alone. Sessions will be split between mapping the silhouette and saturating the background. For showing the portrait off choose simple short sleeves or a watch that does not sit over the piece.
17. Full Forearm Sleeve of Tiled Black Motifs with Light Gaps
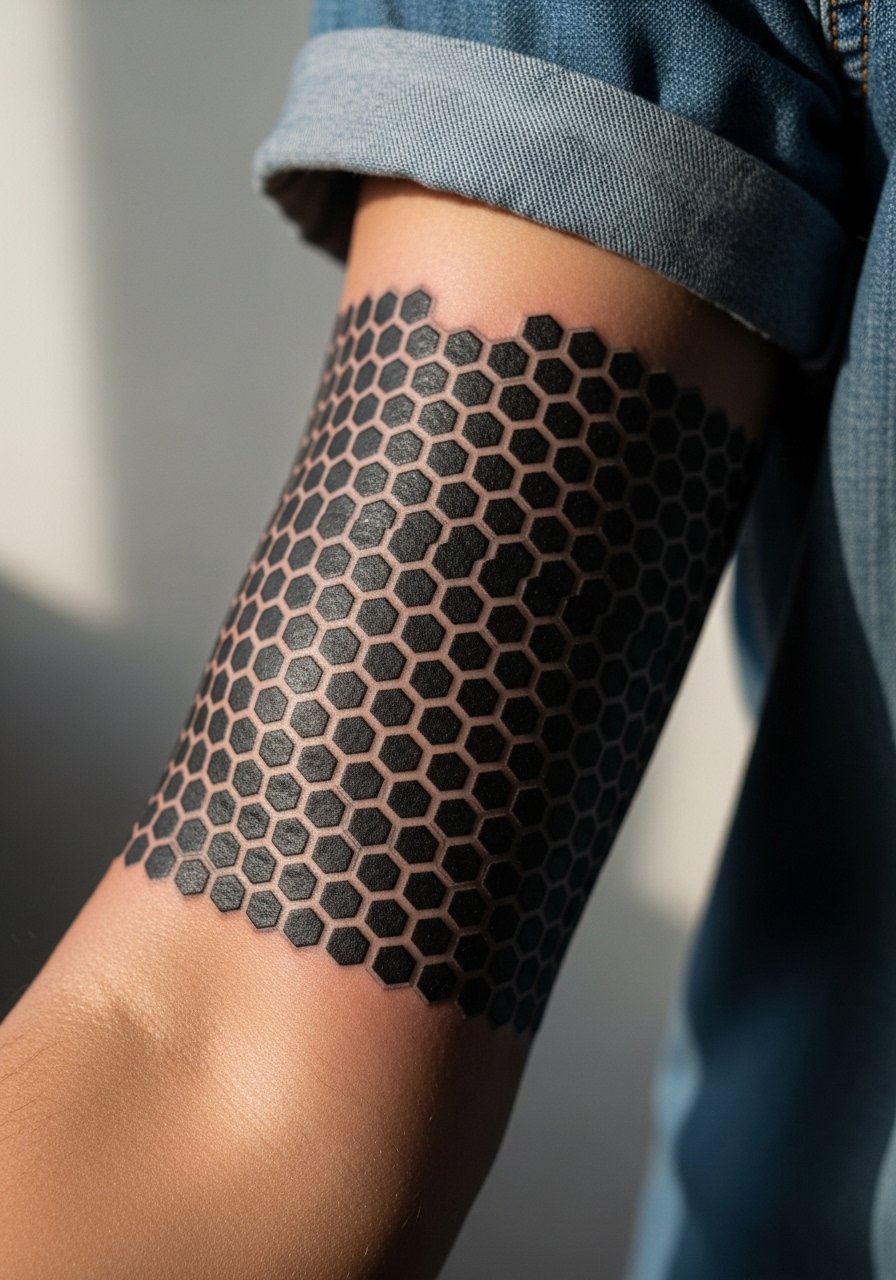
A tiled sleeve built from repeat black motifs benefits from consistent spacing and deliberate negative gaps. During the consult insist on an initial layout so you can adjust spacing before any needles touch skin. The big error is compressing tiles to fit more motifs which creates a single dark mass in time. This is a long commitment to fill and will likely be done across multiple sessions. For session comfort and later show-off, a loose short-sleeve has the right balance of access and coverage.
Frequently Asked Questions
Q: Will a bold blackwork forearm sleeve hide early blowout or make it more visible?
A: Bold blackwork can mask small blowouts because the saturation evens out contrast, but excessive needle depth still creates visible spread. Ask your artist about their blowout prevention technique and request test swatches when possible. If you notice soft edges at month three, plan for a touch-up rather than reworking the whole panel.
Q: How does forearm skin tone affect how blackwork shows up and ages?
A: Darker skin tones can make negative-space details read with less contrast, so artists often increase gap widths for legibility. Lighter skin shows crisp negative counters more easily but can reveal sun damage sooner. Bring clear photos of healed work on similar skin tones during consultation so the artist can scale gaps and fills appropriately.
Q: Do large black fields increase the chance of scarring or keloid formation?
A: Large fills require sustained passes and aggressive saturation which can irritate susceptible skin more than small pieces. If you have a history of raised scarring, mention it before booking so the artist can adjust depth or recommend test patches. This depends on individual healing and the artist's technique.
Q: How many sessions should I expect for a strong forearm sleeve with heavy black saturation?
A: Most full forearm sleeves with heavy saturation need at least two to three sessions for mapping, saturation, and edge refinement. The exact count depends on how dense you want the black and how long you can tolerate fills in one sitting.
Q: If I want to show the forearm design at work or events, what clothing works best?
A: Rolled short sleeves and minimal bracelets frame forearm blackwork nicely. A loose button-down shirt with sleeves cuffed keeps the piece visible while staying professional where needed.
Q: Are touch-ups for blackwork more common than for fine line pieces?
A: Touch-ups for blackwork are common when exposure and friction are high, but the timing is often longer than for fine line pieces. Expect a potential touch-up at year two to three depending on sun habits.
