
Fine line spider pieces are everywhere online, but what holds up on skin is not always what trends on a feed. Black and grey HxH spider designs that look delicate in photos can blur if placed over soft, stretchy zones. Longer lasting choices give the lineroom they need and lean into shading that survives sun and time. Read on for 17 wearable takes and what to tell your artist before the needle hits the skin.
1. Micro Line Spider on Inner Forearm
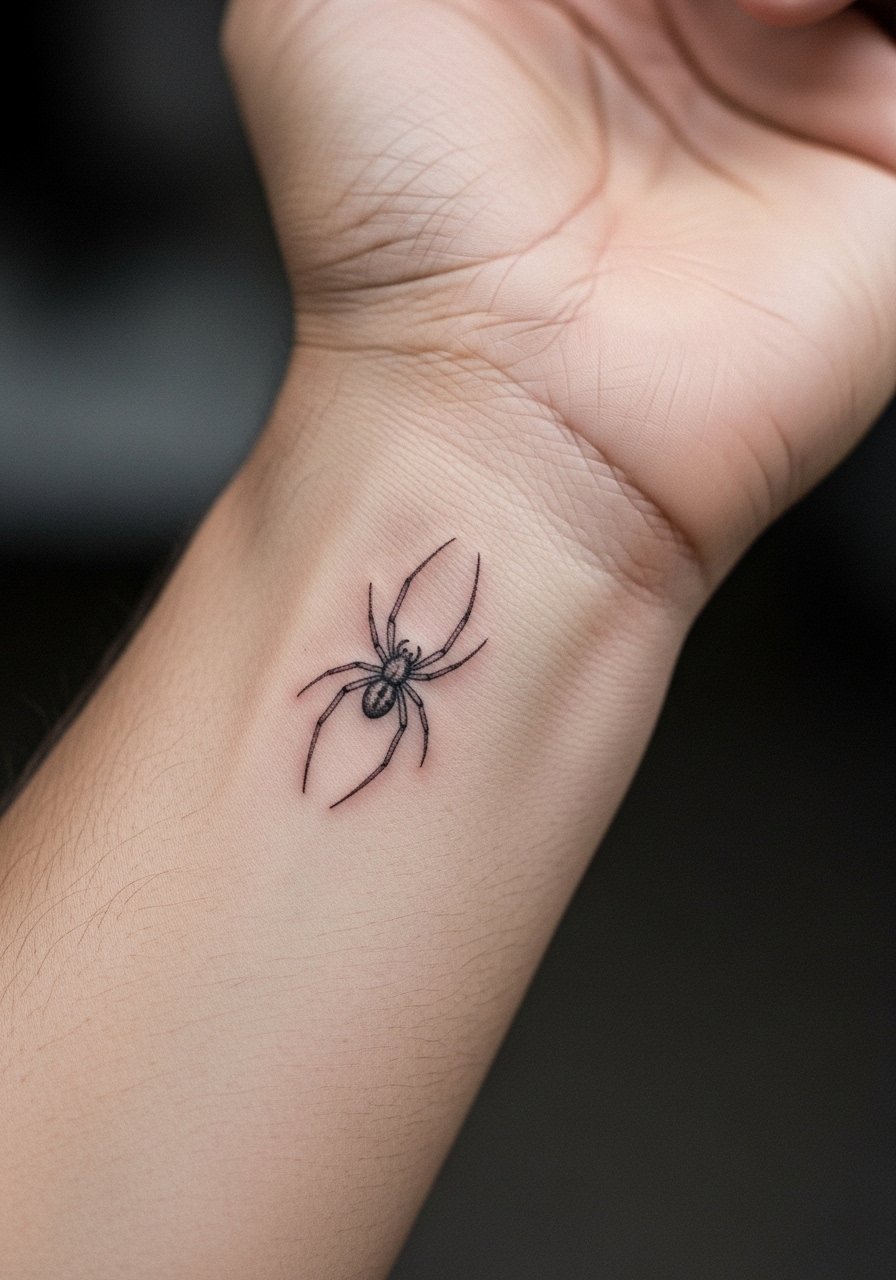
The inner forearm is a classic for readable fine line work and it fits a small HxH spider motif without crowding. I recommend asking the artist to scale the spider so its legs have at least 1.5 mm of clear space between lines. Tell your artist you want shallow, consistent linework with subtle stipple shading rather than heavy black fills. The forearm heals predictably and touch-ups are usually at year two for delicate black and grey pieces. Pain is low to moderate and sessions are short. For the appointment wear a loose button-down shirt you can roll up, and expect light buzzing and a steady hand from the artist.
2. Stipple-Shaded Spider on the Wrist
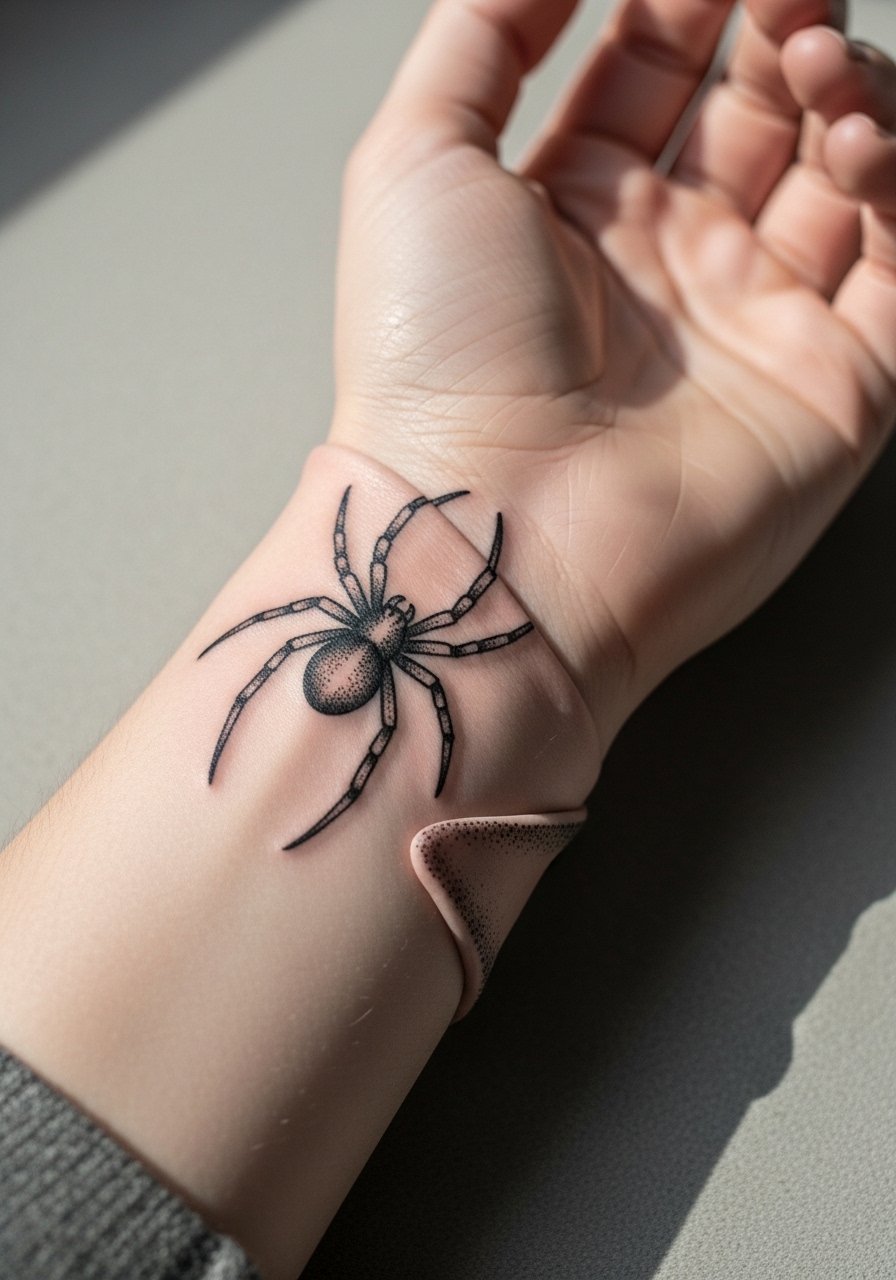
Wrist pieces read small and intimate, so stipple shading gives depth without risking heavy saturation that can migrate. Fair warning about friction. The wrist is a high-wear zone from watches and bracelets. Ask for tapered leg ends to reduce blowout risk and plan on a touch-up at year two. Sessions are short but the skin is thin and sensitivity is higher. For showing the work off, pair the wrist tattoo with a thin chain bracelet that sits below the ink, not on top of it. During the session wear a short-sleeve or sleeveless top so the artist has clean access.
3. Negative-Space Spider on the Back of the Hand
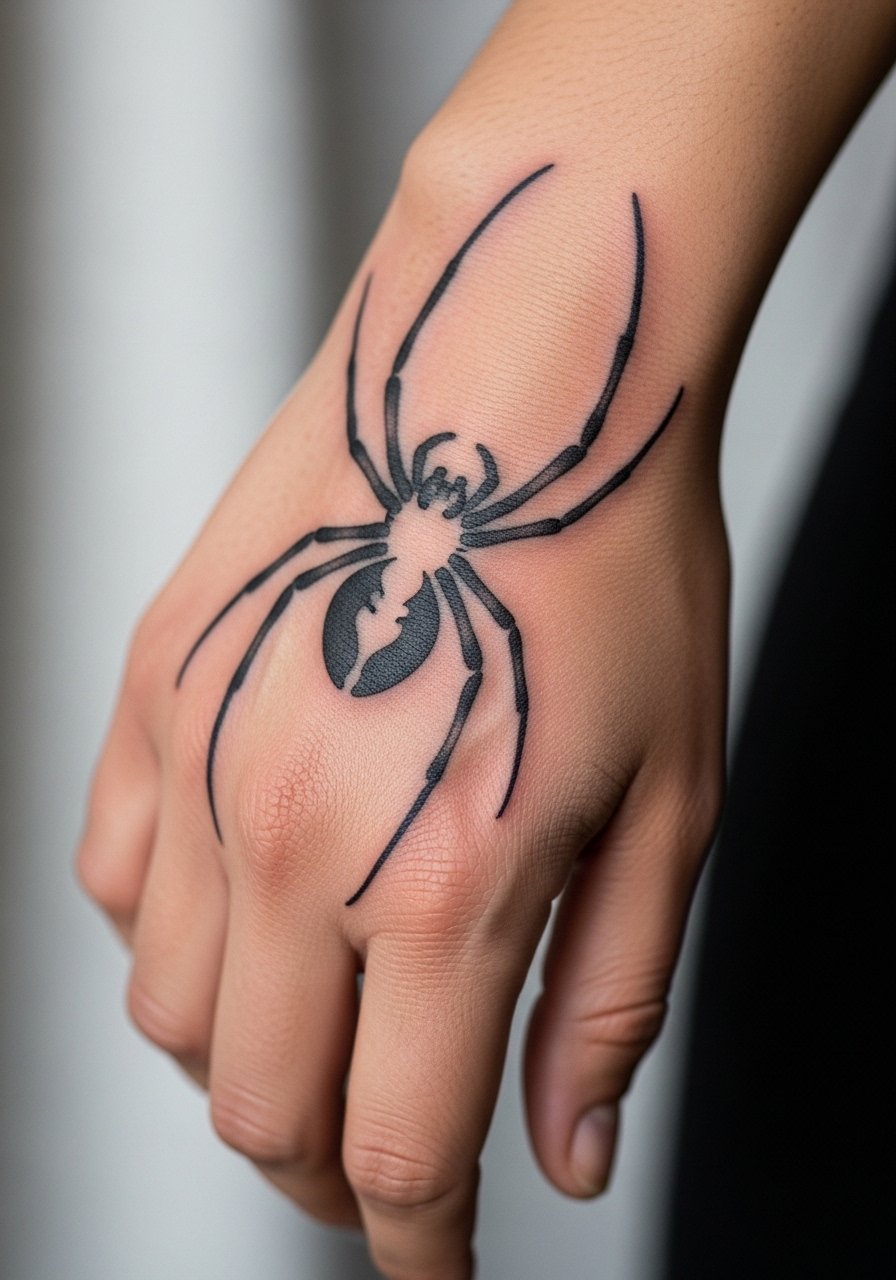
Hand tattoos still affect hiring in some industries, so think about career implications before committing. The back of the hand is unforgiving when it comes to blowout and fading. One camp of artists avoids detailed spider legs there because the skin takes ink poorly. The other camp will do compact, bold forms and accept annual touch-ups. If you choose this spot, make the spider graphic bolder with reduced fine detail to lengthen legibility. Session time is short but expect ongoing maintenance. For the appointment keep your hand free of rings and place it flat on a sterile surface so the artist can work cleanly.
4. Collarbone Spider with Subtle Shading
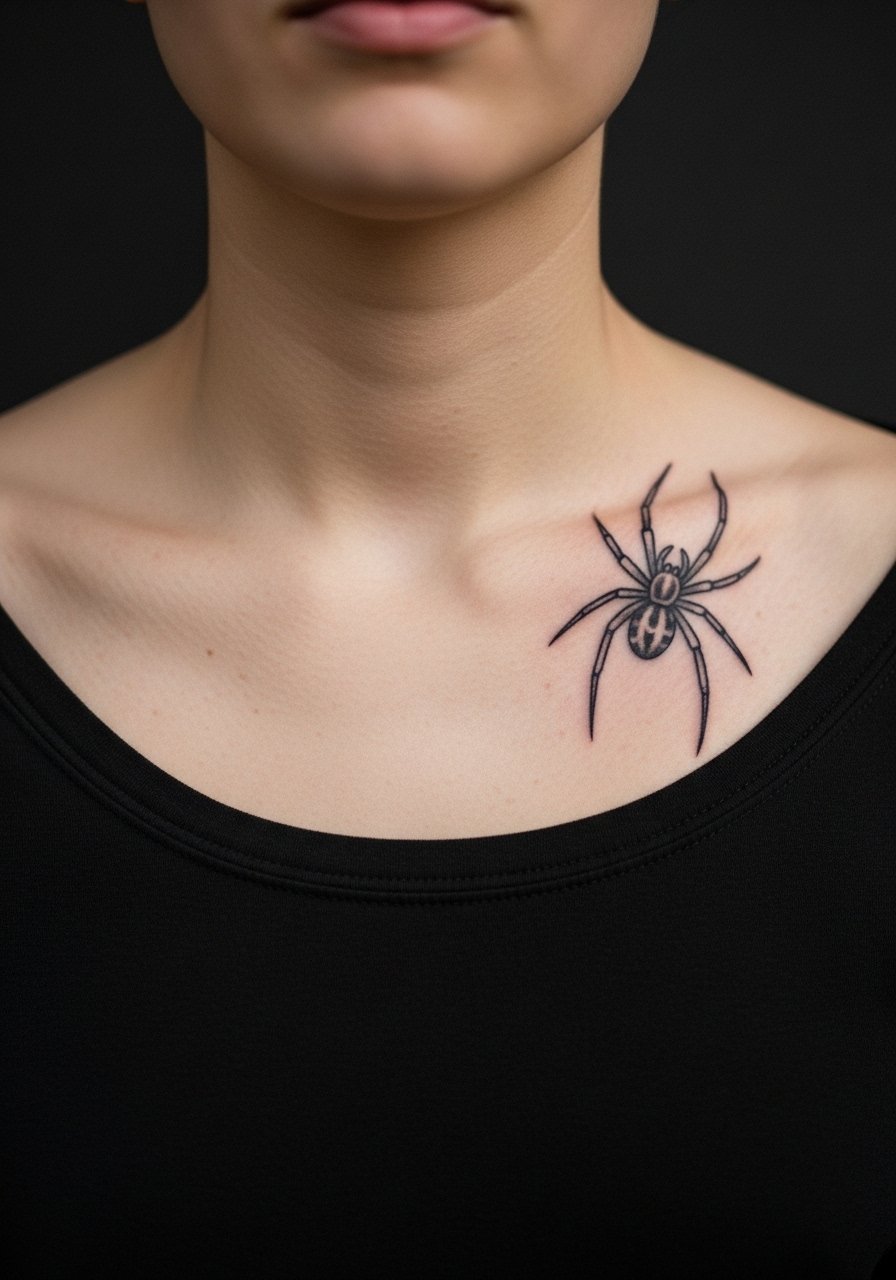
Collarbone placement frames a fan piece beautifully and reads well with monochrome shading. The skin over the bone is thin so expect sharper sensation during the session. I suggest slightly larger negative space between legs than you would on the forearm. Tell the artist you want soft whip shading that follows the clavicle contour rather than dense fill. The piece tends to soften at year three if you spend time in direct sun. For show-off outfits, a wide-neck blouse that exposes one shoulder highlights the design without overexposing the area during healing.
5. Stylized Spider with Web Accent on the Ankle
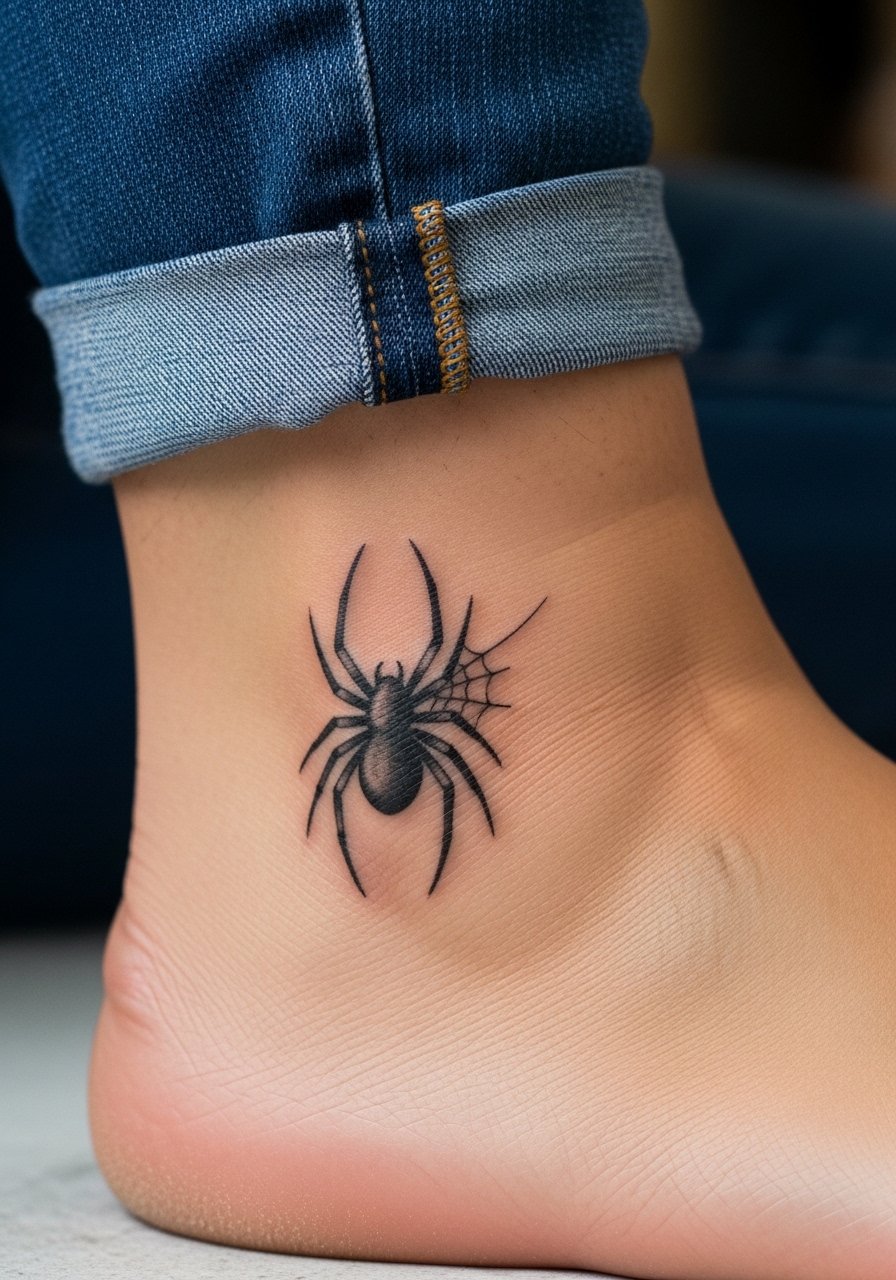
Ankle tattoos face constant rubbing from socks and shoes so thin lines can blur. A stylized spider with bolder leg junctions and a light web accent holds better over time. The session is short and the pain is moderate. A common mistake is placing the web too dense near the ankle bone where skin movement causes smudging. I recommend asking for slightly thicker linework where the legs meet the body to anchor the design. For the appointment, wear loose linen drawstring pants so you can roll the leg up without squeezing the area.
6. Chest-Center Spider with Radiating Grey Wash

Center-chest pieces make a statement and survive well if the grey wash is laid with controlled saturation. Artists split into two camps about heavy grey wash near the sternum. One camp says dense grey blends into a patchy tone with body movement. The other camp argues careful layering creates a long-lasting soft gradient. Ask during consultation how they layer grey and how much contrast they plan to keep. Sessions on the chest feel deep and can take longer than forearm work. For the appointment wear a sports bra or wide-neck shirt so the artist can work the area easily.
Pre-Session Essentials
The designs above include wrists, ankles, hands, collarbone, and chest placements, and each area needs slightly different prep to make the session smoother.
-
Stencil transfer paper kit. Lets you preview exact placement on skin which is helpful for wrist and collarbone pieces that read differently on the body.
-
Topical numbing cream. Applied as directed before the session it takes the edge off sensitive zones like the chest and ankle without changing linework.
-
Thin protective film roll. Useful for hand and wrist pieces where friction from daily washing threatens fresh ink.
-
Fragrance-free gentle body wash. Cleans the area during showers without stripping delicate ink in the first week.
-
Aquaphor healing ointment. Thinly applied in the first days it locks in moisture and aids the epidermal healing window.
7. Small Spider Along the Side Rib
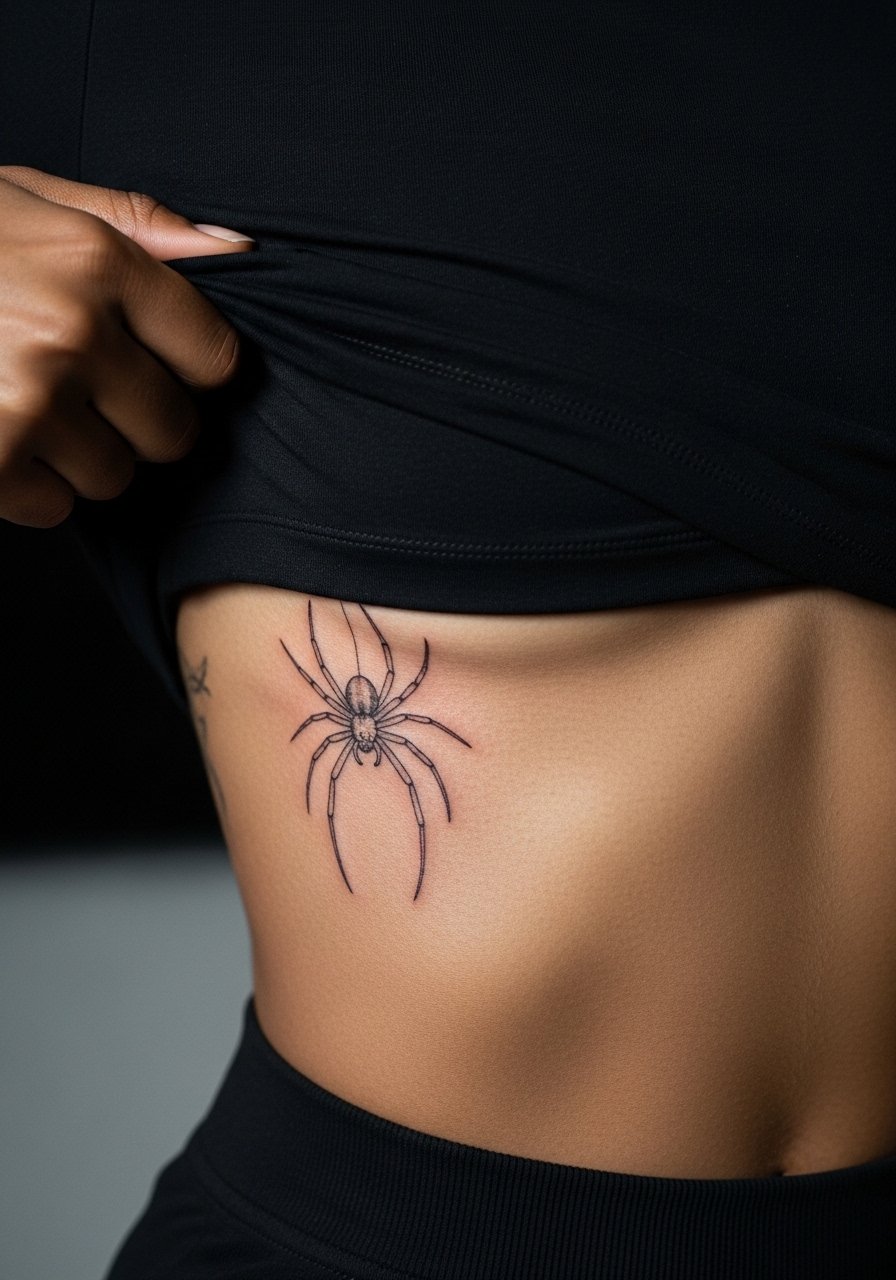
Rib tattoos are notorious for both pain and longevity debates. Artists divide into two camps on fine line ribs. One side says thin work blurs fast due to skin stretch. The other side contends that proper needle depth and spacing preserve detail. If you lean into detail, expect a stronger chance of touch-ups. I usually recommend slightly more negative space and leaning on subtle grey wash rather than ultra-fine legs. Sessions are longer and painful, so bring mental stamina. For the session wear a cropped top you can lift, like a cropped athletic top, so access is easy and exposure is limited.
8. Spider Behind the Ear with Tiny Script
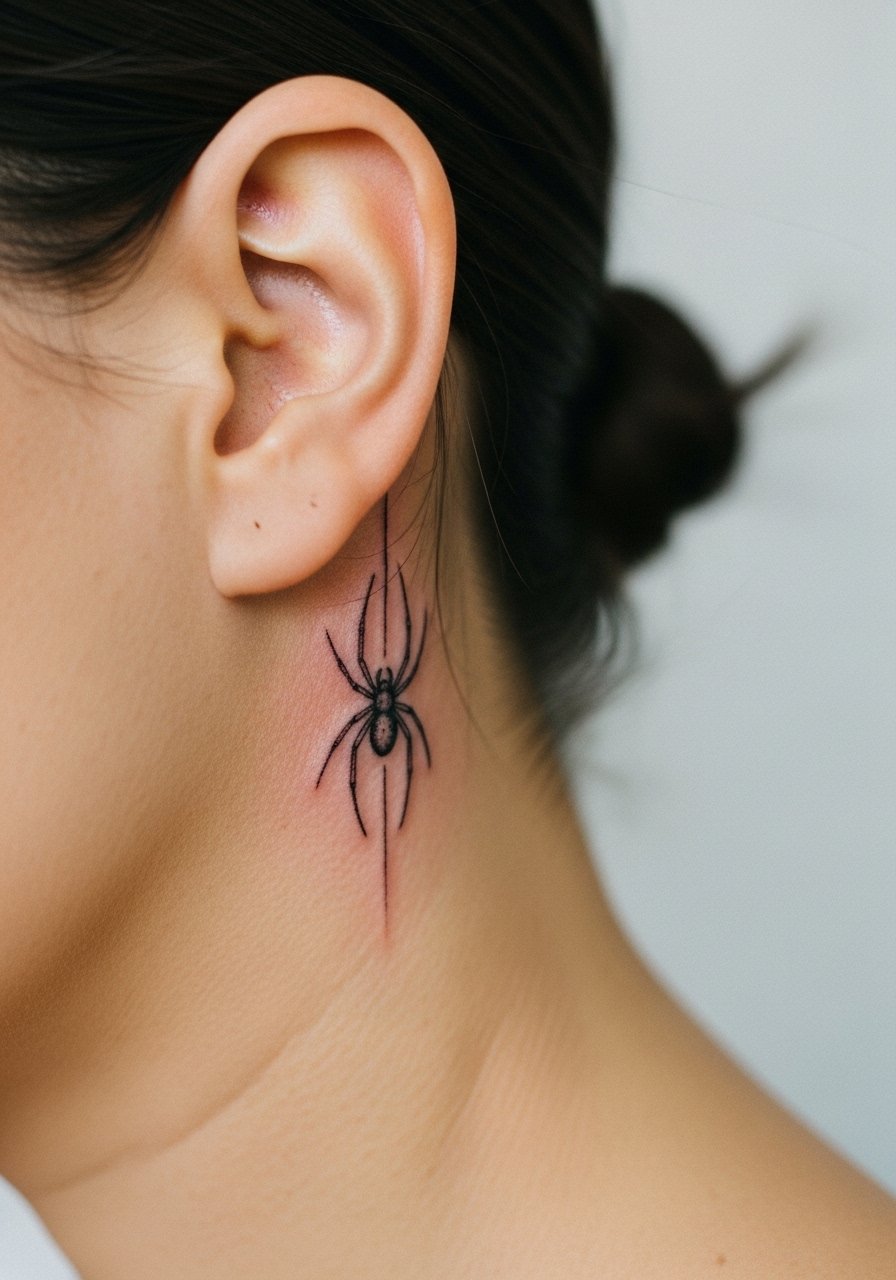
Behind-ear tattoos require precise placement because the surface is uneven and close to hair. Keep the spider compact and avoid long, fragile legs. When visible text appears near the design, specify exact wording so the line spacing remains legible. The area is sensitive but quick. Specialized experience helps so look for portfolios that include small ear or neck work. For healing, wear hair up and avoid heavy conditioners near the site. This placement benefits from a minimalist approach with bold anchor points and careful dot shading.
9. Thigh-Band Spider Composition
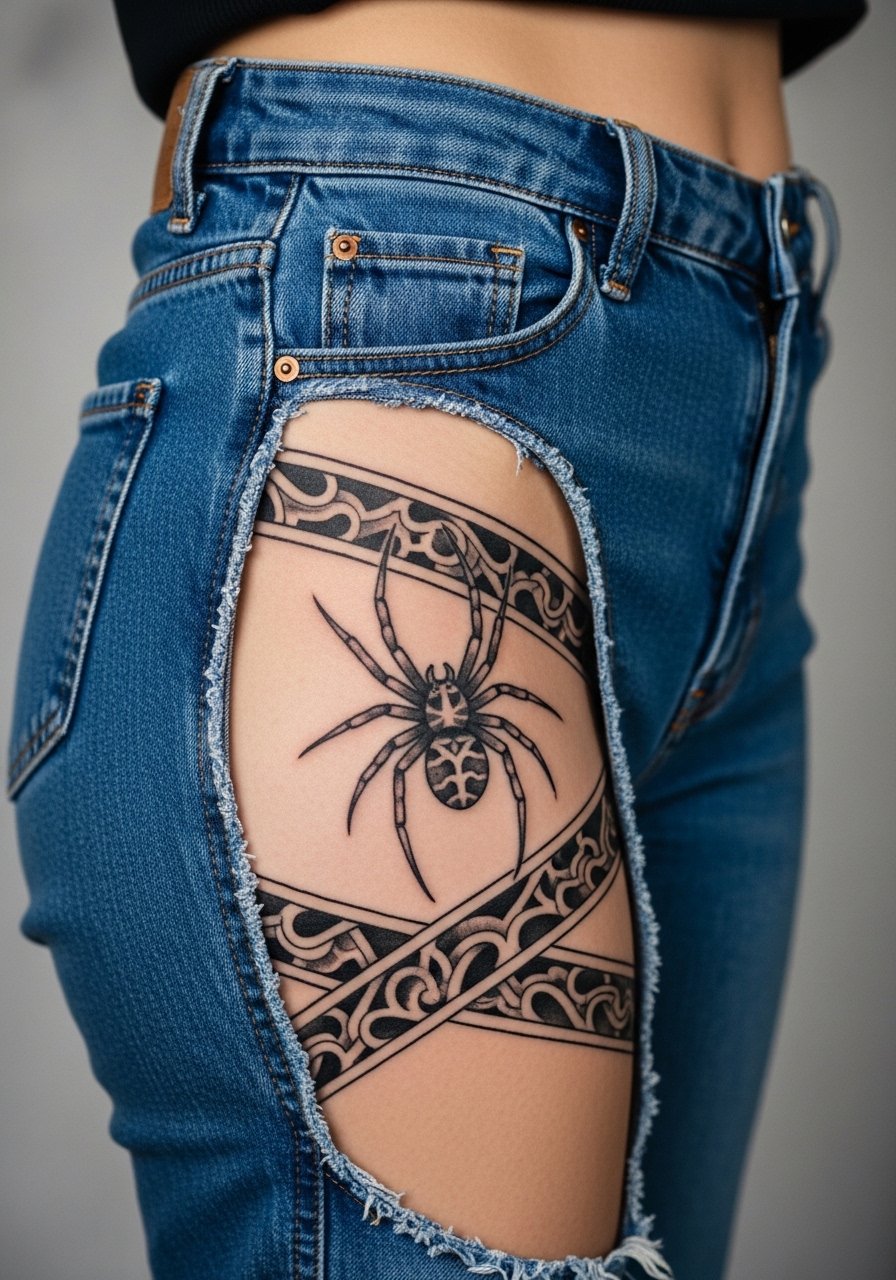
The thigh is forgiving for detail and holds grey wash well. A band composition that weaves a small HxH spider into patterns gives movement without relying solely on fine legs. The session is moderate in duration and pain levels are lower than ribs or chest. For consultation, bring images that show how you want negative space to balance the band. The main mistake is compressing too many elements into a narrow band. For comfort wear high-waisted denim or shorts that can be loosened during the session.
10. Spider Silhouette on the Calf
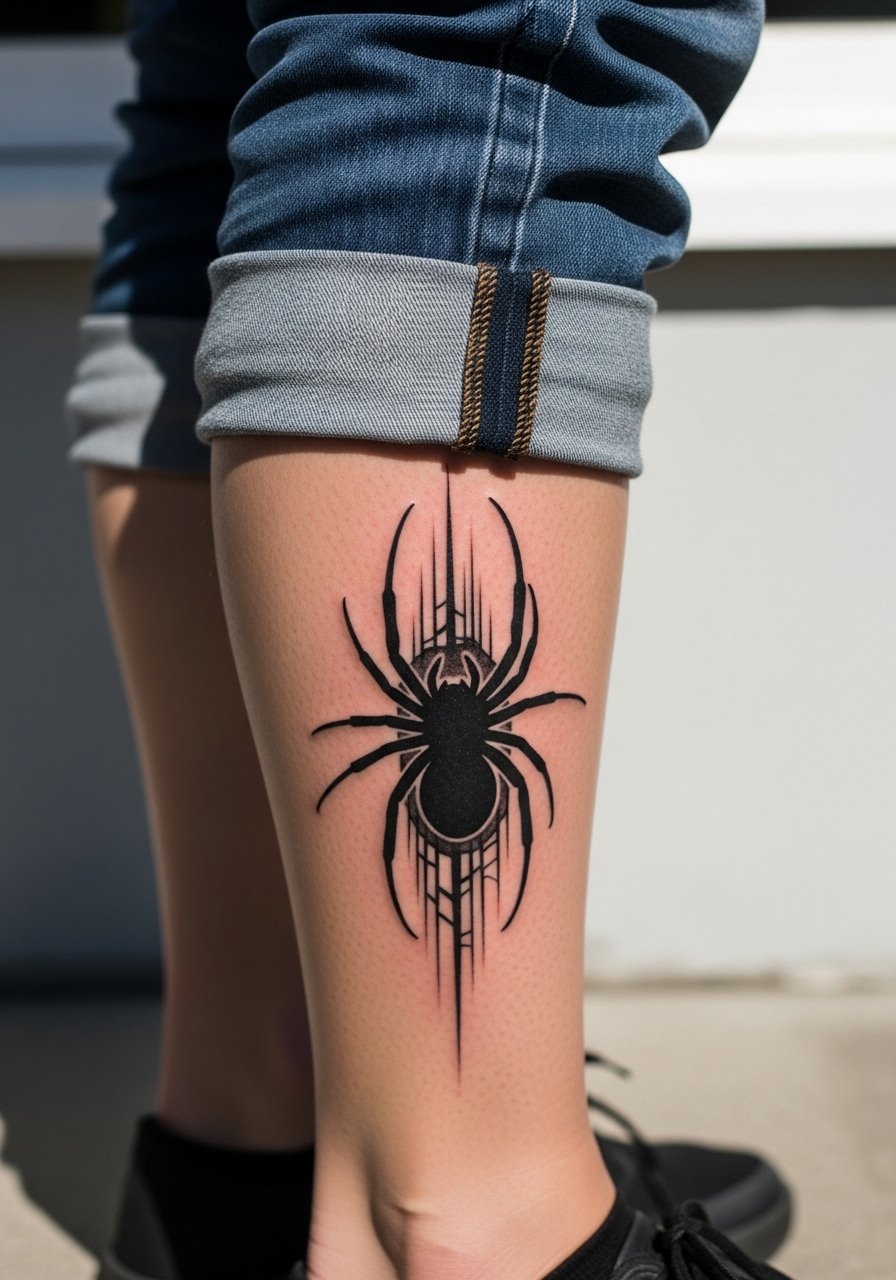
Calf pieces age well and offer room to scale a silhouette spider for a graphic look that does not rely on fragile lines. The skin there tolerates saturation and the area is low friction. Sessions are straightforward and healing is usually clean. Ask your artist to balance core saturation with feathered edges rather than blocky fills, which can read heavy on darker skin tones. For outfits pair the piece with cropped pants or dresses. Wear a loose drawstring pant the day of the appointment so the cuff does not rub the fresh work.
11. Spine-Aligned Spider Column
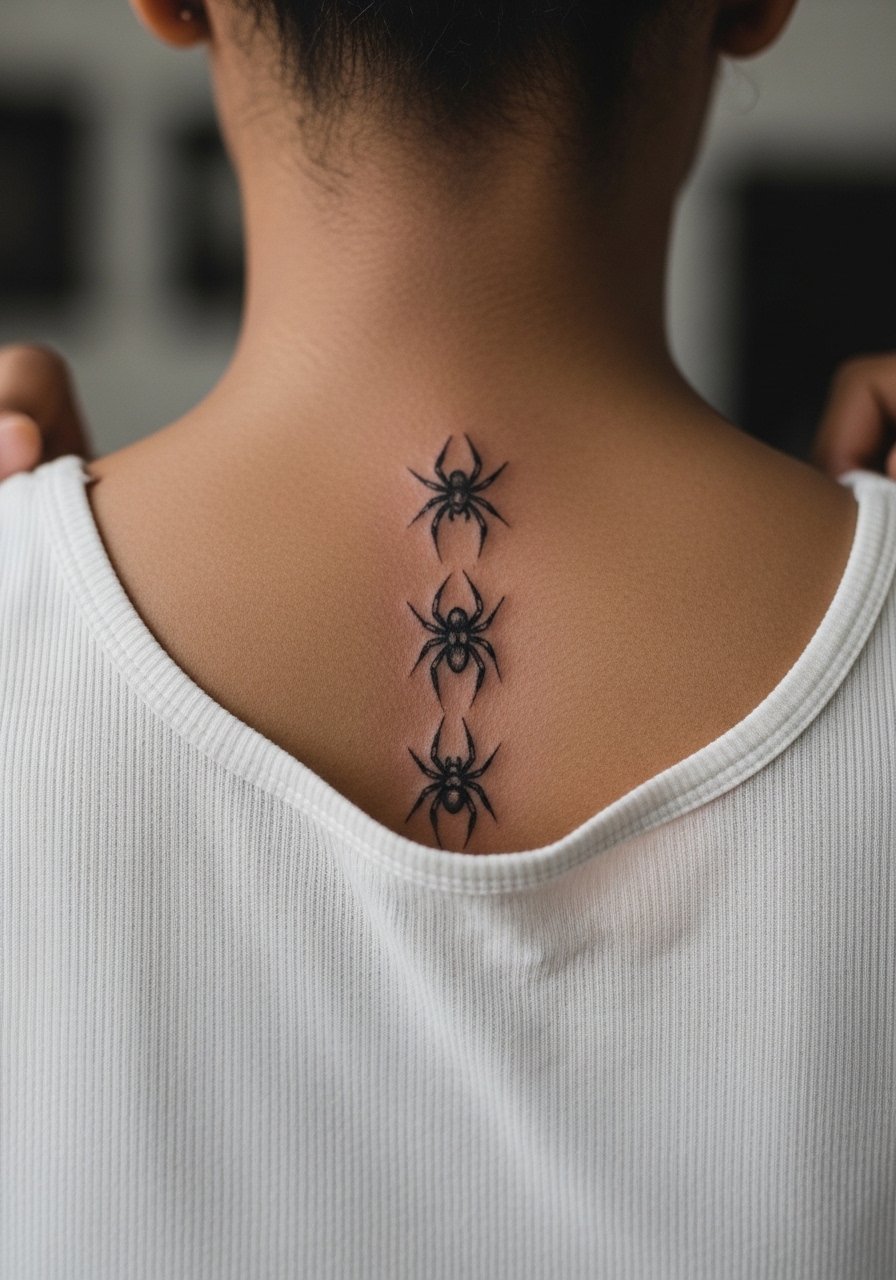
A column down the spine can symbolize a narrative of characters and it frames well under open-back clothing. The spine is sensitive and sessions can run long. Tell your artist if you want each spider identical or progressively larger. A common mistake is cramming too many tiny details vertically which blurs with movement. For showing the work, open-back dresses or halter tops highlight the column without exposing the entire back during healing. Specialized technique is helpful for even saturation along that curved surface.
12. Micro-Realism Spider Near the Ear Lobe
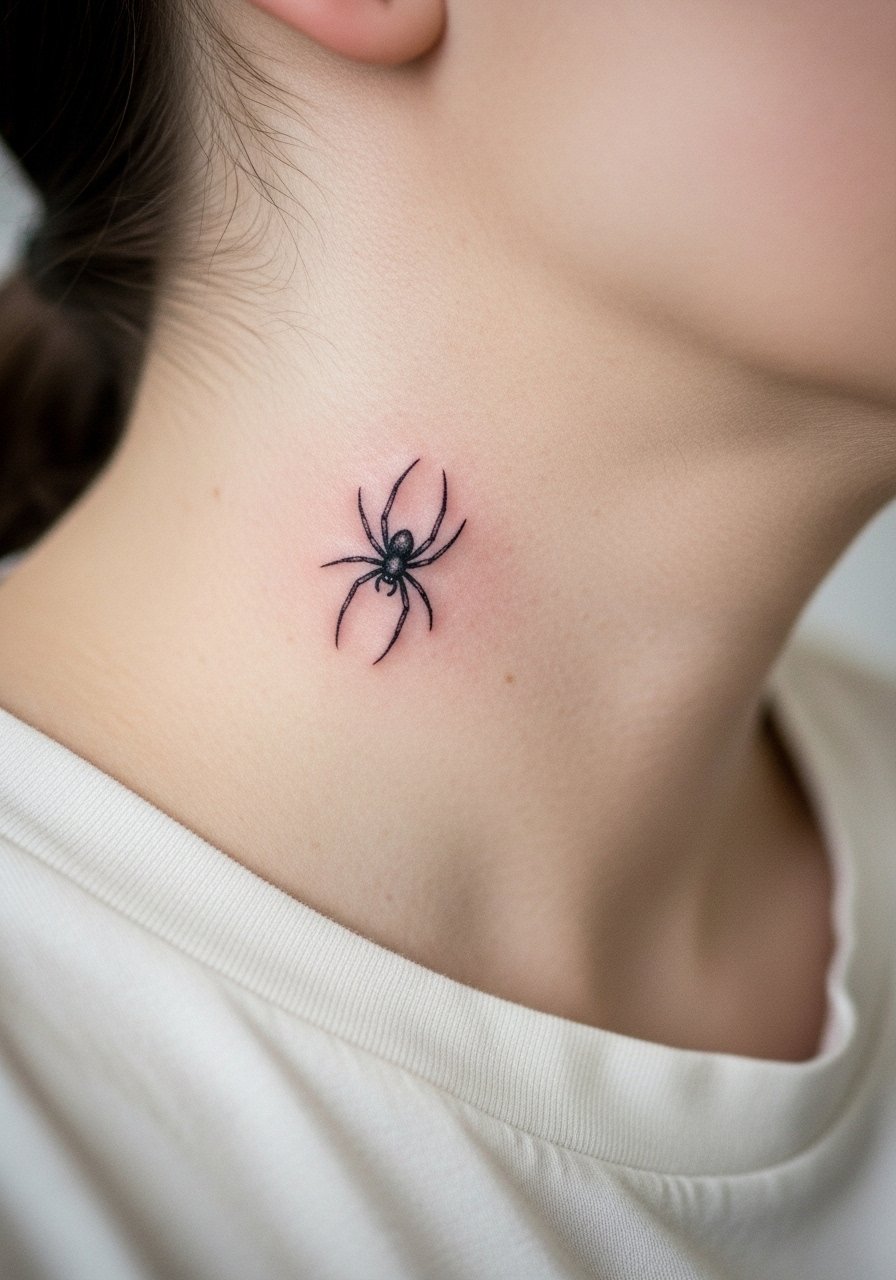
Small micro-realism needs contrast, which is why black and grey works well here. The side neck has more movement than the upper chest so expect slight softening over the years. One mistake is requesting ultra-tiny realistic legs without enough contrast between leg and background. Ask your artist to keep the legs slightly bolder and add subtle stipple to separate the body. Sessions are short and sharp. For the appointment choose a wide-neck shirt you can manipulate without tugging at the site.
13. Sleeve Accent Spider with Dot Work Background
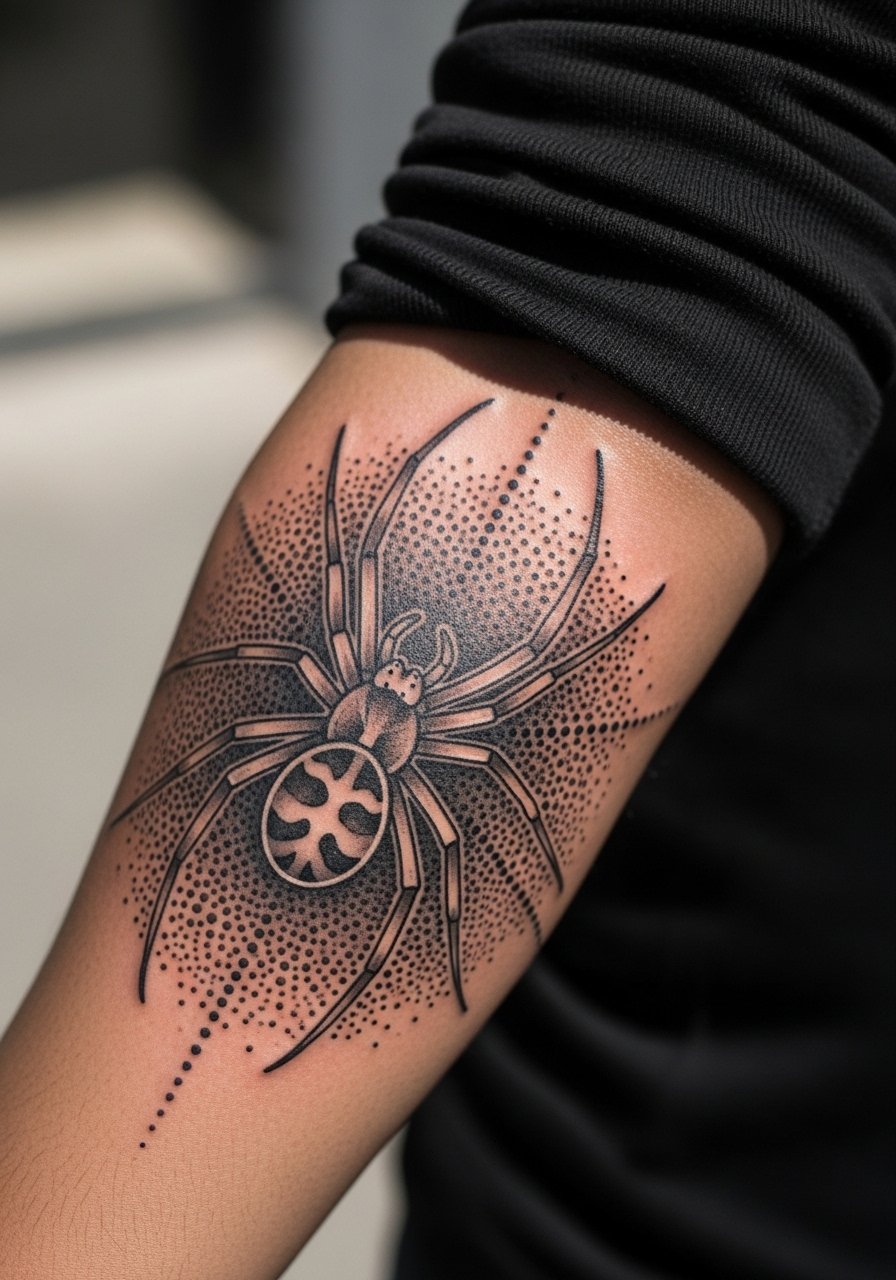
A sleeve accent lets a fan show multiple HxH references without crowding one focal spot. Dot work backgrounds provide texture while protecting the spider's silhouette from blending into heavy fills. During consultation specify which elements should remain crisp and which should sit in the backdrop. The mistake is over-detailing the accent so it competes with the main spider motif. Sessions are longer and may be split across several visits. For everyday wear, roll sleeves to show the accent with a linen button-down that keeps the forearm visible without constant sun exposure.
14. Minimal Spider Almond on the Finger Side
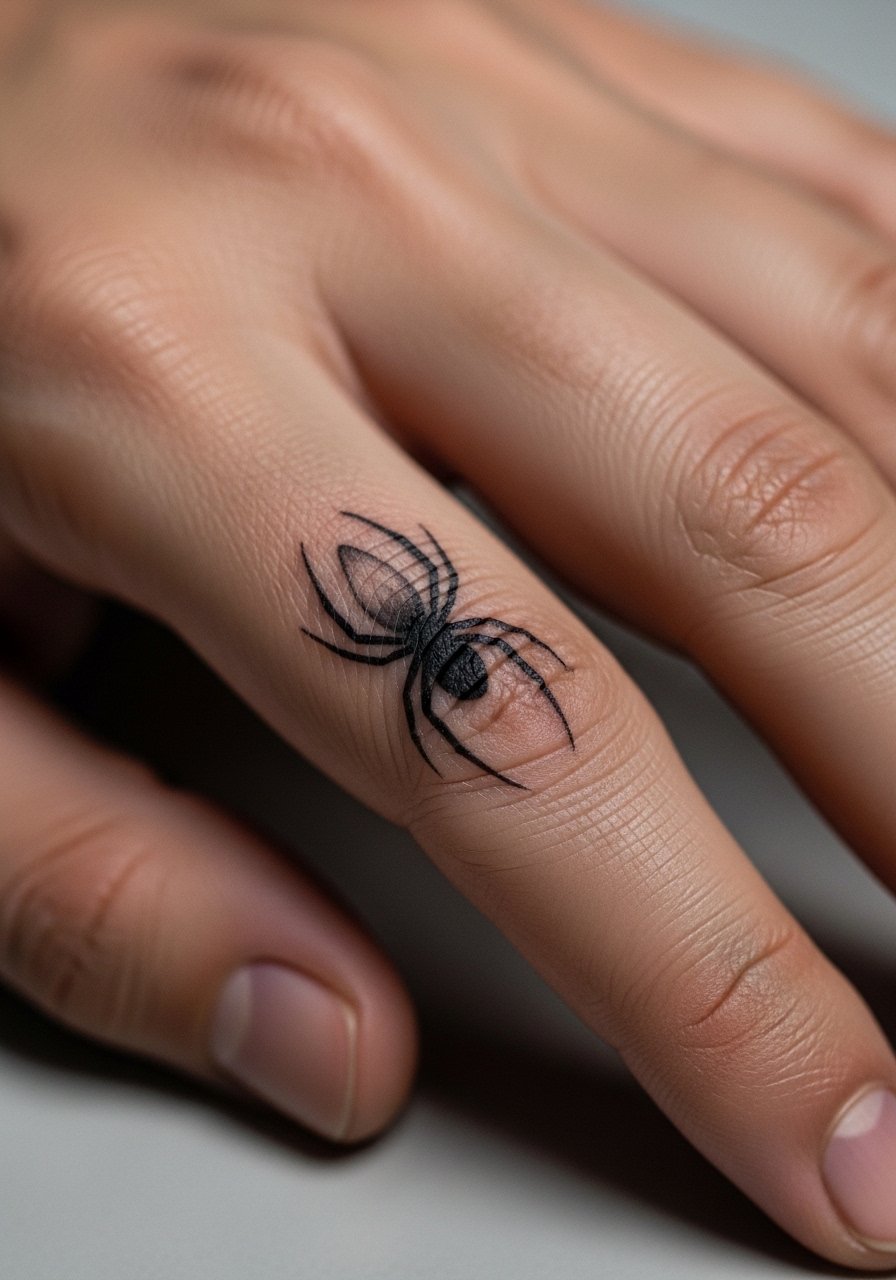
Finger tattoos are high touch and high maintenance. The skin there sheds differently so even simple forms can soften quickly. If you want a finger-side spider, simplify the silhouette into a small almond shape with minimal legs to extend clarity. Expect touch-ups every 12 to 18 months depending on wear. For the session keep hands clean and ring-free. Consider a protective thin film during early healing to cut down on constant hand washing abrasion.
15. Ribcage Spider with Floral Negative Space
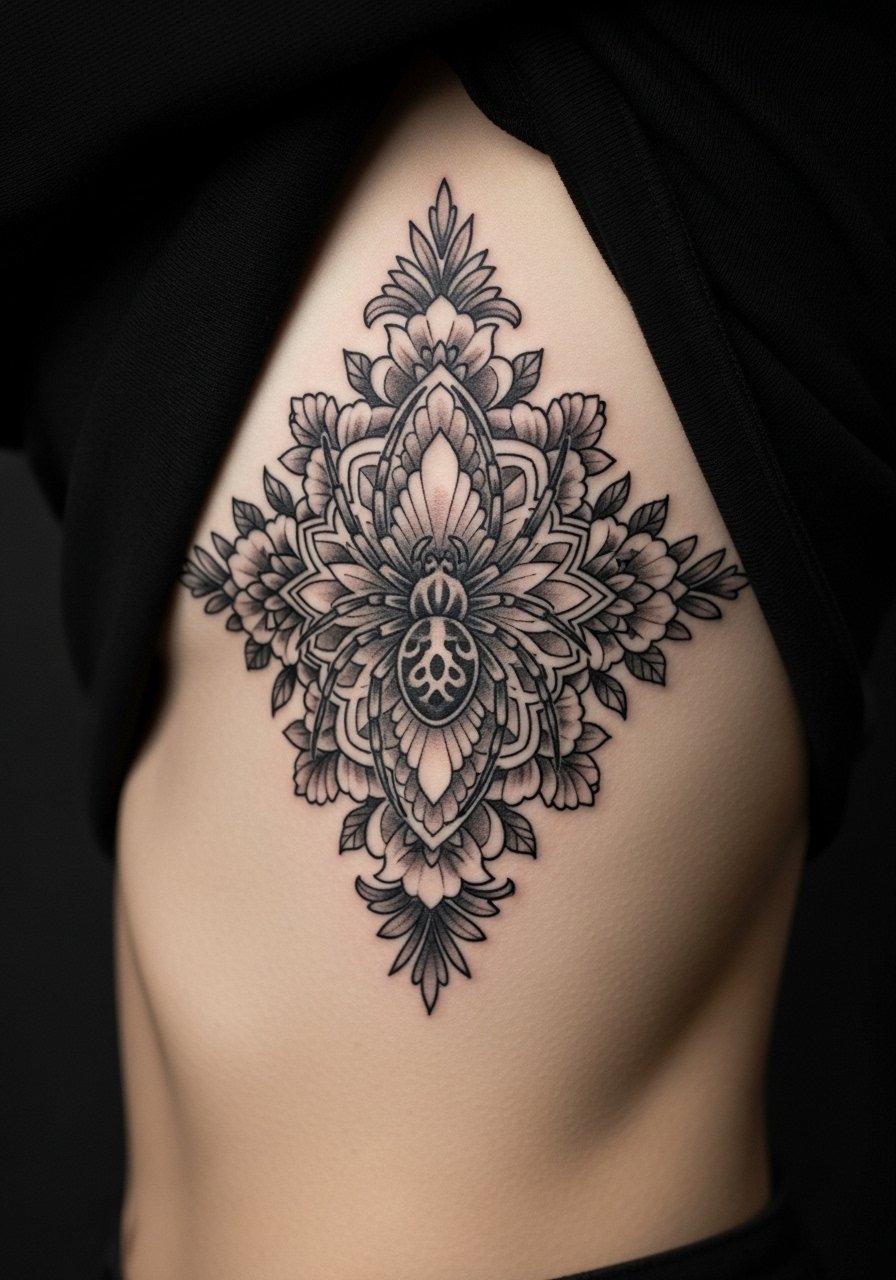
Combining a spider with floral negative space can distribute contrast and reduce the visual impact of shrinking lines over time. The ribs are sensitive and controversial for fine detail. One camp says the stretch and breathing cause lines to blur faster. The other camp says careful spacing and layered shading will hold for years. I recommend planning for a follow-up touch-up and choosing florals that frame rather than crowd the spider. Wear a cropped top the day of to give the artist clear access without overexposure.
16. Small Throat-Edge Spider Near the Collar
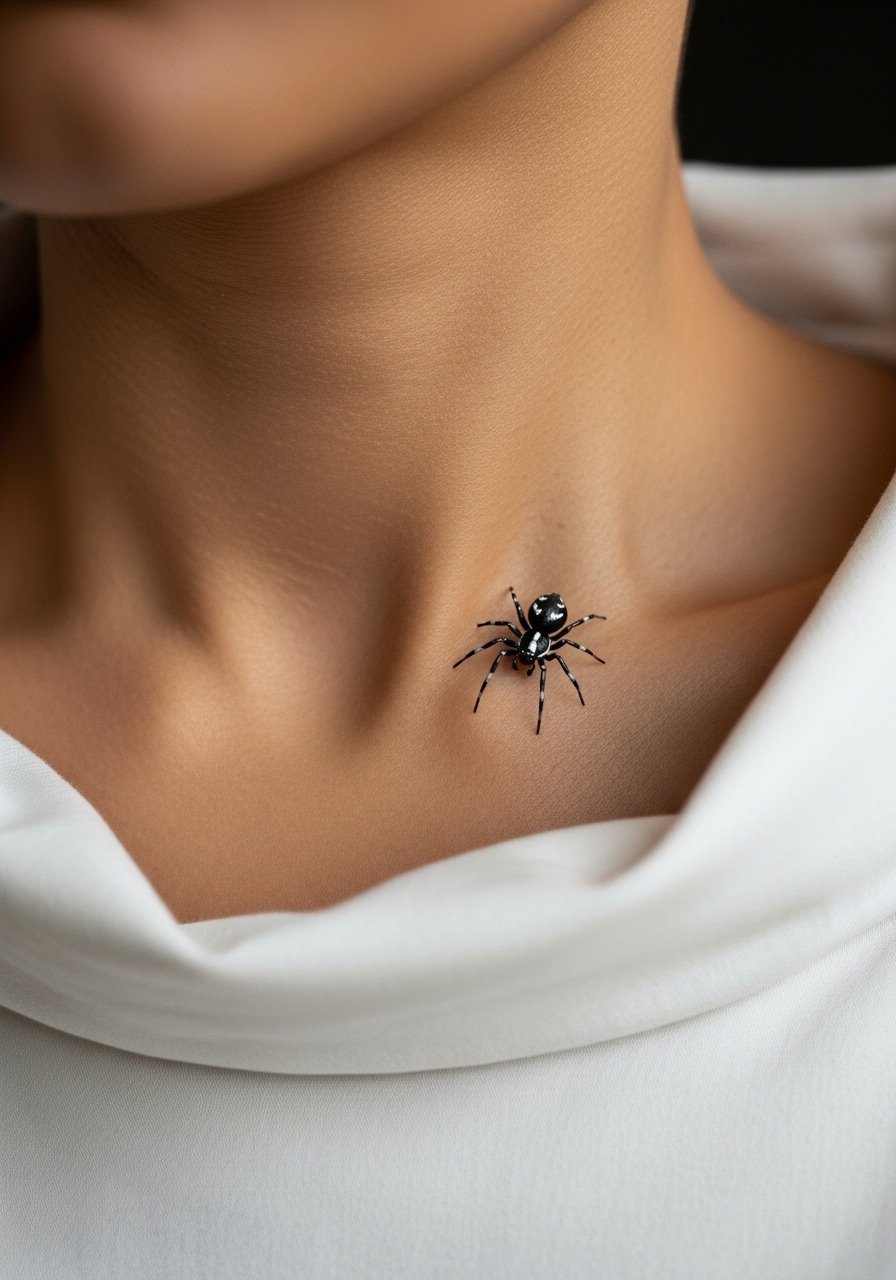
Neck placements read as bold choices and have different social considerations. The skin there tolerates crisp lines but sun exposure can degrade contrast faster than on covered areas. Keep the spider simple with a short shadow to the side for depth. Sessions can be quick but the area is sensitive. For show-off outfits choose wide-neck tees or scarves that frame rather than hide the piece. In consultation mention how visible you want the spider in everyday situations.
17. Throat-Down Sternum Spider Accent
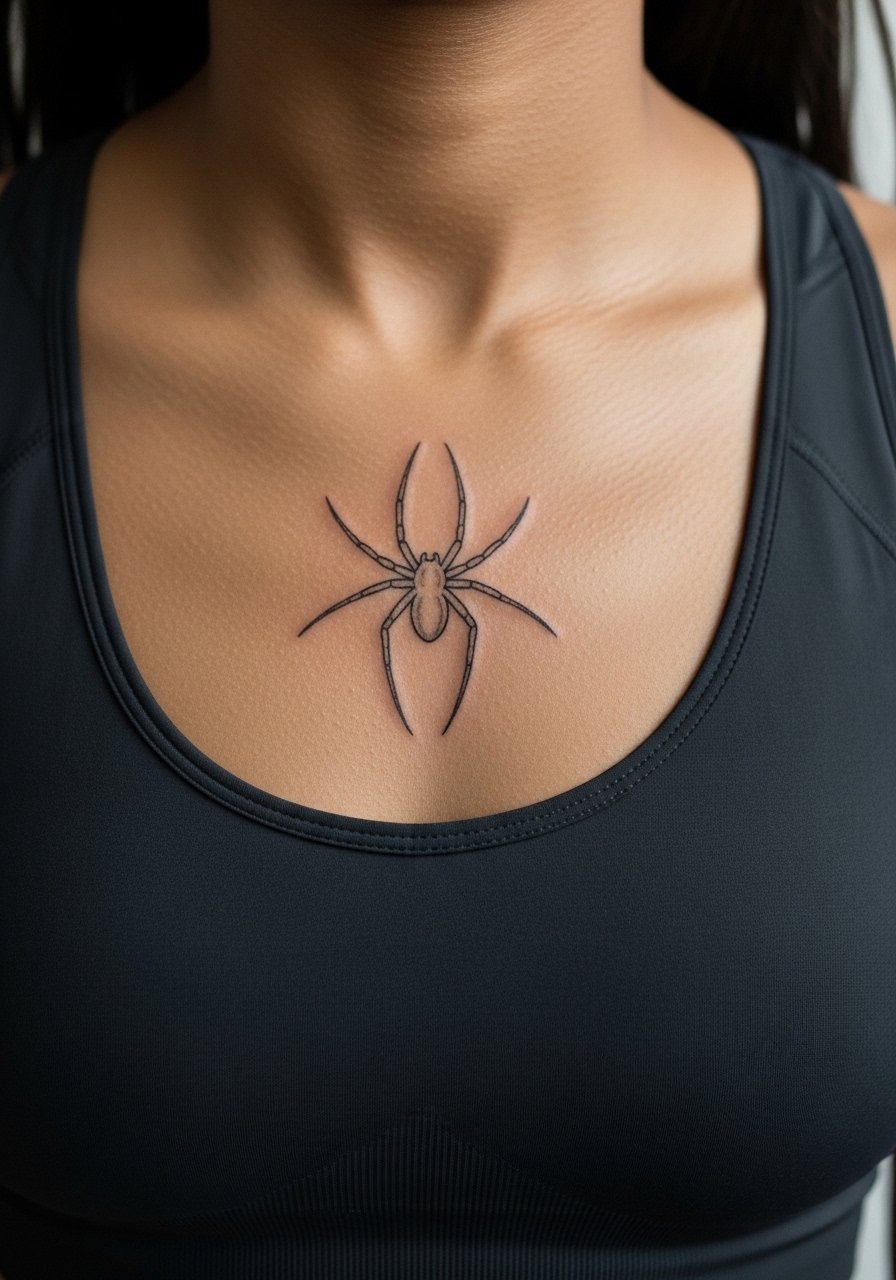
Sternum placements sit in intimate zones and demand a steady hand. The skin near the sternum moves with breathing, so dense grey can shift into patchiness if layered too quickly. A safe approach is to use lighter grey wash and prioritize clean linework with minimal fill. Sessions can be intense and longer than expected, and healing benefits from sleep position adjustments. For the appointment wear a fitted sports bra to expose only the area needed. Consider discussing whether a slightly simplified spider would keep the piece legible long term.
Frequently Asked Questions
Q: Will a black and grey HxH spider tattoo blur faster on the ribs than on the forearm?
A: It depends on size and line spacing. Ribs move more with breathing and have thinner skin, so very fine lines there are at higher risk of softening. On the forearm you can fit tighter detail and expect slower blur. Ask your artist about spacing and plan for a possible touch-up if you choose ribs.
Q: How do stipple and whip shading compare for keeping spider legs readable over time?
A: Stipple shading builds texture and ages into a gentle grain that helps separate legs from fills. Whip shading gives softer gradients but can merge if overdone in tight areas. For small spider work stipple with anchor points on legs often outlasts dense whip fills.
Q: Are hand and finger placements a bad idea for detailed HxH spider designs?
A: They are higher maintenance, but not necessarily a bad idea. Hands see constant washing and friction so detail will fade faster. If you want a hand or finger spider, simplify the graphic and expect annual touch-ups to maintain legibility.
Q: What should I tell my artist if I want micro-realism spider eyes and body texture?
A: Bring clear close-up references and say you want contrast between body and legs with tiny stipple for texture. Also ask about their healed portfolio for small micro-realism pieces so you can see how their fine detail holds after a year.
Q: How should I dress to show off a collarbone or spine spider while it heals?
A: For collarbone pieces try a wide-neck blouse that exposes one side without rubbing. For spine columns open-back tops or halter styles highlight the tattoo while minimizing full exposure during healing.
Q: Do I need to worry about cultural sensitivity for a stylized spider motif inspired by HxH?
A: When a design references a specific series or cultural motif, think about how literal you want to be. Some fans lean into faithful homage. Others adapt the spider into a personal symbol to avoid direct replication. Discuss intent with your artist so the piece sits comfortably in both fandom and personal expression.
