
Fine line and micro-portrait trends look gorgeous online, but on the collarbone they often need touch-ups faster than heavier black and grey work. The spot gives you major exposure to sun, friction from straps, and a vibration on the bone that amplifies pain during the session. Below are 17 black and grey collarbone ideas that lean on shading, scale, and contour so they heal cleaner and last longer.
1. Black and Grey Realism Rose Over the Clavicle
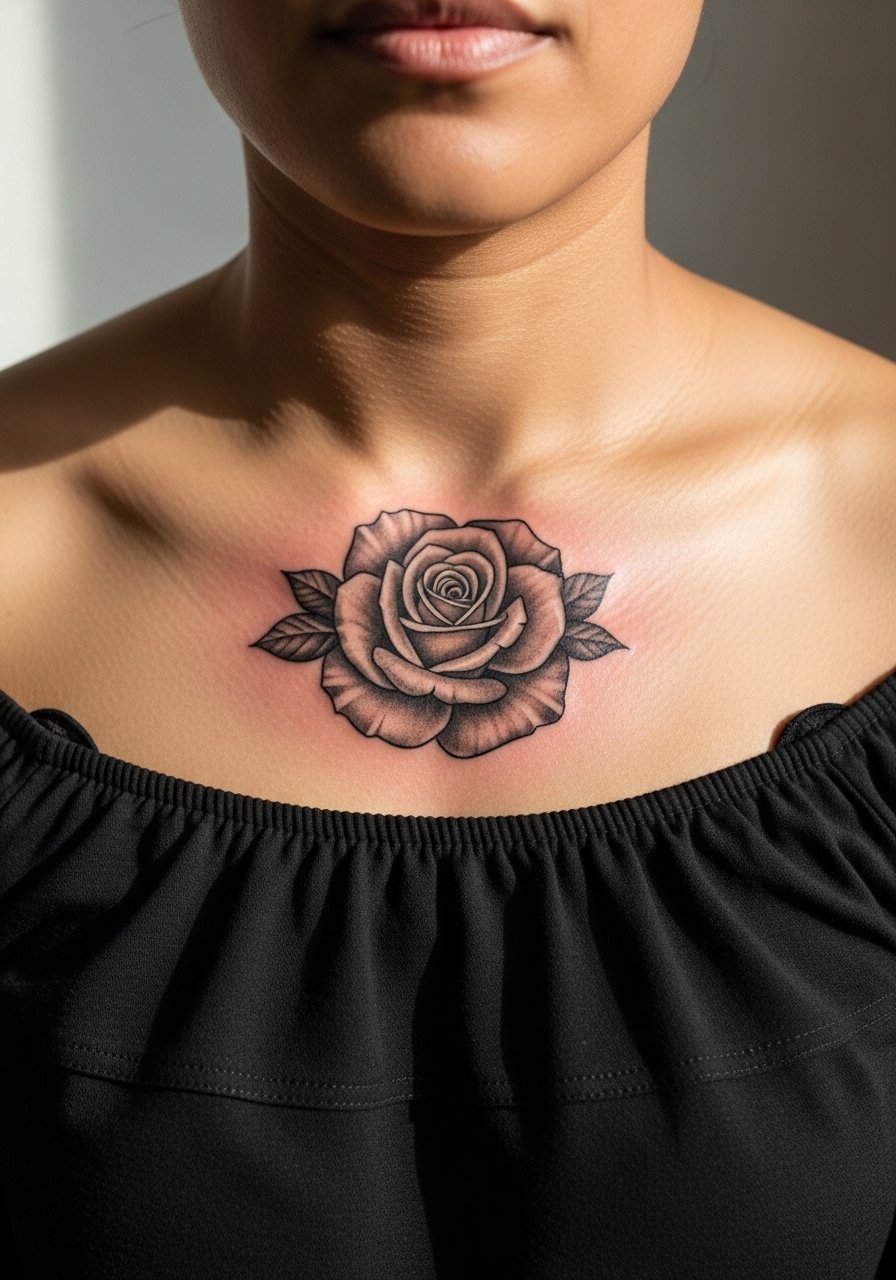
A realism rose follows the bone curve naturally and uses layered grey wash to read like depth rather than sharp edges. Tell your artist to map the petal shadows to the collarbone ridge so the highlight sits where the bone protrudes. Common mistake is asking for a tiny hyper-detailed rose, which loses texture as it softens and may need a touch-up at year one. Expect moderate pain where the needle crosses the actual bone and plan one to two short sessions. Show it off with an off shoulder blouse black and a dainty silver chain necklace that sits just above the petals.
2. Ornamental Mandala That Frames Both Clavicles
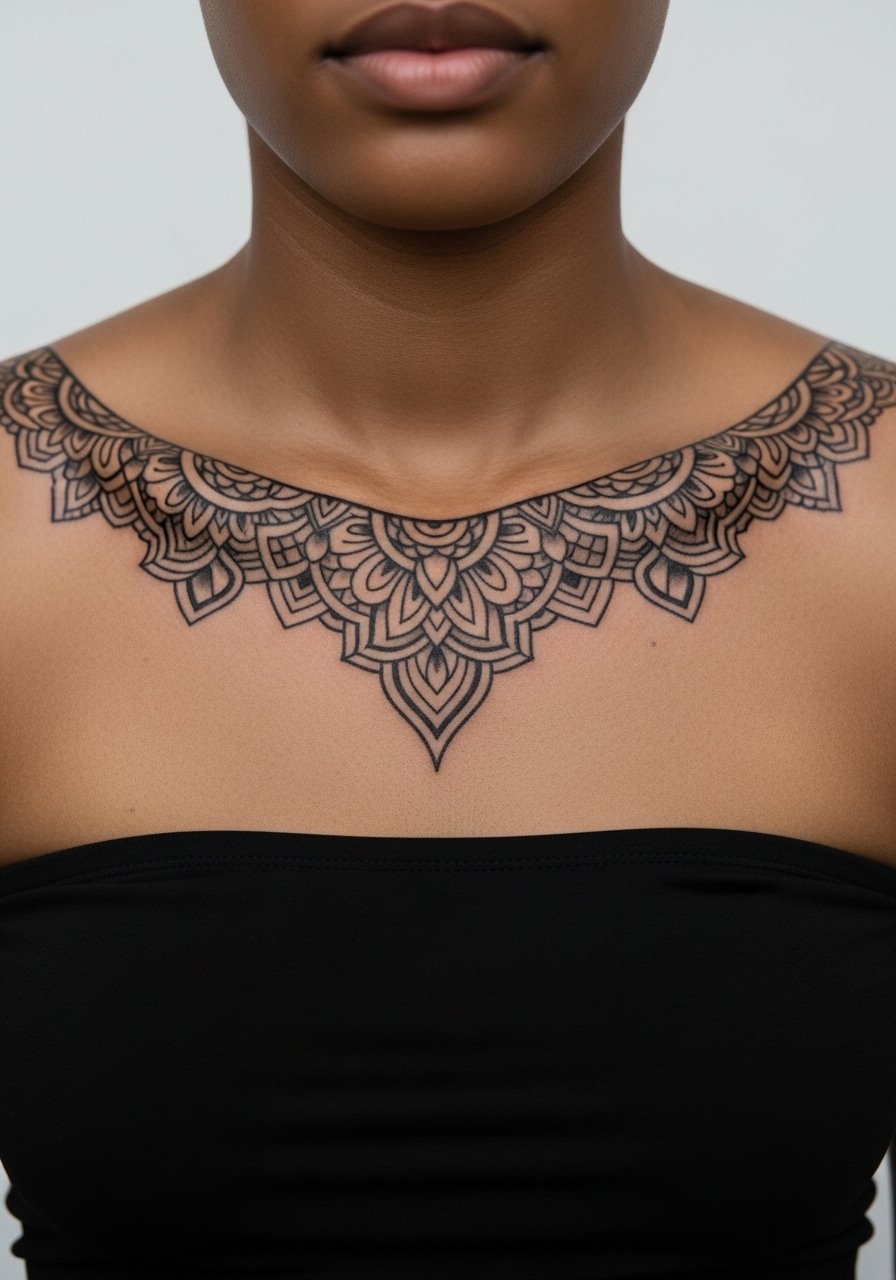
Mandala work benefits from bilateral symmetry so the design frames the bone without pulling to one side when the body moves. During consultation ask for slightly more spacing in dense sections so stipple shading does not merge over time. One camp of artists pushes ultra-fine detail and accepts earlier softening. The other camp recommends thicker line weight and bigger negative space for longevity. Name both approaches and ask which one the artist prefers. Pain is often lower than center collarbone work because the design spreads across a flatter area. Pair this with a strapless midi dress for evenings when you want a clean, framed look.
3. Micro-Realism Portrait Tucked to the Outer Clavicle
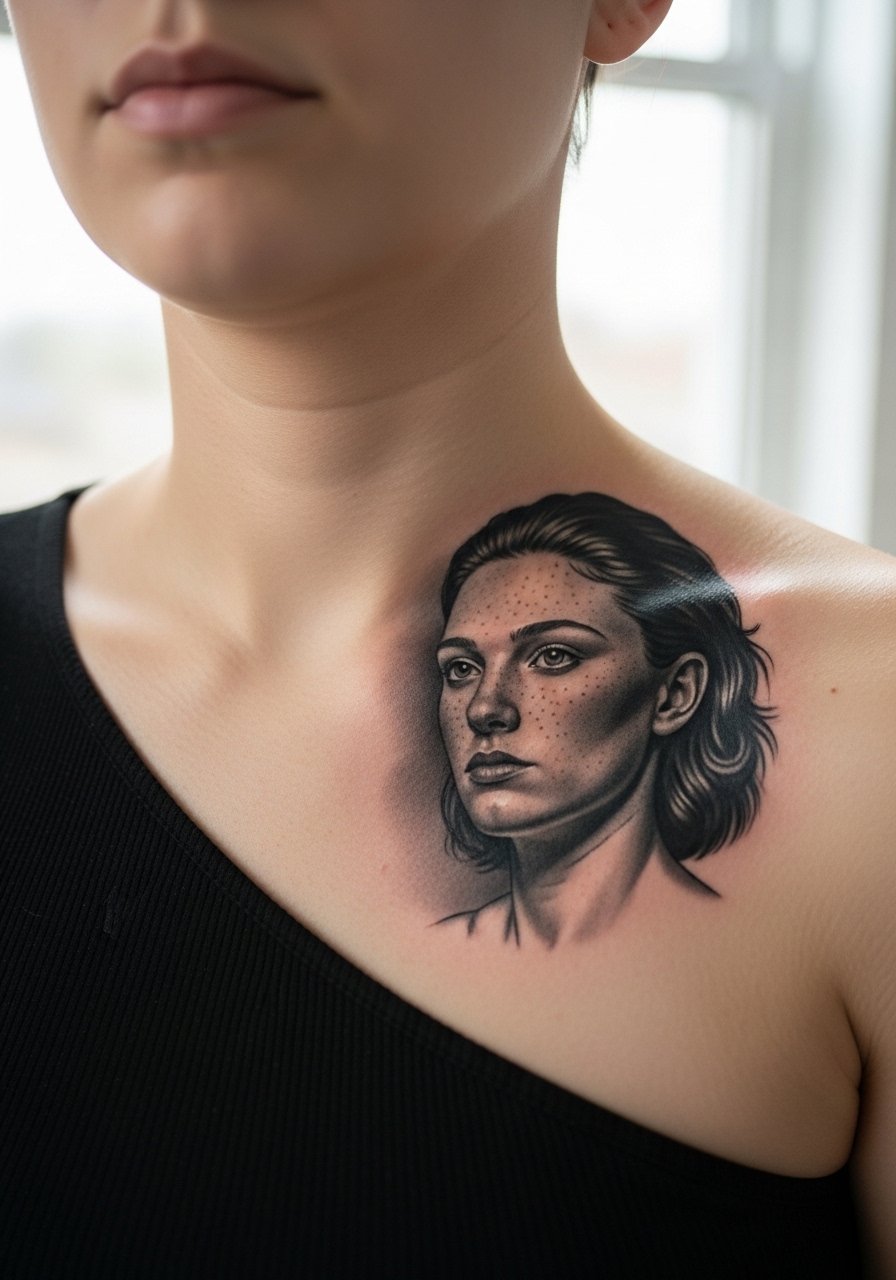
Micro portraits work because the collarbone offers a narrow canvas that reads well from profile. Tell your artist you want the portrait slightly off-center so it follows the natural hollows of the clavicle. A frequent error is shrinking portraits too small which loses facial detail after a few years. Expect sharper pain when needles cross the bone edge, so plan for a single focused session under two hours. Healed at six months the portrait should keep contrast if saturation was solid. Show it off in a one shoulder top to highlight the profile gaze without clutter.
4. Fine Line Feather Extending Toward the Shoulder
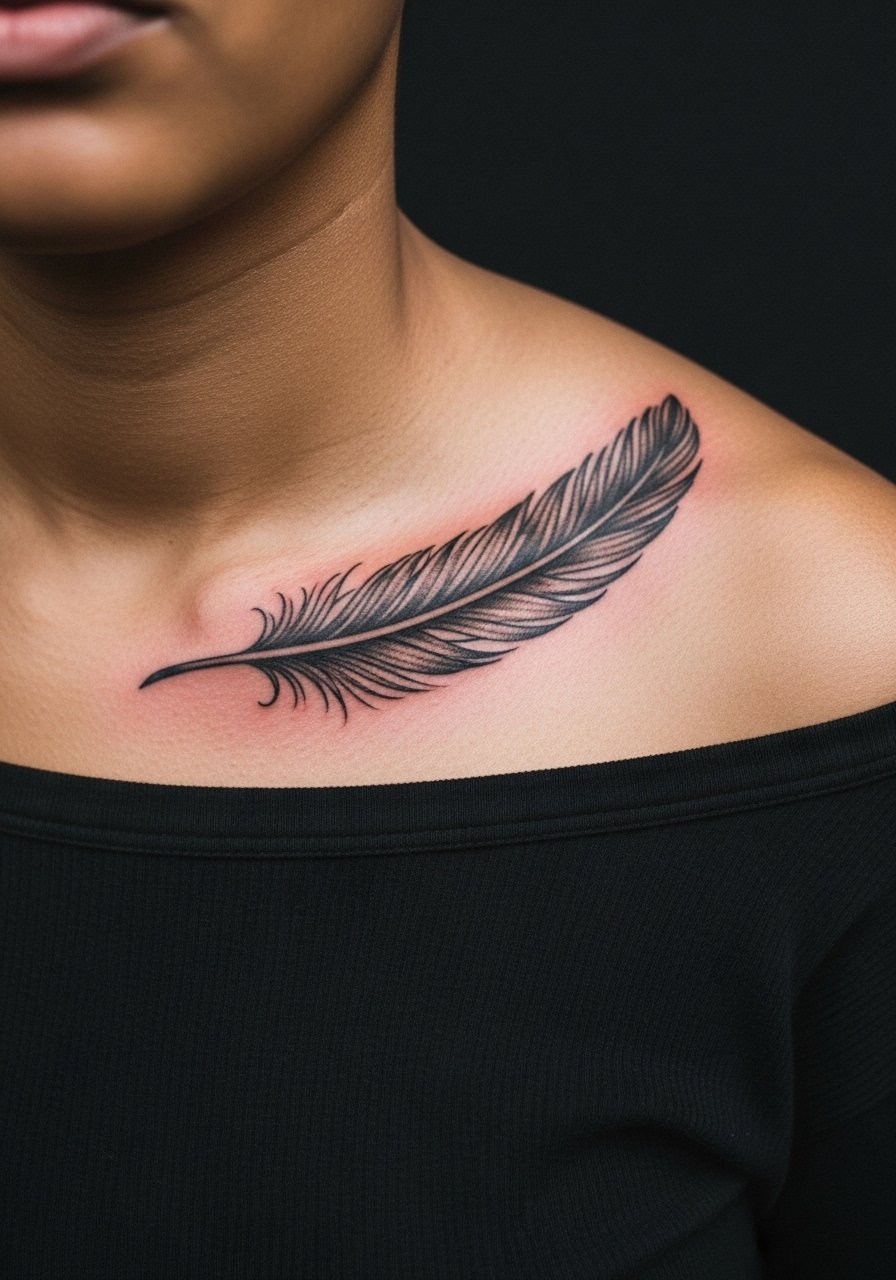
Fine line feathers create motion across the bone, but there is a real debate about retention. One camp says fine line ages graceful on the collarbone and softens into character. The other camp warns that the constant friction and sun exposure blur the lines fast. My recommendation is to ask for slightly bolder central quill lines with feather-tip stippling so the design reads if the tips fade. Sessions are quick and often under an hour for a 3 to 4 inch piece. Wear a boat neck top when showing it off so the feather flows into bare skin naturally.
5. Grey Wash Floral Vine Draping to the Sternum
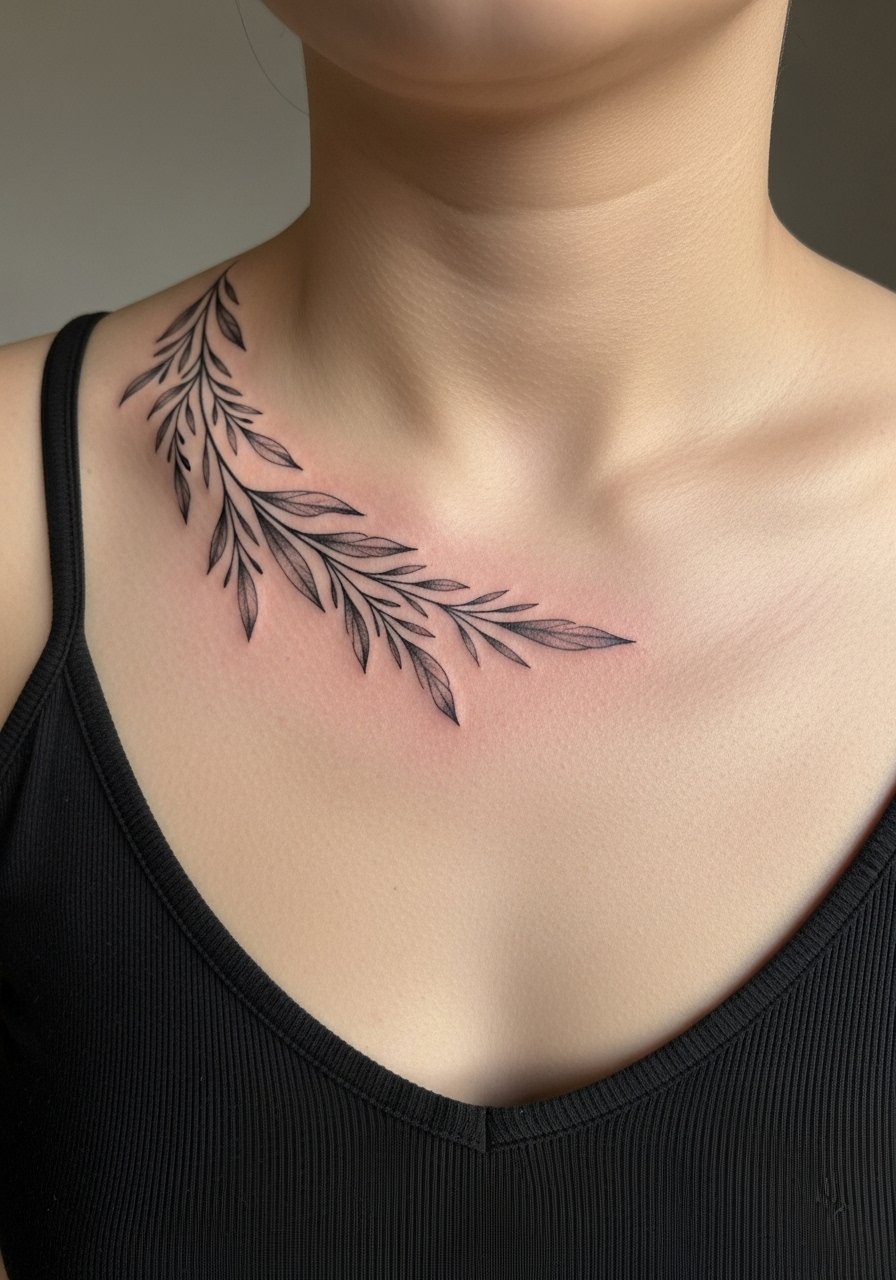
Grey wash vines are forgiving with body changes because the flow disguises minor stretching. Tell the artist to keep leaf clusters slightly spaced instead of packed tight. A common mistake is wrapping too tightly around the bone which highlights weight fluctuations. Expect low to moderate pain away from the bone ridge and one session for a delicate vine. Plan touch-ups at six to twelve months if you spend lots of time in sun. For show-off styling try a scoop neck cami so the vine peeks out without competing with necklaces.
6. Shaded Skull with Smoke Nesting on the Clavicle
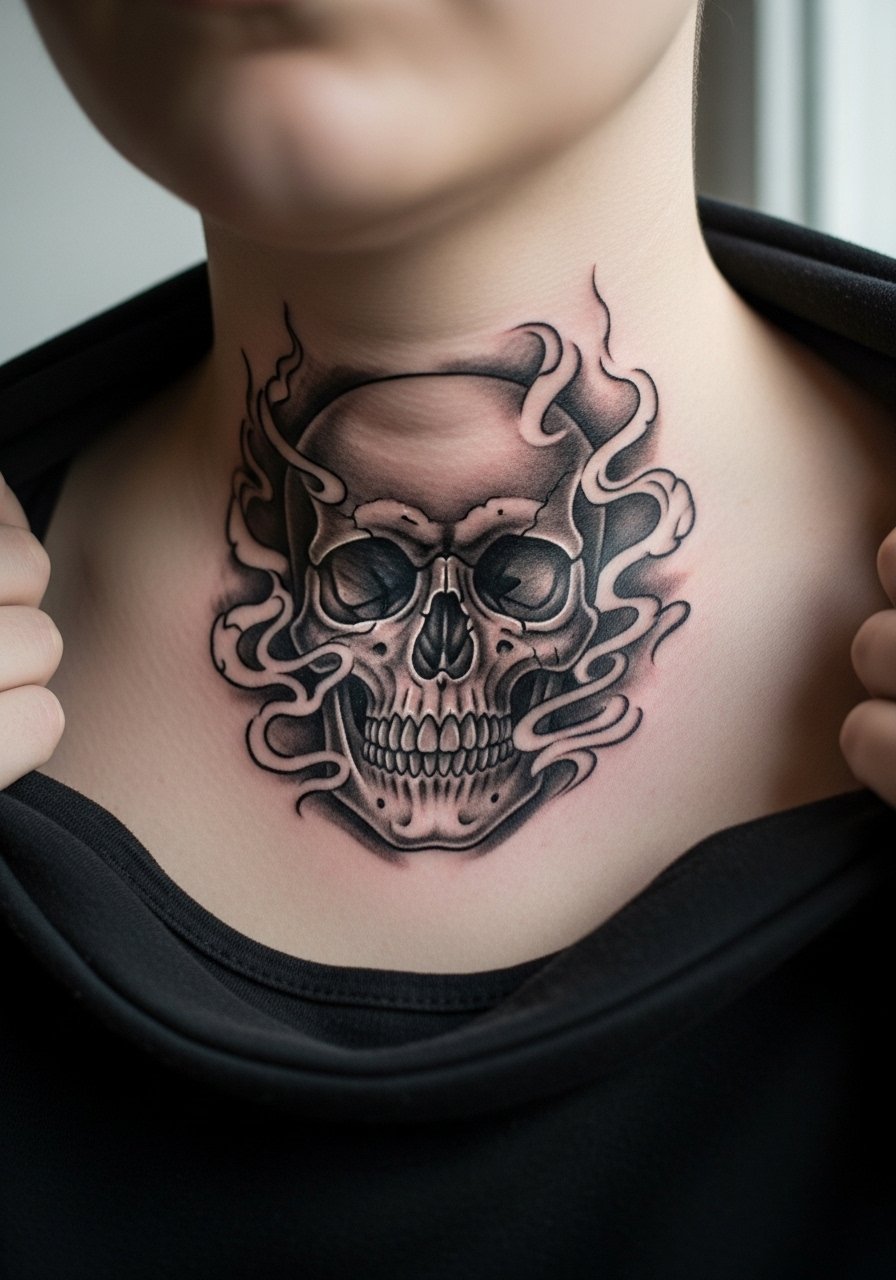
A skull packed with smooth grey transitions reads bold even when it mellows. Ask for softer outer smoke edges rather than tiny crisp lines which can merge into a grey block later. People often request super-fine teeth detail and then regret it as softening occurs. This design tends to need deeper saturation near the bone ridge to avoid patchiness. Sessions may run one to two hours depending on scale. Hand the artist reference showing how the smoke should fade into skin for longevity.
Heal Smart
The first six designs above sit close to straps, necklaces, and direct sun, so a short product list focused on prep and the early healing window helps those sessions and the first week.
- H2Ocean Tattoo Spray. Useful to gently rinse and soothe the area without leaving a greasy film that can slide off the collarbone in warm weather.
- After Inked Tattoo Balm. A thinner balm option that most people on sweaty chest zones prefer for lightweight hydration.
- Vegan Body Butter Tattoo Balm. A non-greasy vegan option for people who react to petroleum based products and want a breathable layer.
- Japanese Aftercare Protective Film Alternative. Breathable film options are handy in hot months when collars and straps rub the healing skin.
- Aquaphor Healing Ointment. A thin initial layer can help seal fine line work during the first 48 hours before switching to a lighter balm.
7. Dotwork Sacred Geometry Triangle Along the Lower Clavicle
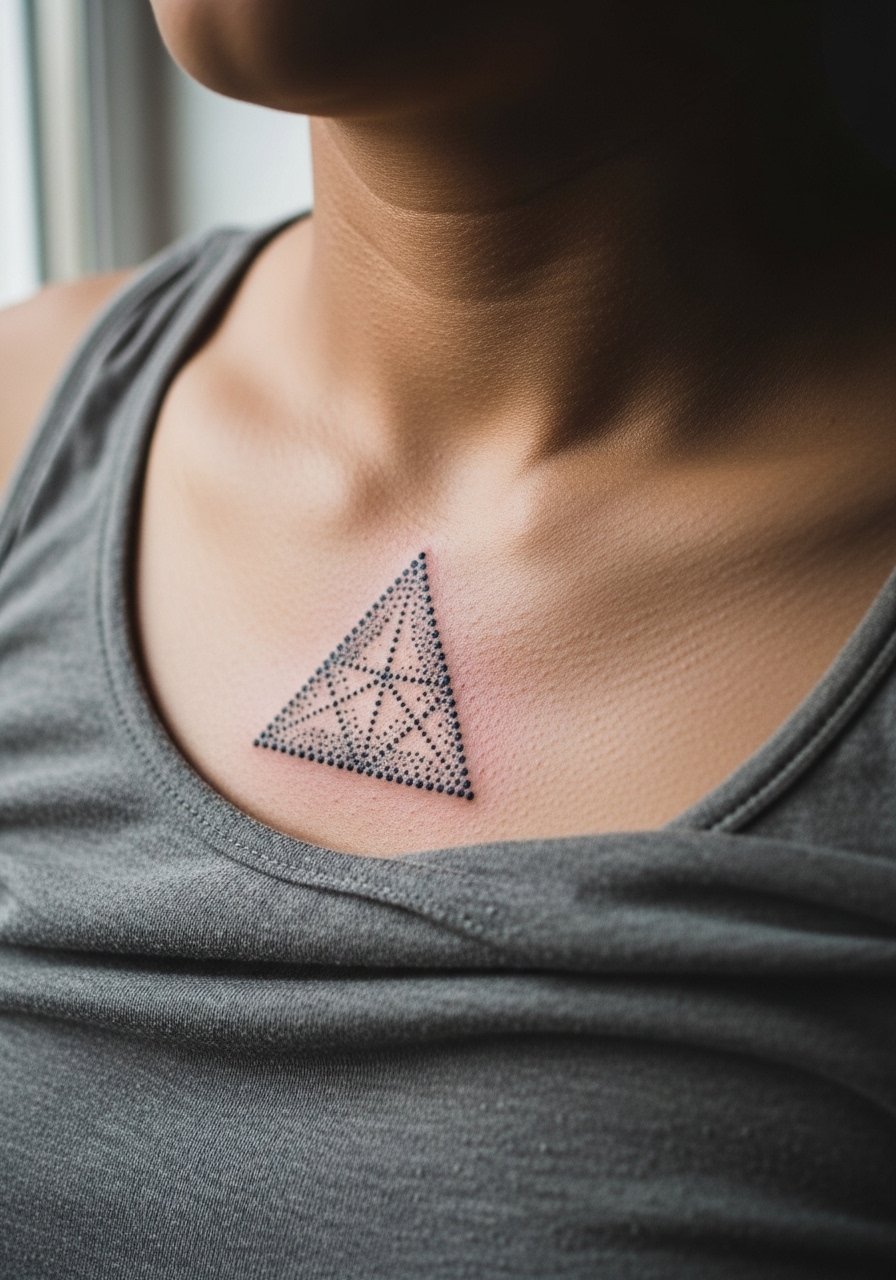
Dotwork reads meditative when spacing is respected. Tell your artist to scale the triangle so dots have breathing room. A common error is compressing detail into a small area which invites early merging. Dotwork ages differently from solid fills because individual dots can fade unevenly, so expect a touch-up sooner if you live in sunny climates. Session time is typically short and focused. For session wear bring a loose tank top so the artist can access the lower clavicle without straps pressing newly tattooed skin.
8. Realistic Wolf Silhouette on the Side Clavicle
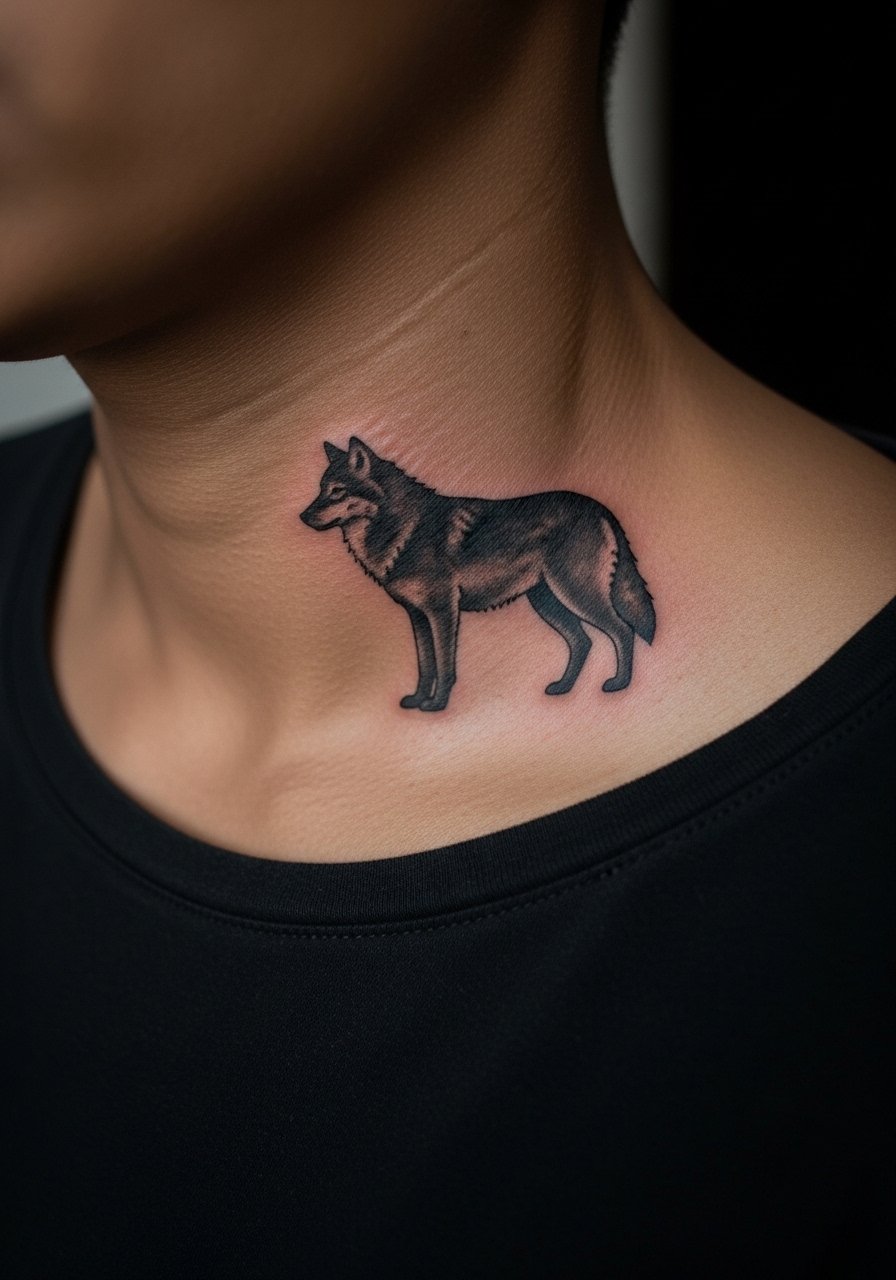
A silhouette uses negative space to define shape and it withstands sun fade better than tiny detail. Ask for clean edge work and slightly thicker outer lines so the silhouette keeps its form as the skin shifts. People sometimes request interior texture that ends up muddy after a year. This placement highlights movement so the elongated shape should follow the shoulder curve. Sessions are usually one to two hours depending on scale. A simple tip is to compare the mockup on a model photo with similar bone shape before booking.
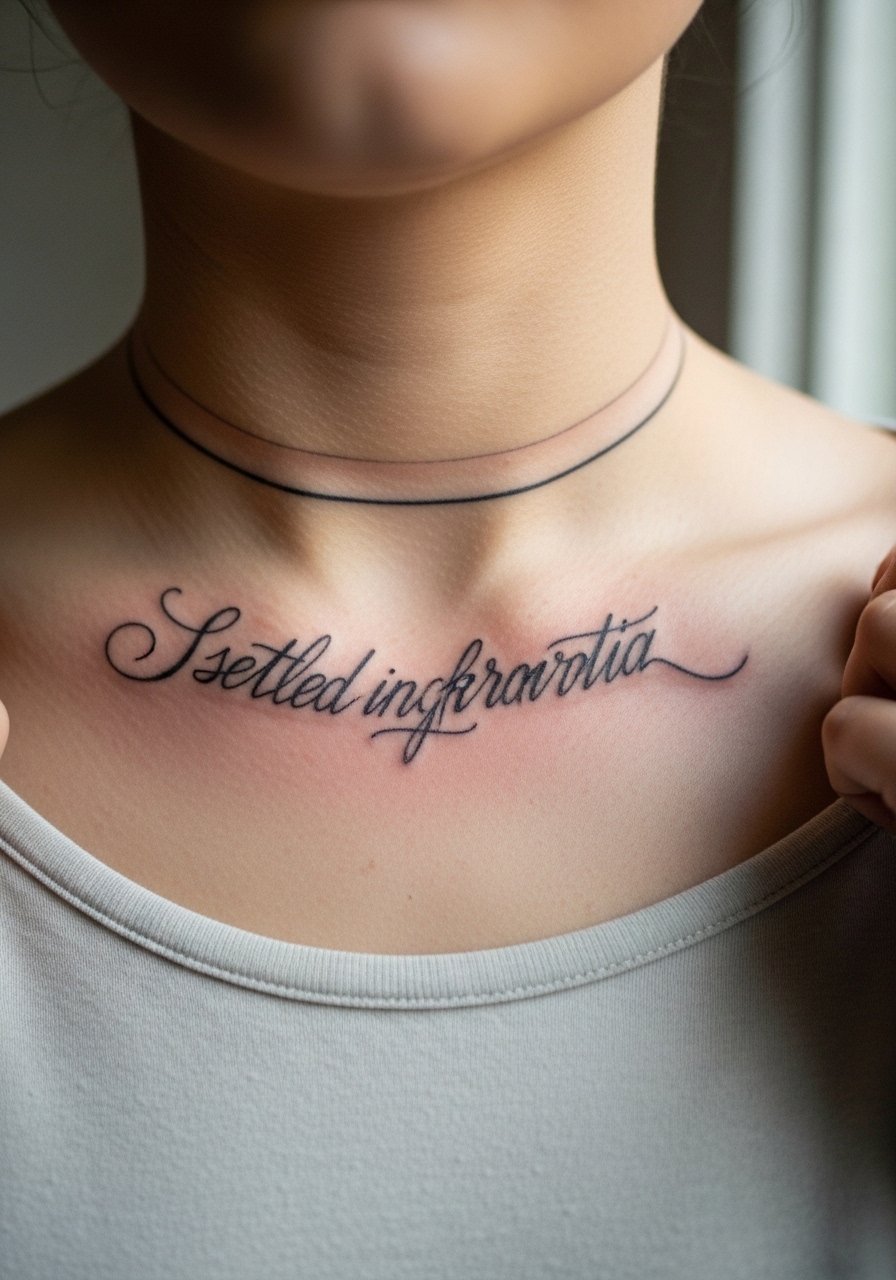
9. Ornate Script Arched Over the Bone
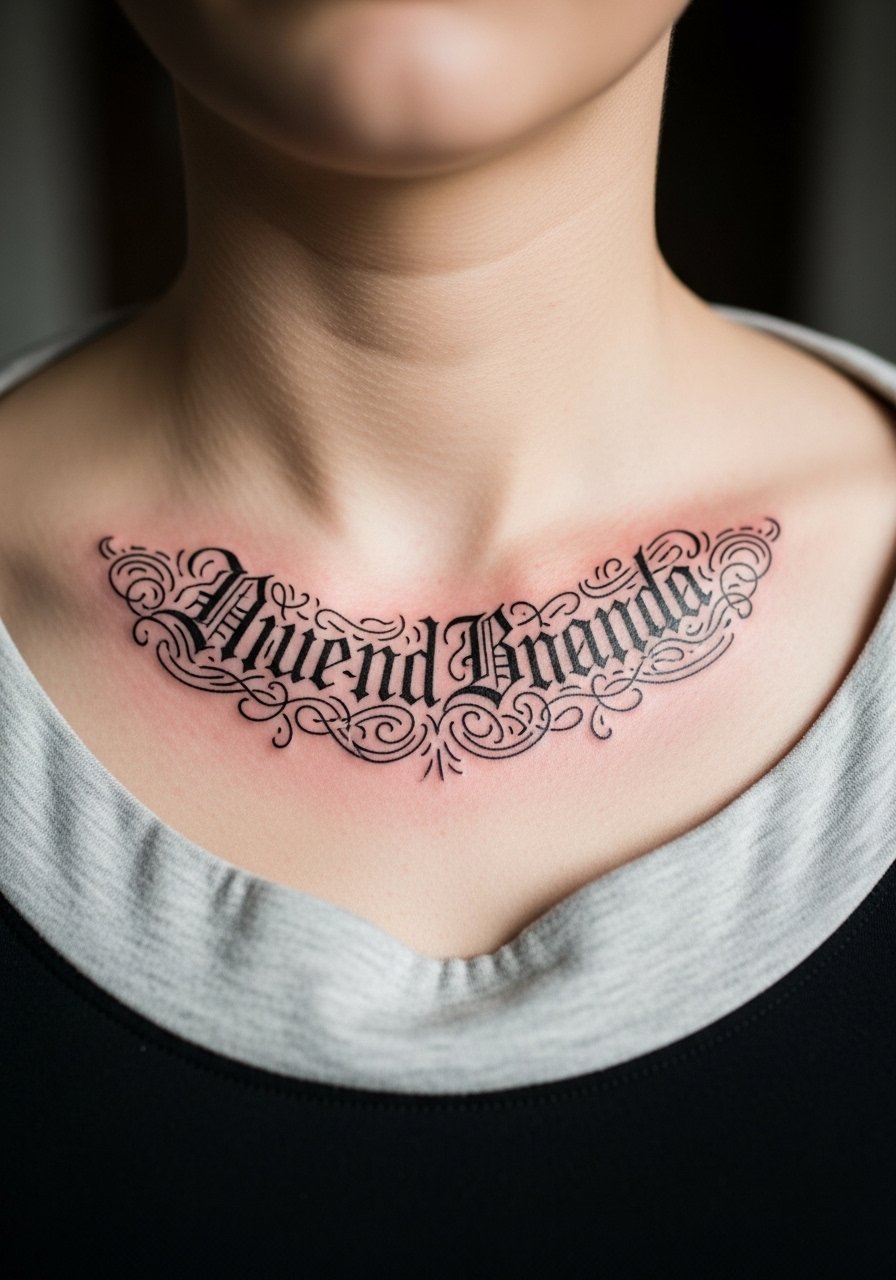
Script reads clean when letter size allows for the ink to settle without merging. Tell your artist the exact font, spacing, and exact phrase so the stencil matches your intent. Tiny script often blurs due to skin movement and sweat, which is why many artists suggest spacing and slightly heavier strokes for letters near the bone. This is a quick session for a short phrase but expect touch-ups in one to two years on exposed pieces. Pair the script with a thin chain pendant necklace that sits above the line so the text remains visible.
10. Blackwork Hourglass With Winged Detail
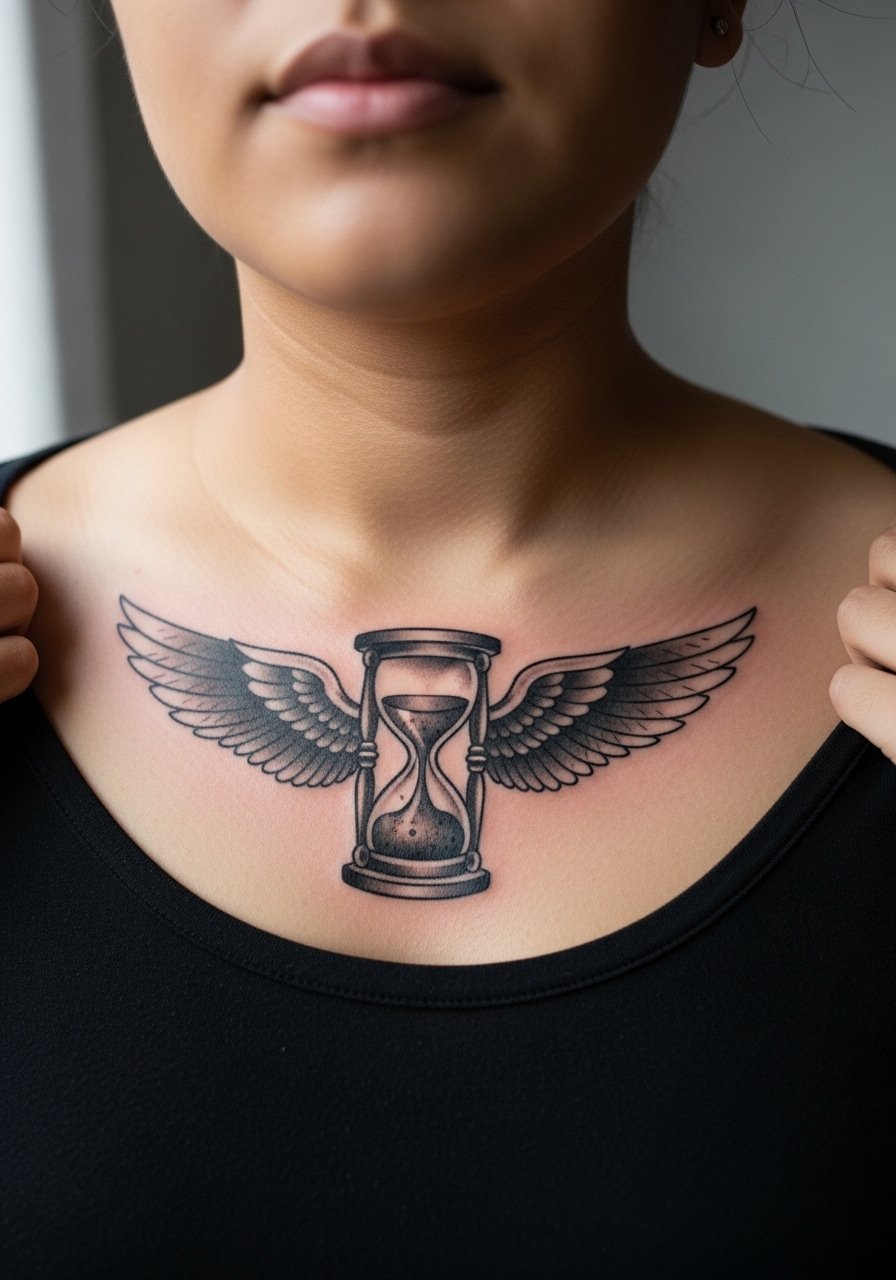
An hourglass holds well because heavy shading maintains contrast as it ages. Ask for broad grey transitions instead of dense tight lines which can blur in high-motion areas. A frequent mistake is over-detailing the wings which then softens into a flat grey patch. Plan for a two-session approach for balance and symmetry across the bone. The result pairs with V-neck or scoop neck garments that let symmetry be the focus.
11. Hyper-Realistic Eye Watching Toward the Shoulder

An eye can feel confrontational in a good way because it plays with profile view. For longevity request multi-layer grey shading and a soft white highlight left as negative space so the gaze keeps depth as it heals. Artists sometimes overwork contrast which can cause scabbing and pigment loss. This piece usually needs deeper initial saturation and possibly a touch-up at six months in high-sweat seasons. Show it off with a one shoulder top so the gaze lines up with your profile.
12. Landscape Horizon Tracing the Clavicle Curve
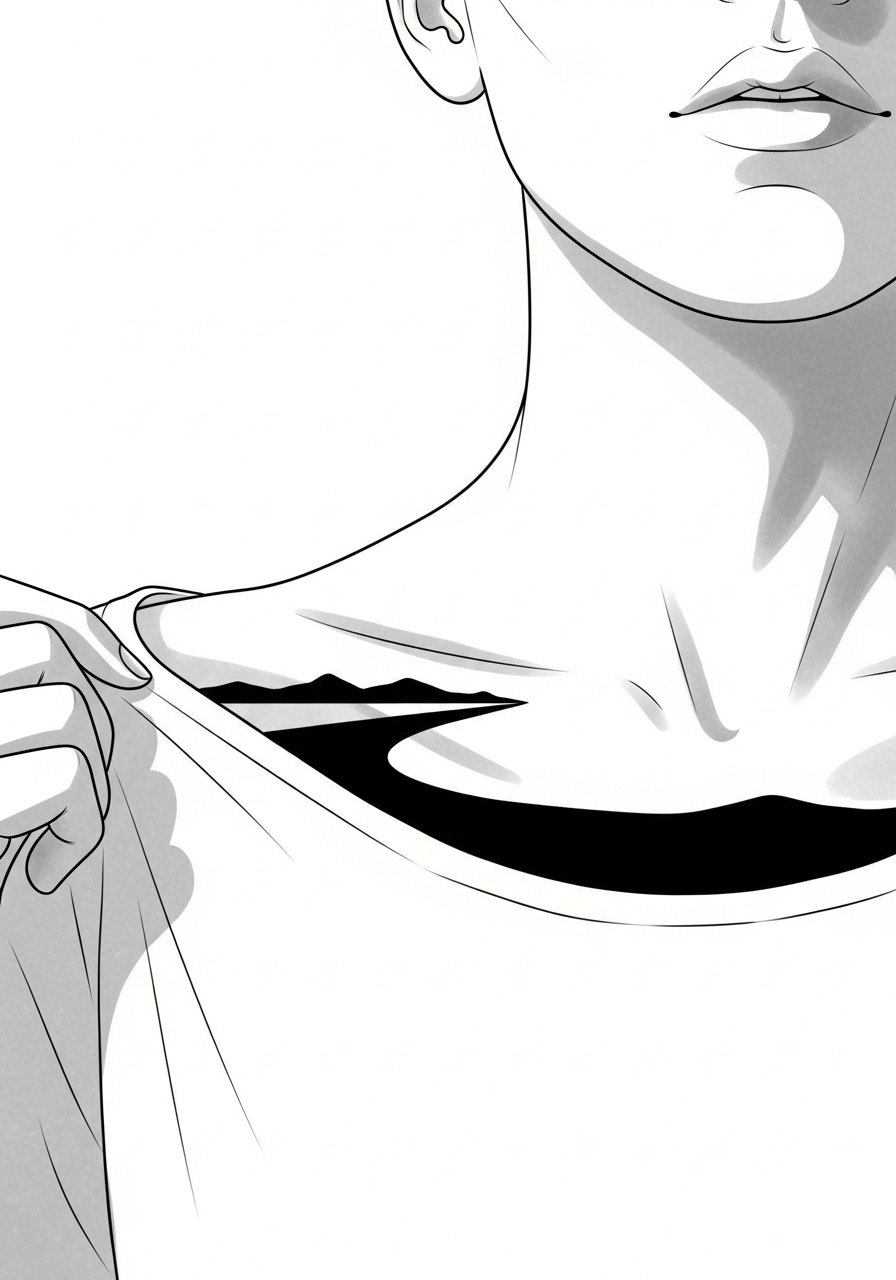
Panoramic landscapes use the bone contour as a horizon which naturally disguises small shifts from weight change. Tell the artist to build the scene with negative space and to avoid tiny tree detail that will soften. A common oversight is running the horizon too close to the bone edge which invites patchiness where skin is thinnest. Expect low pain and a single session for a 3 to 5 inch horizon. The design looks effortless with rolled-up linen shirts or open collars.
13. Vertical Phasing Fade That Blends Into Skin
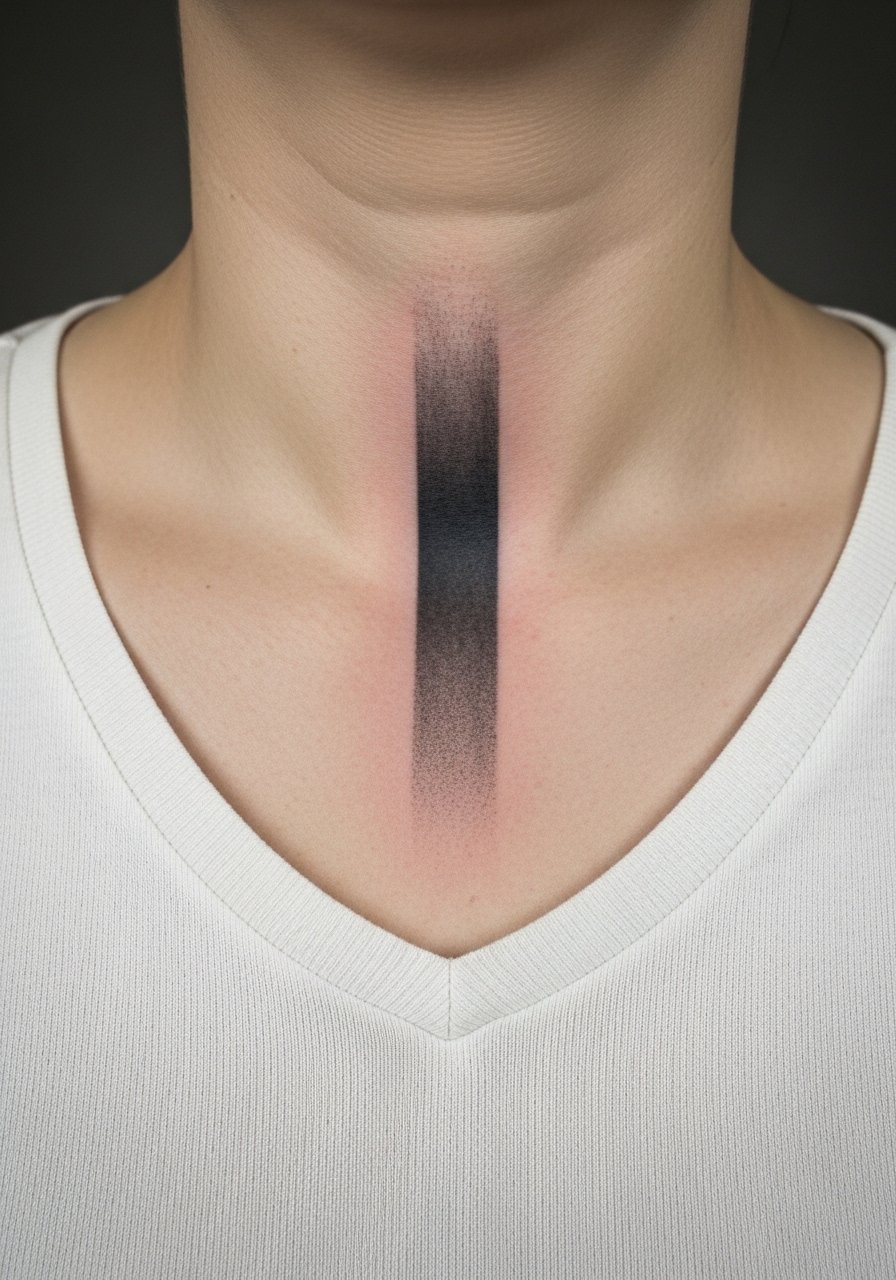
Phasing or gradient fade is a less common approach that helps the tattoo age without a harsh edge. For this, ask for gradual pigment reduction across the strip and soft dot work at the fade point. Many artists skip a proper mockup and the fade ends up too abrupt. This technique is forgiving for body changes and sun exposure because the edges are already soft. Sessions are usually short but require careful shading. Pair it with a scoop neck cami for a subtle reveal.
14. Tiny Constellation Cluster Along the Bone
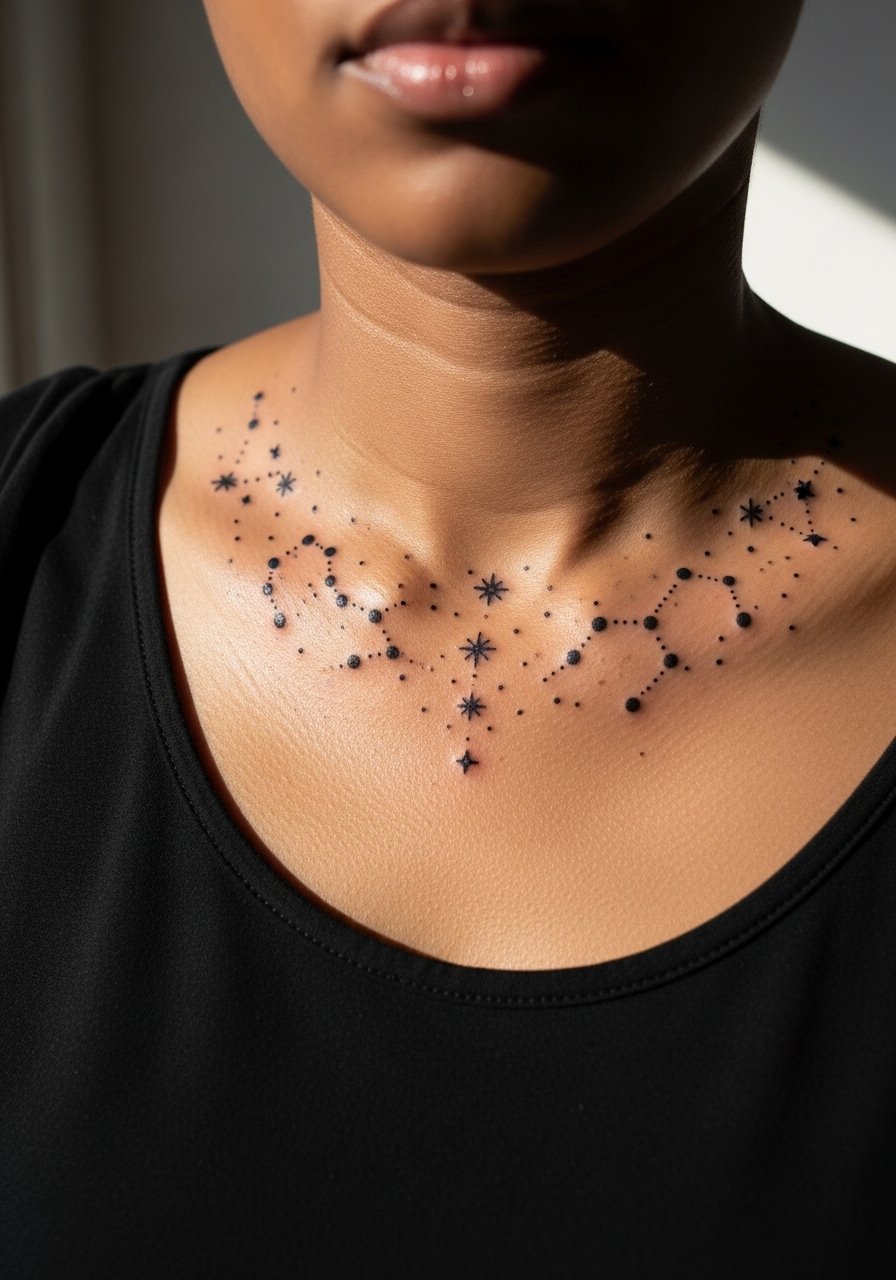
Constellation clusters are popular for minimalists who still want black and grey depth. Tell your artist exactly which stars should be solid dots and which should be stippled so the layout keeps meaning even as fine dots fade. The typical mistake is compressing stars too closely which causes merging. Expect very quick sessions but plan for touch-ups at year two if you are outdoors a lot. For session wear, a loose button-down shirt you can pull aside keeps stencils in place and comfortable.
15. Shielded Script Paired With a Choker-Friendly Gap
If you like chokers, ask for a deliberate negative space above the script so necklaces do not rub the ink while it heals. One common regret is placing text directly under a usual necklace line which causes constant friction. This simple planning reduces early wear and keeps the script crisp longer. Sessions are short for single-line text. When you show it off, a dainty choker can sit just above the gap without hitting fresh ink.
16. Neo-Traditional Floral Cluster Anchored on the Bone
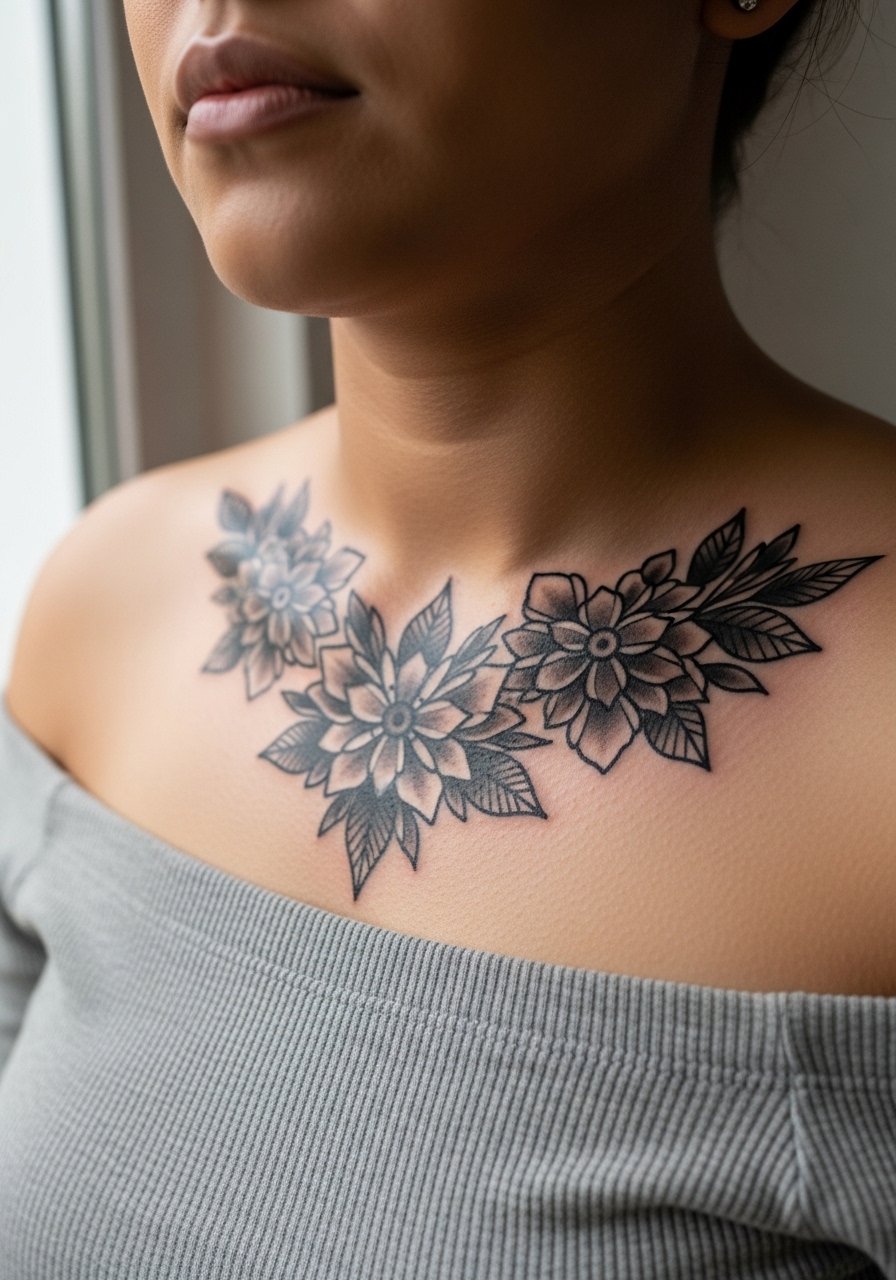
Neo-traditional flowers use heavier fills that stand up well on bony spots because saturation holds. Ask for clear separate fields of grey and black rather than tiny micro texture in dense areas. The mistake is packing too many small petals into a tiny patch which blurs into a blob as it settles. This style requires moderate session time and often benefits from a planned touch-up after initial healing. For showing off, an off shoulder blouse black frames the cluster without visual noise.
17. Vertical Chain Link That Drops Toward the Chest
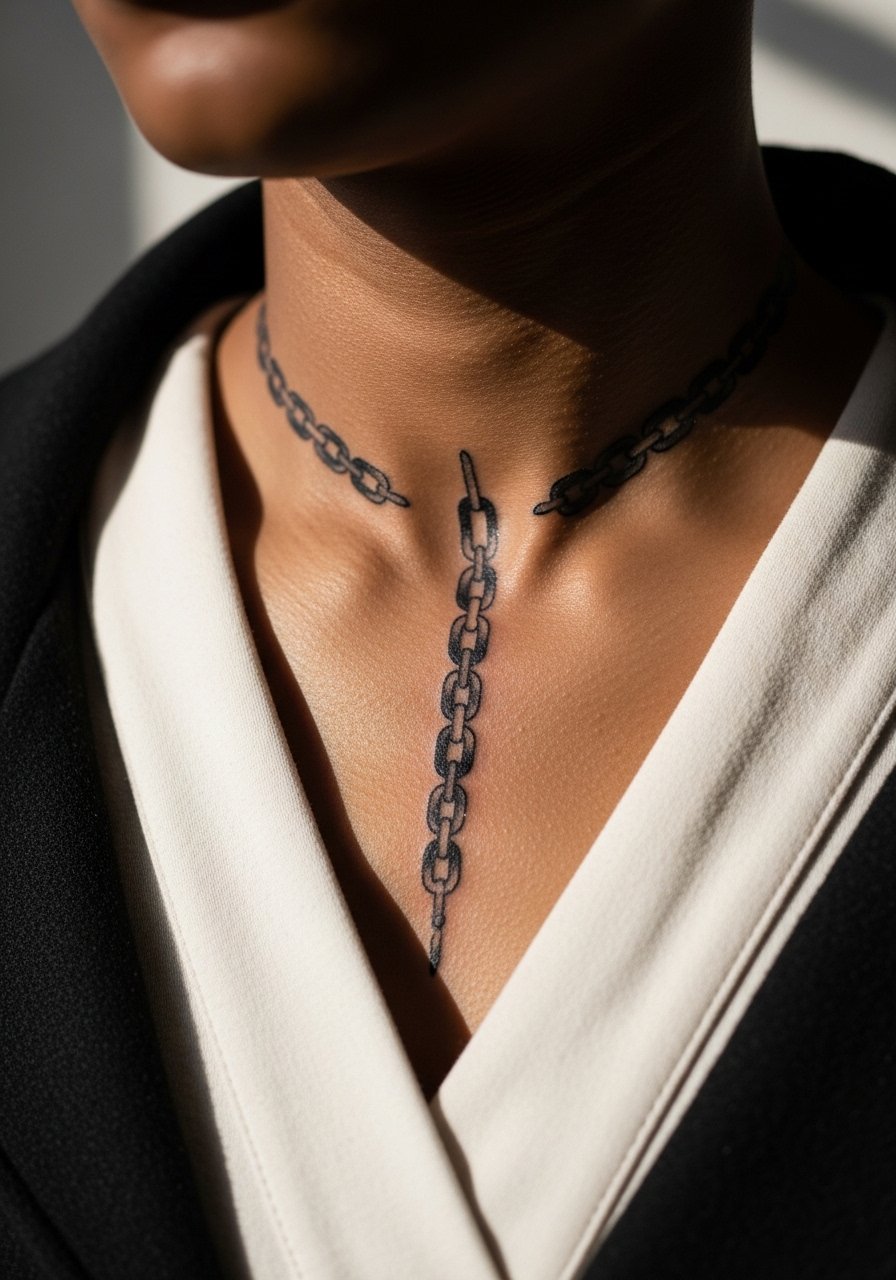
A vertical chain uses the collarbone as an anchor and minimizes the problems of horizontal movement. During consultation ask that links be slightly larger than you think you need so the negative space between them survives stretching and sun exposure. Tiny links will merge over time. Sessions are short and intense because line consistency matters for each link. If your wardrobe includes many necklaces, plan placement so hardware does not sit directly on fresh ink.
Frequently Asked Questions
Q: How bad is pain on the collarbone compared with other spots?
A: The collarbone can be sharp because the needle sometimes hits thin skin over bone. People report a vibrating sensation when the machine crosses the ridge. I suggest short sessions and breaks, and asking about topical numbing if the artist is comfortable with it.
Q: Will a fine line script on the collarbone blur faster than a chunkier script?
A: Fine line on the collarbone tends to soften sooner, especially if it sits where straps or necklaces rub it. The chunkier script keeps letter shapes longer because the lines have more pigment depth. If you want thin letters, request slightly wider spacing and plan for a touch-up in one to three years.
Q: Do black and grey pieces on the collarbone fade quickly in summer?
A: High sun exposure and sweat accelerate fade on any exposed spot. Blocking UV for at least four to six weeks while the skin rebuilds helps a lot. After that use high SPF when you plan long sun exposure and expect to schedule touch-ups sooner if you are outside a lot.
Q: How should I dress for a collarbone session so the artist has clear access?
A: Wear something that pulls aside or drops easily like a loose tank top or a wide-neck shirt. Avoid tight bras or chokers that you cannot remove because the artist will need uninterrupted access and comfort matters for longer sessions.
Q: I lost or gained weight recently. Will that mess up a collarbone tattoo?
A: Rapid weight changes can alter how designs sit, especially very tight geometric or tiny script work. Organic flows like vines or phased fades adapt better to body shifts. If you anticipate big changes, talk through bigger scale and softer edges with the artist.
Q: How do I find artists who do black and grey well on bony spots?
A: Search healed examples on tags like #blackgreycollarbone and ask for healed photos from the artist, not just fresh shots. Look for portfolios where linework and saturation stayed consistent in bony placements. Trust your instincts and get clear answers about touch-up policies before booking.
