
Fine line trends look incredible on a feed, but the pieces that still read sharp after a few years are usually the ones planned with aging in mind. Black and grey clock work is moving that way, leaning on contrast, spacing, and placement rather than tiny, brittle lines alone. Below are 27 clock tattoo directions that balance fresh impact with how they settle over time, plus what to ask your artist at the stencil stage.
1. Melting Clock on Outer Forearm, Micro-Realism

I’ve seen melting clocks on forearms that read poetic for years when the shading is crisp and spaced. For this micro-realism piece, ask your artist for slightly heavier greywash around the drips so the melt reads at one year, not just day one. The common mistake is packing dots and fine stipple too tight, which softens into a muddy edge by year two. Expect two sessions for a 4–6 inch piece and a touch-up at six months if the hands or thin drips need redefinition. Pair it with a rolled charcoal crewneck tee to show the forearm without crowding the design during warm months.
2. Ornate Gear Clock on Inner Bicep

When someone wants steampunk vibes but a clean healed look, inner bicep gear clocks work well because the curved surface lets shading fall naturally. In consult, request distinct contrast between gear teeth and the background greywash so each cog reads at two years. Watch for blowout risk closer to the armpit; ask the artist about needle depth there. Session time is usually three hours split over two visits for a five inch piece. For showing it off, wear a sleeveless hoodie or tank so the bicep sits free of fabric.
3. Broken Clock Fragments for Sleeve Fillers

I recommend broken clock fragments when you need a custom filler between existing pieces. The trick is designing shards that fragment across muscle transitions so the composition reads even if the sleeve grows later. Tell your artist you want negative space islands between fragments to avoid a solid grey patch in five years. Large scale sleeves take multiple sessions and a clear plan for wrap and flow. For the session, a loose short-sleeve button-down works best so the artist can roll up without dragging fabric across fresh ink.
4. Minimalist No-Hands Wrist Clock
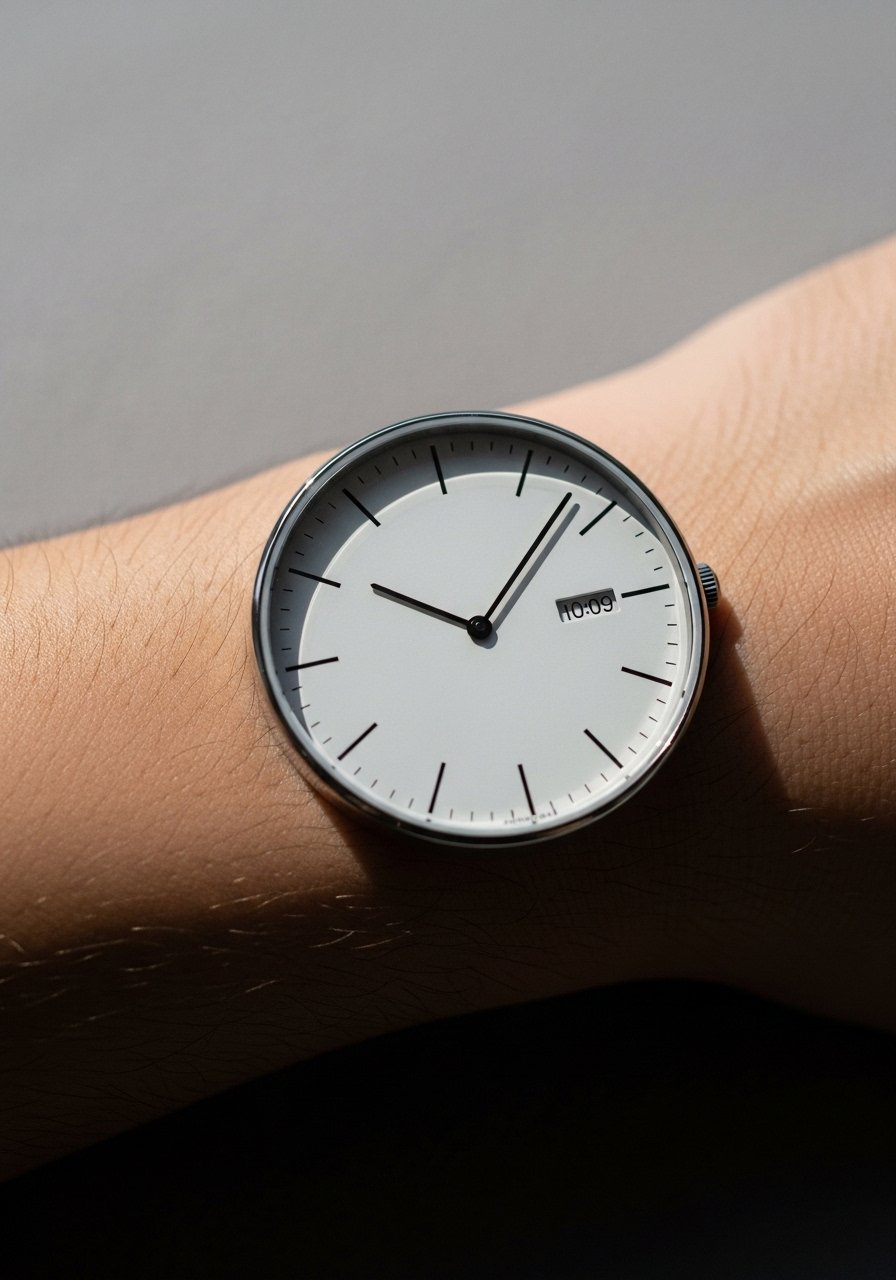
Fair warning, wrists are high-movement zones and tiny fine-line clocks can blur faster than expected. There is a split in opinion: one camp says fine line holds up if you keep it tiny and accept touch-ups, the other camp recommends bold single-needle weight or slightly heavier linework for longevity. I suggest asking for a slightly bolder contour and confirming a touch-up policy. This is a one-session piece usually under 30 minutes, but plan on a six-month touch-up if lines soften. To frame it without crowding, try a slim leather watch on the opposite wrist or fold back an oversized linen cuff.
5. Skull-Integrated Clock on Upper Chest

Most chest pieces heal predictably if you can avoid tight collars rubbing the area. For a skull-clock memorial, tell the artist which elements should be left softer for mood and which need crisp edges, like the numerals. A common mistake is over-detailing the skull teeth, which can merge into the greywash over time. Expect two to three sessions for a 6 inch chest piece and block sun for six weeks to preserve the grey tones. During the session, wear a wide-neck shirt you can pull aside for access.
6. Hyper-Real Pocket Watch Draping the Ribcage
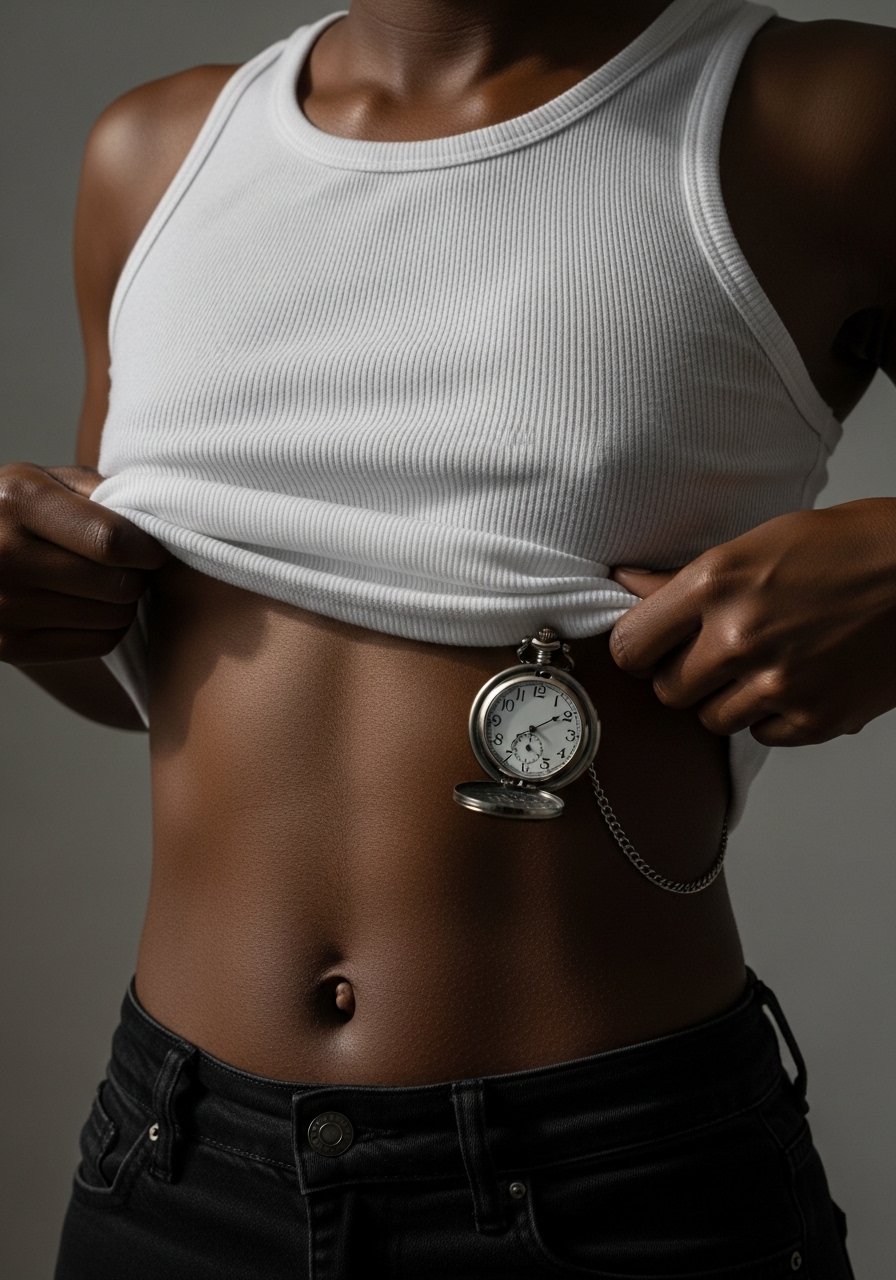
Fair warning about ribs: they are higher on the pain chart but reward that tolerance with striking depth. For pocket watches, ask the artist to map the chain over natural curves so the chain shadows work with movement. A mistake is forcing dense stipple over stretched skin which can distort if body weight shifts. Plan three sessions for an elongated eight inch piece and schedule light meals and rest before the chair. For session wear, bring a loose cropped tank so you can lift the fabric without exposing anything else.
Pre-Session Essentials
The chest, ribcage, and forearm pieces above need different prep, and a small kit can make the session and first week much smoother.
-
TattShield spray. A lightweight barrier some folks use to limit friction, useful on forearm areas that will rub against sleeves.
-
InkFix balm. Thinner than heavier greases and handy for dry winter healing on calves or thighs where heavy ointments can trap sweat.
-
HealFAST gel. An indie-style gel some people like for itch control without heavy residue during the first week after realism work.
-
Organic Manuka salve. A lighter anti-inflammatory option some users turn to for sore ribs and chest areas after long sessions.
-
Fragrance-free CeraVe Healing Ointment. A thinner alternative to greasy balms for the first few days, especially helpful under tight clothing or for fine-line forearm work.
7. Clock Tower Silhouette on Outer Calf

Calf pieces read well in black and grey because the skin there takes saturation cleanly and sunlight exposure is lower than wrists. For a vertical clock tower, request bold silhouette edges and soft grey mist behind the birds so the composition holds at distance. Two sessions usually cover a 7 inch vertical piece with clear touch-up expectations. For show-off season, cuffed slim joggers or shorts frame the calf without crowding the vertical composition. During the session, wear loose sweatpants you can roll up easily.
8. Victorian Ankle Watch with Floral Vines

Ankle placements deal with friction from socks and shoes, so heavier linework helps fine details survive. For a tiny Victorian watch with vines, tell your artist to keep the numerals readable but not microscopic. The biggest mistake is tight filigree in a 2–3 inch piece, which blurs after months. One to two short sessions are typical. For showing it off, try cuffed jeans or high ankle sandals and include a ankle crew sock rotation that avoids constant pressure on fresh lines.
9. Shattered Clock with Hourglass on Outer Thigh

Thigh canvases allow for bold, textured greywash that keeps its depth for years. For a large 10 inch shattered composition, plan for multiple sessions and ask your artist about how the sand texture scales in healing. A common error is too much tiny dot work close together, which can flatten in the long term. Thigh work tolerates heavier shading that ages well and the session is usually four hours per block. For the appointment, wear loose shorts so the artist can lift or shift fabric without exposing more than the work area.
10. Clock with Mechanical Heart on Shoulder Blade
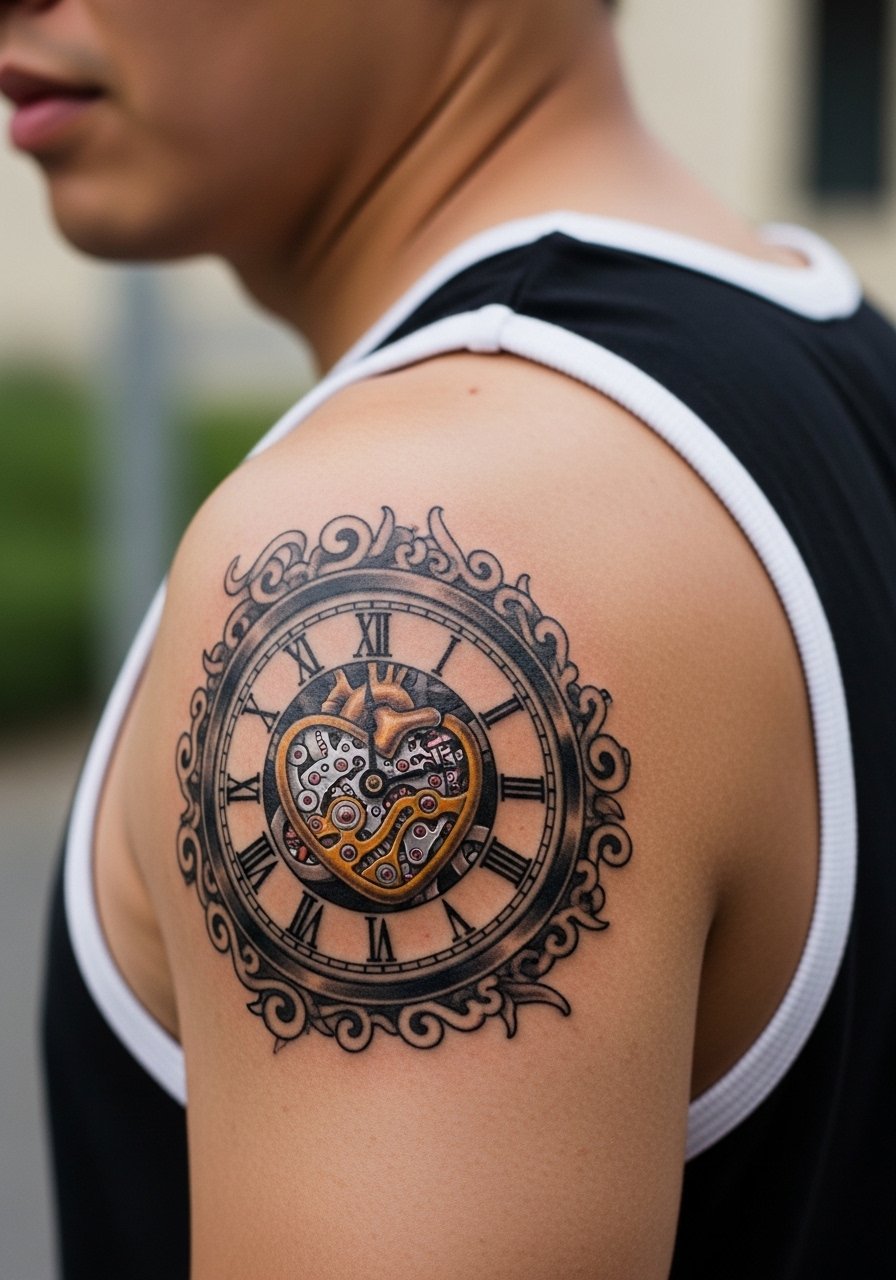
Shoulder blades are forgiving for gear detail because the skin is stable and the canvas moves with posture. When combining a heart and clock, ask the artist to prioritize shadow under the chain and leave a small skin highlight to keep the heart three dimensional as it heals. The session is usually three short visits for a five inch circular piece. For showing it off, go with an off-shoulder top or a muscle tank sleeveless that keeps attention on the upper back.
11. Grey-Scale Grandfather Clock on Upper Back
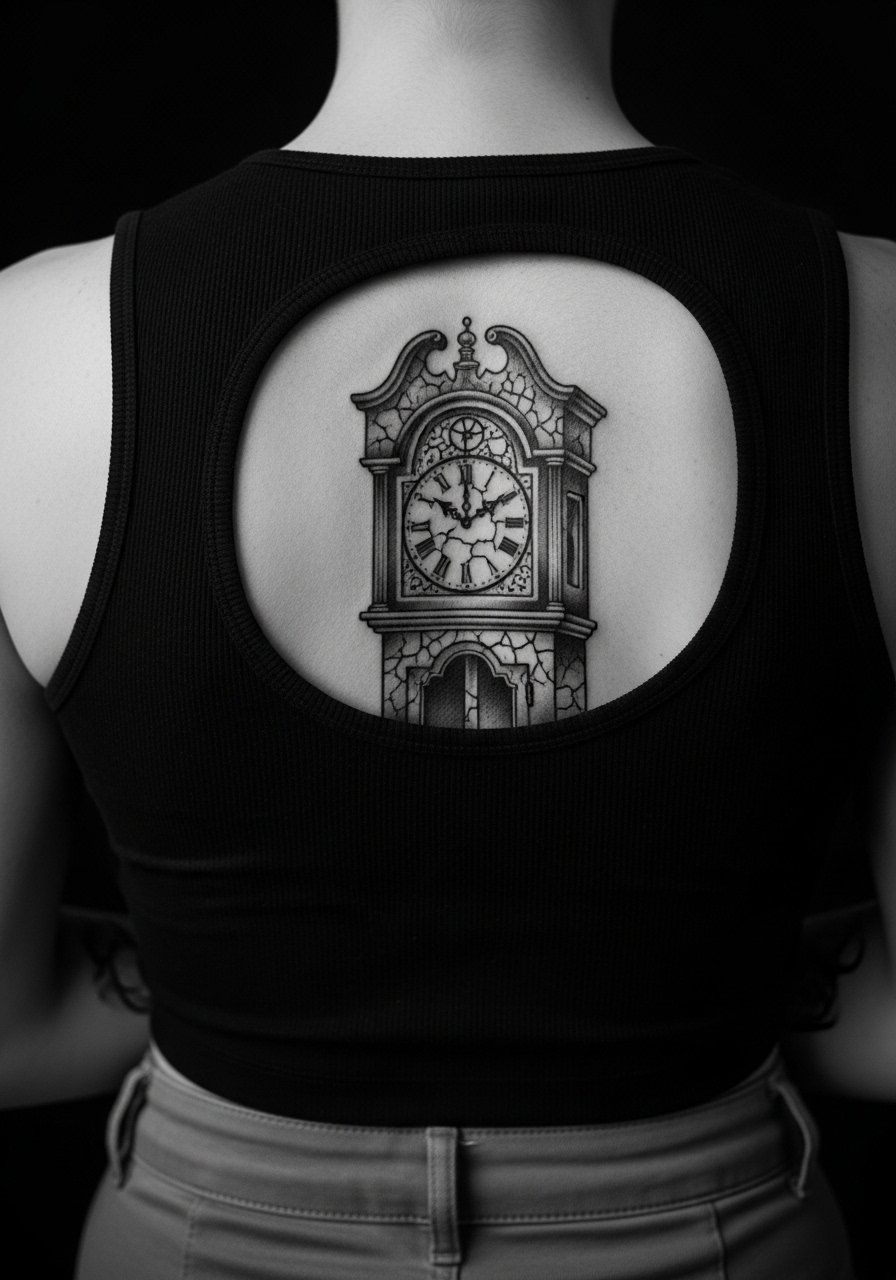
Large back pieces demand a session plan that maps finishing lines across shoulder blades. For grandfather clock imagery, ask for a session-by-session breakdown and request healed photos of the shop's back pieces before you commit. The main mistake is expecting the same shading density as a smaller piece; scale matters. Budget multiple long sessions and ask about touch-up windows over the first year. For the appointment, wear a loose tank you can shift for artist access.
12. Infinity Hands Clock on Collarbone

Collarbone tattoos sit where movement and stretching can blur tiny script or lines if placed poorly. Most people find that slightly thicker line weight and a small buffer of skin between elements helps the infinity hands stay readable at year two. This is a quick one-session tattoo but plan a touch-up if the lines migrate. For showing it off, pair the piece with a fitted V-neck tee or a low strap top to let the collarbone breathe.
13. Melting Clock into Roses on Inner Arm
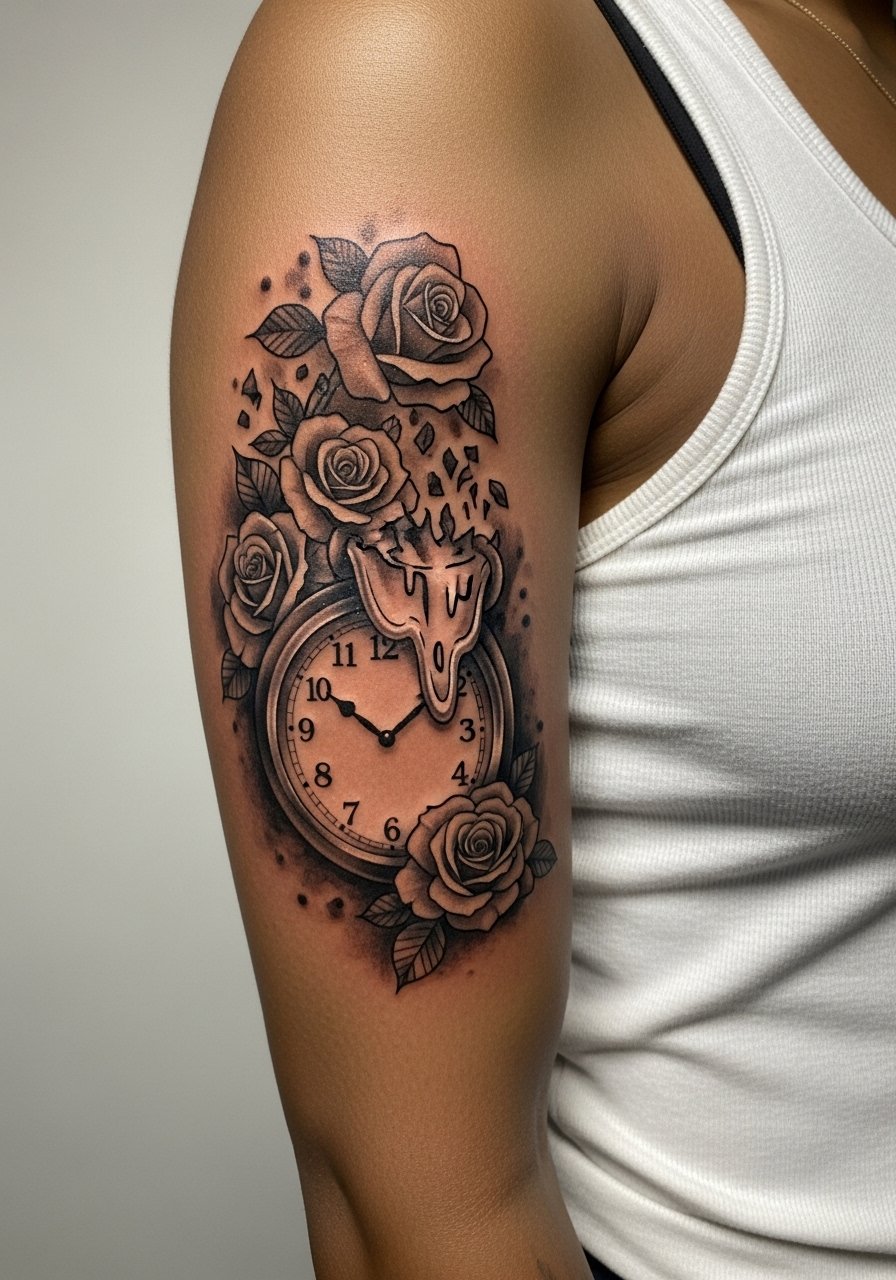
Inner arm pieces can heal with softer edges because the skin there is more elastic. For a melting clock into roses, tell your artist to keep petal edges slightly separated from the melting clock so the two motifs do not merge after scar tissue forms. A mistake I see is asking for everything ultra-soft; that choice loses structure. Two sessions usually do it for a four inch piece. For the session, wear a loose tank that keeps the armpit closed while the artist works.
14. Backwards-Running Hands, Rewind Motif on Inner Forearm
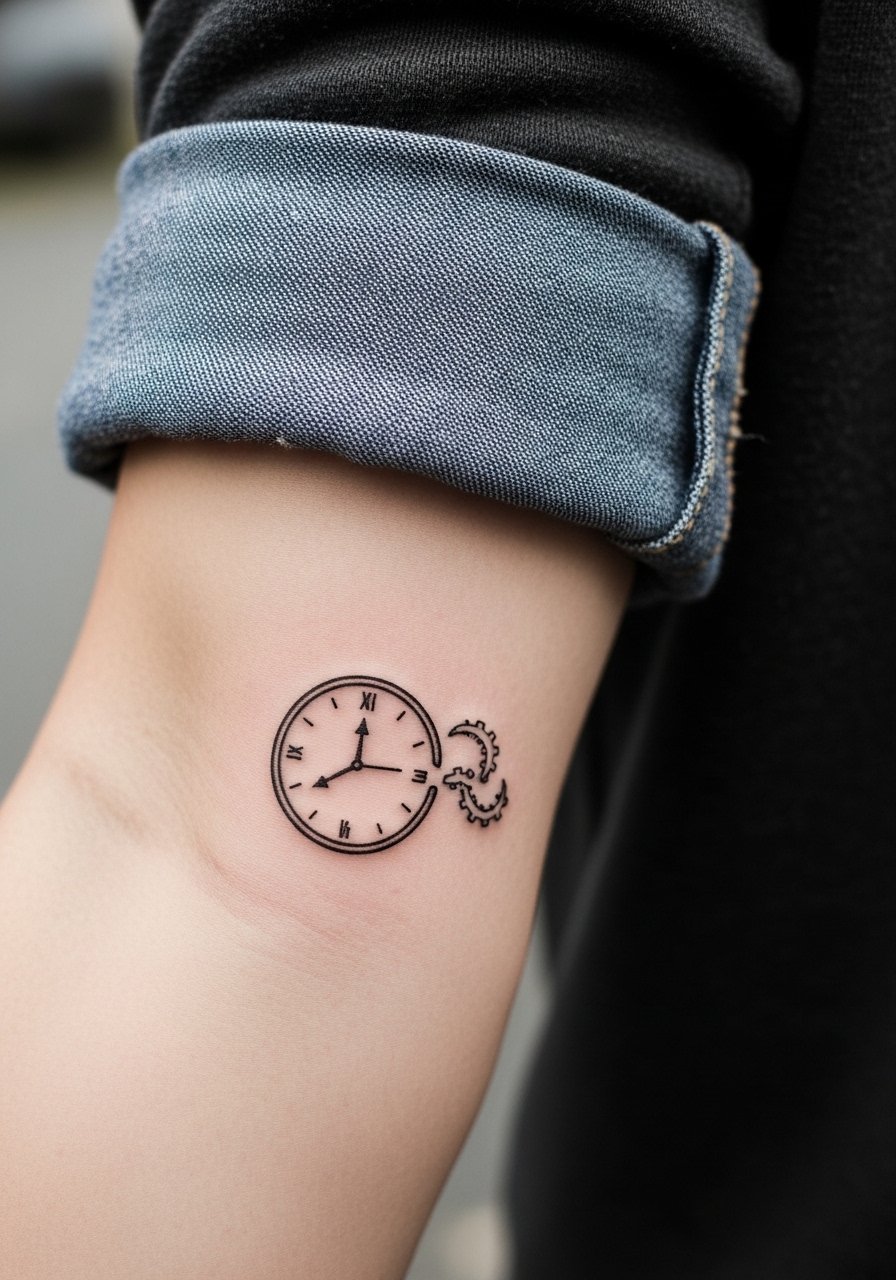
Artists split on symbolic gimmicks and which ones read well after healing. For reversed hands, one camp sees it as a meaningful rewind motif and designs narrative pieces around it. The other camp warns that tiny, novelty elements blur fast if not spaced or weighted properly. If you want the rewind look, ask for slightly larger hands and clear negative space around numerals so the rewind still reads at year two. One session for a 3 inch custom works, with a touch-up window if numerals soften. For display, a rolled chambray shirt frames inner forearm pieces cleanly.
15. Pocket Watch with Birth/Death Coordinates on Sternum
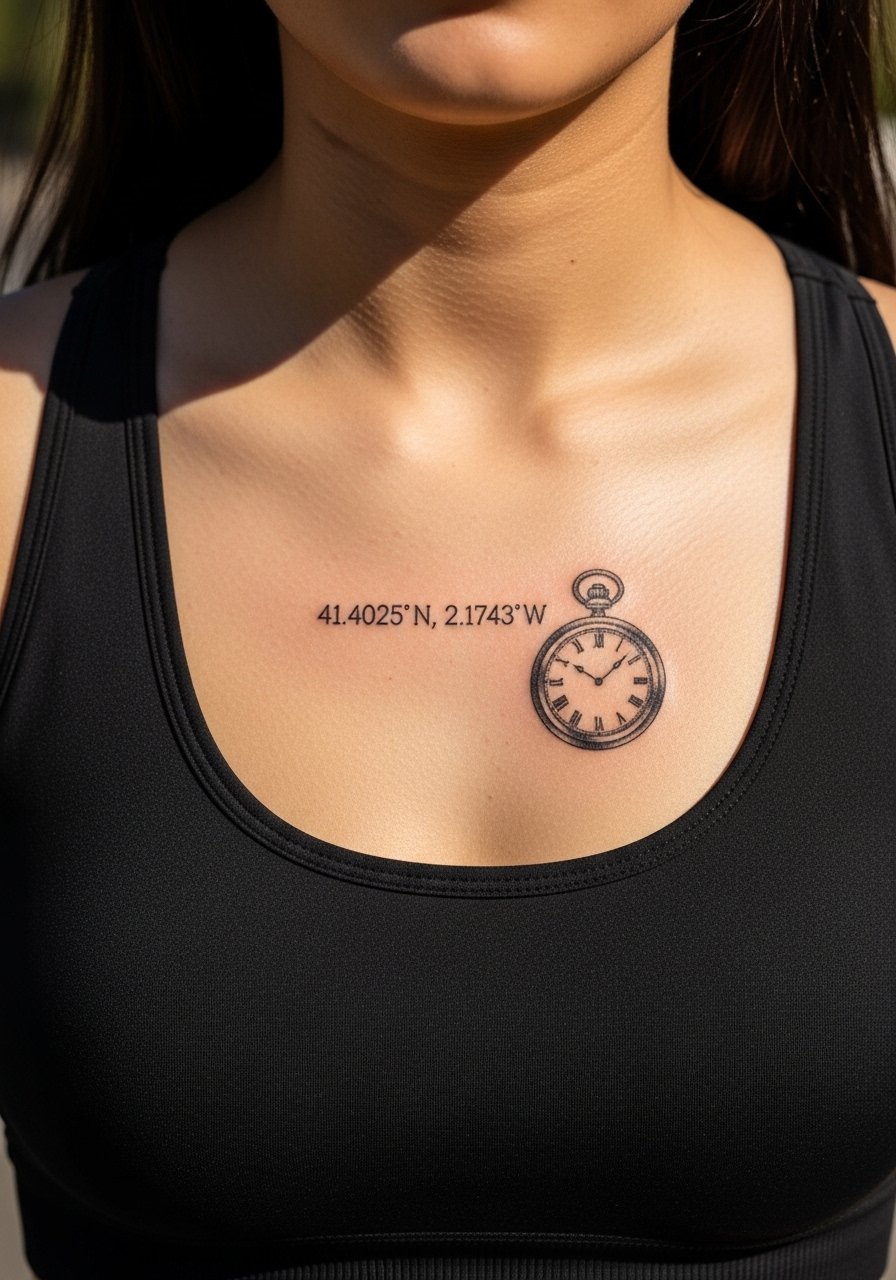
Sternum work must balance intimacy and legibility, especially for small text like coordinates. Provide exact coordinate formatting during consult and ask for slightly larger numerals than you think you need so they age better. A common regret is tiny text that becomes unreadable after a year. Plan a single longer session for a compact design and expect tenderness the first week. For the appointment, a fitted sports bra or bandeau keeps exposure minimal while giving the artist clean access. For showing it on cooler days, a strapless bralette pairs neatly.
16. Grey Scale Knuckle Clocks
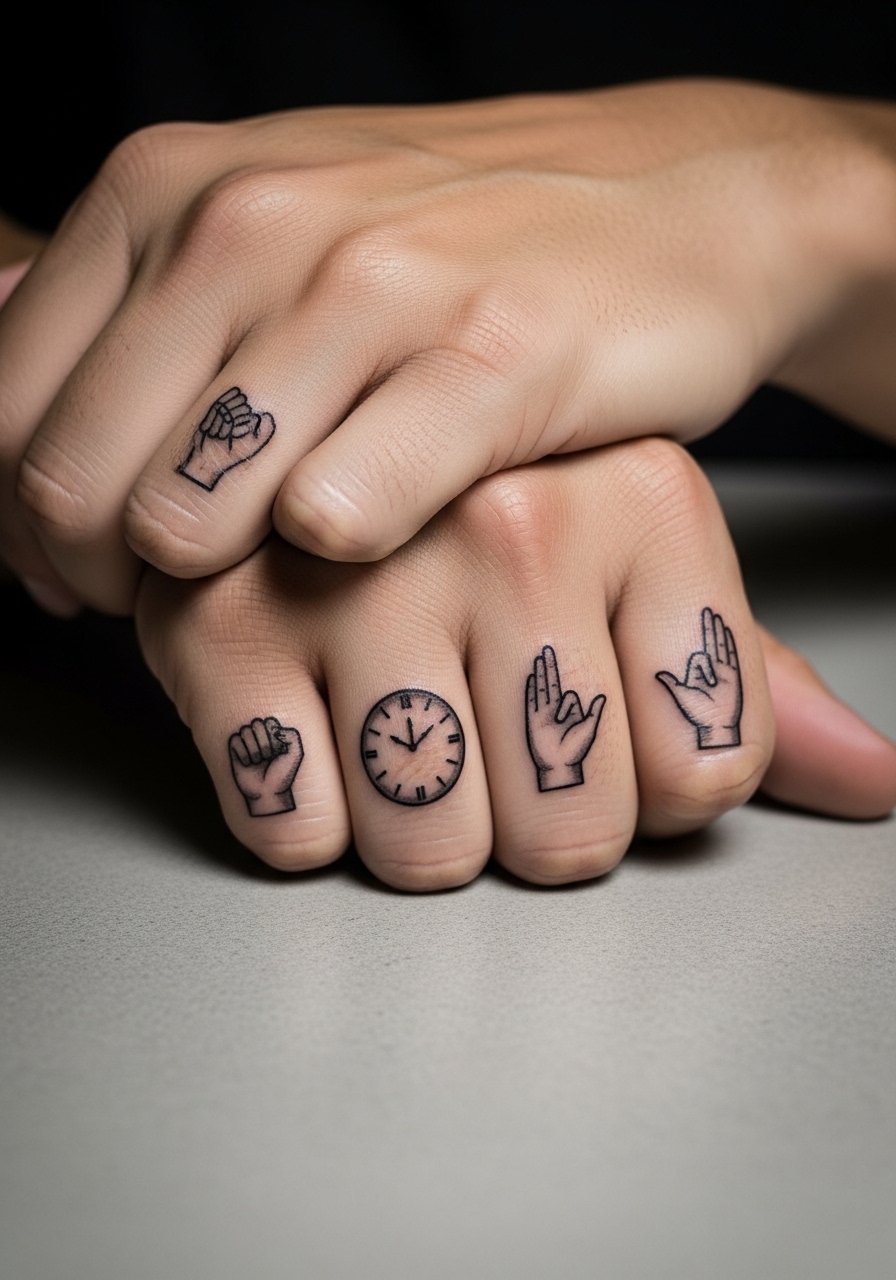
Knuckle tattoos live in a brutal wear-and-tear environment, so bold blackwork beats delicate shading for longevity. If you insist on a grey scale mini clock, ask your artist about using simple solid fills for numerals and thicker outlines to avoid early loss. The main risk is fast fading and frequent touch-ups. These are quick sessions but expect maintenance every one to two years. For daily wear, consider leather rings or gloves to protect them in cold months.
17. Clock Aligned with Veins on Inner Arm
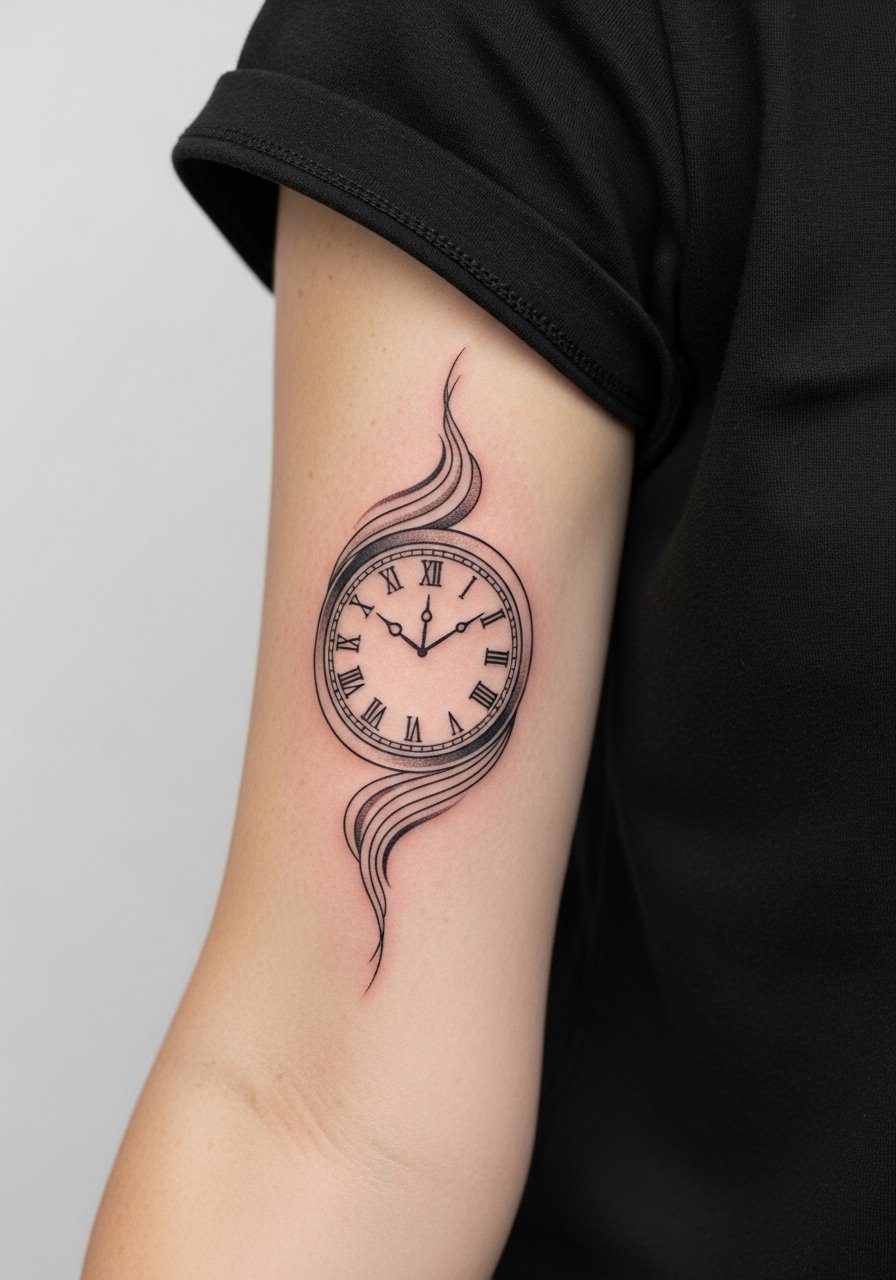
Designs that flow with veins feel organic and avoid awkward breaks in composition. Tell the artist to map the stencil while you flex so the clock hands and numerals sit in natural spaces. A mistake is forcing a circular layout that fights the arm’s anatomy. Expect a two session plan for a medium piece that fits between muscle lines. For the session wear, a loose short-sleeve button-down is ideal so the artist can roll the sleeve without pulling on the area.
18. Negative Space Open-Face Clock on Collarbone
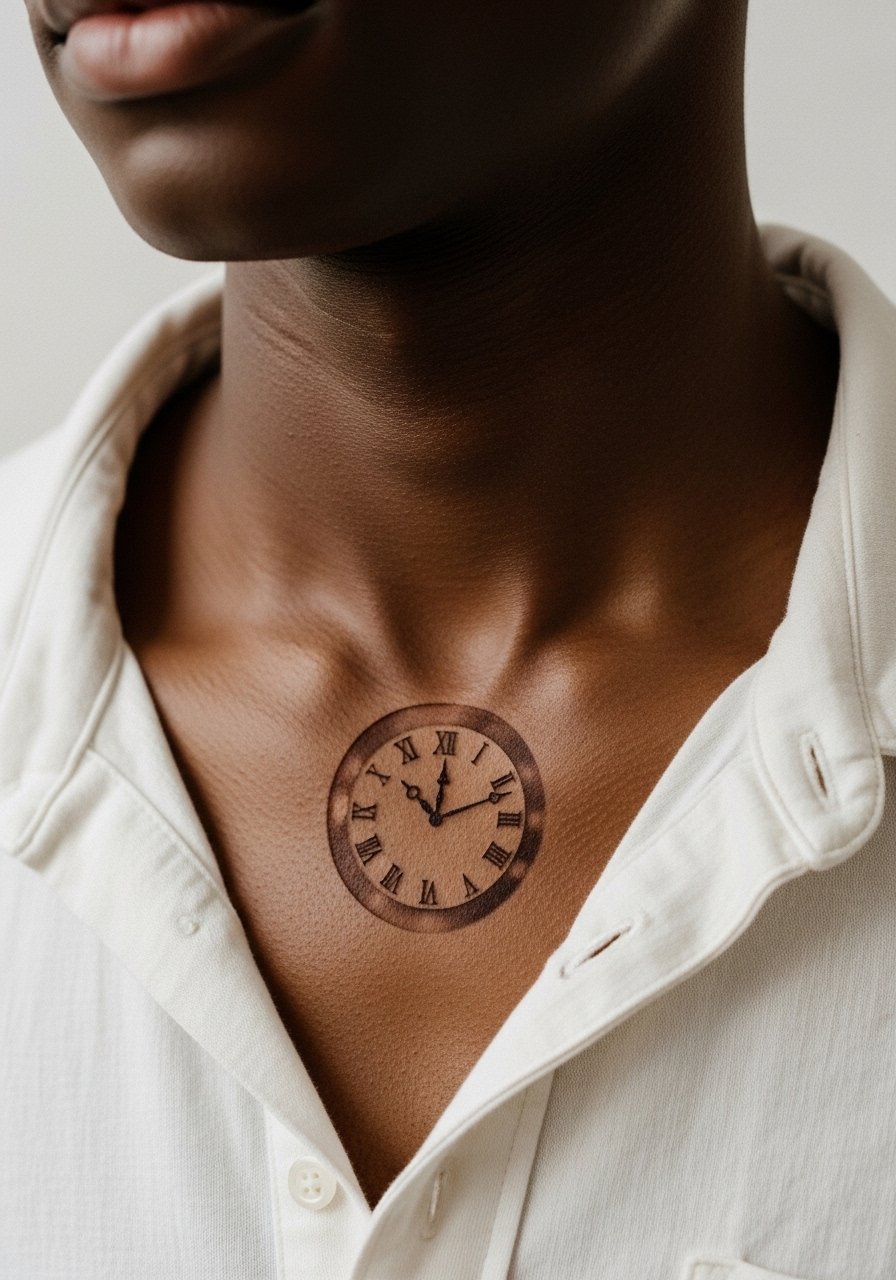
Negative space clocks can be striking and age well because the skin does the contrast work for you. The key is leaving clean skin islands and surrounding them with bold ink rather than fine shading. A common error is attempting too many tiny cutouts that heal into indistinct shapes. This is usually a single two-hour session for a 1.5–2 inch piece. For the appointment, wear a wide-neck shirt you can pull aside and consider a long, delicate gold chain necklace to frame the area once healed.
19. Pocket Watch Chain Draping Outer Thigh

Thigh work handles gradients beautifully and is less prone to the immediate friction of wrists and ankles. For a chain drape, ask the artist to anchor the chain in shadows that follow the femur curve so movement looks natural. The mistake is a flat chain that loses three-dimensionality after healing. These pieces often take multiple long sessions. For the session, wear loose shorts or a skirt you can shift comfortably without exposing more than the design.
20. Ornamental Gear Medallion on Upper Shoulder

Upper shoulder medallions sit where shirts rarely rub and the skin holds saturation. When requesting an ornamental gear piece, ask for a center focal point and reduced micro-stippling at the edges so it does not fade into a grey halo. The main mistake is over-detailing the rim, which looks busy after a year. A two to three hour session usually nails a medium medallion. For showing it off, a racerback or muscle tank keeps shoulders free.
21. Forearm Gap Clock That Blends Into a Sleeve
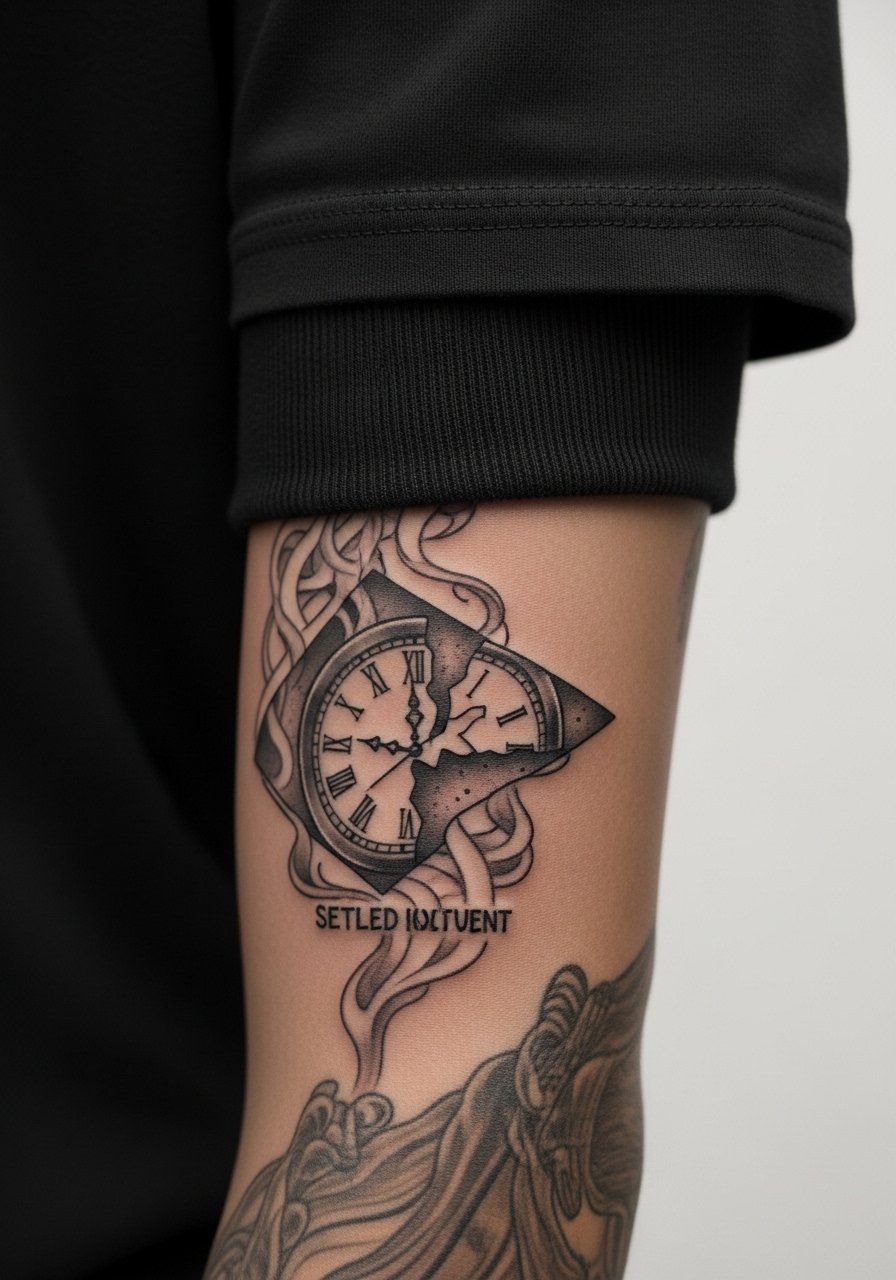
If you are fitting a clock into existing ink, broken fragments and smoke ties work best because they can be scaled to match nearby saturation. Tell your artist to match greywash tone and edge hardness from adjacent pieces to avoid a patchy repair look. A common error is forcing a full clock that crowds surrounding flash. One session may suffice for a gap piece. For the appointment, wear a short-sleeve you can roll to the elbow without tugging.
22. Ornate Roman Numeral Inner Bicep Watch
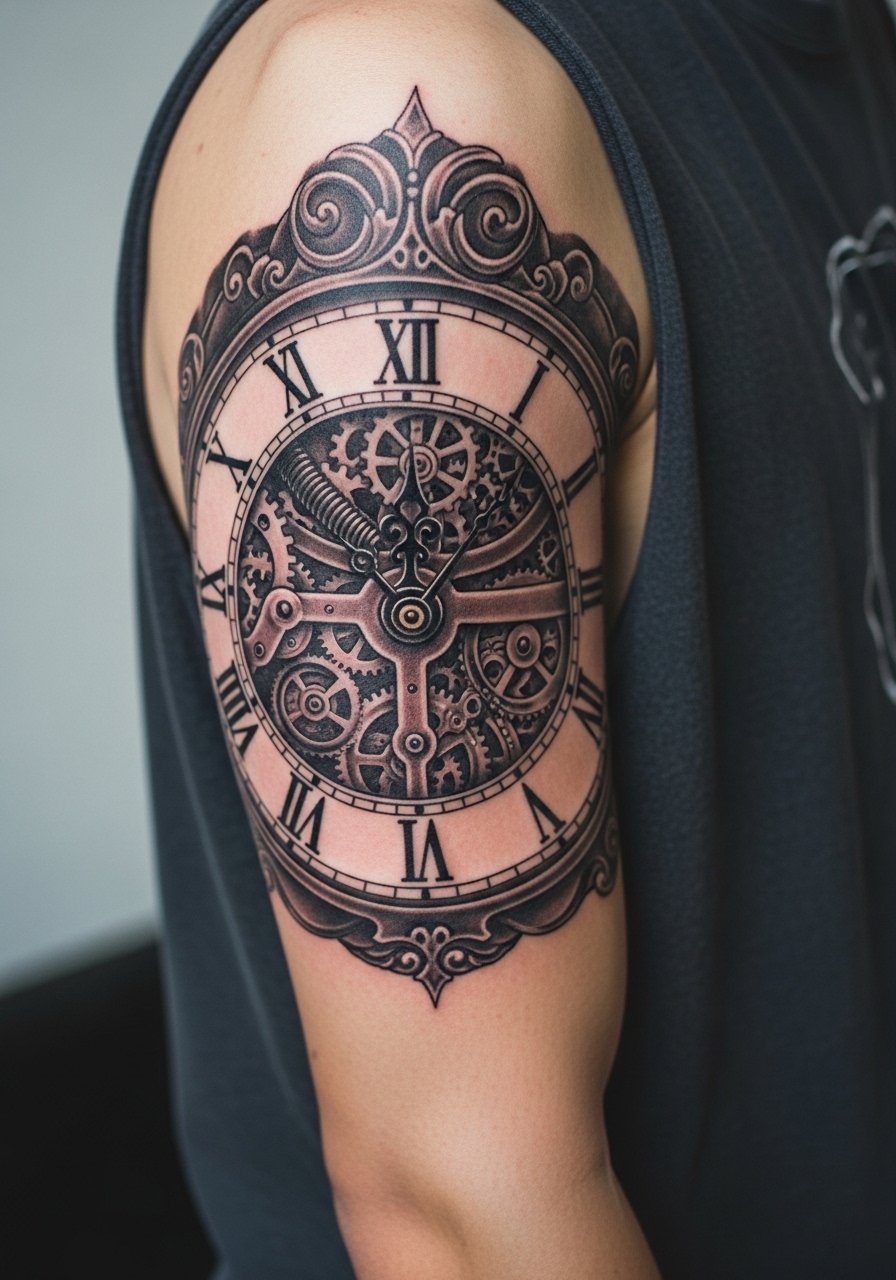
Roman numerals read best when slightly larger than expected, and inner biceps let numerals curve with the muscle. Request clear spacing between numerals and decorative elements so they stay readable. A common mistake is requesting tiny numerals that smooth out into a band. This piece typically takes two shorter sessions. For show-off wear, sleeveless hoodies or fitted tanks work well.
23. Clock Tower Scene Wrapped Around Calf
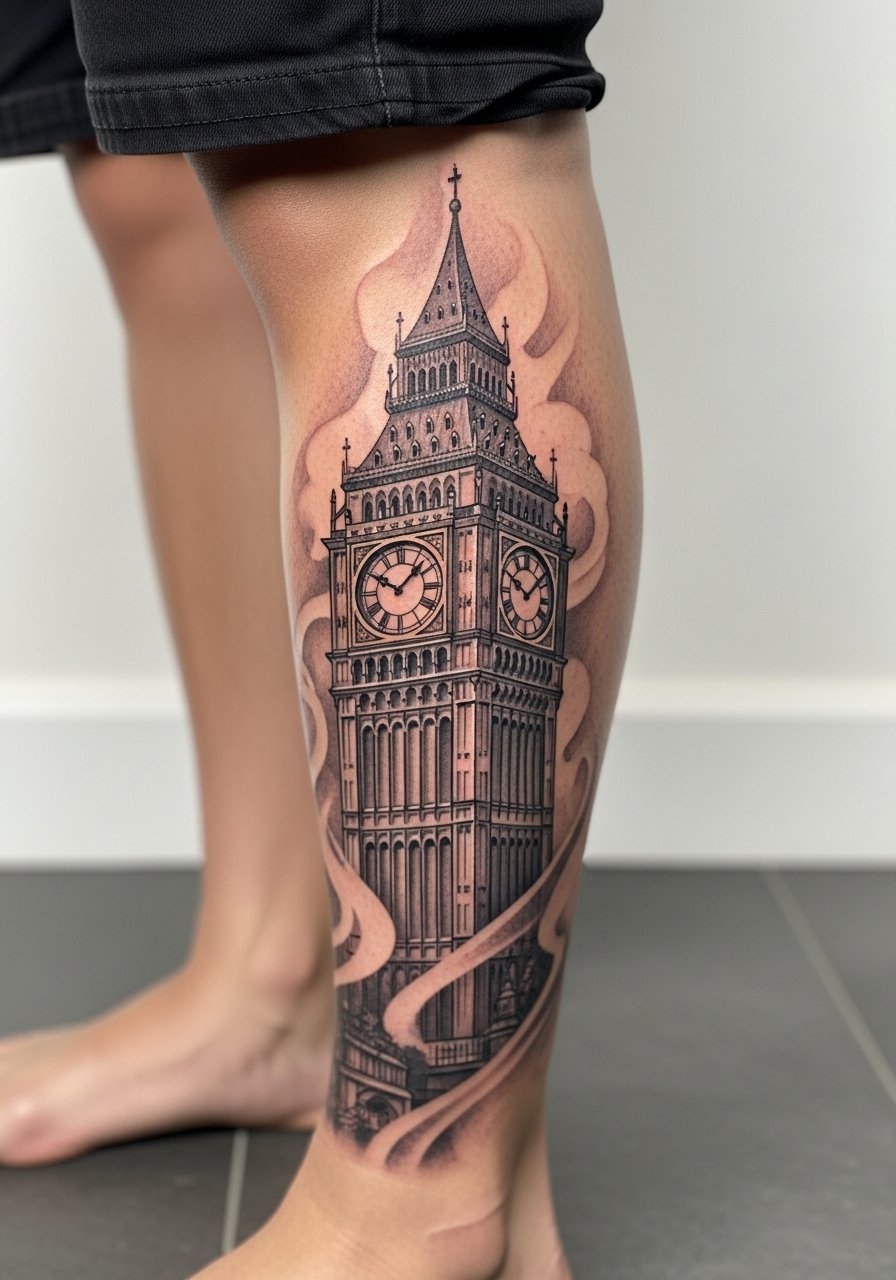
Wrapping designs need a stencil test with movement to ensure landmarks do not fall into creases when you walk. Tell the artist you want skyline points that line up when the leg is straight. The mistake is snapping a single photo and assuming it will wrap cleanly. Two sessions are common for a seven inch vertical wrap. For visibility, cuffed shorts or ankle boots keep the tower visible without constant rubbing.
24. Mechanical Pocket Watch on Upper Arm
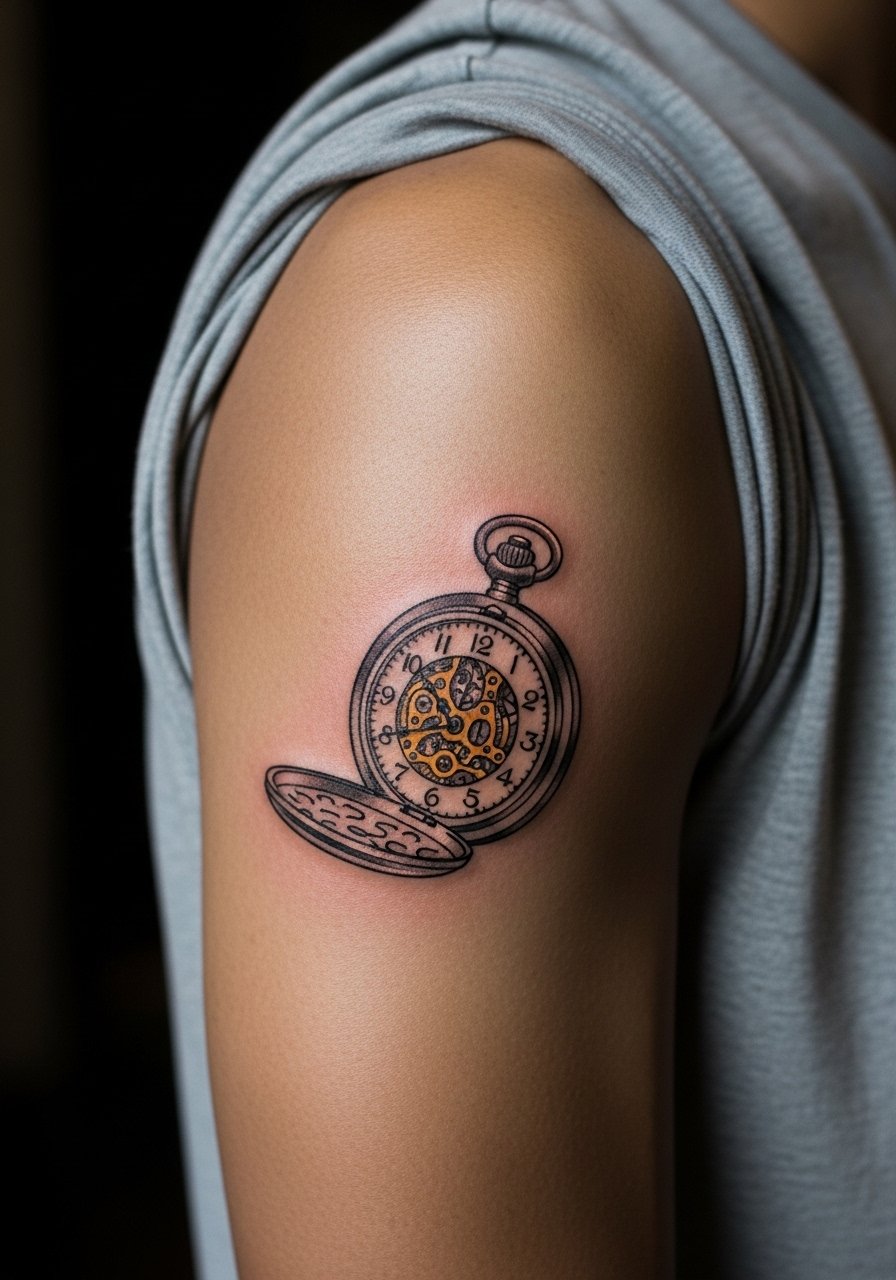
Upper arm pieces age reliably because sun exposure can be controlled and the area rarely stretches rapidly. For micro-real pocket watches, ask for slightly bolder gear edges so heat and sweat do not blur them early. A mistake is insisting on extreme micro-detail at tiny sizes. This is a two session job for a medium-sized watch. For showing it off casually, a rolled short sleeve or a fitted tee does the trick.
25. Melting Clock with Roses for Inner Thigh
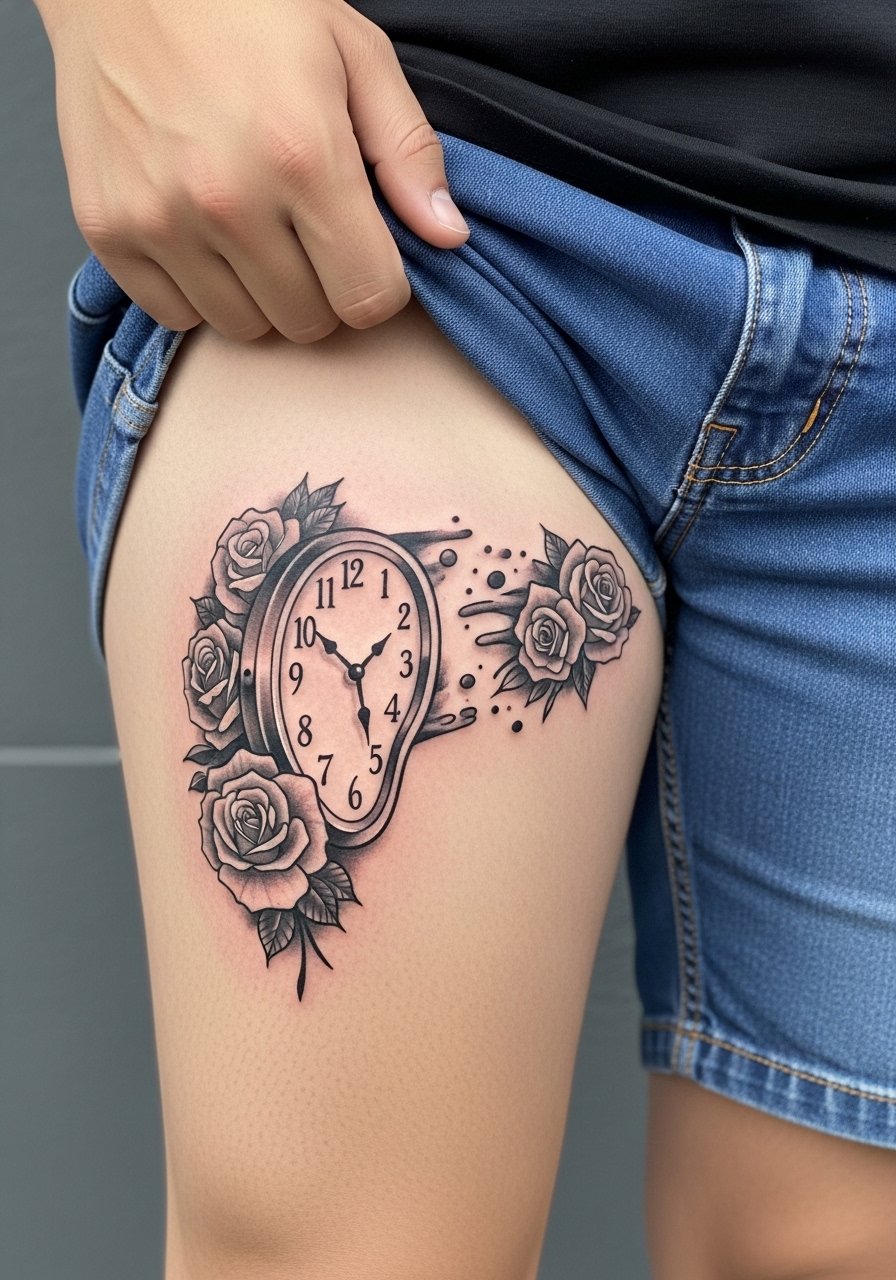
Inner thigh heals slowly but preserves shading depth well because it sees less sunlight. For this romantic yet decaying motif, ask that the melt lines and petal edges have slight separation so they do not merge when skin stretches. Avoid tiny stipple clusters in the render. Multiple sessions and modest pressure on activity the first two weeks make a difference. For appointment comfort, bring loose shorts you can shift as needed.
26. Tiny Collarbone Pocket Watch Accent
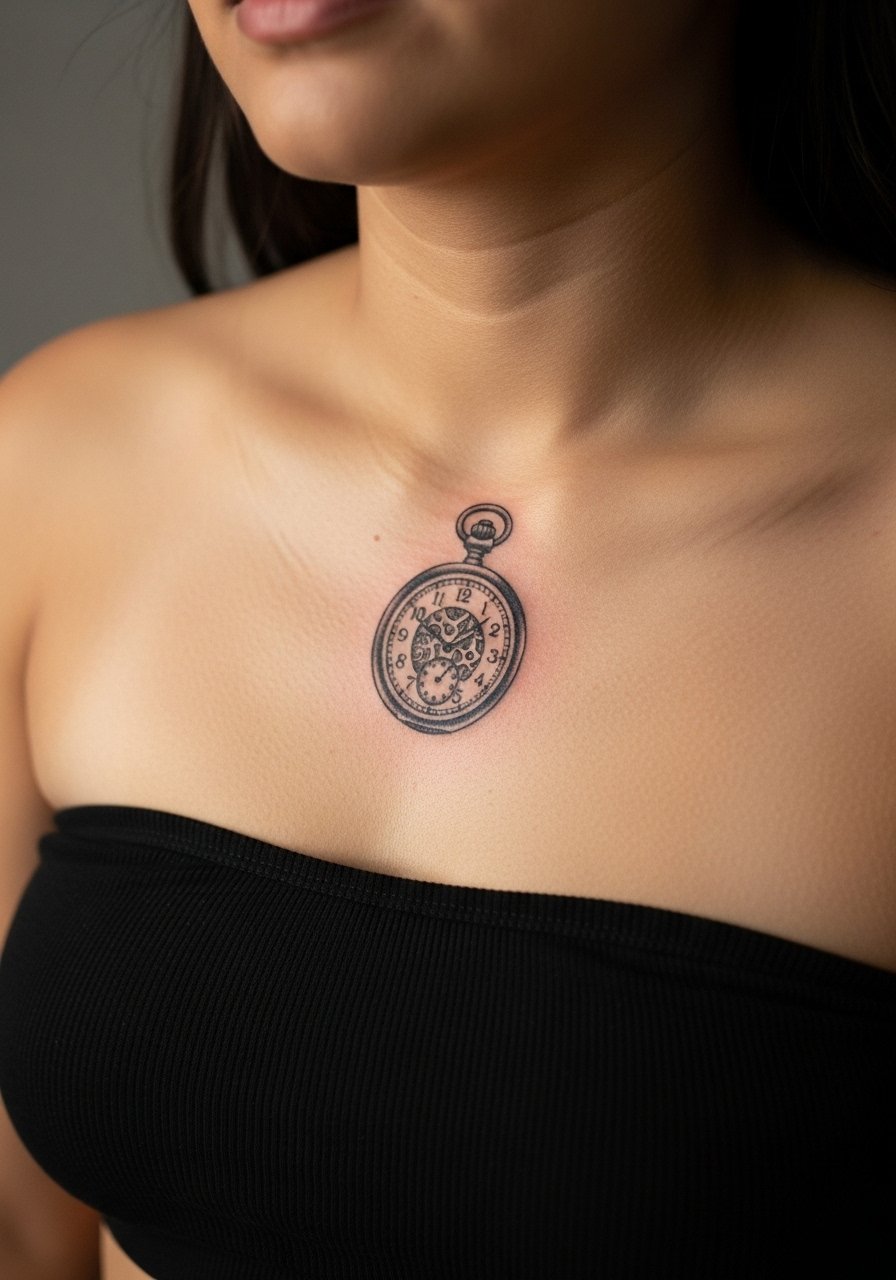
Tiny collarbone accents read best with simplified faces and pronounced outlines. If you want numerals, ask for clear spacing and slightly larger type than in your reference. The mistake is compressing a full pocket face into a fingertip-sized dot. Expect a single short session and a possible touch-up at six months. For show-off wear, a strapless bralette or V-neck tee sits well.
27. Gear Cluster That Flexes with the Shoulder
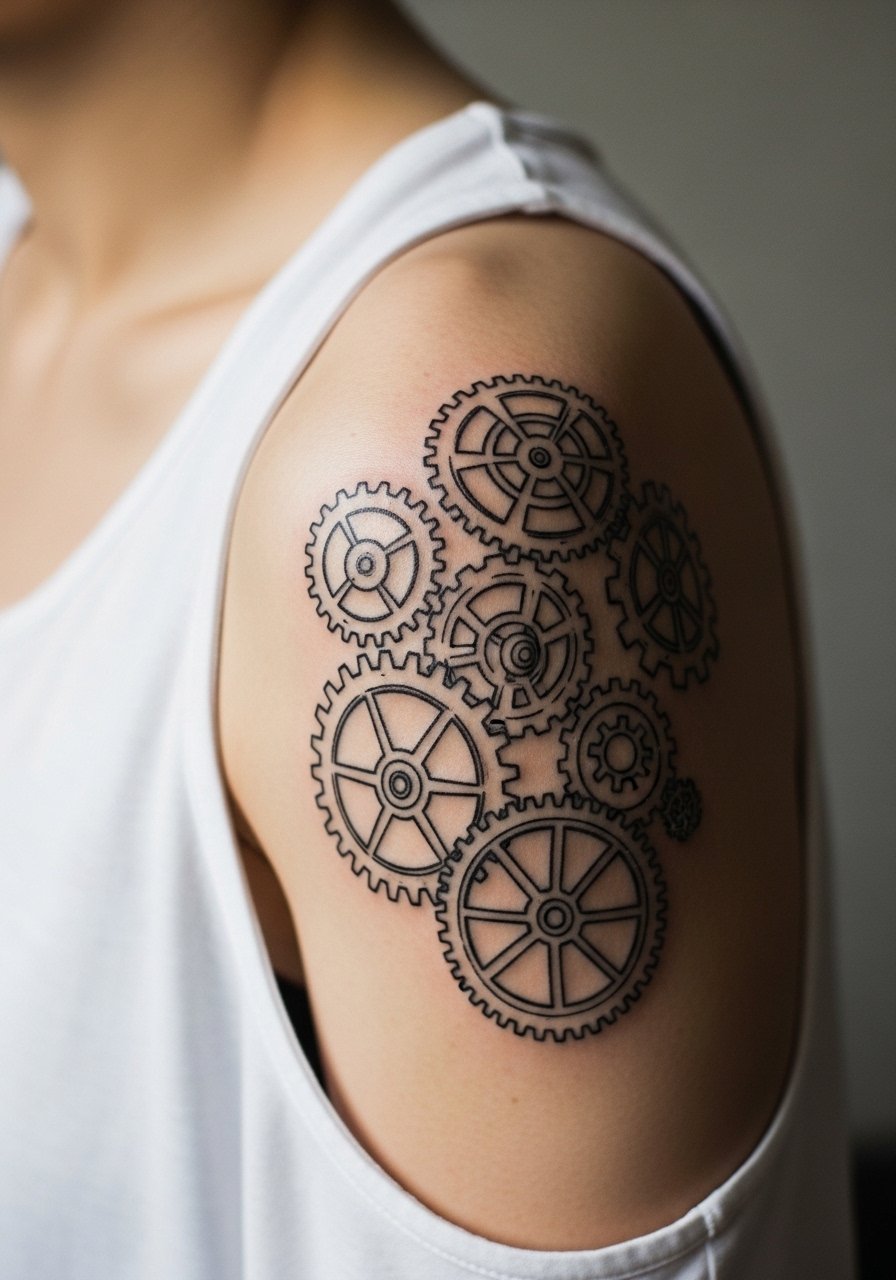
Shoulder joint designs must account for rotation and flex so the gears read as a unit when the arm moves. During consult, ask the artist to test stencils in multiple arm positions so teeth align while you lift and lower. The usual mistake is ignoring movement during the stencil check. Plan two sessions for a medium cluster and a touch-up option if edges soften. For session wear, a loose tank makes access easy.
Frequently Asked Questions
Q: Will a fine line wrist clock last longer if I use Saniderm or dry heal?
A: Artists and people in forums fall into two camps here. One group favors Saniderm for reduced scabbing and cleaner initial healing. The other group prefers dry healing to avoid trapped moisture and potential peel issues. The practical move is to ask your artist how their healed black and grey work looks with each method and follow their recommendation for your skin type.
Q: How do black and grey clocks age on darker skin tones compared with lighter tones?
A: From what I’ve seen, high-contrast greywash and crisp edge work help clocks stay legible on darker skin. Ask to view healed examples from the artist on similar skin tones and request slightly heavier separation between shaded areas so the design does not merge into a single tone.
Q: Is it better to get bold blackwork or fine line for a small wrist clock?
A: There are two clear positions. Fine line fans like the subtle look and accept touch-ups. Supporters of bolder blackwork point to less frequent fading, especially on wrists. If you need daily durability and low maintenance, ask for a slightly heavier contour rather than ultra-thin single-needle only.
Q: How much planning does a large back or thigh clock require for body changes like weight gain?
A: Large pieces need honest conversation. If you anticipate body fluctuation, ask the artist to avoid designs that rely on tiny internal spacing. Scale up focal elements and leave some negative space so the composition still reads if skin stretches.
Q: What should I wear to a ribcage pocket watch session to stay comfortable and give the artist access?
A: Bring a loose cropped tank or a button-down you can open and lift slightly. Comfort matters because rib sessions can be long and tender. A cropped tank lets you manage modesty while allowing clean access.
Q: Where can I look for healed black and grey clock portfolios if I do not want to rely on Instagram tags?
A: Aside from tags like #blackandgreyclock, try location-filtered searches on tattoo apps and forum threads asking for local black and grey realism recommendations. Also check convention calendars and guest spot listings to find artists who specialize in clock motifs.
