
Sitting in the chair, stencil centered at the hairline, is when most people realize how visible a back of neck piece will be on a daily basis. Placement reads differently with short hair, high collars, or a layered wardrobe. Pick a design that works with your haircut and job, plan for touch-ups, and aim for lineweight that won’t blur as the skin moves. Below are 21 black and grey back neck tattoo ideas that balance visibility, aging, and style.
1. Ornamental Mandala at the Nape
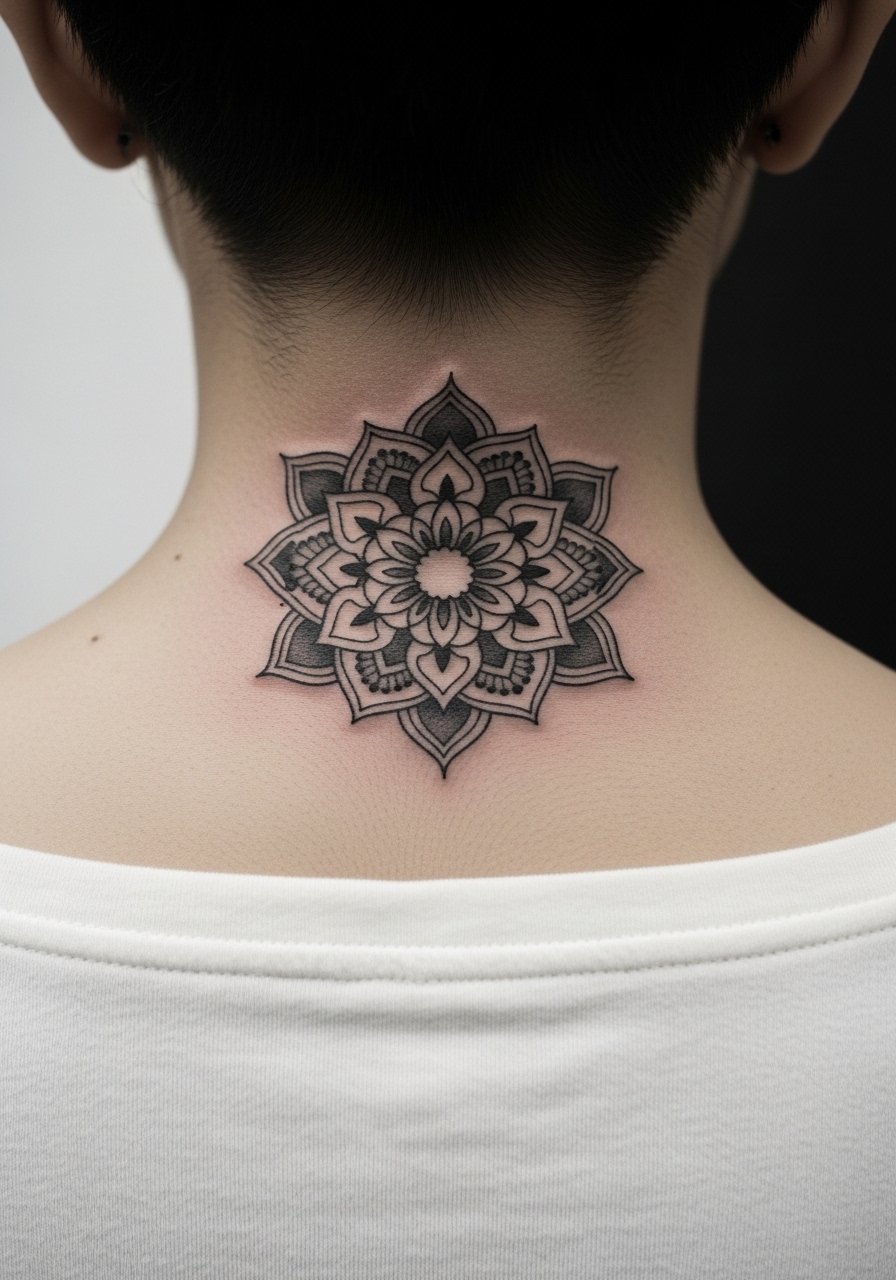
A symmetrical mandala reads like an anchor at the nape because symmetry works with the spine and hairline. Tell your artist you want slightly heavier outer linework and stipple shading toward the center so the pattern keeps its shape as it subtly softens over years. Fair warning: tiny concentric lines done too close together merge sooner on neck skin. For the session wear a wide-neck shirt you can pull aside without changing your hair, and consider a loose high bun so the artist can work cleanly. Expect a one to two hour session and a possible touch-up at year two depending on your skin elasticity.
2. Script Banner Tucked Under Hairline
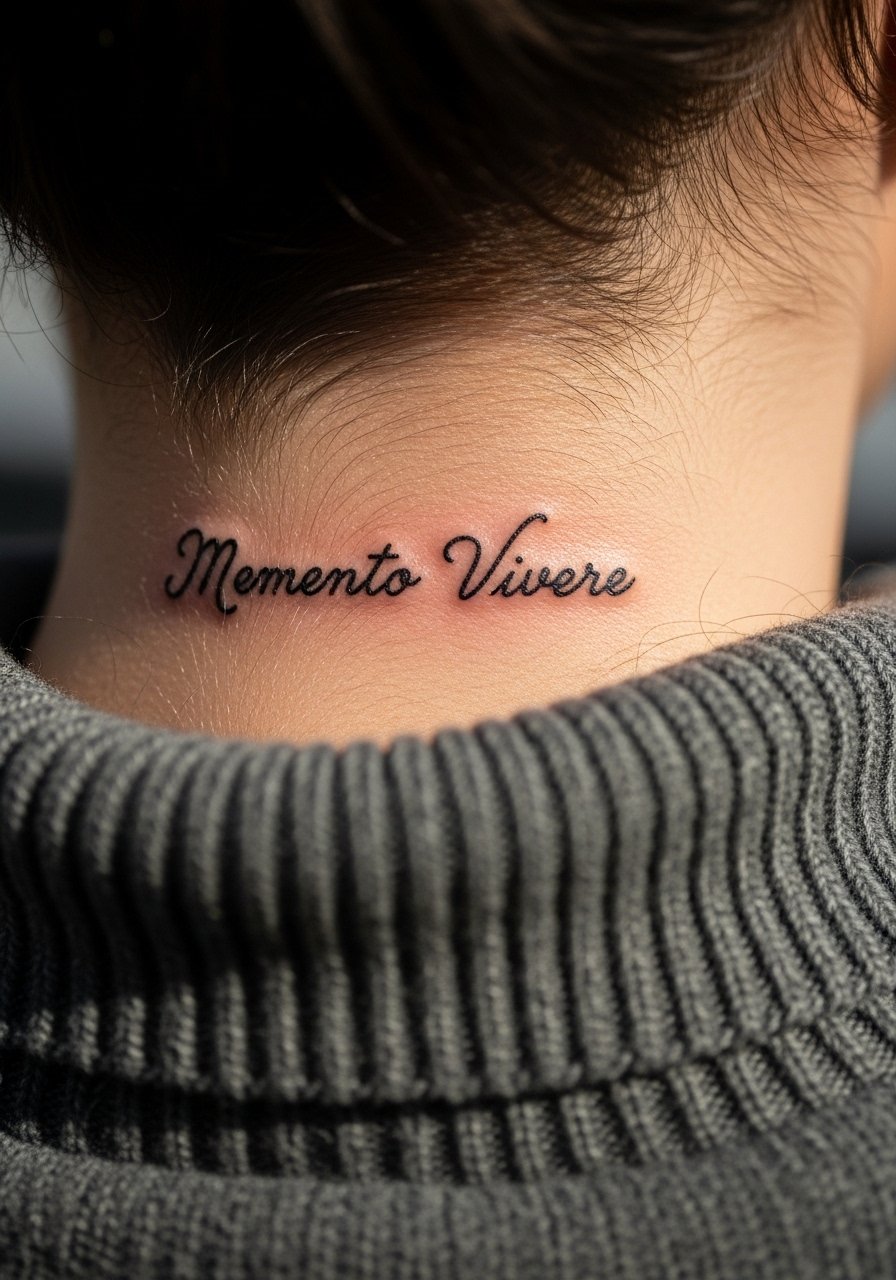
A short script line tucked under the hairline gives a private, readable phrase that peeks out with updos. Books of bold black and grey script last longer when letters have slightly thicker downstrokes and open counters. Ask the artist to show the stencil in different font weights so you pick one that keeps spacing at six months and again at two years. The back neck moves with the head so blowout risk is real if lines are too thin. Session time is usually under an hour. For showing it off, a low ponytail or wide-neck ribbed tee frames the word without overwhelming it.
3. Miniature Botanical Sprig Centered
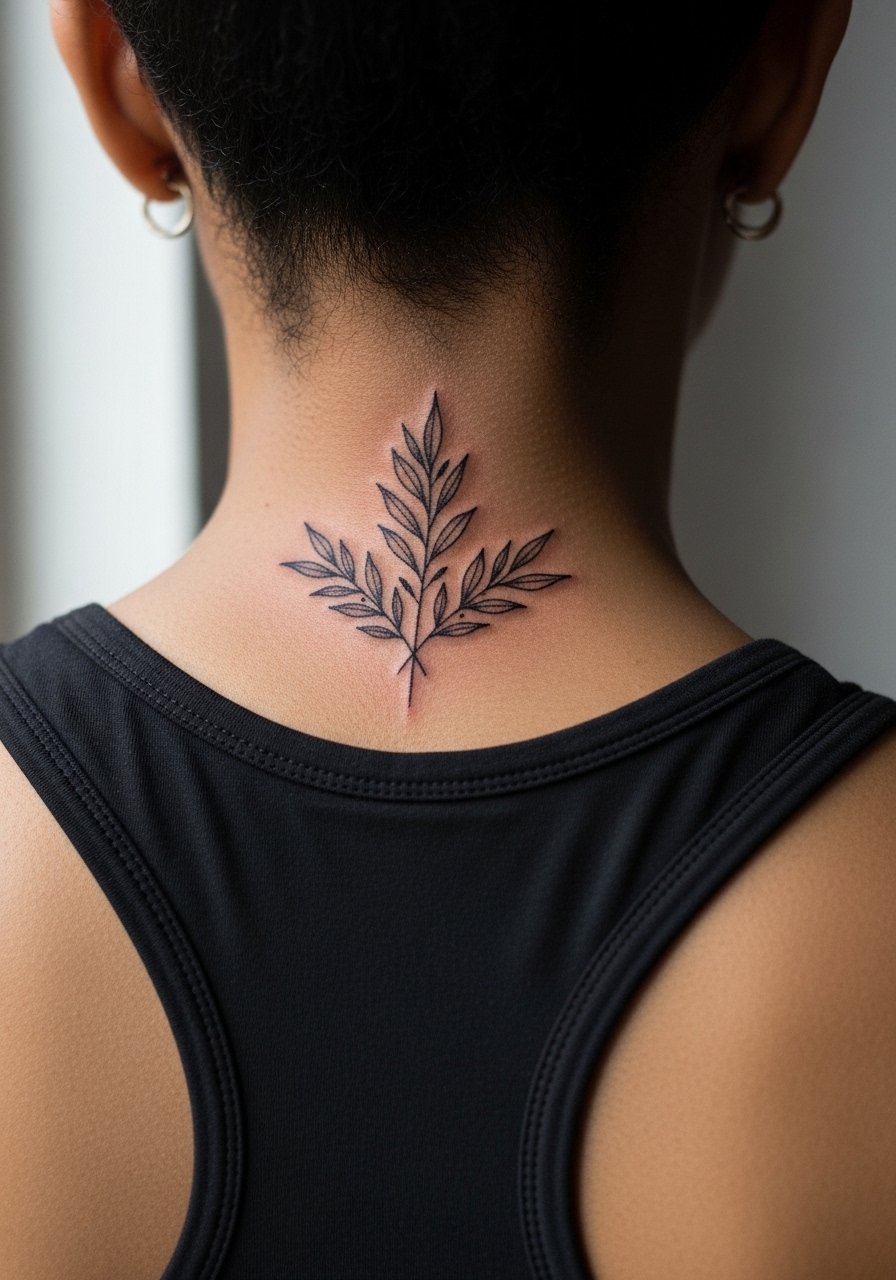
A single sprig or small branch is a minimalist option that still reads clearly at the nape when the linework uses a mix of hairline stems and tiny stipple leaves. Tell your artist you want dot work shading rather than solid grey fills to avoid large fade spots. The common mistake is asking for razor-thin stems without spacing. That looks fragile at appointment and blurs sooner. Expect a 30 to 60 minute session and plan a touch-up at year three if you prefer crisp stems. Pair the look with an open-back sundress for evenings so the sprig sits at the hairline without competing with necklaces.
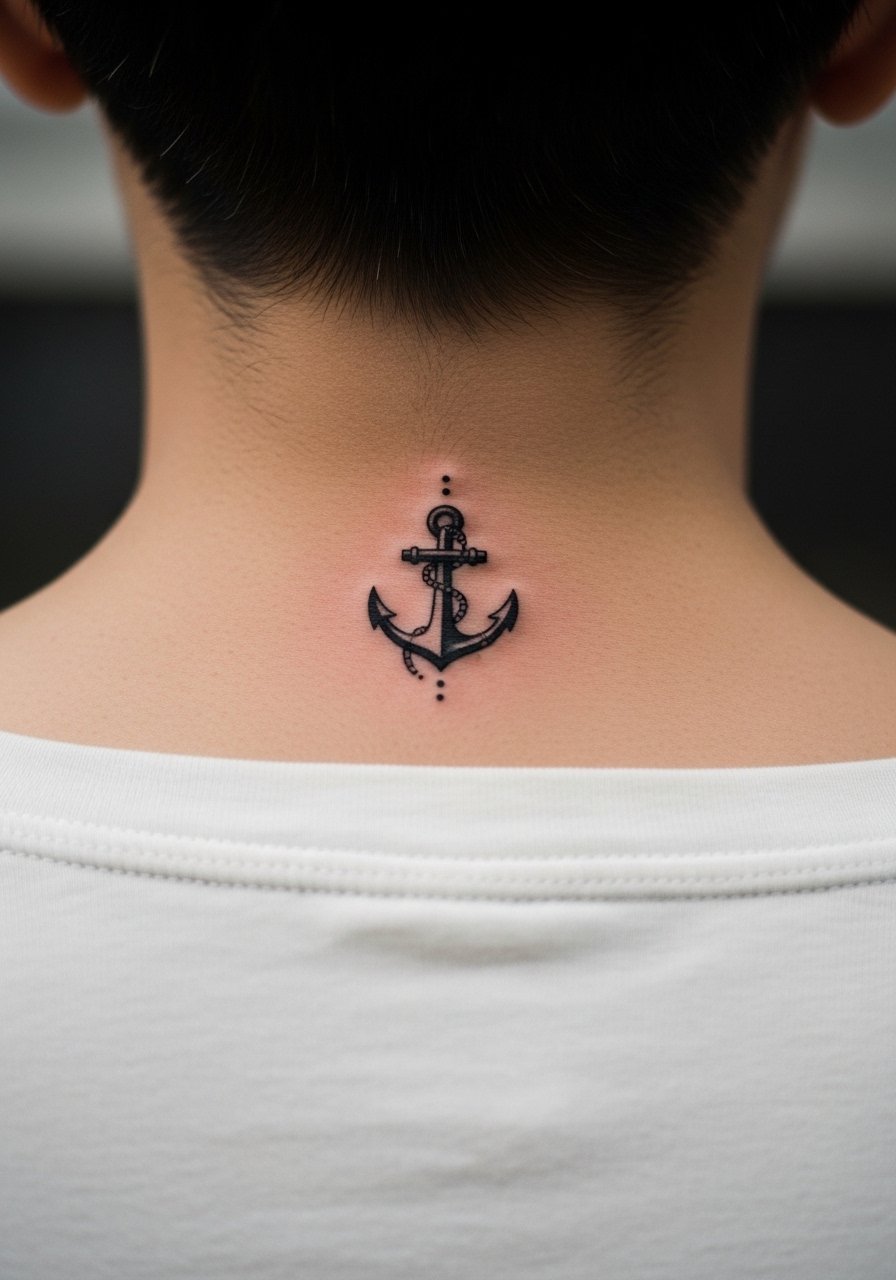
4. Small Geometric Anchor Plate
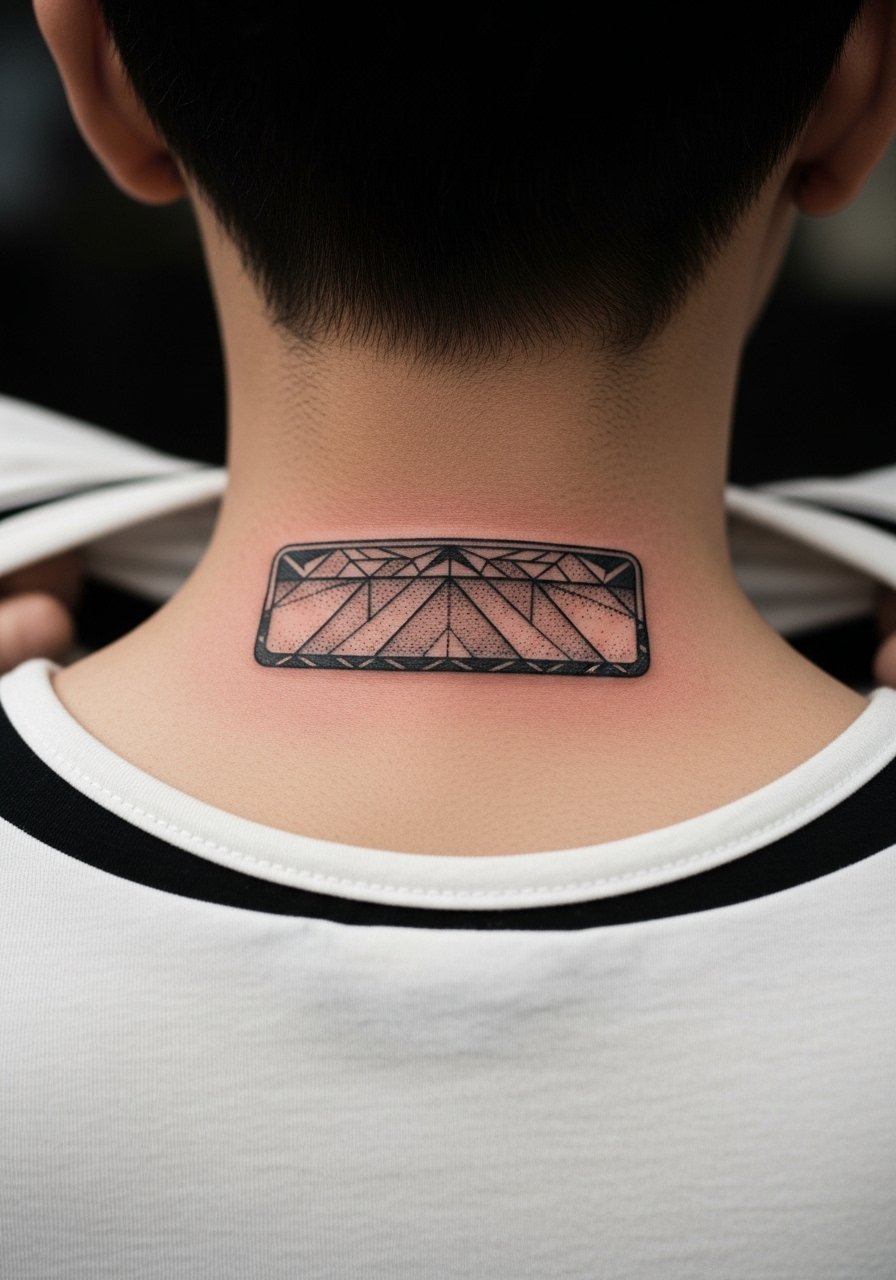
Geometric plates read bold because strong outer lines hold up longer than tiny internal detail. Artists are split on whether ultra-fine geometry belongs on the neck. One camp says the skin there moves too much and fine grids blur by year two. The other camp argues that deliberate spacing and slightly thicker lineweight will keep geometry crisp for longer. When you consult, discuss spacing and insist on examples of healed neck geometry from the artist's portfolio. For session comfort, choose a shirt that gives clear access and expect about an hour. The result works well with short collars and button-down shirts worn open so the plate remains visible without looking crowded.
5. Tiny Skull with Floral Halo
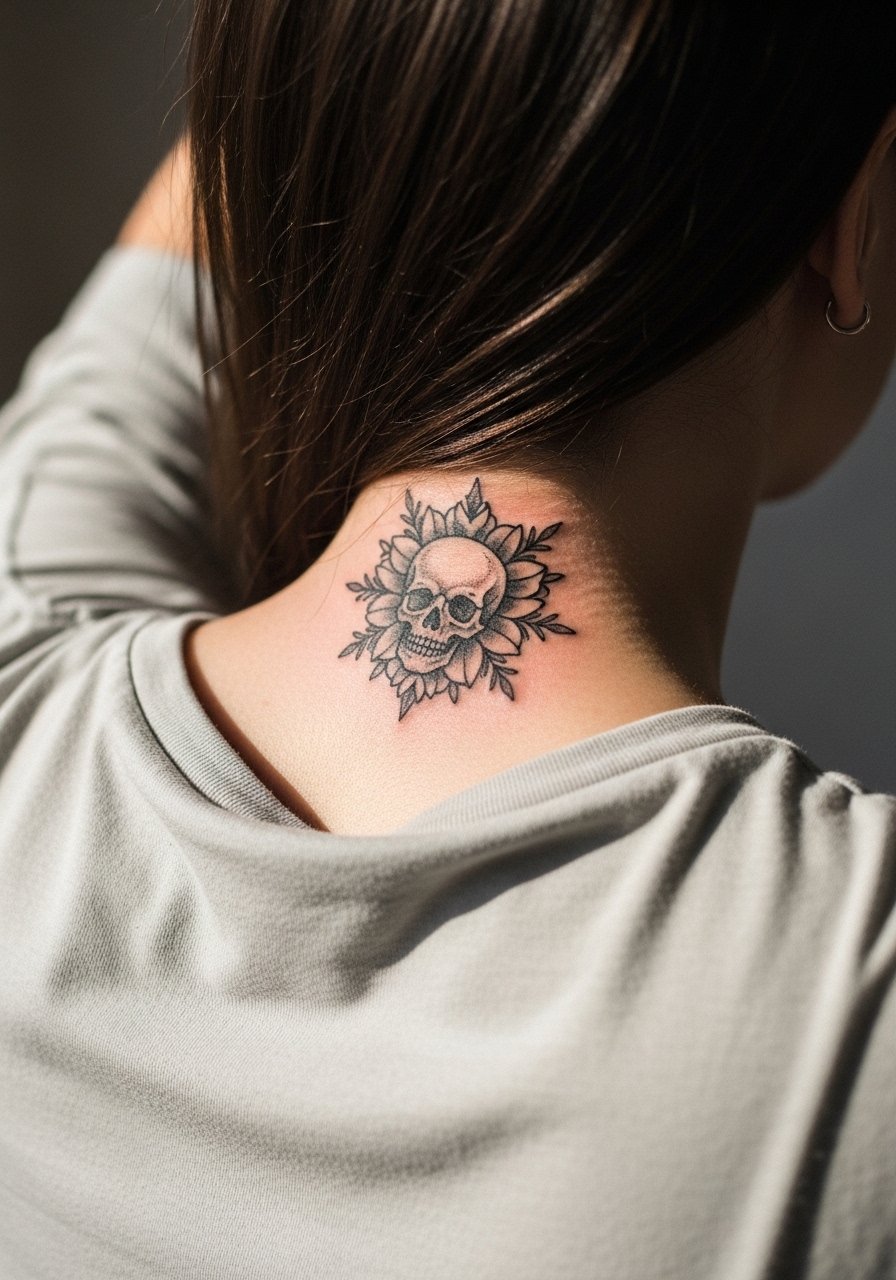
A compact skull framed by dot-work petals balances edge and softness at the nape. Ask for reinforced outer lines on the skull and stipple shading in the halo to keep contrast as the piece ages. The usual mistake is packing too many tiny petals into the halo. That compresses into a grey blur after a few years. Pain at the hairline is moderate because bone is close to the surface, but the short session means few breaks. For show-off moments, the design pairs well with cropped jackets or a leather moto jacket left unzipped so the nape detail is a subtle surprise.
6. Symmetrical Dot-Work Spine Cap
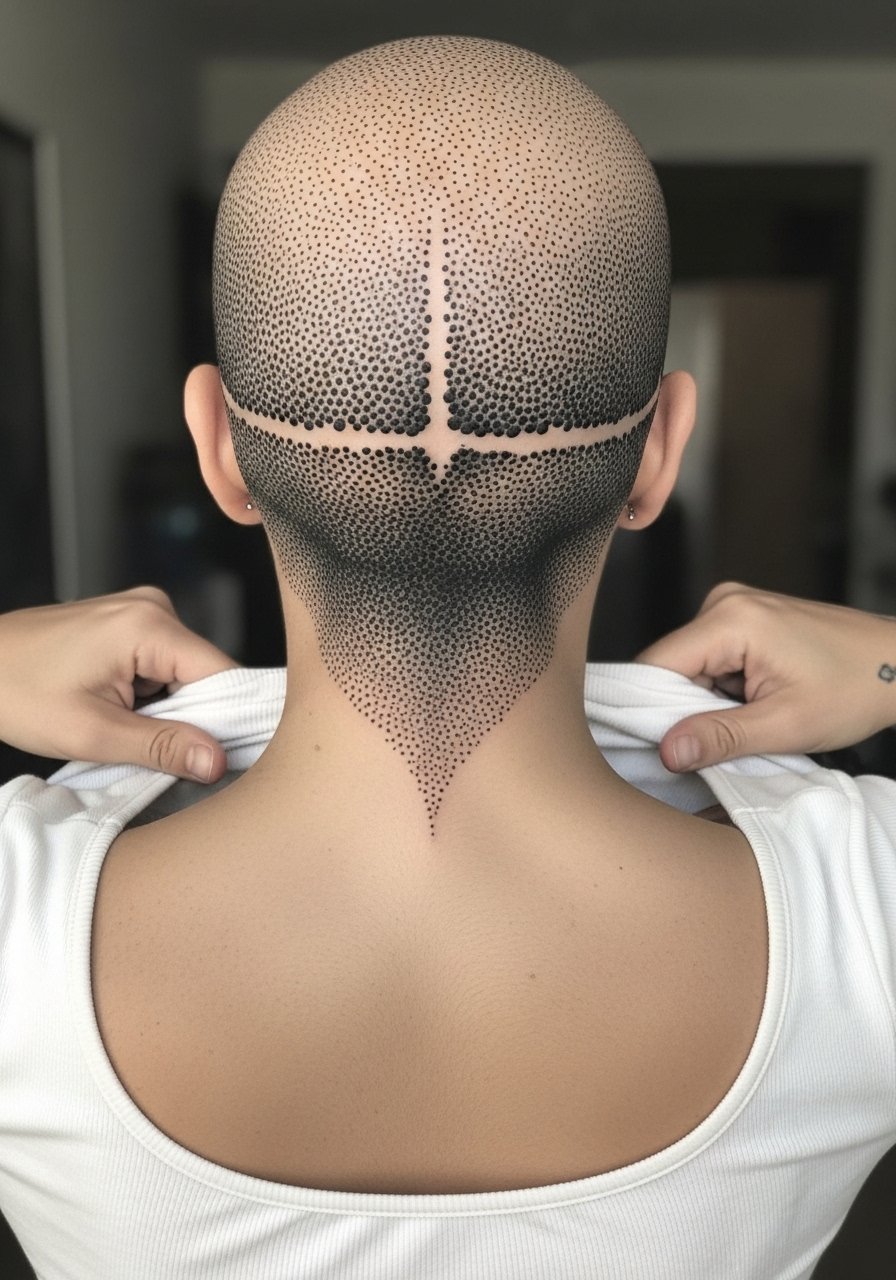
A dot-work cap that follows the top of the spine reads architectural and moves with posture. For longevity, ask for more negative space between density rings and for stippling that uses varied dot sizes rather than solid grey. The common error is over-saturating the central field, which becomes a blob over time. Sessions run one to two hours depending on complexity. For the appointment, throw on a scoop-neck tee so you can expose the area without stripping down. Expect a touch-up window around year three if you keep short hair and expose the area to sunlight.
Studio Day Picks
The nape pieces above demand different prep than larger back tattoos, and a few targeted items make the session and first week smoother.
-
Thermal stencil transfer paper kit. Lets you test positioning on the curve of the neck before a needle touches skin, which is crucial for centered mandalas and script tucked under the hairline.
-
Topical lidocaine numbing cream. Applied per instructions about 45 minutes before helps with hairline sensitivity without affecting linework when used correctly.
-
Thin protective film roll. Keeps the nape clean from shirt friction during the first day when collars rub.
-
Fragrance-free gentle body wash. Cleanses a neck tattoo without stripping delicate stipple or fine lines while the area heals.
-
Aquaphor healing ointment. A thin layer in the first 48 hours helps keep fine line and dot-work areas moisturized during the crucial initial scab phase.
7. Mini Ornate Cross at the Hairline
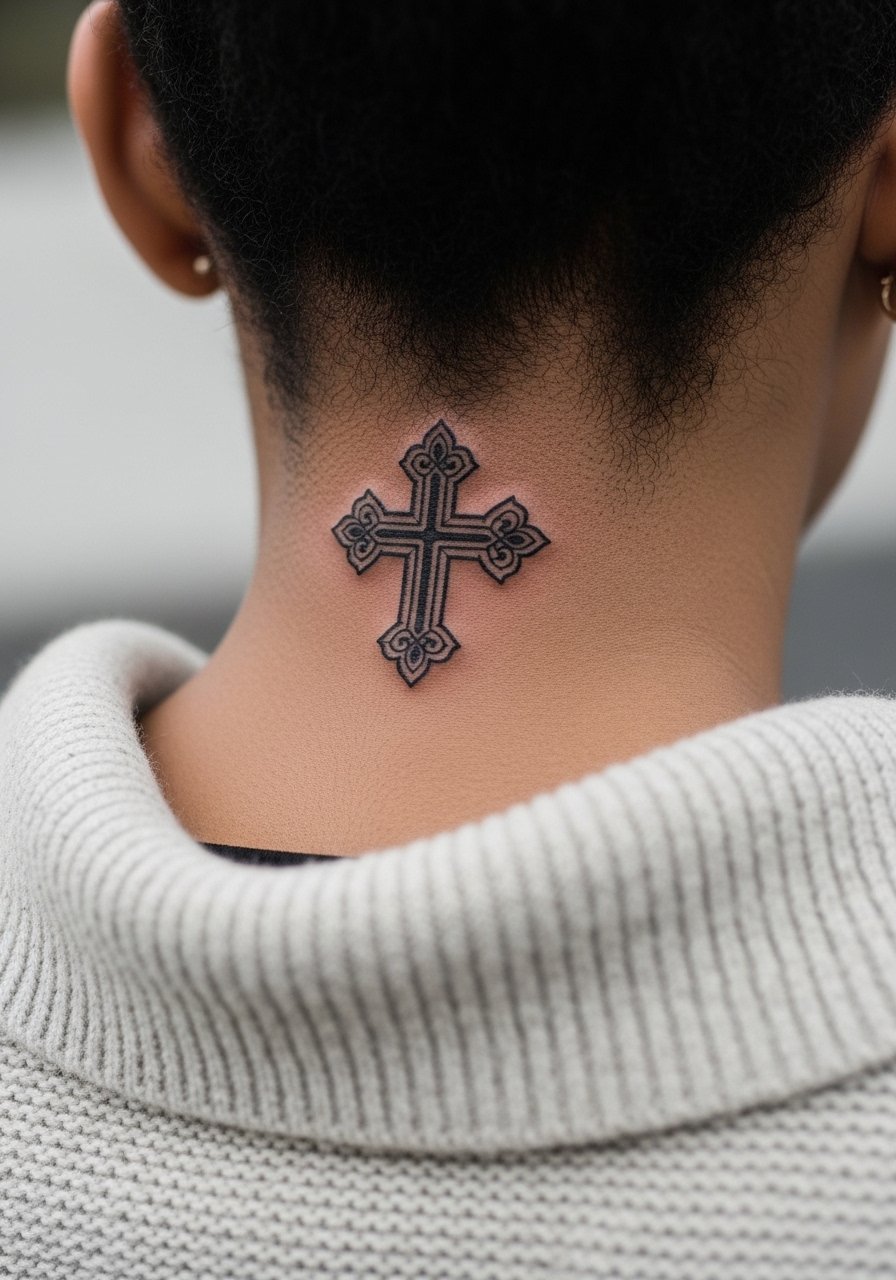
A tiny ornate cross sits cleanly at the hairline when the cross has bold outer borders and simplified inner filigree. Ask the artist to keep inner detailing shallow and to focus saturation on the outline rather than filling tiny scrollwork. Healing tends to preserve the outer silhouette best, while inner filigree is where touch-ups happen. The session is short. Because this is religious iconography for some people, consider subtle personalization rather than copying a culturally specific pattern. For a simple show-off, pair with short hair or a low bun.
8. Tribal-Inspired Chevron Band
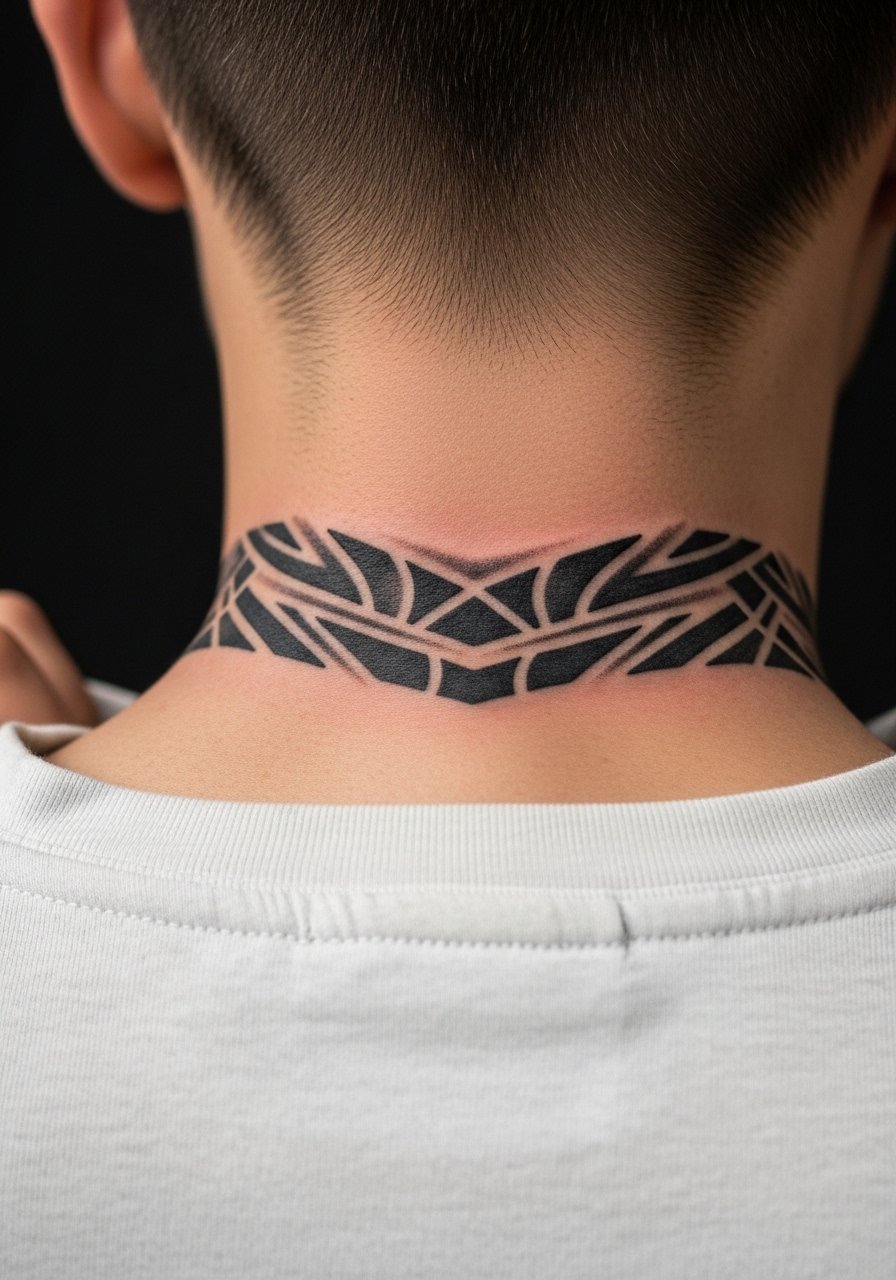
A chevron band reads bold because it uses saturated blackline and negative space rhythm. If you are drawing from tribal motifs, be mindful of origin and opt for an informed variation rather than direct replication. Ask the artist to balance saturation with thin negative lines so the band keeps geometric clarity as it ages. A common mistake is an all-black fill that loses edge under collars. Session time depends on width but often under two hours. For styling, a crew neck tee with slightly opened collar keeps the band visible without tugging on healing skin.
9. Micro-Realism Eye Over Spine
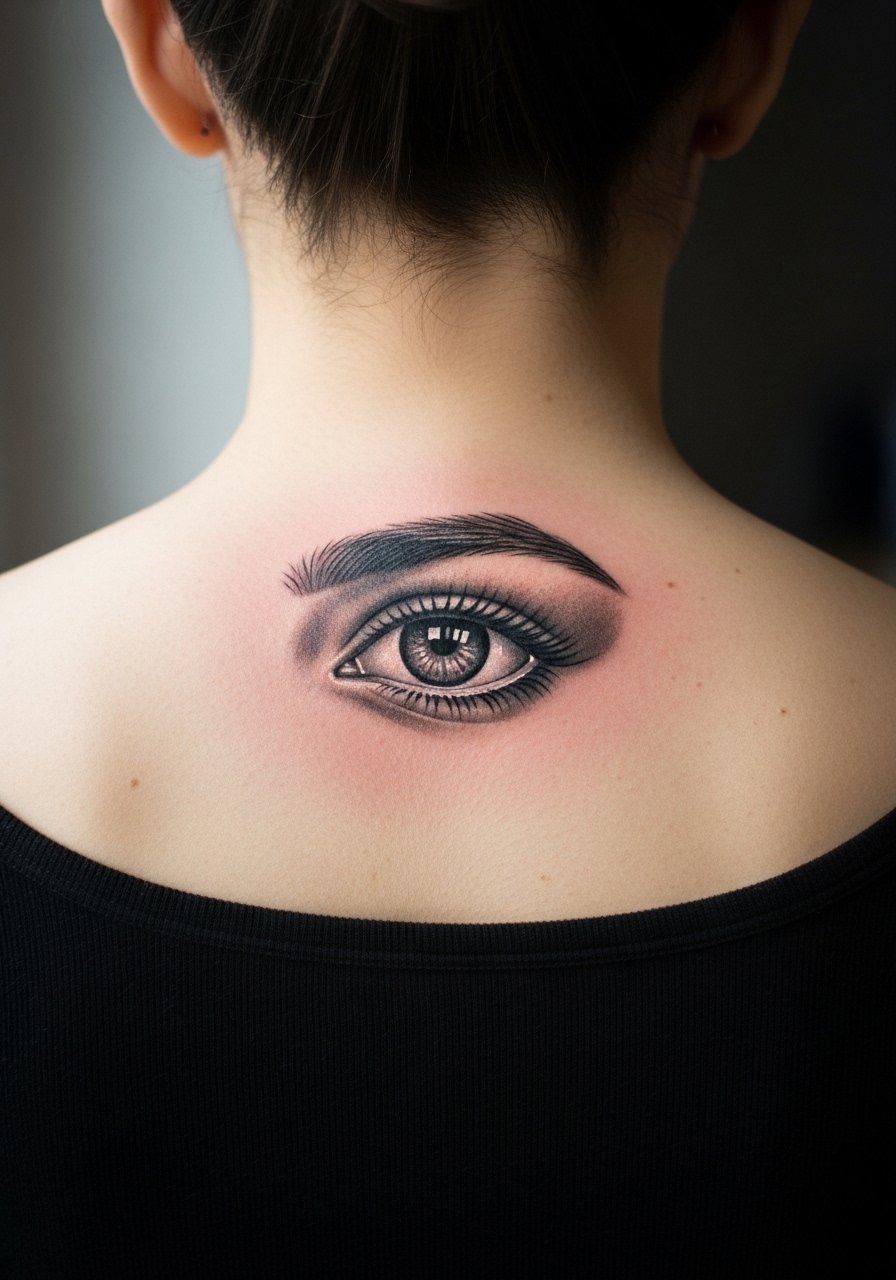
A tiny micro-realism eye is striking when the pupil has solid contrast and the lashes are suggested with light whip shading. Micro-realism on the neck risks losing crisp micro detail as skin moves, so favor simplified contrast blocks rather than extreme tiny strokes. Tell your artist you want the darkest areas bold enough to survive the first few years. Sessions are detail-heavy and may run longer. Because of the realism element, expect touch-ups to maintain tiny highlights. For visibility, short hair and an unbuttoned collar work best.
10. Crescent Moon with Star Trail
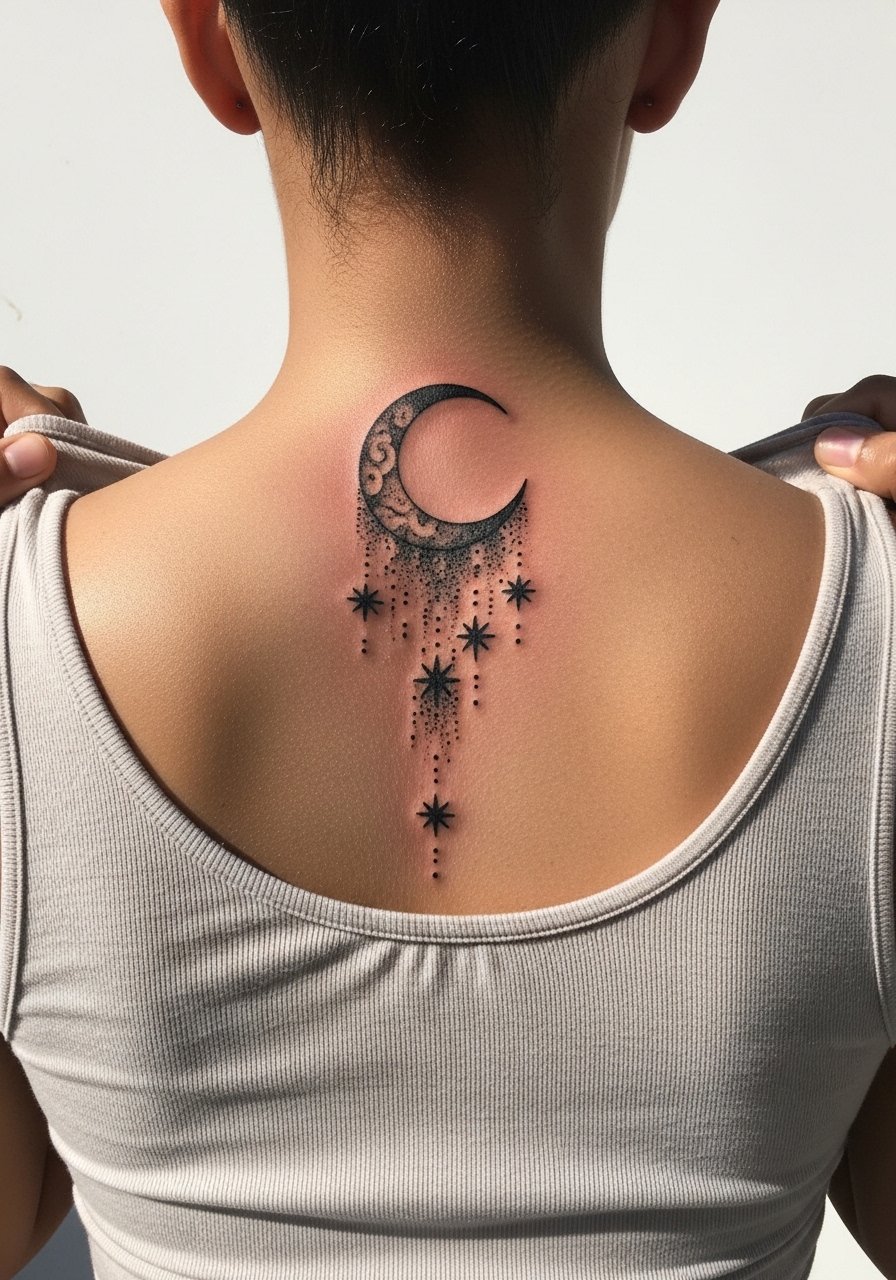
A crescent moon with a dotted star trail is a classic small motif that gains drama from spacing. Ask for varied dot sizes and a slightly bolder crescent outline so the moon keeps its silhouette as stipple evens out. The typical mistake is too many tiny stars packed close to each other. That compresses into a single grey area over time. Session time is short, usually under an hour. Pair this piece with an open-back midi dress for nights out so the nape motif reads like an accessory.
11. Crosshatch Shield Block
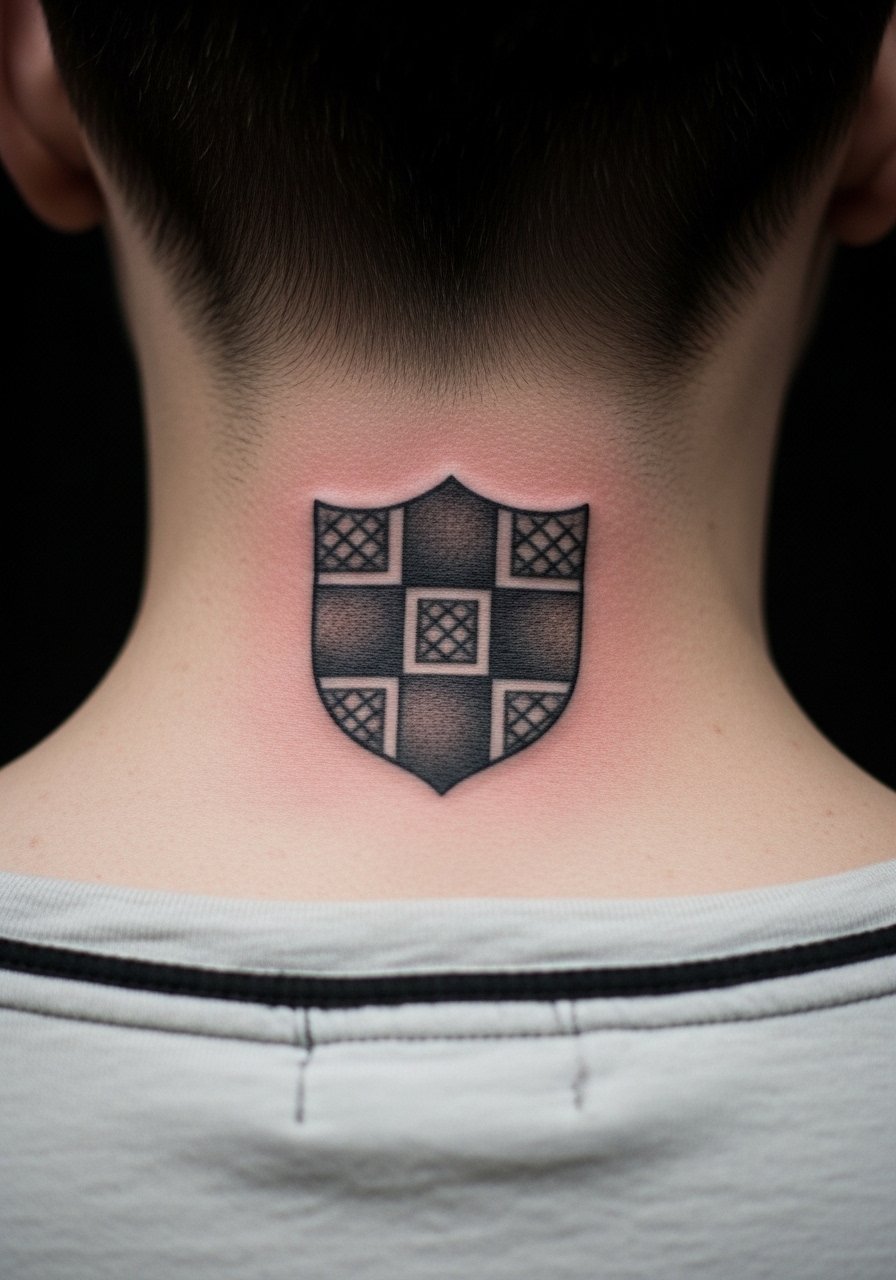
A shield block with crosshatch shading plays well with the neck’s vertical plane because the shield’s edges ground above the spine. There is debate among artists about detailed shading on the neck. One group warns that tight crosshatch patterns close up and become muddy on thin neck skin. The other group says careful direction of hatch lines and stronger outlines keep texture readable for longer. During consultation, ask to see healed examples of crosshatch on necks. Expect a one to two hour session and a likely touch-up at year two if the shading density was high.
12. Compass Point Centered
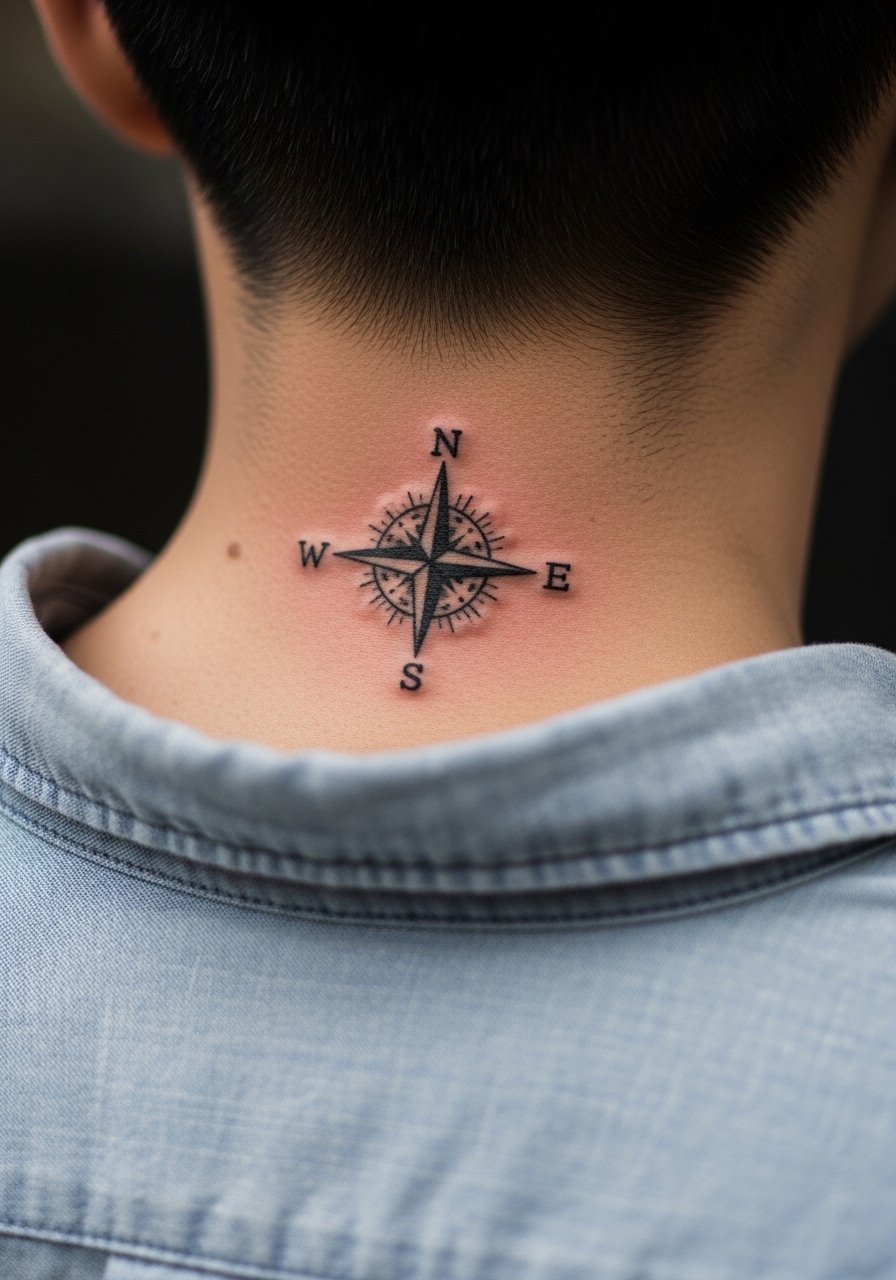
A compass point works as a small directional accent at the back of the neck. To keep the needle and cardinal points clear over time, request stronger key lines and minimal internal micro-detail. The common error is asking for needle-thin direction marks that fade into dots after a year. Sessions are typically under ninety minutes. For wardrobe pairings, an open collar button-down shows the compass without collar friction and keeps the piece visible during casual days.
13. Ornate Keyhole Motif

A keyhole motif is decorative and works when outer borders are slightly bold and inner scrollwork is simplified. The usual mistake is over-ornamenting the inside. That inner filigree loses detail as the piece heals and the skin settles. Tell your artist you prefer hints of texture through dot work rather than tiny curls. The session is moderate in length. The piece pairs well with high ponytails and simple necklaces that sit above the nape.
14. Heraldic Feather Fan

A fan of feathers makes a sweeping statement while staying in a fairly compact footprint. For longevity, request feather shafts with varied lineweight and stipple between barbs to keep texture as the piece ages. Many people make the mistake of asking for every barb highly detailed. That reads crowded on the neck. Expect a session around ninety minutes. Style the fan with a low bun or racerback tank so the design sits proudly at the nape.
15. Minimalist Anchor Dot
A minimalist anchor is timeless when the outline is slightly bolder than imagined. People often ask for hairline anchors that vanish into the skin after a year. Avoid that by choosing a thicker outline and minimal internal detail. The session is brief and tolerable. This motif pairs easily with nautical-themed jewelry but also reads as a quiet symbol when covered by hair.
16. Baroque Crescent Lace
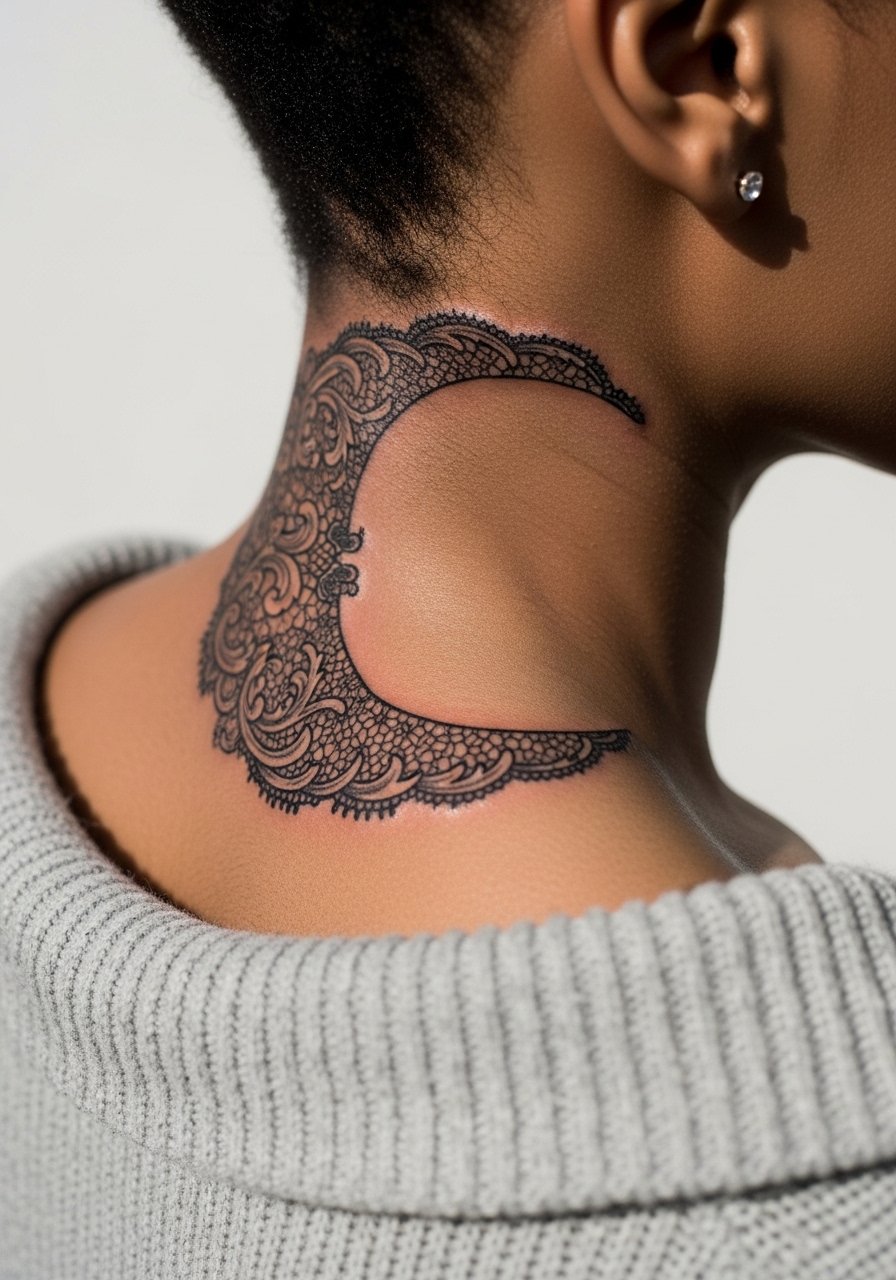
A crescent lace motif balances ornate shapes with negative space to avoid visual crowding. Ask the artist for bolder outer arches and airy inner filigree so the lace keeps its silhouette as fine detail softens. The mistake is cramming tight lace patterns without breathing room. Sessions can run one to two hours. For nights out, pair with a thin chain pendant necklace that sits above the lace rather than across it.
17. Tiny Anchor Chain Loop

A tiny chain loop is subtle and reads best when the links are slightly simplified. Chains with extreme micro-detail flatten with neck motion and washing. Tell the artist you want stronger link outlines and modest inner texture. Session time is short. This placement is discreet and suits people who want a hint of edge without a larger back piece.
18. Small Winged Emblem
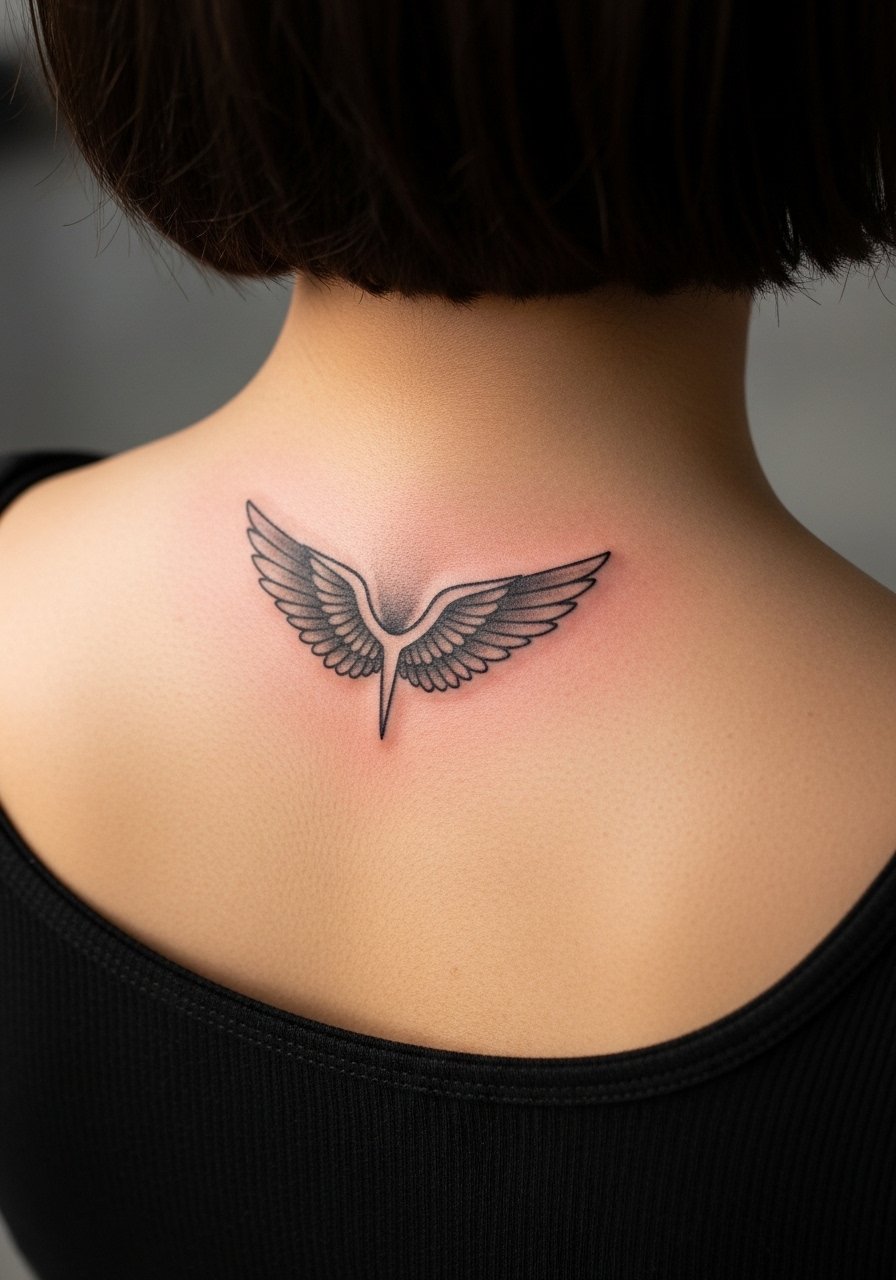
A compact winged emblem with abbreviated feathers reads dynamic when outer feathers have slightly heavier lines. The typical mistake is over-detailing inner feather veins. Those blur faster than expected on neck skin. For the session, pick clothing that gives the artist clean access like a scoop-neck tank. Expect an hour and plan for a touch-up window depending on your lifestyle and sun exposure.
19. Small Shielded Monogram
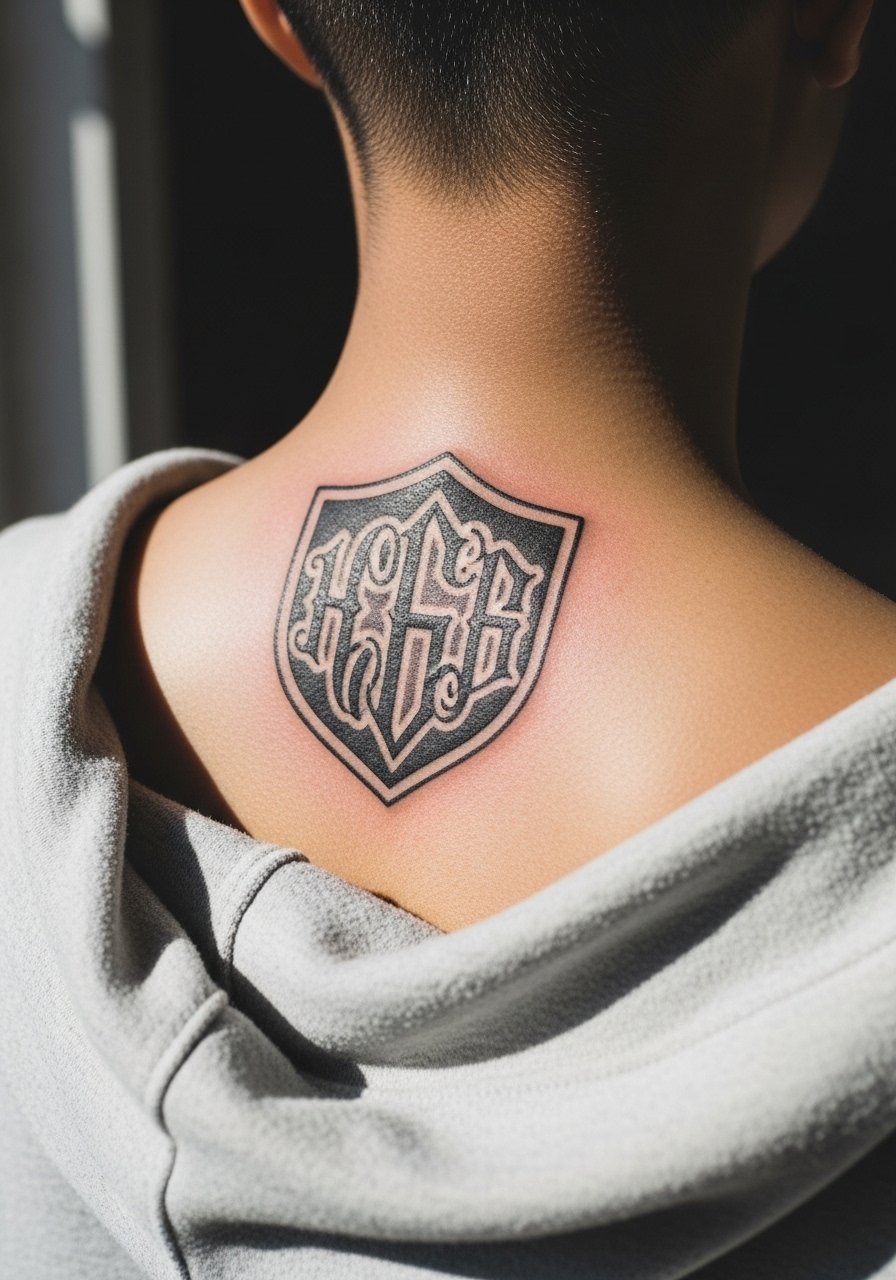
A monogram inside a shield looks intentional and ages better when the letters are open and the border is a bit bolder. The common error is choosing tightly spaced initials that merge during healing. For longevity, pick readable letterforms and avoid tiny flourishes. Sessions are short. This is a good choice when you want an initial-based mark without a large back piece.
20. Tiny Crescent Ladder Stack
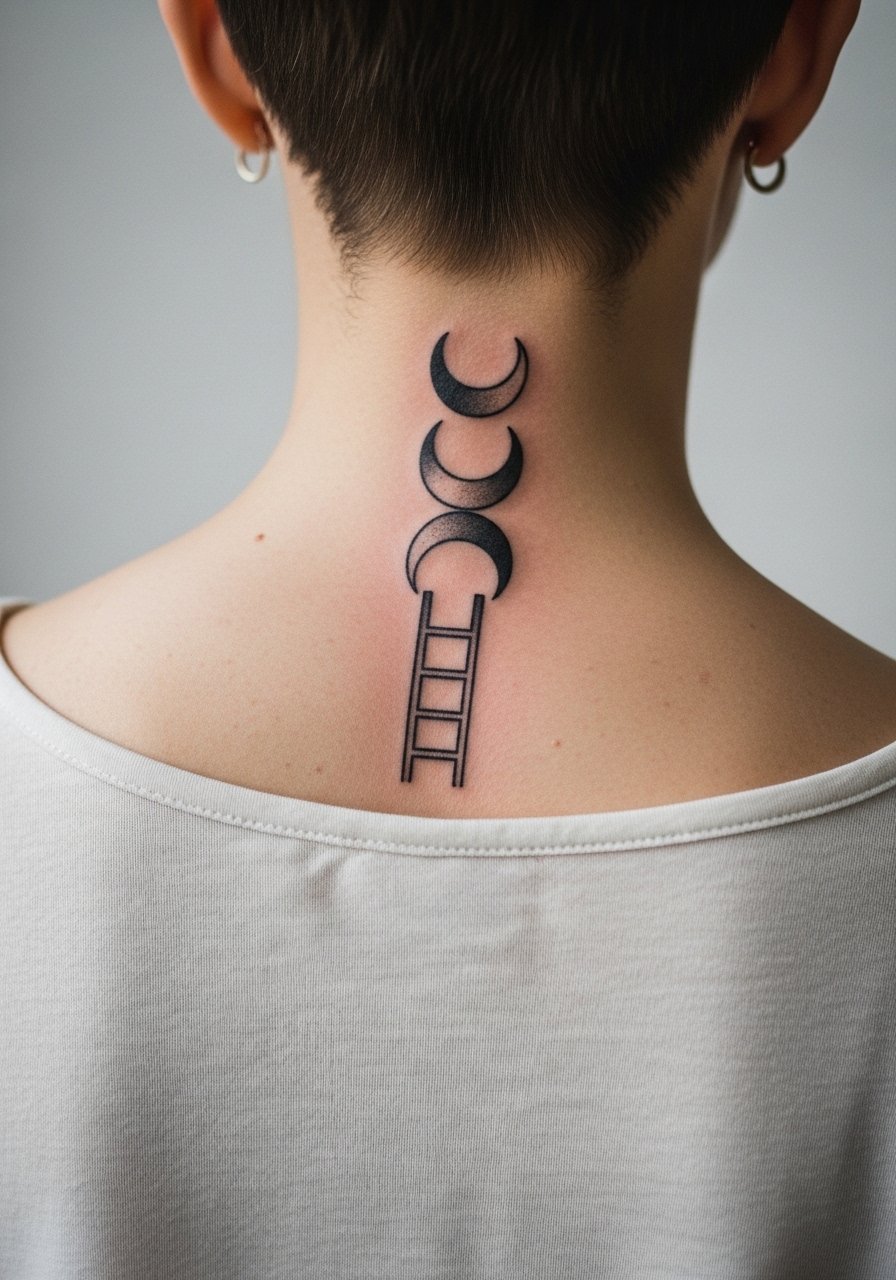
A vertical stack of small crescents follows the spine naturally and creates movement when the head tilts. Ask for slight variation in crescent lineweight so lower crescents do not merge into a single dark patch as skin settles. The mistake is requesting identical micro crescents with no spacing. Sessions vary but are usually under ninety minutes. For everyday wear, short hair or a half-up style lets the stack be a subtle accent.
21. Dot Halo with Central Point
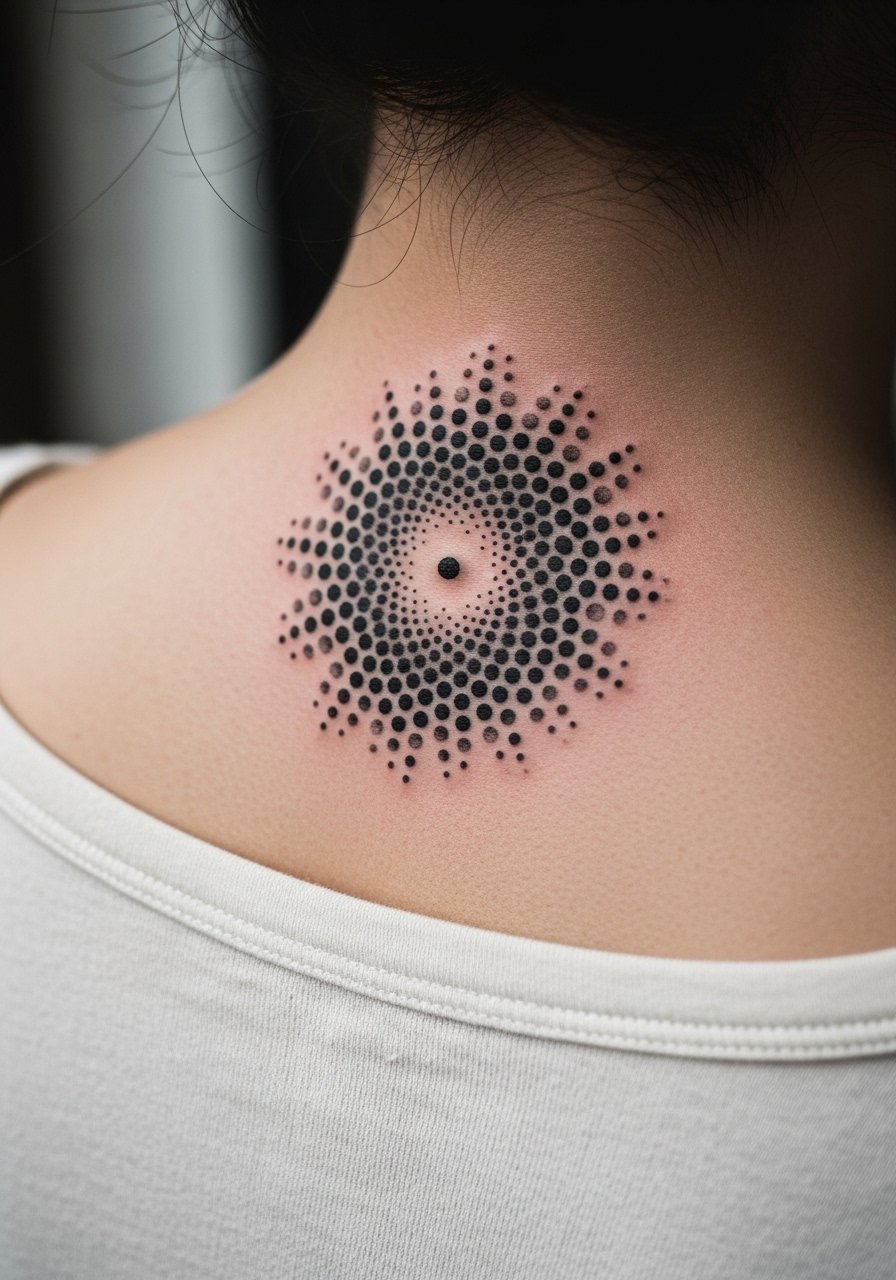
A halo of dots around a central point uses negative space to stay readable over time. Keep dot sizes varied and give the halo room from the central point to avoid compression into a grey ring. The most common mistake is too tight a halo. Sessions are short and healing is straightforward. This design pairs well with high collars that reveal only the outer halo during cold months and with short hair when you want the point visible.
Frequently Asked Questions
Q: Will a fine line back neck tattoo blur faster than a bold design?
A: From what I've seen, fine line work on the nape tends to require touch-ups sooner than bolder work because the neck moves and the skin is thinner. Bolder outlines and some negative space give a longer visual life. If you love fine line, ask your artist for slightly thicker lineweight and plan a touch-up at year two to three.
Q: How will short hair versus long hair affect the visibility and aging of a back neck piece?
A: Short hair exposes the tattoo to more sun and constant air, which can both speed fading. Long hair can protect the area but also trap oils and cause friction. If you switch hair length often, choose a design with stronger outer lines and avoid tiny interior detail. Use a sunblock on exposed nape tattoos after healing when outdoors.
Q: Are there professional risks to a back neck tattoo and how do people navigate them?
A: Opinions split on this. One group says visible neck tattoos can still affect hiring in conservative fields. The other group points out many industries are more accepting. Consider your current job and career path. If you want flexibility, place the piece just under the hairline or keep it small and easily covered by collars when needed.
Q: What should I tell my artist in the consultation for a dot-work nape piece?
A: Ask to see healed examples of their dot-work on necks and request varied dot sizes with spacing shown on the stencil. Talk about how much negative space you want. Mention if you wear high collars often so the artist can advise on placement relative to clothing friction.
Q: How long does a typical back neck tattoo session take and what should I wear that day?
A: Most small nape pieces take 30 to 120 minutes depending on detail. Wear a loose top with a wide neck or one you can pull aside easily. For example, a loose button-down shirt or a scoop-neck tee works well for access without needing to change into clinic gowns.
Q: Can I get a neck tattoo if I bruise easily or have sensitive skin?
A: It depends on individual healing. If you bruise easily, tell the artist during booking so they can adjust needle depth and session pacing. Expect slower initial healing and possibly a touch-up. A patch test for skin sensitivity is a reasonable precaution if you have known reactions.
