
The needles click, the stencil sits, and the room hums with overhead lights. I see three recurring concerns in every consultation: a bold traditional design that blurred too quickly on darker skin, unexpectedly high walk-in prices that surprise first-timers, and the rib or sternum sessions that hurt more than anyone warned about. Read these 17 tried-and-true American traditional references with practical notes on placement, what to ask your artist, and how to show the work off without compromising the heal.
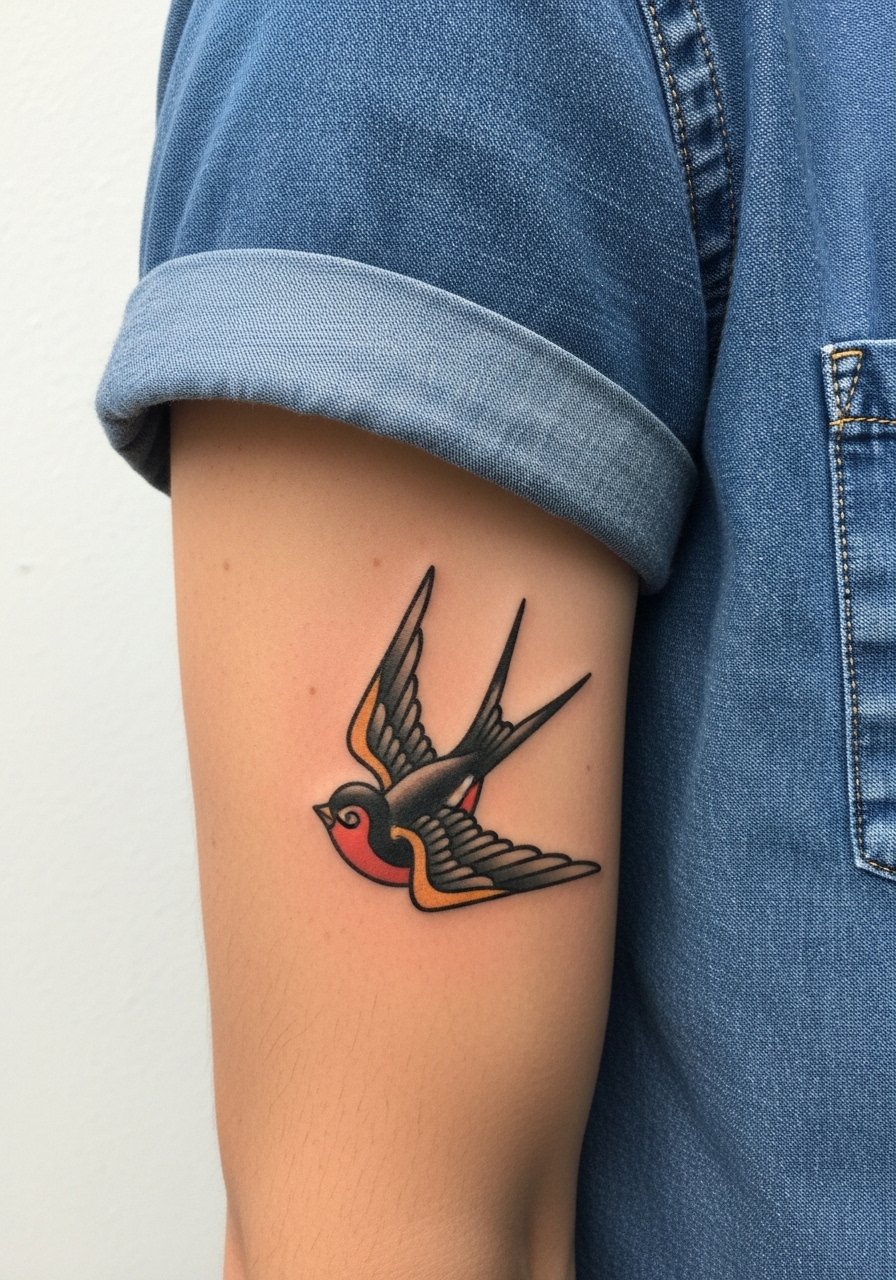
1. Swallow for the Forearm
I've seen swallows on forearms last well because they read at arm's length, not up close. Tell your artist you want thicker outer linework and a compact 2–3 inch silhouette so the wings and chest color stay distinct as the piece ages. Small, fussy feather details tend to merge by year three. Pain is mild on the outer forearm and most sessions finish in one sitting. For showing it off, pair the piece with a rolled sleeve chambray shirt in navy or white, which frames the blue and red fills without overwhelming them. During the appointment, wear a loose short-sleeve button-up so the artist can rotate your arm easily.
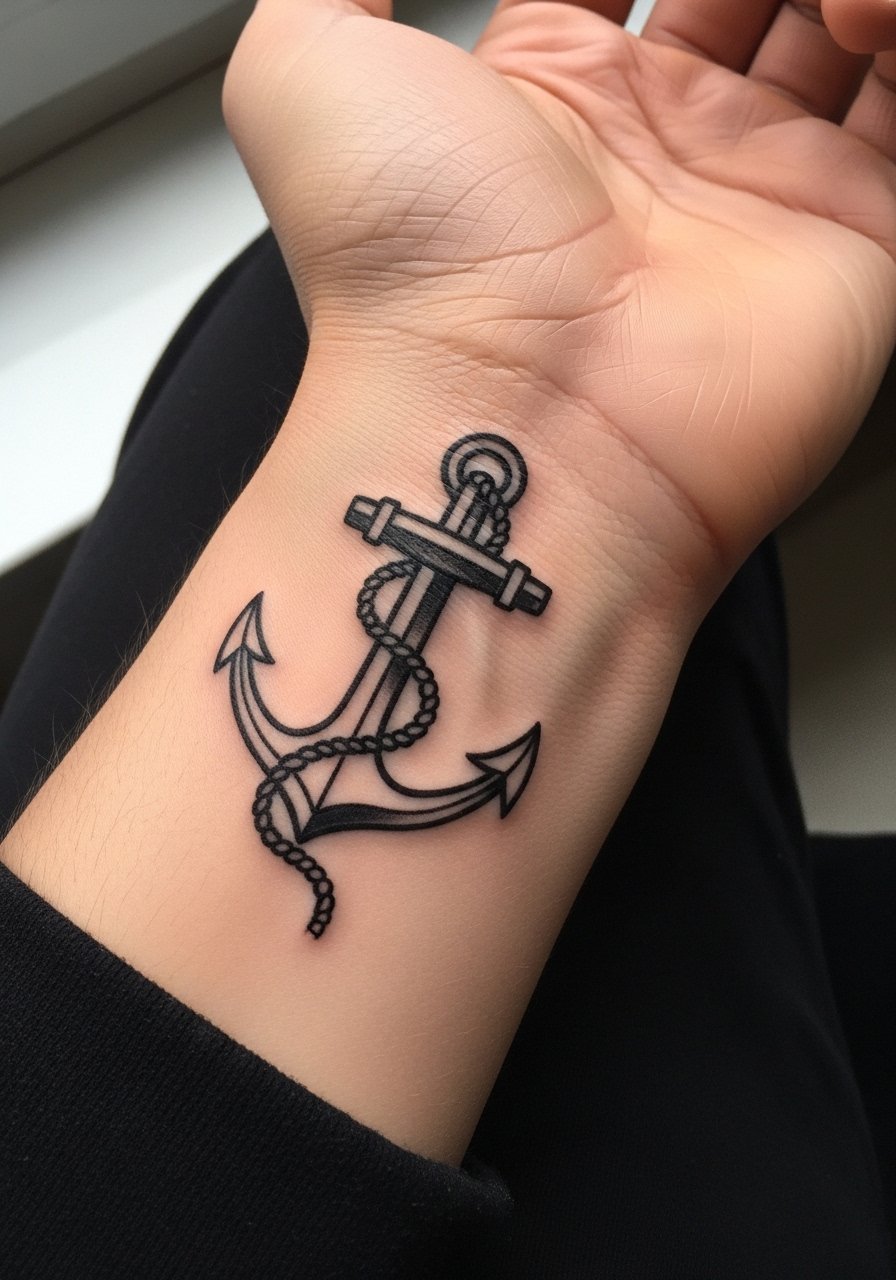
2. Anchor on the Wrist or Hand
Fair warning, hand and wrist spots carry extra friction from washing and jewelry, so outline integrity matters more than tiny interior shading. Ask for stout linework and slightly simplified shading so the anchor still reads after frequent use. A typical hand anchor takes under an hour but will need careful aftercare because of soap and sun exposure. For session comfort and showing it off, roll sleeves or wear a denim jacket rolled sleeves to frame the placement. Avoid rings on the tattooed finger for the first two weeks. Expect a touch-up sooner than on low-friction areas, and always mention any job-related restrictions before booking.
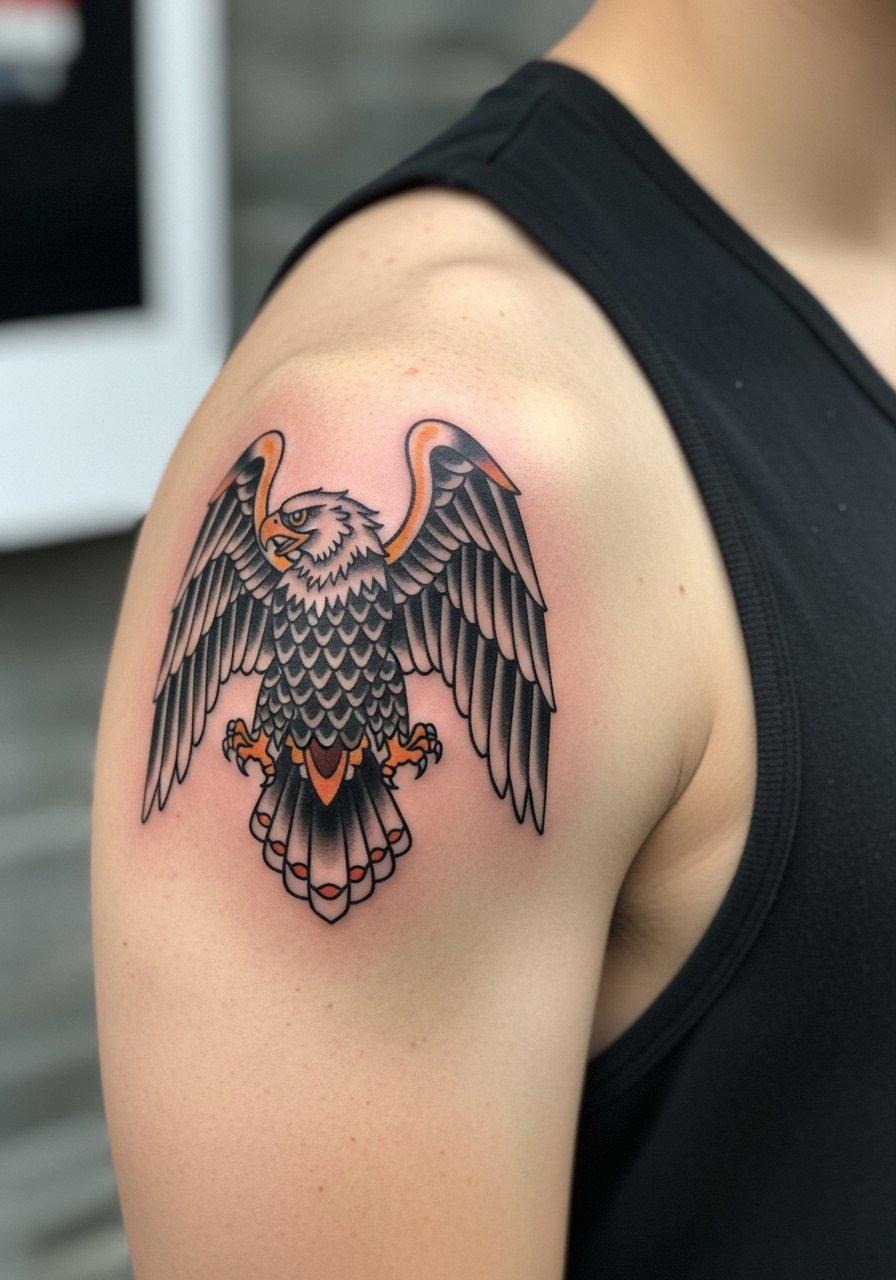
3. Eagle Across the Shoulder
There is something about a shoulder eagle with spread wings that sits perfectly with upper-arm movement. For a shoulder piece plan on one to two sessions depending on size. Tell the artist you want the wings to curve with the deltoid so motion reads natural when you lift your arm. The area tolerates saturation well, yet thinner feather details can soften over five years if placed too small. Pair this with a sleeveless muscle tee to show it off, and wear an open button down shirt to the session so you can slide the shoulder free without tugging fabric. Shoulder sessions feel like steady vibration with occasional sharper spots near bone.
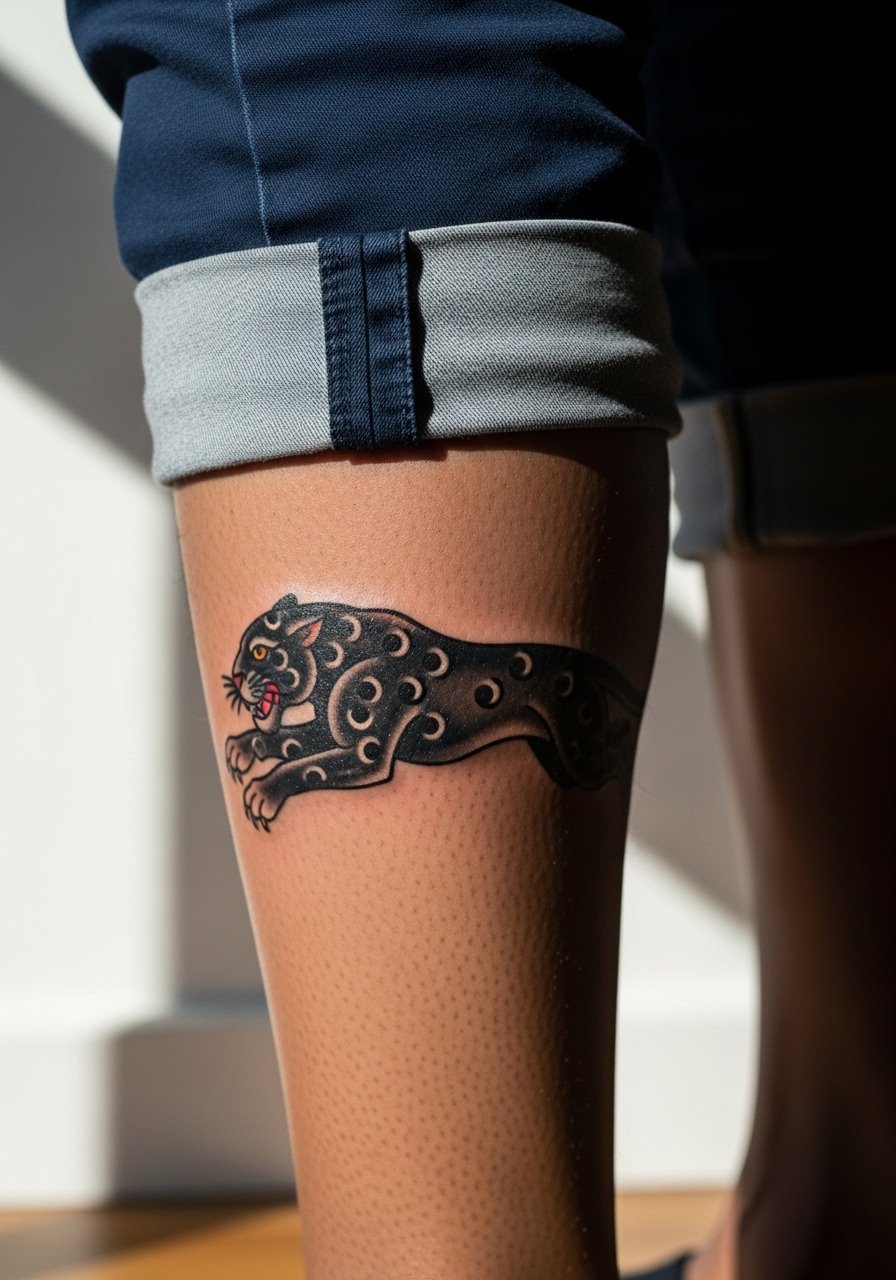
4. Panther Prowl on the Calf
I've noticed panther pieces read better when composed to follow the calf's curve rather than fighting it. Ask for a mid-leap pose that points up the leg, and keep the body compact so muscle changes do not distort the face. The calf is forgiving for saturation and often needs two sessions for color depth. Pain is moderate and sits lower than thigh or ribs. For show-off styling try slim chinos rolled to mid-calf or olive athletic shorts and leather boat shoes to lean into the sailor heritage. During the appointment, bring loose joggers you can pull up so the artist can work without fabric snagging the stencil.
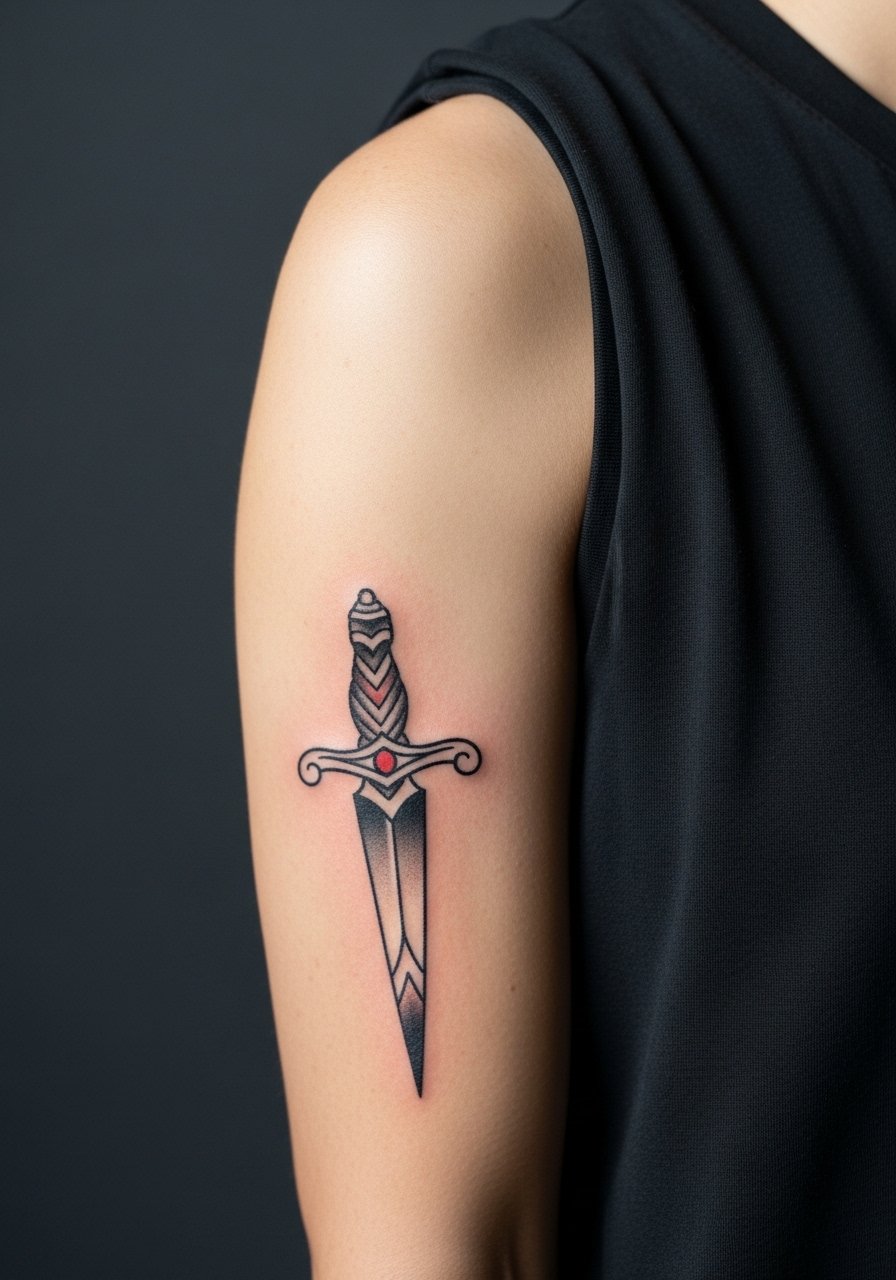
5. Dagger on the Bicep or Forearm
When someone wants danger without confusion, a dagger with controlled color blocks does the job. The common mistake is adding too much filigree that ages into muddiness. Request clean negative space around the blade and bold blood-drop accents for contrast. Bicep placements feel firmer and are less subject to blowout than inner forearms, but the inner arm variant will hurt more. A single-session bicep dagger is typical. For the session wear a tank top so the artist can rotate the arm. To show it off later, a leather cuff on the opposite arm keeps attention on the strong silhouette.
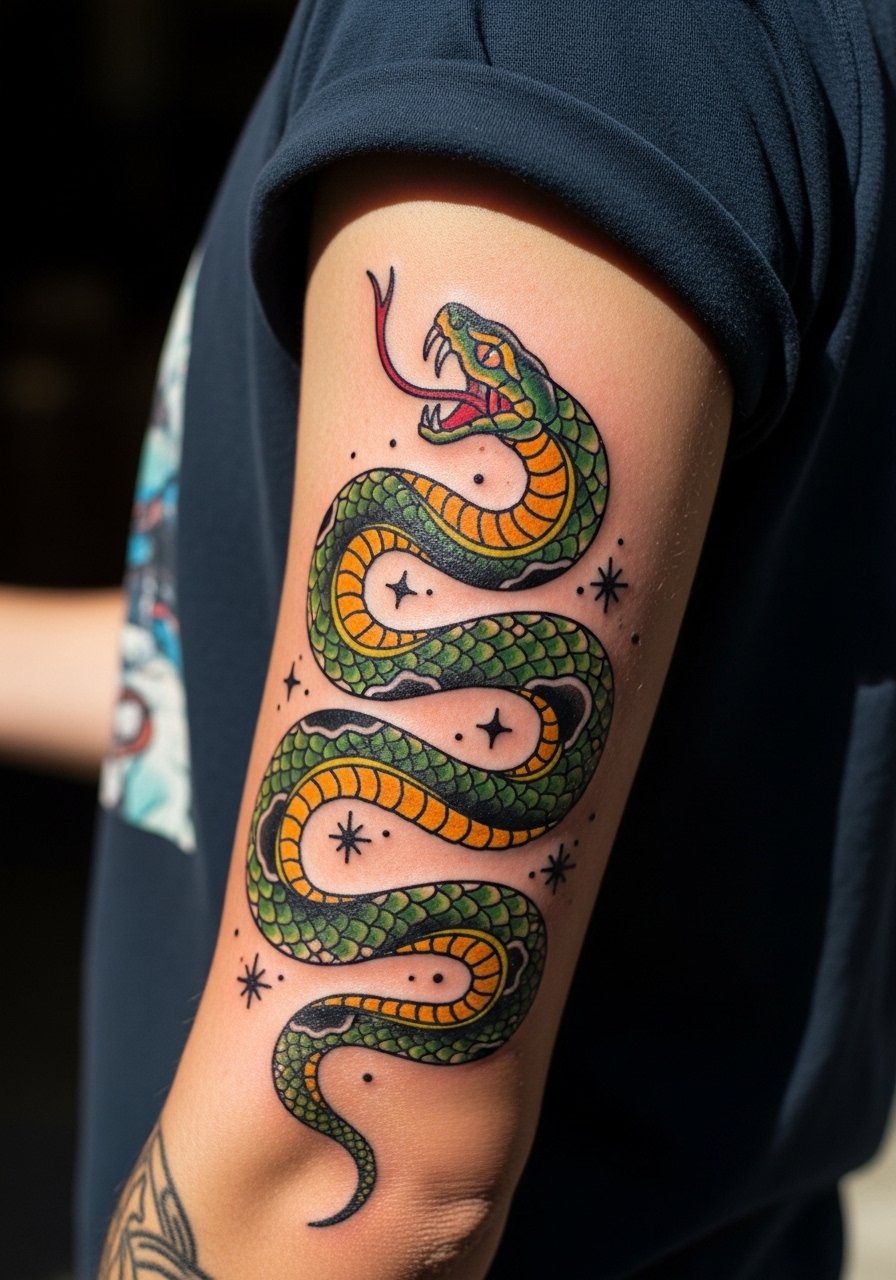
6. Snake That Wraps an Arm or Leg
Consultation lead here: when you bring snake references, point out the coils you want and the negative space you expect between loops. Wrapping designs must follow muscle flow so the head reads in the intended direction. Small scale patterns along the spine of the snake blur when shrunk, so pick larger scales or flat color. Sessions can run one to two visits depending on length. For calf or thigh work wear loose basketball shorts to the session so the artist can access the full wrap. The biggest real mistake is asking for too many tiny highlights that disappear after healing.
Pre-Session Essentials
The forearm, bicep, and calf pieces above have different prep needs, so a few targeted items make the session and first week easier.
-
Stencil transfer paper kit. Helps preview placement on skin before the needle goes down, especially useful for wrap and curve-following designs in the first six sections.
-
Topical numbing cream. Applied per instructions 30–60 minutes before reduces the sting on sensitive spots like inner arms and ribs.
-
Thin protective film roll. Keeps wrist and hand tattoos cleaner during the first few days of heavy washing and movement.
-
Fragrance-free body wash. Gentle cleansing matters for areas that see friction, like ankles and wrists.
-
Aquaphor healing ointment. A thin layer in the immediate days after a traditional piece helps keep fine edges from scabbing excessively.
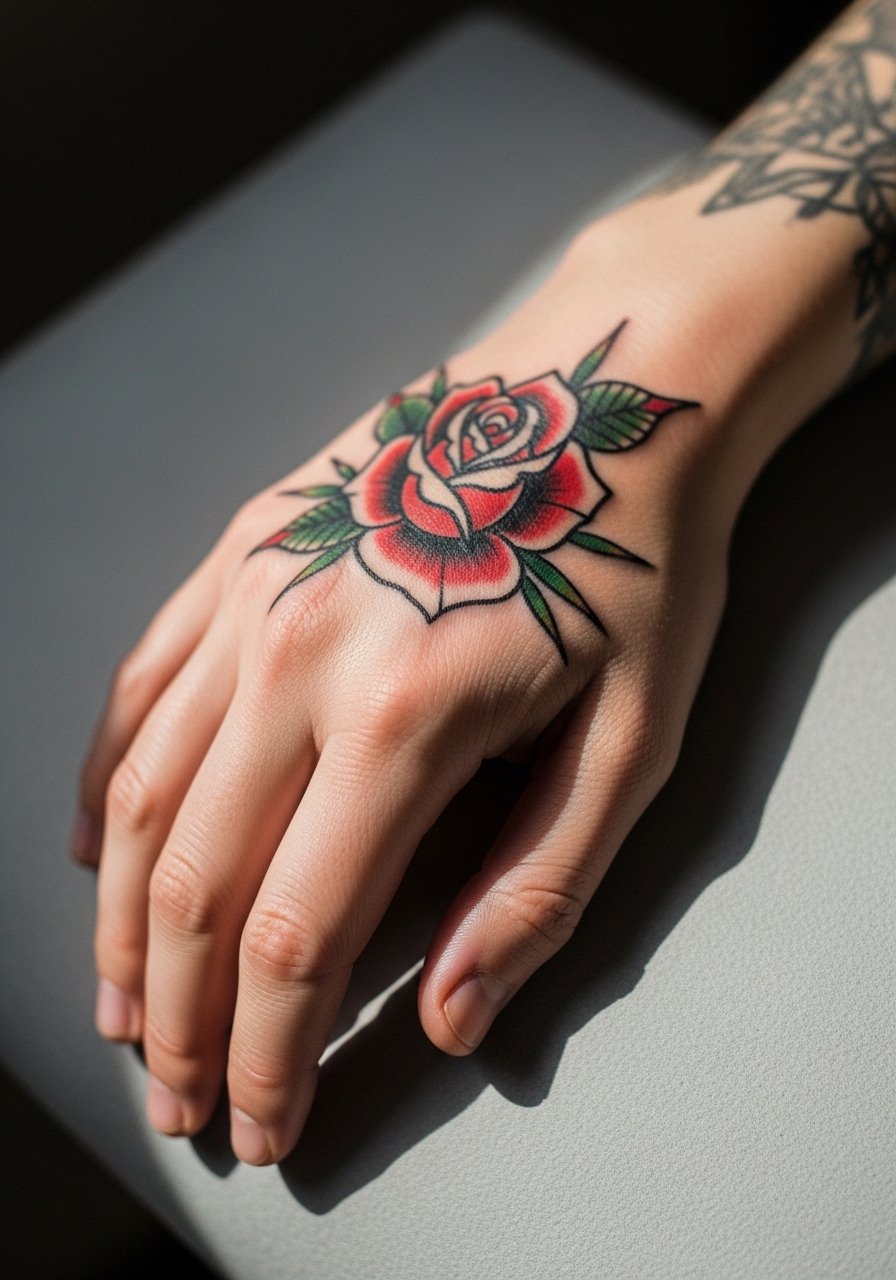
7. Rose on the Hand or Ankle
Most people pick the rose for its clean geometry, but compact petals and heavy dot shading can conflate into a dark blob over time. Go for classic petal shapes and strong outer linework so individual petals keep definition at six months and beyond. Hand placements age faster because of constant washing and sun exposure. There is a split in aftercare camps for these small spots. One group prefers Saniderm to lock the area and limit scabbing. The other prefers dry healing to let the skin breathe and scab naturally. Ask your artist which camp they follow and why before the session. For visible days out, a thin silver ring stack on the opposite hand balances attention.
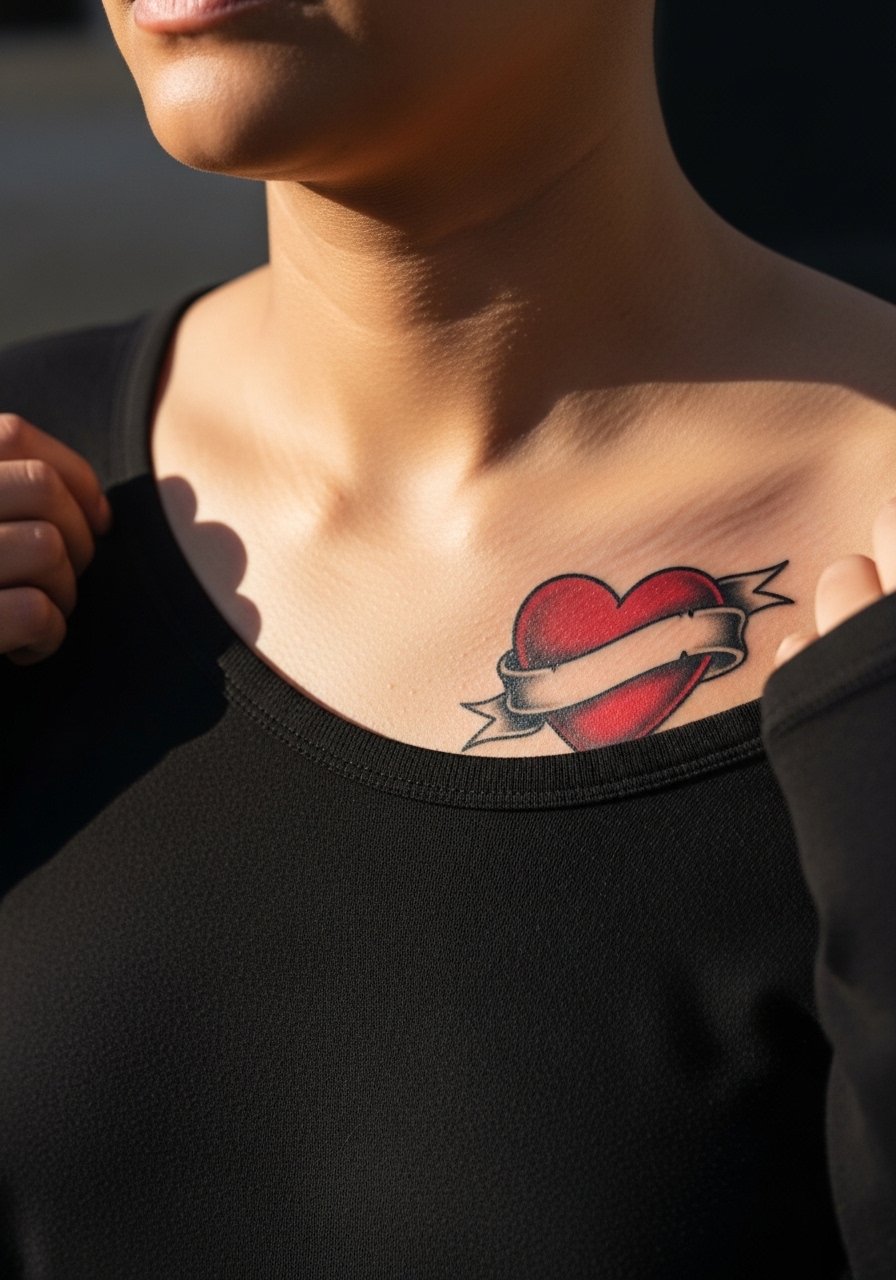
8. Heart with Banner on the Chest or Inner Arm
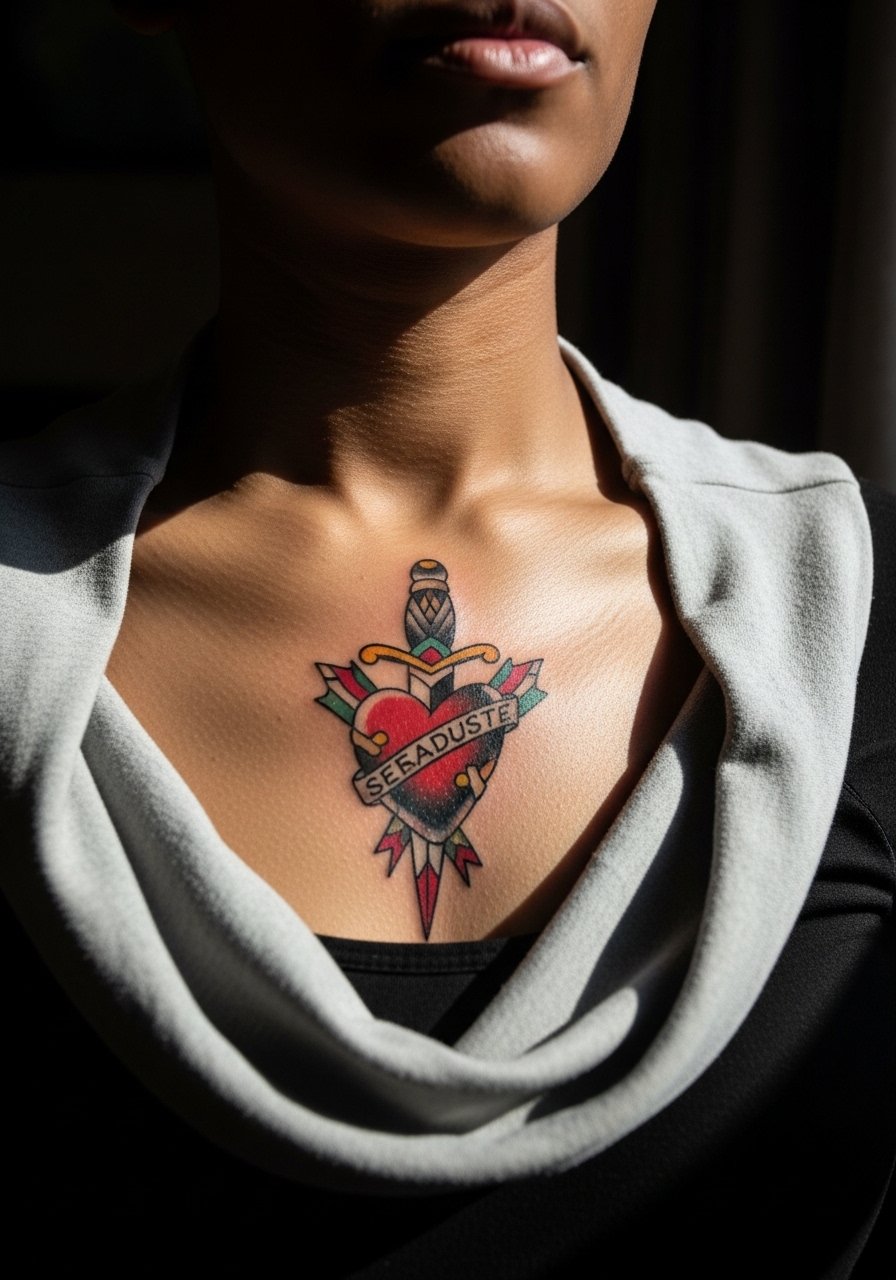
When someone asks how to personalize a heart with a banner, I tell them to pick one clear word and a slightly arced banner that sits above the heart's curve. On the chest a heart reads larger and anchors the sternum area, while an inner arm placement feels more private. Chest sessions demand clothing choices that avoid smearing early on, so wear a loose V-neck tee to the appointment and a lightweight open flannel for showing it off later. Expect a one-session outline and a short color pass. Common mistakes are using cursive too small and squeezing names into a banner where they become illegible after two years.
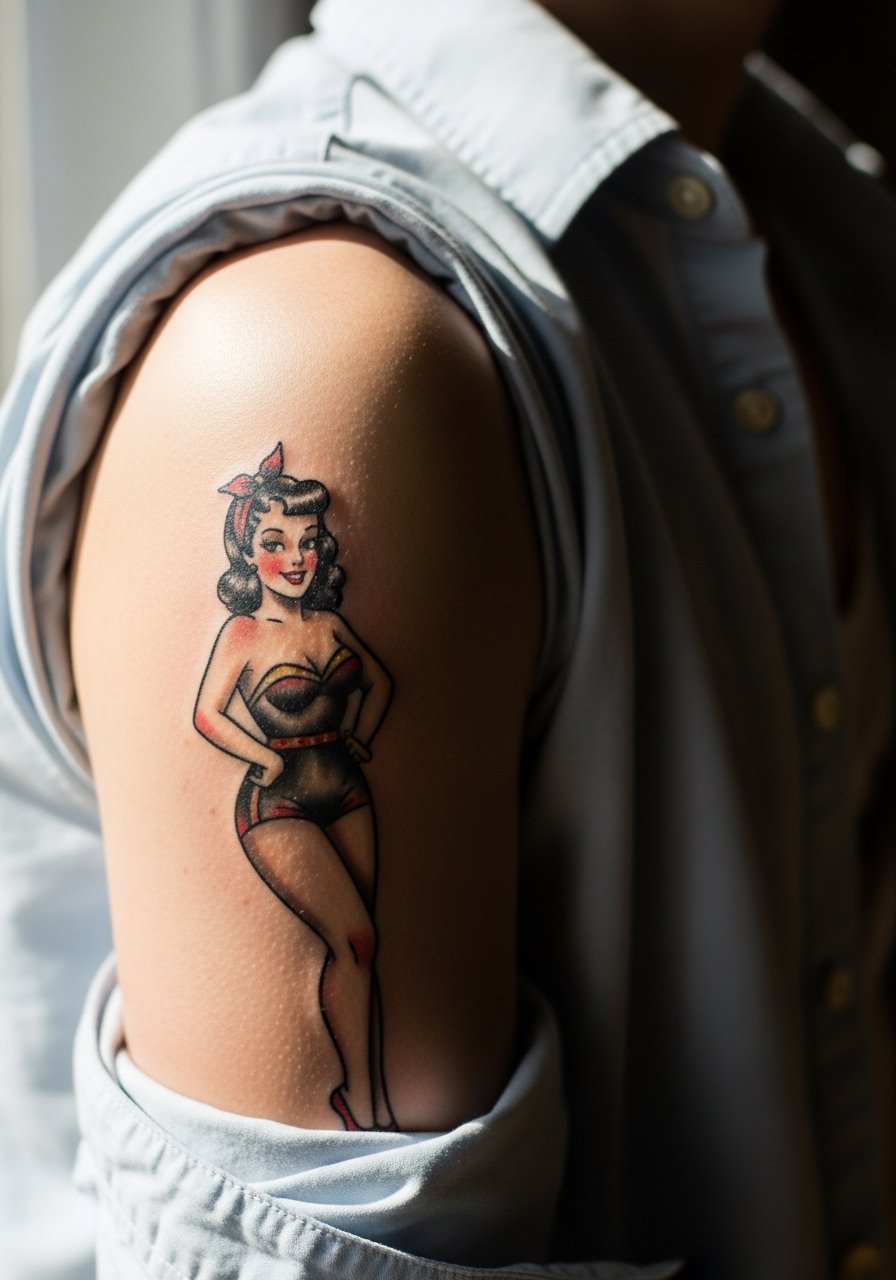
9. Pin-Up Girl for Shoulder or Upper Arm
Visual impact lead: a well-composed pin-up balances pose, negative space, and saturated fills so the figure reads from a few feet away. Make sure you and the artist agree on the pose, clothing, and the face style before the stencil lands. Pin-ups often require two to three sessions for color depth and skin healing. Shoulders are an ideal canvas because clothing can reveal the piece without exposing the entire torso. Wear an open button down shirt to the appointment and consider vintage aviator sunglasses as a show-off prop. Avoid adding tiny halftone shading that will disappear into skin texture.
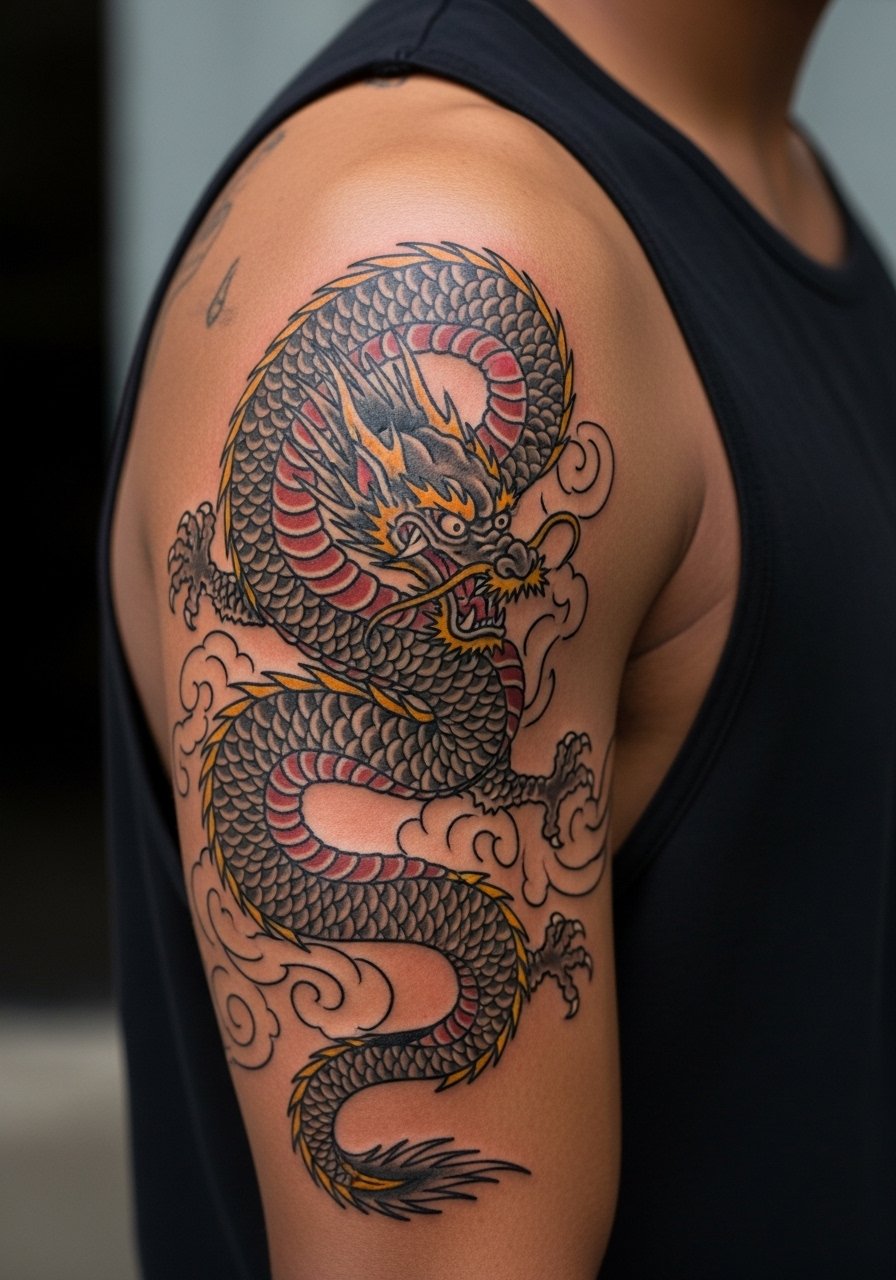
10. Dragon Sleeve Elements
A full sleeve dragon borrows from Asian motifs but translated into the American traditional grid with bold lines and flat color blocks. If you want a sleeve, plan three to five sessions and discuss a unifying color story so scales read cohesive around the arm. One specific risk is over-detailing scales; pick larger, graphic scales or alternating flat fills for longevity. For the session and later wear, a sleeveless muscle tee gives the artist access and shows the flow of the piece. Be explicit in consultation that you want the head to face a set direction so the composition stays readable in photographs.
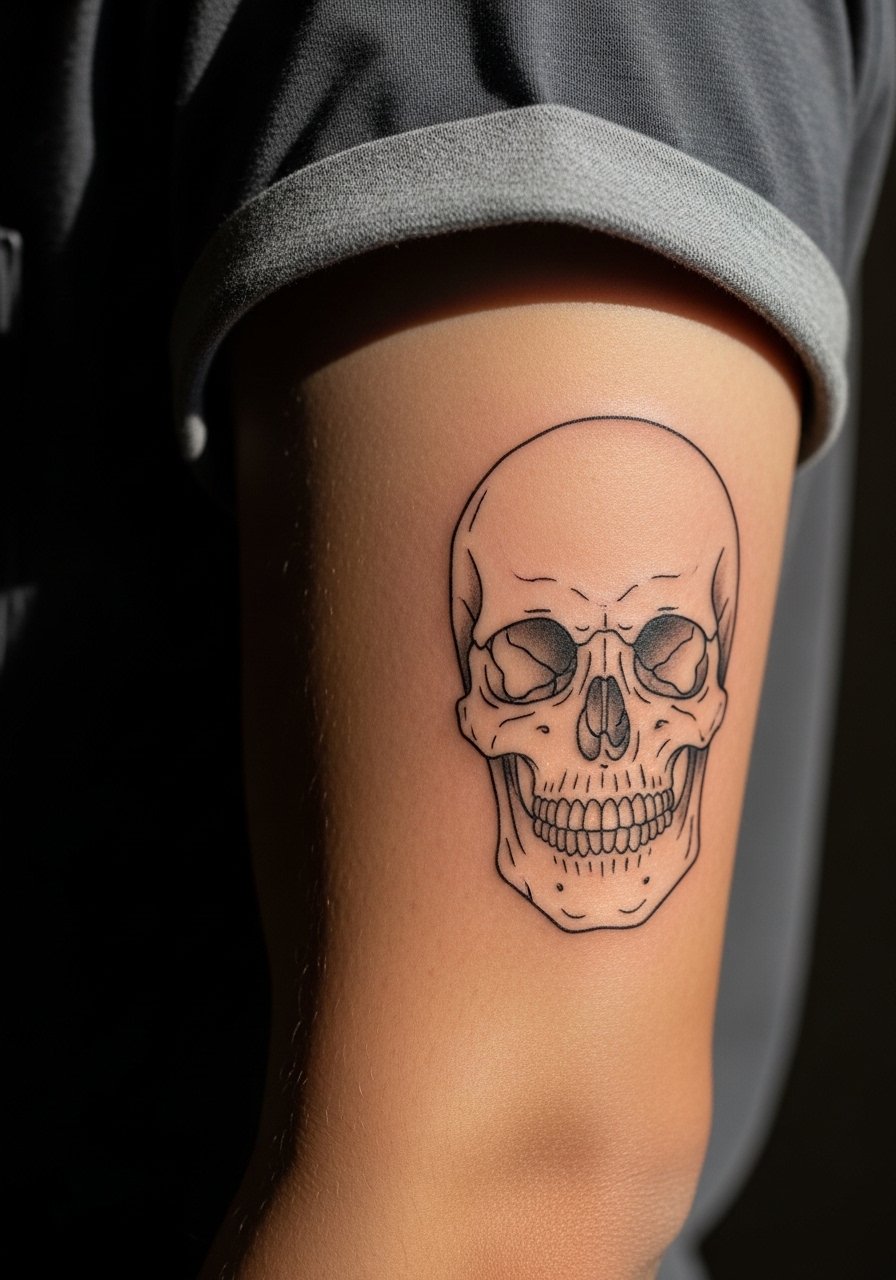
11. Skull on the Forearm or Calf
A skull needs clear planes and contrast for the jaw and eye sockets to stay readable, especially on darker skin tones. I've noticed skulls with too many internal dots lose their edge after a couple of years. Request stronger negative space in the cheek area and limited tiny stippling. Calf placements help maintain shape through weight changes, while forearms show the work more. Pain is moderate and most skulls finish in 1–2 sessions. If you plan on visible wrist or forearm placement, choose sleeve or rolled shirts that let it breathe for the first week while avoiding chafing.
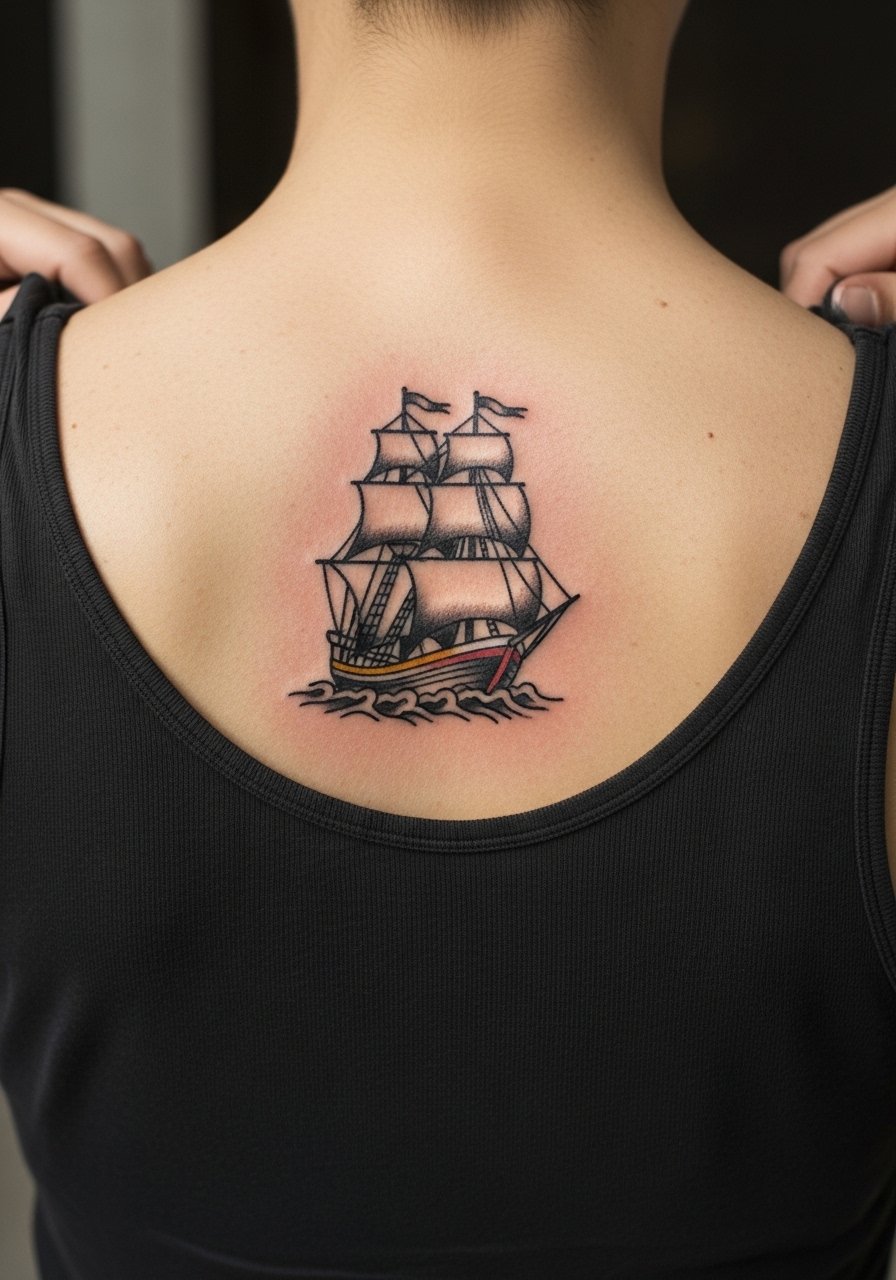
12. Ship on the Chest or Back
A ship asks for a strong horizon line so the sails and waves do not bleed into each other as color softens. When placed on the chest the ship feels centered; on the back it becomes an expansive scene. There is a debate about how to heal large saturated pieces. One camp prefers an occlusive film to limit dirt and moisture. The other prefers open air to let scabs form and fall naturally. Both approaches have advocates and drawbacks. Decide with your artist based on skin type and location. For session day wear choose a loose button-down shirt you can slide off or pull aside without rubbing fresh ink.
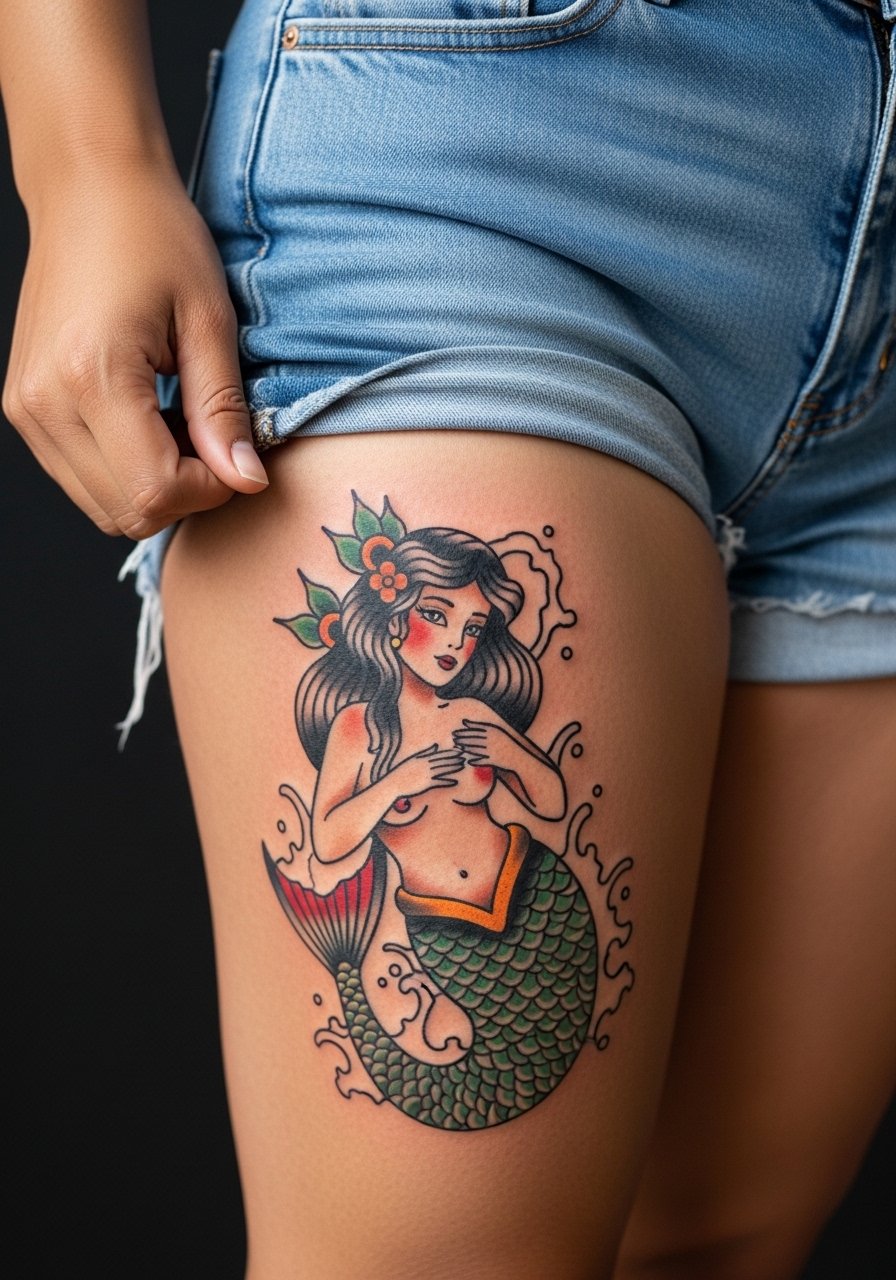
13. Mermaid on the Thigh
A thigh mermaid benefits from muscle contour; place scales so they follow the outer thigh curve and avoid the inner crease where stretch is common. Thighs tolerate saturation well and typically need two sessions for color depth. For appointment day wear bring high waist denim shorts or loose basketball shorts so you can expose the outer thigh without cold or drag. As a showing-off tip, tailored swim trunks or high-waisted shorts frame the piece and keep attention on the scale work. Be mindful that inner-thigh placements require more trust in the artist and specialized technique.
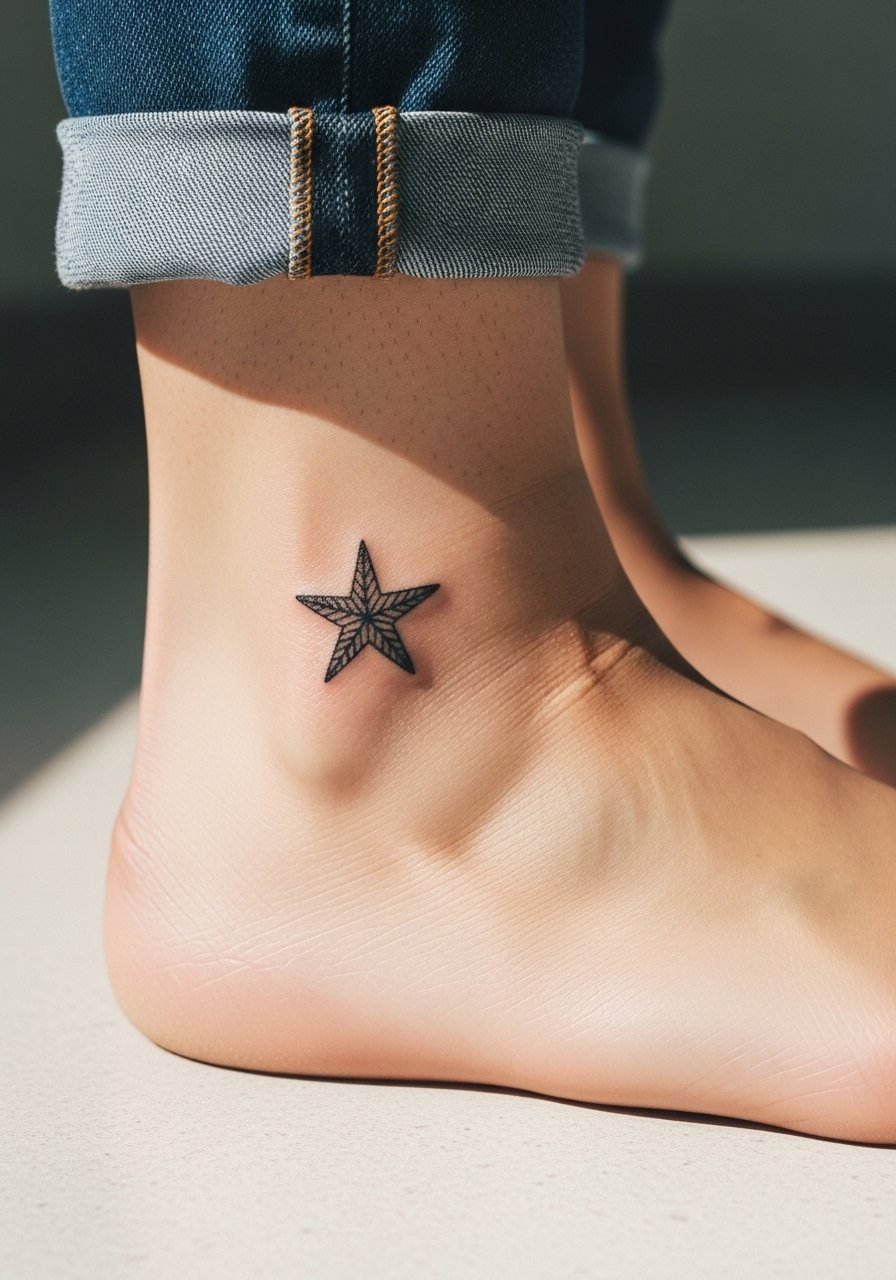
14. Nautical Star Accent Pieces
A small nautical star works as a spacer between larger motifs or as a subtle stand-alone wrist or ankle mark. Keep the star at least two inches so the points remain crisp on all skin tones. These are quick single-session pieces, but they take a precise stencil and steady hand. For ankle stars wear jeans rolled up or sandals during the session so the artist can access the area cleanly. A rolled cuff chino frames ankle work nicely for casual outfits. The main mistake is shrinking the star until the points touch and become a solid shape.
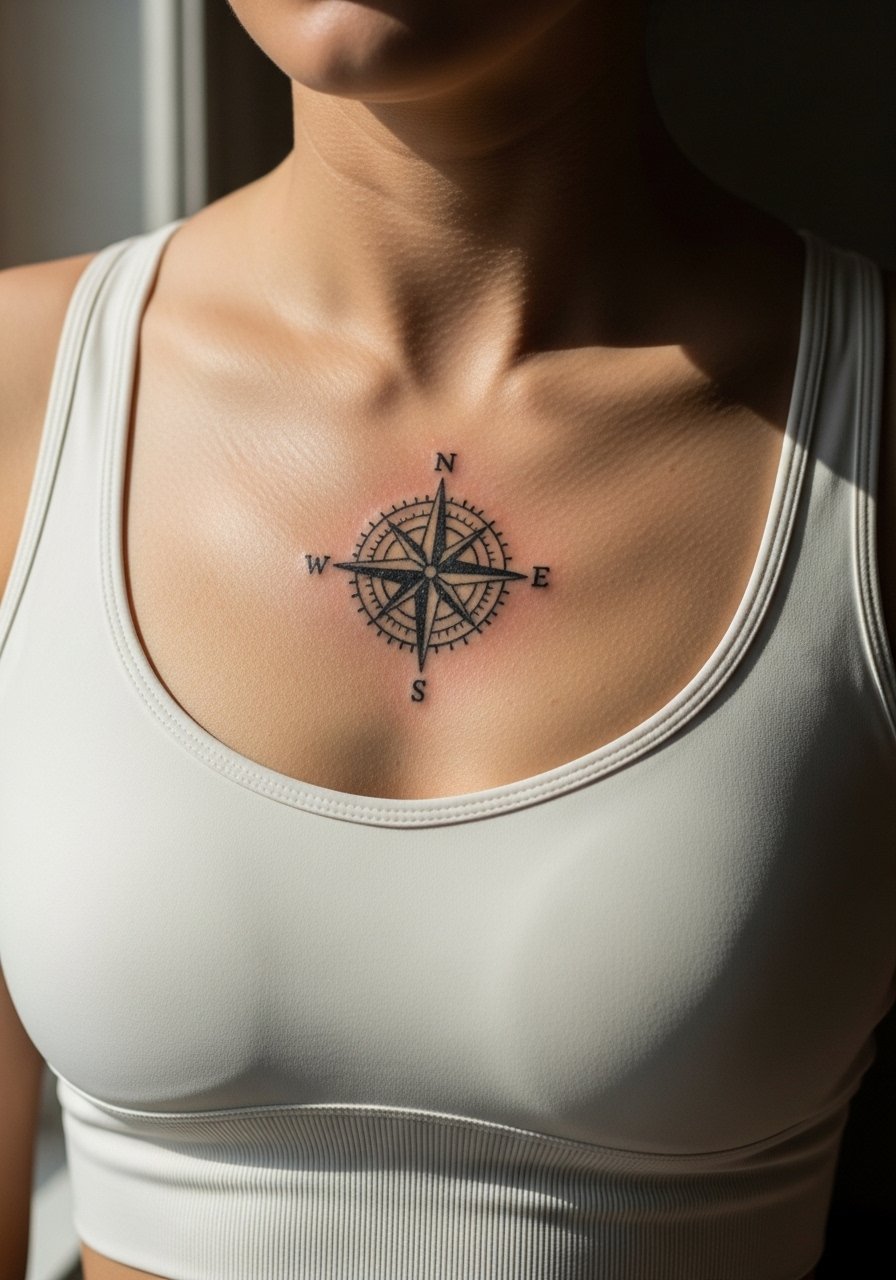
15. Compass Rose for Back or Chest
A compass rose benefits from strict symmetry and clear cardinal points so it reads correctly in photos and on the body. On the chest center it over the sternum in a size that lets each point breathe. Back placements allow for larger, decorative fills. For session comfort wear a wide-neck shirt you can pull aside to reveal only the compass area. Expect one to two sessions and ask the artist to mark a visible center point on your skin before starting so the orientation is perfect. Small compass roses suffer from smudged points if placed too close to ribs.
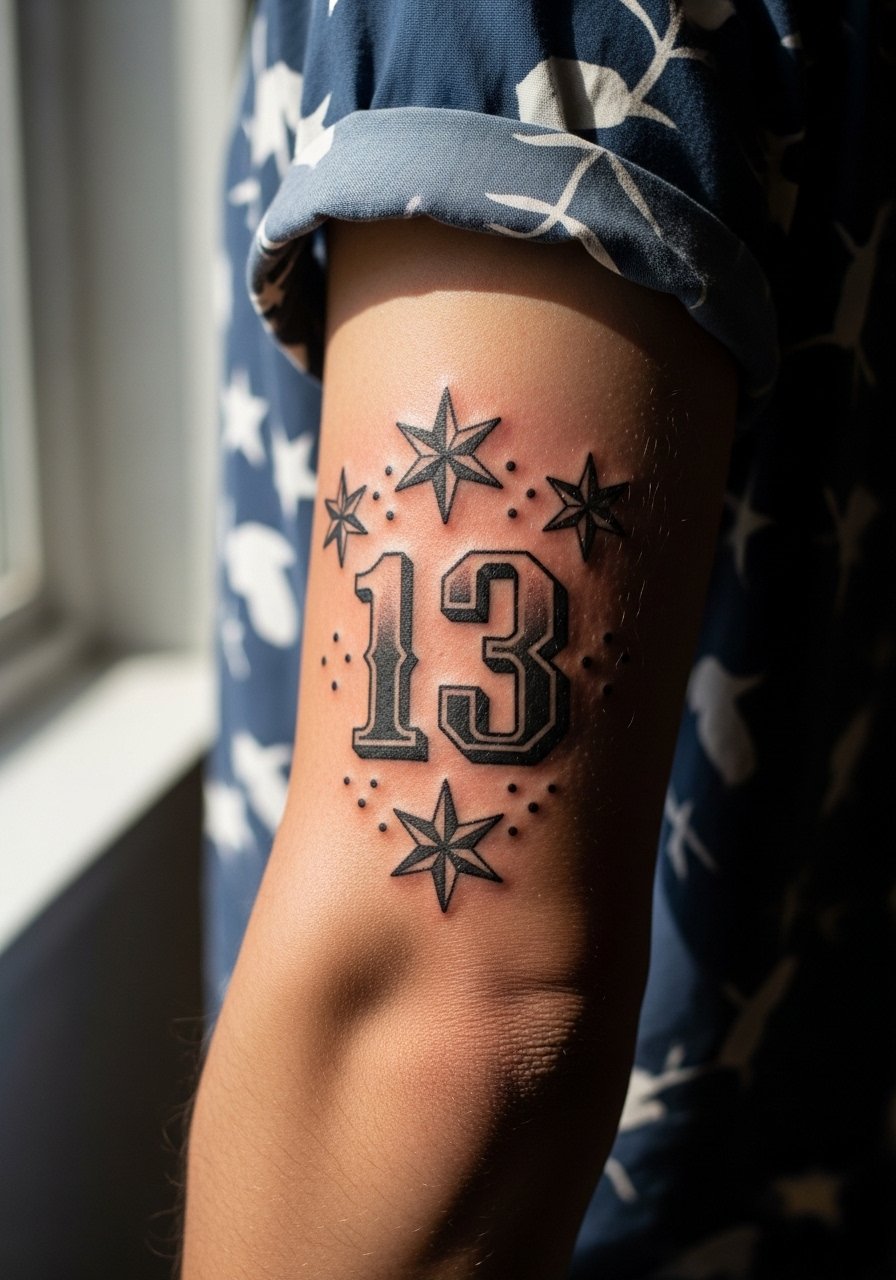
16. Lucky 13 with Nautical Stars
For someone who wants a cheeky nod to gambler lore, Lucky 13 with surrounding nautical stars reads best when the number uses clear typography and the stars are spaced evenly. Place it on the forearm or calf where it can be shown off easily. During the session wear a loose short-sleeve button-up so the artist can rotate the limb. Avoid tiny decorative flourishes that look great fresh but dim into unreadable scratches at year two. This motif also pairs well with other small flash pieces that follow a common palette.
17. Dagger Through Heart with Flag Elements for Vets
A dagger through heart with subtle flag color references can be a meaningful military nod when executed respectfully. Keep the flag elements as color accents rather than full flag fills to avoid visual clutter. Placement on the chest or bicep reads strong and keeps the piece personal. Veterans often prefer slightly larger scale to maintain clarity through touch-ups and body changes. For the appointment wear a loose V-neck tee so the artist can access chest or upper arm without fabric rubbing. Note that direct replicas of certain military insignia may require permission; discuss any emblem choices with your artist.
Frequently Asked Questions
Q: Will bold American traditional lines blur faster on darker skin tones than on lighter tones?
A: I have seen thicker outer linework hold up better across all skin tones because the extra margin compensates for natural spreading. Artists fall into two camps on technique for darker skin: some use even heavier line weight up front, and others adjust placement and spacing instead. Talk to an artist experienced with similar skin tones and ask to see healed photos, not just fresh work.
Q: How much should I expect to plan for touch-ups on forearm and wrist pieces?
A: Forearms usually settle well and might need minor touch-ups around year three, while wrists and hands often need a touch-up earlier because of friction and washing. The realistic timeline depends on exposure and lifestyle, so budget for a touch-up option when you book.
Q: Is Saniderm or dry healing better for traditional tattoos on the chest and ribs?
A: Two camps argue this, and both make valid points. One camp says occlusive film like Saniderm speeds healing and limits infection. The other prefers dry healing so the skin breaths and scabs fall naturally. The best path depends on placement, your skin type, and what your artist recommends from experience.
Q: What should I wear to a thigh mermaid or calf panther session to stay comfortable?
A: Bring loose basketball shorts or high-waist denim shorts that you can shift without exposing more than the tattoo zone. That keeps you comfortable and prevents fabric drag while giving the artist clear access. A lightweight cover-up helps during breaks.
Q: How can I find authentic flash sheets and studio styles without following individual artists?
A: Start with hashtags like #AmericanTraditional or #OldSchoolTattoo, search "[city] american traditional tattoo studio" on maps, and scan tattoo directories for style filters. Community boards on Reddit and curated magazine collections also surface convention flash sheets and guest spots.
