
Fine line One Piece tattoos look gorgeous on feed, but they are the ones people are booking touch-ups for at year two. Fades, guest-artist no-shows, and dark-skin color muddiness are the three problems I hear most from people who thought a tiny hat would be low effort. Below are 17 aesthetic One Piece tattoo ideas that balance trend with real-world longevity, plus what to ask your artist before you book.
1. Straw Hat Jolly Roger Skull on Inner Forearm
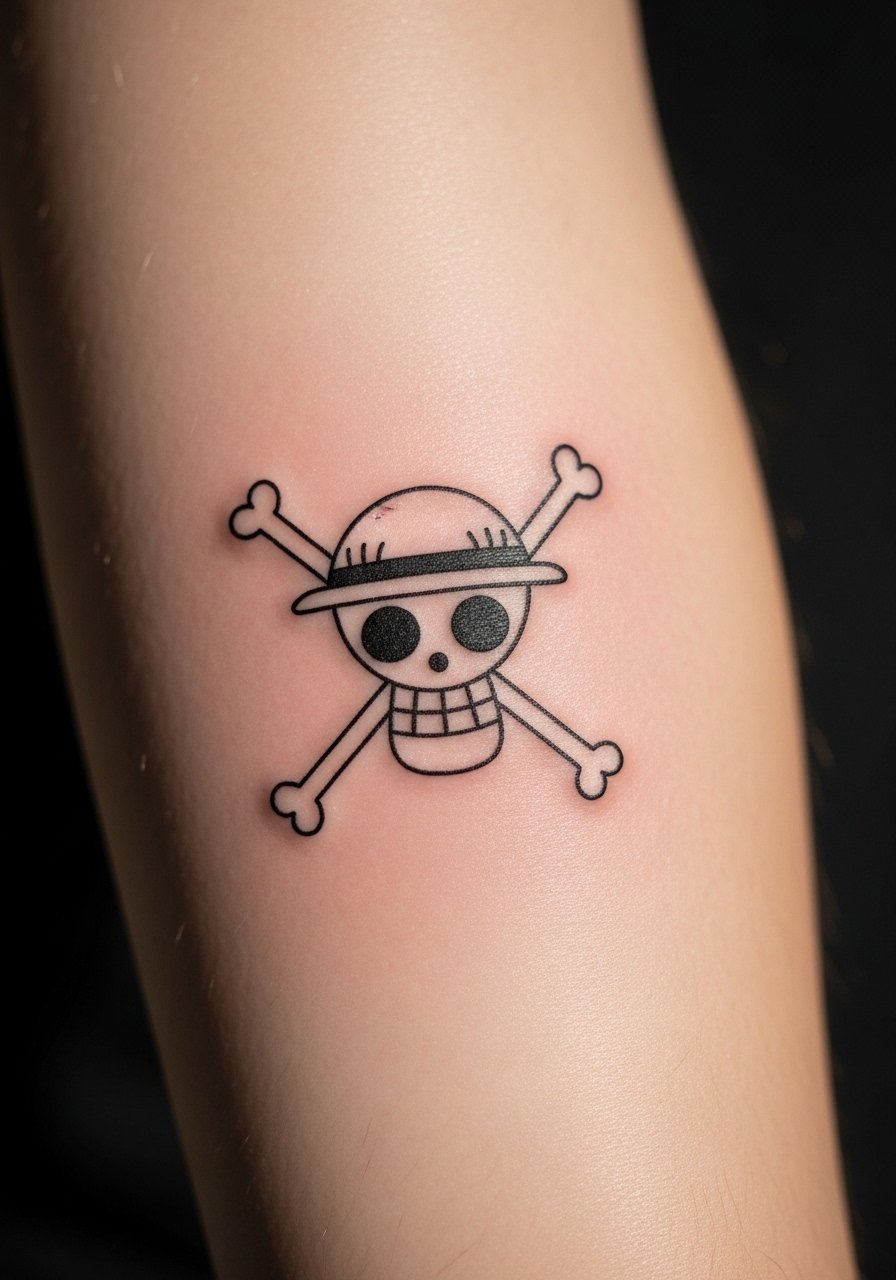
I’ve seen this classic on dozens of forearms and when done at 2.5 to 3.5 inches it balances visibility with longevity. Tell your artist you want clean, slightly thicker contour linework rather than feathered ultra-fine lines so the hat and jaw read at year three. Expect medium pain and a single session under two hours for a skilled hand. Common mistake is asking for ultra-tiny detail that collapses in a year. For showing it off, roll up sleeves and pair with a rolled cuff chambray shirt so the tattoo frames the forearm without competing.
2. Embroidery-Style Straw Hat Patch on Upper Arm
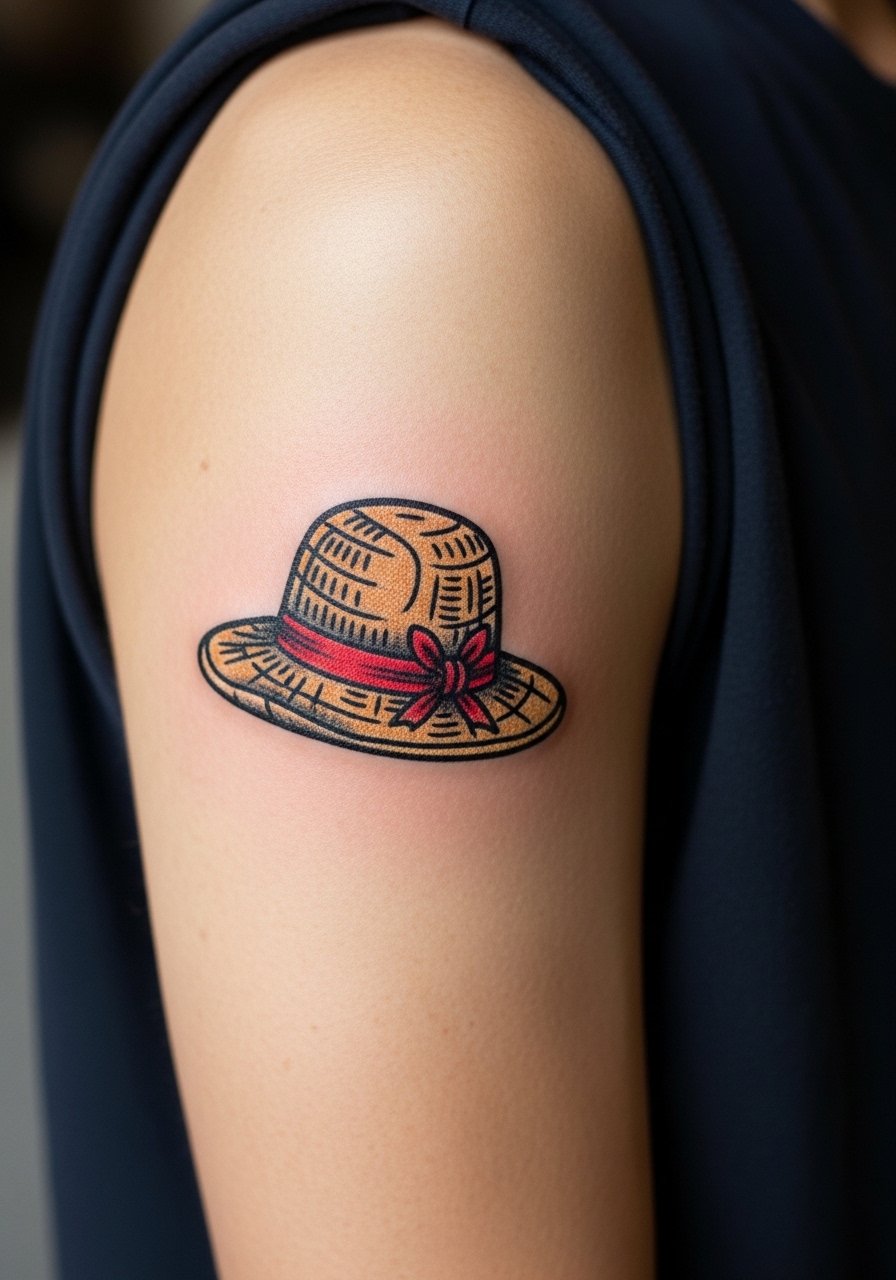
This neo-traditional patch mimics stitched texture using tiny whip shading and stipple dots to suggest thread. It’s a good choice if you want color that reads like fabric rather than a flat anime cel. Tell your artist you want black outlines with saturation concentrated in the midtones so the colors age without turning muddy. Upper-arm placement keeps blowout risk low and pain mild. During the session wear a loose tank or button-down you can pull aside. For evenings out pair the piece with an off shoulder tee black to highlight the patch.
3. Simple X Mark on Wrist
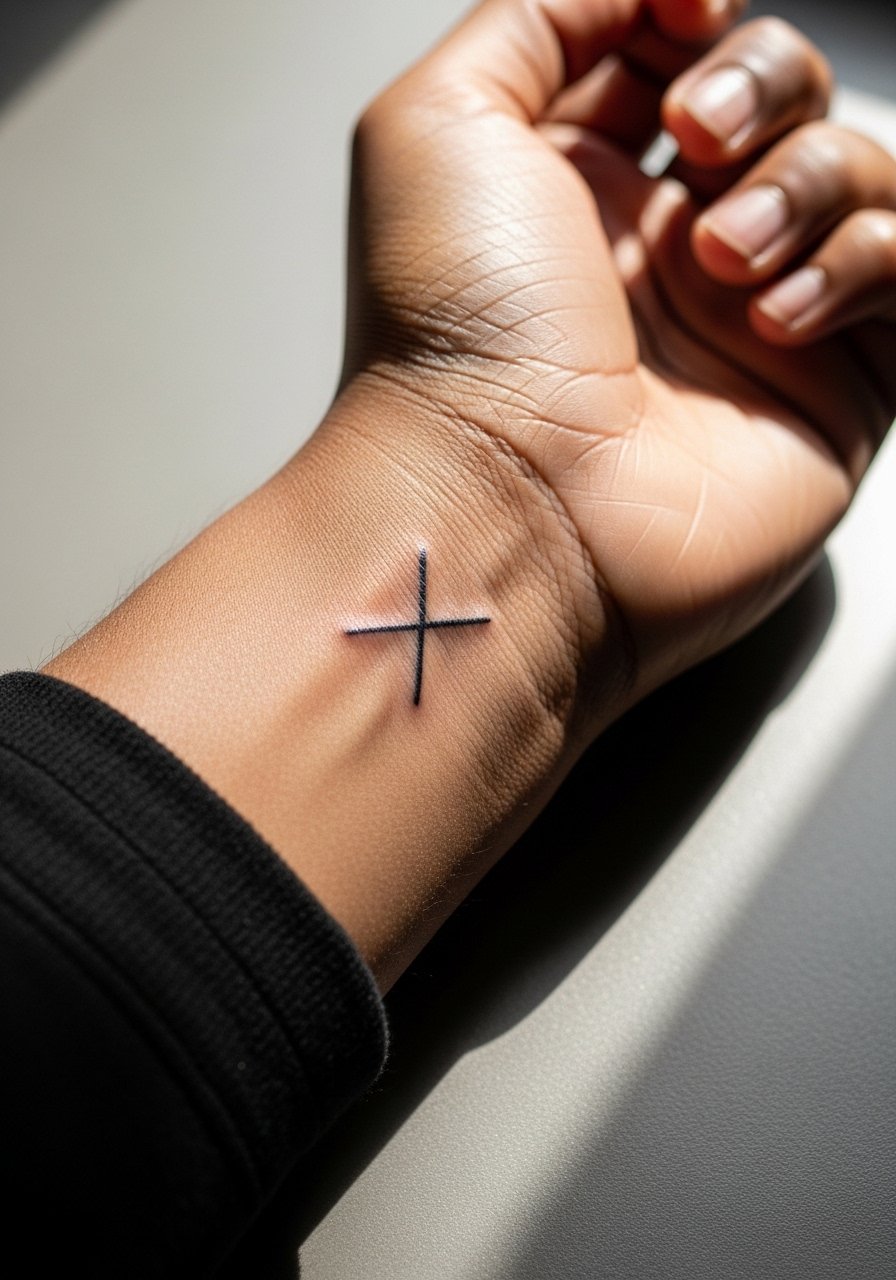
Fair warning, wrists see a lot of washing and sun, so the X mark needs crisp depth to survive. I recommend 1.5 to 2 inches with a slightly denser lineweight than typical fine-line work. Ask the artist for a touch-up plan at 6 to 12 months because this placement commonly needs refresh. The pain is higher than forearm but tolerable. Avoid asking for micro-hairline work here if you want it to last. Style-wise, keep jewelry minimal and pair with a thin leather cuff bracelet on the opposite wrist so the X remains the focal point.
4. Straw Hat Skull with Ocean Waves on Calf
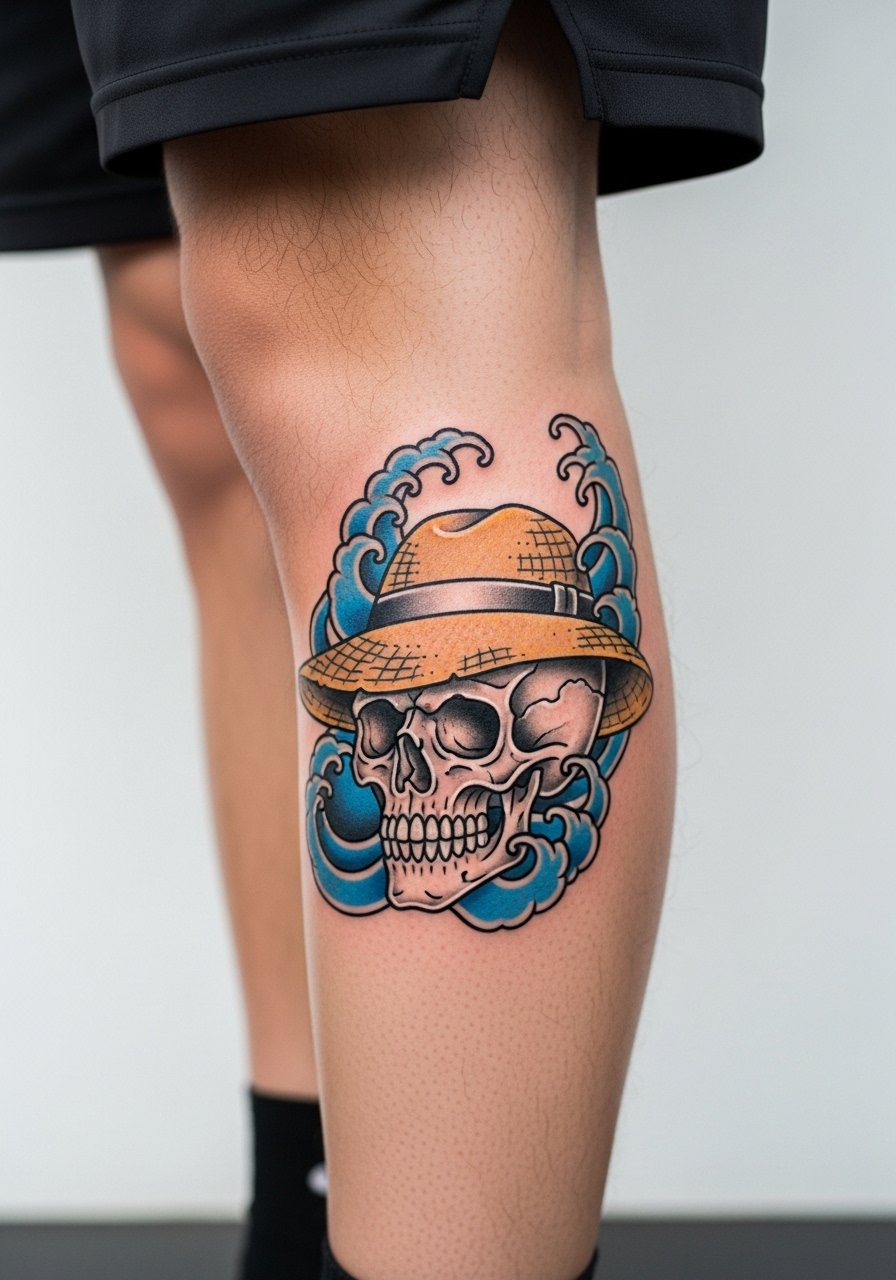
Calf pieces are runner-friendly and hideable when needed, but they sweat in summer and can take longer to settle. This design uses mid-level saturation and bold outlines so the blue stays visible on varied skin tones. Tell your artist you want motion in the waves with stipple shading rather than full watercolor wash, that technique holds up better with leg movement. Session time is usually one to two hours. Common mistake is oversaturating tiny wave details that blur after months. Show-off pairing for shorts days is a pair of canvas low top sneakers.
5. Luffy Smiling Skull Outline on Outer Forearm
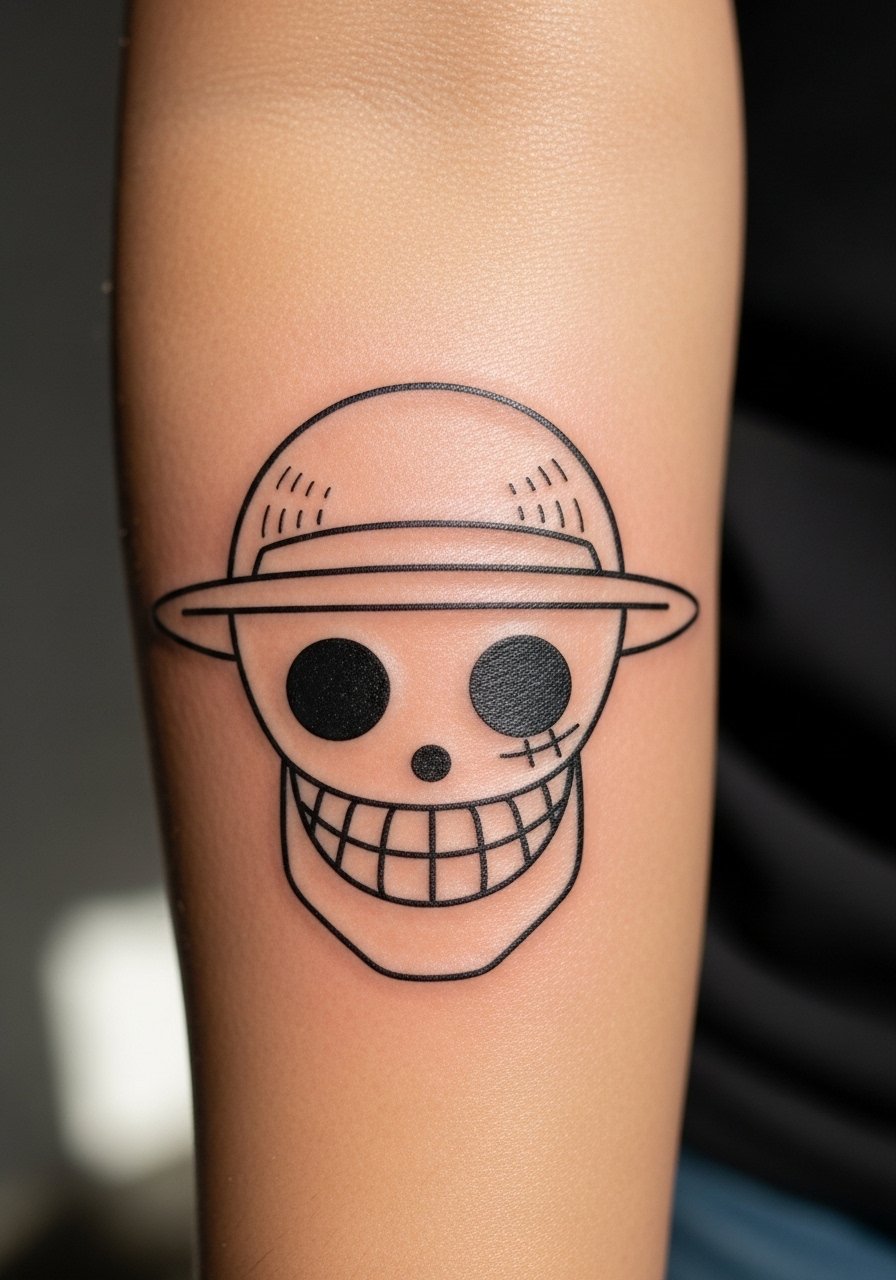
Most people pick this for the playful expression, but the key is line spacing. When the eye sockets and teeth are too close together you lose definition after a year. Ask for clear negative space in the face and slightly bolder outer lines. Forearm pain is medium, and a single session will usually do. The version that ages poorly is the one with hairline internal detail. For session wear choose a loose fit button shirt men you can roll up or pull aside for access.
6. Dotwork Jolly Roger Crossbones on Upper Arm
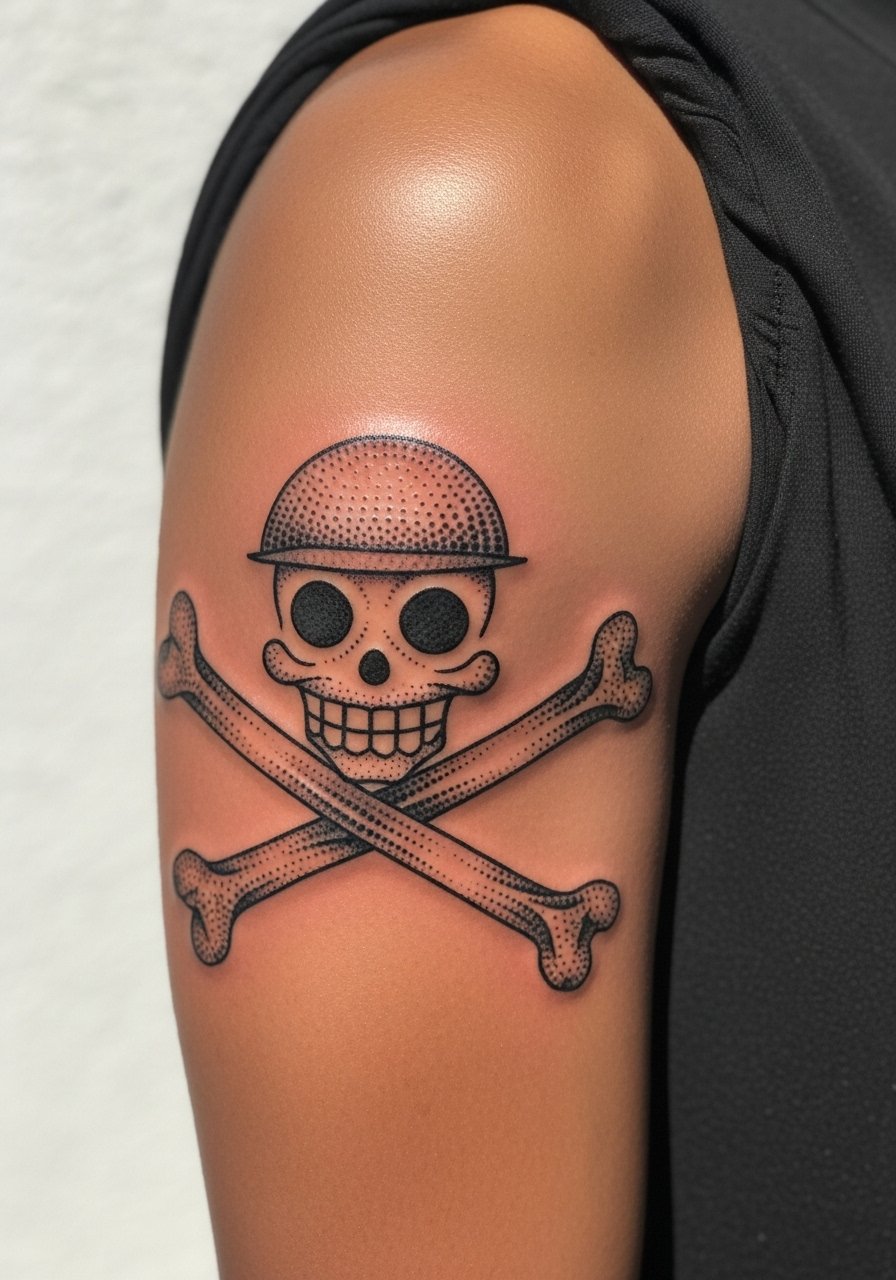
When dotwork is executed with consistent stipple density it creates a graphic shadow that ages well on many skin tones. Ask the artist for larger dot clusters rather than micro-dots, that helps with long-term legibility. This style usually takes two sessions for a 4-inch piece because the artist layers dots for depth. The controversy here is fine line versus saturation for dark skin. One camp says dense dotwork reads best on deeper tones, the other insists color can work if contrast is high. Name your preference in consultation and ask to see healed examples on similar skin. For show-off looks choose an off shoulder tee black.
Studio Day Picks
Those arm and calf pieces above respond differently in the first week than thigh or chest work, so a few targeted items make the chair day and healing window easier.
-
Ink-Ichiban tattoo balm. A non-greasy balm some people prefer over heavy ointments for color pieces because it absorbs without leaving a thick film that traps sweat.
-
Australian Tattoo Goo balm. Thinner consistency helps in dry climates and is handy for sessions where color saturation needs even hydration without pore-clogging.
-
Ciano tattoo aftercare spray. A lightweight spray can be easier on fine-line wrist and collarbone pieces that do not tolerate thick lotions in the early days.
-
Hada Labo lotion. A hydrating lotion many choose for daily skin prep and maintenance, useful for keeping surrounding skin supple on larger pieces.
-
Saniderm tattoo bandage. Protective film is the quick-choice for color work or busy placements because it reduces daily dressing changes and keeps friction away from fresh ink.
7. Anime-Style Straw Hat Emblem on Calf (Full Color)
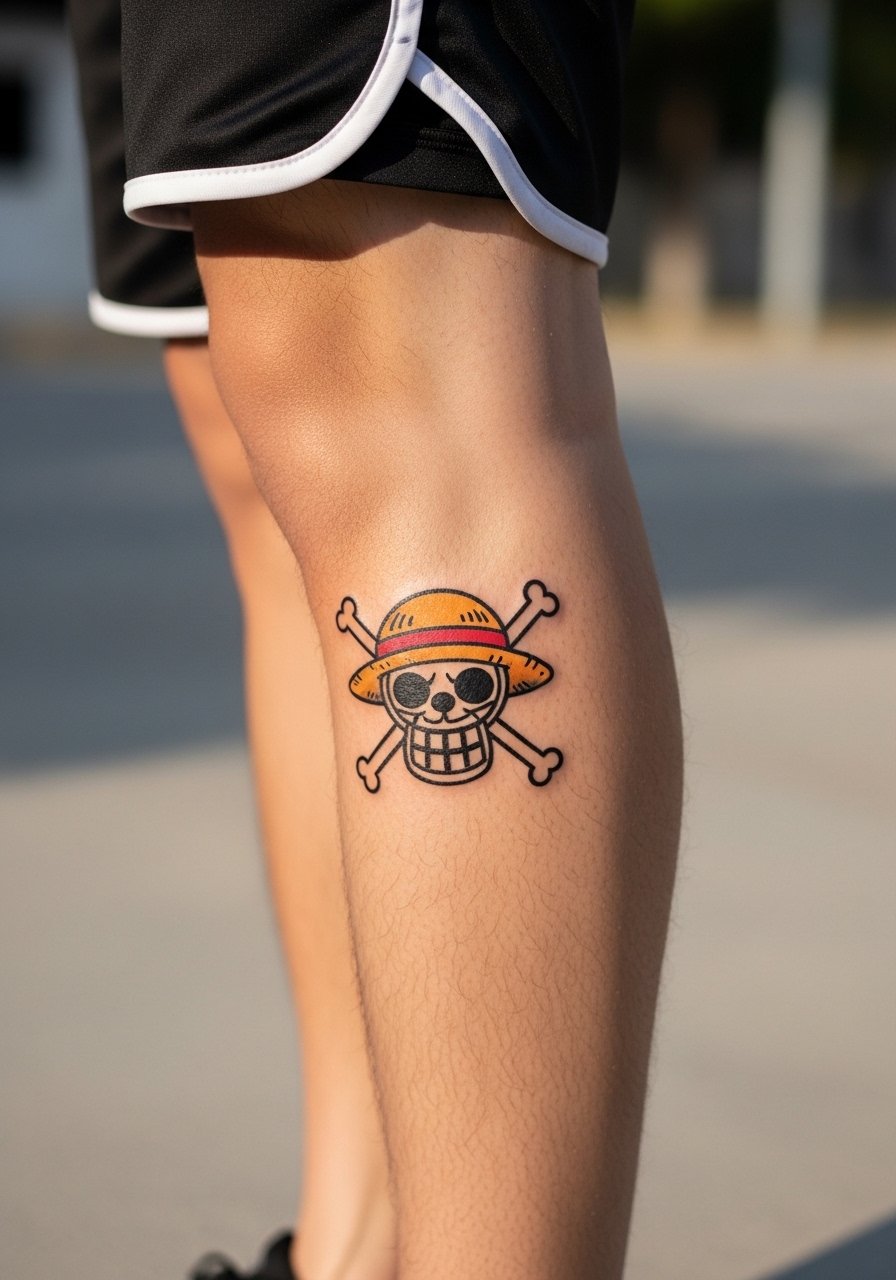
Visual impact lead. These illustrative pieces pop in full color and are best at 4 to 5 inches on the calf so the animation-style shading keeps clarity. Ask for slightly muted midtones rather than neon saturation so the color photographs well on different skin tones. Healing on calves can be tricky in summer, expect some scabbing and keep the area elevated when possible. Common regret is choosing a tiny version that loses faces or emblem detail. For session comfort wear loose jogger pants you can roll, and plan to show it off with athletic shorts men.
8. Minimal Luffy Straw Hat Silhouette on Inner Wrist
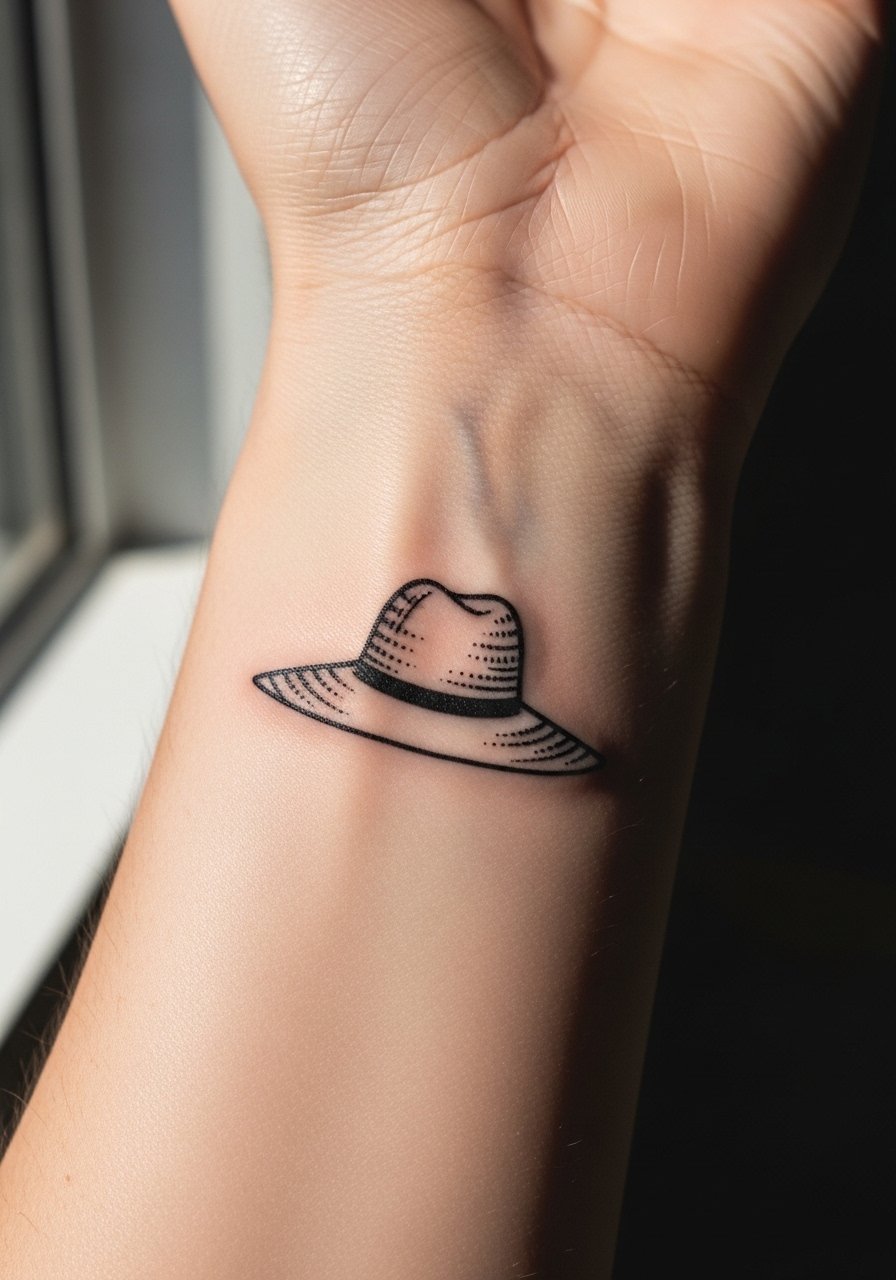
Personal observation lead. An inner wrist silhouette reads elegantly when sized at about two inches but it is highly exposed. Fine-line silhouettes here blur faster because of constant sun and washing. Ask for a slightly stronger outline and expect a touch-up at six to twelve months. The wrist is more sensitive than the outer forearm so numbing cream can help if you are anxious. For showcasing pair the piece with a minimalist leather bracelet on the opposite hand to avoid crowding the wrist.
9. Patchwork Crew Logos for Outer Forearm Sleeve Build
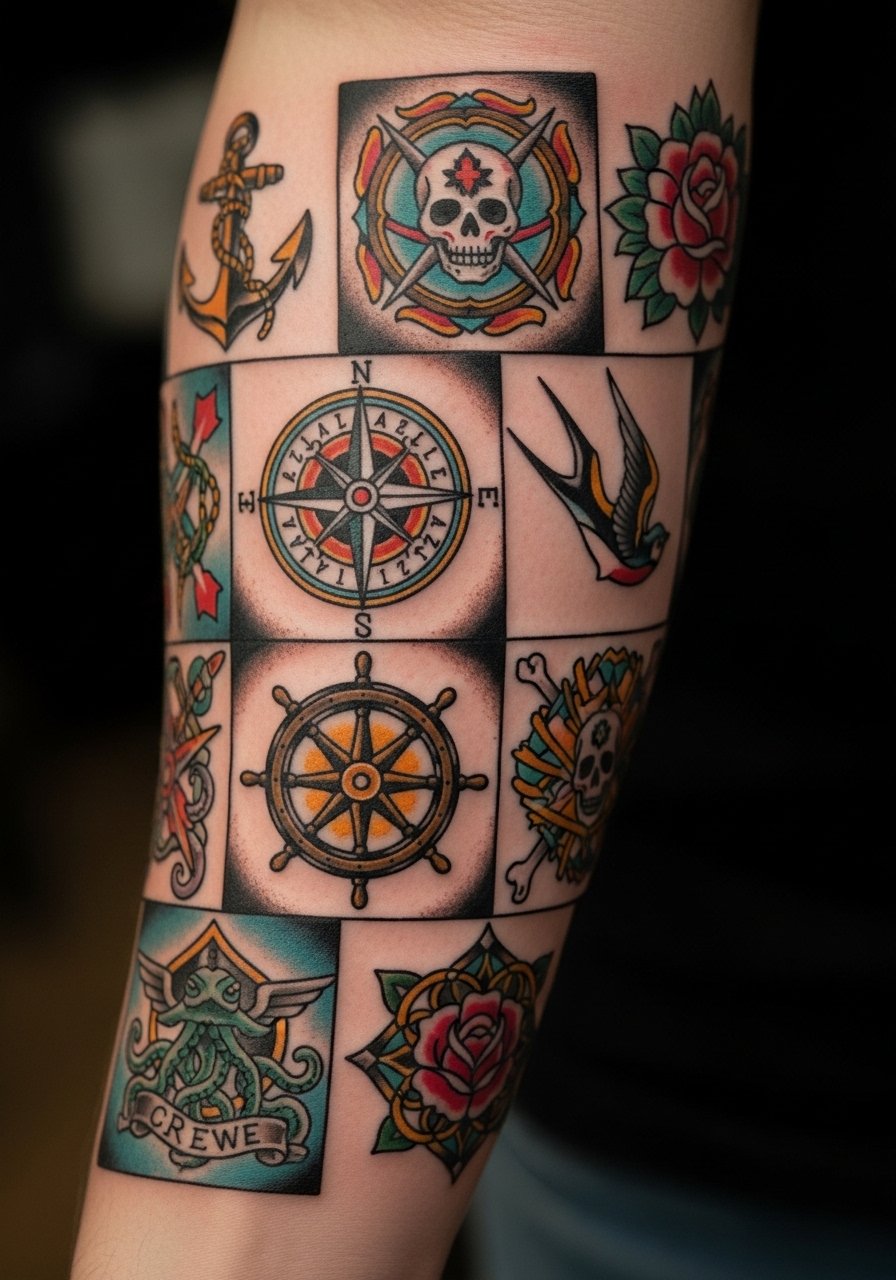
Consultation lead. This is for collectors planning incremental sleeve additions over years. Start with 3 to 4 inch patches spaced with breathing room so future pieces do not merge. Tell the artist you want distinct outlines for each patch and repeatable color palettes so the sleeve reads cohesive as it grows. Mistake is packing too many tiny elements early, which makes later linking work messy. Forearm pain is medium and sessions are modular. For showing it off, rolled sleeves and a thin silver chain bracelet complement the layered look.
10. Smiling Skull with Sails on Shoulder Blade
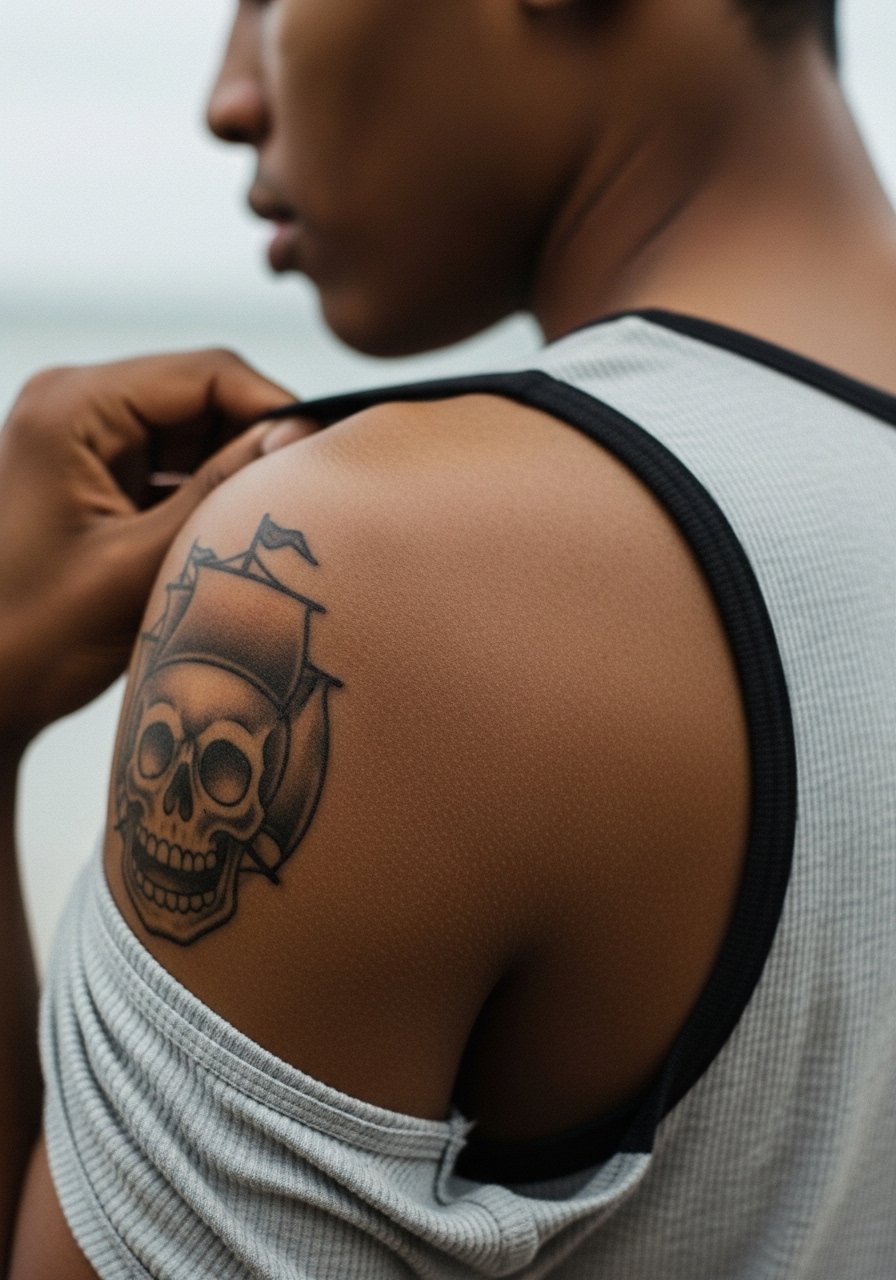
Visual impact lead. Shoulder blade gives enough real estate for sails and banner details without crowding. The shoulder tolerates saturation well so black and gray with selective color in the sails holds longer than a full watercolor fill. Session wear should be a button-down or tank you can shift for access. The main mistake is squeezing too much tiny text into the banner. This placement is low blowout risk and ages gracefully if you protect it from sun during the first month. Pair evenings with an off shoulder tee black to frame the design.
11. Fine Line Crossbones on Ankle
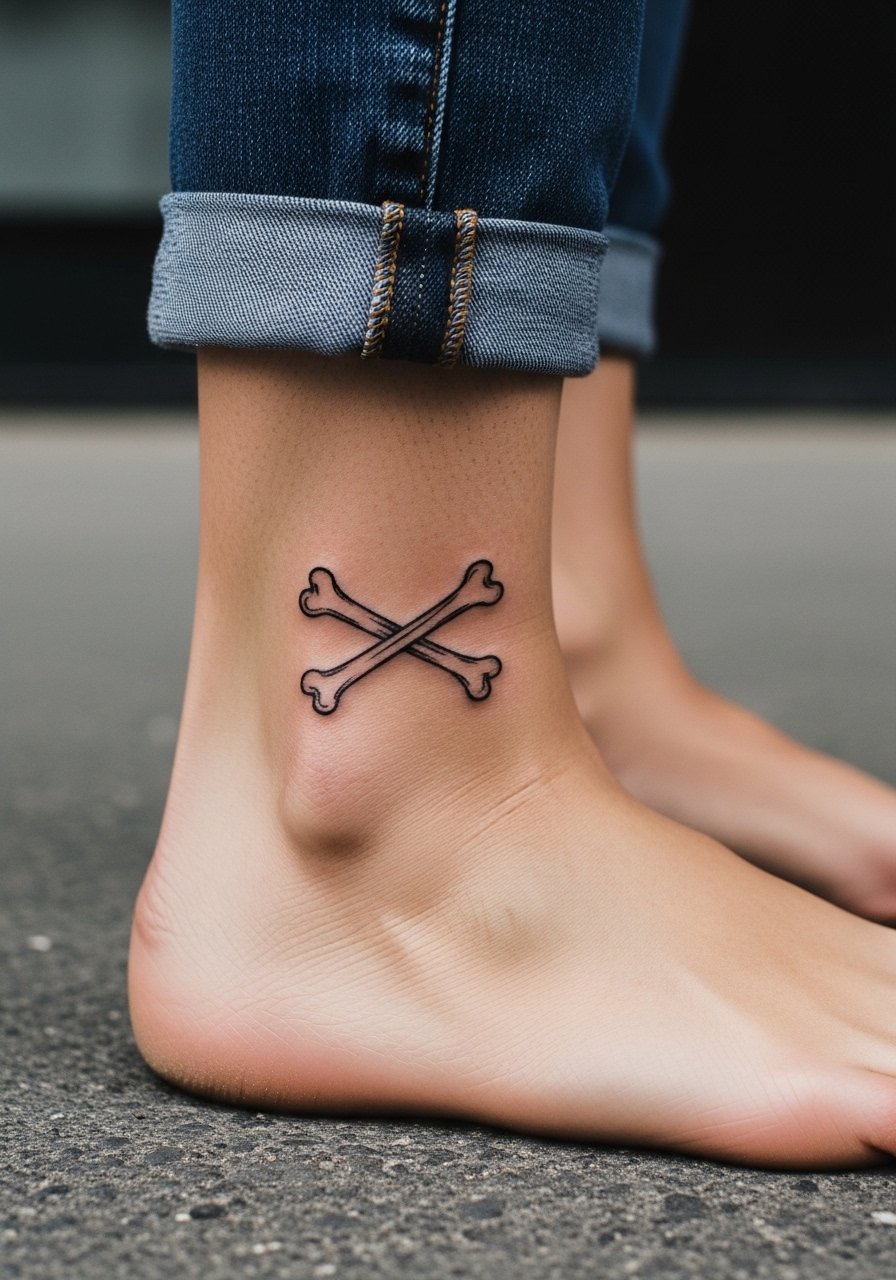
Mistake lead. The ankle looks cute for small symbols but knees and socks cause friction and delayed scab healing. Go for 2 to 3 inches with slightly firmer linework rather than whisper-thin strokes. Ankle work is low to moderate pain, and the healing period requires keeping shoes and socks loose. If you want to show it off, wear cropped jeans or boat shoes and a cropped straight jeans style to frame the area.
12. Straw Hat with Subtle Shading on Collarbone
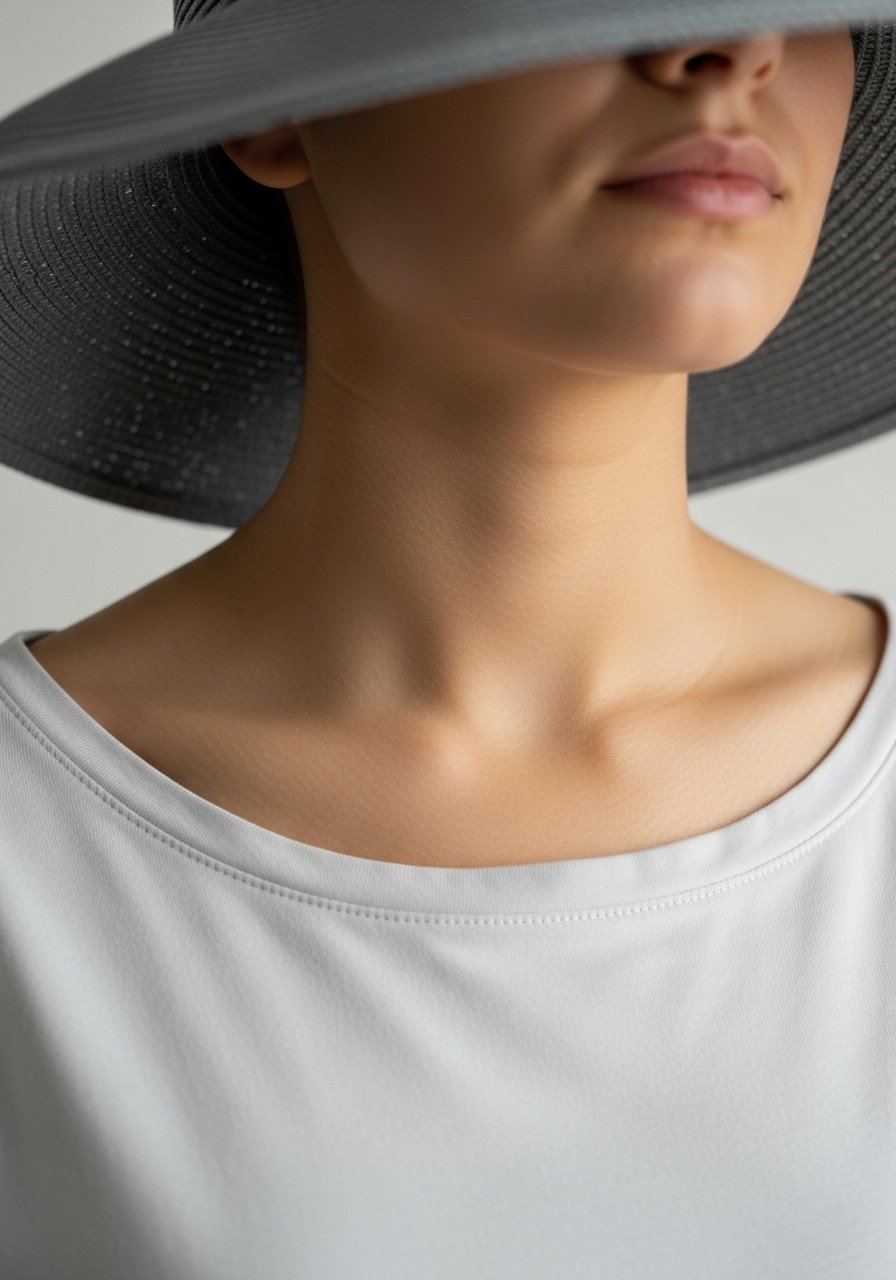
Aging/healing lead. Collarbone pieces look elegant but need spacing so shading does not pool into the bone shadow. Micro-realism shading that sits above the clavicle line ages better than dense fills right on the bone. Expect higher pain near the bone, and plan for short sessions. Ask your artist for softer gray gradients and avoid heavy color. For show-off looks choose a v neck sweater women or a strapless top for evenings.
13. Watercolor Jolly Roger with Ocean Flow on Outer Thigh
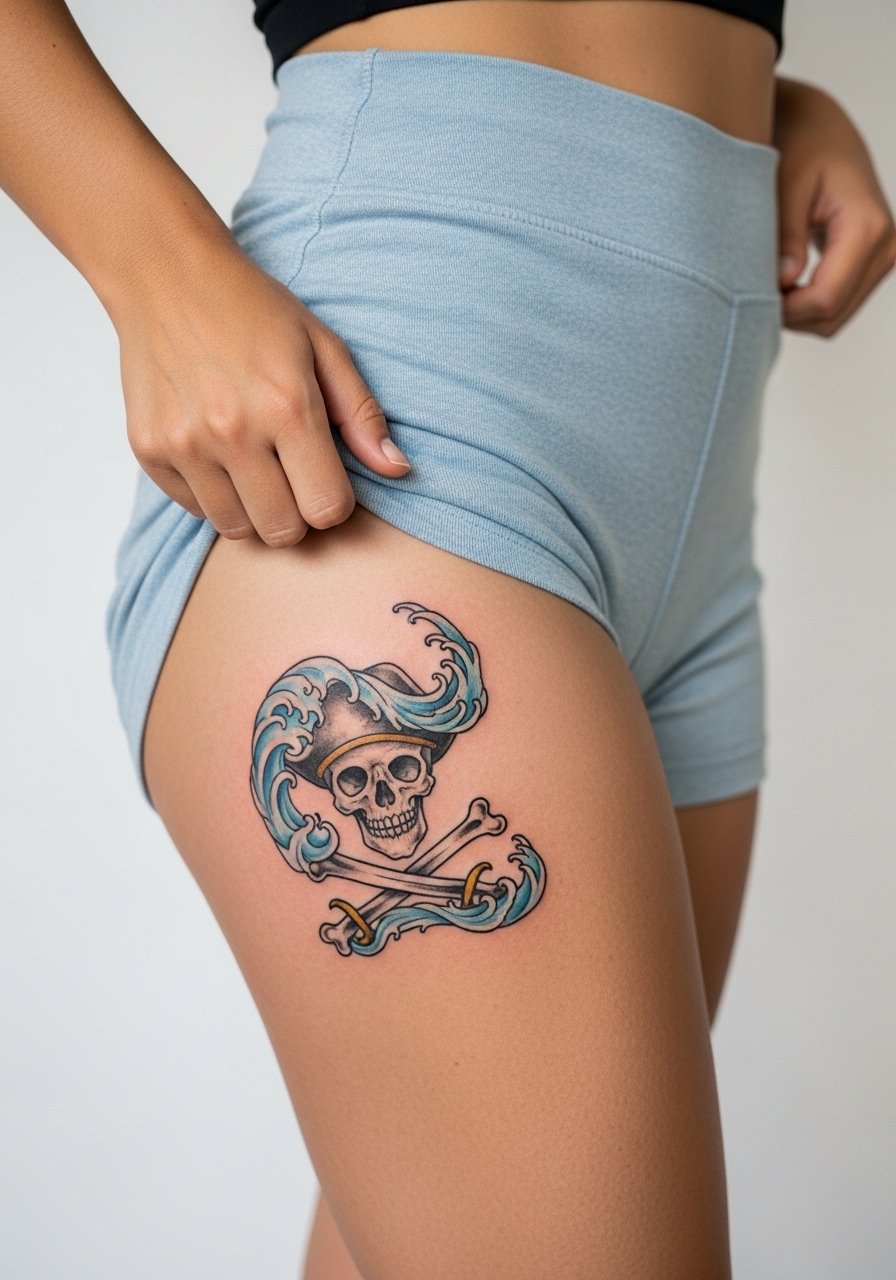
Aging/healing lead. Watercolor styles look spectacular fresh but they can lose brightness faster on sun-exposed sites. Thigh placement avoids UV and offers a private canvas, but stretching from muscle gain or weight changes can distort the wash. If you want watercolor, ask for anchoring outlines in select areas so the design keeps its shape. Session times vary and usually require two sittings for layering color. For showing it off, high-waisted shorts or an asymmetrical skirt pairs well with the piece.
14. Ignorant-Style One Piece Symbol on Outer Bicep
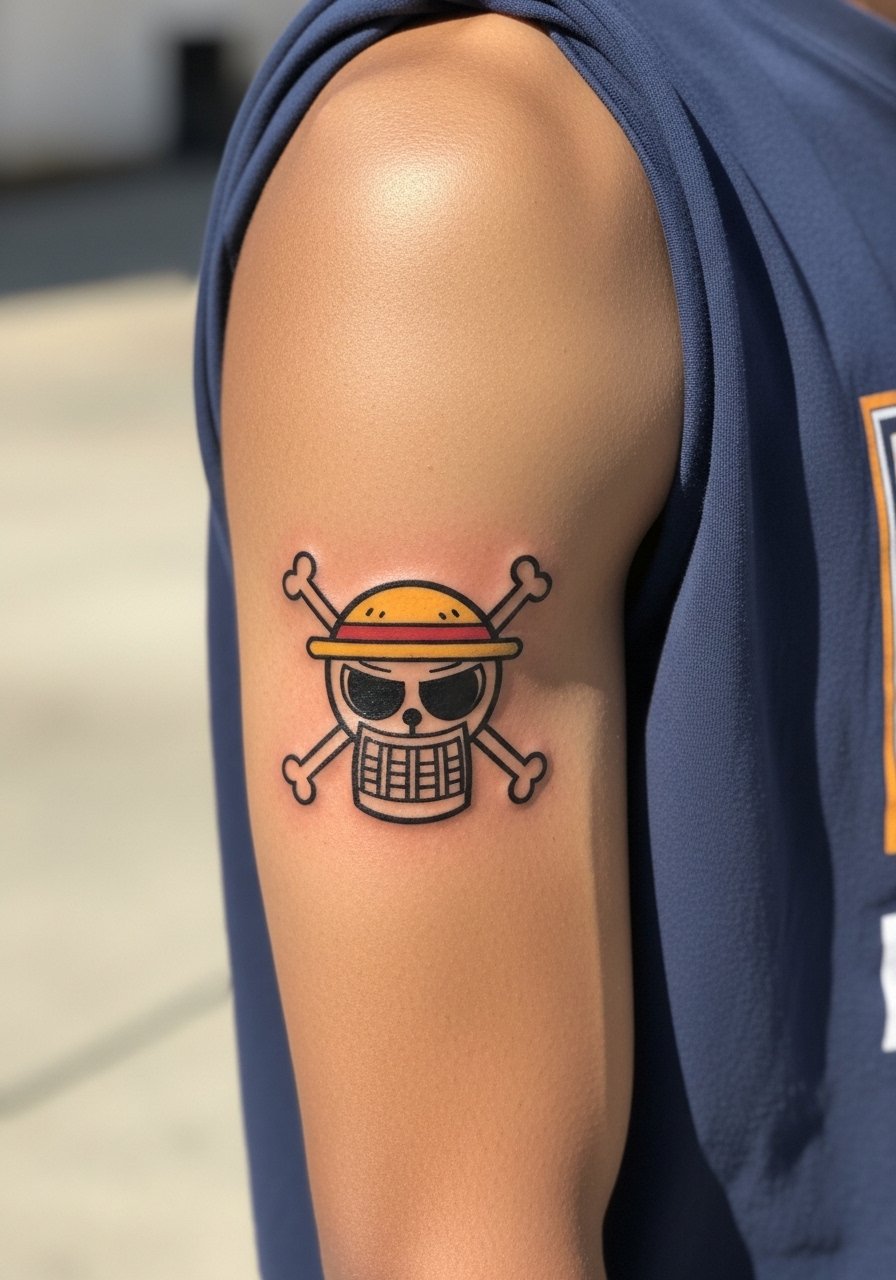
Mistake lead. The ignorant style uses intentionally naive, thick lines that age surprisingly well because the hand-drawn quality tolerates movement and minor blowout. This is a good pick if you want an anti-perfection vibe without constant touch-ups. Outer bicep is low pain and heals cleanly. During consultation ask for confident, uneven strokes rather than machine-perfect symmetry. Pair with a loose tank top to show the bicep lines.
15. Dark-Skin Optimized Blackwork Jolly Roger on Upper Arm
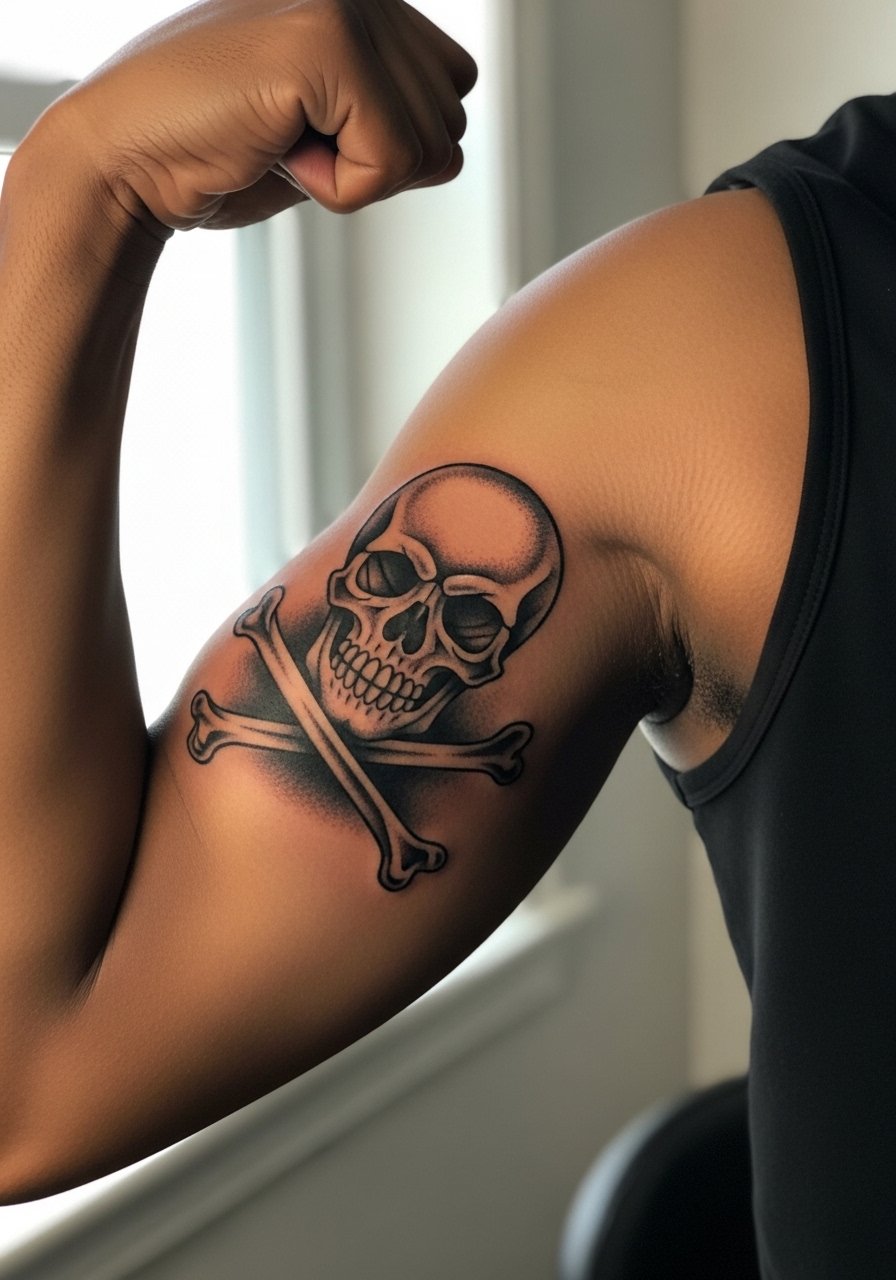
Controversy lead. For dark skin tones, artists split on whether color or blackwork photographs better. One camp favors high-contrast blackwork with strong negative space, the other uses saturated color with bold outlines. For long-term clarity pick high-contrast blackwork and ask to see healed portfolios on similar skin tones. This approach reduces the risk of colors appearing muddy in photos and keeps the skull reading clearly as the skin ages. Upper-arm pain is mild and touch-ups are uncommon if saturation is solid. For show-off pairing pick an off shoulder tee black.
16. Thigh Inner Waves with Private Placement
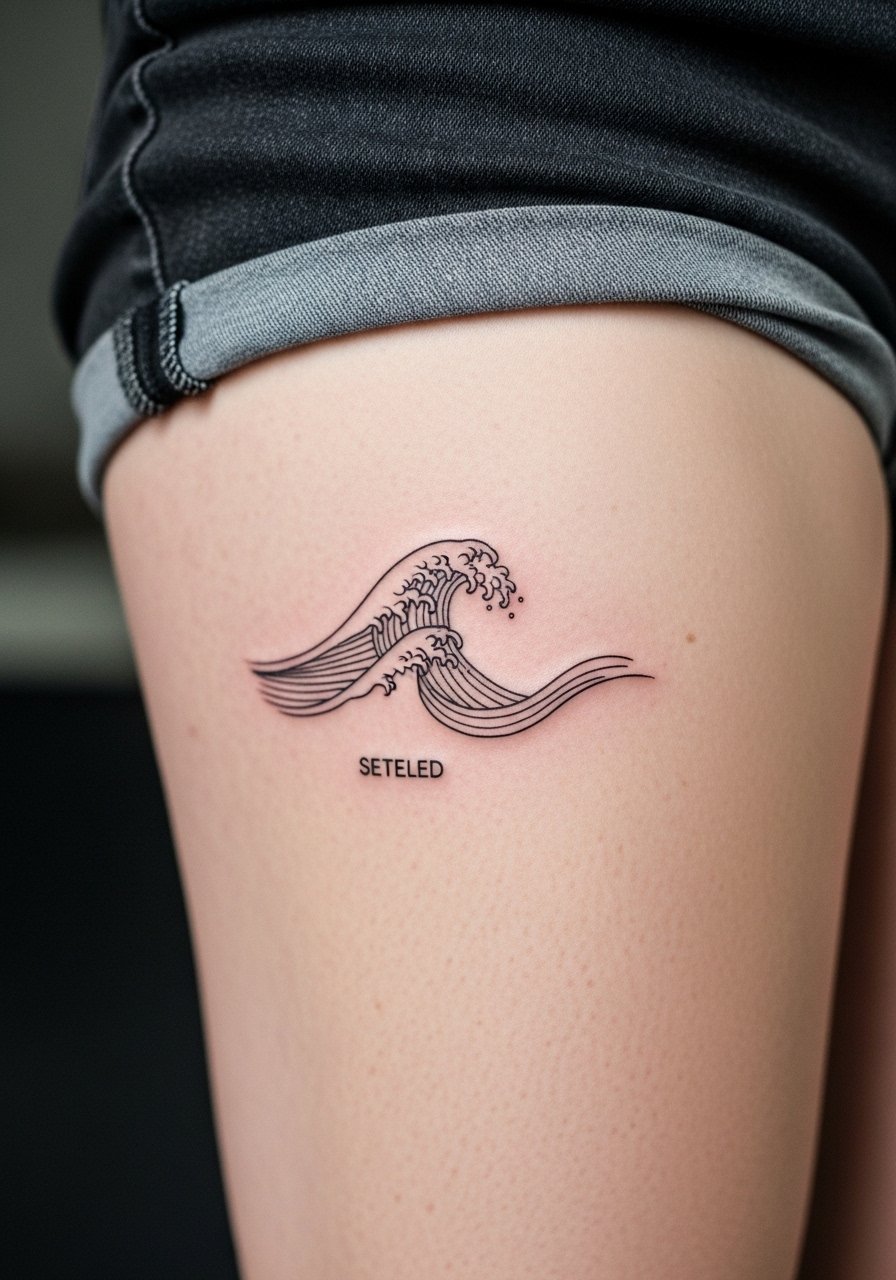
Sensitive placement note: inner thigh shots show only the tattoo zone with clothing visible. Decision-pressure lead. Inner-thigh pieces are very private and great for people who want a hidden crew mark. The skin in this area can shift with muscle tone, so avoid extremely dense detail. Expect medium pain and plan session wear with loose shorts you can pull aside. Common regret is picking a design too close to the groin where movement and friction delay healing. For session comfort bring a pair of high waist denim shorts to make access easy.
17. Patchwork Evolution Sleeve Starter on Outer Forearm
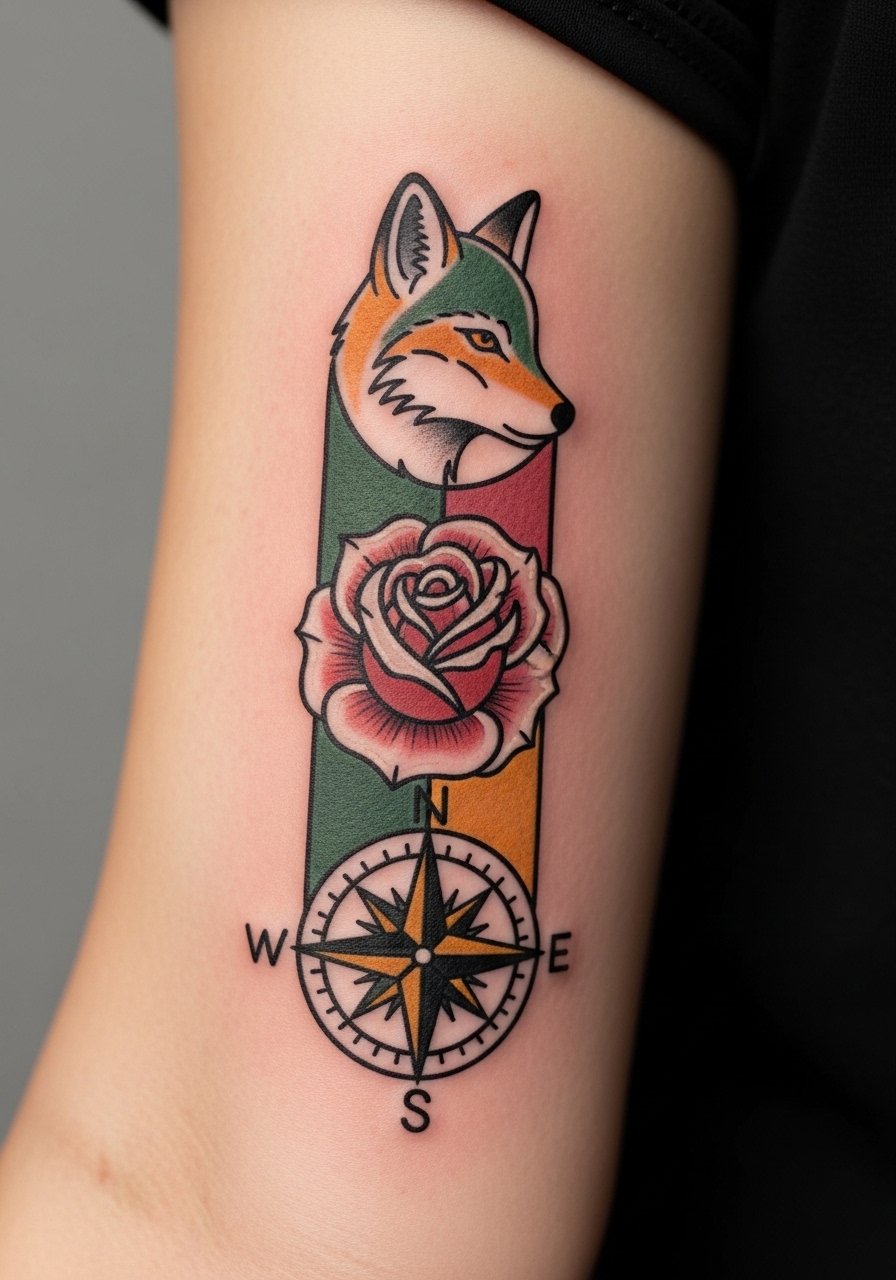
Personal observation lead. If you plan to build a sleeve over years, start with larger 3 to 4 inch patches and leave consistent negative zones for future linking. Discuss a palette rule with your artist so new pieces follow the same saturation and outline conventions. A common error is starting too small or inking unrelated palettes that clash later. Forearm sessions are predictable in pain and healing, making this a good first step for collectors. Pair early stages with a loose fit button shirt men during appointments for easy access.
Frequently Asked Questions
Q: Will a fine line Straw Hat on my wrist need touch-ups faster than a small blackwork skull?
A: Fine line on the wrist usually needs a touch-up sooner because the skin there sees constant washing and sun exposure. A small blackwork skull with stronger outlines generally ages more predictably. If you like fine line, plan for a touch-up at six to twelve months and ask the artist to space the lines for longevity.
Q: How should I protect a calf One Piece design through summer training sessions?
A: Keep the area dry and avoid tight socks or leggings during the first two weeks to prevent excess sweat from lifting scabs. If you run a lot, plan workouts around fresh sessions or choose a slightly higher placement on the calf where your shorts naturally cover the area. Loose athletic shorts help with access during the session.
Q: Are watercolor Jolly Roger designs a bad idea for dark skin tones?
A: Watercolor can work on darker skin if the artist plans high-contrast anchors and avoids pastel-only washes. Many people on darker tones prefer blackwork accents to keep shapes readable. Ask to see healed examples on similar skin before committing.
Q: What should I wear to a shoulder blade session to make the appointment smooth?
A: Bring a tank top or button-down you can shift to the side for access. A loose, breathable top is best so you can stay comfortable during a one- to two-hour session. If you want recommendations for a show-off top after healing try a strapless crop top for evenings.
Q: How do guest-artist cancellations affect scheduling for sleeves and patchwork builds?
A: Guest-artist flakeouts are real. Ask about deposit policies and the studio's backup plan before booking long-term sleeve work. Consider booking with two regular artists who can follow the same palette if your original guest cancels.
