
Fine line Daruma motifs keep popping up on saved boards, but what lasts often looks different from what photographs best fresh. Trends push tiny detail and watercolor blends, while the designs that read as "lucky" over time usually leave room for breathing space and deliberate saturation choices. Below are 17 abstract Daruma doll tattoo ideas that balance symbolism with longevity, plus practical notes to bring to your consultation.
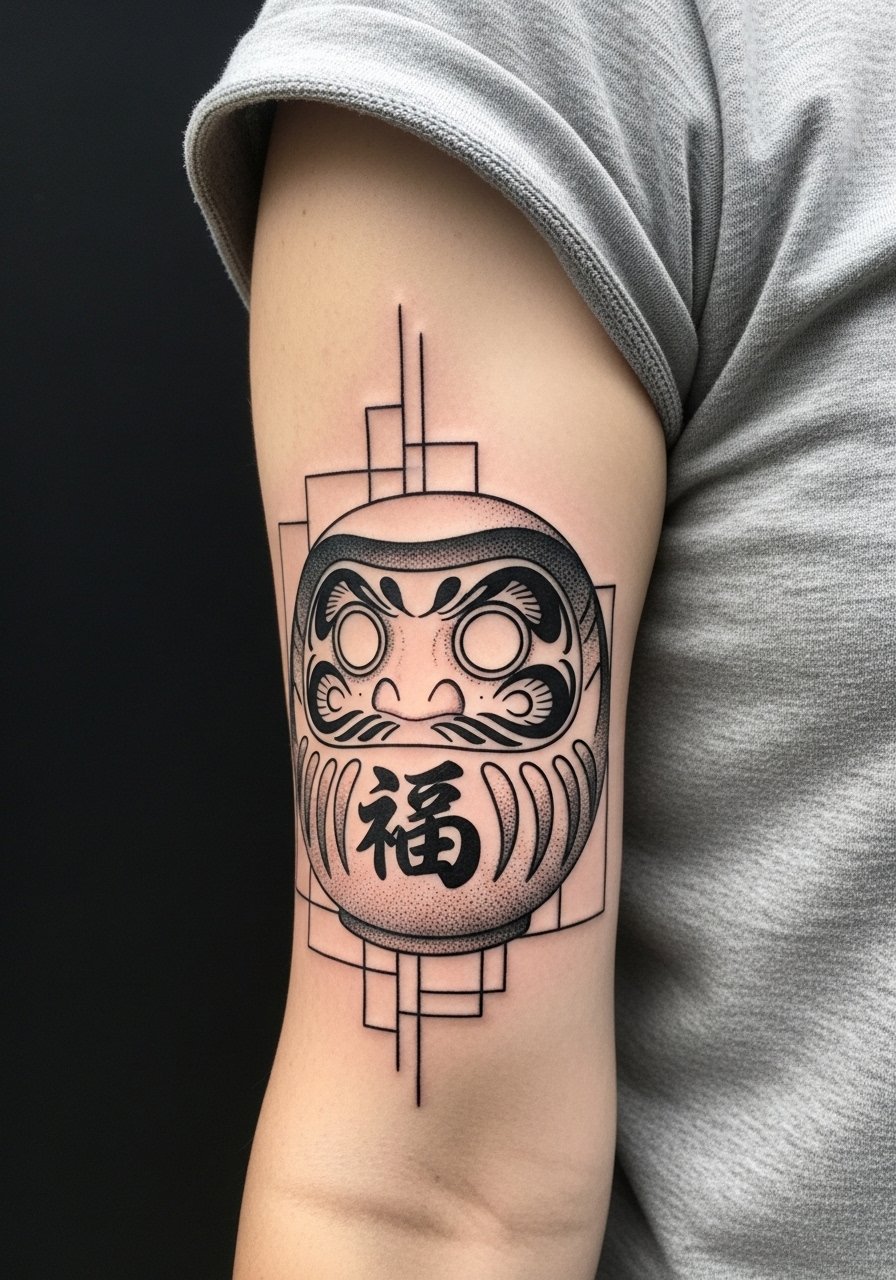
1. Inner Forearm Linear Daruma Wrap
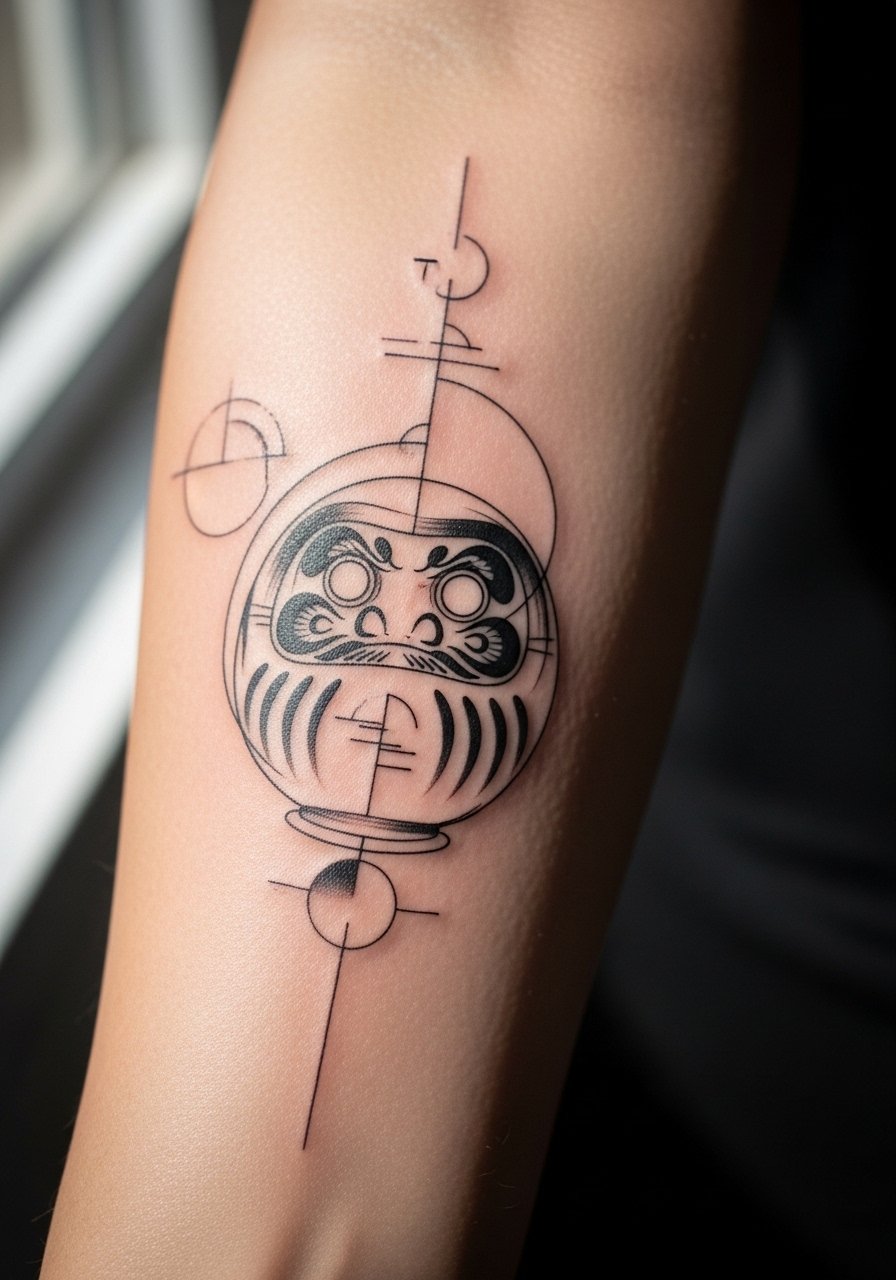
I recommend this placement for people who want a visible piece that can be shown or covered easily. Fair warning, the inner forearm is forgiving for linework but suffers with overly tight detail. Ask your artist to space facial features and eyes so the dots do not merge at year two. The session feels like a steady two to three hours, light to moderate pain. Expect a touch-up at year three to maintain crispness if you go ultra-fine. For showing it off, rolled sleeves and a loose button-down shirt frame the wrap without obscuring the curve.
2. Minimalist Back-of-Arm Daruma Sigil
The back of the arm reads like a secret symbol that peeks out with sleeveless shirts. The biggest mistake is compressing the design into a tiny badge. Make it moderate in scale so stipple shading holds up. The session is quick and tolerable with intermittent breaks if needed. Blowout risk is low here compared with the inner wrist, but poor needle depth still blurs stipple areas, so say you want visible dot work, not a faded wash. Pair this with racerback tanks to show the sigil without exposing the whole arm.
3. Wrist Micro-Daruma Charm
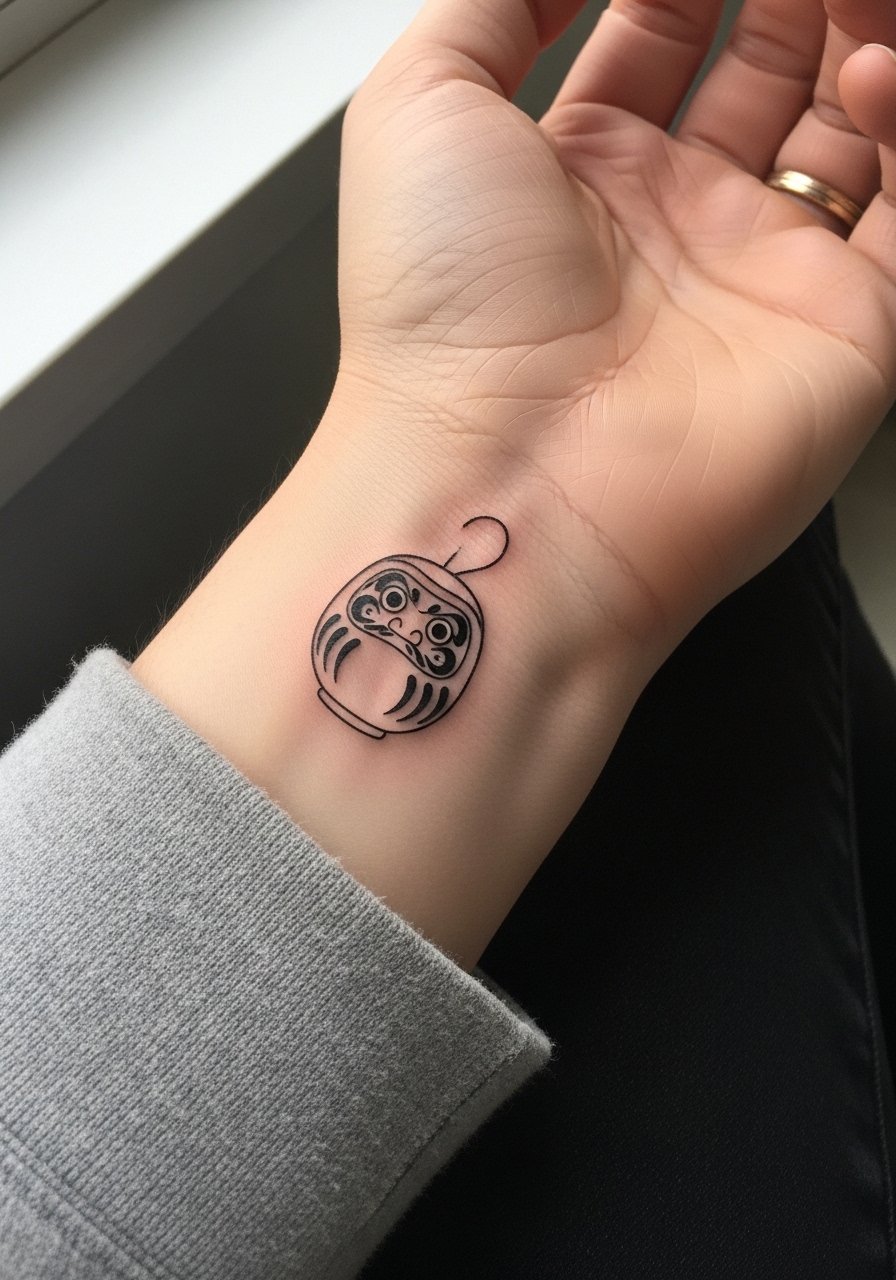
Wrist pieces are high-contact and high-visibility. Pain is low to moderate, but the real issue is friction from sleeves and bracelets during healing. Ask the artist for slightly bolder linework than you think you want so the core shape remains at year two. Session time is short, often under an hour, but touch-ups are common because of wear. For showing it off, a thin chain bracelet or a minimalist watch complements without crowding the tiny Daruma face.
4. Ankle Abstract Daruma Orbit
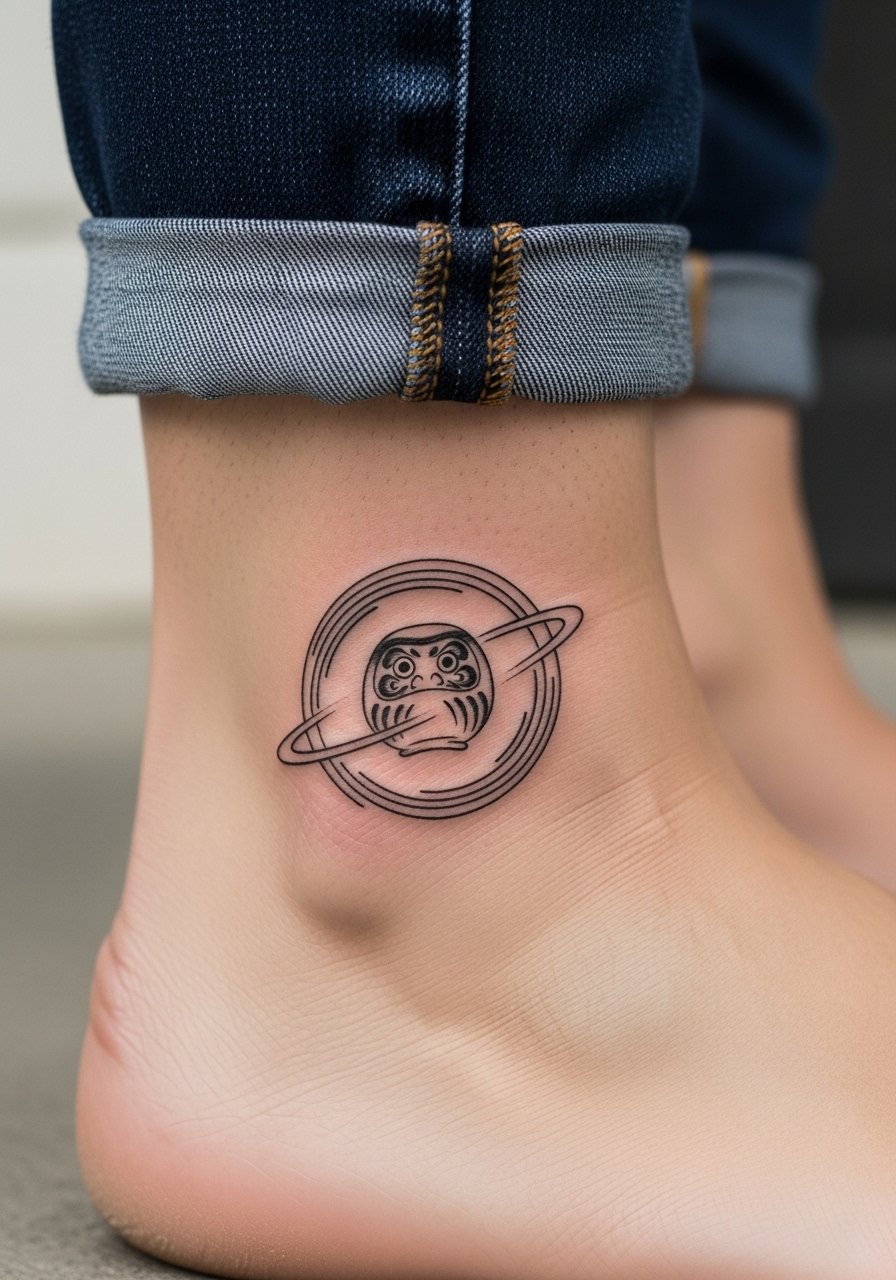
Ankle ink endures lots of movement and shoe friction. The common mistake is going too detailed in a small patch. Recommend broad outer lines with inner negative space so the silhouette stays intact through seasons of sock rubbing. The session is quick but expect soreness the first 48 hours. For evenings out or sandals season, pair with ankle strap sandals or rolled hems to keep the orbit readable and framed.
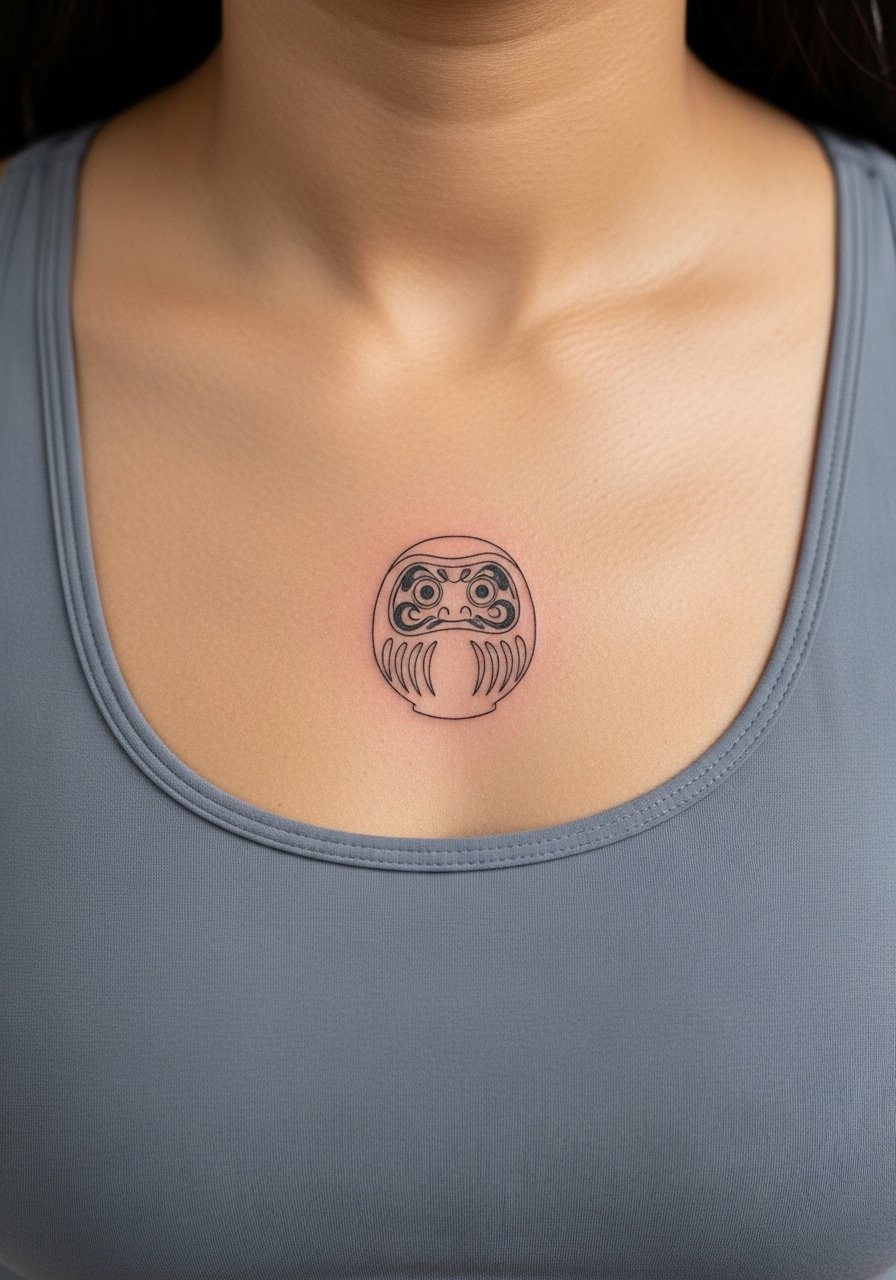
5. Collarbone Stylized Daruma Crest
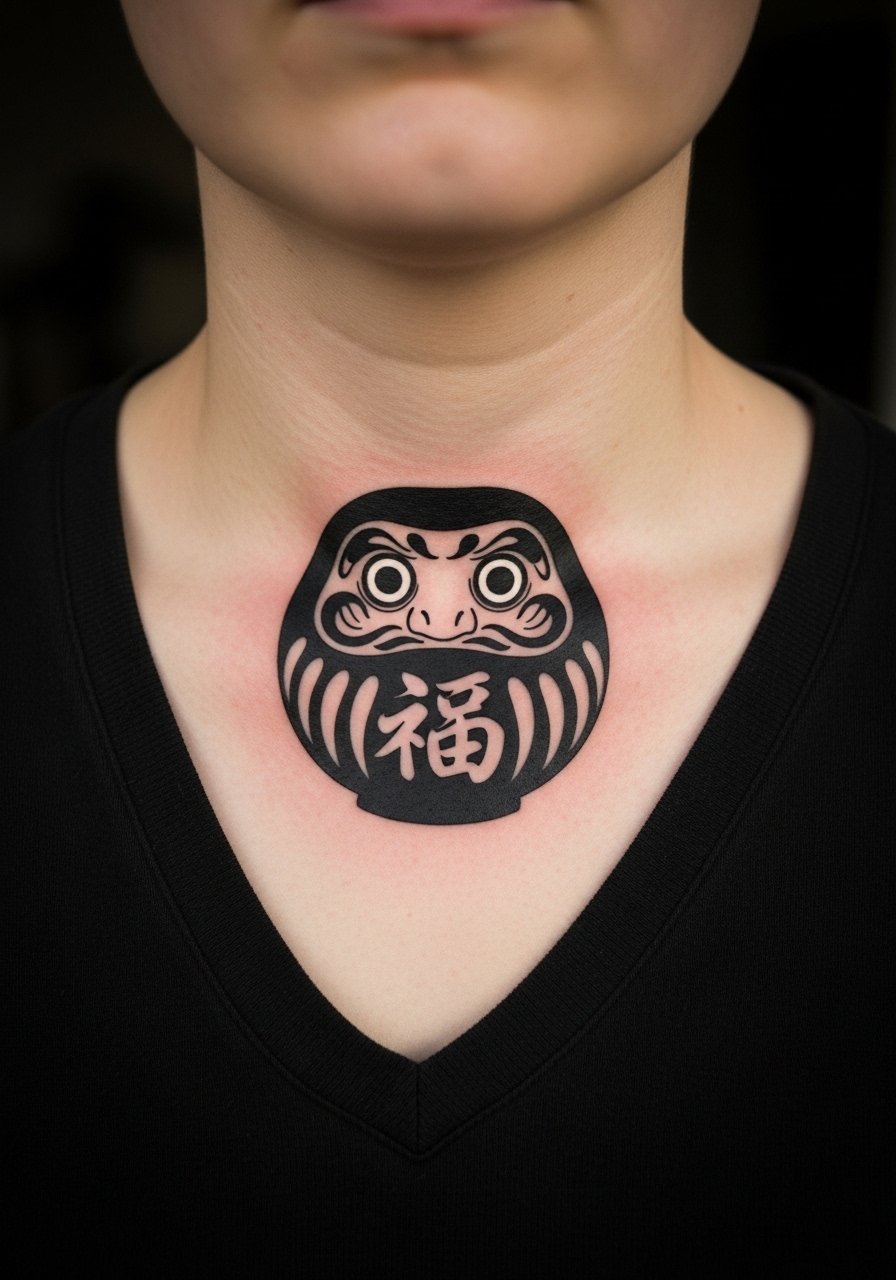
Collarbone pieces age well when spacing and saturation are considered. Pain spikes where the bone is shallow, so plan on breaks and a two-hour session. The design that holds up uses bolder outline along the crest with internal negative space instead of tiny concentric details. A common regret is choosing a hairline outline that blurs into the collarbone shadows. For outfits, an open-back midi dress or wide-neck tees frame the crest without competing with jewelry.
6. Ribcage Modern Daruma Fragment
Fair warning, ribs are a sensitive area and opinions split on fine line here. One camp argues that the skin stretch and healing motion blur fine line within two years. The other camp says careful depth and spacing let fine line settle well. I advise discussing both views with your artist and asking to see healed rib photos. Expect a longer session with frequent breaks, and plan for a possible touch-up at year two to re-sharpen contour lines. For the session, wear a zip-up hoodie you can open for access without undressing fully.
7. Sternum Simplified Daruma Mandala
Sternum work asks for careful spacing. The skin curves and moves, so dense mandala detailing can merge over time. The common mistake is packing too many dots and tiny petals in the center. Tell your artist you want airy negative spaces and occasional stipple shading rather than continuous fill. Sessions are moderate to high on pain, so plan for multiple shorter passes if needed. For the appointment, a strapless or fitted sports bra is the easiest to maneuver. Also be mindful that some people prefer slight variations on religious or cultural symbols out of respect.
8. Watercolor-Adjacency Daruma Splash
Many clients want watercolor fills with thin line Daruma faces. There is a debate in the community about whether watercolor approaches add artistic value or compromise longevity. One camp loves the painterly texture and accepts color loss over time. The other camp prefers stable saturation and crisp outlines for longevity. If you want the watercolor effect, ask for pigment anchors and slightly stronger outlines around key shapes to preserve the silhouette as colors fade. Upper arm placement takes moderate pain and usually needs a two-hour session. Pair this with rolled-up linen shirts to let the wash peek without competing with patterns.
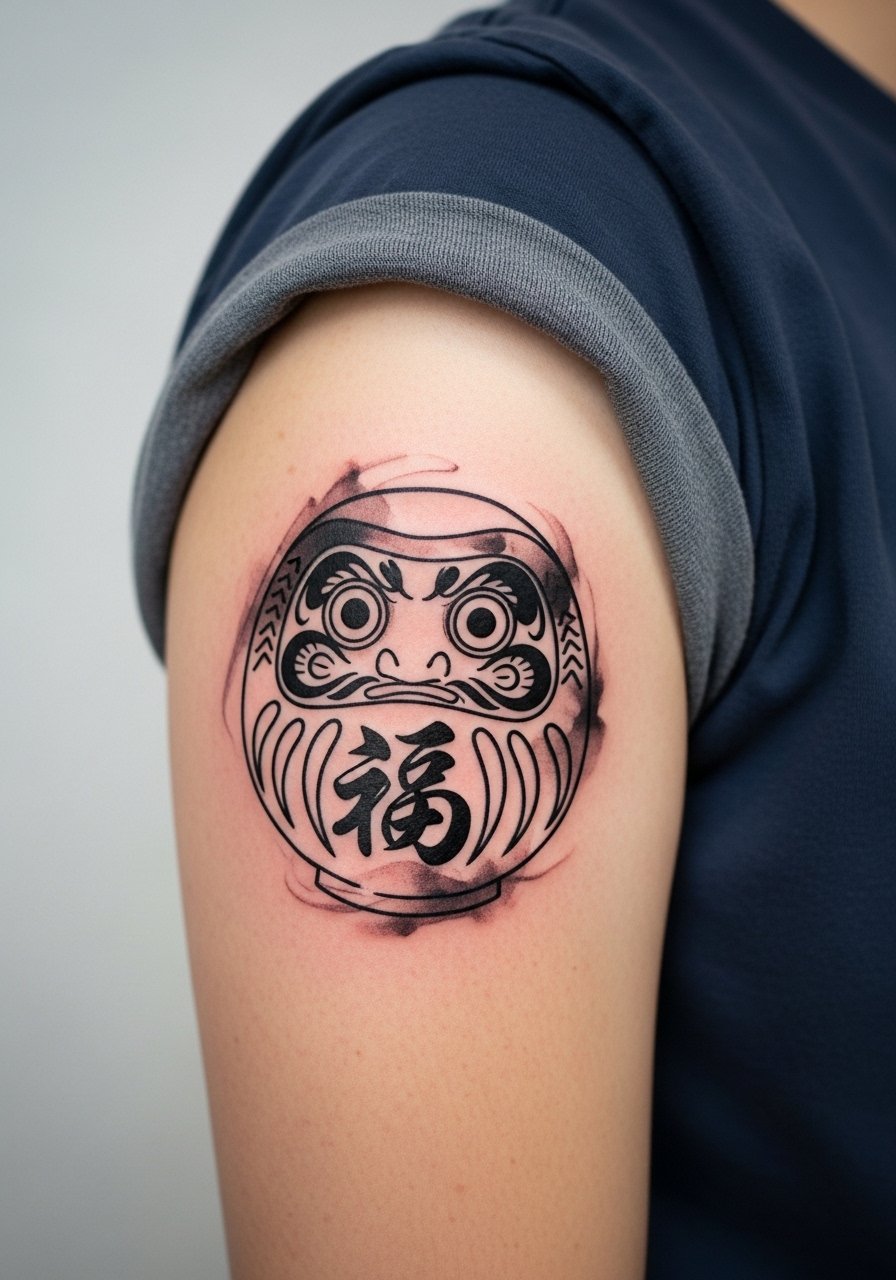
9. Abstract Daruma Sleeve Accent
When integrating a Daruma into a sleeve, the key is narrative flow. The usual error is pasting a standalone Daruma that fights the sleeve's movement. Ask your artist to treat the motif as a recurring glyph with negative space transitions. Sessions vary but expect multiple sittings totaling six to ten hours for a cohesive half sleeve. A strategic approach preserves linework and saturation by spacing elements out and mixing stipple with bold anchors. For showing off larger arm work, a loose button-down shirt with sleeves pushed up looks intentional and gives a clean frame.
10. Finger Pin Daruma Mark
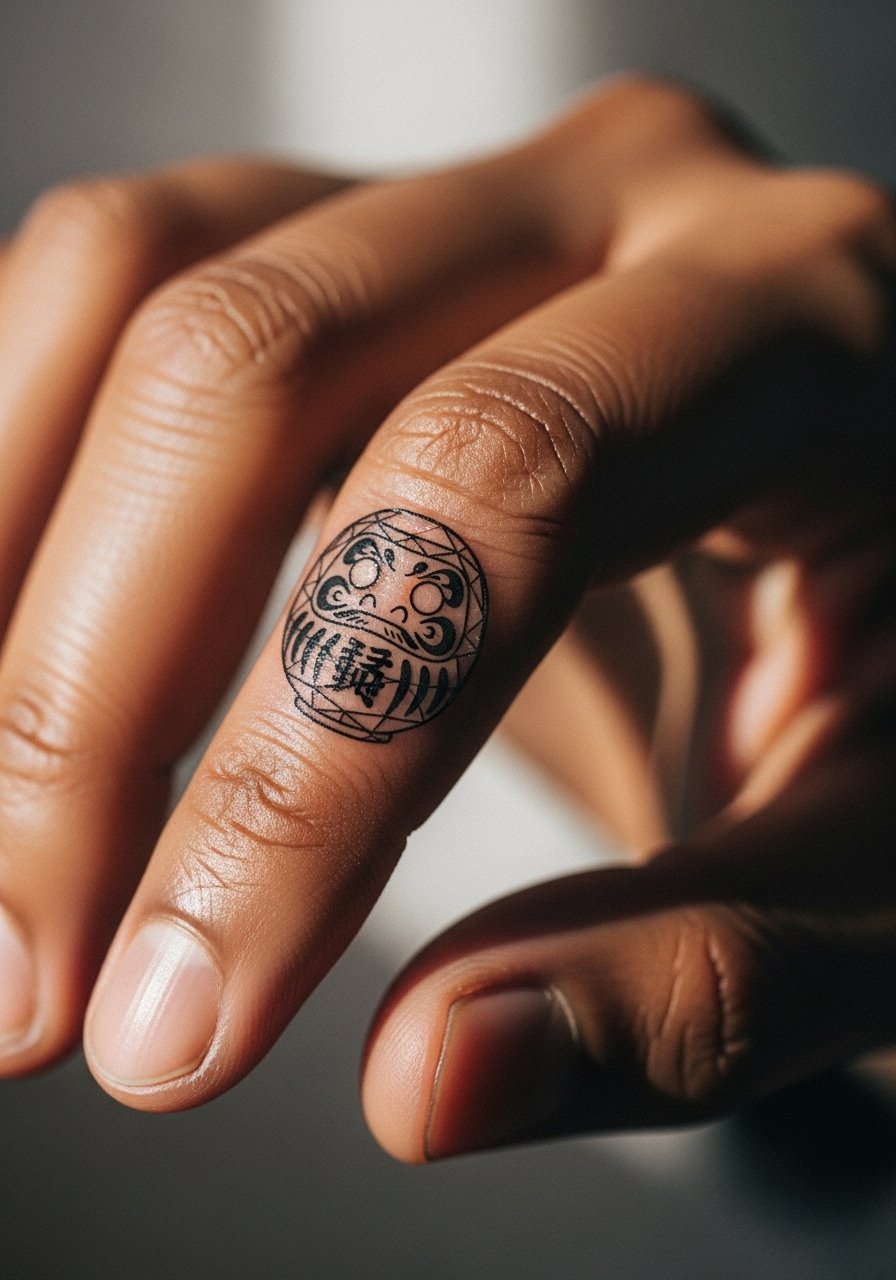
Finger tattoos are the highest maintenance in this list. They face constant washing, sun, and abrasion. The most common mistake is expecting the first pass to stay intact for long. Tell your artist you understand touch-ups are likely and prefer bold simplified shapes that translate into wear. Sessions are quick but painful for the bone and nerve endings. Expect re-inking at nine to eighteen months. Keep jewelry minimal during healing and choose rings that do not rub the ink.
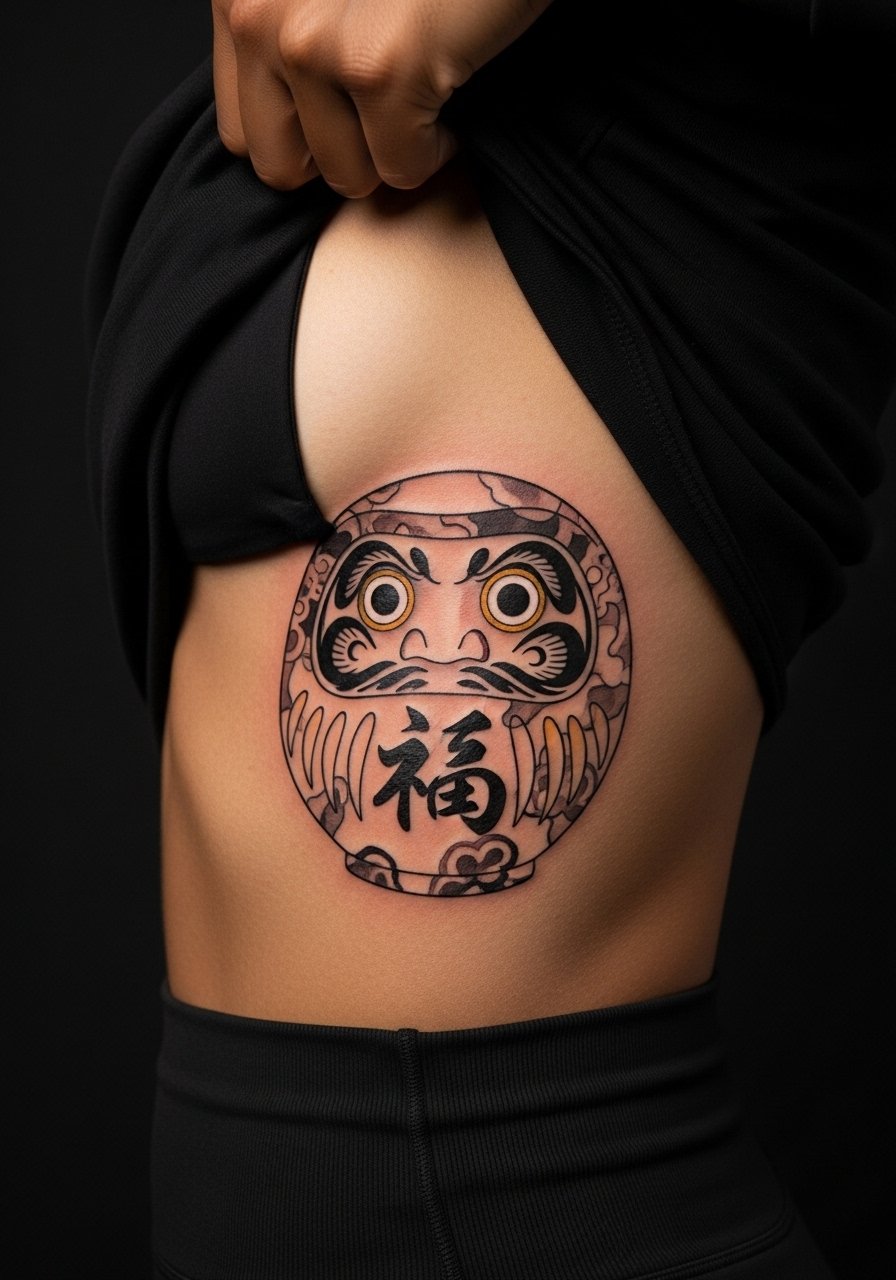
11. Thigh Abstract Daruma Panel
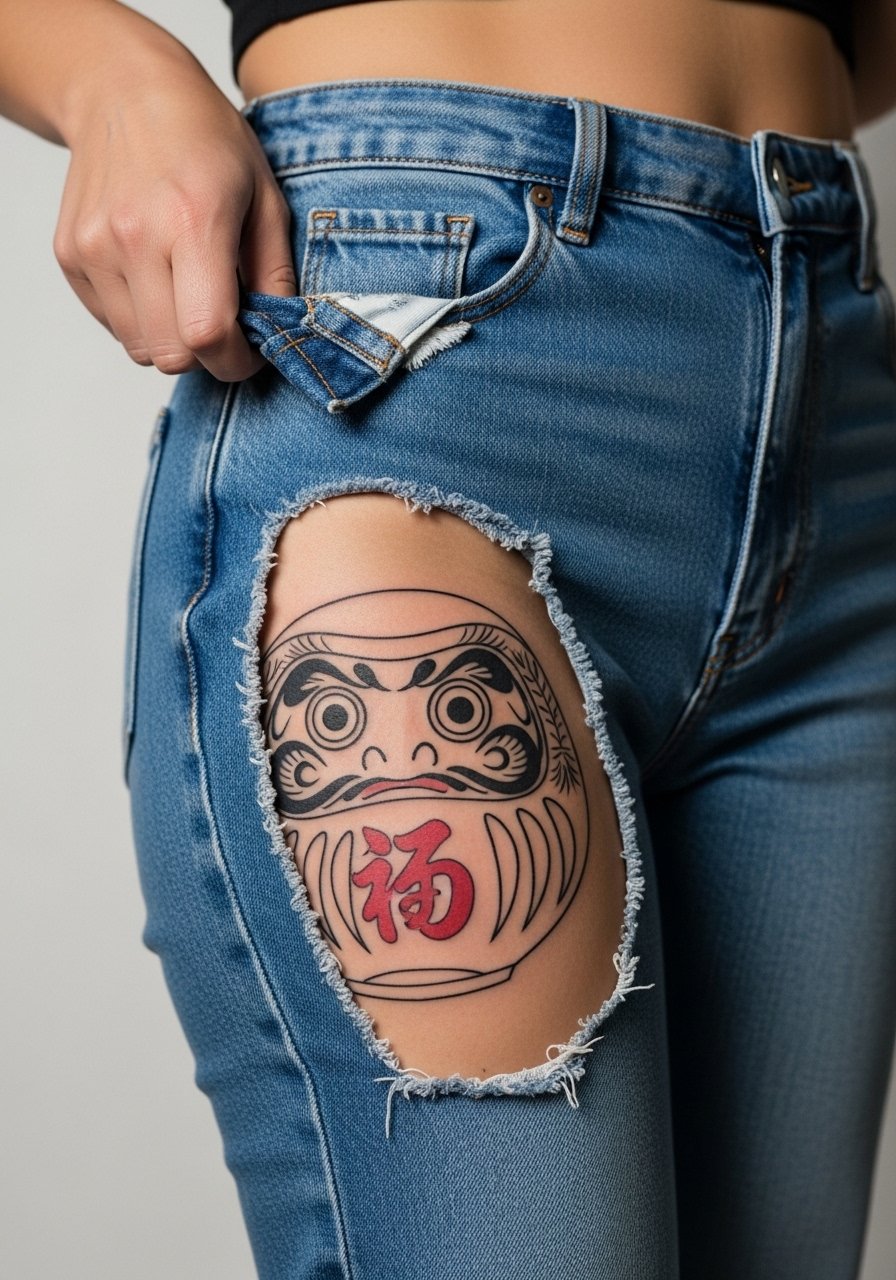
Thighs are an excellent canvas for larger, more experimental Daruma compositions. They hold saturation well and tolerate dense detail. The common mistake is underestimating the scale needed for micro detail to survive. I suggest requesting test stencils at life-size during consultation so you can see how it settles on the curve. Sessions range from two to four hours, moderate discomfort. For the session wear, shorts or a skirt you can shift easily are best. For showing it off, high-waisted shorts and wrap skirts frame the panel nicely. Try a loose drawstring linen pant for transit to the studio.
12. Lower Back Simplified Daruma Mark
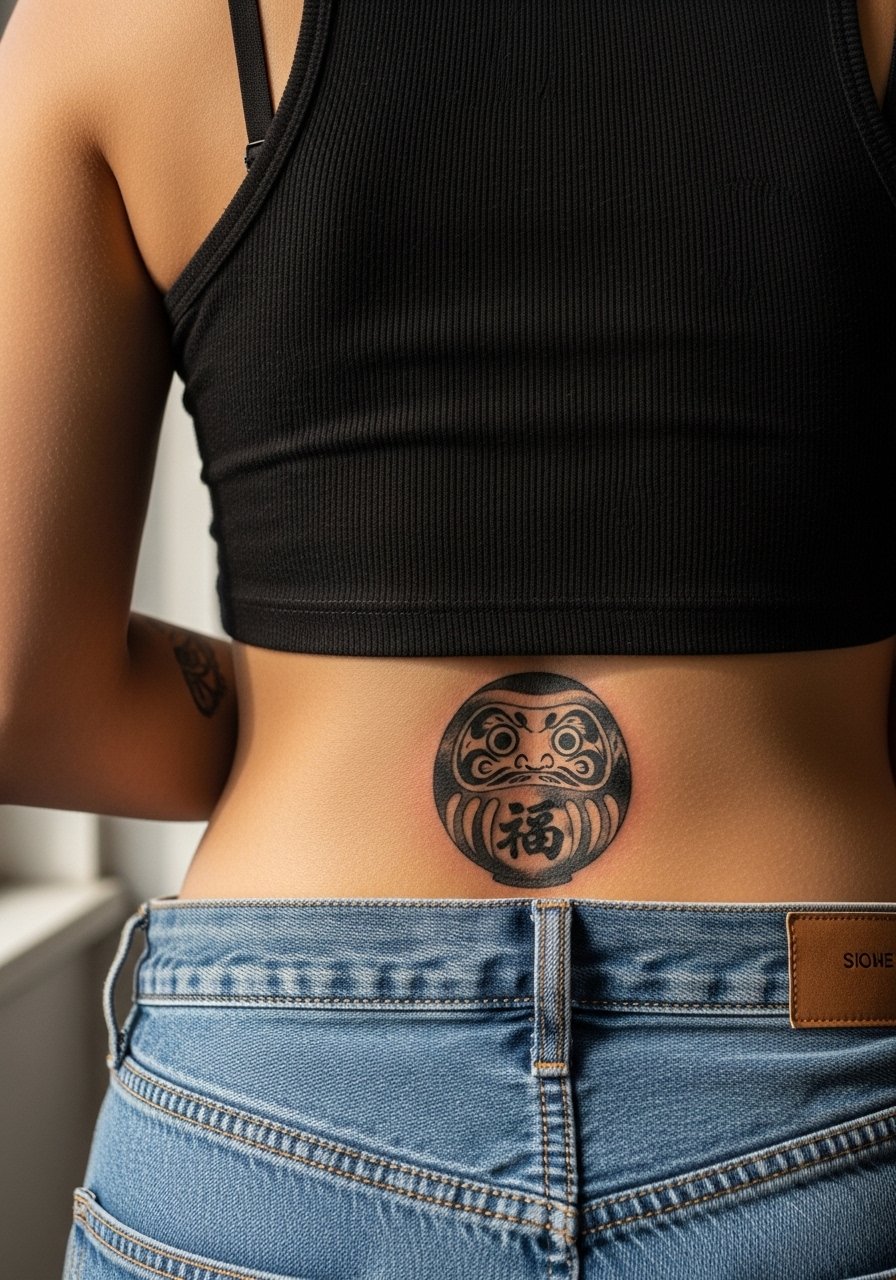
Lower back designs heal well when kept bold and central. The error here is asking for ultra-fine detail across a wide area that will migrate with body movement and clothing pressure. Sessions are moderate, and you may notice tenderness when sitting for long periods the first week. If you plan to wear belts or high-waisted items, ask the artist to position the design slightly above where belts typically sit. For wardrobe, a tank top with high-waisted skirt combination keeps the lower back visible without constant rubbing.
13. Behind-the-Ear Subtle Daruma Glyph
Behind-the-ear tattoos are intimate and discreet. Keep the design minimal because space is tiny and the area is sensitive. The mistake is overcomplicating the glyph with too many tiny shapes. Sessions are short but the location can tingle during healing. This area can affect job perceptions in some professions, so weigh visibility. Seek artists who show healed photos from behind-the-ear placements and use discovery pathways like convention guest lists or local shop directories to find someone comfortable with that zone.
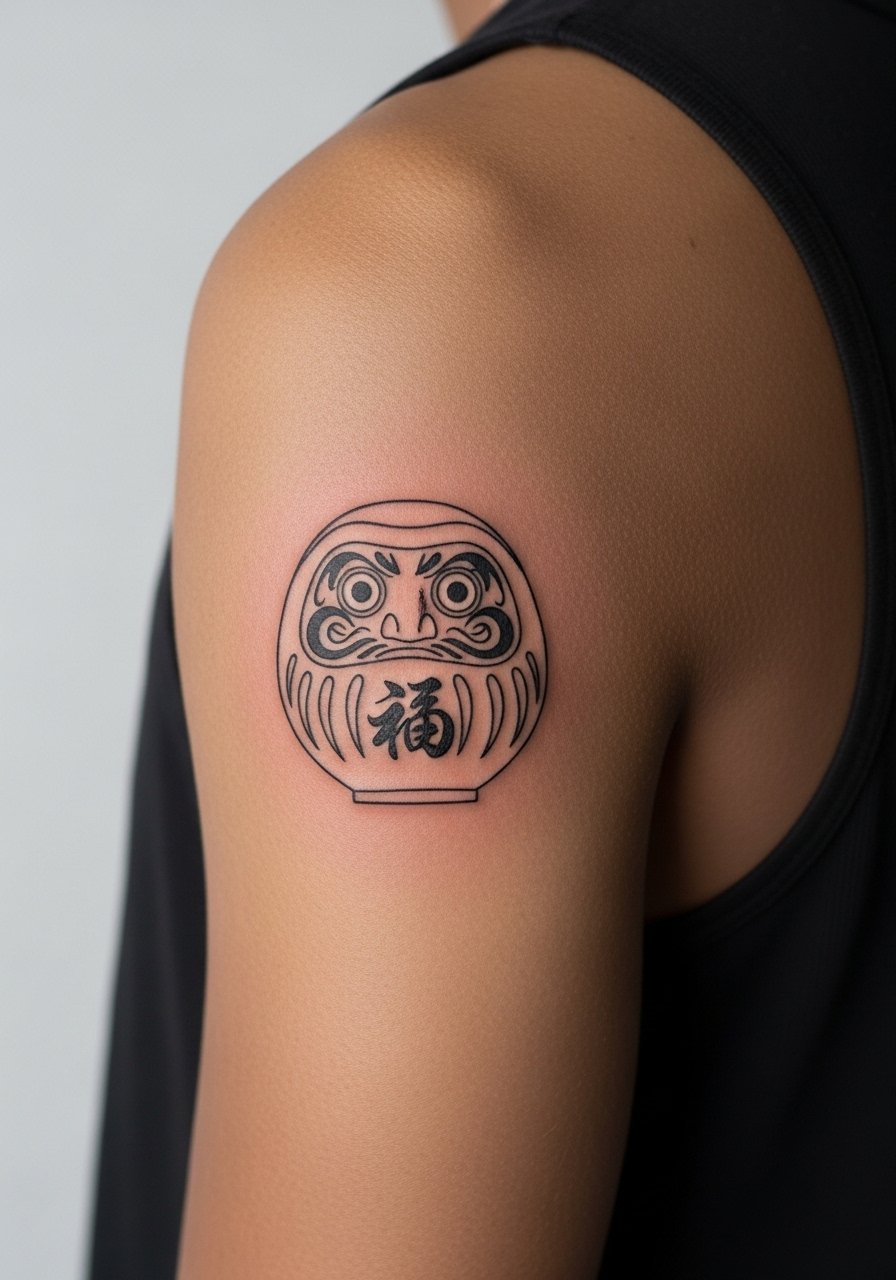
14. Shoulder Blade Abstract Daruma Crest
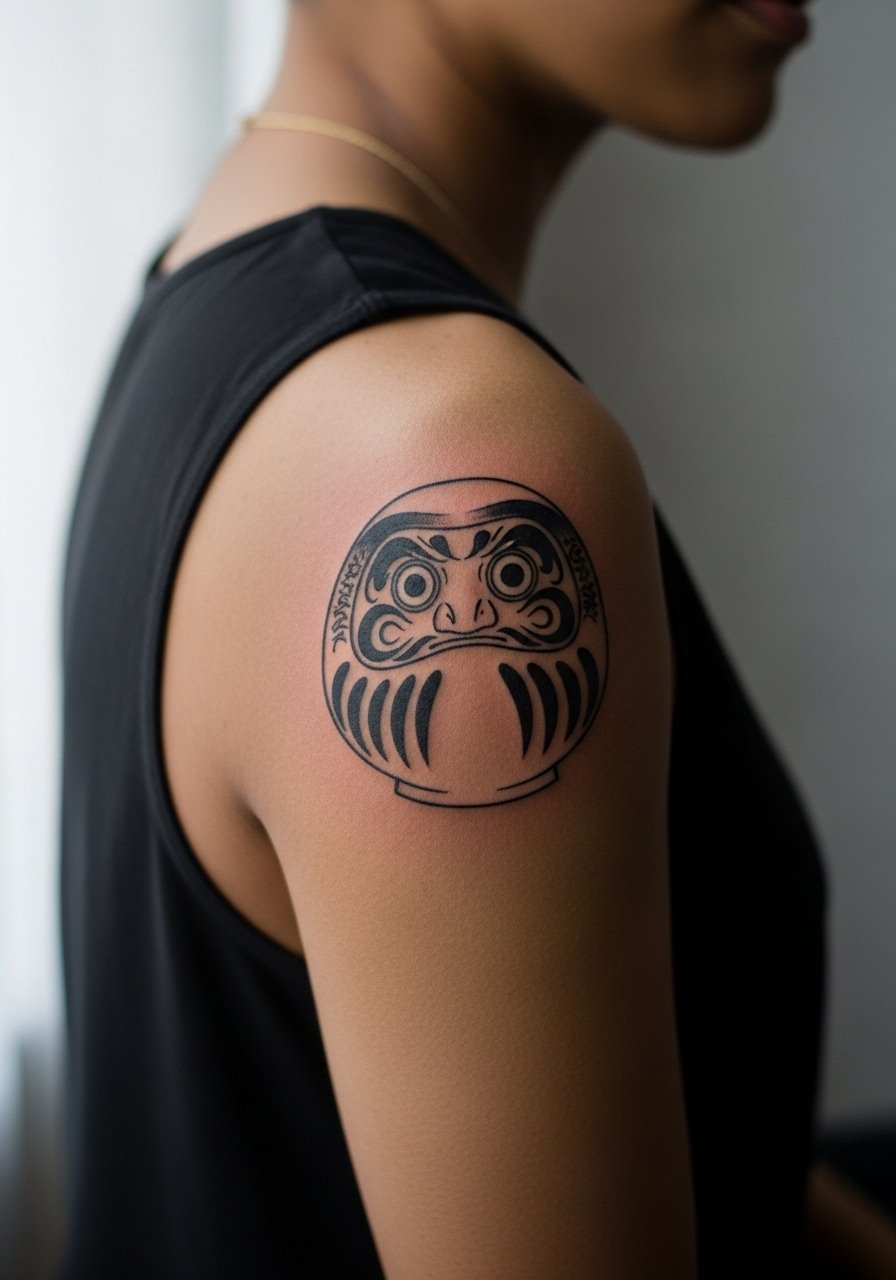
Shoulder blade placements give you a broad surface with low abrasion. They age well when the design has space and contrast. A frequent mistake is packing the crest into a tiny oval that competes with shoulder movement. Sessions are moderate and usually one to two sittings. For session ease, wear a loose tank top you can pull aside. For long-term care, sun protection matters because shoulders are often exposed during summer.
15. Calf Daruma Totem

Calf pieces age predictably and handle scale well. The main error is ignoring the natural taper of the calf when designing the totem. Ask for a composition that reads both sitting and standing, not just on the sketch. Sessions are comfortable compared with ribs or sternum and typically wrap in two to three hours. For showing it off, mid-calf length dresses or shorts keep the verticality visible. A pair of rolled-up jeans also frames the totem without covering the piece.
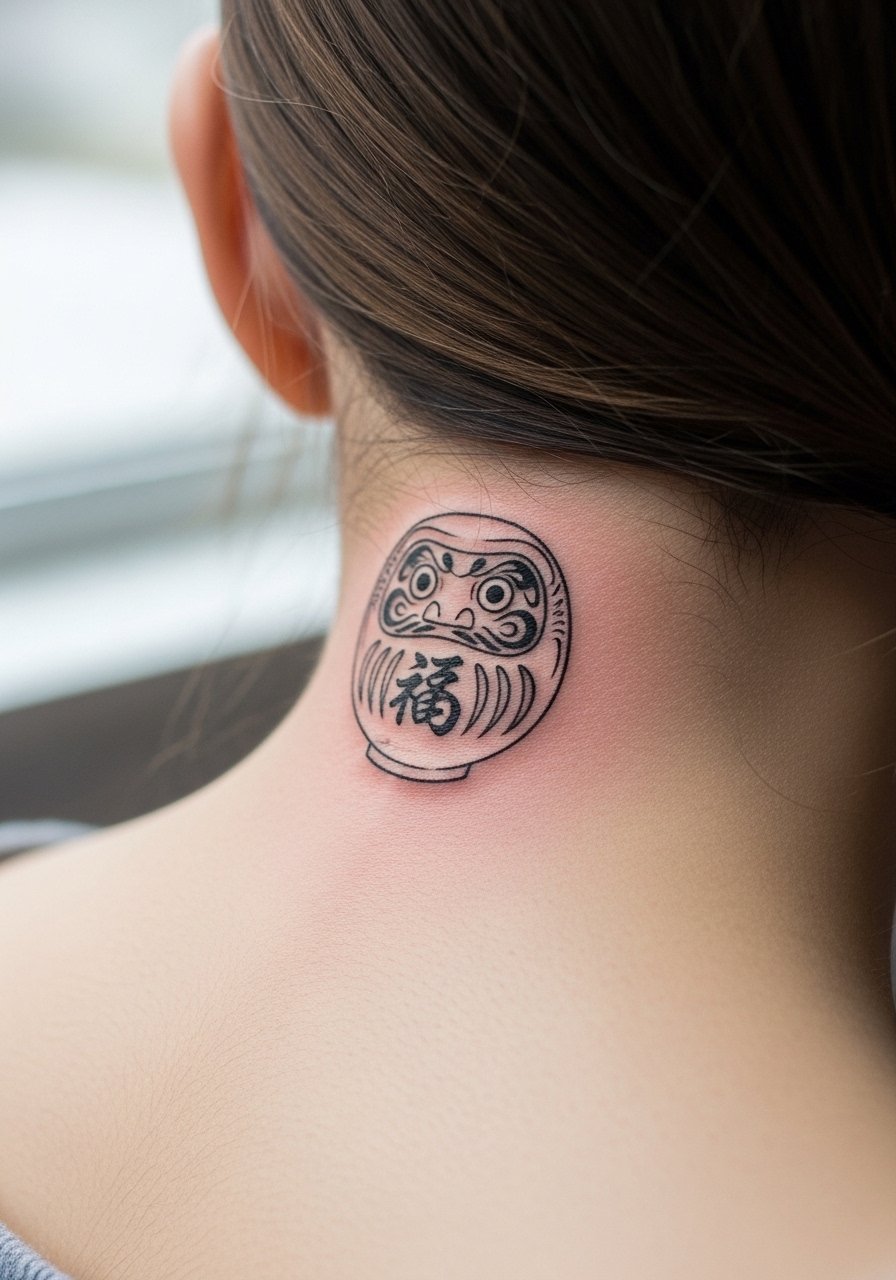
16. Abstract Daruma Neck Nape Accent

Nape tattoos are high-visibility when hair is up and private when down. The mistake is choosing too intricate a centerpiece that loses its definition when observed at distance. Sessions are short but the area can be sensitive. Expect touch-ups as hair oils and shampoo interact with the healing skin. For consultation, ask for healed photos showing hair up and hair down to judge the statement level. Use discovery pathways like guest spots at conventions to find someone experienced with small neck placements.
17. Abstract Daruma Sleeve Endcap on Hand
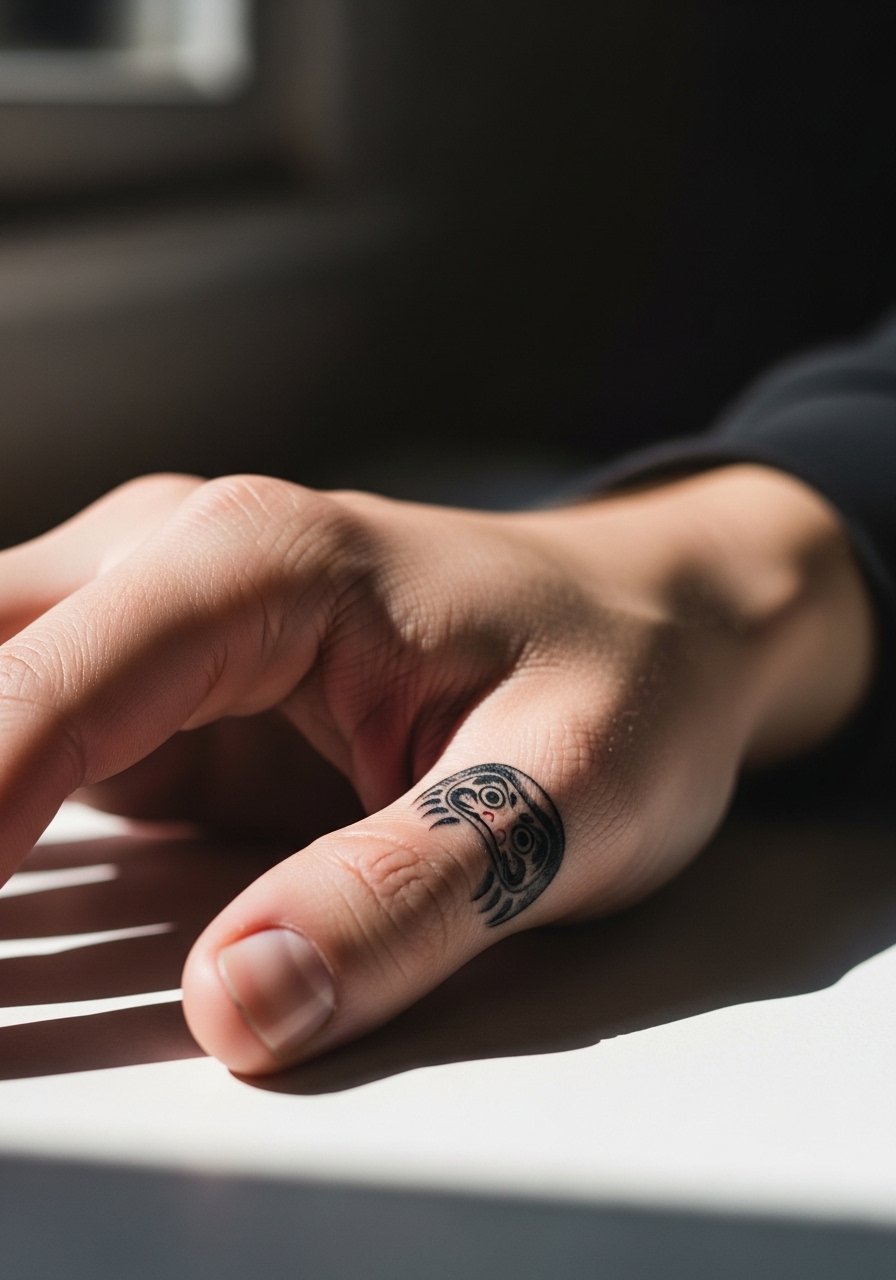
Hand placements carry the most friction and the highest fade rate. The usual mistake is expecting a long-lasting, detail-rich finish without planning for touch-ups. If you want hand endcap work, keep shapes bold and negative space intentional. Sessions hurt more here than on the arm and heal slower due to use. Think about career implications and be prepared for maintenance. If you move ahead, ask about a staged approach so the artist can assess how your skin holds pigment before completing adjacent fingers.
Studio Day Picks
The first six ideas above include several small, high-contact placements like wrist, fingers, and the rib area that need different prep than a thigh or calf session.
-
Stencil transfer paper kit. Helps you check scale and placement on skin before the needle touches you, especially useful for the forearm wrap and collarbone crest.
-
Thin protective film roll. Keeps wrist and finger pieces clean during the first week when friction and washing are highest.
-
Topical numbing cream. Used carefully, it can ease board-like rib or sternum sessions and make longer passes manageable.
-
Fragrance-free gentle body wash. A mild cleanser reduces irritation around delicate fine line areas without stripping moisture.
-
Aquaphor healing ointment. Thin layers in the first days help seal in moisture for fine line work such as wrist and inner forearm pieces.
Frequently Asked Questions
Q: Will a tiny abstract Daruma on my finger disappear faster than one on my thigh?
A: Yes, fingers take a lot of daily wear so they fade faster. From what I've seen, expect to need a touch-up within a year for finger work, while thigh pieces can hold crispness for several years before a touch-up is useful. Planning for maintenance is the practical route.
Q: Are fine line Daruma designs a bad idea for ribs and sternum?
A: Artists are split. One camp says the stretch and motion blur fine lines quickly. The other camp says meticulous depth and spacing let fine line survive. Ask to see healed photos from your chosen artist and be prepared for a possible touch-up at year two depending on how your skin heals.
Q: How should I dress for a sternum or rib session to make the artist's life easier?
A: Wear a fitted sports bra or a zip-up hoodie you can open so the artist has access without you getting fully undressed. A zip-up hoodie is easy to remove and put back on between breaks.
Q: If I want a watercolor wash behind a Daruma outline, what should I ask the artist to avoid early fading?
A: Ask for pigment anchors and slightly stronger outlines around the silhouette so the shape reads as color softens. Also discuss pigment choices and placement away from high-friction zones because those lose color first.
Q: How visible are behind-the-ear and nape placements in professional settings?
A: Behind-the-ear and nape pieces can be hidden with hair down but visible with hair up. Some workplaces remain conservative, so consider how often you wear hair up. Use discovery pathways like local shop portfolios to find artists who can show healed examples that match your visibility goals.
Q: Can I combine a Daruma motif with other cultural symbols without it feeling appropriative?
A: You can, but handle cultural origins with care. For motifs tied to religious or cultural practice, many people opt for respectful variations rather than direct replicas. Bring references and ask the artist about the origin and context during consultation.
