
Fine line and bold black outlines both look great on camera, but they age very differently and that gap is where most regrets live. I see people chase tiny detail only to book a touch-up at year two, or pick a placement that hurts more than they expected and then avoid showing it off. This list gives classic traditional concepts with placement, what to tell your artist, and how each idea will look after a few years.
1. Classic American Rose on Outer Forearm
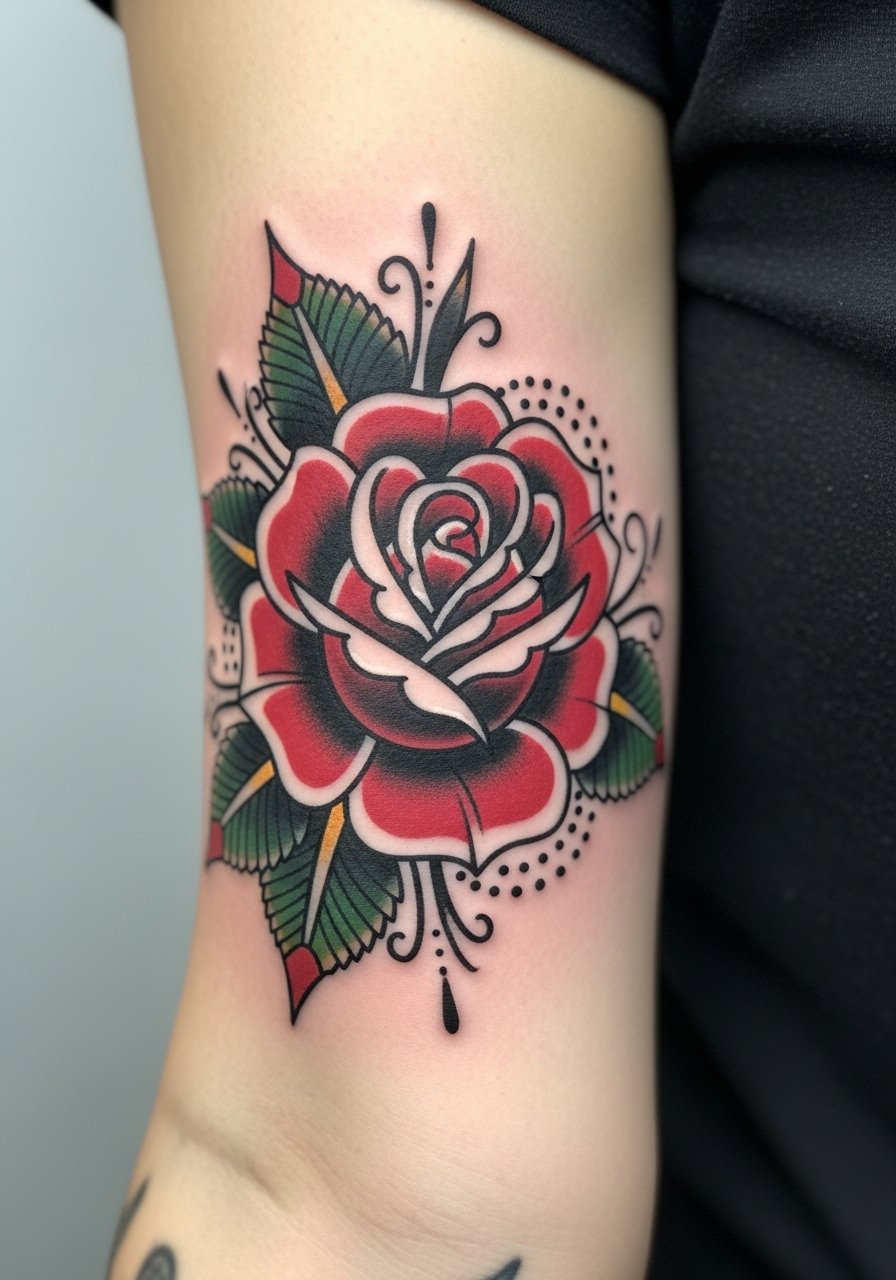
I've seen this one sit on forearms for years and still read clearly from across a room. Fair warning, the forearm is low on blowout risk but sun exposure will fade saturation faster than you expect. During consultation say you want bold outlines with heavy saturation inside the petals so the color ages into shape, not tiny micro shading that blurs. Common mistake is shrinking the bloom too small for the forearm width. Session time is usually short, about an hour for a single bloom. For showing it off, roll sleeves up or wear a linen button shirt that frames the forearm without covering the piece.
2. Nautical Anchor with Rope on Upper Arm
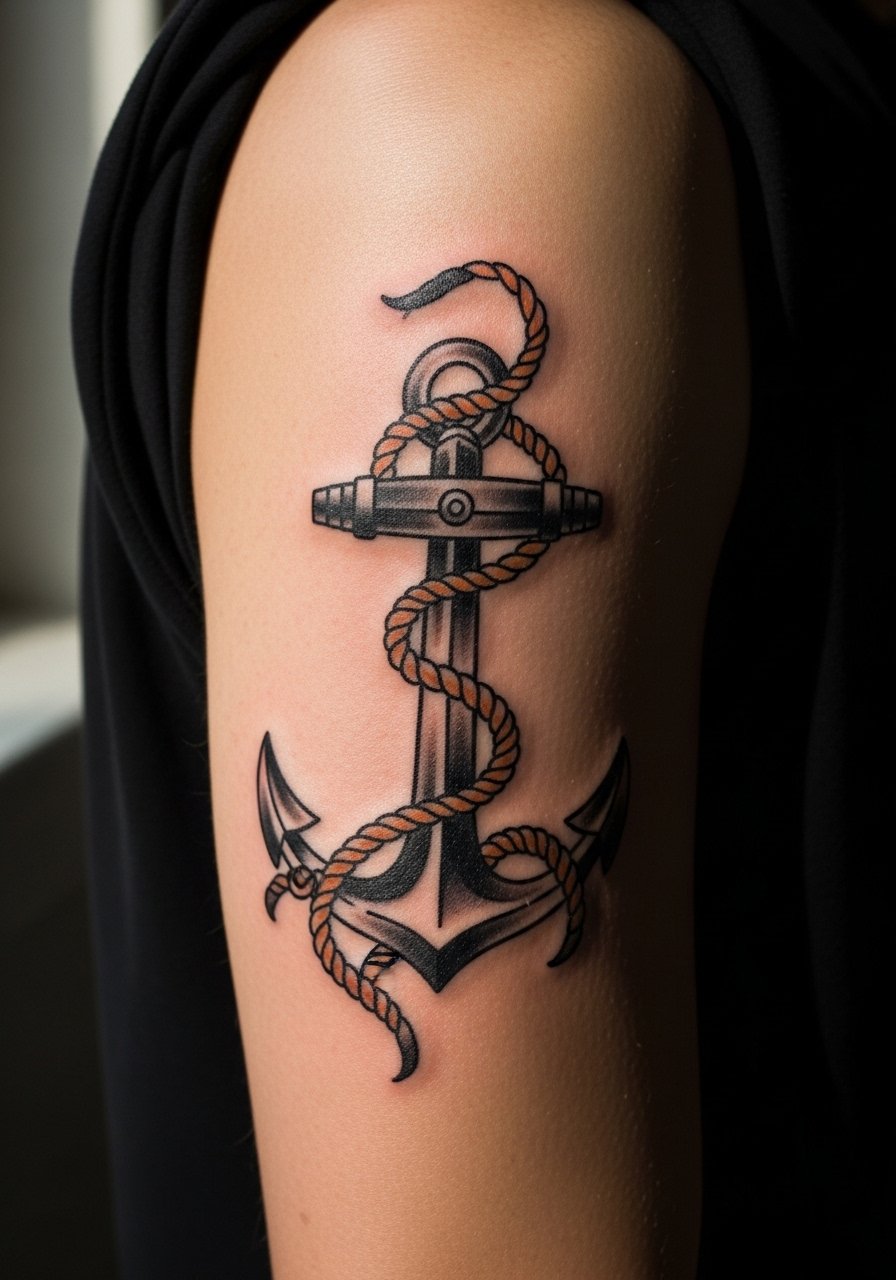
When people pick an anchor they often want overly fine rope detail, which loses definition after a year. The upper arm handles bold linework well and is a forgiving place for saturation. Tell your artist to keep rope loops moderately thick and to place the anchor where the bicep bulge reads naturally when you flex. Pain is moderate and session time is usually one to two hours. If you want to keep the silhouette readable, avoid tiny script inside the banner. Pair this with rolled-sleeve tees or a short sleeve henley when you want it visible.
3. Sailor Swallow on Shoulder Blade
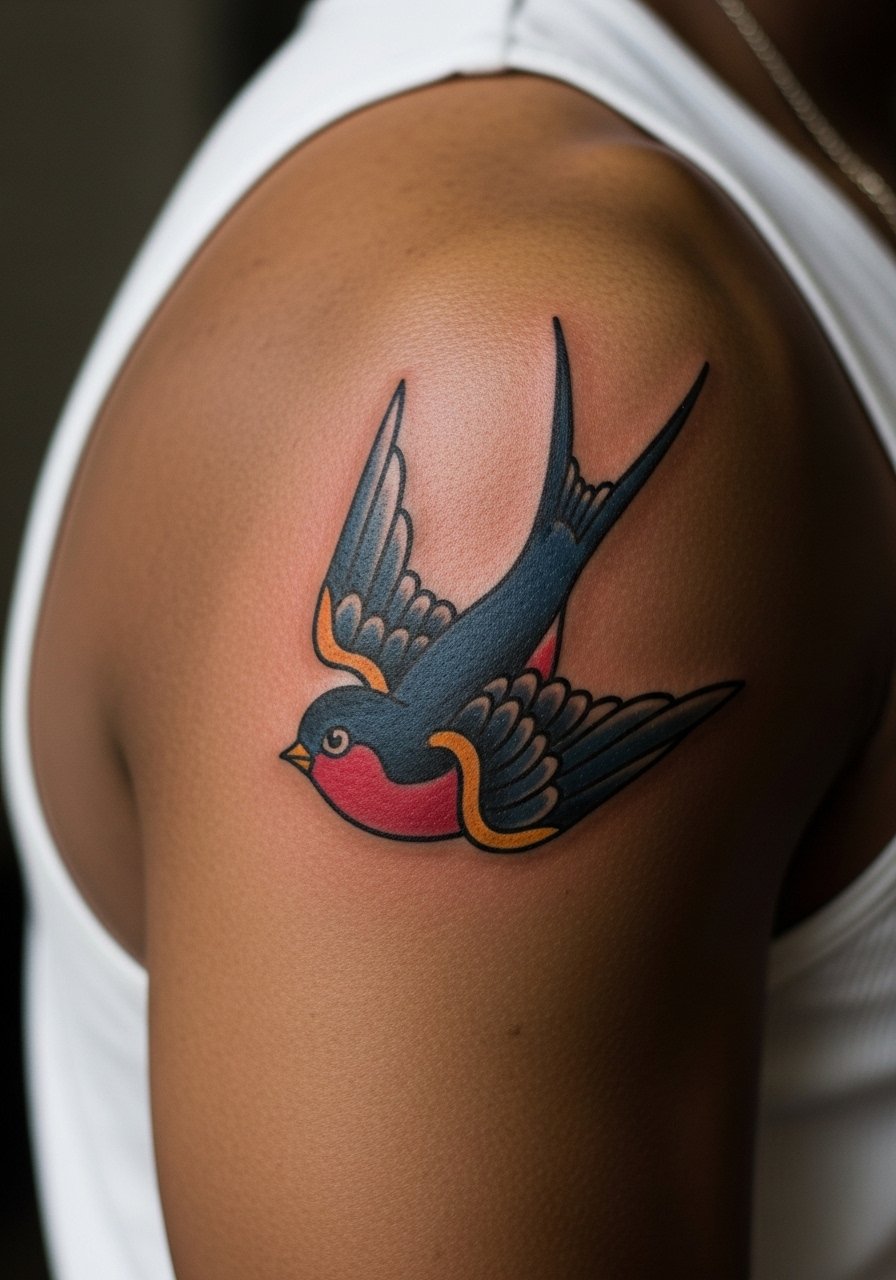
There is something about the shoulder blade that keeps color vibrant because it avoids constant friction. I recommend sizing the swallow so the wing tips breathe away from dense shading. A common version that ages poorly packs too many small stars and dots around the bird, which muddies the silhouette. During the session expect awkward positioning for a bit, but the area is low on pain. For the appointment wear a button-back or loose tank so the artist can access the shoulder blade without you feeling exposed.
4. Bold Panther Head on Calf
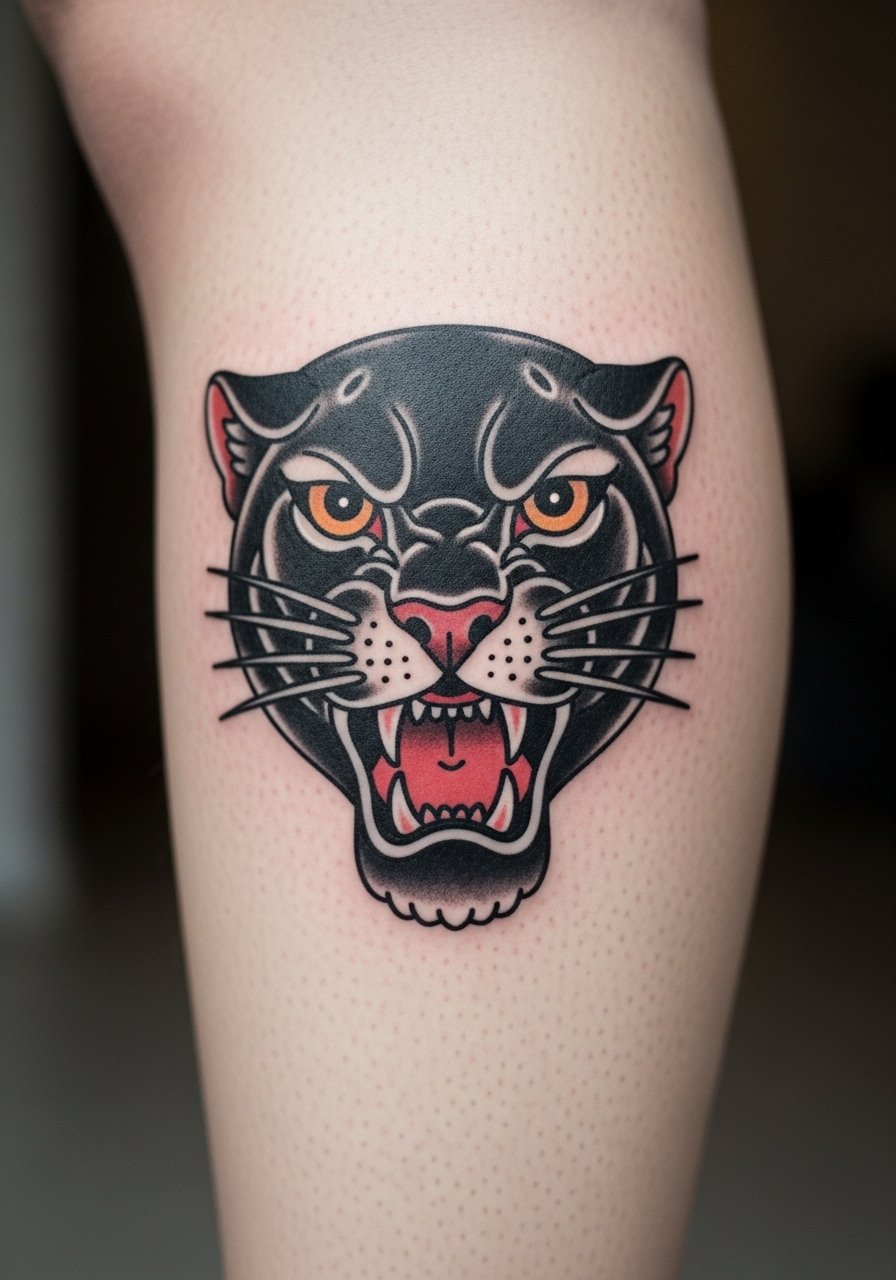
Visual impact is the panther's strength, and the calf gives enough canvas to keep features crisp over time. The biggest mistake is compressing the face into too-narrow a vertical panel. Tell the artist you want a slightly wider composition so whiskers and teeth read after a few years. Calf sessions are a three out of ten on most pain scales and typically take one to two hours. For showing it off, shorts or a mid-length denim short work well to frame the design.
5. Dagger Through Rose on Upper Chest
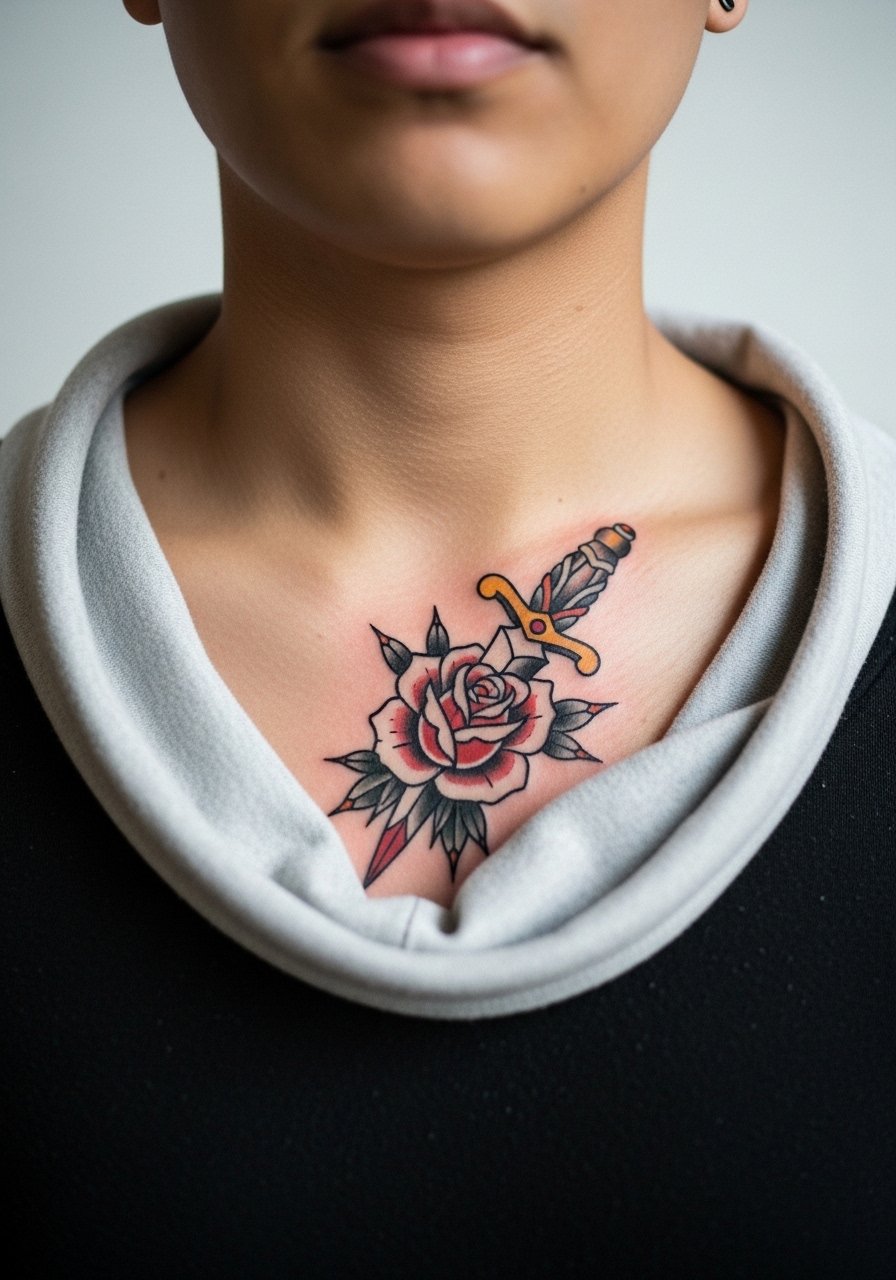
Controversy crops up on chest pieces. Fine line advocates say small slivers work if the skin is stable. The other camp insists on bolder linework for heavy movement areas. For this dagger and rose the bolder route wins for longevity. The common mistake is tiny details in the dagger blade that disappear as the chest stretches. Pain on the upper chest is higher, expect a longer session and possible two sittings for saturation. Wear a wide-neck shirt you can pull aside, like a wide-neck tee, for easy access and modesty during the appointment.
6. Pinup Silhouette on Upper Thigh
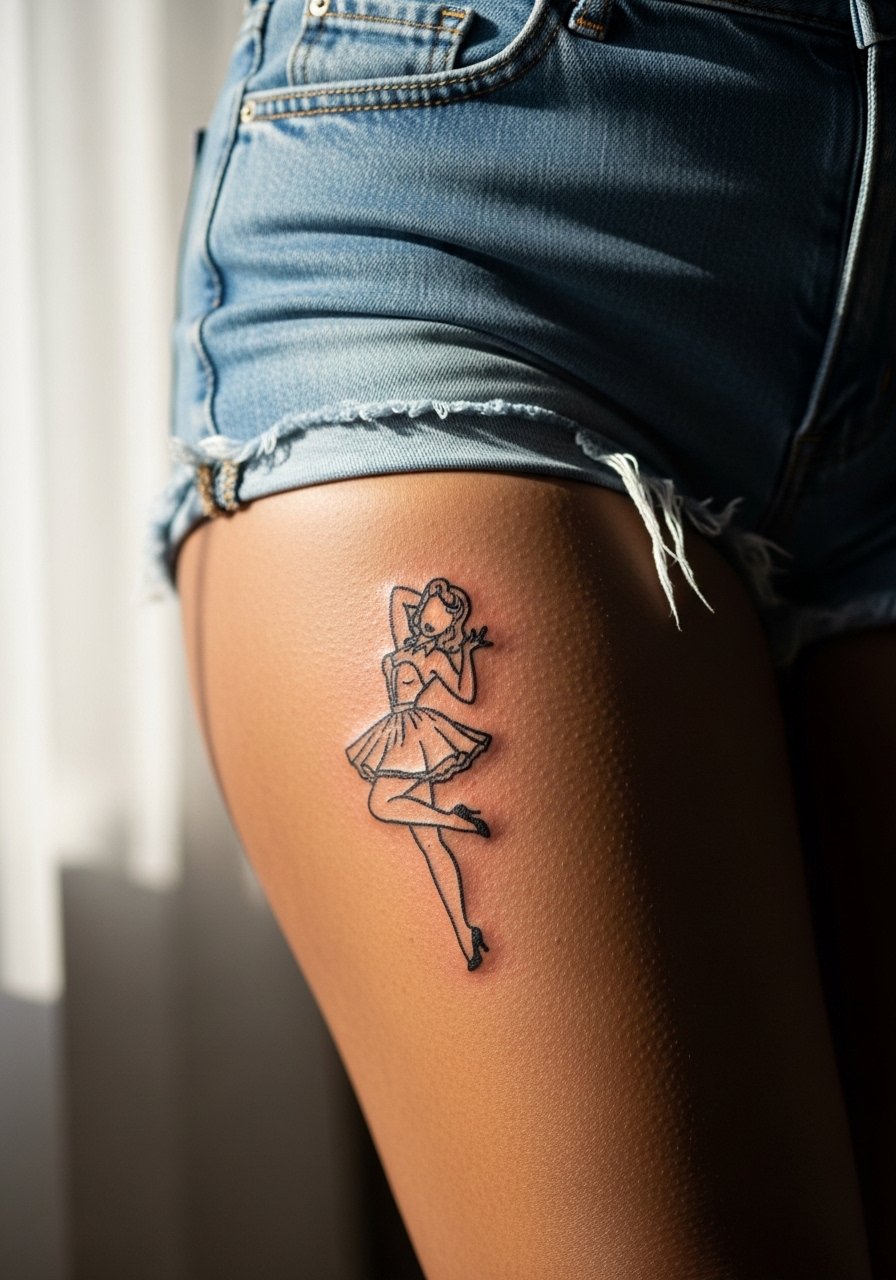
This placement looks intimate and ages predictably if you avoid tiny stipple work in shaded zones. Pain on the upper thigh is lower than ribs, but the session can be sweaty so bring breathable clothing. A common version that ages poorly uses too much micro shading along curves, which blurs with body movement. For the session wear high-waisted shorts so the artist can shift fabric without you having to undress. Expect comfortable chair time and a realistic touch-up at year two or three depending on exposure.
Pre-Session Essentials
The upper-arm, chest, and thigh pieces above all demand slightly different prep, and a few well-chosen items smooth the session and first week.
-
Stencil transfer paper kit. Helps you preview placement on skin so the dagger and rose line up with the collarbone before the needle hits.
-
Topical numbing cream. Useful for the upper chest or inner thigh sessions that run long while still letting the artist work cleanly.
-
Thin protective film roll. Keeps calf and forearm pieces cleaner during the first week when friction from clothing is constant.
-
Fragrance-free gentle body wash. Cleans healing areas without irritating delicate linework on forearms and chest.
-
Aquaphor healing ointment. A thin layer for the first couple of days helps lock in moisture on high-saturation traditional pieces without clogging the area.
7. Traditional Sailor Ship Backpiece
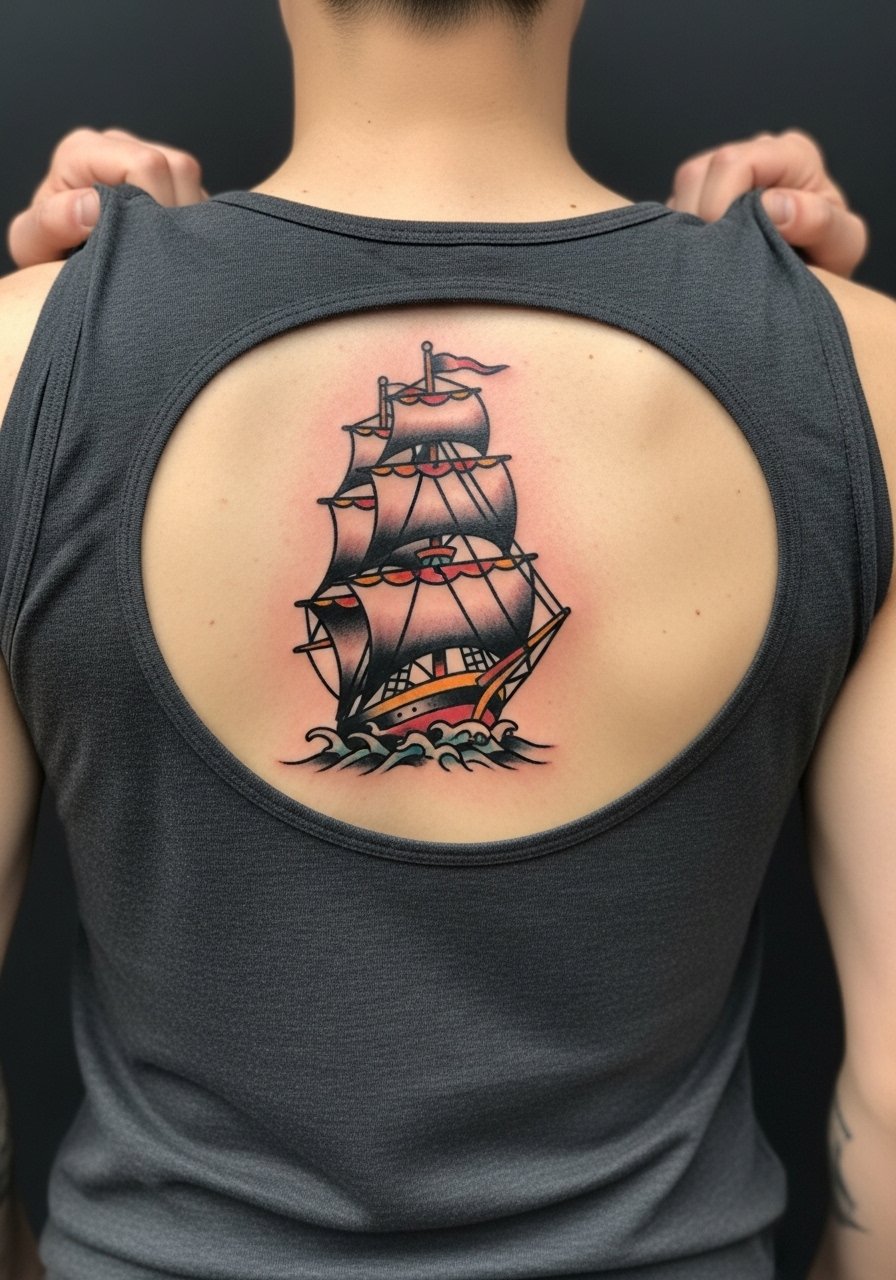
Personal observation: full-back ships age well if you allow bold spacing between rigging lines. The mistake is to cram in tiny ropes and tiny lettering that lose clarity over time. For placement, center the mast along the spine axis so the composition reads whether you wear a shirt or a low-back dress. Sessions are long and usually split over multiple visits. The back is lower on blowout risk than thinner-skin areas but expect significant aftercare. For the appointment pick a buttoned shirt you can slide off easily so the artist can access the back without you pulling things over your head.
8. Banner Script on the Ribcage
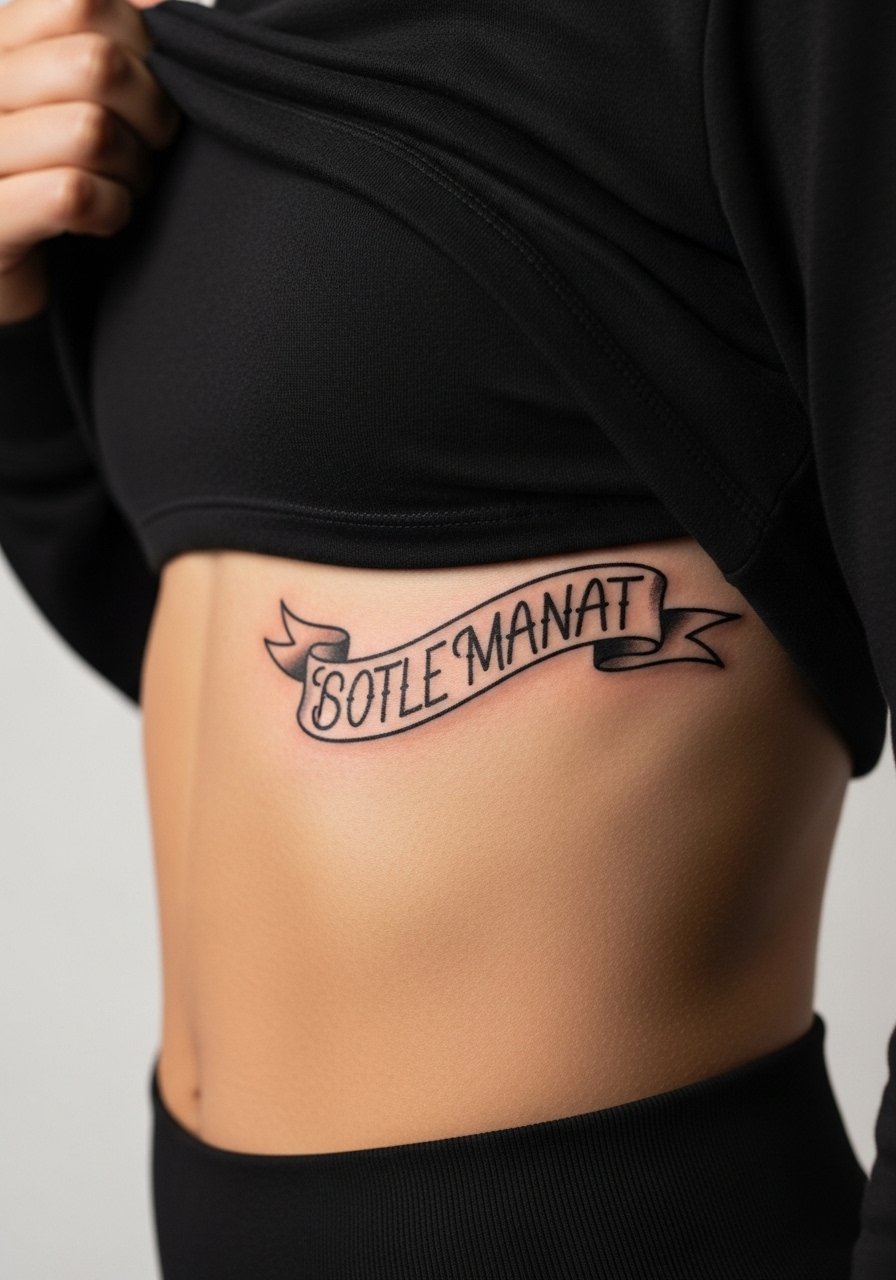
Artists split into two camps on ribcage script. One group says fine line blurs quickly because the skin stretches a lot there. The other group claims proper needle depth and spacing can keep script crisp. My advice is to size letters a touch larger than you think and ask for slightly heavier linework in the downstrokes. The ribcage is painful and often needs shorter sittings. Expect touch-ups around year two for delicate scripts. For the session wear a cropped athletic top so the artist can lift fabric without a full wardrobe change.
9. Anchor and Rope on the Ankle
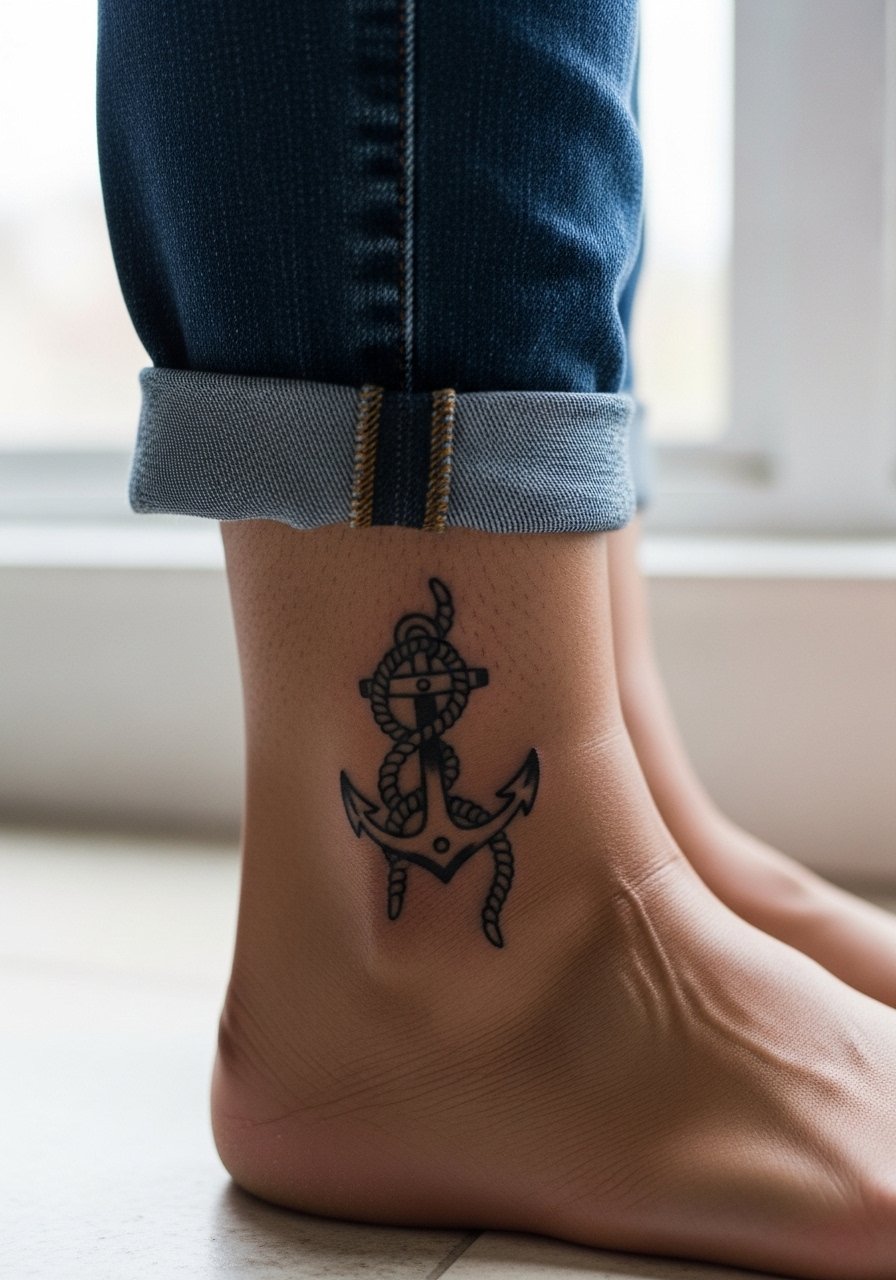
A mistake with ankle pieces is asking for too much fine detail where wash and shoes will rub the area daily. Ankle tattoos face constant friction, so ask for slightly heavier outlines and a compact composition. The session is short but the first week requires careful sock and shoe choices. For the appointment roll jeans up or wear a pair of slip-on sandals to reduce rubbing during healing. Expect touch-ups after a year if you run shoes across the site often.
10. Skull and Roses on the Bicep
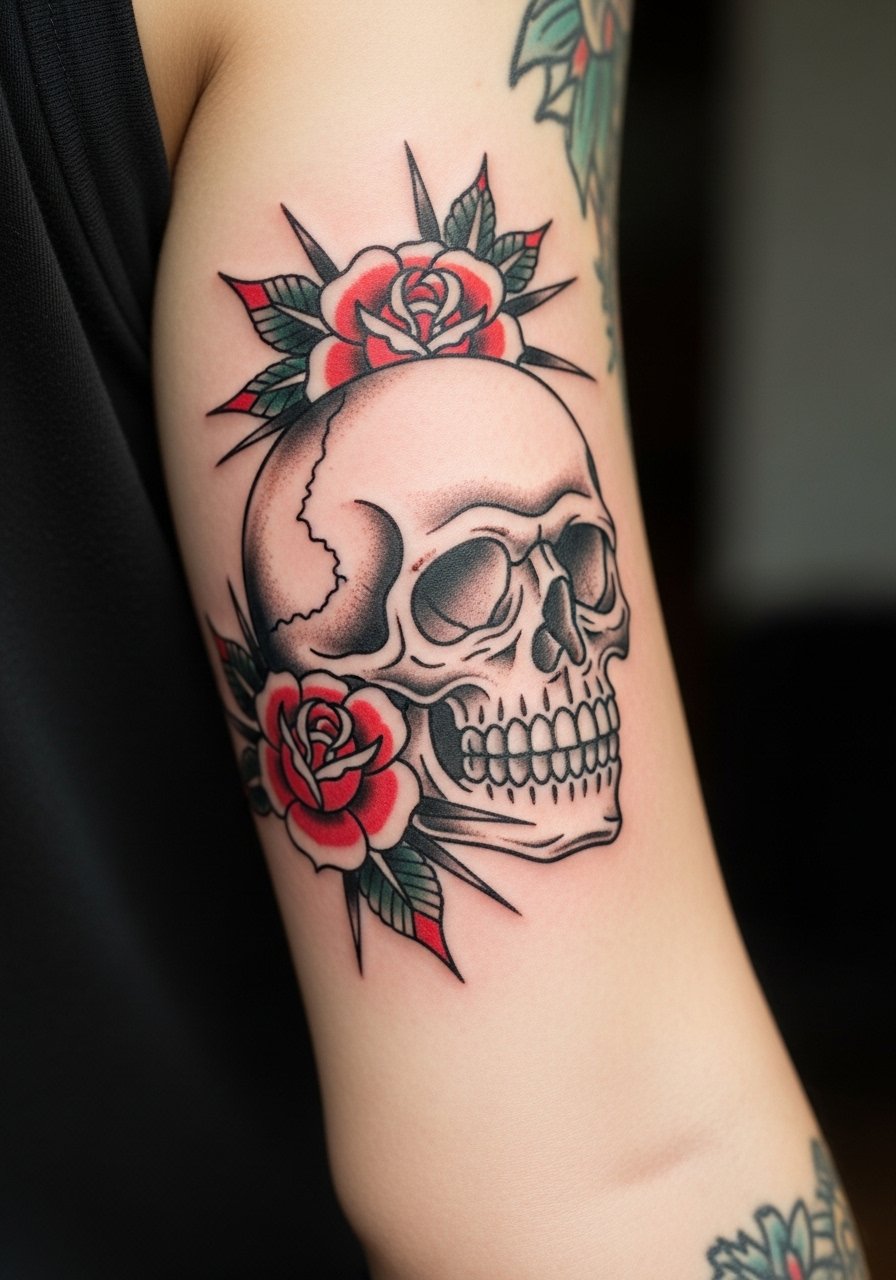
Visual impact makes the skull a classic. The bicep gives muscle movement that can actually accentuate the design when placed on the bulge. A common error is tiny stipple in teeth and petal veins that blends into a gray patch after a few years. During consultation ask for contrast between heavy outlines and saturated fills so the skull keeps depth as saturation fades. Sessions are moderate in pain and may be done in a single visit. Show it off with sleeveless tops or a muscle tee that frames the bicep without cutting off the image.
11. Heart with Banner on Sternum
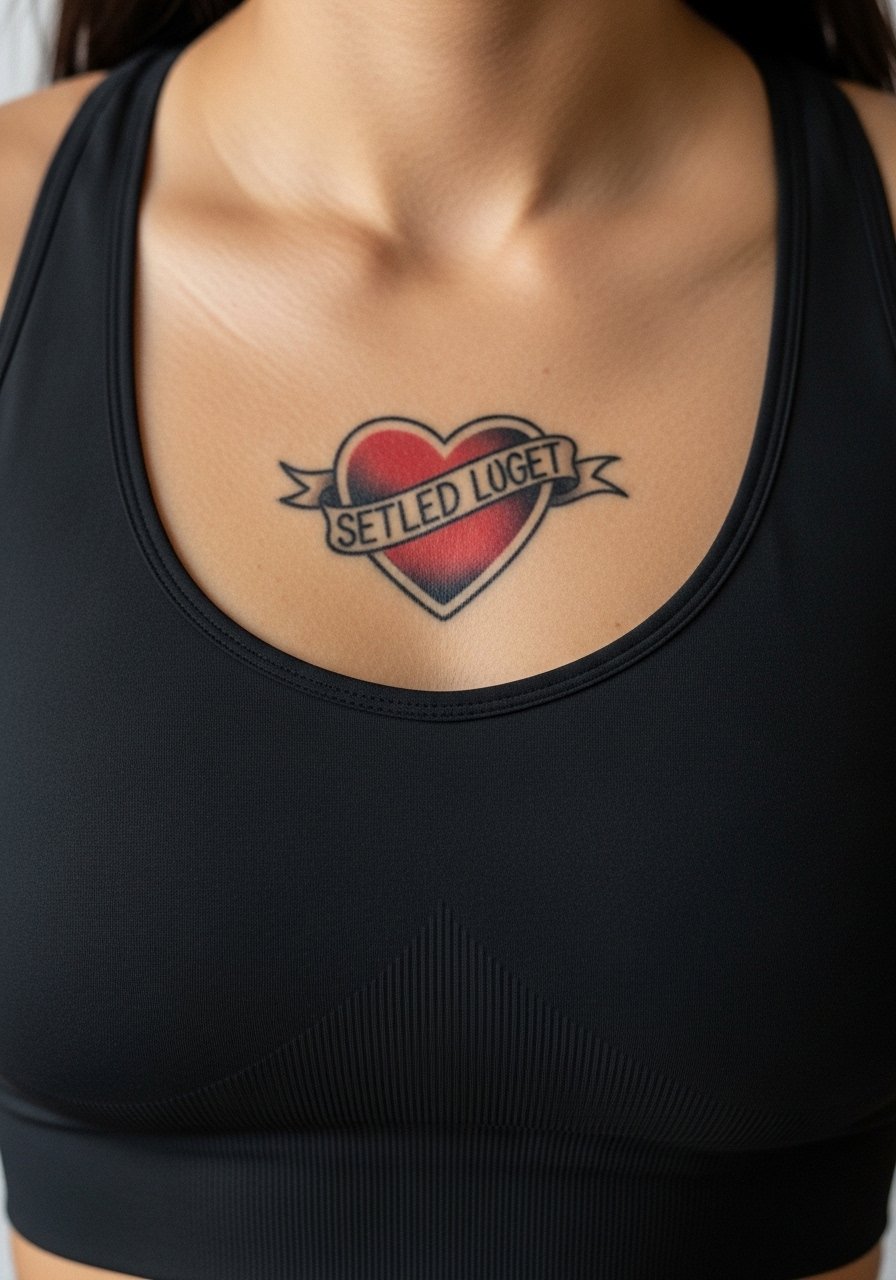
Sternum pieces sit in a high-motion area when you breathe, so the risk is lines softening if they start too fine. Keep the banner text bold and the heart slightly oversized for readability. Pain is higher and sessions can be stop-start because of discomfort. The session wear is a fitted sports bra or zip jacket you can pull aside easily. Expect a realistic touch-up in a couple of years if you wear open necklines often.
12. Lighthouse on the Calf
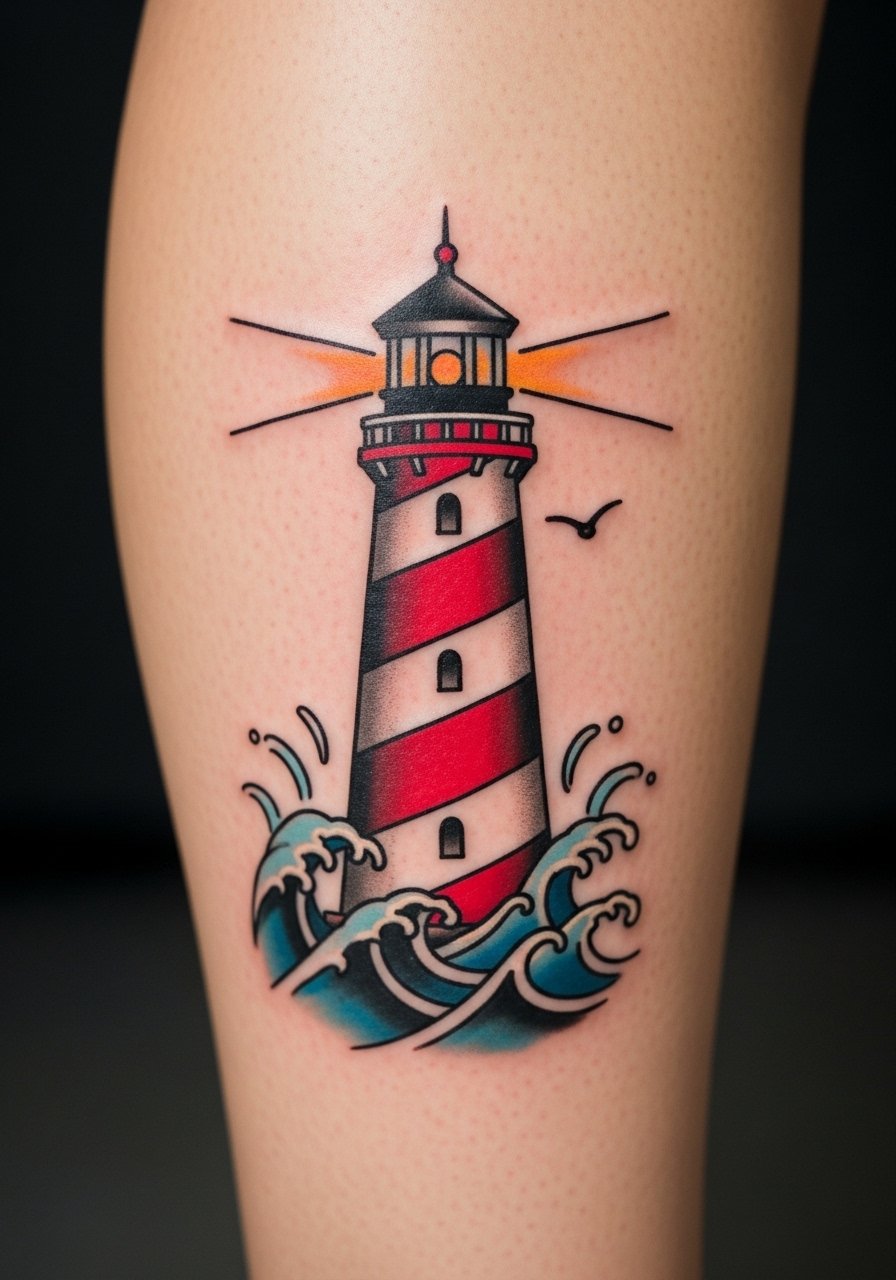
Most lighthouse designs last because the calf avoids constant abrasion and sun exposure is easier to manage. The common mistake is over-detailing the seas and light rays in a compact space. Tell your artist to prioritize a clean silhouette and bold highlights so the piece reads from a distance. Session time is comfortable and pain is moderate. For showing it off, pick shorts or a mid-length chino short that keeps attention on the lower leg.
13. Nautical Star on the Wrist
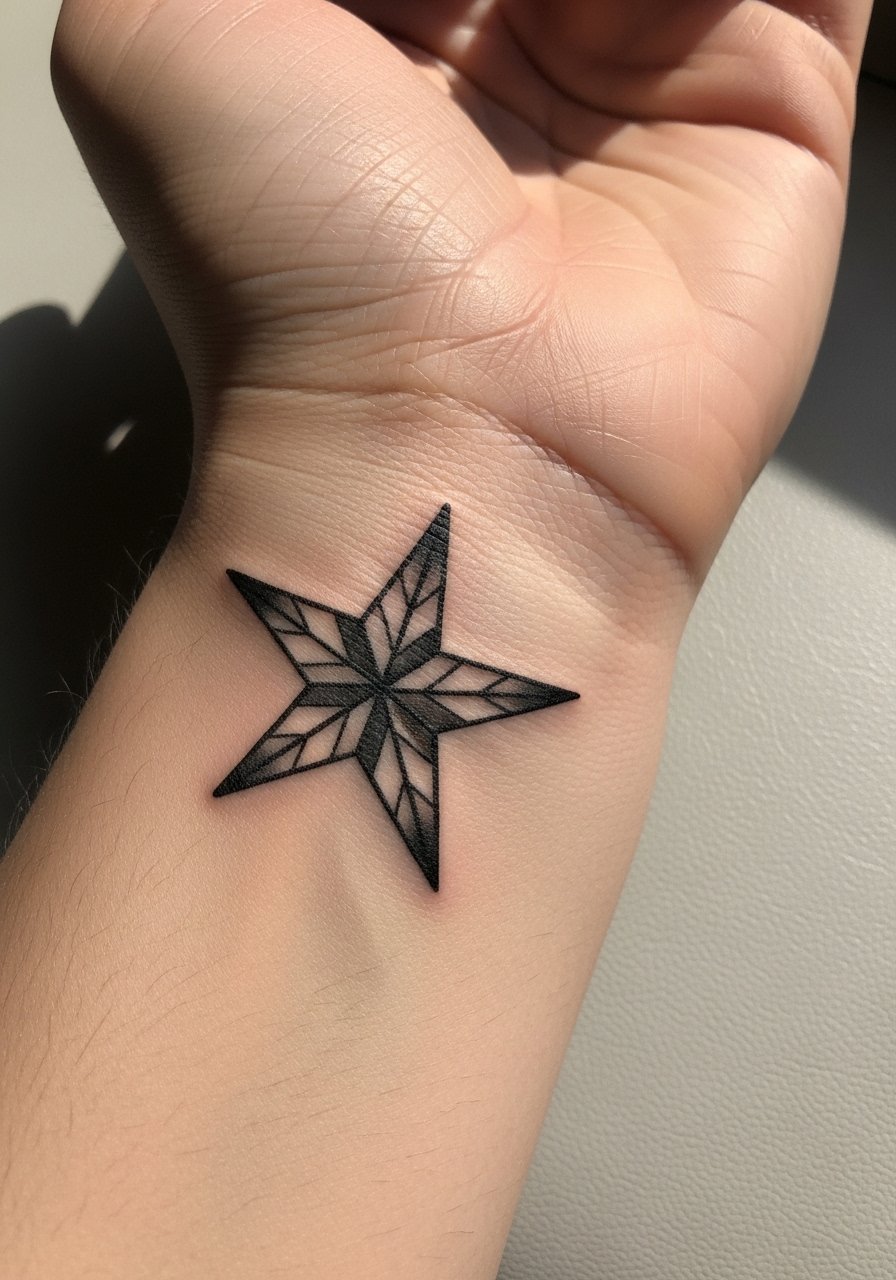
Mistake lead: the wrist is unforgiving for micro detail. The star reads best with bold, slightly thick lines and an ounce of negative space around it. Expect higher touch-up needs because wrists see a lot of UV and washing. For the appointment wear a loose button-down shirt you can pull aside so the artist has clear access. Pain is brief but sharp. If you type a lot or wash hands frequently, plan for a touch-up at year two.
14. Swallow and Stars along the Collarbone
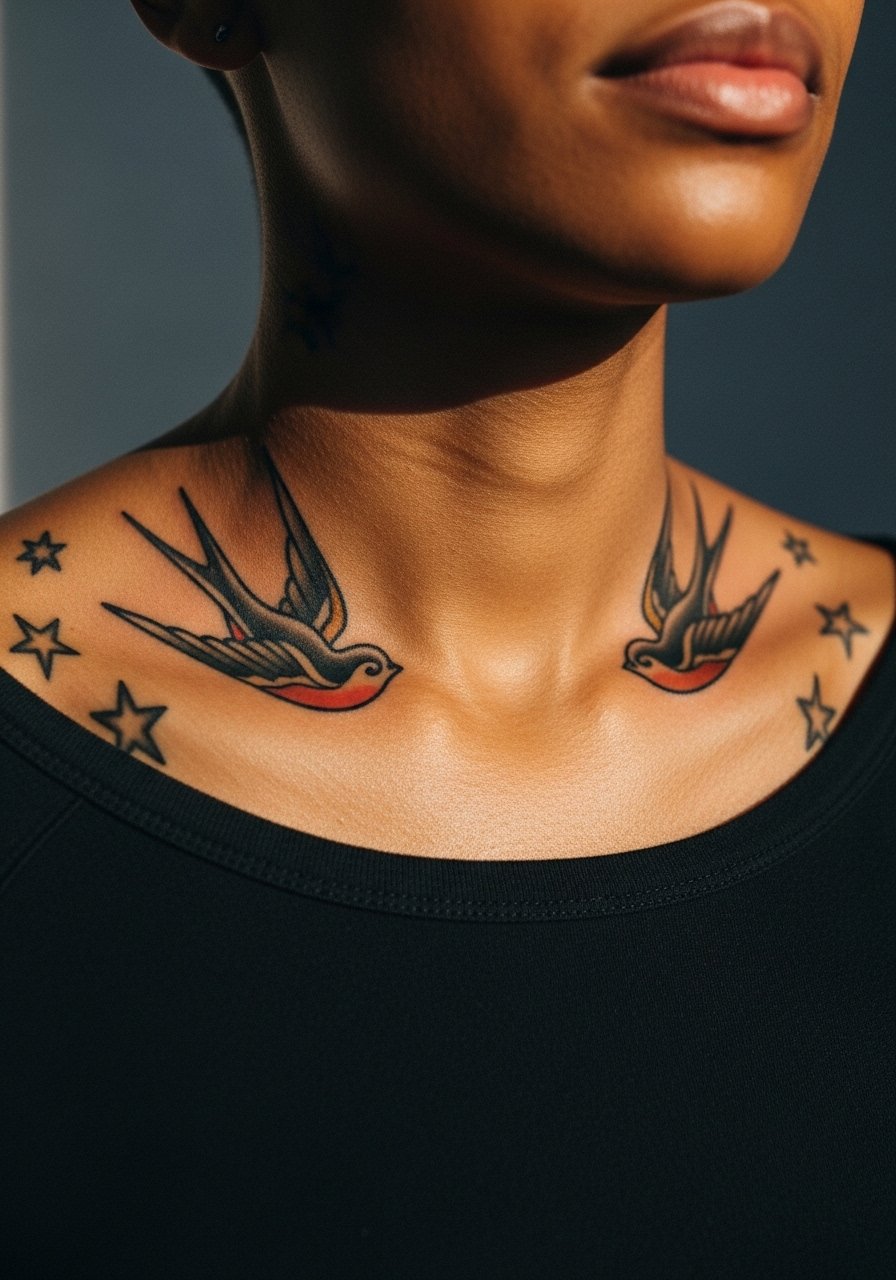
Styling lead: collarbone pieces are made to be shown with open necklines. The biggest longevity issue is placing too many tiny stars close to the swallow, which can congest over time. Ask for more spacing and slightly thicker star points. The collarbone is a moderate pain spot and sessions are short. Pair the tattoo with an open-neck blouse to frame the design without competing jewelry.
15. Rose and Dagger Sleeve Segment on Upper Arm
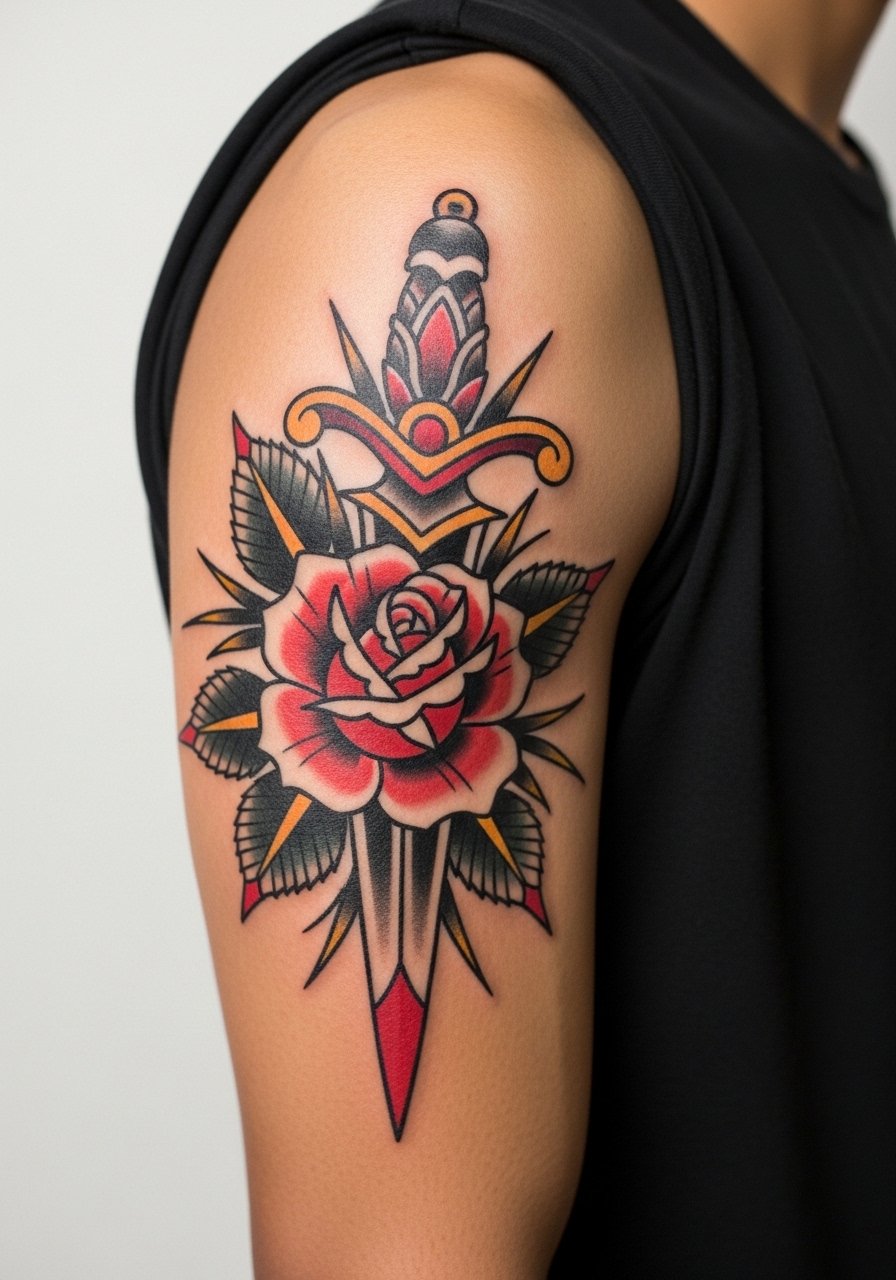
This upper-arm segment works as the start of a sleeve because the area tolerates layered saturation. A mistake is starting with too many tiny filler elements that force future additions into awkward negative spaces. Tell your artist you want bold anchors for composition and room for future pieces. Sessions are incremental and comfort is reasonable. For showing it off, a short sleeve henley frames the upper arm without hiding the sleeve start.
16. Cobra on the Thigh
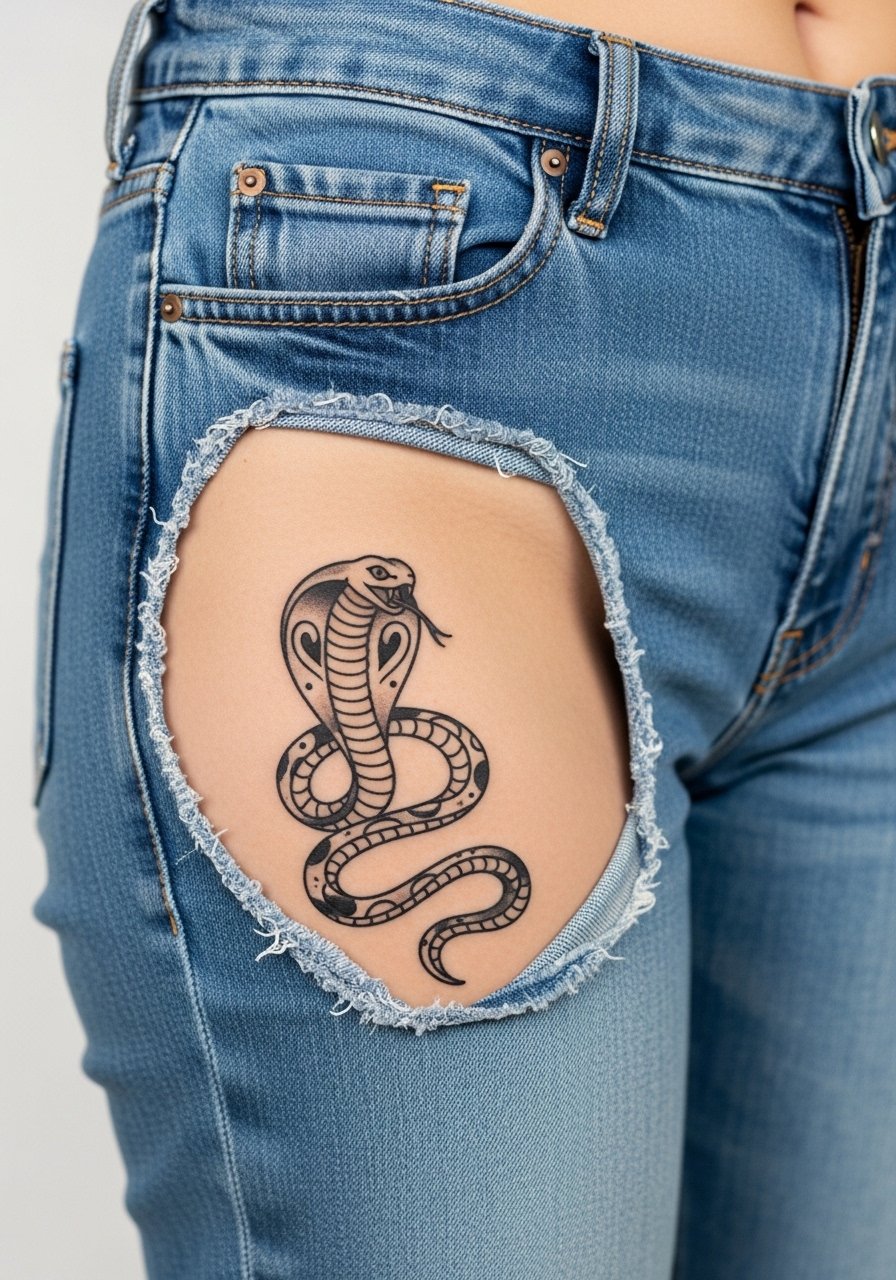
The thigh allows dramatic size and bold patterning that stand up well over time because it avoids daily abrasion. The common error is asking for too much micro patterning in the scales. Request larger scale shapes with deliberate contrast so texture reads at a glance. Pain on the outer thigh is lower but inner thigh is much more sensitive. For the session wear high-waisted denim or shorts so the artist can expose only the area being worked on.
17. Fortune Teller Gypsy Head on the Forearm
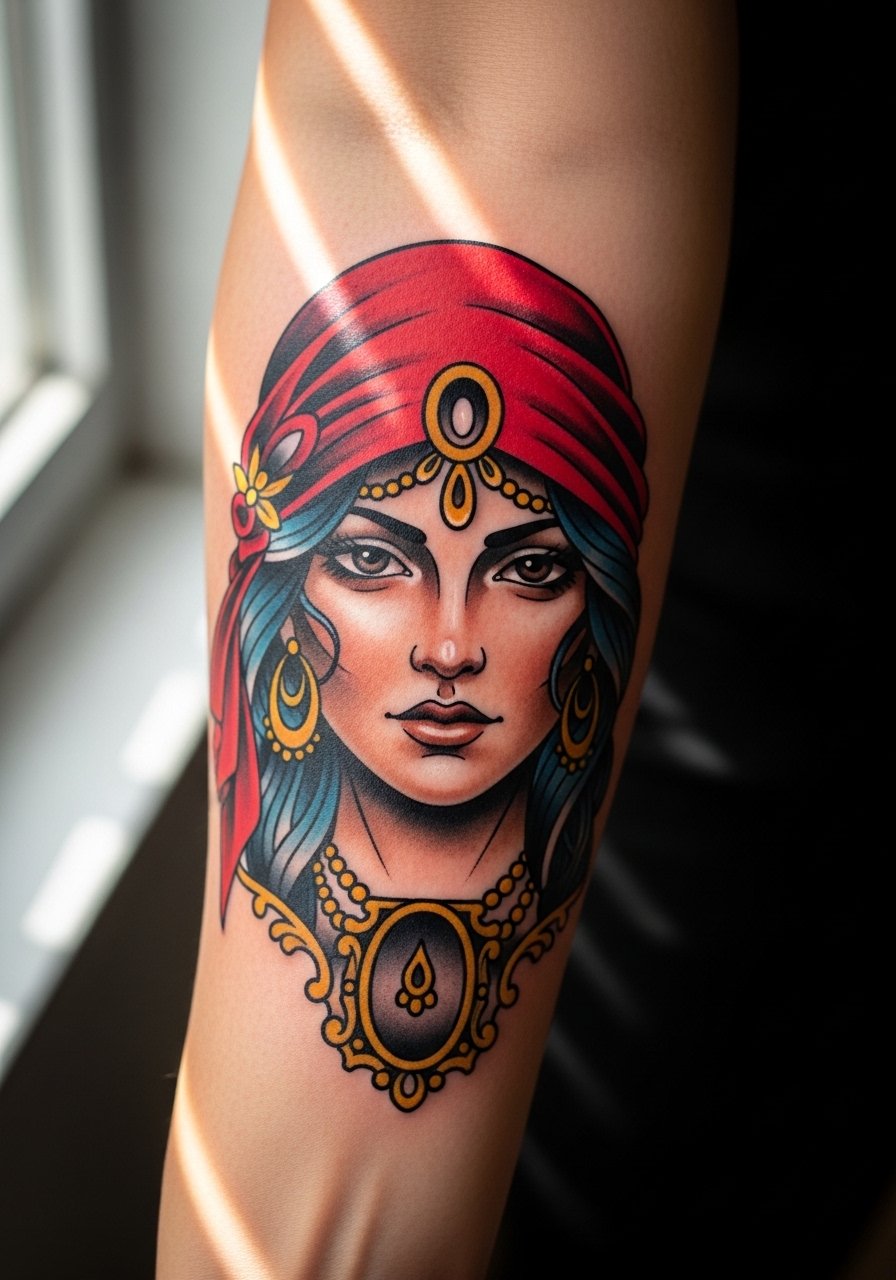
Consultation lead: when you sit down for a forearm portrait-style flash, bring photos that show the exact facial angle and line weight you want. The inner forearm can suffer from slight softening at year three if shadows use tiny dot work, so ask for stronger edge lines around the face. The session feels long if placed on the inner forearm because the area is more sensitive than the outer arm. For showing it off, a rolled-sleeve linen shirt keeps attention on the portrait without covering it.
18. Compass Rose on the Hand
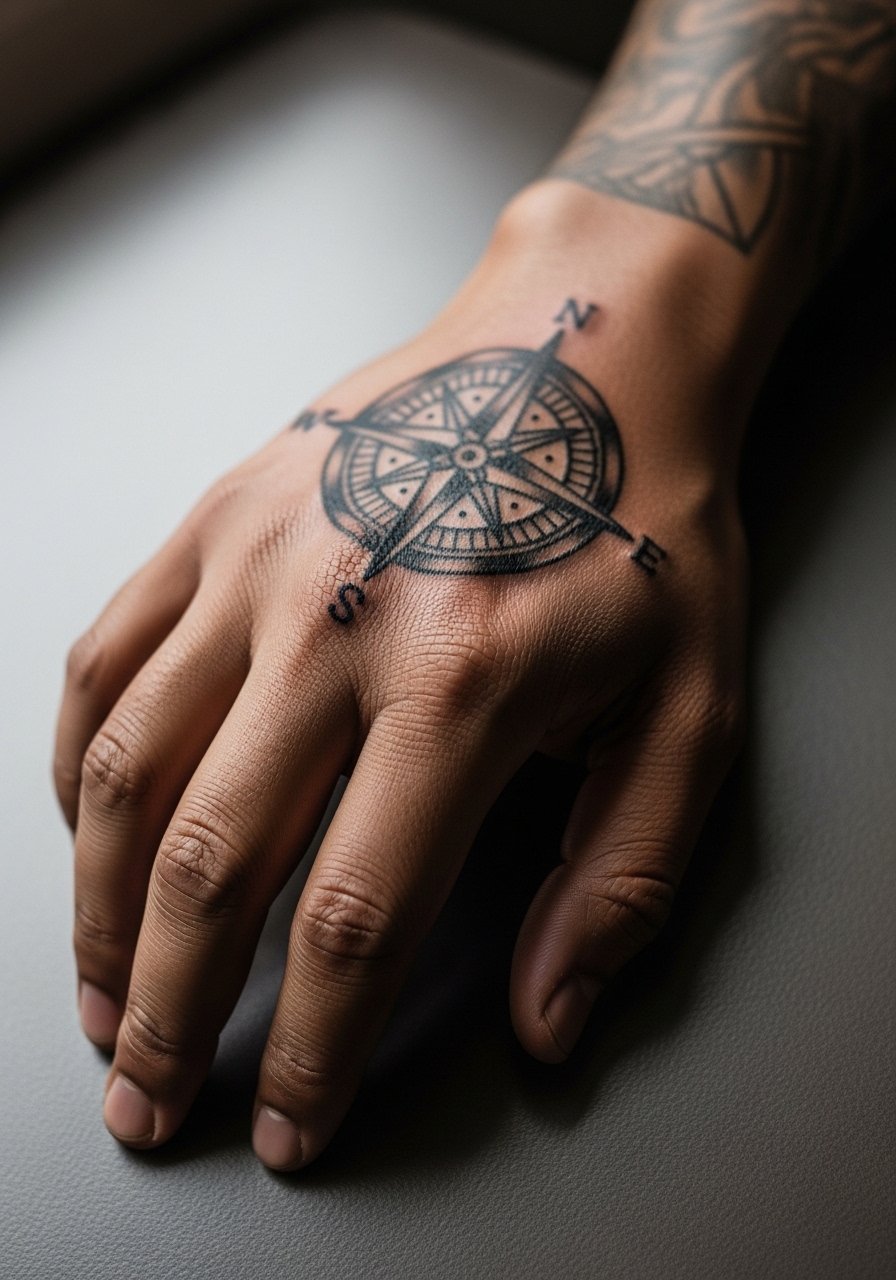
Hand tattoos remain a controversial choice for professional settings and they fade faster because of constant washing and sun. The common mistake is packing compass points too thin, which rub off with daily use. If you choose a hand piece, make the central points bold and accept likely touch-ups in year one to two. The session is quick but painful. For the appointment avoid tight gloves in the days after so the site can breathe.
19. Tiny Sparrow Finger Tattoo
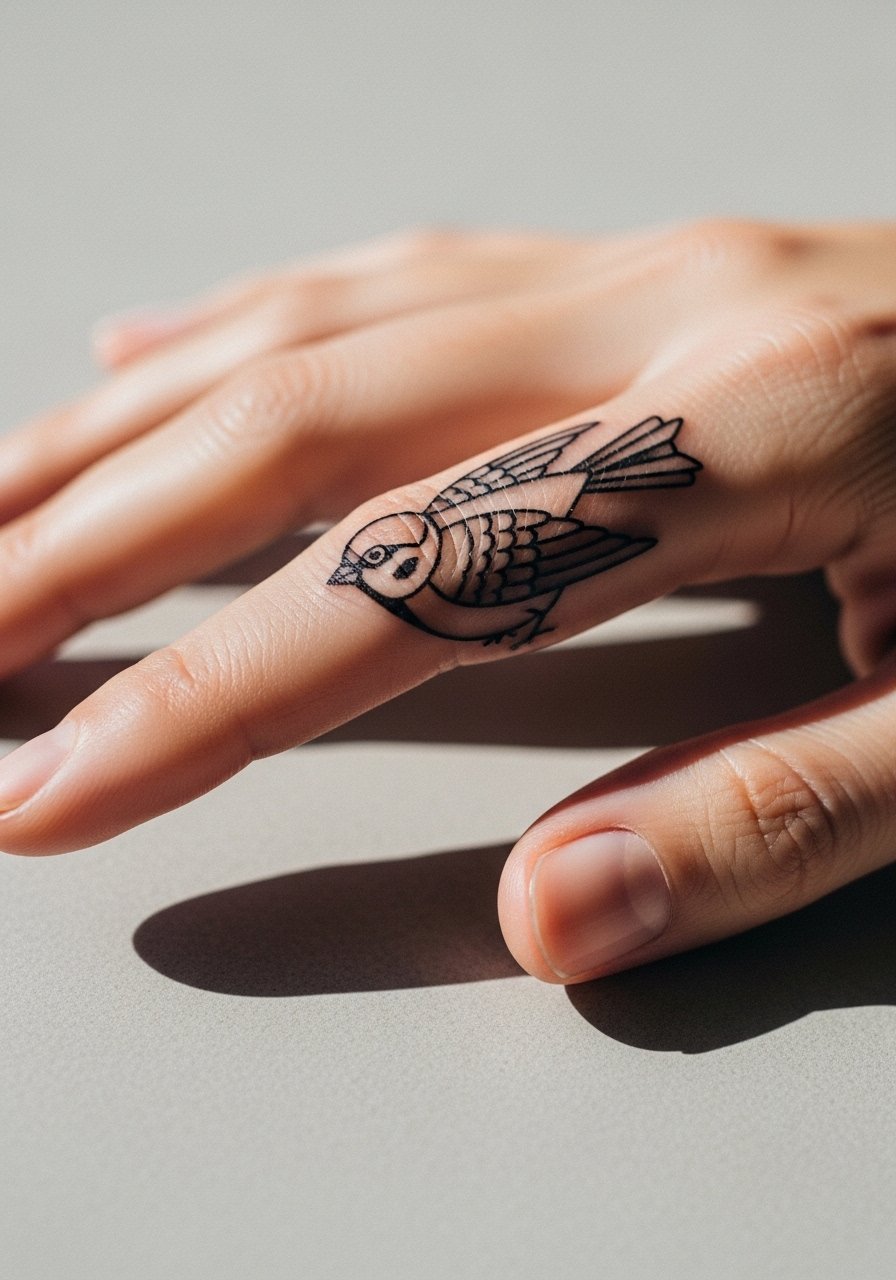
Mistake lead: fingers are the highest maintenance area because skin there regenerates quickly and ink often fades dramatically. If you want a finger sparrow, size up the silhouette and keep linework thicker than you might for other placements. Session time is short but touch-ups are almost a given within the first two years. Think about career visibility since finger work shows constantly.
20. Anchor Wheel Lower Back Motif
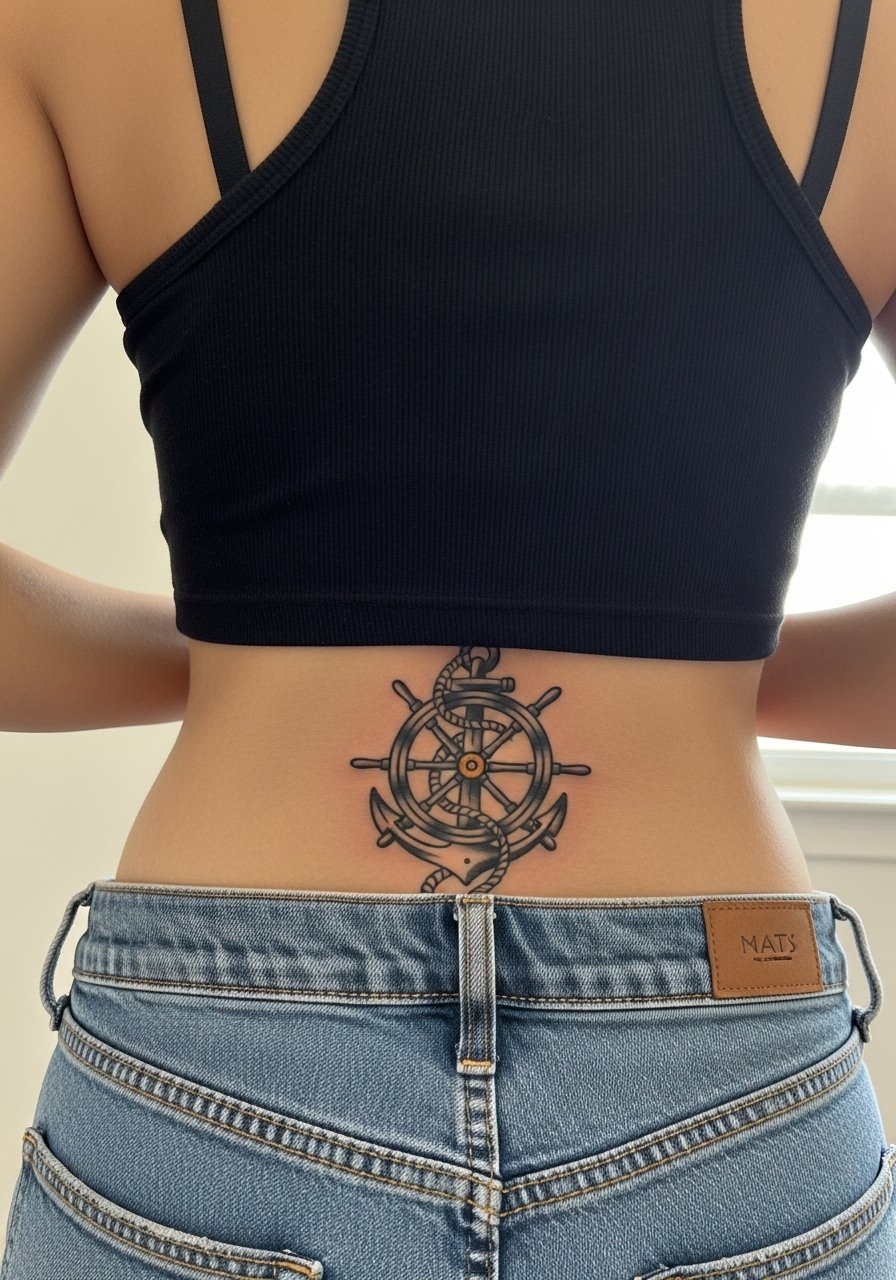
Styling lead: lower back pieces sit nicely with high-waisted bottoms and cropped tops. The lower back has moderate motion, so avoid tiny filler dots that can migrate into an indistinct smudge. When consulting, mark the waistline so the anchor sits above pant lines. Session comfort is variable depending on how much you can twist. For showing it off choose a cropped top or low-rise jeans that reveal the design cleanly.
21. Mermaid on the Side Torso
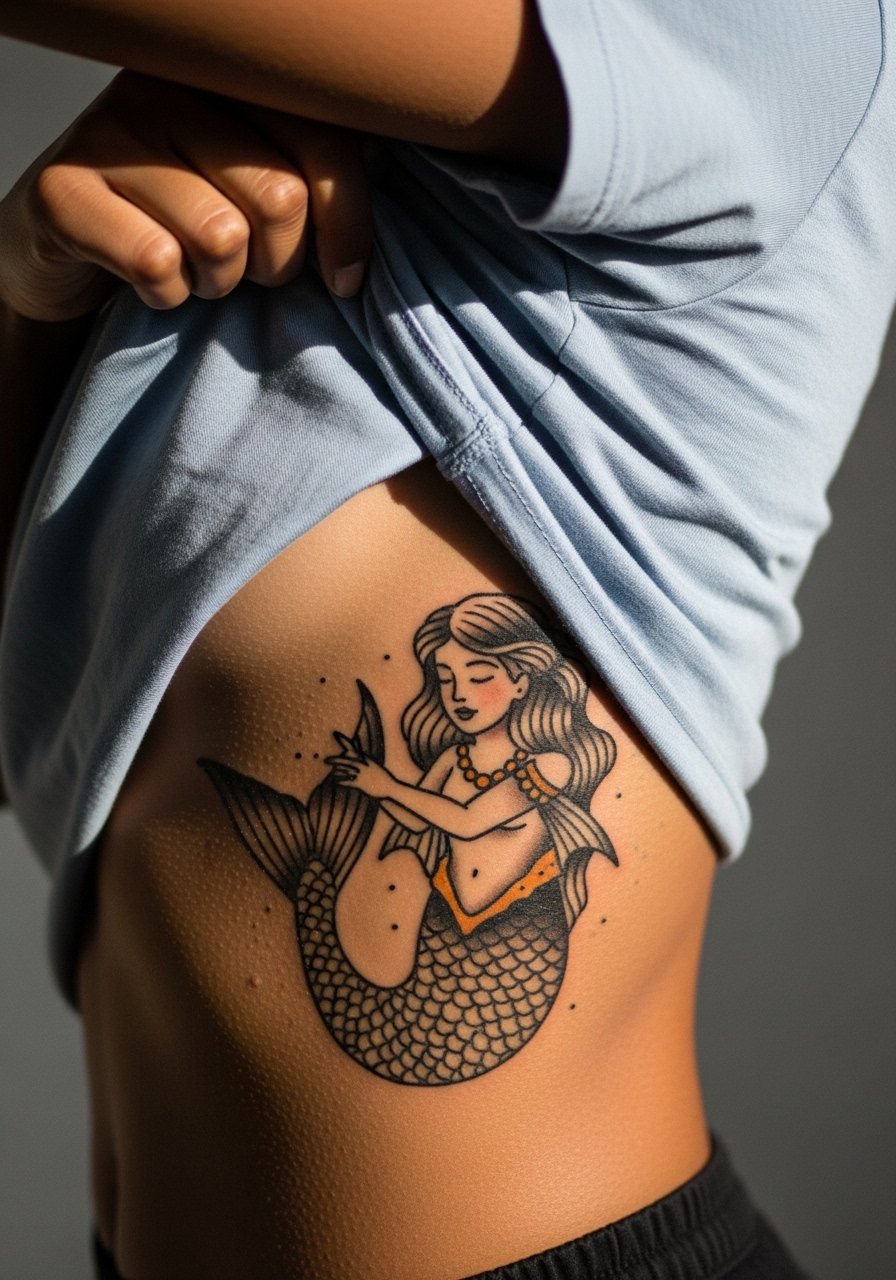
Aging lead: side-torso work like mermaids needs room around edges to avoid looking cramped as skin shifts. The rib-side is painful and session times are often broken into shorter sittings. One camp says delicate scales work if spaced; the other warns that skin movement obliterates tiny scale lines. Favor larger scale shapes and bold outlines to preserve the silhouette. For the appointment wear a cropped tee or swim top you can shift without full undressing.
Frequently Asked Questions
Q: Will fine line traditional elements blur faster than bold blackwork on the forearm and wrist?
A: From what I've seen, finer elements on high-friction zones like the wrist blur sooner than bold blackwork. If you want delicate detail in those spots, ask for slightly heavier hairlines and plan for a touch-up around year two.
Q: Are chest and sternum pieces more likely to need touch-ups because of skin stretching?
A: Yes, chest and sternum areas move with breathing and can stretch. One practical approach is to accept bolder outlines and schedule a touch-up six to twelve months after the initial session to lock in saturation.
Q: How should I dress for a ribcage or side-torso session to keep modesty and access balanced?
A: Pick a cropped athletic top or a shirt you can lift slightly. That way the artist can work on the rib without you undressing. A cropped athletic top is a practical choice.
Q: Do hand and finger tattoos affect job prospects and how should I decide?
A: Hand and finger tattoos remain visible and may still be a factor in conservative industries. If you work in a flexible creative field they are less likely to matter. Think about visibility and how much maintenance you want to commit to.
Q: How does the healing timeline differ between thigh, calf, and ankle traditional pieces?
A: Thigh and calf are more forgiving and often heal with stronger saturation because they avoid daily abrasion. Ankles face constant friction from shoes, so expect slower healing and a higher chance of early fading. Adjust expectations and aftercare accordingly.
