
Fine line scripts and bold blackwork both look incredible on saved boards, but they do not age the same way. Trend feeds push hyper-delicate cursive and watercolor now, and the reality is that placement and needle depth decide whether that sparkle stays or smudges. Read through these 21 1of1 tattoo concepts with practical aging notes and wardrobe tips so you know what to book and what to ask in the consultation.
1. Cursive Script on the Inner Forearm
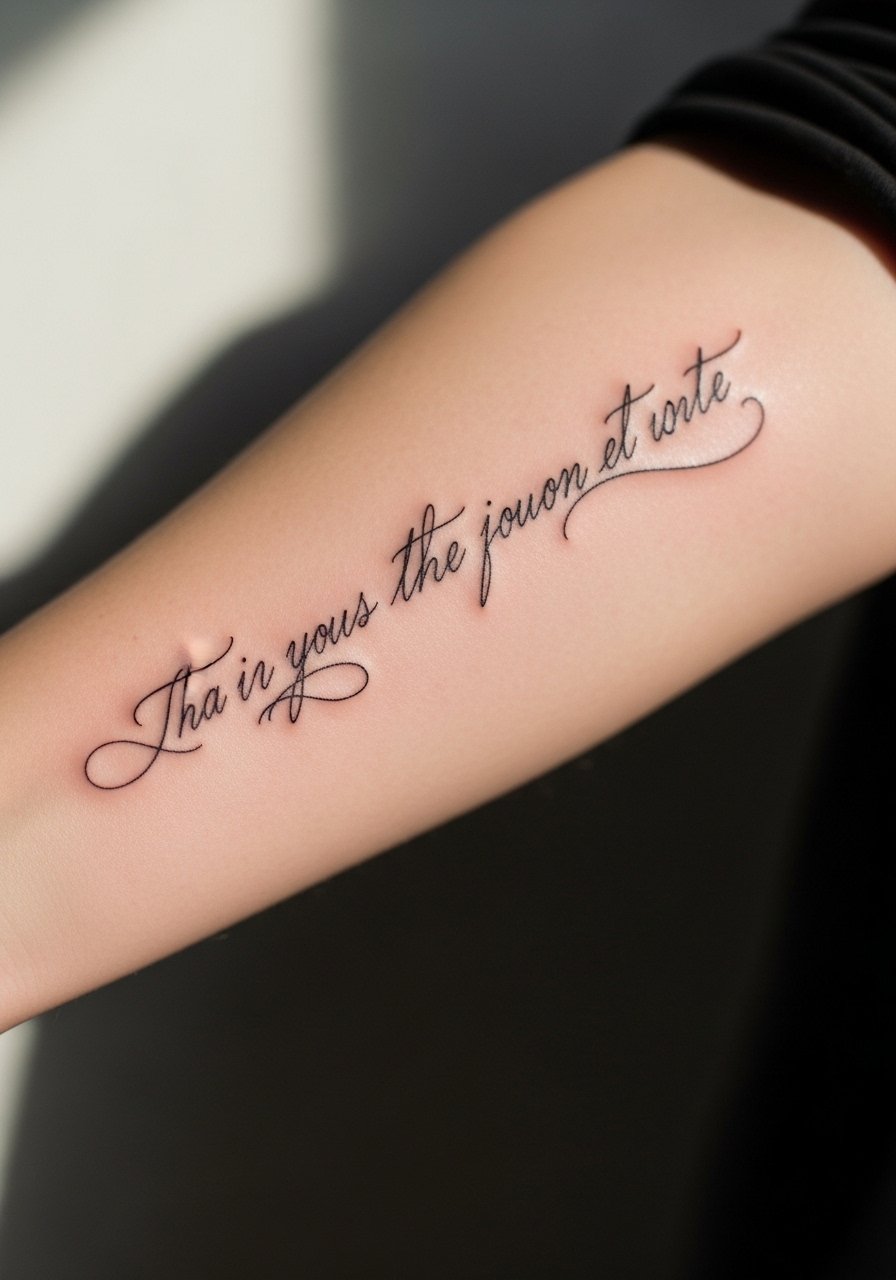
I see a lot of inner forearm cursive in consultation rooms and the main callout is line weight. Hyper-micro single-needle script can look beautiful day one and then soften from sun and friction. Ask for slightly bolder single-needle linework and a small spacing buffer between letters so the letterforms stay legible at year three. Session time is often one hour, pain is low, and touch-up is common at 12 to 18 months for fine scripts. For showing it off, pair the piece with a rolled cuff chambray shirt so the arm reads clean and the script sits like jewelry.
2. Blackwork Solitary Galaxy on the Upper Chest
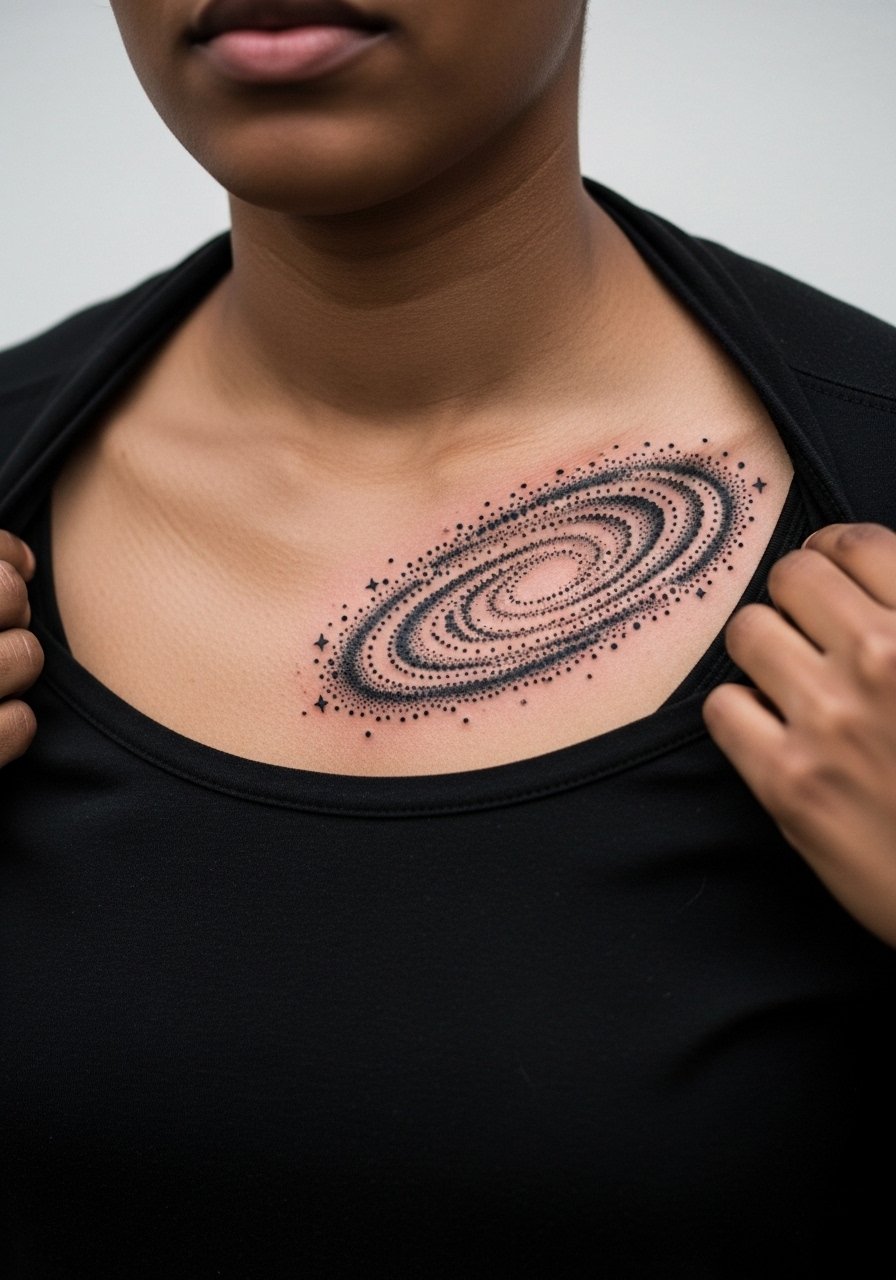
Most upper chest galaxy pieces benefit from strong black saturation and dot work for depth. Expect two to four sessions depending on size. Pain is moderate because the chest has softer tissue and more movement while breathing. Tell your artist you want heavy dot work for stars and deliberate negative space for the main constellation so the design keeps contrast as it heals. For show-off outfits, a deep V-neck tee and a layered pendant sit above the piece without covering the central motif. Consider that chest sessions need careful positioning when leaning back during the tattoo to avoid stencil distortion.
3. Minimal Gemstone Outline on the Wrist
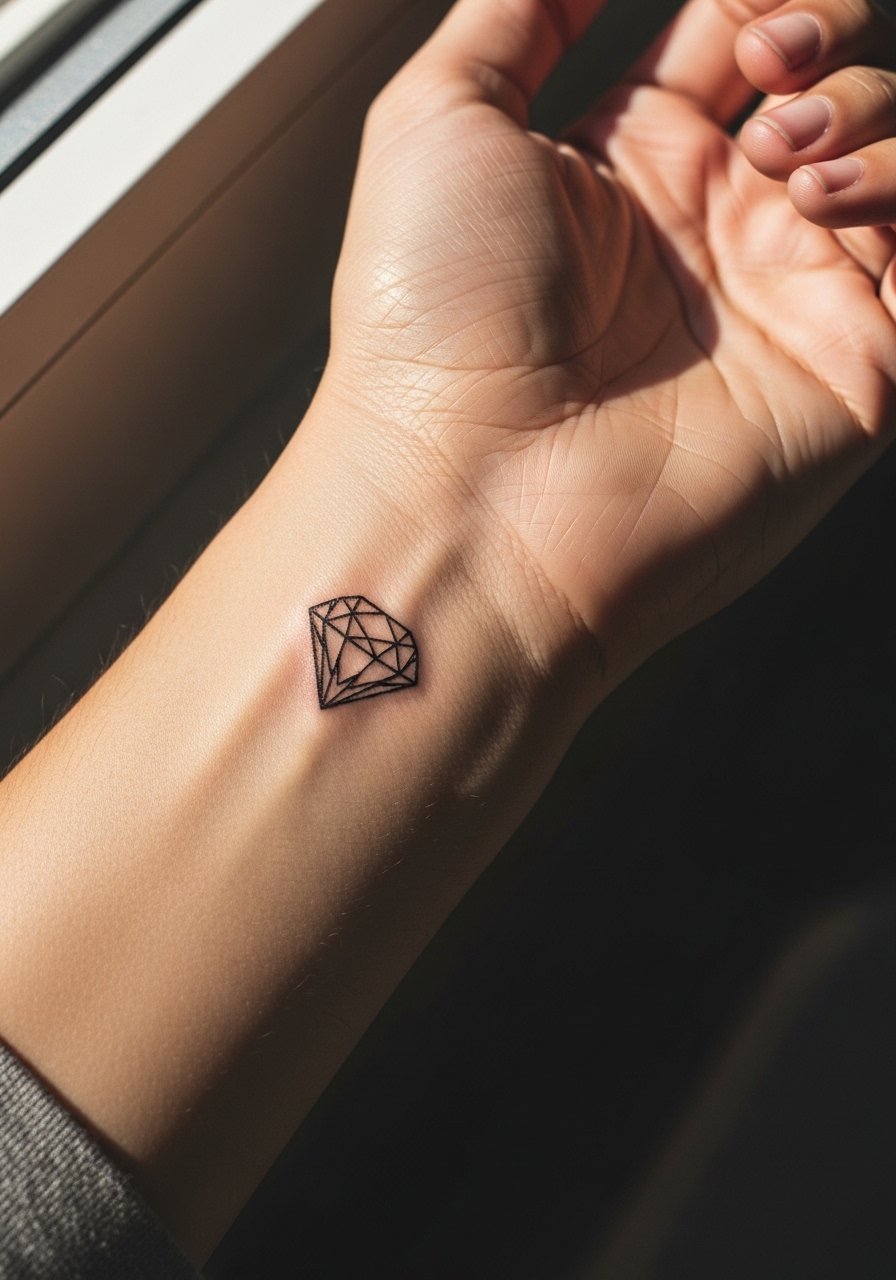
Wrist placements are adorable and exposed, and they also get a lot of rubbing from clothing and watches. Fine gemstone outlines done too thin lose crisp edges quickly. The debate about fine line longevity shows two camps. One camp says wrists blur fast because of constant sun and friction. The other camp argues that with slightly thicker linework and targeted touch-ups, fine line holds fine. For this wrist gem ask for a single pass with a modest outline thickness and expect a touch-up around year two. Pair it with a thin leather bracelet on the opposite wrist to balance the micro details without crowding the view.
4. Neo-Traditional Mythical Creature on the Nape
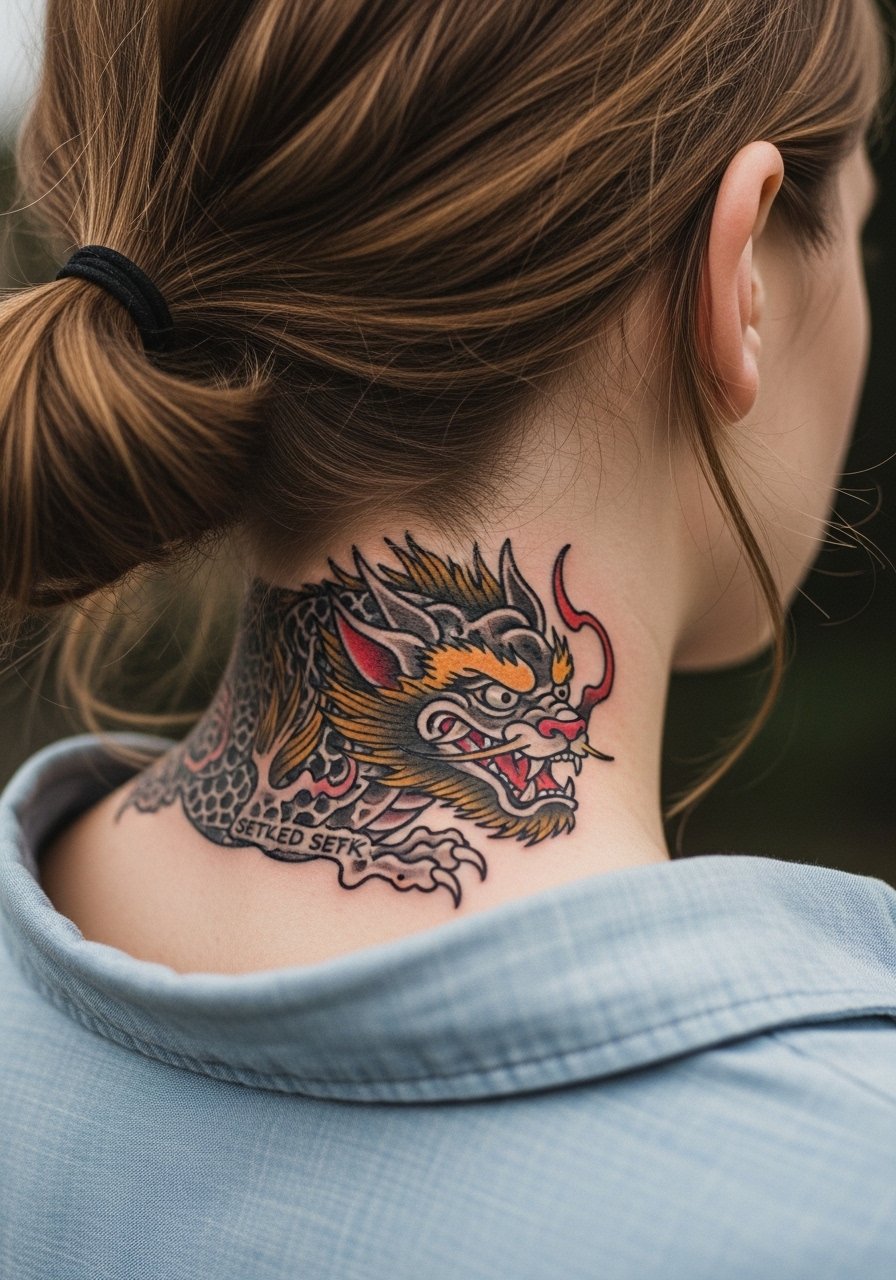
The nape is great for someone who likes private reveals when hair is up. Expect two sessions for color accents and mid-size fills. Pain is moderate to high depending on your tolerance because the skin is thin and close to bone. A common mistake is asking for intense detail in too small a space. Ask for simplified color blocks and clear linework to keep the creature readable at six months and at year three. For the appointment, wear a loose ponytail and a button-down you can pull aside at the back. When you want to show it off, off-shoulder blouses or hair clips create that hair-up reveal without overexposing the area.
5. Ornamental Abstract Pattern on the Outer Thigh

Thigh pieces let you go large and play with scale. The biggest practical issue is weight fluctuation and how lines sit over time. For ornamental abstract work, ask your artist to design flowy modules with breathing room between dense elements so the pattern survives natural skin shifts. Pain is lower on the outer thigh and sessions can be long. If you plan to show the tattoo during summer, high-waist shorts or a slit maxi skirt frames the pattern without cutting the eye across it.
6. Personal Symbol as a Sleeve Start on the Inner Arm
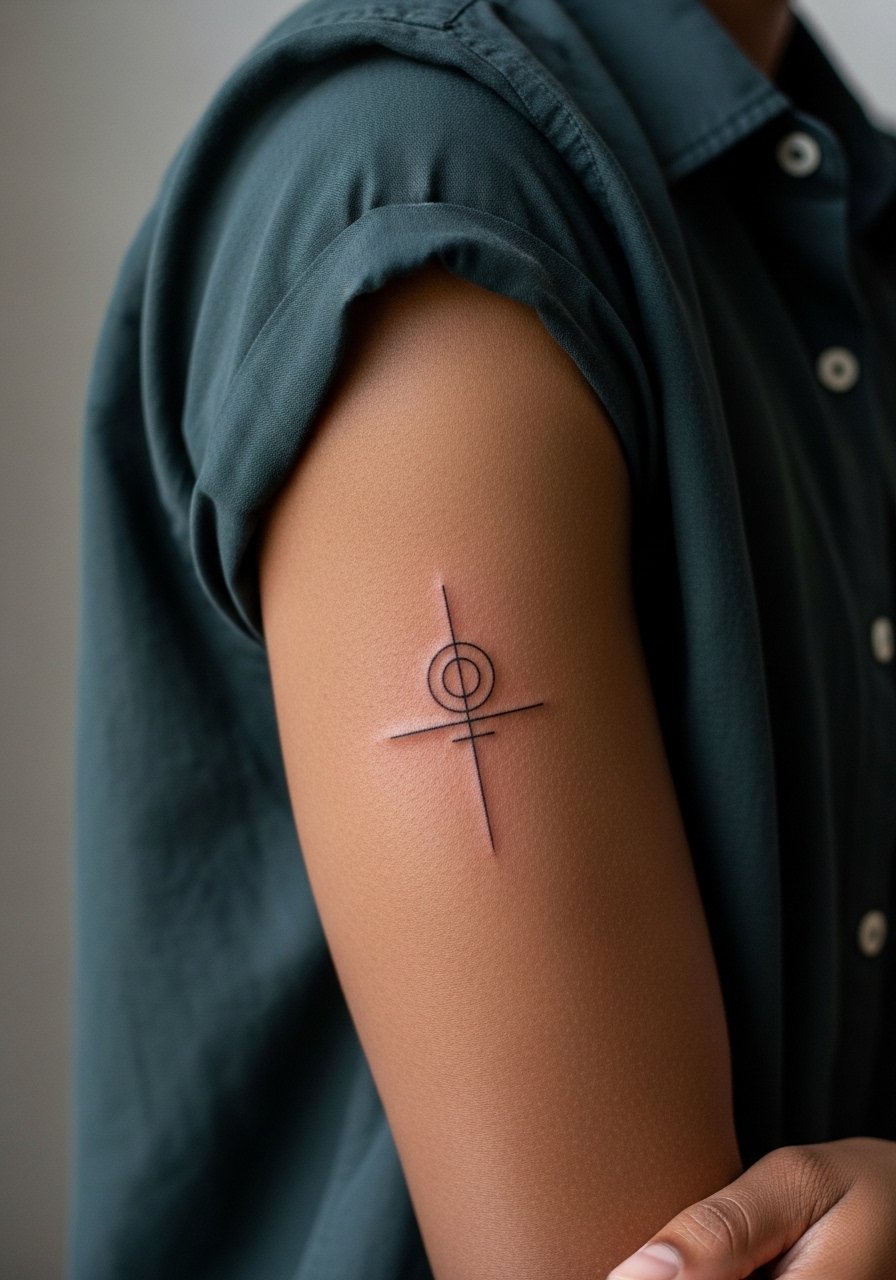
This is a practical approach to building a sleeve out of solitary pieces over years. Start with a medium-size symbol on the inner arm and plan negative space for future additions. Tell your artist exactly which dates or motifs to include and where you want open skin for later filler pieces. Sessions are typically shorter at first, pain is moderate, and color saturation can be added in later passes. For the session, a loose button up short sleeve gives clean access while keeping your skin covered before and after the appointment.
Studio Day Picks
The forearm cursive and wrist gemstone above need different prep from chest and thigh pieces, so a few targeted items make the session and first week less fussy.
-
InkSafe Tattoo Balm. A lighter, non-greasy balm that users say helps micro linework breathe in the first week, handy for fine forearm and wrist pieces.
-
Australian Tea Tree Salve. Good for dry climates and small ribcage touch-ups where heavy ointment feels suffocating during healing.
-
H2Ocean Tattoo Spray. A quick spray helps nape and chest spots after showers without soaking the stencil area.
-
Hustle Butter. A thin, easy-to-spread balm that keeps saturation vibrant on larger blackwork areas without the cling of heavier greases.
-
Fragrance Free Gentle Body Wash. Use this on shower days during week one so soaps do not strip delicate linework while the skin repairs.
7. Watercolor-Evolved Butterfly on the Ribcage
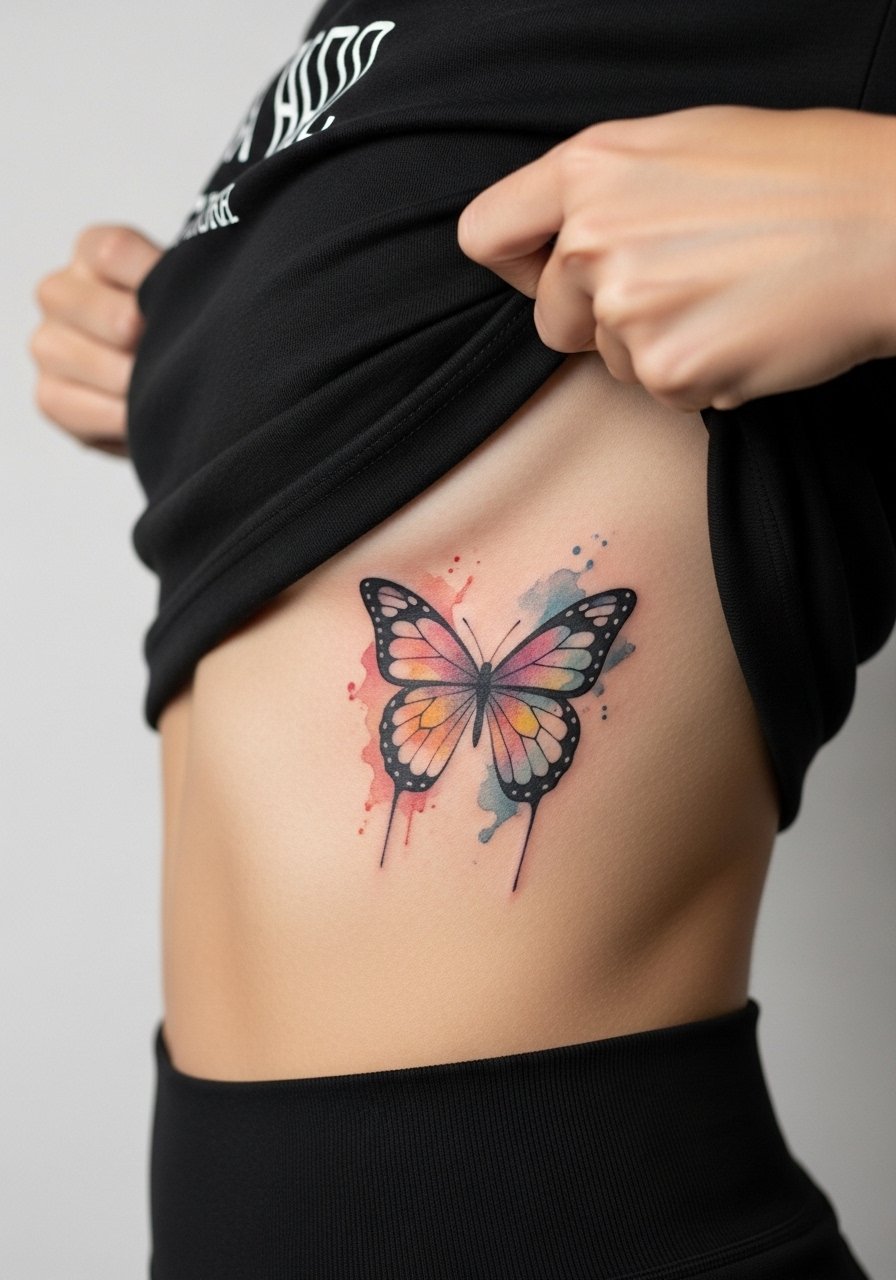
Fair warning, ribs are high on the pain scale and healing there is fussy. Watercolor on the ribcage looks ethereal when fresh, but color saturation and placement must account for movement from breathing and posture. There is a split on Saniderm versus dry healing. One camp uses Saniderm for line stability and faster protection during heavy movement. The other camp prefers dry healing, saying the film traps moisture and can affect delicate blends. Ask the artist which method they use for ribcage color before you book. Expect one to two sessions and a careful touch-up plan if you love saturated watercolor.
8. Micro-Realism Medusa on the Collarbone
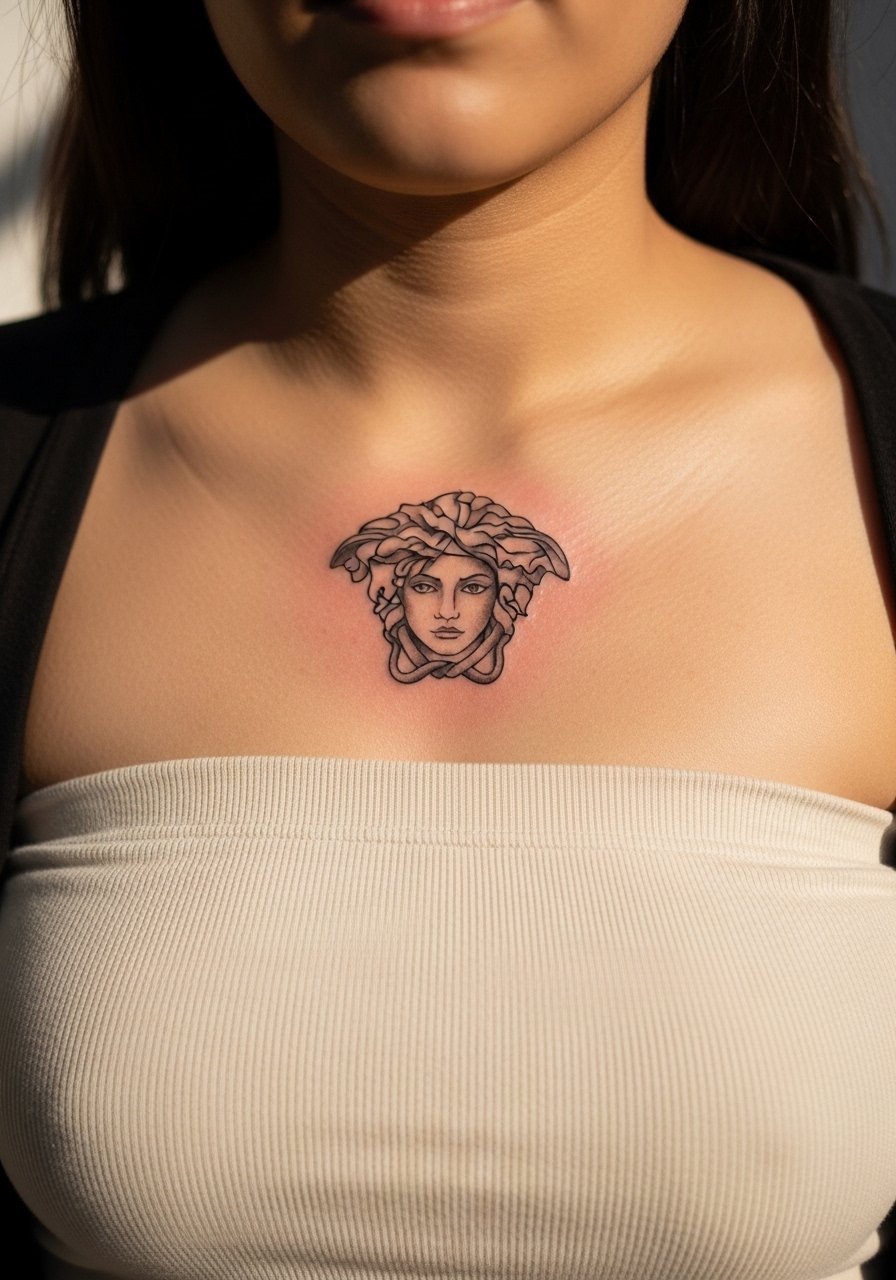
Collarbone placements are showy and require precise depth for micro-realism. The biggest mistake is packing too much tiny detail into a narrow horizontal space. Tell your artist you want contrast in the eyes and subtle whip shading for hair texture so the face reads from a short distance. Pain is moderate because the collarbone sits close to bone. Pair this with a delicate choker necklace when you want to layer jewelry without obscuring the portrait. Plan for a touch-up at year two if you want the micro tones to stay crisp.
9. Tiny Coordinates on the Inner Wrist

Small coordinate tattoos read like private markers and make great first 1of1 pieces. Because the inner wrist sees frequent washing and sunlight, ask for numbers in a slightly heavier single-needle weight and spaced digits so the numerals do not blur together. This session is short and pain is low to moderate. For showing the tattoo, pair it with a minimalist cord wristband on the opposite wrist, leaving the tattoo unobstructed and framed like a charm.
10. Raised Dotwork Gem for Darker Skin Tones on the Ankle
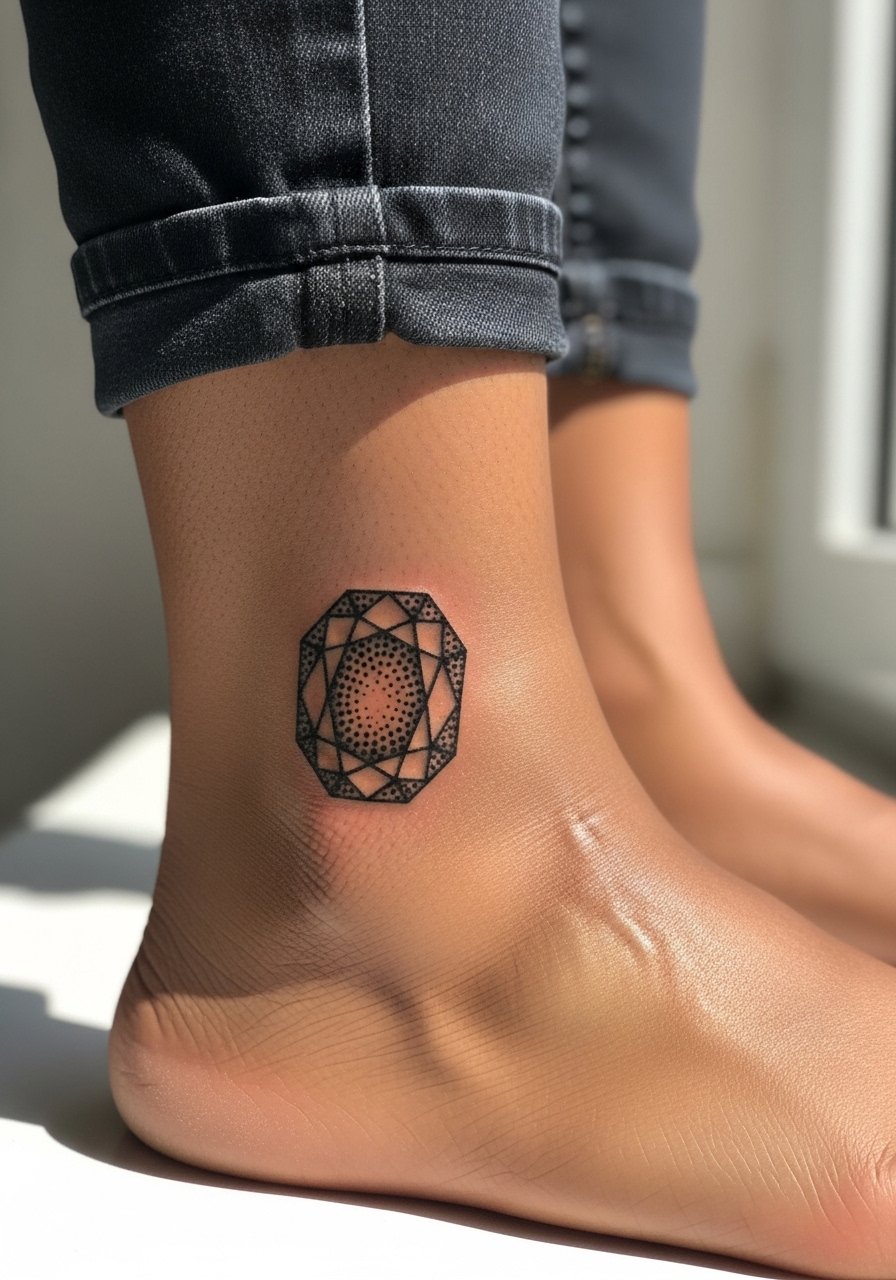
Dark skin often requires bolder contrast for micro line details to photograph well. Raised dotwork and heavier outlines can help the gem read in photos without overworking the skin. Mention your skin tone in consultation and ask to see healed examples on similar tones. Ankle pieces are low to moderate pain and vulnerable to friction from shoes. Plan for a short touch-up session if you want edges to stay defined after seasonal wear.
11. Patchwork Sleeve Starter with a Solitary Motif on the Upper Arm

Building a sleeve over years works better when each piece is drawn with future connections in mind. Start with a motif that has clean negative space for later filler and complementary flow lines. A common mistake is treating each piece like a separate tattoo and then fighting composition when the sleeve comes together. Ask your artist where they see gaps and which shapes will integrate naturally. Sessions are medium length and pain is manageable on the outer arm. For the shoot and the session, wear a loose button up short sleeve to give the artist clean access.
12. Geometric Mandala on the Shoulder Blade
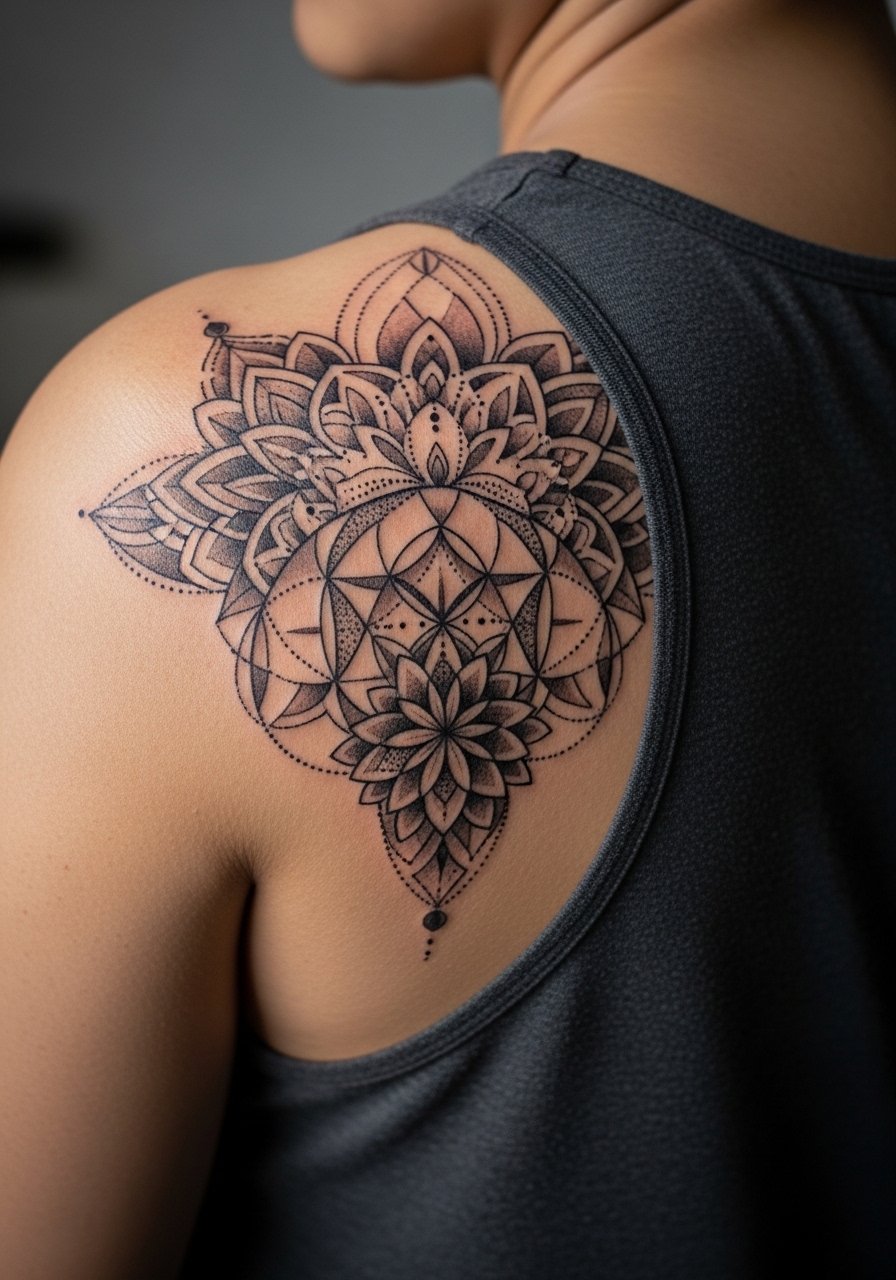
Shoulder blade skin is forgiving and allows for complex geometry that ages well if scaled properly. A frequent mistake is shrinking a dense mandala into too small an area. You need breathing room between radial lines and careful stipple shading to avoid density blowout over time. Pain is moderate and sessions can run long. For longevity, plan larger cells in dense areas and keep the centre slightly open so the piece retains clarity at year five and beyond.
13. Micro-Realism Eye Behind the Ear
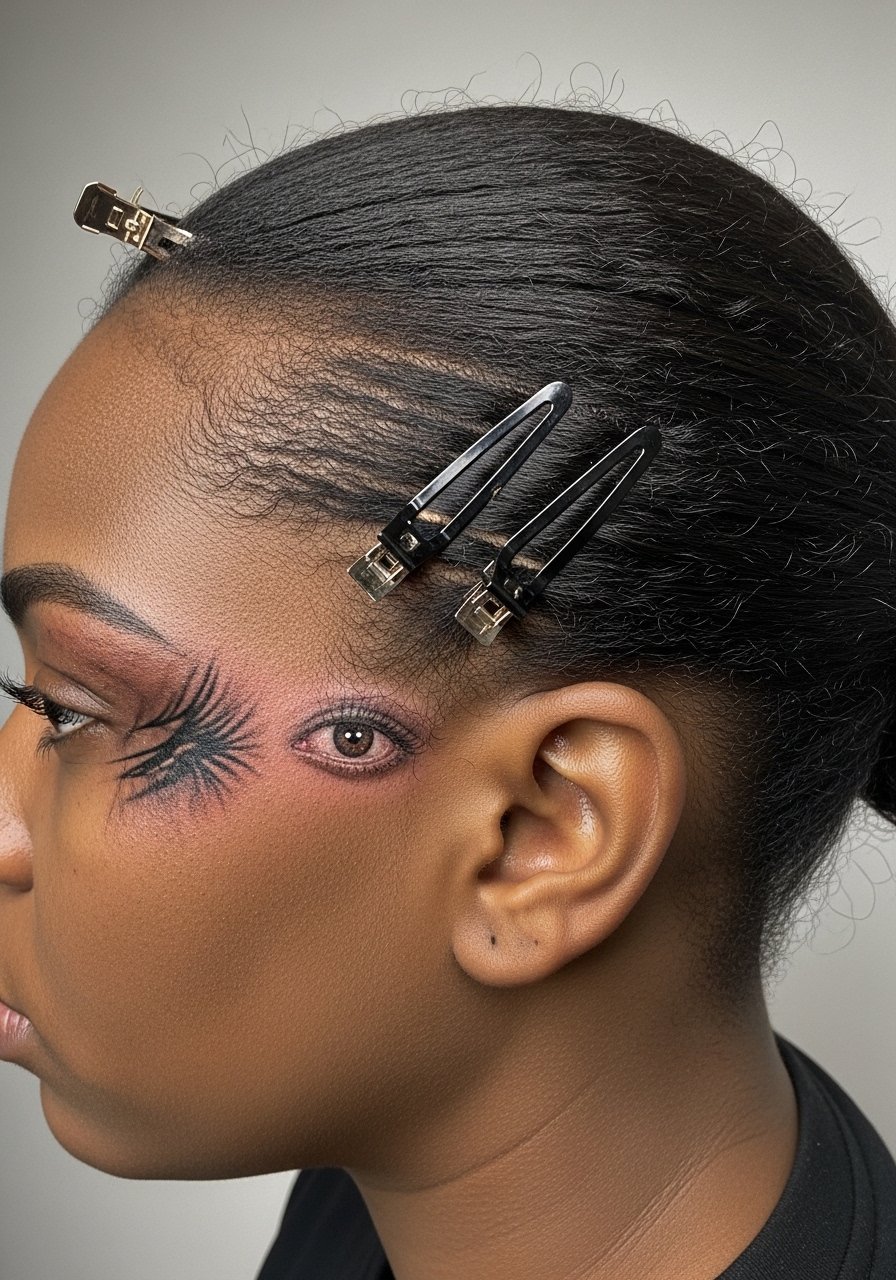
Behind-the-ear spots are intimate reveals and they heal differently from flat areas. The skin is thin and movement from turning the head affects how the ink settles. For tiny micro-realism, ask for a simplified pupil and crisp linework rather than tiny stipple details that can blur. Session time is short but touch-ups are common. Wear hair clips and keep hair up for the first week to reduce friction. A small note on careers is appropriate here since very visible neck work still matters in some workplaces.
14. Ornamental Calf Panel in Black and Gray
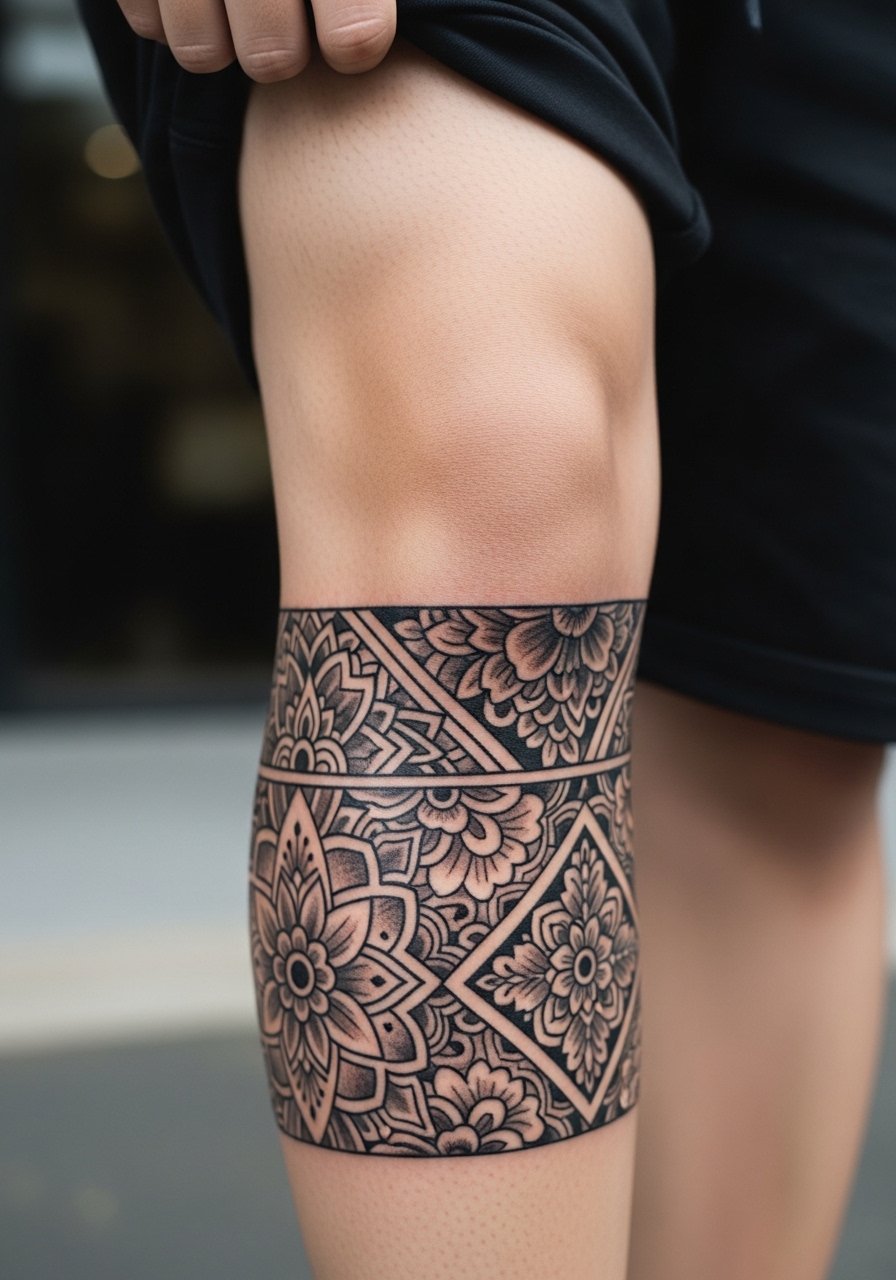
Calf panels let you play with vertical movement and contour the leg. The risk is that heavy shaded panels placed too low can ride into the Achilles area and rub against socks, which accelerates fading. Ask for a raised neckline of negative space above and below the main motif so the shading has room to breathe. Pain is low to moderate and sessions are comfortable seated. For longer designs, break into multiple sessions to preserve saturation and avoid overworking the tissue.
15. Memorial Star with Integrated Date on the Upper Chest
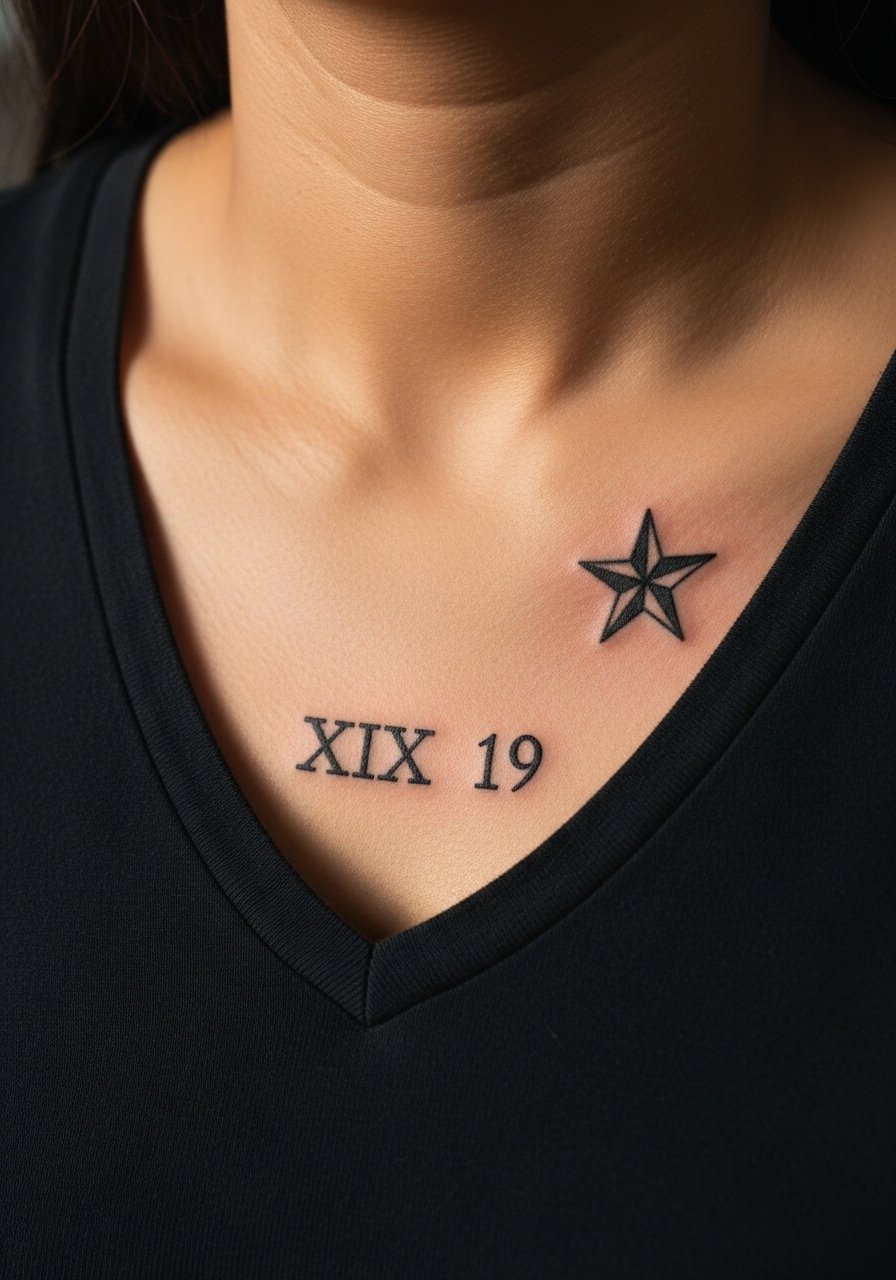
Integrating dates into small chest motifs is a subtle way to mark time. The chest moves with breath and posture so keep lettering spaced and slightly bolder than you might prefer visually. A common error is squeezing Roman numerals too tight which makes them blur into a line. Sessions are brief and pain moderate. When dressing the tattoo for an evening, a layered pendant necklace can frame the star without covering the numerals.
16. Fine Line Botanical on the Inner Bicep
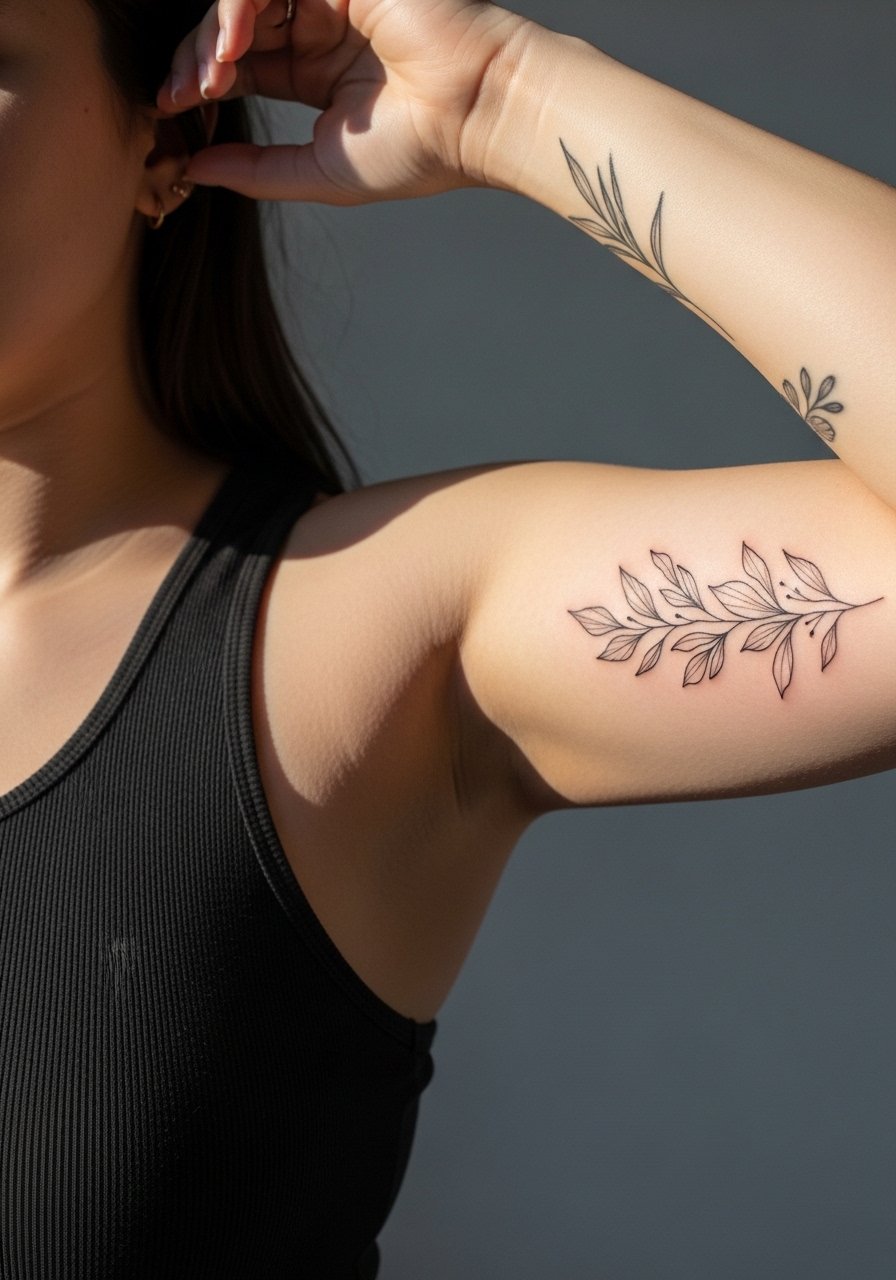
The inner bicep sees stretching from arm movement and occasional rubbing, so delicate botanicals need spacing and a reliable line depth. The biggest mistake is requesting ultra-tiny vines with tight detail. Ask for slightly wider stems and simplified leaf shapes to keep them readable at six months and later. Pain ranges from moderate to high depending on sensitivity. Wear a racerback tank top for easy access during the session and to avoid fabric drag on the fresh ink.
17. Timeline Galaxy Nape with Integrated Dates
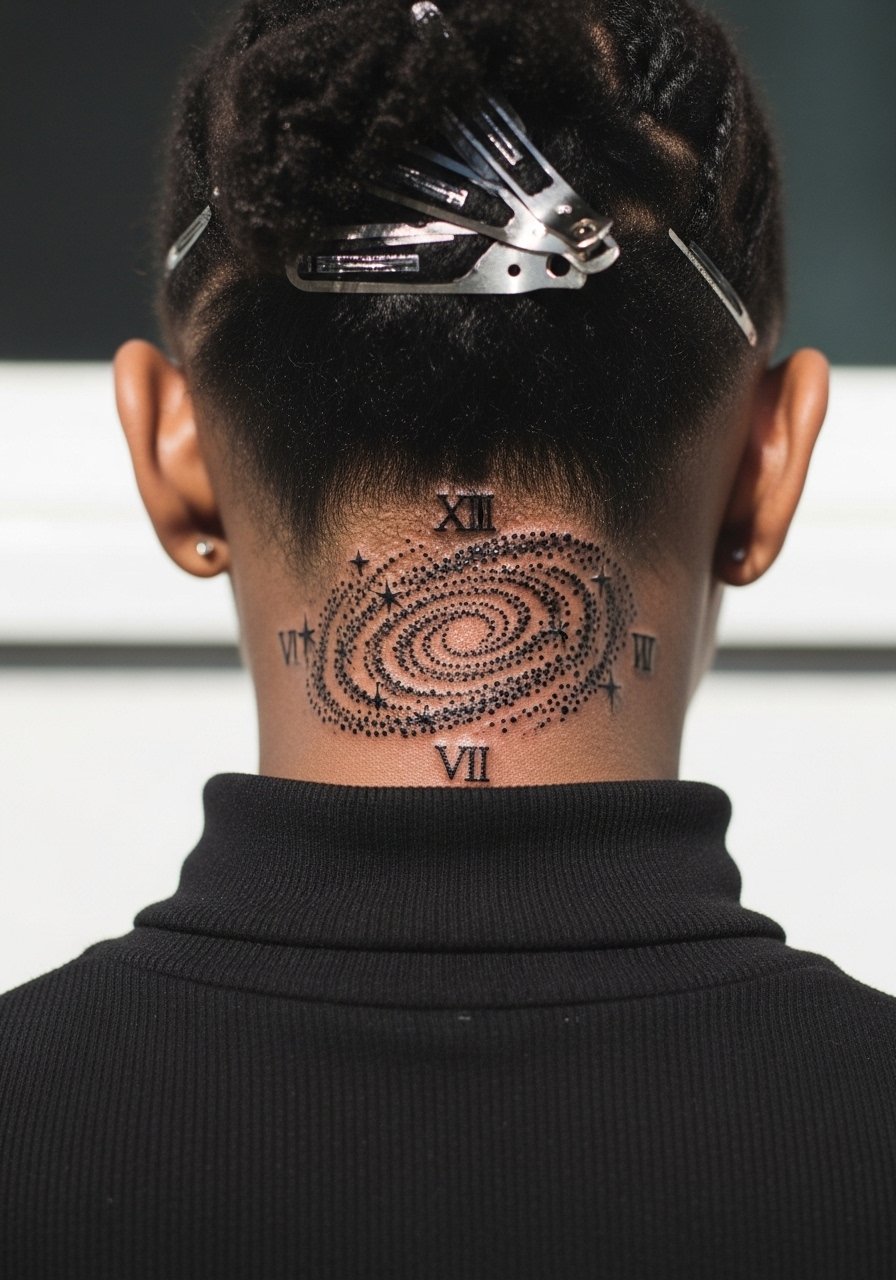
This is a twist on the chest galaxy concept adapted for a hidden reveal. Integrating dates into the dotwork requires spacing priorities so the numerals do not lose contrast in dense starfields. Because this sits on the nape, hair-up styling reveals the piece selectively. Pain and session time mirror other nape works. Ask for a negative-space halo around any numerals so they do not vanish into stipple shading as the tattoo heals.
18. Solar System Finger Band

Finger tattoos are compact and exposed to heavy use, so expect fading and earlier touch-ups. The common mistake is packing too many tiny elements into a narrow band. Simplify planets to dots with a slightly thicker outline and accept that a touch-up at year one or two is likely. Pain is higher on fingers and aftercare is tricky because hands wash frequently. Keep realistic expectations about longevity and photographic visibility.
19. Ornamental Thigh Pattern That Adapts to Weight Changes
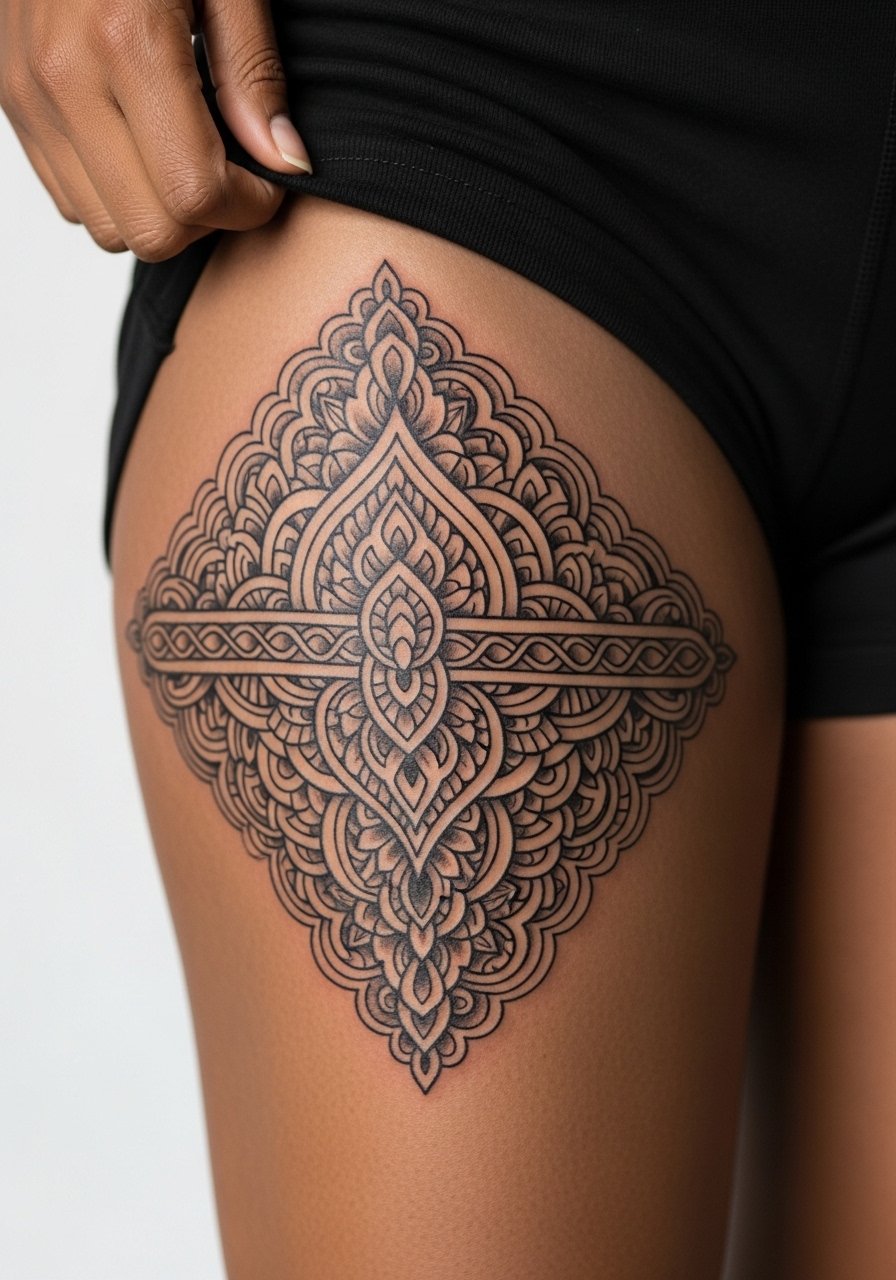
Thigh skin compresses differently as weight shifts, so ornamental patterns should include looser modules and flowing arcs. Designers who plan for expansion and contraction produce tattoos that age gracefully. Sessions are longer and pain is moderate. When showing the piece off, high-waist shorts or a high waist shorts look intentional and keep attention on the artwork instead of on exposed skin changes.
20. Stipple-Shaded Pocket Portrait on the Collarbone
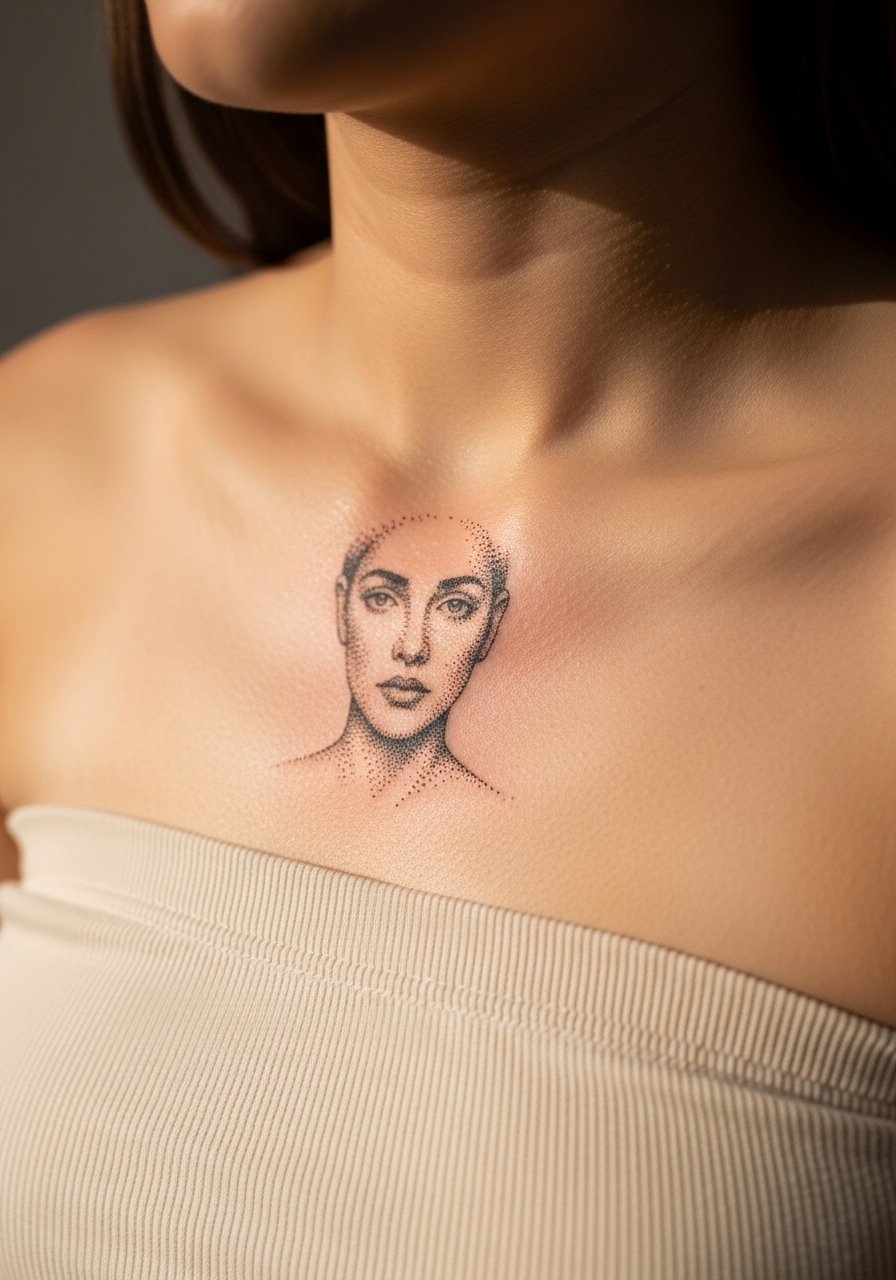
Micro portraits on the collarbone read beautifully when centered and not over-detailed. Ask your artist for stipple shading instead of heavy gradients so the face reads at a short distance without becoming muddy. Pain is moderate and sessions may require two short passes. Delicate chokers pair well with a collarbone portrait when you want to accent the area, try a delicate choker necklace to keep jewelry subtle and complementary.
21. Minimalist Constellation Near the Ankle
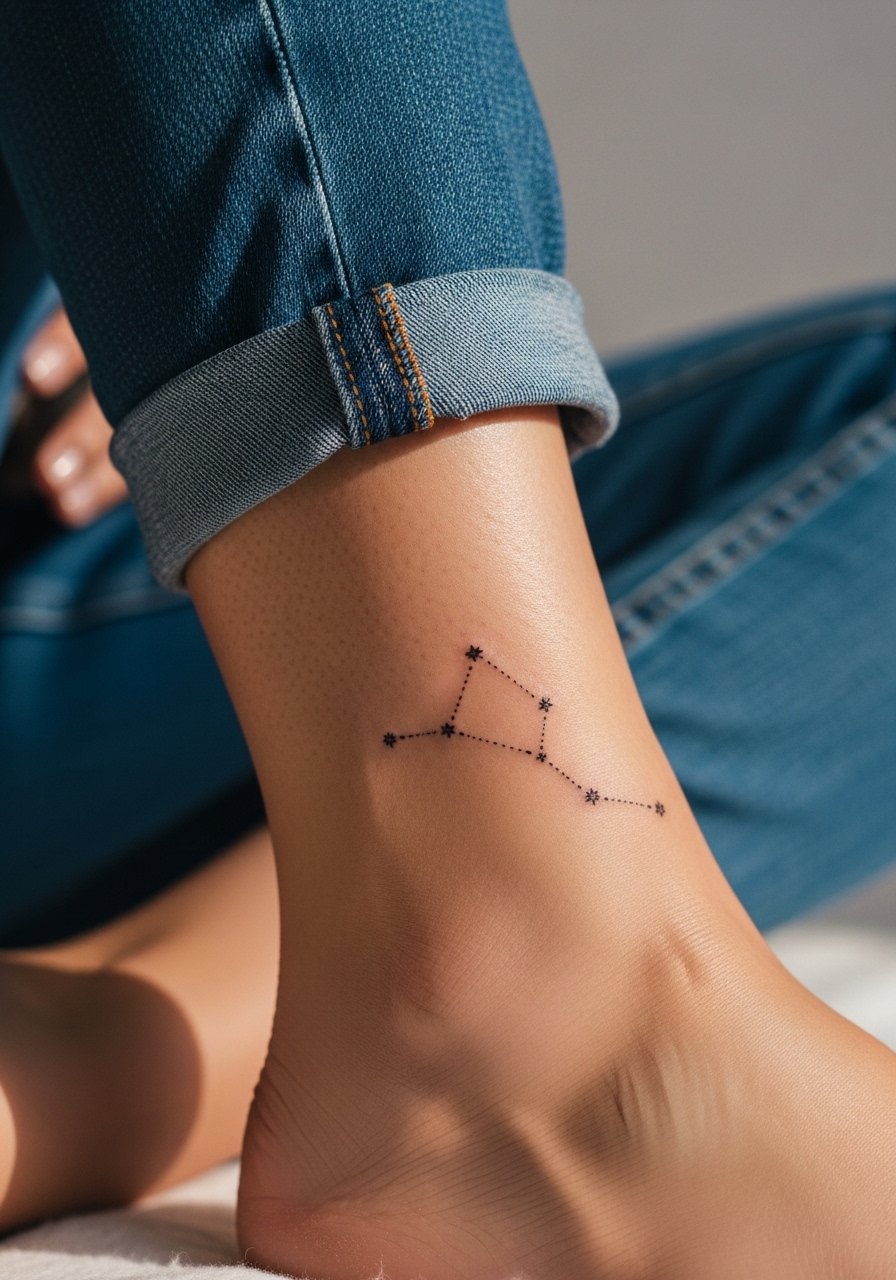
Ankle constellations make quiet statements but are vulnerable to shoe and sock friction. Choose slightly larger dots for stars and ask the artist for strong black points rather than micro-dots so the pattern lasts through seasonal wear. Pain is low to moderate and sessions are quick. For footwear choices, rolled-up jeans or low-cut sandals show the tattoo without constant rubbing.
Frequently Asked Questions
Q: Will fine line cursive on the inner forearm need touch-ups sooner than bolder styles?
A: It can. Fine line scripts on exposed locations like the forearm tend to soften faster because of sun and friction. Expect a likely touch-up between 12 and 24 months. Ask your artist to plan for slightly increased line weight and to mark a touch-up window in your booking notes.
Q: How do I find artists who really do true 1of1 custom work and do not slip into flash upsells?
A: Search community routes like #1of1tattoo and #custom1of1 on Instagram, watch TikTok process clips, and check Tattoodo filters. Look for portfolios with multiple distinct freestanding pieces rather than repeated flash themes. Bring sketches and ask during consultation how they translate your ideas versus using pre-drawn flash.
Q: For a ribcage watercolor butterfly, should I use Saniderm or dry healing?
A: There are two camps. Some artists use Saniderm to protect the area from friction and speed the initial healing. Others prefer dry healing for watercolor blends, arguing the film traps moisture and blurs soft transitions. The right choice depends on your artist's aftercare workflow and how much movement you expect during the first week. Ask them which method they use and why.
Q: What should I wear to a chest or collarbone session to make the appointment easier?
A: Wear clothing that reveals the area without removing many layers. For collarbone or upper chest, a wide-neck shirt or a deep V-neck tee you can pull aside works well. For sternum or rib sessions, a sports bra you can lower slightly keeps things modest while giving access.
Q: How do tattoos read on darker skin tones and what should I tell the artist?
A: On darker skin, contrast and bold outlines help micro details show in photos. Mention your skin tone in the consultation and ask to see healed examples on similar tones. Techniques like raised dotwork and confident black saturation often translate better than ultra-fine, low-contrast fillings.
