
Fine line lightning bolts are everywhere on saved boards, but the trend-versus-reality gap is real. Fine lines look incredible fresh, and people assume they last forever. In practice I've noticed placement and line weight decide whether a bolt needs touch-ups at year two or survives a decade. Read the first few designs for forearm and wrist options that actually hold shape, then move into bolder and color-forward choices that age cleaner when planned right.
1. Single Fine Line Bolt on Inner Forearm
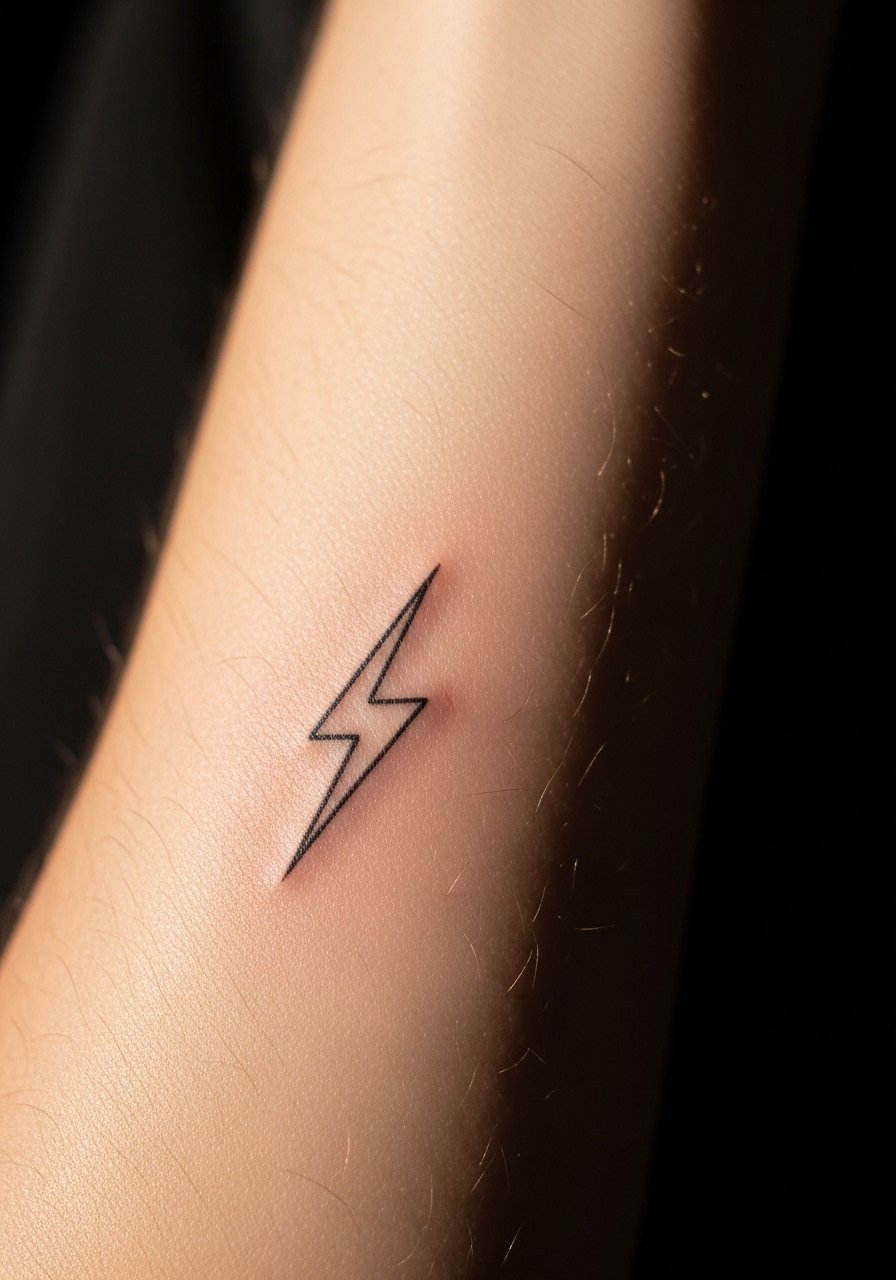
I see this one a lot in consultations because it reads like a confident little mark without shouting. Tip for the appointment, ask the artist for a 2 to 3 millimeter minimum line weight so the line holds on daily sun exposure and repeated movement. The common mistake is asking for needle-thin micro lines that look delicate day one and vanish by year two. Expect a short single-session experience with low to medium pain. Tell the artist you want the bolt to sit with negative space around it so touch-ups, when needed, are straightforward. For showing it off, roll up a rolled sleeve chambray shirt so the forearm stands out.
2. Crossed Double Bolts on the Biceps

This nod to traditional work reads bolder and ages with more grit than fine line versions. For the consult, say you want bold outlines and soft gray fill so the shapes remain crisp as saturation settles. The biceps handle saturation well so the piece can last without frequent touch-ups. Pain is low to medium and session time is usually under two hours. A mistake I often see is placing the bolts too small. Scale up modestly so the negative space between bolts does not merge over time. Pair it with a fitted muscle tank for summer reveal.
3. Minimalist White Ink Bolt on the Wrist
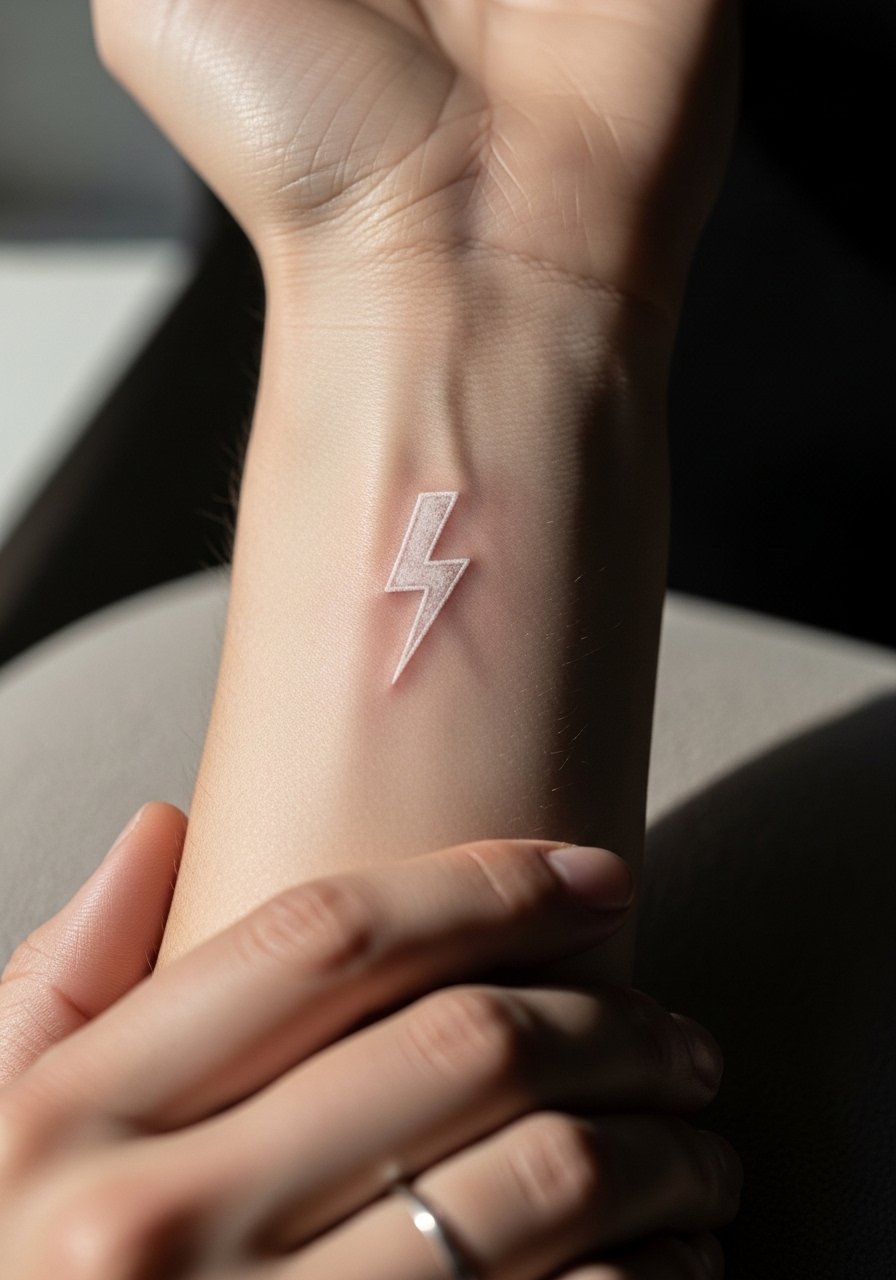
White ink is a delicate choice that reads almost like a scar on lighter skin tones. I've seen great results when clients reserve this for festival looks and accept that white can yellow or soften faster than black. Tell your artist you want shallow placement and to avoid packing the white too deep. Expect a micro session and higher touch-up likelihood around year one. The wrist is high movement, so plan for a six to twelve month check. For the session wear a sleeveless tank so the artist can work without jewelry interference.
4. Realistic Lightning Strike with Clouds on the Shoulder
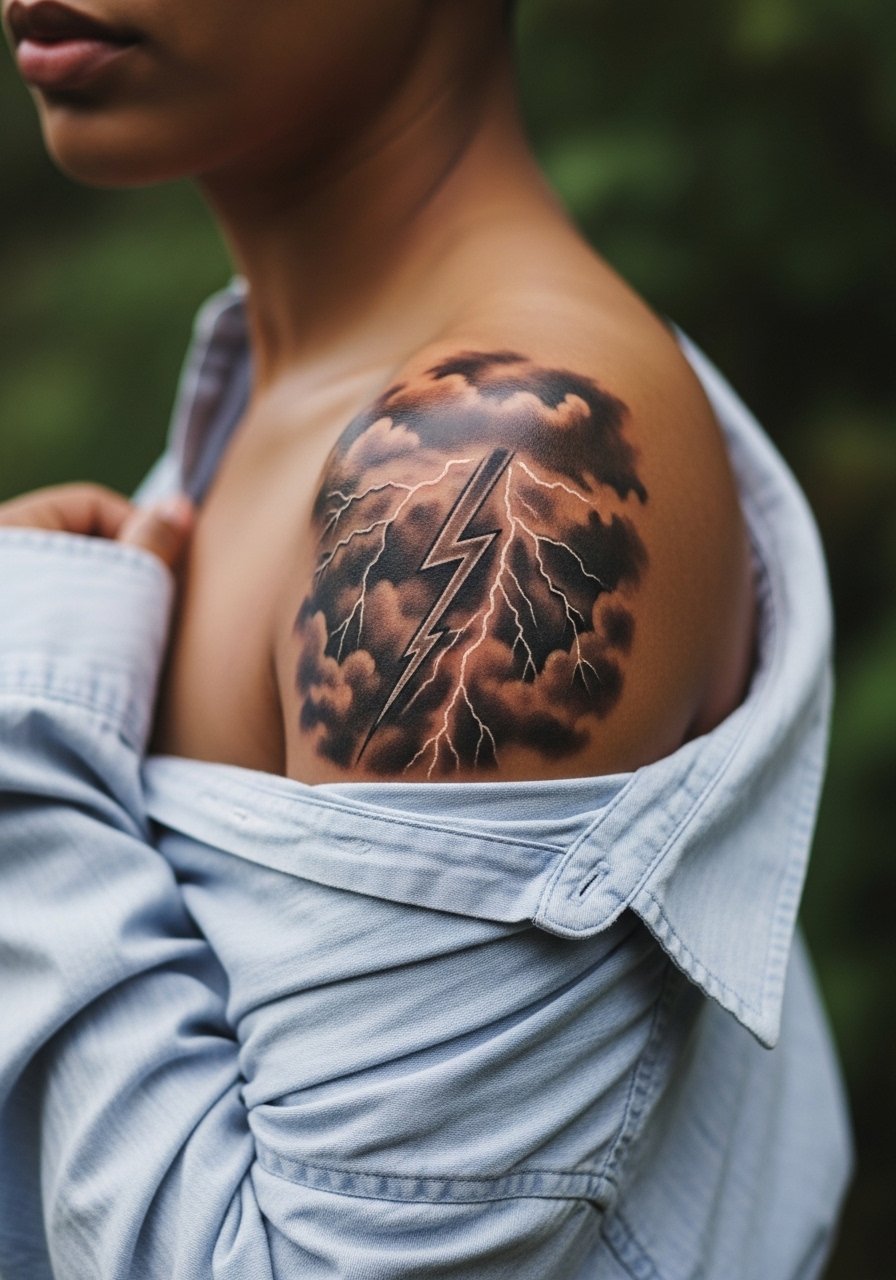
Most clients choose this when they want drama without an all-over piece. Ask for reference photos that show cloud texture and a single bolt path. The shoulder is forgiving for saturation, but heavy detail in small areas can soften into blur by year five. A common mistake is cramming too many tiny cloud textures into a small field. This design typically takes two sessions and feels like medium pain due to angles near bone. For showing it off after healing, layer with an off shoulder crop top to frame the upper arm.
5. Tribal Lightning Pattern on the Calf
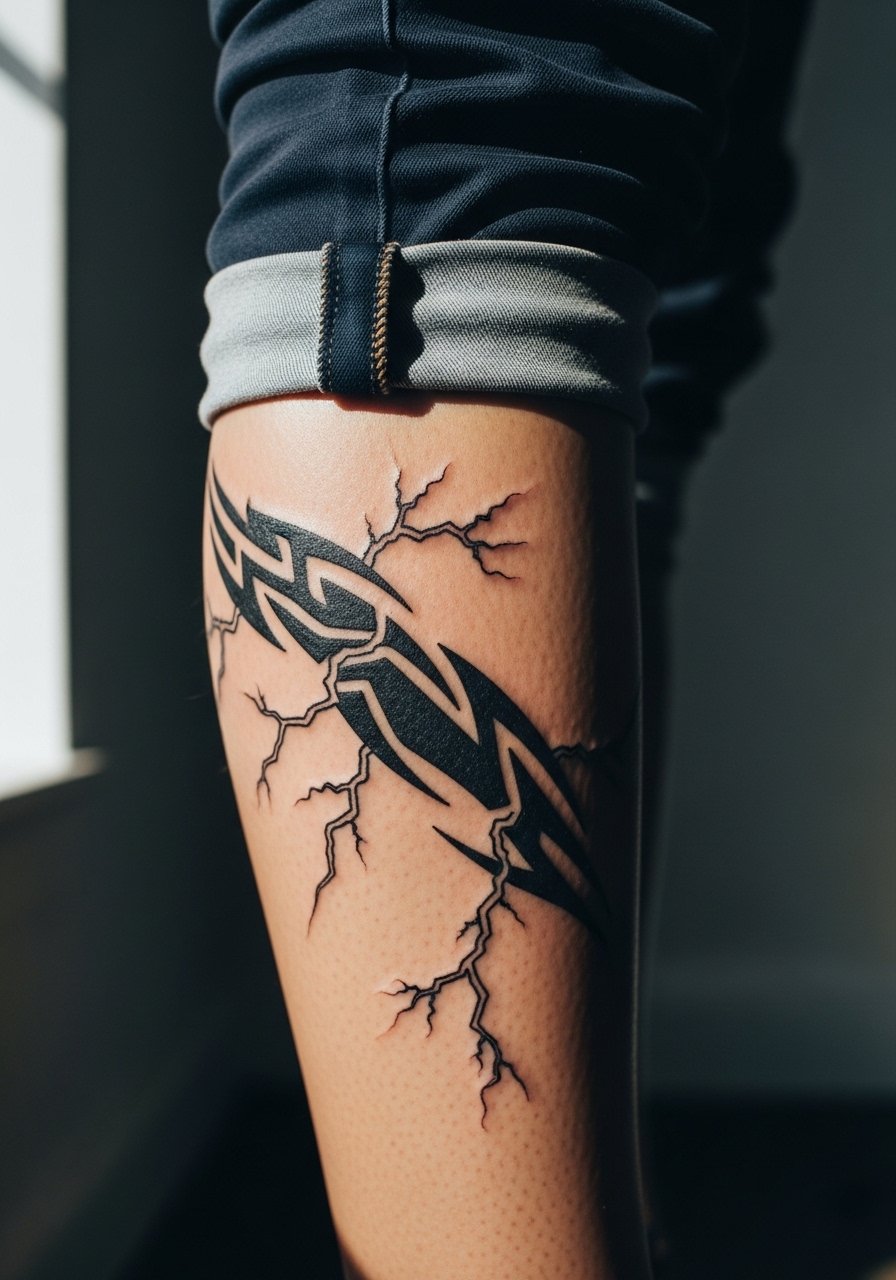
Tribal patterns are built to hold for decades because of thick lines and negative space. I recommend stating that you want strong black saturation and simple curves, not tiny interlocking details that age poorly. Calf placement handles large scale well and pets a short single-session timeline if the artist keeps the layout clean. Watch out for the mistake of overcomplicating the motif with tiny filler lines. Pair this with slim rolled chinos and chelsea boots for a summer reveal.
6. Geometric Bolt with Arrow Accents on the Inner Arm
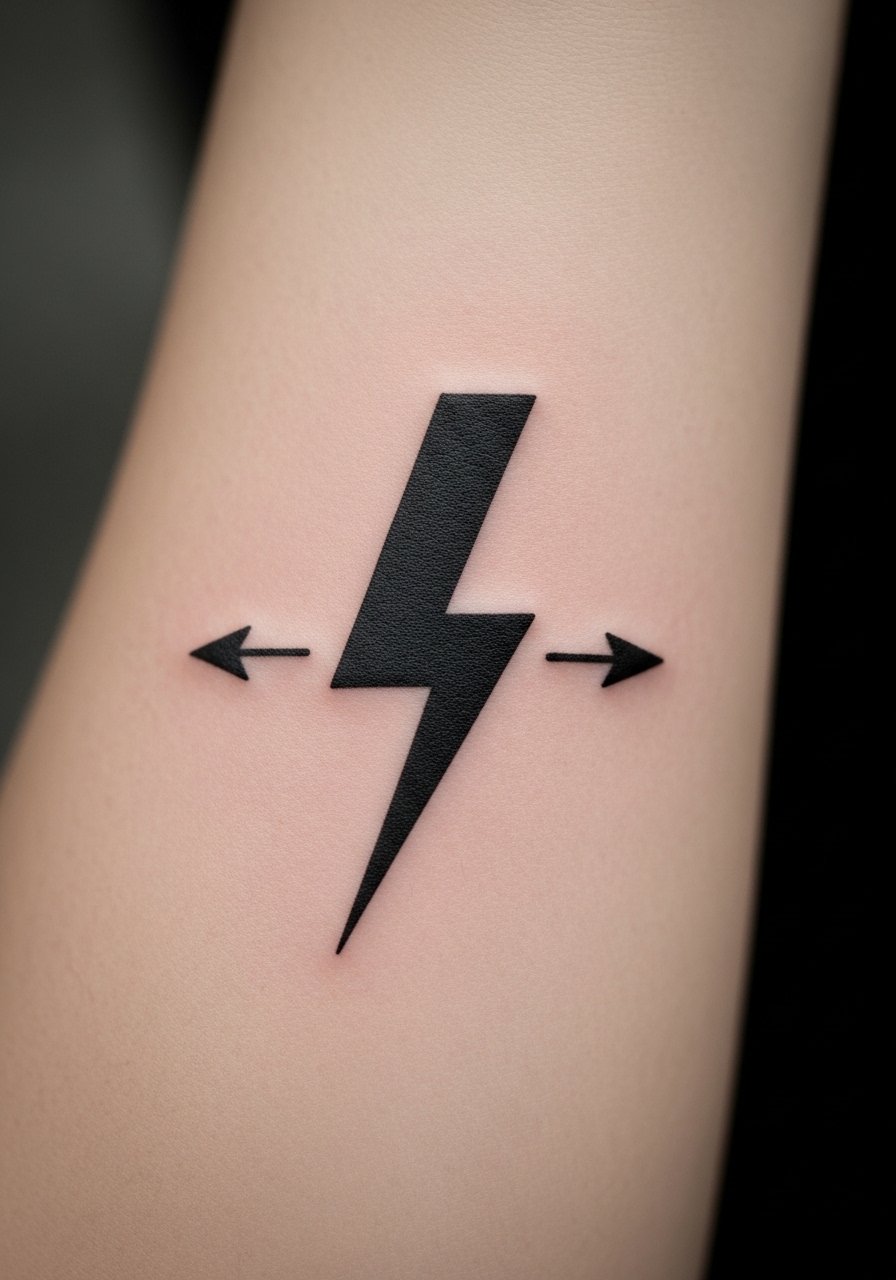
Geometric elements give a modern edge and help the bolt read as part of a system if you plan to expand. When you sit for the consult, ask for consistent line spacing and larger negative spaces in triangles so shading does not pool. Inner arm skin moves a lot so the design should avoid micro detail. This style often needs one session and low to medium pain. A common aging issue is placing dense geometry too small. For the session wear a loose short sleeve tee that you can push up easily.
Studio Day Picks
The forearm, calf, and inner arm pieces above need different prep than a thigh splash, so a few targeted items smooth session day and the first week.
-
Badger Tattoo Balm. A thinner balm that sits light on the skin which helps in humid climates and keeps fine line work from feeling greasy after short sessions.
-
InkSafe Second Skin Film. Breathable protective film ideal for curved spots like the inner wrist or ankle that experience friction.
-
Lush Charity Pot Body Lotion. A gentle, non-greasy moisturizer for keeping delicate black lines from catching on heavy creams during the second week.
-
Green People Soothing Balm. Organic and alcohol-free for sensitive skin, useful after color sessions on thighs or shoulders.
-
Aquaphor Healing Ointment. A thin layer in the first 48 hours can protect fresh blackwork from excessive drying while you sleep.
7. Watercolor Splash with Bolt on the Thigh
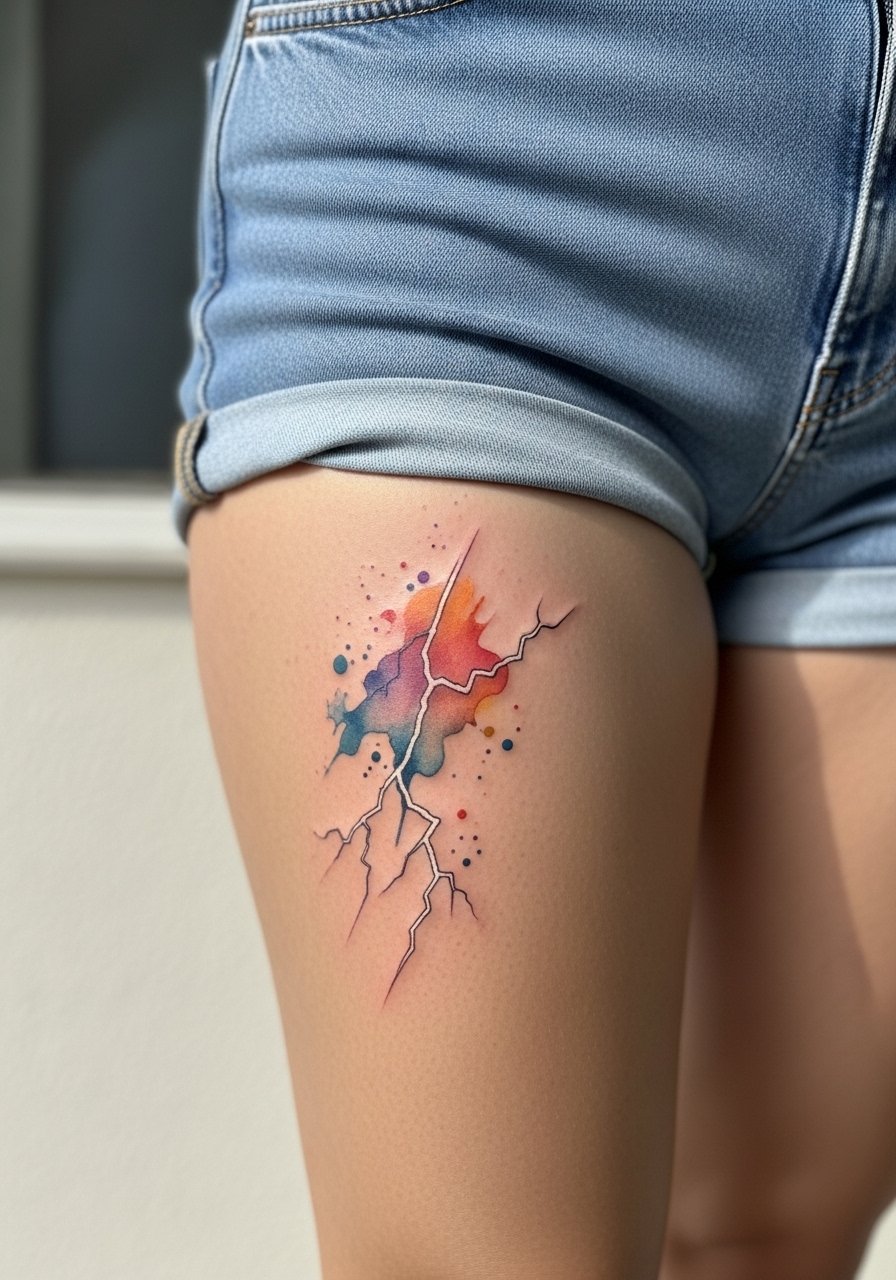
Watercolor bolts read like emotion on the leg but require an artist who keeps color edges loose without letting pigment wander. The thigh is forgiving for saturation, but rapid weight change can distort placement. I recommend talking to your artist about flexible sizing and asking for color anchors near the bone so blending stays intact. Sessions can run one to two hours and pain is medium. A common misstep is trusting walk-in shops for complex color blends. After healing, pair your thigh piece with high-waist shorts or an asymmetrical skirt for clean photos.
8. Neo-Traditional Bolt with Roses on the Upper Arm
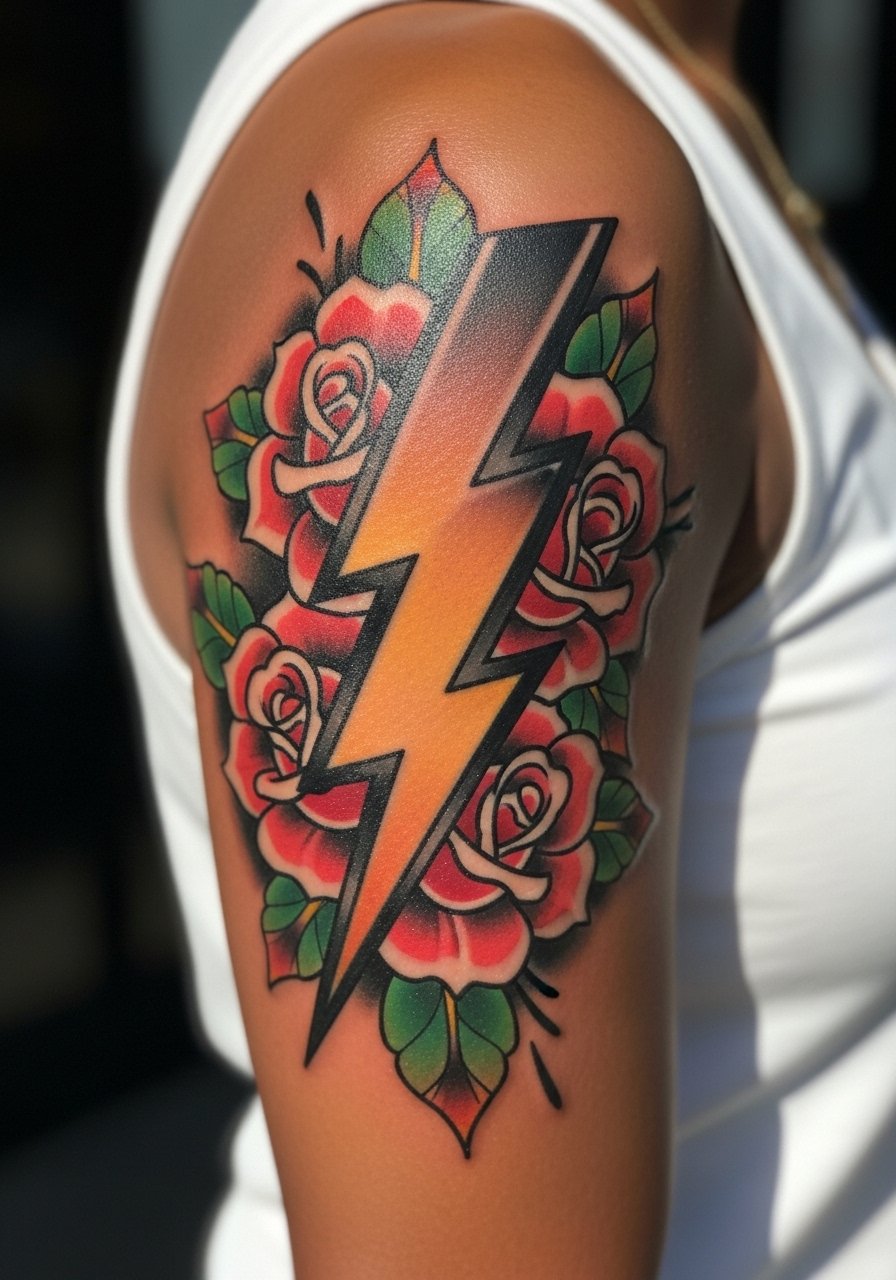
Neo-traditional brings thick outlines and saturated fills that age gracefully. When you book, bring rose references and specify linework strength so petals do not collapse into the bolt. Upper arm flesh allows for clear saturation, and a two-session plan keeps the skin from being overworked. Expect medium pain. A frequent error is placing the bolt too close to the floral elements, which makes the composition read crowded later. Throw on a vintage leather jacket or a fitted tank when you want the tattoo to read bold.
9. Ornamental Mandala Bolt across the Upper Back
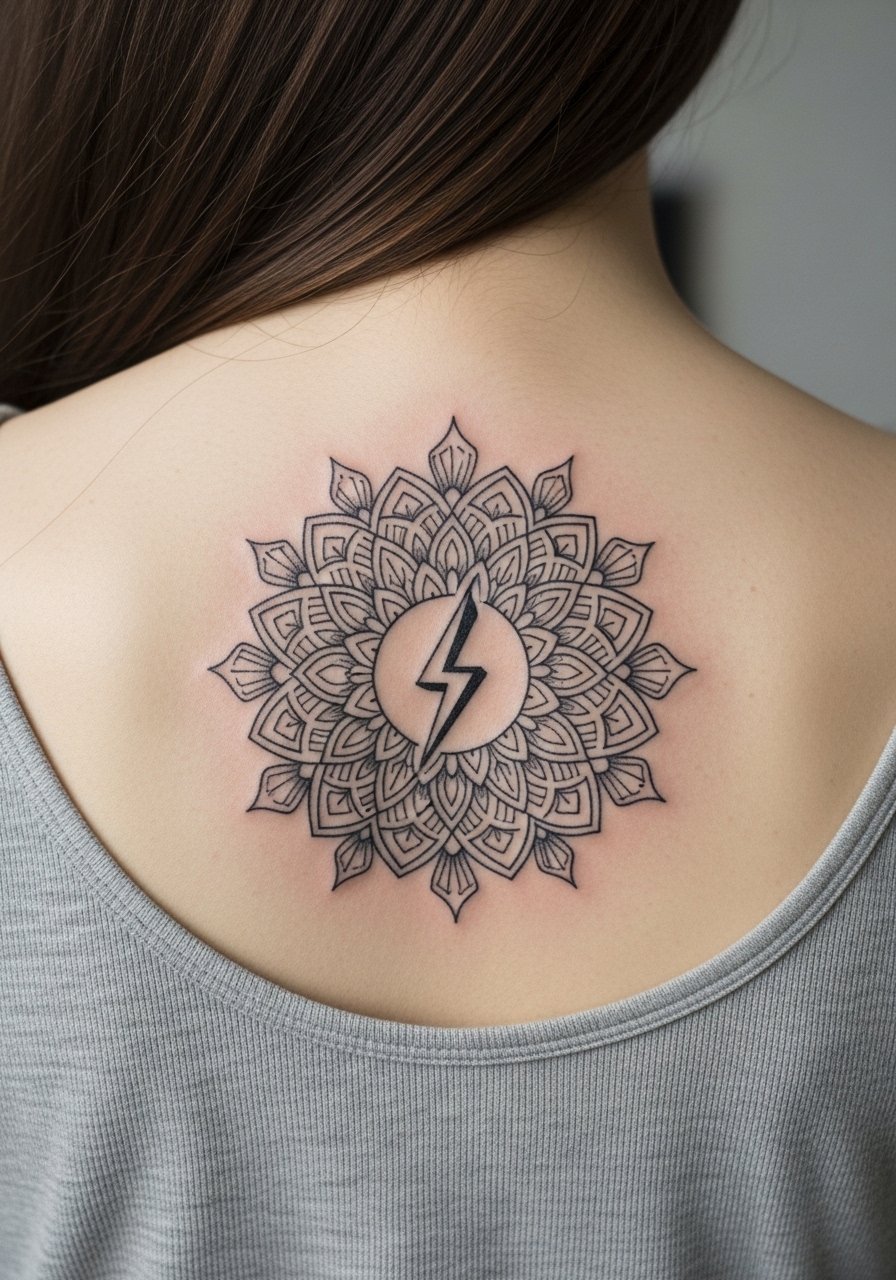
Large ornamental work needs spacing so the dense mandala points do not blur together. For consultations, request defined gaps and slightly larger dots in stipple shading so the pattern keeps its rhythm as it heals. Back pieces often require two to three sessions and feel like low to medium pain. A common regret is trying to compress a full mandala into too small an area. If cultural motifs are present, acknowledge origin and consider subtle variations rather than direct copies.
10. Ignorant Style Jagged Bolt on the Ankle
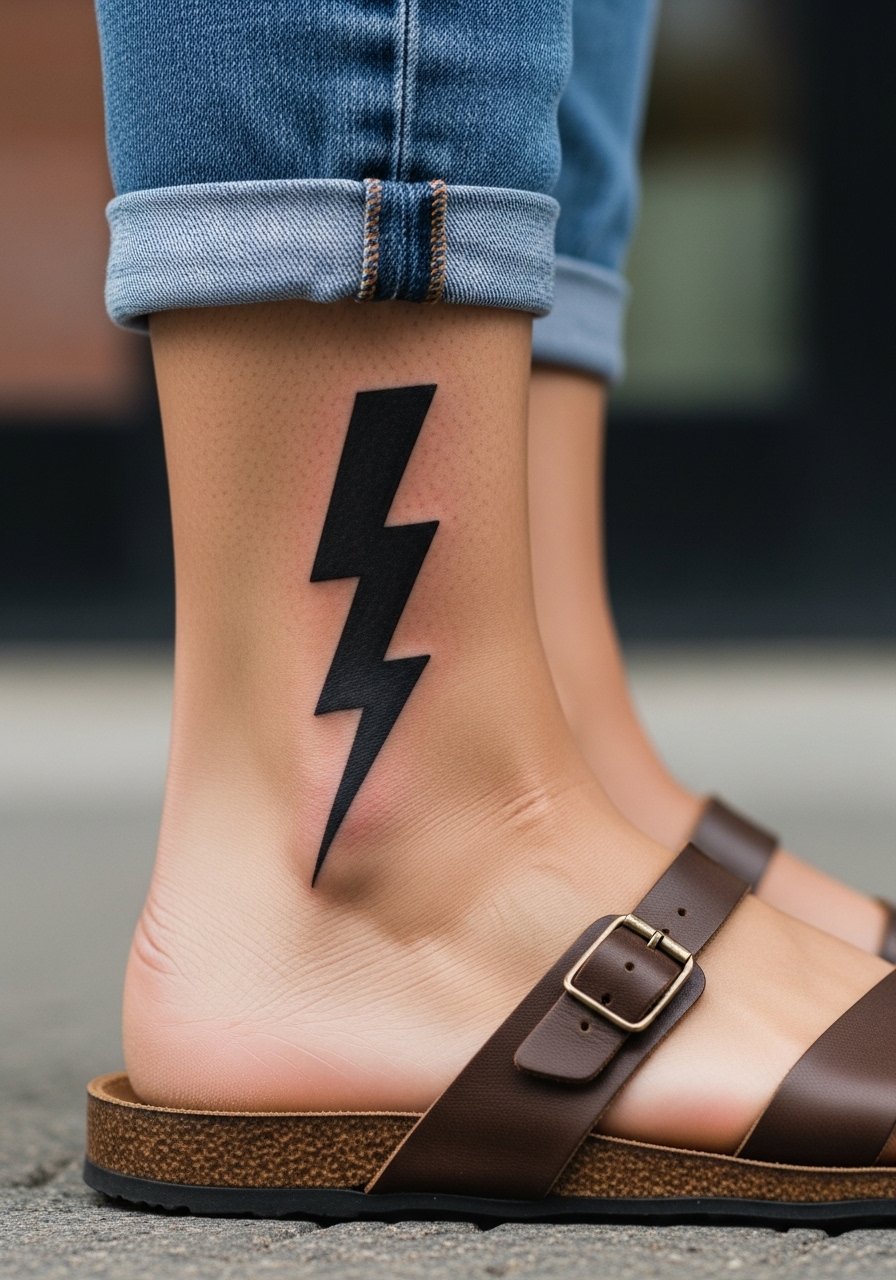
Ignorant style thrives on raw, hand-drawn energy that looks fantastic with rough edges. The ankle is sensitive and sees a lot of friction from shoes. Tell the artist you want bold, quick strokes and to avoid micro-detail near the foot line. Sessions are short but the area can be painful because of thin skin over bone. A mistake is trusting a tiny reference meant for a larger canvas. For showing it off, cuff your jeans and wear strappy flat sandals.
11. Sleeve Connector Bolt in Blackwork
Connectors make patchwork sleeves feel cohesive by tracing a path that links motifs. Plan with your artist to map negative spaces that will later become anchors for other tattoos. The real question is how bold you want the connector to be. Bold blackwork reads longest, but lighter connectors let other pieces breathe. Sessions are multiple and can be intense for long appointments. A common misstep is adding the connector before the surrounding pieces are placed. Wear a loose short sleeve tee so the artist can roll the sleeve up comfortably.
12. Negative Space Bolt in Large Blackwork
Negative space bolts look dramatic and they age well if the black background is saturated evenly. Tell the artist you want pure negative space with crisp edges and consistent saturation in the surrounding black so the bolt reads bright. This approach takes multiple sessions and feels medium pain over broad areas. Avoid tiny negative shapes inside the bolt that will merge into fill over time. For a night out, an open-back dress keeps the focus on the high-contrast work.
13. Curved Spine-Following Bolt for the Back
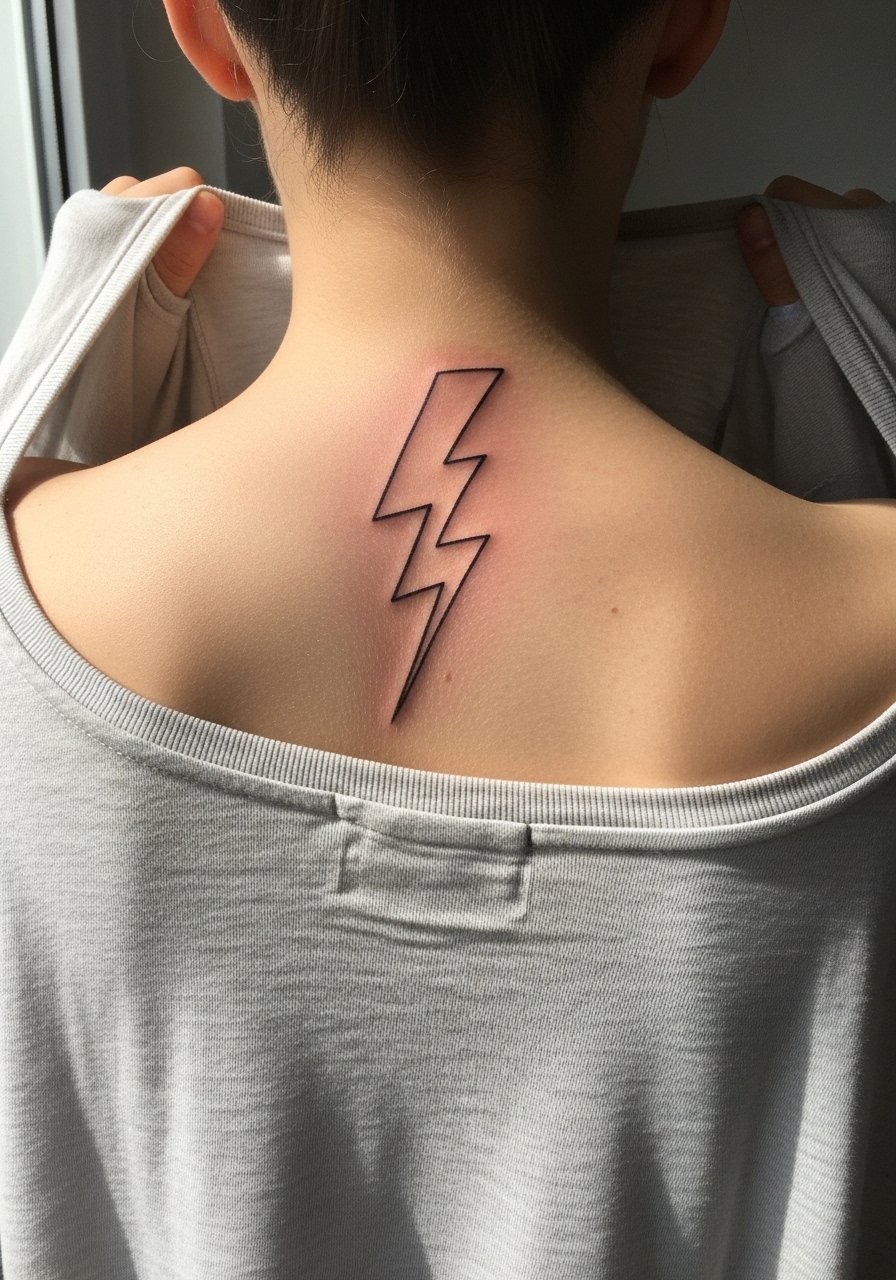
A bolt that follows the spine can feel organic and dynamic. When you talk to the artist, ask for a drawing with the curvature matching your posture so the bolt looks centered standing and sitting. The spine area can be sensitive near vertebrae, so expect medium pain and a careful two-session plan. A common mistake is having the bolt drawn straight on a curved torso, which skews after healing. For showing it off, pick tops with an open back or a wide-neck shirt.
14. White Ink Knuckle Lightning Test
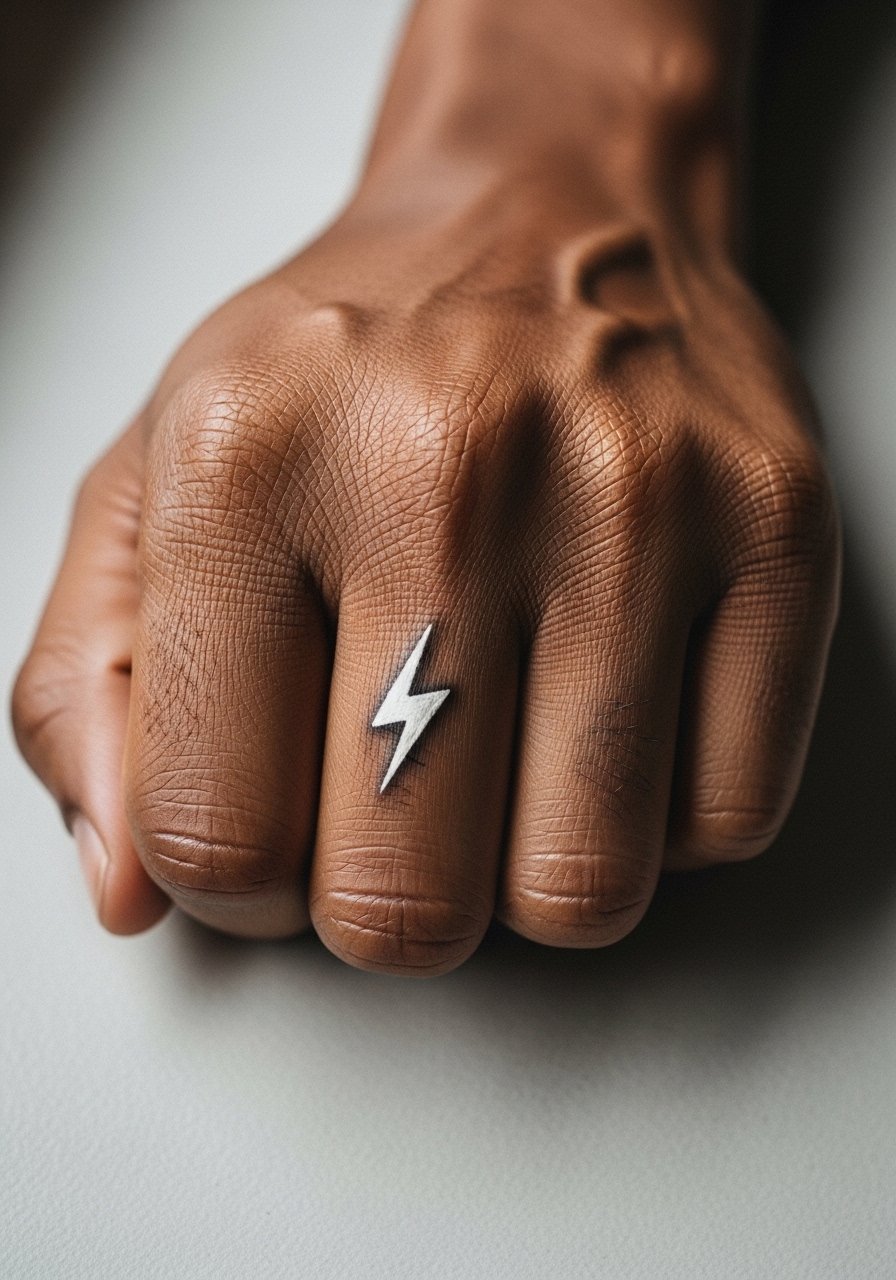
Knuckle and finger work tests ink retention because of constant movement and washing. White ink on knuckles is experimental and best described to the artist as a trial that may need frequent touch-ups. Tell them you accept the higher fade risk and plan for an annual rework. The session is quick but painful because of thin skin. Many regret visible hand pieces for professional reasons, so consider career context. If you go for it, keep moisturizer light and accept that white will soften fastest.
15. Bolt Paired with Geometric Arrows on the Inner Arm
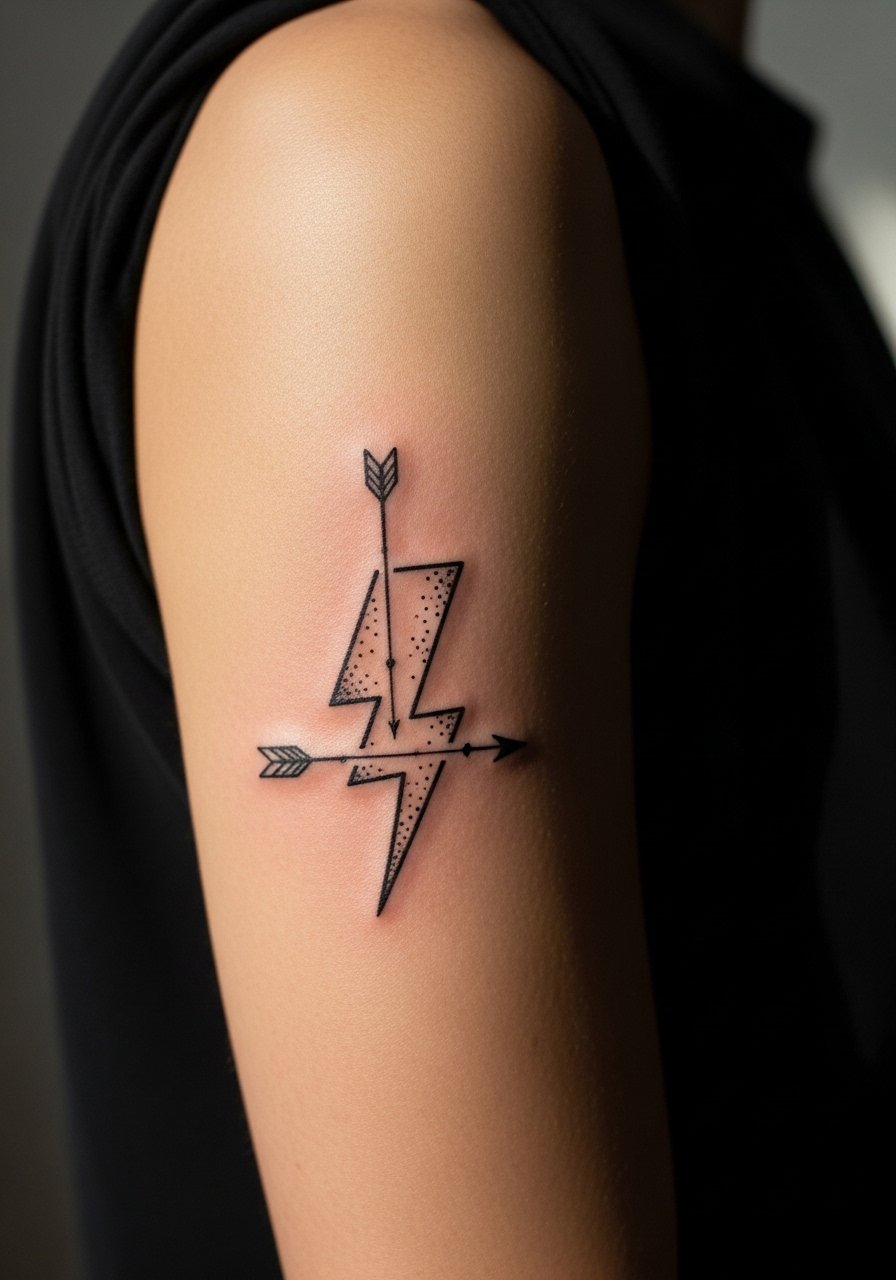
Directional arrows add motion and make the bolt feel intentional. Ask your artist to space arrows so the negative space preserves clarity as the linework blurs slightly over years. Inner arm movement means avoid tiny chevrons that can merge. This piece is usually a single session and feels medium. Common mistakes include stacking arrows too densely. For the session, wear a loose button-down shirt so you can expose the inner arm easily.
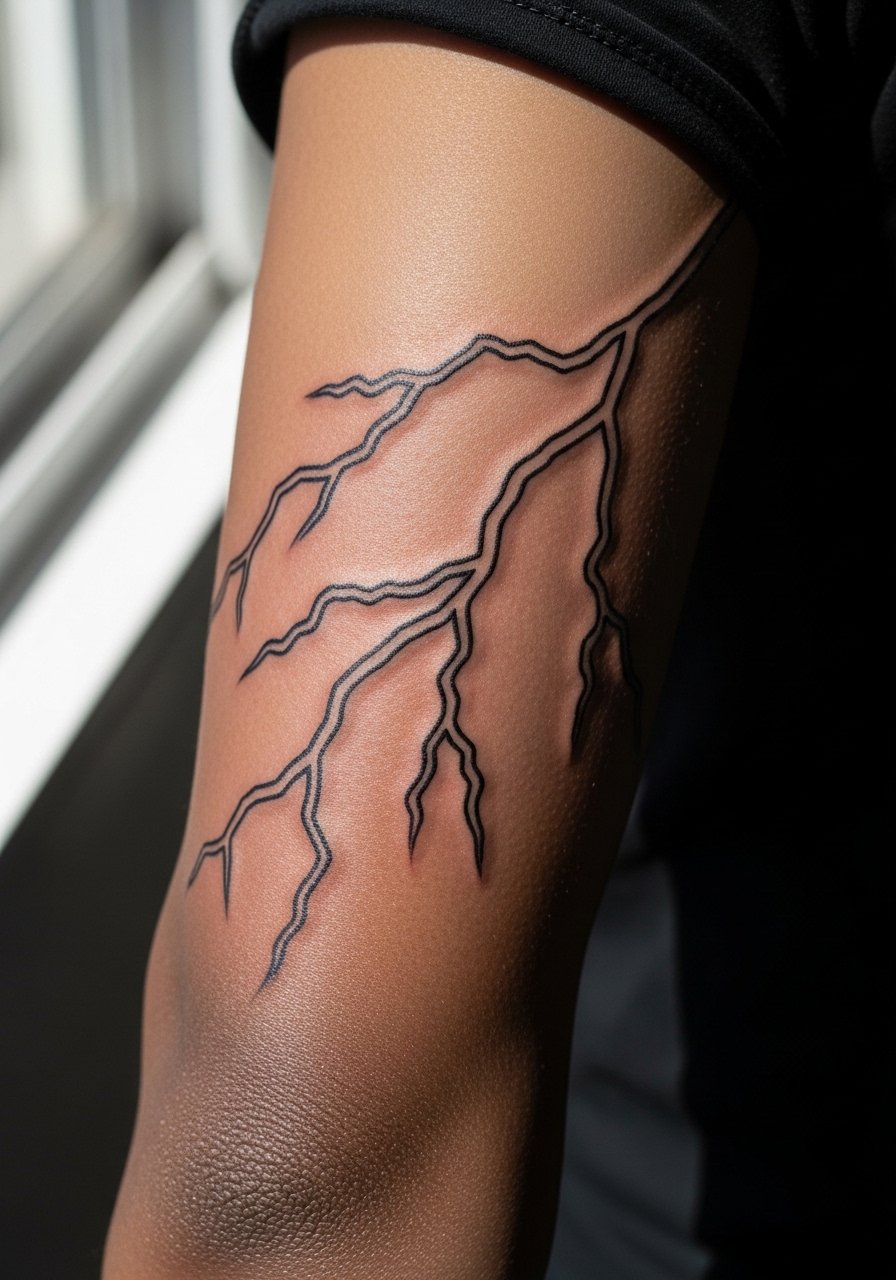
16. Micro-Realism Electric Arc on the Collarbone
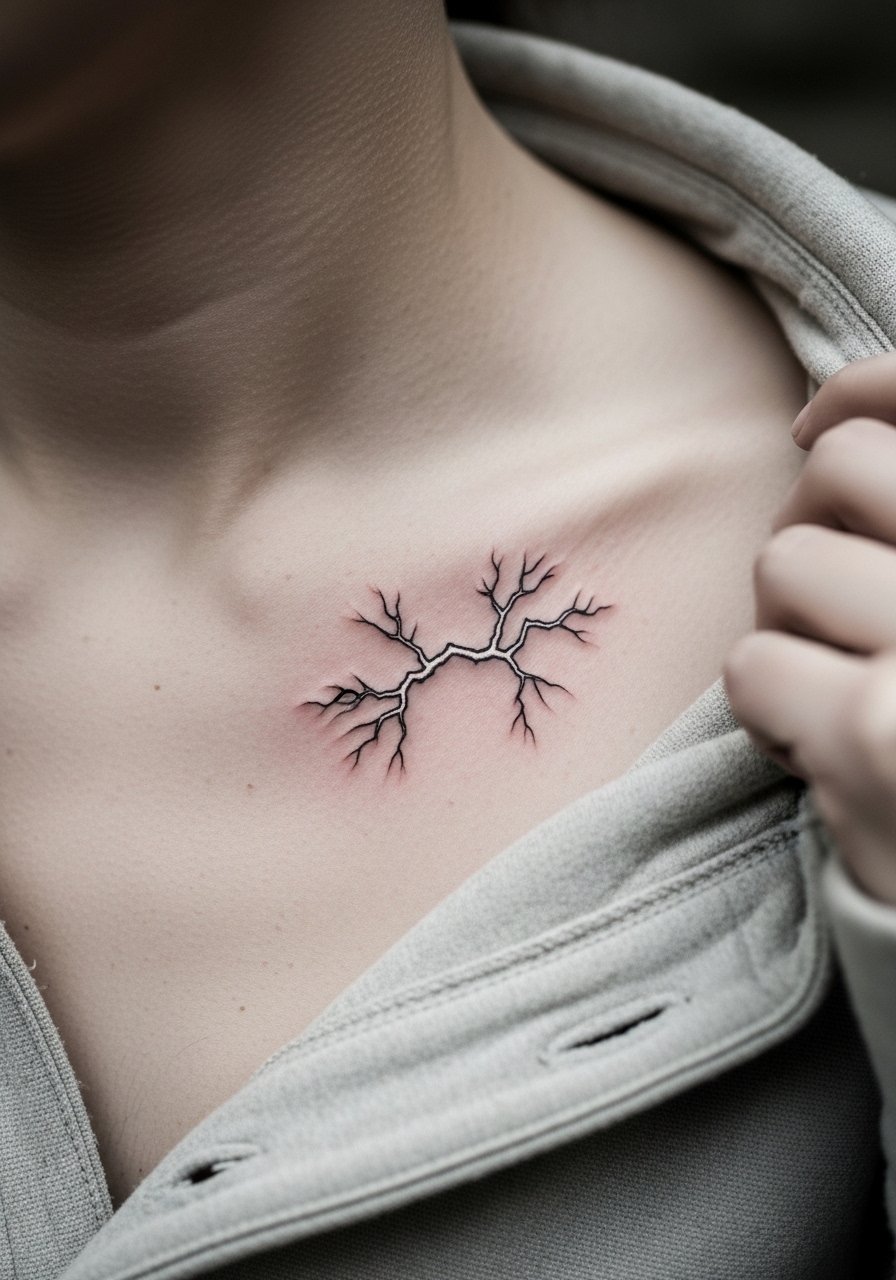
Small micro-realism on the collarbone can read elegant but the area moves with breathing and posture. Ask the artist to keep the arc slightly larger than the reference to allow for settling. Pain is medium because the collarbone is thin. A typical mistake is compressing too many highlights into a tiny area which then softens into a single gray patch. For nightly wear, choose tops that reveal the clavicle without stretching the skin.
17. Bolt and Rose Cover-Up on the Upper Arm
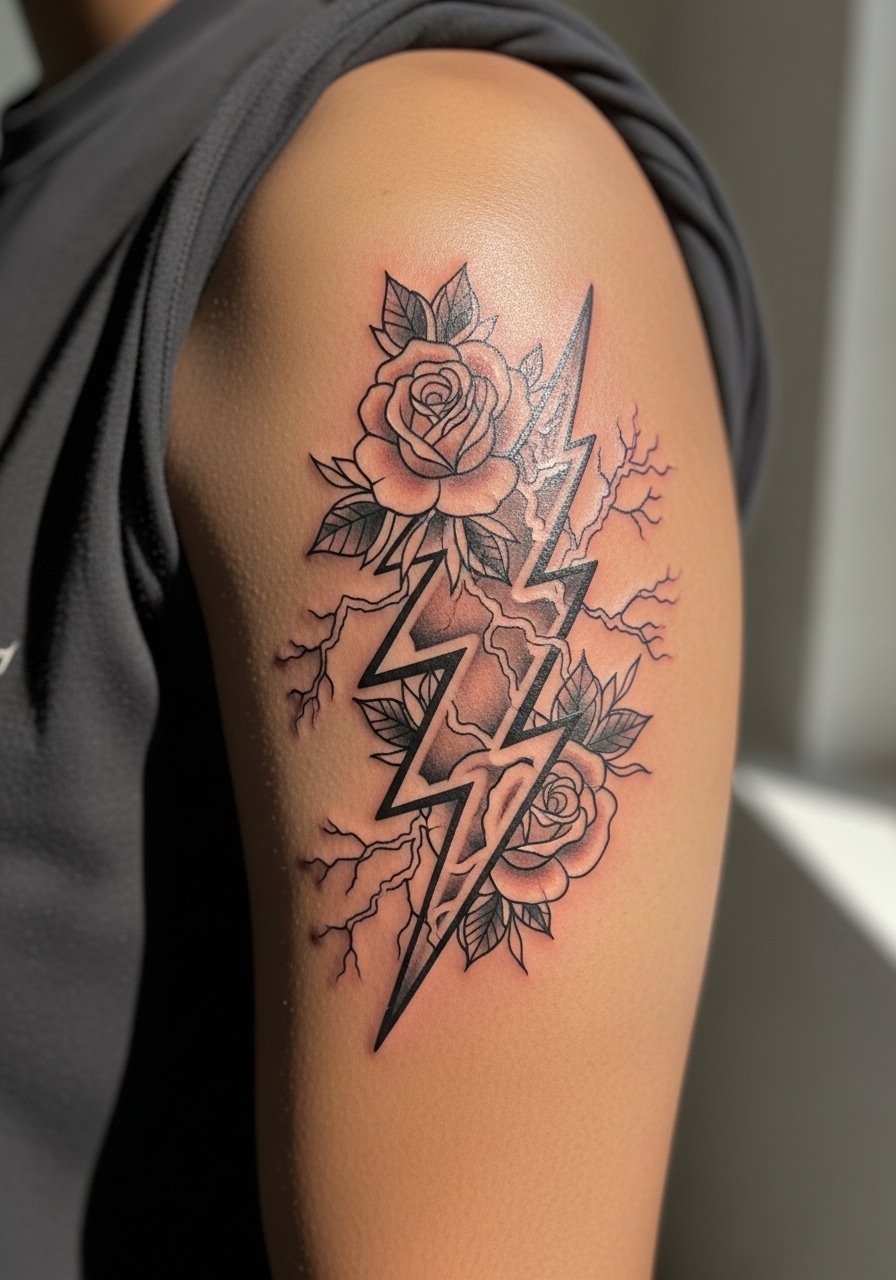
Cover-ups work best when the new design uses bold black and color to mask older ink. Tell the artist exactly which elements need hiding and be open to size increases. Upper arm skin is forgiving and allows heavier saturation that obscures previous work. Expect multiple sessions and medium to high pain depending on prior pigment. A common error is expecting a same-size replacement. Have an open mind about scale. A fitted tank or vintage leather jacket helps the new art read cohesive with your wardrobe.
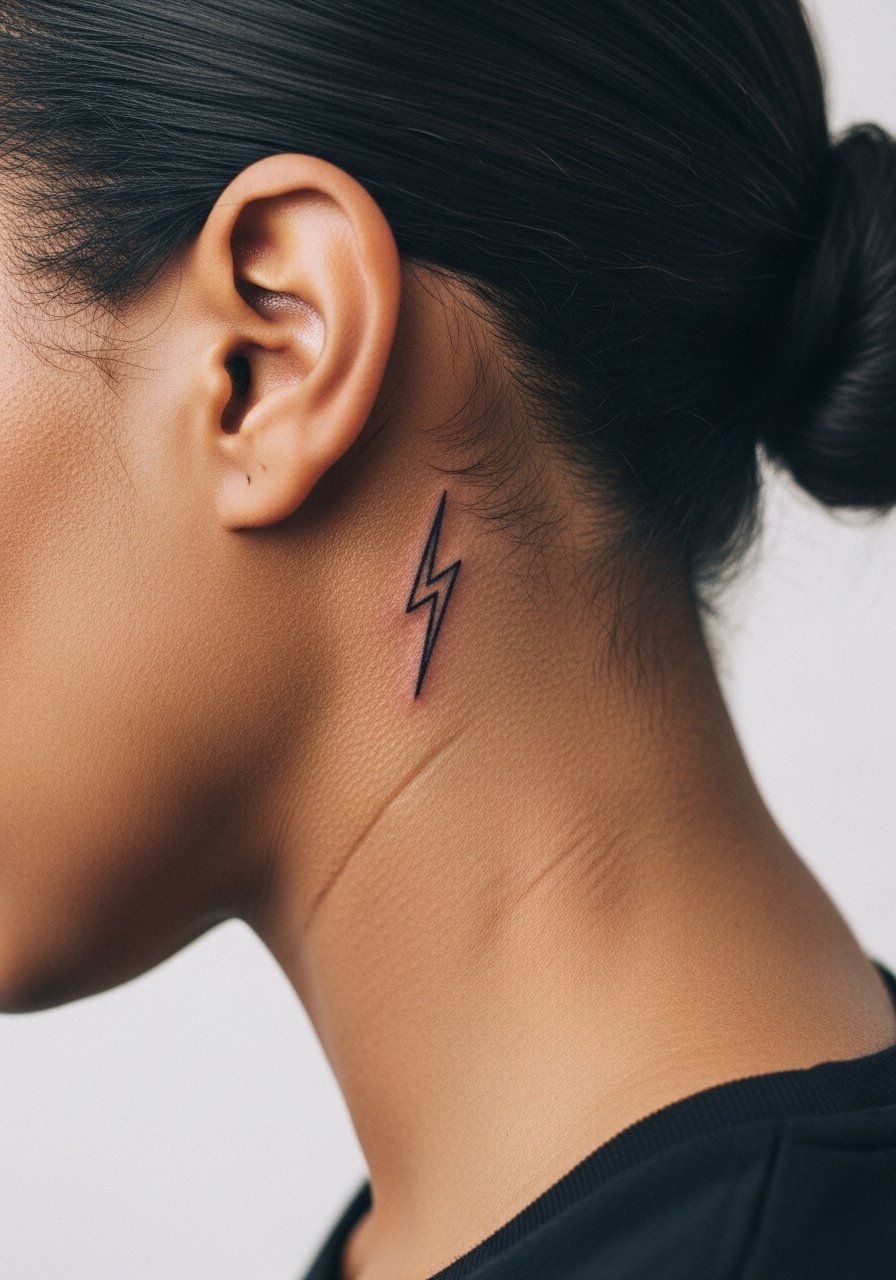
18. Tiny Bolt Behind the Ear with Neck Framing
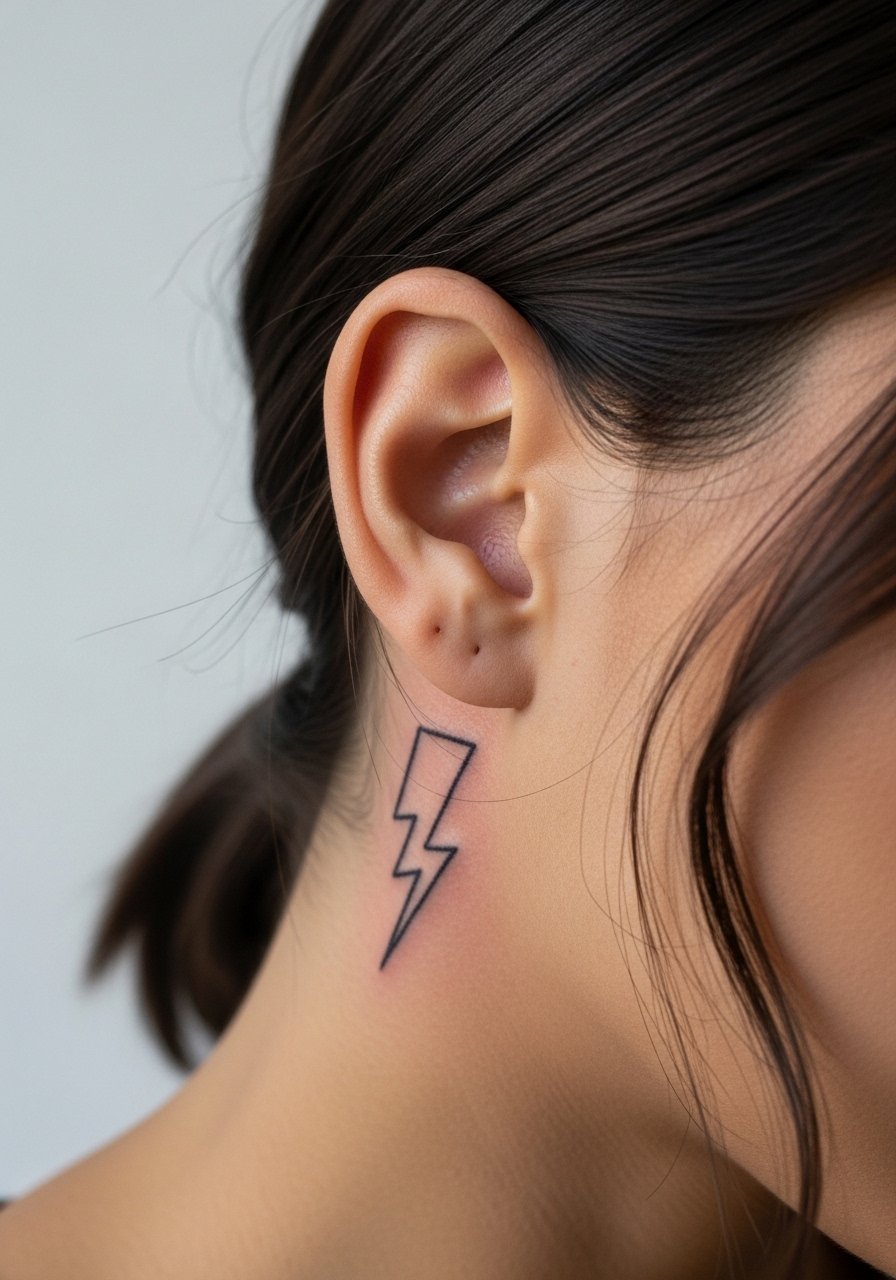
Behind the ear pieces are discreet and great for those who want a hidden mark. The artist must place the stencil below the hairline on the neck for a safe frame. Expect a very short session and low pain. A common mistake is asking for too much detail in such a tiny space. If you work in conservative environments, remember even small visible marks can matter. A subtle hairstyle change can either hide or reveal the piece.
19. Bold Color Bolt for Festival Legs
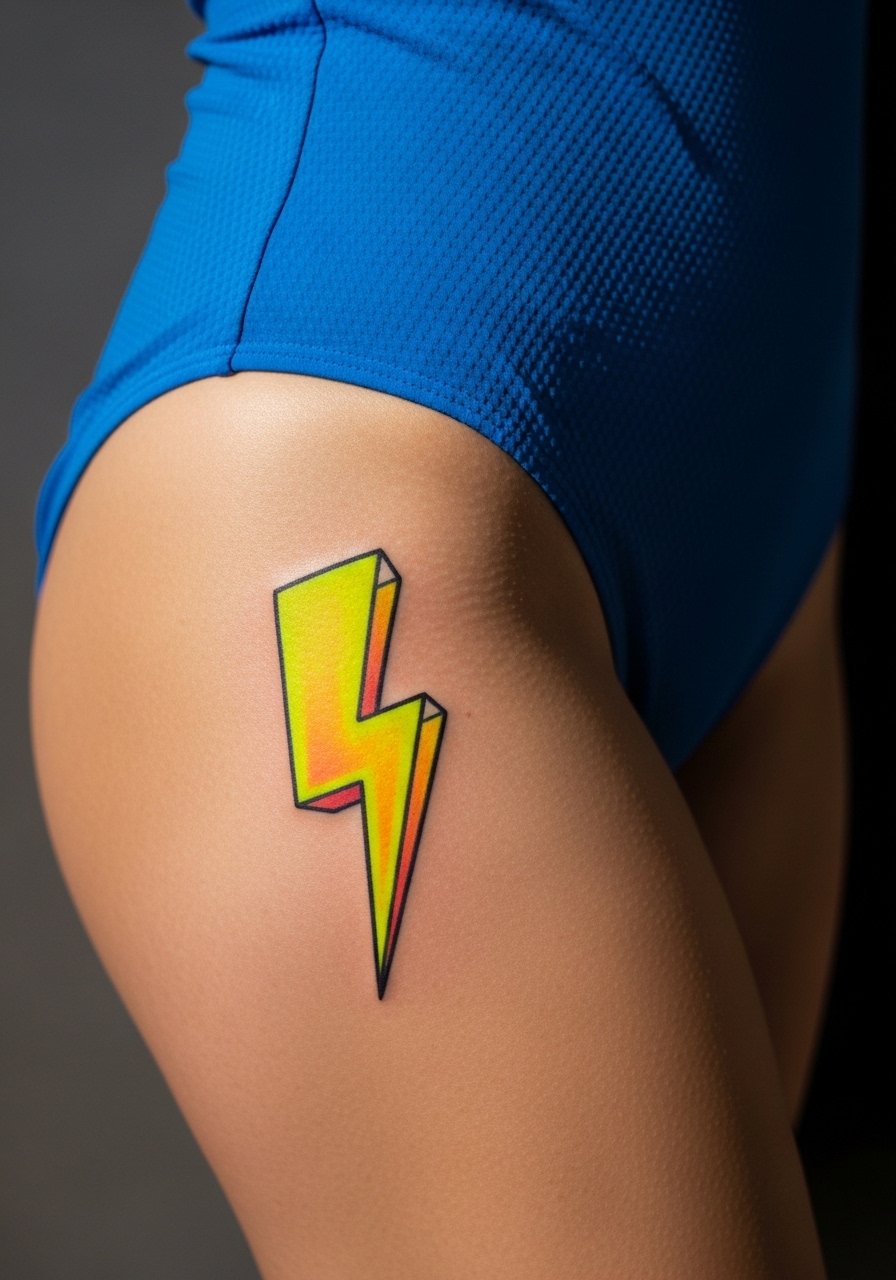
Festival-inspired color bolts are about bold choices that photograph well. Thigh placement handles color saturation and is less prone to daily friction than ankles. Ask for pigment anchors and softer edges so colors do not bleed after healing. Sessions are one to two hours and feel medium. A mistake is relying on walk-ins for complex color layering. For styling at events, high-waist shorts or a swimsuit bottom keeps the leg art visible and fresh.
20. Bolt Woven into a Sleeve of Musical Icons
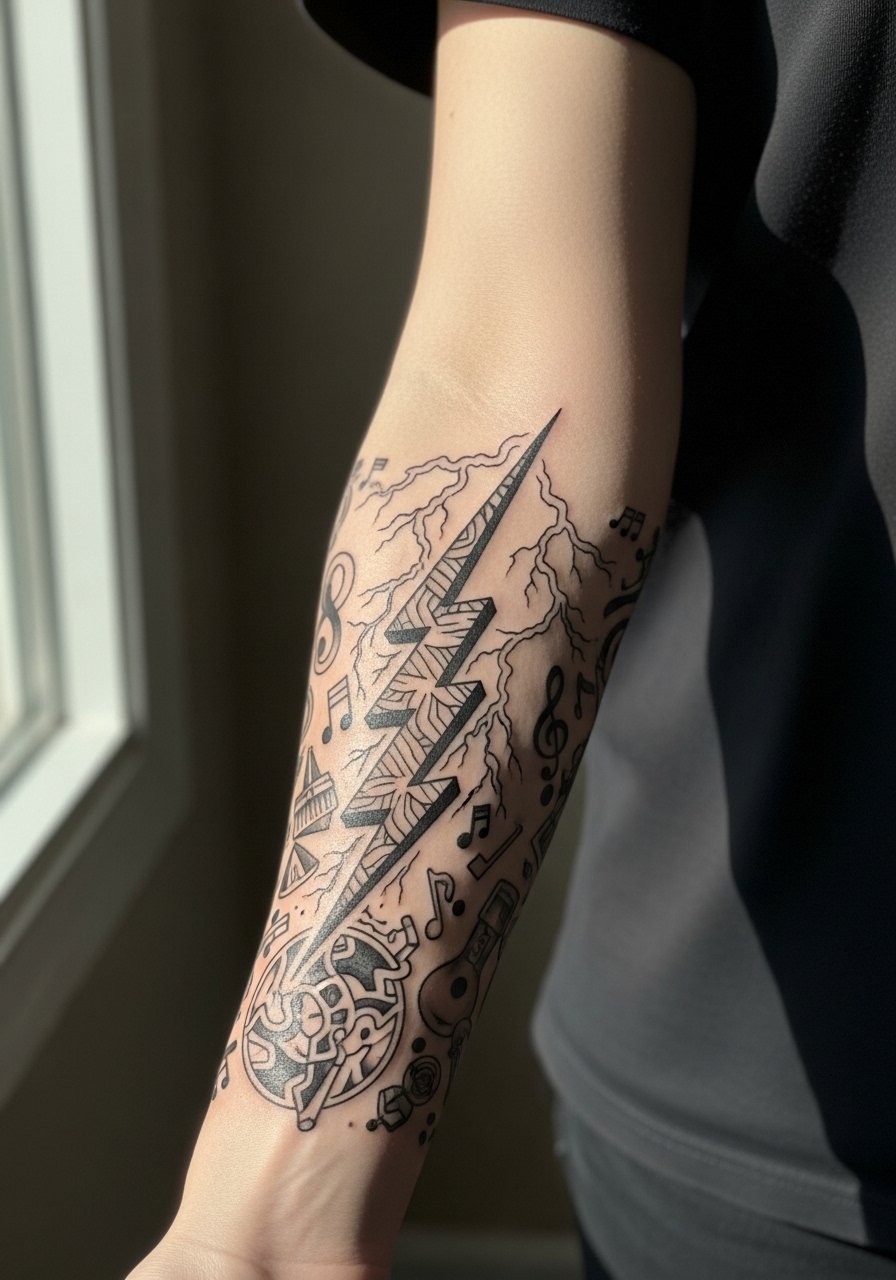
Using bolts as connectors in a themed sleeve ties disparate symbols into a single story. During consultation, map the bolt path to existing pieces so it links without covering vital details. Sleeve work is multiple sessions and can be physically intense. The frequent mistake is letting the connector become too busy and competing with key imagery. For session comfort, wear a loose short sleeve tee you can roll up.
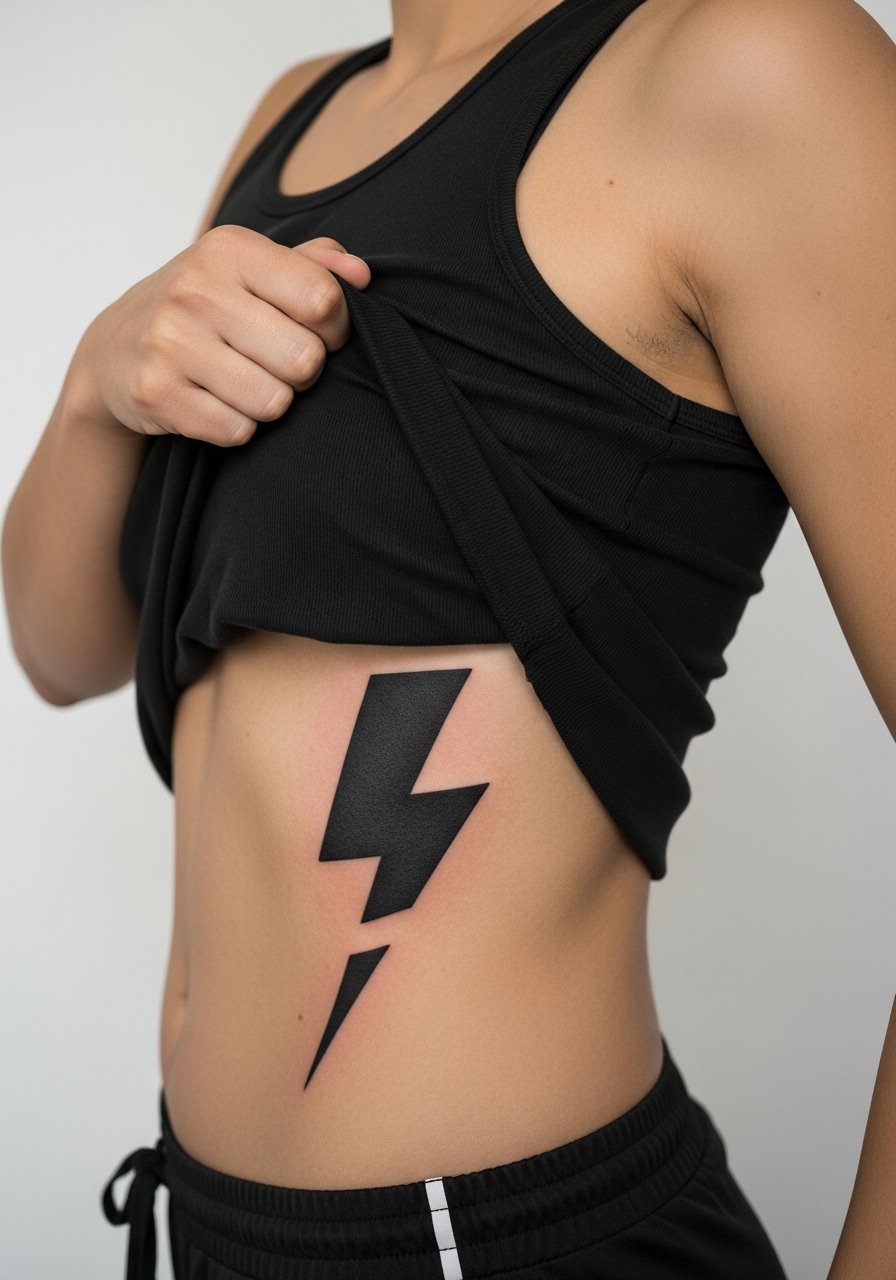
21. Small Bolt on the Ribcage with Stipple Shading
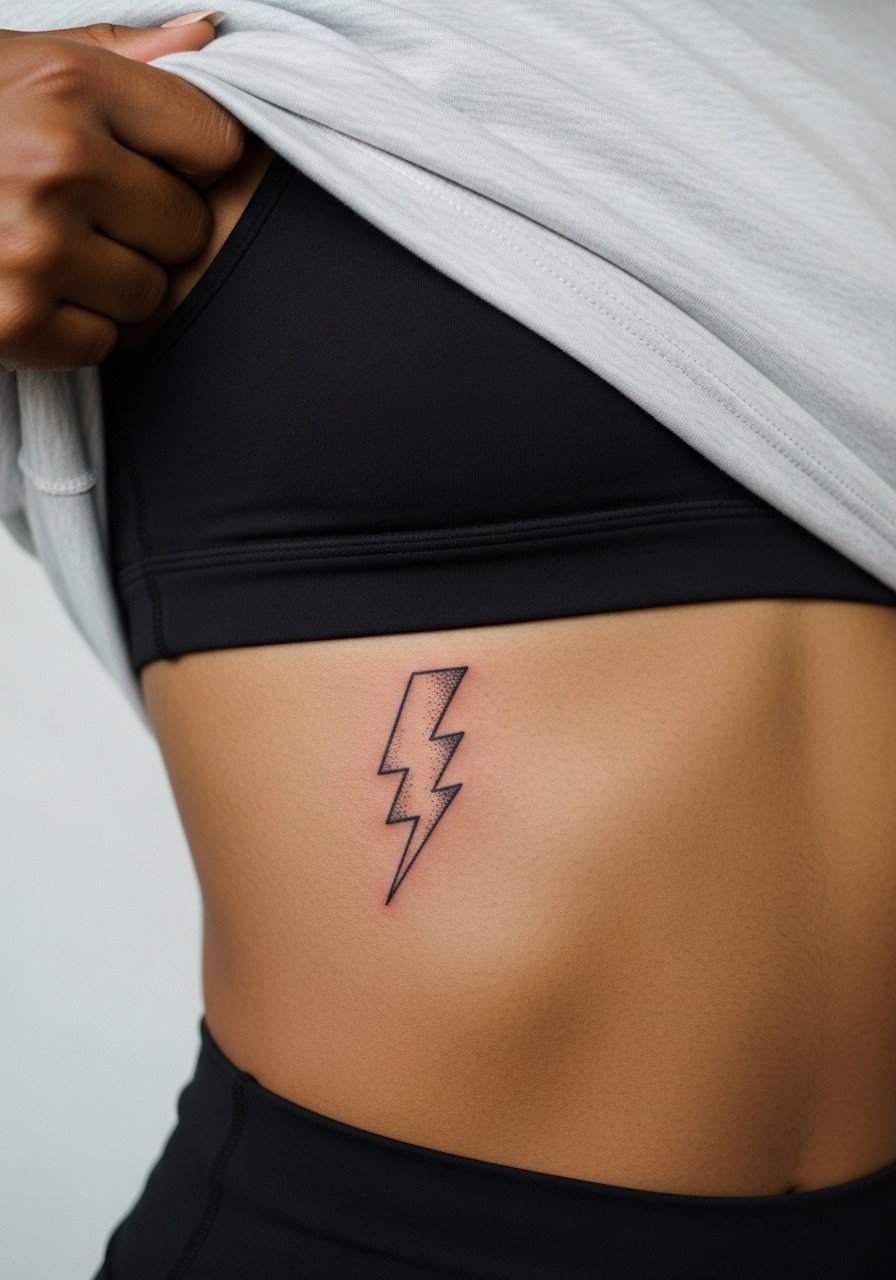
Ribcage work is painful but beautiful when scaled with breathing in mind. Artists split on fine line here. One camp says ribs stretch and blur lines within two years. The other camp says with proper depth and spacing, fine line settles fine. Ask your artist where they stand before booking. If you want longevity, accept slightly larger spacing and expect a two-session plan. Many regret tiny ribs because the area moves a lot during daily life.
22. Bolt with Dot Work Halo on the Sternum
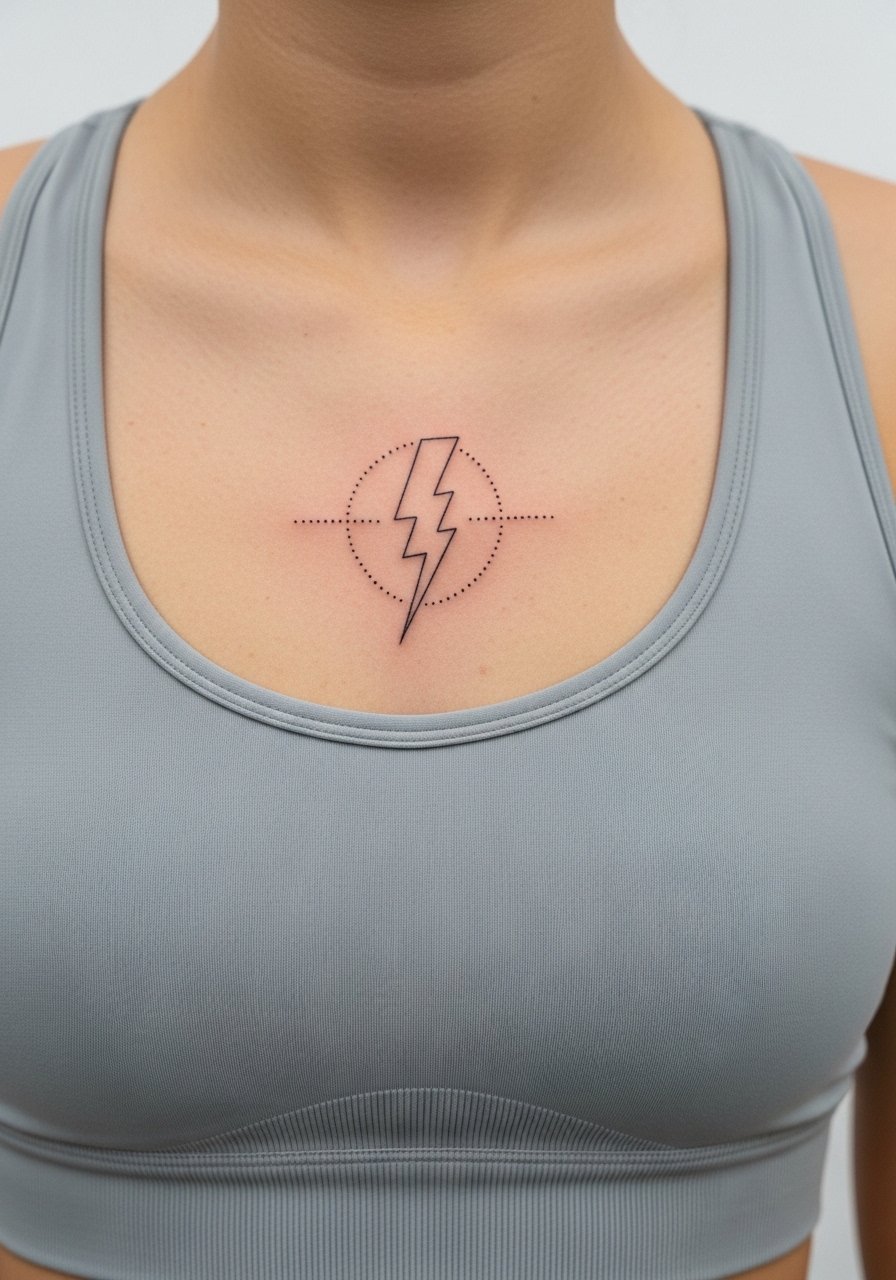
Sternum pieces are intimate and need an artist experienced with central chest symmetry. For the consult, ask for taped positioning and a mockup while standing. Pain ranges medium to high because the area sits over bone in places. Avoid detailed micro-shading too close to the center line or it can blur. Many clients choose a fitted sports bra for the session and later show the piece with low cut tops when healed.
23. Calf Bolt with Tribal Echo Lines

Calf tattoos age well with bold designs and handle athletic shape changes better than thigh areas. Tell the artist you want echo lines that follow muscle flow rather than random swirls. One mistake is creating echoes too close to the main bolt which can merge into a thick mass over time. Sessions are usually single and pain is moderate. For summer, roll slim chinos or wear shorts to show off the work.
24. Minimal Micro Bolt Behind the Ear with Hair Tuck
Tiny marks behind the ear are a low-visibility option that still feels personal. Ask for a precise stencil and keep the design ultra simple so lines do not blur. Sessions take minutes and pain is low. Remember to describe how you will wear your hair so the artist can position the bolt for both hidden and revealed looks. A lot of people underestimate how often the area gets rubbed by collars.
25. Ankle Bolt with Urban Ignorant Flair
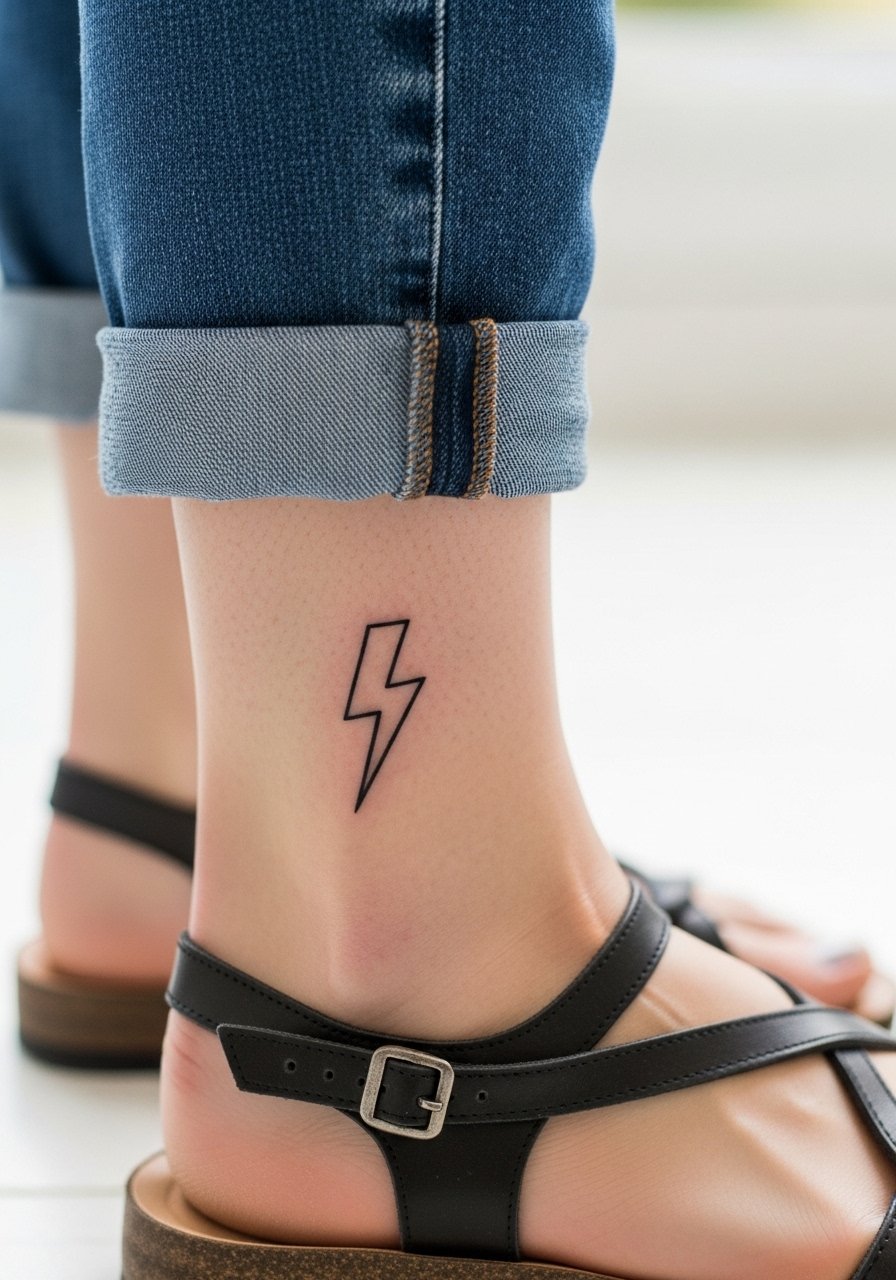
Ankle work needs bold outlines if you want it to last against shoe friction and constant movement. Ask for a slightly thicker line at the edges so the shape reads in socks and shoes. Pain is medium because of thin skin, and the area sees frequent washing and rubbing. The common error is going too tiny. Show it off with cuffed skinny jeans and cuffed skinny jeans or sandals.
26. Decorative Bolt with Mandala Points on the Lower Back
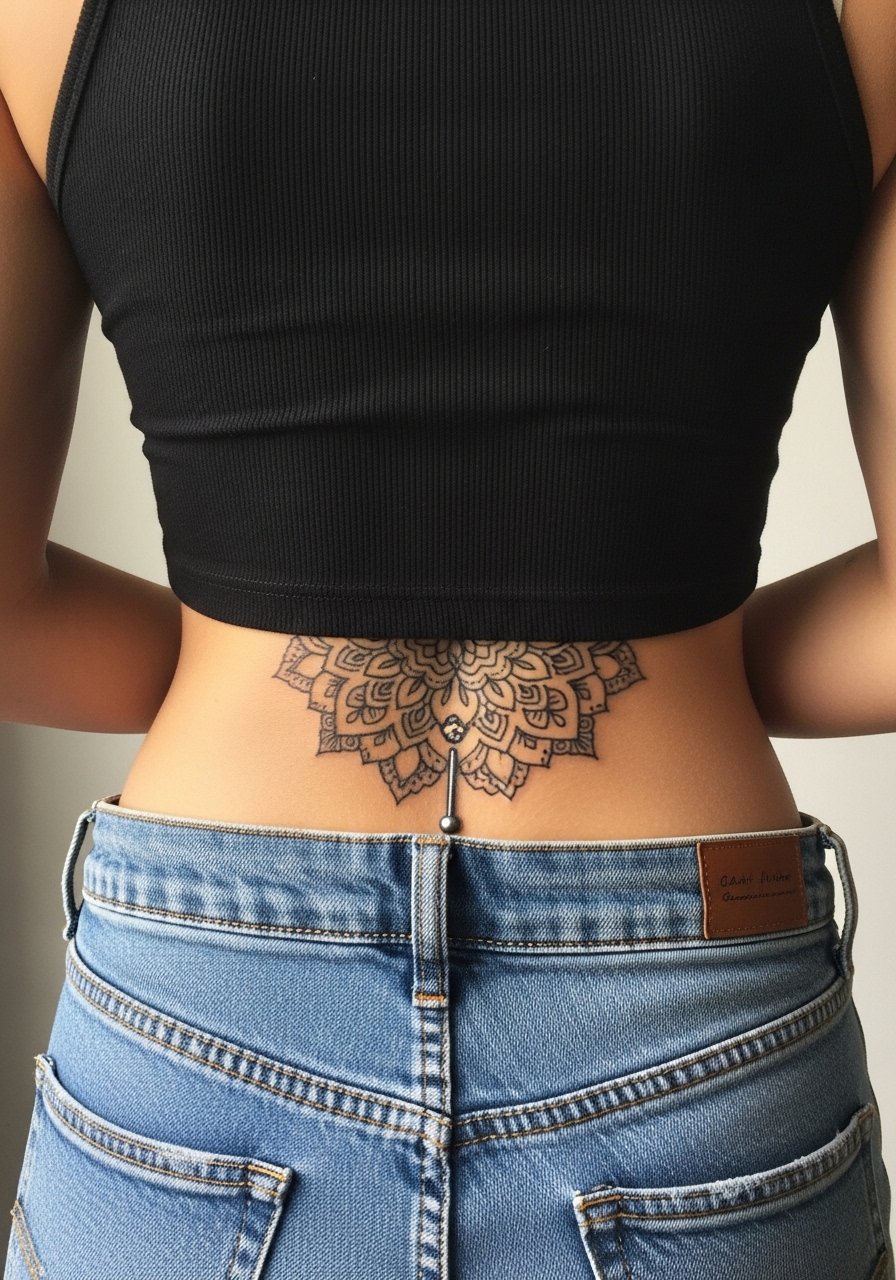
Lower back ornamental work needs symmetry and spacing so the mandala points do not merge over time. For the consult, request a test placement lying down and standing so you see how the piece reacts to posture. Sessions can be long and pain is low to medium. A frequent mistake is opting for too-small dots in dense mandala cores. Wear a tank top with high-waisted bottoms during the session for easy access.
27. Bolt as Part of a Phase Timeline on the Rib Edge
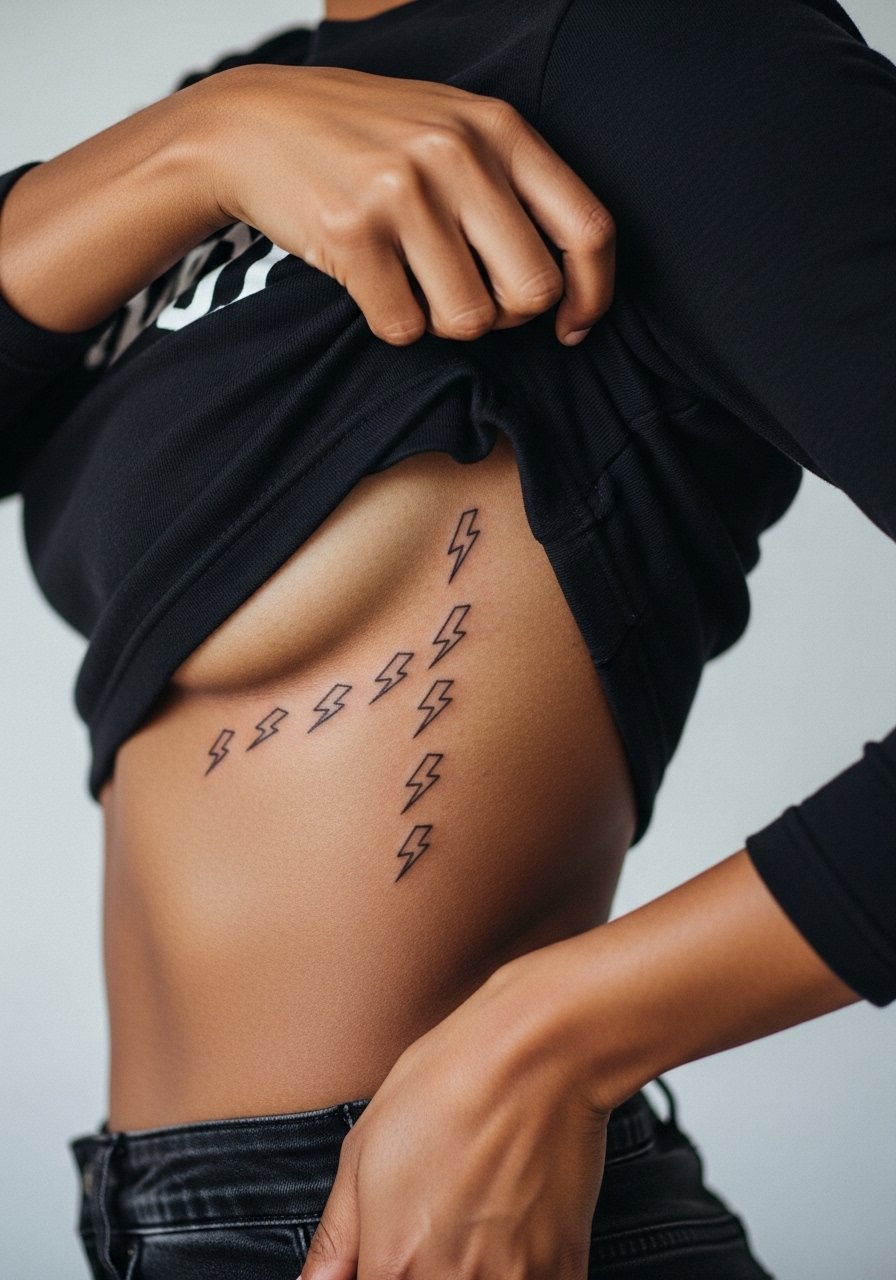
Using bolts as markers in a phase-of-life timeline is an underused idea that ages like a personal ledger. Plan the spacing so each mark has room to be read individually at year five. The rib edge is sensitive so expect medium to high pain and slower sessions. A common mistake is clustering marks too close. Talk with your artist about future expansion and request a mock layout on the skin while standing.
Frequently Asked Questions
Q: Do fine line lightning bolts on wrists fade faster than bold ones, and what can I expect for touch-ups?
A: From what I have seen, wrist fine line work tends to soften faster than bold blackwork because the area gets more sun and washing. Expect a touch-up around six to twelve months for very fine lines, and a minor refresh by year two or three for most clients. Ask your artist for a slightly thicker line weight if you want less frequent touch-ups.
Q: For color or watercolor bolts on thighs, how should I plan for possible stretch from weight changes?
A: Thighs are forgiving, but large weight shifts can distort the flow. I advise leaving breathing room in the composition and anchoring color near the hip bone or outer thigh so blends keep their edges. Discuss flexible sizing and a two-session plan if you expect body changes.
Q: Artists disagree on Saniderm versus dry healing. What are the two camps and which fits lightning bolt pieces?
A: One camp recommends Saniderm and other breathable films for faster healing and fewer scabs. The other camp prefers dry healing to build tougher surface skin and avoid plastic. For small wrist or finger bolts film can reduce friction lifts. For large blackwork fields some artists prefer dry healing. Ask the artist where they land and follow their protocol for the specific placement.
Q: My skin is darker. Will blackwork bolts look muddy in photos and how can I improve contrast?
A: Darker skin tones can show less contrast in photos but the healed blackwork itself often looks clean in person. Ask for high-contrast highlights or subtle white accents when appropriate, and use matte lighting for photos. Framing the piece with clothing like an open shirt or rolled sleeve chambray shirt helps the lines stand out in images.
Q: What are red flags when booking a tattoo for a lightning bolt, especially around deposits and artist communication?
A: Red flags include artists who do not use a written deposit or who disappear after taking payment. Look for clear booking policies, a portfolio with healed photos, and a responsive studio. If an artist ghosts you after a deposit, escalate through the studio or booking platform. It helps to compare three shops and check recent healed work before committing.
