
Fine line grim reapers look gorgeous on saved boards, but the reality is they age very differently depending on skin type, placement, and how boldly the lines are laid down. People complain about wrist smudging, guest-spot no-shows, and thigh pieces that warp after body changes. Read these 21 reaper ideas with practical notes on consultation, healing quirks, and wardrobe tips so you pick an aesthetic that actually holds up.
1. Traditional Cloaked Grim Reaper with Scythe on Forearm
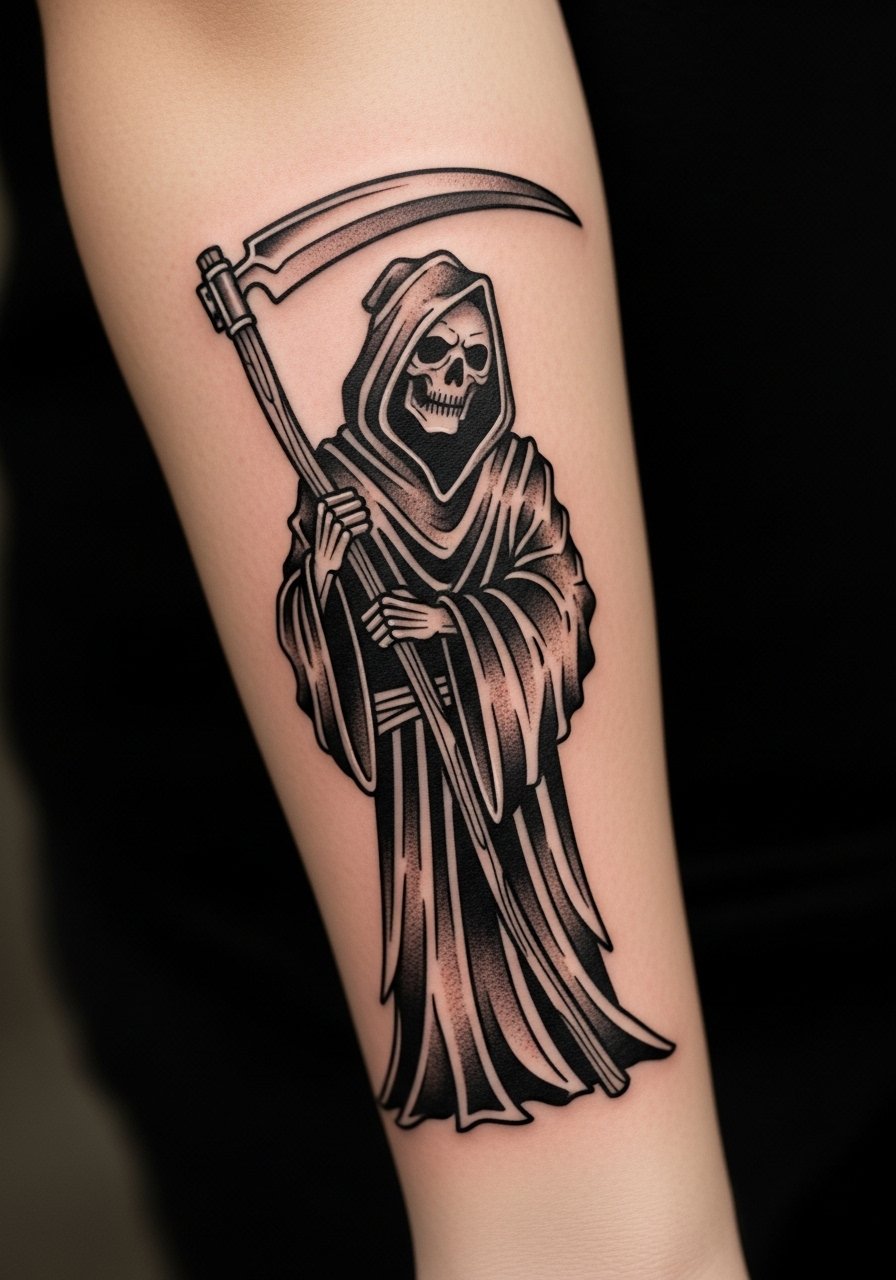
I recommend this if you want an edge that reads from across a room and ages into clear silhouette. Tell your artist you want heavy outlines and dense black fill rather than micro shading so the lines resist blur on high-motion skin. Common mistake is asking for too-small detail in the fingers of the cloak, which softens by year three. Session feels moderate, single to two sessions depending on size. Expect a touch-up window around 12 to 18 months for saturation. For showing it off, roll up a vintage band tee or throw on a dark denim jacket to frame the scythe edge.
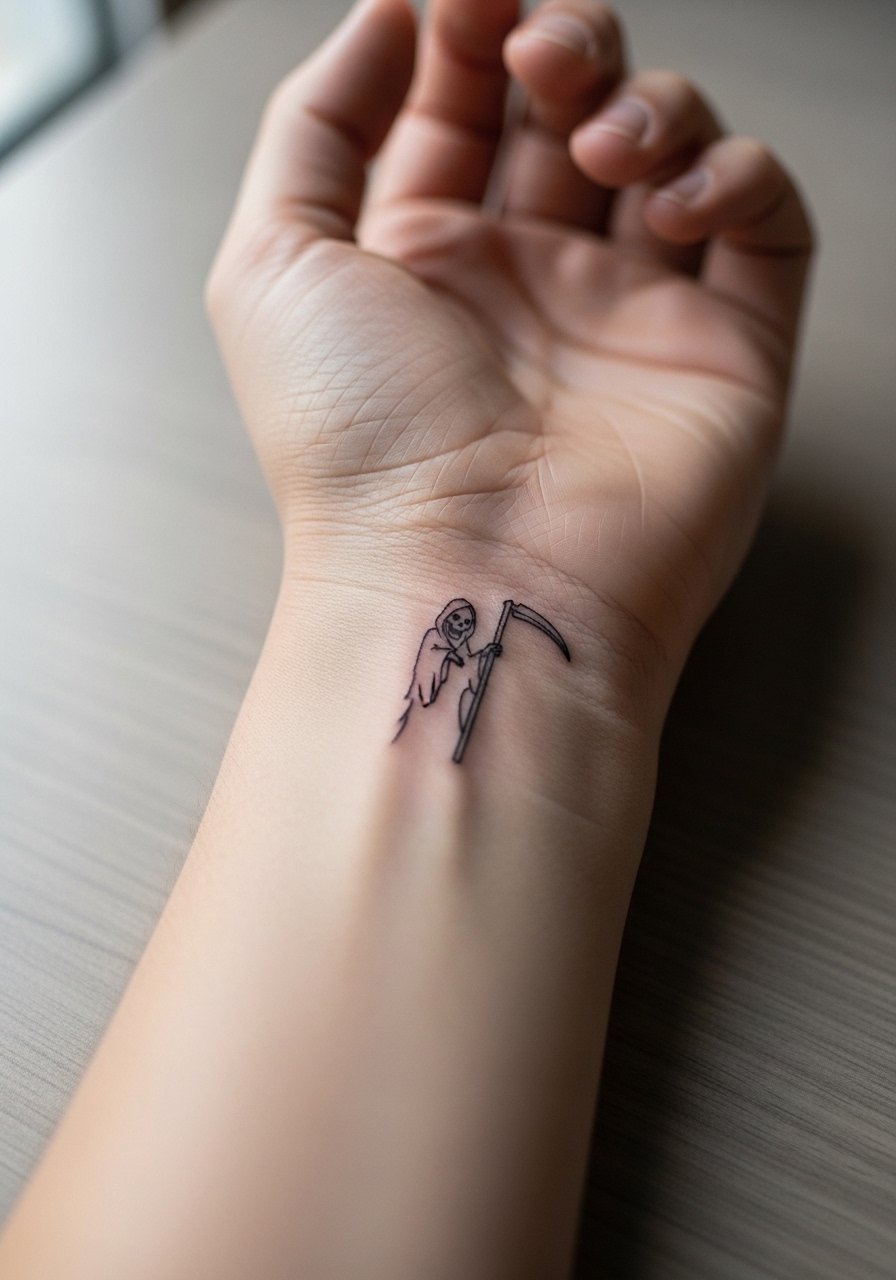
2. Minimal Grim Reaper Silhouette on the Wrist
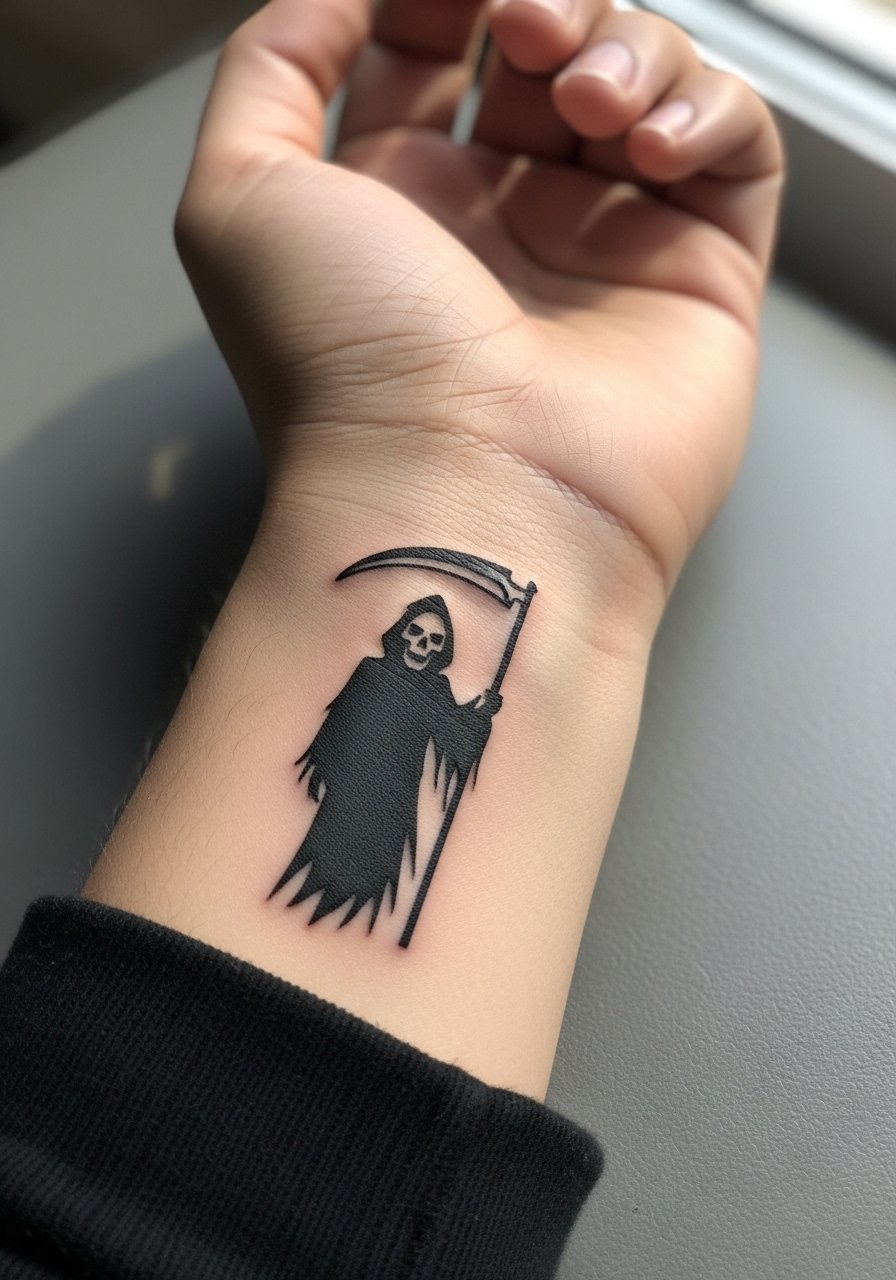
This is for someone who wants memorial vibes without a loud piece. Keep the scale micro to small and ask for a thicker line weight rather than a single hairline. Fine line fans argue thin lines are a stylistic choice and fade slowly as intended. Others warn that wrist skin and frequent washing blur fine work in two years. Name both camps during consultation and ask how the artist approaches longevity. Single session, quick needle work, but expect yearly touch-up odds. Wear a thin leather cuff bracelet opposite the tattoo when showing it off.
3. Sketch-Style Grim Reaper on the Thigh
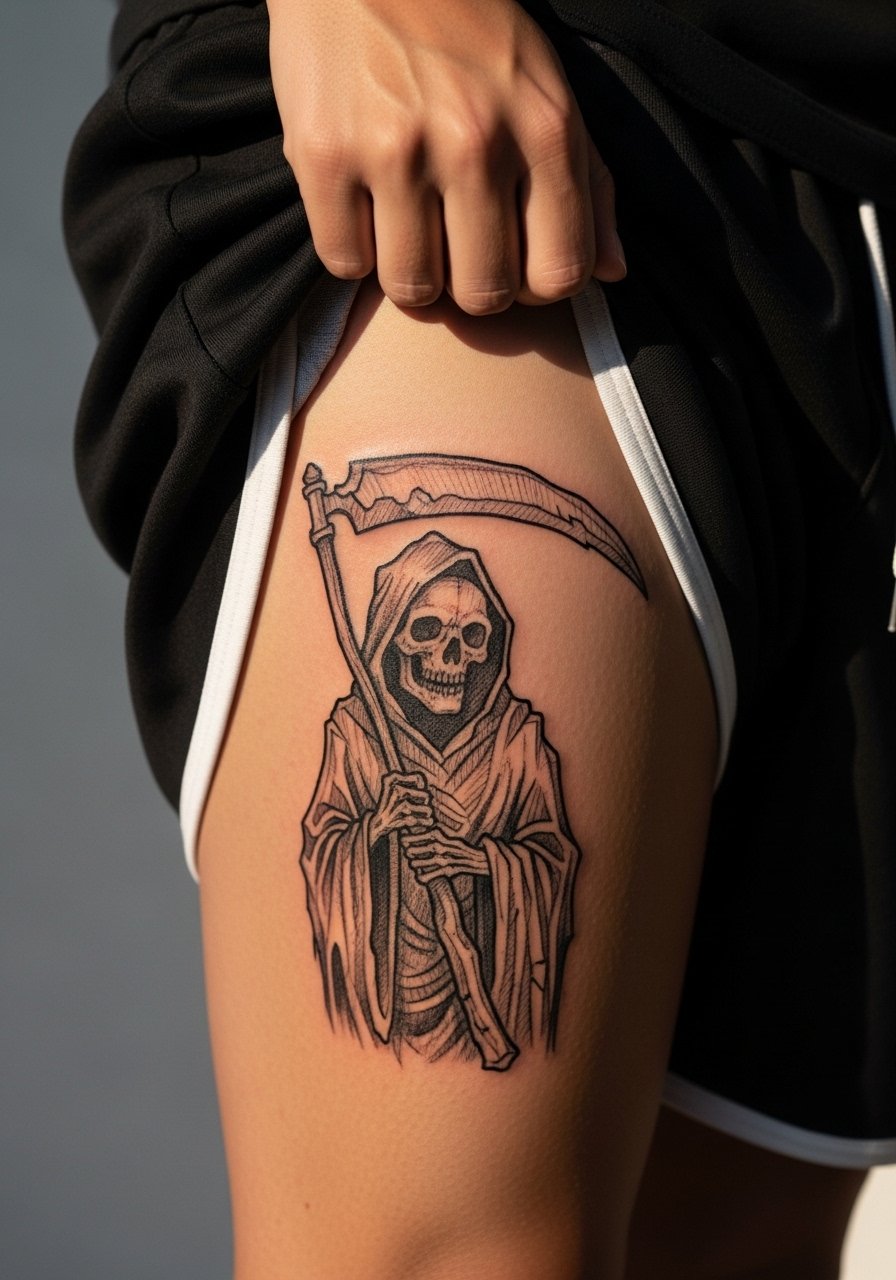
Sketch treatment gives an artistic, raw feel that suits the thigh where you can run broader strokes. The biggest mistake is placing it where significant weight fluctuation will distort the composition. On thighs the skin stretches with gains and losses, so discuss future body changes with your artist. Two sessions typically for medium-large pieces, and stipple shading reads well on this surface. For the session wear, bring loose shorts or board shorts fitted so the artist can freely access the area. Healed at six months this looks soft and textured, by two years the sketchy lines settle but maintain character.
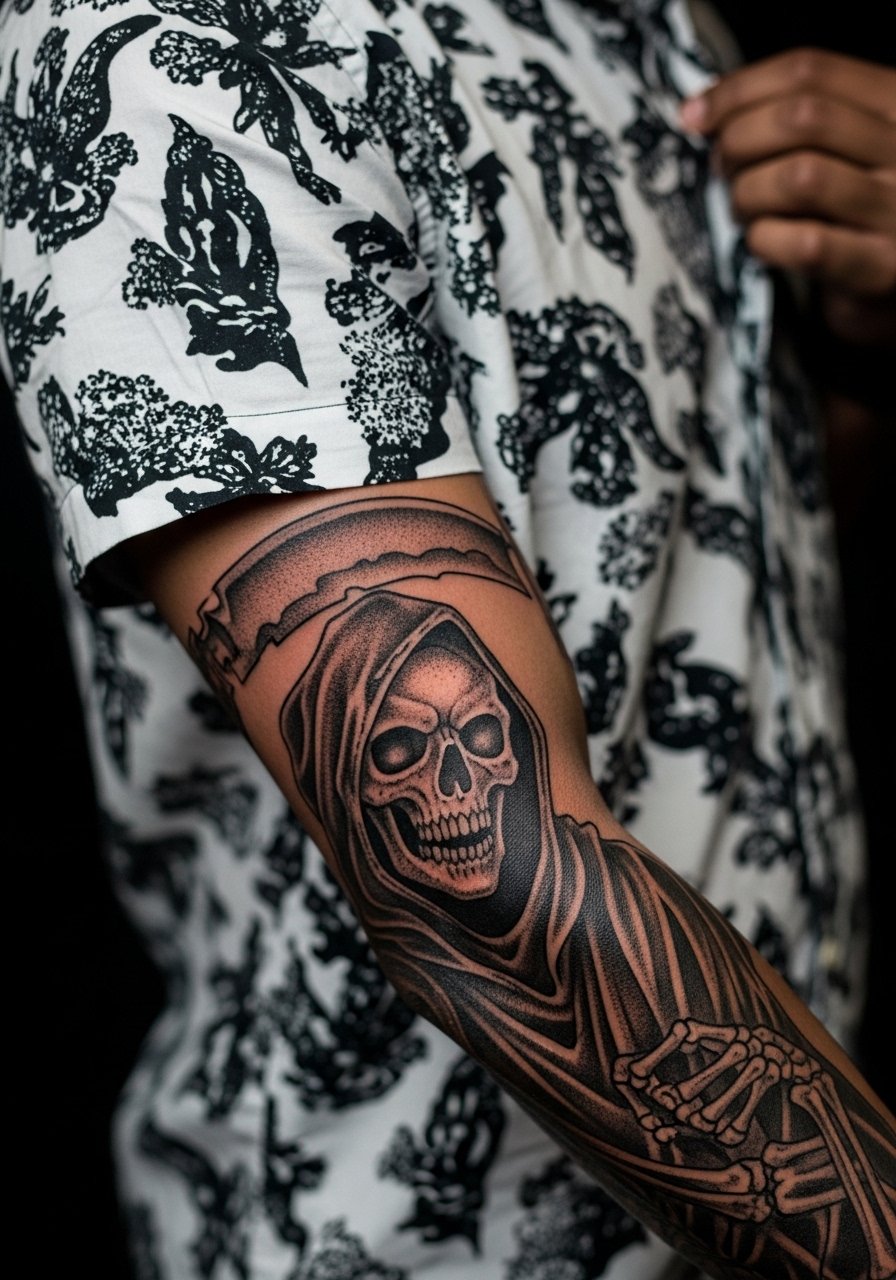
4. Realistic Grim Reaper Skull and Cloak on the Upper Arm
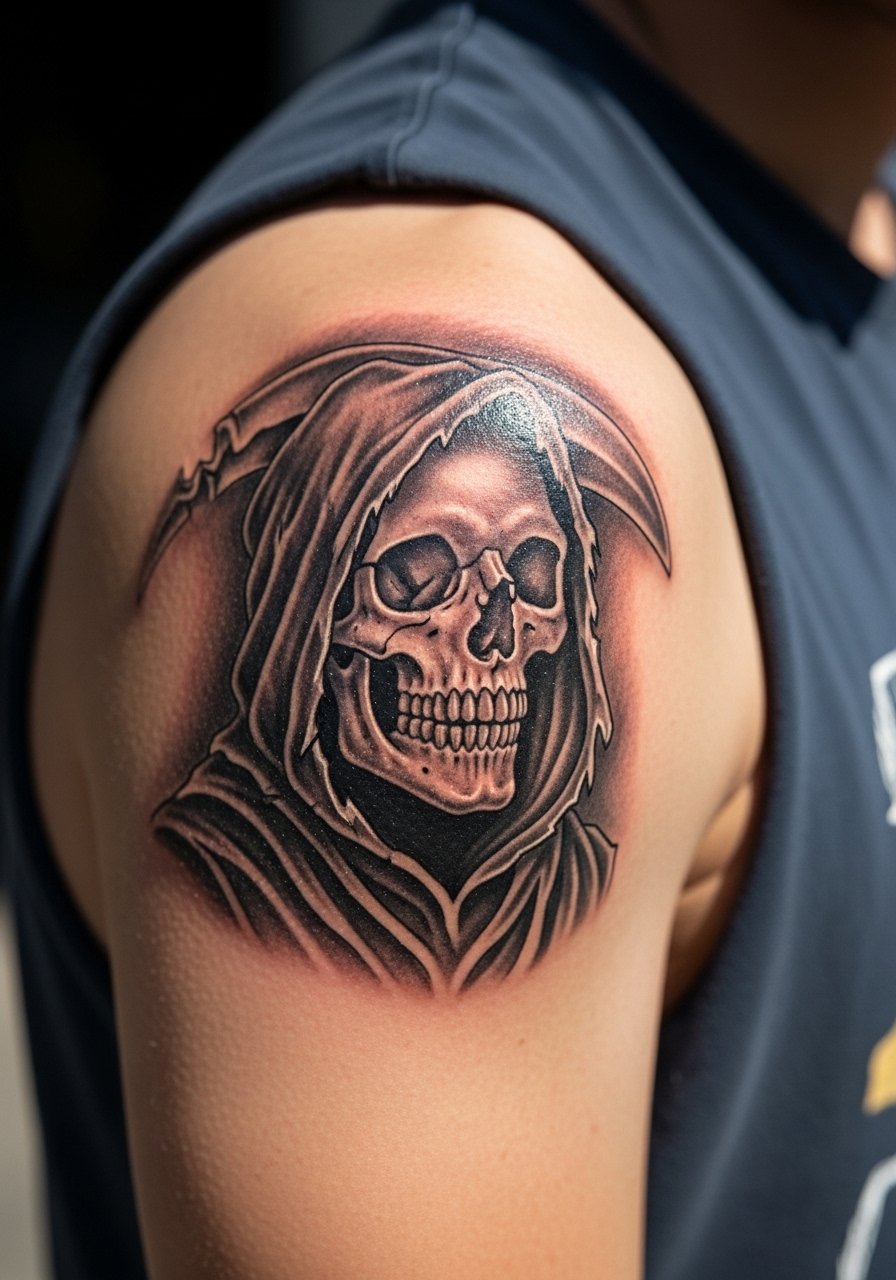
Realism demands space and time. Expect three or more sessions for deep shading, highlights, and texture. Tell your artist you want contrast preserved in the highlights so it does not flatten into gray after a year. Pain is moderate on the outer arm and the session is long, so plan meals and breaks. A common error is compressing too much detail into a small upper-arm patch. For showing it off, try a muscle tank black or an open button-down to echo the tonal palette. Touch-ups at year two are common to keep highlight pop.
5. Grim Reaper Shadow Hood Figure on the Neck
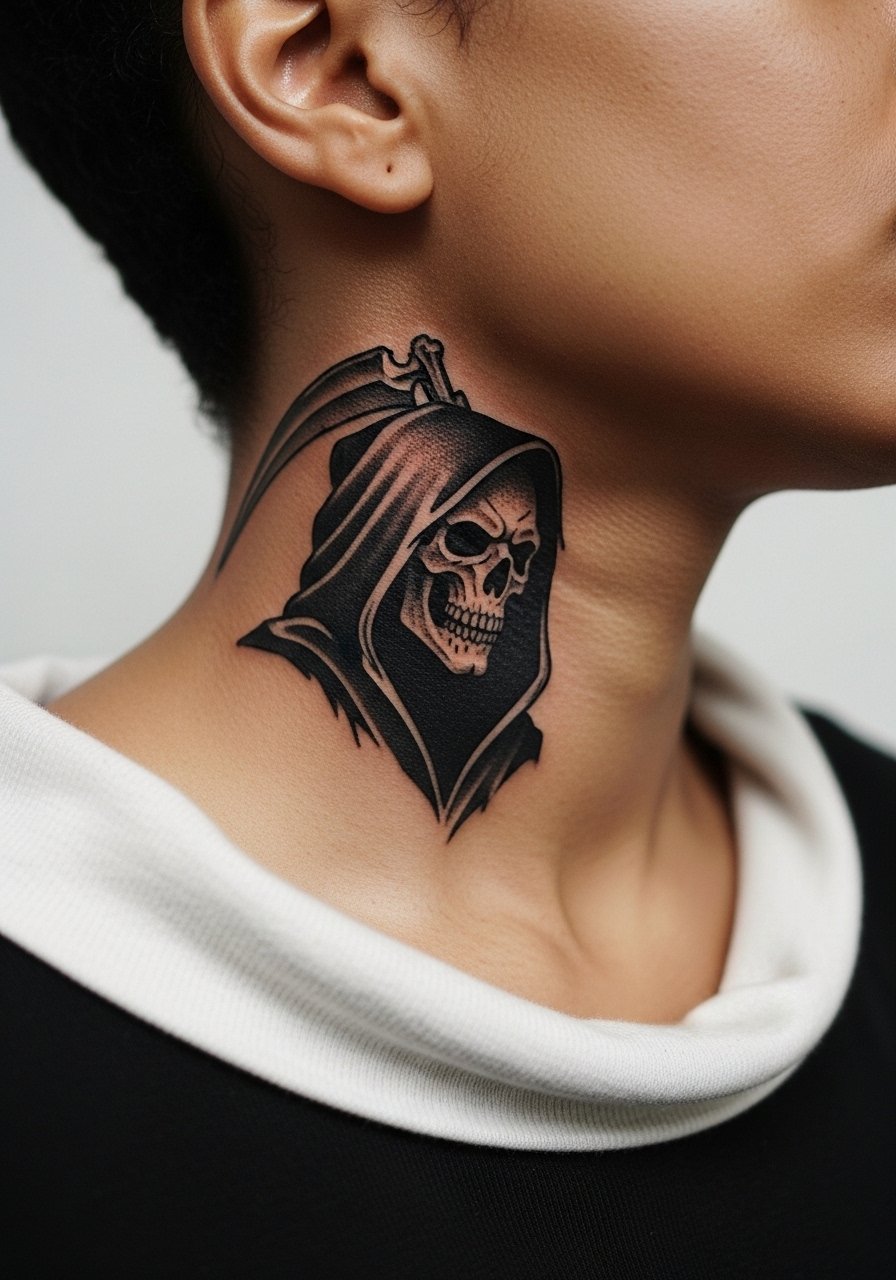
Neck placement reads discreet under collars and dramatic when revealed. Hand over specific reference photos that show the hood's negative space. Artist camps split on neck longevity and career visibility, so say you want a compact silhouette that you can hide under a collar. Single-session, low detail, but be ready for a sensitive spot with quick stinging. Pair with a v neck black tee when you want it to show. Ask how their touch-up policy works for neck saturation.
6. Neo-Traditional Grim Reaper with Gravestone on the Calf
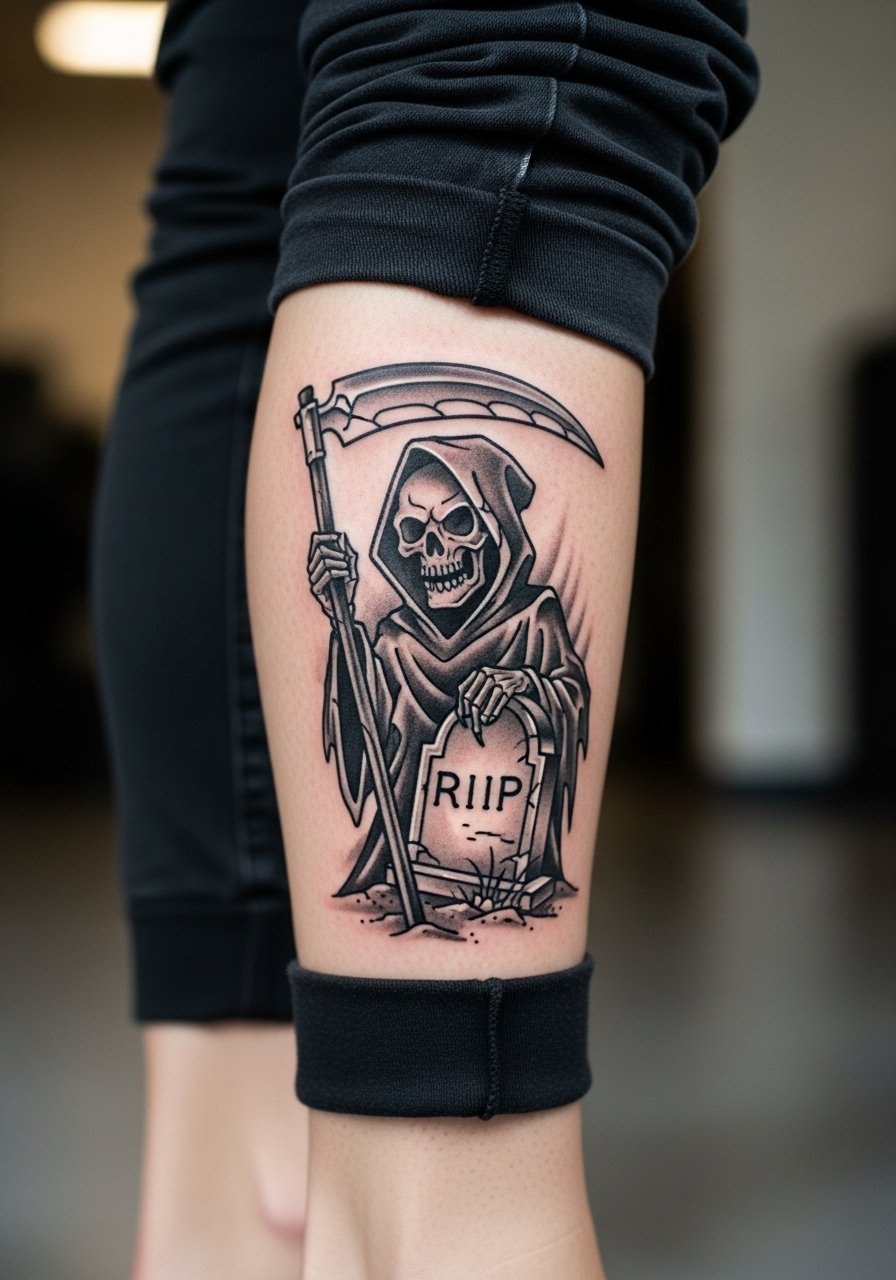
This composition grounds the reaper and lets you add memorial elements like initials or dates, but keep those small details bold so they survive friction. Calf skin takes black and gray washes well and shows from behind in shorts. Two sessions usually for line and shading. Wear slim joggers men you can roll to mid-calf during the session. A common mistake is overloading the scene with tiny lettering that blurs into the gravestone texture by year three. Schedule a touch-up at year two if you want crisp lettering.
Pre-Session Essentials
The first six ideas cover wrists, forearms, neck, thigh, chest, and calf. A few specific items smooth the session and the first week of healing for those spots.
-
Lushington Balm. Thinner than heavy ointments, it helps humid-skin heals without clogging, which is useful for calf and thigh pieces that trap sweat.
-
Frida Healing Wrap. A breathable protective film for active folks who need light coverage after wrist and neck work.
-
Ink-Ice cooling gel. Cools detailed sessions and reduces residual inflammation after long realism sits on the chest or upper arm.
-
Aussie Butter Base. Lightweight emollient that absorbs cleanly, recommended by people with darker skin tones who prefer less greasy finishes.
-
Aquaphor healing ointment. A thin initial barrier for the first days that keeps fine line wrist work from crusting into sharp scabs.
7. Minimal Line Grim Reaper Outline on the Inner Wrist
Perfect for a first grim reaper when you want a whisper of the motif. Ask for single-needle micro outline but insist on slightly thicker stroke than the thinnest needle so it ages better. The mistake is trusting a walk-in price without a deposit, then losing shading sessions to no-shows. Expect a quick single session and a likely touch-up at year two if wear shows. For showing it off, add a minimalist leather wristband on the opposite wrist so the tattoo reads like personal jewelry. Avoid placing it on the top wrist where friction from watches accelerates fading.
8. Hyper-Realistic Reaper Emerging from Skin as Forearm Start

This micro-realism illusion demands long sessions and a very steady hand. Be explicit that you want depth cues, not busy surface texture that flattens. Expect multiple long sessions and periods of soreness. One common oversight is underestimating how the illusion moves with arm rotation. On forearms, bold contrast helps the 3D effect hold. Put a rolled sleeve black shirt or rolled sleeve black shirt into rotation when showing it. Plan for touch-ups every couple of years due to UV exposure on exposed forearms.
9. Hood Without Scythe on the Fingers for Micro Gesture Storytelling

Finger and knuckle placements tell a subtle story with tiny graphics. The skin there is thin and moves constantly, so ask for a bold, simplified hood and avoid tiny facial detail. Fingers are high blowout risk and often require yearly touch-ups. Session is short but uncomfortable and healing is fussy because of constant washing. A thin protective bandage helps in the first 48 hours. If you want to hide it at work, keep it on the side finger where cuffs can obscure it. Be upfront with the artist about your job and ask for a conservative scale.
10. Collarbones and Soul Trails for an Abstract Reaper
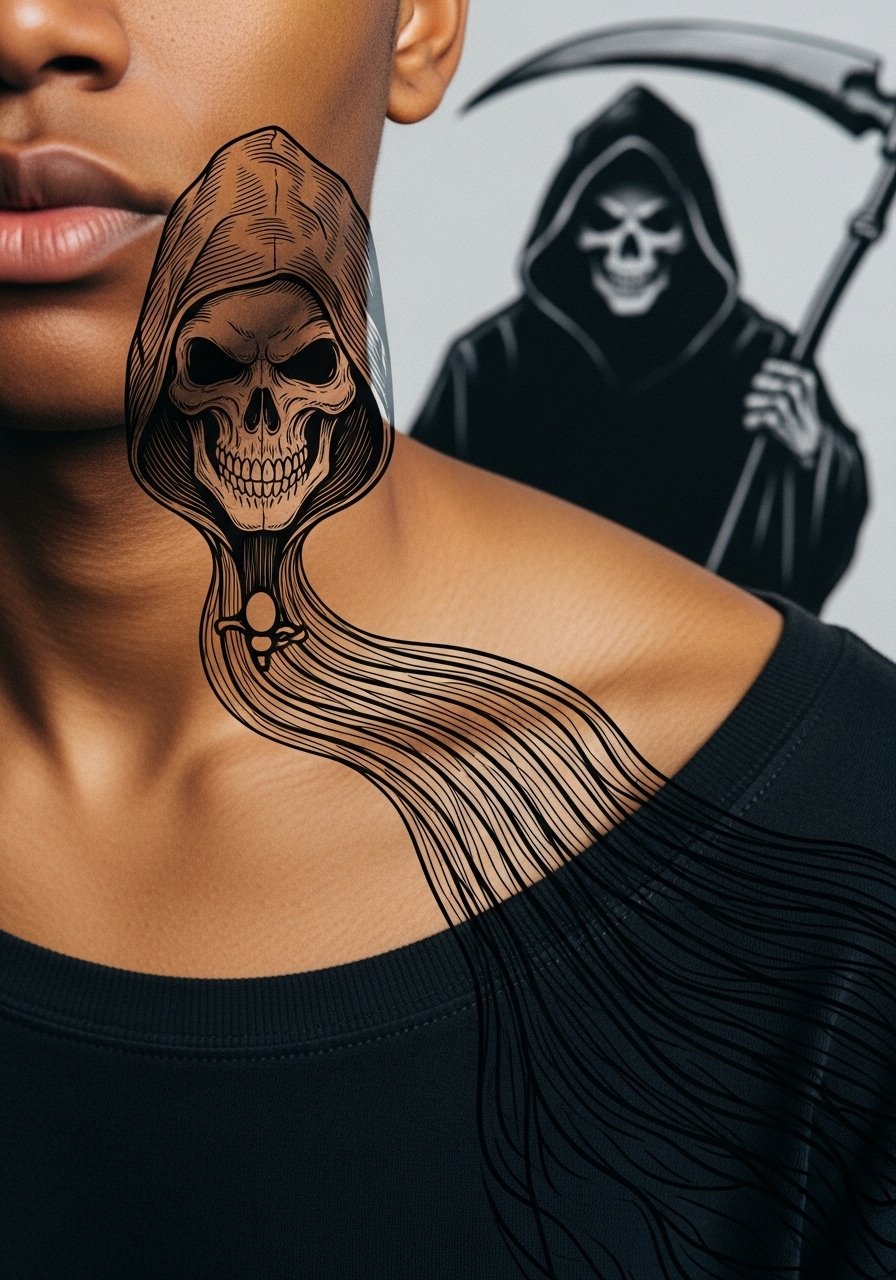
This allows motion and personalization while staying wearable. The collarbone moves with breathing, so ask for longer, flowing strokes rather than dense stips. One under-discussed approach is pairing trails with birth flowers for personal meaning without heavy symbolism. Expect one to two sessions depending on size and stipple shading. For evenings out, a deep v neck shirt frames the trails without revealing too much. Healed at two years the trails retain a delicate rhythm if spacing was generous.
11. Sleeve-Start Reaper with Clock and Hourglass Elements on Upper Arm
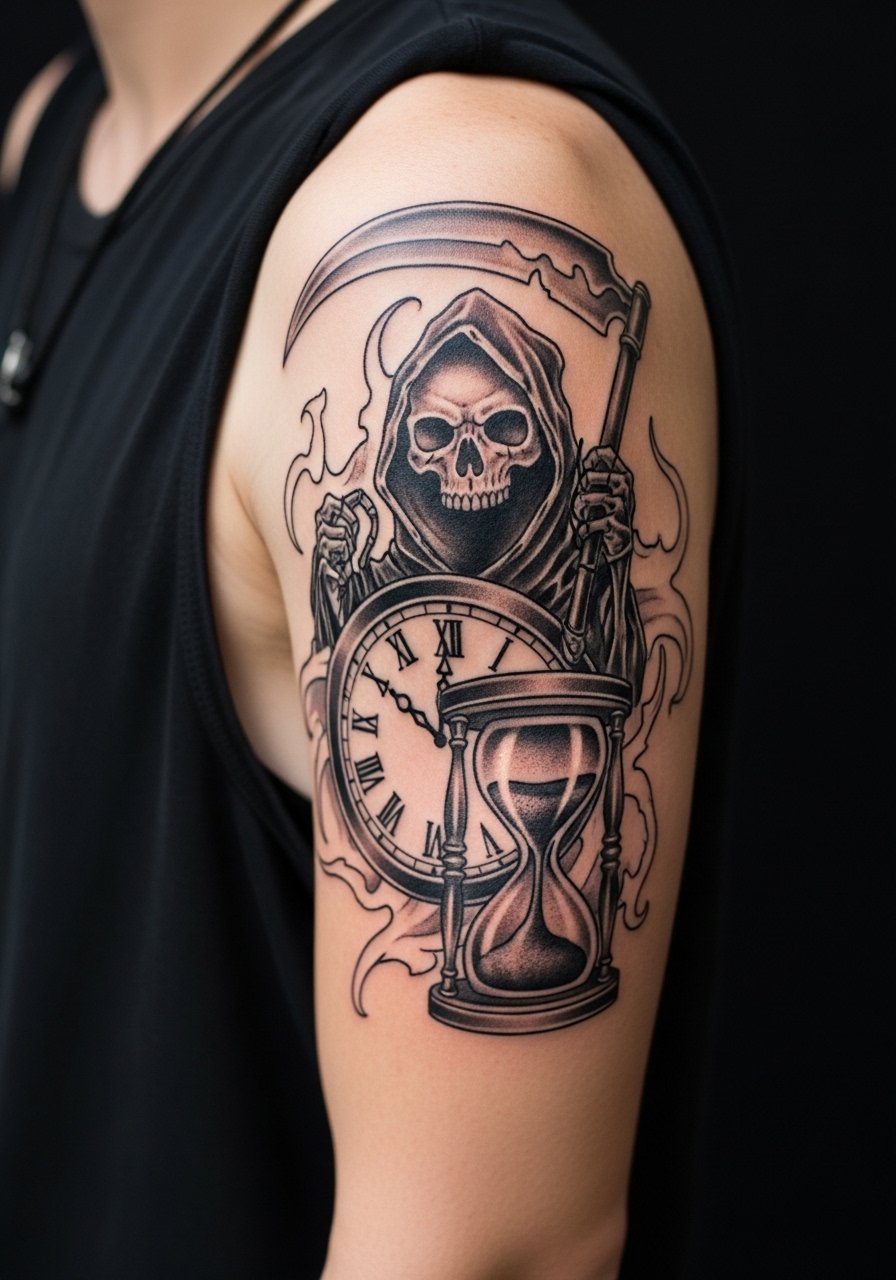
Combining timepieces with the reaper personalizes memorial intent without heavy script. Tell your artist where to place high-contrast areas so the clock face stays legible over time. Realistic shading needs depth and three sessions for multi-layer work. The common mistake is cramming tiny numerals into the clock that blur with shading. For session comfort wear a tank top you can move aside easily. Touch-ups usually focus on the high-contrast edges of the clock and hourglass.
12. Blackwork Hooded Figure on the Shoulder Blade
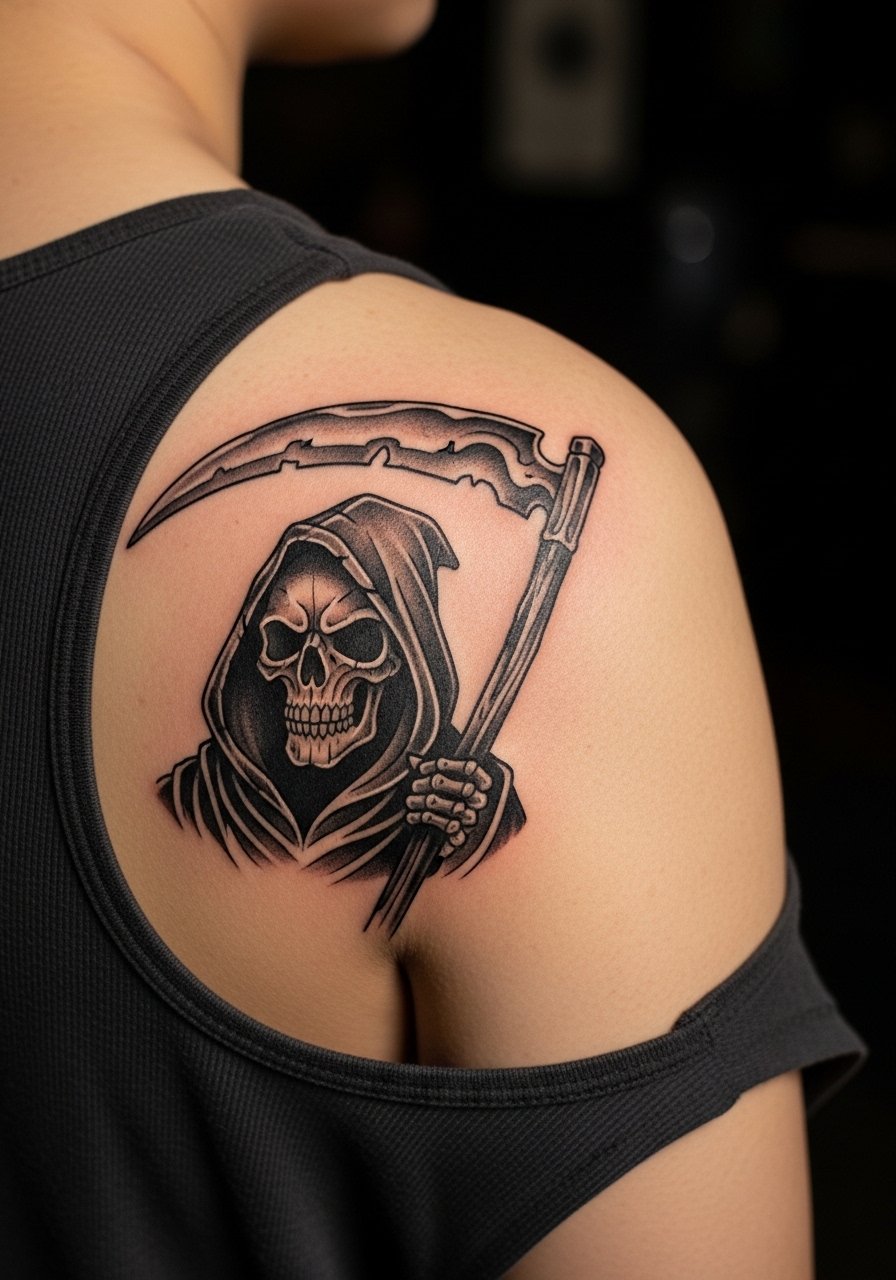
Shoulder blades offer a canvas for blocky silhouettes that age beautifully. Ask for crisp negative space inside the hood and avoid tiny interior details that disappear. One pro tip is to anchor the silhouette to a simple geometric backdrop for lasting contrast. Session difficulty is low to moderate depending on size. For showing it off, an open-back dress or a tank with low straps highlights the silhouette. Expect minimal touch-up if the fill work is saturated properly the first time.
13. Memorial Reaper with Birth Flowers on the Ribcage

Ribcage placements can be striking but they are sensitive and affected by body changes. One camp says fine line on ribs blurs from stretch. The other camp argues precise depth and spacing keep lines intact. Name both views in your consult and ask the artist for their track record. Because of sensitivity plan for breaks and numbing discussions. For session wear a fitted sports bra or bandeau so only the area needed is exposed. Consider pairing with small birth flowers to soften the memorial weight and aid personal meaning.
14. Grim Reaper with Gravestone Scene on the Lower Leg
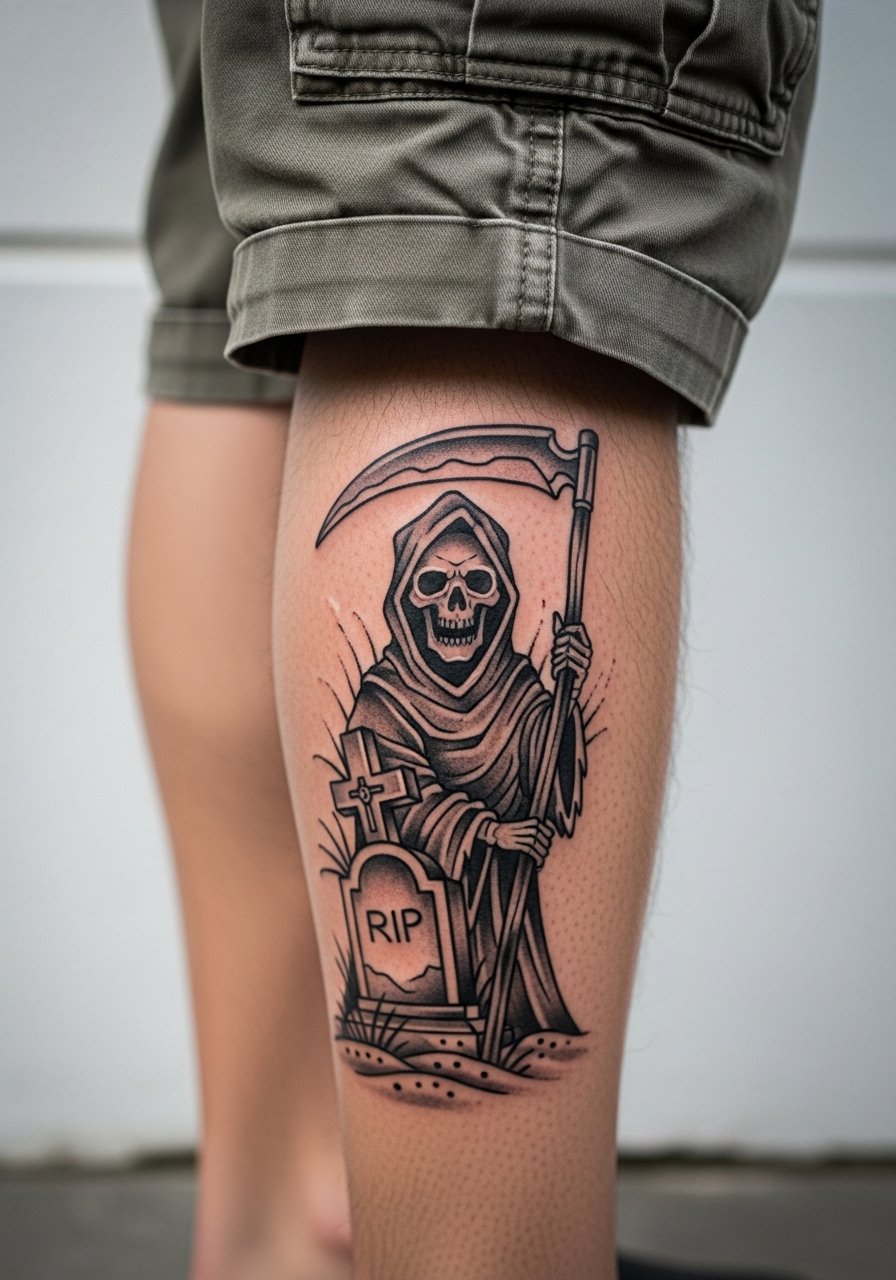
Lower leg and shin show nicely with vertical compositions. Ask for bold gravestone edges and avoid tiny lettering on the stone unless you want a future touch-up. Session time is moderate and healing benefits from elevated leg care in the first week. For a casual summer reveal pair with cargo shorts rolled hem and neutral low-cut sneakers. Blowout risk is lower here than on fingers or wrists, but friction from socks can affect the lowest edge if the tattoo sits near the ankle.
15. Chest Hooded Figure That Frames the Collarbone

Chest pieces read dramatically when balanced over the sternum or collarbone. Ask the artist to plan how clothing will hide or show the piece, and to leave breathing room around the collarbone so shirts do not rub the edges. Sessions are long and can be painful in the sternum area. For session wear pick an open henley or a loose button-down so the artist has access. A common mistake is underestimating how shirts sit against the tattoo during early healing, which can cause extra irritation.
16. Small Grim Reaper on the Ankle
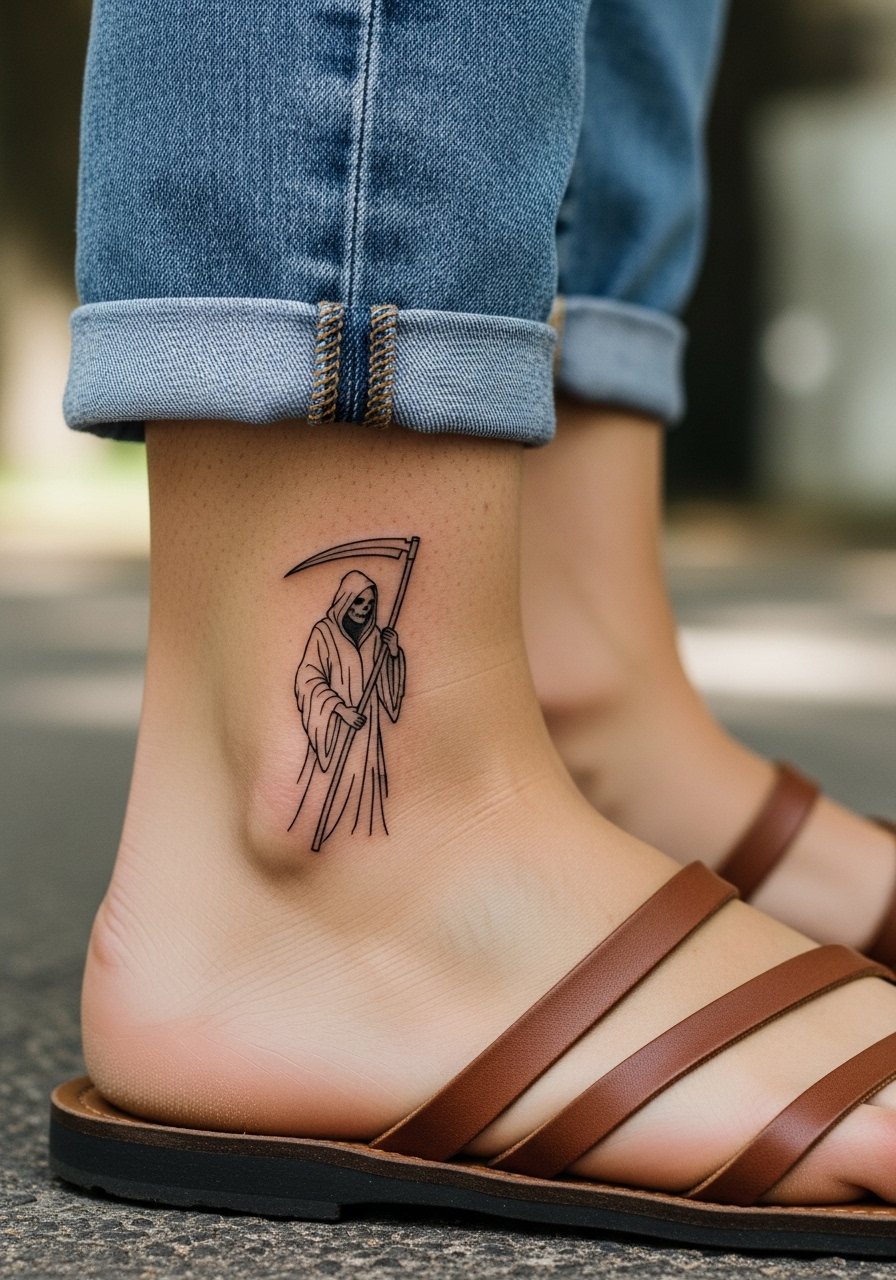
Ankle pieces are visible in summer and easy to conceal with socks in cooler months. Ask for a compact layout with fewer thin strokes and more solid shapes to survive shoe and sock friction. Single session, quick but fussy healing if shoes rub the area. Pair with minimalist sandals or roll your jeans for a clean reveal. Expect touch-ups sooner than forearm work if you wear ankle-length boots regularly.
17. Black-and-Gray Sleeve Reaper with Negative Space Highlights
Sleeves let you combine narrative elements and reserve negative space for breathability. Tell the artist where you want open skin to prevent overly dense areas that age into blotches. Multi-session commitment is required and scheduling guest spots can be a cost saver if you shop around. For showing off, an open placket shirt frames the arm without competing. Plan on staggered touch-ups across panels rather than one massive redo.
18. Hooded Reaper Behind the Ear with Soul Trail Accent
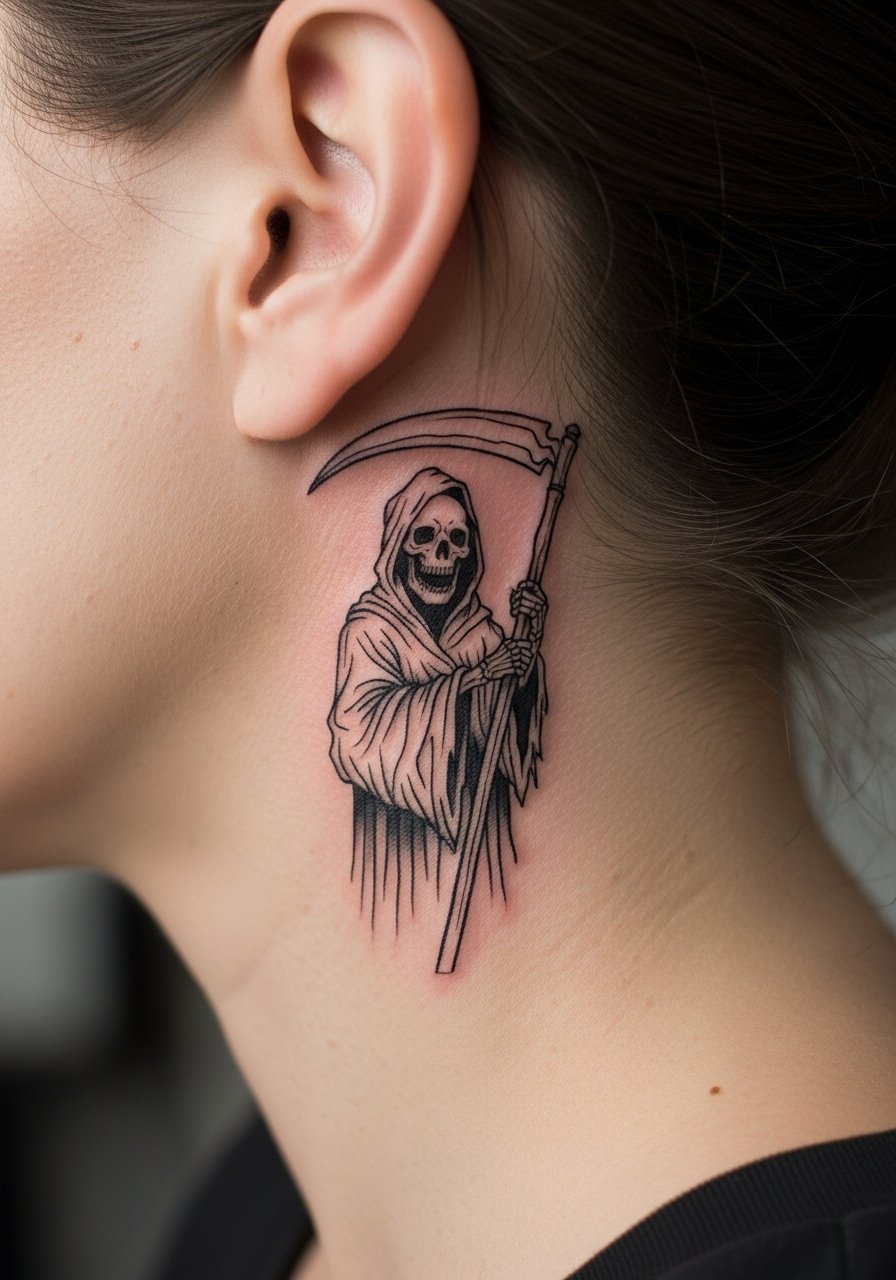
Behind-the-ear placements are intimate and need precise scale. Always describe it as on the skin behind the ear below the hairline so the artist frames the piece correctly. Pain is quick but sharp and aftercare must avoid heavy ointment that pulls at tiny lines. Keep hair tied back and consider a short touch-up schedule. This is one spot where a temporary test stencil helps you live with the look for a week.
19. Grim Reaper Portrait in Dot Work on the Upper Back

Stipple shading creates texture without heavy fills and suits flatter back planes. Tell your artist you want varied dot density to avoid heavy blocks that age into flat shading. Sessions are moderate in pain and can be split across two visits. For showing it off, wear a loose button-down shirt you can pull aside. The main mistake is requesting too tight a dot pattern which loses midtone nuance after a couple of years.
20. Grim Reaper Script Bracelet Around the Wrist
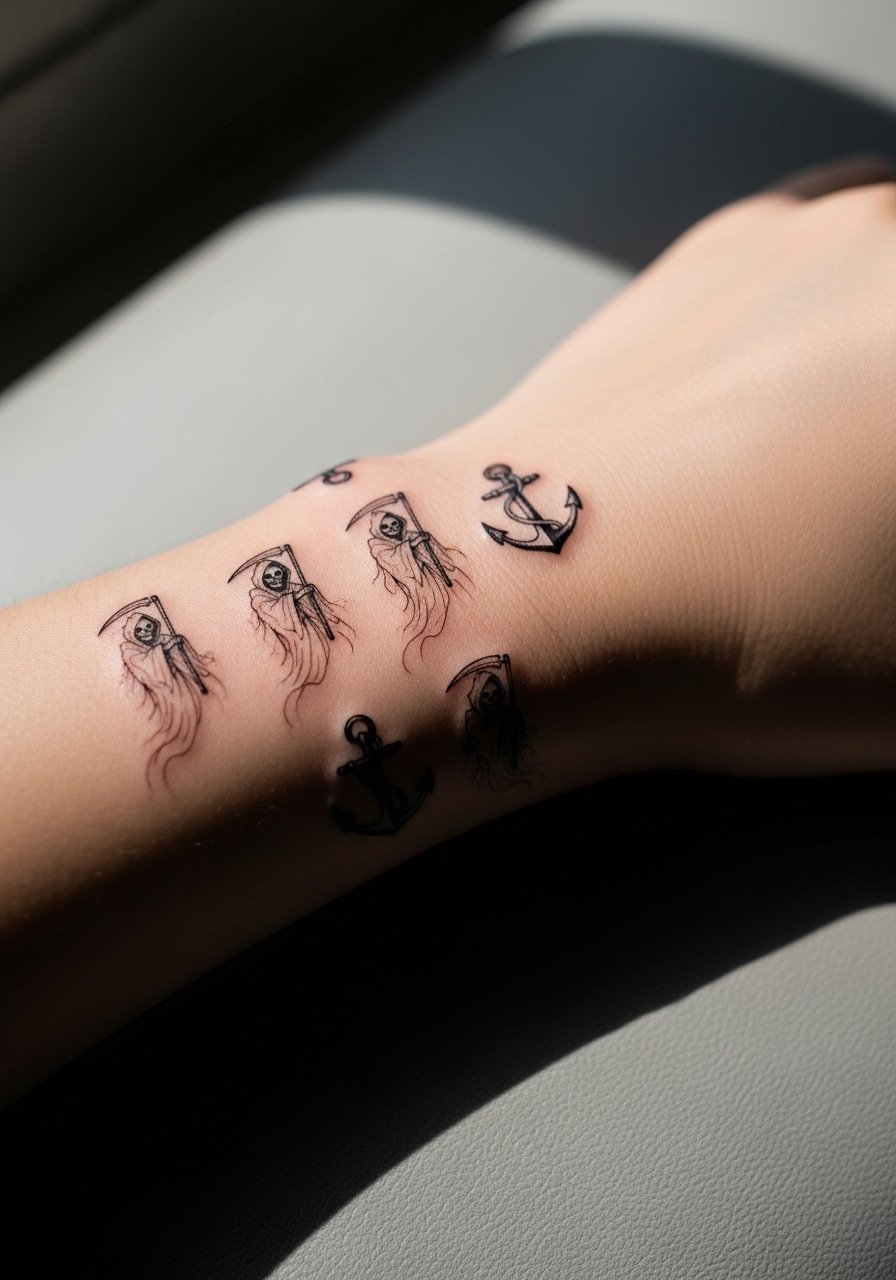
Wrap tattoos around the wrist need clean spacing to avoid merging. Ask the artist to alternate thin script with tiny bold anchors so the bracelet reads at a glance. This placement has high friction from watches and bracelets, so choose slightly heavier anchors. Session is short but healing is ongoing because of movement. For the appointment wear a sleeveless tank so the artist can access the area easily. Expect a touch-up within 18 months if you wear wrist accessories often.
21. Micro-Realism Grim Reaper Emerging Near the Elbow
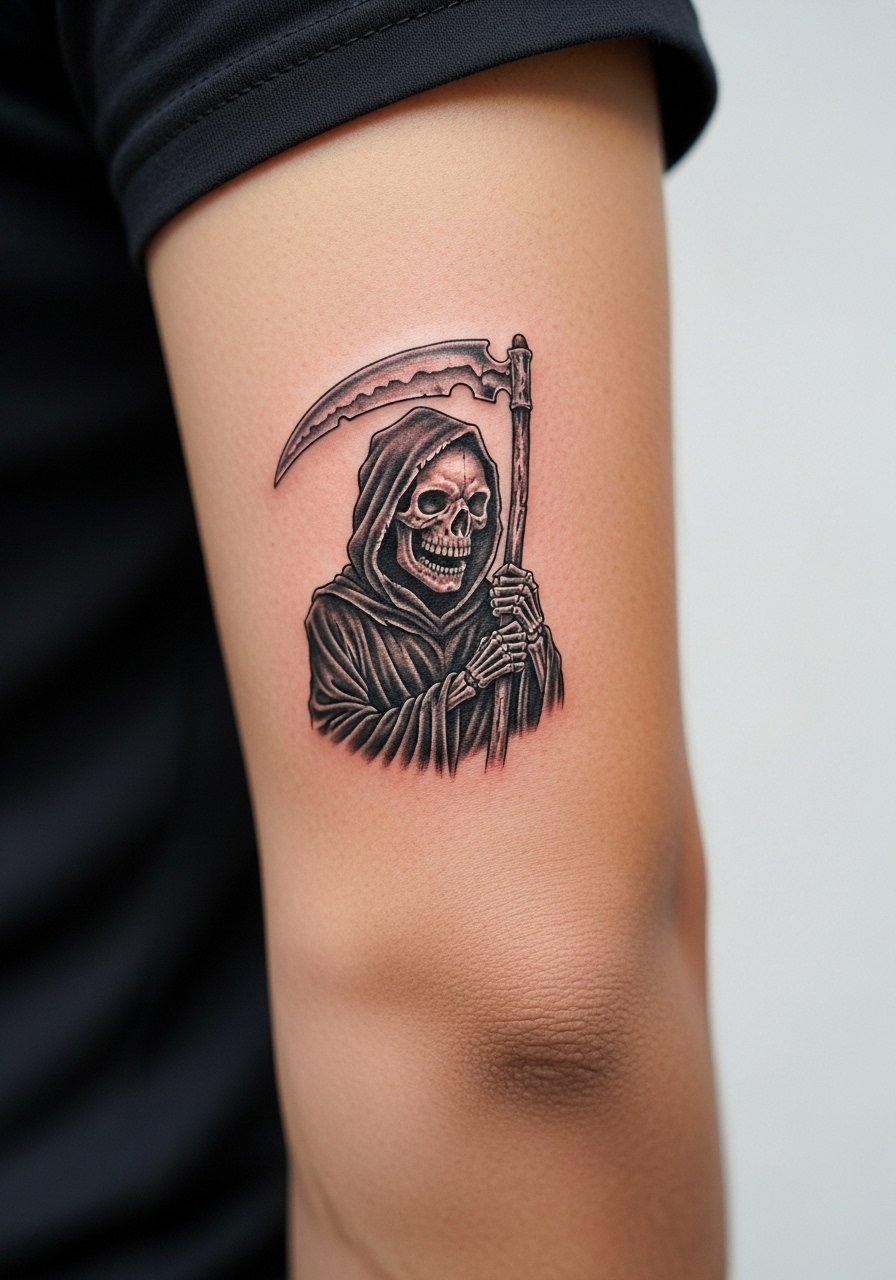
Elbow-adjacent work holds if you keep the composition slightly away from the fold. Tell the artist you want the highest contrast away from the crease so the movement does not smear the center detail. Pain is higher near the bone and numbing options are reasonable for longer sits, though some purists object. The main mistake is placing tiny delicate eyes or teeth too close to the crease where blowout risk rises. For the session choose a loose short-sleeve button-up the artist can slide up without tugging.
Frequently Asked Questions
Q: Will a fine line grim reaper on my wrist blur faster than a traditional one?
A: It depends. Fine line wrist pieces are more likely to soften because the skin is thin and you wash that area constantly. If you want longevity ask for slightly thicker line weight and firm needle depth during consultation. Many artists prefer a blackwork hybrid for wrists to avoid yearly touch-ups.
Q: My dark skin tones have shown faster fading on small black work. What helps keep a grim reaper crisp?
A: From what I've seen, heavier linework and denser black saturation age better on darker skin tones than ultra-fine needles. Also plan a proactive touch-up at the one-year mark. Tell your artist your skin type and ask to see healed examples on similar tones before booking.
Q: How do I handle an artist who cancels the shading session after I paid?
A: Book with a deposit and get a clear session schedule upfront. If a cancellation happens, use community discovery paths like searching #GrimReaperTattoo or Tattoodo guest spots. Guest spots in smaller cities can shave costs and reduce burnout delays.
Q: Is Saniderm better than dry healing for grim reaper pieces with heavy linework?
A: Artists split into two camps. One group says Saniderm speeds healing and reduces scabbing for dense black fills. The other group prefers dry healing to avoid adhesive pull on delicate lines. Decide based on your daily activity and ask the artist which method they use most successfully.
Q: What should I wear to a long realism chest session to stay comfortable and give the artist access?
A: Choose clothes that you can easily pull aside without rubbing the fresh work, like a loose button-down or an unbuttoned henley. Layering helps for breaks and temperature shifts during long sittings.
Q: If I plan to gain or lose weight, which placements avoid major distortion for a grim reaper?
A: Avoid putting high-detail faces over areas prone to large volume changes like the inner thigh or lower stomach. Back, upper arm away from the bicep, and calf tend to maintain composition better through modest body changes. Discuss future plans with your artist so they can position elements strategically.
Q: How often should I realistically expect to touch up a detailed reaper sleeve or chest piece?
A: For heavy black and gray realism, expect maintenance every two to three years to preserve crisp highlights and deep contrast. Fine line accents across sleeves may need touch-ups sooner. Plan touch-ups as part of long-term care, not as a sign of bad work.
