
Fine line Bugs Bunny tattoos look effortless on a feed, but what holds up on skin and what looks good in a decade are not the same thing. Trends push ultra-thin contours and tiny faces, and the reality is these choices hinge on placement, spacing, and touch-up expectations. Below are 21 minimal line Bugs Bunny ideas that balance the look you want today with how the piece will age tomorrow.
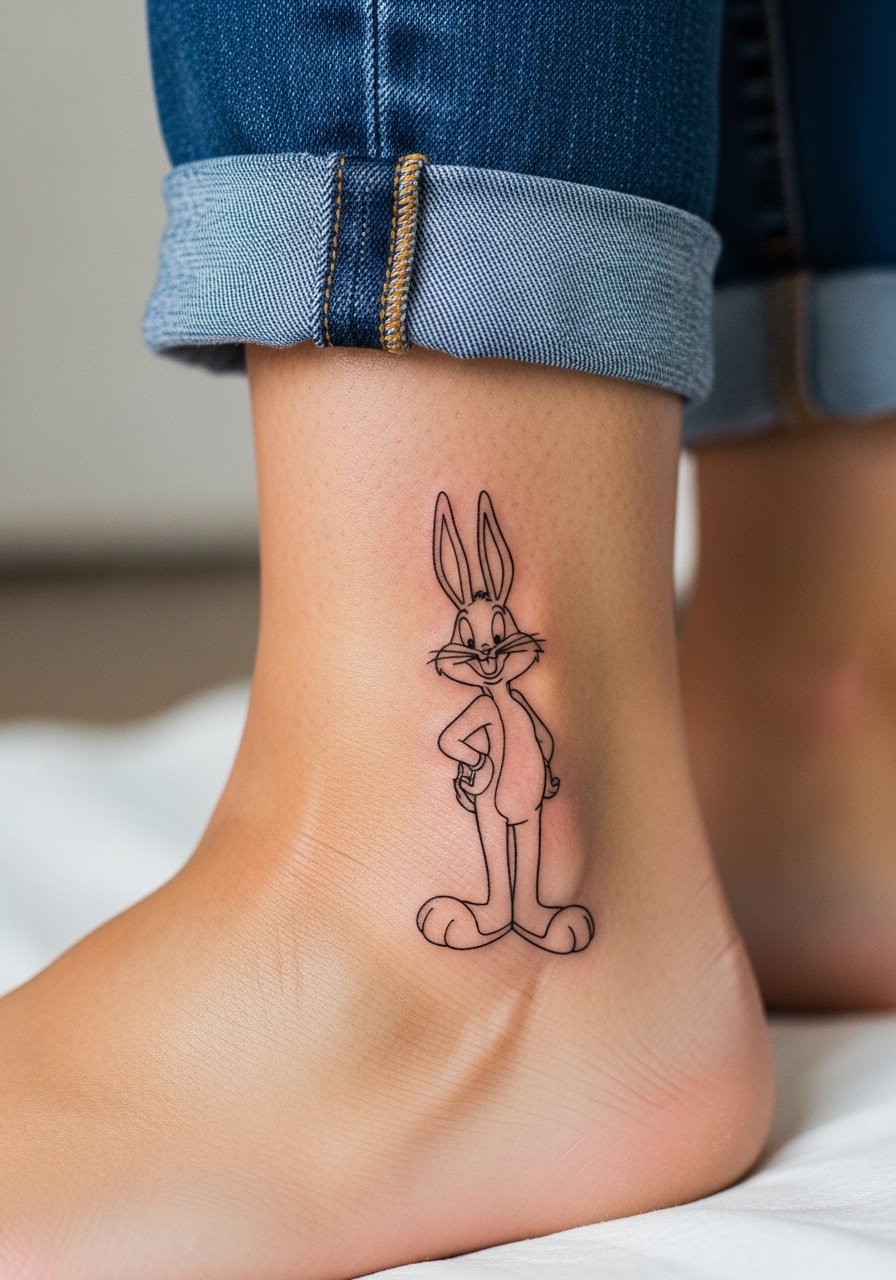
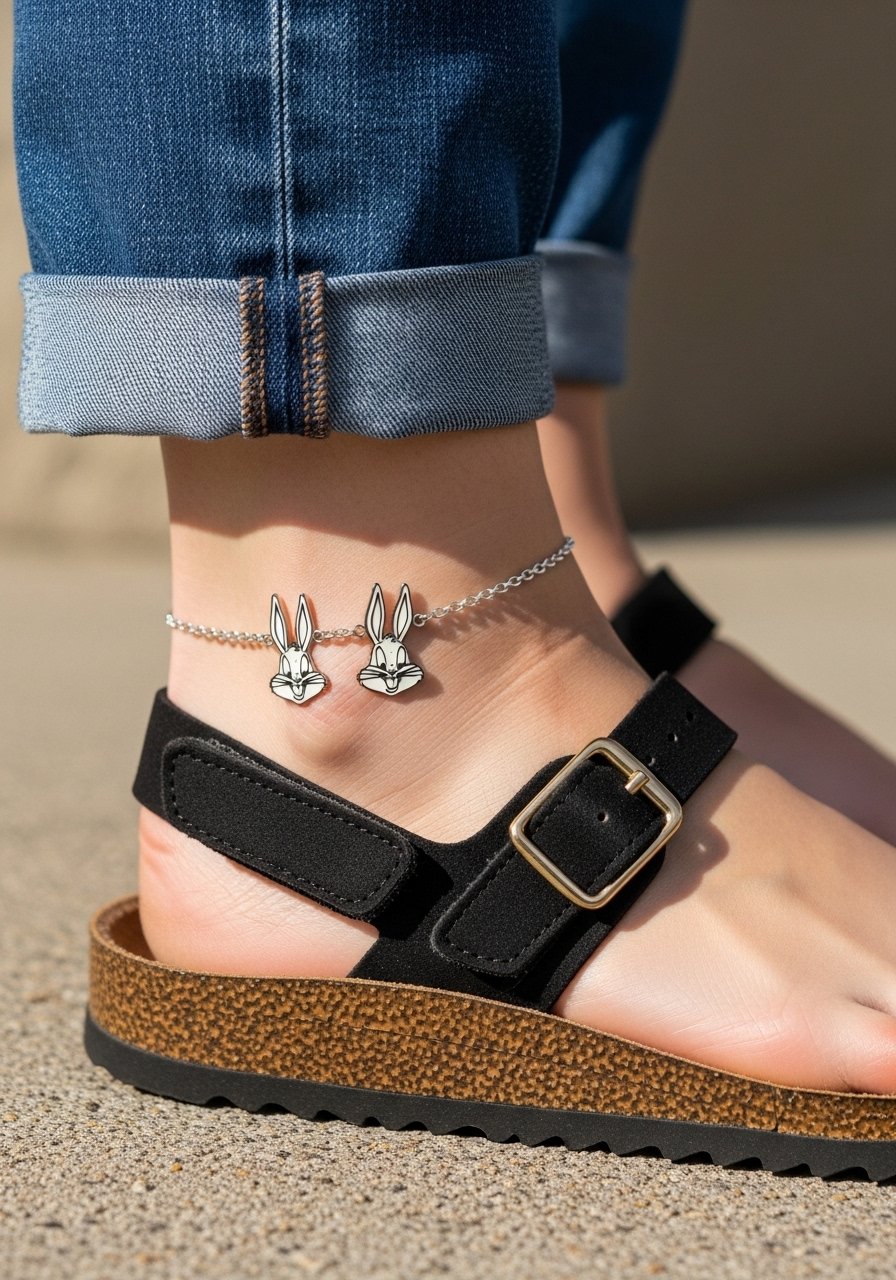
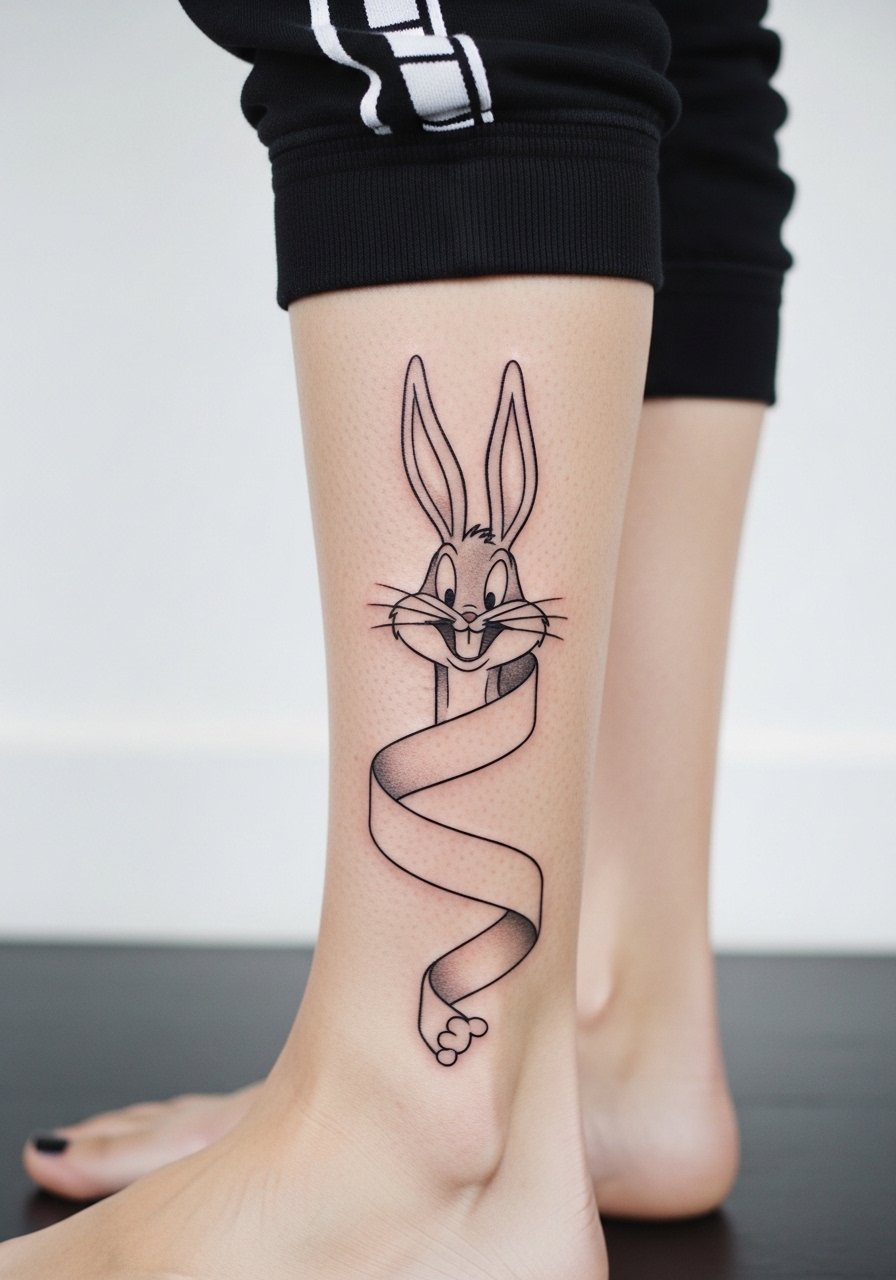
1. Tiny Bugs Outline on the Ankle
A single continuous line forming Bugs Bunny's head and ear reads playful and discreet on the ankle. Expect a low pain level and a quick session under 30 minutes, which makes this a common pick for first timers. Tell your artist you want slightly thicker linework than a micro tattoo so the ears stay distinct at year two. The biggest mistake is going paper-thin with the contour, which can fade into a ghost. For showing it off, wear minimalist leather sandals with cropped jeans so the tattoo peeks above the strap.
2. Micro Face on the Inner Forearm
I’ve seen this tiny face hold up best when artists use slightly more spacing between facial lines. The inner forearm gives enough flat canvas to keep each whisker readable at six months and at two years. During consultation ask for deeper line saturation while keeping the needle movement gentle. Common mistake, asking for the smallest possible size without discussing touch-ups. Session time is short but expect a touch-up window at year two. Pair this with a slim racerback tank on warmer days so the forearm remains visible without rubbing.

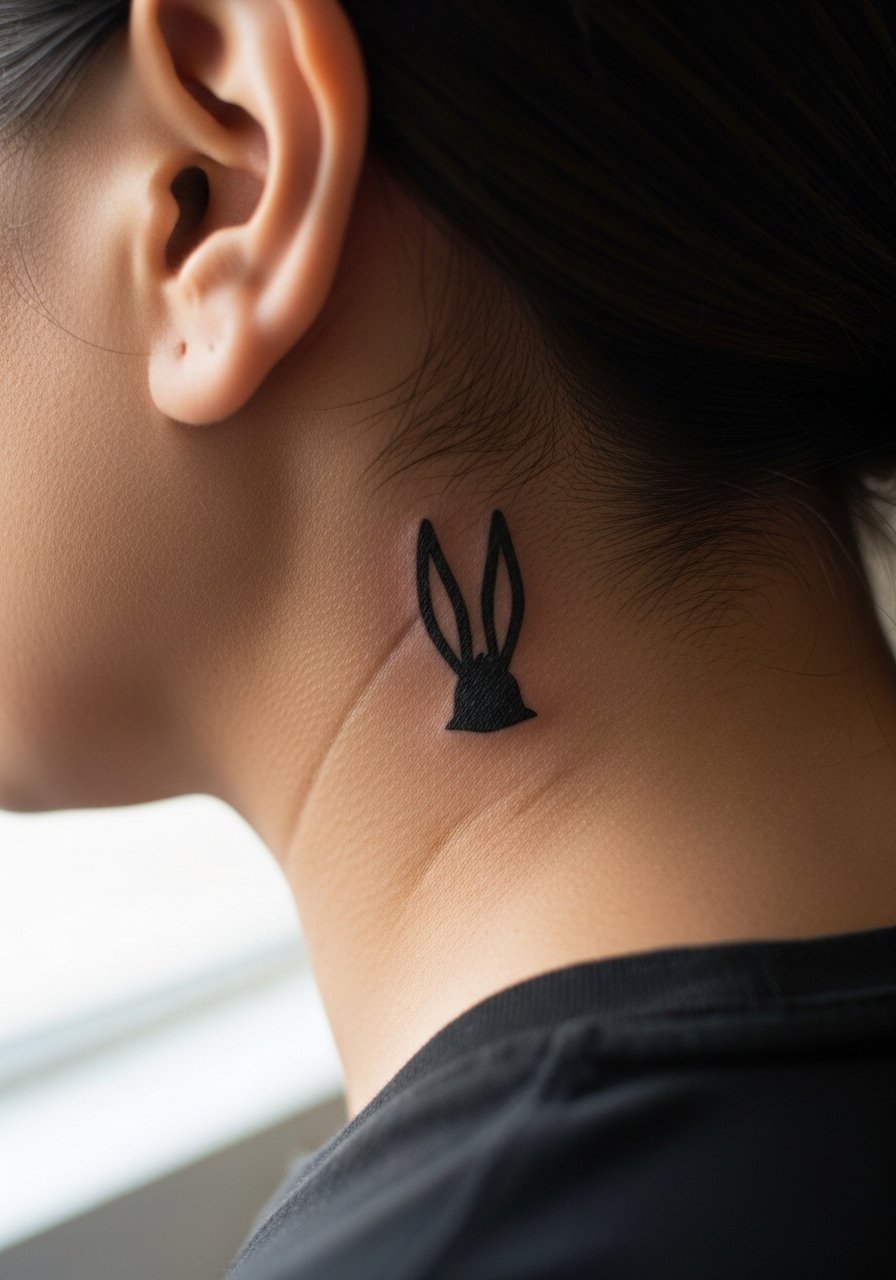
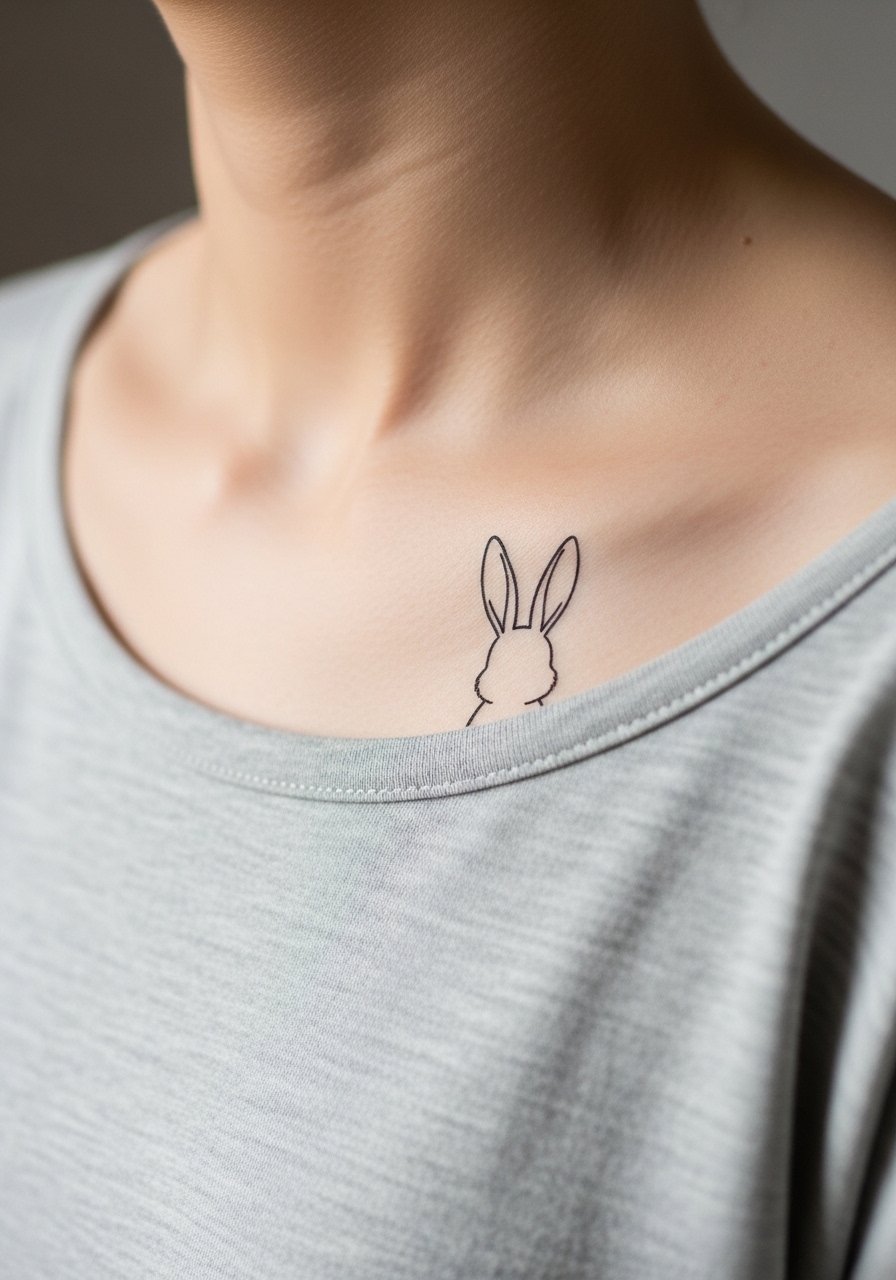
3. Single-Ear Silhouette Behind the Ear
Fair warning, behind the ear is sensitive for placement accuracy but the payoff is a subtle peek of character. Artists split on tiny placements here. One camp says the thin skin and movement blur fine line within months. The other camp argues that with careful depth and a slightly bolder contour the line stays crisp. Ask your artist where they stand and request a test stencil placement to confirm scale. For the session, keep hair up and wear a shirt with an open collar so the area is easy to access.
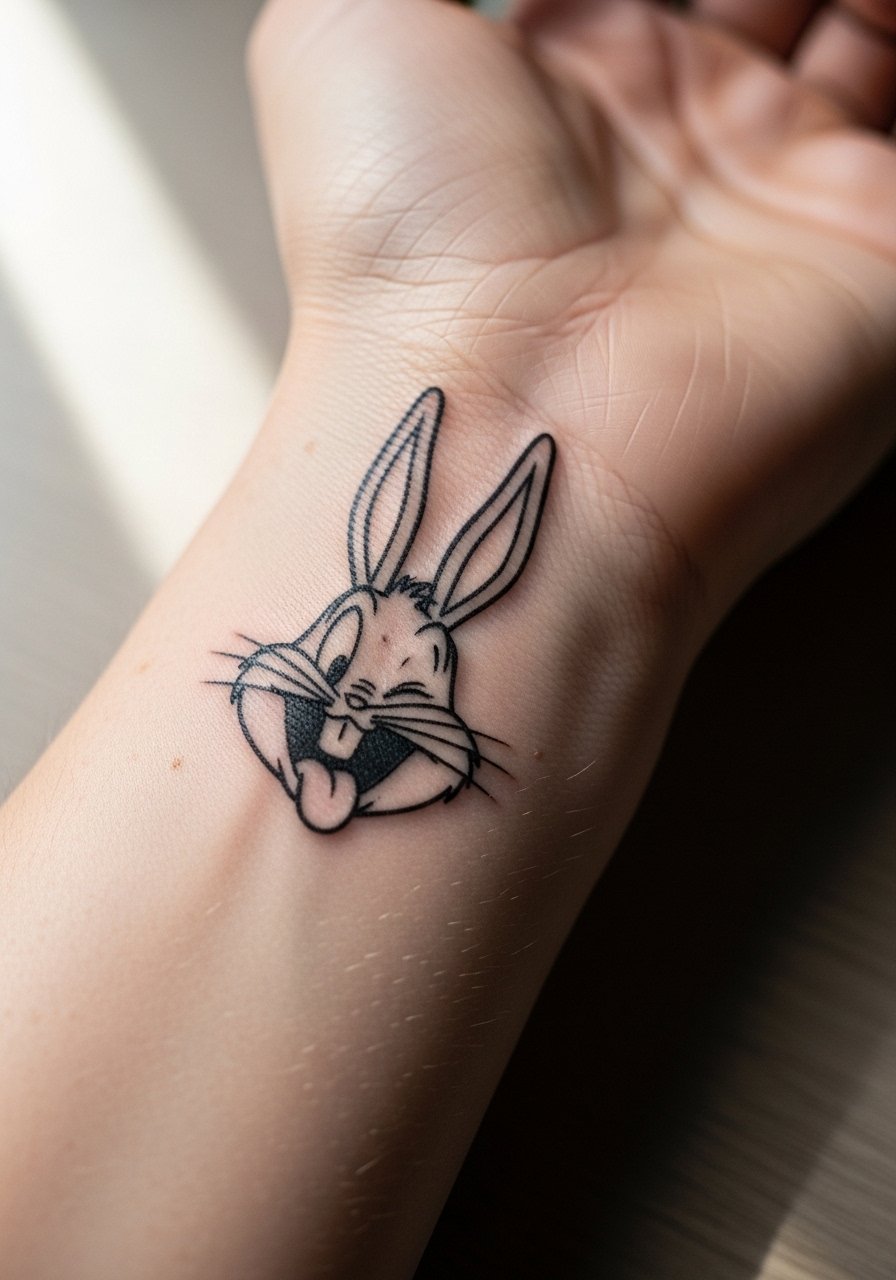
4. Wrist Peeker with Wink Expression
There’s a charm to a tiny Bugs winking on the inner wrist, but wrists endure constant washing and friction. Expect quicker fading here than on the forearm. Tell your artist you want clean, slightly heavier linework on the outer contour so the wink stays readable after frequent wear. The session is brief and the pain is mild. A common mistake is over-detailing the facial features at this scale. Style it with a thin chain bracelet worn a finger above the tattoo to frame the tiny face without covering the linework.
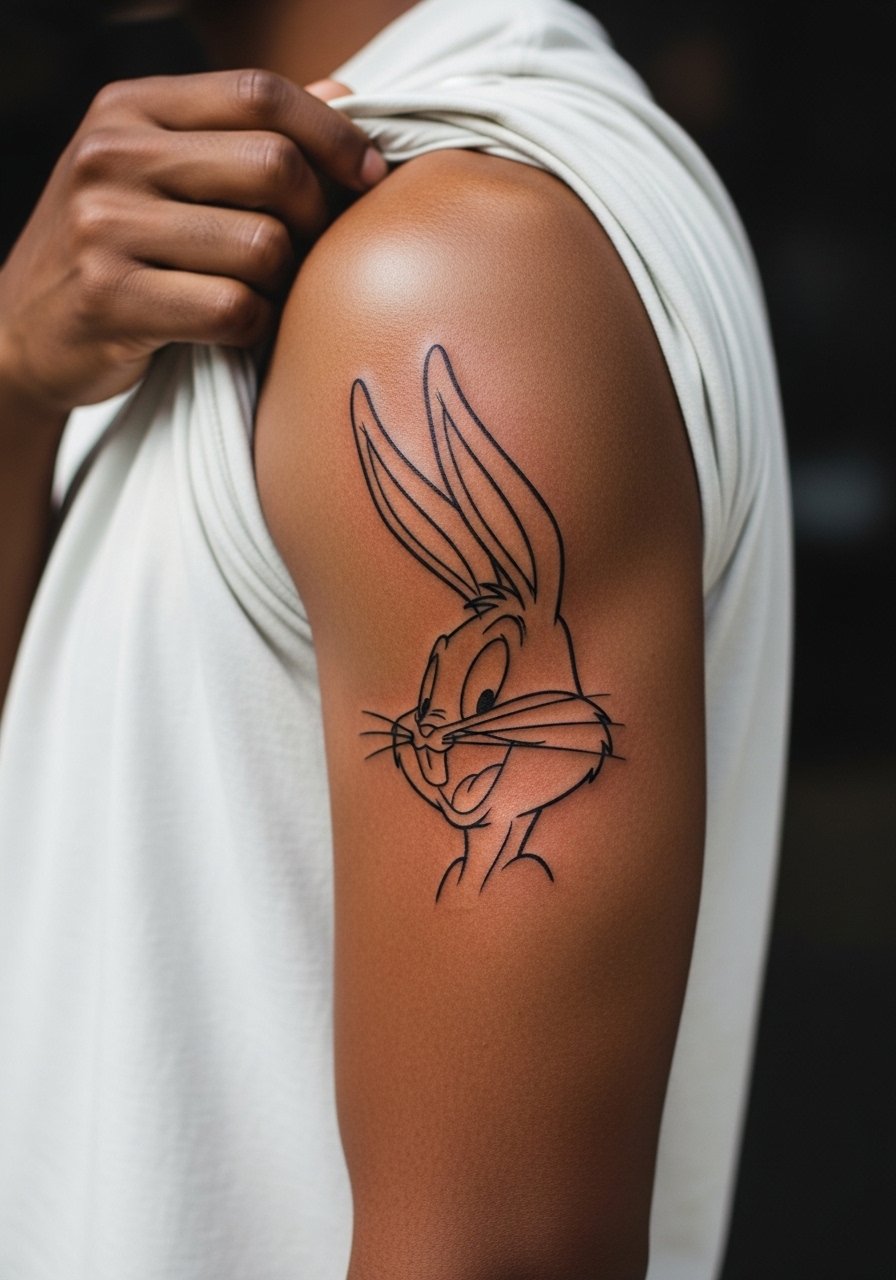
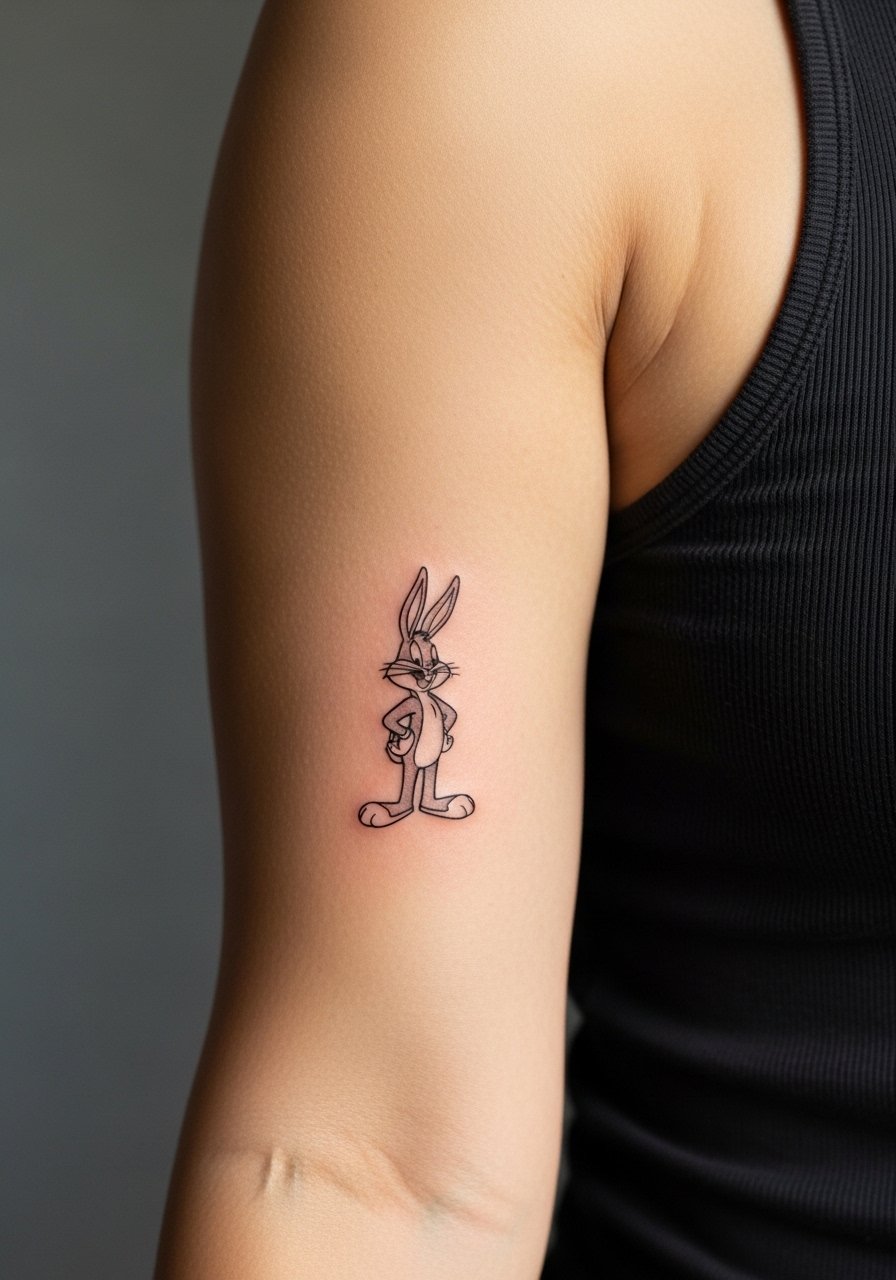
5. Minimal Bugs Profile on the Upper Arm
This placement is forgiving for line spacing and ages predictably. The upper arm handles slightly denser linework well, so you can keep a cleaner profile without risking blowout. Tell your artist you want the ears elongated but not needle-thin so they keep separation when the skin moves. Sessions run around 45 minutes. Mistakes here include cramming too much facial detail into the profile. For outfits, roll a sleeve or wear a loose button-down shirt you can pull aside at the appointment.
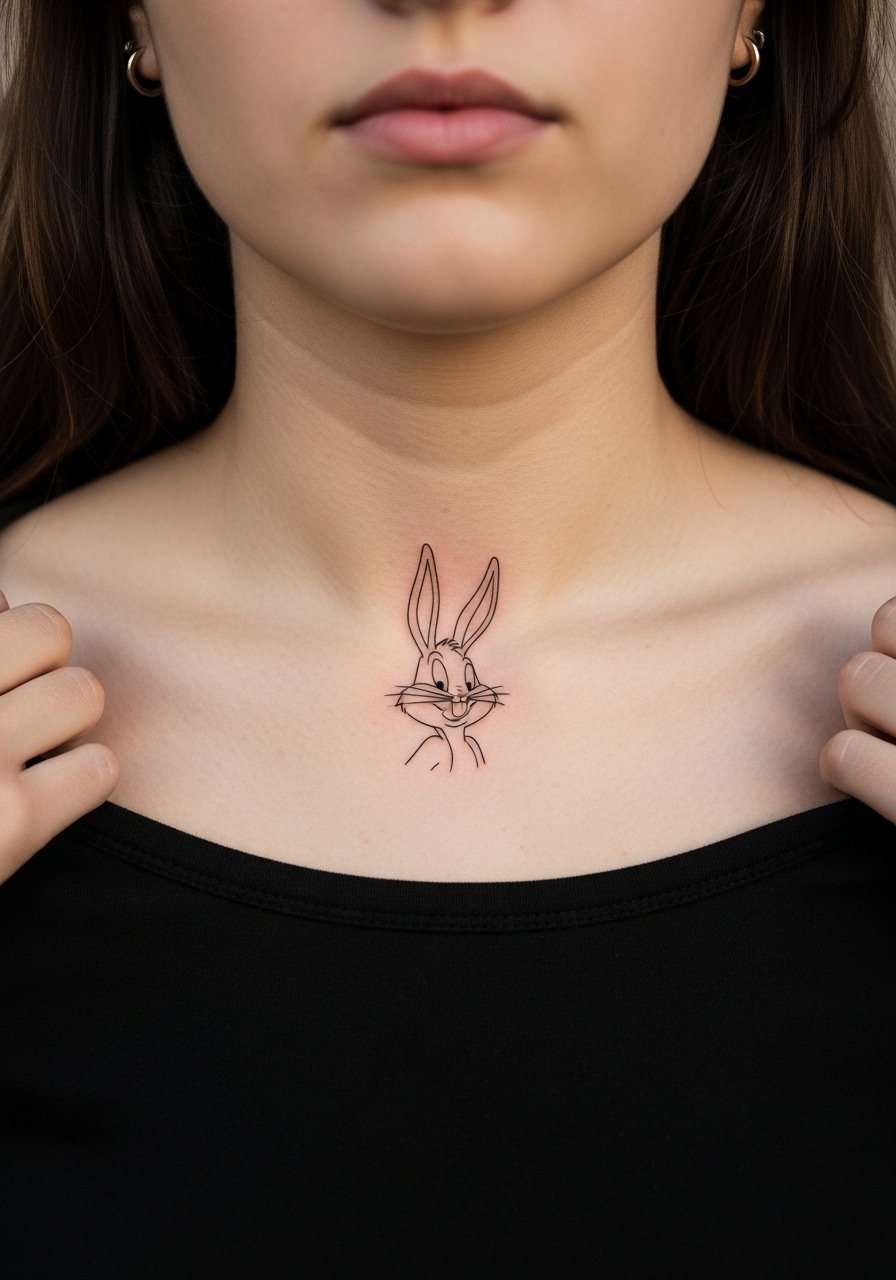
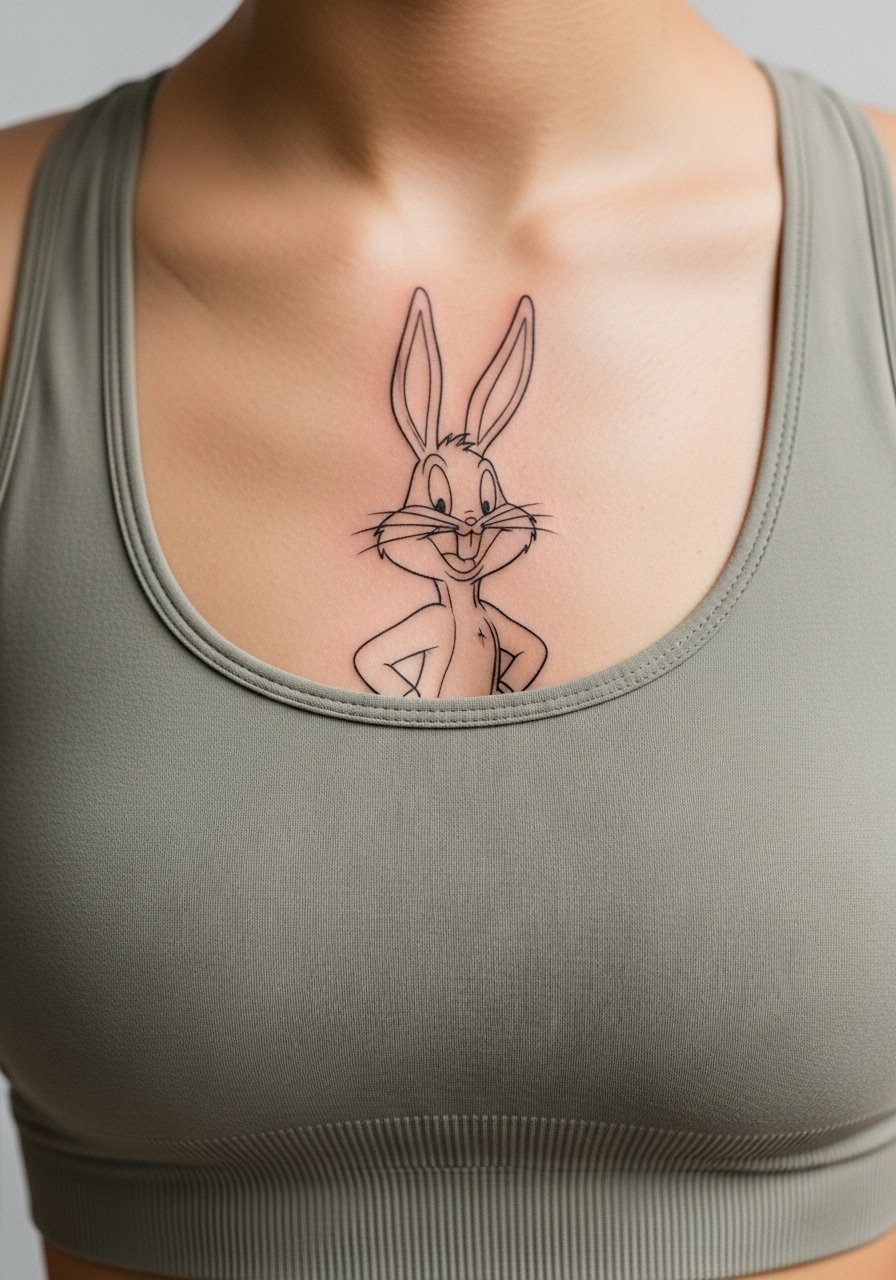
6. Delicate Chest Collarbone Placement
Chest linework sits differently on each body and needs thought. A collarbone Bugs in minimal line looks like jewelry when placed just above the bone, but it can stretch with weight changes. For a piece that keeps contour, request slightly rounded line endings rather than crisp pointy tips. Expect moderate pain near the bone and a session under an hour. For show-off styling choose an open-back midi dress or a wide-neck shirt that frames the collarbone without covering it.
Studio Day Picks
The collarbone and upper arm pieces above benefit from easy-access clothing and a couple small session-day items that smooth the experience.
-
Stencil transfer paper kit. Lets you confirm placement on curved areas like the clavicle before the needle goes down.
-
Topical numbing cream. Applied 30 to 45 minutes before reduces the edge on sensitive zones like the chest without altering artist feedback.
-
Thin protective film roll. Helpful for collarbone work that might rub against tops during the first few days of healing.
-
Fragrance-free gentle body wash. Cleanses healing skin without stripping the linework that delicate chest pieces rely on.
-
Aquaphor healing ointment. A thin layer can protect fine line shallow work during the initial healing window.
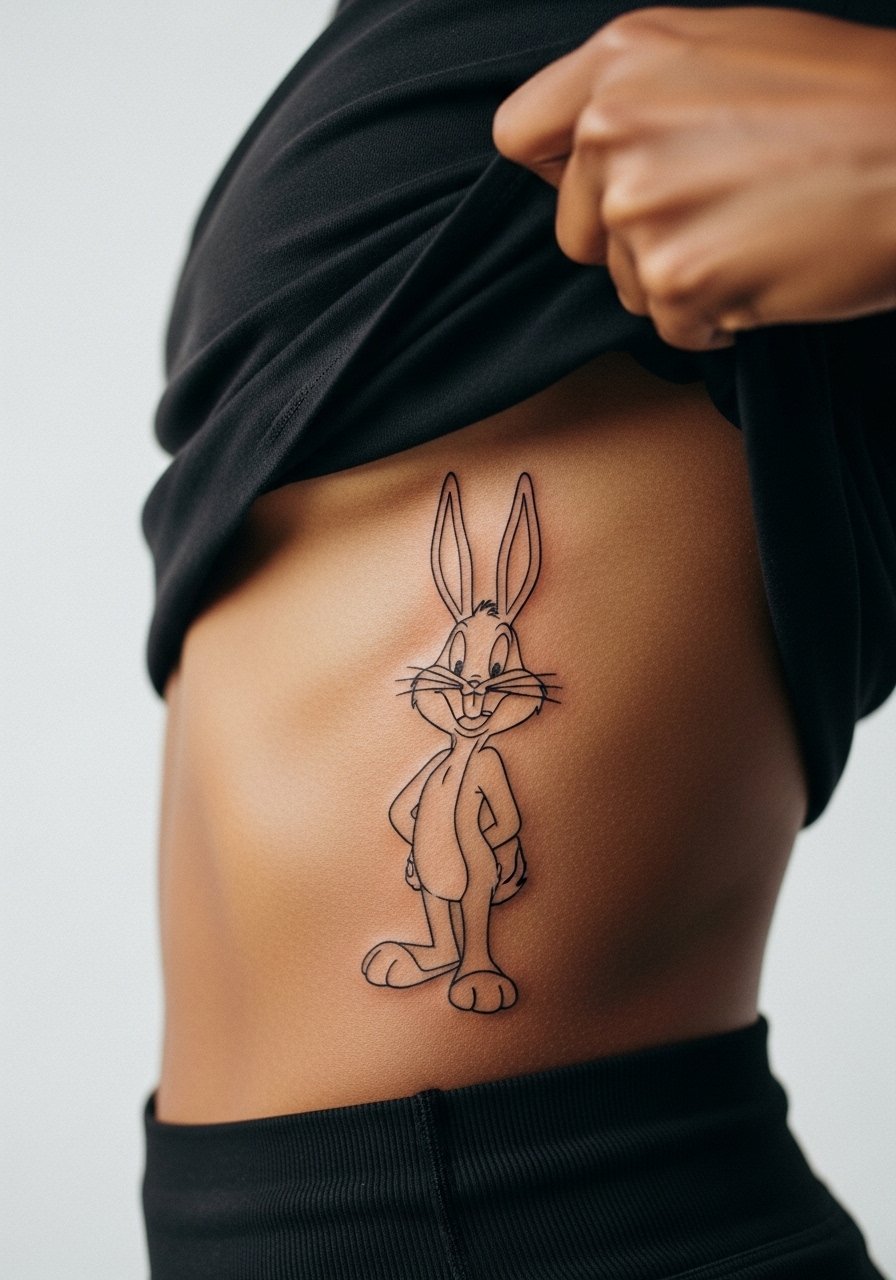
7. Tiny Bugs on the Side Ribcage
Pain warning, the ribcage ranks high on most scales but the canvas allows graceful, elongated ears that read beautifully. This is a place where artists divide into two camps. One group says fine line here blurs as the skin stretches and recedes. The other group maintains that with correct needle depth and spacing it will settle well. Ask your artist directly and plan for a touch-up discussion. The common mistake is asking for the tiniest detail possible. For the session wear a cropped top you can lift slightly so only the rib area is exposed.
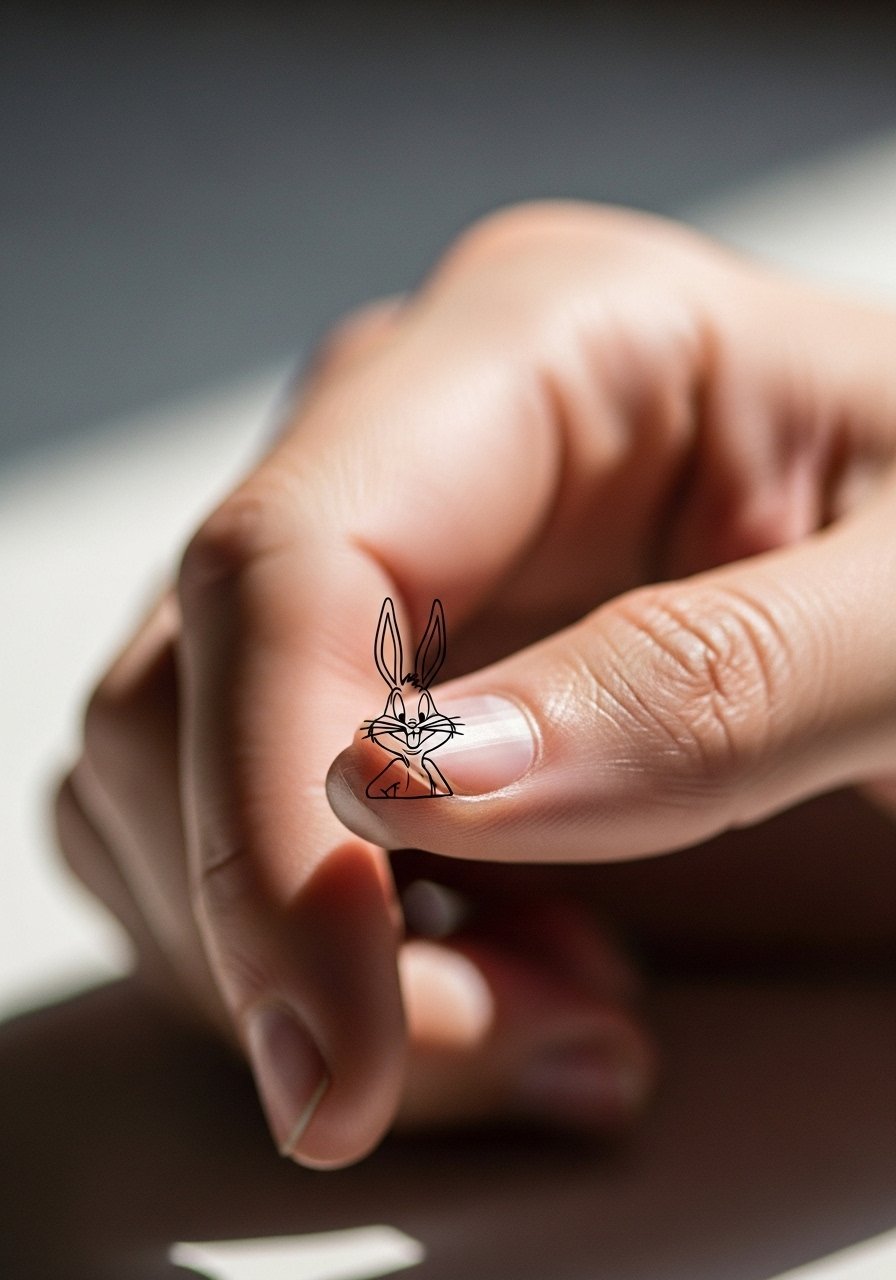
8. Micro Finger Tip Silhouette
Finger tattoos are honest about upkeep. The skin here regenerates fast and friction from daily use erodes linework quicker than other spots. Expect frequent touch-ups and tell your artist you prefer a simplified silhouette over detailed features. The session is fast and the sting is sharp but short. A mistake is insisting on hairline contour around tiny features. If you want it to last, accept bolder single-line outlines. Style it with a slim minimalist ring that complements but does not rub directly against the tattoo.
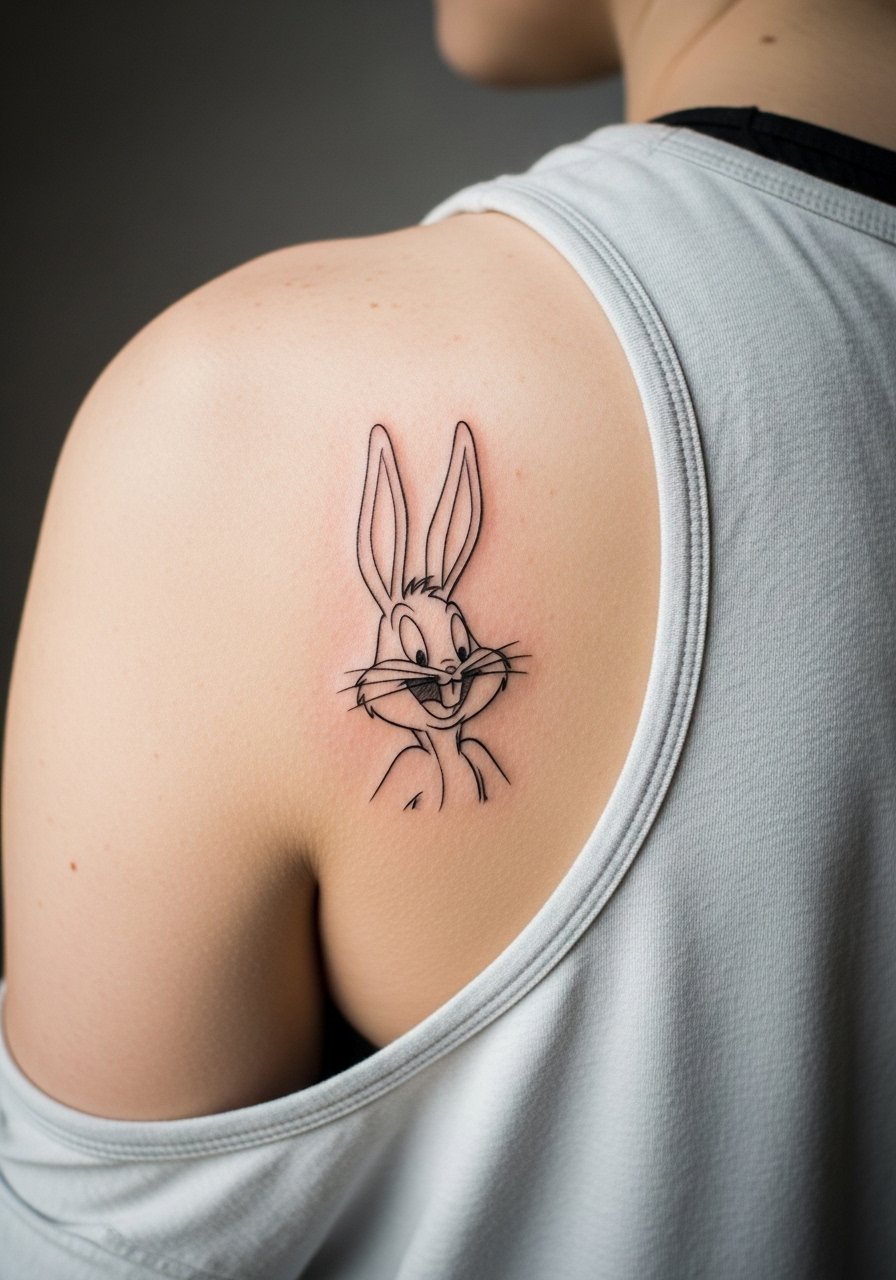
9. Subtle Back Shoulder Blade Sketch
The shoulder blade handles delicate linework well and gives a chance to scale up the ears slightly for longevity. Tell the artist you want minimal interior detail and clear negative space around the contour. Most people experience low to moderate pain here and a 45 minute session is common. A frequent mistake is placing the design too close to the spine where movement warps the line. For the appointment, wear a loose tank top you can pull aside to expose the blade without being uncomfortable.
10. Tiny Sternum Line Art
Sternum work needs careful planning because of sensitivity and clothing access. For a clean minimal Bugs, request a slightly wider spacing between parallel lines to avoid merging as the area heals. Expect higher pain near the sternum and a session around an hour. A common mistake is underestimating aftercare since rubbing by bras can irritate the area. At the appointment wear a fitted sports bra or bandeau so the artist can work without you disrobing fully.
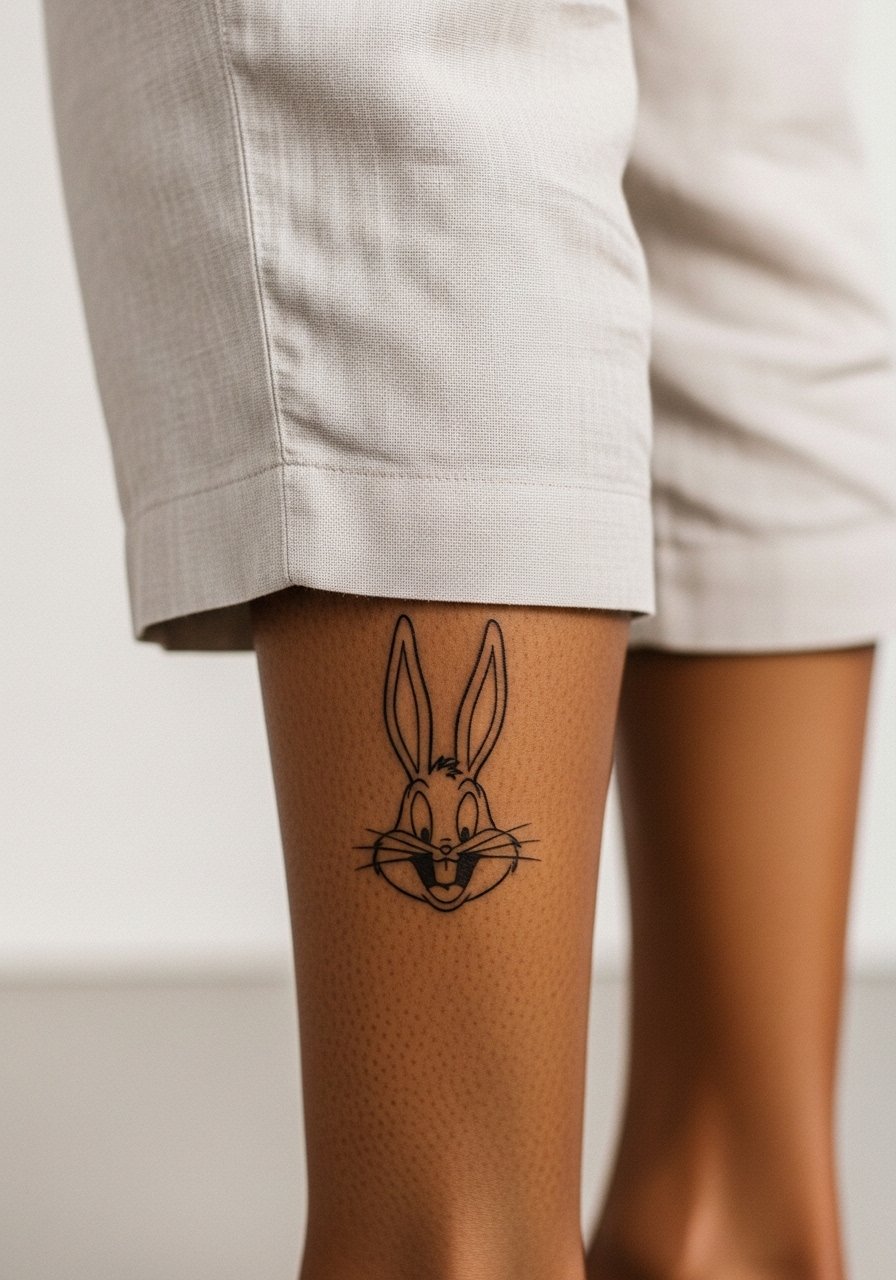
11. Minimal Bugs on the Calf
Calf placements are forgiving for thin line detail and age predictably with minimal touch-up needs. If you want the face to stay readable at three years, ask for moderate line weight rather than the absolute thinnest option. Sessions are comfortable and usually under an hour. A common error is placing the design too far forward where shoe friction can affect healing. Pair the finished piece with rolled joggers or cropped linen pants that keep the calf visible when you want to show it.
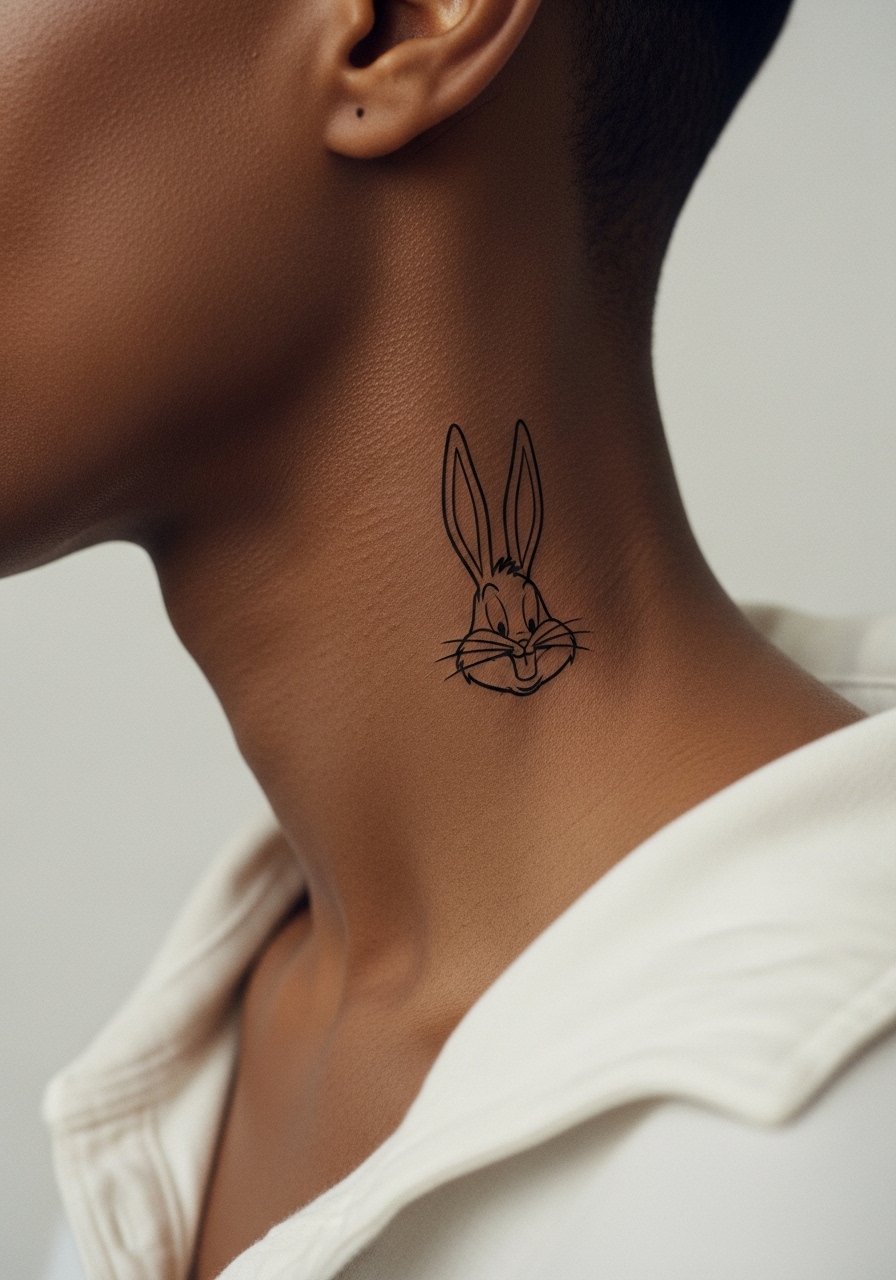
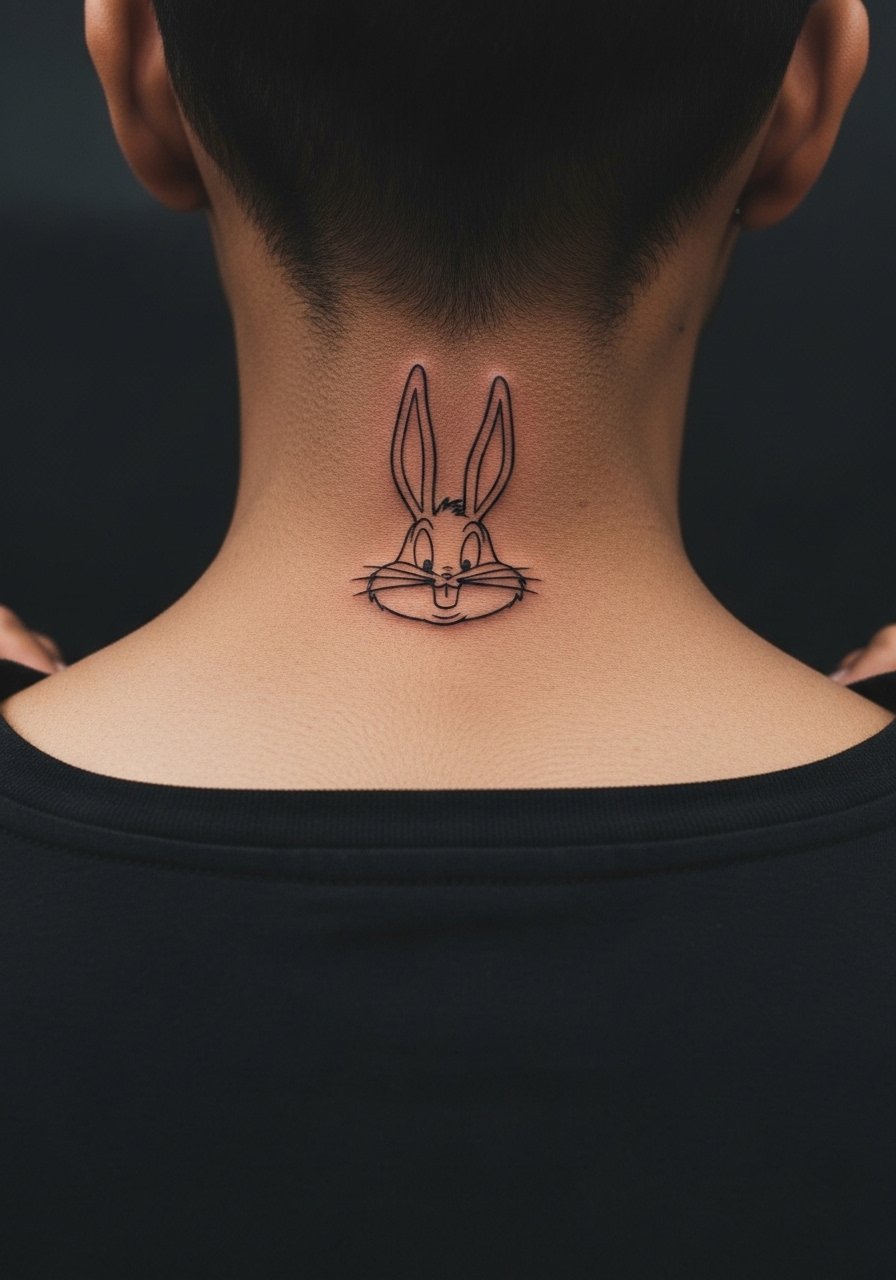
12. Tiny Ear-Line on the Nape of the Neck
The nape gives a subtle reveal and works well for a minimalist cartoon ear silhouette. Pain is moderate because the area is thin and sensitive. Ask your artist for a slightly curved ear line that follows the neck’s natural movement. A mistake is asking for overly fine internal lines that wash out quickly. For showing it off, choose a wide-neck shirt or a low bun so the back of the neck is visible without exposing more than intended.
13. Tiny Comic Pose on the Inner Bicep
Inner bicep placements show well but require a tank-friendly session wardrobe. The skin is soft, so spacing is crucial for tiny expressions to hold. If you want a compact pose, ask for slightly heavier contour and less interior strokework. Expect moderate pain and a session under an hour. A common mistake is squeezing too many facial elements into a small patch. For the appointment wear a loose drawstring linen pant and a tank top so the artist can access the inner arm comfortably.
14. Ankle Chain of Small Faces
A line of three tiny Bugs faces circling the ankle reads like a delicate charm. The challenge is consistent spacing so each face reads at six months. Tell your artist you want incremental spacing and slightly bolder external contours to prevent merging with daily footwear friction. Sessions are short but expect patchy fading earlier than forearm pieces. Style these with ankle-strap sandals that reveal the chain without rubbing the area.
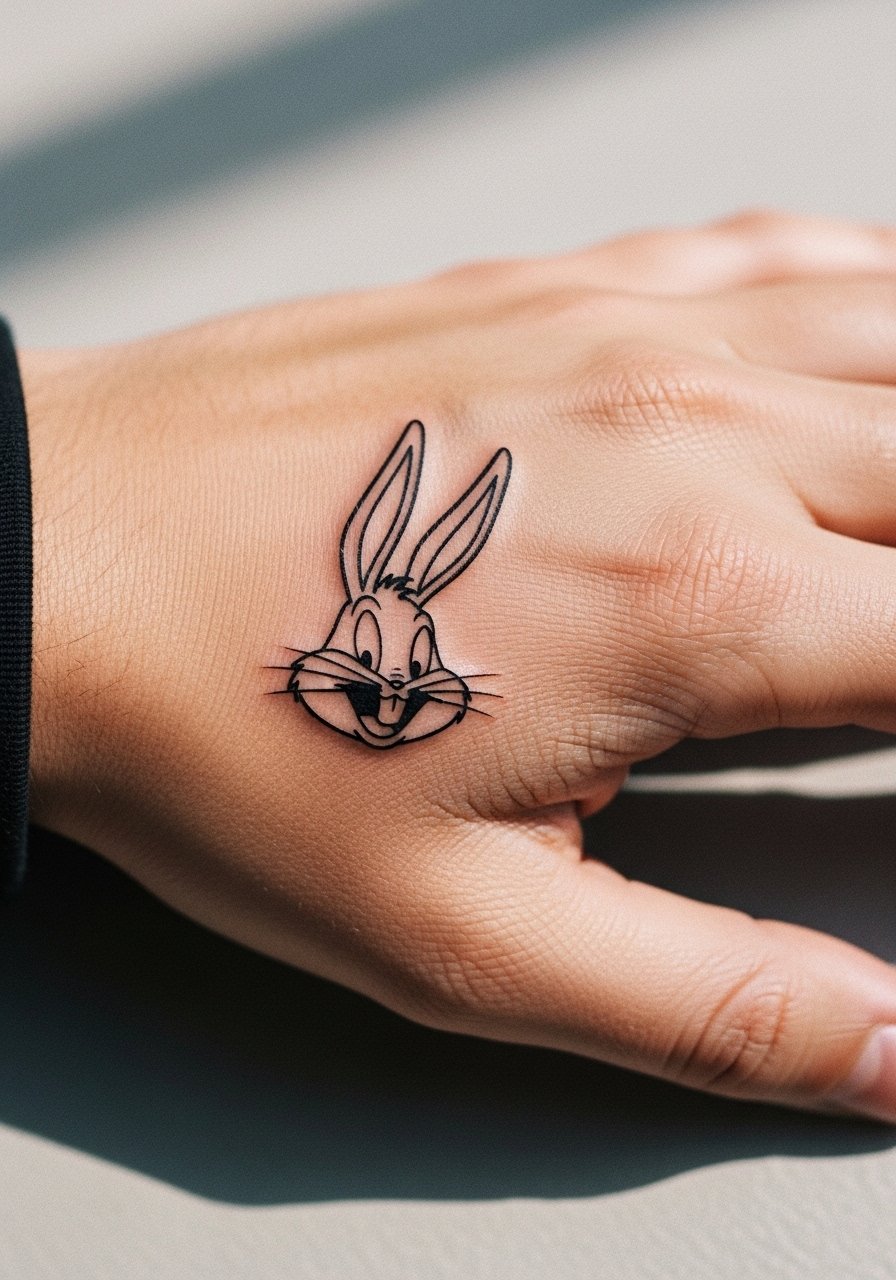
15. Micro Bugs on the Side of the Hand
Hand tattoos still affect hiring in some industries, so weigh that before committing. The skin on the side of the hand is abrasive and linework fades faster there than on the arm. If you want longevity, ask for a bolder outline and accept the likelihood of touch-ups. The session is quick and often painful. A common mistake is expecting the same lifespan as a forearm piece. Pair this with a simple minimalist watch that keeps attention near the wrist but does not rub the tattoo directly.
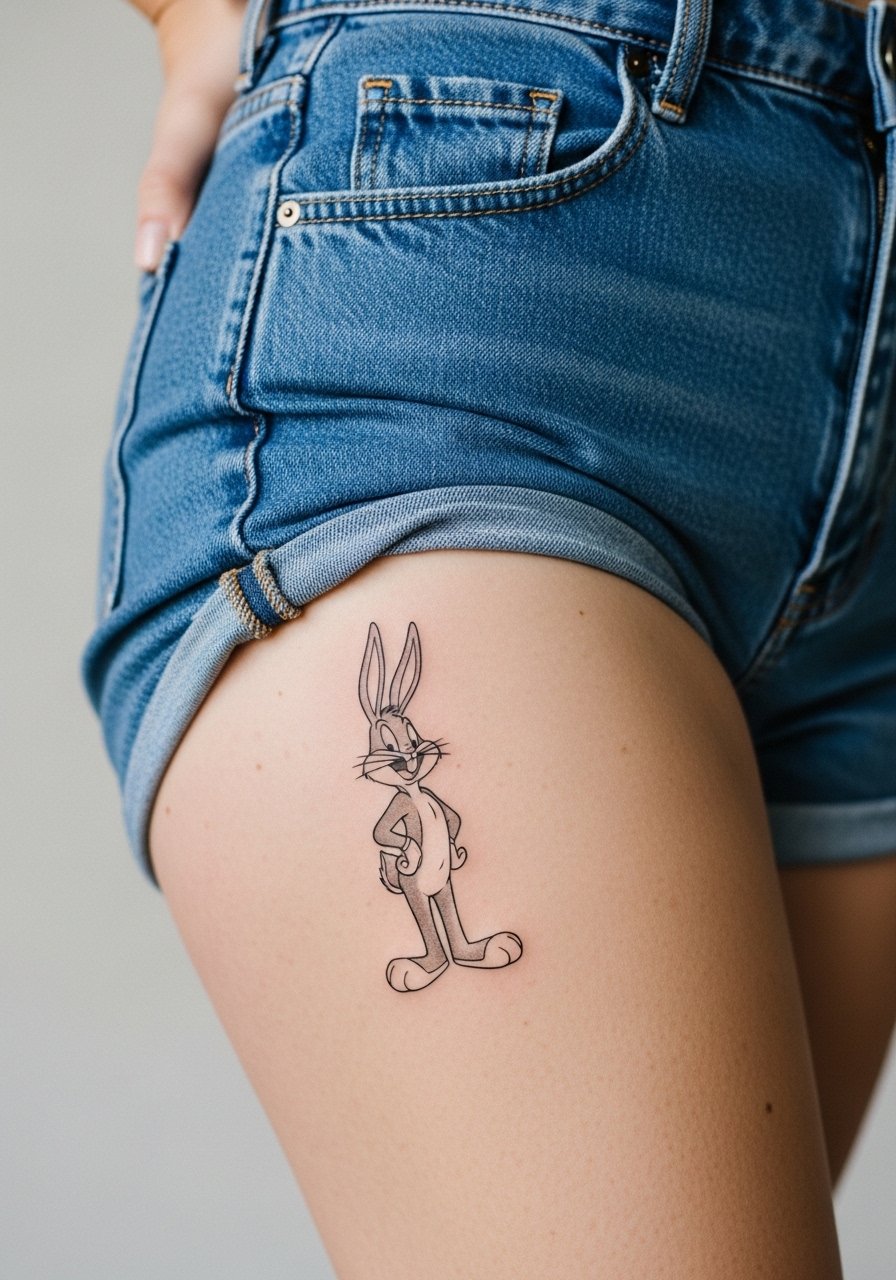
16. Tiny Thigh Line Art
Thigh placements are forgiving and age well if you plan for occasional friction from shorts. A small Bugs on the upper thigh can be scaled a touch larger to keep facial features readable for years. Sessions are comfortable and often under an hour. A mistake is placing the design where waistband friction affects healing. For the appointment wear high-waisted shorts or a skirt you can shift slightly so the area is exposed without disrobing.
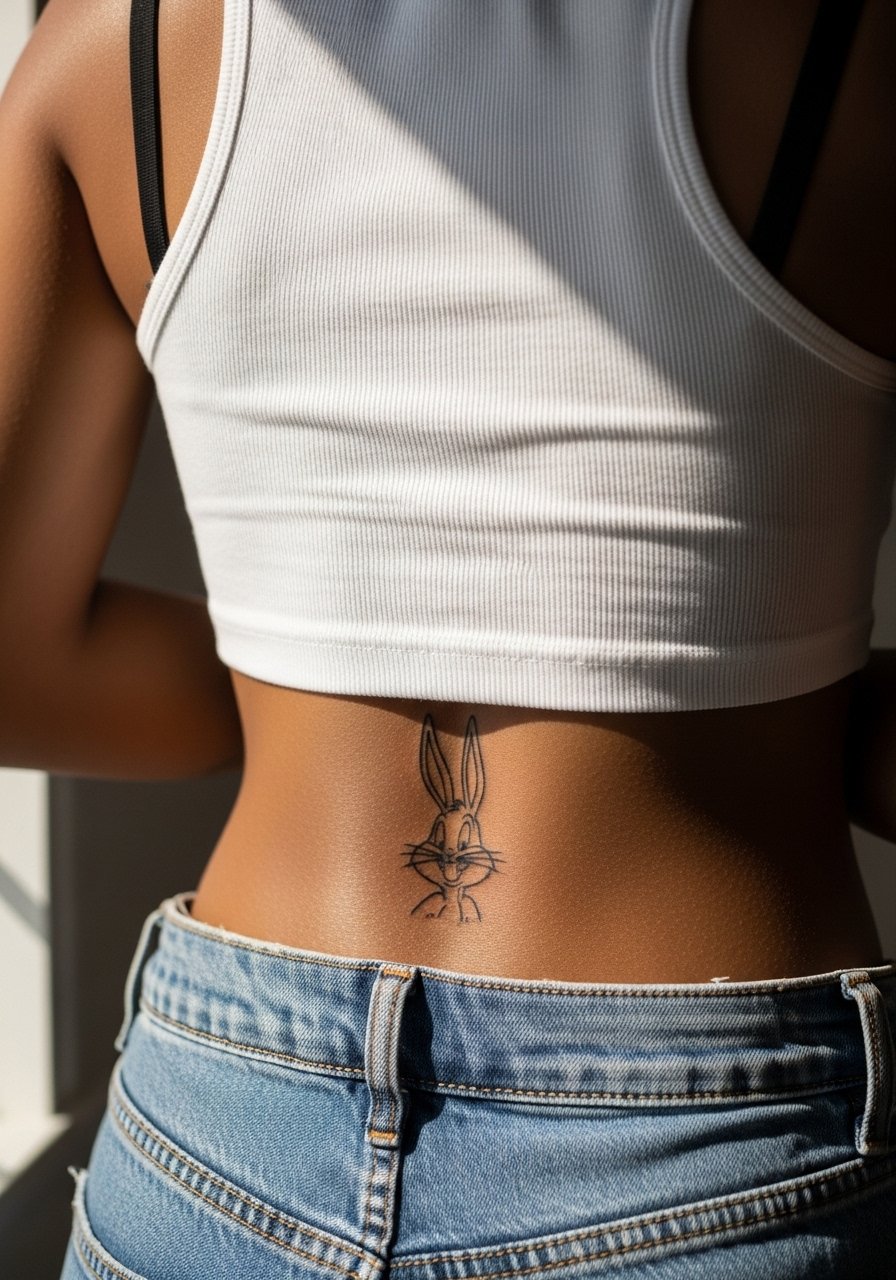
17. Tiny Lower Back Looping Line
A small Bugs Bunny tucked into the lower back reads like a private charm and fits well with curves. The lower back handles linework predictably but plan clothing to avoid direct friction during healing. Ask for slightly open negative space around the contour so it does not muddle with movement. Sessions are moderate in pain and often under an hour. A styling tip is to wear a tank top with high-waisted jeans so you can expose just the lower back during the session without being uncomfortable.
18. Tiny Calf Wrap with a Single Ear
A tiny wrap that follows the calf curve lets one elongated ear create motion without extra detail. This placement is stable and ages well when lines are given breathing room. Tell the artist you want continuous contour with intentional gaps between strokes. The session is comfortable and rarely needs touch-ups in the early years. Common mistake, asking for internal facial strokes that are too close together. Show it off with cropped joggers or a pair of slide sandals so the wrap remains visible.
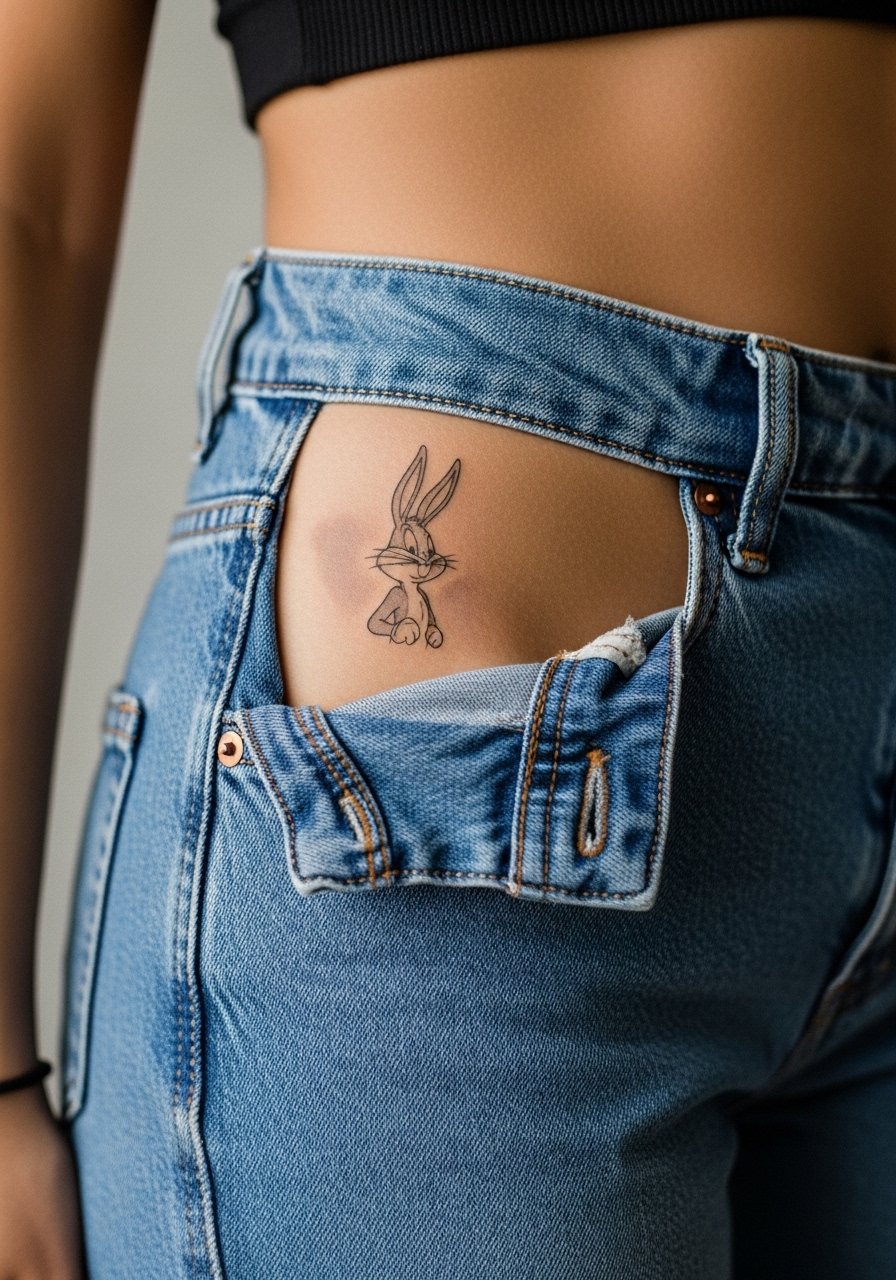
19. Tiny Hip Accent Near the Bikini Line
Hip placements can be intimate and require clothing awareness. For a minimal Bugs tucked near the hip bone, request a scale that reads with high contrast so it does not blur under swimsuit friction. Pain is moderate and session length is short. A common error is placing the tattoo where waistbands sit. For the appointment wear high-cut shorts or a swimsuit bottom so only the hip area is exposed, and avoid low-rise jeans that may rub during healing.
20. Tiny Collarbone Accent Facing Inward
An inward-facing Bugs tiny sketch near the collarbone reads like a pendant. The area accepts delicate linework but people often underestimate movement and clothing friction. Ask for slightly thicker outer lines and minimal inner strokes to keep detail readable over time. Sessions are quick and pain is moderate. A styling suggestion is a thin chain pendant necklace sitting just above the design so the collarbone composition feels intentional.
21. Small Back of Neck Peeker
A tiny Bugs on the back of the neck is a private reveal when hair is up. The area needs careful stencil placement because small shifts change the look. Ask for a low-contrast interior with a clearer external contour. Pain is mild and sessions are short. For showing it off, wear hair in a bun or a wide-neck tee that lets the nape peek without full exposure.
Frequently Asked Questions
Q: Will a minimal line Bugs Bunny on my wrist need touch-ups more often than one on my forearm?
A: Yes, wrists endure more friction and washing so expect earlier fading than forearms. In my experience wrist pieces often need a touch-up around year two to three, while forearm linework can stay readable longer. Ask your artist about slightly heavier contour during consultation to delay that timeline.
Q: Is fine line Bugs Bunny on the ribs a bad idea because of how it ages?
A: Artists are split on this, and both positions are valid. One camp warns that skin on the ribs shifts and can blur fine lines quickly. The other camp says precise depth and spacing prevent that outcome. The safest route is to ask your artist which approach they use, request a preview stencil, and plan a touch-up appointment when you book.
Q: How should I dress to the appointment for a collarbone or sternum minimal tattoo?
A: Wear something that exposes only the tattoo area while keeping you comfortable, for example a wide-neck shirt for collarbone work or a fitted sports bra for sternum pieces. That way you avoid unnecessary disrobing and the artist gets clear access without you feeling exposed. For after-session ease choose loose tops for the first few days.
Q: Can I get a tiny Bugs Bunny on my finger and expect it to last?
A: Finger skin refreshes faster, so tiny tattoos here often require touch-ups. If longevity is your priority accept a bolder outline and realistic touch-up expectations. Many people treat finger tattoos as semi-permanent in the sense they need maintenance.
Q: Any tips for choosing an artist for these minimal Bugs Bunny ideas?
A: Look for portfolios with healed photos of fine line work on similar placements, check convention guest lists and local shop directories, and read community threads on Reddit for first-hand feedback. During consultation bring precise reference images and ask about their touch-up policy so you know what to expect.
