
Bold color and simple shapes still win for wrist work, but that does not mean every classic will age the same. Fine line pieces can blur from daily washing, tight bracelets cause friction, and the thin skin on the inner wrist often demands different depth than the outer wrist. Read these wrist-focused takes and what to ask at your consult so the design you love now keeps its presence years down the line.
1. Classic Rose with Bold Outline on Inner Wrist

I recommend the classic rose when you want something that reads from across a room and still looks intentional as it softens. Tell your artist you want bold linework and saturated petal fills so the shape keeps definition as saturation breaks down over years. A common mistake is asking for tiny petals and thin lines. That ages into a blurred blob. Expect moderate pain on the inner wrist and a short session if you keep the design compact. For showing it off, stack a minimalist watch or a few thin bracelets to frame without crowding the tattoo.
2. Anchor with Rope Wrap on Outer Wrist
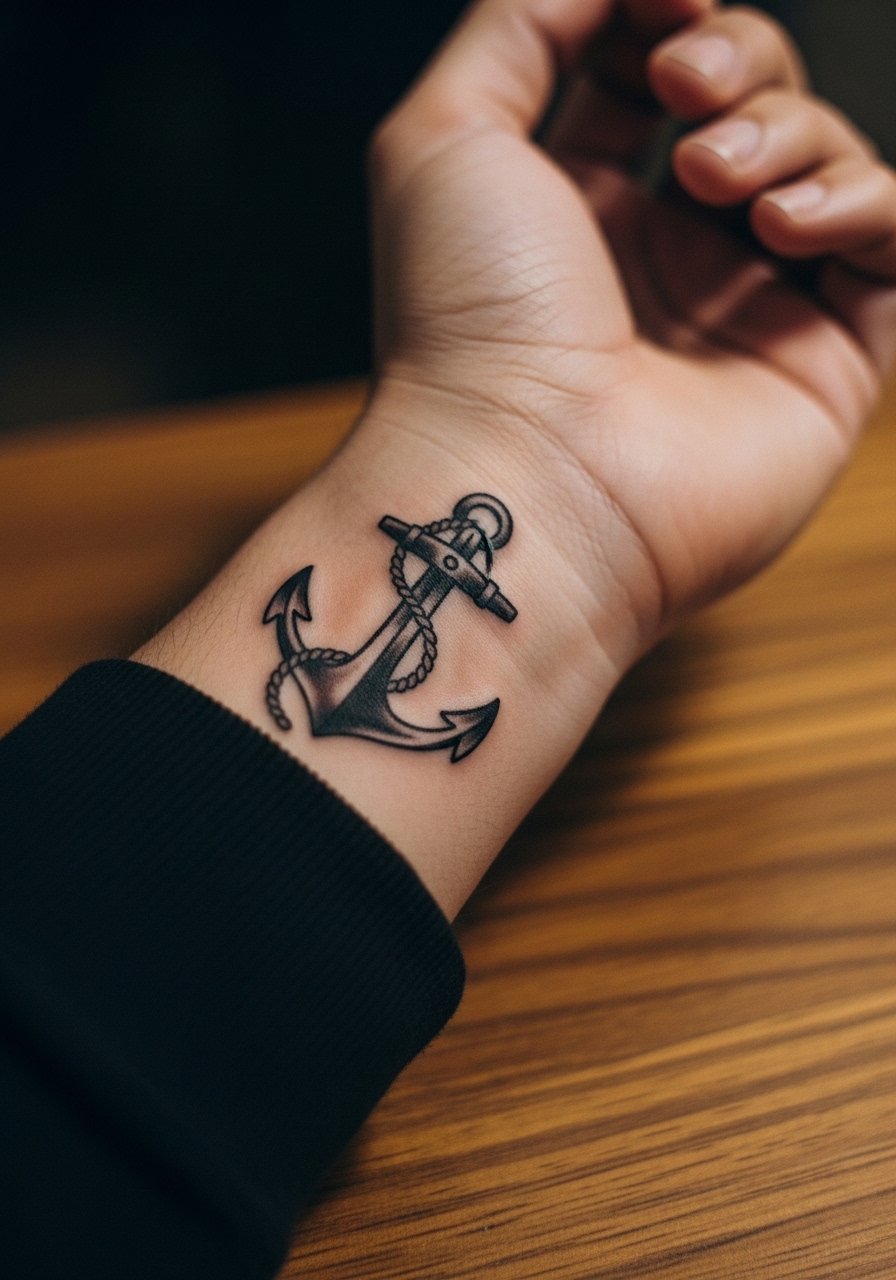
This one works when you want a maritime motif that handles motion from daily use. In consult ask for rope spacing wide enough to avoid tight parallel lines, and request heavier blackwork on anchor edges. The outer wrist sees less blowout than the inner wrist, but bracelets can rub the lower edge. Most people who go too small regret the lost detail after a year. Sessions are brisk and often done in one sitting. For session comfort wear a loose button-down shirt you can pull aside so the artist has clear access.
3. Traditional Swallow Facing Outward on Wrist Bone
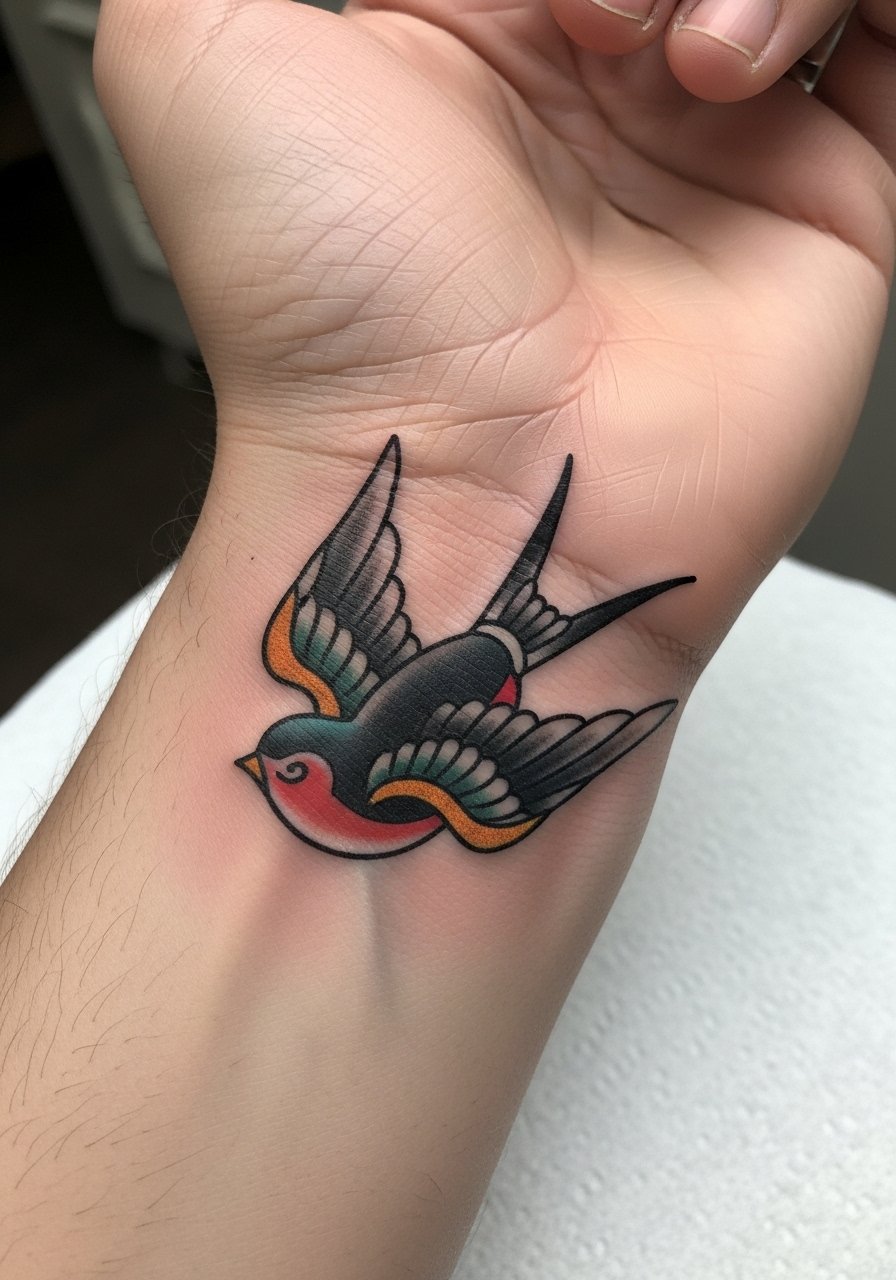
I see swallows hold up when their wing feathers use solid fills rather than tiny hatch marks. Tell the artist you want saturated black outlines and simplified feather blocks. The wrist bone area is noticeable during movement and can be noisier to heal thanks to joint flex. A usual mistake is over-detailing the wings which becomes muddled with skin movement. Expect a short, slightly sharp session and a possible touch-up at year two if you wear rings that hit the area. Pairing it with a thin chain bracelet keeps attention on the motif without covering lines.
4. Nautical Star with Solid Black Fill

Nautical stars are a staple because they translate to small sizes while still reading after years of hand use. During consultation ask for slightly thicker points and a clear negative space outline to prevent the star tips from softening together. The inner wrist takes ink shallower than the forearm so depth control matters. Mistakes happen when artists try to push too many tiny gradients into the star. Pain is mild to moderate. Wear a racerback tank on session day if you are getting additional shoulder pieces to keep access easy.
5. Rose and Dagger, Angled Toward the Thumb
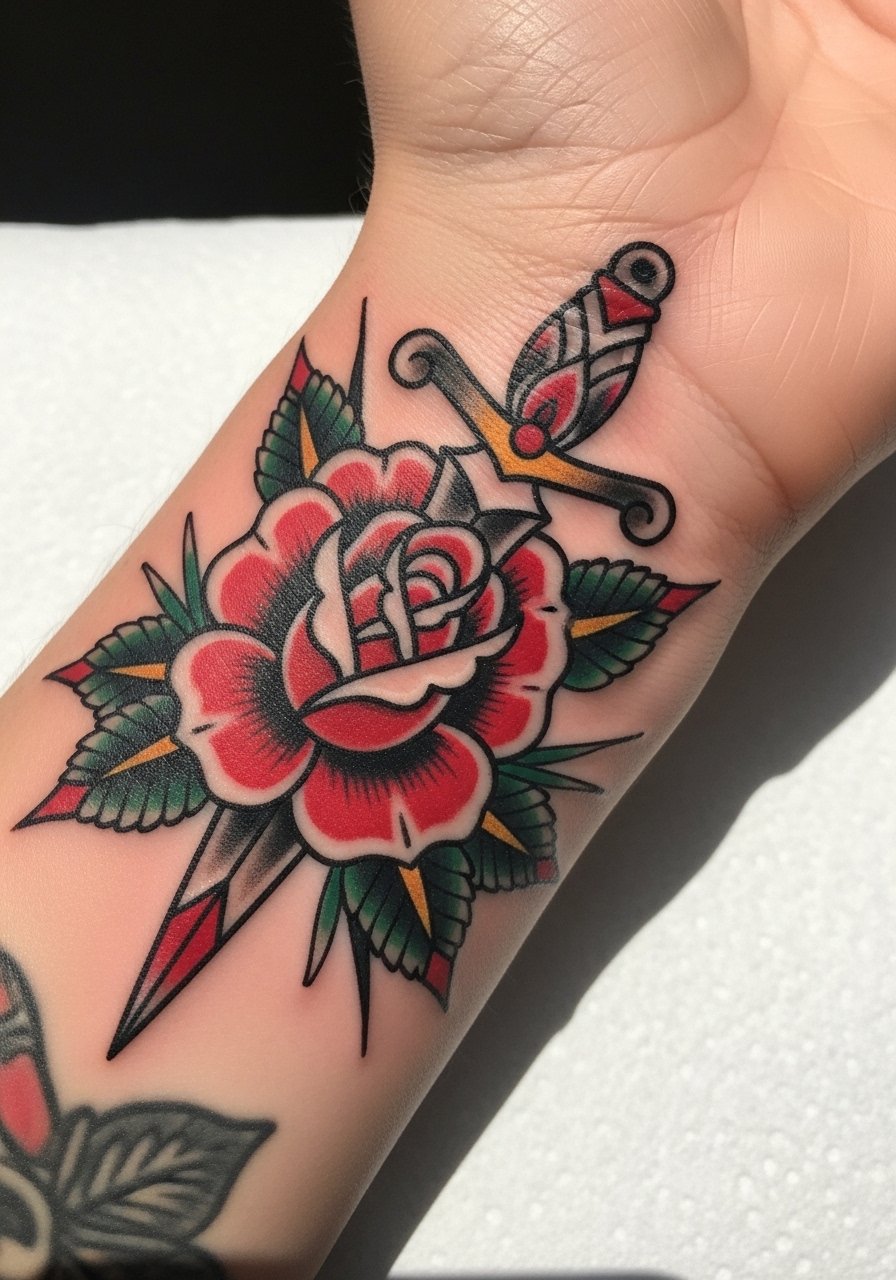
This composition works when you want motion in the piece so the dagger points toward the hand. Tell the artist to keep the dagger blade bold and the rose petals broad so both elements age similarly. A common error is stacking tiny script along the blade which oxidizes into illegibility. The placement can be sensitive near the base of the thumb so expect a sharper sensation for a shorter session. For the studio, bring a loose drawstring linen pant so you stay comfortable if the appointment runs longer than planned.
6. Traditional Swallow Pair, Mirrored Wrists
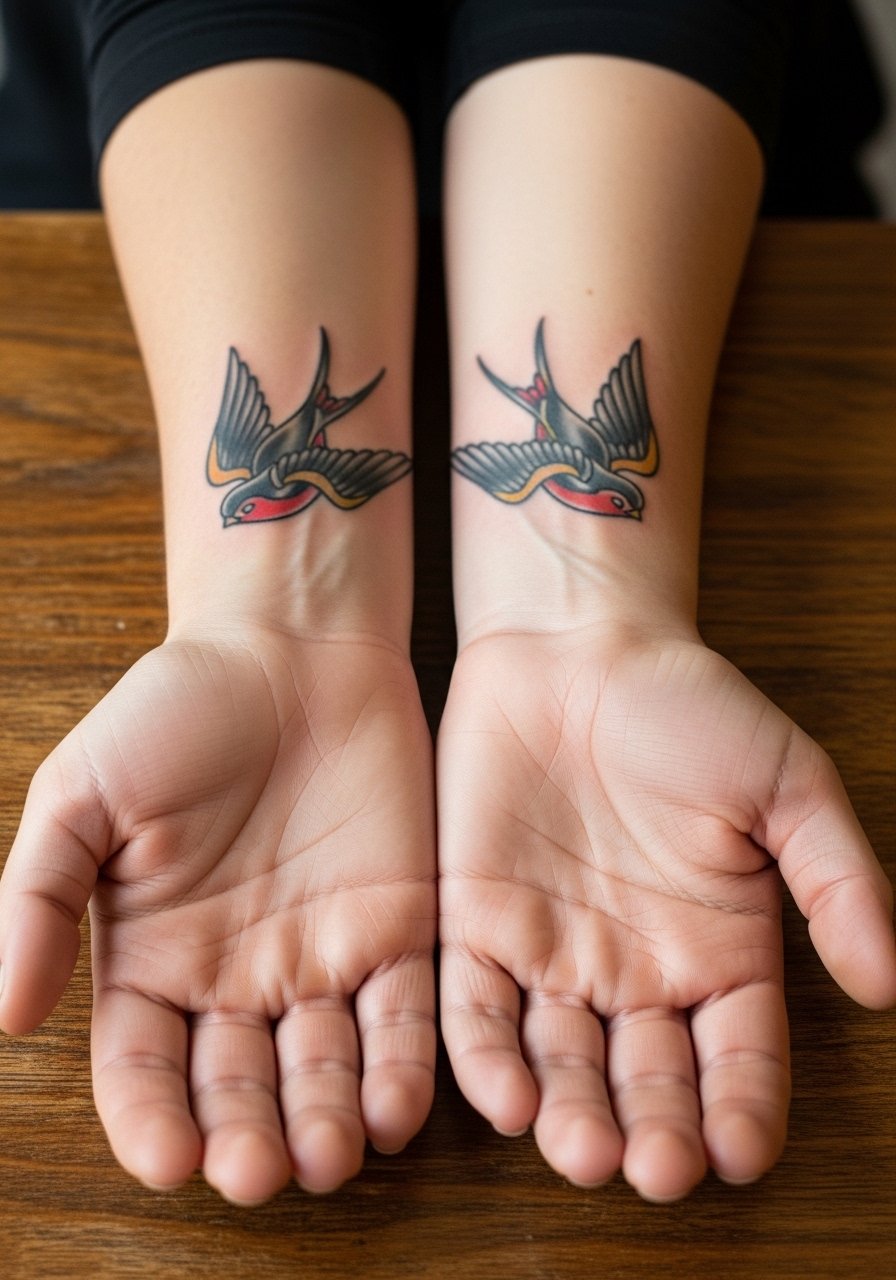
Mirrored swallow pieces are great if you want symmetry and movement. In consult ask the artist to match line weight and saturation on both wrists to avoid one fading faster than the other. Some artists debate matching micro-saturation exactly across both arms when skin tone differs slightly. One camp says match everything precisely, the other adjusts depth per wrist. Ask where your artist stands. These sessions are short but expect two separate healing windows. For everyday wear try a pair of slim leather bracelets to balance both wrists without rubbing the tattoos.
Studio Day Picks
Those six wrist pieces above live in high-contact zones, so a few practical items make the session and the first week smoother.
-
Stencil transfer paper kit. Lets you preview exact placement on the wrist so you can test how it looks while moving your hand.
-
Topical numbing cream. Used 30 to 45 minutes before can ease sensitivity around the inner wrist without changing how the needle sits.
-
Thin protective film roll. Helps finger and wrist tattoos survive friction from daily washing during the first few days.
-
Fragrance-free gentle body wash. Cleans the area without stripping color while the lines settle.
-
Aquaphor healing ointment. Thin layers in the initial days lock moisture for fine line and traditional work until the scabs fall.
7. Tiny Ship Wheel on the Side of the Wrist

The ship wheel reads well at small scale if the spokes are kept bold and simple. Tell your artist to avoid micro-detail in the hub and to keep space between spokes. Side-of-wrist tattoos see frequent bending which can blur thin spokes. People often ask for an intricate wheel that ends up looking muddy after a year. Sessions are quick but expect sensitivity on that thin strip of skin. For showing this off without covering it, try a delicate wrap bracelet that sits beside the tattoo instead of over it.
8. Bold Black Anchor on the Wrist Edge

A heavy black anchor holds its silhouette through years, especially when the fill is dense. Ask for solid black saturation and slightly oversized negative space around the base to prevent feathering. The wrist edge can take more impact from clothing cuffs and watches, so protect that zone during healing. The main mistake is using thin crosshatching inside the anchor which fades unevenly. Expect one compact session and occasional touch-up if you wear a watch tightly. For comfort at your appointment, wear a short-sleeve shirt with a loose cuff you can move up or down easily.
9. Script Banner Wrapped Around the Wrist

Wrapped script can look like a wedding band alternative when executed with proper spacing. Bring the exact phrase to the consult so the artist can plan kerning for curved placement. Text on a curved wrist can compress and become hard to read if letters are too thin. One common error is choosing ornate type that loses counters with motion. Pain varies but is generally tolerable. For a polished look wear a thin chain pendant above the wrist to balance proportions.
10. Pinup Eye with Rays on Inner Wrist
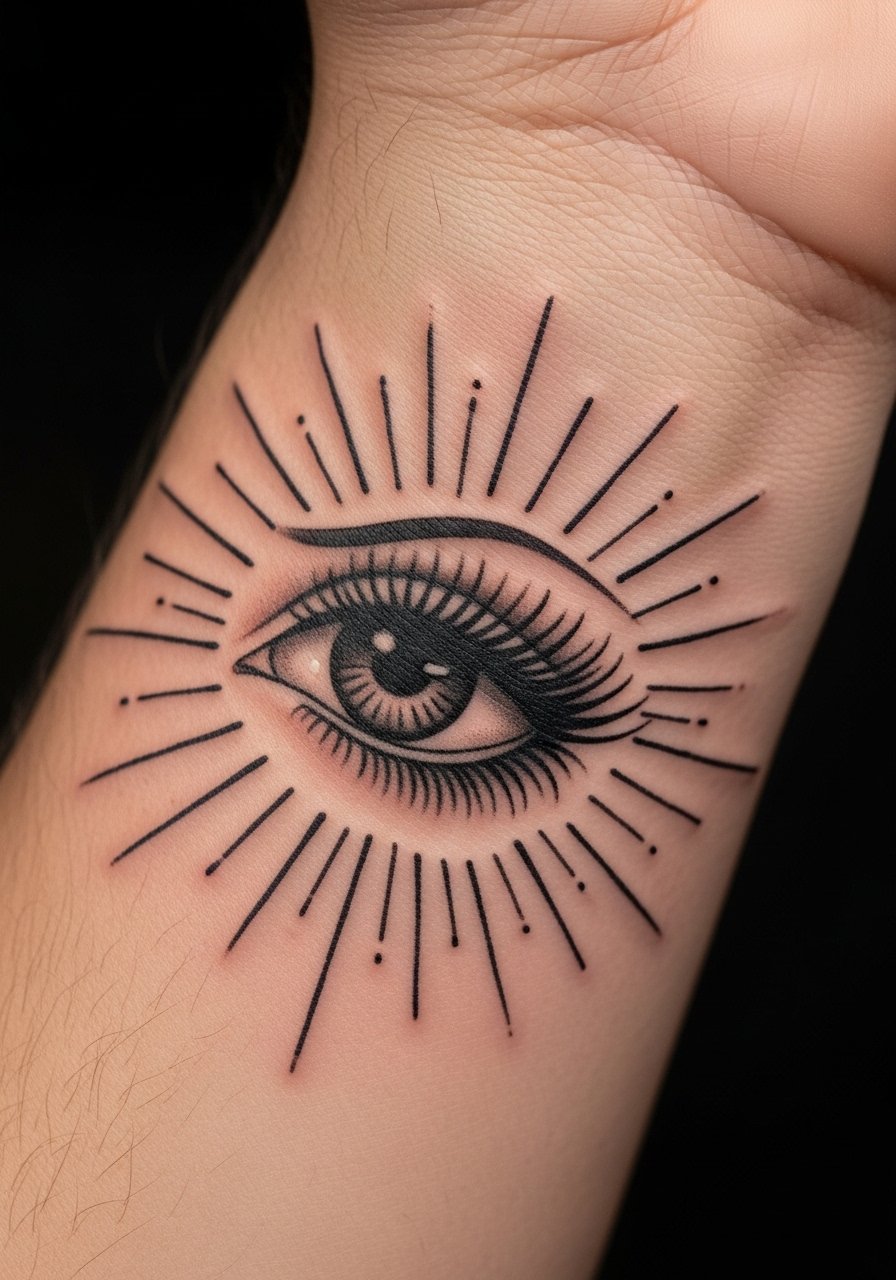
Iconic eye motifs age best when the rays are spaced and the pupil is a solid dot. Ask for simple ray spacing and avoid micro-dot gradients around the iris. The inner wrist skin shifts with wrist flex and repeated washing so tiny rays can soften over time. A realistic mistake is packing too many thin rays into a compact area. Sessions are short and sensation is sharp but brief. Pair with a minimalist watch band that stops just above the design to avoid rubbing.
11. Sparrow with Banner and Date Near the Wrist Crease

Adding a date in a banner gives a classic feel but text must be sized to stay legible. Tell your artist the exact year and preferred lettering style so they can plan spacing along the banner curve. Wrist crease locations see folding that can distort tiny numerals over time. A common misstep is placing very small roman numerals in that fold. Expect a slightly sharper session if the design crosses the wrist crease. For showing it off, match with a leather cuff bracelet worn above the crease rather than over the motif.
12. Heart and Banner with Bold Black Shading

A filled heart with a banner reads well and resists fading when the black shading is dense. Ask the artist to simplify any script inside the banner so letters remain clear against the black. On darker skin tones saturation strategy matters more for contrast, so have a conversation about how colors will show. The mistake is crowding the banner with filigree that vanishes as it heals. Sessions are short but the area can feel tender for a few days. Try a slim metal bracelet above the piece for evenings out.
13. Classic Pin-Up Lips on Lateral Wrist
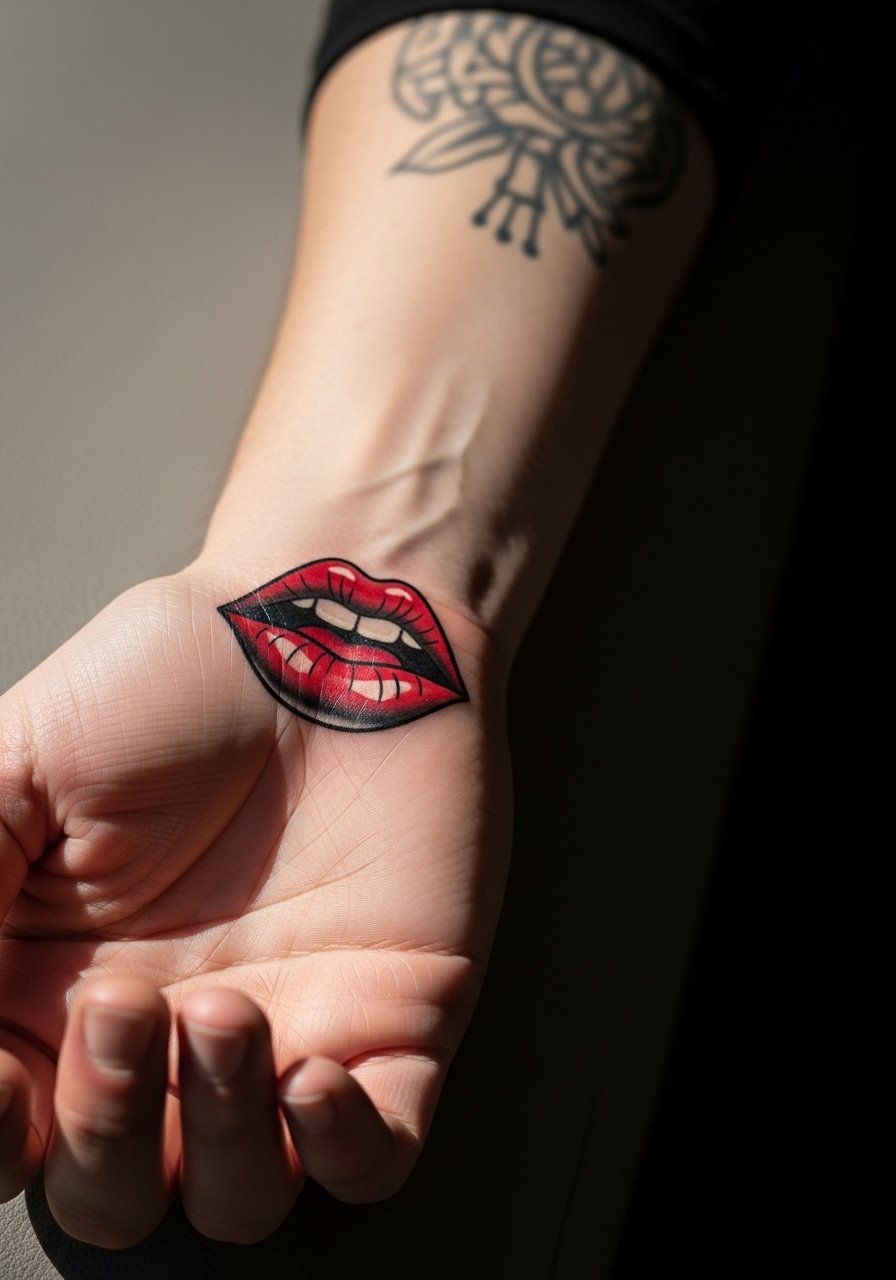
Bold color and strong outline keep small lip motifs readable through years. Tell the artist to avoid tiny highlight dots that will disappear and to use a solid black outline with saturated red fill. The lateral wrist sees moderate wear from clothing edges so avoid placing the lowest edge where cuffs sit. People who load highlights into a tiny area often lose those within a year. Session time is short and pain is mild. For after sessions nights out, pair this with a stackable ring set so the wrist stays visible without extra layers.
14. Bold Dagger Piercing a Small Heart on Top of Wrist

Center-top wrist placements read as a focal point and handle classic motifs well when the elements are simplified. Ask for a single strong line for the dagger and a solid black heart to keep contrast. The top of the wrist moves constantly which can soften tiny crosshatching. A mistake is overworking blade texture that disappears in a year. Expect a quick session with a sharp sensation. For show-off styling try a cuff bracelet that sits just above the wrist to draw the eye.
15. Compass Rose with Thick Cardinal Points
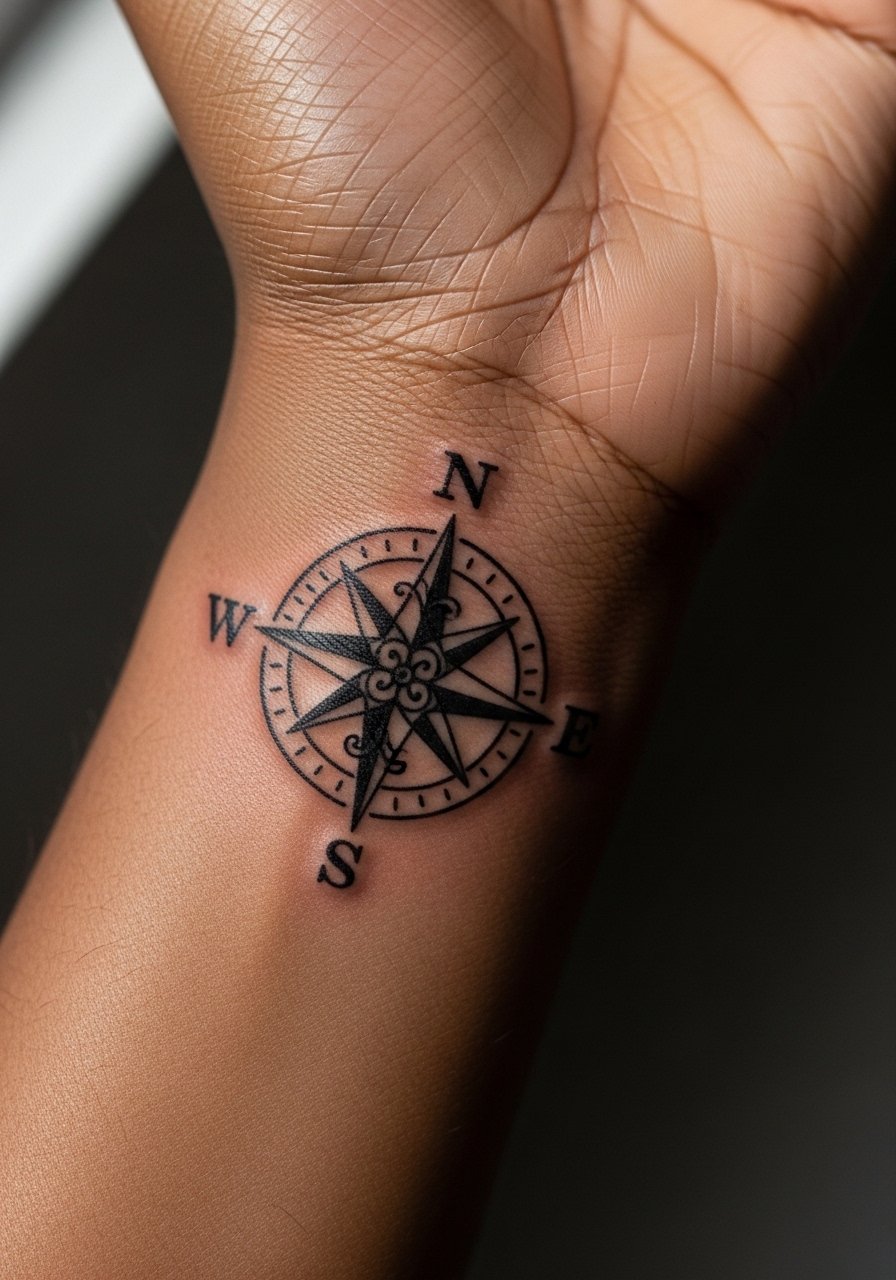
Compass roses work when cardinal points are bold and negative space is clear. Tell the artist to keep the minor points minimal and the cardinal points heavy so orientation stays legible with wear. The base-of-thumb area flexes and sees a lot of hand use which can blur tiny pointers. Too many internal lines is the most common pitfall. Sessions are short but the zone is fairly sensitive. For the day of your appointment wear a short-sleeve shirt with a wide cuff that allows easy access.
16. Anchor Tattoo with Tiny Star Accents Near the Wrist Joint

Tiny star accents can enhance a small anchor without crowding it. Ask for clear spacing between stars and the anchor so the stars do not merge with the anchor as ink spreads. The wrist joint bends often so keep stars slightly larger than you think you need. The mistake is cramming five or six micro-stars around a compact anchor which ends up as a texture patch. Expect modest pain and a short session. For showing this off, choose a thin metal watch band set just above the joint.
17. Traditional Chain Link Bracelet Tattoo Encircling the Wrist

Encircling chain link pieces behave like jewelry and need careful planning for wrap spacing. Ask your artist to map the links around the wrist while your hand is in a relaxed position so the design does not twist when you move. The main risk is putting too many tiny links close together which merges into a textured ring over time. These sessions can take a touch longer because the artist works around the full circumference. For session day wear a long-sleeve shirt you can roll up to keep the area accessible without exposing more skin than needed.
Frequently Asked Questions
Q: Will fine line elements in an American traditional wrist piece blur faster than bold blackwork?
A: Yes, fine line tends to soften sooner on wrists because of frequent washing and joint movement. In my experience bold outlines and higher saturation will hold shape longer. If you want delicate detail, plan for touch-ups around year two to three.
Q: How should I prepare clothing-wise for a wrist session that might last an hour?
A: Wear short sleeves or a loose cuff you can roll up to keep access clean. A loose button-down shirt or short-sleeve top works well so the artist can reach the wrist without fabric tugging.
Q: Do wrist tattoos affect professional settings more than forearm pieces?
A: Wrist tattoos are highly visible and may be noticed in conservative workplaces. From what I've seen some people opt to place designs slightly higher on the forearm or choose thinner bands that can be covered by watches if needed. Consider your career context before committing to a fully exposed wrist band.
Q: What are the biggest mistakes people make when asking for traditional wrist work?
A: The biggest errors are over-detailing in too-small spaces, asking for ultra-thin script across a wrist crease, and not discussing how jewelry will interact with the piece. Mention these concerns in your consult and ask for mockups on your actual wrist.
Q: How often should I expect touch-ups for classic traditional wrist tattoos?
A: Expect some touch-up within two to five years depending on sun exposure and friction. Bold blackwork can last longer before needing refresh. Keep realistic expectations and plan touch-ups as part of ownership rather than a failure of the original work.
