
Fine line dotwork looks delicate on camera, but the real test is how it lives on skin over years. Trends push ever-smaller dots and tighter geometry, and that can mean touch-ups sooner than people expect. These 17 dotwork minimal tattoo ideas balance current looks with spacing, placement, and consultation tips so the pieces you pick now still read clean after the first touch-up window.
1. Mini Mandala on the Inner Forearm
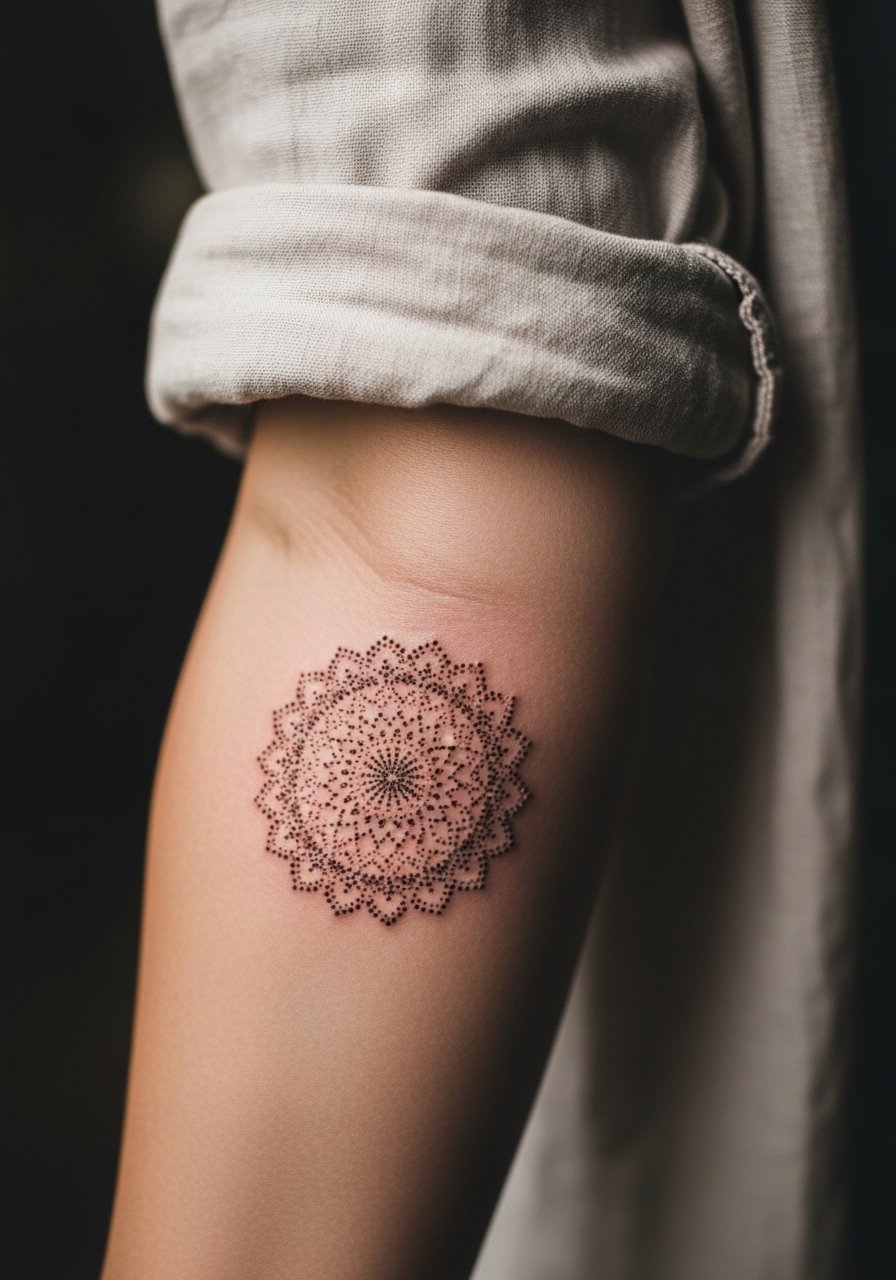
I see small mandalas on forearms all the time because they balance detail with visibility. For dotwork mandalas, ask the artist to space the stipple shading so the densest dots sit toward the center and the outer rings have breathing room. Pain is mild to moderate, session time about 45 to 75 minutes for a compact piece. The common mistake is packing the outer rings too tight which merges after two years. Tell your artist you want negative space between rings and a softer outer halo. For showing it off, roll a sleeve or wear a loose button-down shirt that frames the forearm without competing with the linework.
2. Tiny Stipple Crescent on the Wrist
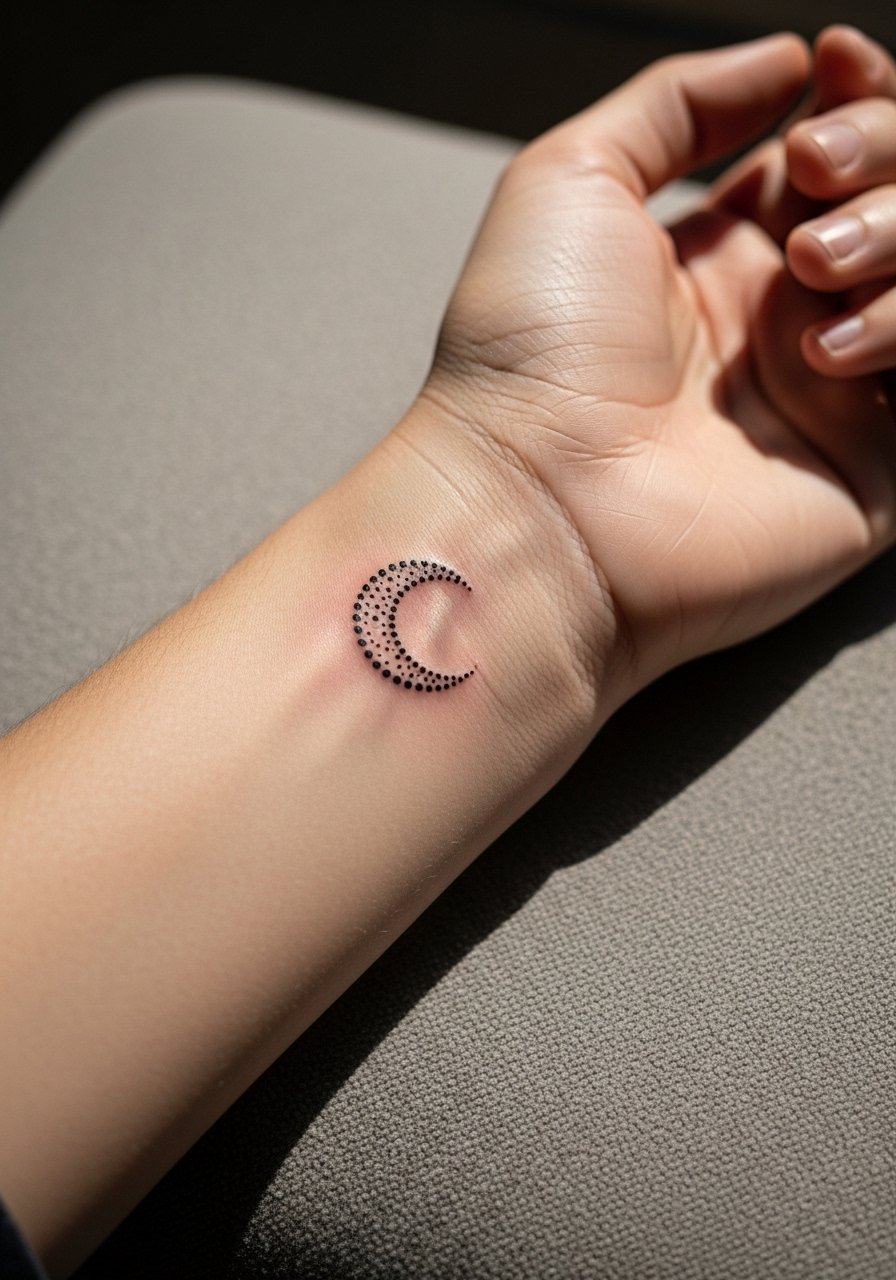
Fair warning: the wrist gets a lot of washing and friction, so expect a touch-up earlier than an upper-arm piece. Dotwork here looks best when scaled to the width of the wrist with bold central dots and tapering stipple shading. In consultation, specify that you want slightly larger primary dots so the pattern reads at a distance and avoids early blur. Session time is short, but the location can sting more than the forearm. Pair this with a thin bracelet or a minimalist watch to show the piece without overlaying too many textures.
3. Stipple Mountain on the Ribcage
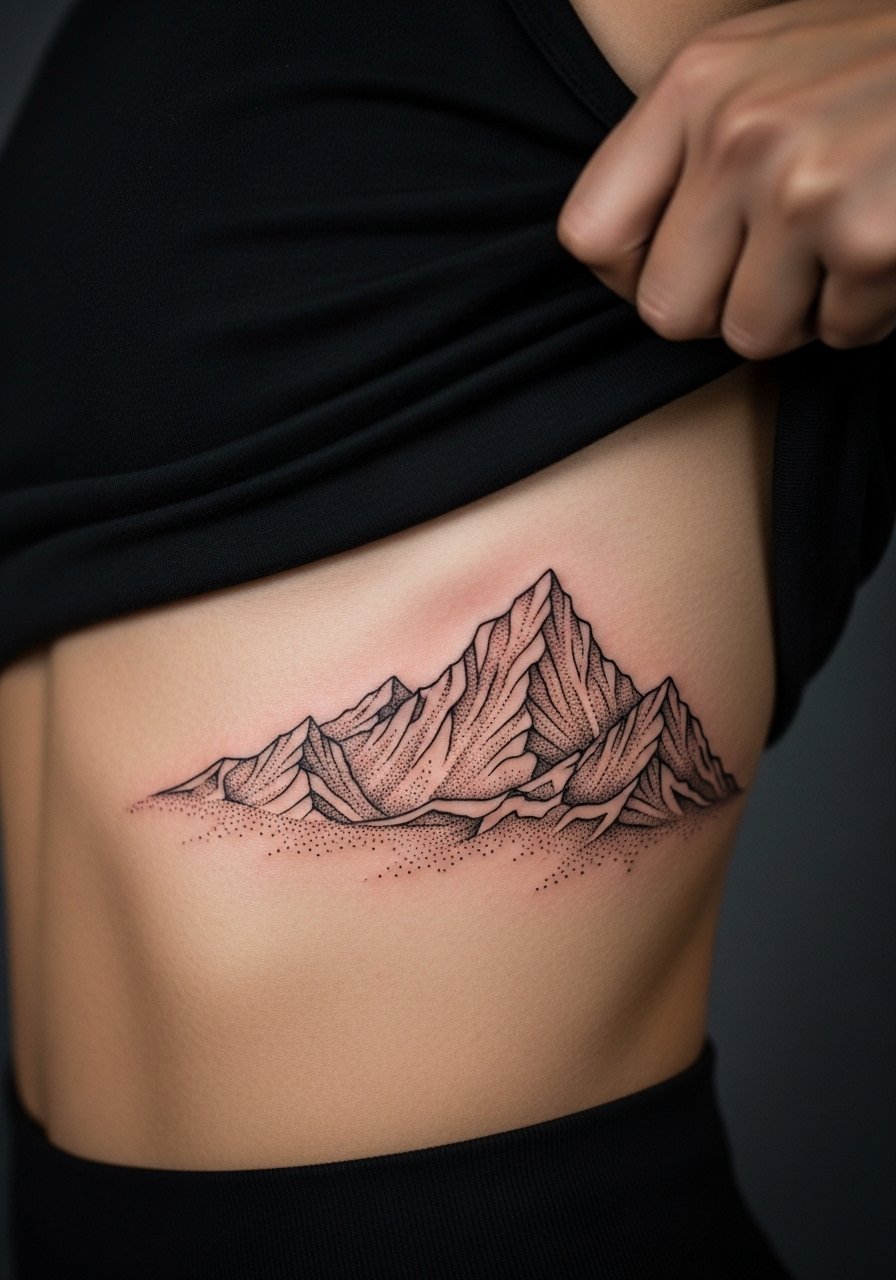
Most people love the scale the ribs allow, but aging here is different from the arm. Dense stipple shading that looks crisp at six months can soften into a grey wash after a few years if placed too tightly. Artists split into two camps on ribs. One group argues the skin stretch and movement blur fine dotwork within two years. The other group says with controlled depth and intentional spacing, dotwork settles fine. Ask the artist which camp they practice with and request slightly more spacing between clusters if they lean toward tighter stippling. Expect higher pain and a longer session window, and plan for a touch-up at year two or three.
4. Micro Dot Crescent Behind the Ear
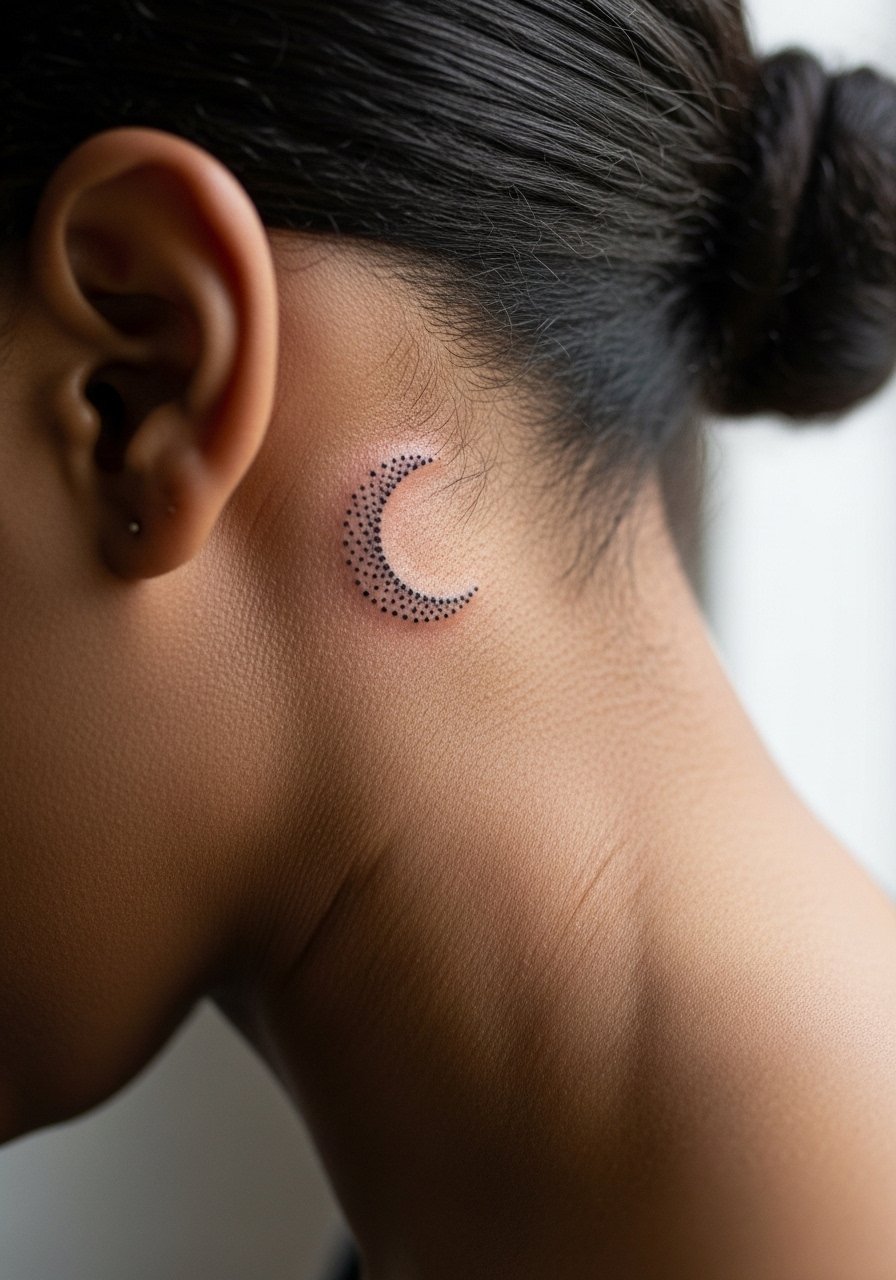
There's a quiet charm to a tiny dot cluster behind the ear, since it peeks out only when hair is up. The real consultation note is stencil placement. Tell your artist you want the piece slightly offset from the mastoid bone so earrings or headphones do not press on it. The area is sensitive but sessions are brief. Blowout risk is moderate because the skin is thin. Healed look at six months is usually crisp if the dots were placed with even depth. Because of visibility, use discovery pathways like small-ink directories and hashtag searches to find portfolios that show healed photos rather than fresh work.
5. Collarbones with Stipple Accents

The collarbone is a visible spot that ages more predictably than the wrist. The trick for dotwork here is to keep high-contrast dots near the bone and fade outward with lighter stipple so the design doesn't pool into a shadow as skin moves. Biggest mistake is placing dense clusters directly over the bone where healing can be uneven. Session time ranges 30 to 60 minutes depending on complexity. For wardrobe, a thin chain pendant necklace sits above the stippling and frames the piece without crowding the linework.
6. Single-Needle Dot Band on the Finger
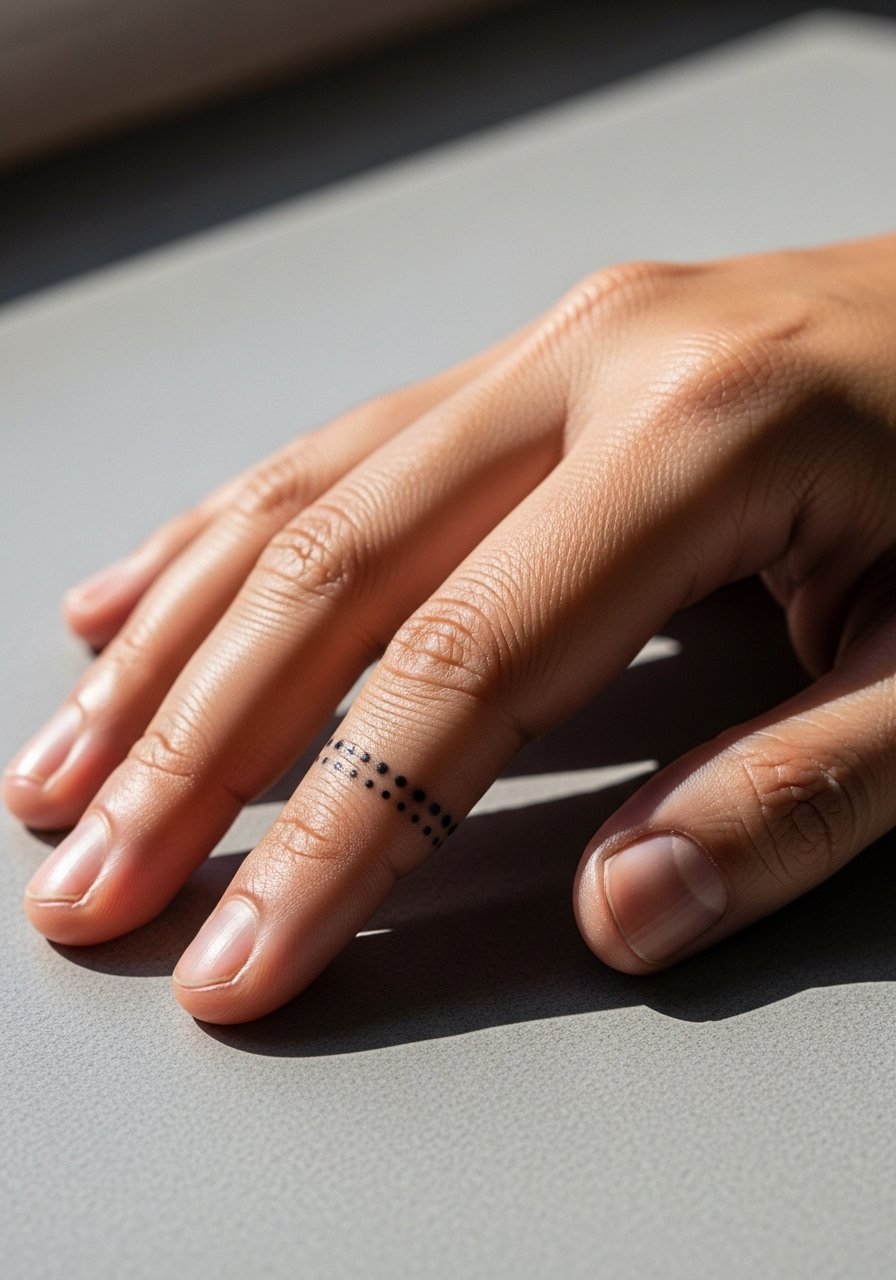
When you sit in the chair for finger dotwork, bring a clear brief. I tell people to request spaced dots rather than a continuous packed band. Fingers are high-friction and fade fast. The pain is sharp but quick, session under 30 minutes for a micro band. The typical error is asking for micro-scale density that cannot survive daily hand use. Expect touch-ups sooner than you would on an arm. Wear minimal rings the first weeks while it heals. If you plan to show it off, a thin stacking ring pairs cleanly without covering the stipple.
Studio Day Picks
The forearm, wrist, and finger pieces above need different prep than chest or rib work, and a few small items smooth the session and first week.
-
Stencil transfer paper kit. Lets you preview how the dot spacing will sit on curved areas like the inner forearm and collarbone.
-
Topical numbing cream. Applied about 45 minutes before can reduce edge pain on wrists and ribs without altering linework when used properly.
-
Thin protective film roll. Keeps small finger and wrist pieces clean while you wash hands frequently in the first week.
-
Fragrance-free body wash. Gentle cleansing preserves fine dots during showers while the skin is sealing.
-
Aquaphor healing ointment. A thin layer in the first 48 hours helps keep moisture in without suffocating the tiny needle channels that dotwork relies on.
7. Minimal Compass on the Upper Arm

There is something about a compact compass on the upper arm that reads like a subtle statement without shouting. For dotwork compasses, ask for bold primary dots at the cardinal points and lighter stipple for the inner rays. It's a low-pain spot with session time around 45 minutes. A common mistake is asking for micro text inside the compass which blurs; keep lettering out or very large. This placement ages well because it avoids constant abrasion. Pair with rolled sleeves or a racerback tank when you want the compass visible.
8. Stipple Wave on the Calf

The calf is forgiving for stipple gradients because it's a thicker canvas. The visual payoff comes from smooth transitions between dense dots and airy fields. The usual error is over-detailing the shadow areas so they crush into a blob after a year. Pain is moderate and the session might run an hour for shading work. Tell your artist to leave negative space along the crest of the wave so the dotwork reads from a distance. If you plan to show it off, a pair of loose drawstring linen shorts or cropped skirts keep attention on the calf without competing patterns.
9. Tiny Sternum Mandala
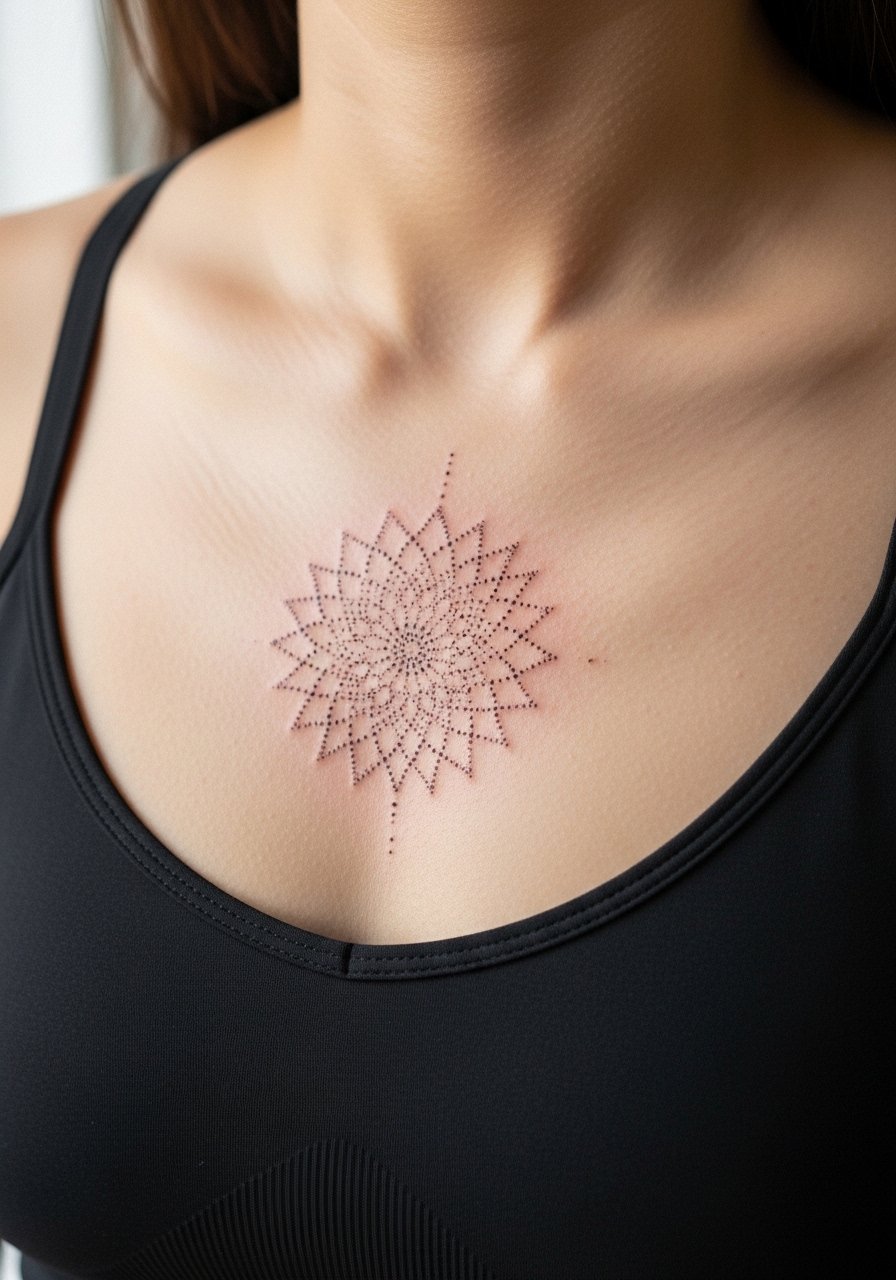
Fine work on the sternum draws clearly, but it also tests placement and breath control during the session. Artists divide on sternum pieces. One camp warns that the thin tissue over the sternum shifts with breathing and can cause early blurring. The other camp says disciplined depth and mindful spacing keep dotwork stable. Ask your artist which approach they use and request that the design be mock-stenciled while you breathe and move so you can approve the final placement. Expect higher pain and plan for a touch-up discussion in the consult.
10. Shoulder Blade Fox Silhouette with Dots
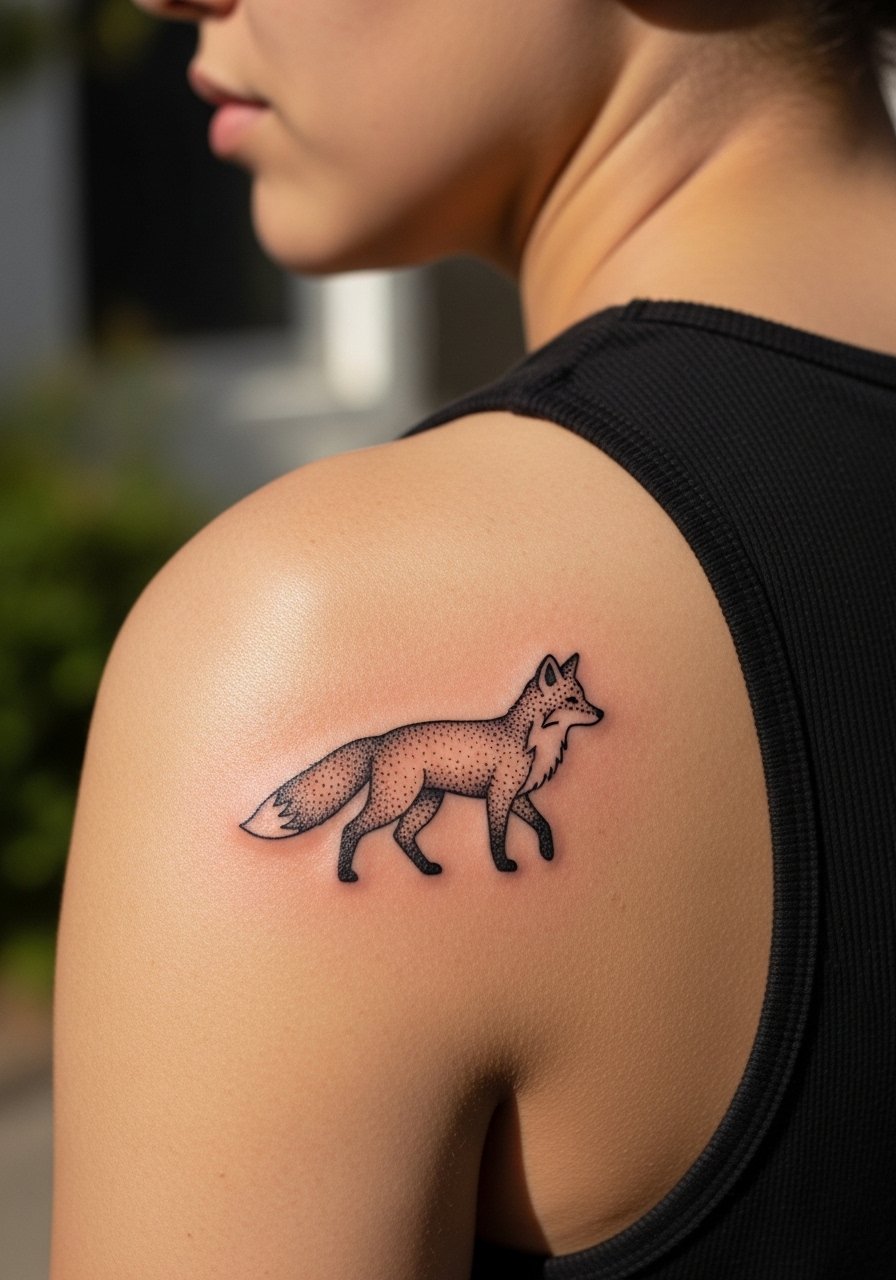
When you sit down for a shoulder blade piece, mention how it will look with motion. A fox silhouette with stipple shadow reads best when the darkest dots hug the curve of the blade and fade outward. The session is low to moderate in pain and often completes in under an hour. A frequent mistake is requesting a dark filled silhouette that loses the fox shape as it heals. Ask for a dotted negative-space outline to keep the form readable. For evenings, an open-back top highlights the shoulder blade without hiding the negative space.
11. Geometric Dotwork on the Lower Back

Lower back skin tolerates dense stipple better than hands, but clothing friction is a consideration during healing. For geometric dotwork, I tell people to enlarge the smallest cells so they do not collapse into joined tones after a year. The typical mistake is overly tight geometry that reads well in a flash sheet but not on moving skin. Session time varies with size but is usually under 90 minutes for a compact motif. When showing the piece off, low-back cuts or high-waisted bottoms that sit just above the tattoo keep it visible without having to be topless.
12. Inner Thigh Vine in Stipple
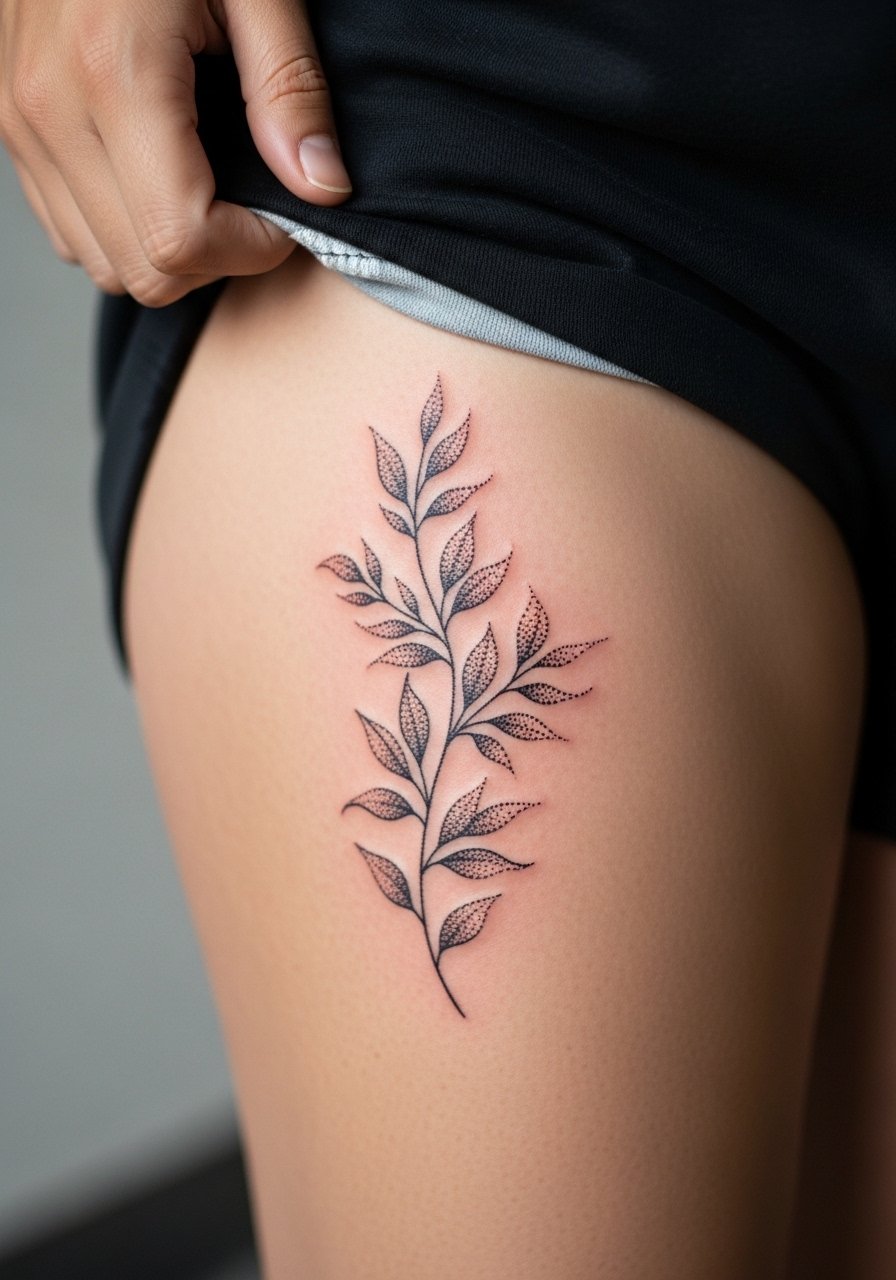
Inner thigh dotwork is intimate and tends to age well because it avoids sun exposure, but healing needs special care. The main mistake is choosing ultra-fine density which can grate during movement and lead to uneven healing. Pain varies depending on proximity to the crease. In consultation, ask for a slightly looser stipple pattern and a session schedule that avoids intense friction activities for two weeks. This placement can affect dating or wardrobe choices, so consider how often you want it visible before committing.
13. Side Neck Script with Dot Accents

This placement reads as a statement that stays visible in conversations. For dot-accented script, tell your artist to place dots as punctuation rather than fill. The neck has moderate sensitivity and requires careful needle depth to avoid blowout. The biggest error I see is combining micro-lettering with dense stipple nearby. If you want to style it, a wide-neck sweater frames the piece without compressing the dots, and it also reduces sun exposure which preserves healed contrast.
14. Ankle Star Cluster in Dotwork
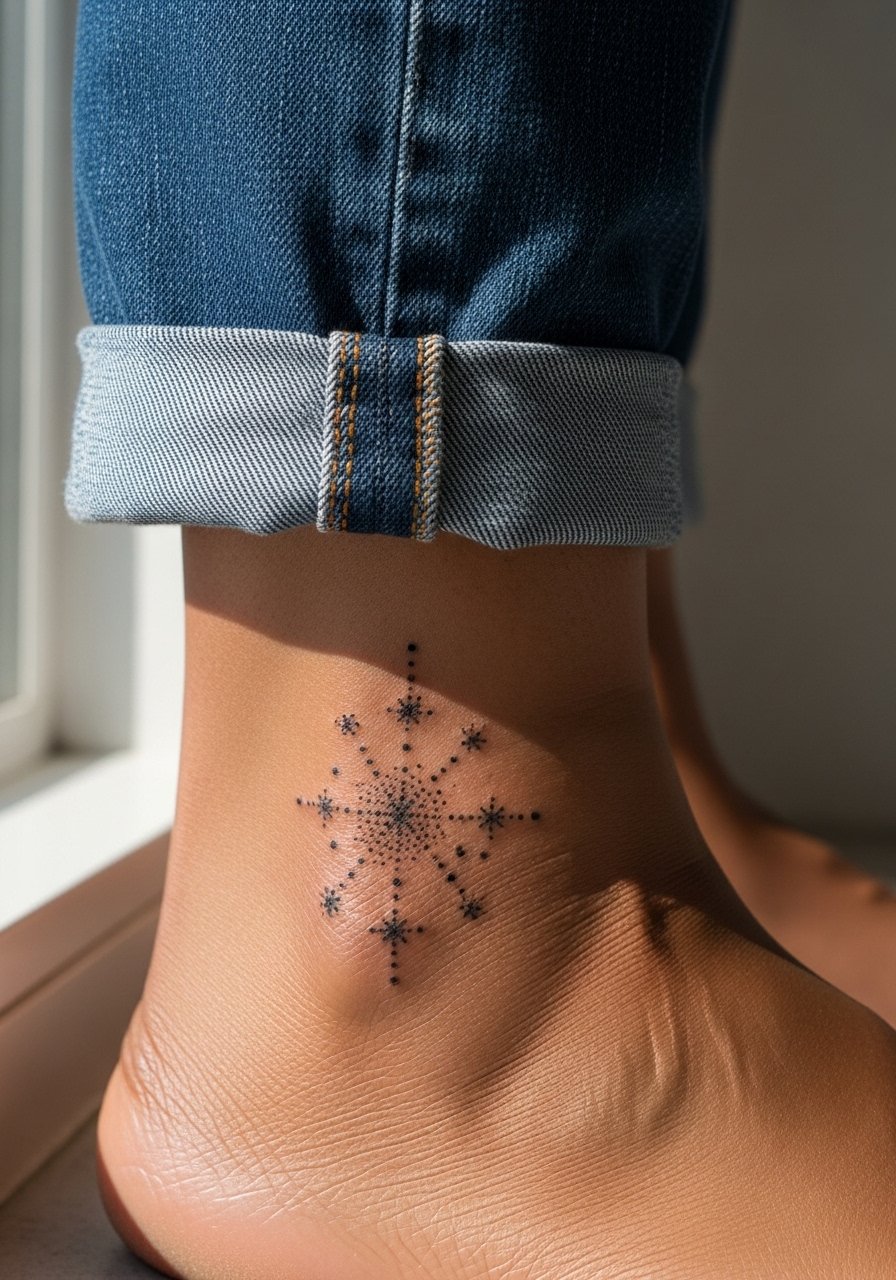
Ankle pieces take a beating from socks and shoes, so spacing is crucial. A small cluster of stars works best when the primary stars are slightly larger than you think. The session is short but the area is bony, so pain is sharper. A common mistake is requesting micro-scale stars in dense formation which fade unevenly. For easy showing, pair with sandals or roll jeans so the stars sit cleanly above footwear. A thin anklet can complement the cluster without covering the primary dots.
15. Micro Dotwork Element on the Bicep
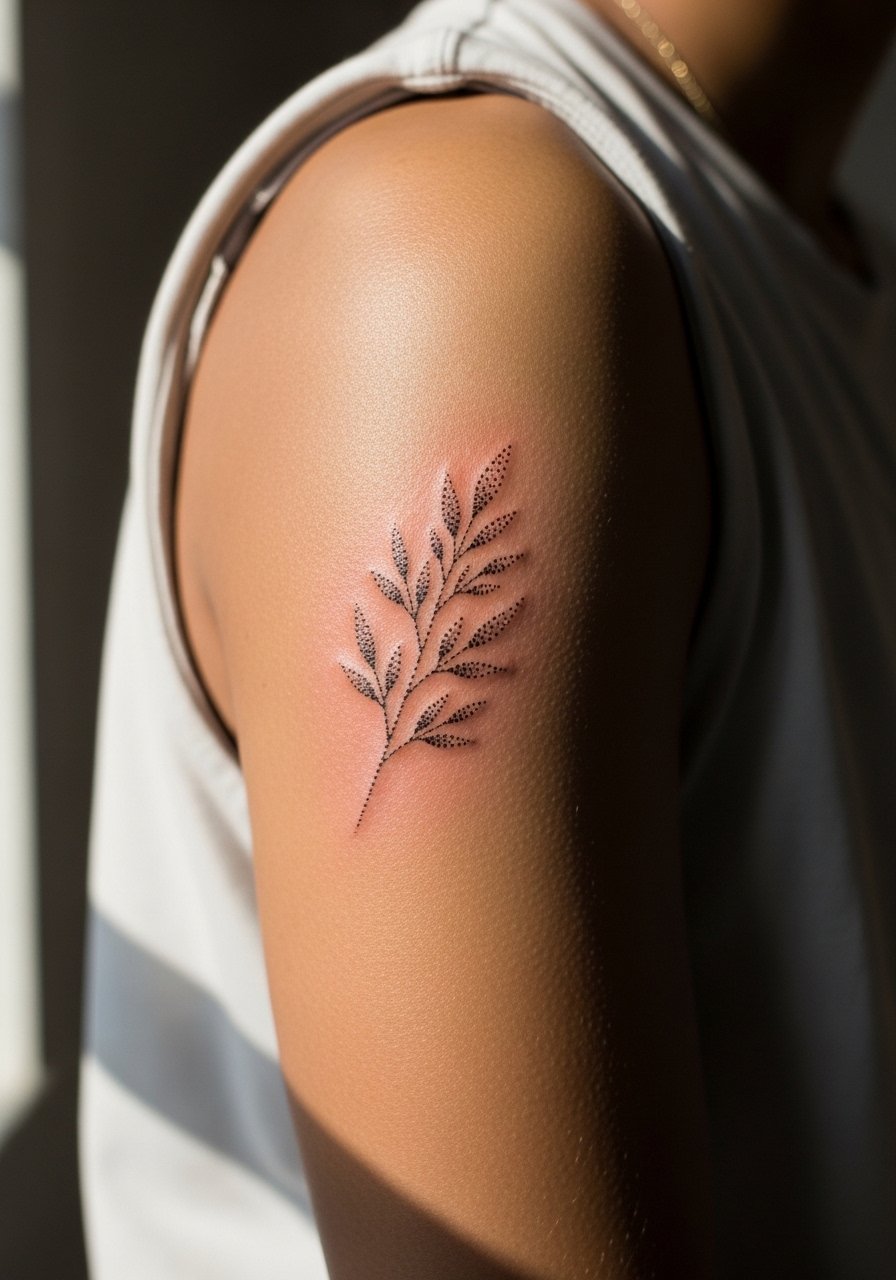
Dotwork on the bicep is forgiving and gives room for delicate gradients. The visual impact comes from a clean transition between dense dots and airy fields. Pain is low, and small pieces often finish in a single short session. The usual mistake is compressing too many elements into a small patch rather than letting the sprig breathe. Ask for a mock-up on the muscle while flexing and relaxing so you can see how movement affects the design. For session wear, a loose tank top keeps the artist's access clean.
16. Tiny Toe or Foot Dot Accent
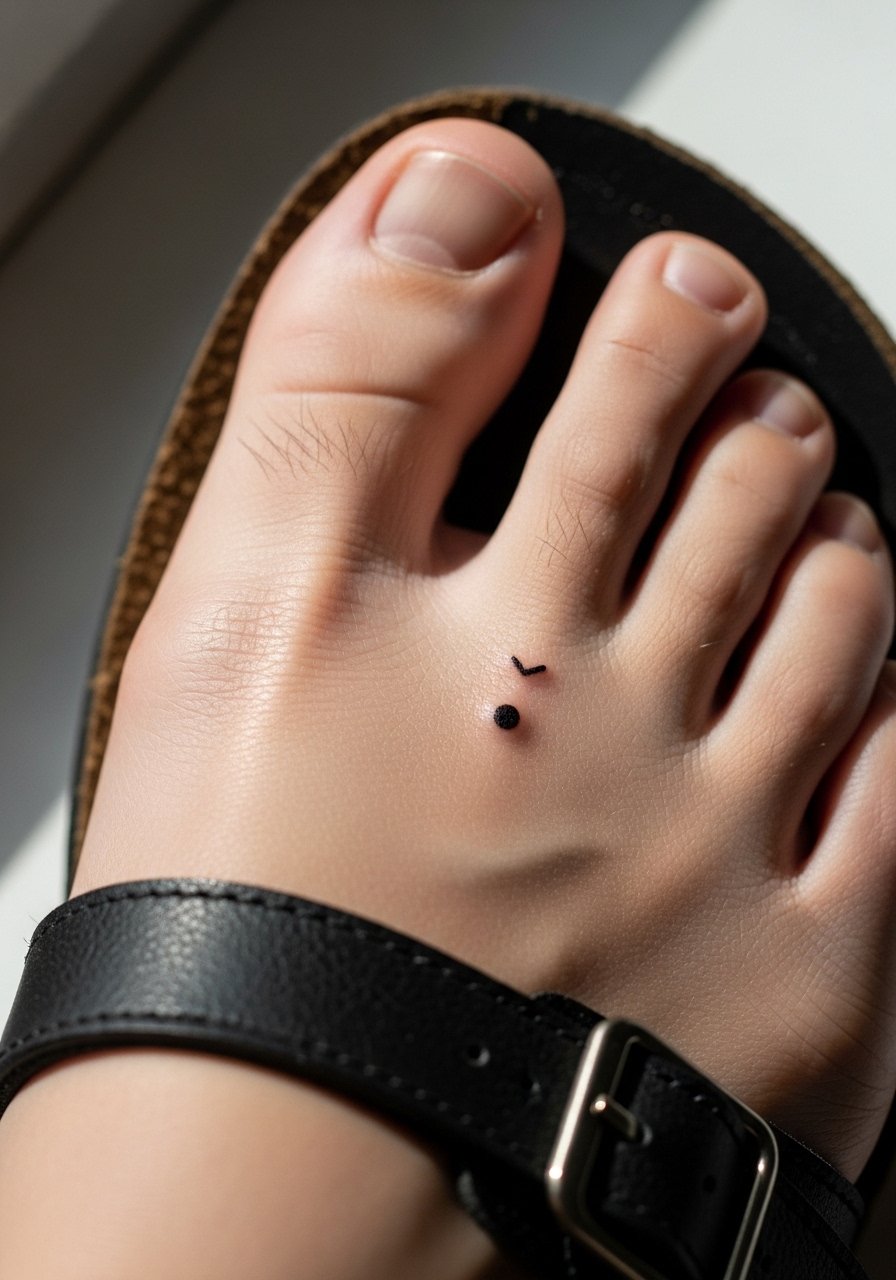
Foot and toe dotwork is a compromise between visibility and durability. The skin there is thin and endures a lot of friction from shoes. The session stings and healing can be tricky when you need to wear footwear. The common mistake is asking for tight-packed stippling across the top of the foot. Opt for sparse, slightly larger dots that tolerate early abrasion. For the appointment, bring slip-on sandals so you avoid covering the fresh work right after the session. A simple anklet or open-toed shoe shows the dot accent without smothering it.
17. Vertical Spine Dot Column

The spine allows dramatic negative space while staying minimal. A vertical column of dots reads best when the densest cluster anchors the center and dotted lines taper above and below. Expect higher pain near the vertebrae and longer sessions if you extend the column. The recurring mistake is drawing the dots too close along the midline, which can merge over time. Ask the artist to leave micro-gaps between rows so the column keeps its rhythm as it heals. An open-back dress showcases the vertical flow without exposing more than you want.
Frequently Asked Questions
Q: How long do dotwork pieces typically need touch-ups compared to bold blackwork?
A: From what I have seen, dotwork often needs touch-ups sooner than saturated blackwork because the tiny points of ink lose contrast faster under sun and friction. Expect a possible touch-up in year two to three for frequently exposed spots like wrists and ankles. Less-exposed areas like the inner thigh or lower back often hold for longer before needing any refresh.
Q: Will dotwork on ribs or sternum blur more quickly than on the arm?
A: It depends on placement and technique. Ribs and sternum move with breathing and can cause denser dot patterns to soften sooner. Some artists intentionally space dots wider for torsos, which helps. Ask to see healed photos of the artist's rib or sternum work during your consult and discuss the spacing approach they use.
Q: What should I wear to a session for a sternum or rib dotwork appointment?
A: Choose something that gives access while keeping you comfortable. For ribs, a cropped top you can lift or a loose tank works best. For sternum pieces, a fitted sports bra that can be pulled slightly aside is helpful. If you need inspiration, a simple fitted sports bra makes adjusting easy without exposing more than necessary.
Q: Do hand and finger dotwork pieces affect job prospects?
A: Hand tattoos still influence perceptions in some industries. A tiny dot accent is more discreet than full-knuckle work, but think about how visible you want it during interviews or client-facing situations. Placement choices like the side of a finger or base of the index can be easier to hide with a ring or glove when needed.
Q: How does dot density affect longevity and healing?
A: Higher density looks great fresh but can merge as pigment settles and the body heals. I recommend asking for graded stipple with negative space at the periphery. That approach preserves definition as the piece ages and makes any future touch-ups more straightforward.
