
Fine line and color work are trending, but color is rarely a simple cover fix. Bright pigments can mask old ink and scars when placed and executed with intention, and the designs that last are the ones planned for healed texture and skin movement. Below are practical, colorful ideas that consider scar depth, aging, and wardrobe so you walk out of the shop with a piece that still reads clean years from now.
1. Fine Line Arrow on Inner Forearm
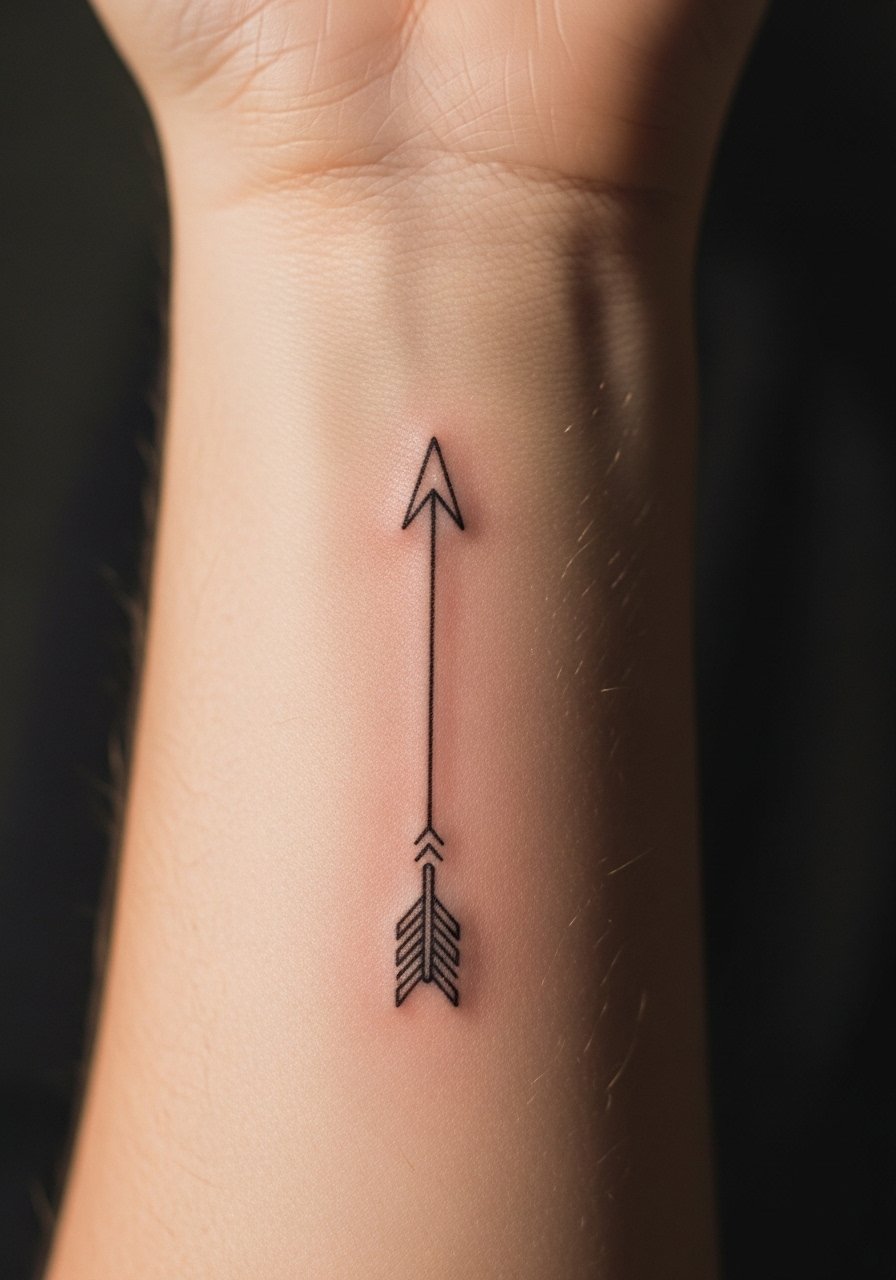
I pick the inner forearm for fine line arrow work when a client wants a delicate directional piece that disguises a linear scar. Fair warning, the forearm sees sun and friction, so ask your artist for slightly increased line weight over typical ultra-fine work. Tell them to map the arrow to follow the scar rather than sit across it, so the scar becomes part of the composition. Expect a one to two hour session with low pain. At six months the arrow reads crisp, by two years the finer strokes may need a small touch-up. Wear rolled sleeves for show-off days, and try a racerback tank top when you want the forearm visible.
2. Watercolor Lotus Over Belly Scar
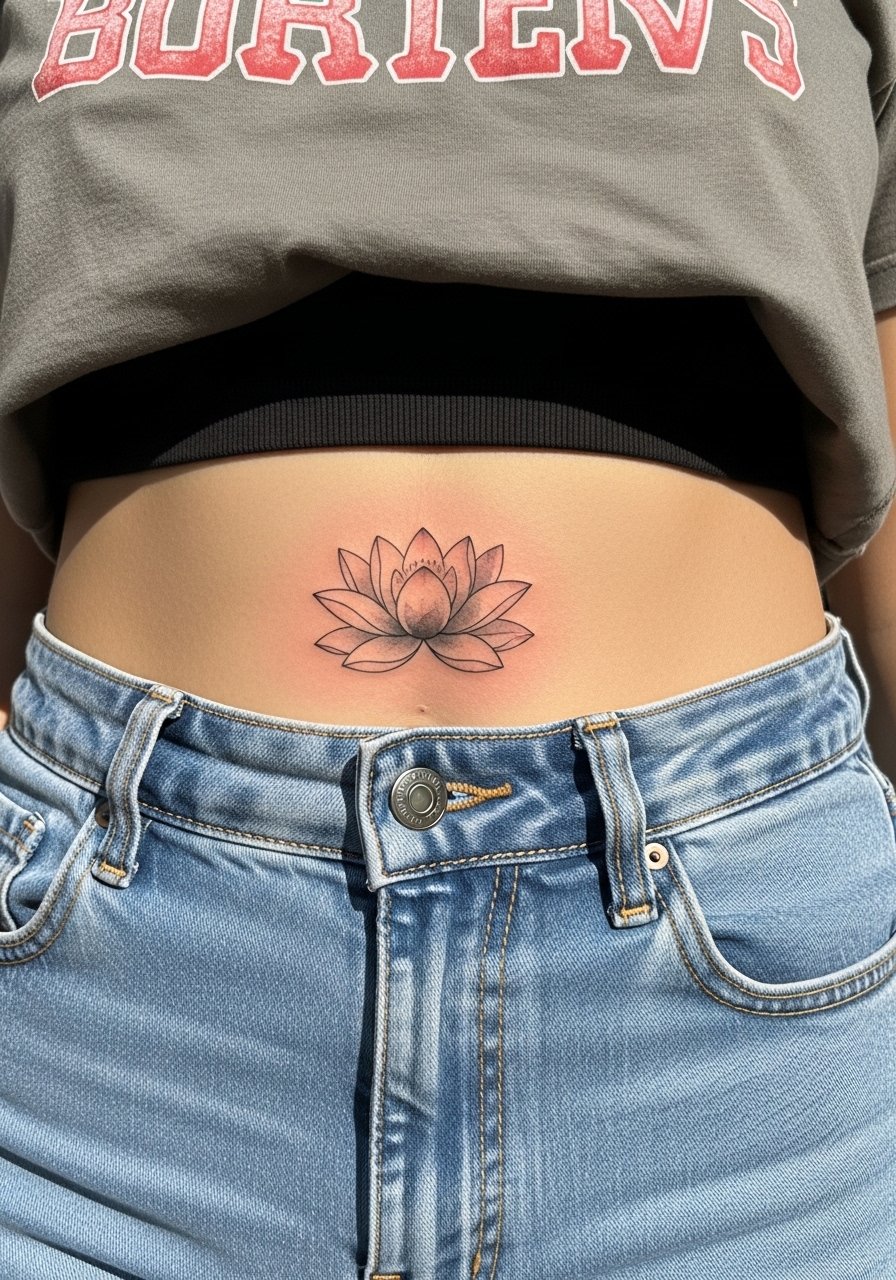
Most watercolor pieces over abdominal scars need saturation to avoid becoming a faded bruise. I recommend a blended approach with crisp outlines where the scar is deepest and loose watercolor fills around it. During consultation, bring a photo of the scar under normal light so the artist judges how ink settles into the texture. Sessions can run two to three hours, pain varies with scar sensitivity. The common mistake is trusting translucent washes alone over raised scar tissue. For the appointment, wear a cropped tee and high-waisted bottoms so the artist can access the strip easily. This placement benefits from touch-up at year two if sun exposure is frequent.
3. Bold Traditional Rose on Upper Arm
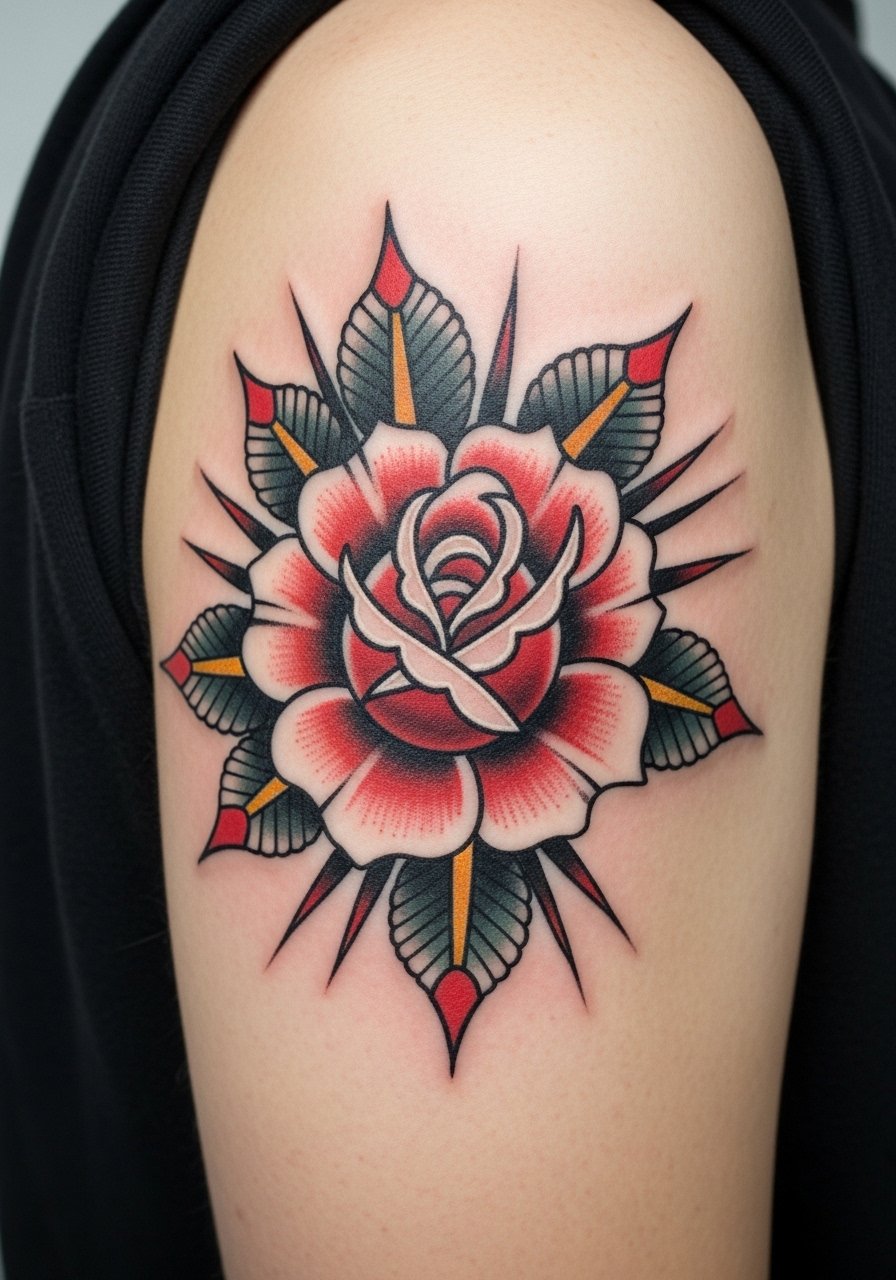
Traditional roses work well to mask jagged scars because saturated petal blocks and bold linework override uneven skin texture. When you sit with your artist, ask for heavier color saturation on the scarred zones and a thicker outline so the eye reads mass rather than texture. Session time is often one to two hours. The upper arm is forgiving for blowout, but avoid tiny script layered over the scar. At six months the color softens into the petals and at two years the saturation tends to remain strong if you use sunscreen. Pair this with short-sleeve cotton shirts on show-off days. A common mistake is making the rose too small, which lets the scar read through.
4. Botanical Sleeve Fragment Over Old Wrist Tattoo
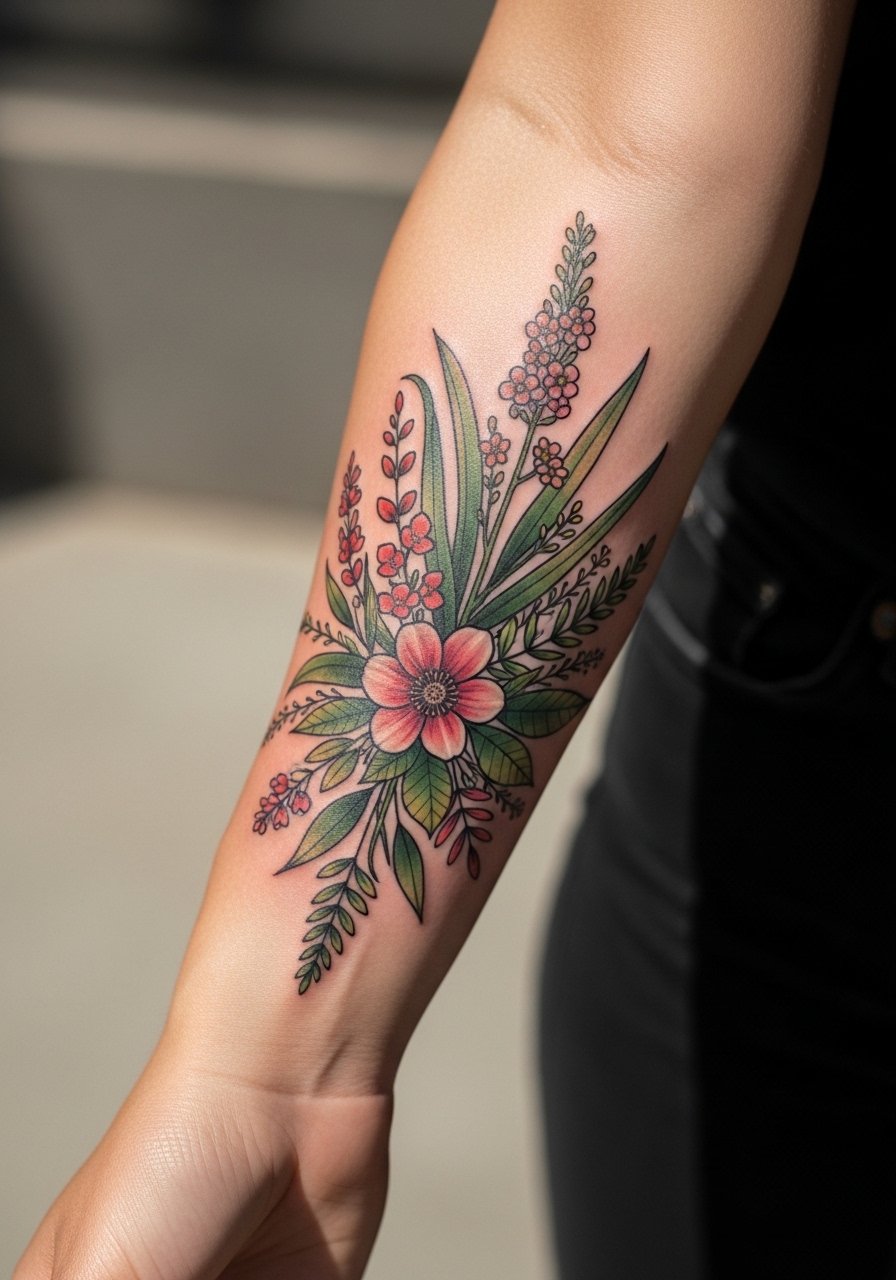
When covering an old wrist tattoo and adjacent scar, a botanical fragment with layered leaves and saturated color hides uneven edges without needing full sleeve commitment. Tell your artist to design overlapping elements so the scar sits under a leaf or bloom instead of being outlined. Expect multiple short sessions for saturation and texture mapping. Wrist pieces face a lot of friction, so plan touch-up around year two. For the session, wear a loose button-down shirt you can pull aside for clear access. A mistake I see is over-detailing each leaf; larger shapes age more predictably on moving skin.
5. Micro-Realism Butterfly on Sternum
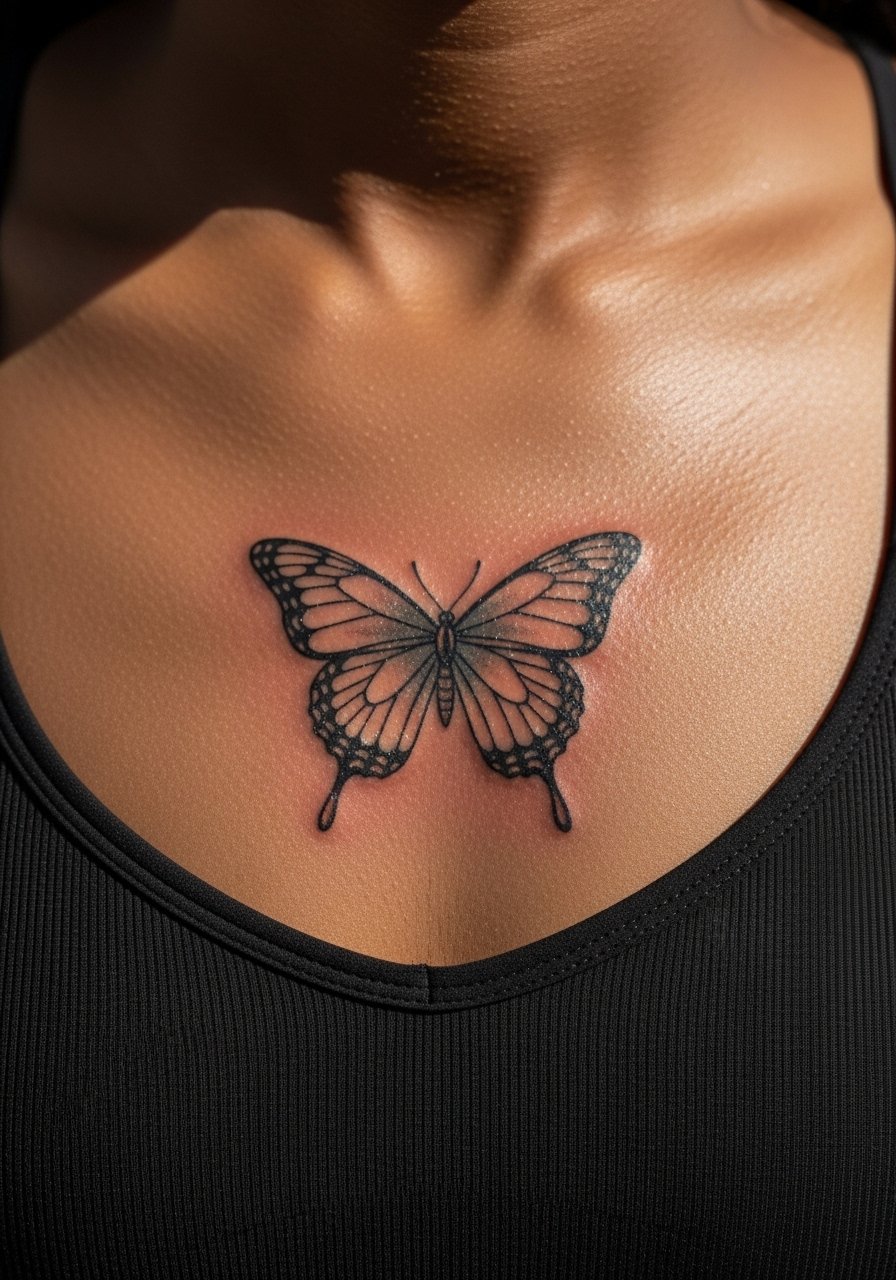
Sternum skin shifts with breathing and movement, so micro-realism needs careful placement. One camp says the sternum ruins delicate realism because of stretch. The other camp argues that with correct depth and subtle spacing it can hold. Name both views in your consultation and ask where the shop stands. Expect a higher pain rating for chest work and a session of one to two hours. The typical mistake is insisting on tiny facial detail in the wings. Instead, favor slightly larger focal points and bold color edges to survive the healing window. Wear a fitted sports bra for the session for modesty and easy access.
6. Geometric Mandala Blending Over Scarred Ribcage
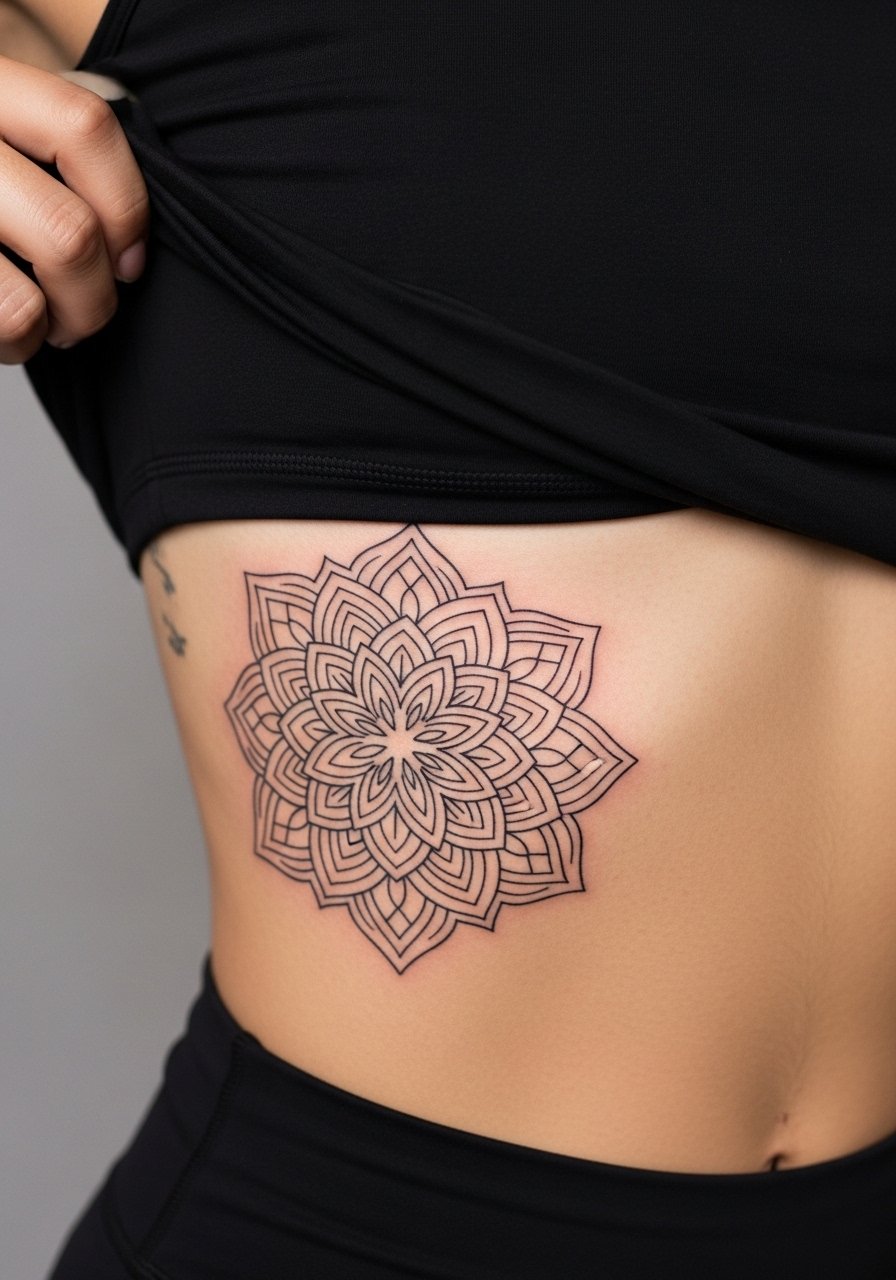
Fair warning, the ribcage is often debated for tight line work. One camp argues that dense mandalas merge quickly on this area. The other camp says with extra spacing and shallower layerization they can last. I recommend a mandala with wider negative space around focal lines so the pattern breathes during healing. Tell your artist to plan the central hub away from the deepest scar tissue. The session is longer and pain is high, so bring a playlist and expect breaks. For show-off wear, an open-back top or cropped thin-knit allows glimpses without full exposure. Avoid requests for ultra-fine concentric rings in the scar zone.
Studio Day Picks
These six designs include chest, rib, and forearm placements that ask for different prep. A few targeted items smooth the session and the first week.
- Stencil transfer paper kit. Lets you preview how the design sits on scarred contours, which is useful for radial pieces and sternum layouts.
- Topical numbing cream. Applying about 45 minutes before can reduce edge pain on ribs and sternum without blotting color if you follow the artist's guidance.
- Thin protective film roll. Works well for finger and wrist placements that face constant washing and friction in the first week.
- Fragrance-free body wash. Gentle cleansing helps prevent irritation on areas where fine line meets scar tissue.
- Aquaphor healing ointment. A thin layer during the initial days keeps delicate color from drying into flakes that pull pigment out.
7. Color-Block Cover Over Old Lettering on Calf
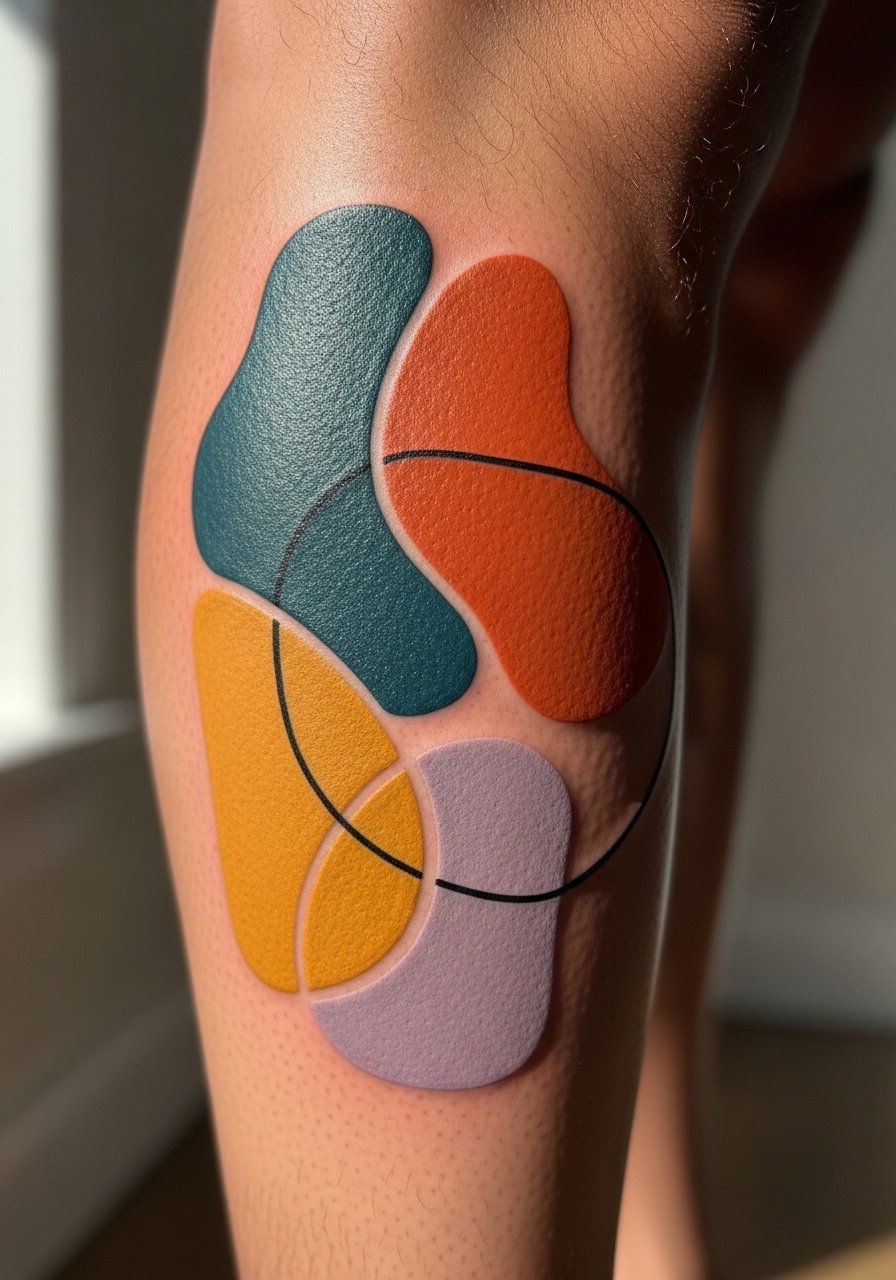
Calf scars and old lettering hide well under bold color-block pieces because the pigment mass distracts from texture. When you consult, ask for saturated fills with a bit of texture overlay to emulate skin depth. Sessions vary by size but often finish in two hours. The biggest mistake is relying on thin outlines to mask old type. For show-off styling, pair with open-back midi dresses or knee-high boots in cooler months so the calf can be seen without extra effort. Expect a touch-up at year two if you spend a lot of time outdoors.
8. Neo-Traditional Anchor Over Chest Scar
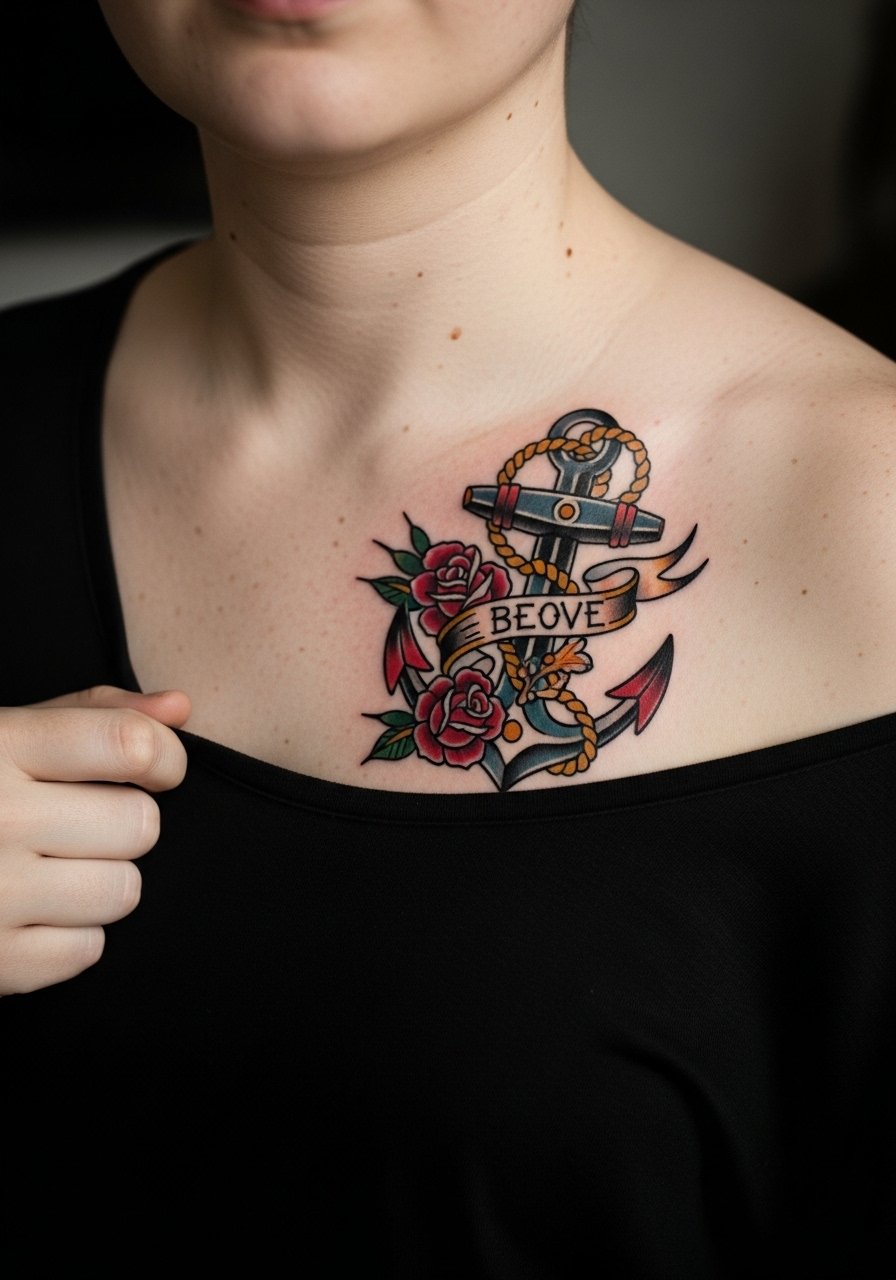
Neo-traditional pieces use bold outlines and controlled saturation which can mask irregular scars across the upper chest. Tell the artist to orient the anchor so the central shank overlaps the scar and surrounding banners wrap away from textured patches. Sessions are generally one to three hours depending on color layering. A common error is needing too much tiny detail over scar tissue. For showing the piece, a wide-neck shirt pulled slightly aside frames the artwork. This placement heals well if you avoid tight necklaces that rub the area during the first month.
9. Stipple Shaded Floral on Inner Thigh
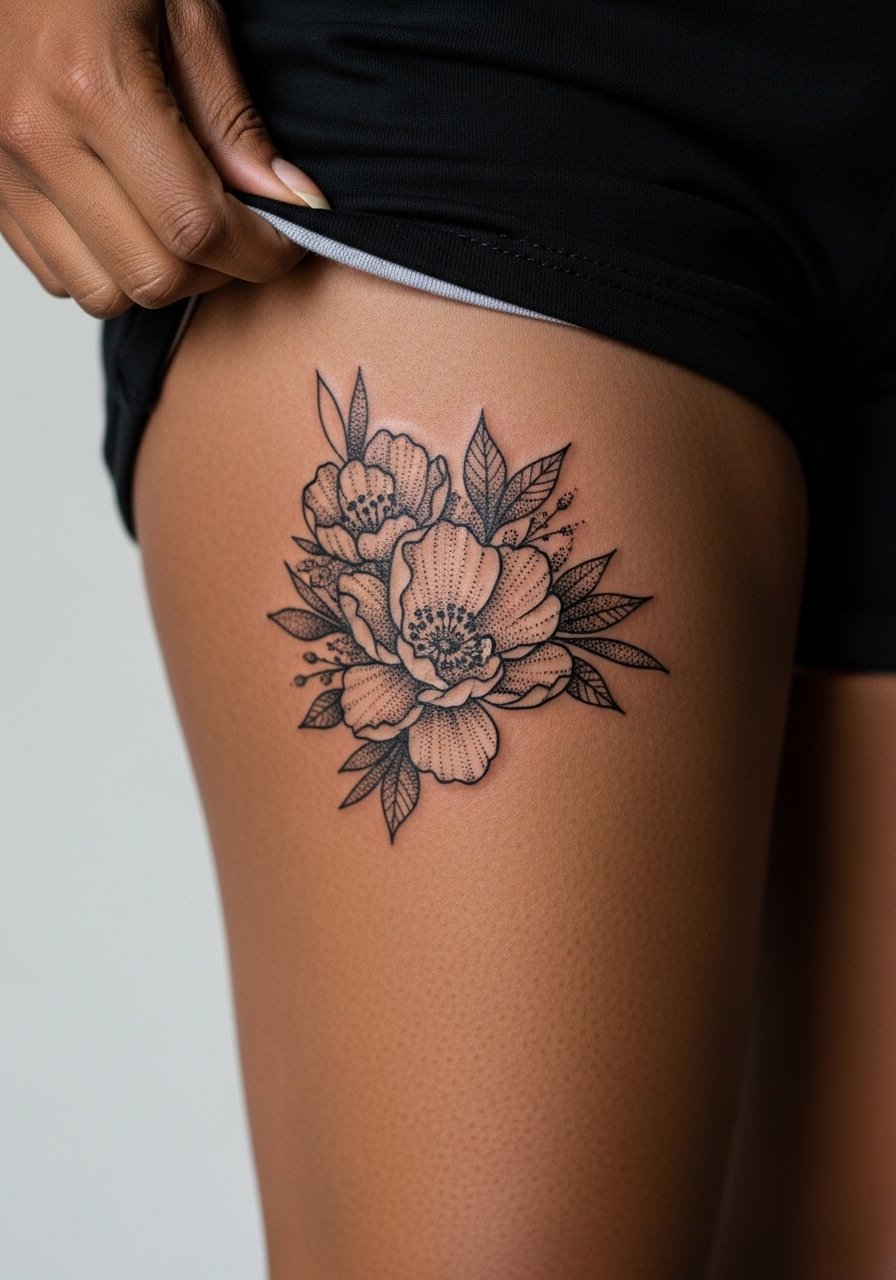
Inner thigh scar tissue is sensitive and varies in depth, so stipple shading works because it reads as texture rather than solid mass. When you sit down with the artist, point out whether the scar is raised or depressed so they can plan dot density accordingly. Expect moderate to high pain in short bursts. Avoid asking for heavy solid blocks that can pull ink into scar valleys unpredictably. For the session, wear shorts you can shift easily to expose the area without pressure. This technique usually needs a single touch-up under local conditions.
10. Color Gradient Phoenix Along Spine
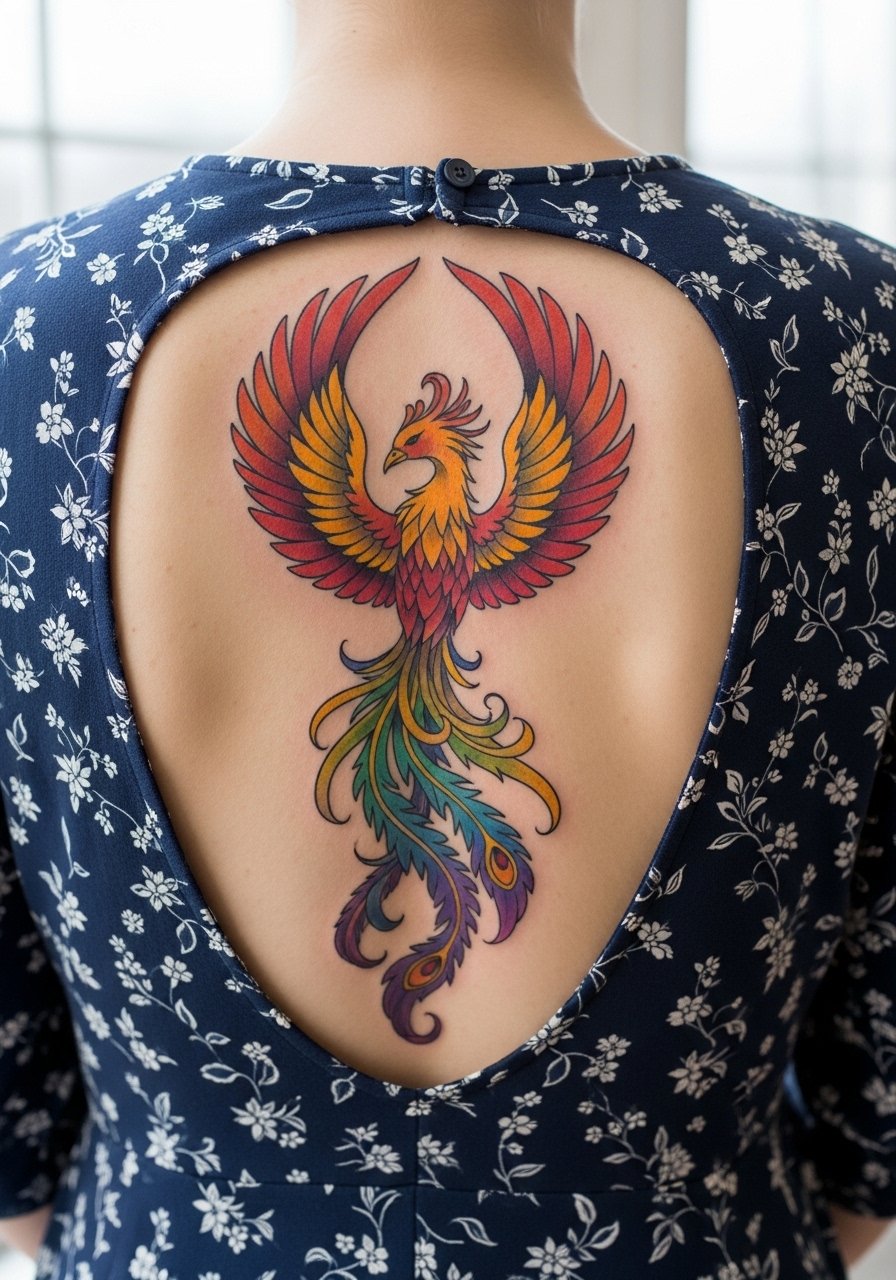
Spine tattoos that span scarred sections need color gradients that move with the muscle. In consultation, explain whether scars follow the vertical line or sit offset. I advise broader gradient transitions rather than tight banding across the scar. Session time can be multiple hours depending on length. The common mistake is expecting tiny feather details over jagged scar edges. For evening wear, an open-back dress highlights the vertical flow and frames the phoenix without full exposure. Ask about placement over bony areas because comfort breaks help the artist maintain consistent saturation.
11. Stippled Constellation on Wrist
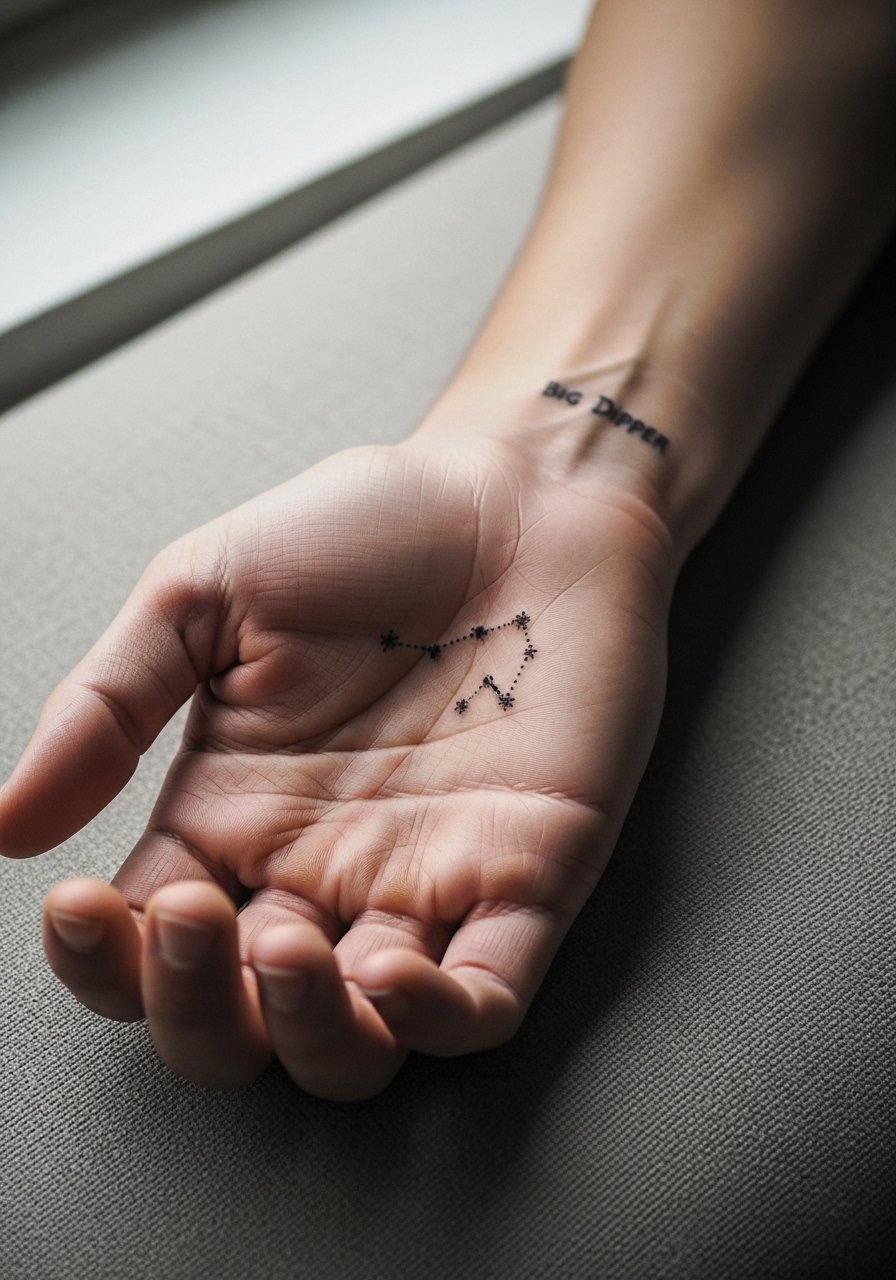
Wrist scars are tricky because of constant motion and washing. Stippled dots and tiny stars disguise short linear scars better than script or continuous thin lines. Tell your artist to plan negative space around the scar so the constellations read as dispersed elements. Sessions are short but the area is sensitive. A common mistake is overloading the wrist with dense detail that fades into smudge with frequent hand washing. For show-off days, stacked dainty bracelets or a thin chain pendant necklace on the opposite wrist balances attention. Expect a touch-up window in year one for this placement.
12. Bold Neo-Japanese Koi Over Scar Patch
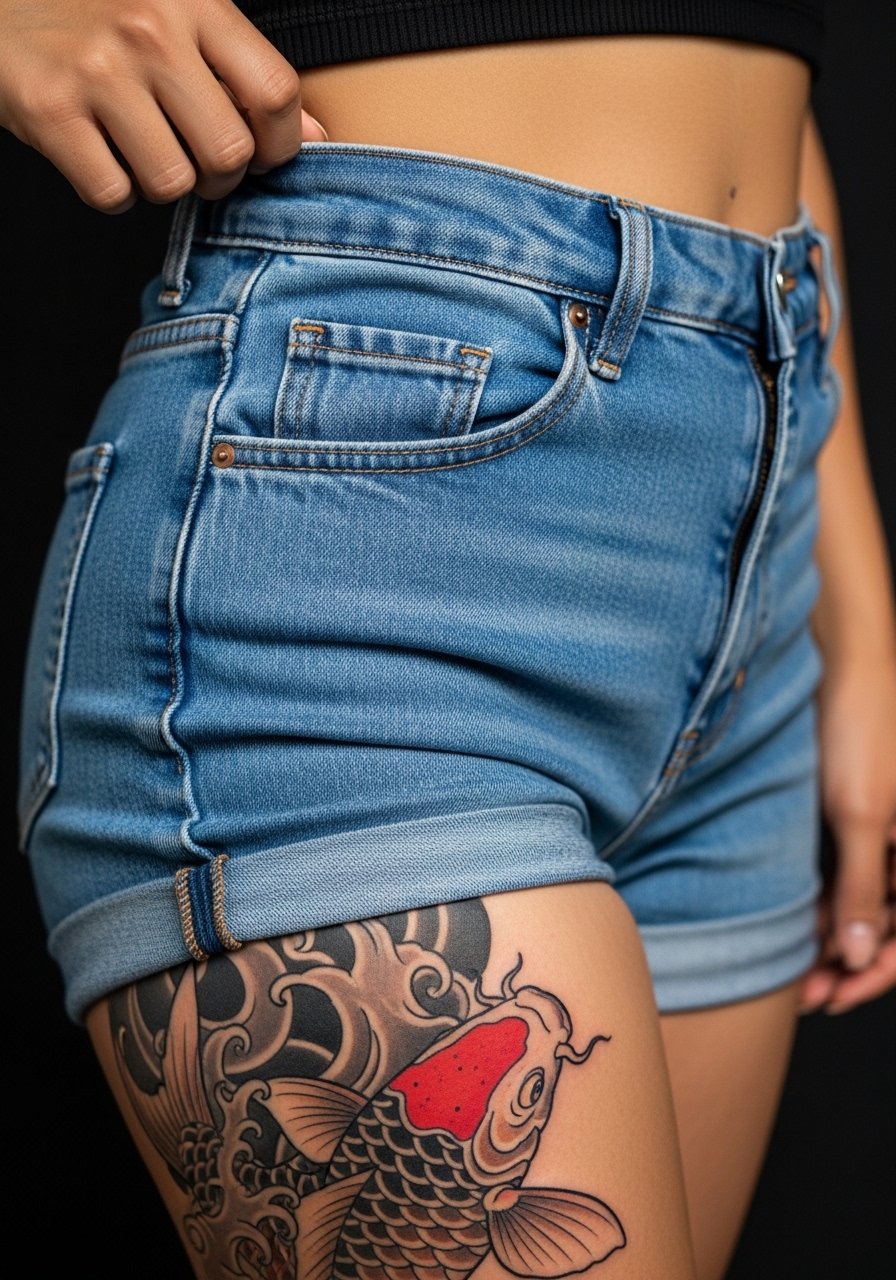
Koi designs with strong color blocks and flowing water elements are excellent for irregular scar patches on the thigh and hip. I recommend using scale patterns and water swirls to break up any hard lines from old ink. Sessions can be several hours for saturation. The typical misstep is trying to hide the scar entirely with small detail. Larger, flowing elements are more forgiving. For the session, high-waisted bottoms that can be shifted slightly make access easier. This placement tolerates heavier saturation and often ages into a tattoo with natural depth.
13. Mini Micro-Realism Portrait on Upper Arm
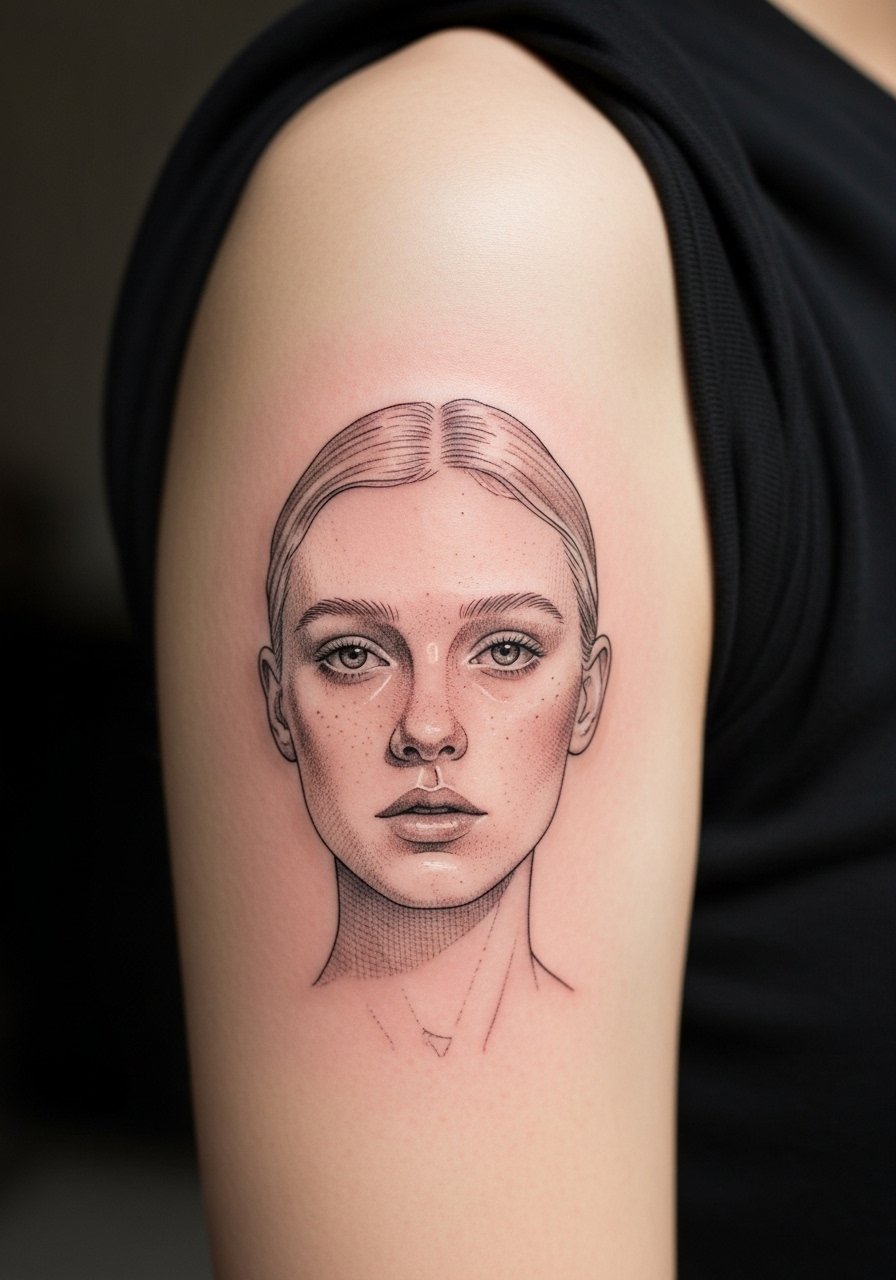
Upper arm scars from prior injuries can blend into micro-realism when the portrait placement avoids the scar center and uses soft shaded transitions around it. During consultation, show the artist photos of the scar and request mockups so you can see how the portrait sits in relation to texture. Expect a session of one to two hours and moderate pain. The mistake I see is insisting on ultra-small faces over deeply textured scars. Slightly enlarging the subject makes realistic shading read better over settled skin. For wearing, short sleeves in linen let the arm peek without calling attention.
14. Color-Saturated Script Over C-Section Scar
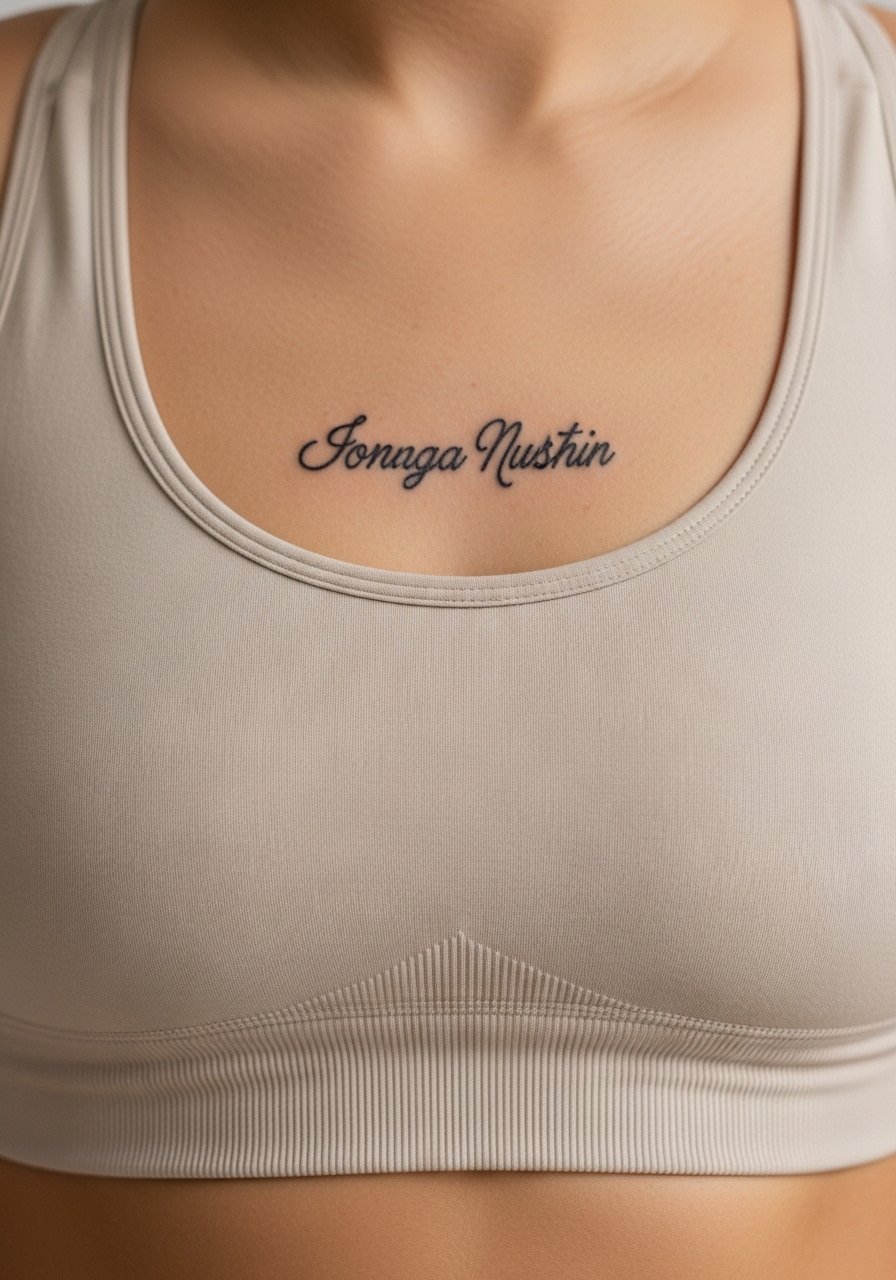
Scripts above surgical scars need backing color or subtle banners so the letters do not float over uneven skin. Tell your artist you want thicker letterforms and a faint color wash behind the text where the scar runs. Sessions are usually under two hours but sensitivity varies. A common mistake is picking a too-thin font that disappears in the first year. Wear a fitted sports bra for session access. Many people find this placement ages nicely if they avoid constant friction from waistbands during the first month.
15. Dot Work Mandala on Back of Shoulder

Shoulder scars are well suited to dot work mandalas because the rounded shape of the shoulder complements radiating patterns. Tell the artist to plan the central point slightly off-center from the scar so the design balances. Expect low to moderate pain and a session length of around two hours. The common mistake is compressing too many concentric rings in the scar zone. Wider spacing helps longevity. For showing off, a tank top with the collar pulled aside frames the mandala without exposing the rest of your back.
16. Brushstroke Abstract Over Inner Bicep Scar
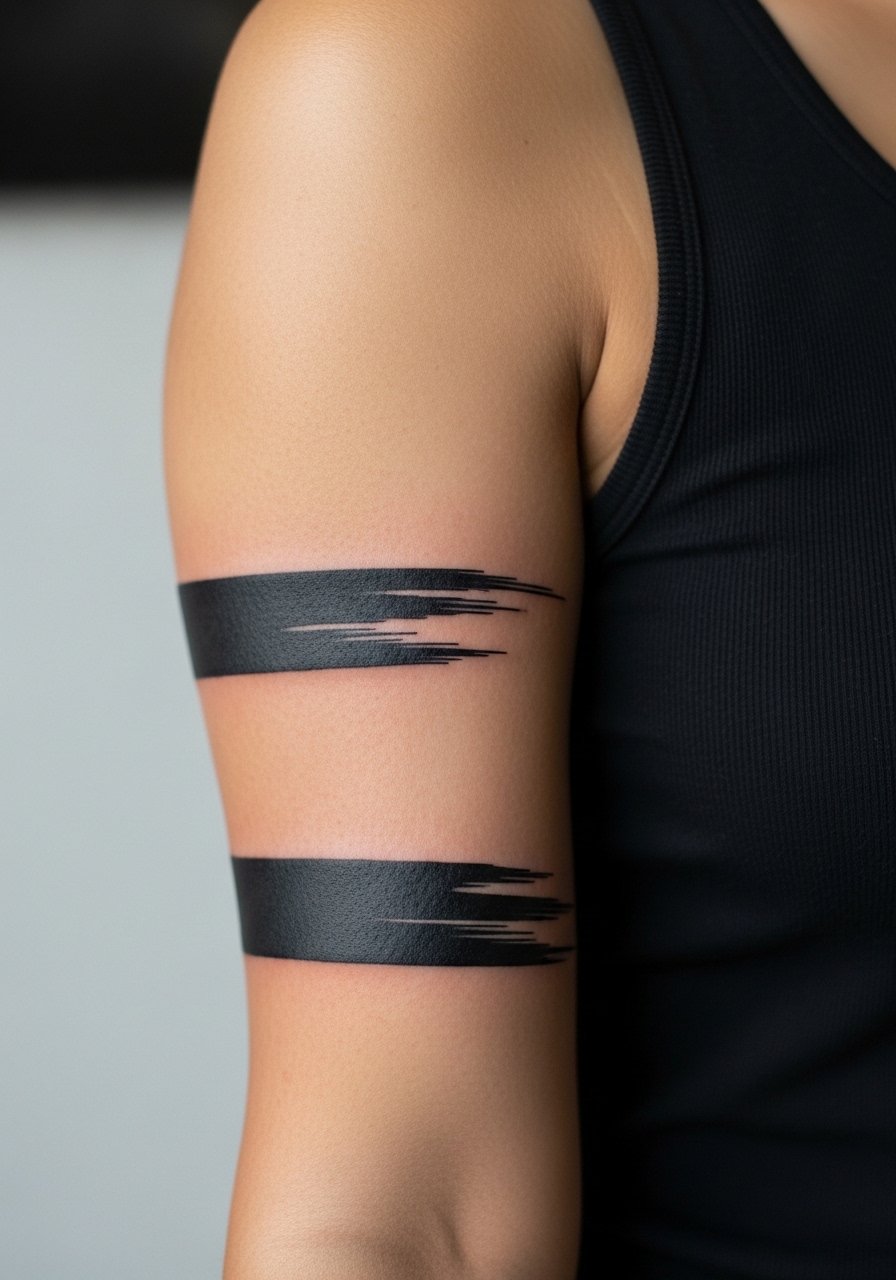
Inner bicep scars need designs that work with skin elasticity and movement. Brushstroke abstracts pair well because the strokes can curve with the arm and avoid pulling pigment into creases. In consultation, mention any numbness or tightness in the scar to the artist so they can adjust needle depth. The inner bicep is moderately painful and sessions are usually one to two hours. A frequent error is placing heavy solid fills across a fold. For the appointment, wear a tank top so the artist can ask you to flex and choose the final placement intentionally.
17. Watercolor Hummingbird Over Breast Scar
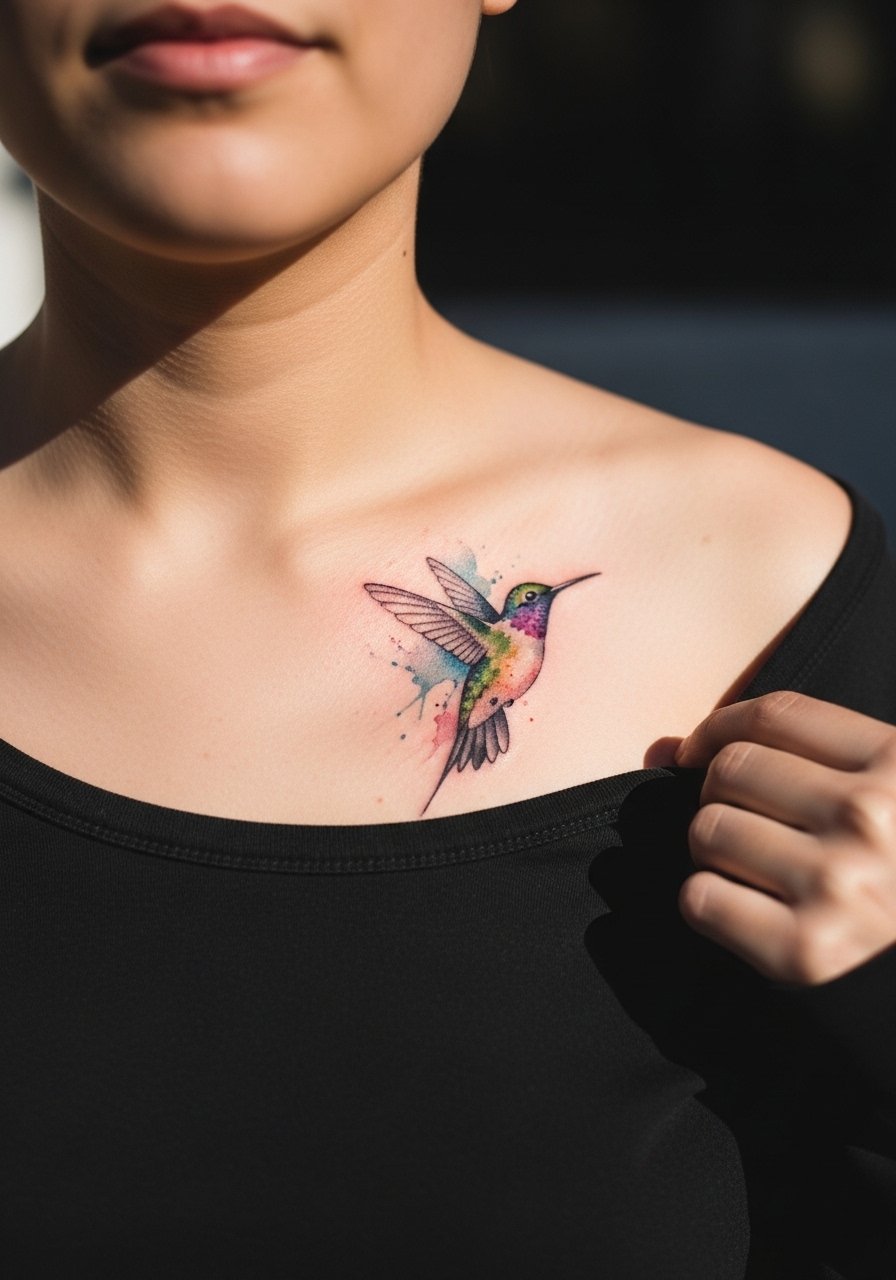
Breast or pectoral scars respond to soft color transitions when the design uses motion. A hummingbird in flight plotted over the scar distracts from edges and creates a natural focal point. Tell your artist to keep the central body of the bird off the highest scar ridge and use wings to sweep color across textured skin. Sessions can be one to three hours and pain varies. A common mistake is overworking heavy pigment into raised scar tissue in one pass. For modesty and access, a wide-neck shirt you can pull aside works best for the session.
18. Minimalist Linework Band on Ankle
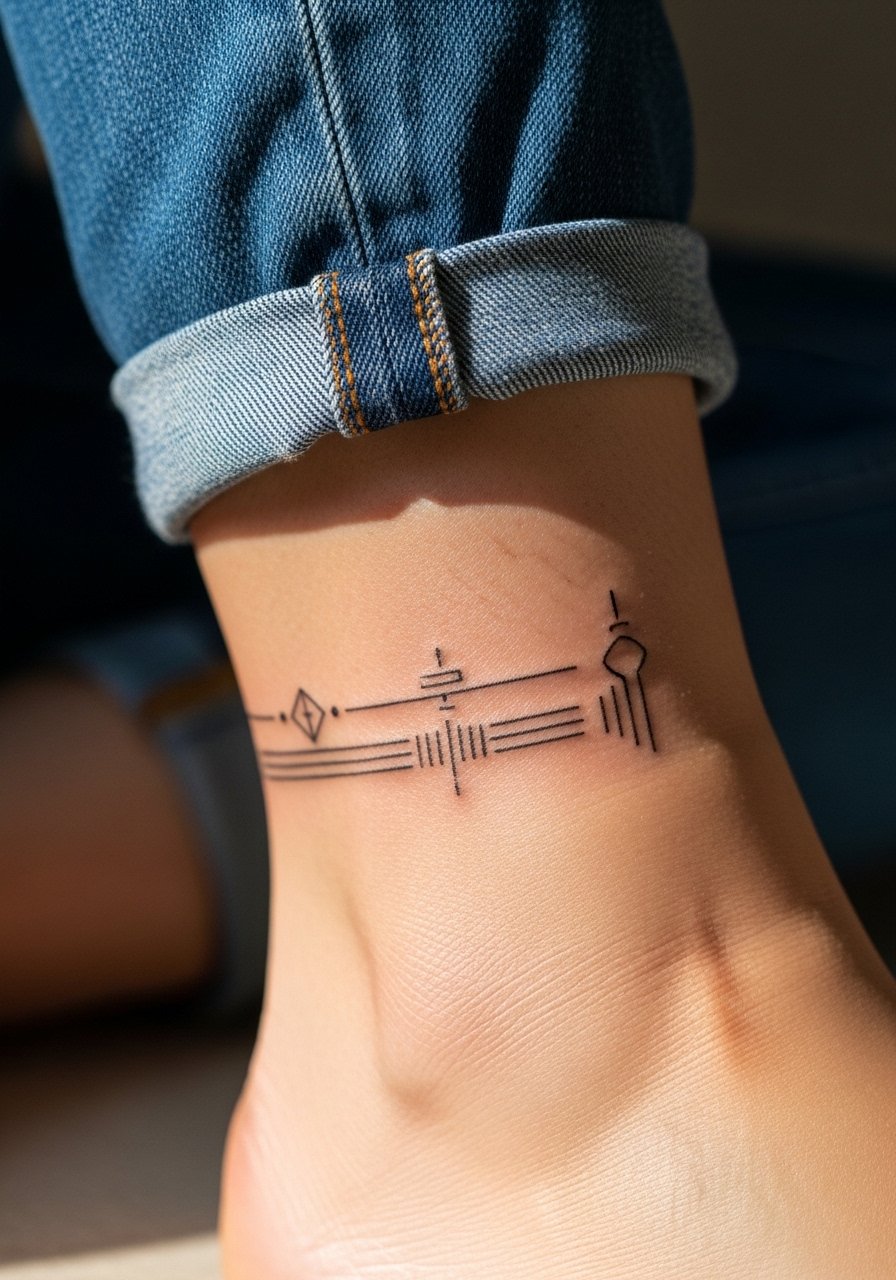
Ankle scars need simple solutions because the area endures shoes and socks rubbing. A minimalist band or linked chain works as a cover by placing repeated elements to mask texture. Tell your artist you want the band to sit slightly above any irritated skin to avoid constant abrasion. Sessions are short and pain is moderate. The main mistake is wrapping the band too tightly, which makes touch-ups harder when the area heals. For show-off styling, roll your jeans and pair with sandals. Expect more frequent touch-ups if you wear ankle-strapped shoes often.
19. Color Field Abstract on Thigh
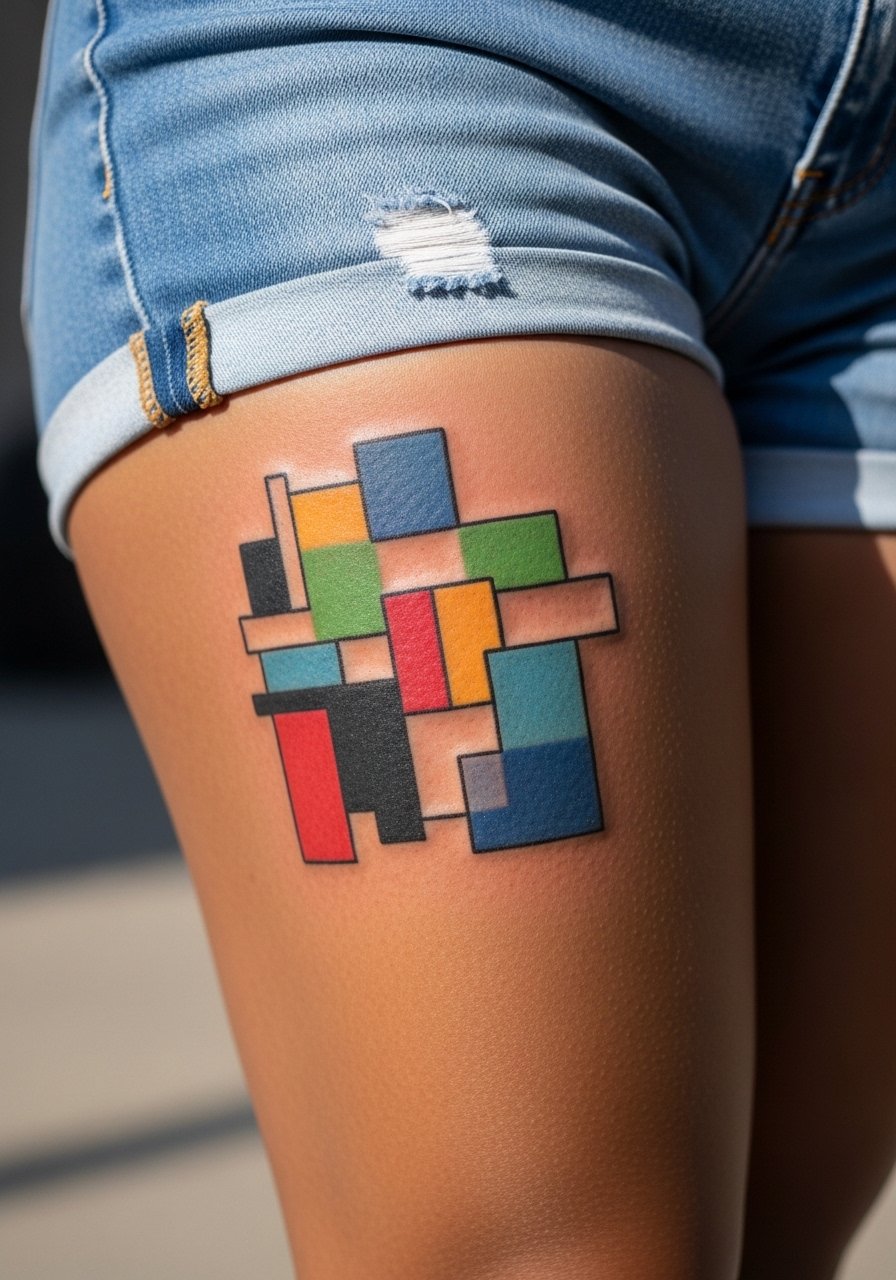
Large thigh scars benefit from color fields that read as painterly blocks rather than detailed images. During consultation, request overlapping color areas that flow around the scar rather than trying to paint over the highest peaks. Sessions can be long for saturation and may be split into two. Many people err by choosing tight geometric edges that reveal the underlying texture. For the session, wear loose shorts you can adjust so the artist has full access while you stay comfortable. This placement takes pigment well and ages into a soft painterly statement.
20. Hatch-Shaded Crescent Moon on Collarbone
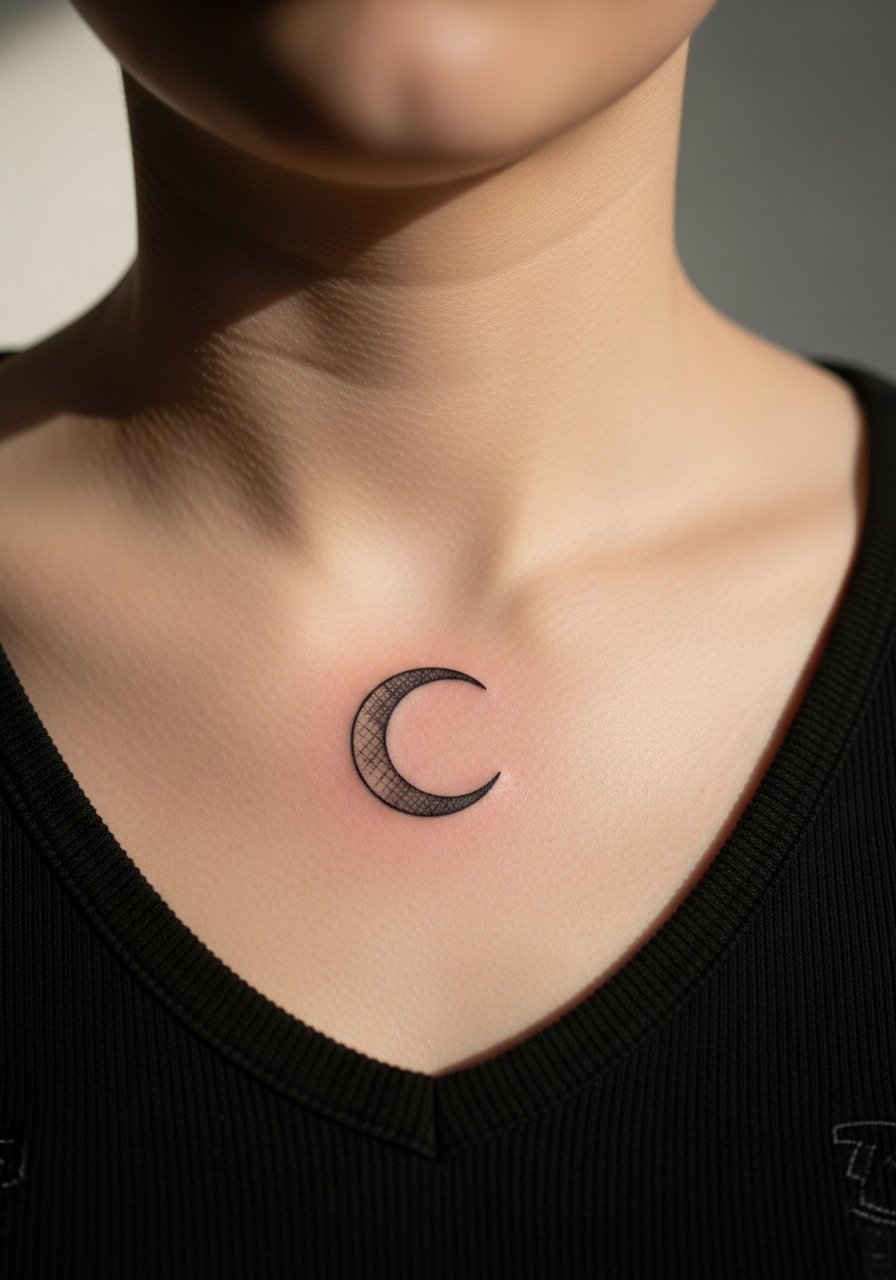
Collarbone scars are visible, so hatch shading and small geometric fills create visual interest while minimizing the scar outline. Tell your artist to anchor the moon shape so it sits along the collarbone ridge rather than perpendicular to it. Session time is short and pain is moderate. A mistake I see is expecting full tonal gradients in such a shallow plane. For showing the piece, a wide-neck shirt pulled aside highlights the collarbone without exposing the chest. Avoid heavy necklaces that rub across the area in the healing phase.
21. Saturated Abstract Sleeve Patch on Forearm
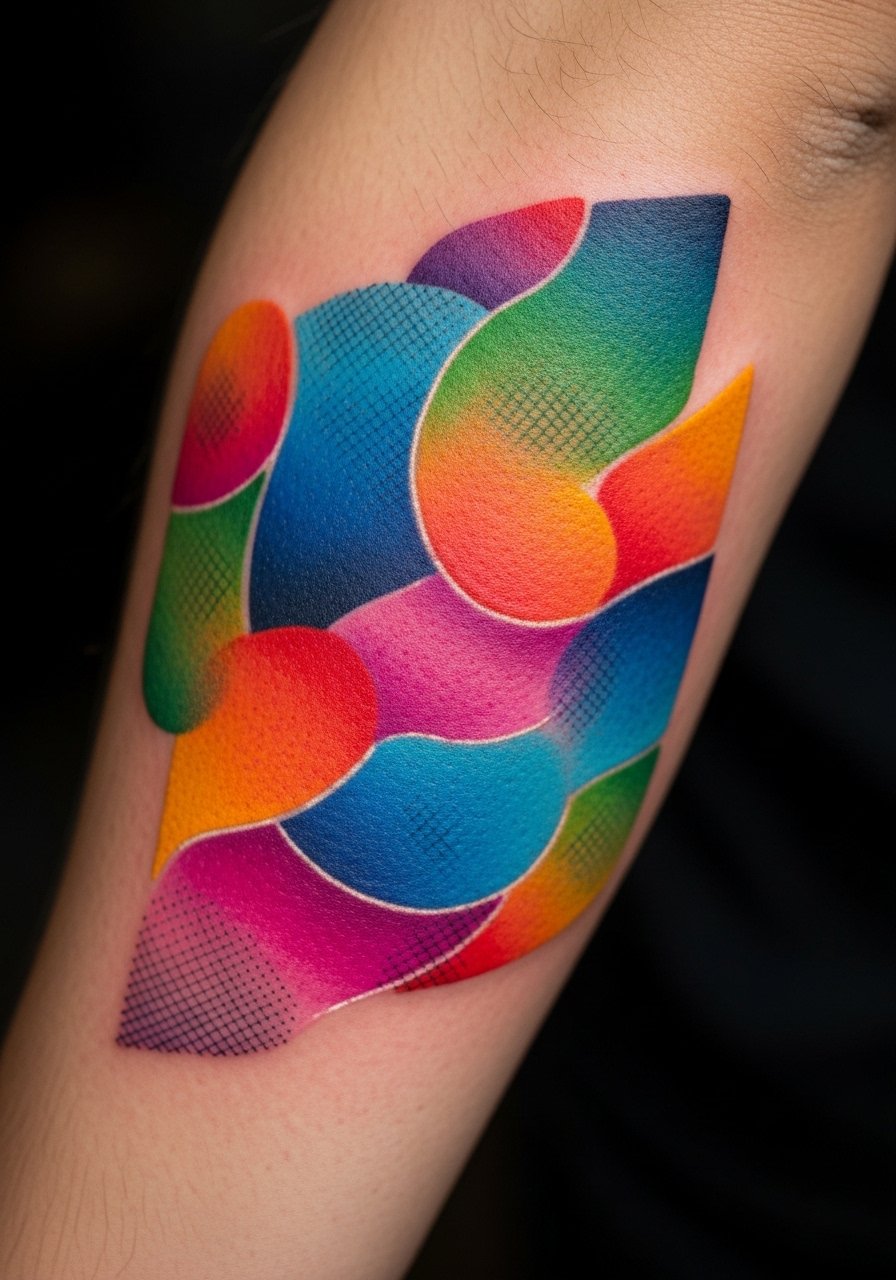
When scarring covers a large forearm area, an abstract sleeve patch with overlapping saturated elements is practical and bold. In the consultation, ask the artist to design layers so the deepest scar sits under a larger solid area and the more textured spots get blended overlays. Sessions may be multiple depending on size. The common mistake is picking a narrow palette that makes the scar outline reappear as colors fade. For daily wear, rolled-up sleeves or a loose drawstring linen pant for lower arm work balance comfort with visibility. Expect a touch-up window in the first two years if you are outdoors a lot.
Frequently Asked Questions
Q: Will colorful tattoos hide raised scar tissue better than blackwork?
A: It depends on the scar. Raised scars sometimes push pigment outward so saturated color with textured overlays can help by creating mass rather than relying on thin lines. Blackwork hides flat scars well but can show texture if placed over peaks. Ask the artist to plan shapes that sit around the highest ridges for the best visual masking.
Q: How soon after surgery or injury can I safely get a cover-up tattoo over a scar?
A: Give scars time to mature. In my experience, waiting at least a year for scars to settle and for tissue to soften is prudent. Some scars take longer depending on depth and healing history. Bring photos to your consultation and be honest about any stretching or numbness in the area.
Q: Do certain skin tones need different color strategies for cover-ups?
A: Yes, pigment contrast reads differently across tones. Deeper skin tones often benefit from warmer and more saturated pigments to keep hues visible, while lighter tones can carry subtler pastel gradations. Discuss color choices with the artist and look for healed examples on similar skin tones in their portfolio.
Q: Will a tattoo over a scar hurt more than a tattoo on normal skin?
A: Often scar tissue feels different because nerves can be hypersensitive or numb. Some clients report sharper stings, others say less sensation. Plan for breaks during sessions and talk to your artist about pacing. Topical numbing is an option to discuss.
Q: How do I choose an artist if I want a colorful scar cover up but no names were suggested here?
A: Use discovery pathways like local shop directories, convention guest lists, and community threads to find portfolios that show healed cover-ups on similar skin tones. Look for healed photos rather than fresh work and ask about touch-up policies during consultation.
