
Fine line bull skulls are everywhere in inspiration folders right now, but micro sizes ask for different choices than a full-back piece. The small scale rewards restraint in lineweight, negative space for the eye to rest, and pick-your-placement strategy so the design ages legibly. Read the first idea to see how a tiny bull skull on the wrist gives a bold feel without overwhelming the skin.
1. Micro Bull Skull on Inner Wrist
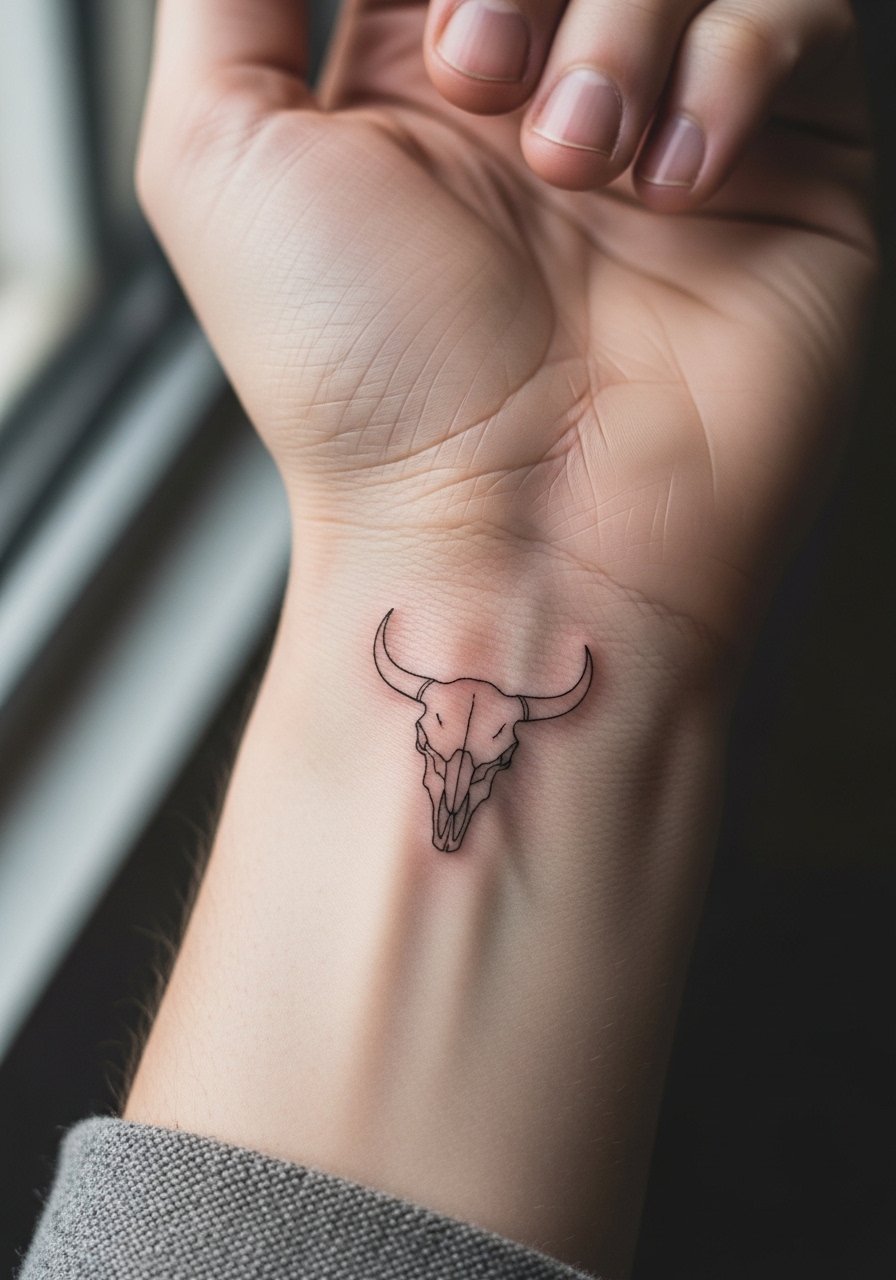
This tiny inner wrist placement reads bold because the skin sits flat and the shape follows the arm's natural linework. I recommend asking for slightly thicker main contours with fine inner detailing so the eye reads the skull from a short distance but tiny dots and stipple shading keep the micro feeling. Common mistake is packing too many teeth or tiny horns into the same square, which muddies into a blur at year two. Expect a quick session, twenty to forty minutes, and typical touch-up at year two for line crispness. For showing it off, rolled sleeves work well with a thin chain pendant necklace that sits near the wrist.
2. Micro Bull Skull at the Ankle

The ankle gives this design a little edge because shoes and pants frame it. Pain sits in the middle range for most people because of thin tissue near the bone. Tell your artist you want open negative space around the horns for longevity. A common aging issue is rubbing from socks and shoes that fades delicate dot work. Plan to show up in loose pants you can roll like straight leg jeans so the artist has full access and the fresh tattoo breathes after the session.
3. Micro Bull Skull Behind the Ear, Neck Framing
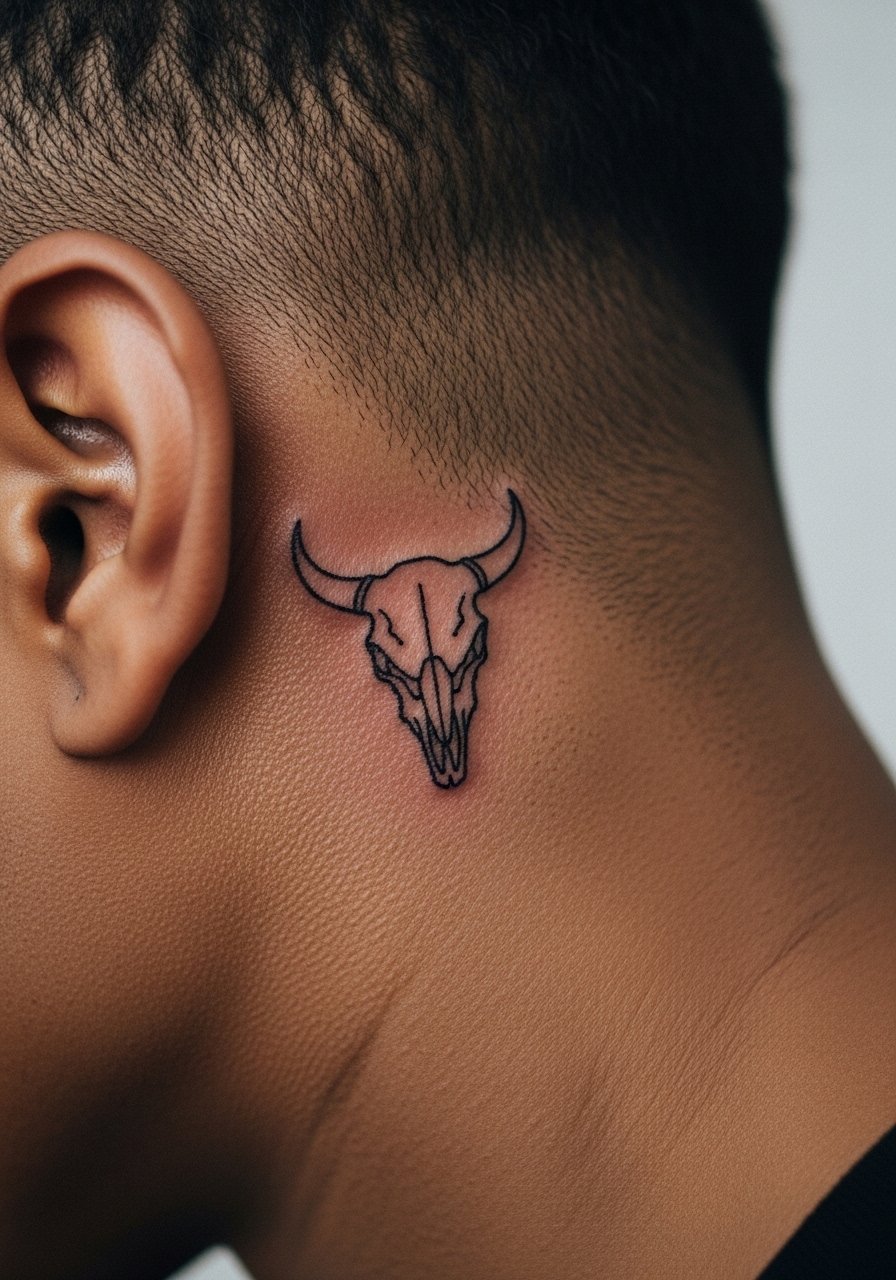
Placed just behind the ear, this tiny skull is subtle and personal. The session is quick but needs careful stencil positioning because contours on that curve can warp a design if the stencil sits off. Artists split on how well fine line holds here. One camp says the area settles fine with correct depth. The other camp says tiny lines on curved skin can blur faster. Ask the artist which approach they use and how their linework looks at year two. Wear hair up and a wide-neck shirt so the artist can access the spot easily.
4. Micro Bull Skull on the Side of the Finger
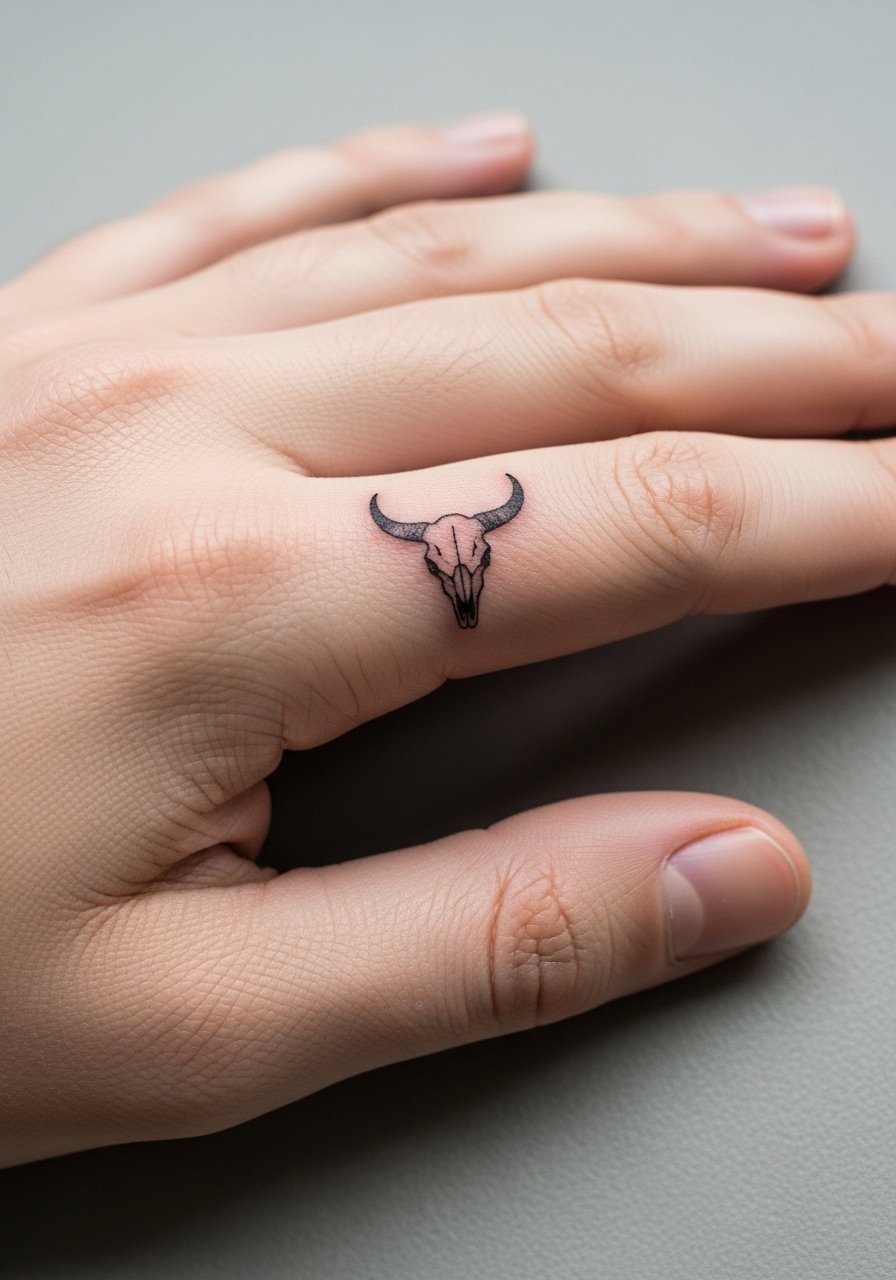
Finger placement looks dramatic but it ages faster than most other spots. Expect friction from washing and rings to take a toll. Tell your artist you prefer slightly bolder linework for the outline and simplified inner detail. The common mistake is over-detailing the teeth and cracks. That becomes indistinct within a year. Touch-ups are often needed at year one or year two. If you want to show it off, stack with a thin signet or wear open-faced rings, and bring a slim ring set to try looks after healing.
5. Micro Bull Skull on the Side Rib, Small Sternum Variant
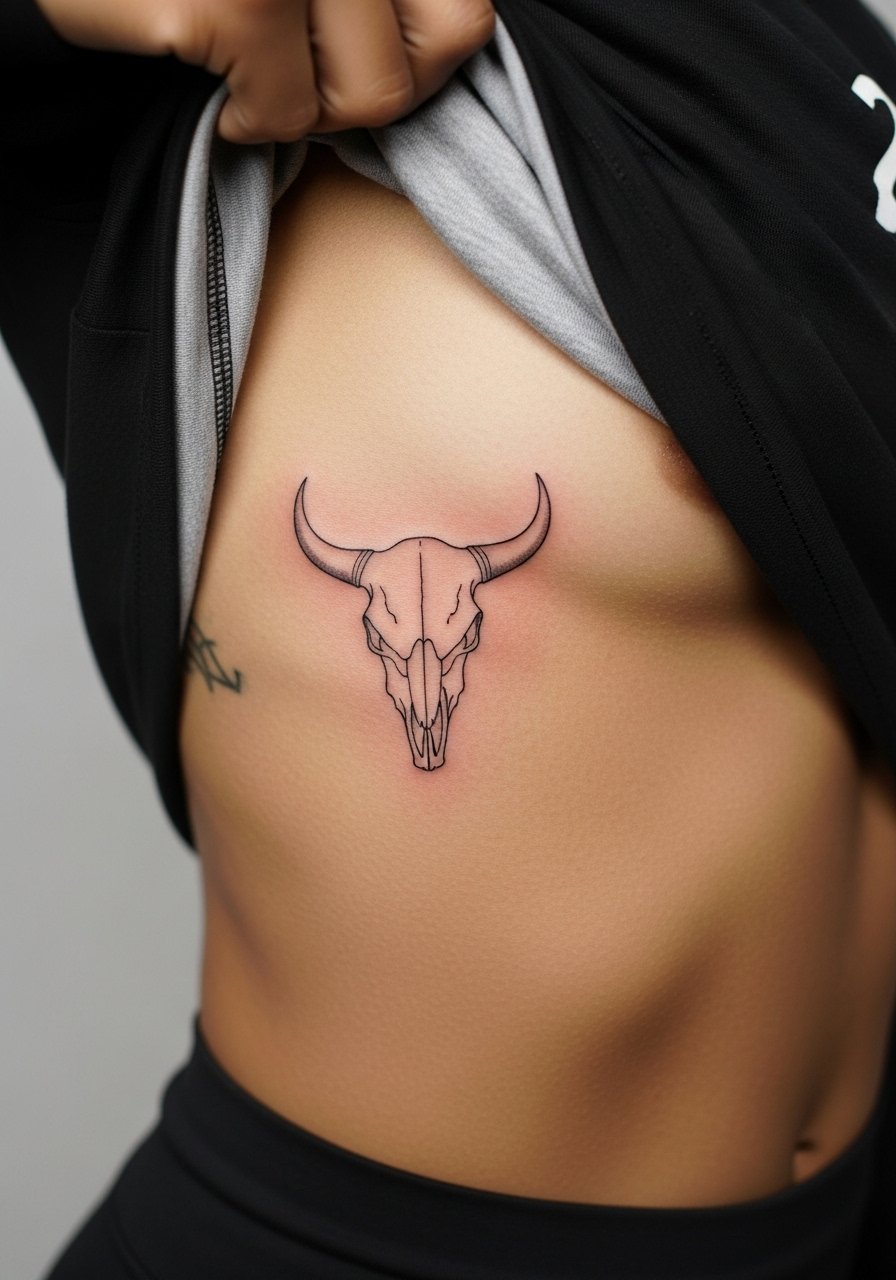
Rib and sternum-adjacent micro skulls feel private and dramatic. Fair warning, the ribs are higher on the pain scale, and the skin stretches differently over time. In consultation, ask for a design with intentional whitespace so the horns and eye sockets do not sit too close. One common mistake is shrinking a complex reference down without simplifying, which leads to blurring. Expect a longer session because positioning and breathing breaks are needed. For the appointment, wear a cropped top or sports bra so the artist has clean access.
6. Micro Bull Skull on the Outer Forearm, Stipple Shading
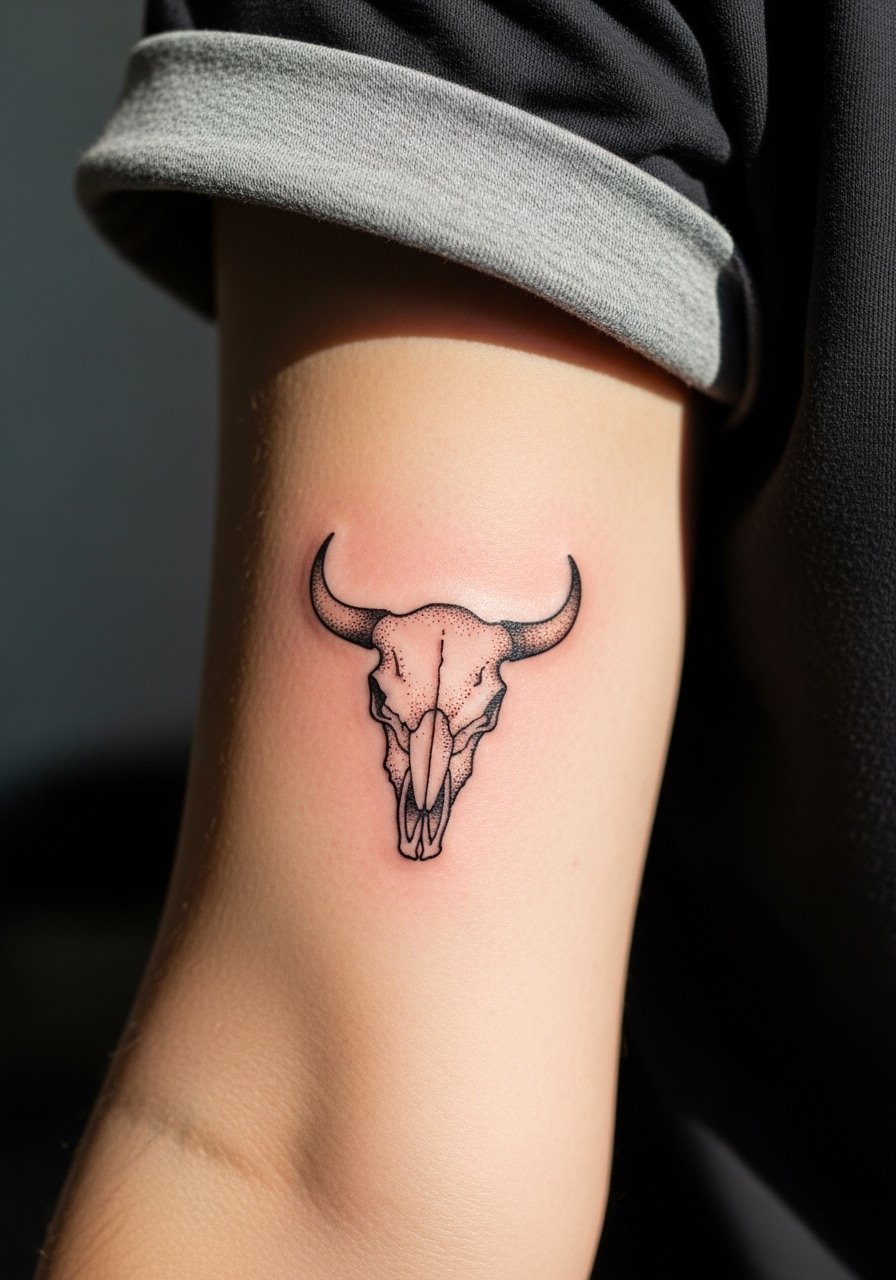
The outer forearm is forgiving for micro detail and shows well in everyday interactions. I often recommend stipple shading beneath the skull to keep the piece airy and to reduce contrast that can harden into a blotchy patch with age. Tell your artist to use a slightly looser stipple pattern so dots have room to breathe. People sometimes ask for heavy saturation for instant impact. That becomes a dense patch that attracts sun damage. For showing the tattoo during warm months, pair with a rolled sleeve linen shirt to frame the work without overpowering it.
Studio Day Picks
The wrist, ankle, and forearm pieces above need different session prep than chest or rib work, and a few small items make the chair time and first week easier.
-
Stencil transfer paper kit. Useful for previewing exact placement on small curves, especially for wrist and finger skulls.
-
Topical numbing cream. Apply per package directions before an ankle or rib session to manage short bursts of sharp pain without compromising linework.
-
Thin protective film roll. Keeps micro wrist and finger tattoos clean during the early days of frequent hand washing.
-
Fragrance free gentle body wash. Cleanses sensitive tattoo zones without stripping the subtle stipple and dot work on forearms and ankles.
-
Aquaphor healing ointment. Thin layers in the first days help protect fine line channels while you sleep.
7. Micro Bull Skull at the Nape, Back of Neck

A nape placement reads bold when hair is up and discreet when hair is down. Session feels quick but needs steady posture and short breaks. Tell the artist you want slightly heavier outer linework to compensate for movement and occasional rubbing from collars. A mistake is asking for dense inner detail that the small neck area cannot keep. Expect a touch-up at year two depending on sun exposure and hair products. For styling, high ponytails or crew-neck tops make the skull peek like jewelry.
8. Micro Bull Skull on the Inner Bicep

Inner bicep skin is soft and forgiving, which makes fine detail hold surprisingly well if the artist uses steady hand pressure. The session is moderate in pain and often requires the arm to be held in position. Tell your artist you want the horns angled so the skull reads when the arm hangs naturally. People often put too much micro texture here and wonder why it looks muddy later. For the session, wear a loose tank top so the artist can access the area without tugging fabric or compressing skin.
9. Micro Bull Skull on the Behind-the-Knee Area

Behind the knee is an unexpected spot that gives a strong peek when bending. The skin is mobile and the area moves a lot, so tell your artist to keep the design simple with fewer tight curves. The typical mistake is packing in dots for shading. That can smear as the skin flexes. Expect higher touch-up needs and be prepared for a little itchiness during healing. For the appointment, choose loose shorts you can hike up without pressure against the fresh ink.
10. Micro Bull Skull on the Calf with Geometric Frame
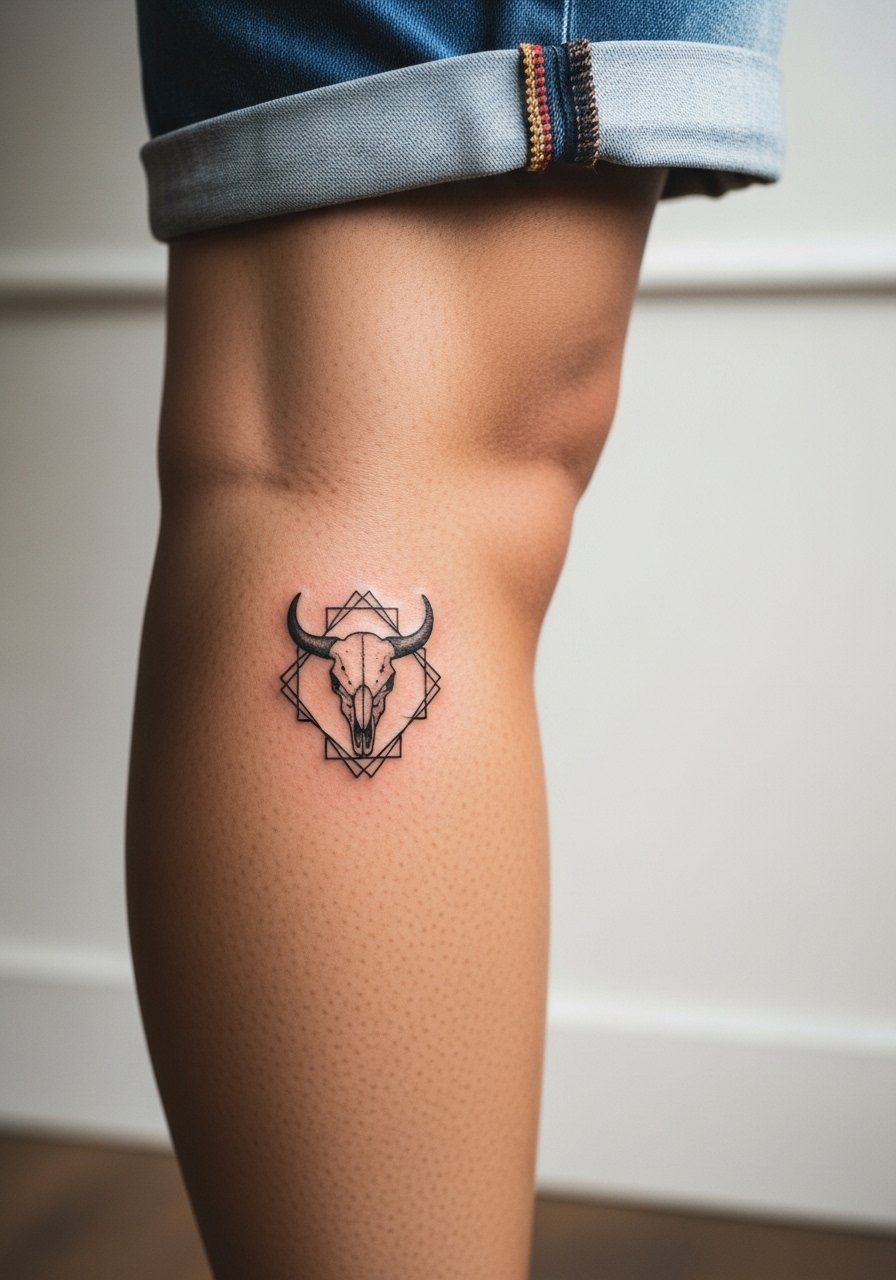
The calf gives vertical space for a micro skull to sit inside a tiny triangle or circle which helps the eye focus. I recommend subtle geometric frames because they preserve negative space and age consistently. A common aging issue is high contrast filled frames that attract sun and fade unevenly. Tell your artist you want light frame saturation and a touch-up plan at year three. For showing it off, pair with high-waisted shorts or low boots that reveal the calf when you walk.
11. Micro Bull Skull on the Shoulder Cap

Shoulder caps tolerate micro work well because the area is relatively flat and protected from constant friction. The session is comfortable for most clients. Ask for slightly firmer outer lines and simplified inner cavities so the skull keeps definition as the skin stretches with movement. A mistake is cramming too many tiny cracks in the skull. They fuse into indistinct shading over time. For the session, wear a loose button-down you can pull aside, and consider a loose button-down shirt so the artist has easy access.
12. Micro Bull Skull on the Side Hip, High-Waist Friendly
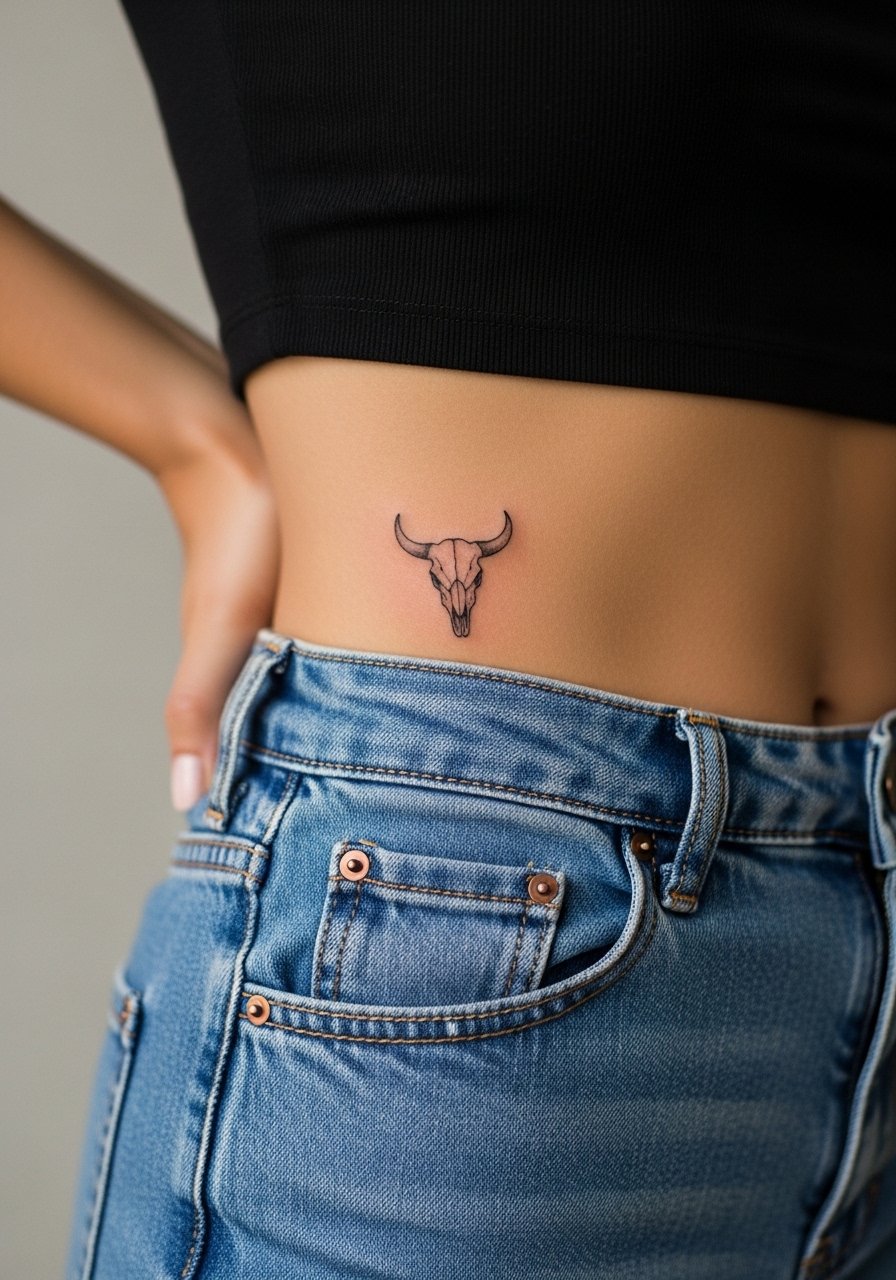
Hips let micro pieces hide under clothing and reveal when you want. The skin can be slightly softer, so the artist should plan needle depth accordingly. A common mistake is scaling a complex skull reference down without removing tiny filler lines. That detail disappears within a year. For the session, wear high-waisted bottoms you can shift without rubbing the new tattoo. For evenings out after healing, the design pairs with low-rise or hip-exposing jeans that let the skull peek above a waistband.
13. Micro Bull Skull on the Collarbone Edge

Collarbones show micro designs sharply because the bone gives rigid support for clean linework. The session may be more sensitive due to thin tissue over bone. Tell your artist to keep inner detail minimal and let negative space form the eye sockets. The usual error is adding heavy shading that looks patchy as it heals. Ask for a gentle touch and plan on a touch-up at year three if you spend a lot of time in sun. For styling, open-neck tops let the skull sit almost like jewelry.
14. Micro Bull Skull on the Outer Hand Back
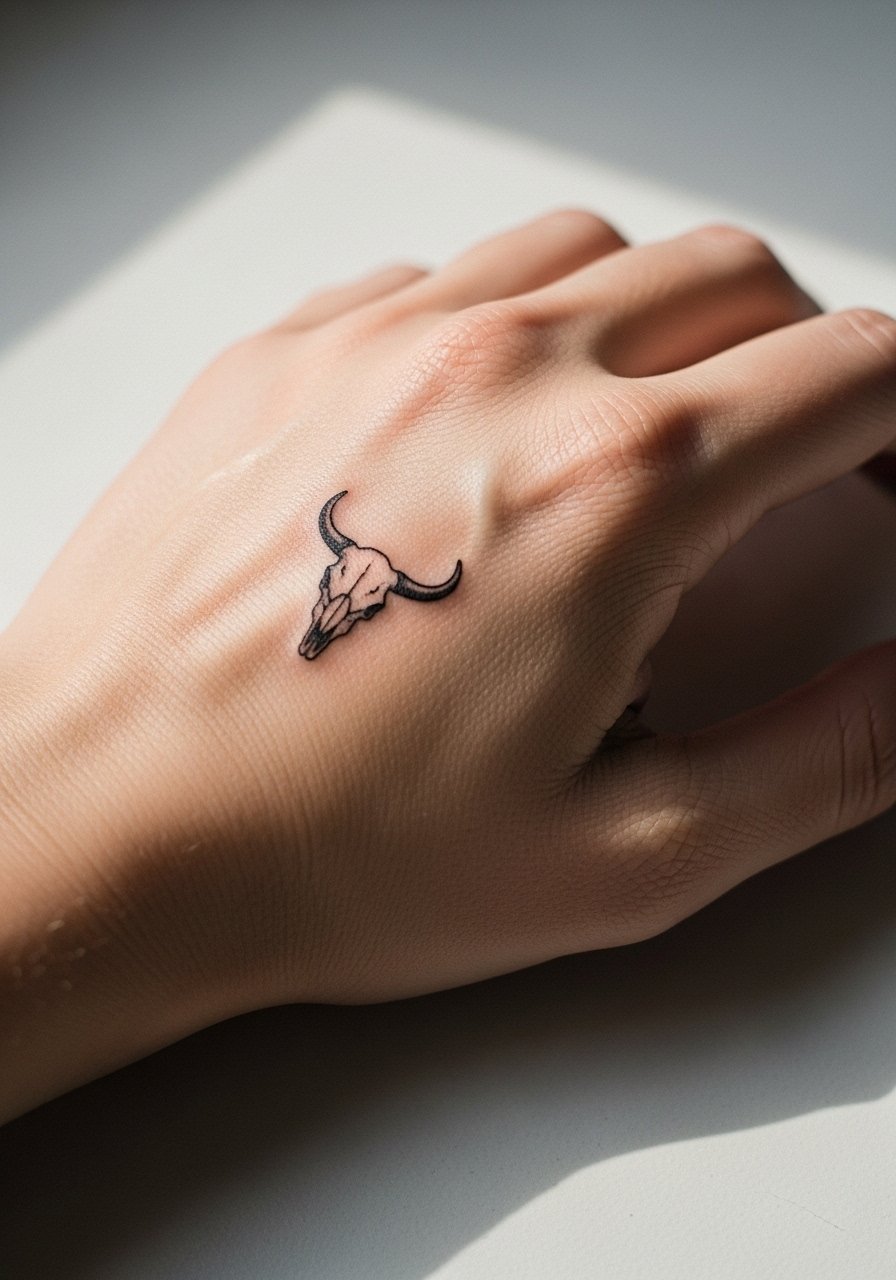
Hand tattoos are high visibility and high maintenance. The skin on hands regenerates rapidly and sees constant washing, so tiny details can blur fast. Artists split on hand micro work. One camp says avoid fine line on hands because touch-ups become frequent. The other camp says bolder contours and conservative inner detail survive better. Tell your artist you want bold outer linework and simplified shading. Expect a touch-up as early as year one. For showing this piece, avoid tight rings during healing to reduce friction and swelling.
15. Micro Bull Skull on the Inner Thigh

Inner thigh placements carry privacy and need an artist comfortable with softer flesh. The session is moderate pain and often requires some repositioning. Tell your artist you want the skull to breathe with negative margins so fabric friction from underwear does not abrade the design. A mistake is dense texturing that rubs off as clothes glide. Plan for a longer healing window and wear loose bottoms after the session. For appointment day, bring loose shorts or a wrap skirt so the artist can access the area easily.
16. Micro Bull Skull on the Temple, Side Face Framing
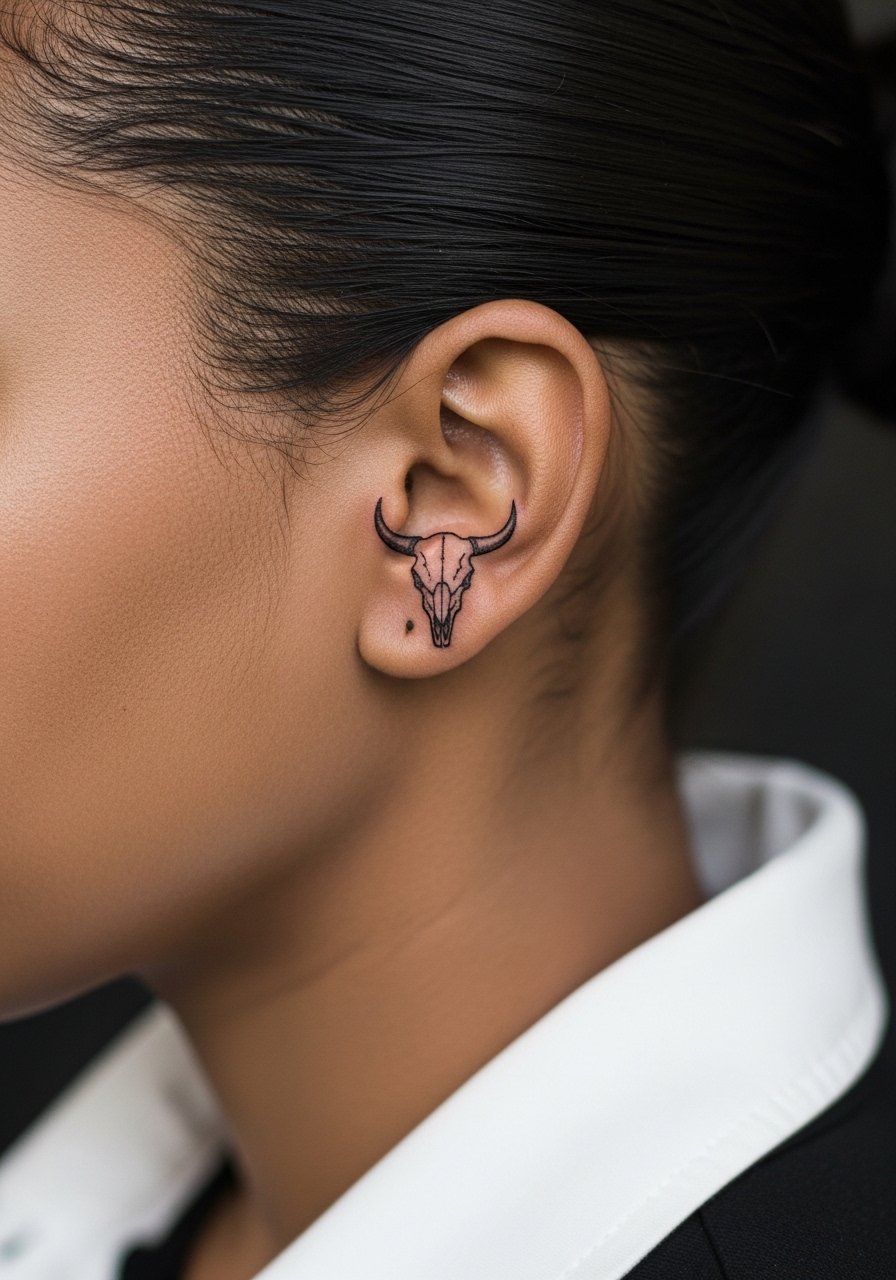
Facial-adjacent work requires careful career and social consideration and an artist experienced with small face placements. The skin is thin and moves with expression, so ask the artist how their lines have lasted on the temple. The common mistake is underestimating touch-up frequency and sun exposure. Expect a very conservative design and the need for specialized aftercare from the pro. For styling, pulled-back hair or small hoops frame the area without competing.
17. Micro Bull Skull on the Mid-Thigh Outer
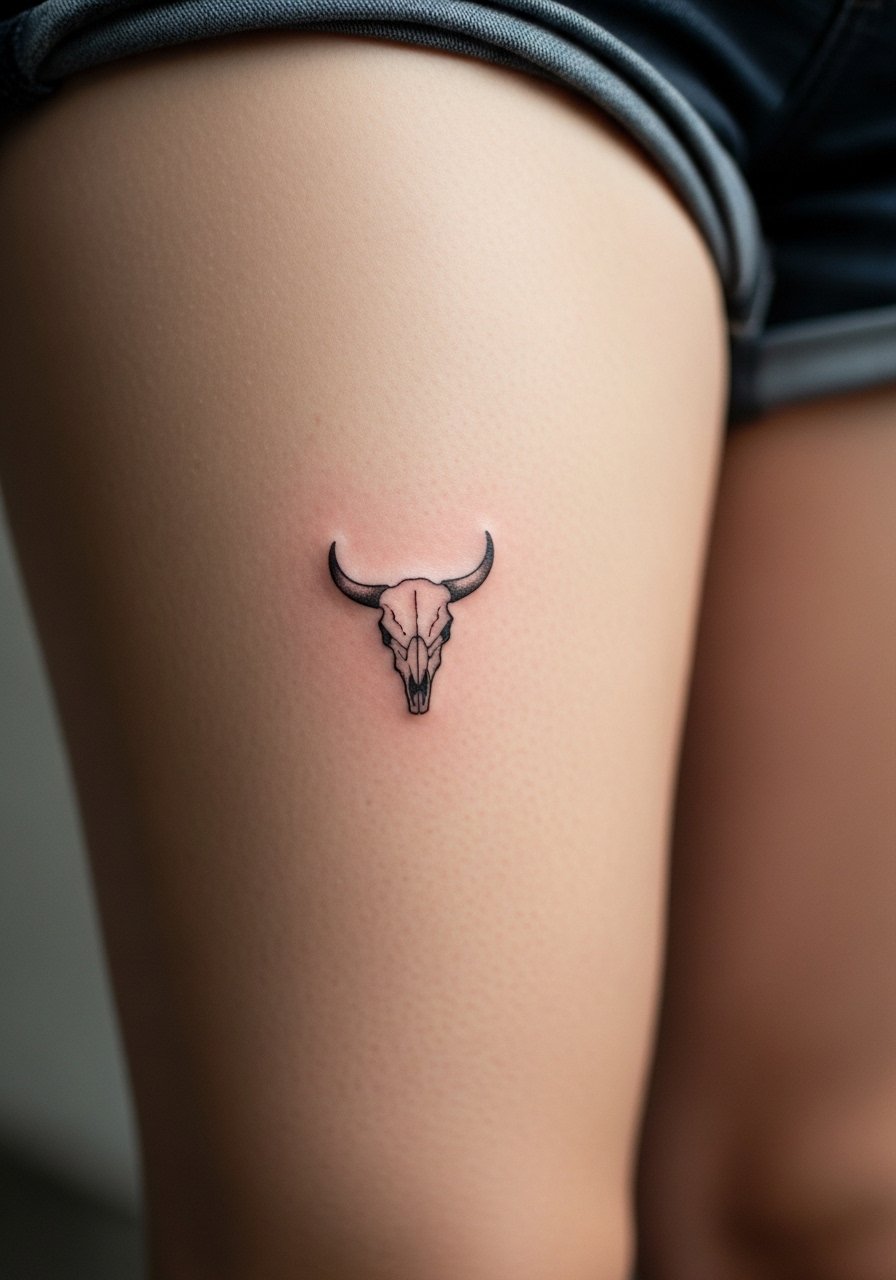
The mid-thigh gives a broad canvas even for micro work and is forgiving of touch-ups. I recommend adding a faint dotted shadow under the skull to lift the design visually without adding heavy saturation. A common mistake is over-inking the undersurface which can look dense when clothes rub. Session comfort is high here and the tattoo often needs fewer early touch-ups. For showing it off, pair with flowy skirts or shorts that let the thigh peek naturally.
18. Micro Bull Skull on the Lower Back, Tiny Centered

Lower back micro pieces are private and easy to conceal. The skin is flat when you bend slightly which helps linework sit evenly. A common mistake is placing the skull too low near the waistband where constant fabric pressure dulls lines. Ask for placement closer to the center of the lower back and keep inner detail minimal. Expect a single-session outcome and low maintenance beyond basic sun protection. For the session, wear clothing you can lower slightly without exposing more skin than necessary.
19. Micro Bull Skull with Tiny Floral Accents on the Wrist Wrap

Wrapping tiny florals around a micro skull softens the motif while keeping the skull fierce. The key is scale control. Tell your artist to use spaced dot work for the leaves and small negative gaps between petals so the design does not turn into a solid band. A common mistake is densifying every petal which then blurs into a thicker ring with time. For a styled look, stack with a minimalist watch band that does not press against the fresh ink.
20. Micro Bull Skull in Micro-Realism Behind the Ear Line

Micro-realism asks for tiny tonal shifts rather than heavy outlines, which is a challenge behind the ear because of curvature. Ask your artist for simplified micro-realism with clear negative space and minimal midtone fills. The usual problem is too many tiny gradients that lose separation as the skin ages. Scheduling a follow-up touch-up at year two is realistic. For the session, wear hair tied up and bring a small clip to keep hair out of the way.
21. Tiny Bull Skull Tattoo as a Couple of Teeth Motif on the Wrist
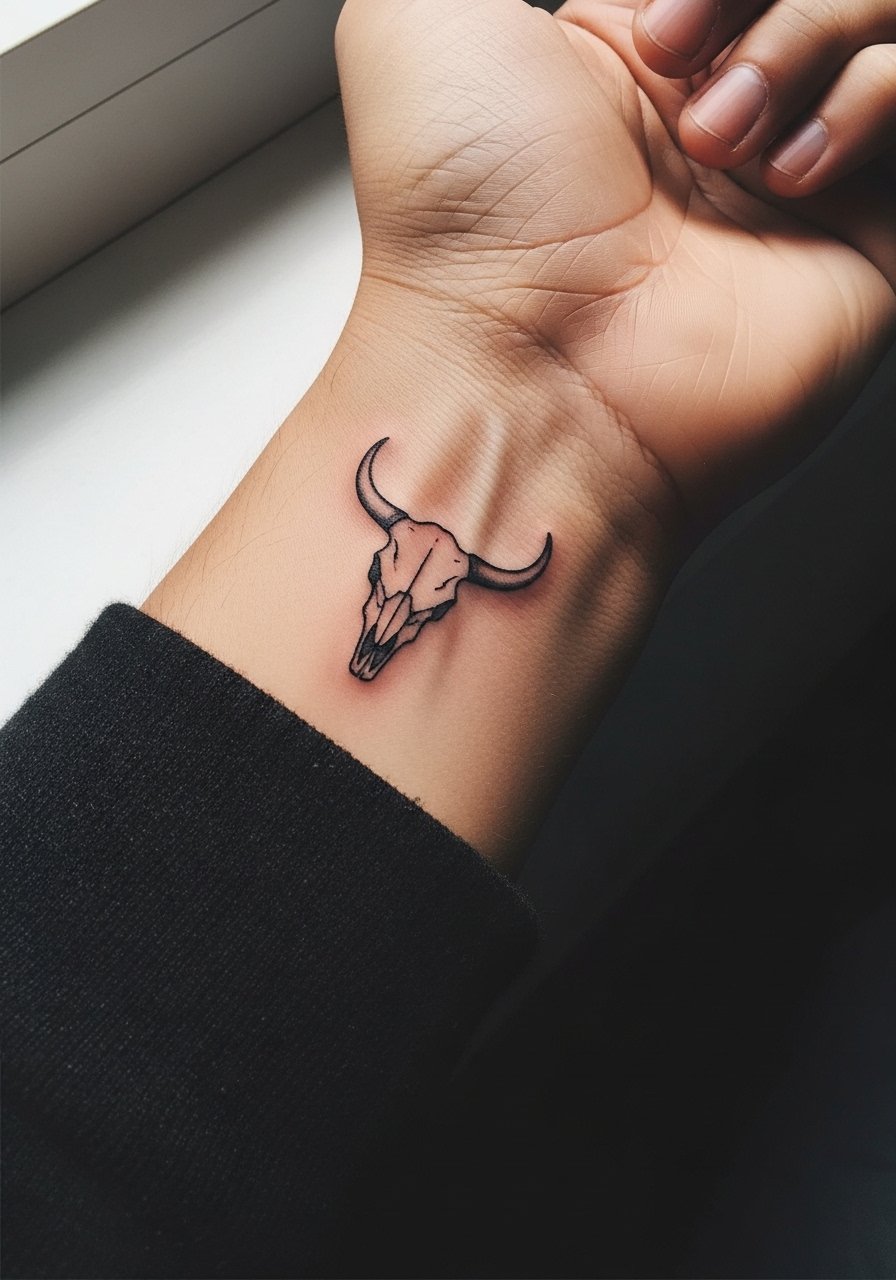
When the skull is reduced to a minimal motif like just the lower teeth and jawline, the suggestion is stronger than literal representation. This works for people who want the idea of a bull skull without a full icon. Tell the artist you prefer implied negative space over explicit teeth shading. A common mistake is trying to add minute shading around the teeth, which blurs. The session is quick and the result ages well if the lines are a touch bolder than the absolute smallest needle. Pair it with stacked thin bracelets for a curated wrist look.
Frequently Asked Questions
Q: Will fine line micro bull skulls blur faster on darker skin tones?
A: From what I've seen, micro detail can be more sensitive to contrast on darker skin tones because subtle dot work needs room to show. The fix is to ask for slightly stronger outer lines, more negative space, and to pick an artist experienced in fine line on diverse skin. Ask to see healed photos on similar tones in their portfolio.
Q: How long should I expect before a touch-up for a wrist or finger micro skull?
A: Expect earlier touch-ups for hands and fingers, often around year one to year two. Wrists are a bit kinder and many last two to three years before a noticeable softening. The timeline depends on sun exposure, friction, and how conservative the original detail was.
Q: Are there style choices that make micro skulls age better on ribs and sternum?
A: Yes. Simplifying inner detail and increasing negative space around horns helps ribs and sternum hold definition as skin stretches. Also discuss with the artist whether slightly heavier outlines are appropriate. Keep in mind the controversy among artists about fine line on ribs, and ask which camp your artist practices with before booking.
Q: What should I wear to the studio for a thigh or hip micro skull session?
A: Wear loose shorts or a wrap skirt so the artist can access the area without tugging fabric. A loose drawstring linen pant can work for thigh pieces because you can roll the leg up easily and remain comfortable.
Q: Can a micro bull skull be expanded later into a larger piece?
A: Yes. A micro skull can serve as a seed for a larger composition, but plan placement and orientation with future expansion in mind. Keep surrounding skin free of heavy saturation so the artist can add elements without covering dense patches.
Q: How do I find the right artist if I want micro-realism for a tiny bull skull?
A: Look for portfolios with clear healed photos of micro-realism on similar placements. Use discovery pathways like local shop directories, tattoo hashtags focusing on micro-realism, and community boards. Schedule a consultation and ask to see healed work rather than only fresh photos.
