
Fine line spider logos and tiny Phantom Troupe nods are everywhere on saved boards right now, but the pieces that still look deliberate in year three are the ones designed with aging in mind. Small, soft HxH spider tattoos ask for deliberate spacing, the right placement, and outfit choices that show them off without wearing them down. Below are 27 gentle, fan-friendly takes, each with what to ask your artist, what to avoid, and how to wear the result.
1. Fine Line Spider Symbol on Inner Wrist
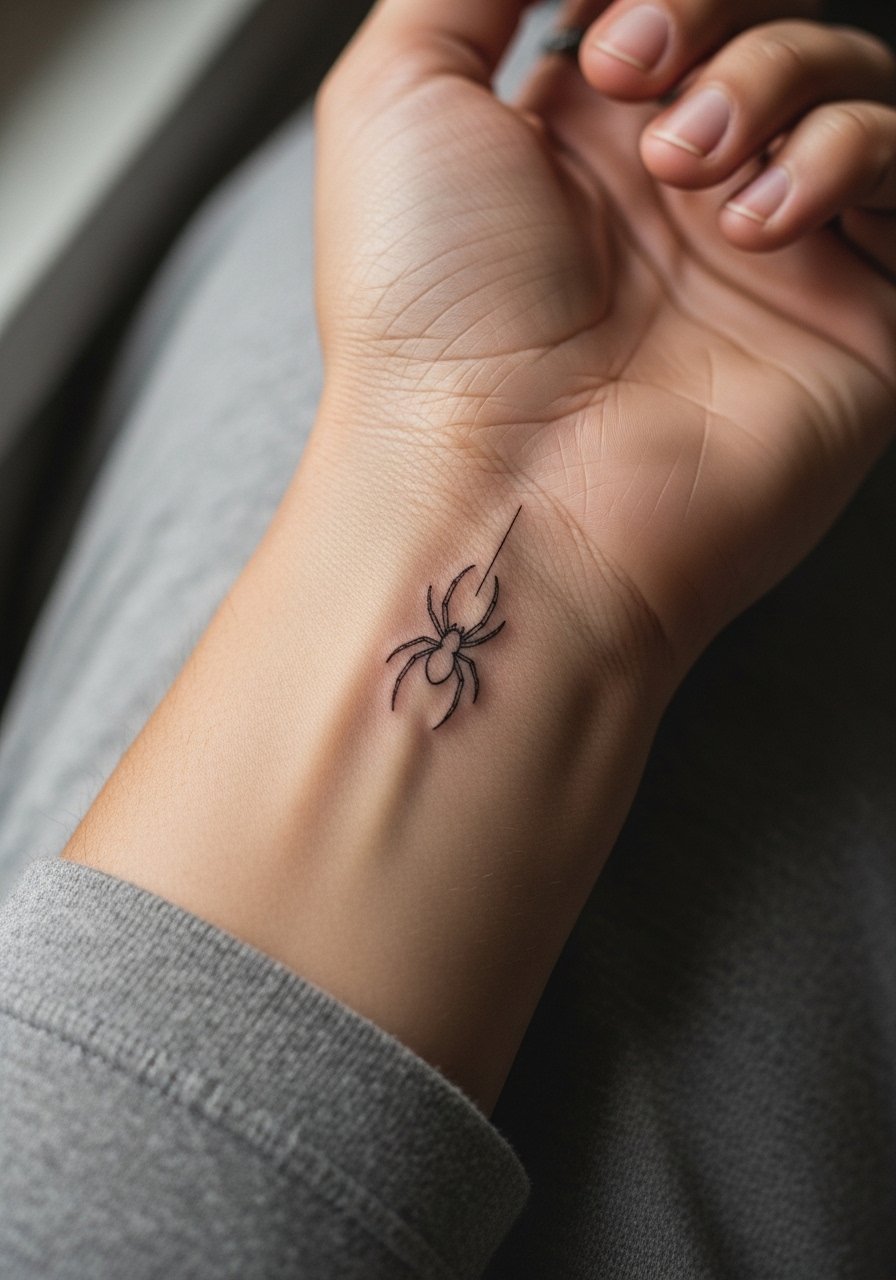
I bring this up first because the inner wrist reads as a private emblem for many HxH fans. Ask for slightly bolder fine line than the thinnest needle, and request the spider measure around 0.75 to 1 inch so the legs do not blur into one another over time. A common mistake is asking for ultra-micro detail that looks fragile after a year. Pain here is low to moderate and the session usually runs under an hour. For showing it off, pair the piece with a thin chain pendant necklace or stacked dainty bracelets that frame the wrist without rubbing the fresh ink.
2. Minimalist Phantom Troupe Spider Outline on Ankle
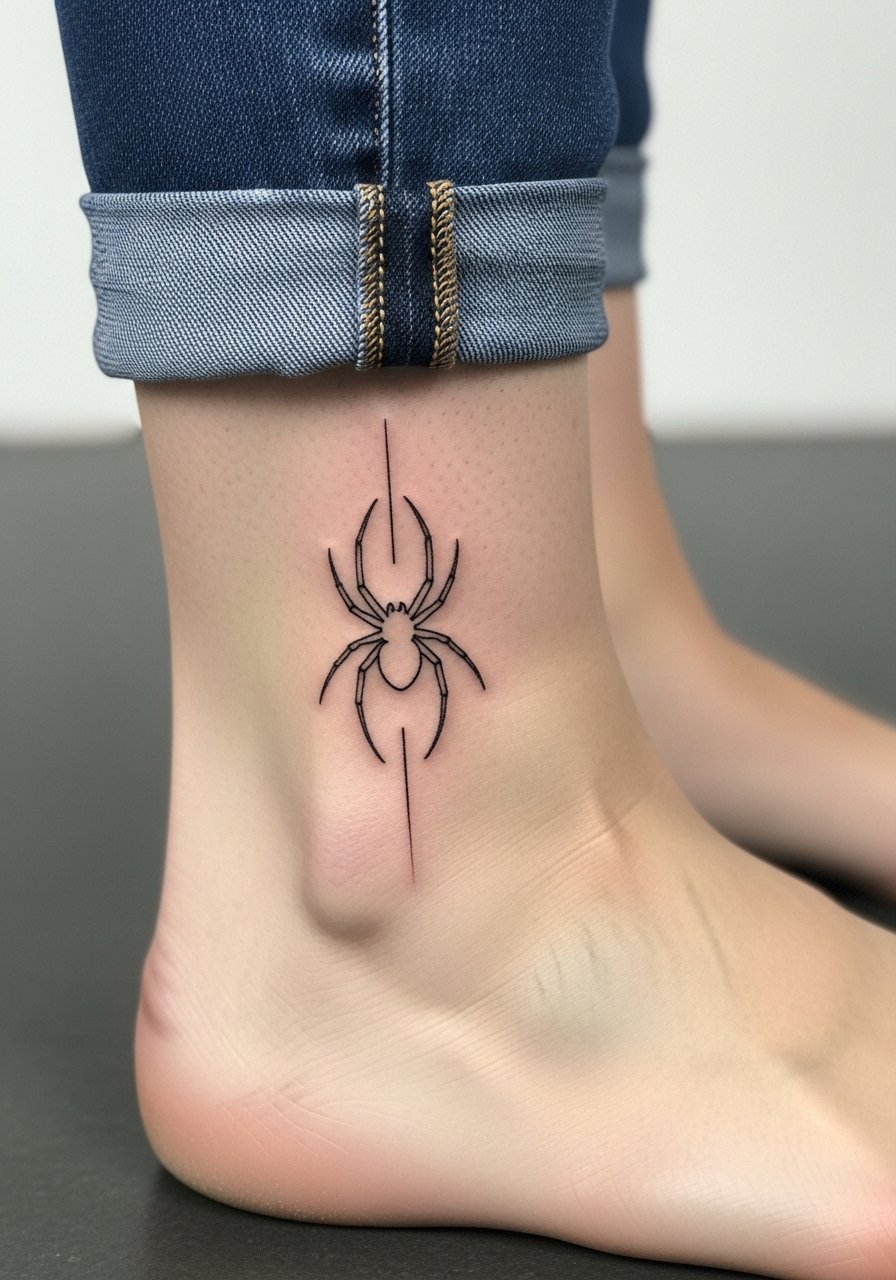
Ankle pieces hide well and age surprisingly fast if you pick the wrong spot. Request a simple outline with open negative space so the legs maintain separation as the skin responds to friction. The biggest mistake is placing the spider where shoe straps rub the design. Expect moderate pain and a short session. For weekend looks, roll your jeans and wear strappy sandals to let the tattoo peek through without constant abrasion.
3. Soft Micro-Spider on Collarbone
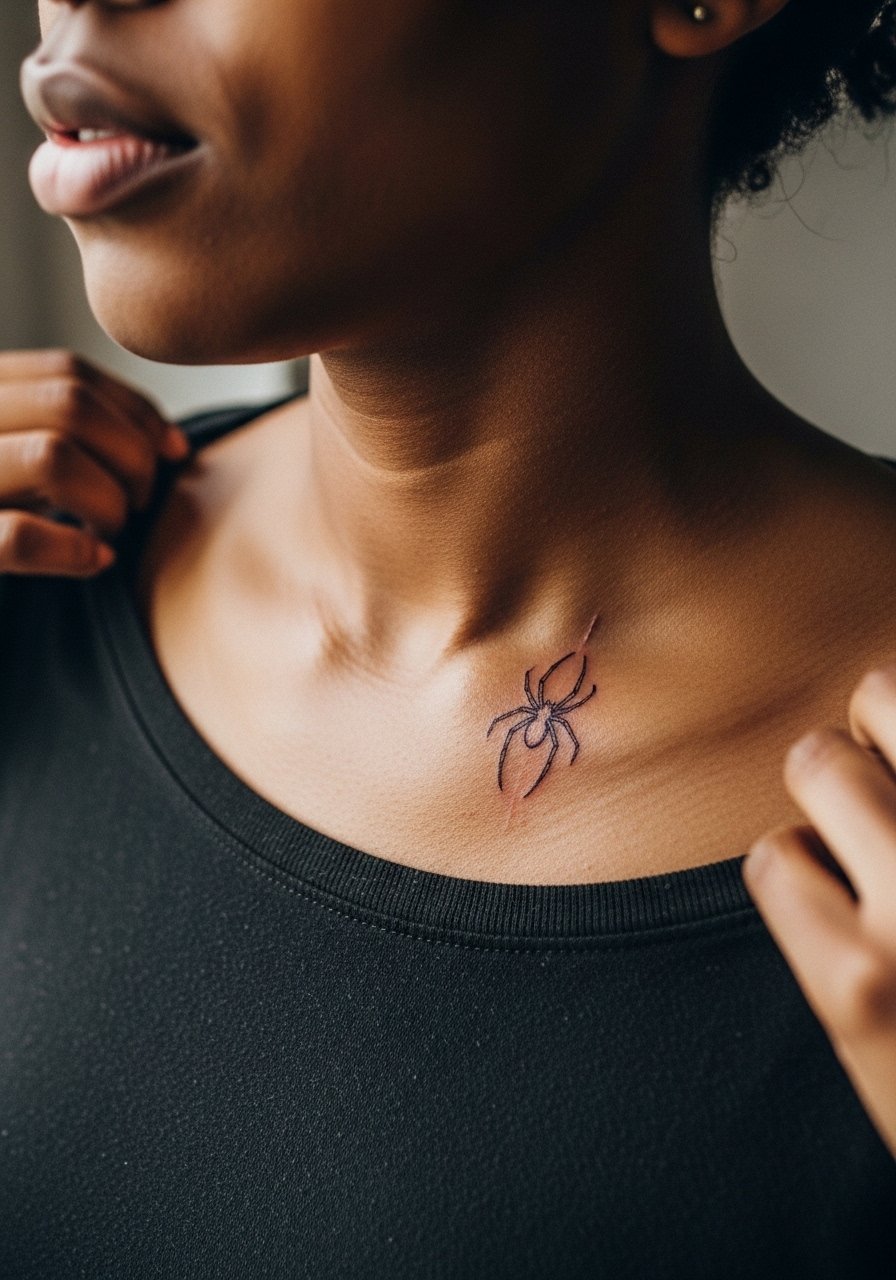
Collarbone tattoos hold an intimate energy, and I often tell people small shifts in placement change the whole vibe. Ask the artist to map the design while you stand so the spider sits on the flatter part of the clavicle. Micro shading works here, but avoid dense dots packed into a tiny space. The session is quick and pain ranges moderate to sharp depending on bone proximity. For outfits that complement without covering, try an open-back midi dress or a wide-neck tee so the piece reads like a deliberate accent.
4. Spider With Web Bracelet Around Wrist
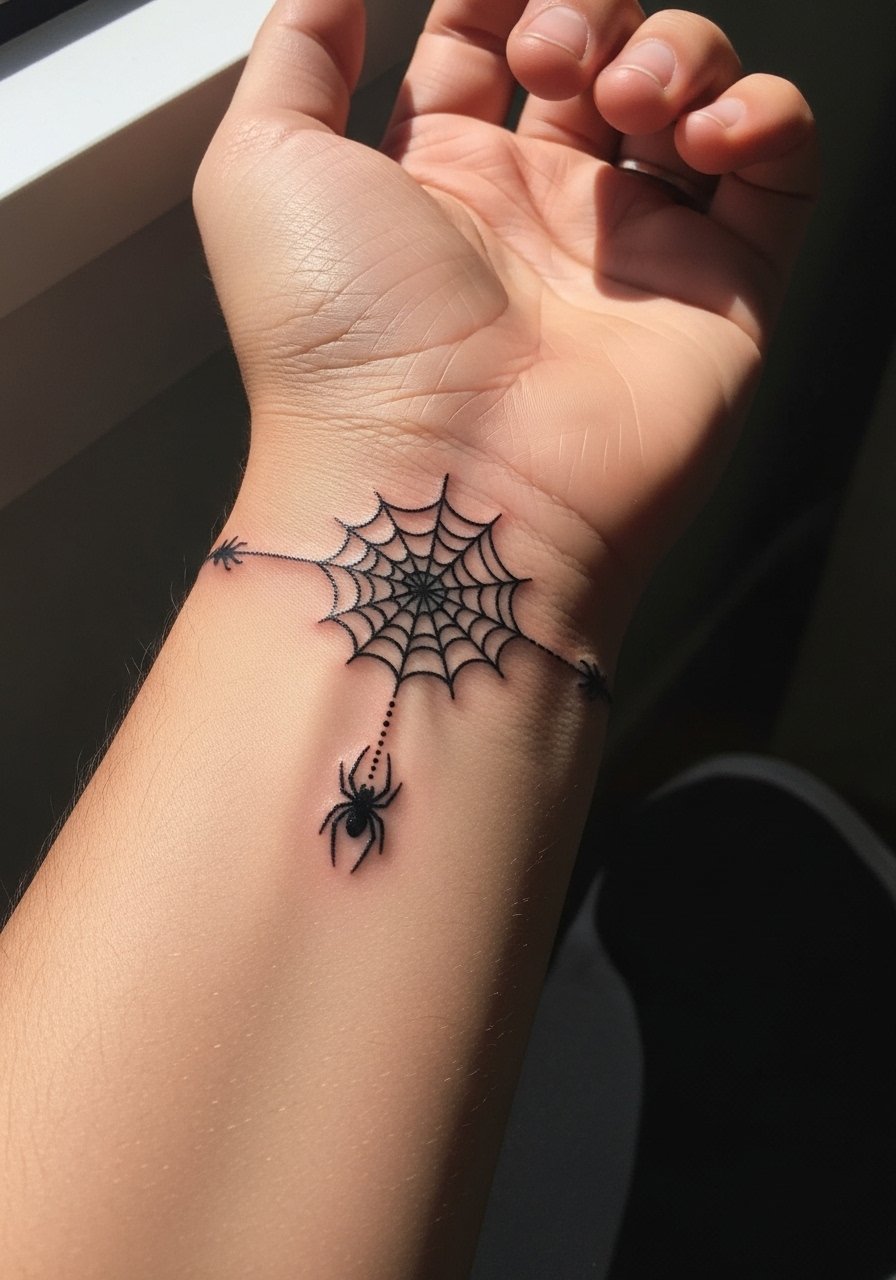
This bracelet concept lets you wear the motif like jewelry. The trick is to keep web lines airy and avoid overworking the skin on such a small circumference. A common error is asking for heavy dotwork across the band, which can become muddy as the skin shifts. Expect a longer one-hour session if dotwork is included. For accessories that complement rather than clutter, layer with stacked dainty bracelets so the tattoo reads as part of an arm-scape.
5. Black & Gray Mini Spider on Inner Forearm
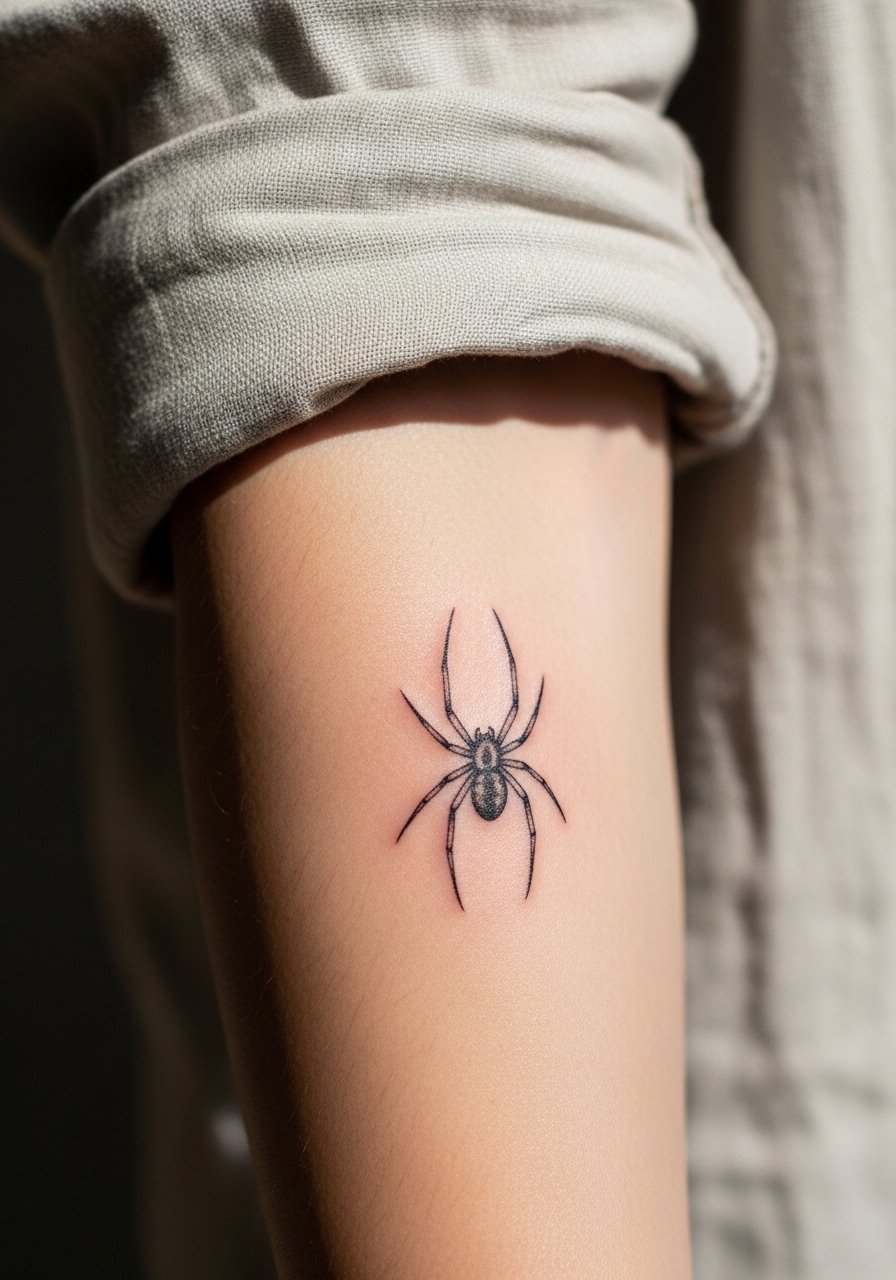
Inner forearm is one of the safest bets for longevity. I recommend soft gray gradients rather than black fill because subtle shading keeps the spider readable without risking heavy saturation that can look blocky later. The session feels easy to sit through and usually takes under an hour. The most common mistake is cramming too many legs into a compact area. For showing this off, roll sleeves up and try a loose button-down shirt so the piece gets daylight without constant coverage.
6. Subtle HxH Spider Tucked Behind the Ear
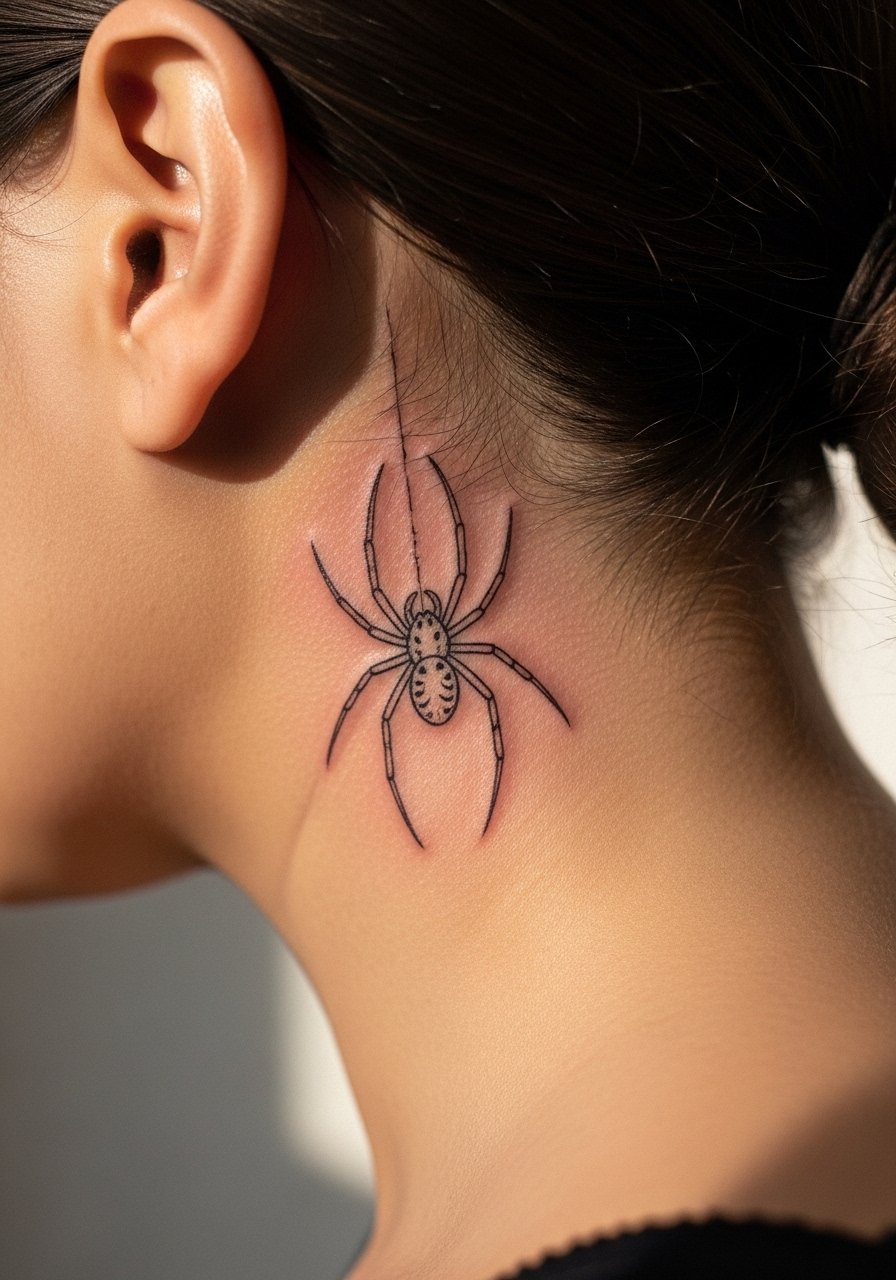
Behind-the-ear pieces feel private and flirtatious when small. Make sure the artist positions the spider on the skin below the hairline rather than directly on cartilage. The session is short and pain is low, but healing can be fussy because hair and shampoo reach the area. For styling, pin your hair up in a ribbon hair clip set to reveal the tattoo when you want it visible.
Pre-Session Essentials
The small wrist, ankle, and collarbone pieces above ask for different prep than larger work, so a few targeted items smooth the day and the first week.
- Stencil transfer paper kit. Lets you preview placement on skin, which helps dial in tiny collarbone and wrist spiders before the needle touches you.
- Topical numbing cream. Useful for ankle sensitivity and behind-ear sessions when you want to stay steady without flinching.
- Silicone protective film roll. Keeps bracelets and straps from sticking to a fresh wrist band while you move during the first days.
- Fragrance-free gentle body wash. Cleans the tattooed zone without irritating delicate fine-line work on the forearm and collarbone.
- Aquaphor healing ointment. Thin layers in the very first days protect micro-line work and reduce scabbing that steals crisp edges.
7. Spider With Dripping or Fading Ink Aesthetic
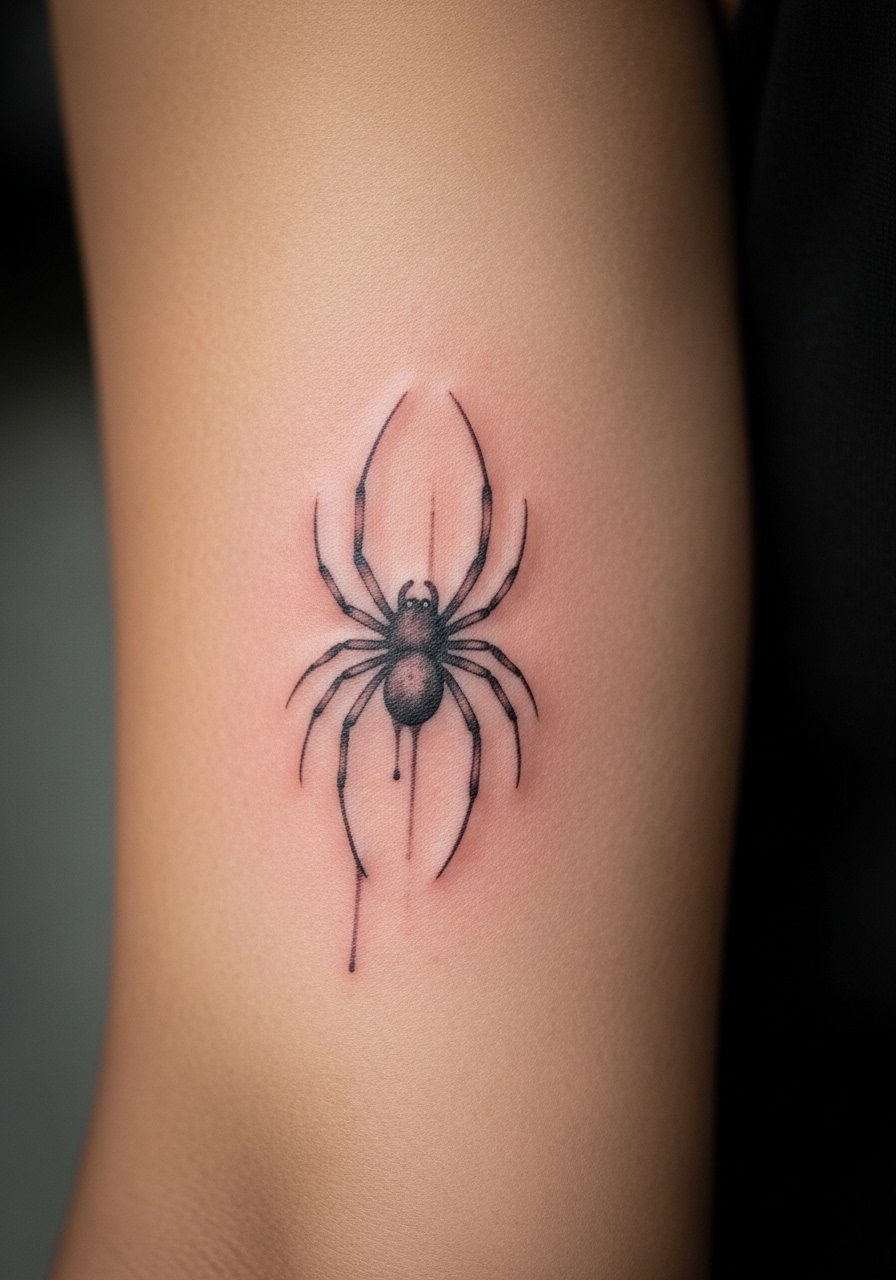
This deliberately imperfect style reads as an art piece more than a logo. When you brief your artist, ask for controlled fading rather than accidental smudging. Artists split on fine line aging and the same split appears here. One side argues that soft, diluted ink prevents harsh aging. The other side warns that too-light washes vanish quickly. Ask your artist how they balance fade with contrast before booking. Expect a slightly longer session than a simple outline because of layering. Wear a loose short-sleeve top to the appointment and bring a sleeve you can pull down as needed.
8. Spider Embedded in a Small Web-Only Inner-Arm Strip
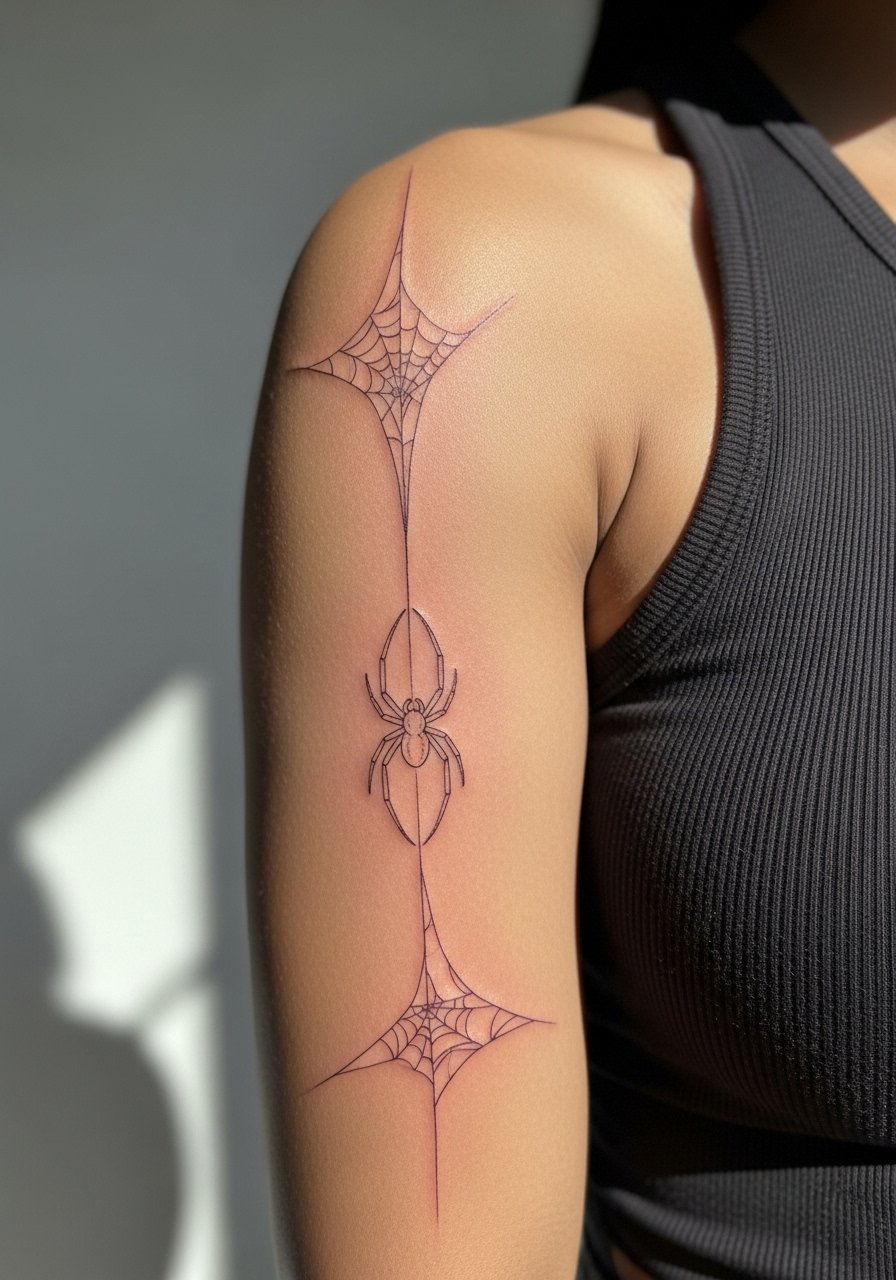
A vertical web strip reads subtle and intentional, and it avoids the "logo" look by being ornamental. Tell your artist to keep web intersections sparse so the piece breathes. A common error is over-detailing small web bands. Pain on the inner arm is moderate but tolerable, and the session can stretch to an hour if dotwork is used. For the session wear, pull on a loose tank top so the artist can raise your arm easily without tugging at clothing.
9. Minimalist Spider Fragment, One Eye Only
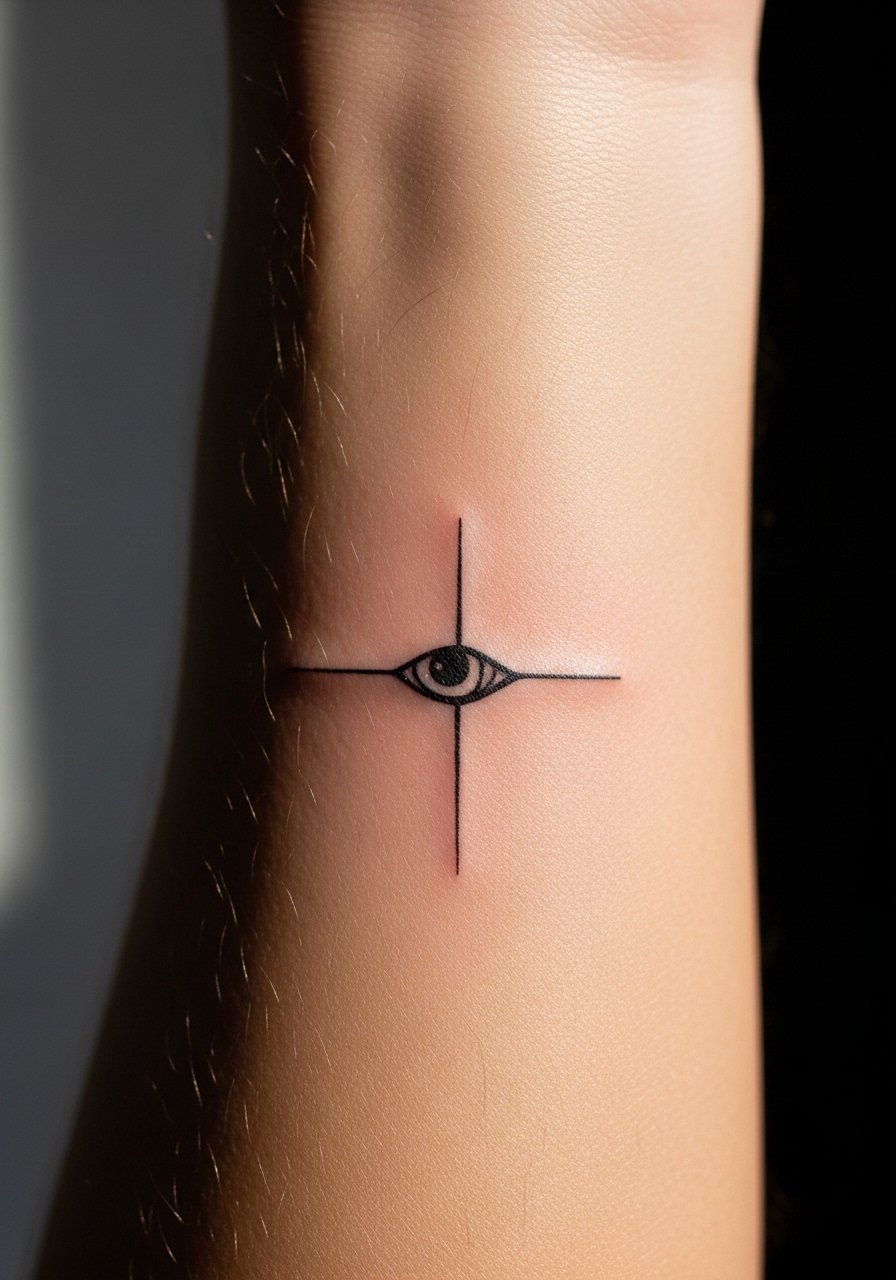
Partial logos keep the HxH reference readable to fans while looking like abstract jewelry to others. Ask for clean negative space and place the fragment where the arm contours support the shape. A frequent mistake is scaling the fragment too small so its meaning dissolves. Expect a short session and low pain. For a subtle reveal, wear a racerback tank or roll sleeves so the fragment peeks from movement.
10. Tiny Spider Nested in a Floral Cluster
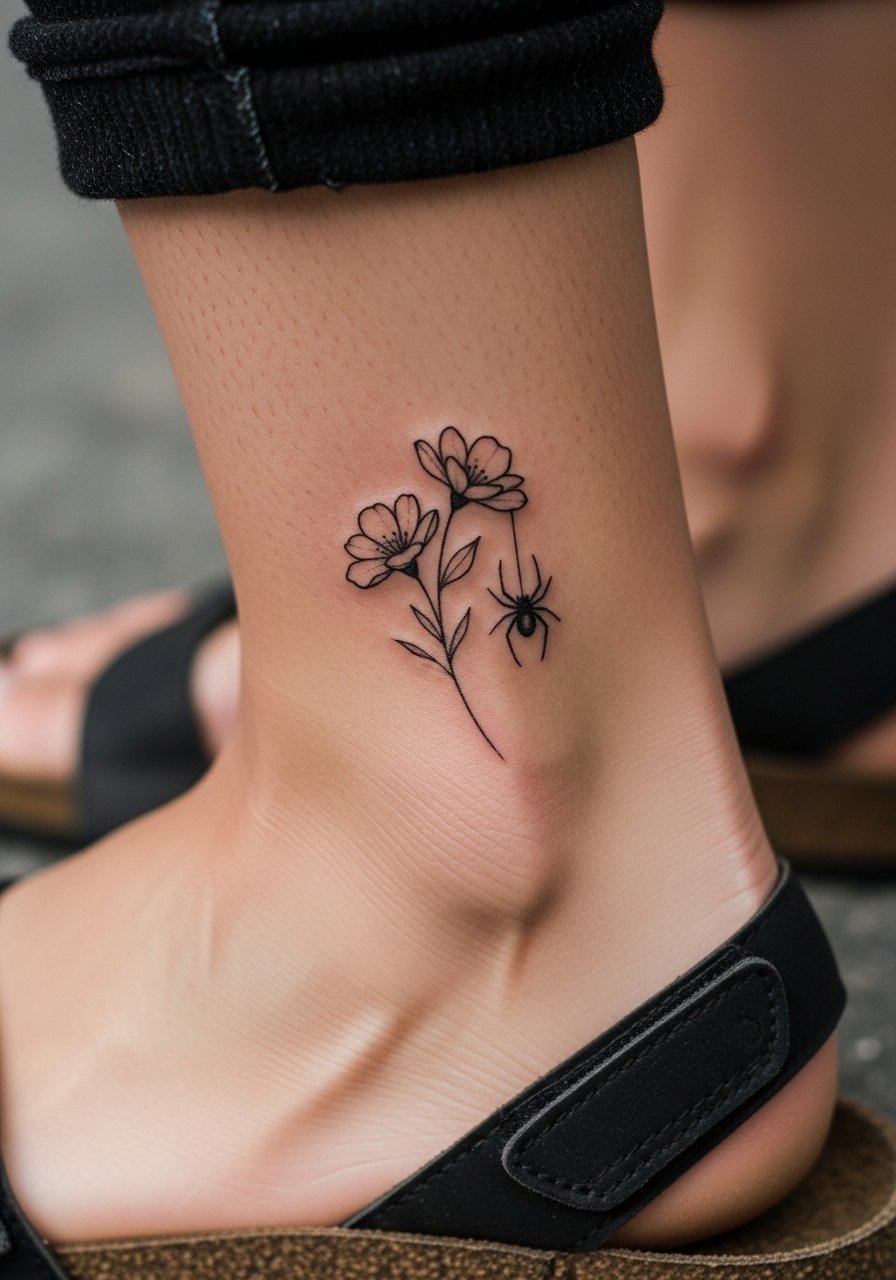
Natural elements soften any symbol that could otherwise read confrontational. Tell your artist which flower you want and where the spider sits relative to the petals. The common mistake is letting floral detail compete with the spider, so keep the flowers graphic and simple. Pain at the ankle is moderate. For showing it off, go for low-rise denim or a flowy ankle skirt that moves without rubbing the piece.
11. Spider Dissolving Into Smoke on the Shoulder
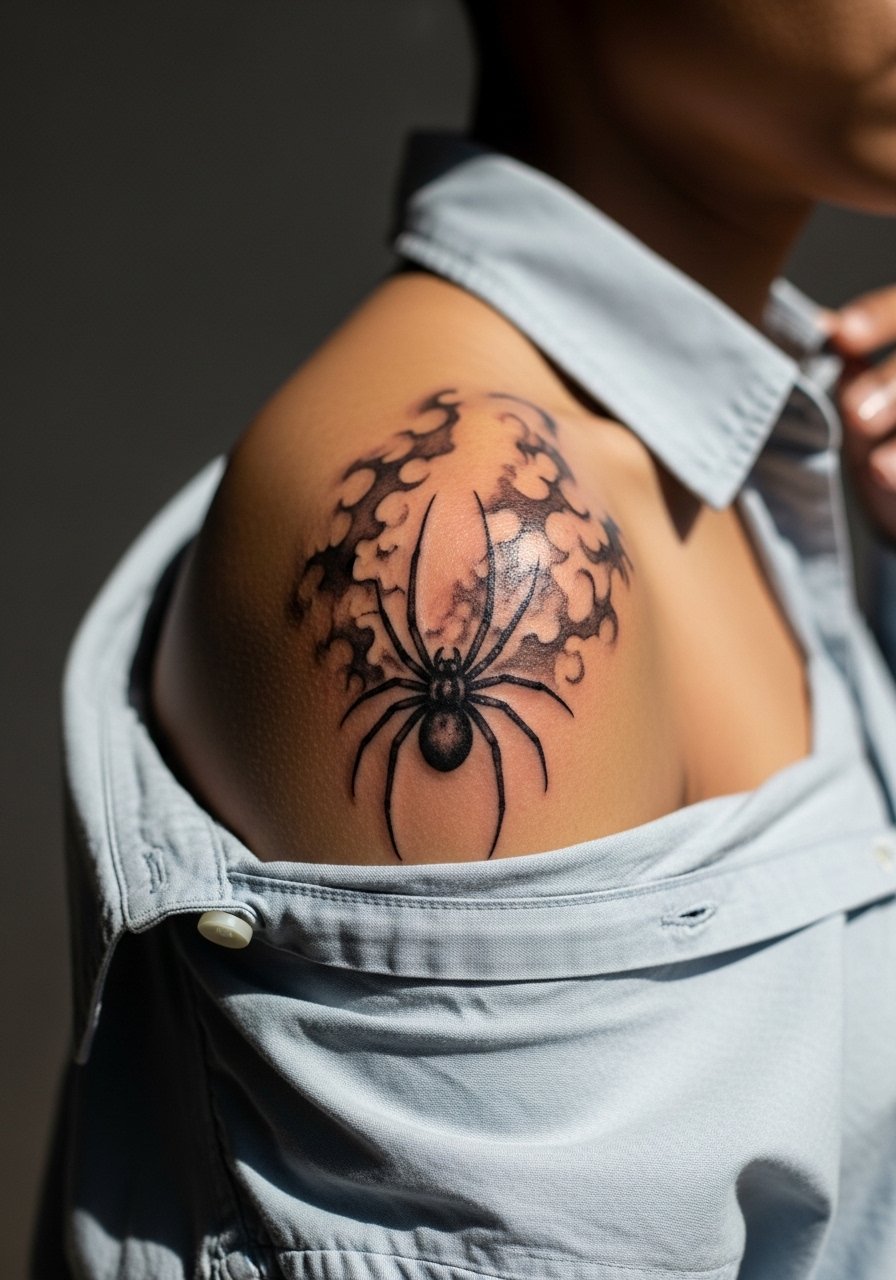
Shoulder pieces have room to breathe and they survive sun better when you plan for coverage. Ask for soft stipple shading to suggest smoke rather than solid shading that can darken over time. Pain is mild to moderate and sessions can be 45 minutes to an hour. If you want to show it during warm months, an open-back tank or loose linen shirt complements the dissipating effect.
12. Hidden Spider Inside a Line-Art Wave Band
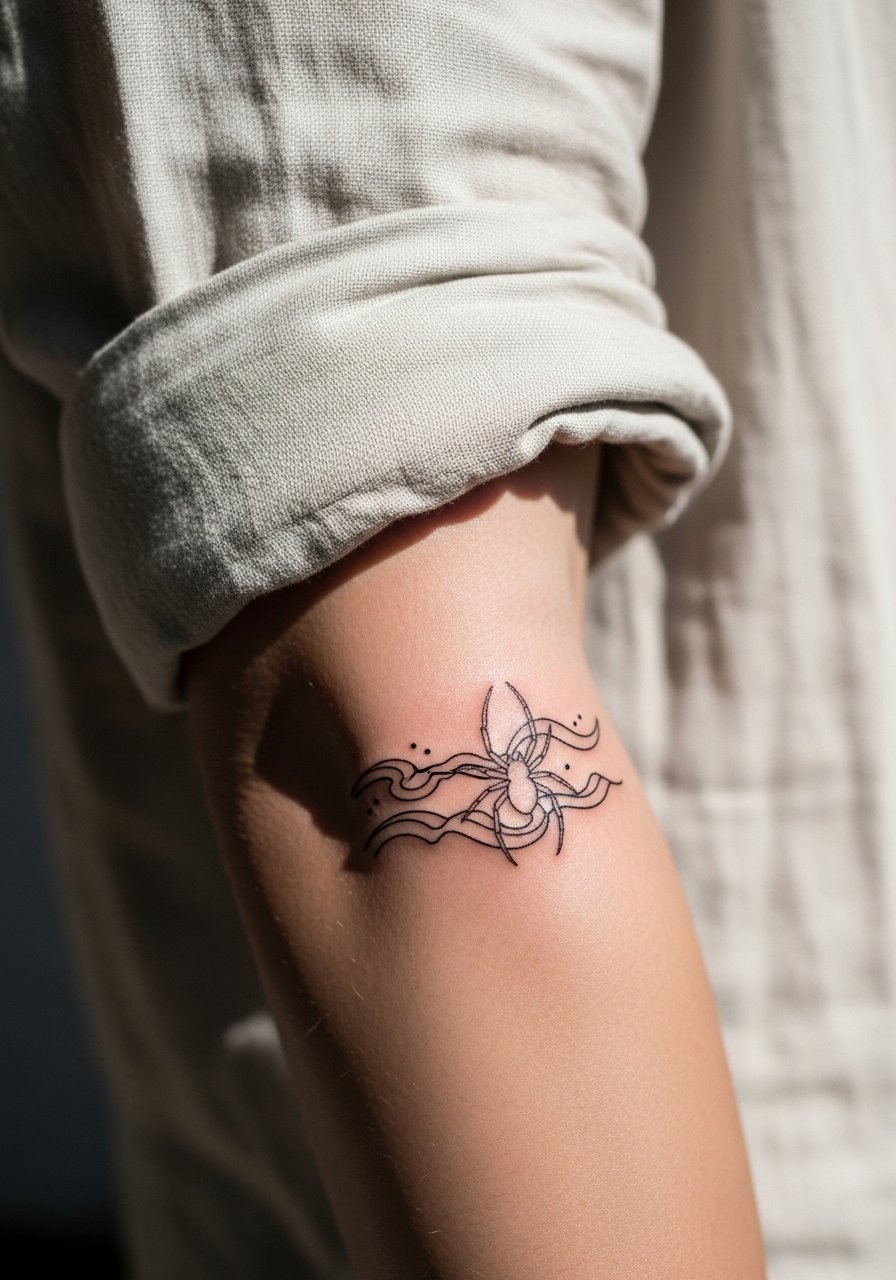
Camouflaged symbols reward fans who look closely. Tell your artist where to tuck the spider so the shape reads when the forearm turns. The biggest mistake is hiding it so well that the mark loses definition. Expect a calm session and low pain. The forearm pairs well with rolled sleeves and a linen button-down to frame the concealed detail.
13. Outline-Only Spider With a Single Red Dot Accent
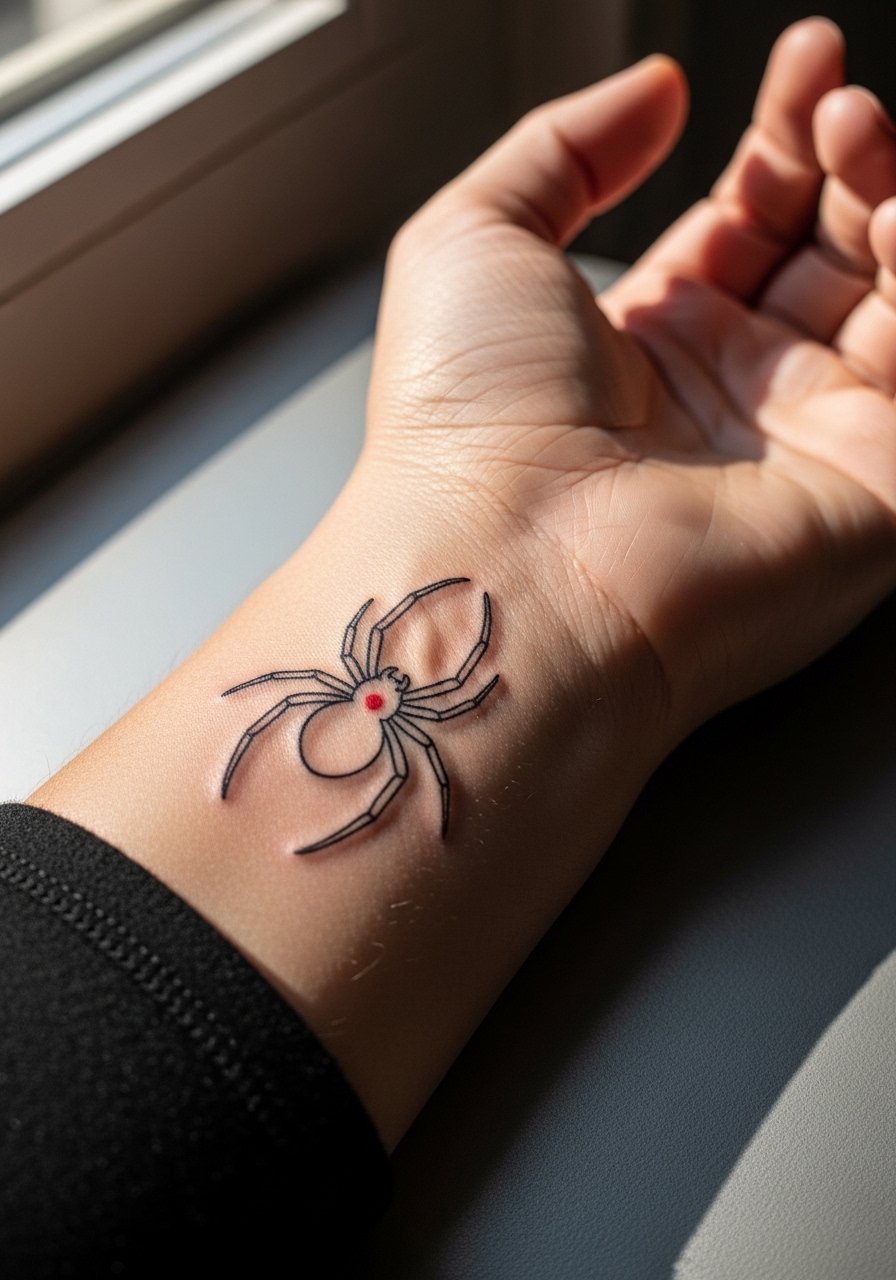
A single red dot can read as style or as an inside symbol for Phantom Troupe red. If you choose color, ask the artist to make the dot tiny and stable in saturation so it does not bleed into surrounding strokes. The common aging mistake is over-saturating a small color spot. Pain and session time are minimal. Pair this with a thin chain pendant necklace to echo the dot without competing.
14. HxH Letters With a Tiny Spider Face
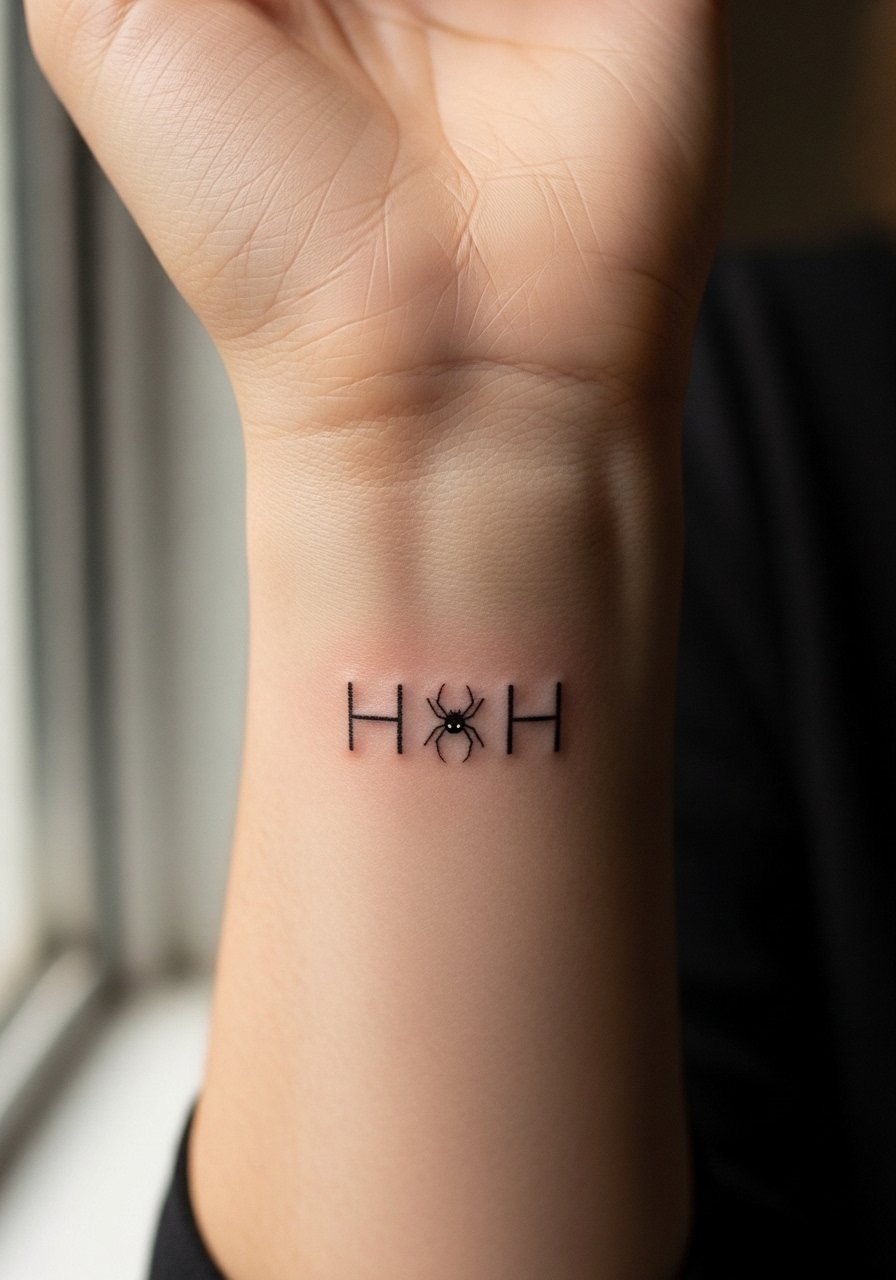
Combining typography and symbol makes the reference clearer for fans while staying small. Ask the artist to test letter spacing on skin so the spider sits proportionally in the X. A common mistake is tight kerning that makes letters merge after healing. The session is brief and pain low. For show-off outfits, a minimalist watch balances the lettering without covering it.
15. Spider Behind a Net or Veil on the Thigh
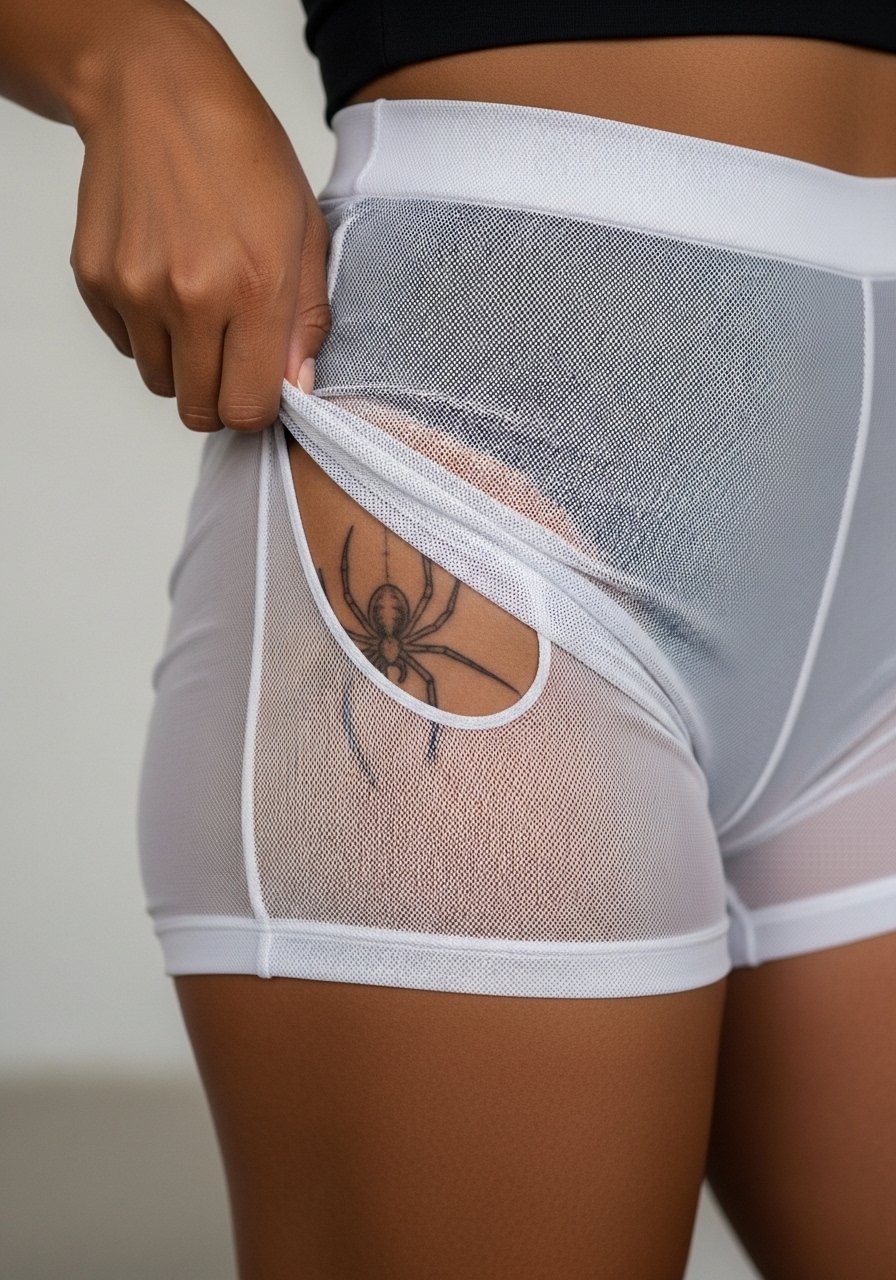
Thigh work gives scale while still feeling private. Request a soft mesh that reads like a screen rather than a heavy pattern. The usual error is adding dense textures at a small scale. Pain is low to moderate and sessions depend on how much mesh you want. For session comfort, wear high-waisted shorts so the artist can reveal and cover the area without fuss.
16. Micro Realism Spider on the Side of the Neck
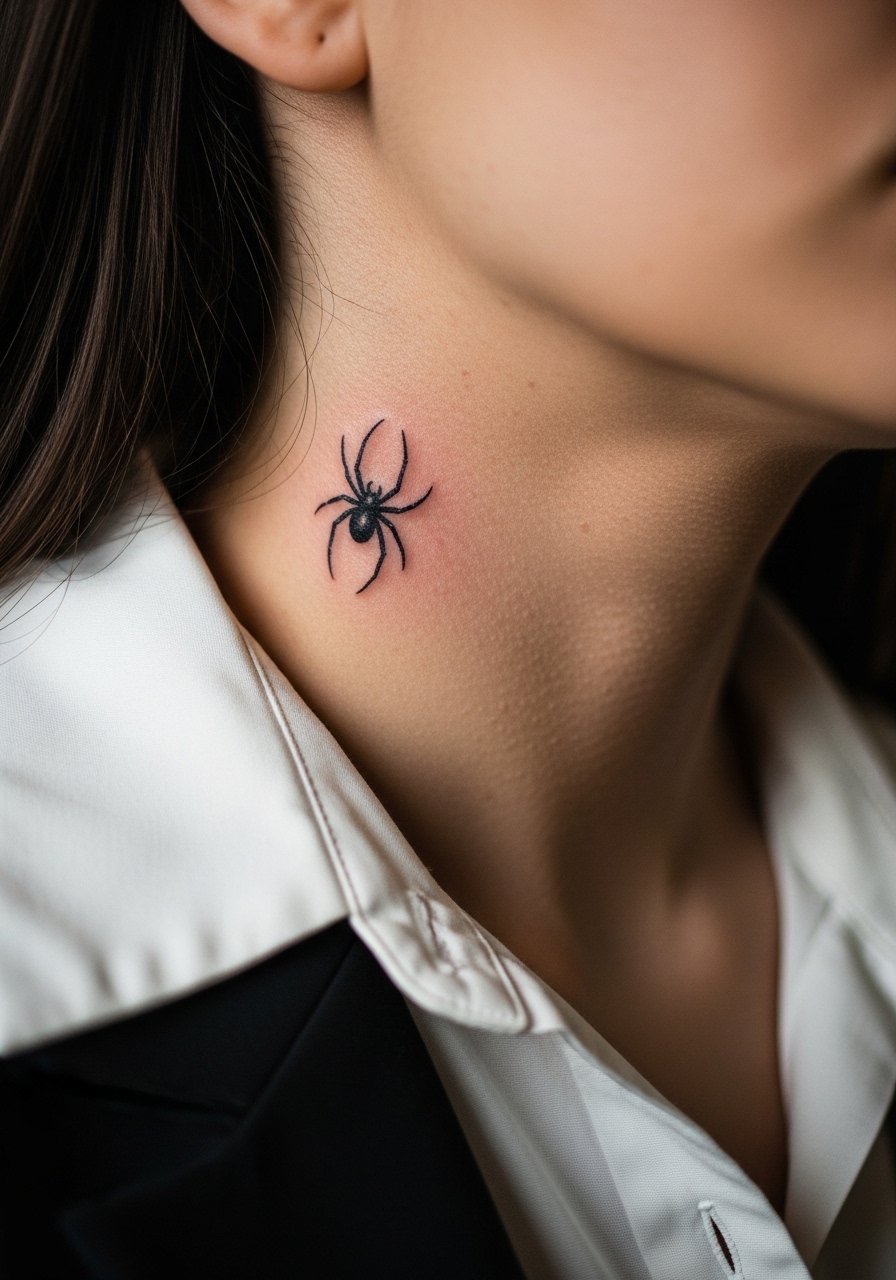
Neck placements are visible and carry social weight, so this is a deliberate choice. Ask for a micro-realism study in the artist's portfolio that shows their ability to keep small details crisp on moving skin. Artists debate fine line on necks because the area moves a lot. One camp says thin lines blur quickly. The other camp claims careful depth and spacing can make small work last. I advise a conservative size and a pre-session stencil check. Expect higher pain and a short but intense session. For revealing it selectively, pair with a wide-neck sweater.
17. Tiny Spider Across the Side of a Finger
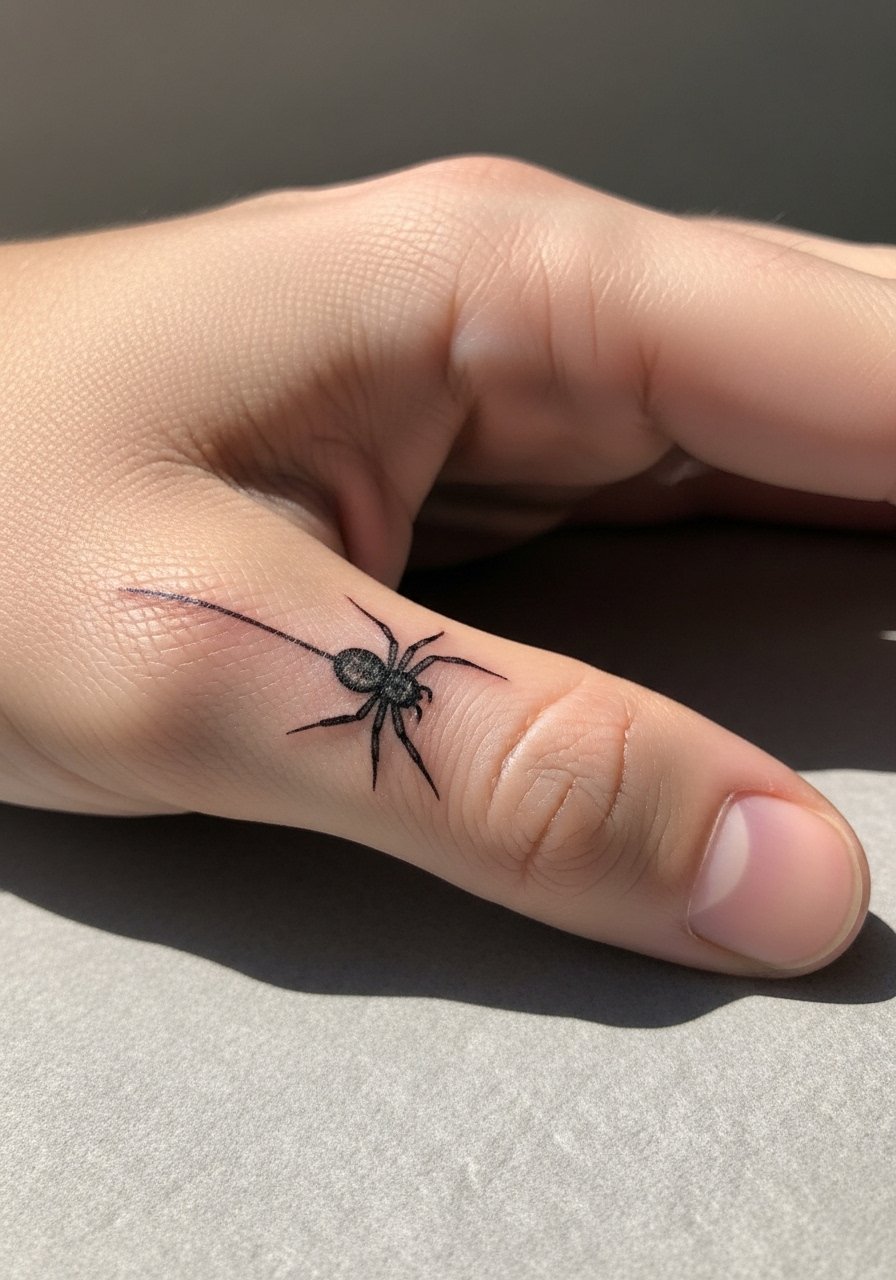
Finger tattoos fade faster than most small placements because of constant washing and friction. Ask for a slightly bolder outline than you would on skin elsewhere, and expect touch-ups in a couple of years. The common mistake is expecting a finger piece to stay crisp without maintenance. Session time is short but the pain is sharp. For showing it during casual moments, wear a thin stacking ring set on adjacent fingers to complement without covering.
18. Spider With Clouded Background on Upper Back
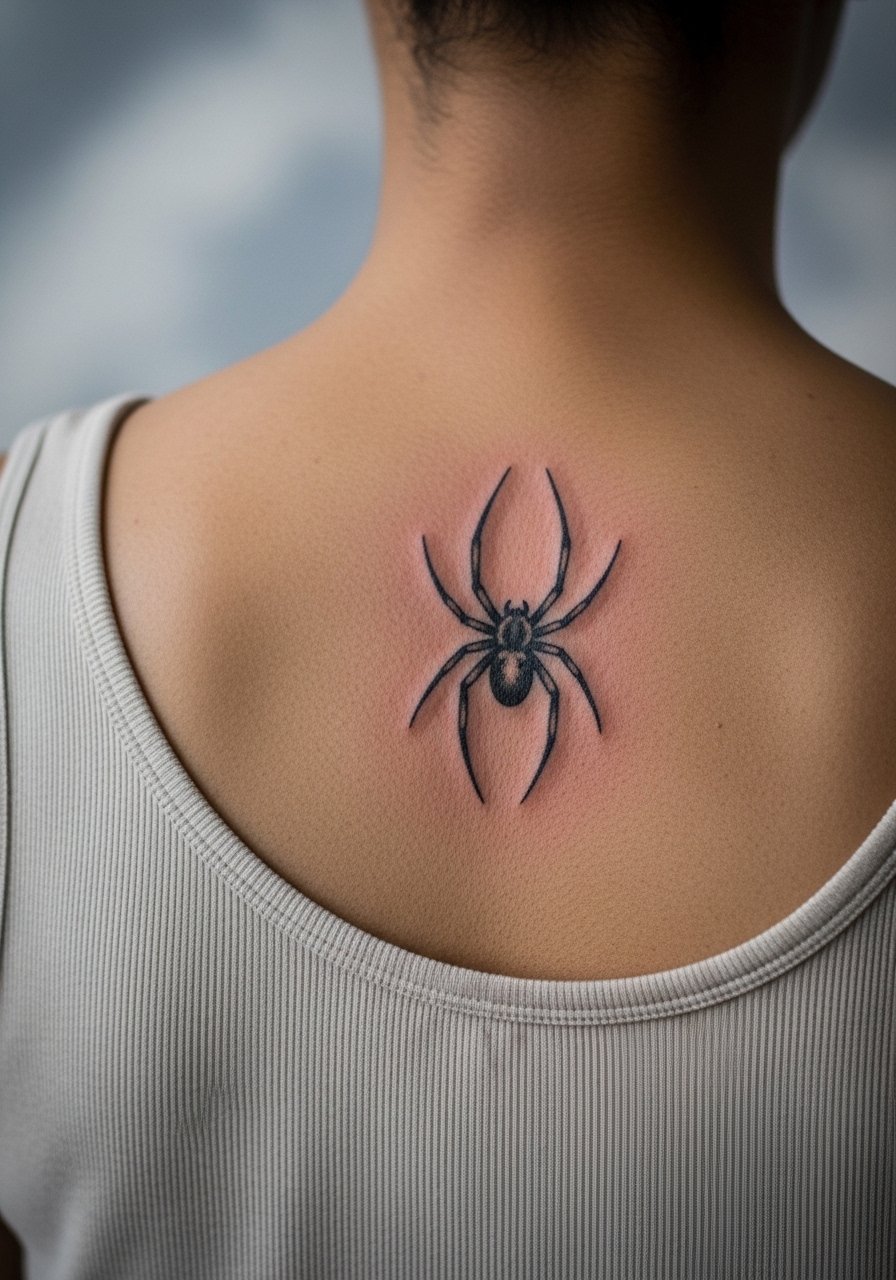
Upper back spots handle slightly larger soft designs well. Ask for clouds rendered in light stipple so they lift the spider rather than overpower it. A frequent error is making the background too busy for the spider's scale. Sessions are moderate in length and pain is low to moderate. For showing it on warm days, pick an open-back dress that frames the spider center stage.
19. Tiny Spider Over a Wrist Bone Accent
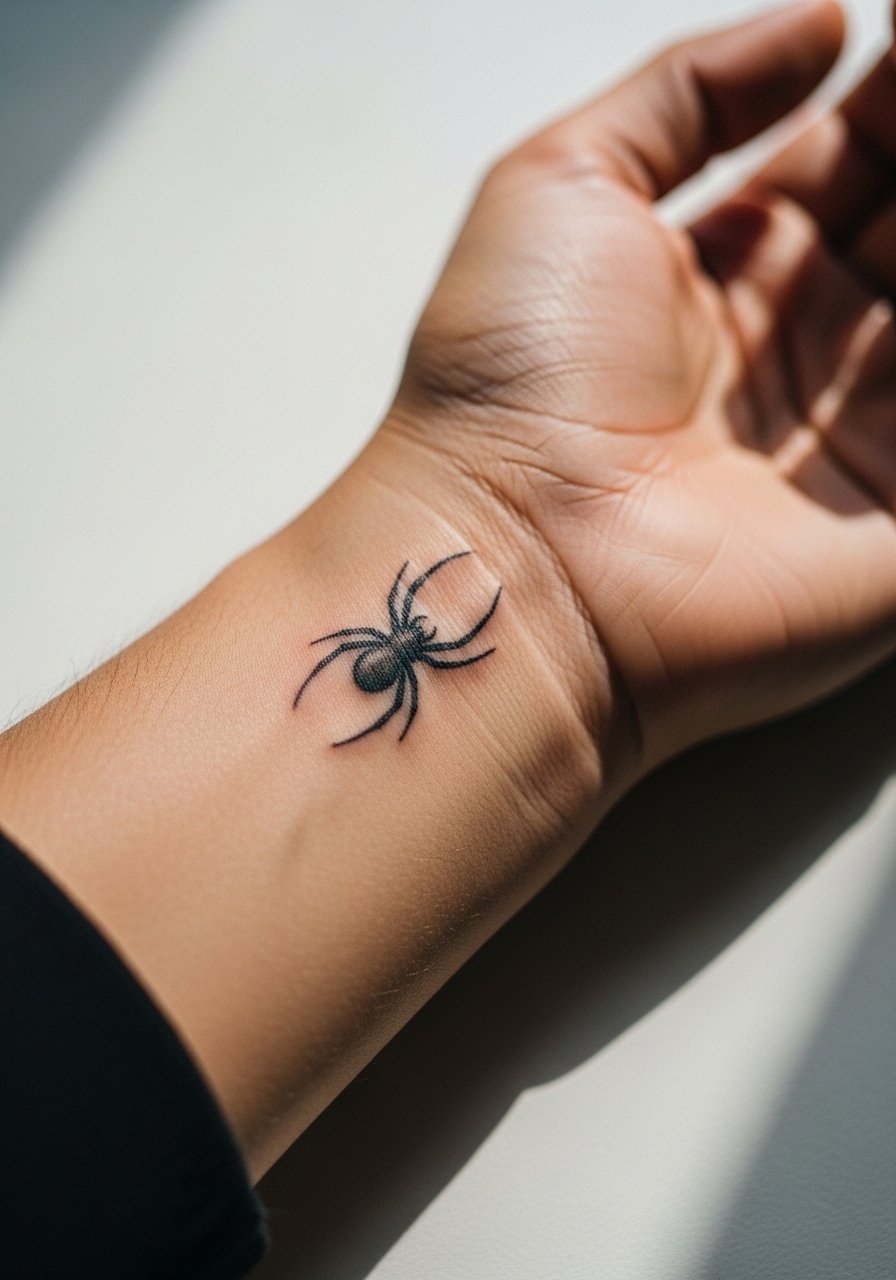
Placing a spider over the bone gives visual crispness but can be a bit more painful. The key instruction is to avoid compressing lots of detail into that point. Many people ask for ultra-fine legs right over the bone and then come back for touch-ups. Expect low session time and noticeable pain. Pair with a minimal cuff bracelet that sits above the tattoo so it does not rub during healing.
20. Spider Integrated Into a Tiny Mandala Accent
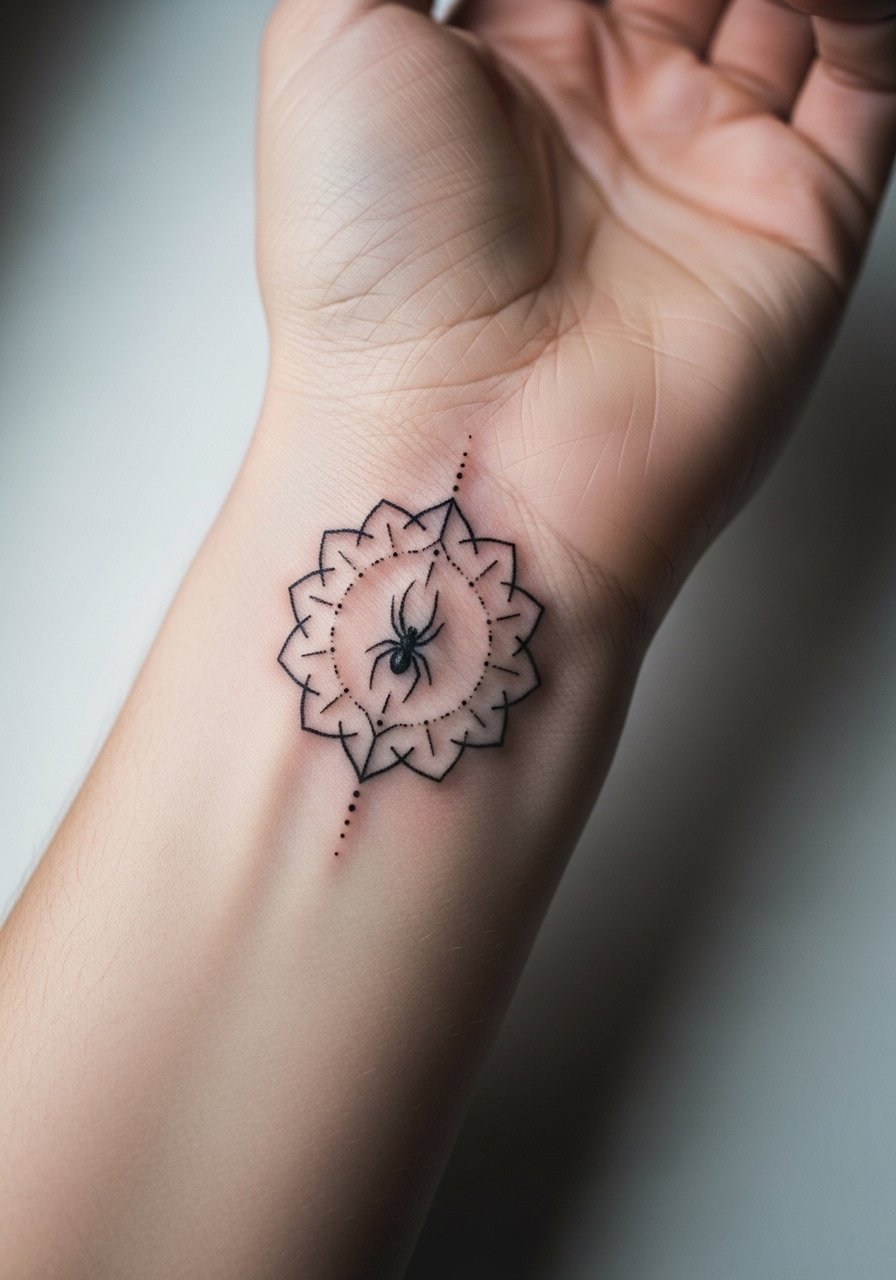
Mandalas can frame a spider elegantly, but they need spacing that honors dot-work aging. Ask the artist to scale the mandala rings slightly wider than typical micro-mandalas so dots do not coalesce. A common mistake is compressing too many concentric lines into a very small radius. Session time extends if stippling is used. For complimenting outfits, a thin chain bracelet keeps the wrist layered without crowding the central motif.
21. Half-Spider Peeking From Under a Sleeve
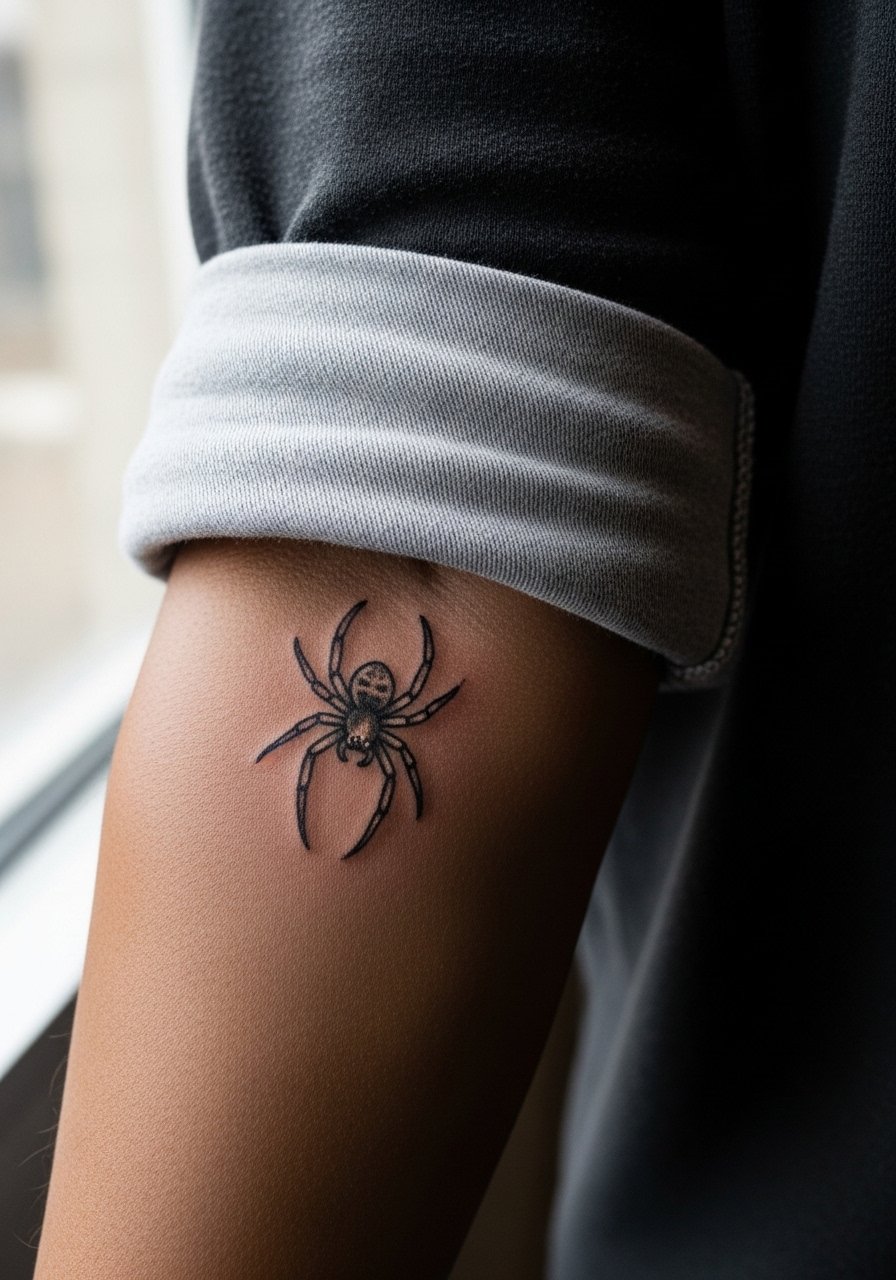
A half-spider that appears and disappears with movement feels playful. The design challenge is that repeated sleeve contact can wear edges faster. Ask for a slight buffer space between the spider and where the fabric will sit. The session is short and pain low. For styling, choose tops with a relaxed cuff like a rolled linen long-sleeve so the reveal happens without persistent abrasion.
22. Spider Next to a Tiny Script Date
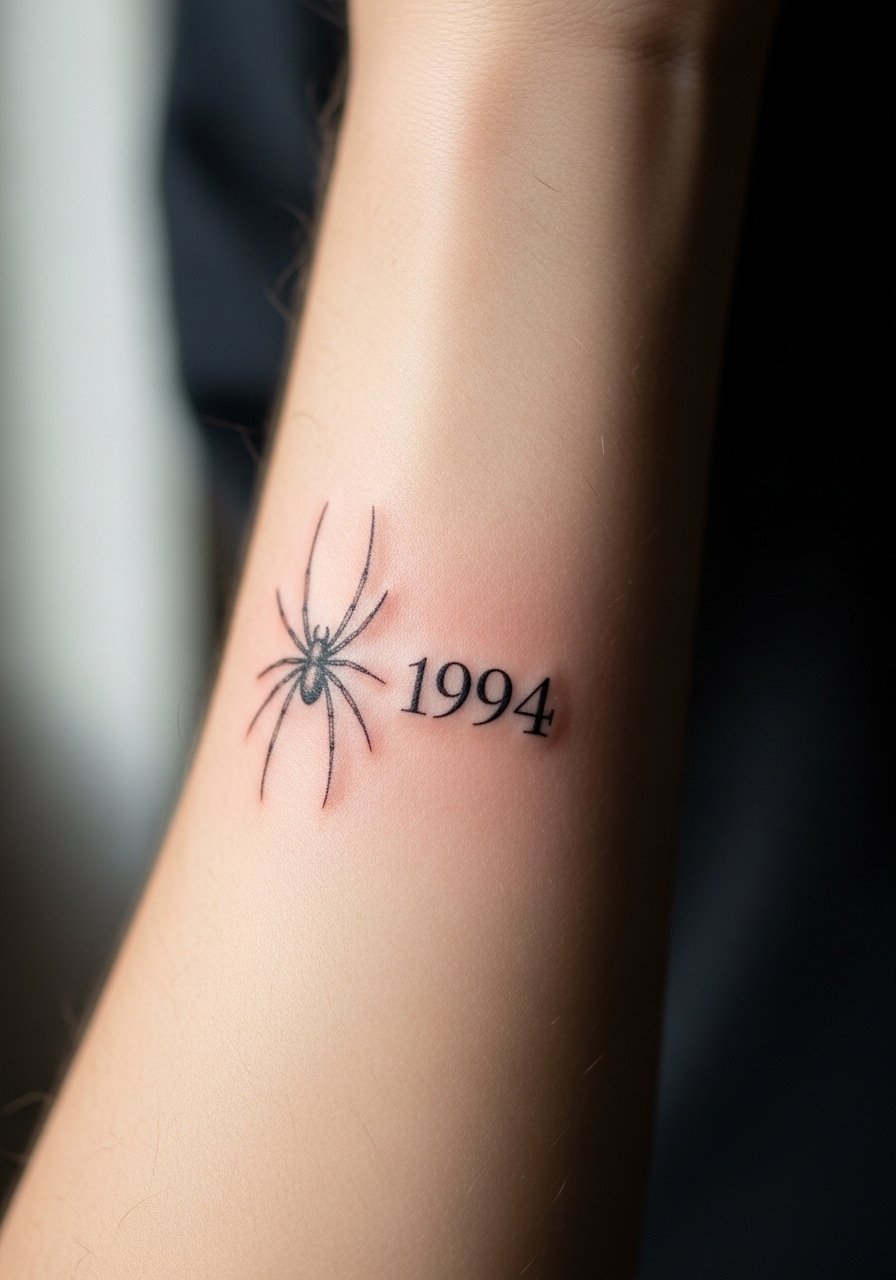
When pairing text and symbol, make sure the script size matches the spider scale. Ask the artist to stencil both together so the spacing reads as one composition. A mistake is treating text as an afterthought which can crowd the symbol over time. Sessions are low in length and pain. For a simple accessory echo, add a thin chain pendant necklace that sits above the script for balance.
23. Spider With a Single Stipple Halo on the Calf
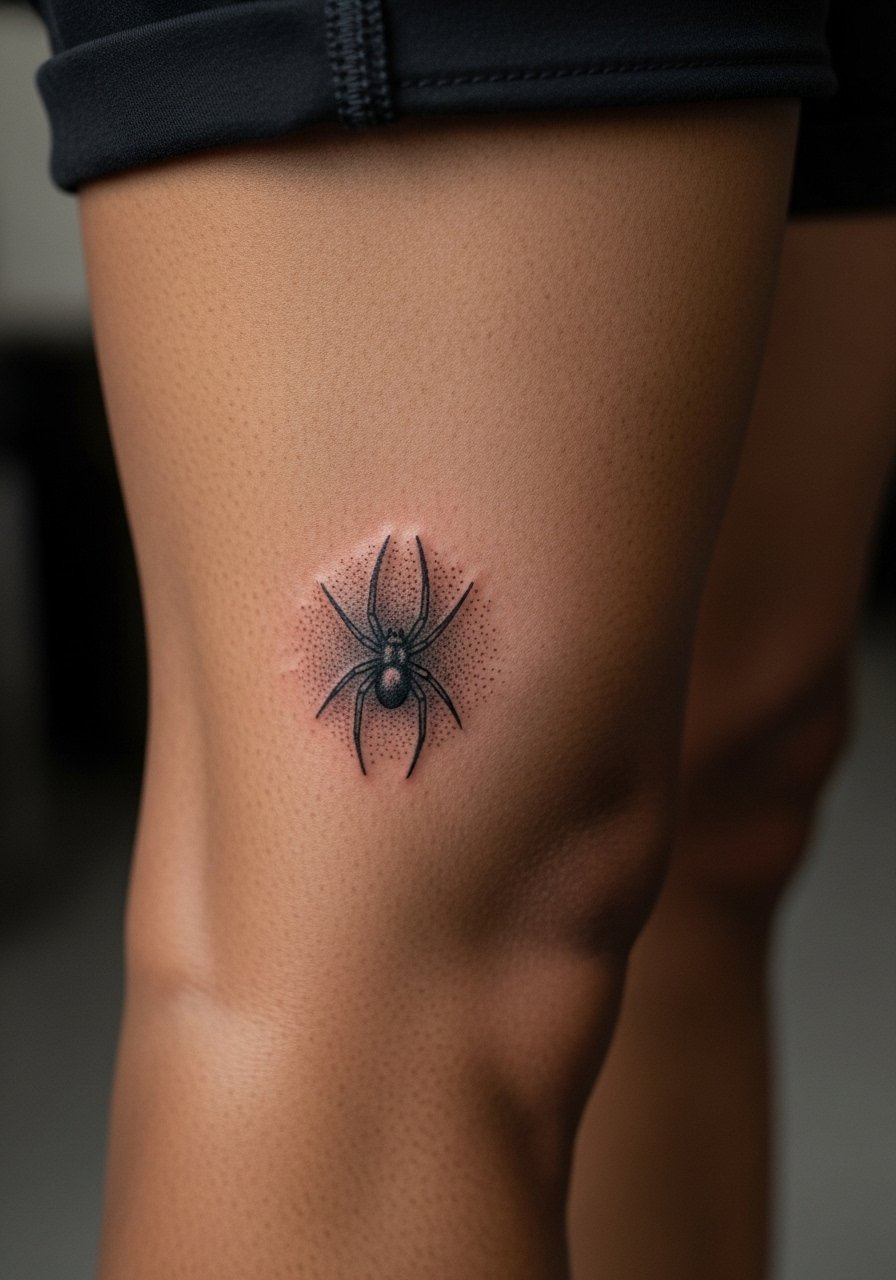
Calf placements provide forgiving skin and low friction. Stipple halos can elevate a tiny spider into a badge without heavy lines. Tell the artist exactly how dense you want the dots so the halo remains airy. The session is comfortable and usually under an hour. For casual reveal, pair with loose drawstring linen pants you can roll without pressing on the area.
24. Tiny Spider Inside a Geometric Frame on the Thigh
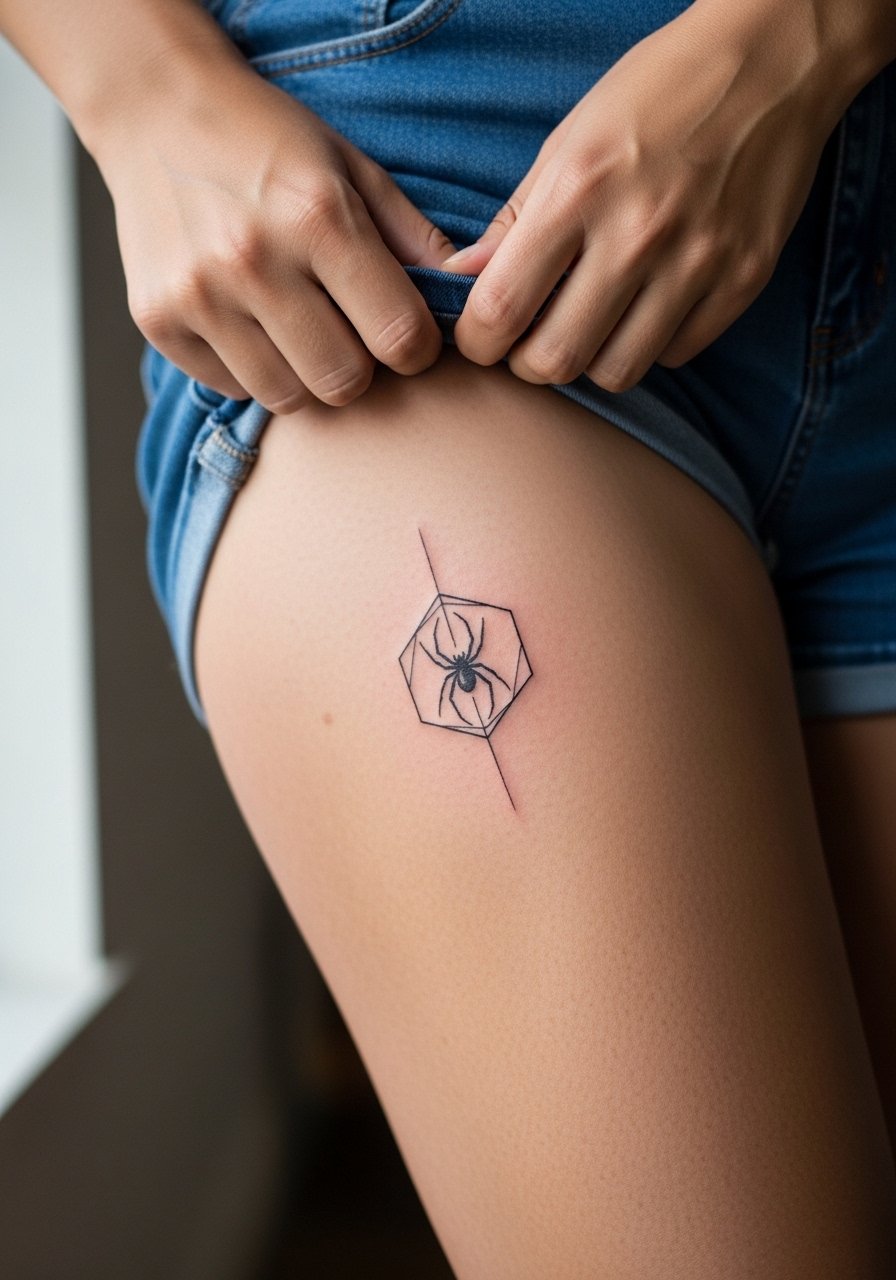
Geometric frames keep a spider tidy and give clean negative space. Ask your artist to balance the frame thickness with the spider size so neither element overwhelms the other. A typical mistake is a too-thin frame that fades into the background. Sessions on the thigh are comfortable and allow slightly bigger micro work. For sessions, a wrap skirt or loose shorts make access simple.
25. Spider With a Single Line Trail Along the Rib
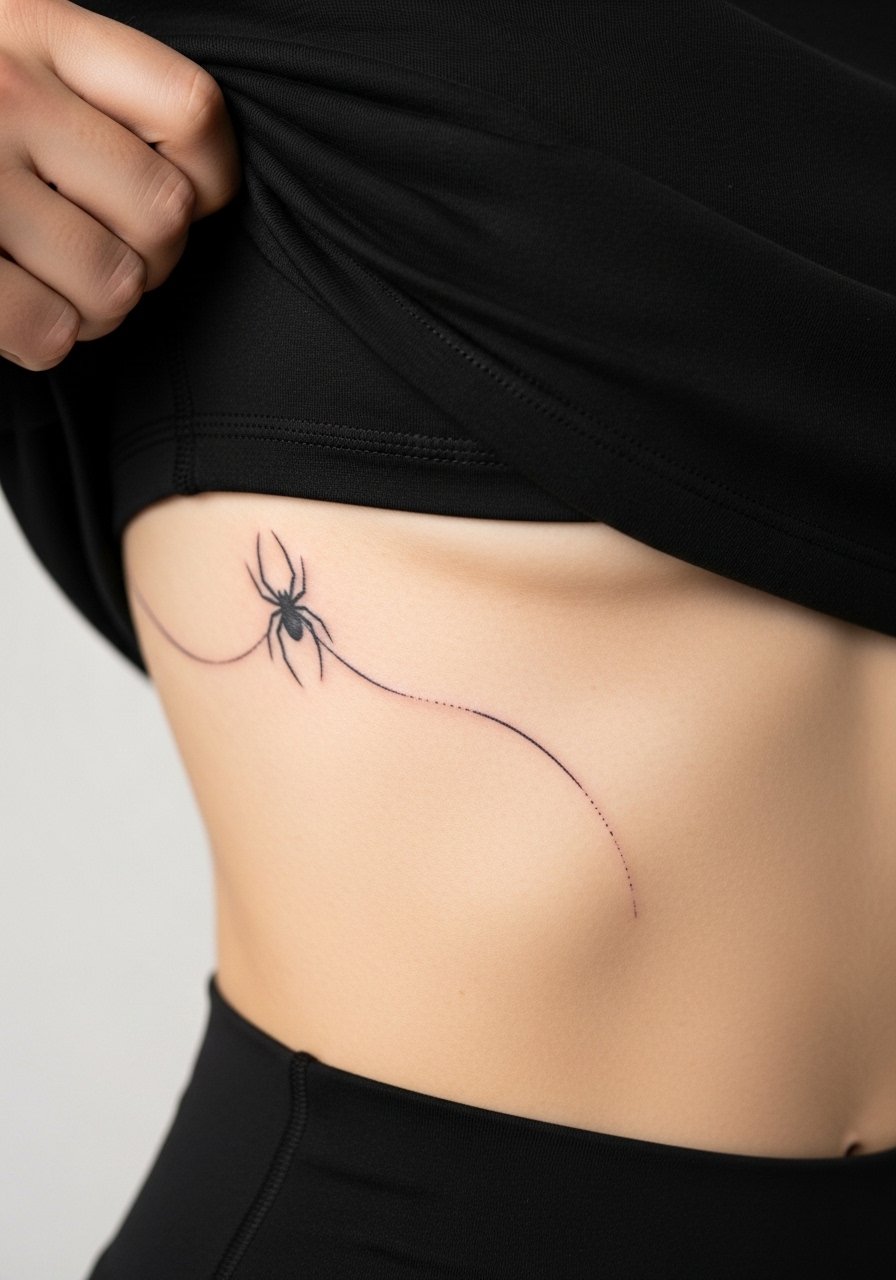
Rib designs can be dramatic but age depends on skin stretch and movement. Artists disagree on fine-line ribs. Some believe thin work blurs because the area expands and contracts. Others say careful placement and slightly increased line weight hold better. If you pick ribs, plan for a conservative size and expect more sensation during the session. For the appointment, wear a zip-up hoodie you can lift rather than removing layers.
26. Micro Spider Near the Nape of the Neck
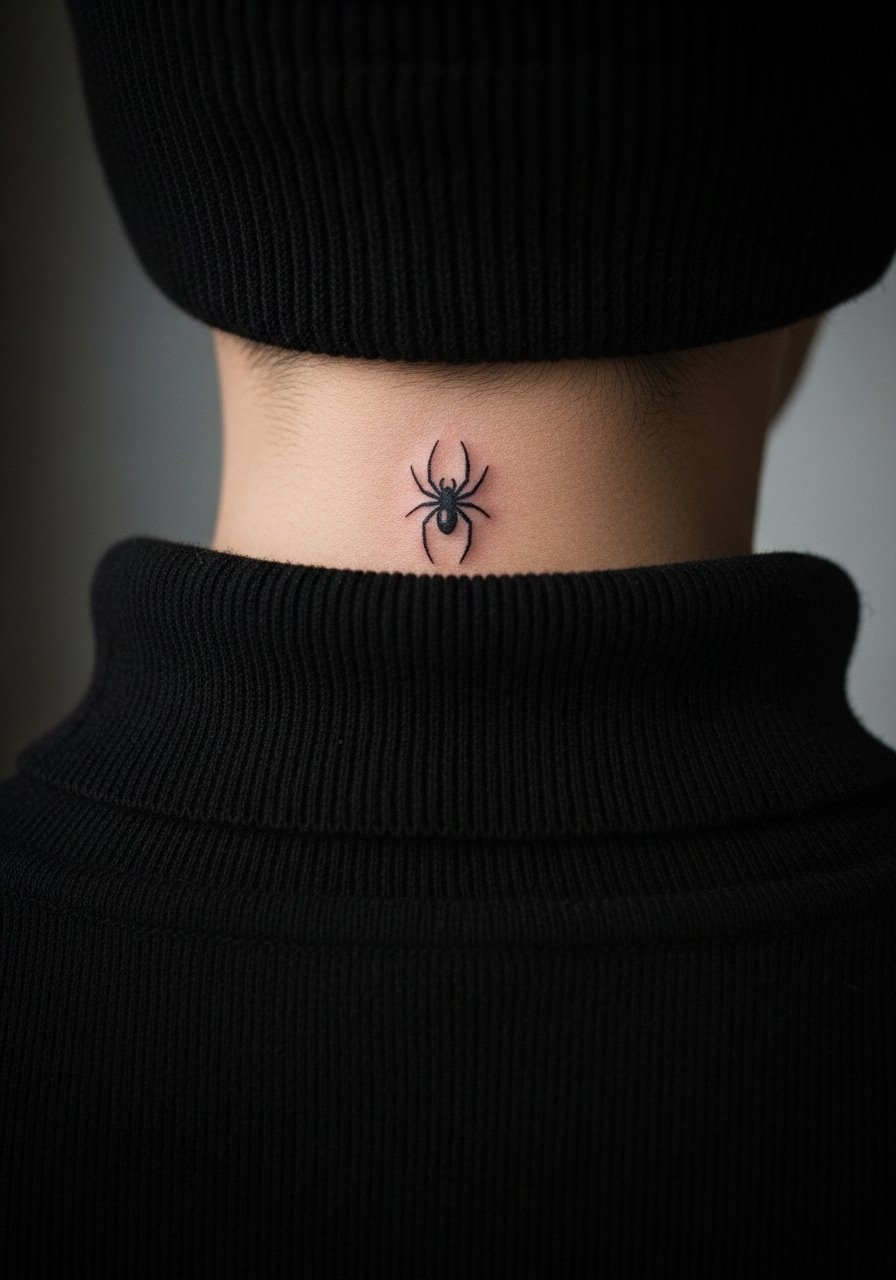
Nape placements are subtle and can be hidden by hair. Ask for a smaller, flatter spider so it sits comfortably under collars and hair. A common mistake is choosing a design that catches on clothing during healing. Expect moderate session pain and brief duration. For modest reveals, a wide-neck shirt or low ponytail shows the mark without constant exposure.
27. Soft Spider in a Tiny Negative Space Portrait
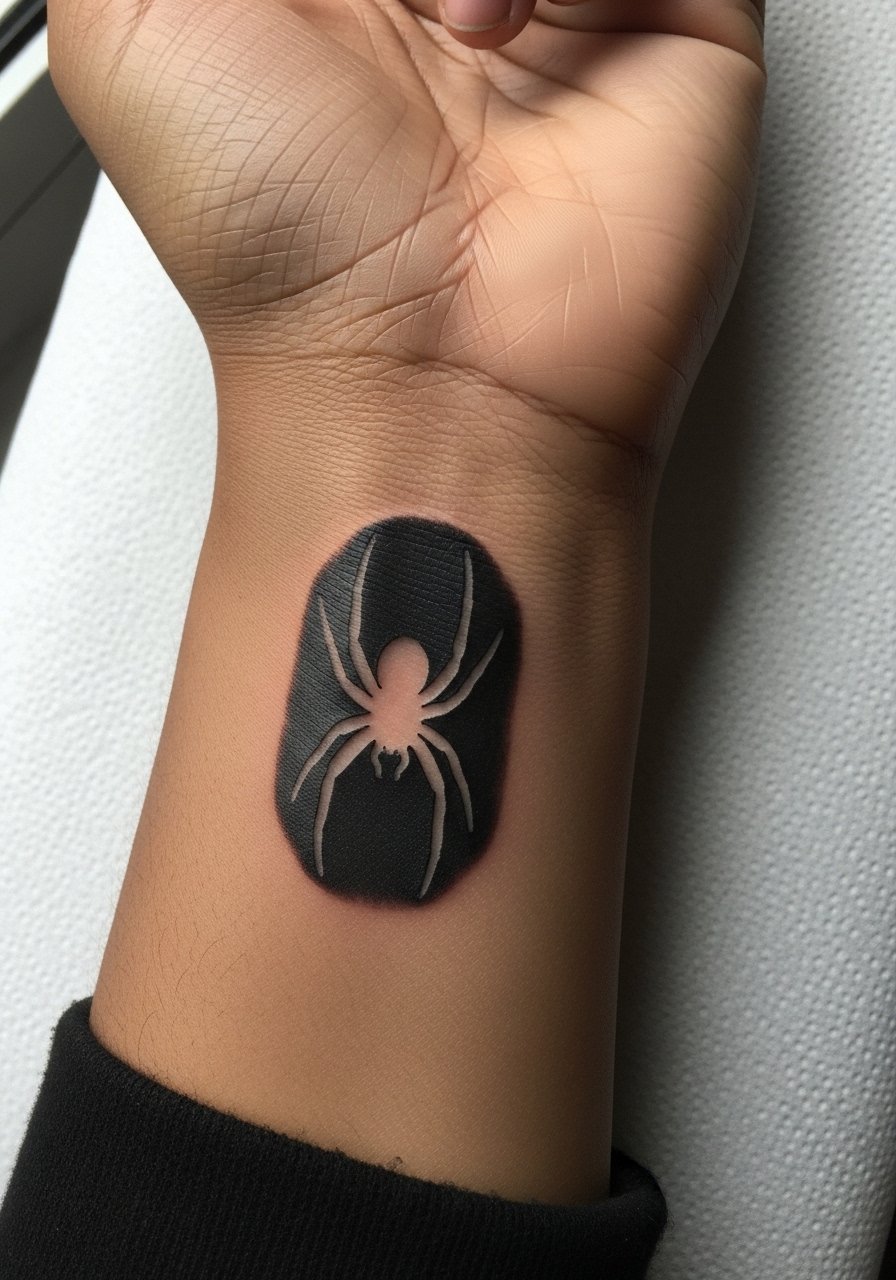
Negative-space spiders reverse the usual approach and can feel very modern. Tell the artist you want the surrounding tone soft and not saturated so the negative area reads cleanly. The risk is over-saturating the background which then makes the spider appear gray. Sessions can be slightly longer because even subtle background shading requires care. For displaying the effect, a minimalist watch strap keeps attention near the wrist without rubbing.
Frequently Asked Questions
Q: Will fine line HxH spider tattoos fade faster than thicker blackwork on wrists and ankles?
A: Fine line tends to lose sharpness sooner on high-friction zones like wrists and ankles. Some artists build slightly heavier fine line and plan for a touch-up at year two or three. Others argue technique and placement make the biggest difference. If you want longevity, choose inner forearm or shoulder, ask for modest line weight, and plan to revisit the shop for maintenance.
Q: How should I brief an artist if I want a spider integrated into flowers without losing the symbol?
A: Bring two references, one for scale and one for the floral style. Tell the artist which element must remain legible from a foot away—the spider or the bloom—and have them compose a stencil that keeps negative space around the spider. If you want a specific pairing, mention the exact flower so sizing matches the spider rather than crowding it.
Q: Is behind-the-ear or nape work safe for first-timers who want a soft HxH nod?
A: Yes, if you pick a tiny design and an artist experienced with micro work. The area heals well but shampoo and hair can complicate aftercare. Expect short sessions and a possible touch-up. For the day of the session, bring a hair clip or wear a top that gives easy access to the area.
Q: Artists disagree on Saniderm versus dry healing. Which should I choose for fine-line pieces?
A: Both camps have merit. One group says second-skin significantly reduces scabbing and external contamination for micro-line work. The other group worries about trapped moisture altering scab formation. My observation is to ask the artist what they have seen succeed in their hands and to follow a single consistent aftercare approach. Remember that the product choice does not replace careful wound cleaning.
Q: How visible will a small red dot accent remain over time on different skin tones?
A: Colored dots can shift more than black line because pigments respond differently in various skin tones. On lighter skin, a tiny red dot often stays readable longer. On medium and dark skin, ask for a slightly larger dot or a muted maroon pigment to preserve visibility. Expect some softening and plan a color check at a touch-up if you want brightness preserved.
Q: What should I wear to the studio for a thigh or rib spider session?
A: Pick clothing that gives the artist access without you undressing completely. For ribs, a zip-up hoodie or a cropped sports bra works. For thighs, loose shorts or a wrap skirt that you can pull down slightly are best. I usually recommend something you can move in and that will not press on the fresh tattoo during the ride home.
