
Bold color on day one can draw every like in your feed, and still be the first thing to soften into a blur a year later. What holds up are choices you make before the needle touches skin: line weight, placement, and how much saturation anchors the design. Below are 17 Bugs Bunny takes that balance fresh look with real-world aging, plus what to wear to the appointment and how to show the tattoo off afterward.
1. Neo-traditional Bugs with Carrot on Forearm
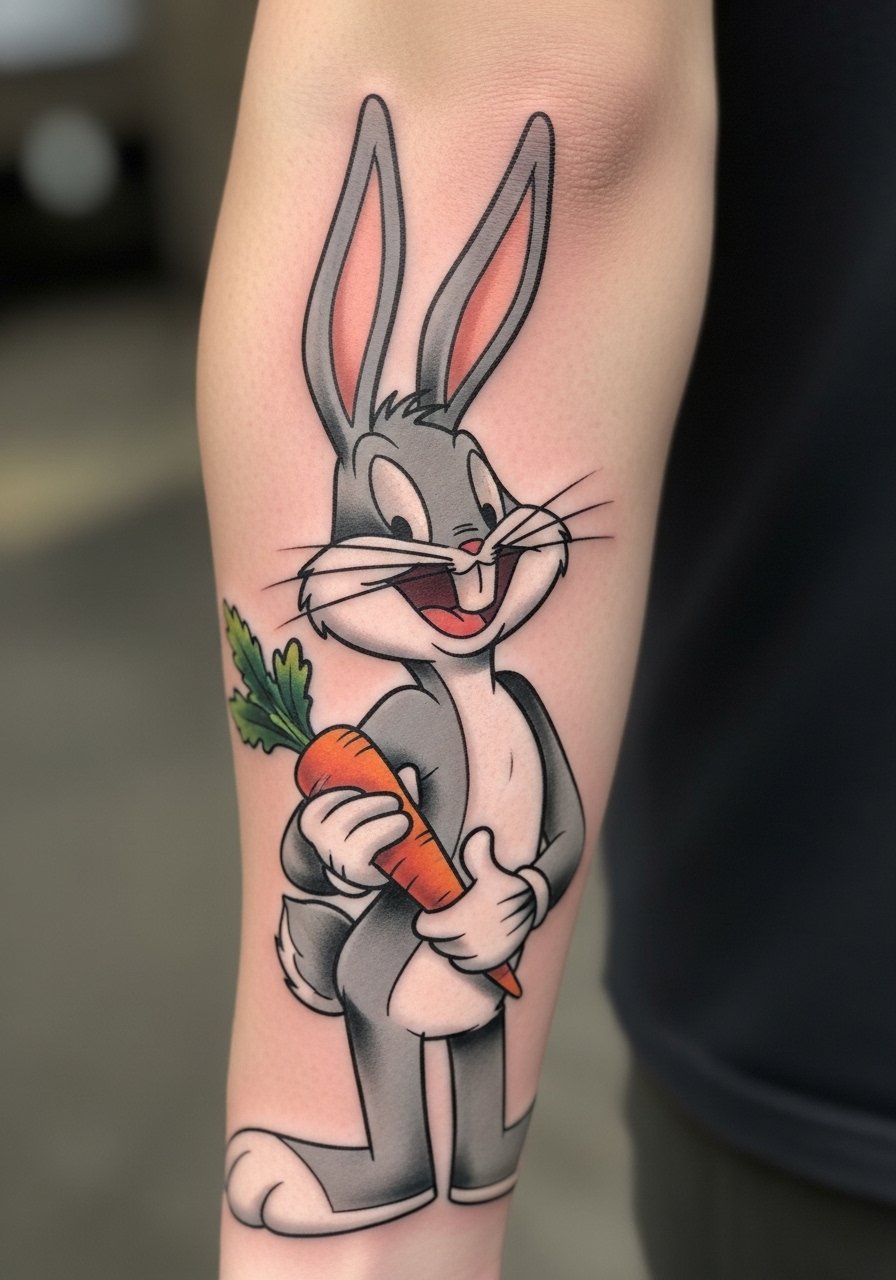
This is the go-to if you want the cartoon energy to last past the first year. I recommend bold outlines and solid saturation around the carrot orange so the silhouette reads even as small color areas soften. Tell your artist to keep the ear highlights simple and the black linework slightly heavier than a delicate single needle. Expect a one to two hour session with low blowout risk on the forearm. For the consult bring reference images that show the exact grin and carrot angle you want. Show-off tip: pair with a rolled cuff chambray shirt so you can roll sleeves and let the forearm artwork do the talking.
2. Black-and-Gray Portrait Bugs on Upper Arm
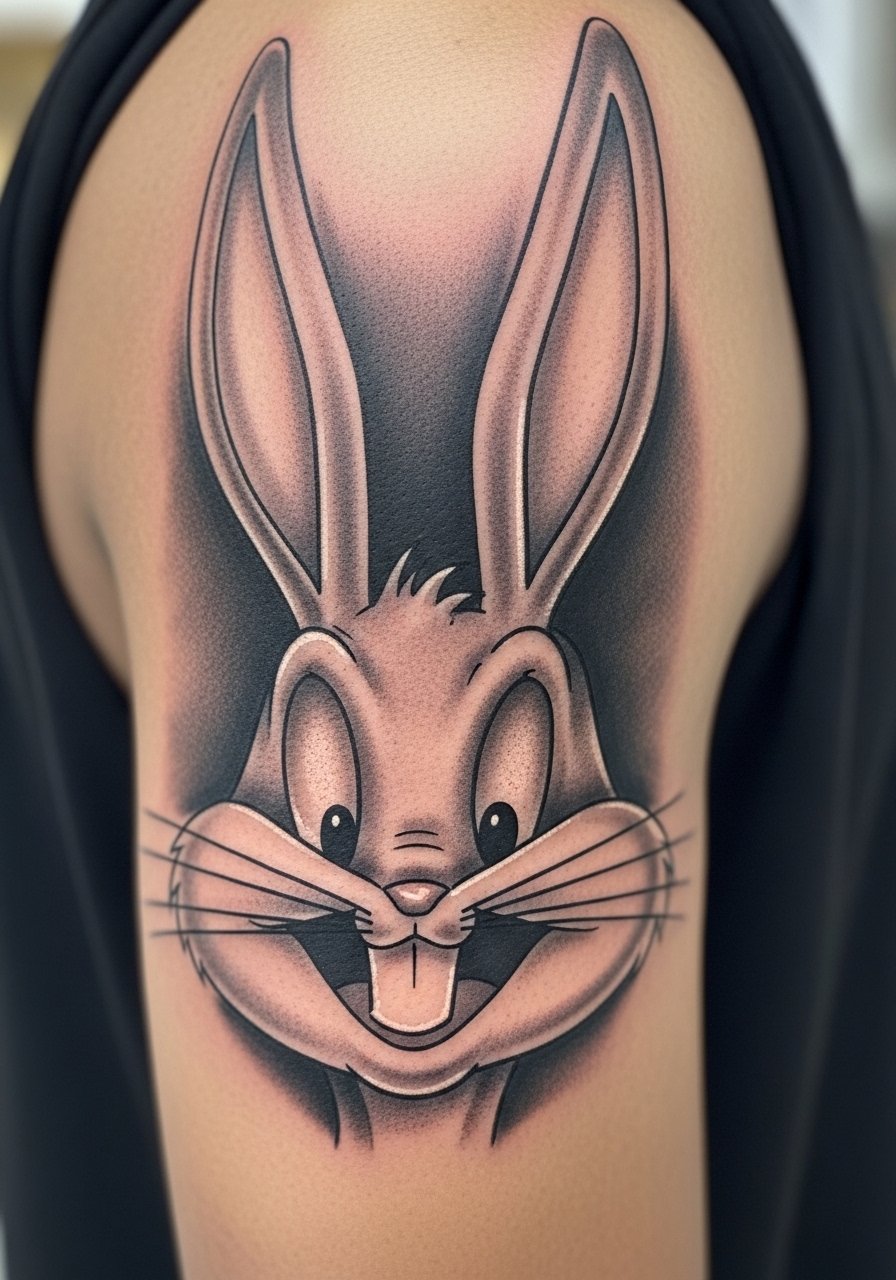
If longevity and photo stability matter more than punchy color, this is the pick. The trick is strong gradation and contrast around the eyes so the expression survives at six months and five years. Ask for stipple shading for texture and to avoid saturated blocks that can blur. Pain is moderate for the outer upper arm and sessions usually fit in one sitting for a 3 to 5 inch piece. Common mistake: asking for too much micro-detail in a small size, which looks great fresh but softens into muddiness. This style moves well into a larger sleeve later if you want to expand.
3. New-School Bugs in Motion on the Thigh
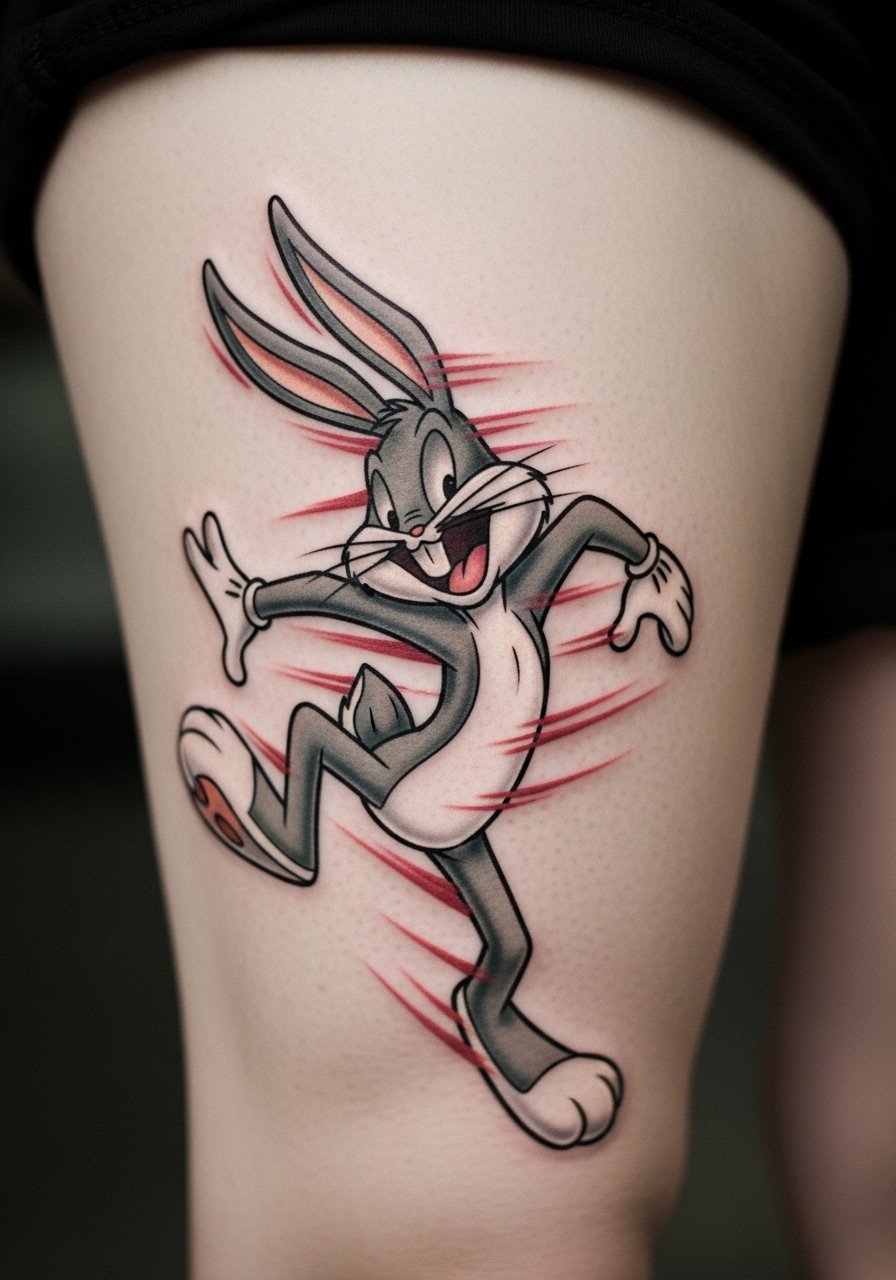
New school thrives on scale, so the thigh is ideal for the exaggerated pose to breathe. Expect two sessions for a 5 to 8 inch piece. The downside is that weight fluctuation can affect proportions, so I tell people to plan placement toward the outer thigh where stretching is less dramatic. Ask the artist for bold color blocks with a darker gray underlayer to preserve contrast on darker photos. Session wear suggestion: pull on high-waisted denim shorts to get into the chair comfortably and keep the area accessible during long color fills.
4. Minimalist Wrist Outline with a Smirk
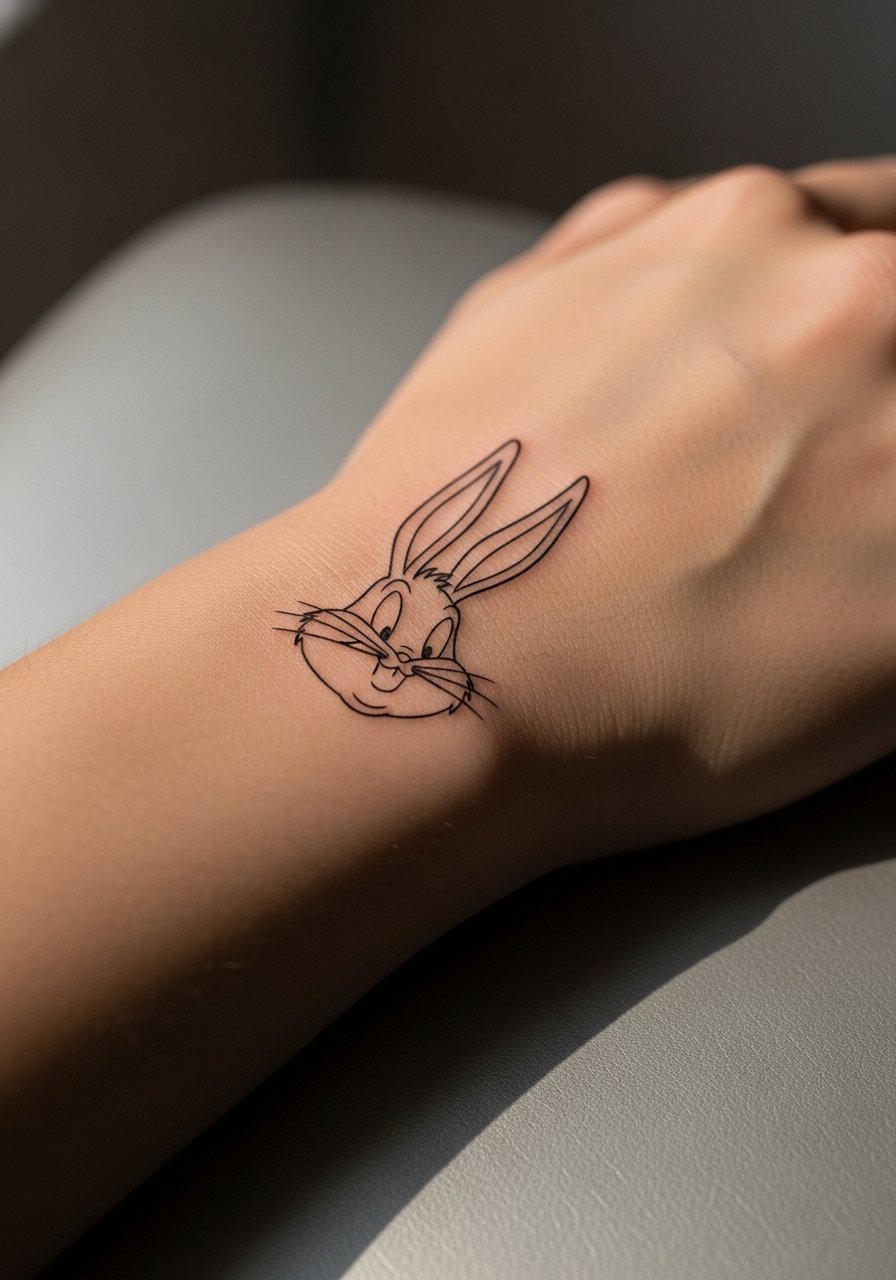
Tiny wrist cartoons are charming but come with trade-offs. Fine line work is trend-forward, yet many artists and collectors disagree on longevity. One camp says fine line on the wrist can blur faster than heavier work because of constant sun and washing. The other camp says precise needle depth and conservative spacing keep single-needle designs crisp. If you pick this, ask for a slightly heavier single-needle contour and expect a touch-up at year two or three. For showing it off, add a thin silver chain bracelet on the opposite wrist so the tattoo reads without the jewelry crowding the area.
5. Surreal Bugs Blended into a Calf Landscape
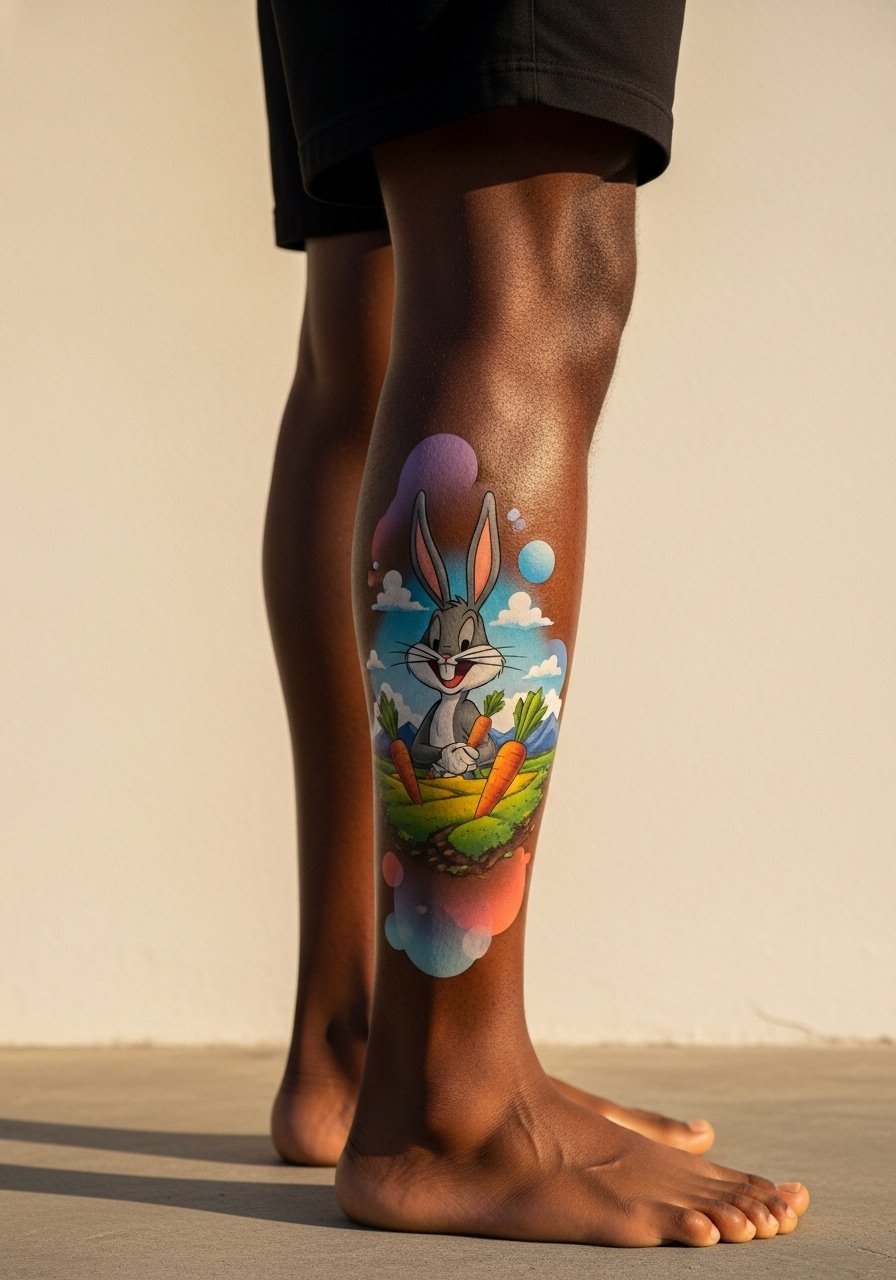
This design tells a mini story over 6 to 10 inches on the calf. Because calves see sweat and friction in summer, I recommend strong underpainting and a palette that uses warm gray anchors behind the softer colors. Expect two to three sessions for complex color layering. The common error is going too watercolor-soft without contrast, which makes the piece wash out in photos after healing. Some artists recommend Saniderm for leg pieces to speed healing, while dry healing advocates argue it preserves line definition better. Ask the artist which approach they prefer for this kind of saturated-surreal work. For outfits, cuffed jeans or bootcut jeans rolled at the ankle let you reveal the scene when you want.
6. Traditional American Winking Bugs on the Shoulder
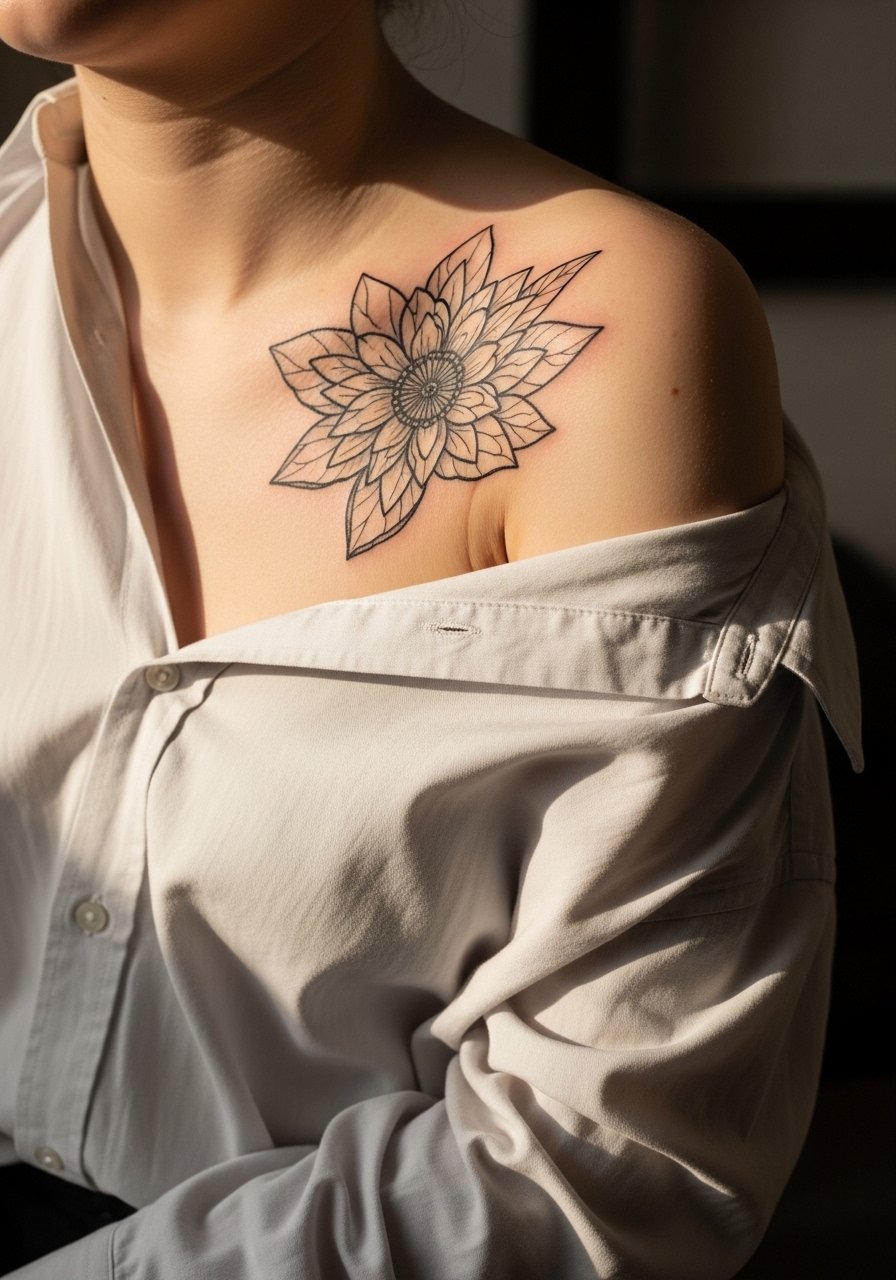
Traditional linework and block color are the classic hedge against early fading. The shoulder holds pigment well and is forgiving with touch-ups. When booking, ask for thick contour lines and saturated primaries like carrot orange and bold blue. A common mistake is asking for tiny details that belong in a portrait rather than a traditional piece. Session wear: slip into a loose button-down shirt so the artist can roll the sleeve and access the area without fabric tugging.
Studio Day Picks
The forearm, wrist, thigh, calf, and shoulder pieces above need different prep and first-week care. These picks smooth out session day and the initial healing window.
-
Rabbit Butter tattoo balm. Breathable moisture that artists on humid-climate heals name for summer leg pieces and thick-color work.
-
Indie Ink Shield spray. A clear, non-greasy spray that keeps wrist and ankle tattoos clean without clogging the linework.
-
Green Sheep tattoo balm. Low-shine option that people with deeper skin tones use when bright color photos need less glare.
-
Aussie Tattoo Goo water-based balm. Lightweight and made for humid weather, handy for long thigh sessions and calfs that see sweat.
-
Hustle Butter aftercare balm. A thin, lotion-like balm artists recommend for the very first days on colorful neo-traditional fills.
7. Fine Line Inner Forearm Chomping Carrot Silhouette
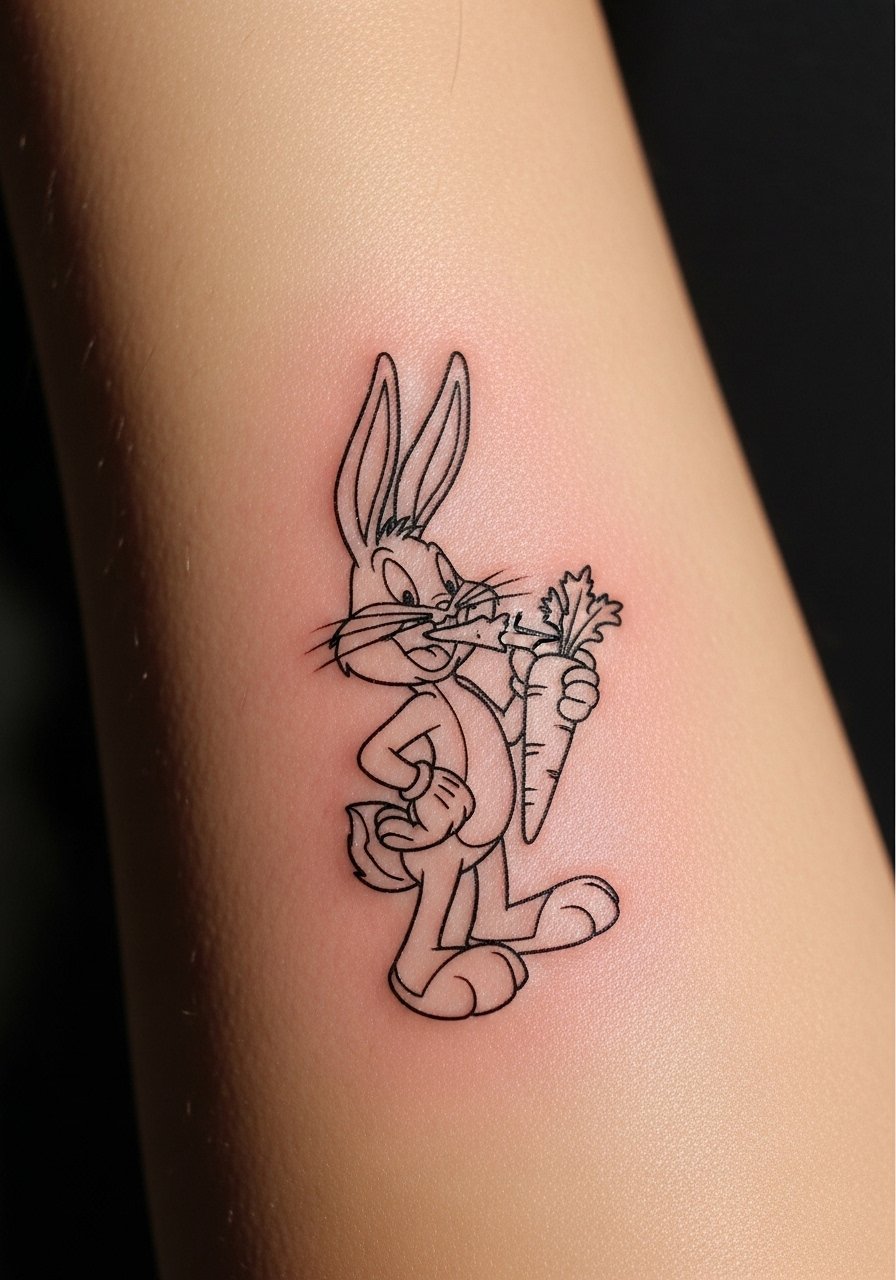
Inner forearm is forgiving for fine detail but not immune to fade. I advise slightly increased line weight and negative space around dense areas so stipple shading does not compact. A common version that ages poorly is a tiny silhouette that packs too many strokes, which becomes muddied at year two. Tell your artist you want breath between the ears and the carrot tip, and ask them to show how the design looks scaled up by 20 percent. Pain is low, session time is short, and touch-ups at year three are normal for single-needle pieces. For the appointment, a rolled cuff chambray shirt helps you present the forearm cleanly without fabric smudging the stencil.
8. Micro-Realism Bugs Face on the Collarbone
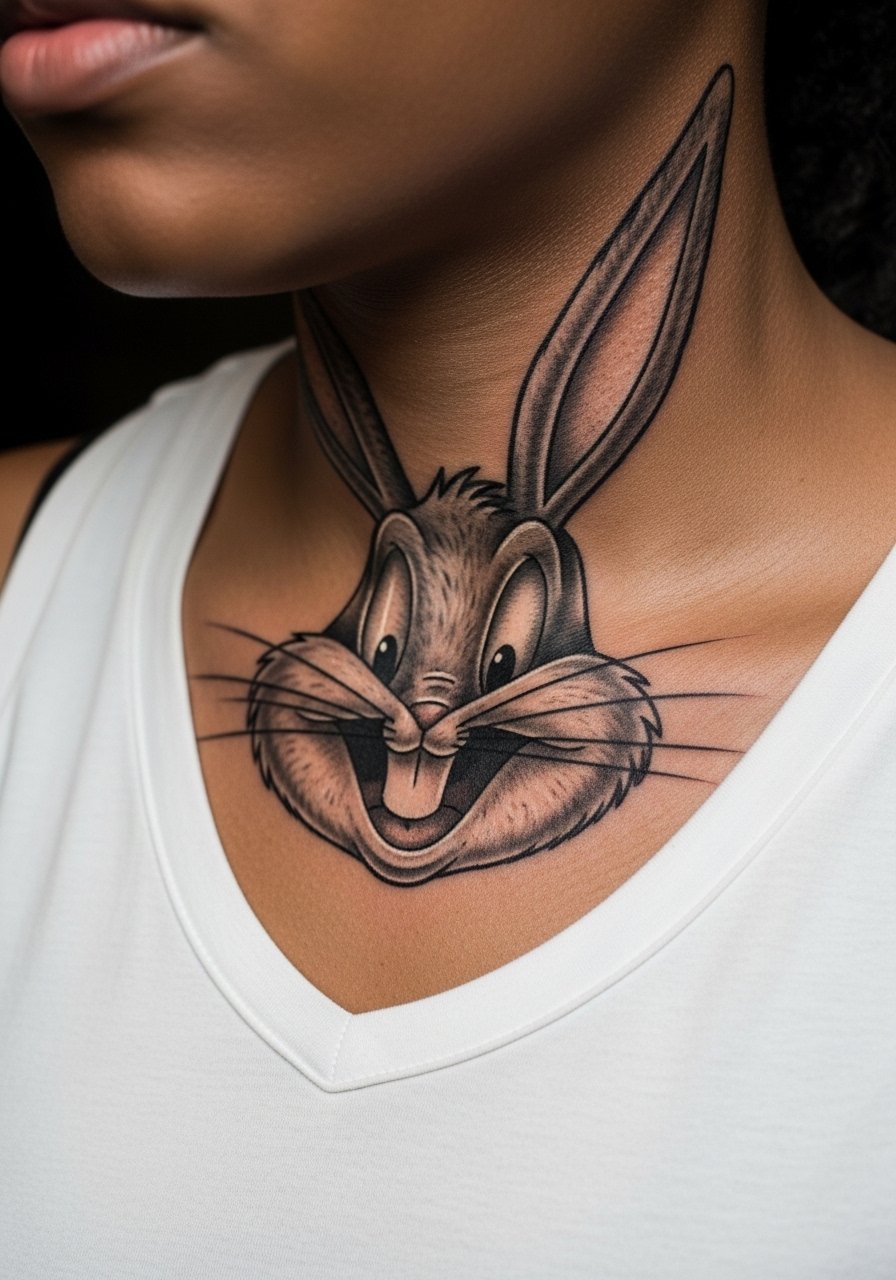
Micro-realism gives unexpected punch in a small collarbone placement. The risk is asking for too much detail in a two-inch area. I suggest one to two sessions and focusing on fur direction, not every whisker. Collarbone is a visible spot that photographs well so pick a pose that flattens across the bone rather than wrapping into hollow gaps. Session wear: a v neck tank top pulled slightly aside gives the artist clean access. Be realistic about touch-ups; micro-real pieces often need a light revisit at year two if you want that crisp contrast maintained.
9. Watercolor Bugs Splashing on the Ankle
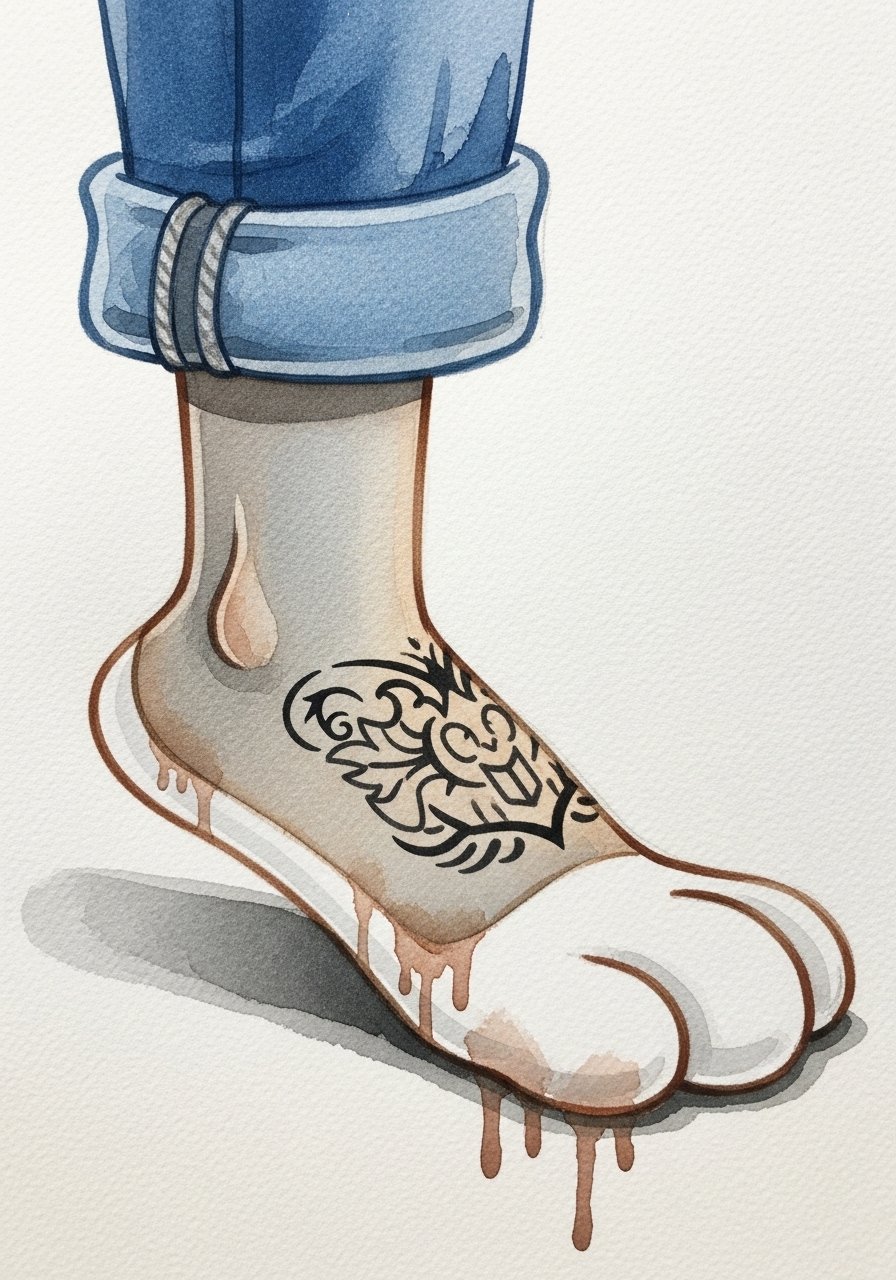
Watercolor looks effortless but demands careful planning around placement. Ankles are high-friction and exposed to boots and socks, which can tug at healing color. That is why many artists now prefer stronger underlines for watercolor ankle pieces. The community debates Saniderm use for this type of work. One side says Saniderm speeds healing and reduces scabbing. The other side worries it traps pigments and causes softening in delicate washes. Ask the artist how they handle washes on ankles and whether they use a light black underlayer for longevity. Outfit-wise, crop pants or cuffed joggers make the ankle easy to show when healed.
10. Ignorant-Style Chunky Bugs on the Neck
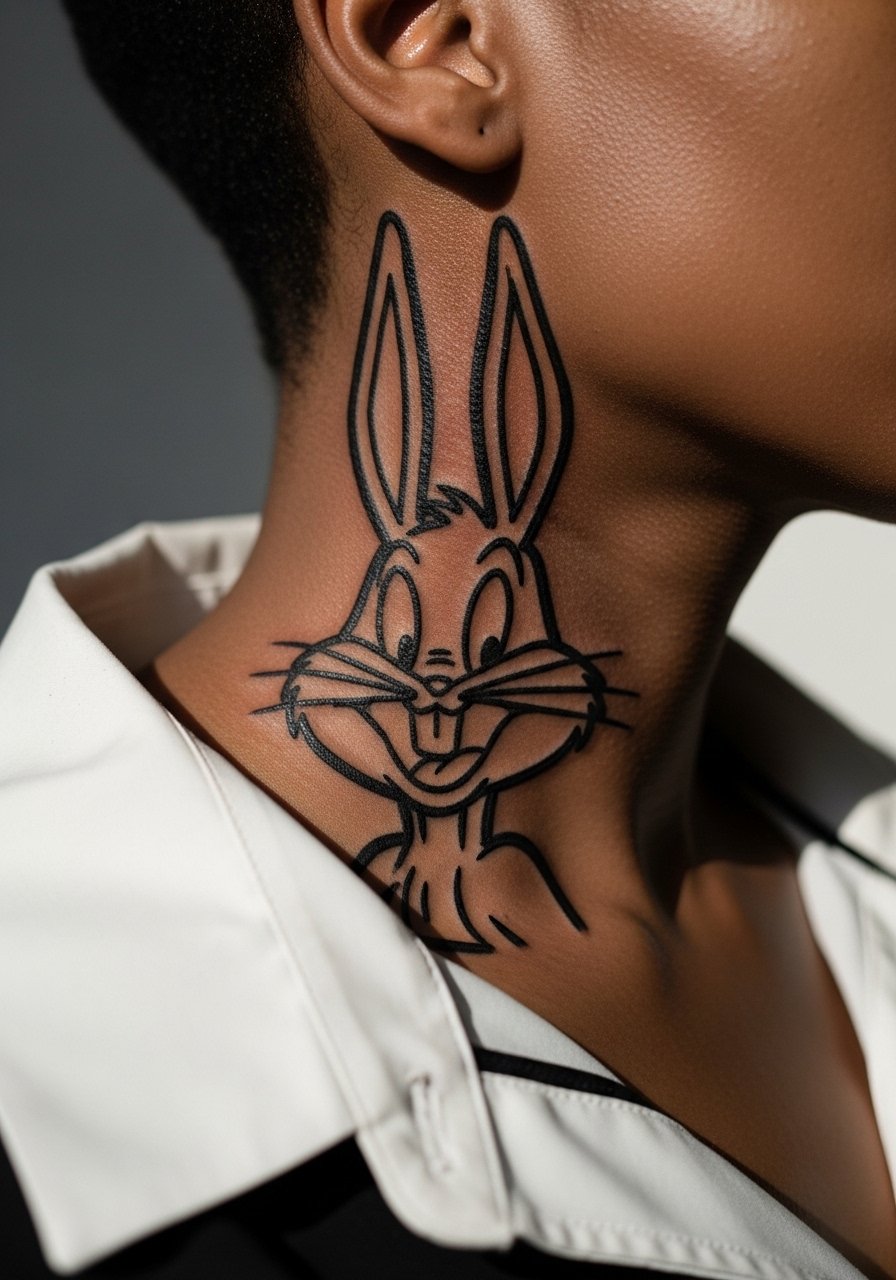
Ignorant style is intentionally raw, which suits punk aesthetics. Neck placement is sensitive and requires an artist comfortable with the area. Pain and visibility are higher here than on the arm. Note on professional considerations: neck tattoos still affect some career paths, so think through visibility before committing. A frequent mistake is requesting tiny deliberate smudges that end up looking accidental after healing. If you go this route, be explicit about how rough you want the edges to be and ask the artist for healed examples on neck placements.
11. Ornamental Frame with Geometric Carrot Motifs on the Back
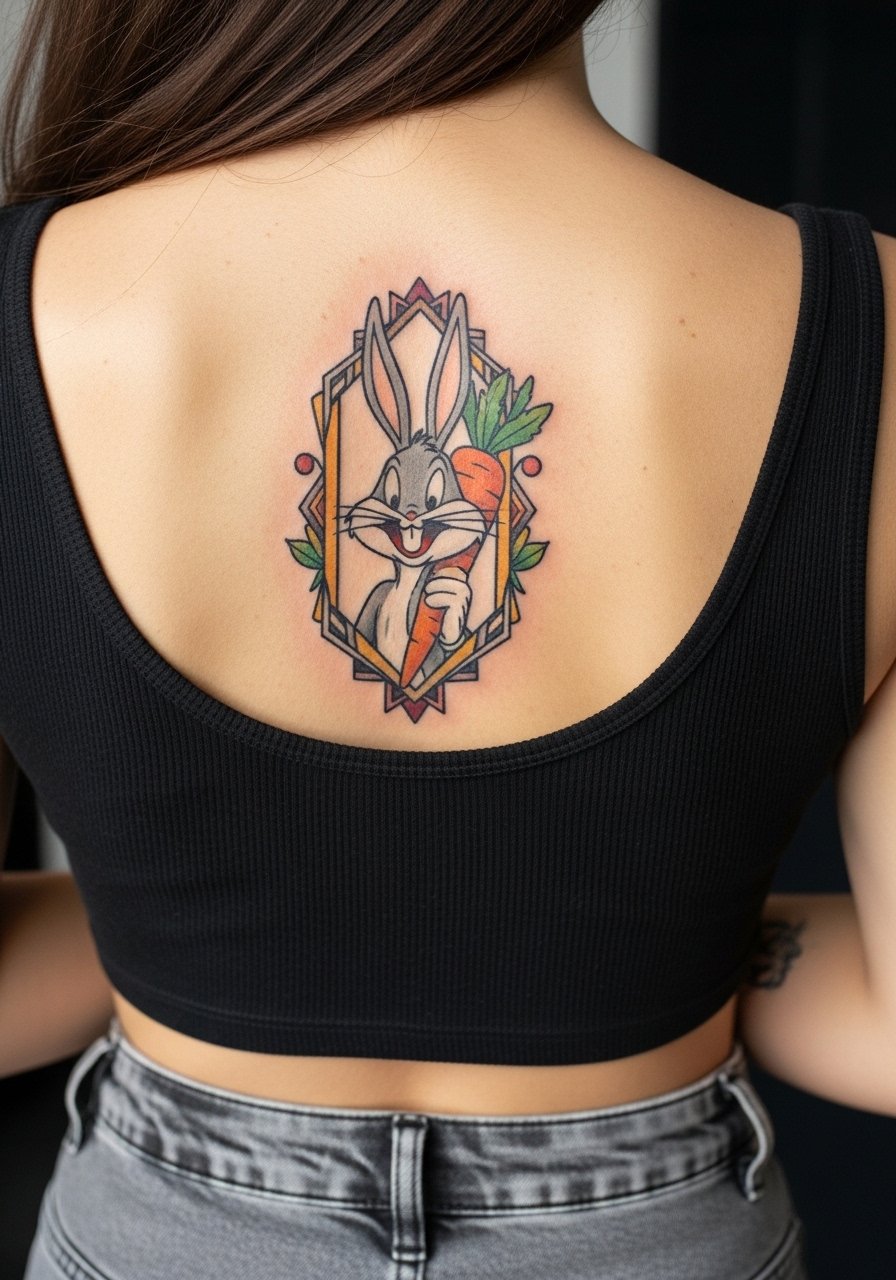
Back pieces let you play with scale and complex borders. An ornamental frame around Bugs gives a design that can be expanded into a full back panel later. Common aging problem on backs is sun exposure on the shoulder blades when people live in tanks during summer. Ask for clean negative spaces in the geometry so lines do not merge after two to five years. For sessions, a loose tank top pulled down at the back keeps the area accessible while maintaining coverage. Hands-on tip: plan the frame so the carrot motifs repeat rhythmically rather than crowding the rabbit.
12. Patchwork Neo-Trad Starter on Outer Forearm
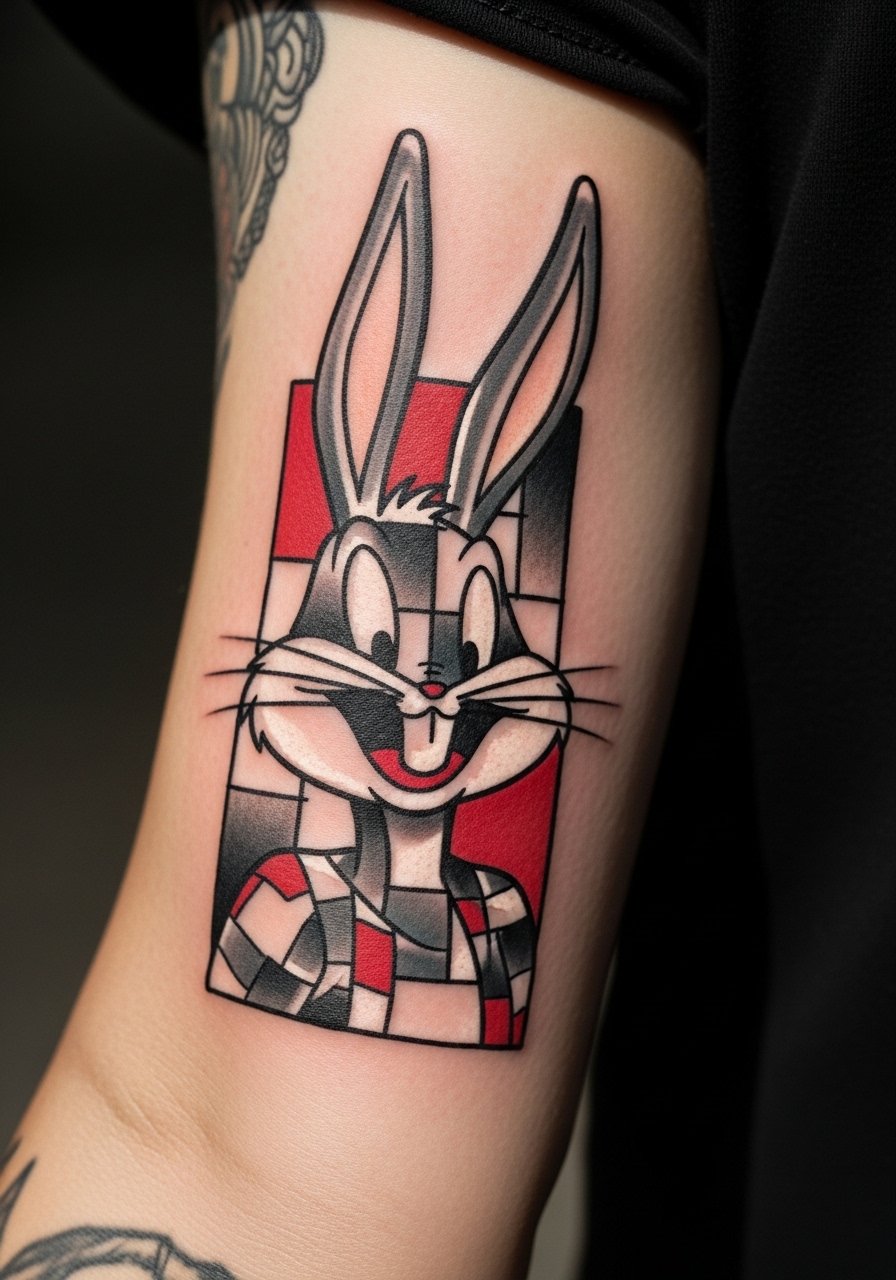
A patchwork starter is perfect if you want a collectible sleeve that grows. Start with a neo-trad anchor that has strong black borders and a clear negative space for future pieces. Ask for a defined margin around the design so future elements can tuck in cleanly. I also recommend saving a touch-up slot at three to six months to even out saturation across colors. For discoverability and booking a guest who specializes in this, look hashtags like #NeoTraditionalBugsBunny or search Booksy for traveling neo-traditional artists. For showing it off, roll the sleeve and pull on a rolled cuff chambray shirt so the starter piece sits as the sleeve's visual anchor.
13. High-Contrast Bugs for Darker Skin Tones on Upper Arm
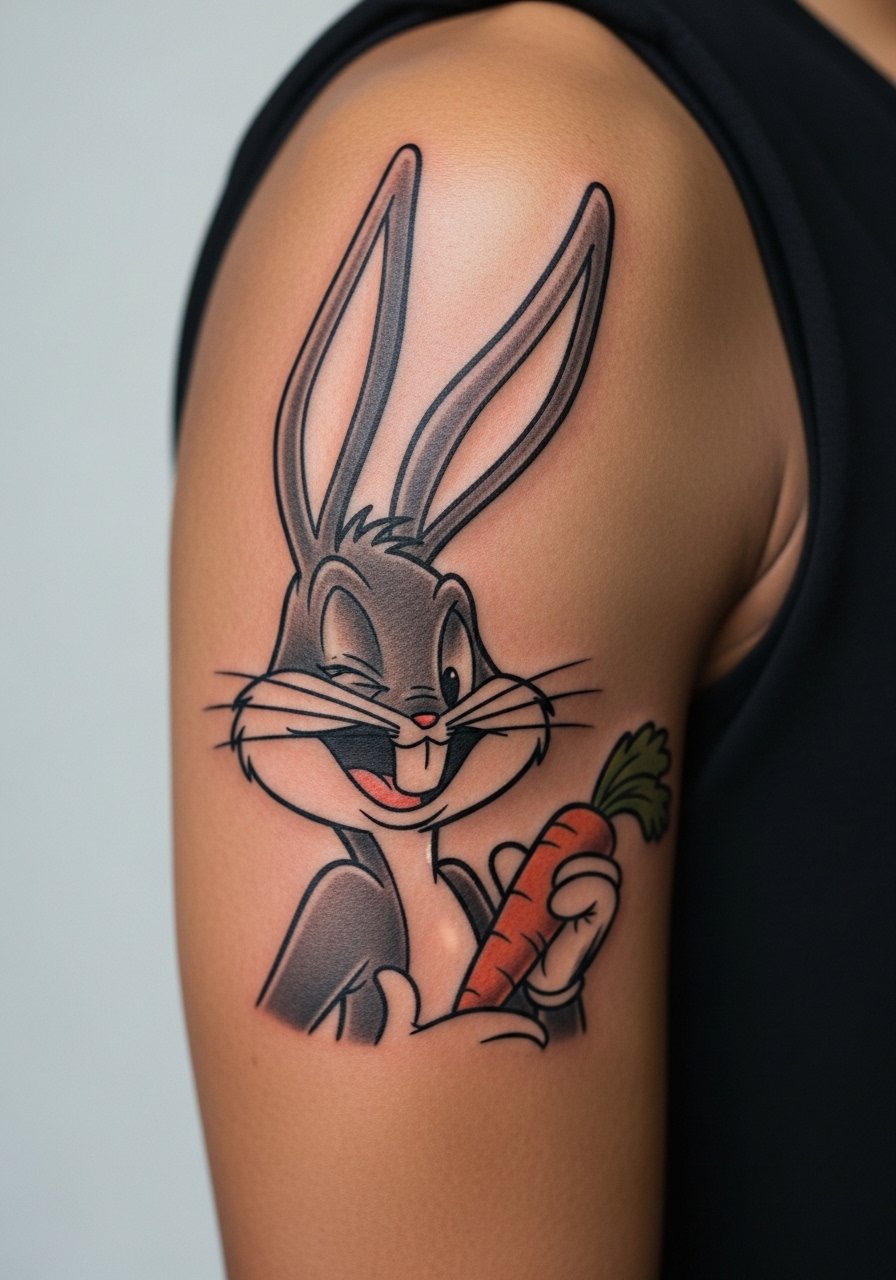
Cartoons on darker skin can read differently in photos. The practical fix is a stronger black and gray base with mid-tone fills to carry vibrancy. I advise testing design mockups directly on your skin tone under light similar to how you plan to photograph it. A mistake I see is copying color palettes that work on light skin without adjustment, which then appear muted. Ask for heavier outlines and slightly deeper color saturation than the same design would get on lighter skin. This approach preserves readability in both close shots and casual selfies. Longevity tends to be better with this method.
14. Thigh Hide-and-Show New School Bugs
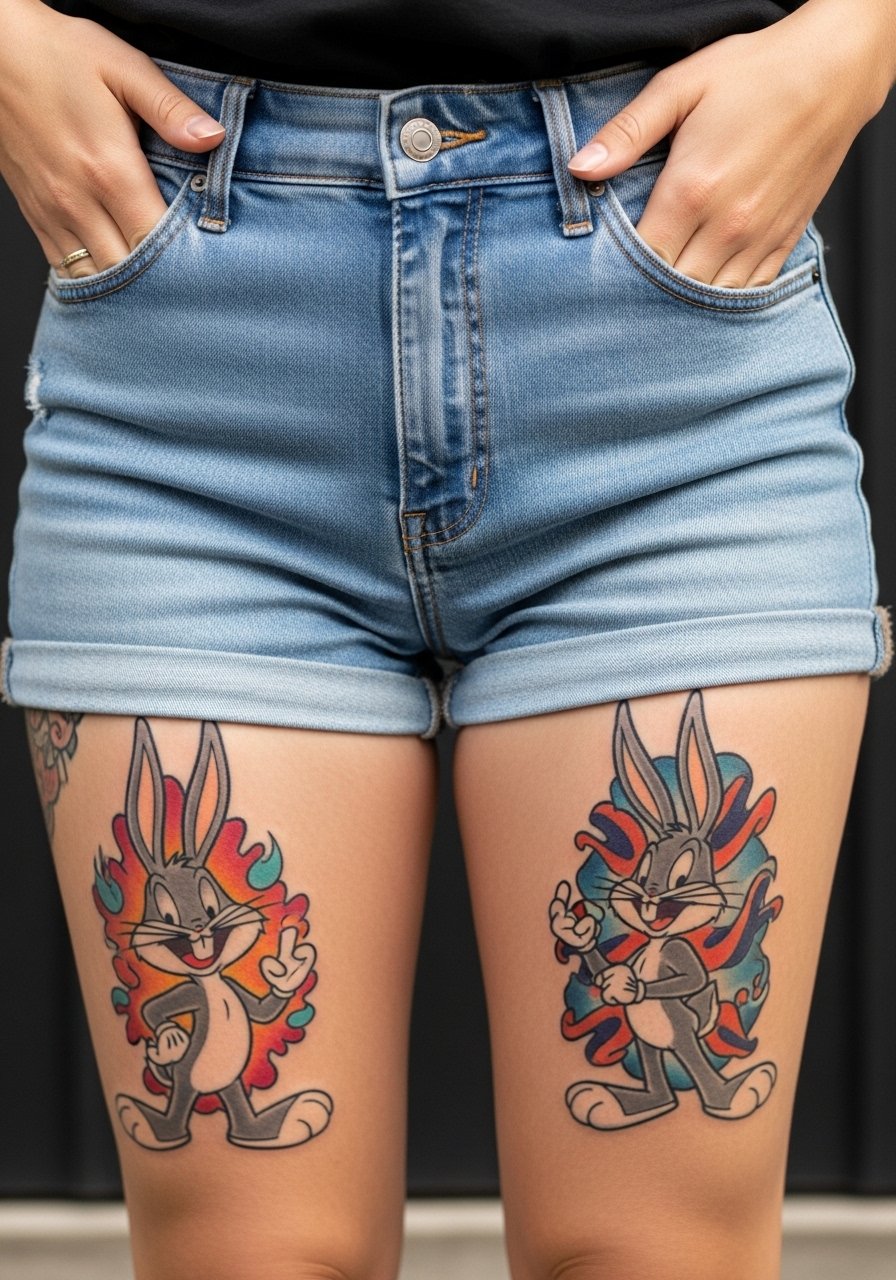
Thigh placements are forgiving for scale and privacy. New school on the thigh can be loud and expandable, but watch for gym-related stretching if you lift heavily. The safe move is placing the composition slightly toward the outer thigh and not directly along the crease that moves most. For session comfort, wear loose joggers or pull on high-waisted denim shorts when you head for the chair so the artist can access the area without tight fabric. Expect two sessions for saturated color and a touch-up at six months for any areas that settle unevenly.
15. Inner Bicep Micro-Portrait Bugs
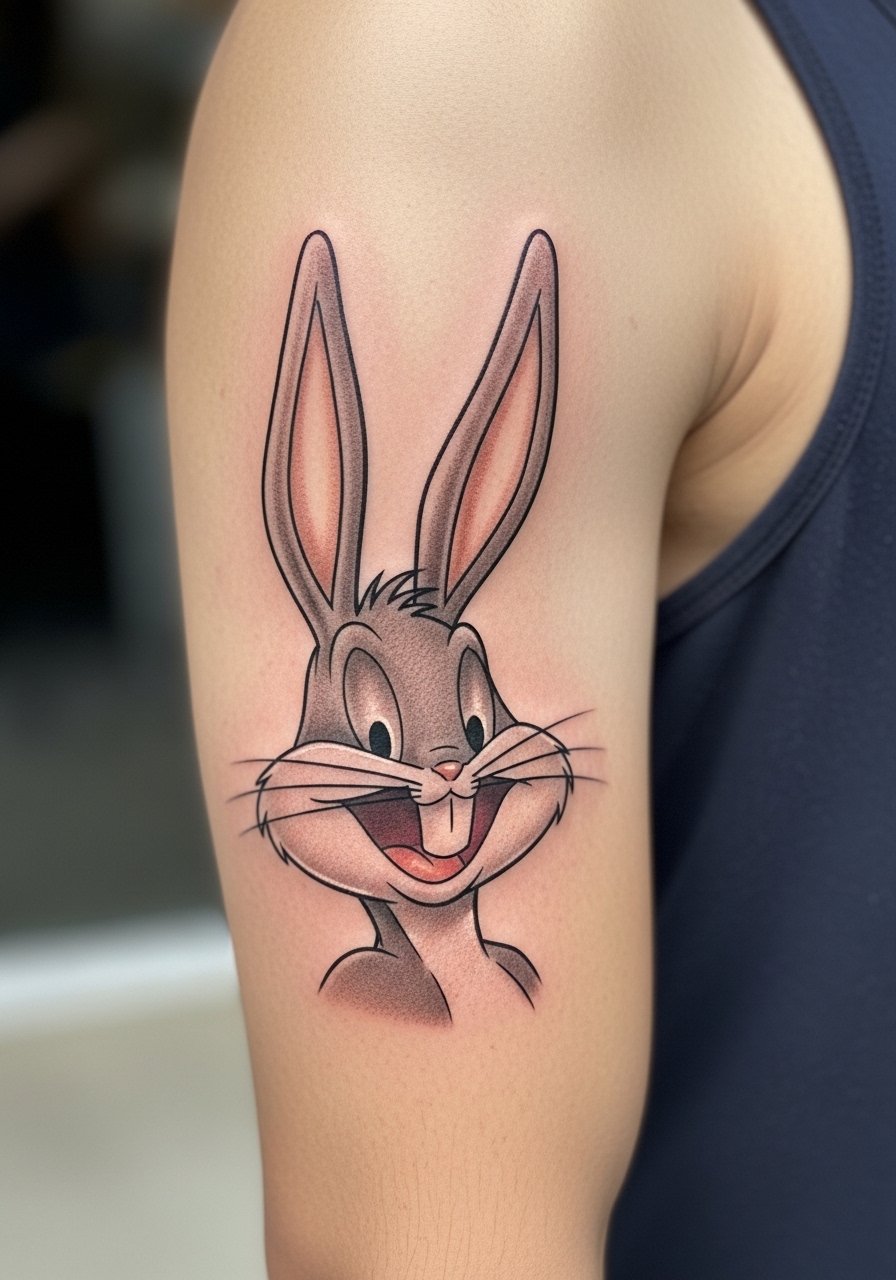
Inner bicep work heals differently because of friction from the arm against the torso. It is a spot where fine detail can blur if done too small. I recommend sizing up slightly and using stipple shading to give texture without dense fills that might compact. The session feels moderate on pain because the skin is softer but the location can be awkward to hold for long fills. Common mistake: scheduling a long marathon without breaks. Plan short sessions and check how the stencil sits when your arm is relaxed.
16. Tiny Finger or Knuckle Winking Bugs
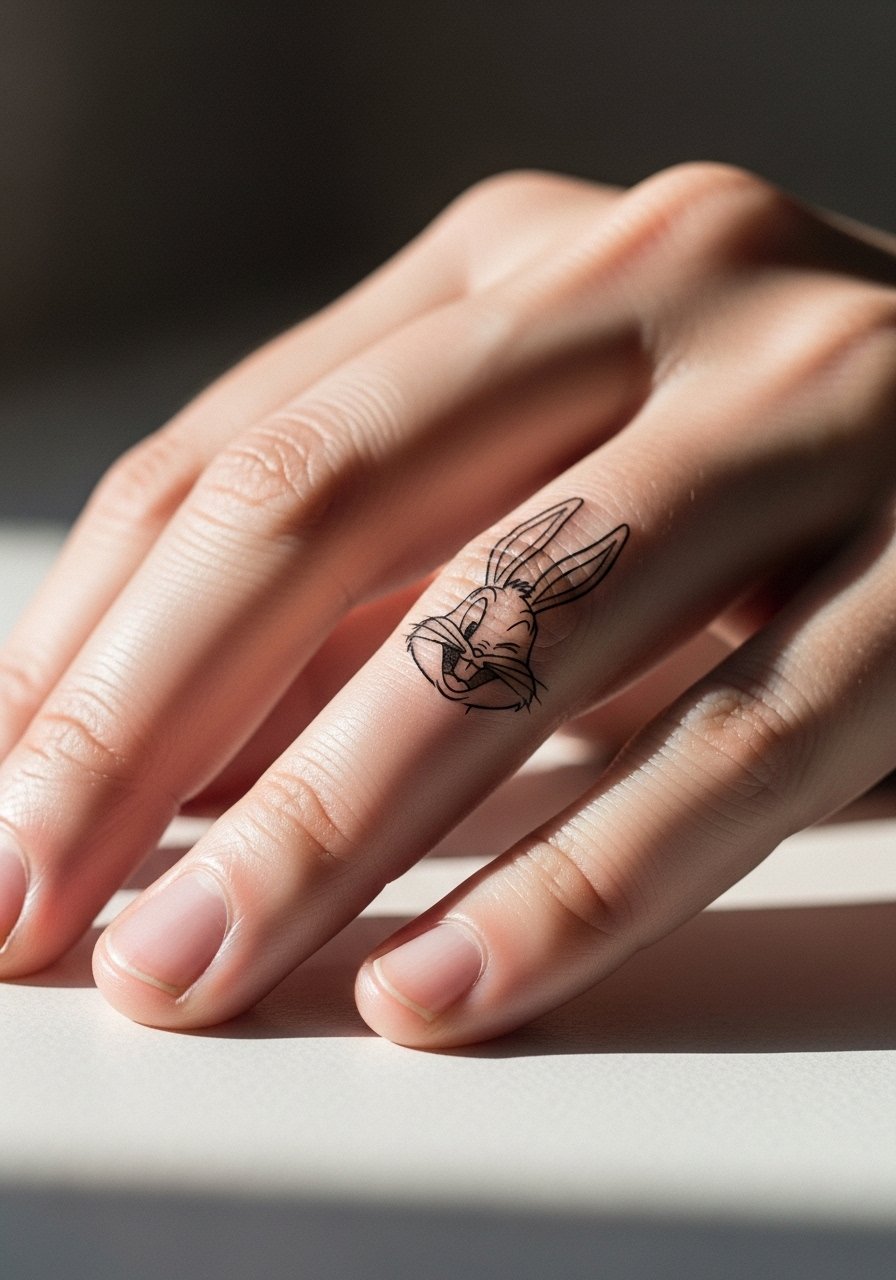
Finger tattoos are minimal by necessity but require acceptance of faster wear. The skin on fingers sheds and moves, so expect touch-ups every one to three years. Keep the design very simple and ask for bold anchors rather than intricate detail. The session is quick and surprisingly painful because of thin tissue, and the healed look can be crisp if the artist uses the correct depth. A frequent mistake is asking for tiny fill work that will not hold. If you want to show this without over-accessorizing try minimal rings, but keep in mind wedding or job factors for hand visibility.
17. Lower Back Retro Bugs with Flash Frame
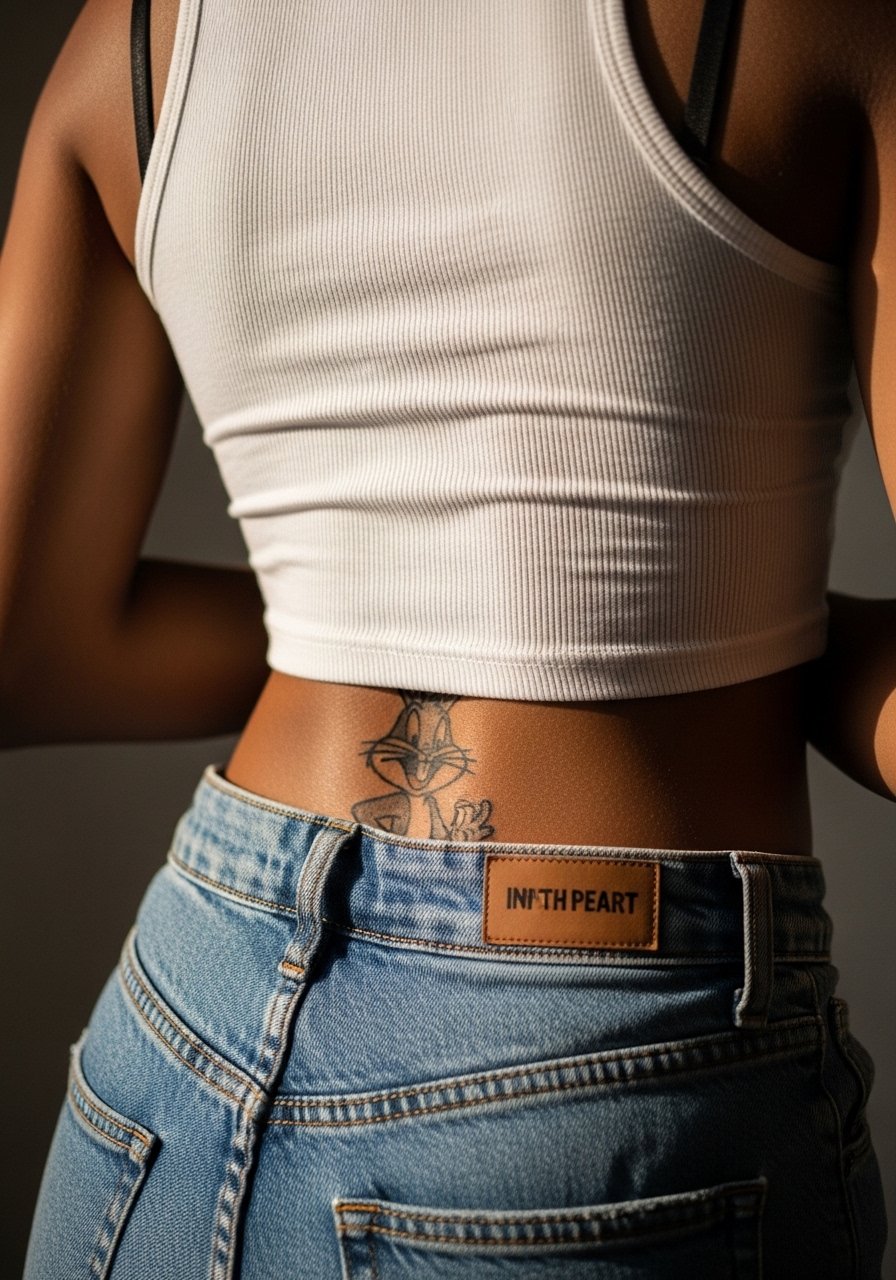
Lower back flash is a comeback option that benefits from bold outlines and clean negative space. The area tolerates saturation well and hides under most clothing when you want anonymity. When planning, think about future expansion into a lumbar panel so shapes do not collide later. Common mistakes include starting with too many tiny elements that limit where new pieces can go. For sessions, wear a tank and high-waisted bottoms that you can shift slightly to show just the tattoo zone. If you plan to expand, ask for a guiding compass line so future artists can match flow.
Frequently Asked Questions
Q: Will a fine line Bugs on my wrist need touch-ups sooner than a neo-traditional forearm piece?
A: In my experience fine line on high-use areas like the wrist will usually need touch-ups sooner than bold neo-traditional work on the forearm. The wrist sees sun, washing, and friction that all soften single-needle lines. Plan on a light touch-up at year two to three if you want crispness maintained.
Q: How should I handle Saniderm versus dry healing for a watercolor ankle Bugs?
A: Artists split into two camps. One camp uses Saniderm to speed the initial healing and reduce scabbing. The other camp argues dry healing preserves line definition better for delicate washes. Ask your artist which approach they use for watercolor and follow their instructions closely because technique and aftercare go hand in hand.
Q: Can I get a neo-traditional Bugs on my dark skin and still have the colors pop in photos?
A: Yes, with a stronger black and gray underlayer and slightly deeper saturation you can get vivid results. I advise testing a small mockup against the lighting you plan to photograph in so you can tweak contrast before the full session.
Q: What should I wear to a thigh new school session to stay comfortable during long color fills?
A: Pull on loose joggers or high-waisted shorts you can slide down a bit so the artist can access the outer thigh. Comfortable, breathable fabrics help during long color sessions and prevent fabric rubbing on the fresh ink.
Q: How do I find a guest artist who does clean neo-traditional cartoon work if local shops are dry on style?
A: Search hashtags like #NeoTraditionalBugsBunny or #FineLineCartoon on Instagram, check Booksy and Tattoodo filters for "cartoon" plus your city, and watch TikTok for guest-spot announcements. Folks also report success posting in r/tattoostudio threads to find guest spots and traveling artists.
