
Fine line tattoos rule a lot of mood boards right now, and the gap between what looks amazing on a phone and what ages well on skin is wider than many expect. I have seen the same trend play out in five shops across Brooklyn. This list skips the generic picks and focuses on designs and placements that stay readable after the first touch-up, plus wardrobe tips for showing them off.
1. Fine Line Rose on Inner Forearm
I've seen this exact piece age two ways. One camp treats fine line as an aesthetic that will soften over time and accepts the fade. The other camp says fine line must be executed with slightly heavier initial depth to hold on moving skin. Say both things out loud in consultation so you get the approach you want. Ask for single-needle linework with spacing between petals to prevent merging at year two. Expect low-to-medium pain and a single session for a 2-4 inch version. For showing it off, roll up a sleeve and reach for a women rolled sleeve blouse that keeps the forearm visible without competing visually. Common mistake is requesting tiny petals too close together, which invites blowout on thinner skin.

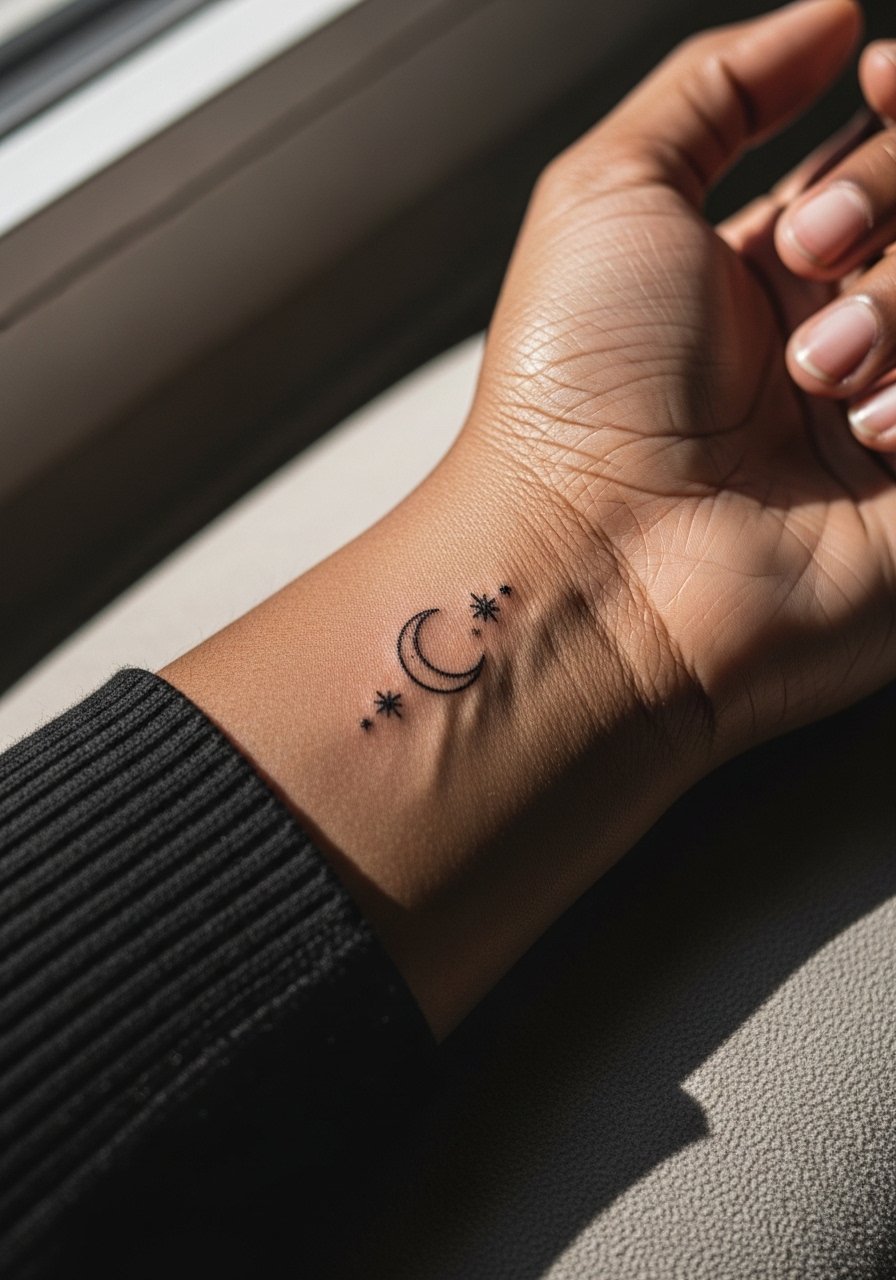
2. Crescent Moon with Stars on Wrist
Fair warning, the wrist is a zone of constant motion and washing. Expect a quick session but also realistic touch-up talk at year one or two. Ask your artist for slightly bolder anchor points on the moon, then feather the stars with dot work so the composition keeps reading as the ink settles. For session comfort, go sleeveless or short sleeves and bring a compact wrist pillow if you tense up. Pair the finished wrist piece with a thin gold chain bracelet on the opposite wrist to frame the tiny moon without crowding the linework. The biggest mistake is making the constellation too tiny and dense, which blurs after heavy use.
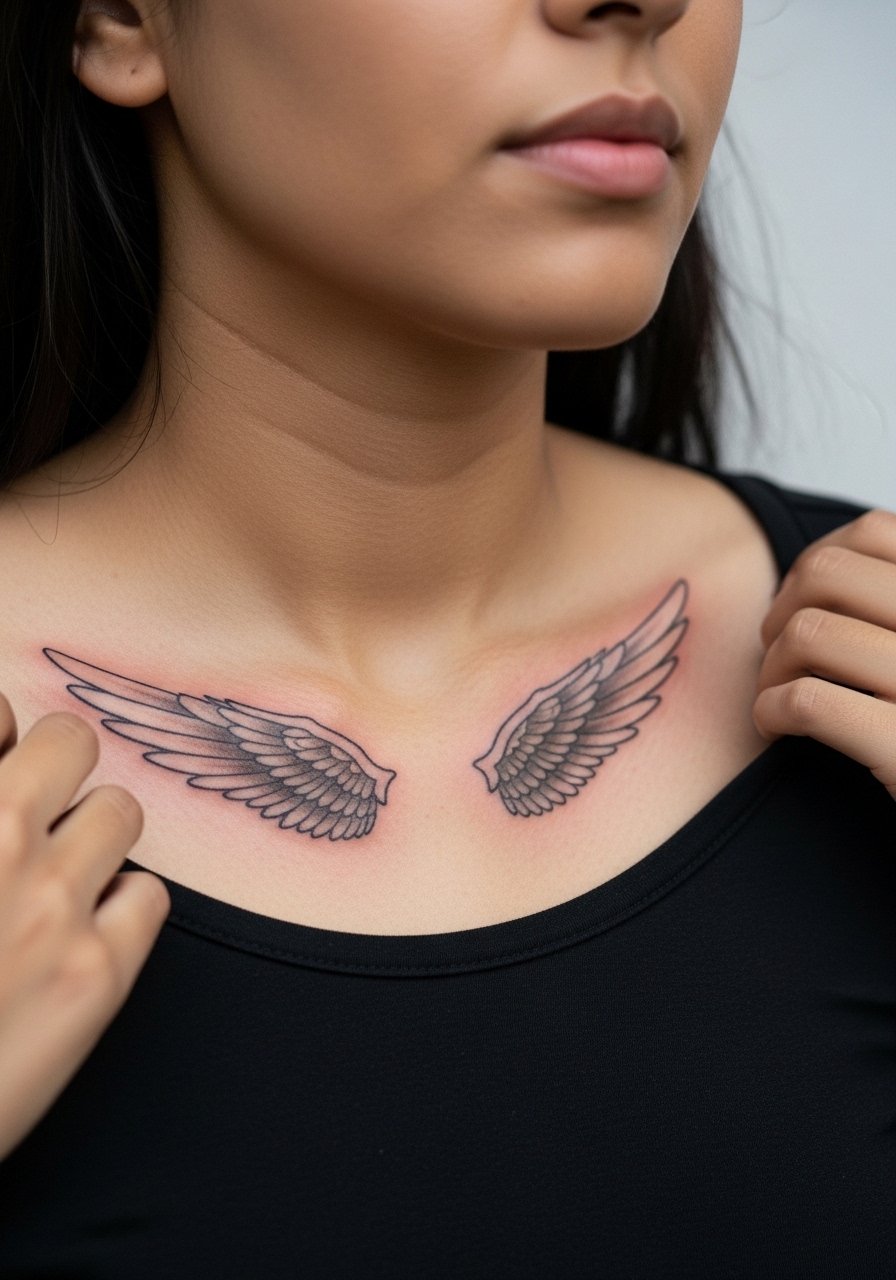
3. Wing Motif on Collarbone
This placement photographs beautifully but the collarbone shifts with posture. For a soft, watercolor wash hold back on extreme color saturation where the skin bends. Tell your artist you want flowing linework that follows the bone so the wing sits naturally when you tilt your shoulder. Session wear is easy with an off shoulder sweater you can pull aside to expose the collarbone and avoid fabric drag. Pain is low to medium because of thin tissue over bone. A common misstep is asking for heavy color right on the collar, which tends to require touch-ups after sun exposure. If you care about how it heals long term, discuss spacing and stitch-like linework to reduce future merging.
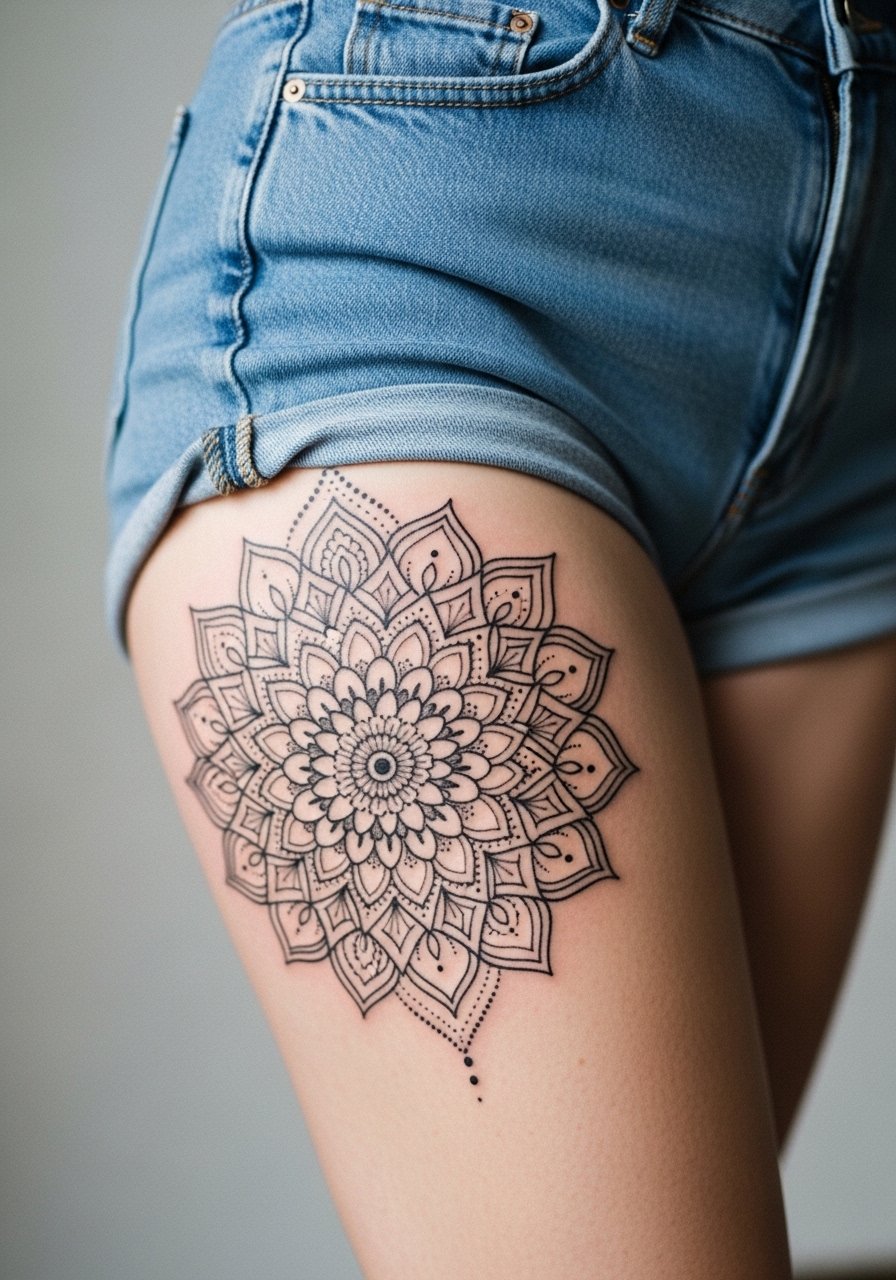
4. Mandala on Thigh
Artists and collectors split on protective coverings during healing. One camp swears by sealed films for the first 24 to 48 hours to lock moisture and reduce scabbing. The other camp prefers dry healing after the initial clean to avoid trapped bacteria. I have heard both sides and my advice is to ask the artist how they manage detail-heavy ornamental pieces during the first week. For a mandala, leave breathing room between tightly packed dot work so stipple shading retains its texture at year two. Outer thigh sessions are medium pain with two sessions common for 4-6 inch pieces. For showing it off, try high waist denim shorts and flowy skirts that let the pattern peek out at the hem. Avoid the mistake of squeezing too much geometry into a small circle.
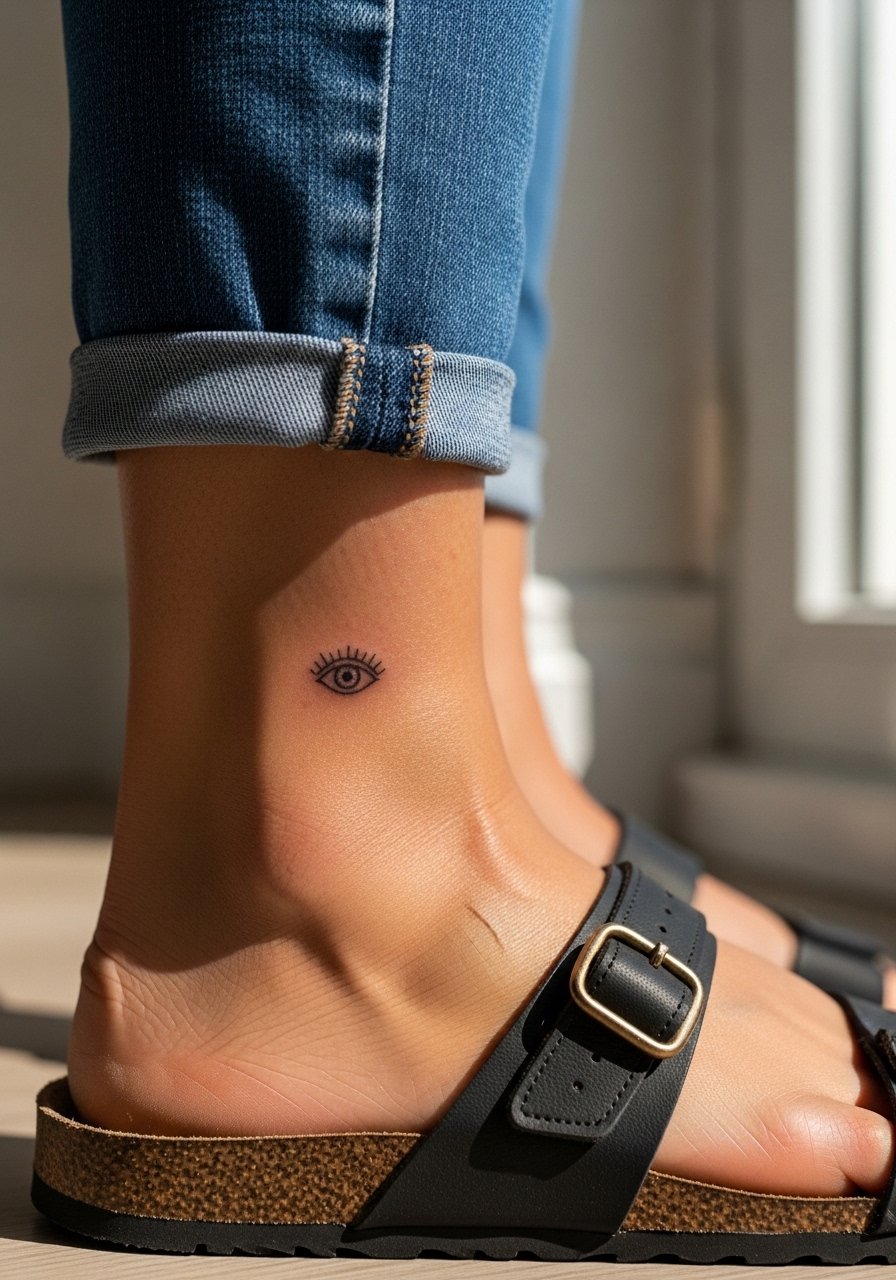
5. Evil Eye Symbol on Ankle
There is a practical charm to this design. The ankle sees shoes, straps, and sandals, so keep the motif compact and clear with a strong outline and minimal micro-shading. The session is quick and the pain is low to medium because of bone proximity. For summer wear, pair the ankle piece with strappy ankle sandals and cropped trousers so it reads like jewelry. Tell your artist you want a clean negative-space iris rather than dense crosshatching, which tends to blur with frequent friction. Expect a possible touch-up after heavy walking seasons, and avoid placing the design directly where straps constantly rub.
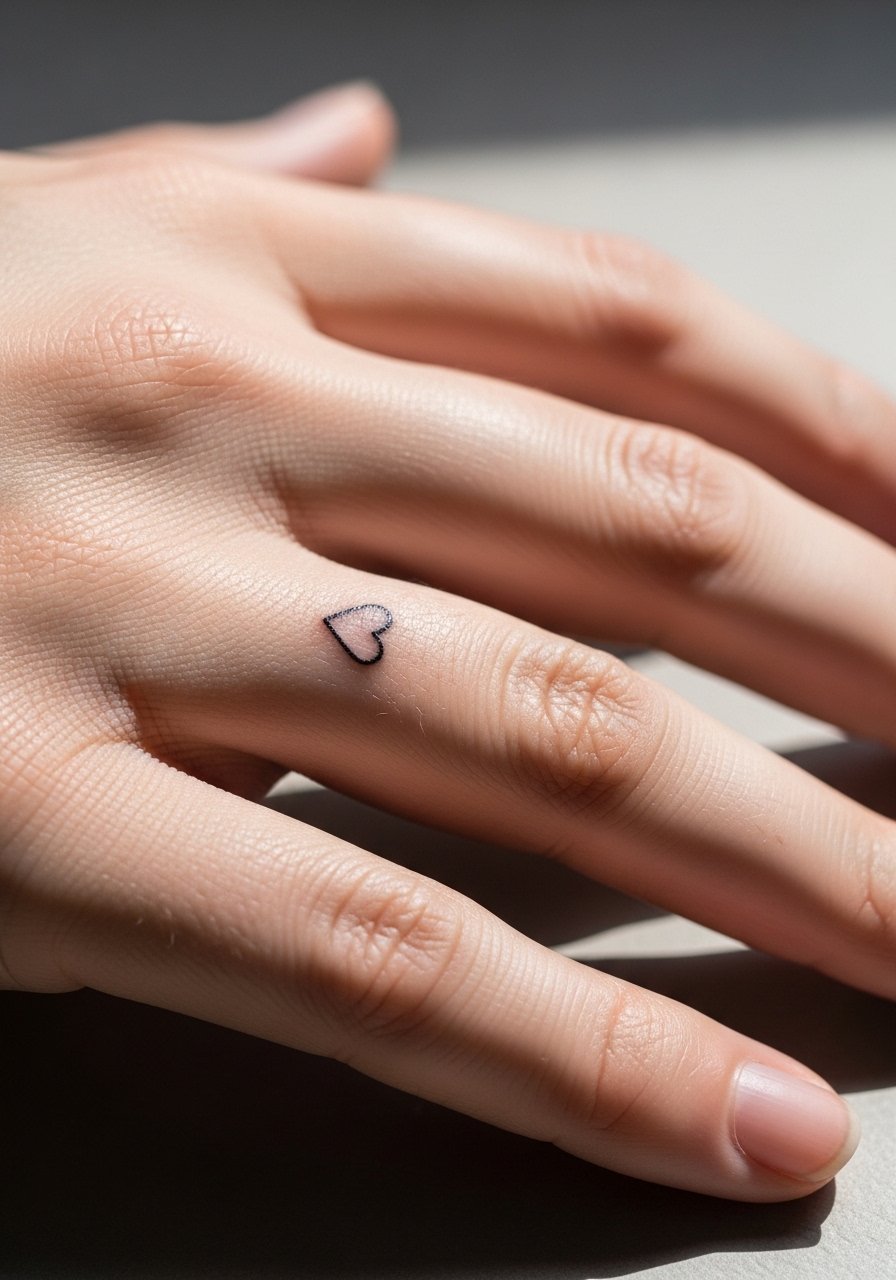
6. Finger Heart or Dot Minimalist
When fingers move a lot the needle deposits sit under skin that is continually used, so size matters. Keep the design very small and avoid ultra-fine single-needle dots right at the joint unless the artist recommends reinforced linework. Sessions are very short but many clients need touch-ups at six to twelve months. For the appointment, remove rings and wear no-sleeve or short-sleeve so the artist has clear access. A common mistake is asking for a cluster of tiny dots across two joints, which increases blowout risk. The finish reads best with clean negative space and intentional spacing rather than maximum micro-detail.
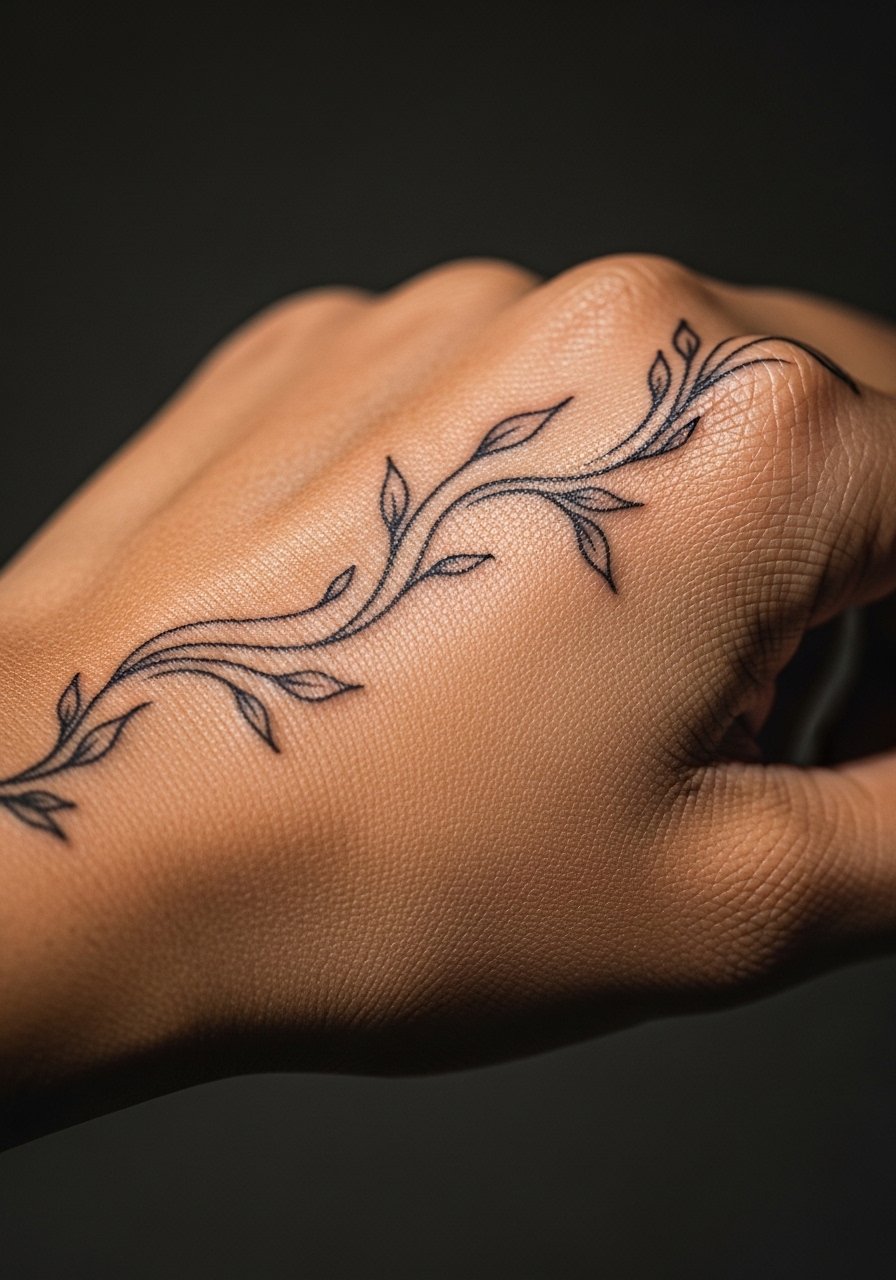
7. Vine Wrapping Hand
The hand requires compromise between thin botanical linework and thicker anchors to survive daily life. Expect medium pain and one to two sessions for a wrap that crosses knuckles and the back of the hand. Ask for slightly bolder stems where the design meets joints and keep fine leaves in the flatter areas. The most common error is extending too far onto fingertips where washing smudges pigment faster. Hand tattoos carry higher blowout risk because of thin skin and repeated movement. If career considerations matter, remember some workplaces still view hand tattoos conservatively. For longevity, plan touch-ups around year two.
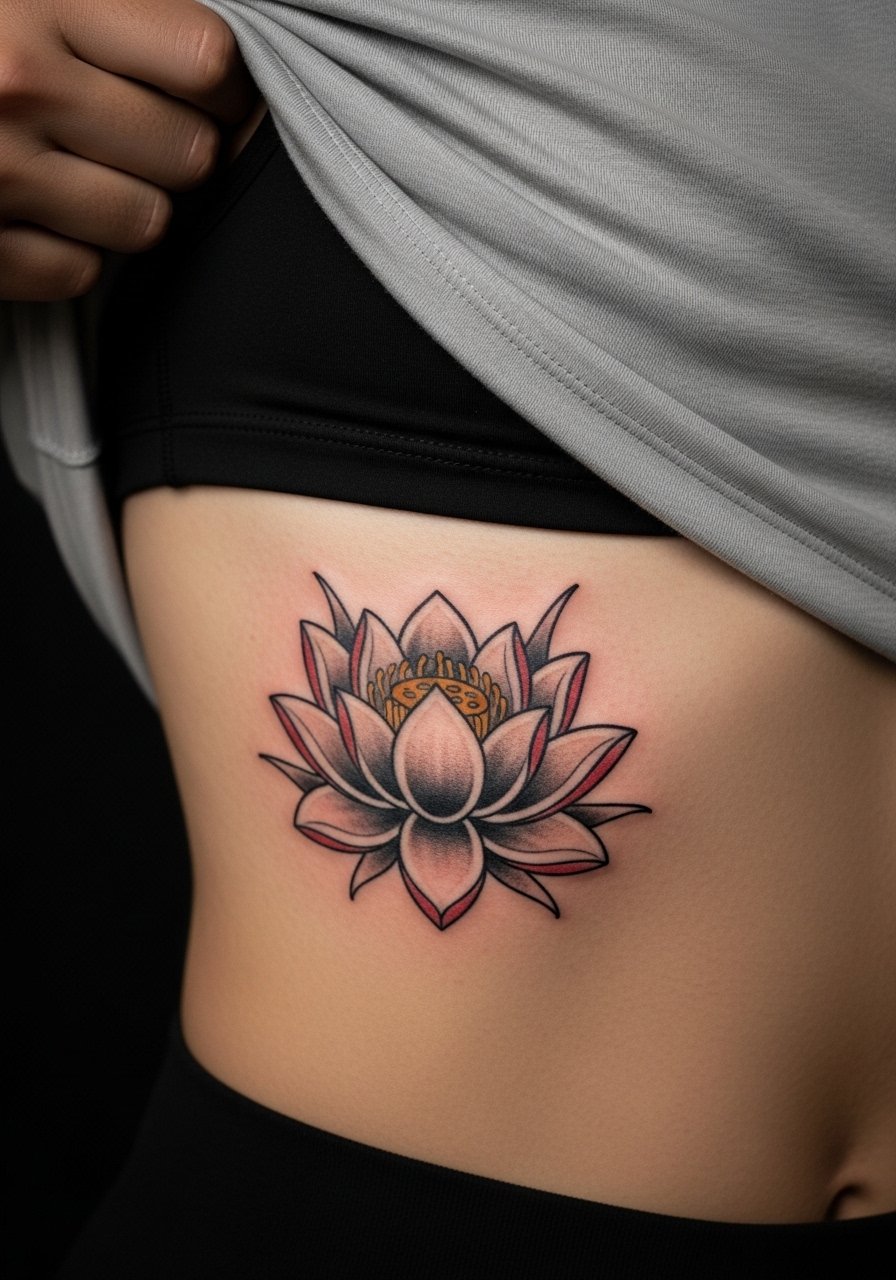
8. Lotus Flower on Ribcage
Fair warning, the ribcage rates high on most pain scales. The area also flexes with breathing and body changes, so spacing in the petals matters for how the design settles. Ask your artist for slightly broader linework and moderate saturation if you want color, especially on darker tones where thin color can appear patchy. Sessions usually span two to three visits for a 4-inch neo-traditional lotus. For the appointment, wear a crop tank top or sports bra so the artist only exposes the necessary side. A common mistake is asking for ultra-fine shading over multiple ribs, which blurs as skin stretches and compresses.
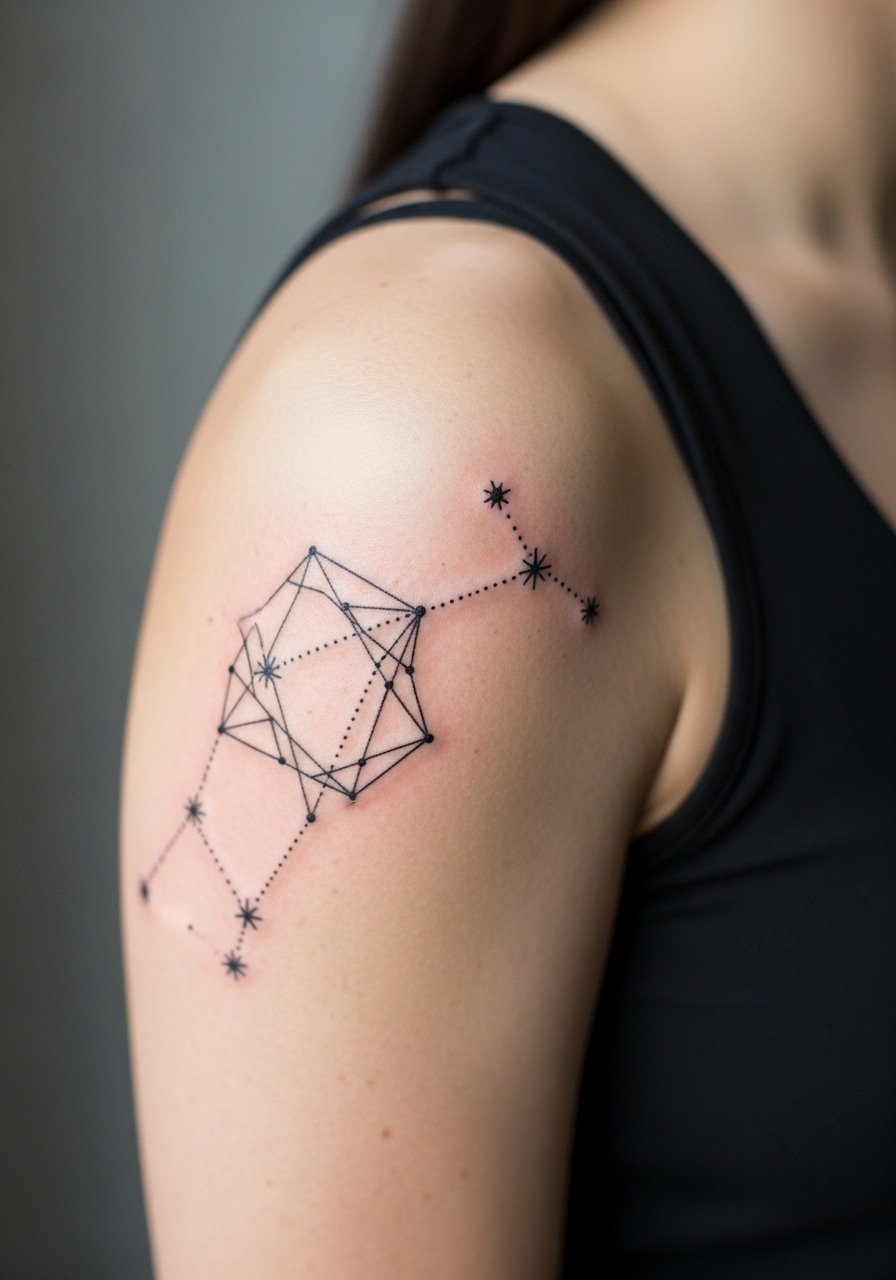
9. Geometric Constellation on Shoulder
There is a quiet clarity to geometric constellations when they have space. Keep lines slightly separated so dot work and tiny stars do not merge in dense clusters. Shoulder placement means lower pain and usually a single session for a 3-5 inch design. Tell the artist you want crisp negative space between shapes to preserve the 3D illusion over years. If you want to showcase it, wear tops with open shoulders or tank tops that pull aside easily. Common mistakes include making connector lines too thin across curved muscle, which invites early touch-ups. Ask for placement mockups on your shoulder before the needle touches skin.
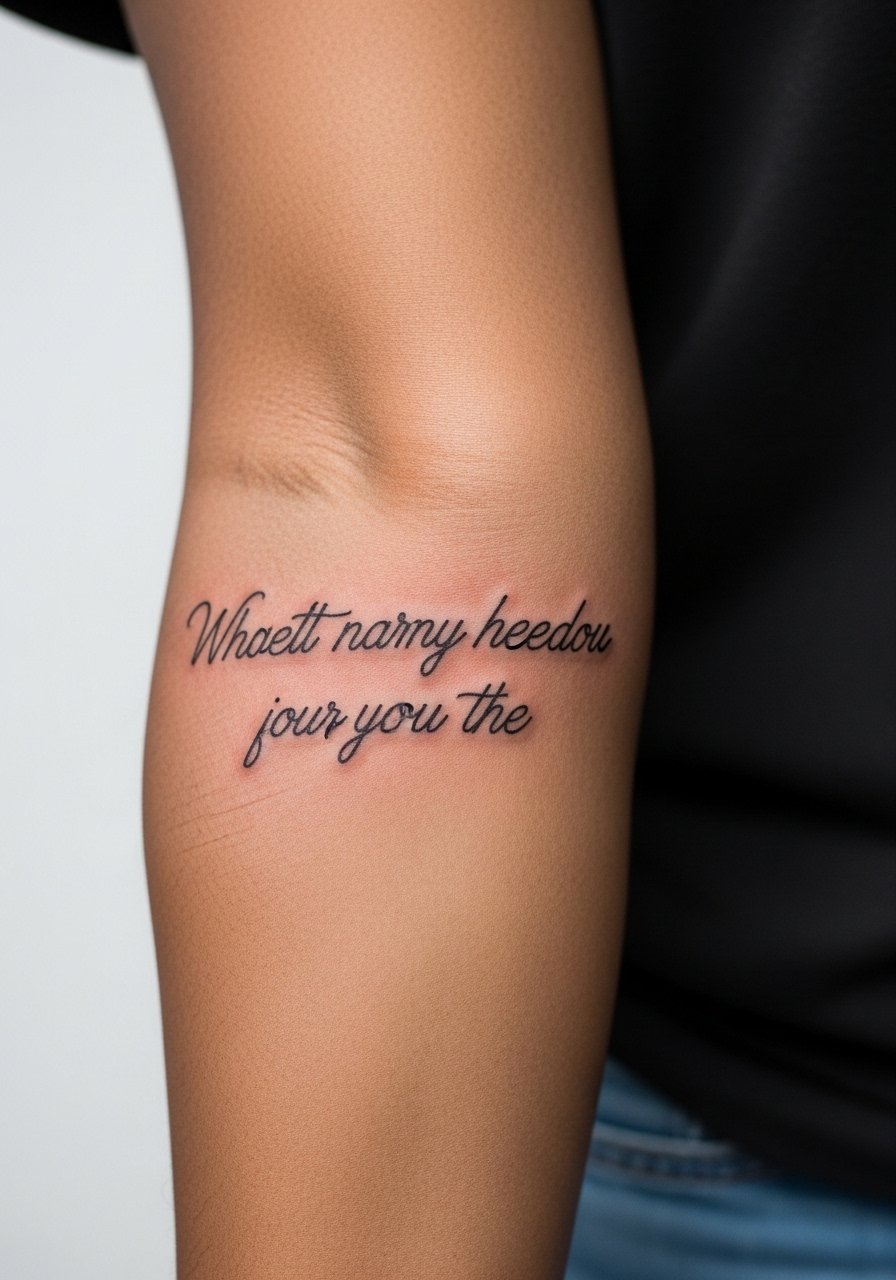
10. Script Quote on Forearm
When words are the focal point, font choice dictates how the piece ages. Thin cursive can look ethereal fresh but tends to blur at the tails on frequently sun-exposed forearms. Opt for a slightly more open script or a clean serif to keep letter counters readable over years. Session time is short and pain is low. For showing off a forearm script, a thin chain pendant necklace can sit above it and guide the eye without competing. A common mistake is copying a font from low-resolution screenshots. Bring clear, high-res references and ask the artist for a stenciled placement test so the length and flow feel right when your arm hangs naturally.
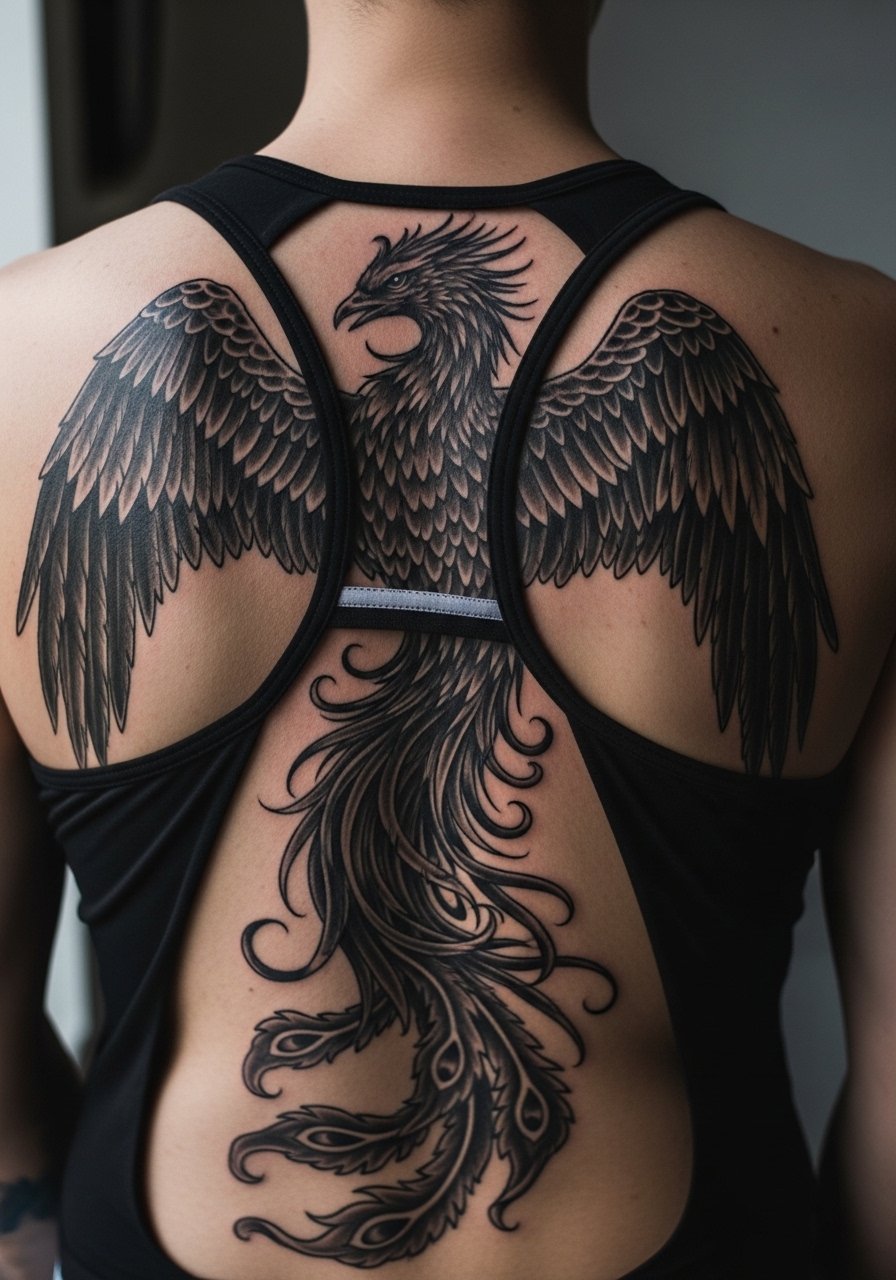
11. Phoenix Rising on Back
Large narrative pieces like a phoenix demand honest budgeting and time. Expect multiple sessions focused on saturation and shading, and plan for heavier sessions that build depth over weeks. The payoff is a piece that reads from a distance once healed and aged. For this kind of black and gray realism, tell your artist you want layered shading and areas of crisp negative space to let feathers breathe. Back sessions involve medium to high pain and long sittings, so pace them. A common mistake is compressing too much narrative detail into a single session. Give the design room and expect touch-ups after the last session has settled.
12. Henna-Inspired Pattern on Hand
These ornamental patterns can mimic temporary henna while remaining permanent, but cultural awareness matters. Note the motif's South Asian and Middle Eastern line roots and consider subtle variations rather than direct replicas when cultural context applies. Hands heal uniquely because of constant handwashing and friction. Ask for slightly stronger outer outlines and fine inner dot work that can survive use. Sessions are medium length and often split into two visits for precision. A frequent error is asking for mirrored complexity on both hands without considering daily wear. If you like the henna look, a back-of-hand placement keeps a decorative feel without overwhelming the fingers.

13. Hand-to-Wrist Continuity Design
This is a smart choice if you want the narrative flow of multiple small pieces to read as one gesture. The trick is planning negative space around joints so the pattern does not collapse over knuckles and the wrist crease. During consultation bring photos of the hand at rest and while flexed so the artist can map pathways that sit well across movement. For showing off an integrated flow use a dainty ring stack set on the opposite hand for balance. Expect higher maintenance on the fingers and a realistic touch-up plan at year two. If you want to find someone who understands continuity, search hashtags like #FineLineTattoo or use platforms that filter by style and city.

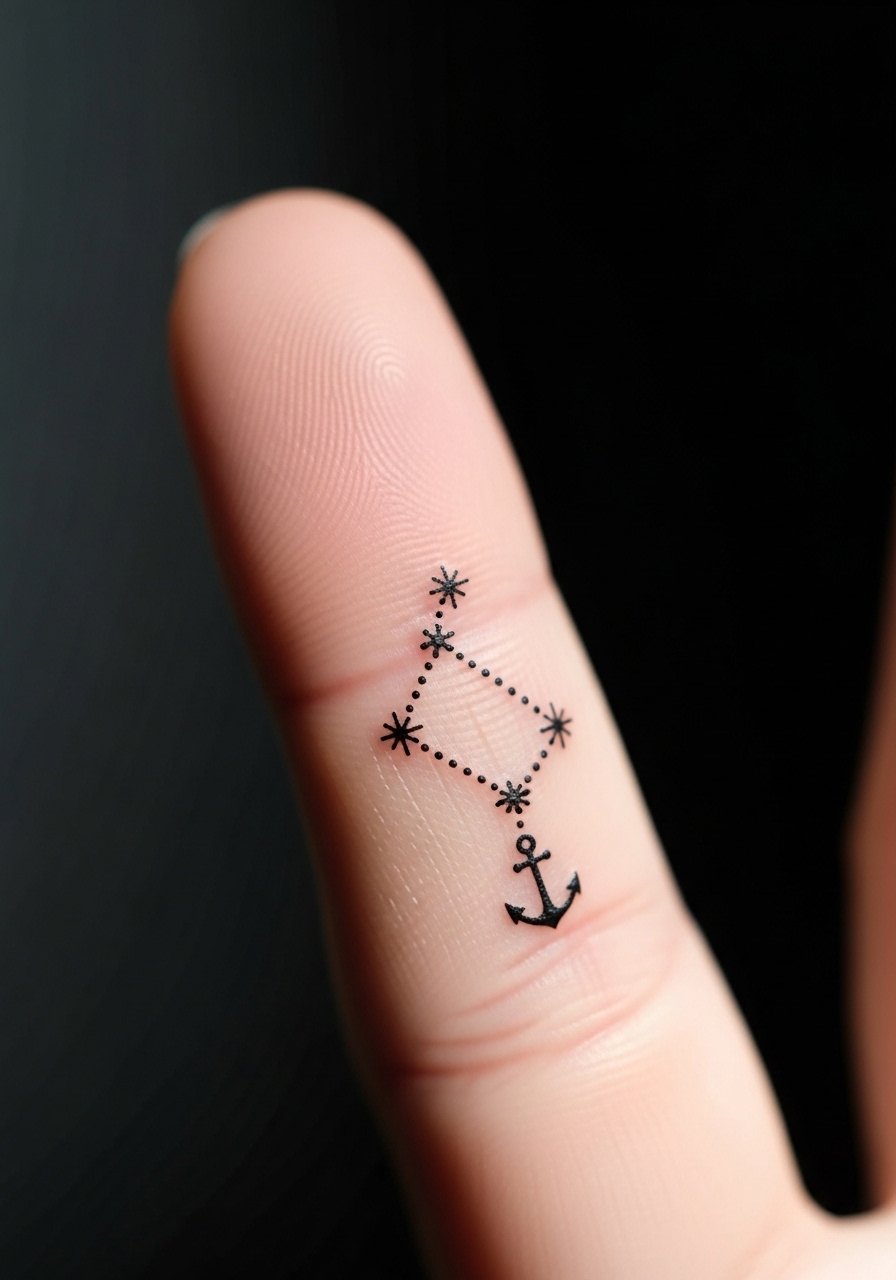
14. Micro Constellation Along Finger
Small constellations feel intimate but live on one of the most mobile skin zones. Keep elements under 1 inch and spaced so stars stay distinct. Tell your artist you prefer dot work stars with slightly larger anchor dots to maintain crispness after healing. Sessions are quick but expect at least one touch-up on finger pieces. A common mistake is letting a constellation wrap too tightly around the finger where skin folds cause pigment migration. The finish reads best as a tiny scatter rather than a dense band.
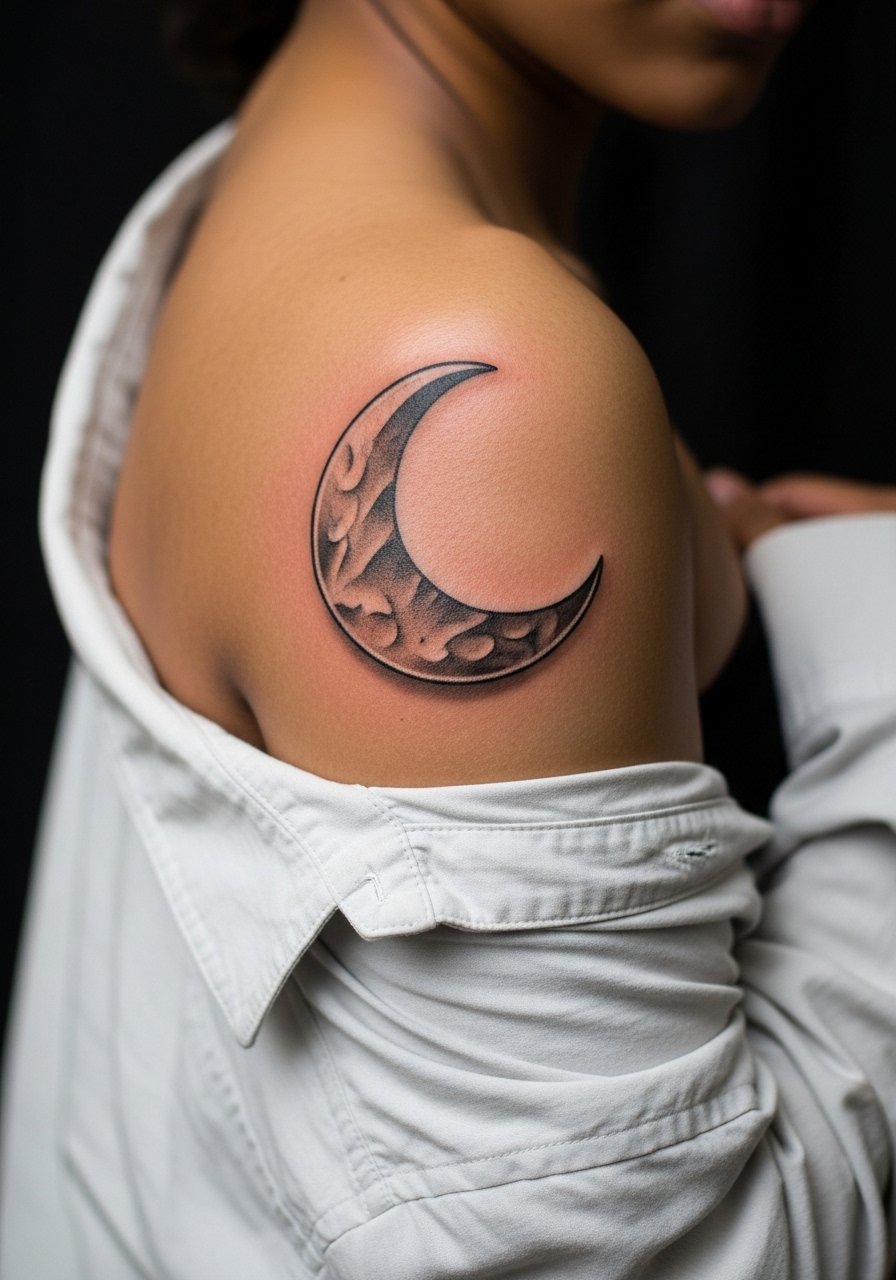
15. 3D Crescent Moon on Shoulder
The current trend toward three-dimensional moons uses shadowed negative space and precise linework to trick the eye. Some artists favor heavier shading for longevity while others keep it minimal to preserve the subtle illusion. Name both approaches during consult and ask which holds up better on your skin tone. Shoulder placement gives you room to maintain spacing, and a loose button-down shirt pulled to one side works well for session access. Avoid the mistake of compressing too many tiny highlights into a small crescent, which loses punch as the ink settles. Plan for a one-session try then a review appointment to judge healed contrast.
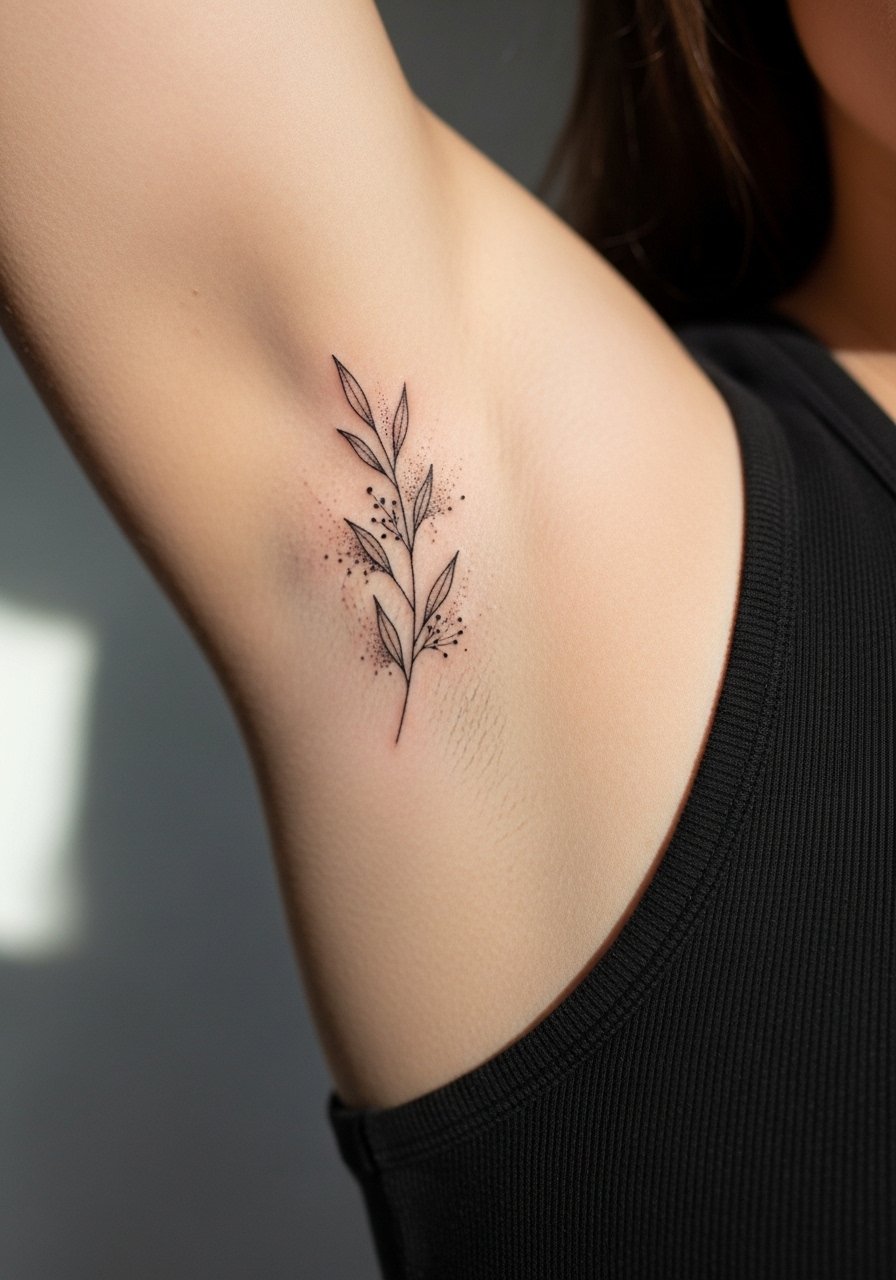
16. Botanical Inner Bicep Sprig
The inner bicep is great for custom micro-botanical work because the skin there is relatively stable. Pain is medium and the arm position matters, so bring a shirt you can raise comfortably. For longevity choose single-needle linework with occasional stipple shading rather than continuous wash. The common mistake is dense shading too close to the crease, which can gray out. Ask your artist to leave small pockets of untouched skin to keep the sprig readable at years three and five. This placement often stays private, so it works if you want something intimate yet visible when you lift your sleeve.
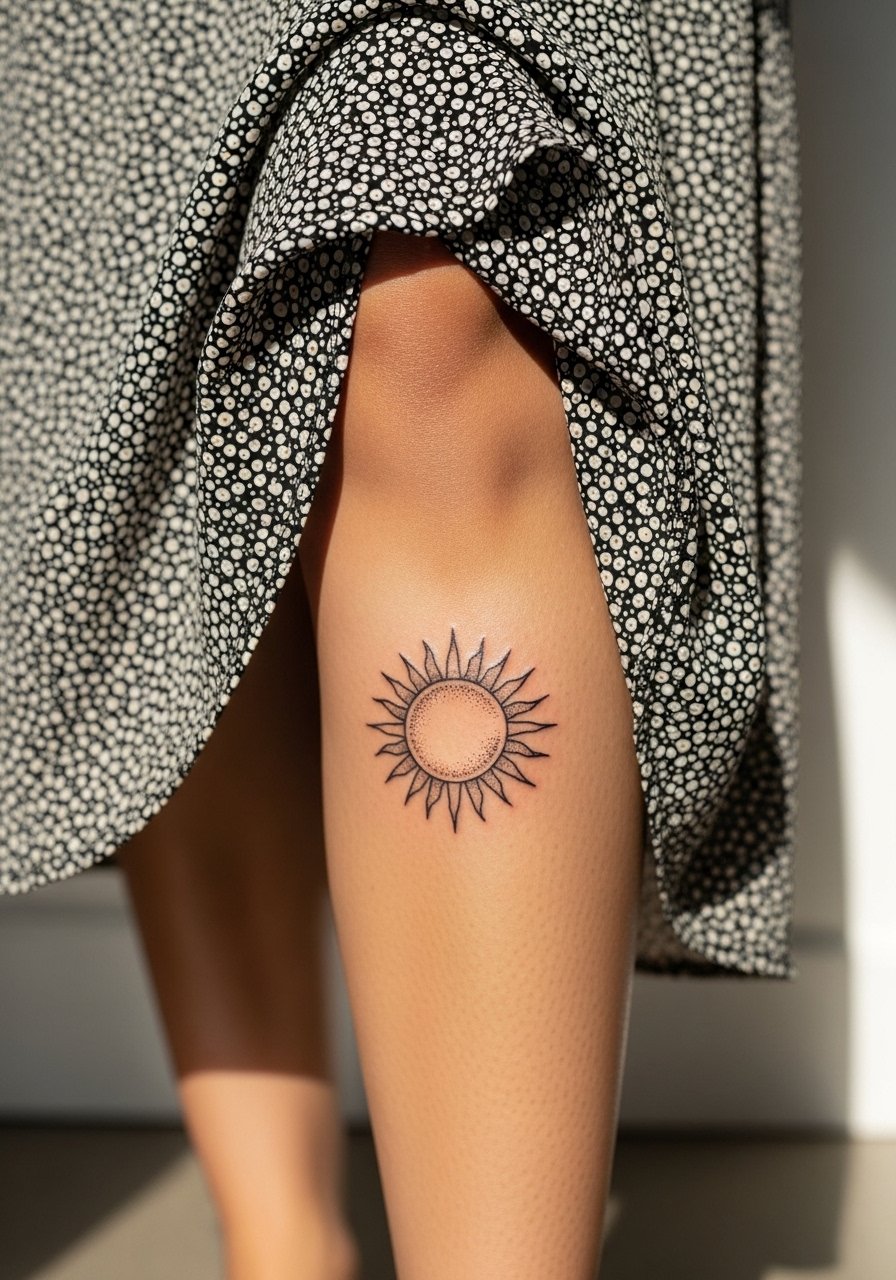
17. Stippled Sun on Calf
Calf pieces age well because the area sees less sun and friction than hands or wrists. A stippled sun with dot shading holds texture if the artist gives generous spacing between dots. Sessions are moderate in time and pain, often resolved in one or two sittings depending on size. For evenings out, pair the calf motif with flowy midi skirts or cropped trousers that let the sun peek through. The frequent error is cramping a detailed sun into a tiny spot where the stipple loses its dimensionality. Leave room and plan a touch-up if you start to lose dot contrast after heavy workouts.
Pack Smart
The forearm, wrist, collarbone, ankle, and finger pieces above all ask for small, targeted prep items that speed the session and protect the first week.
- Tea tree balm. Lightweight and breathable for humid heals, useful for ankle and hand pieces that sit near sweating or shoe straps.
- Australian lanolin cream. Great for dry winter months when inner forearm and thigh pieces need moisture without heavy clogging.
- Rice bran salve. Gentle option for sensitive skin types, handy when working on the ribcage or collarbone area.
- Mushroom extract ointment. Anti-inflammatory edge that some people find reduces redness on dense blackwork like mandalas.
- Hustle Butter. Thinner than heavy ointments and often recommended for fine line pieces that need moisture without pore clogging.
Frequently Asked Questions
Q: Will fine line roses on forearms blur faster than thicker roses?
A: Fine line tends to soften sooner because the needle channels are thinner. If you want the look without early blur, ask for slightly stronger anchor lines and more spacing in dense petals. Expect a touch-up plan around year two depending on sun exposure and how much the forearm moves.
Q: Do hand and finger pieces really need a different aftercare approach?
A: Hands and fingers face more friction and water exposure so they benefit from targeted protection during the first week. Use a breathable balm and avoid soaking. The product choices in the Pack Smart block above are geared to these exact concerns.
Q: How should I choose between Saniderm-style film and dry healing for a thigh mandala?
A: Artists and collectors split into two camps. One camp uses protective film to lock moisture and speed closure in intricate work. The other camp prefers dry healing after the initial clean to prevent trapped moisture. The safest path is to ask the artist how they handle ornamental pieces and follow their method for consistency with touch-ups.
Q: Are watercolor or saturated collarbone wings harder to keep vibrant?
A: Color on bony, high-motion areas like the collarbone can fade faster if packed too lightly. If you want watercolor tones, have the artist plan for layered saturation and sun protection. A single session may not be enough for deep, long-lasting color.
Q: How do I find an artist who understands hand-to-wrist continuity?
A: Search style tags like #FineLineTattoo and use platforms that filter by city and reviews. Look for portfolios with multiple continuity pieces and ask to see healed photos. Conversation about placement mockups and how the design flexes with the joints is a good test of experience.
