
Sitting in the chair with the stencil already taped on is the moment most people realize they forgot to think about scale, wardrobe, or how the piece will read after two summers in the sun. Micro Assassin's Creed tattoos demand the same planning as bigger work. Small line weight, contrast, and placement decide whether the emblem stays crisp or softens into a blur. Below are 27 tight, wearable ideas and the practical notes you should bring to the consultation.
1. Tiny Hidden Blade on the Inner Forearm
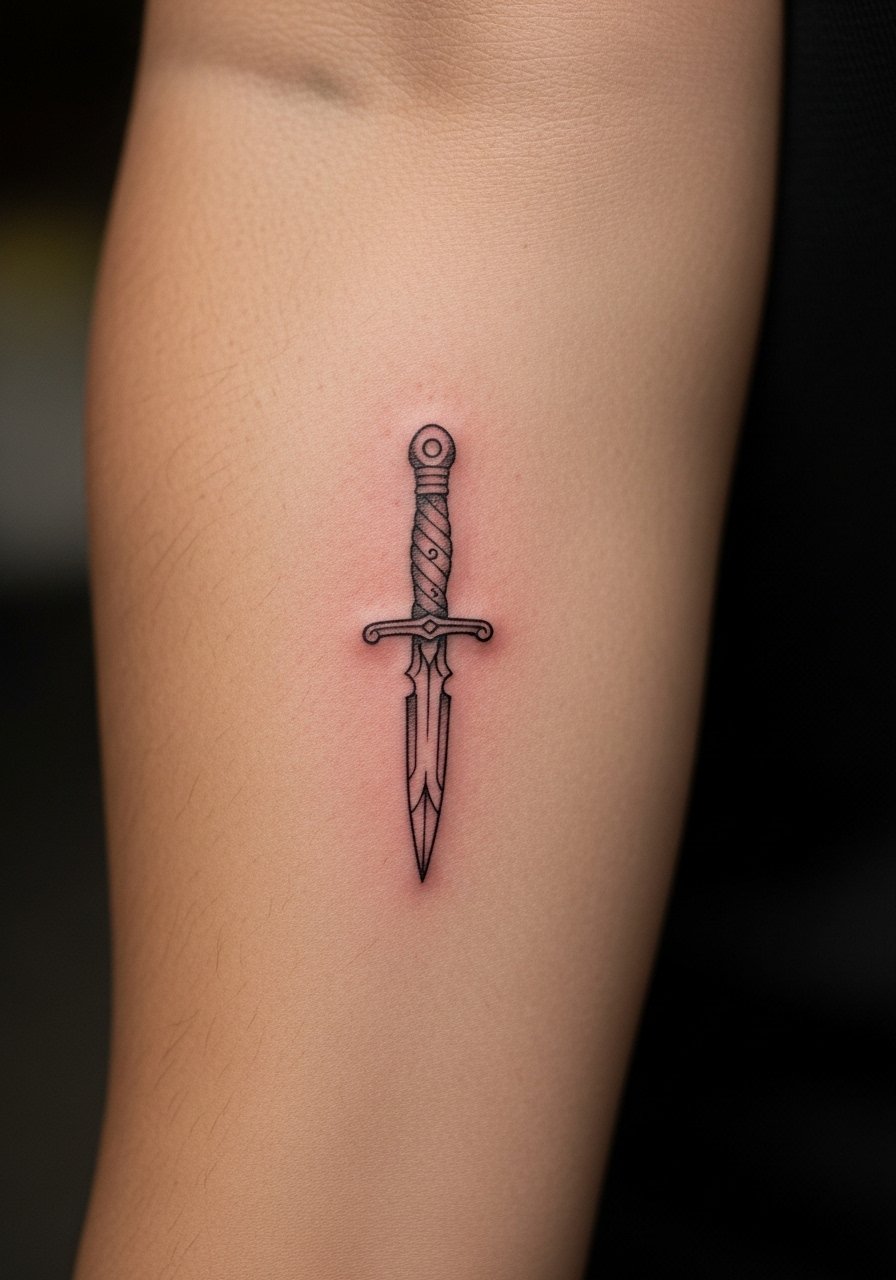
I recommend this for anyone who wants a recognizable Assassin's Creed nod that stays private when you want it to. Tell your artist you want a single-needle fine line with slightly thicker anchor points so the blade reads at distance. Common mistake is making the blade too thin top to bottom which leads to early fading. Expect mild soreness for an hour and a touch-up at year two if you wear sleeves that rub the spot. For the session wear a loose short-sleeve shirt so the artist can rotate your arm easily. If you plan to show it off, roll up a loose linen shirt to frame the piece.
2. Micro Eagle Crest Behind the Ear
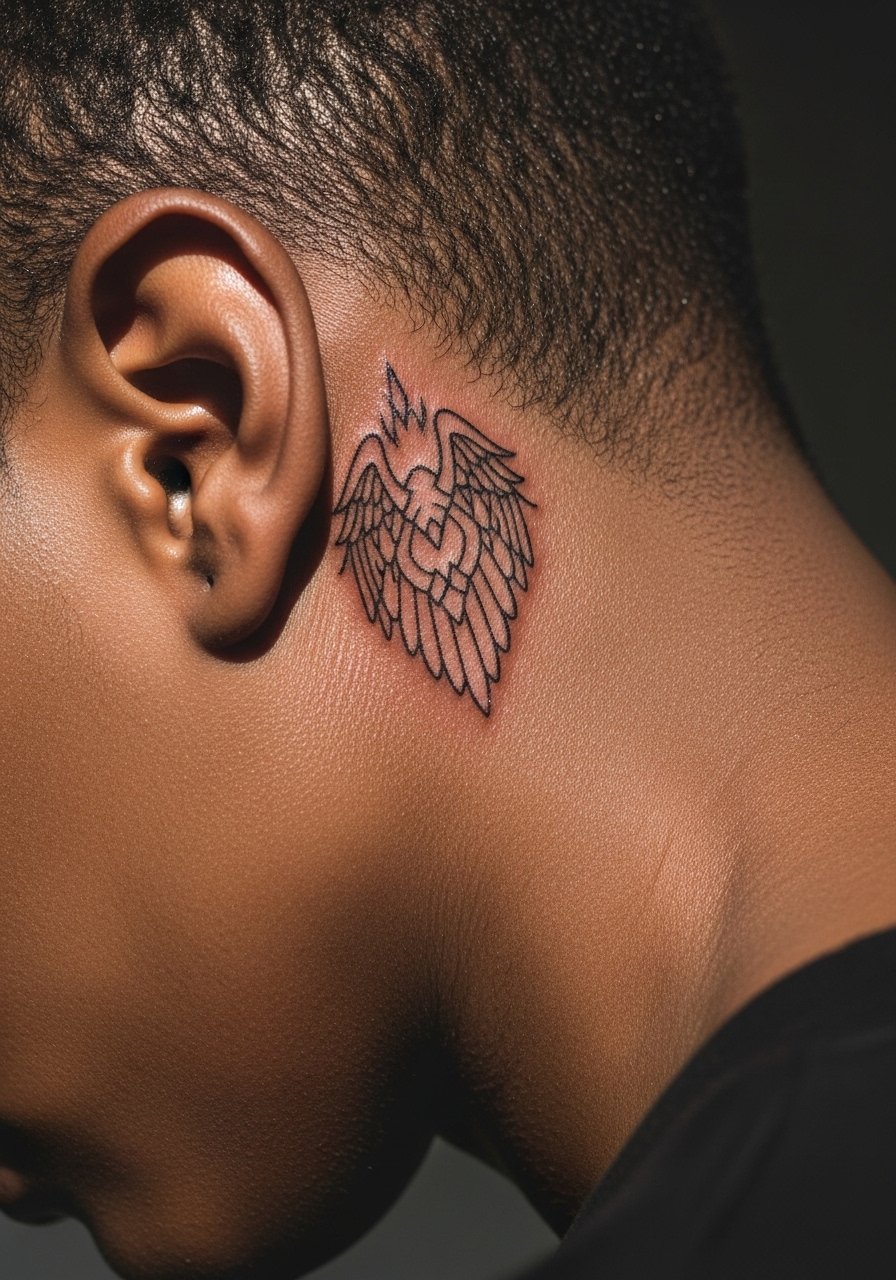
Behind-the-ear placements are intimate and surprisingly visible with short hair or a tucked bun. Ask for the crest scaled to the hairline curve and request slightly bolder primary strokes so they keep shape after healing. The session is quick and sharp but not unbearable. Note that some artists argue fine line works fine here while others avoid it due to unpredictable skin movement. Name both camps in your consultation so you know their preference. For the appointment, wear a top that lets hair down or a low bun rather than pulling hair tight. Consider pairing the reveal with small hoop earrings for a balanced look.
3. Micro Animus Symbol on the Wrist
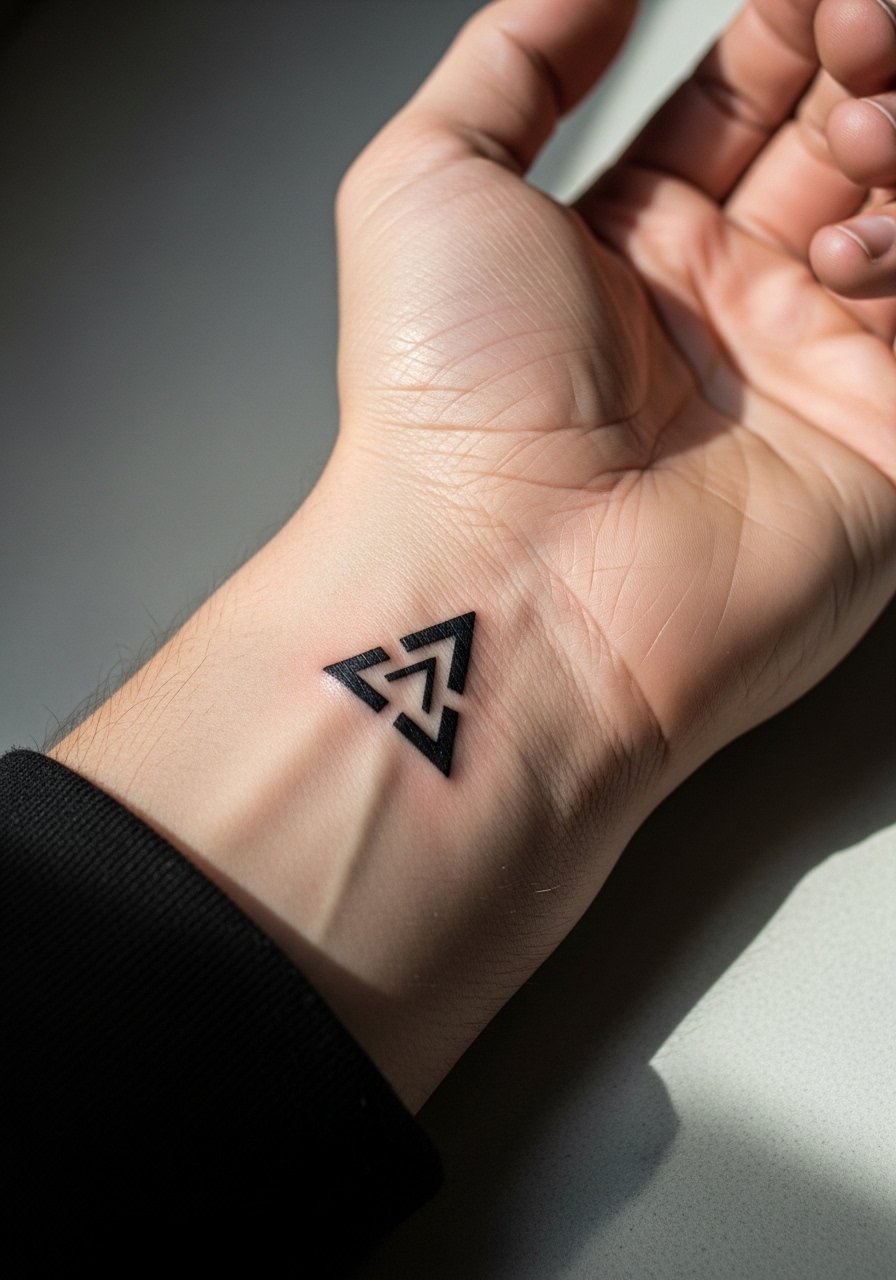
Wrist tattoos read instantly but live under constant washing and sun exposure. Ask for a compact, slightly bolded outline to protect against blowout and fading. The biggest mistake is tiny, hairline strokes that merge within a year. Plan for a thin protective bandage the first three days and a likely touch-up at year three if you rely on vivid lines. For showing it off, stack it with a minimalist watch or a single dainty bracelet to keep the piece visible without overcrowding the wrist.
4. Finger Micro Crest Along the Side
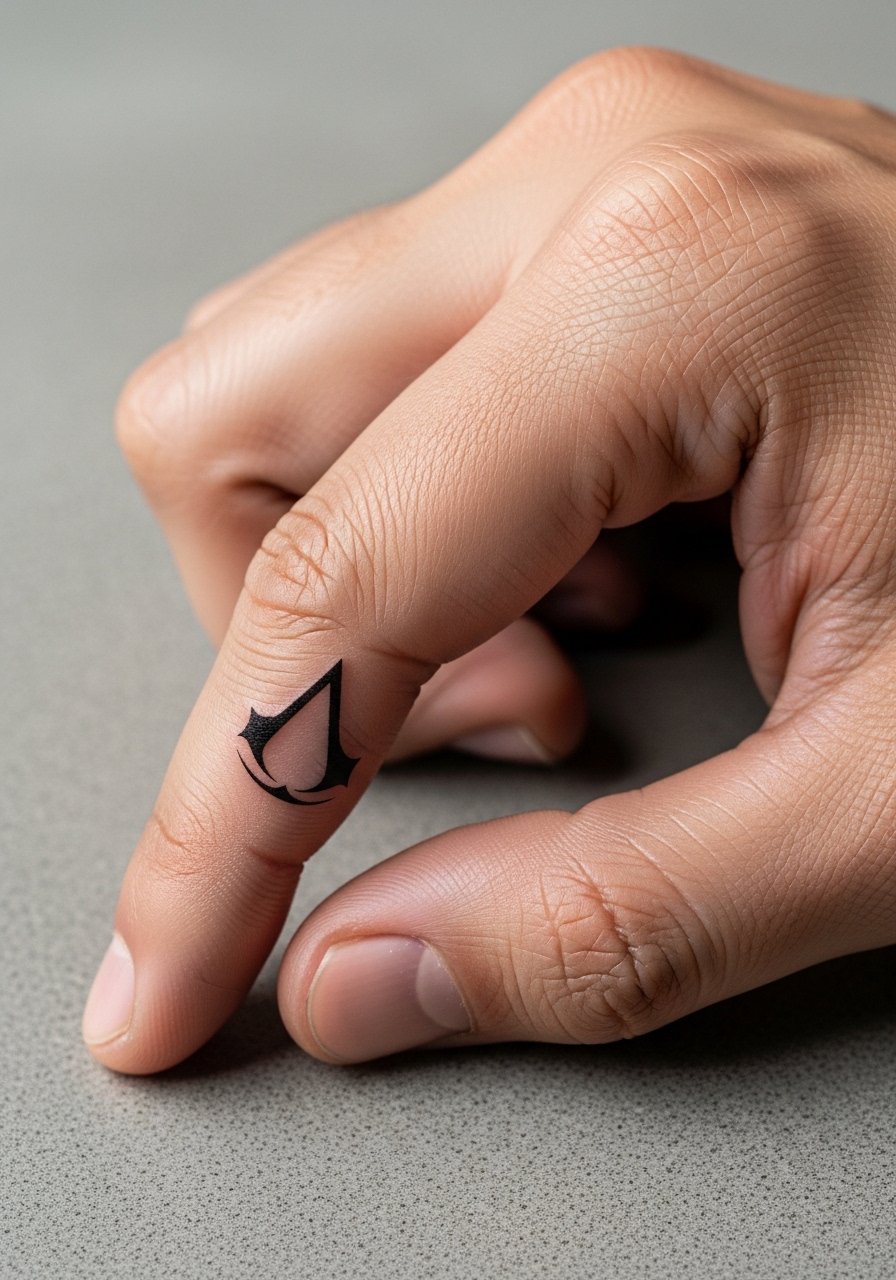
Finger placements are charming and high-maintenance. Tell the artist you accept touch-ups and want the design placed on the side where there's less knuckle movement. A common error is too much detail; micro textures do not age well on fingers. Expect a quicker session but more fading, especially if you wash hands often. For the appointment, skip rings that day and keep the finger exposed. When styling, pair the piece with thin stacking rings on adjacent fingers rather than the tattooed one to avoid friction.
5. Tiny Eagle Feather Along the Collarbone

Collarbones suit elongated motifs. Ask for slight negative space within the feather so it breathes against the bone. Newcomers often request overly dense shading which clogs quickly. Pain is noticeable over bone but short because the piece is small. For the session wear a wide-neck top you can slide aside easily. To highlight the feather, wear open-neck blouses that let the linework sit against skin without fabric competing.
6. Micro Apple of Eden Punctum on the Nape
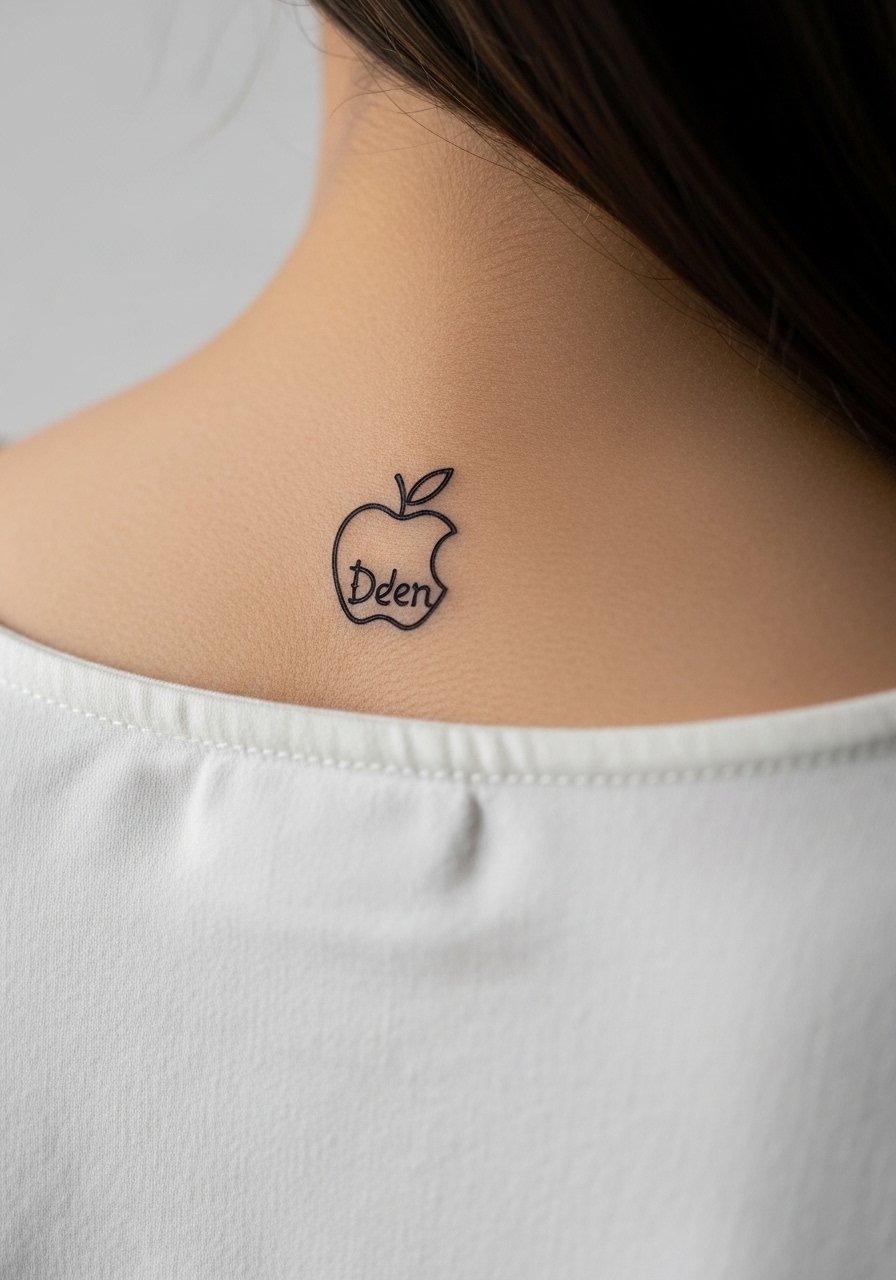
Nape tattoos peek out beneath collars. Ask for a compact, graphic version rather than a detailed rendering so it reads from behind. The mistake is over-detailing the small shape which blurs when healed. Session discomfort is low and moving your head can help the artist keep lines steady. For showing it off, wear a low-back or wide-neck top so only the symbol is visible without exposing the entire neck.
Pre-Session Essentials
Those small chest, wrist, and neck designs above have different prep needs than larger pieces, and a few targeted items smooth out the session and the first week.
-
Stencil transfer paper kit. Lets you preview the linework on skin before committing, especially useful for the crest and Animus glyph shown above.
-
Topical numbing cream. Applied about 45 minutes before can ease sensitivity on thin-skin spots like the inner forearm and behind the ear.
-
Thin protective film roll. Keeps wrist and finger pieces clean during the first week of frequent washing and friction.
-
Fragrance-free gentle body wash. Cleanses delicate linework without stripping pigment, handy for collarbone and nape tattoos.
-
Aquaphor healing ointment. A thin layer in the first days helps small linework retain saturation without clogging pores.
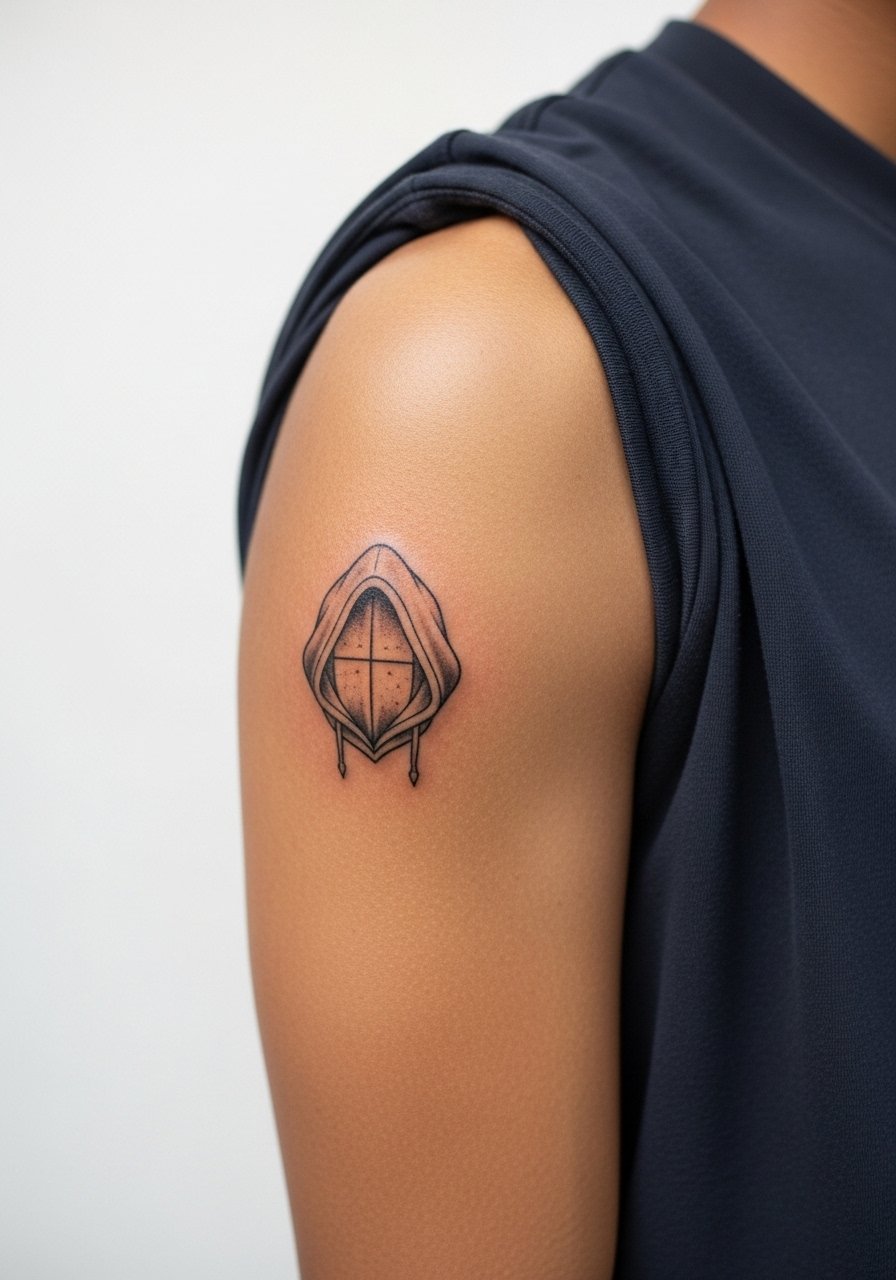
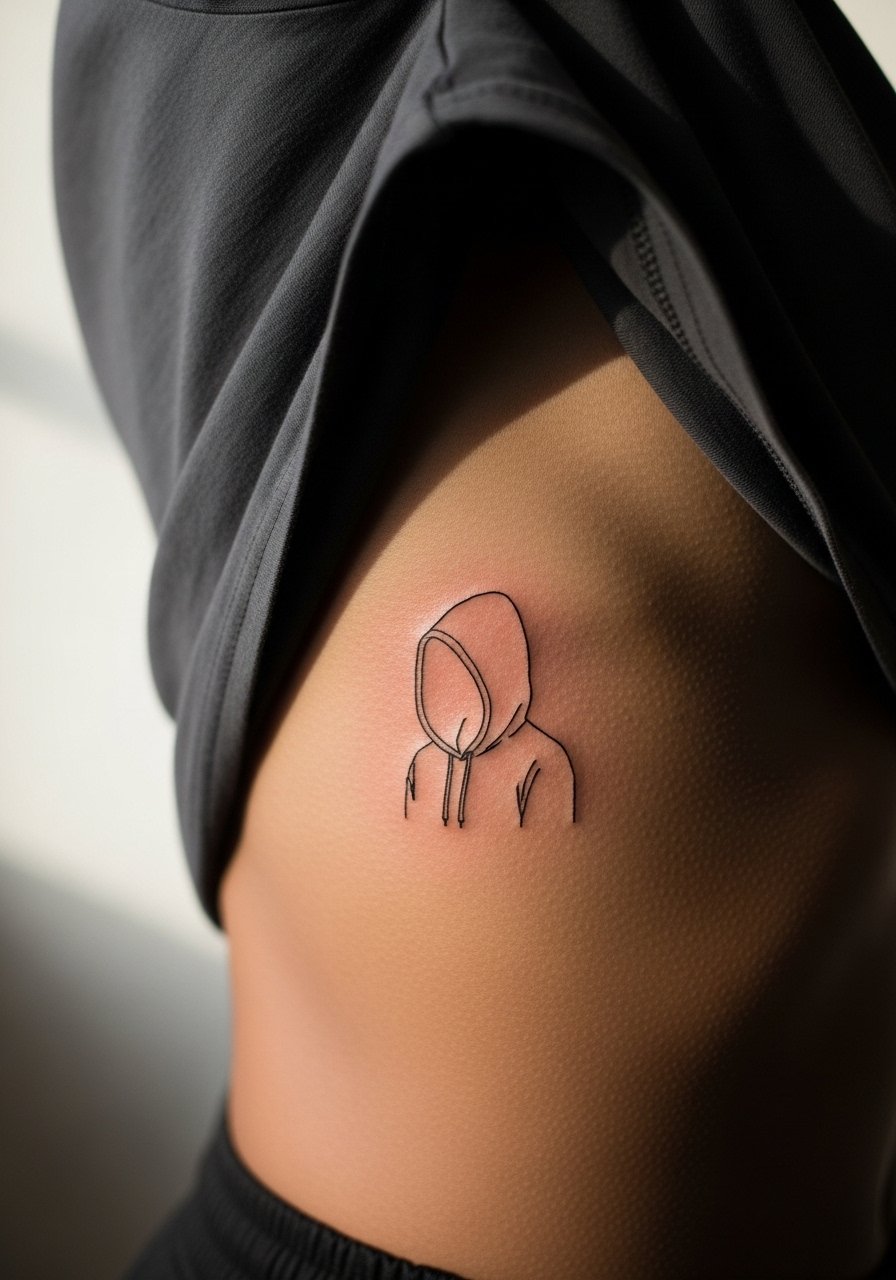
7. Micro Hooded Figure on the Shoulder Cap
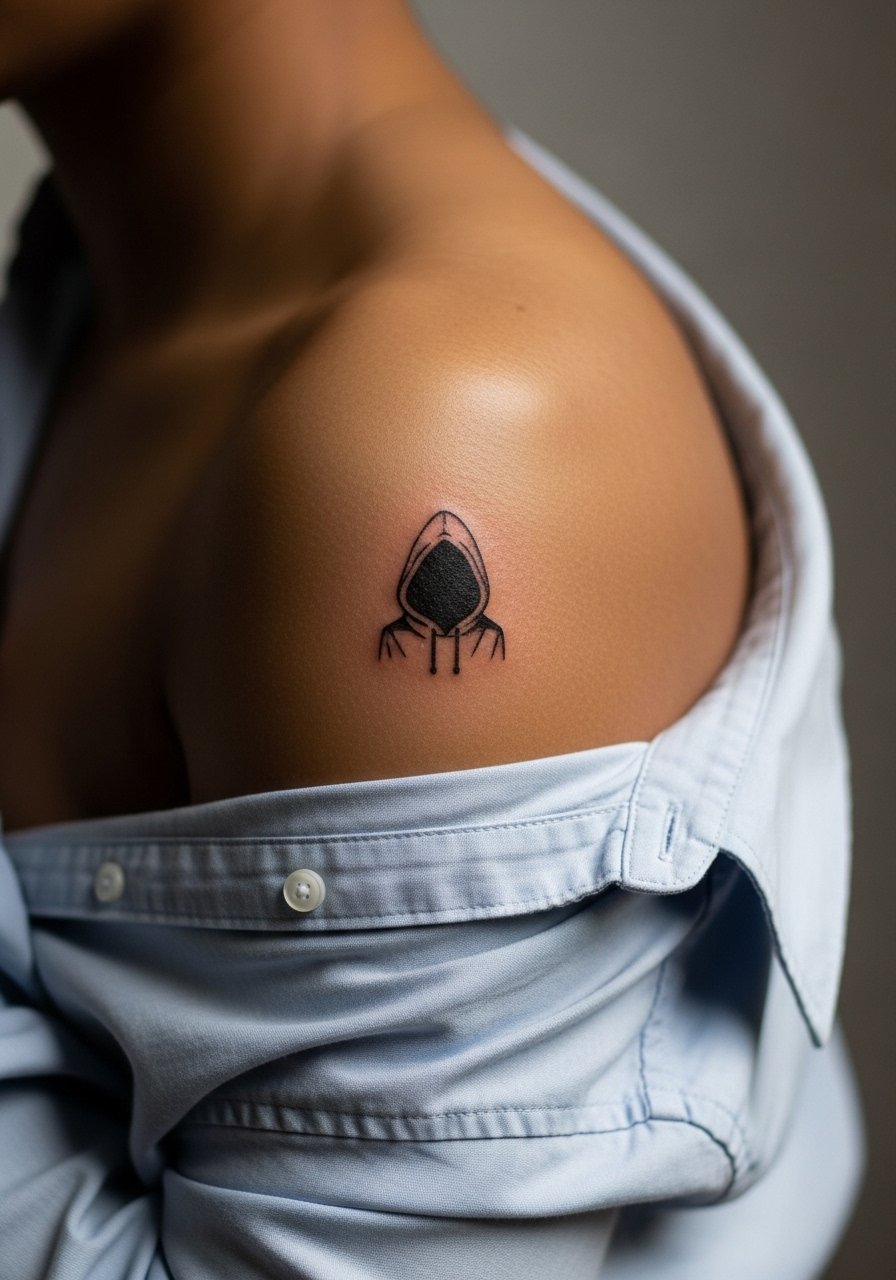
Shoulder caps take ink well and tolerate a lot of motion. A small hooded silhouette translates into a dramatic micro piece when the artist uses bold outline anchors. The typical mistake is packing in shading that softens over time. Tell your artist to prioritize crisp contour and minimal interior fill. Session pain is moderate when the needle crosses the deltoid. For the session wear a loose button-down shirt you can pull off one shoulder.
8. Tiny Leap of Faith Silhouette on the Ribcage
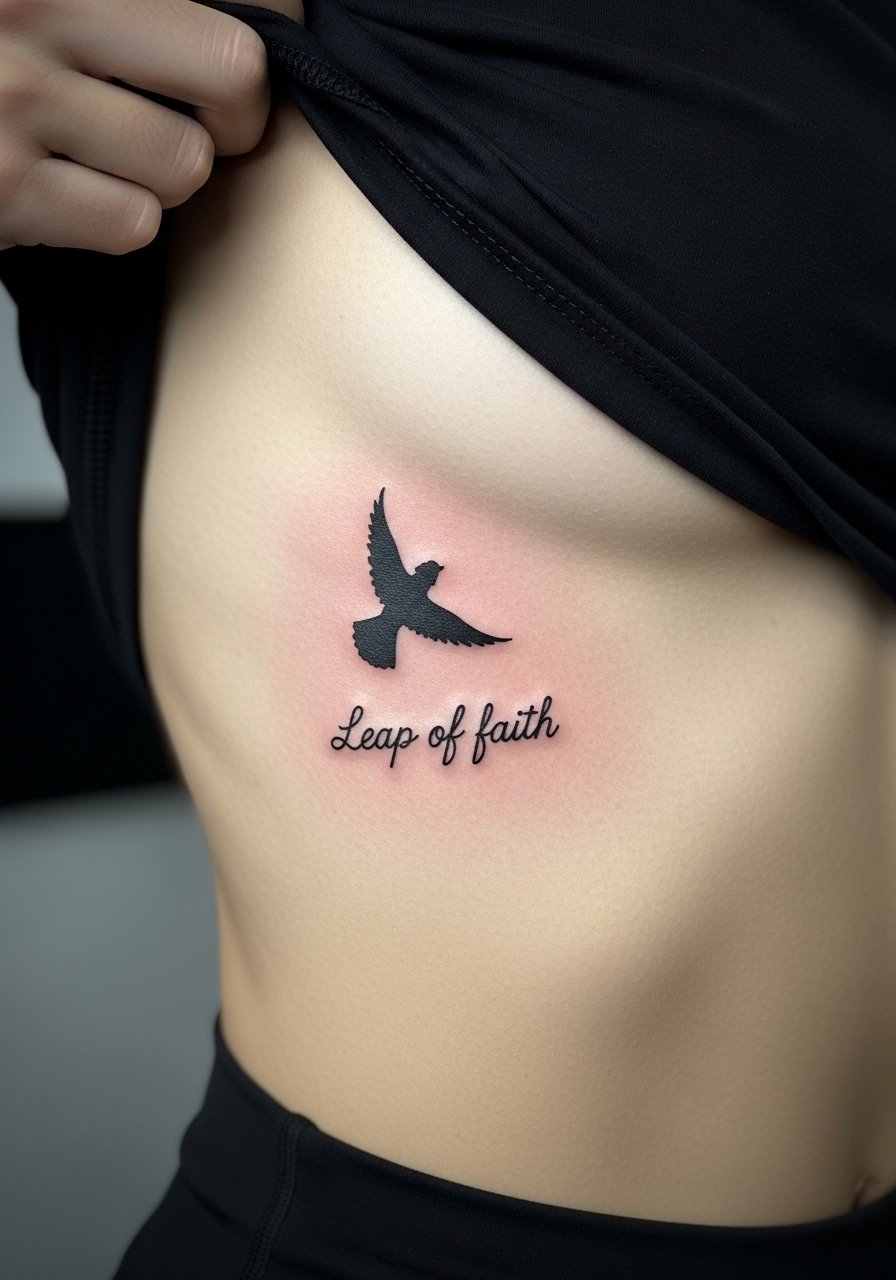
Ribcage placements are dramatic but painful for small designs. Fine line here divides artists into two camps. One camp says the skin stretches and lines blur within two years. The other camp says proper spacing and depth let fine line settle fine. Name both positions when you book so you understand the artist's comfort level. Expect a stingy session with shallow breath control needed. For the appointment wear a cropped top you can lift so the artist has clean access.
9. Micro Brotherhood Insignia on the Ankle
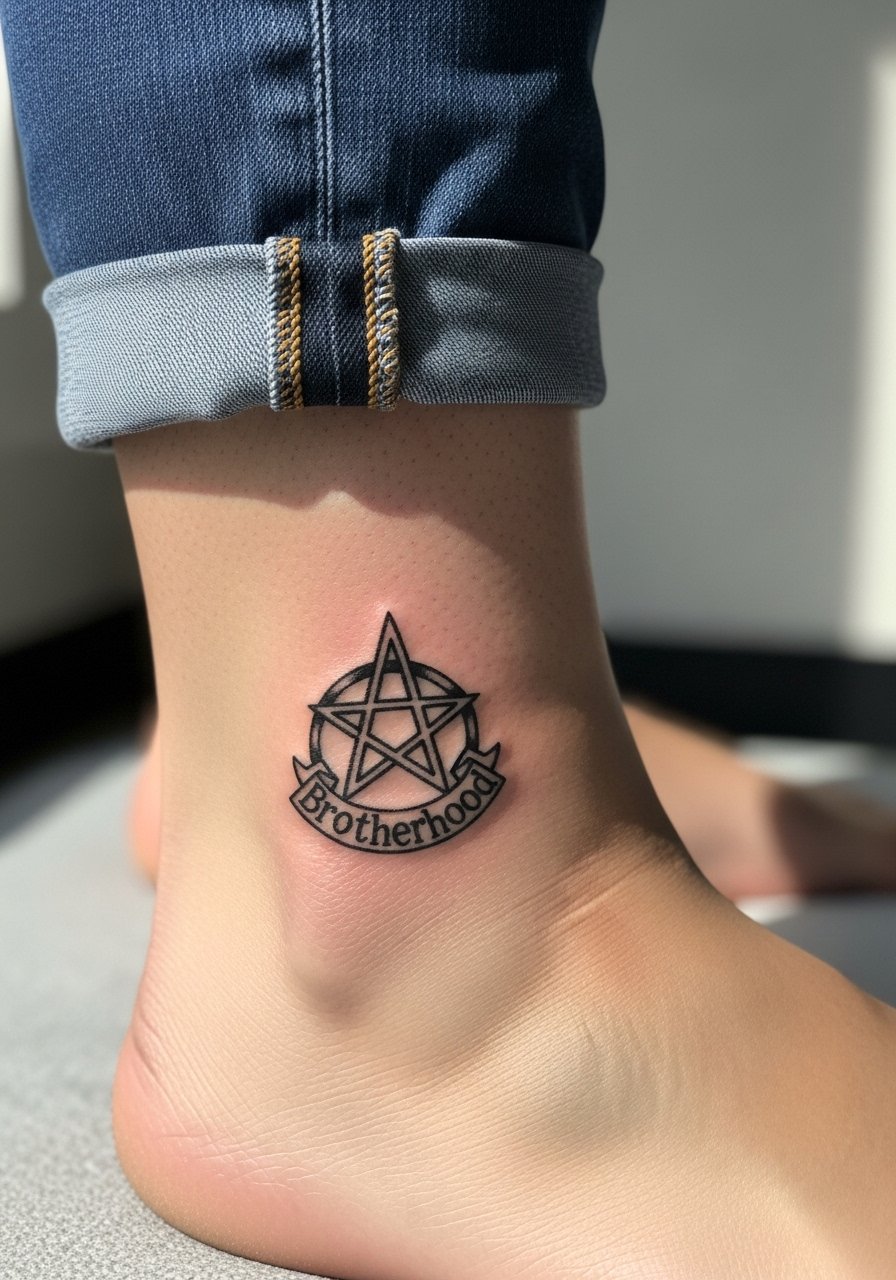
Ankle tattoos are fashionable and get a lot of friction from socks and shoes. Ask for a slightly bolder outline and avoid tiny interior details. The common error is placing the piece on the bone where movement increases blowout risk. Session pain pops when the needle hits bone but is brief. For the session wear pants you can roll up easily and bring low-cut shoes. To show it off, a pair of sandals or mules keeps the ankle visible.
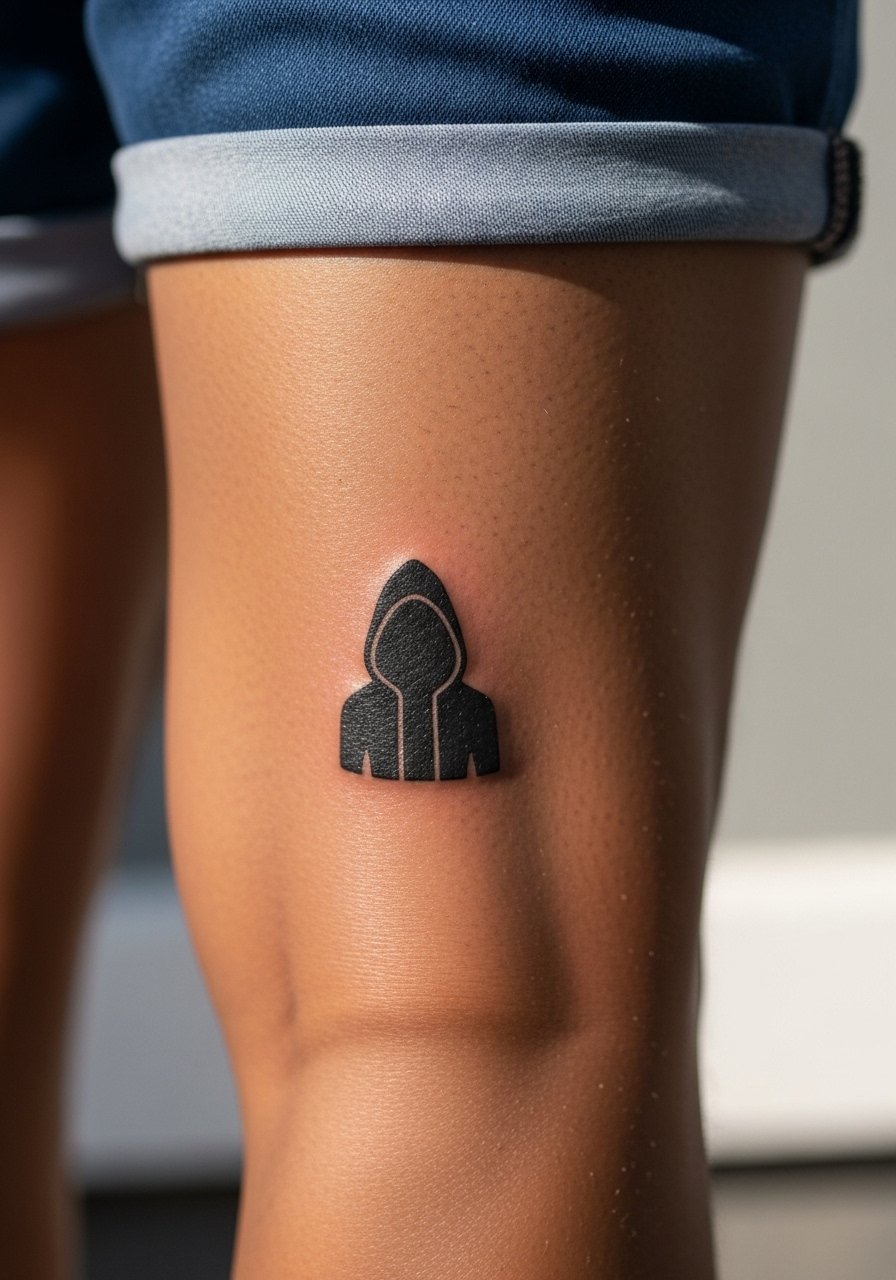
10. Micro Vaulted Hood Crest on the Upper Bicep
The upper bicep takes ink well and is forgiving for tiny crests. Ask for slightly heavier line anchors and minimal stipple shading to keep contrast. A real mistake is insisting on tiny crosshatching that fills in over time. Session pain is low to moderate and healing is straightforward. For the appointment wear a sleeveless top that does not chafe the area while it's fresh. When dressing to display the piece choose a fitted tee or a sleeveless jacket.
11. Micro Sequence of Hidden Blades Along the Spine Base
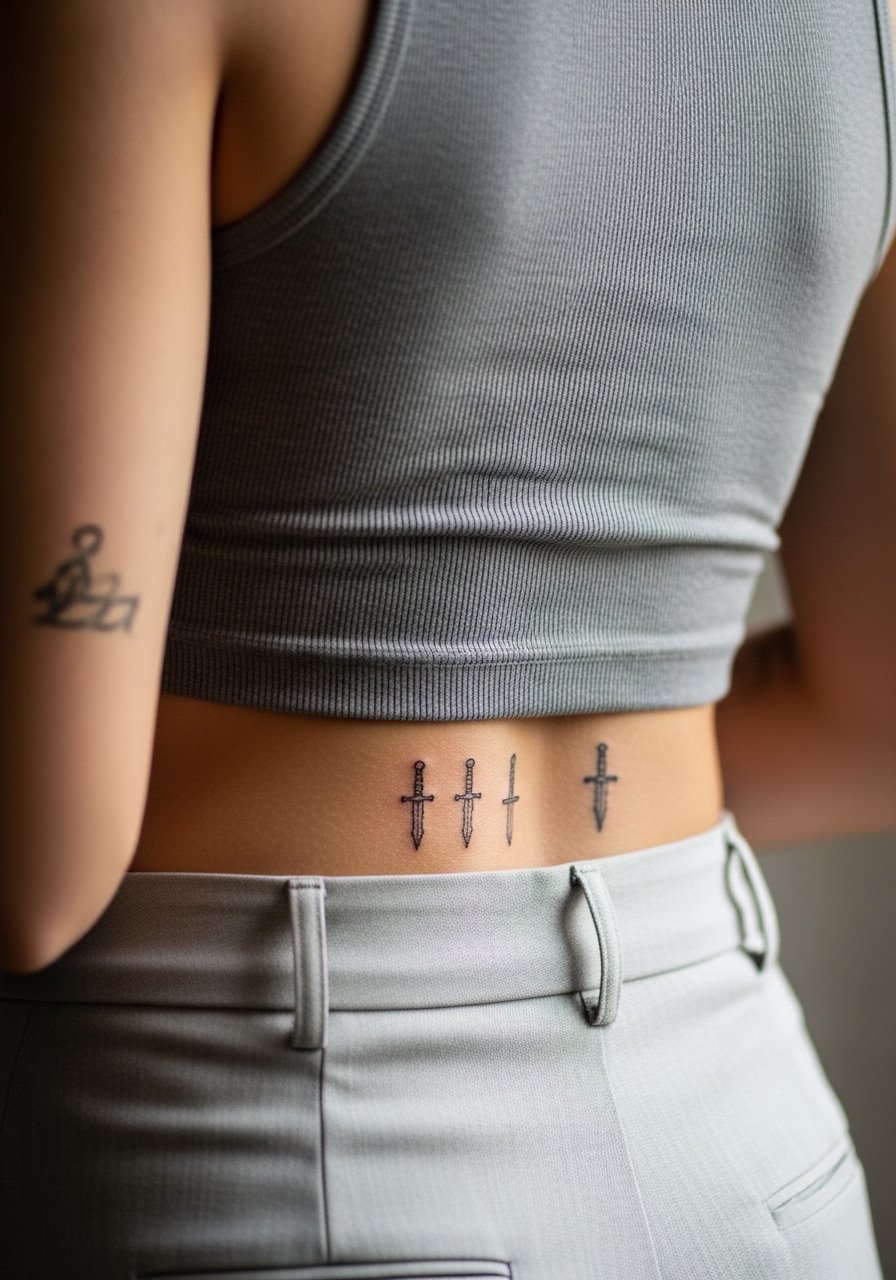
A vertical sequence on the lower spine reads like a subtle narrative. Tell the artist the spacing must account for future skin shifts and that you want negative space between symbols. A common aging issue is compressing the symbols too close together. Sessions on the lower back can be uncomfortable when lying face down but are short for micro work. For the session wear a tank top you can shift and high-waisted bottoms so the area is exposed without showing more skin than needed.
12. Micro Apple Outline on the Side of the Finger
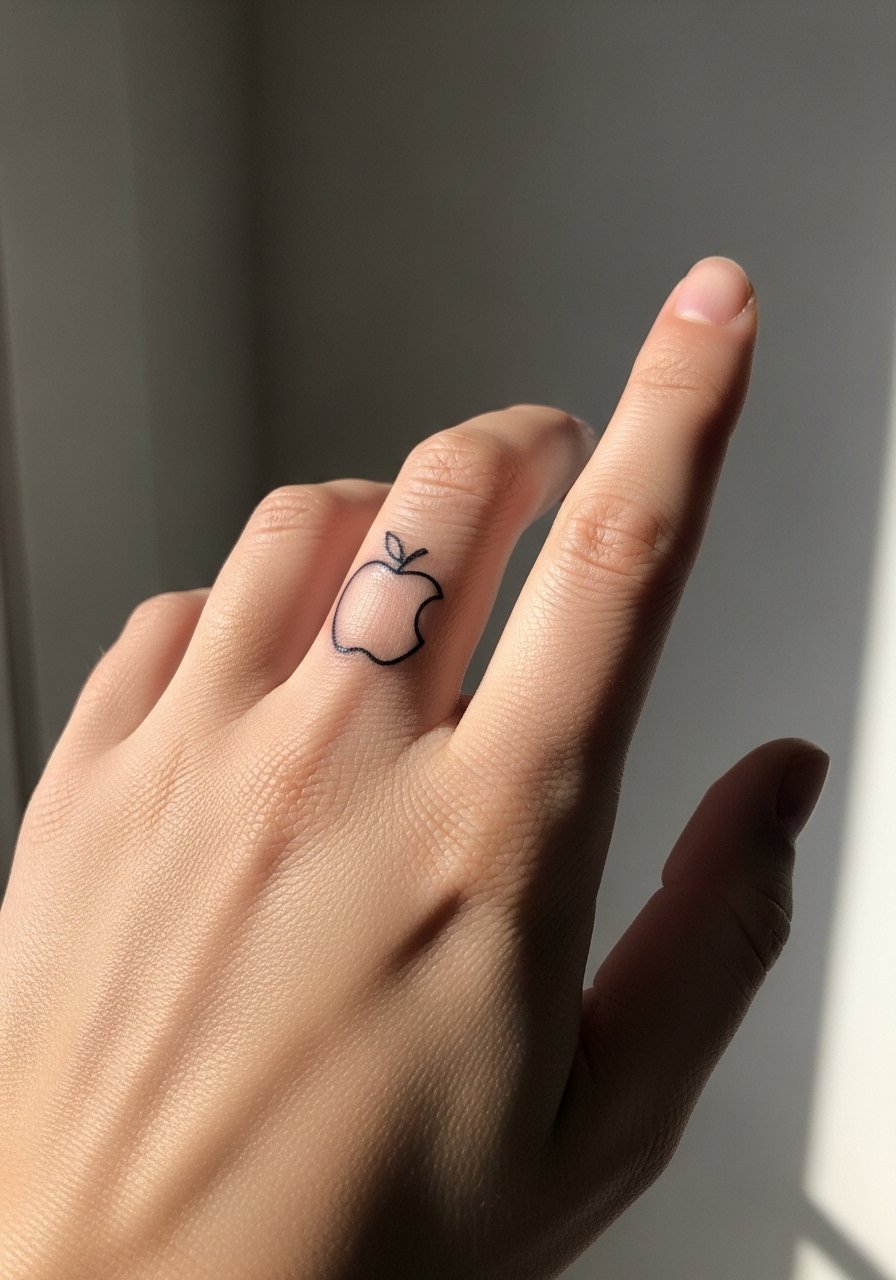
Side-of-finger pieces survive better than top-of-finger because they see less thumb motion. Ask for a compact outline with thicker anchor points. Too much interior detail is the main mistake. Expect faster fading and a likely touch-up at year one or two. For the appointment leave the finger bare of rings and plan light activity that week. Styling pairs well with thin open-ended rings worn on adjacent fingers.
13. Micro Creed Script on the Inner Bicep
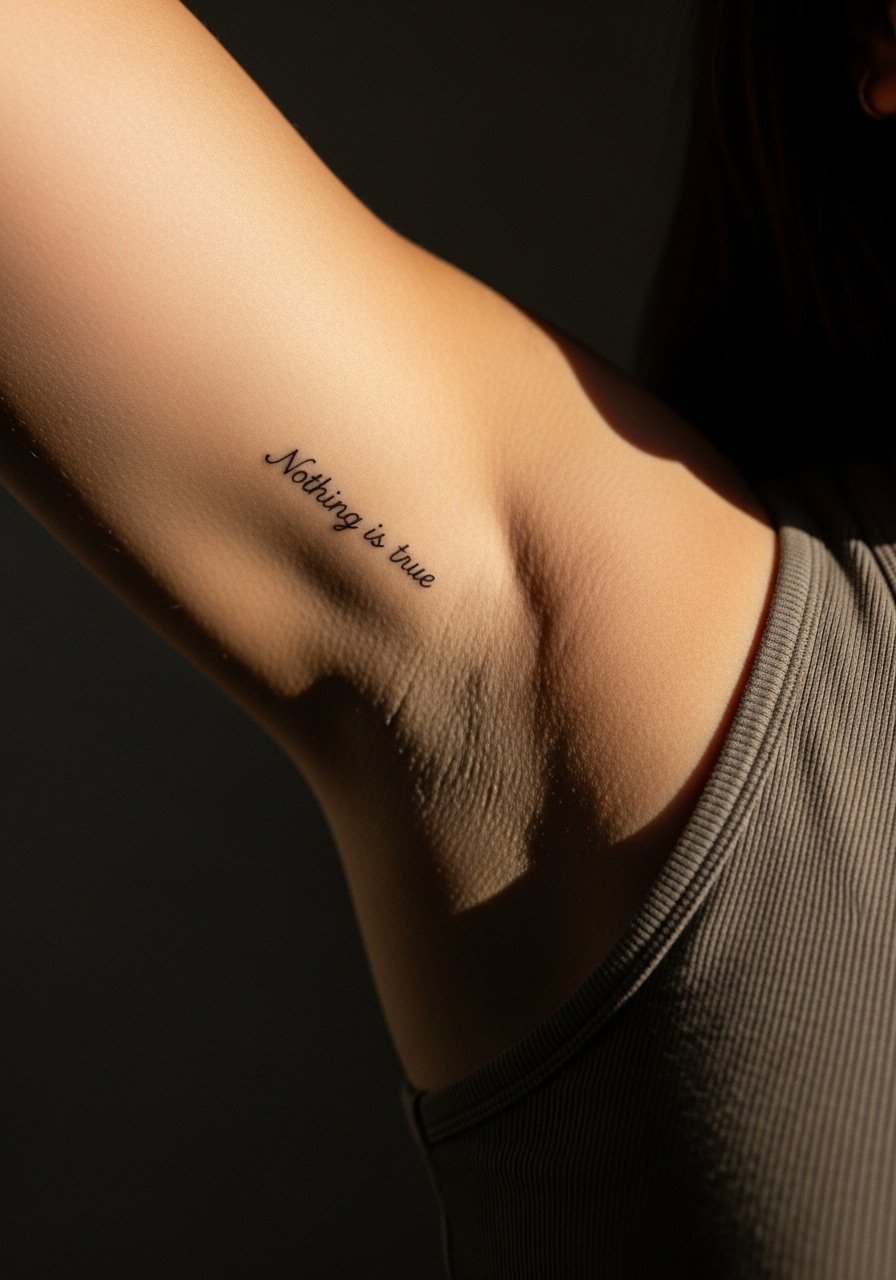
Inner bicep skin is soft and accepts delicate script well if the font isn't hairline thin. Tell your artist the exact letter spacing you want, and have a stencil tried on in multiple arm positions. The mistake is choosing a super-condensed font that blurs when the arm moves. Session discomfort is moderate and healing hides the piece from everyday view. Wear a tank or loose sleeve that the artist can move aside. A thin chain pendant sits above the text nicely when you want to layer accessories.
14. Micro Assassin Hood on the Calf
Calf pieces are visible and age well due to lower friction. Ask for simple silhouette work without interior detail. A mistake seen often is trying to pack shading into a micro shape which dulls when healed. Session pain is mild and healing is easy. For the session wear loose shorts that let the artist work without tugging on fabric. When showing off choose cropped trousers or a flowy summer skirt.
15. Micro Glyph Rows on the Side of the Hand
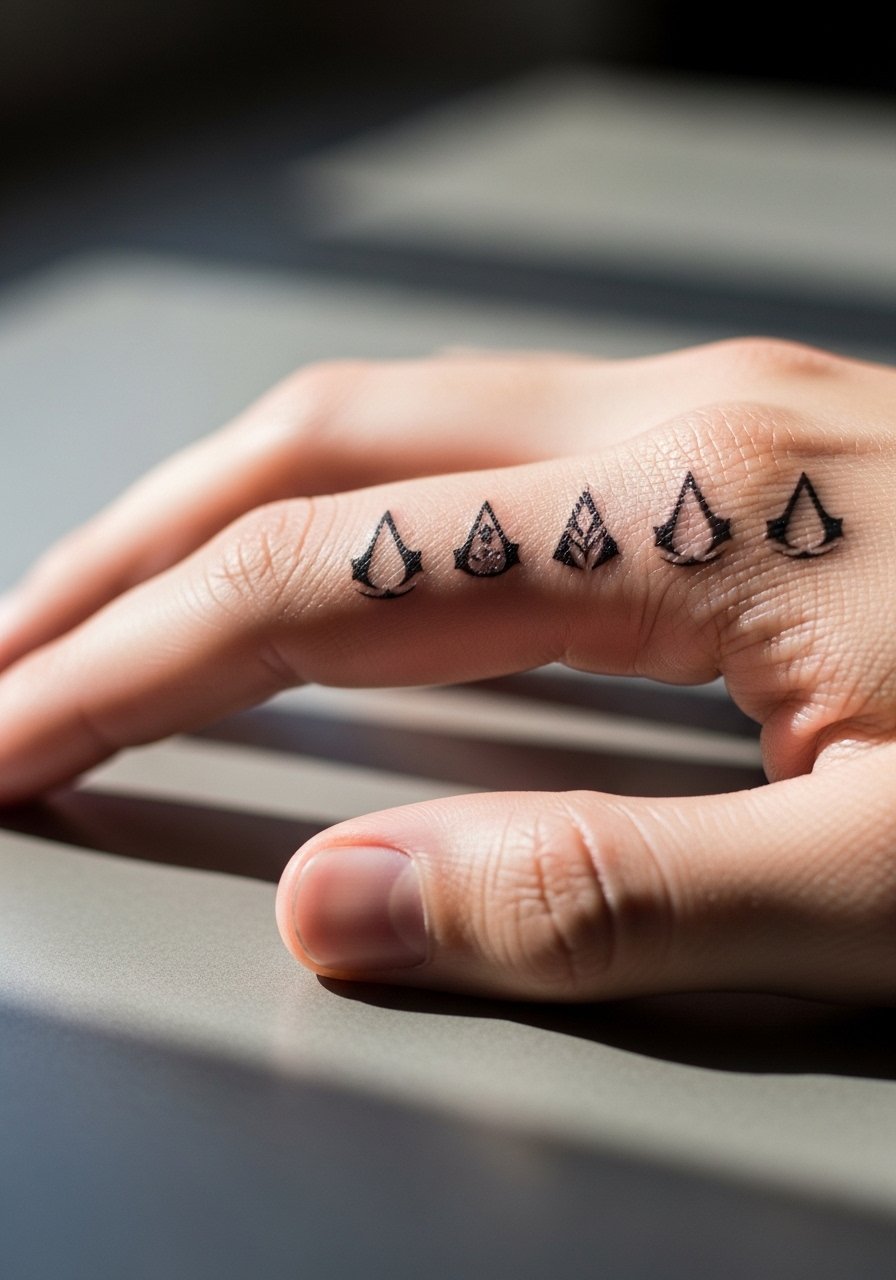
Hand side placements are visible and high risk for rapid fading. Ask for deeply set lines with slightly bolder strokes. The error is insisting on delicate dots and hairline work that disappears within a year. Sessions are quick but you will need touch-ups more often. Think about your career path because hands remain public. For the appointment skip long sleeves and test how rings interact with the design.
16. Micro Animus Circuit on the Inner Wrist
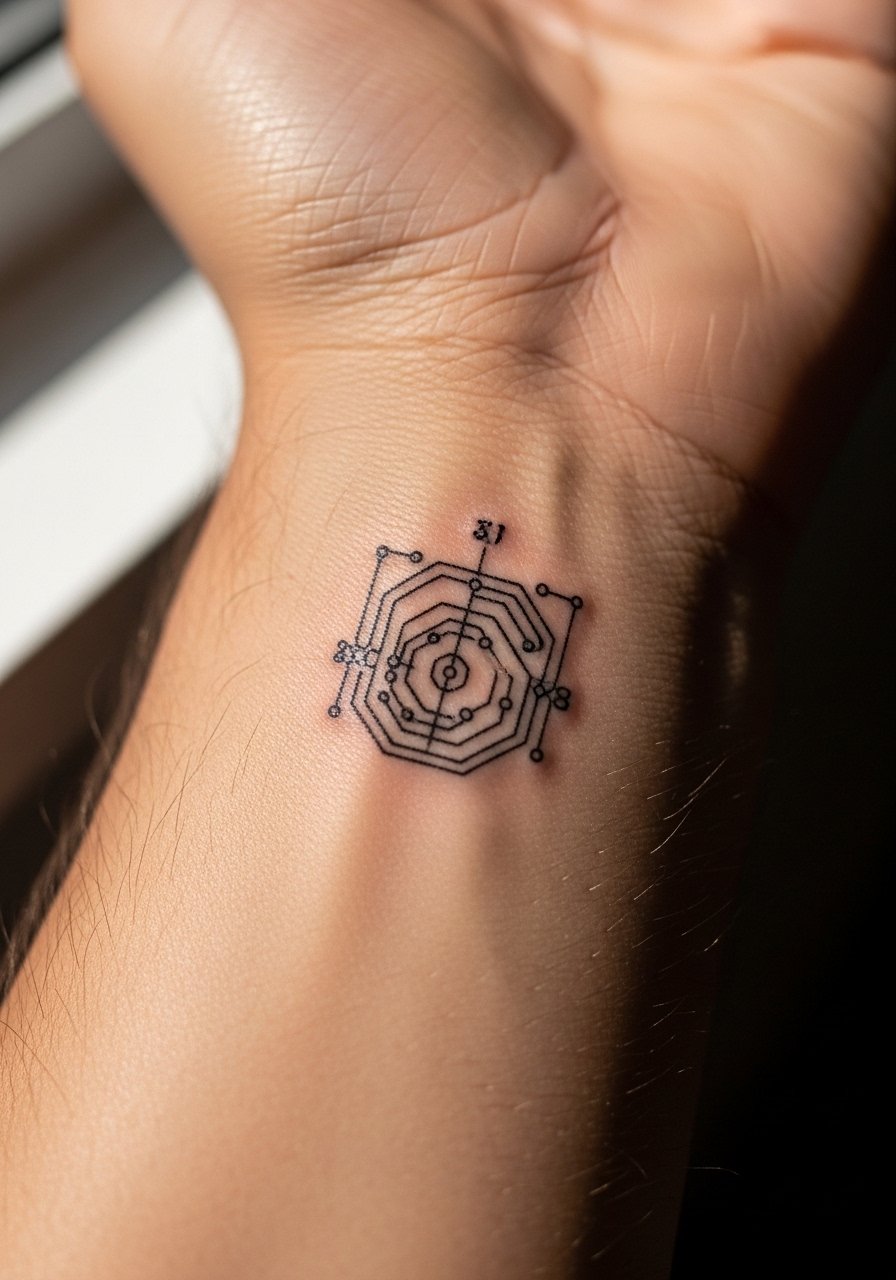
Geometric micro pieces on the wrist benefit from slight spacing and heavier corner anchors. Tell your artist you want the pattern to breathe and to avoid packed dot shading. Common mistake is making motifs too dense. Light sensitivity is mild and touch-ups are common at year two depending on sun exposure. For the session wear a short-sleeve top. Stack with a thin chain bracelet to complement the geometric lines.
17. Micro Hooded Silhouette Behind the Knee
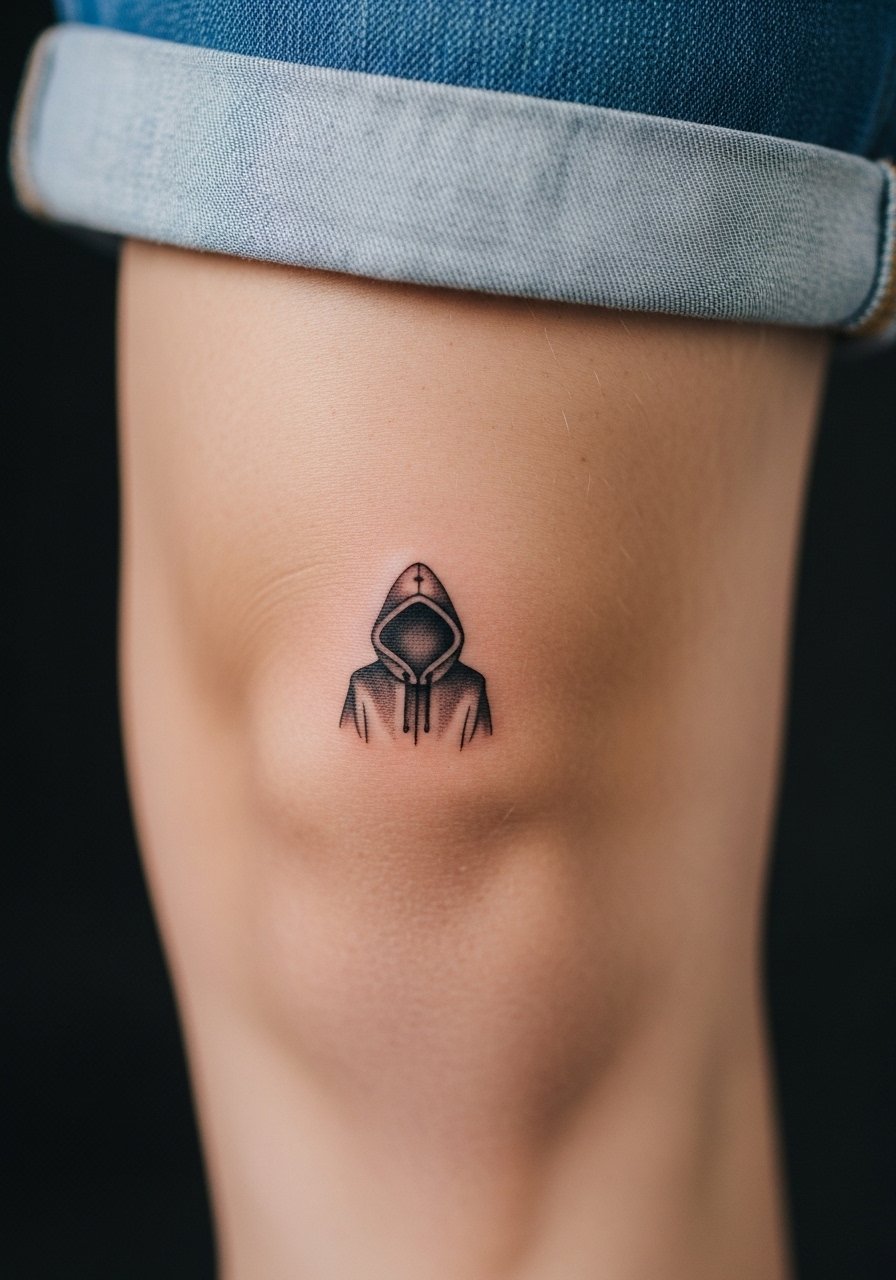
Behind-knee placements are sensitive and crease with movement. Tell your artist you accept a slightly bolder outline to counter the skin fold. The typical mistake is expecting super-fine detail to survive the constant bending. Sessions can be prickly and require precise positioning. Wear loose shorts for the appointment. This spot is easy to hide, so it suits someone who wants a playful secret nod.
18. Micro Apple in Roman Numerals on the Side Rib
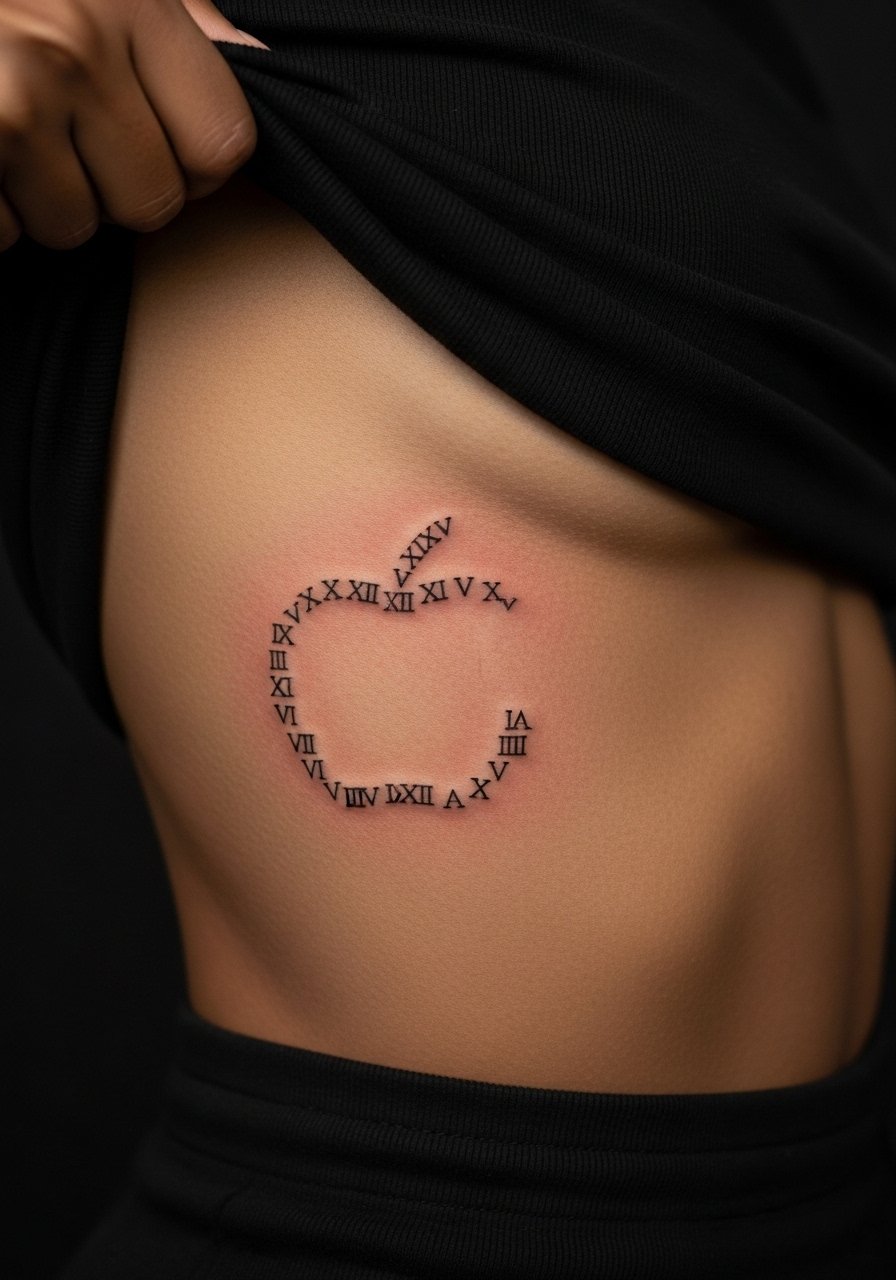
Rib micro work requires breathing control from the client and a steady hand from the artist. Ask for numerals spaced to avoid merging and request a test stencil across a few breaths. The mistake is choosing tiny numerals that blur when skin shifts. Pain can be high for the area but the result is private and striking. For the session wear a cropped top you can lift and plan for slower breathing during inking.
19. Micro Brotherhood Seal on the Back of the Arm
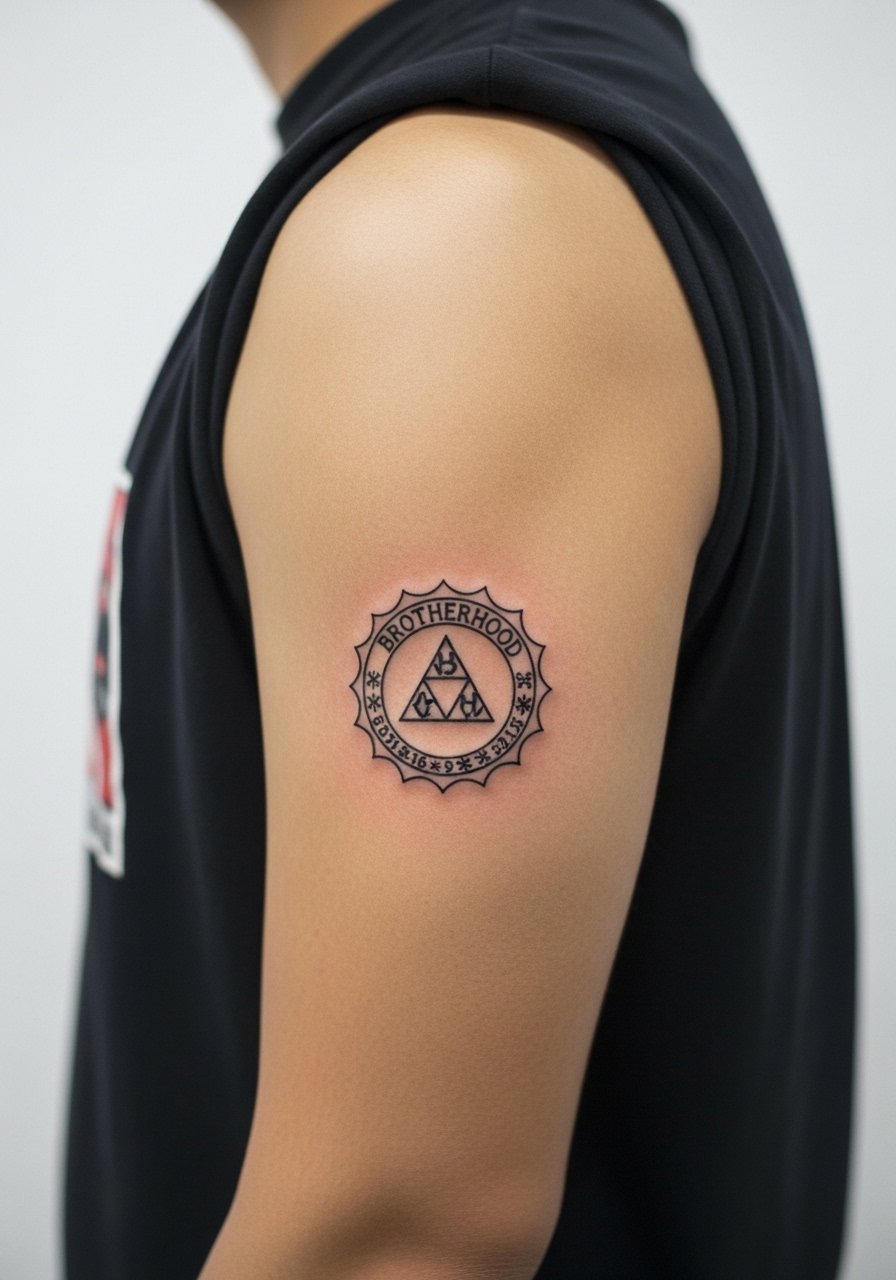
The back of the arm gets less sun and holds micro sealwork well. Ask the artist to anchor the outer edge with slightly thicker lines so the seal remains legible over time. Mistakes happen when clients ask for micro shading inside a tiny seal. Session discomfort is low and healing is forgiving. For the appointment wear a sleeveless top that avoids rubbing the area post-session.
20. Micro Hood Crest on the Thigh
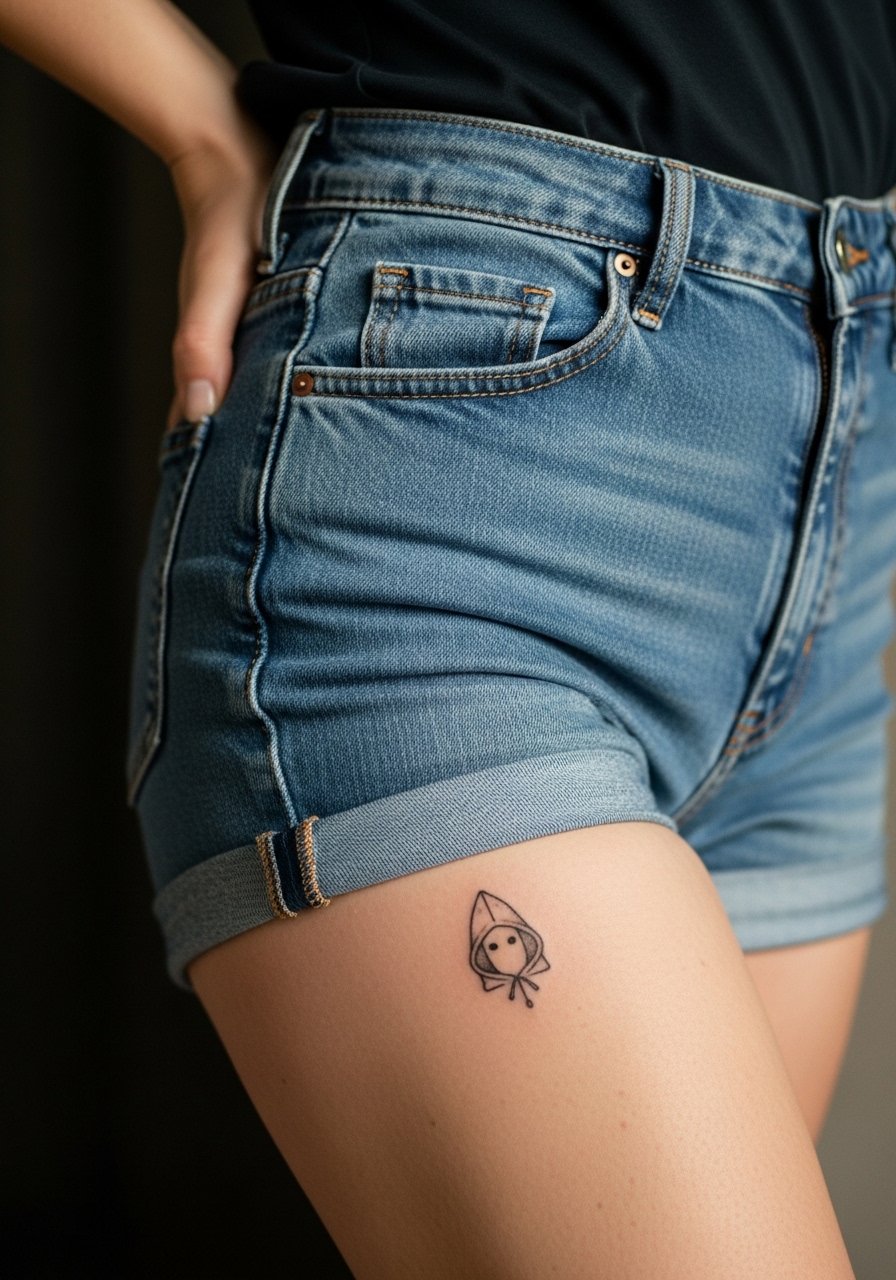
Thigh tattoos age well because they see less sun and friction. A small crest with simple negative space stays sharp. The common mistake is adding too much internal texture designed for larger pieces. Session pain ranges from mild to moderate depending on inner thigh involvement. For the appointment wear loose shorts or a skirt so the artist can access the area comfortably. When dressing to show the piece, high-cut shorts or swimwear works best.
21. Micro Stylized Assassin Hood on the Foot Arch
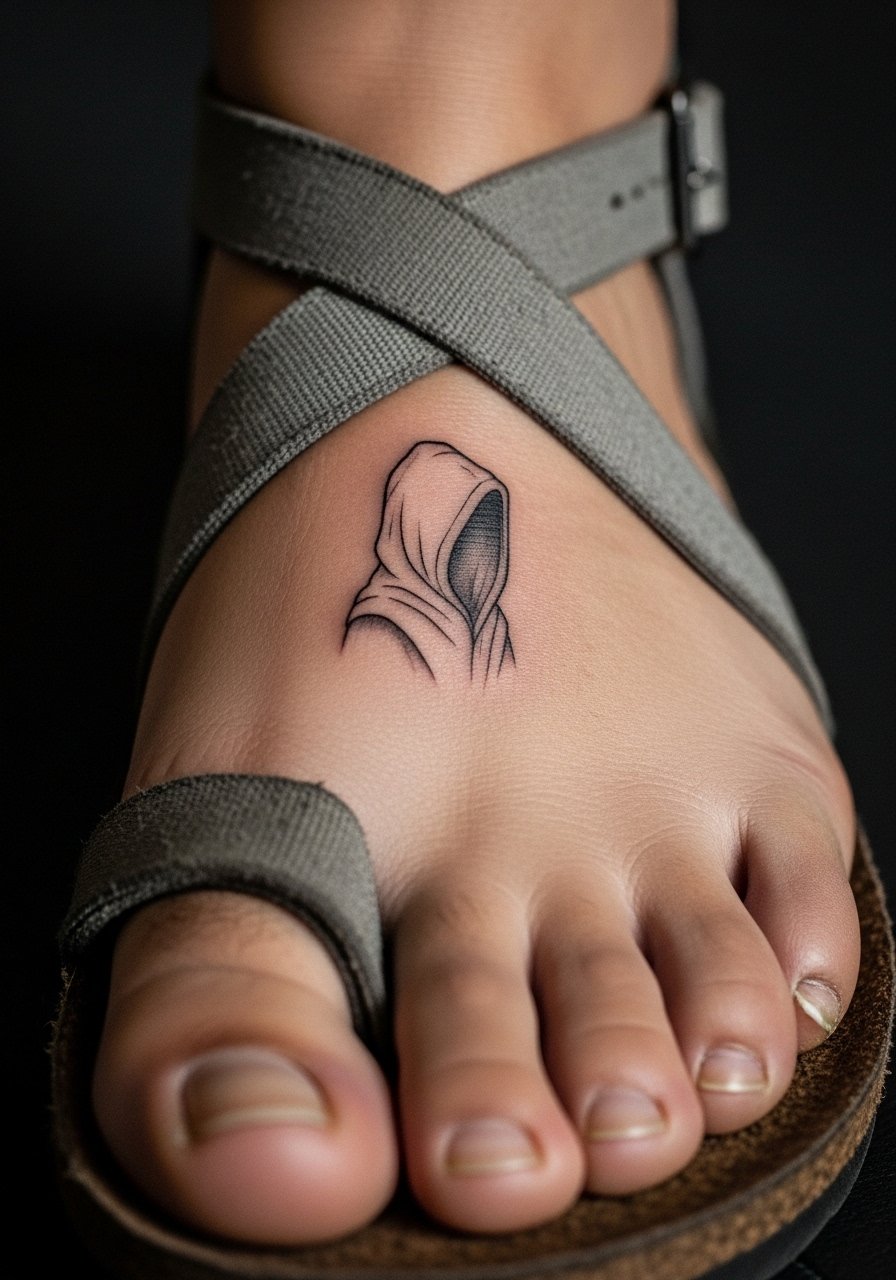
Foot arch placements are protected from sunlight but endure shoe friction. Ask for a compact, bold outline and avoid internal detail. The error is thinking fine dot work will hold up under constant pressure. Sessions can be tender when weight is applied, so plan for minimal walking afterward. For the session wear slip-on sandals and keep shoes loose for a few days to reduce rubbing.
22. Micro Stylized Eagle Eyes on the Collarbone
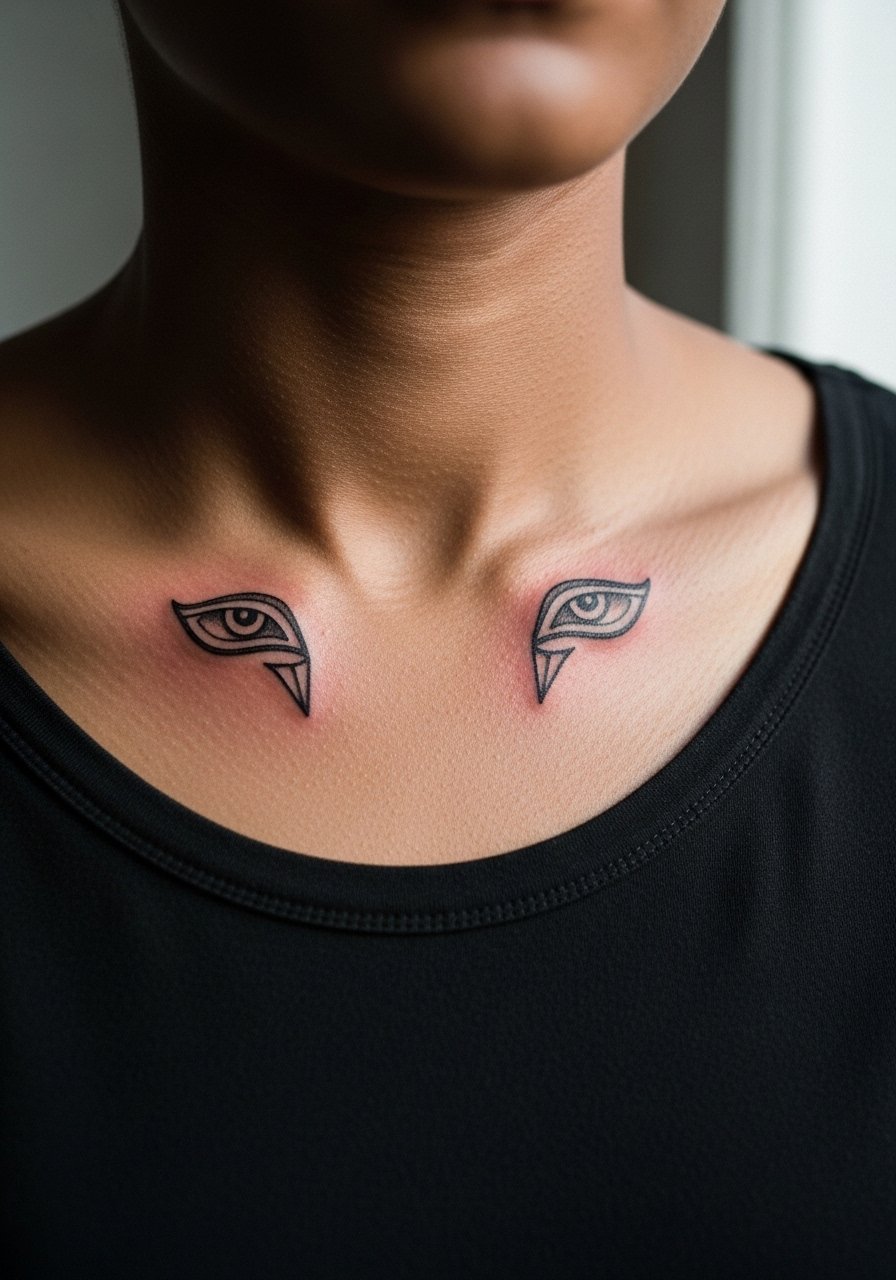
Paired small motifs across the collarbone look balanced when both pieces are measured from the sternum. Tell the artist to set mirror points and to bold the outer lines. A typical mistake is asymmetry from freehand placement. Pain is noticeable over bone but brief. For the session wear a wide-neck tee you can move aside and consider layering with a thin chain to sit between the two symbols.
23. Micro Creed Fragment Near the Ear
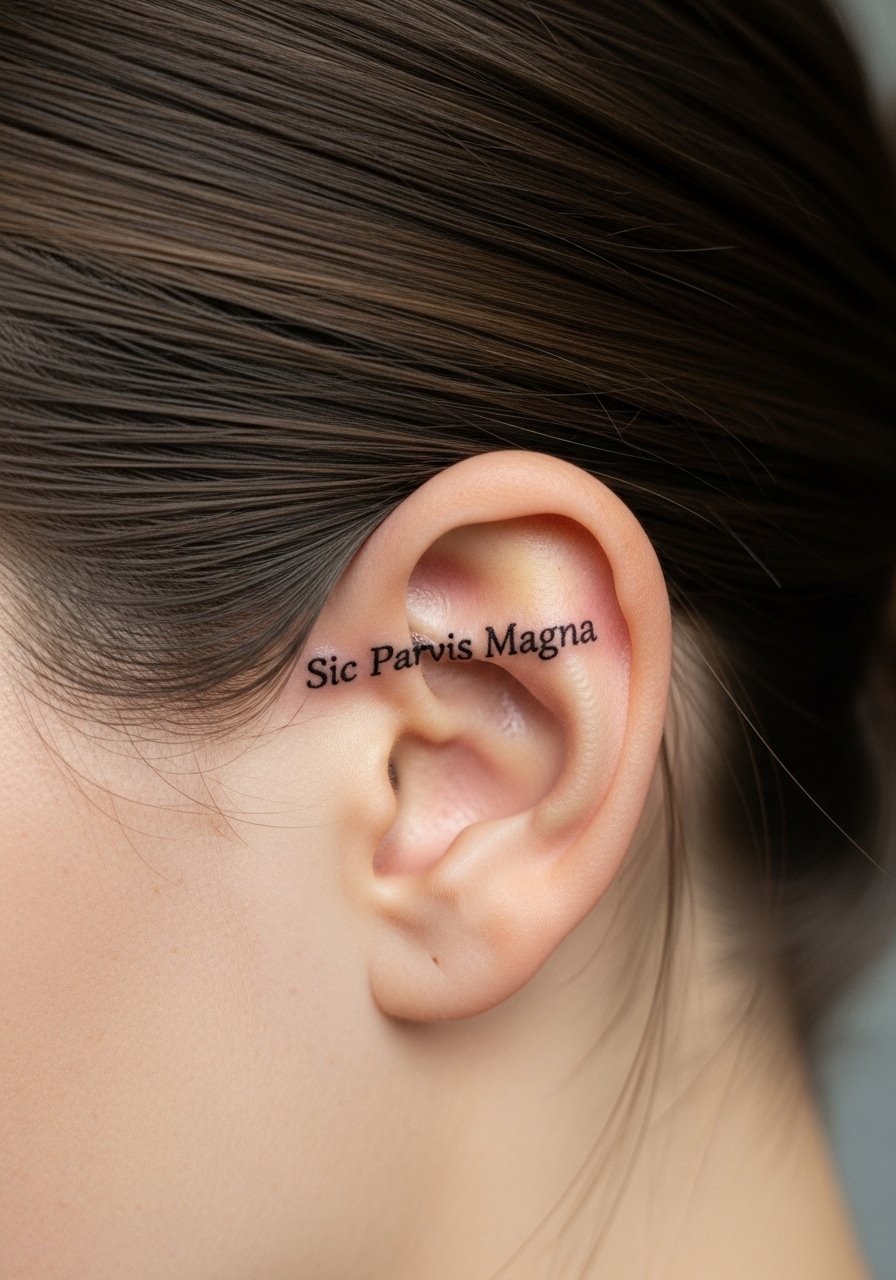
Script near the ear needs exact letter spacing and a font that holds up small. Ask for a slightly wider serif or minimalist lowercase to prevent the letters from closing in. The mistake is choosing an ornate script that blurs. Sessions are short and mildly uncomfortable. For the appointment tuck hair or wear it up, and consider a small stud earring to frame the text when it heals.
24. Micro Animus Dot Work on the Upper Thigh
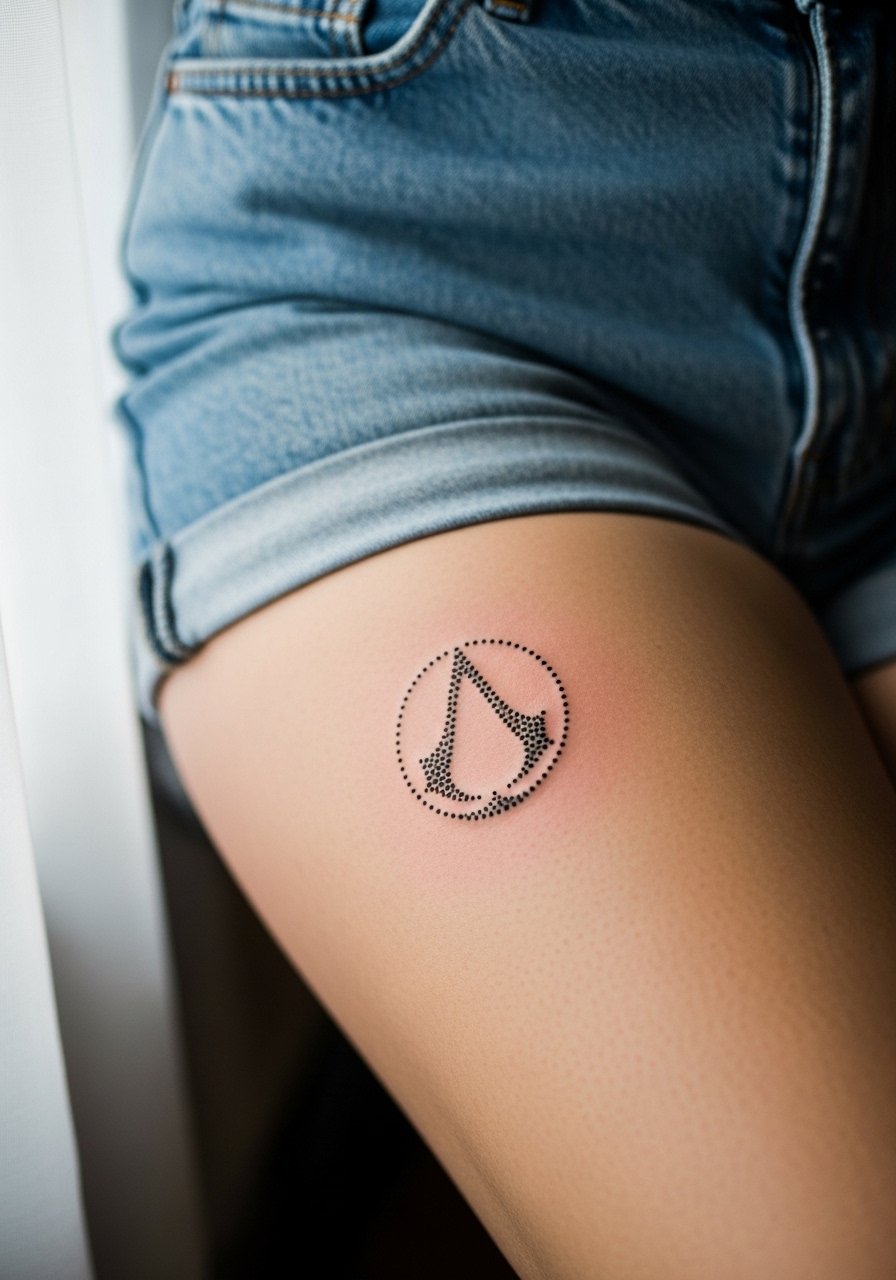
Dot work reads well on thicker skin like the thigh when the dots are spaced intentionally. Tell the artist you want negative space between clusters so the pattern does not mush. A mistake is packing dots too densely for the scale. Sessions are comfortable and healing is forgiving. Wear loose pants to your appointment and choose shorts that do not rub the area afterward. A loose drawstring linen pant is handy for travel to and from the studio.
25. Micro Brotherhood Sigil on the Inner Wrist Band
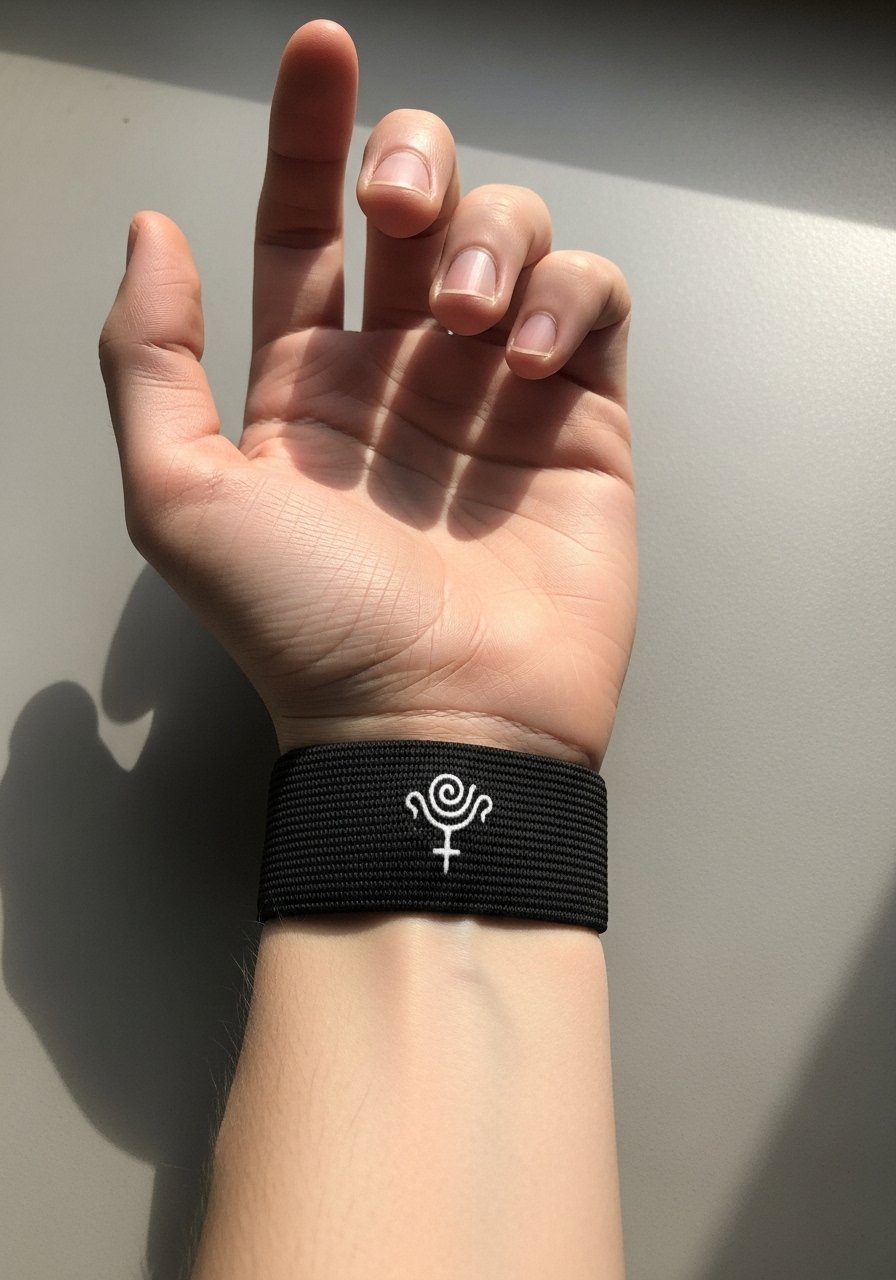
Centering a sigil on the inner wrist is visually satisfying but exposes it to daily wear. Request a compact symbol with a slightly thicker main line to preserve shape. The main mistake is over-detailing the interior. Session pain is low and healing needs careful washing. Pair the sigil with a thin leather cuff or a subtle bracelet to highlight it without rubbing the ink.
26. Micro Hood Outline on the Side of the Rib
Side rib micro designs need breath-controlled stencils and an artist comfortable with the area. The controversy around fine line on ribs applies here too. One camp says the lines will blur quickly with skin movement. The other camp says a little spacing and correct depth will let fine line settle fine. Bring this up in the consultation and ask how they approach spacing. Expect higher pain but a rewarding, private piece. For the session wear a cropped tee you can lift easily.
27. Micro Apple Outline on the Ankle Outside
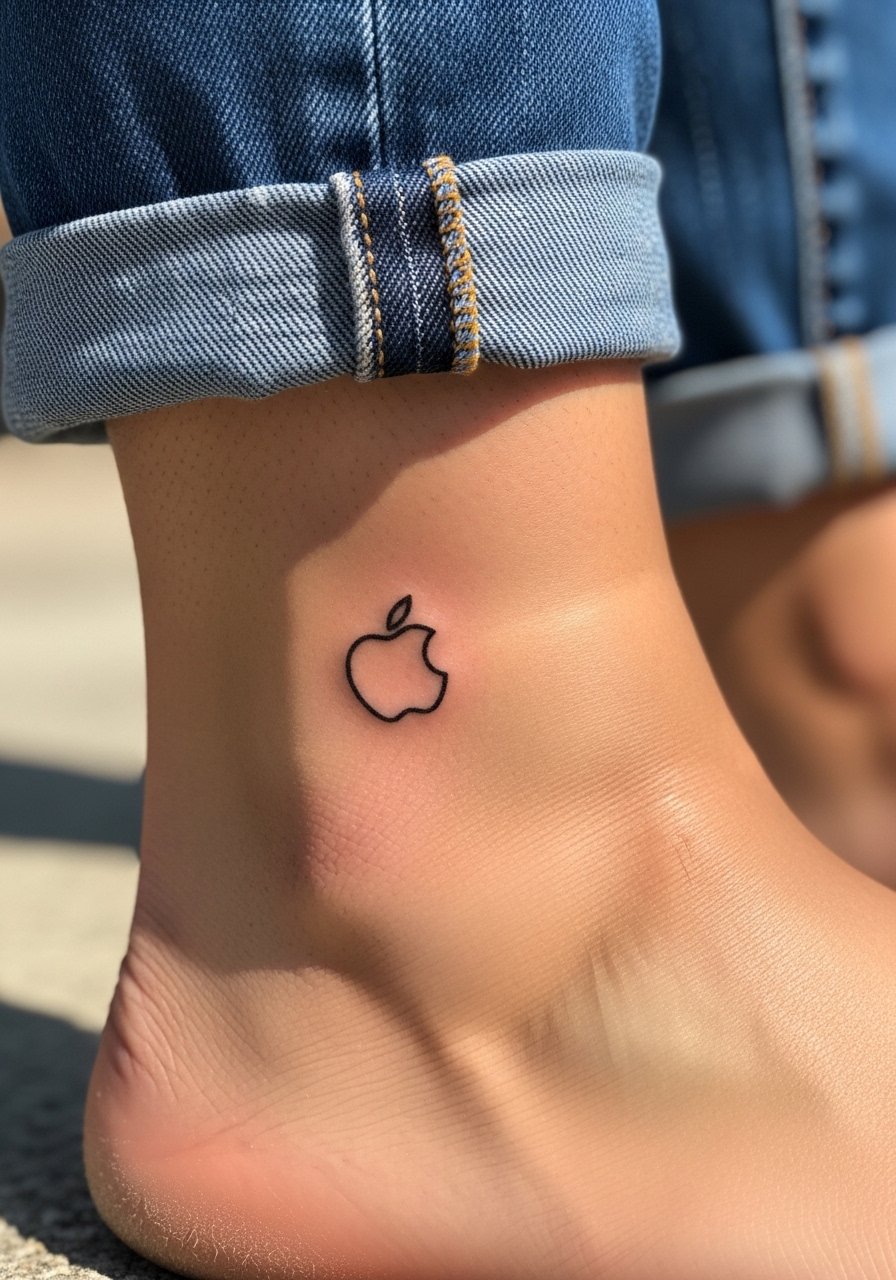
An outer ankle apple is a tidy finish to a micro collection and tends to age similarly to other ankle motifs. Ask for a slightly bolder outer contour and minimal interior detail. Mistakes are usually about placing too close to bone where movement blurs lines. Session discomfort is brief. For the appointment wear shoes that slip on and off easily. To show it off, roll cuffs or wear low-profile sneakers.
Frequently Asked Questions
Q: Will a micro Assassin's Creed glyph blur faster than a larger piece on the same placement?
A: Small glyphs can blur faster because they rely on tight linework. Placement and skin type matter a lot. If you want longevity, ask for slightly heavier anchor lines, avoid packed interior detail, and expect a touch-up at year two to three depending on exposure.
Q: Are finger and hand micro pieces worth it given the maintenance?
A: They are worth it if you accept touch-ups as part of ownership. Fingers and hands see the most friction and washing. If you want lower maintenance, opt for wrist, collarbone, or thigh placements instead. For showing off micro hands, consider pairing with thin stacking rings that do not sit on the tattooed area.
Q: How do I find an artist who specializes in micro pop-culture pieces without naming specific studios?
A: Search hashtags and directories, and spend time on convention portfolios. Look at tags like #microtattoo and #finelinetattoo, browse local shop listings, and read community threads for recent client photos. Ask to see healed photos on similar skin tones and placements during consultation.
Q: Does the Assassin's Creed iconography need cultural sensitivity notes?
A: The franchise draws on many historical motifs. If you plan a design that borrows from a specific cultural art form, mention you want respectful adaptation rather than direct replication. Ask your artist how they adapt motifs with context in mind.
Q: How should I dress to protect a new wrist or finger micro tattoo during the healing week?
A: Keep the area out of tight rings or bracelets and wear clothing that avoids friction. A loose long-sleeve that can be rolled up gently or a soft cuffed sleeve works well. For wrist sessions bring a loose button-down you can open and close without tugging.
Q: Should I expect different touch-up timelines for black-only micro pieces versus micro work with subtle shading?
A: Black-only micro pieces with bold anchors often hold contrast longer than micro shading. Tiny shaded details tend to soften faster and usually need touch-ups sooner. Plan conservatively and discuss a realistic timeline with the artist before you book.
