
Fine line fairies dominate feeds, but the reality is that what looks flawless on an iPhone often needs a touch-up sooner than owners expect. Fine line pieces can fade or blur faster on oily or sun-exposed skin, color sometimes washes out on deeper tones, and rib or thigh placements change with weight shifts. Read on for 21 cute fairy tattoo ideas that balance trend with longevity, plus what to ask your artist in that first consultation.
1. Fine Line Fairy on the Inner Wrist
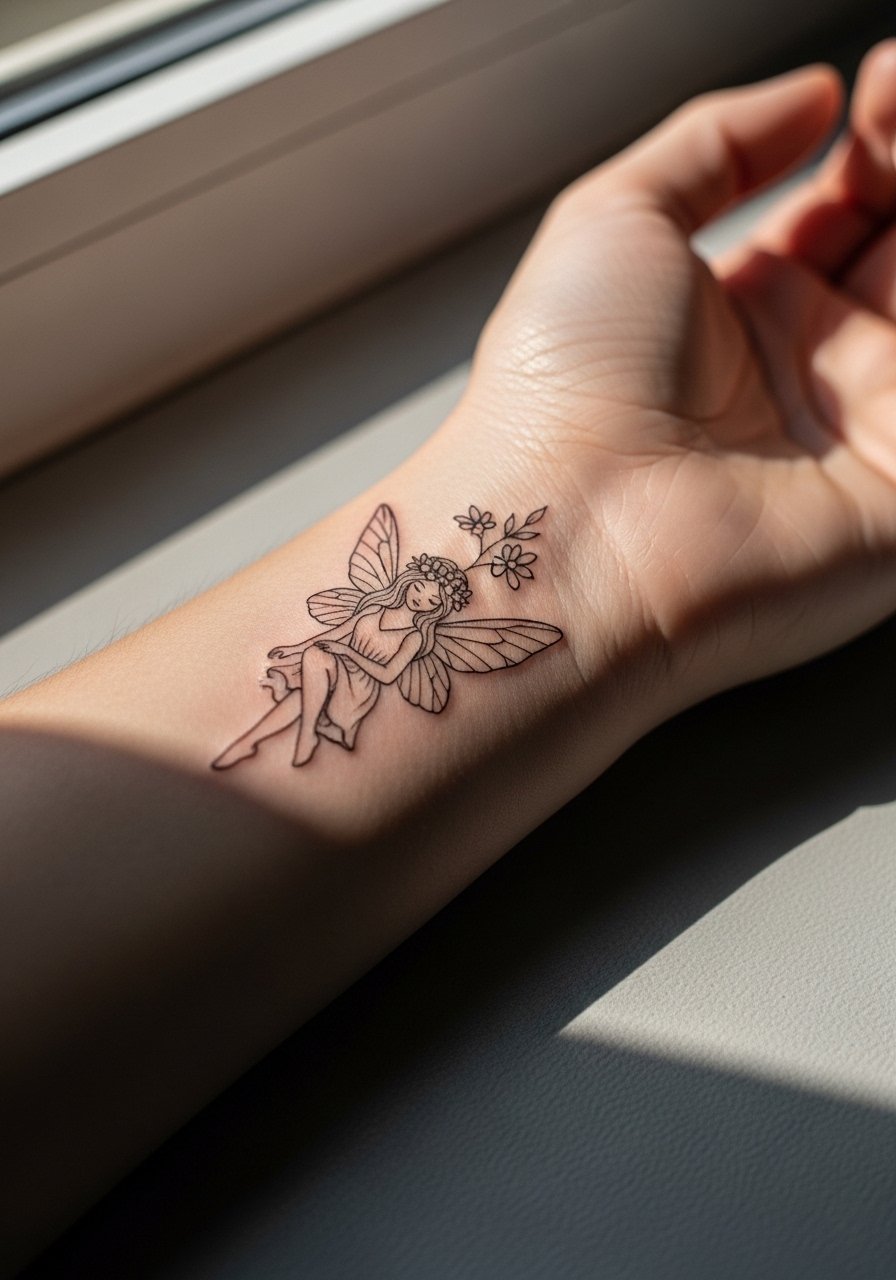
I see this exact placement a lot for first tattoos. The inner wrist reads intimate and shows easily, but sun and washing wear at the edges faster than on the forearm. Ask for slightly bolder single-needle linework and a tiny gap between wings and hair to prevent lines merging at year two. Session time is usually under an hour and pain is low to moderate. Common mistake is shrinking the design to a dot sized for social media, which kills detail. For showing it off, pair with a thin gold chain bracelet on the opposite wrist so the tattoo reads as a deliberate accent.
2. Watercolor Fairy Silhouette on the Shoulder Blade
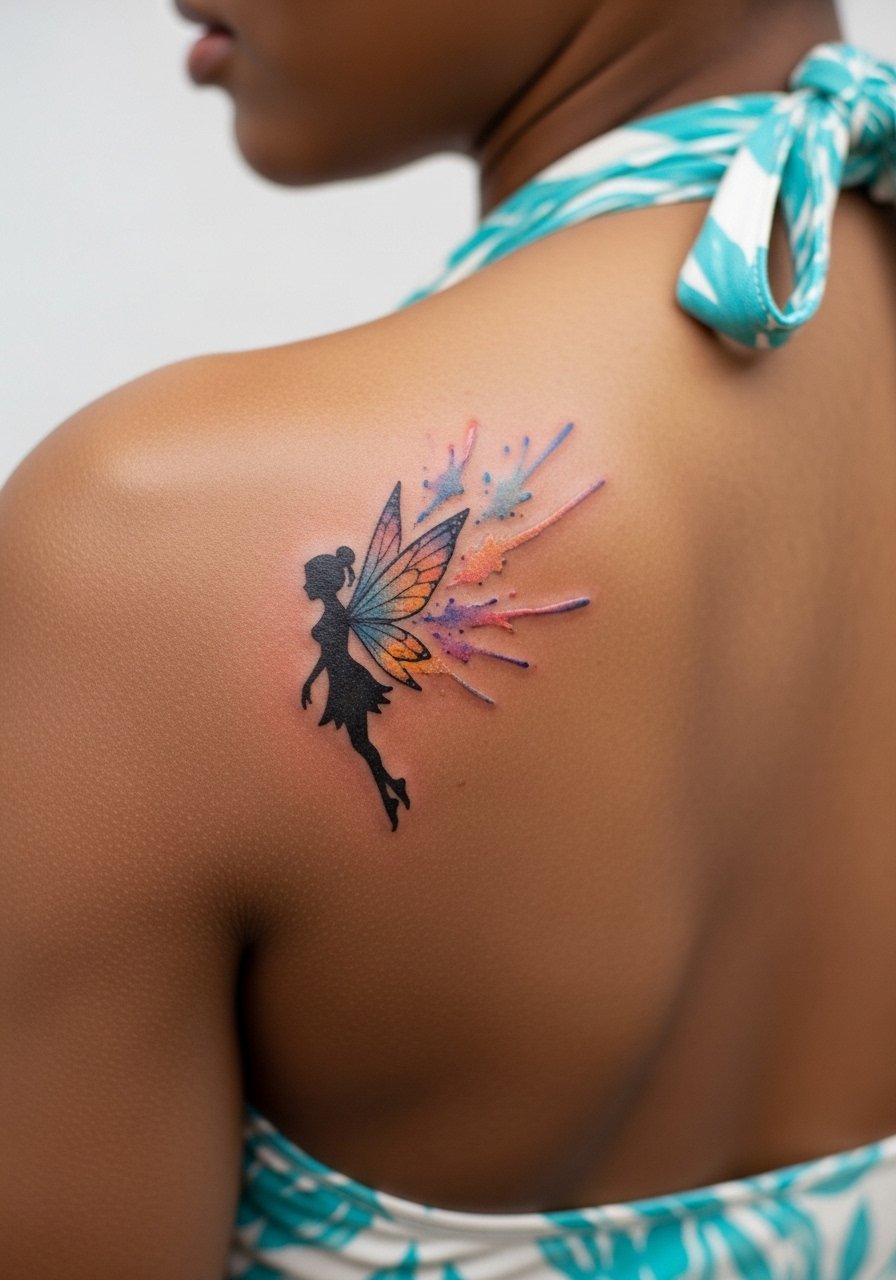
Watercolor looks ethereal on the shoulder blade but color longevity depends on placement and aftercare. This area fares well with sun protection, so plan long-term sunscreen use. This piece takes one to two sessions depending on color layering and can be more painful when the artist works close to the shoulder blade edge. A common aging issue is washed-out pastel that loses contrast, so request small areas of anchor black to give the pastels something to sit against. For beach-ready outfits try a backless halter top to frame the piece when healed.
3. Neo-Traditional Fairy with Mushrooms on the Outer Thigh
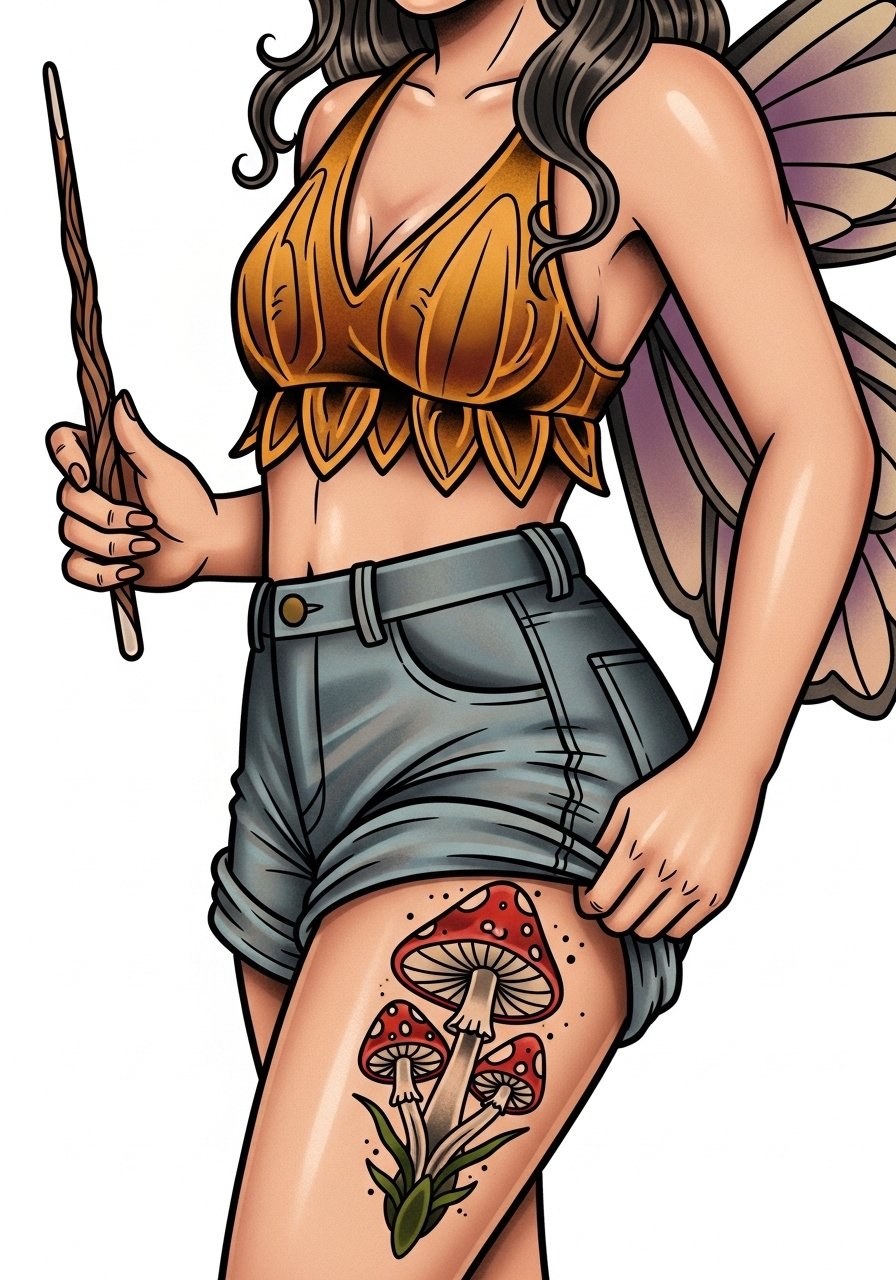
Thigh placement gives size room and handles saturation well. Expect two sessions for color build-up and a moderate pain level that varies across the thigh. The neo-traditional approach uses bold outlines to protect against early blurring. Watch out for post-weight-change stretching; if you anticipate significant fluctuations pick a sturdier thigh location or scale up line weight. During consultation ask the artist for reference photos showing healed color at year three. For the appointment wear high-waisted denim shorts so the artist can access the outer thigh without discomfort.
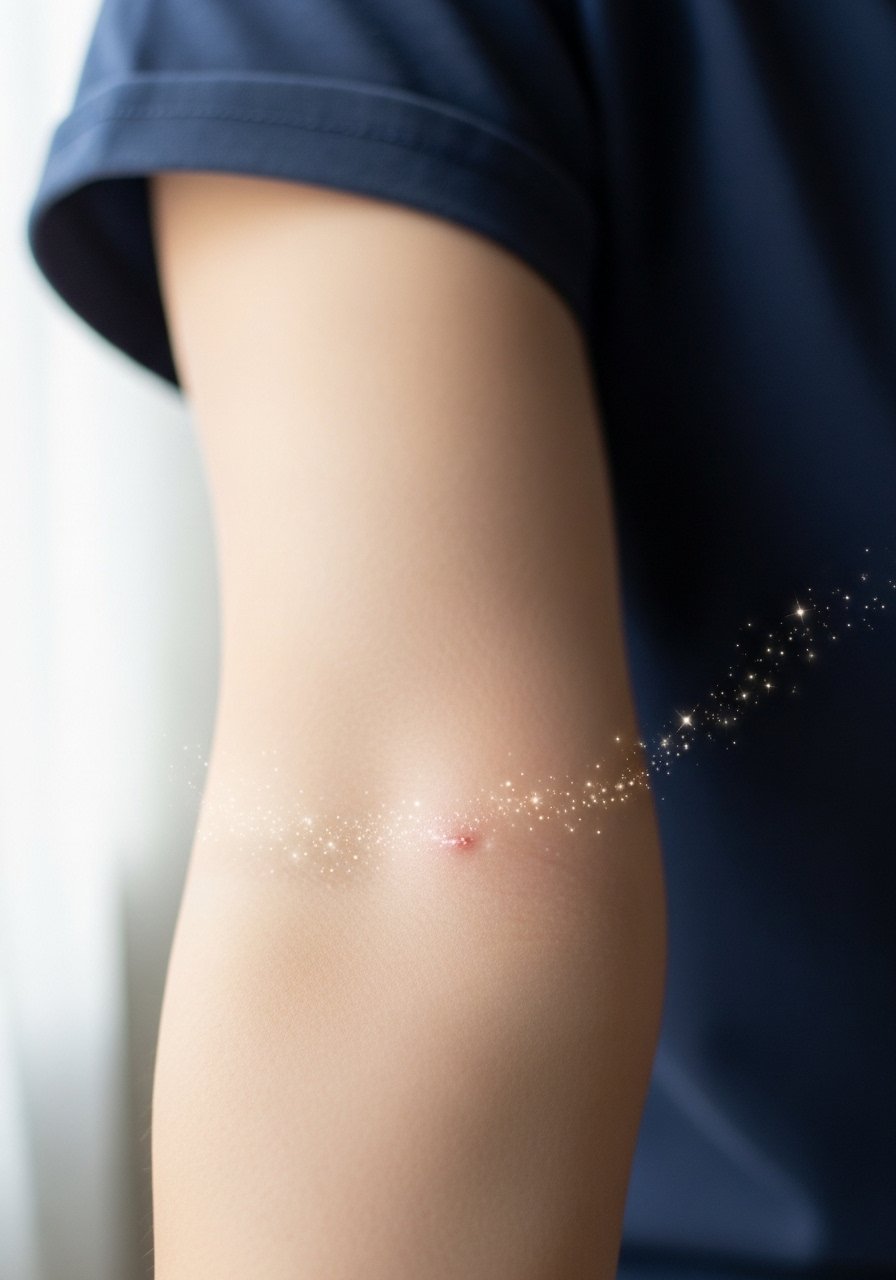
4. Minimalist Fairy Outline with Single Star Trail on the Ankle
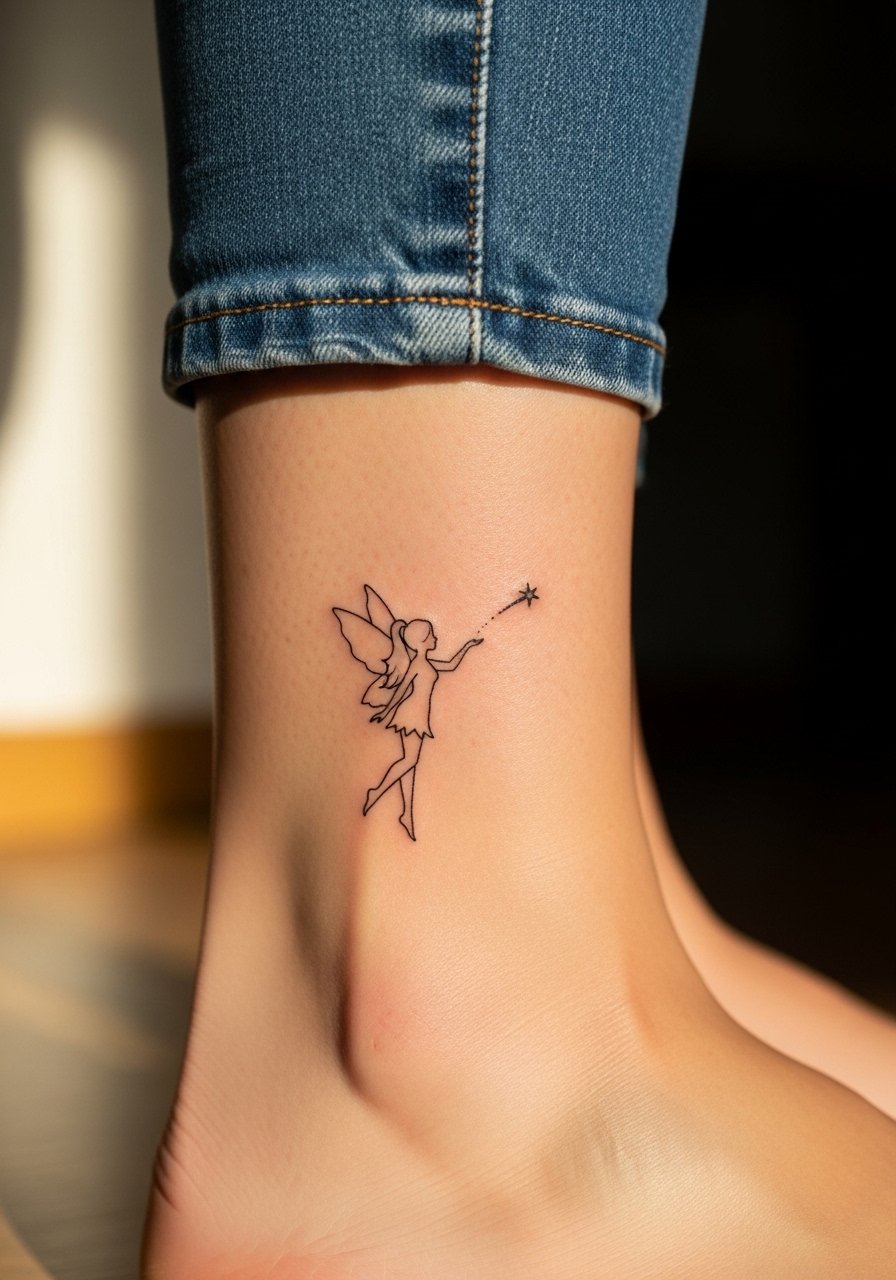
Ankle tattoos are perfect for tiny, discreet fairies that peek out with sandals. Pain is higher than the wrist because of bone proximity, but sessions are short. The typical mistake is going too fine with lines that rub from shoes and socks during healing. Ask the artist to leave small open spaces in the trail and to recommend footwear changes for the first week. Color, especially watercolor washes, fades faster here, so lean toward black or high-contrast accents. Pair with strappy ankle sandals and cropped jeans to show the design cleanly.
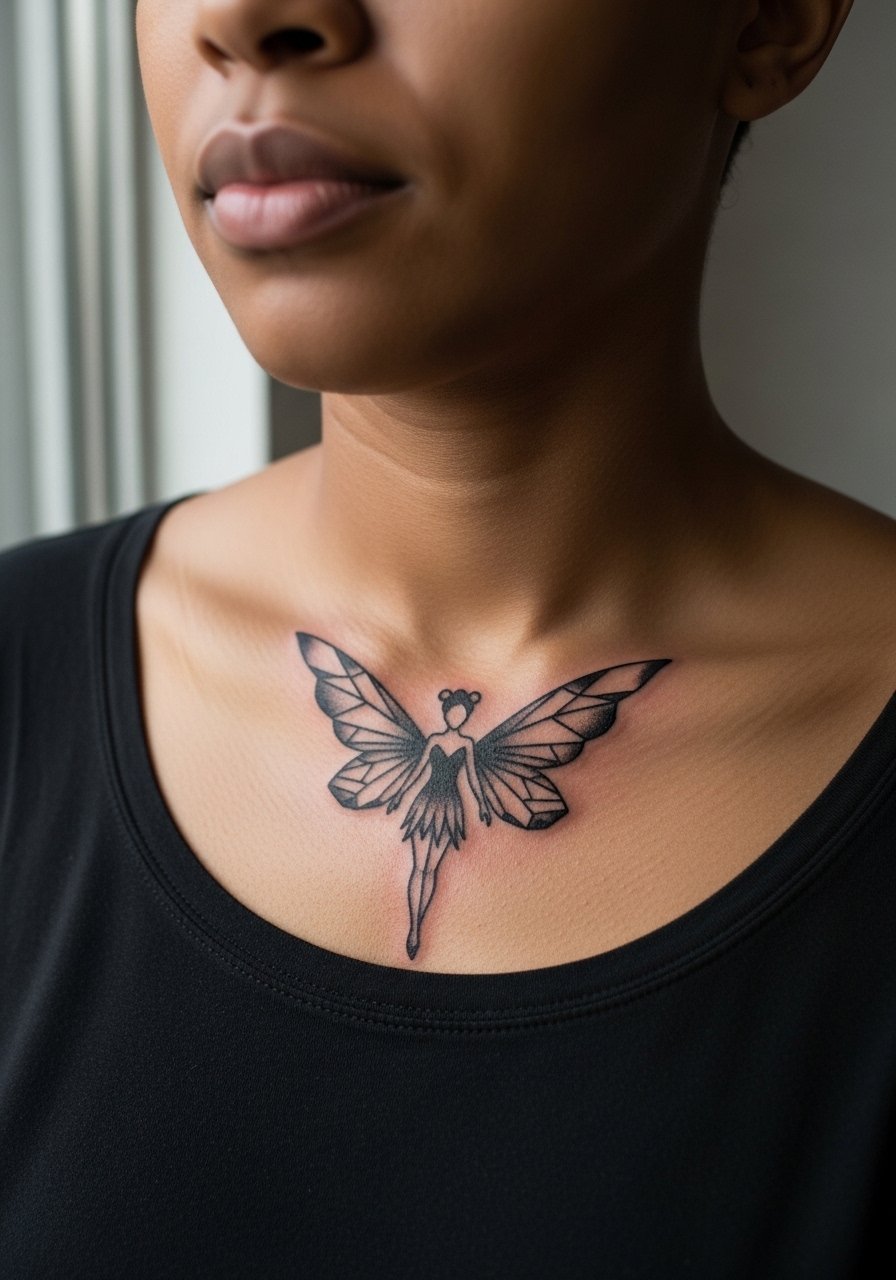
5. Blackwork Fairy with Geometric Wings on the Collarbone

Blackwork is a strong choice for collarbone pieces because the contrast lasts on darker skin tones. Expect one to two sessions and a sharp visual impact. The collarbone area can feel sharp during the session so pain is moderate to high for some. A mistake is too-dense detail pressed into the curve of the collarbone, which can blur as skin shifts. For longevity request bold negative-space elements rather than tiny fill that could merge. Show it off with an off shoulder blouse that frames the collarbone without covering the geometric wings.
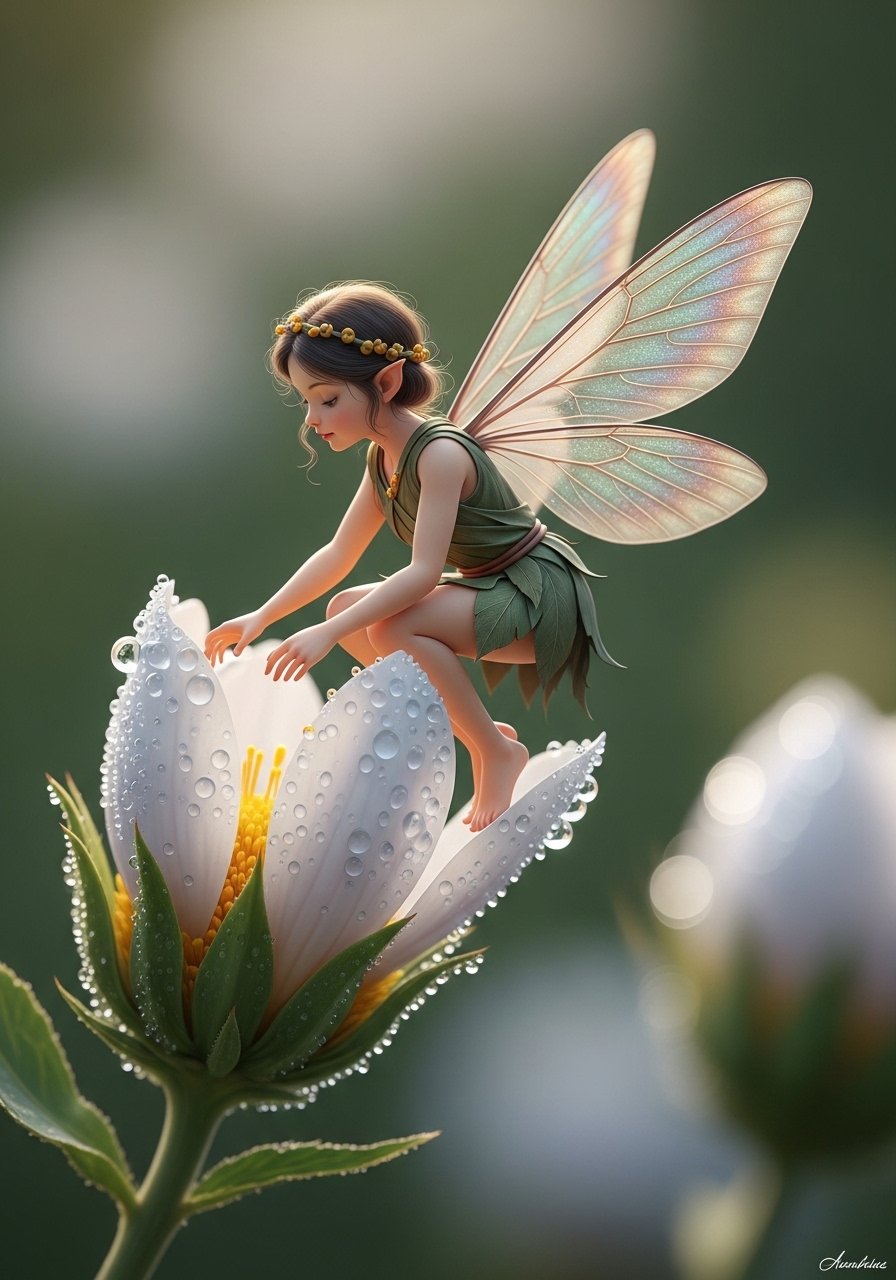
6. Micro-Realism Fairy Perched on a Flower, Inner Bicep
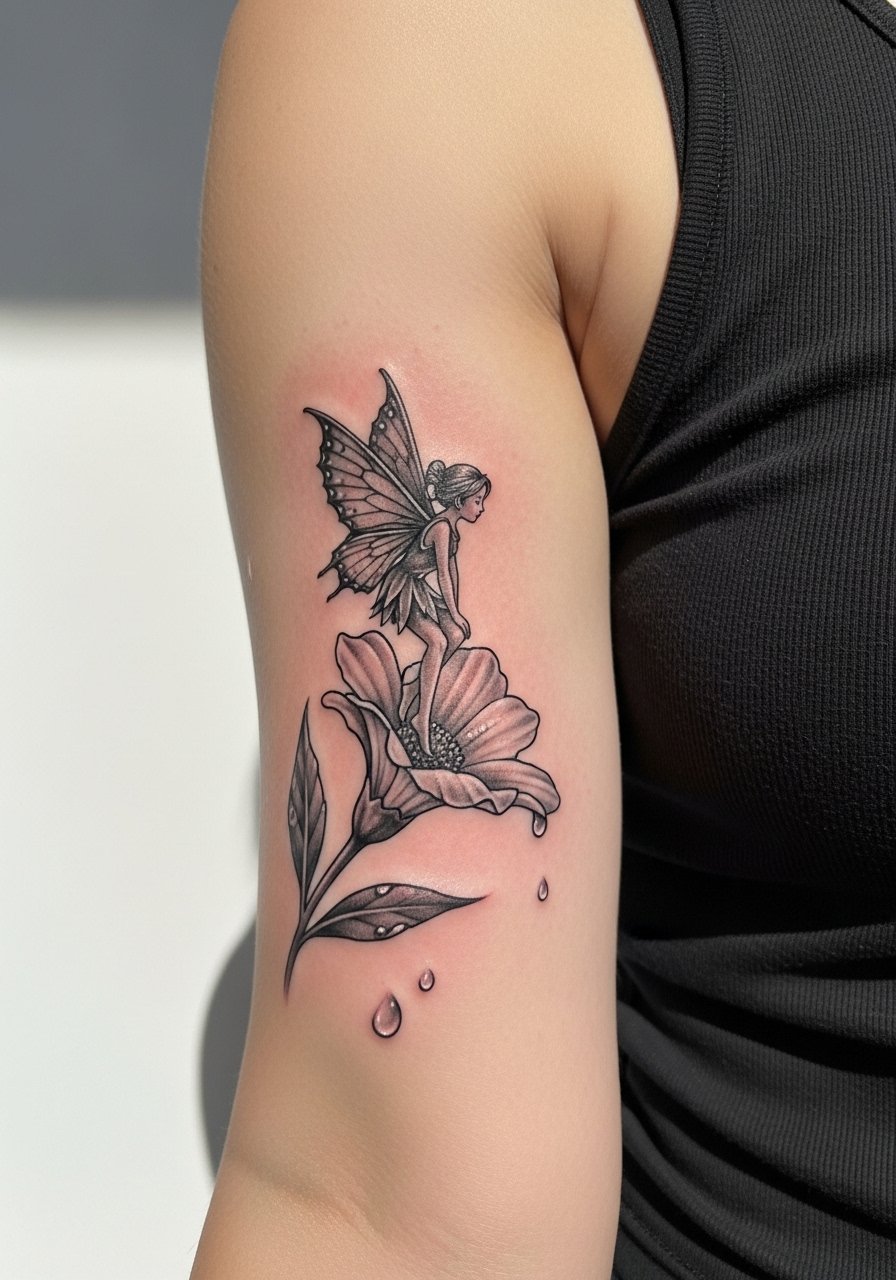
Micro-realism needs space and steady skin. The inner bicep allows intimate detail but is a fussy spot for shading because the skin is softer and may require two to three sessions. Pain is moderate and sessions can feel long because of fine dot work. Common mistake is demanding ultra-tiny detail that looks great fresh but disappears after healing. If you want this level of realism settle for a slightly larger size so the dew drops and facial features hold up at six months and two years. For the studio day wear a loose tank top so the artist can raise your arm without tugging.
Studio Day Picks
The wrist, shoulder blade, thigh, ankle, collarbone and inner bicep above each ask for a different prep approach. These items smooth the appointment and the first week of healing.
-
Stencil transfer paper kit. Lets you preview how small fairy linework sits on the wrist and ankle before the needle hits skin.
-
Topical numbing cream. Helpful for collarbone or thigh sessions if you worry about pain, applied per the artist's guidance.
-
Thin protective film roll. Keeps ankle and wrist pieces cleaner during the first days when friction from shoes and jewelry is highest.
-
Fragrance-free gentle body wash. A mild cleanser for rinsing shoulder blade and thigh areas without stripping pigment.
-
Aquaphor healing ointment. Thin layers help fine line work on wrists and the inner bicep stay moist without heavy residue.
7. Ornamental Fairy Mandala on the Upper Back

An upper back mandala lets you go larger and focus on symmetry. Expect two sessions and moderate discomfort during long linework runs. This design benefits from even spacing to prevent dense areas from merging after a few years. A common error is squeezing too many tiny motifs into the center. Ask for reference photos of healed mandalas at three to five years. If cultural motifs inspire the piece acknowledge origins and consider subtle variation to avoid direct replication. For photo-ready moments pair the mandala with a wide brim straw hat and back-revealing tops.
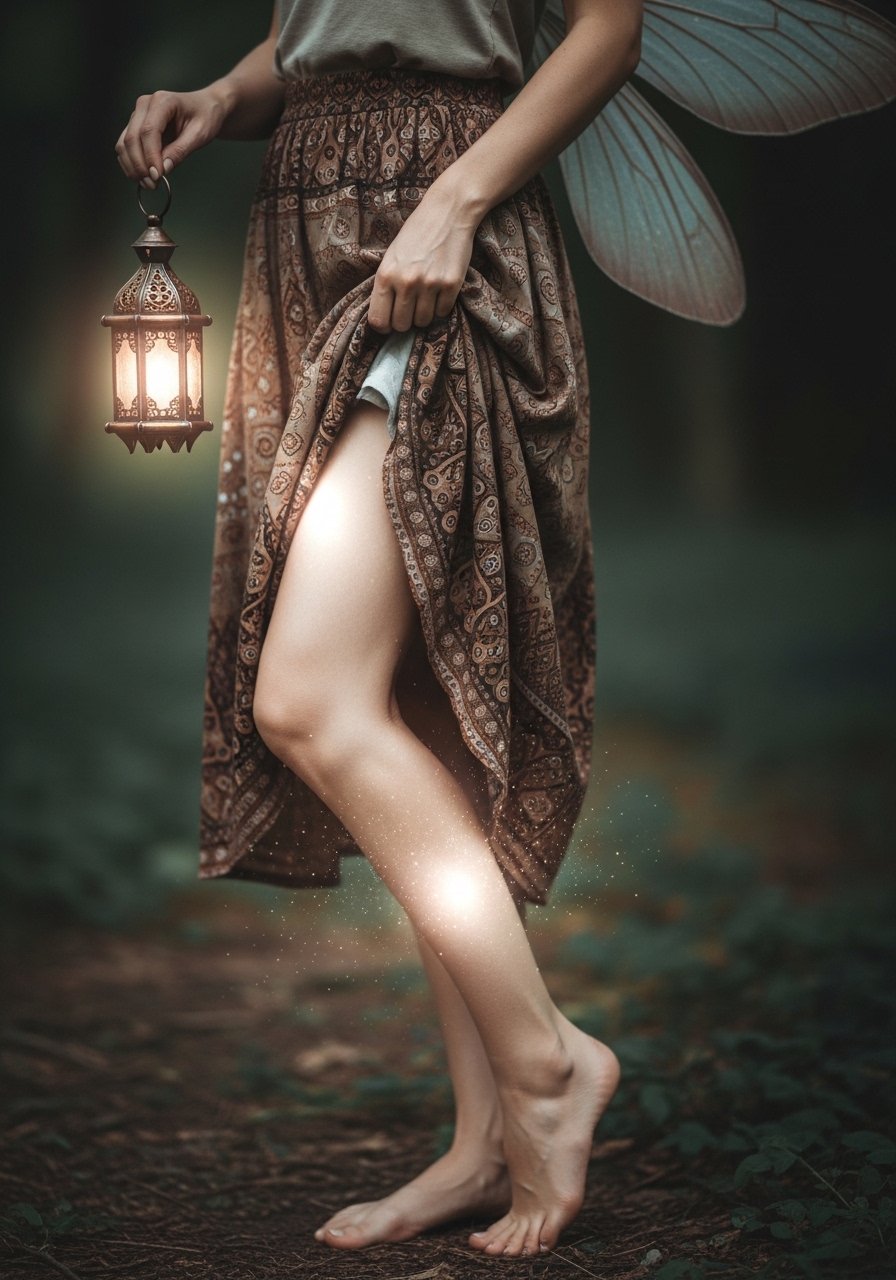
8. Traditional Fairy with Lantern on the Calf
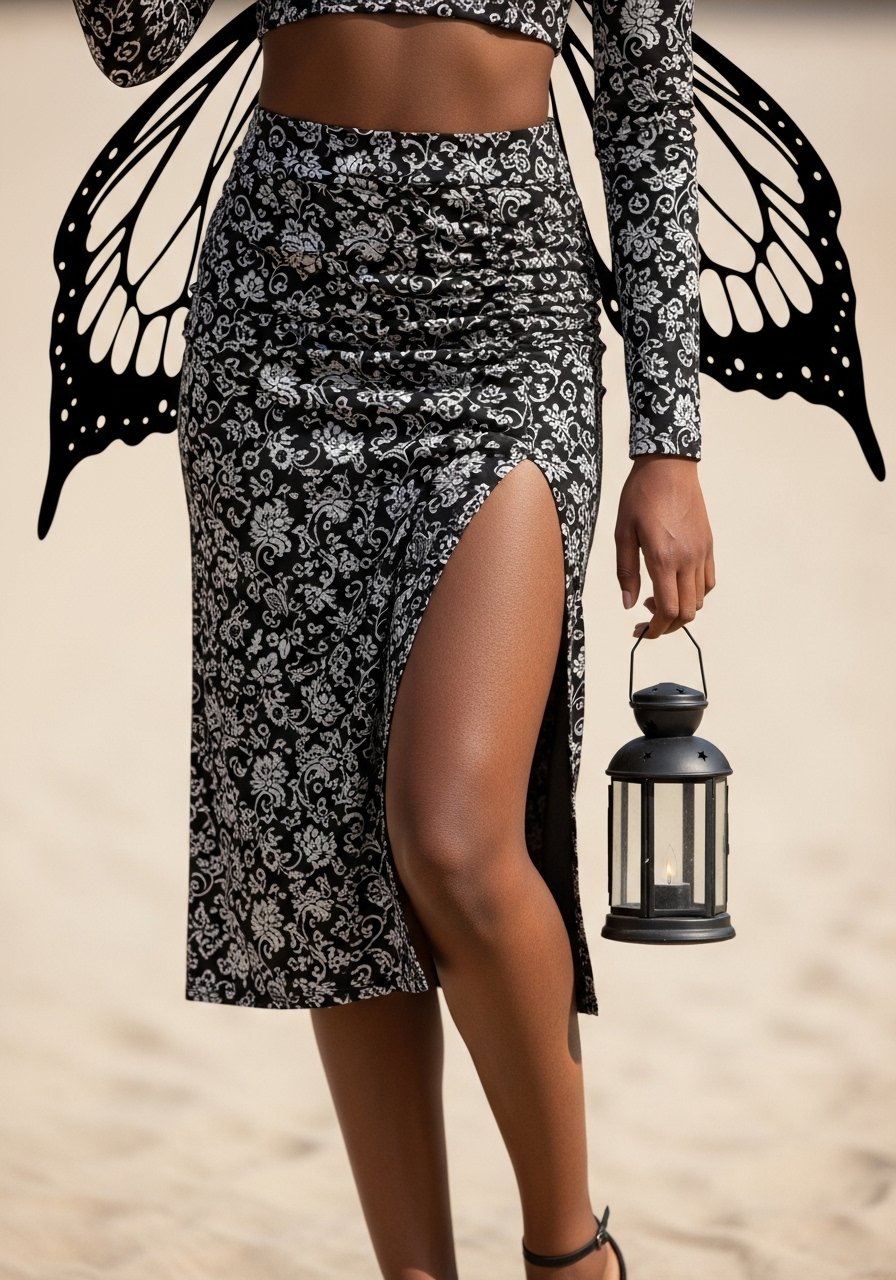
Calf work accepts bold saturation and ages predictably. Traditional lines protect color longevity so this is an excellent pick for someone who wants vivid ink with less maintenance. Sessions often finish in one or two visits. A frequent mistake is placing too many small effects around the lantern, which can clutter the silhouette over time. Calf tattoos handle larger sizes well and photograph cleanly when paired with skirts or shorts. For styling try a midi skirt with side slit that shows the piece without cutting into the design.
9. Ignorant Style Fairy with Sketchy Stars on the Ribcage
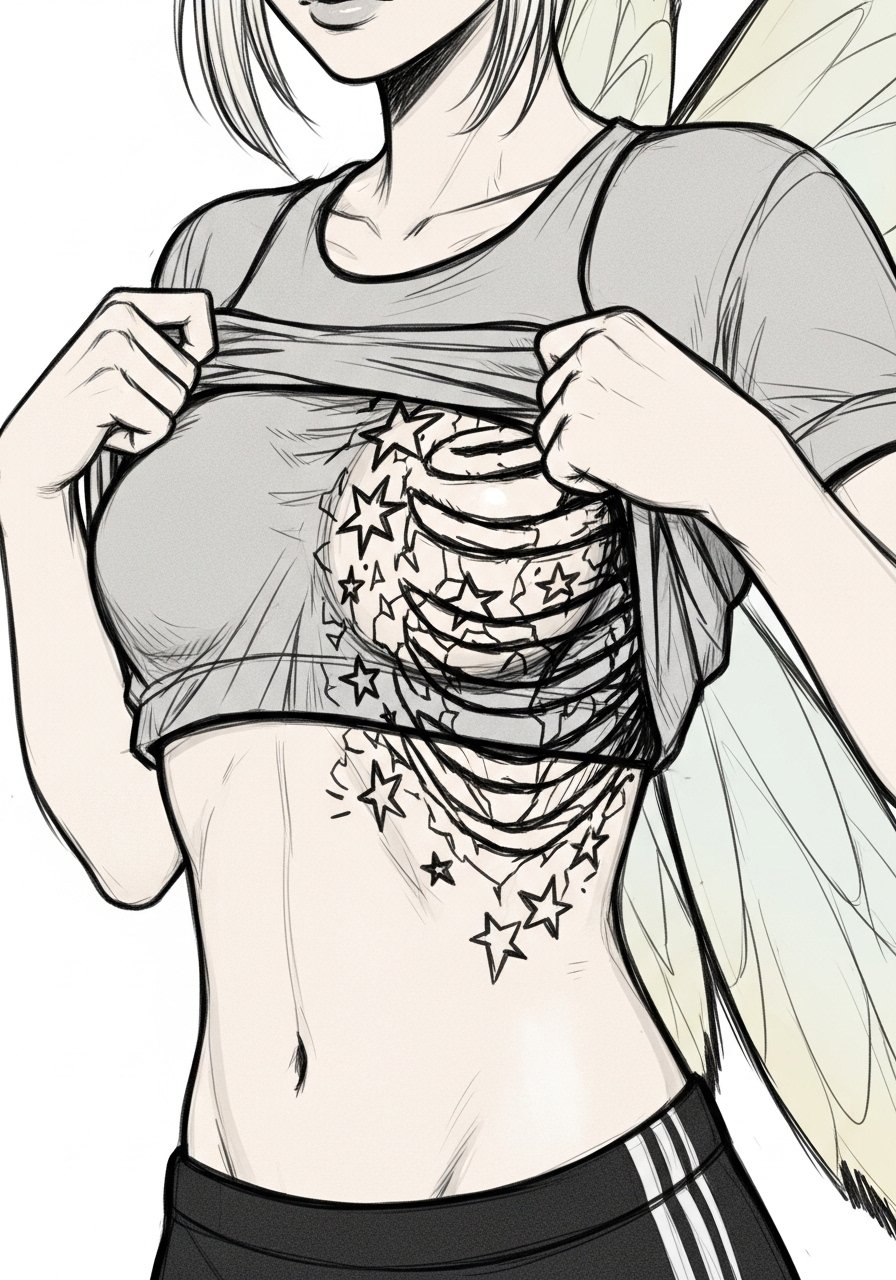
Ribcage pieces can be emotionally striking but the rib area is painful. Expect a single-session piece that can test endurance. Ignorant style benefits from loose, confident strokes rather than over-refined linework. Controversy exists about fine line on ribs. One camp says thin lines blur as skin shifts. The other camp maintains that with correct depth and spacing fine lines settle fine. Ask your artist where they land and request healed examples from their rib work. For the session wear a fitted sports bra that can be shifted to expose only the tattoo zone.
10. Fine Line Fairy Dust Trail Behind the Ear
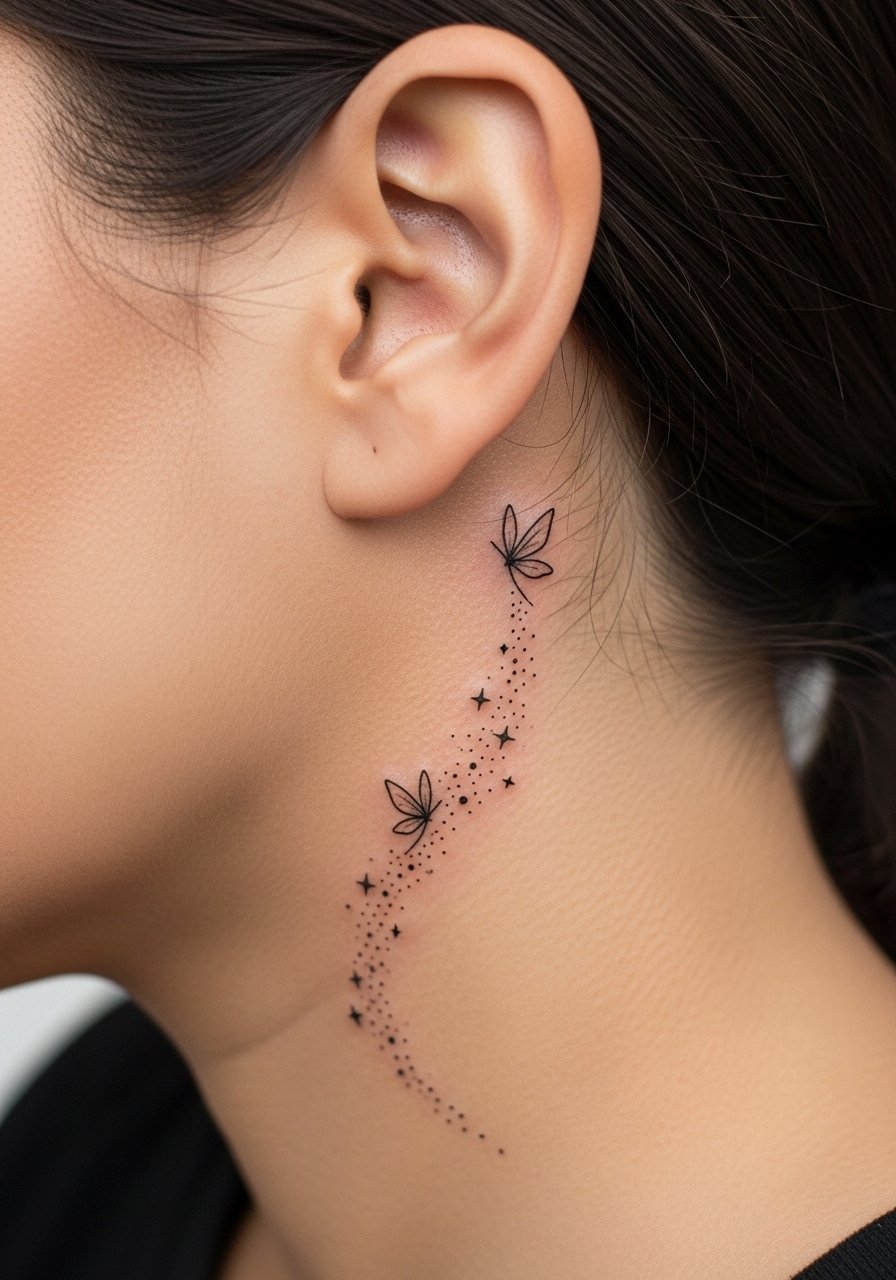
Behind the ear is subtle and flirtatious, but tiny lines here are prone to blurring from shampooing and hair oils. Sessions are quick and pain is low to moderate. A frequent error is using dense stipple shading that looks muddy after healing. Ask for spaced dots and minimal ink depth so the trail reads as airy rather than smudged. Keep hair products off the area during healing. The placement is discreet enough for office settings if that is a concern.
11. Blackwork Fairy with Negative Space Wings for Dark Skin
Negative space blackwork excels on darker tones because it uses contrast rather than subtle color. Pain is moderate across the collarbone. Ask for solid fills and clean edges to avoid the patchy look that can develop with low-contrast color. A mistake is attempting soft pastel fills on deep skin where they will look muddy in photos. Instead ask for bold silhouettes and open shapes that remain readable at six months, two years and beyond. For a night out, an off shoulder blouse frames the negative-space wings without masking them.
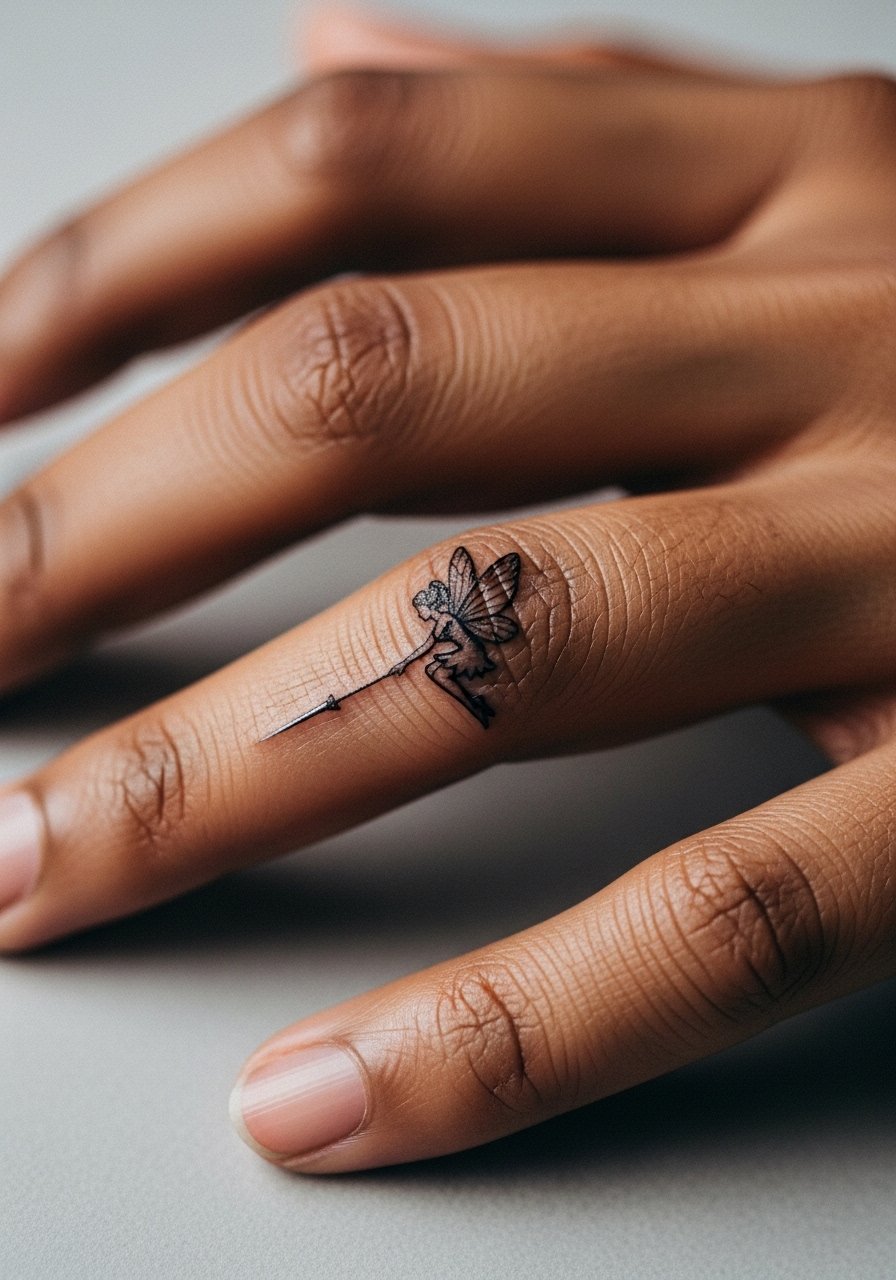
12. Micro Fairy Hidden on a Finger
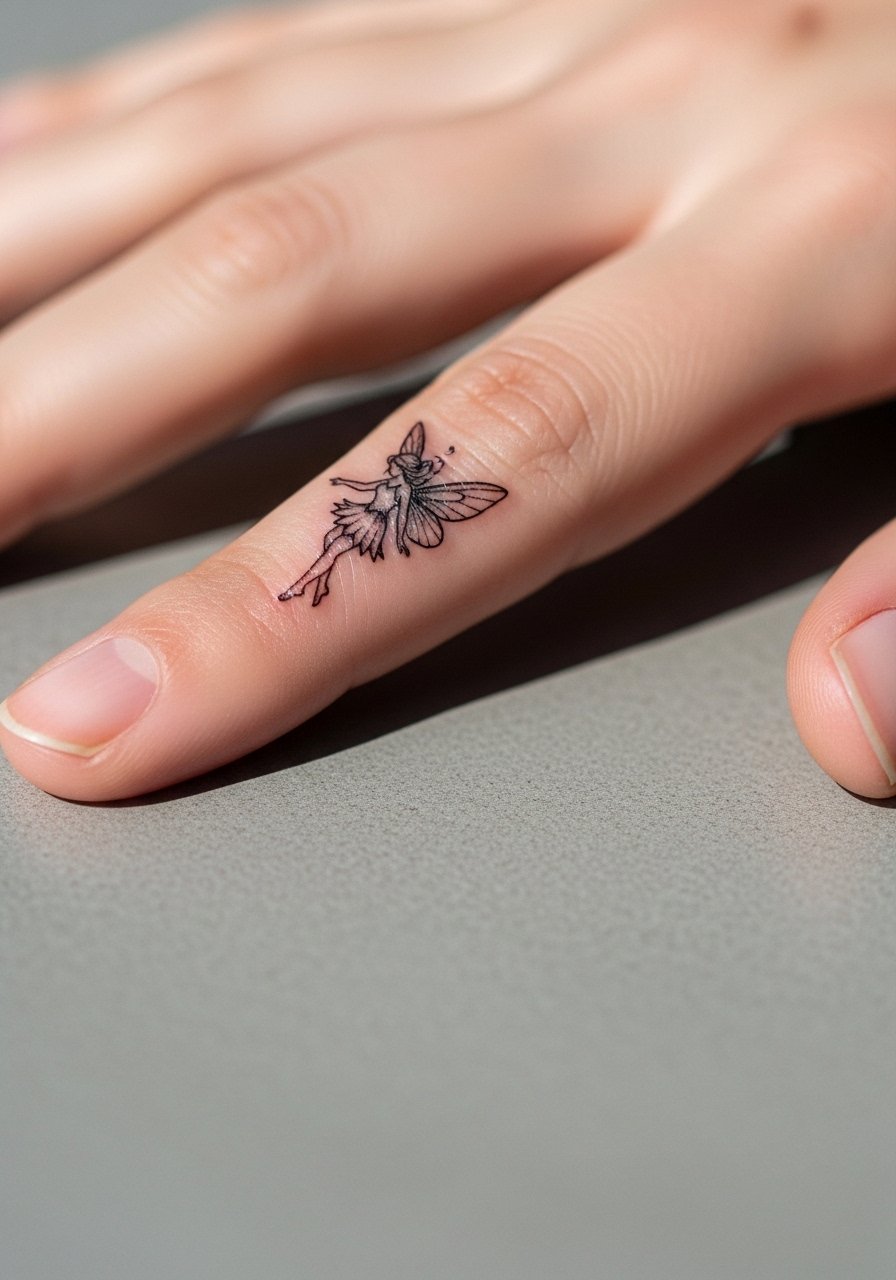
Finger tattoos are discreet but notoriously high maintenance. Expect a higher chance of touch-ups because the skin renews quickly and friction is constant. A common mistake is placing too much detail into a tiny finger piece. Scale matters more here than in any other place. If you want true micro-realism, accept regular touch-ups at year one or two. For the session avoid heavy hand lotion and plan for minimal finger use for the first few days.
13. Watercolor Fairy with Blooming Flowers on the Forearm
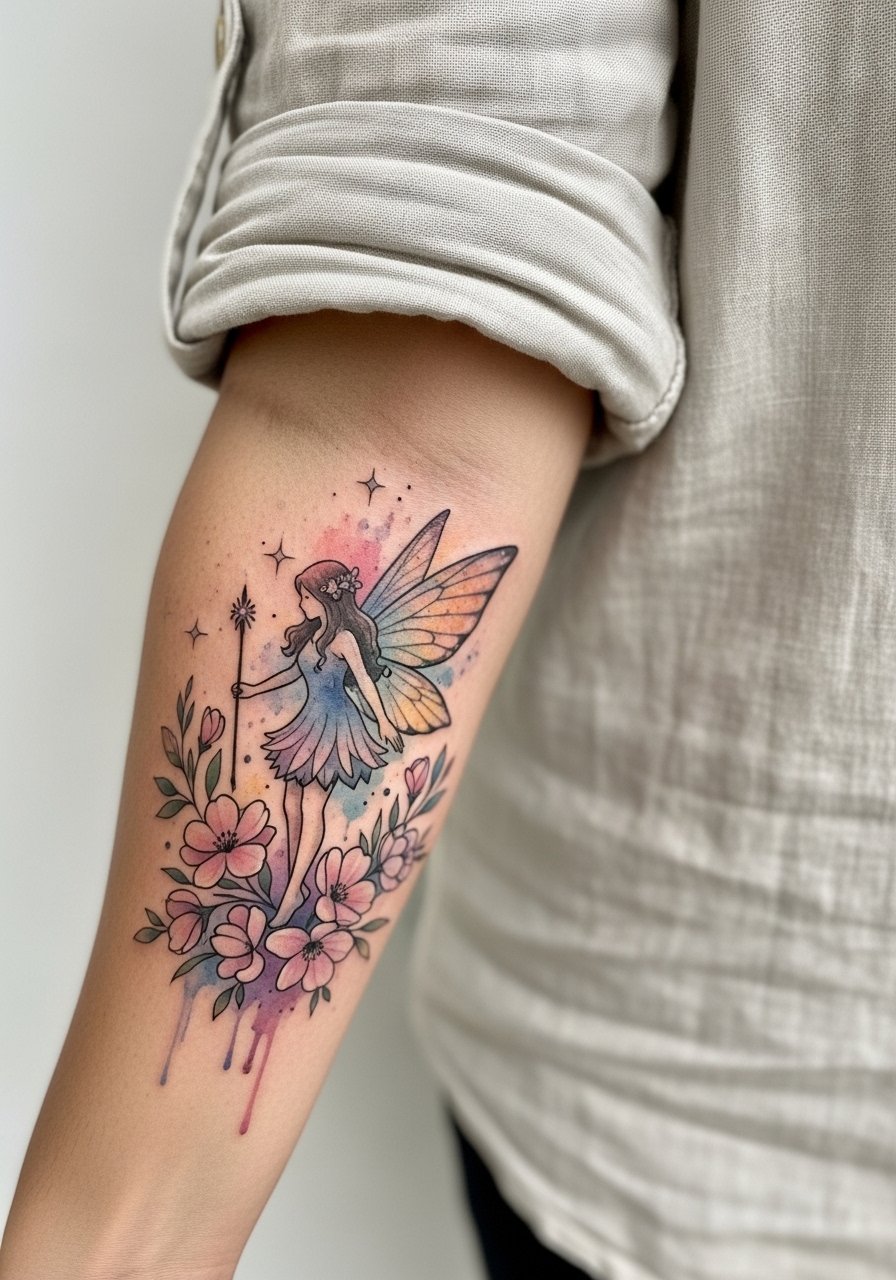
Forearm pieces get sun exposure but heal predictably and are easy to show. Watercolor needs layering to build vibrancy and that can take two sessions. The main mistake is choosing pale pastels without anchoring strokes, which disappear under daily sunlight. Ask your artist to include subtle dark anchors so the watercolor keeps shape. For showing off wear a linen button-down shirt with rolled sleeves to let the florals and sparkles read clearly.
14. Ornamental Fairy as a Sternum Accent
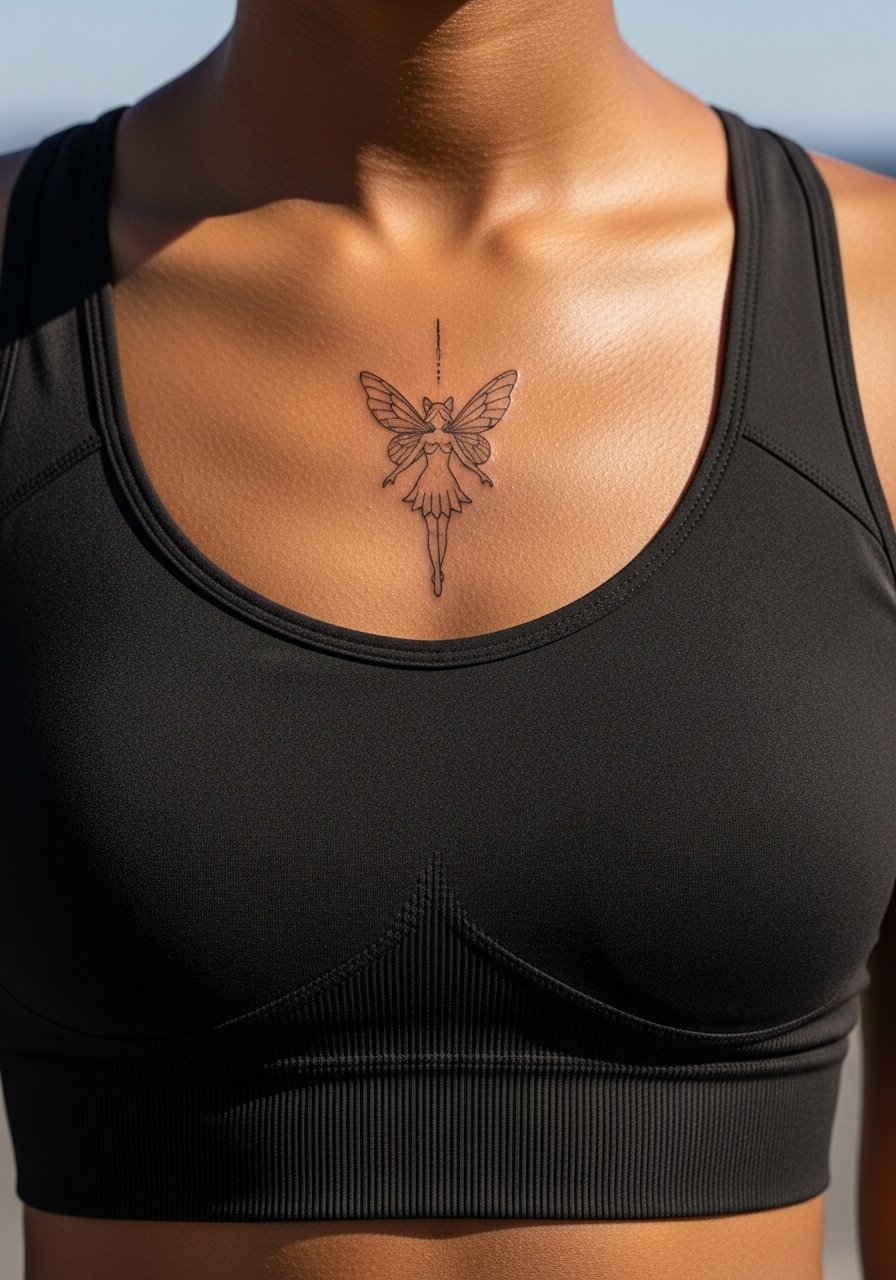
Sternum placements are highly visible in intimate wear and can be painful during the session. Expect a focused one to two hour session for a modest design. The sternum's vertical skin tension can distort symmetric motifs if not sized correctly. Ask for a mock-up while standing so gravity and chest shape are considered. Some artists specialize in sternum symmetry and can show healed examples. Remember to plan wardrobe that supports the area and protects it during early healing.
15. Fairy Dust Trail Wrapping Around the Elbow
Elbow placement demands movement-aware design. Lines on or across joints are prone to faster wear because the skin stretches every time you bend. Sessions can be short but may sting more due to thin skin and motion. The typical mistake is running continuous dense lines across the joint. Ask for break points and slightly larger spacing so the trail keeps shape after repeated movement. For the session wear a loose t-shirt you can roll without compressing the area.
16. Micro-Realism Fairy with Dew Drops on the Inner Thigh
Inner thigh pieces are private and can be sensitive during sessions. Expect moderate to high pain depending on proximity to the crease and two to three sessions for detailed micro shading. A frequent error is tight placement too close to high-friction zones like waistbands. Ask to place the design where clothing will not rub daily. For the session wear loose skirt or shorts so the artist can access the area without discomfort.
17. Fairy Silhouette as a Small Nape Tattoo
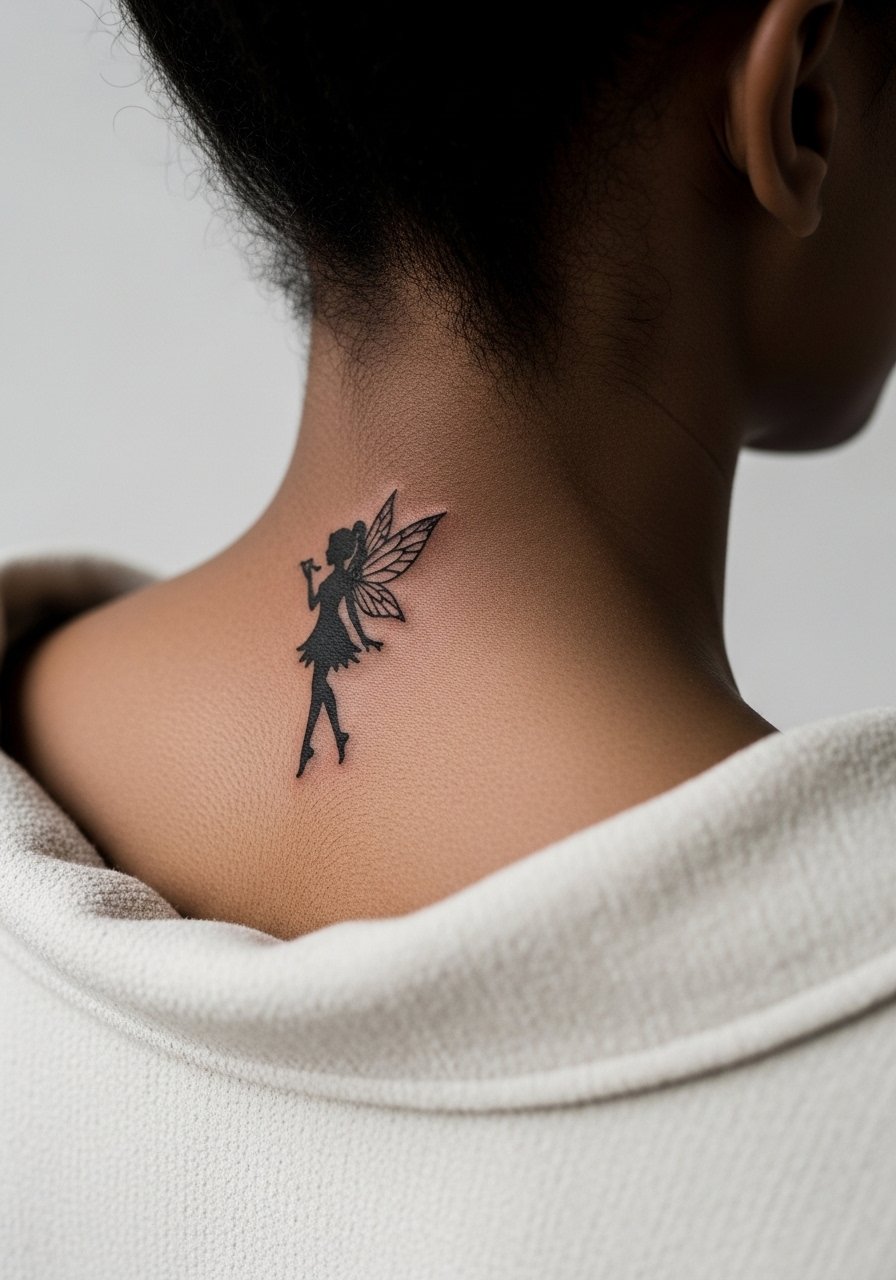
Nape tattoos sit on thin skin and can be easily hidden by hair when needed. Session pain is low to moderate. A common mistake is putting text or heavy detail that becomes illegible as hair grows or if you change hairstyles. Keep silhouette shapes simple so they remain legible if the collar of clothing or hair shifts. For after-session comfort pick shirts with relaxed collars to avoid rubbing.
18. Fairy Lantern as a Calf Patch with Night Glow Accents
If you like bold color and a bit of show-off flair, the calf is forgiving. Glow accents in standard ink read as highlights in daytime. UV ink is experimental and may not photograph the way you expect under average lighting. One common error is relying on glow inks for leg visibility. Ask for color plans that look good in normal daylight first. Sessions run one to two hours and the calf tolerates saturation well. Boots or sandals work depending on the season.
19. Fairy with Celtic Knot Elements on the Upper Arm
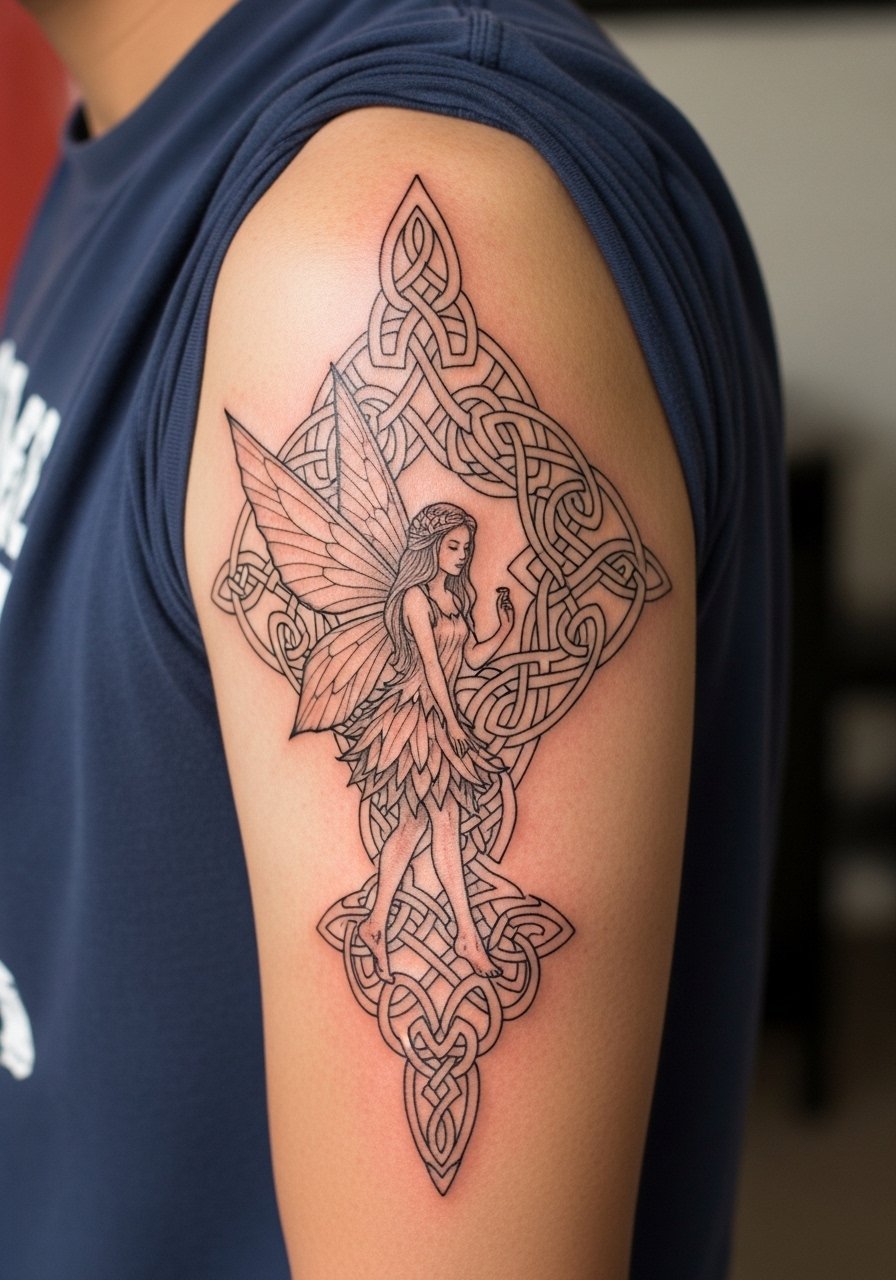
Incorporating Celtic knot patterns gives cultural depth but demands respectful adaptation. Avoid direct replication of sacred symbols unless you have cultural ties. For durability pick slightly stronger line weights where knots intersect so they do not soften into indistinct loops over time. Upper arm sessions are lower pain and heal predictably. Show the design with short sleeve shirts that let the knotwork peek without covering the piece.
20. Tiny Fairy Hidden on the Rib of a Finger for Discretion
Hidden finger placements offer the ultimate discretion but are the most likely to need touch-ups. The skin there regenerates quickly and daily use causes pigment loss. Expect touch-ups at year one or sooner. The design should be as simple as possible. Ask your artist for recommendations on size and needle technique aimed at endurance. Keep in mind that hand and finger tattoos can complicate certain professional roles, so plan accordingly.
21. Bioluminescent Fairy Effects with UV Accents on the Shoulder Cap
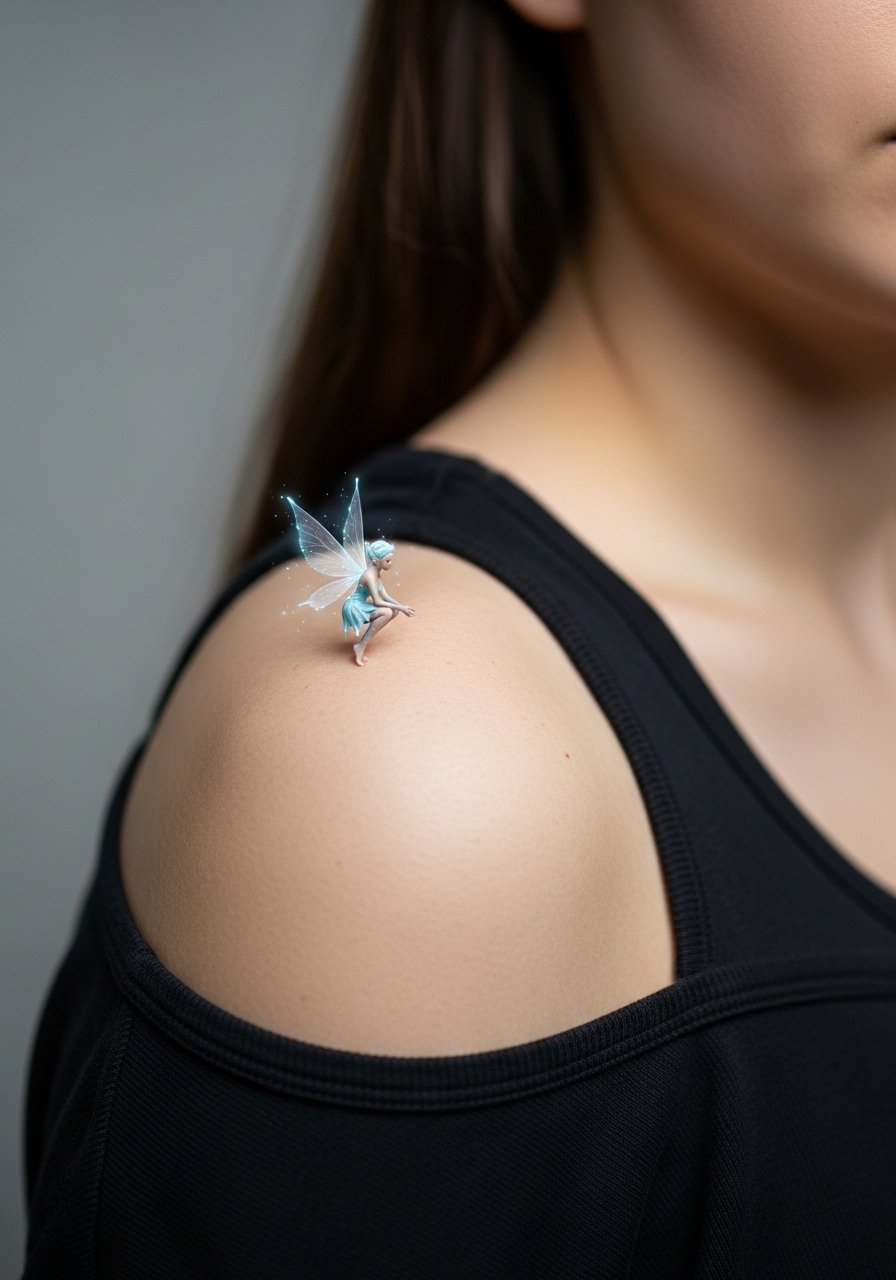
UV accents are experimental and can be a fun hidden effect under black light. For everyday visibility rely on regular pigments that hold in daylight. This is a good spot for playful night effects because the shoulder cap sees moderate sun exposure and can handle color. A common mistake is expecting UV to replace regular saturation. Ask the artist to design the UV as an accent rather than the main structure. For the session wear a racerback tank that gives clear access while modestly covering the rest.
Frequently Asked Questions
Q: Will a fine line fairy on my wrist blur faster than a blackwork version?
A: Fine line tends to soften sooner on high-use, sun-exposed spots like wrists. Blackwork gives more contrast and usually reads longer without touch-ups. If you love fine line ask your artist for slightly increased spacing and plan for a possible touch-up at year two or three.
Q: Do watercolor fairies need different care than traditional colored ones?
A: Watercolor pieces often use diluted pigment layers and need strict sun protection to keep pastels from washing out. Traditional saturated color benefits from the same sun care, but it tends to hold richer longer. For both use broad spectrum sunscreen after healing and avoid direct midday sun when possible.
Q: What should I tell an artist if I want a fairy on my ribs but worry about pain?
A: Be upfront about pain threshold and request short breaks during the session. Some people ask for topical numbing cream, which divides opinion among artists. Bring snacks, hydrate, and wear a top that gives the artist access while keeping you comfortable.
Q: Are there designs that work better on darker skin tones?
A: High-contrast approaches like blackwork or negative space hold up especially well. Fine pastels can still look great but often need bolder anchors. Ask to see healed photos on similar skin tones before committing.
Q: How do placements like thigh or calf age differently from wrist and ankle?
A: Lower body placements like the thigh and calf see less friction and often maintain saturation longer. Wrists and ankles face constant movement and abrasion, which accelerates fading. If longevity is a priority choose larger or bolder elements for high-friction zones.
Q: What should I wear to a shoulder-blade or back session so the artist has access?
A: A loose tank top or a button-down you can pull aside gives the artist access without exposing extra skin. A loose button-down shirt works well for shoulder access and keeps you comfortable during longer sessions.
