
Bold blackwork and guarded fine line both dominate saved boards right now, and I have seen how hair, hiring, and healing turn those pretty scrolls into real-life trade-offs. Hair rubbing that scabs, delicate lines that blur under short cuts, and neck pieces peeking at interviews are the three pains people mention most when they book. Read these 17 back neck tattoo ideas with placement, aging notes, and outfit tips so you know what to ask for in the chair.
1. Traditional Dagger with Rose on the Upper Back Neck
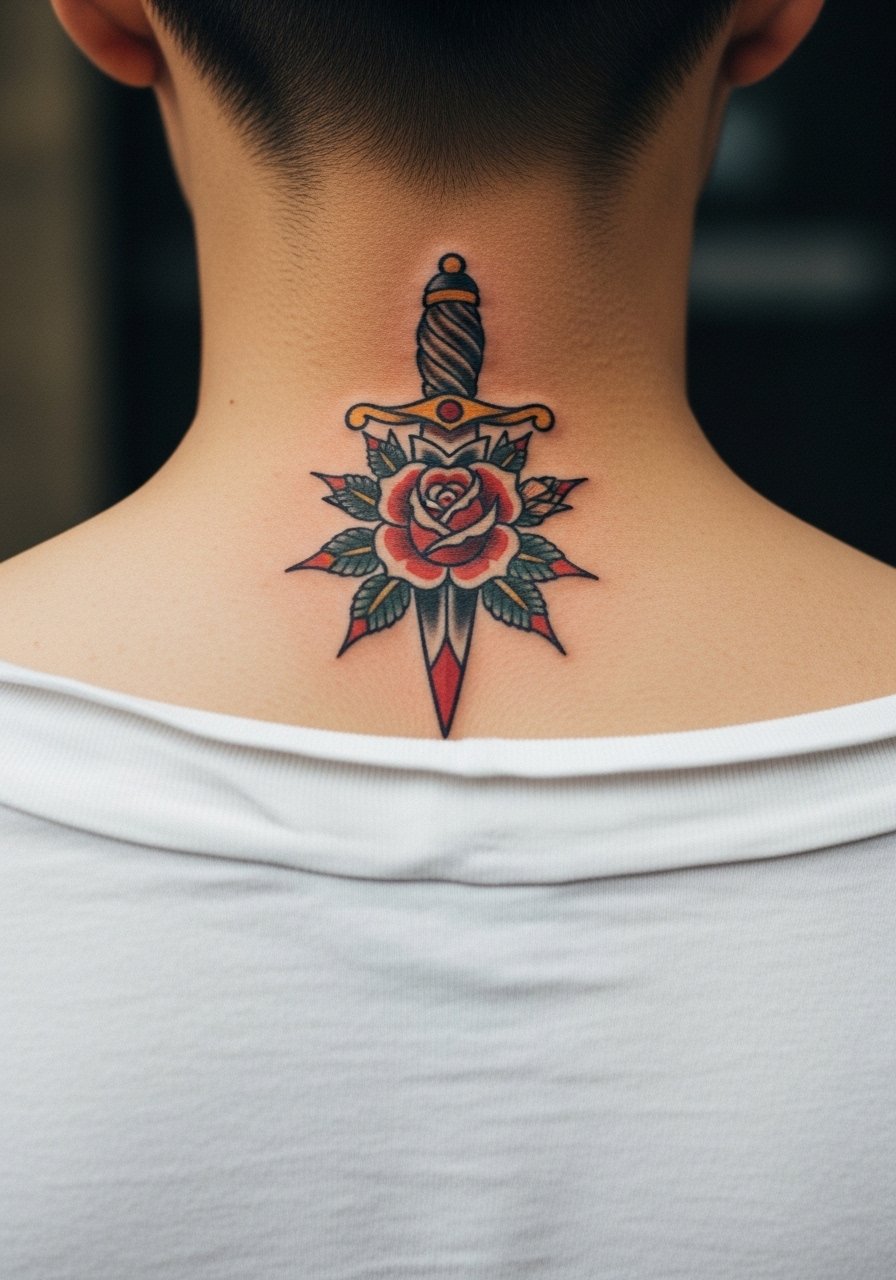
I recommend this if you want a bold symbol that still reads from a distance. Tell your artist you want heavier linework on the dagger outline and clean saturation in the rose petals to prevent early softening, and ask them to scale the height to 3 to 4 inches so the negative space prevents overcrowding. Pain lands moderate because the bone is close, and a single focused session usually covers it. Common mistake is requesting ultra-fine petals, which fade faster on the neck, so opt for solid fills instead. For showing it off, a cropped leather jacket or a high pony highlights the silhouette without fighting the art.
2. Fine Line Spider Web at the Hairline
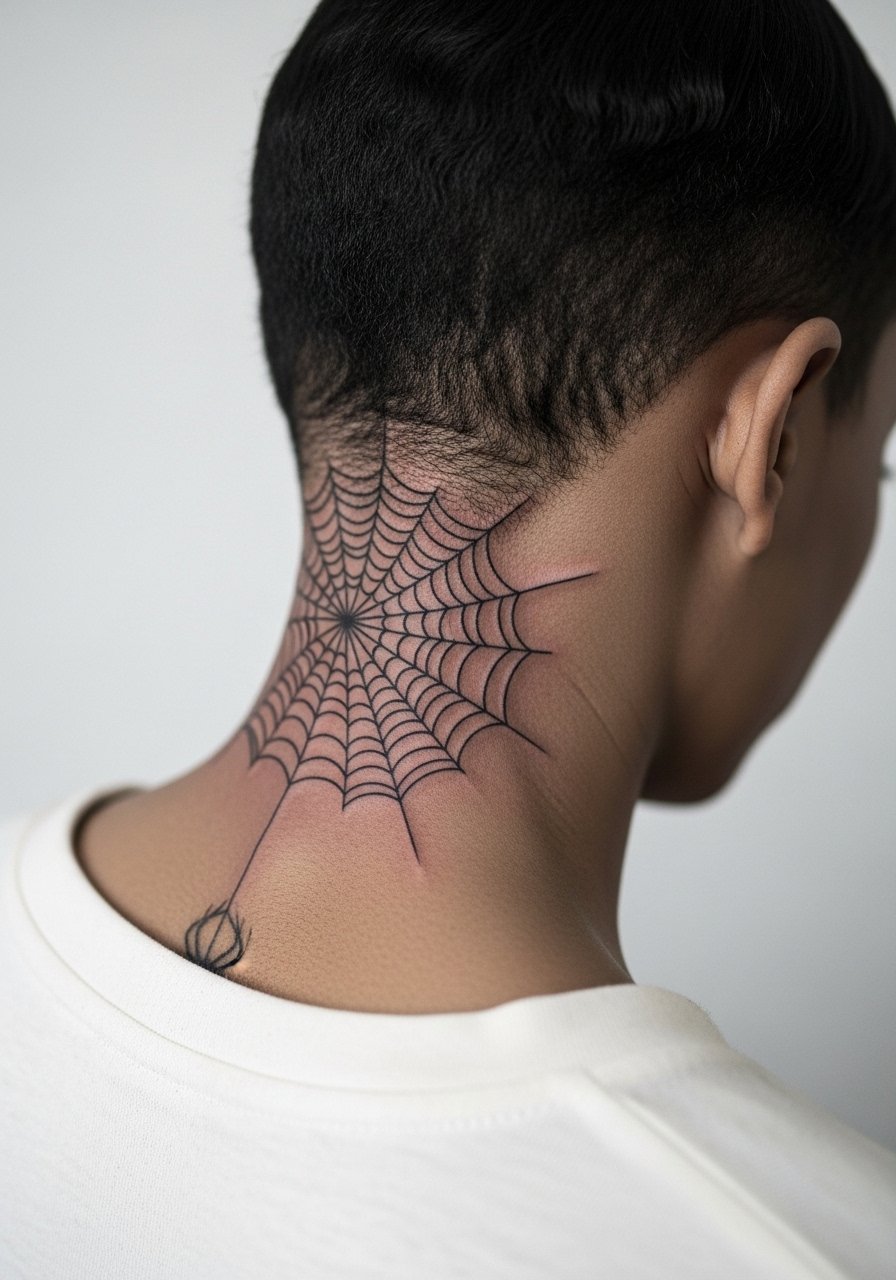
If you want subtle menace that peeks only when you tie your hair up, this is the route. Fair warning, fine line on the neck splits artists into two camps. One camp says fine line can be elegant and age with grace. The other camp insists hair friction and shallow skin cause the lines to blur within a year. Ask the artist which camp they fall into and request slightly bolder spacing between strands so the web reads at six months and still holds at two years. Expect a quick single session with low recovery time. Avoid asking for extremely dense webs, because that is what blurs first.
3. Blackwork Mandala Outline Centered on the Nape
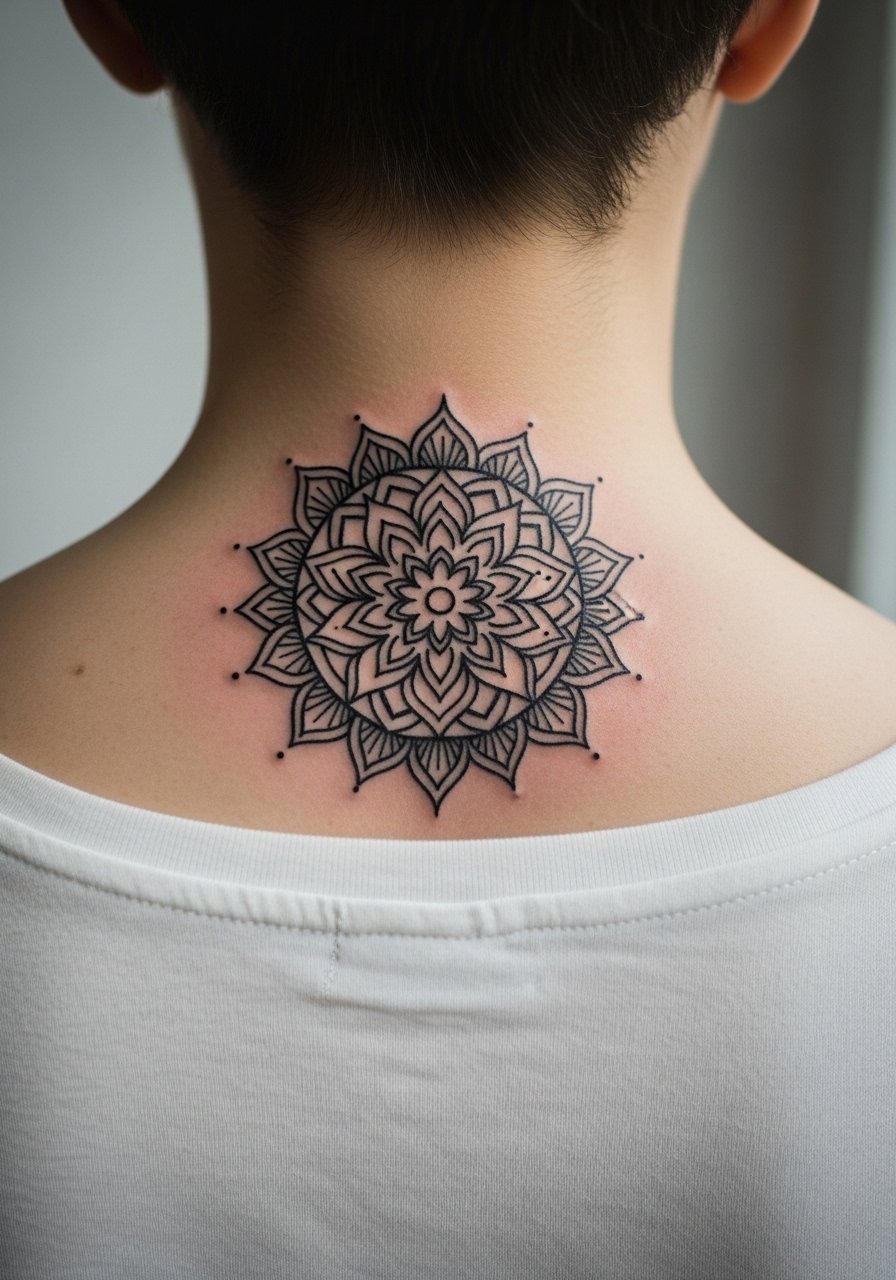
There is a hypnotic quality to bold geometry on the nape that contrasts with soft hair and neck curve. I suggest a 4-inch diameter so the mandala can breathe and the dots and stipple shading keep texture without crowding. In consultation say you want strong linework with negative space rings, not a dense fill that will merge over time. Blowout risk on the nape is lower than on thinner neck skin, but tight dot work too close together can soften after two years. This placement looks great with a high ponytail holder when you want it visible, and wear a loose tank top to the session so straps do not pull on the area.
4. Neo-Traditional Skull with Smoke at the Lower Back Neck
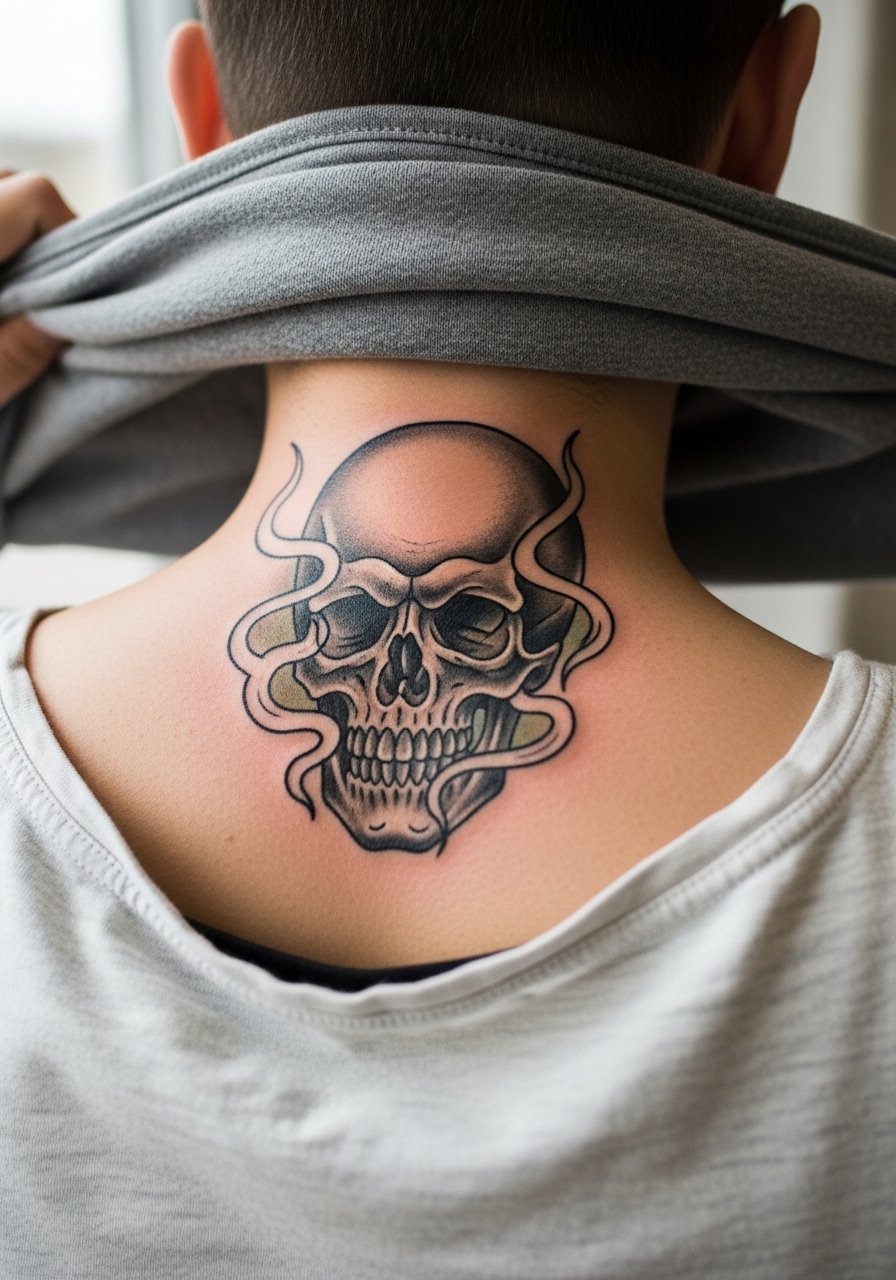
This one reads cinematic because the wisps of smoke let the design drift into shoulders. During consultation ask for controlled shading and selective color accents rather than a full wash, since watercolor on the neck can age unevenly. Pain is higher near the lower neck because of bone and thin skin, so plan for two shorter sessions if you want color. There is a debate about numbing creams on the neck. One group uses topical numbing to manage pain near bone. The other group warns that numbing changes skin tension and can affect line precision. Ask your artist how they handle numbing before booking. For a show-off look try a half up hair tie and a rolled sleeve vintage band tee for the right peek.
5. Minimalist Bat Silhouette at the Center Back Neck
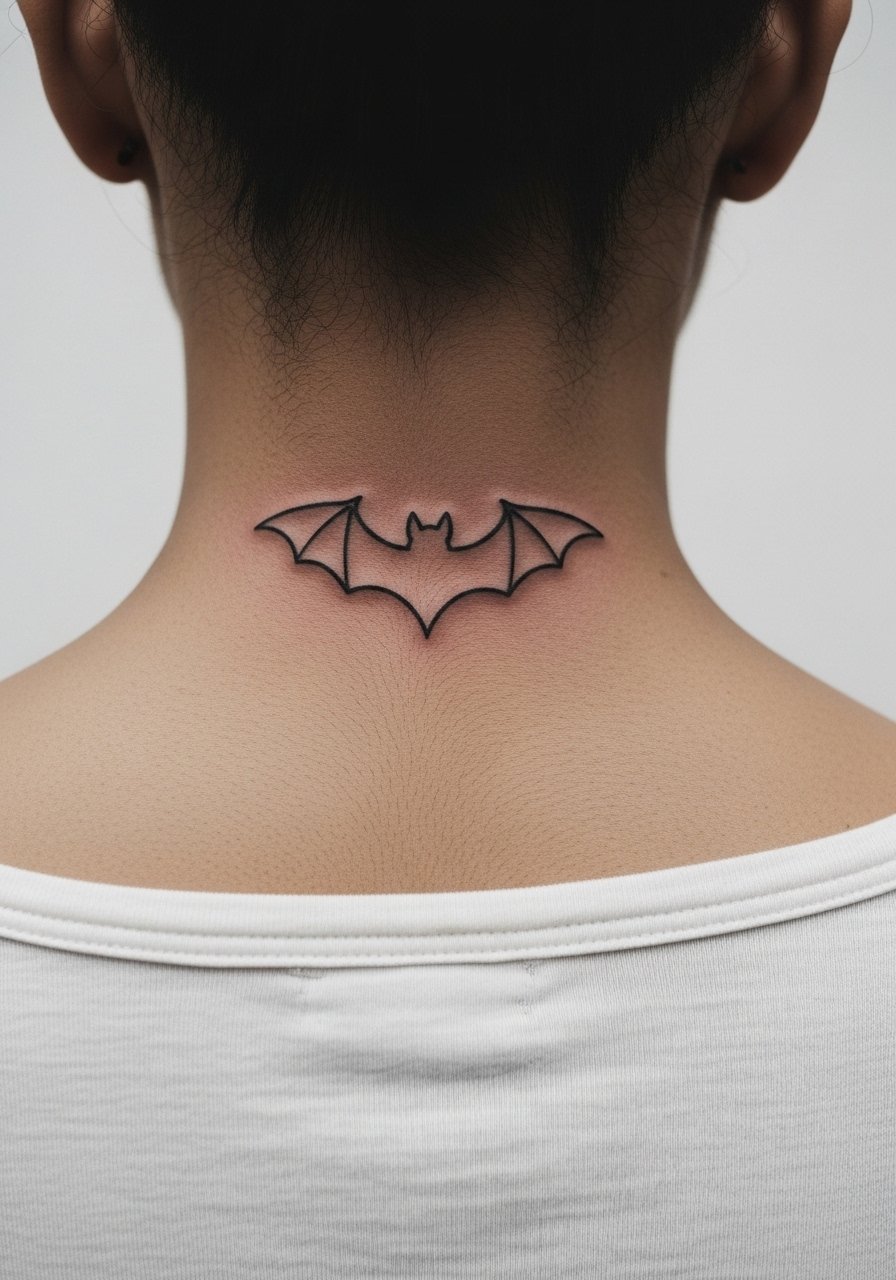
This tiny silhouette fits people who want spooky edge with simple maintenance. Its strength is in placement not detail, so aim for about 2 inches wide and solid single-pass linework instead of delicate fill. The session is quick and healing is straightforward, but if you have short hair expect some rubbing that can soften edges by month six. A common mistake is asking for thin outline strokes that vanish in a few months. Wear a messy bun scrunchie or let hair cover it while it heals to reduce friction.
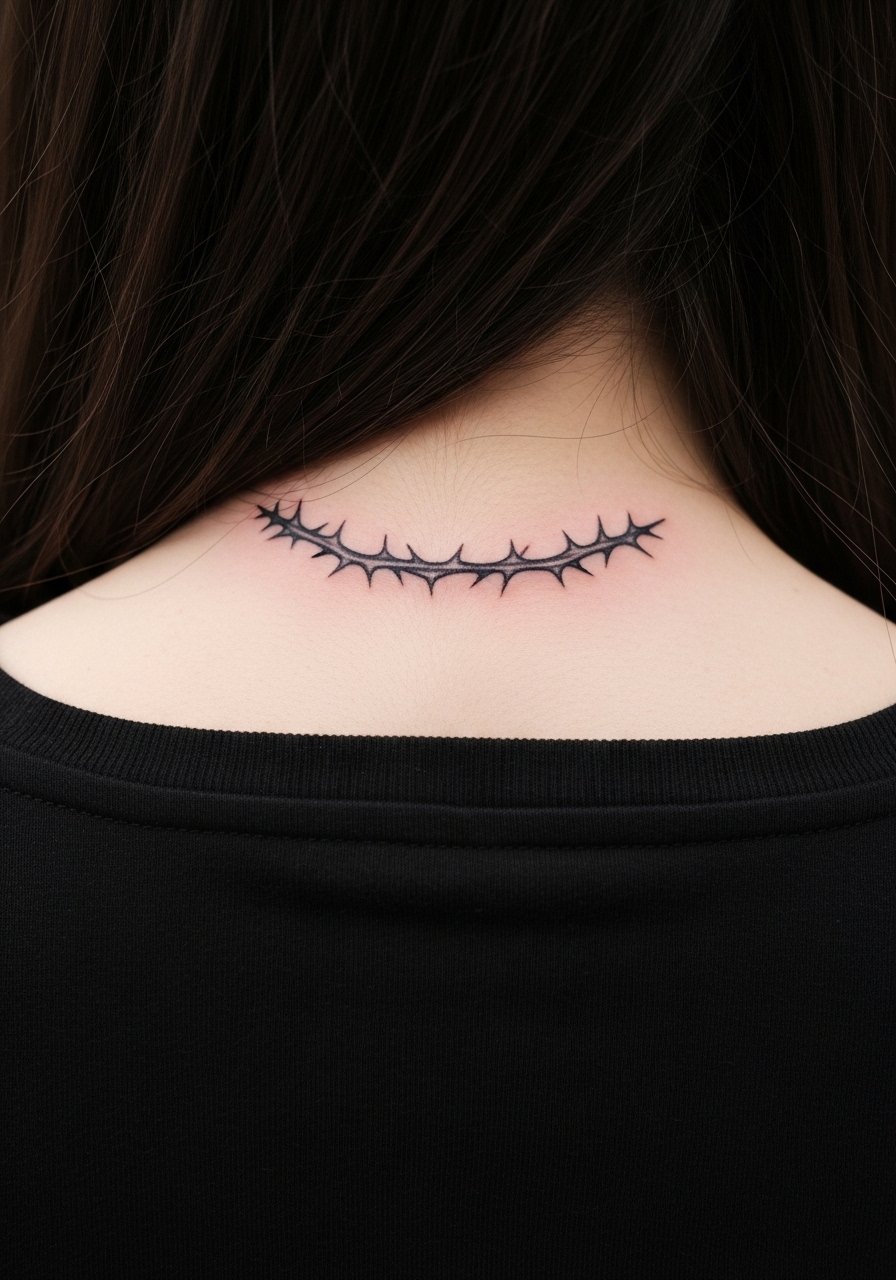
6. Ornamental Thorn Crown Arc Across the Nape
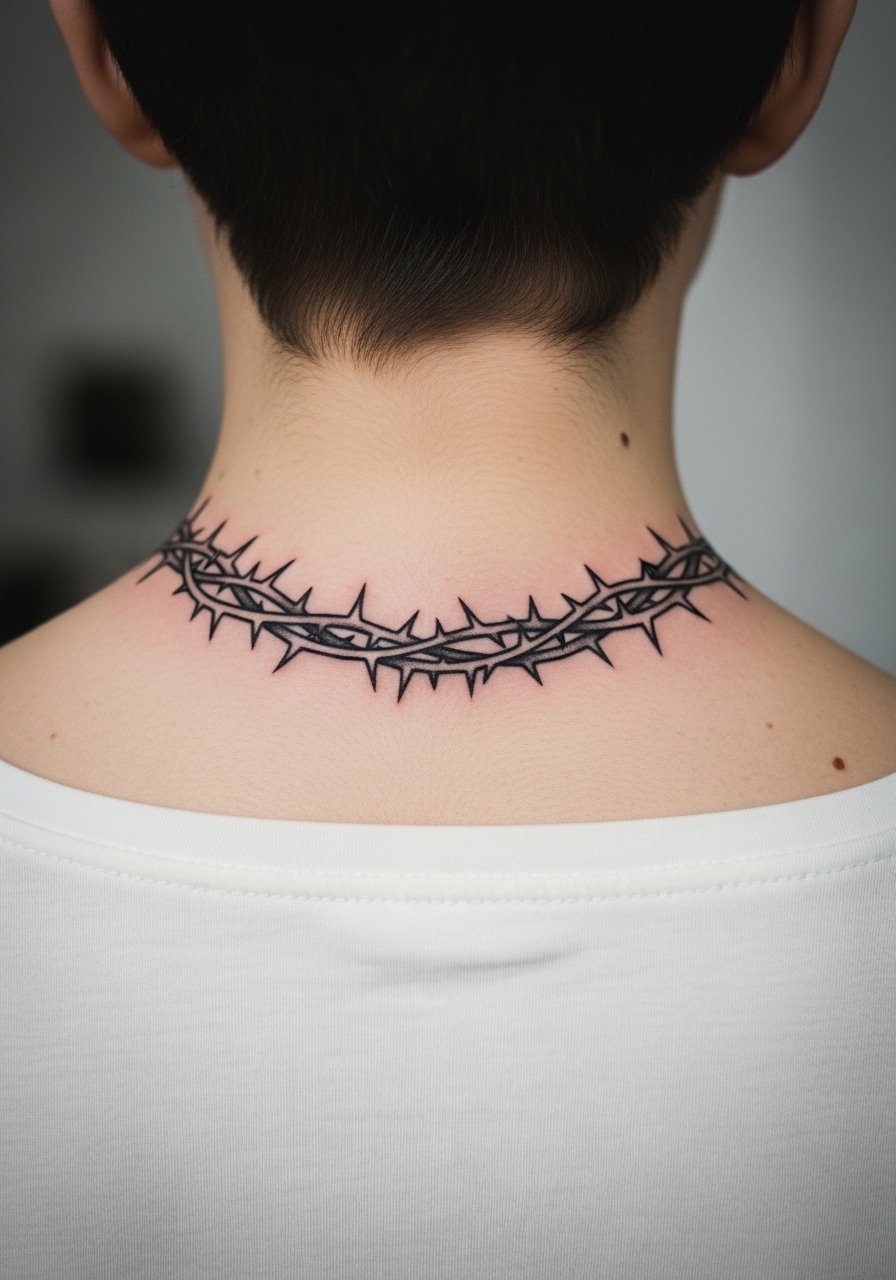
This crown reads like endurance wrapped around the neck curve. Ask for a low-arc placement so it sits on the lower nape and can be hidden under hair for work, or shown off with a ponytail on nights out. The main mistake is making the thorns too tiny and close together, which causes merging as the piece heals and ages. Pain is moderate and most people finish in one to two sessions. For evening wear pair the arc with a silver choker necklace that frames the crown without overlapping the ink.
Studio Day Picks
Those back-of-neck pieces above need a couple of small items to smooth the chair time and the first week of healing.
-
CeraVe Healing Ointment. Lighter than greasy balms, it keeps the neck from feeling sticky so hair is less likely to glue to fresh ink.
-
Frida Skin Soother. Absorbs fast on thin neck skin which helps reduce rubbing from scarves and collars during the first few days.
-
Australian Gold SPF 30 Tattoo Balm. A non-white-cast sunscreen option for post-heal protection on exposed nape pieces.
-
Green People Tattoo Balm. Breathable formula some people prefer during chilly weather when the neck needs moisture without heavy occlusion.
-
Aquaphor Healing Ointment. Thin layer for the very first 48 hours can protect bold linework and stop early scabbing from sticking to shirts.
7. Micro-Realism Eye Motif on the Upper Nape

A single eye on the upper nape makes a watchful, intimate statement. Micro-realism needs tight contrast and subtle shading to avoid looking flat as it heals, so specify that you want crisp lashes and a clear pupil rather than extra tiny highlights that can disappear. Pain is lower than the center spine but expect sensitivity. The common aging issue is loss of tiny contrast, so plan a realistic touch-up at year two. For session comfort wear a bandana headband or clip your hair up so the artist has clean access without stray strands.
8. Ignorant Style Arrow Cluster on the Side Back Neck

If street art energy is the point, ignorant style gives raw, chaotic motion that reads as intentional scribble. Ask for varied arrow lengths and imperfect intersections to keep the hand-drawn feel. This style ages well because it leans into roughness, but the main mistake is over-detailing, which dilutes the aesthetic. Pain is mild to moderate depending on the side of the neck, and a single session usually covers it. Pair with a graphic hoodie zip up and medium hoop earrings to lean into the streetwear vibe when you want to reveal the cluster.
9. Watercolor Raven Outline Spanning the Back Neck
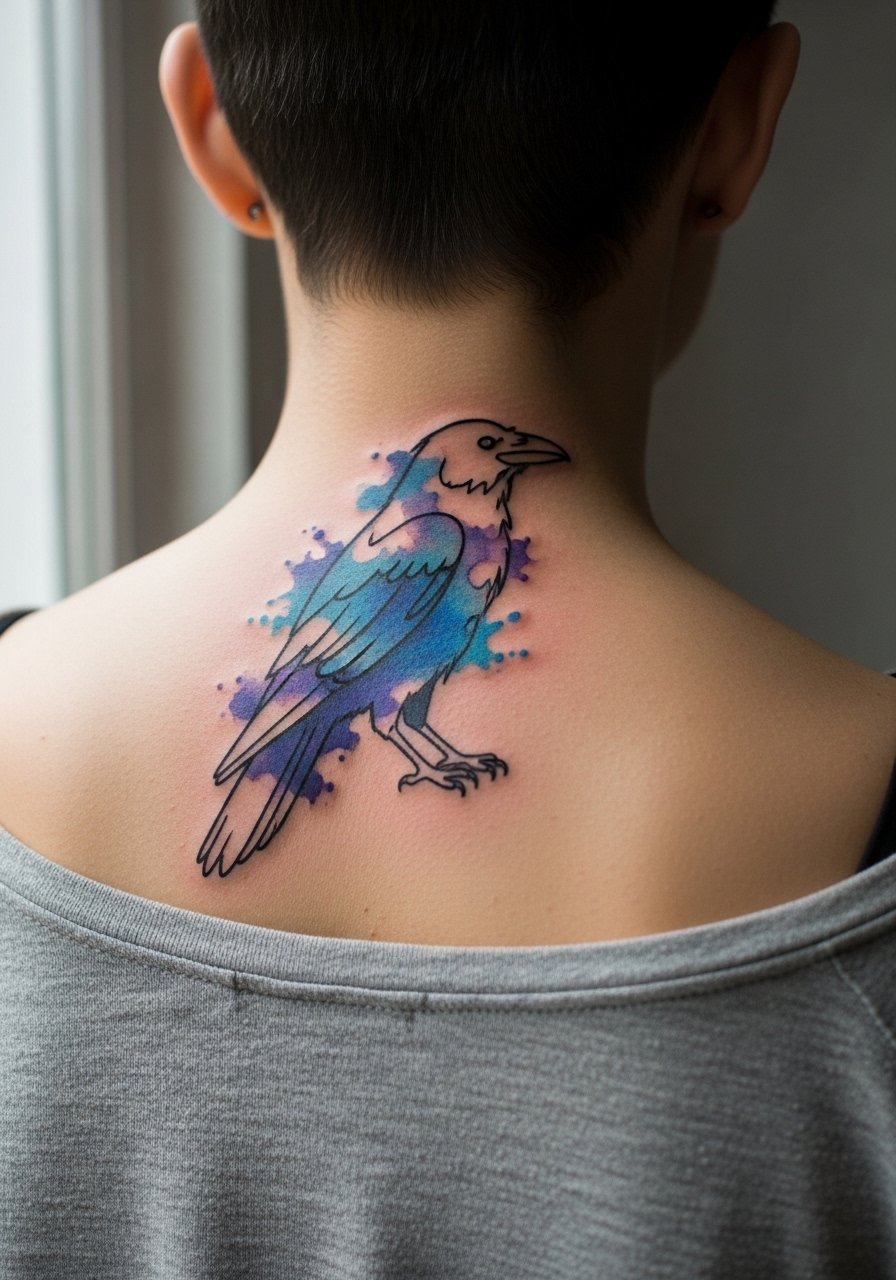
This winged spread looks dramatic across the full back neck span, but color on the neck is a trade-off. Watercolor washes are beautiful fresh, and on neck skin the pigments can fade and shift unevenly. Ask the artist for stronger black line anchors and restrained color washes so the raven keeps shape as blues soften. Pain and session time increase with the span, so expect two sessions. A common regret is asking for saturated washes without considering touch-ups. For show-off styling a flowy silk scarf draped loosely can dramatize the wings without rubbing the area.
10. Blackwork Serpent Coil from Nape to Shoulder
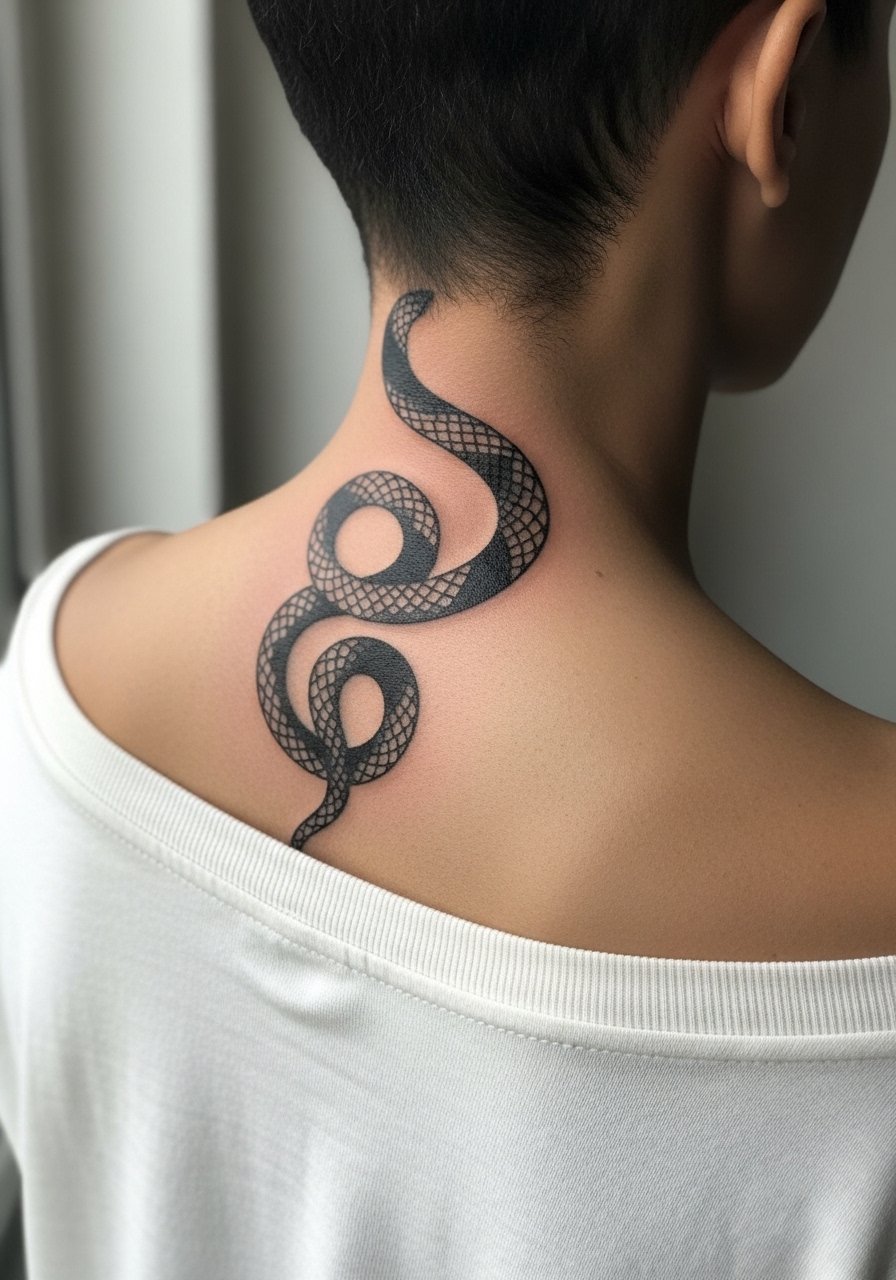
Serpents use the neck curve to suggest movement and attitude. Ask for a clear head and tail so the coil reads even when the shoulder moves. This is a higher-investment piece and often needs two to three sessions for saturated black and solid edges. Blowout risk increases with very fine detail next to dense black, so request larger negative space around coils. For day-of comfort, wear a loose tank top or button-down that you can pull aside so straps do not press on the freshly inked coil.
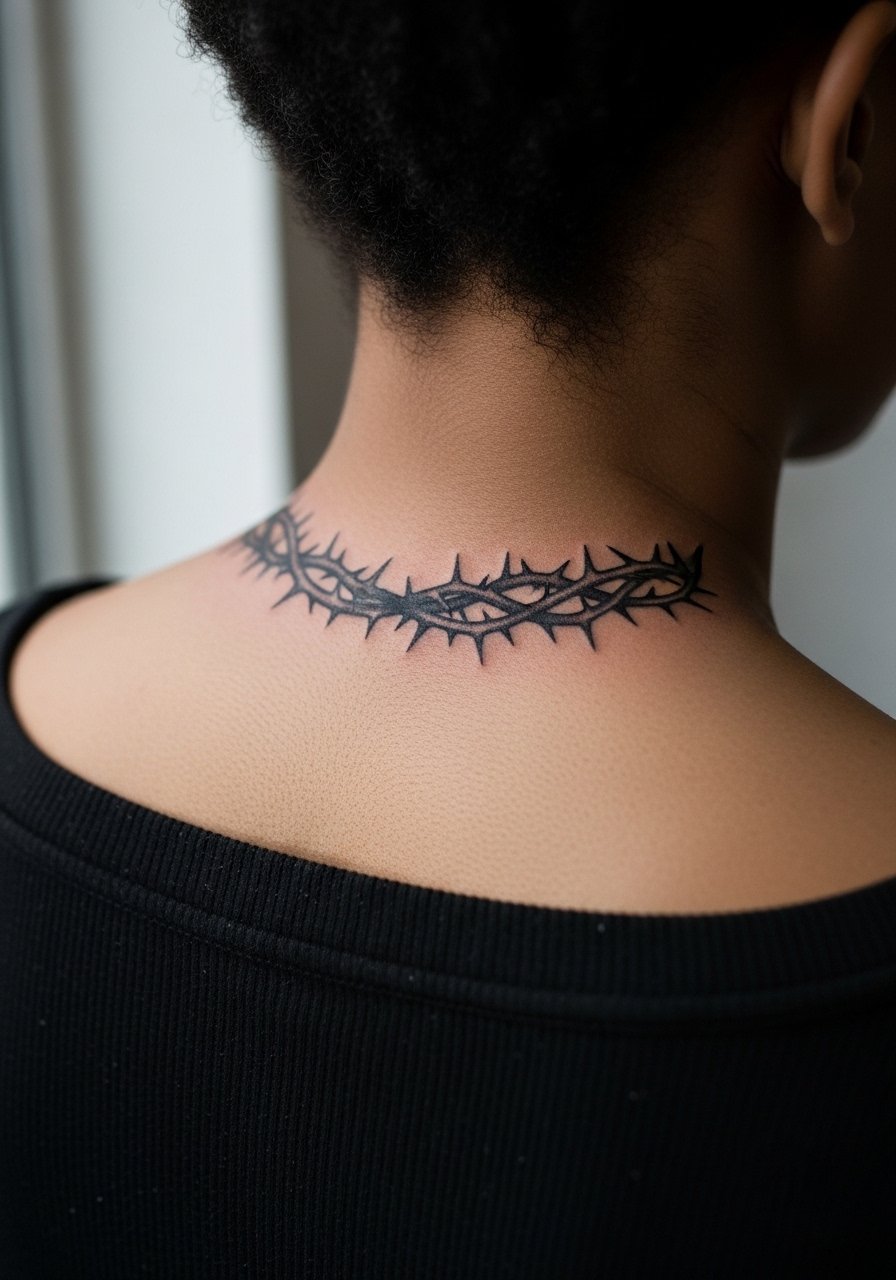
11. Low Nape Thorn Arc Built for Concealment
This slight arc is designed to sit low enough to hide under most hairstyles and still peek when you put hair up. The advantage is durability across posture changes, since low nape skin moves less. Tell the artist you want the crown low and shallow so it hides under a ponytail and avoids stretching. Pain is low and a compact 1 to 2 inch size often finishes in a single session. Many people request a very high placement and later regret visibility at work. Test concealability with your hair down before booking to be sure.
12. White Ink Accent Thorn on Dark Skin
White ink on dark skin can create pop when used sparingly as highlights rather than main lines. Ask for white only as pinpoints, not as large fills, because white fades faster and can appear dusty on some tones. This technique is under-covered but useful to increase contrast without going full color. Pain and session time are similar to black-only designs, but you should plan for a touch-up to refresh the white after healing. Discuss your skin tone and pigment interaction in the consult so the artist can recommend contrast strategies rather than promise a bright white.
13. Concealable Script Low on the Nape
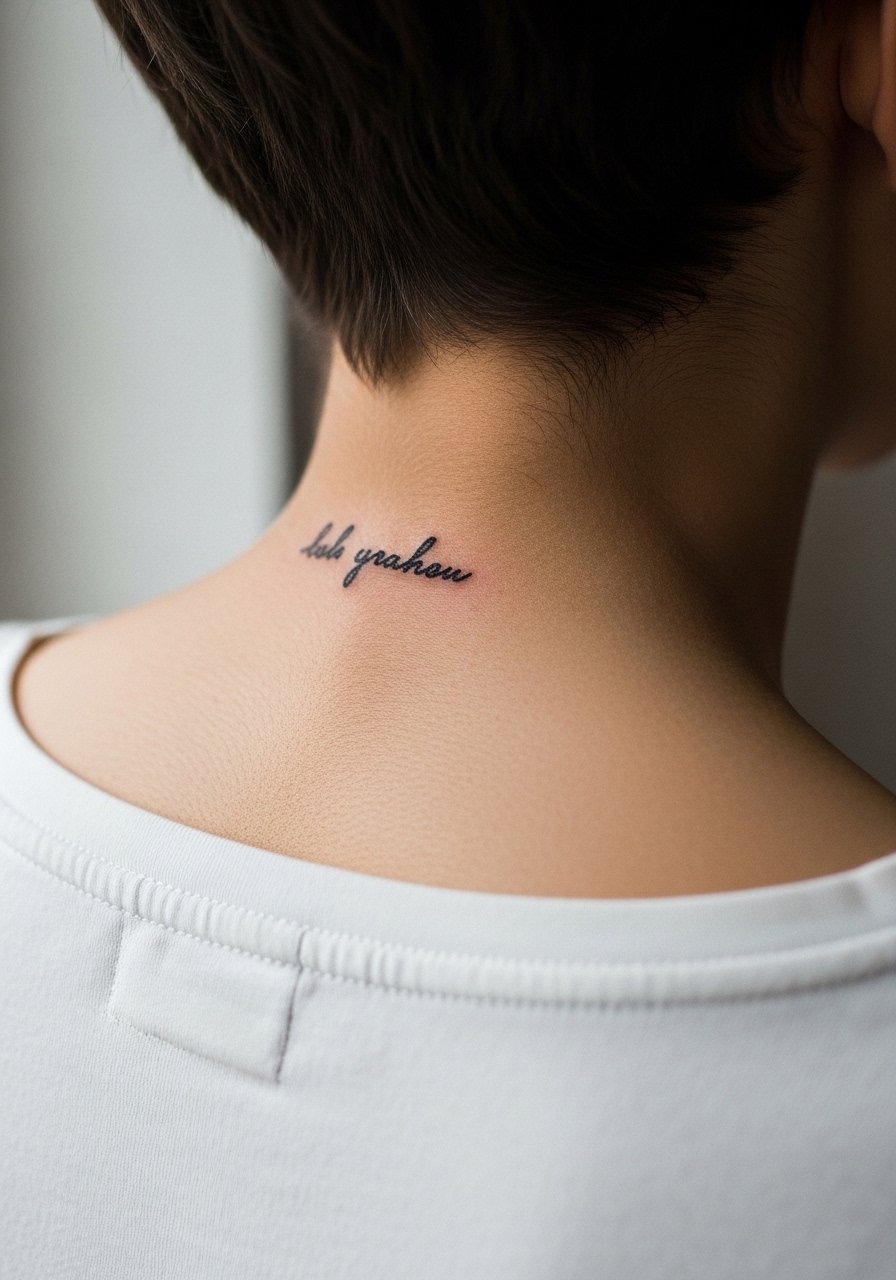
Small script placed low on the nape gives a private line that hides under collars or hair. When booking, show the exact font size and spacing you expect because tiny letters on the neck can blur if packed tightly. Pain is moderate and one short session usually suffices. The common mistake is choosing an overly ornate script that loses its counters as it heals. For concealing during interviews, test it with a wide neck tank top or let hair down the day of. Plan on a touch-up at year two for crispness.
14. Ornamental Geometry That Wraps Just Above the Collar
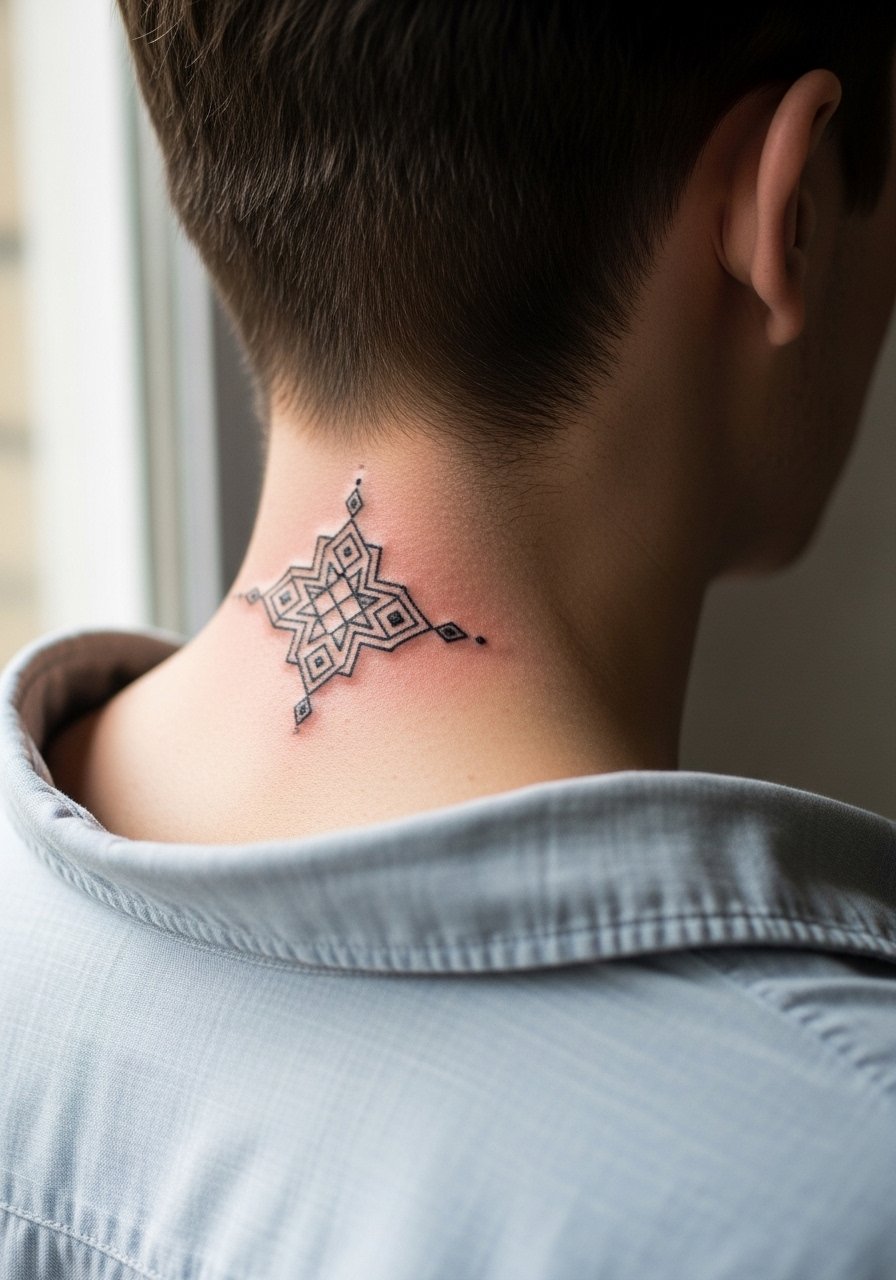
Geometric pieces need breathing room to prevent fusion as they age. Ask for slightly increased spacing between intersecting lines and for bold outline rings to anchor the pattern. This placement reads well with cropped jackets or open collars, and a common mistake is making the pattern too dense. Pain is moderate and session time varies with complexity. For a framed look that does not compete try a bandana headband or open-collar shirts that let the geometry show without pressing on the area.
15. Tiny Spider Micro at the Hairline

A micro spider at the hairline is playfully hidden until you reveal it. This piece needs bold enough linework to survive hair rubbing, so ask for single-pass lines with slightly more ink than a fashion-fine stroke. Healing is quick, but expect some scabbing from hair contact if you forget to tie your hair up. The usual mistake is choosing hairline placement with hairs that shed excessively. For sessions use a messy bun scrunchie to keep hair off the area while it settles.
16. Stacked Minimal Symbols Cluster Along the Nape
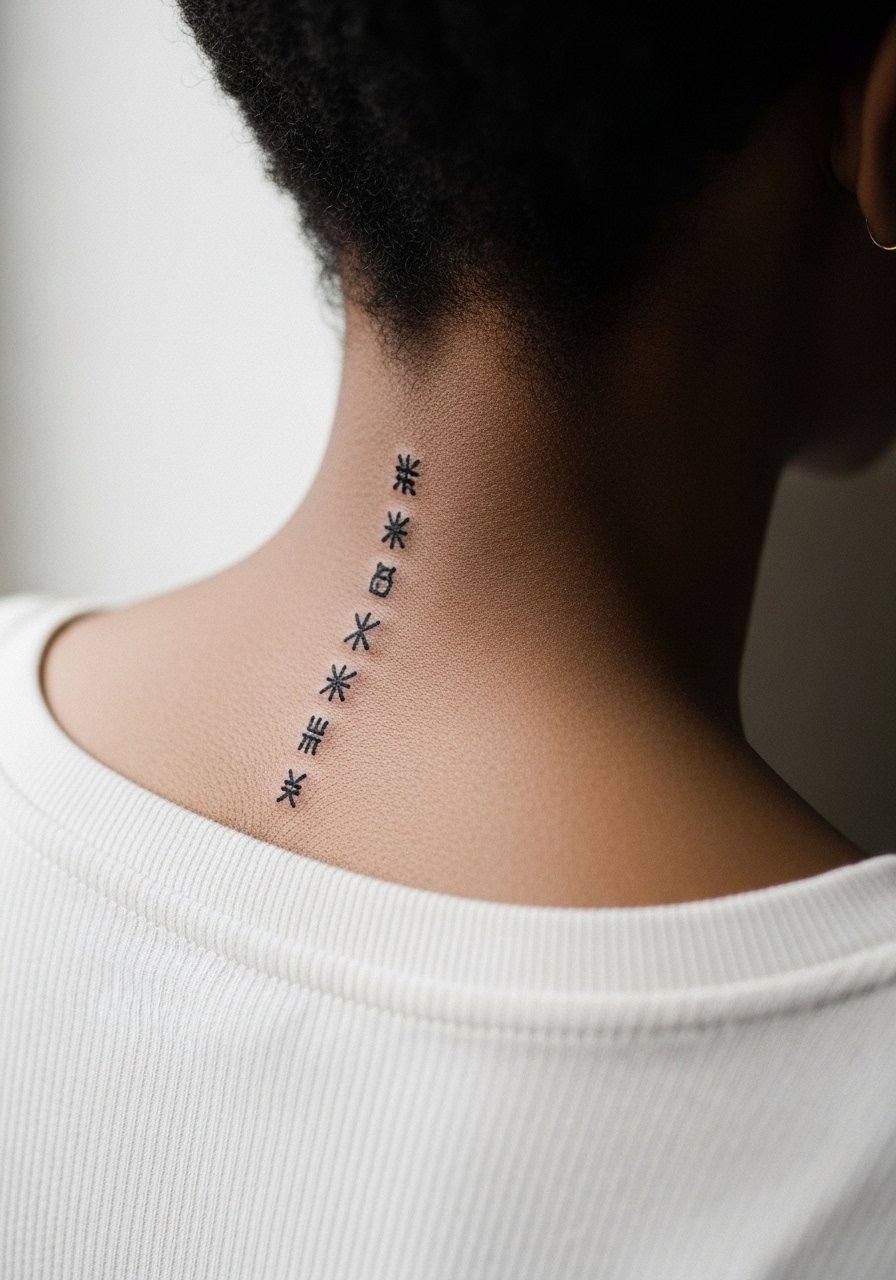
A vertical stack of micro symbols gives modularity so you can add pieces later. Ask for consistent spacing and slightly larger icons than you think you need, because micro symbols can merge if too small. Pain is low and most clients complete this in a single appointment. The common mistake is overloading the stack at the start. Start with two or three and plan an add-on later for balance. For session wear a loose button-down shirt so the artist can access the line cleanly.
17. Mirror-Image Pairing That Frames the Lower Nape
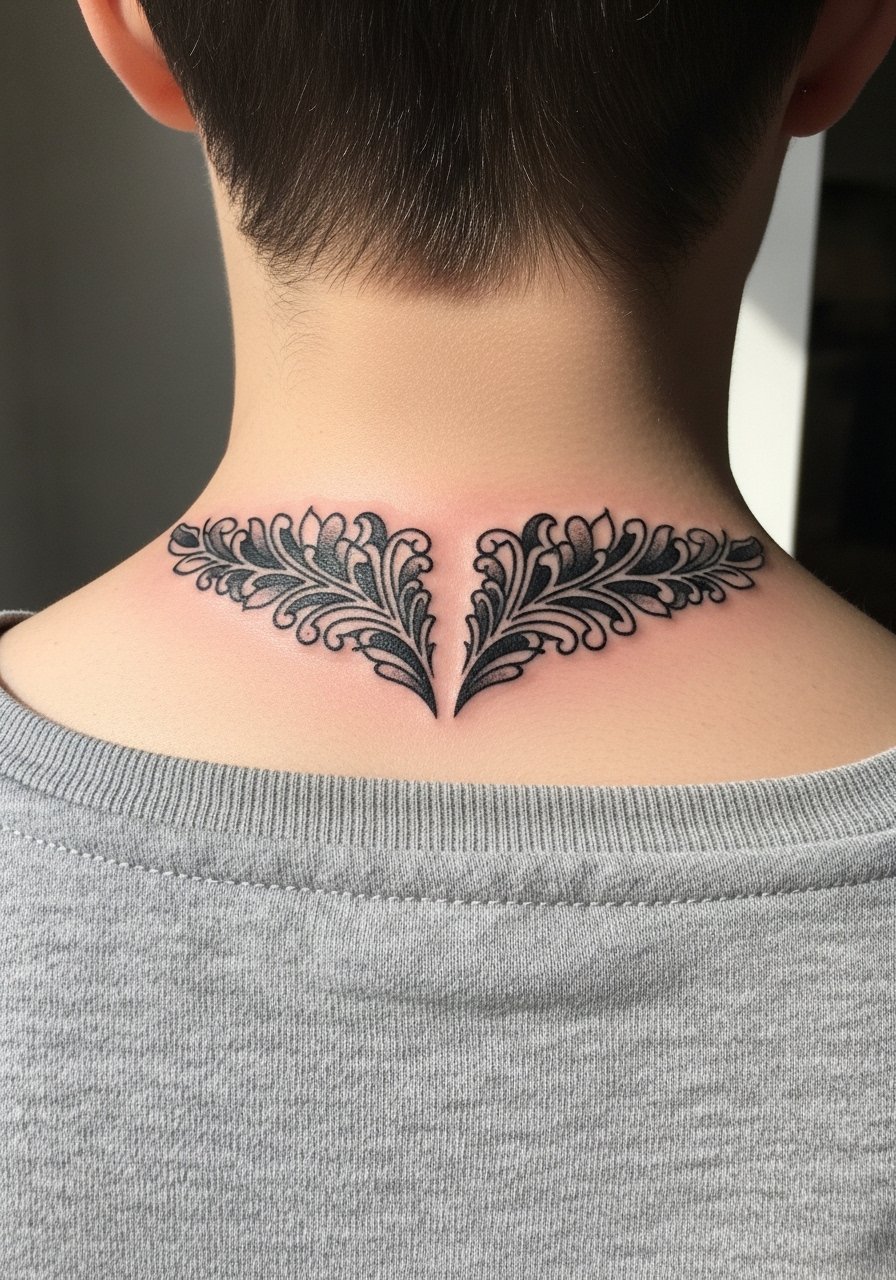
Symmetry on either side of the lower nape creates a balanced look that reads intentional whether hair is up or down. When you consult, bring reference photos showing the exact distance from the spine so the mirrors align when you move. Pain is moderate and the artist may stencil both sides and adjust with you before any needle touches the skin. A typical mistake is assuming both sides will heal identically. If you have uneven skin texture the artist may recommend slight asymmetry to compensate, and that is fine. For nights out try a flowy silk scarf or a low collar to highlight the symmetry.
Frequently Asked Questions
Q: Will fine line back neck tattoos blur faster than bold blackwork on the nape?
A: From what I have seen, fine line pieces tend to lose crispness sooner on the neck because hair and collars rub the shallow strokes more. Bold blackwork is more forgiving because the heavier saturation withstands friction. If you love fine detail, ask the artist for slightly wider spacing and plan on a touch-up window around year two to three.
Q: Should I use a protective wrap like Saniderm on a back neck tattoo or let it air heal?
A: People split into two camps on this. The pro-wrap group says film protects the area from hair, sweat, and products. The air-heal group says occlusion can trap moisture and cause issues on thin skin. Talk to your artist about which method they prefer for neck work and follow their specific timing. If you try film, keep it only for the initial 48 to 72 hours unless your artist advises otherwise.
Q: How do I hide a nape tattoo for job interviews without cutting it out?
A: Test concealability before booking by trying your typical interview hair and collar combos. Low nape placements hide best under collars and longer hair. If you need extra coverage, lightweight cosmetics work for short windows and a wide-neck shirt or scarf can mask the ink without pressure on the tattoo.
Q: Can watercolor-style back neck tattoos keep color on this skin type?
A: Watercolor washes can look gorgeous fresh and then soften unevenly on neck skin. If you want color, ask for strong line anchors and ask the artist about planned touch-ups. For darker skin tones, request saturated contrast points rather than extensive pastel washes to avoid uneven fade.
Q: How painful is the back neck compared with a forearm, and how many sessions should I expect?
A: The neck often rates higher on pain because of thin skin and proximity to bone. Small pieces usually finish in one session. Larger spans or color work may need two or three short sessions. Ice right after and light anti-inflammatory strategies help reduce swelling, and wearing a loose top to your appointment keeps the area comfortable.
Q: Where can I find artists who specialize in neck pieces without searching individual names?
A: Look through hashtags like #backnecktattoo, #edgynecktat, and #blackworkneck on Instagram for portfolios. Filter local directories on apps that list guest spots and search for "edgy neck tattoo studio" with your city. Also check r/tattoos and r/tattooadvice for recent guest spot recs and reviews from people who healed similar placements.
