
Fine line is everywhere on saved boards, but what looks sharp on a phone often softens on skin. People worry about tiny lines blurring, whether a wrist piece will hurt their job prospects, and how often they will need a touch-up. This list focuses on designs and placements that read sharp beyond month one, with practical notes on session wear, aging, and what to ask your artist before the needle starts.
1. Single-Line Mountain on Inner Forearm
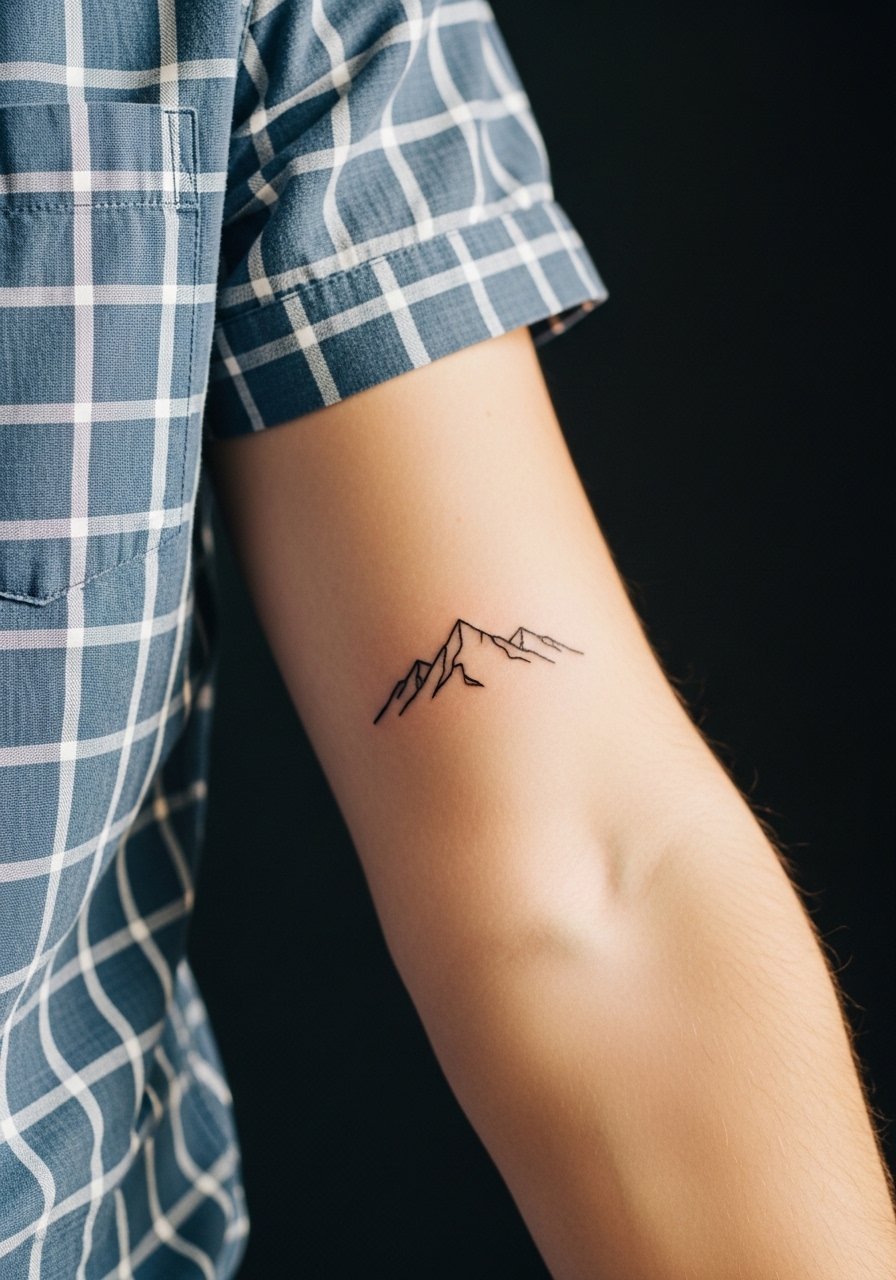
A single continuous line mountain reads like restraint and travels well along the inner forearm. I recommend this for a first tattoo because the area gives the artist room to follow the arm's grain, which helps the design age. Tell your artist you want slightly heavier linework than an ultra-micro single needle so the peaks do not merge after a couple of years. Expect a short session, usually under an hour, and mild to moderate pain. Common mistake is asking for the peak details too small, which invites blurring. For showing it off wear a short sleeve button up men you can roll without bunching during the session.
2. Geometric Triangle Cluster on Upper Arm
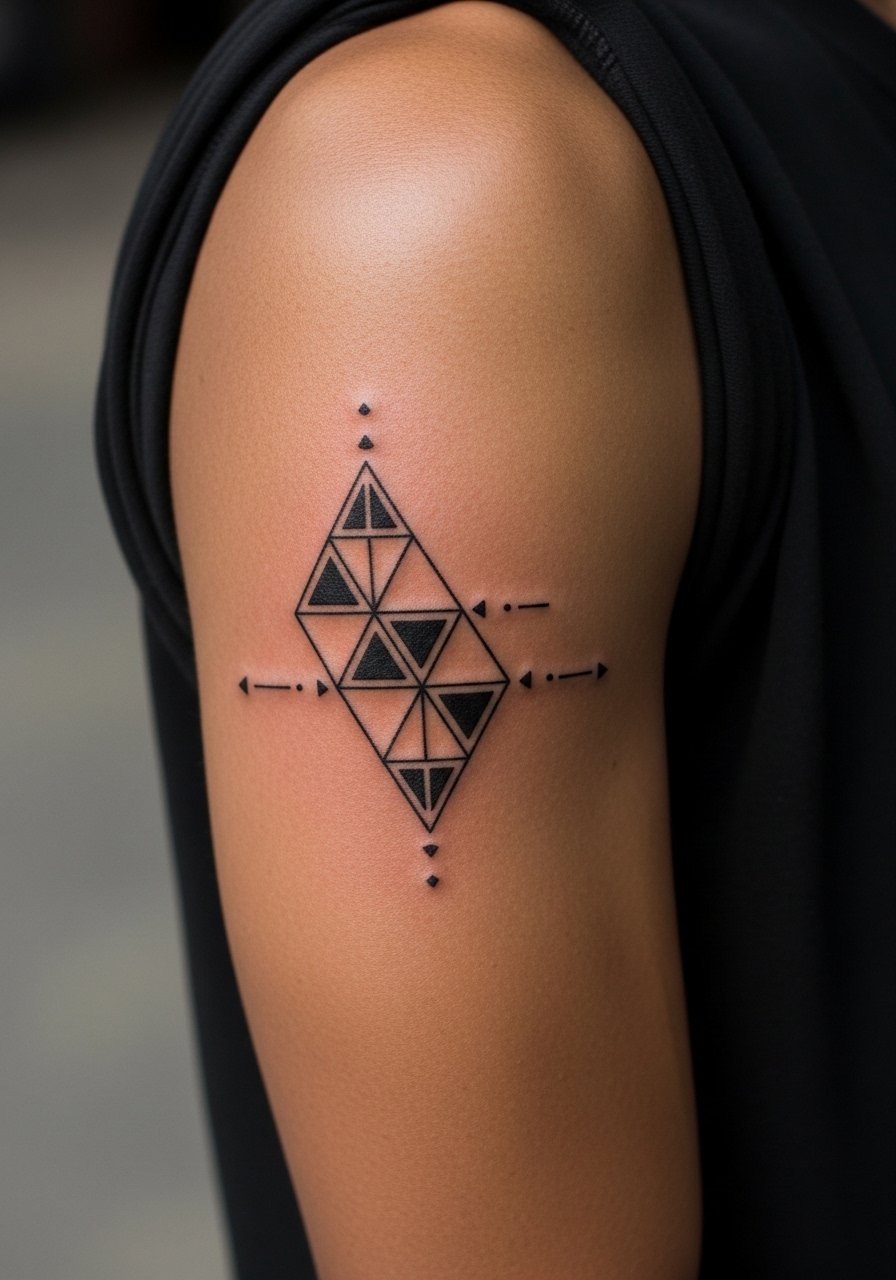
A stack of triangles uses precision rather than saturation to make a statement. Ask for clear spacing between shapes during the consultation so the artist sizes lines to survive muscle changes. Pain is usually low on the outer upper arm and the session can be a single block under two hours. The frequent mistake is shrinking the motif too much which causes lines to merge as the skin settles. This suits someone who wants structure without heavy blackwork. Pair it with a fitted henley shirt for nights out, and wear a sleeveless muscle tee to the session for easy access.
3. Wolf Profile Continuous Line on Collarbone
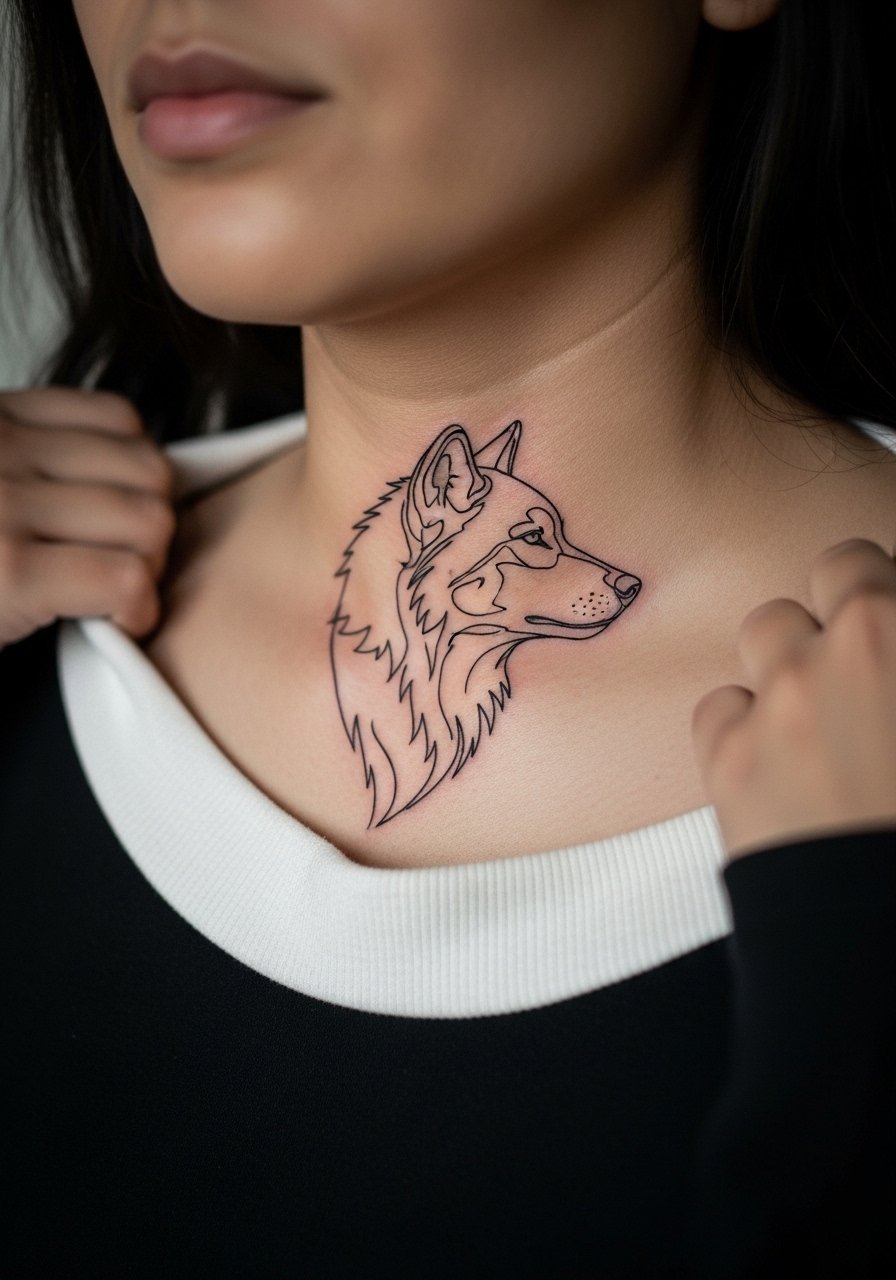
A single-stroke wolf profile near the collarbone reads masculine while staying subtle under a shirt. When you sit in consultation ask for the snout and eye as negative space rather than tiny strokes so the face keeps clarity over time. Collarbone placement has moderate pain, but the visual payoff is high for people who want a visible piece that can be covered by a crew neck. Most people underestimate how the stencil sits across the collarbone, so ask to see a taped stencil before the needle. For evenings, a v neck tee men frames the line without crowding the neckline.
4. Compass Rose Micro on the Wrist
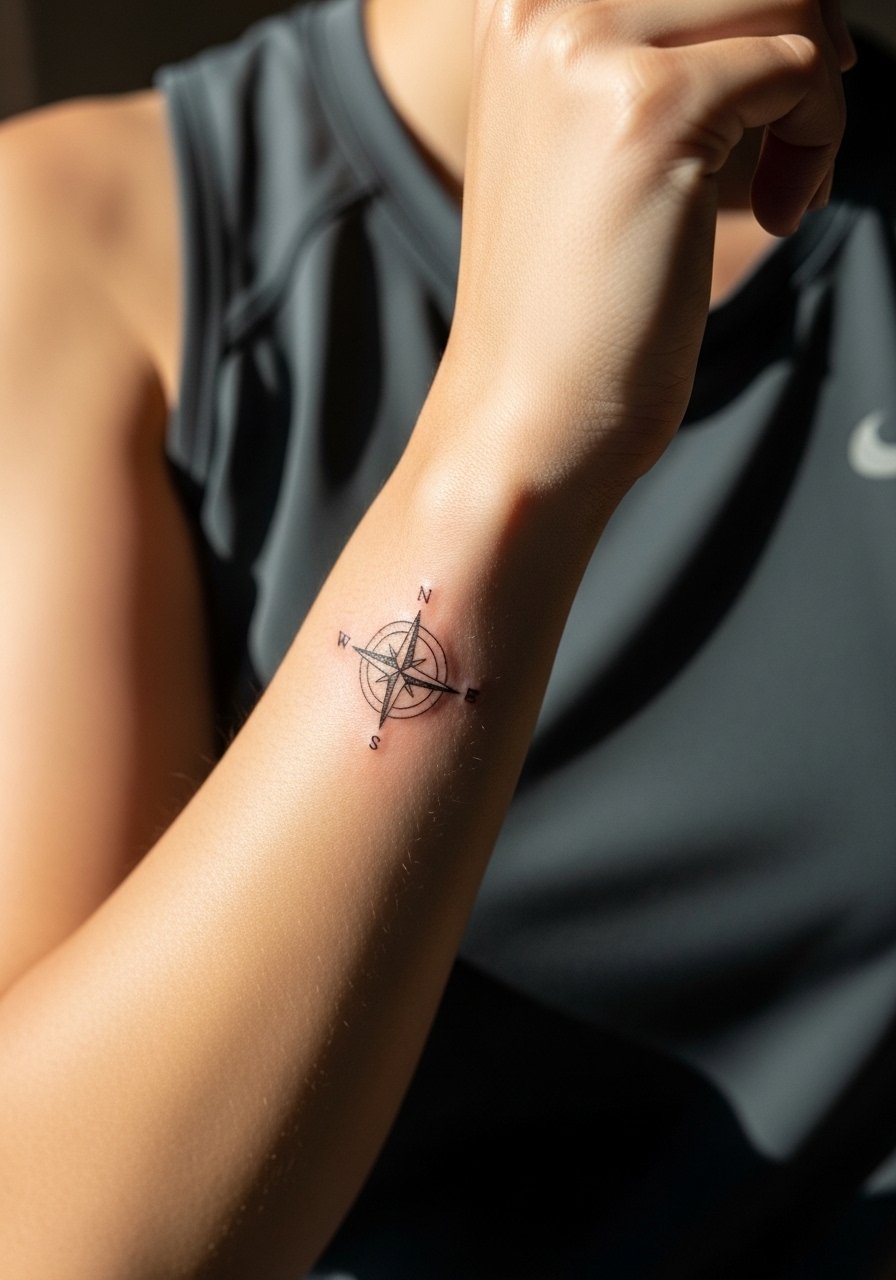
A tiny compass on the wrist scales down so it reads as a subtle prompt each time you check the time. The wrist is a high-movement spot so ask the artist for slightly bolder outline and open internal negative space to avoid early blurring. Sessions are short but the wrist can sting more than the forearm. Expect a likely touch-up around year two in many cases. Avoid asking for intricate interior details in a micro compass, that is the fastest route to a muddy heal. For everyday wear pair this with a slim leather watch men on the opposite wrist so the tattoo still reads as an intentional accent.
5. Wave Form Abstraction on Inner Forearm
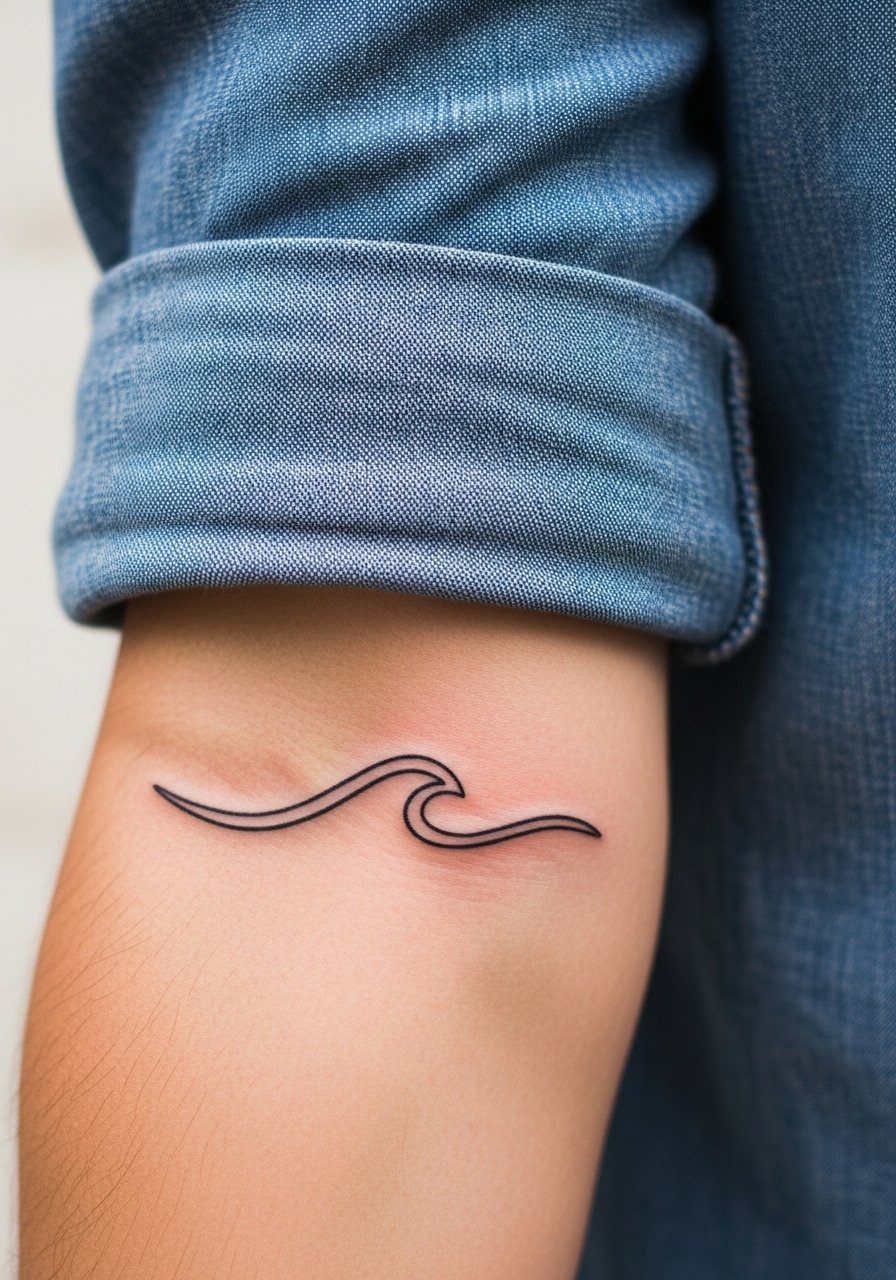
A flowing wave line follows the forearm's long axis, which helps it stay legible as skin shifts. Tell the artist you want rhythm in the line weight, not micro-dots, so the crest keeps contrast after healing. The inner forearm is forgiving for minimal work and the session is usually a single short appointment. A common mistake is adding tiny shading close to the line, which can age into blur in high-friction zones. Show-off pairing includes a rolled cuff chambray shirt that highlights the wrist-to-elbow span, and wear a short sleeve button up men to the appointment.
6. Arrow Silhouette Stack on Wrist
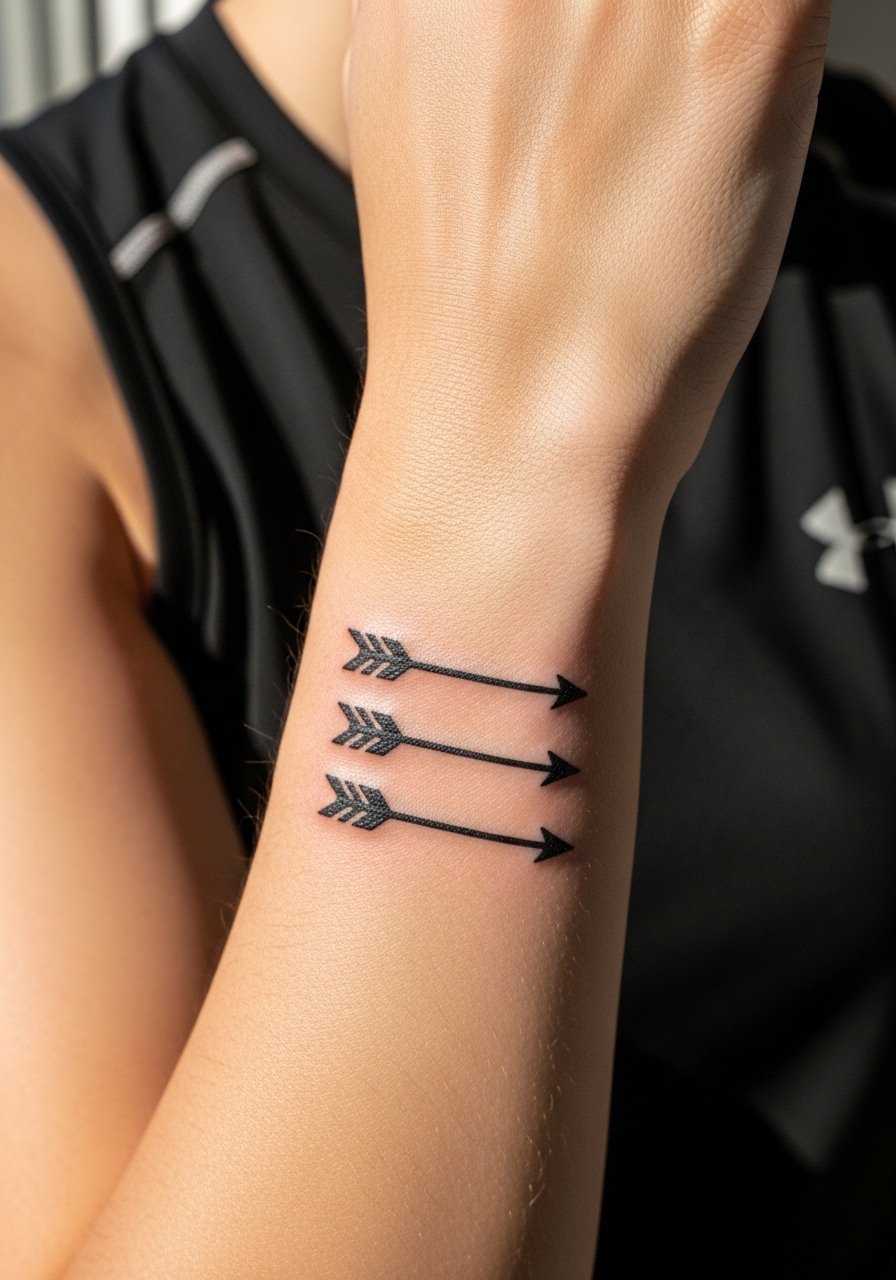
Stacked arrows are economical and scale well on a narrow wrist band. Ask for enough gap between shafts so each arrow keeps definition with time. The wrist will be more sensitive than the forearm and the session may be split if the artist wants crisp endpoints. A frequent mistake is stacking them too tightly to fit a preconceived visual. For the session wear a sleeveless performance tee so the artist has clear wrist access and so you can check the stencil position yourself before work starts.
Studio Day Picks
Those first six smaller placements all put different demands on prep and early healing, so a few targeted items smooth the session and the first week.
- Stencil transfer paper kit. Lets you preview placement on skin before committing, which matters for narrow areas like the wrist and collarbone.
- Topical numbing cream. Applied as directed before the appointment it reduces the edge on sensitive placements without changing how the ink sits.
- Thin protective film roll. Useful for keeping ankle and wrist pieces clean during the first days when friction is highest.
- Fragrance-free gentle body wash. Cleanses healing areas without irritating fine line work.
- Aquaphor healing ointment. A thin layer during the initial window helps retain moisture for fine line pieces without clogging.
7. Bear Solid Silhouette on Upper Arm
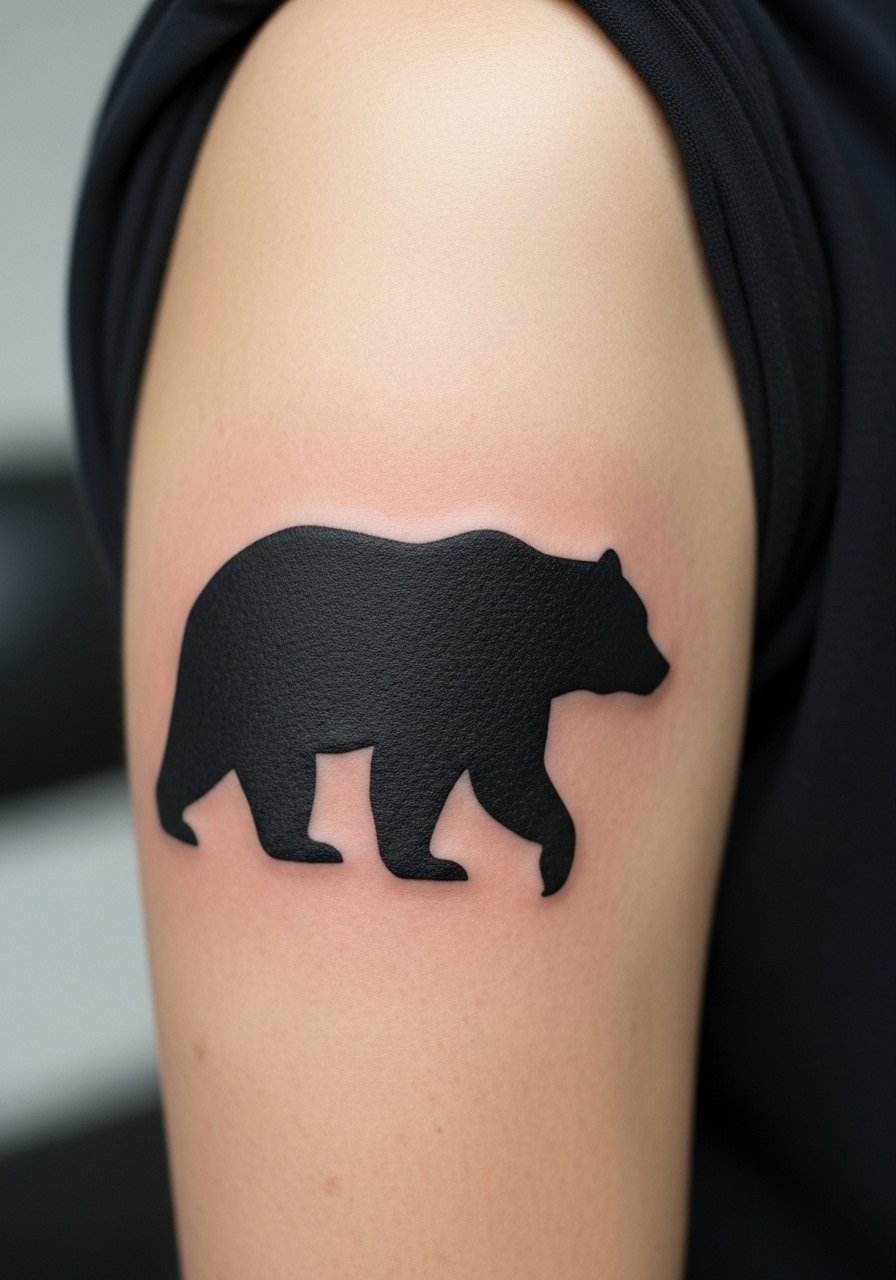
A solid black bear reads strongly and resists some of the fading problems small line work faces. The outer upper arm is one of the lowest-pain zones and black silhouettes age into a graphic statement that can hide slight blowouts. Tell your artist you want a crisp edge and uniform saturation so the silhouette stays readable on darkening skin. Common mistake is shrinking the silhouette too much, which makes it vulnerable to distortion if weight shifts. Expect a single-session block under two hours and a touch-up less often than fine line pieces.
8. Single-Word Script Under Collarbone
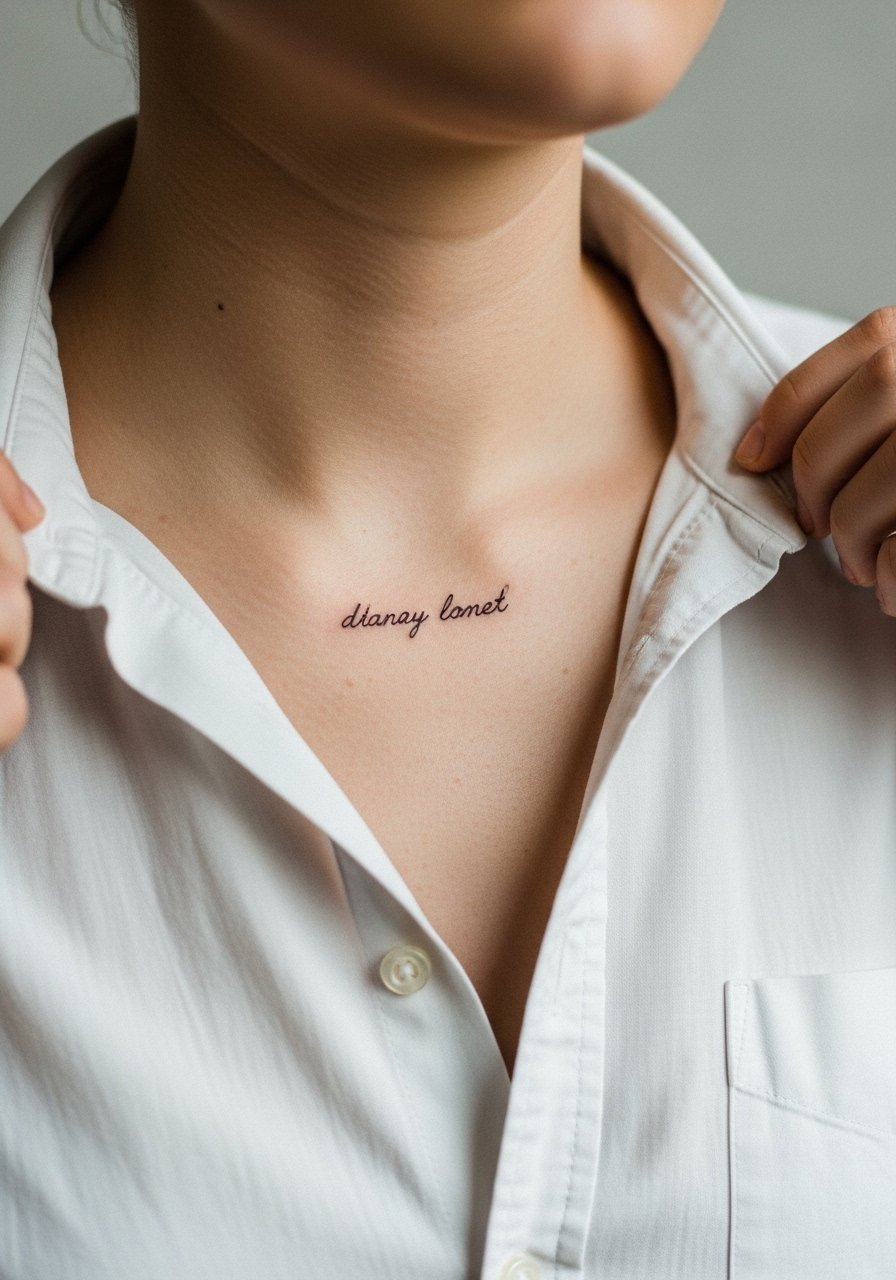
A short word on the collarbone sits neatly under shirts and reads intimate without being hidden. Ask for a slightly open letter spacing and a clean serif or minimalist script to avoid crowded strokes that blur. Collarbone skin can be bony and the pain is moderate, so schedule a single short session. A common misstep is choosing extremely tight kerning for a micro word. For show-off styling a loose fit button down pulled aside frames the text without competing with the neckline.
9. Eagle Head Geometric on Forearm
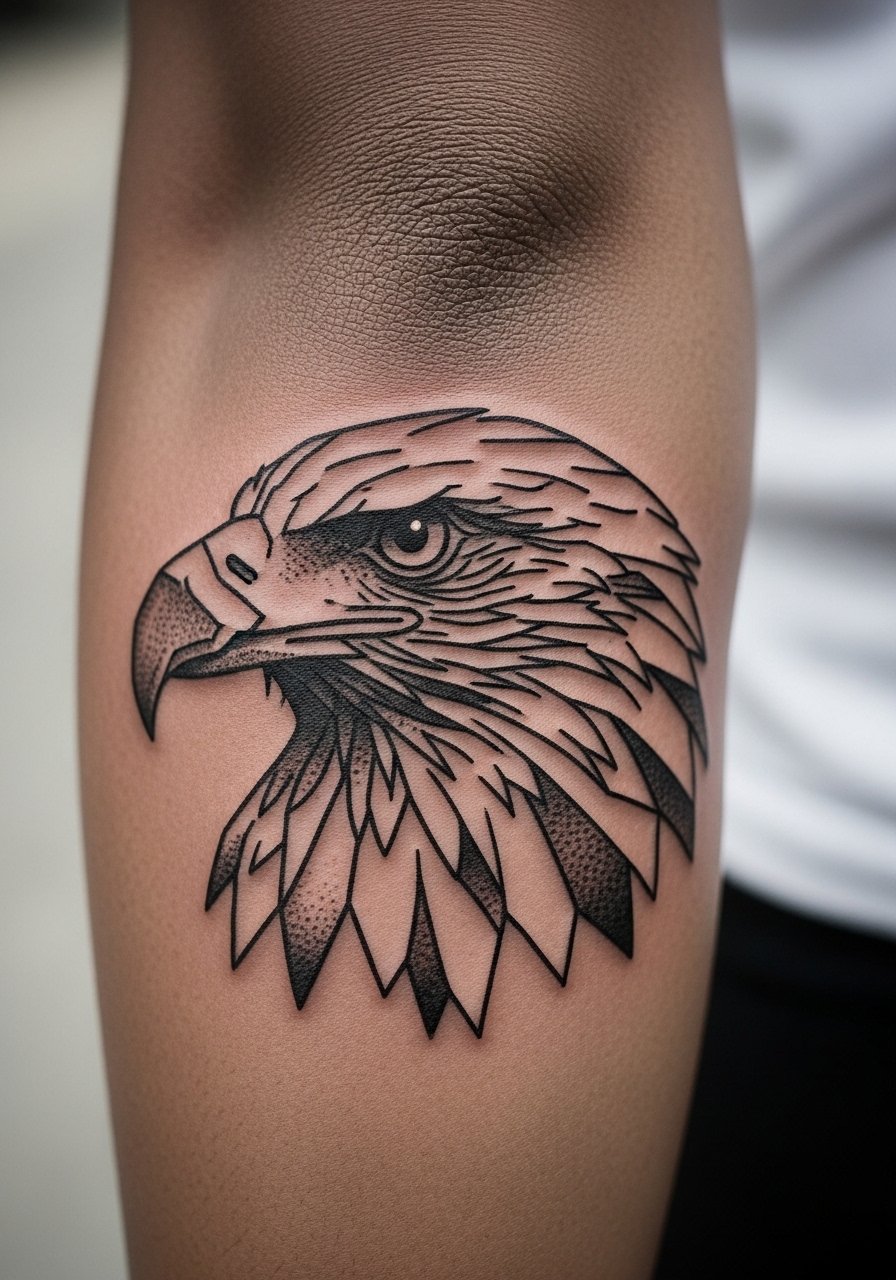
An eagle head in geometric facets uses angles to read bold without heavy shading. For better longevity request slightly larger facets and avoid tiny triangles that the skin may close in on. Forearm placement gives visibility and less distortion than chest or ribs. The session is medium length and pain is usually manageable. The usual mistake is over-detailing the beak and eye in a space too small. For casual wear take advantage of a short sleeve button up men that puts the forearm on display.
10. Line Art Face Profile on Shoulder
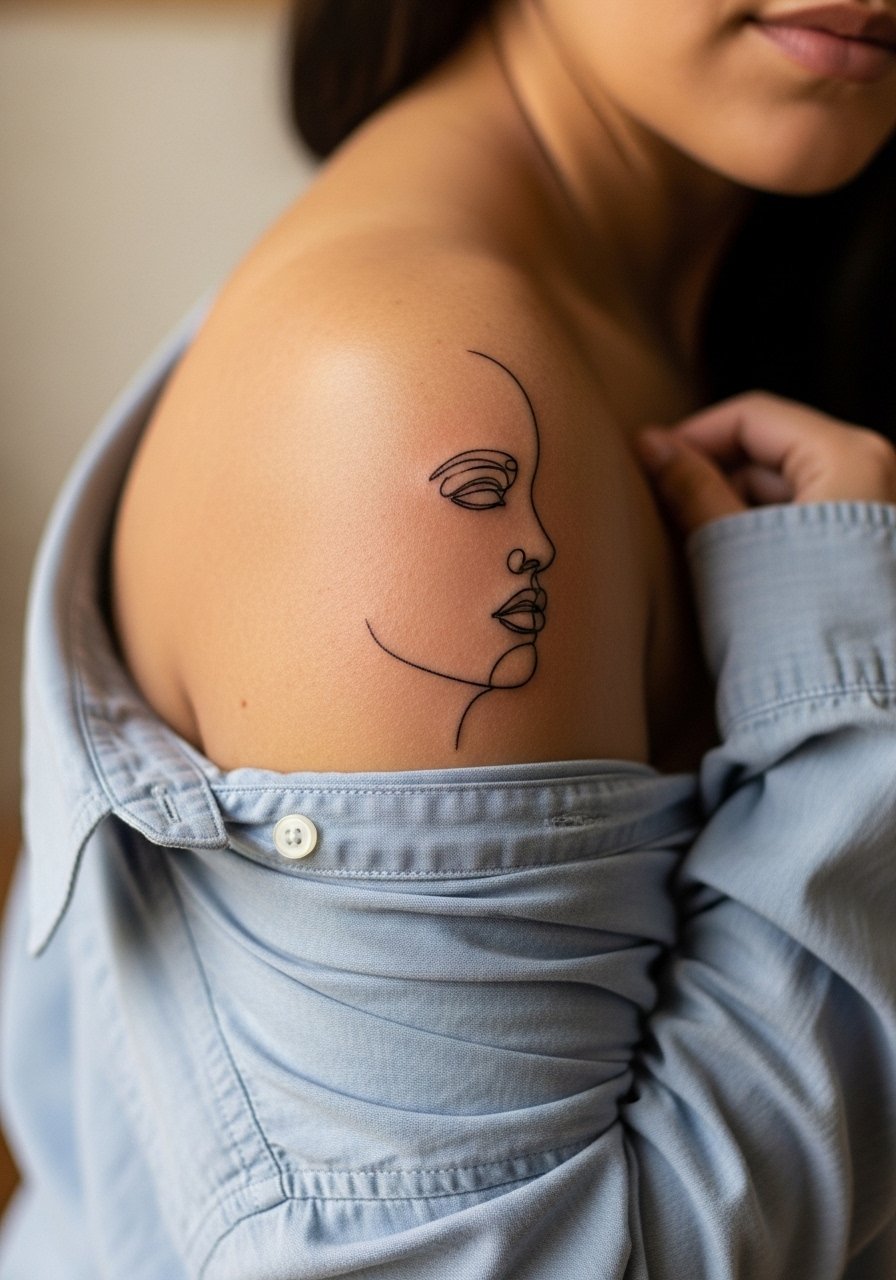
A continuous face line on the shoulder balances portraiture and restraint. Shoulder skin moves with posture, so ask for slightly stronger line weight than a delicate pinch-dot approach. The shoulder session is comfortable for most clients and usually fits a single appointment. A classic error is packing too much facial contour in a small area which ages into a smudge. For sessions wear a loose fit button down you can pull aside for the stencil and artist access.
11. Nautical Anchor Outline on Calf
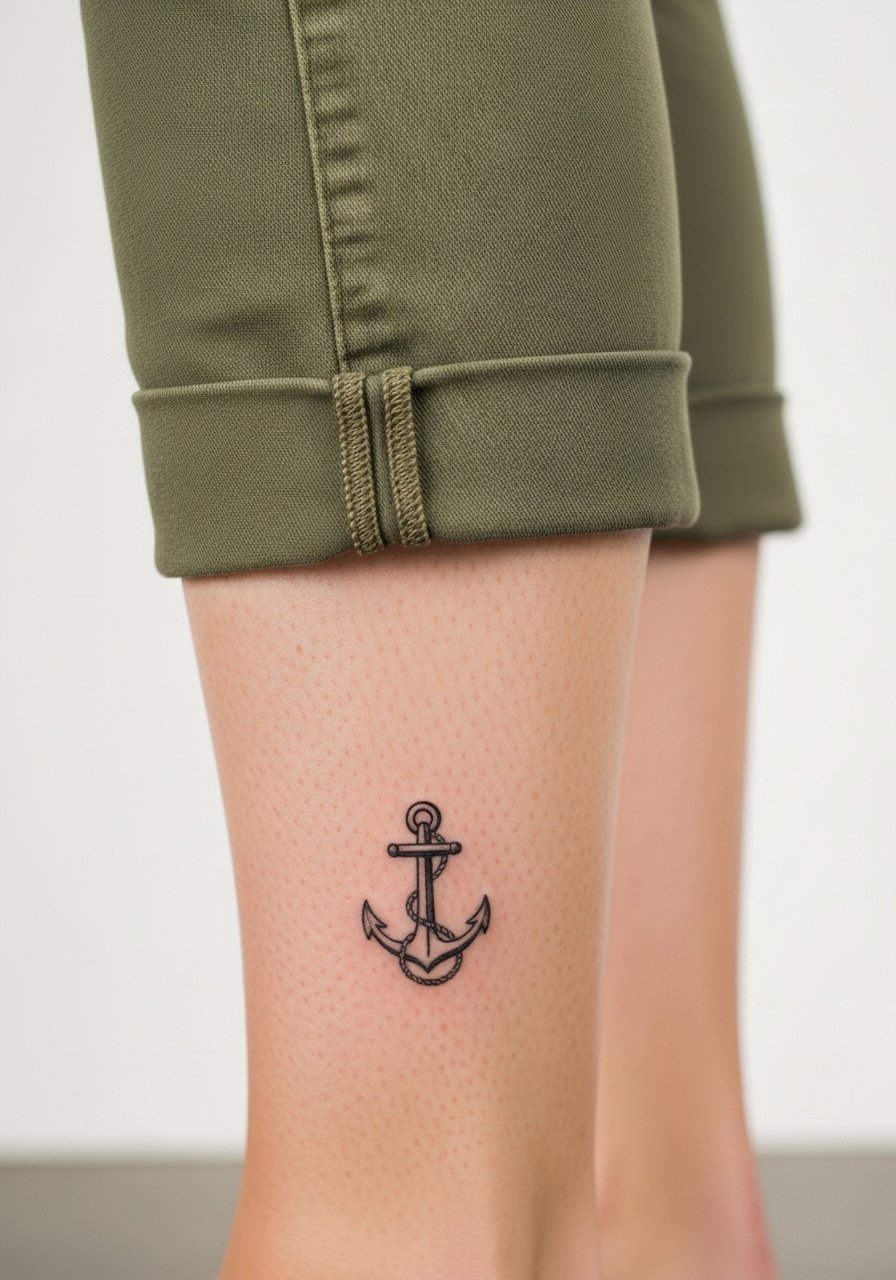
An anchor on the calf scales well and survives daily movement. Calf skin holds ink reliably and the piece tends to keep edge better than wrists or hands. Tell the artist you want a clear anchor silhouette with open interior negative space to prevent early blur. Sessions are short to medium and the calf has lower sensitivity than the ankle. Wear cropped chino pants to show it off in summer or for the session use loose athletic shorts so the artist can position your leg easily.
12. Hexagon Sacred Geometry on Upper Arm

A hexagon pattern creates complexity while staying minimalist. Ask for deliberate spacing between concentric lines so dense areas do not blur as the skin stretches. Outer upper arm placement is forgiving and the pain is low. The common error is requesting too many concentric layers at a small scale. Expect a single session and plan for a touch-up at the two to three year mark if you want perfect symmetry. Pair with a fitted henley shirt when you want the geometry to read with rolled sleeves.
13. Sword Silhouette on Inner Forearm
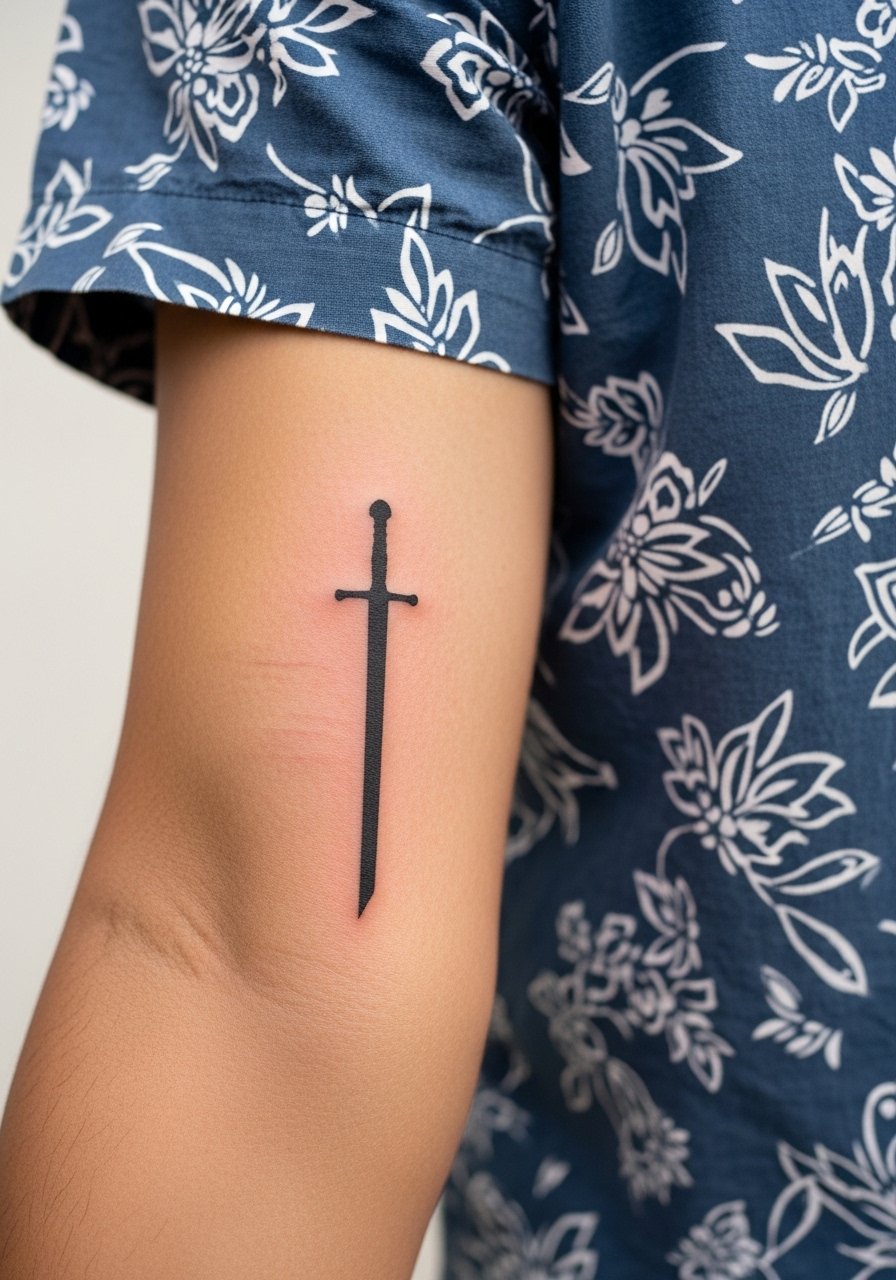
A vertical sword on the inner forearm lends a disciplined, clean line that follows arm anatomy well. For longevity ask for a slightly tapered blade rather than uniform micro-lines, which can blur where the arm bends. The inner forearm is medium on the pain scale and typically done in a single session. A mistake I see often is asking for fine hilt filigree in a 2-inch space. For the appointment wear a short sleeve button up men so the artist can roll the sleeve without fabric pressing on fresh ink.
14. Subtle Red-Spot Hybrid on Wrist
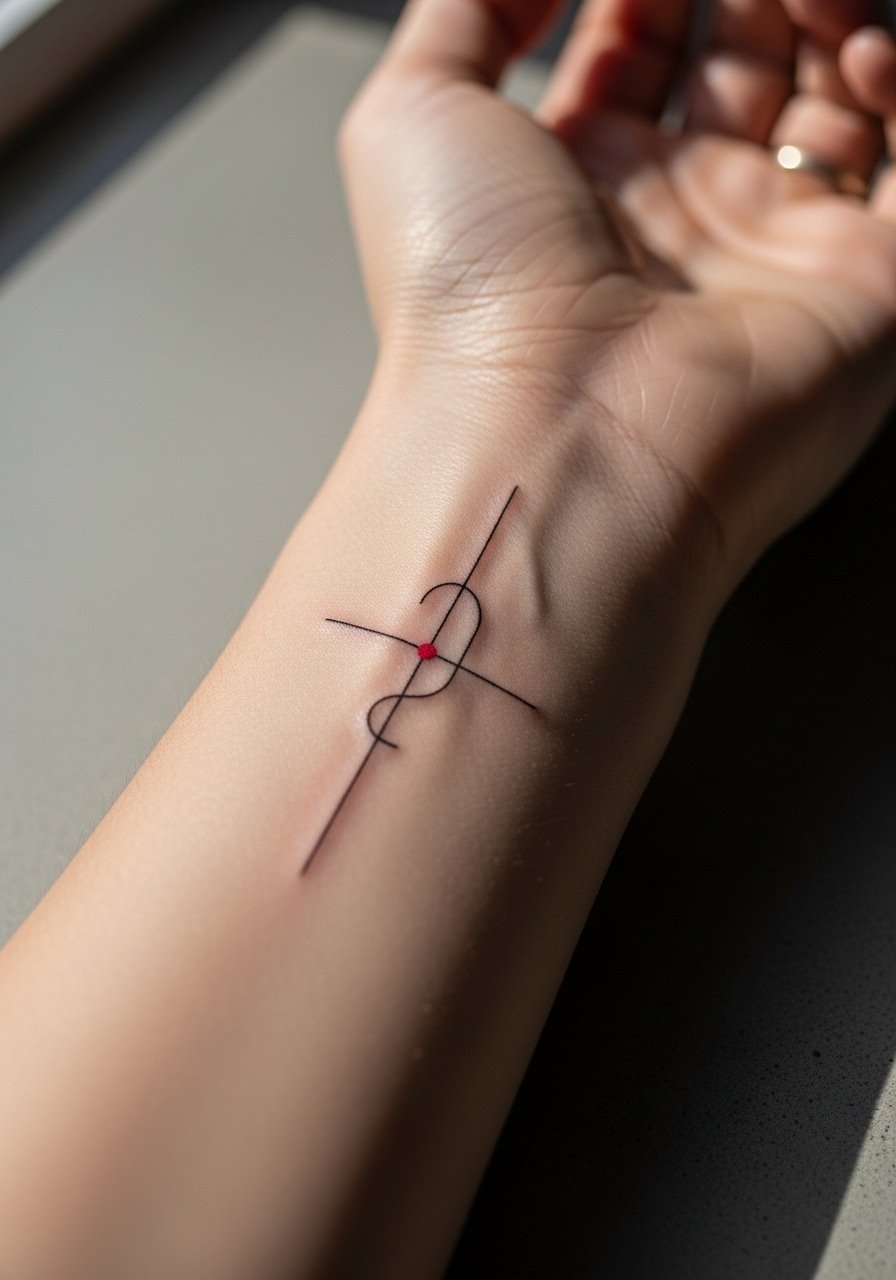
A restrained pop of color as a single dot inside a black line motif adds restraint and personality without full color saturation. Because pigment behaves differently across tones, discuss the dot size and placement with your artist so it remains vivid without needing heavy saturation. The wrist is sensitive and the session is short. A common misstep is asking for too many color touches in a tiny space. Pair the piece with a slim leather watch men on the opposite wrist to balance the look.
15. Axe Silhouette on Outer Upper Arm
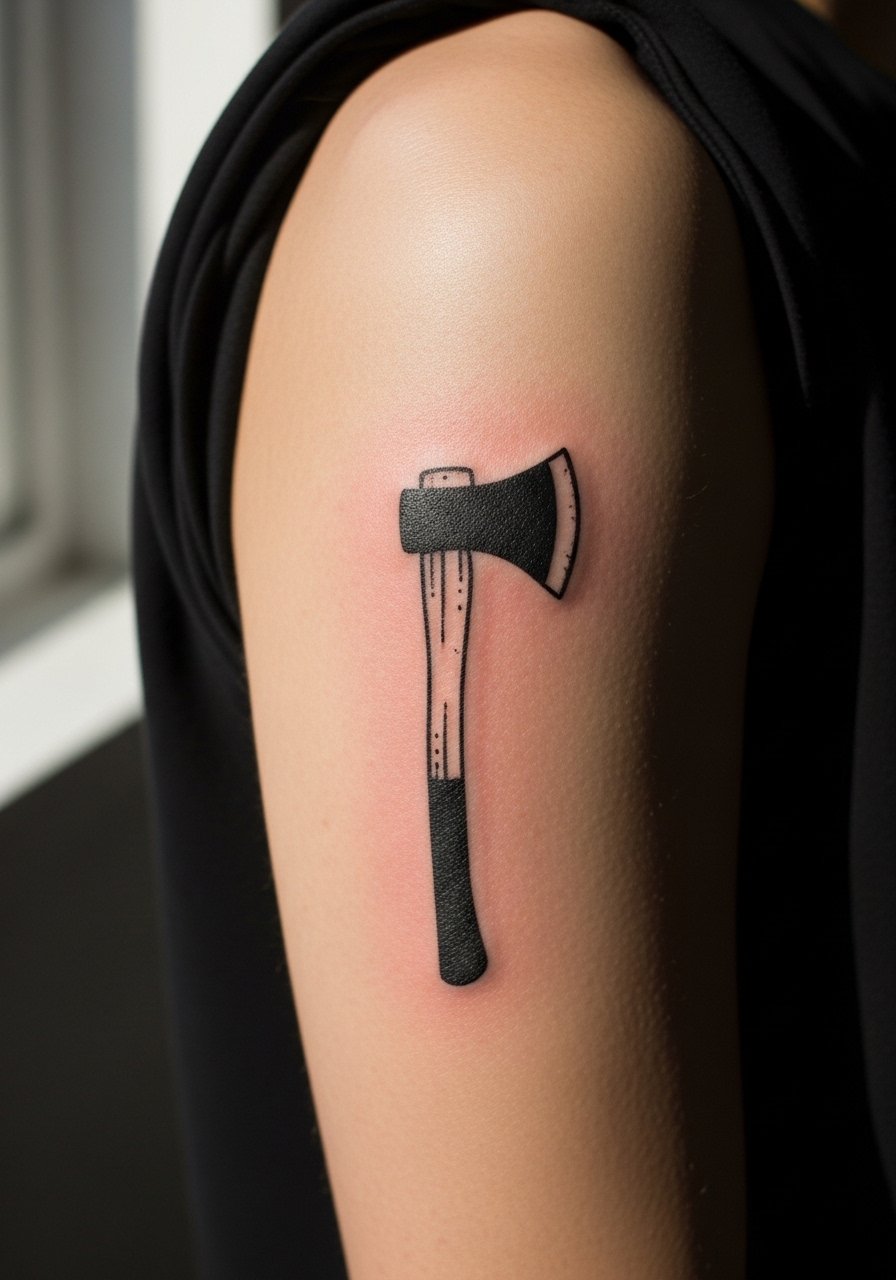
An axe silhouette channels a warrior aesthetic without aggression. The outer upper arm is one of the least distortion-prone sites so silhouettes like this hold up. Ask for a moderate edge and avoid tiny handle details that can age into an indistinct blur. Sessions are typically short and pain is low. The mistake is cramming ornamental relief into a small shape. This design works well on someone who wants bold iconography that still reads from a distance.
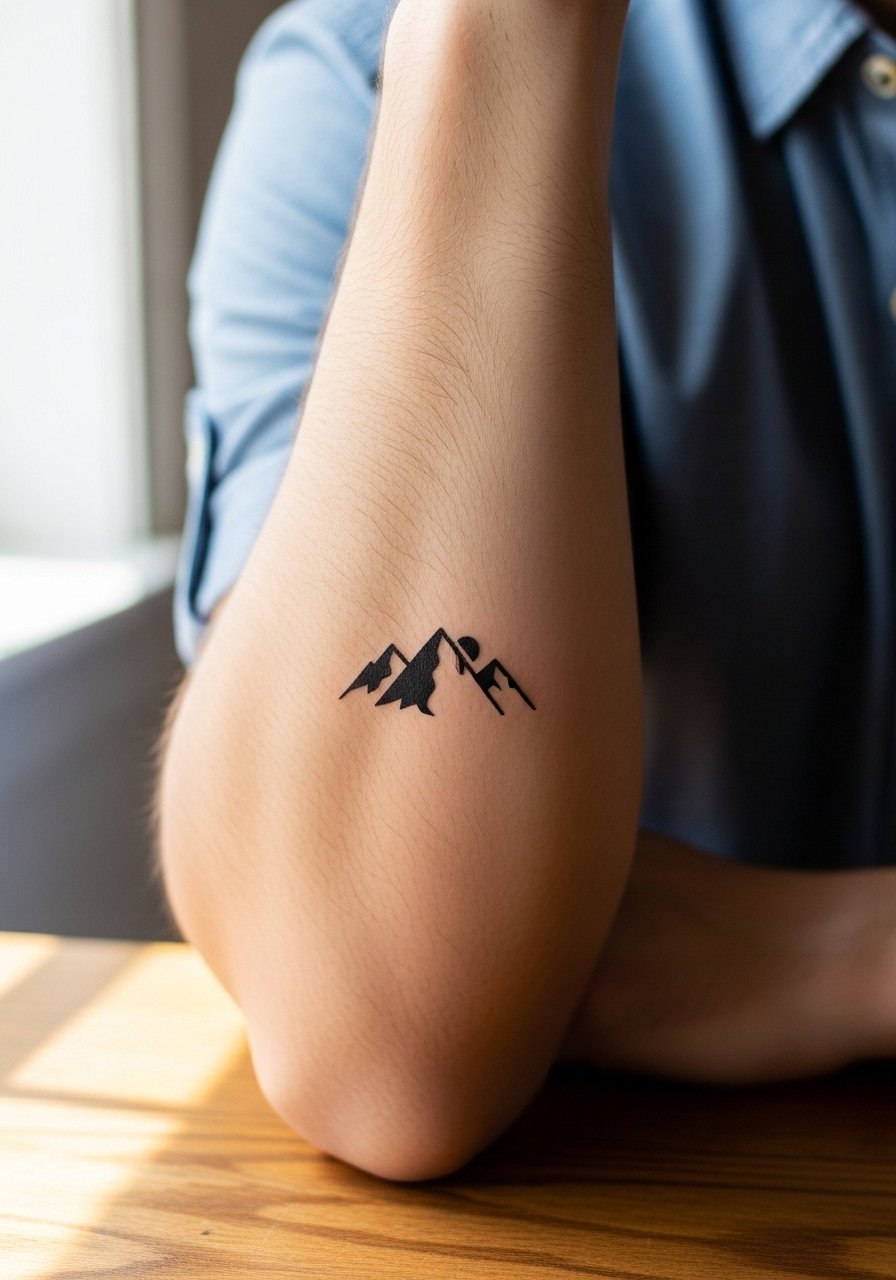
16. Architectural Skyline Micro on Collarbone
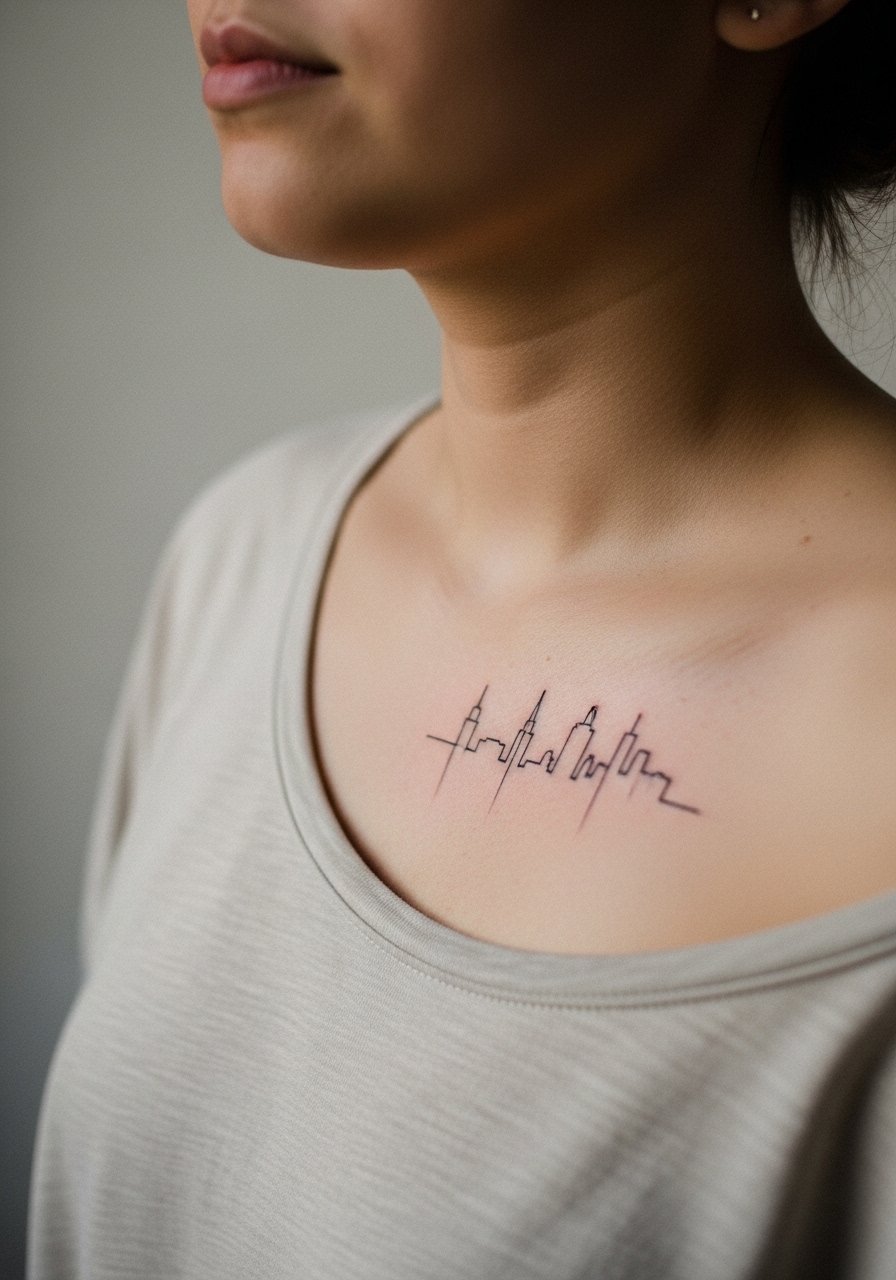
A tiny skyline along the collarbone offers urban reference without complexity. Request simplified building outlines rather than full façade details so the negative space prevents merging lines. Collarbone work can be bony and the session has a moderate sting. A frequent error is asking for dozens of window marks at that scale. For wear pick a v neck tee men that exposes the line elegantly on weekends.
17. Matchstick with Flame on the Wrist
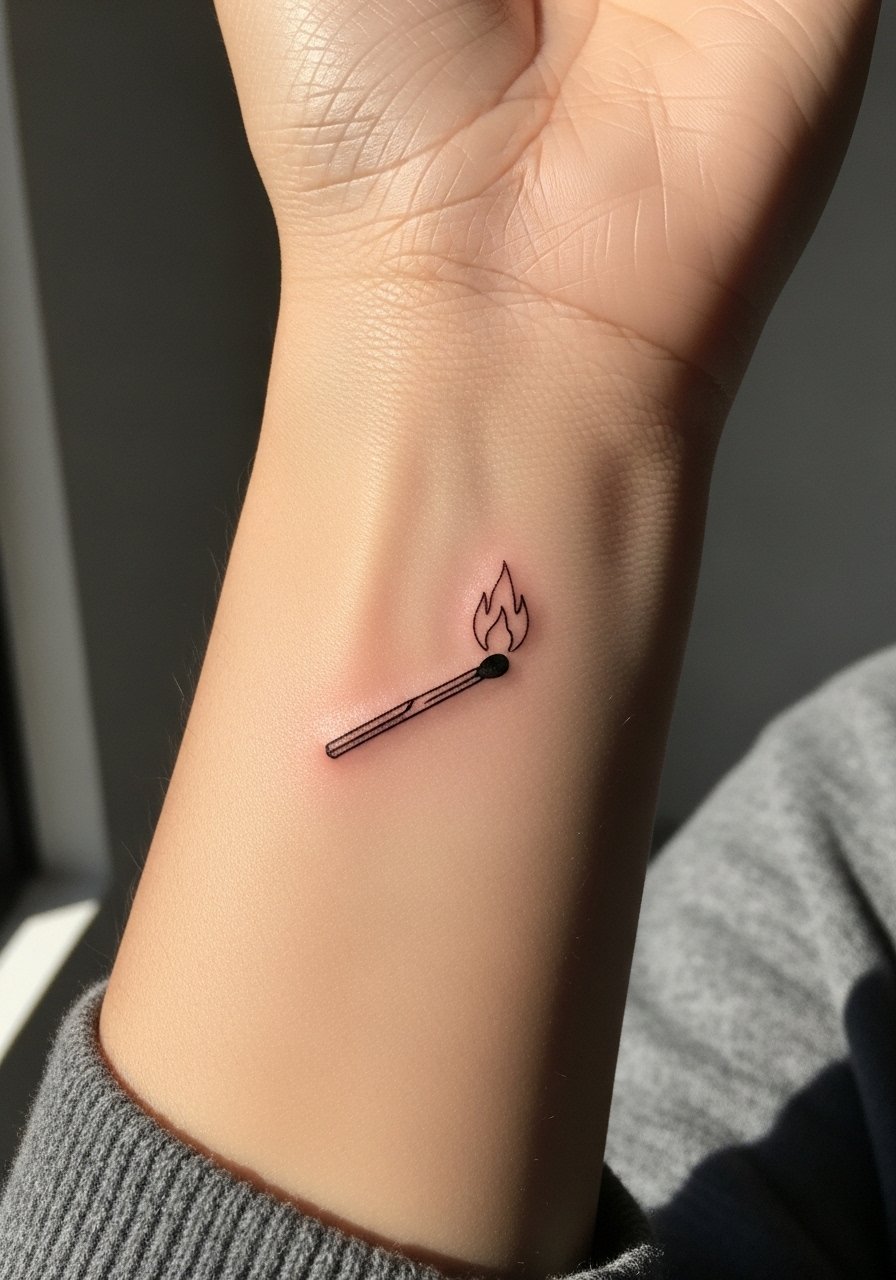
A micro matchstick can read like a tiny emblem on the wrist. Keep the flame outline open and ask for slightly bolder shaft contrast to avoid the head blending into skin texture. The wrist stings more than the forearm, and sessions are short. The usual slip is asking for detailed flame shading at micro scale which heals into indistinct smudges. If visibility is a concern, pair quietly with a minimalist strap watch on the other wrist.
18. Botanical Stem on Upper Arm
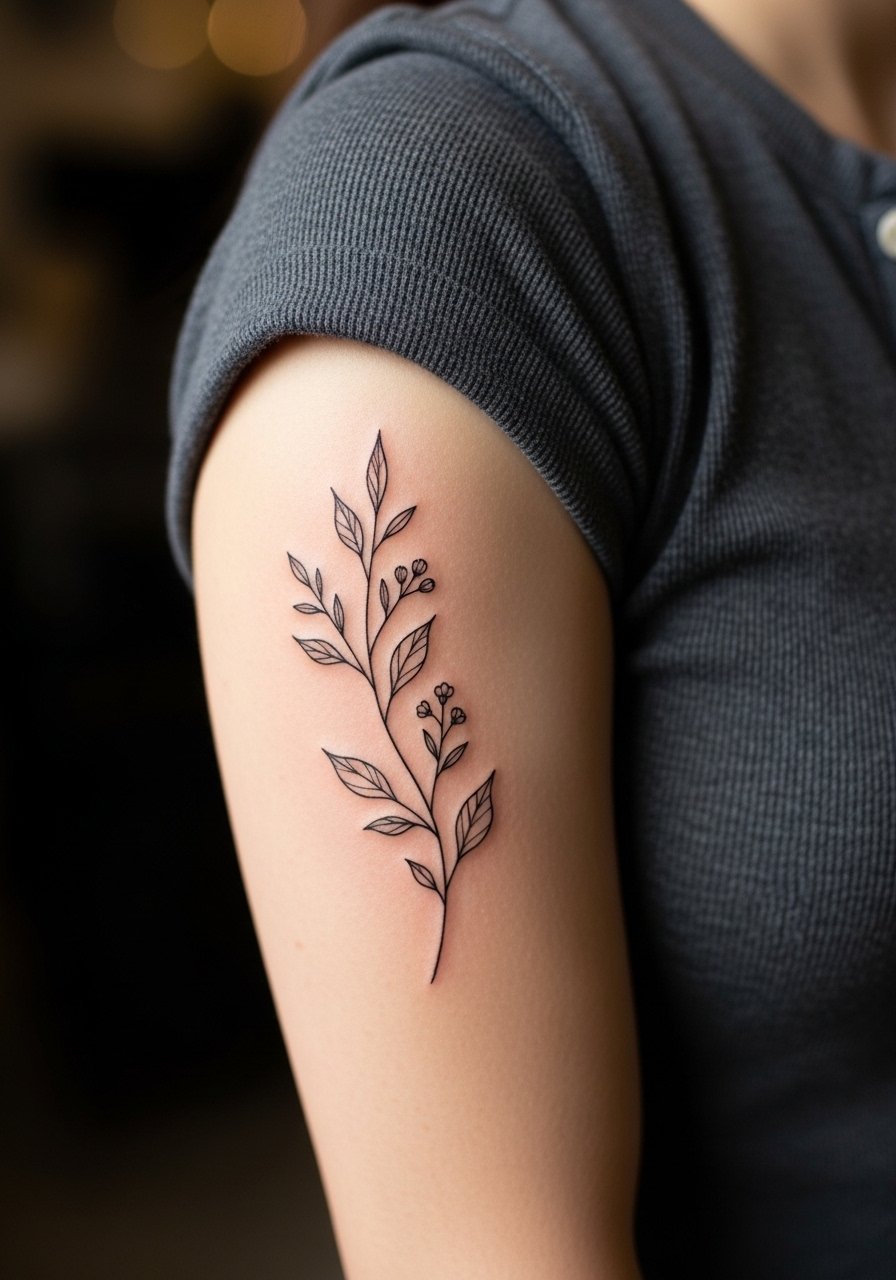
A vertical botanical stem on the upper arm benefits from flow that complements muscle shape. Ask for single-needle linework with small negative space between leaves so the design keeps contrast over years. Outer upper arm sessions are comfortable and usually completed in one visit. People often request ultra-thin leaves that fade into a blur. For showing it off wear a fitted henley shirt that frames the upper arm when sleeves are rolled.
19. Tiny Constellation on Ankle
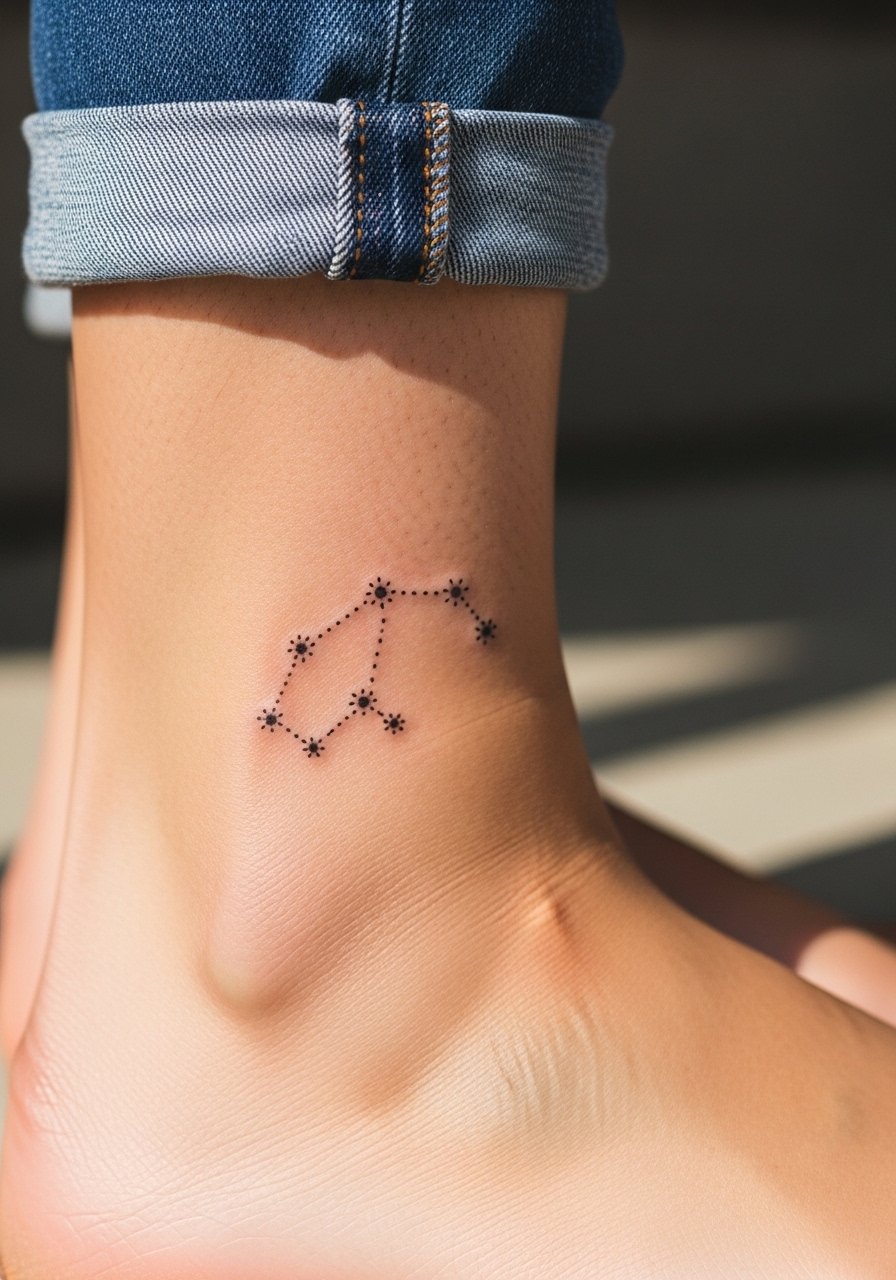
Small constellations work well on the ankle because the area has lower stretch and the dots read as a composition. Ask for slightly bolder dot points and open spacing between stars so the lines do not merge after healing. Ankle sessions can be twingy and the session is short. A common mistake is tight dot spacing that leads to a blobbed heal. For summer wear roll your pants or try cropped chino pants so the cluster shows without scraping.
20. Chevron Arrow Band on Inner Forearm
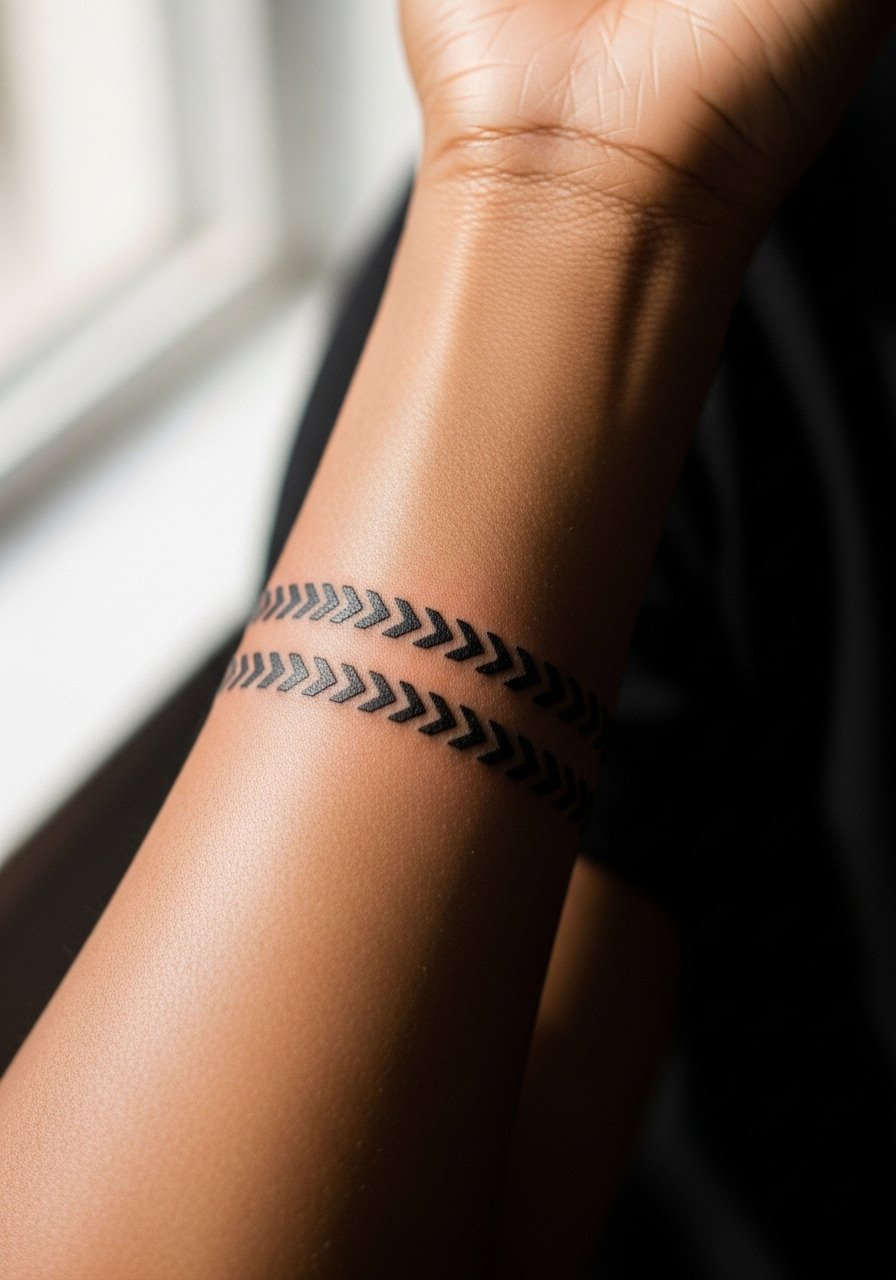
A chevron band follows forearm lines and reads like an understated cuff. Ask for consistent negative space between chevrons to prevent merging as the skin settles. The inner forearm is medium sensitivity and sessions are quick. The common error is cramming too many chevrons in a narrow space, which accelerates blurring. For the appointment plan to wear a short sleeve button up men you can roll cleanly without bunching over the work.
21. Micro-Realism Paw Print on Upper Arm
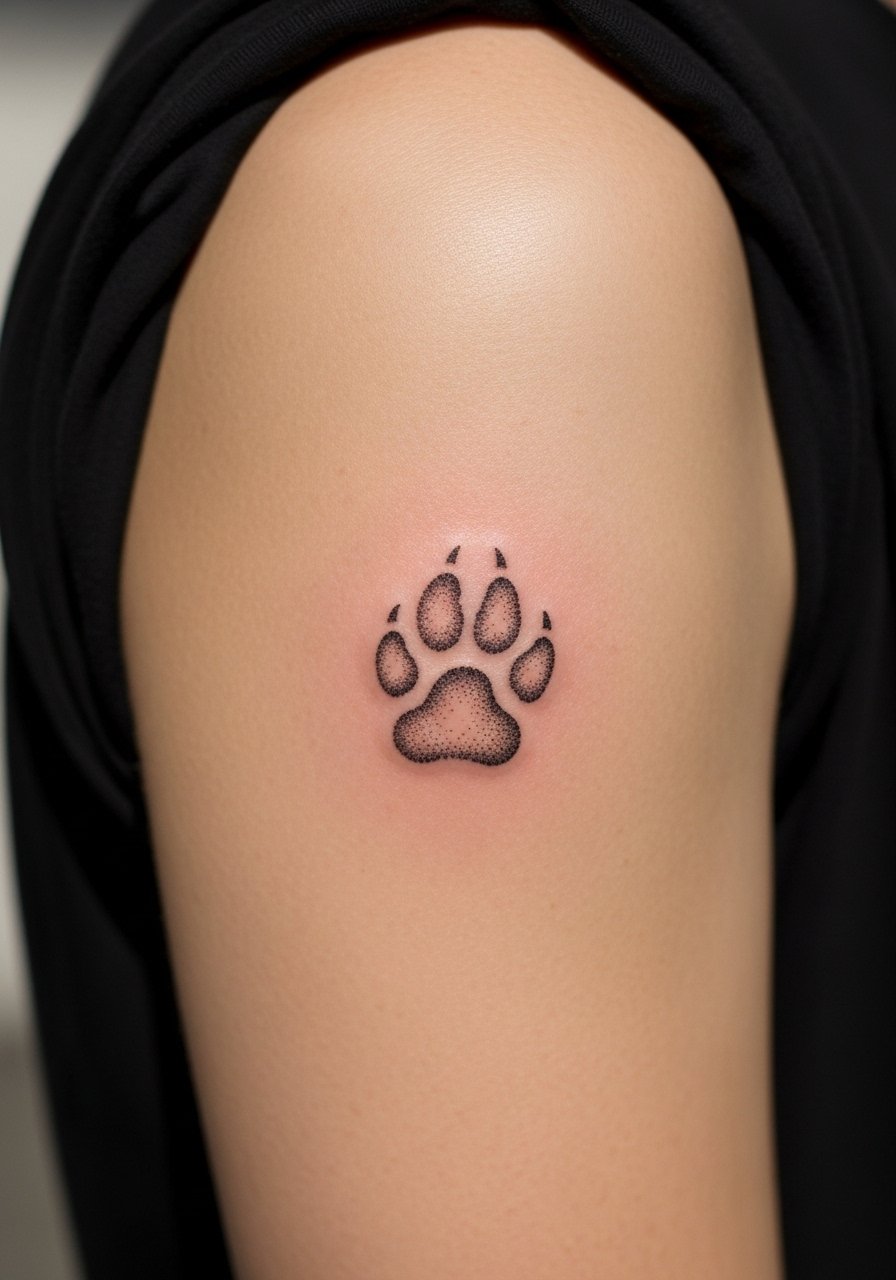
A tiny paw print uses subtle stipple or dot work to feel organic without heavy lines. Upper arm skin accepts dot work well but ask for deliberate spacing so stipple texture does not merge. Pain is typically low and the session brief. People sometimes request heavy stippling at micro scale which heals into a grainy patch. If you want seasonal show-off wear a fitted henley shirt with sleeves rolled.
22. Minimal Knot on the Wrist
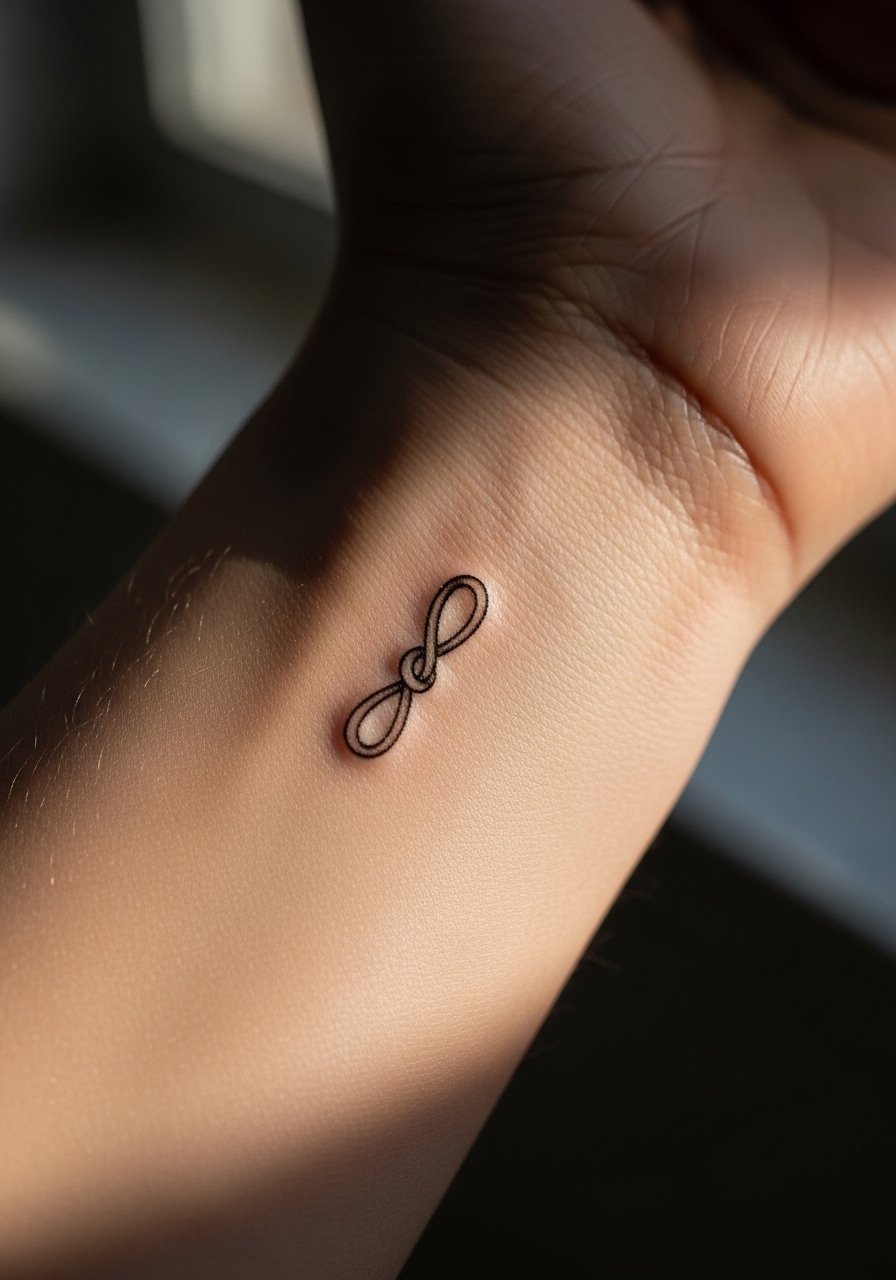
A knot tattoo can symbolize connections without explicit language. Because the wrist faces constant motion ask the artist for slightly larger loops and open interiors. The wrist will be more sensitive and often needs a precise touch-up. The frequent mistake is asking for ultra-fine loops in a tight space. Styling-wise pair with a minimalist leather strap watch on the opposite wrist to keep focus balanced.
23. Temporary Test Mockup for a Forearm Idea
Testing a design with a temporary tattoo or stencil transfer is a low-risk way to preview scale and placement. Use a high-quality transfer and wear it for a few days while doing normal activities so you can see how it reads after movement and showers. This helps catch surprises like the piece reading larger than expected across a wrist crease. For the test session wear a short sleeve button up men so the artist can reapply the stencil without fabric interference.
24. Roman Numeral Micro on Collarbone
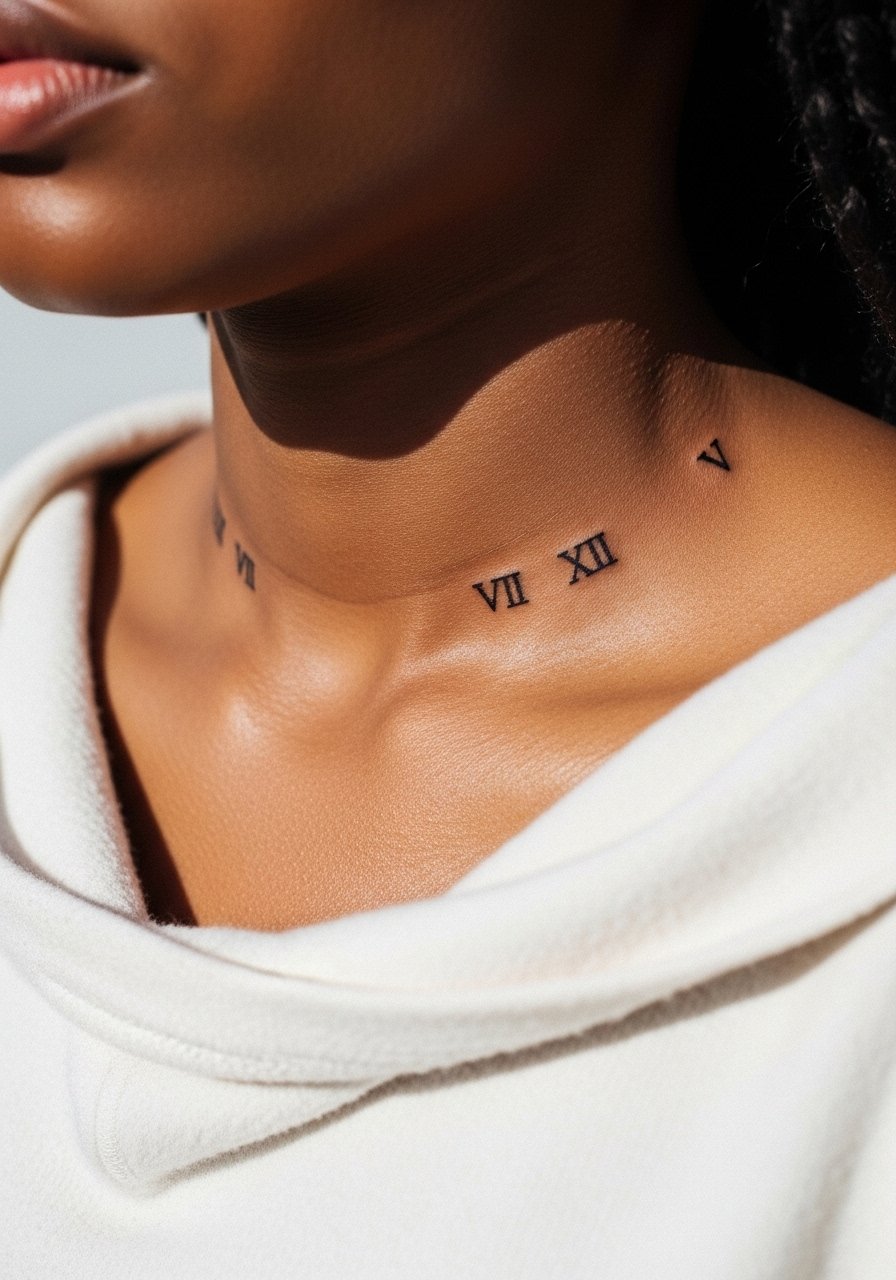
Roman numerals along the collarbone sit naturally with jewelry and shirts. Ask for slightly wider spacing between digits and clear serifed numerals so the characters do not bleed together over time. Collarbone application has moderate pain and is done quickly. The classic mistake is shrinking the numerals too small for the spacing. A minimal chain necklace sits above the numerals without competing.
25. Dot Work Mandala on Ribcage
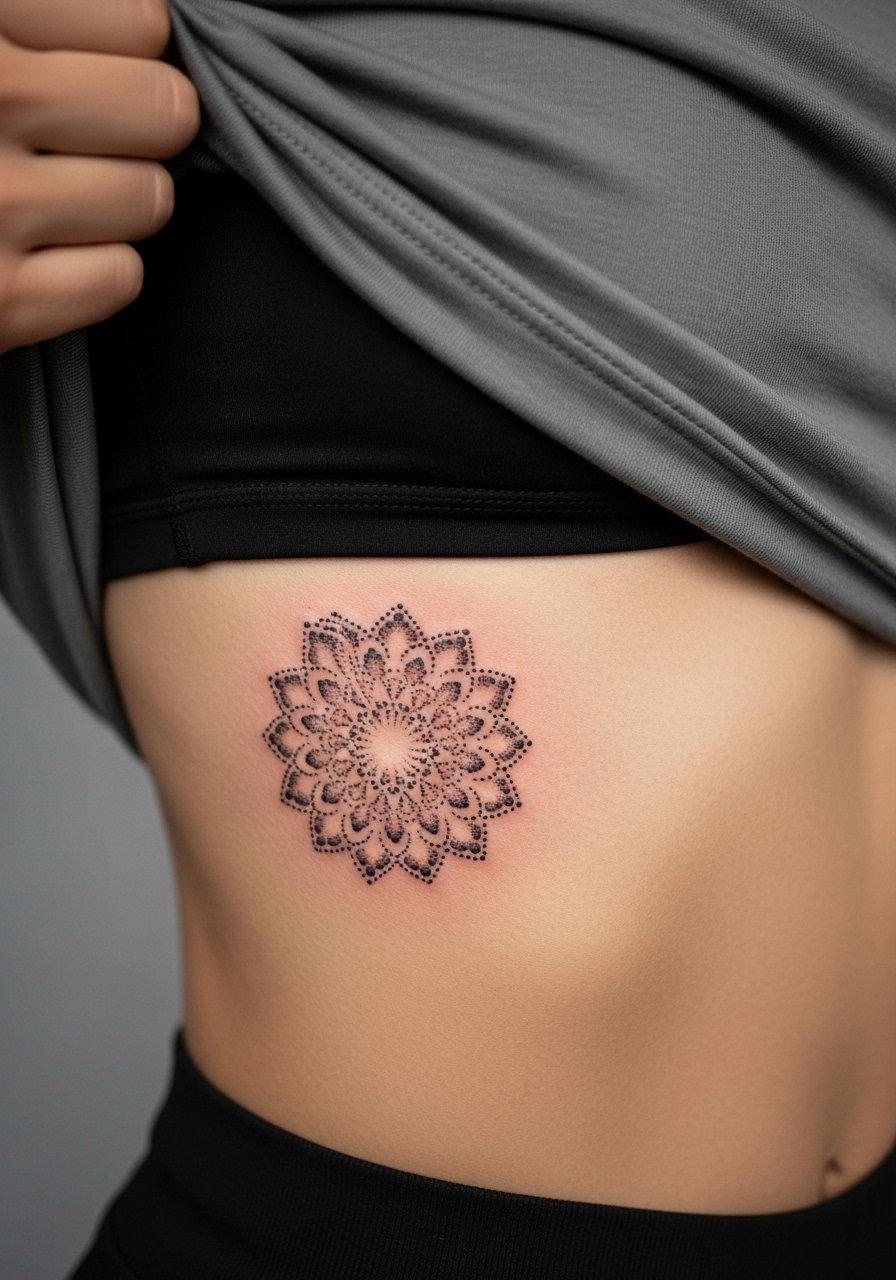
Fine dot mandalas on the ribcage look delicate but invite debate among artists. One camp argues that ribs stretch and breathe too much for micro dot work and that the pattern blurs in two years. The other camp says with proper spacing and conservative dot size the mandala settles well. Tell your artist you want more spacing between rings if longevity is the priority. Ribcage sessions are among the more painful, so expect a longer appointment and consider splitting work into two sittings.
26. Tiny Script Behind the Ear / Nape

A micro script tucked behind the ear reads private and is easy to conceal. For safety in imaging and comfort at the studio describe it as "on the skin just behind the ear, below the hairline on the neck" so the stencil sits exactly where you expect. This area is sensitive and the session is short but sharp. Artists vary on needle depth here so ask about their approach because improper depth can cause early spreading. Consider the career implications before committing to a visible neck-area piece.
27. Sleeve Accent Lines on Outer Bicep
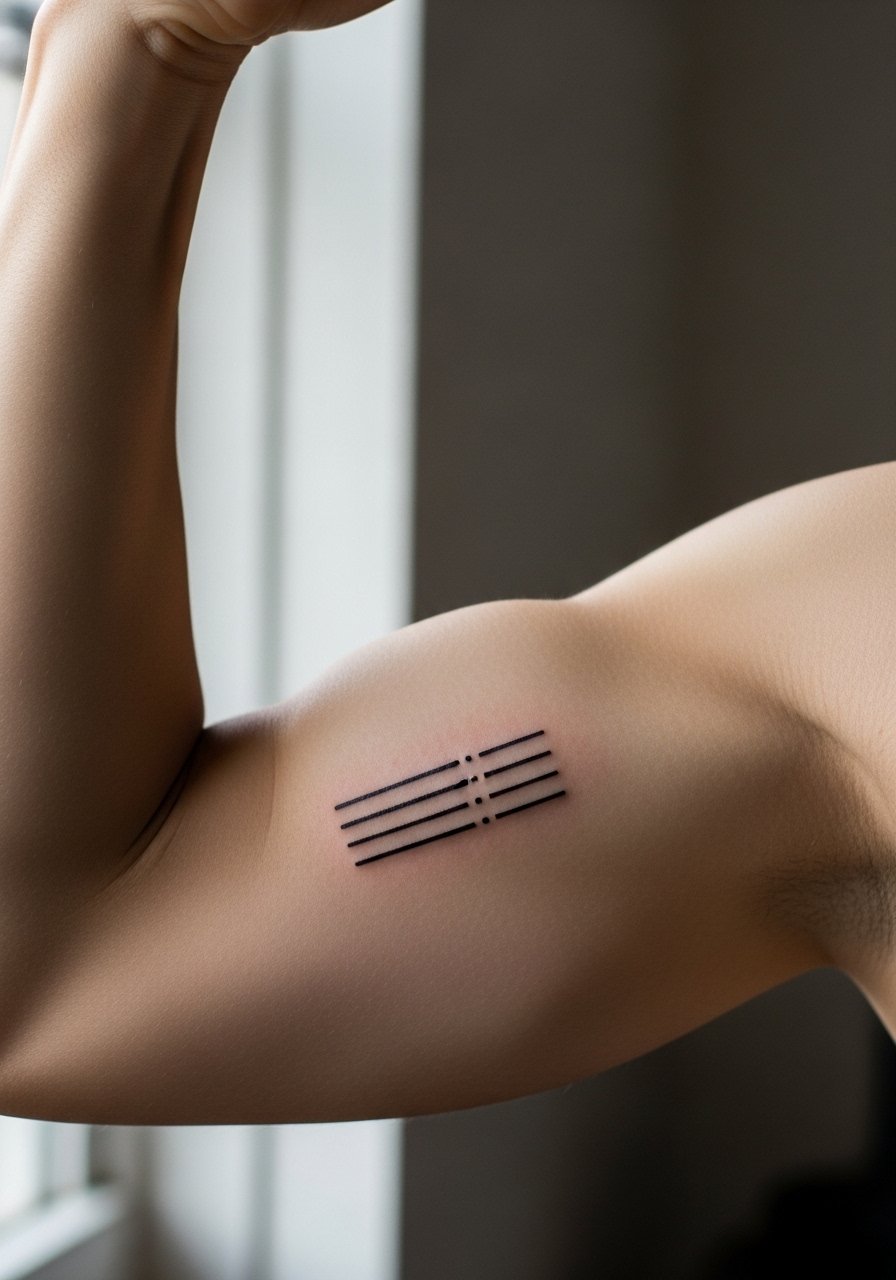
A series of parallel accent lines on the outer bicep plays well with muscle shape and avoids the pitfalls of overly dense patterning. Request clear spacing and consistent line weight so the design keeps its rhythm as skin changes. Outer bicep pain is low and a session for a small accent set is short. A common error is packing too many lines close together which causes softening after healing. This suits someone who wants sleeve hints without committing to heavy coverage.
Frequently Asked Questions
Q: How do fine line wrist tattoos age compared with upper arm silhouettes?
A: From what I have seen, fine line wrist work often needs touch-ups sooner because wrists experience more washing and friction. Upper arm silhouettes, especially solid black, tend to hold shape longer because the skin is thicker and sees less abrasion. Plan for a possible touch-up around year two for wrist micro work and expect longer intervals for upper arm blackwork.
Q: Is there a consensus on fine line on ribs or sternum?
A: Artists are split. One group warns that ribs and sternum stretch and the dense lines in those spots can blur within a couple of years. The other group says if you increase spacing and use conservative depth the work can settle nicely. The right choice depends on the specific pattern and the studio's experience with those placements.
Q: How should I dress for a collarbone or chest appointment?
A: Wear a wide-neck shirt or a loose button-down you can pull aside so only the tattoo zone is exposed. That avoids tugging or fabric pressing on the fresh stencil. A loose fit button down is a practical pick for chest work.
Q: I want a micro geometric piece. What should I ask my artist during the consult?
A: Ask them to show a stencil taped in the exact spot and to explain line spacing and needle depth. Request slightly larger negative spaces between elements and ask the artist if they suggest a thicker line weight than your initial reference to preserve clarity.
Q: Can I test a design with a temporary before booking a session?
A: Yes. A temporary transfer or a high-quality stencil you live with for a few days will reveal placement surprises and how movement affects the piece. Use that feedback to adjust scale or placement before you commit to ink.
Q: Where can I look for artists or references without naming specific shops?
A: Search style-specific hashtags like #minimalisttattoo and #finelinetattoo, check location tags for "[city] minimalist tattoo," use directories that filter by style, and read community threads on platforms like Reddit to see healed photos and real feedback.
