
Fine line tattoos are everywhere on inspiration boards, and what people do not always notice is how placement and everyday movement decide whether a piece still reads clean at year two. The inner bicep can hide a personal script, but it also hurts more and flexing will change how letters sit. Read on for small bicep options that respect muscle movement, age predictably, and include what to wear to the session so you leave the chair ready, not sore.
1. Fine Line Script Along the Inner Bicep
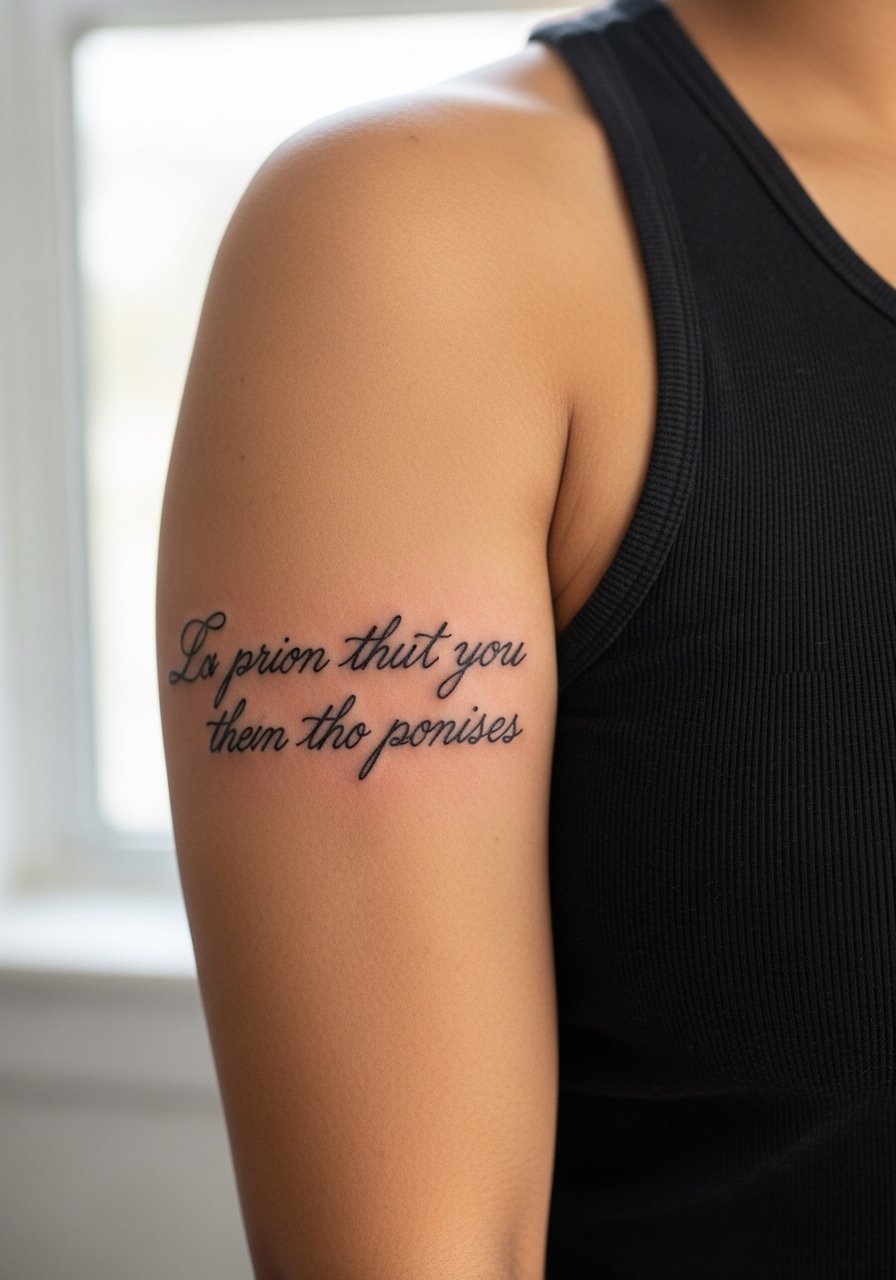
I recommend a tight, vertical cursive line on the inner bicep when you want concealment without losing legibility. Tell your artist to follow the muscle curve so the letters sit upright when your arm is relaxed. Fair warning, this spot rates higher on pain for most people and fine line here can blur faster if the strokes are hairline thin. Expect a one-hour session for a 2-3 inch quote and plan a touch-up window at year two if you push single-needle thickness. For showing it off, roll the sleeve of a men's rolled sleeve henley and wear a slim chain to draw the eye vertically.
2. Micro-Realism Eye on the Lower Inner Bicep
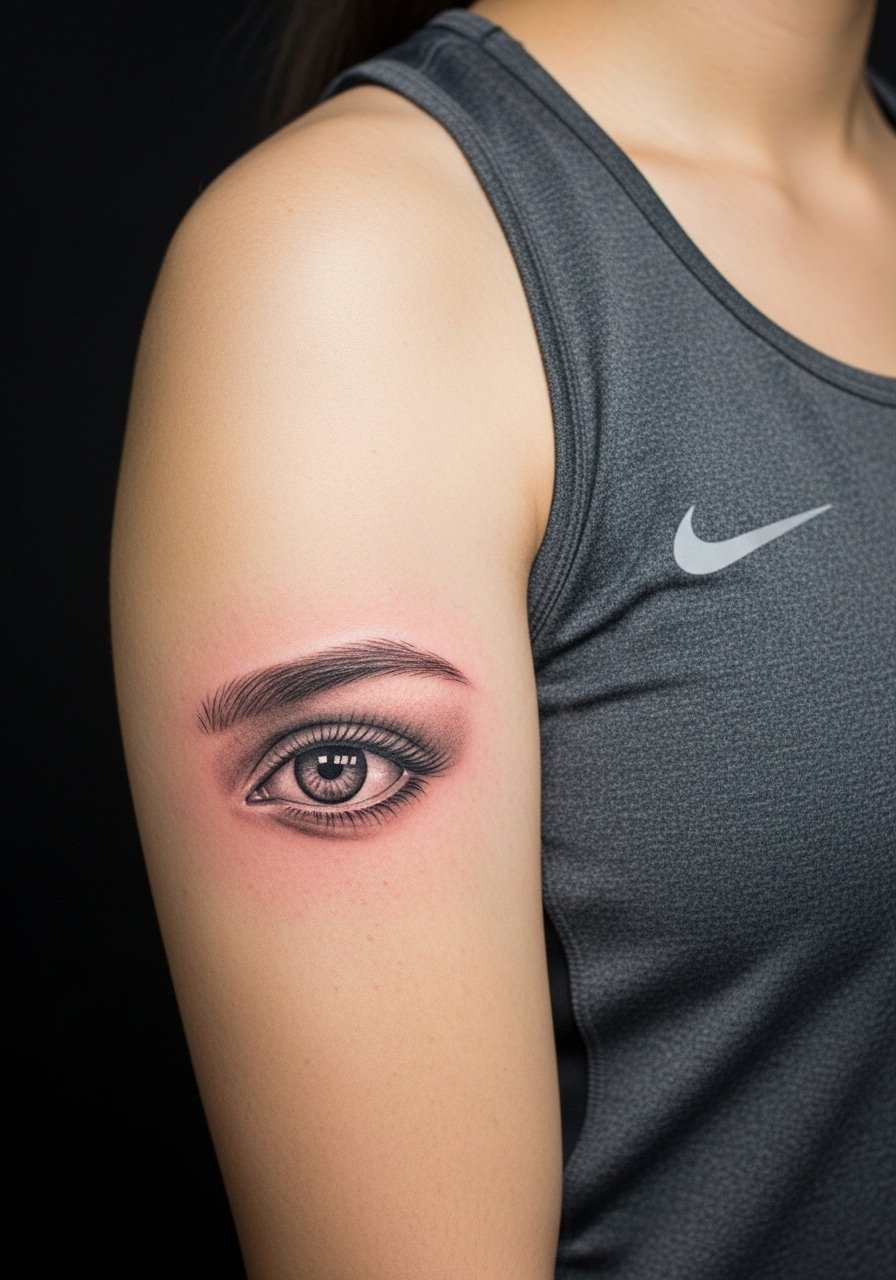
Micro-realism thrives on the flat lower inner bicep surface because subtleties in shading read small and intense. Bring close-up references and ask for denser contrast in the pupil area so the piece does not wash out on darker days. Sessions usually run around 90 minutes with careful stipple and gray wash. Plan for two sessions if you want deeper saturation. The inner bicep itches during healing and moves a lot, so wear a sleeveless athletic tank to the session so fabric does not drag across the stencil. Expect higher pain but a striking payoff when you flex.
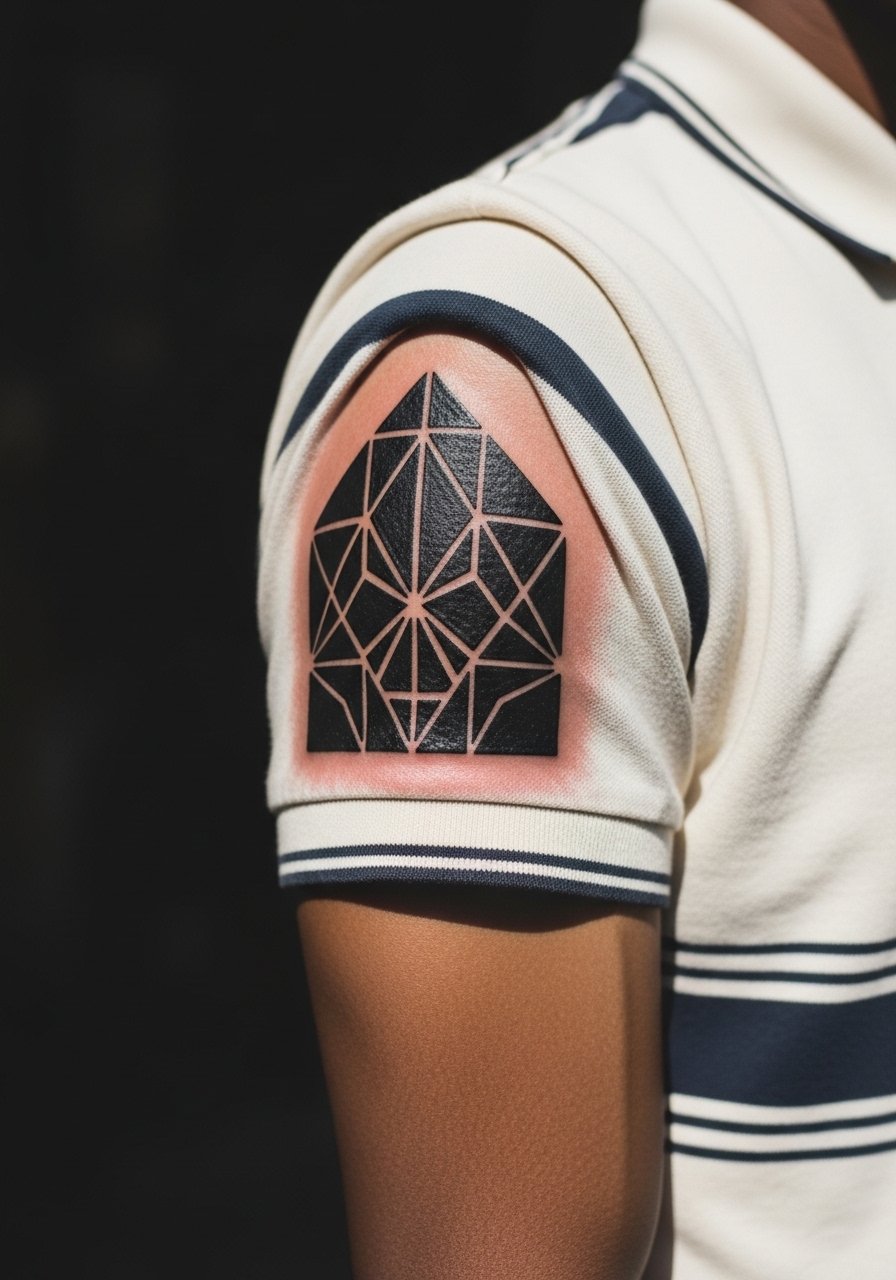
3. Minimalist Geometric Symbol on the Upper Bicep
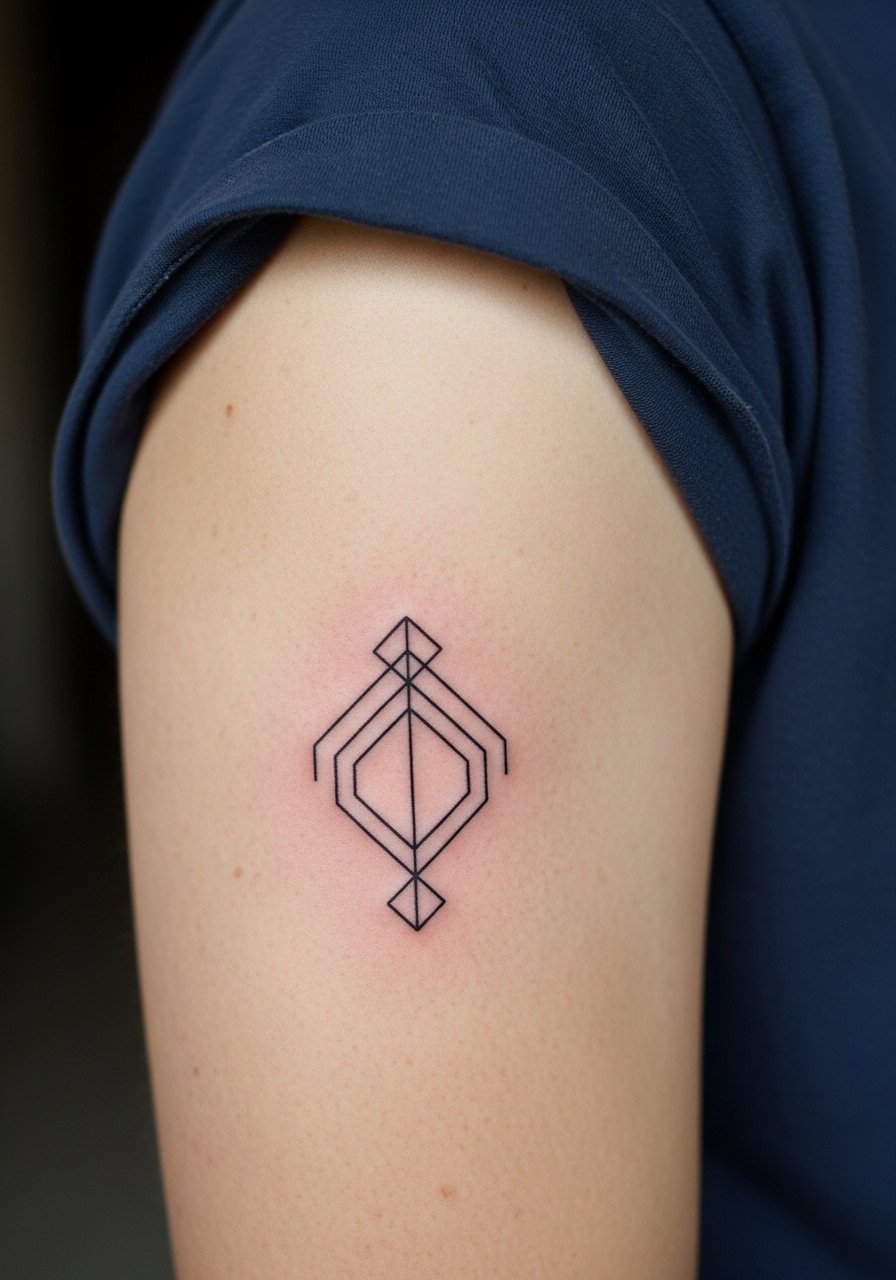
Minimal geometric marks work well on the upper bicep because the area offers room without much distortion. The biggest mistake is asking for lines that are too close together. Tell your artist to space the geometry slightly wider and use a single needle for crisp edges that still have breathing room. This is a low-pain spot with most small pieces finishing in one session. For an outfit that frames the shape, try a linen bomber jacket men half-zipped so the sleeve sits just above the piece and keeps attention on the arm.
4. Bold Anchor Motif on the Outer Bicep
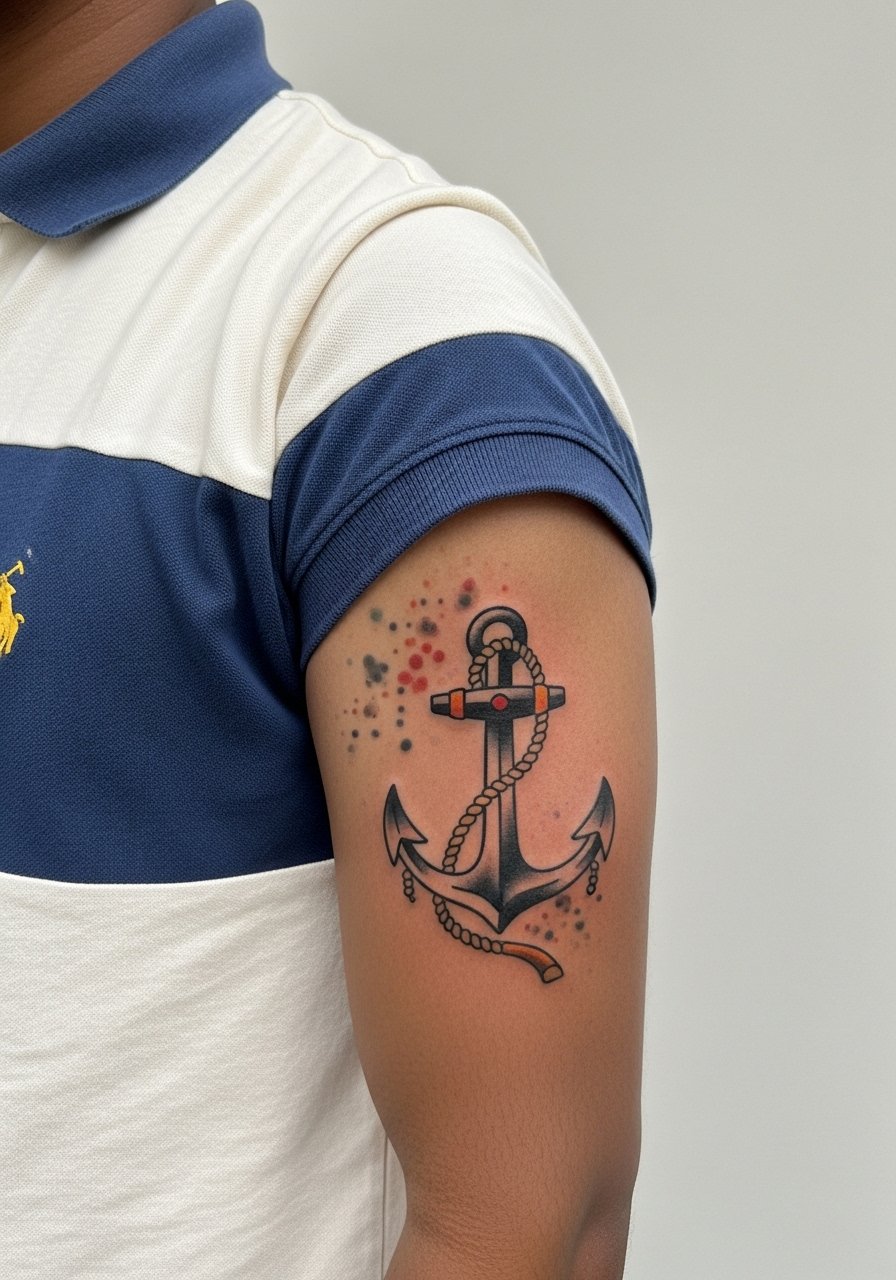
A classic anchor ages well with strong outlines and controlled saturation on the outer bicep where the skin flex is less dramatic. Ask for thicker black outlines and limited color pops so the anchor reads even after a few years. Session time is usually under two hours for a three-inch piece. This placement is a great pick if you want obvious visible ink without the inner-arm pain. Pair with a vintage short sleeve polo when you want to show it off and bring a loose muscle tee to the session for easy access.
5. Fine Line Roman Numerals Vertically on the Inner Bicep
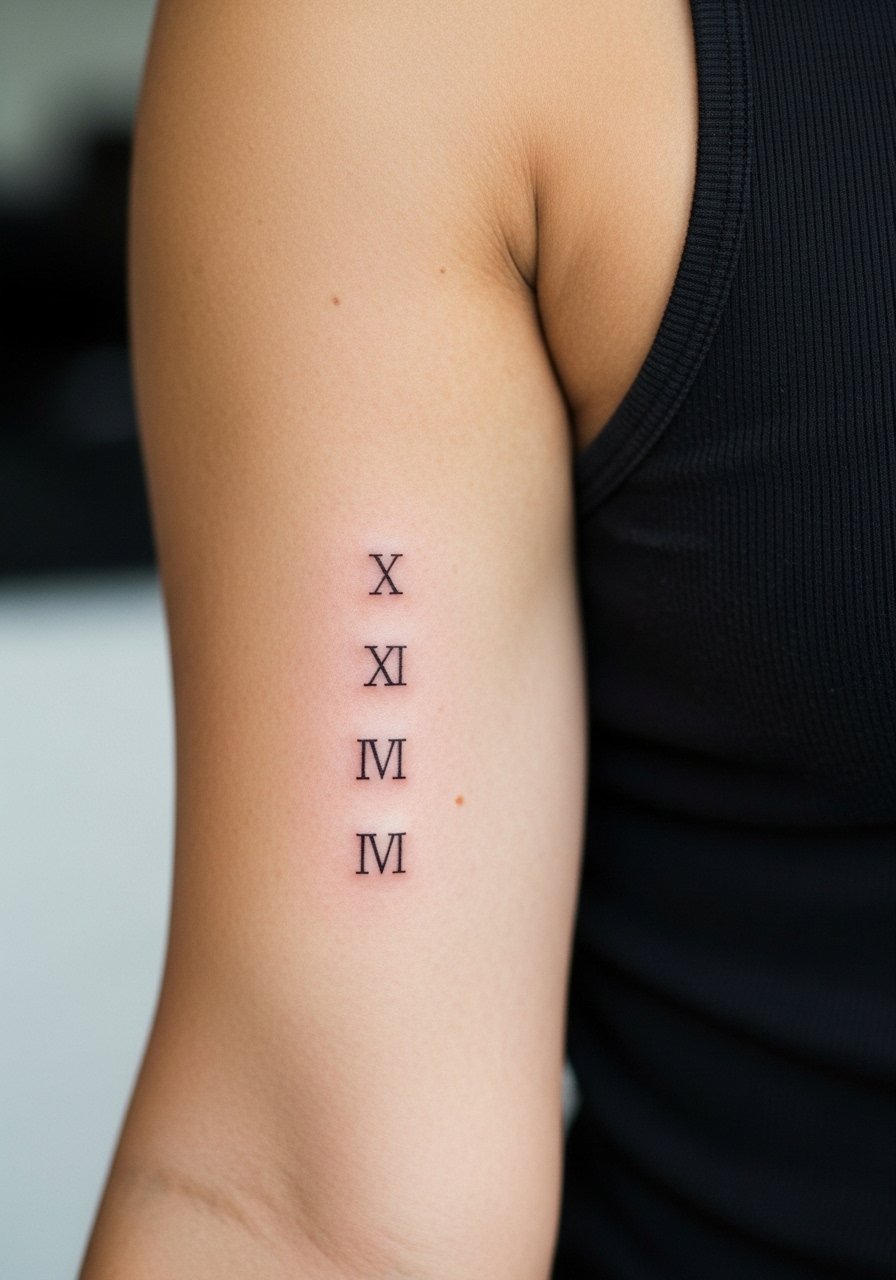
Vertical numerals are a strong choice for placing milestones where horizontal script would warp with muscle changes. Tell your artist to keep the numerals narrow and stagger spacing so the digits do not merge over time. Fine line here looks crisp at six months but often needs a touch-up by year two or three if you choose single-needle weight. The session is short and most clients tolerate the sting if they cap at about an hour. For the day of, a sleeveless athletic tank keeps the area dry and accessible.
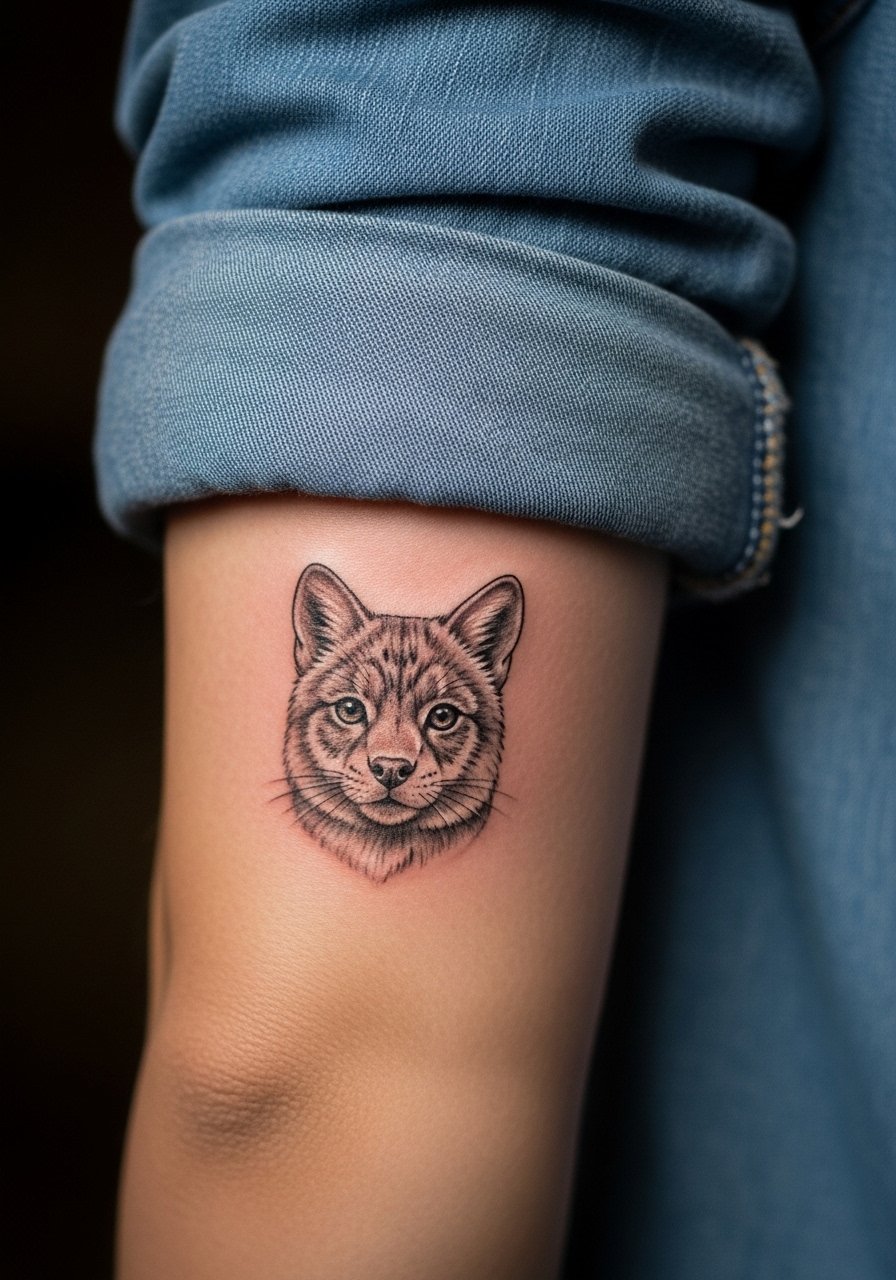
6. Realism Animal Portrait Centered on the Inner Bicep
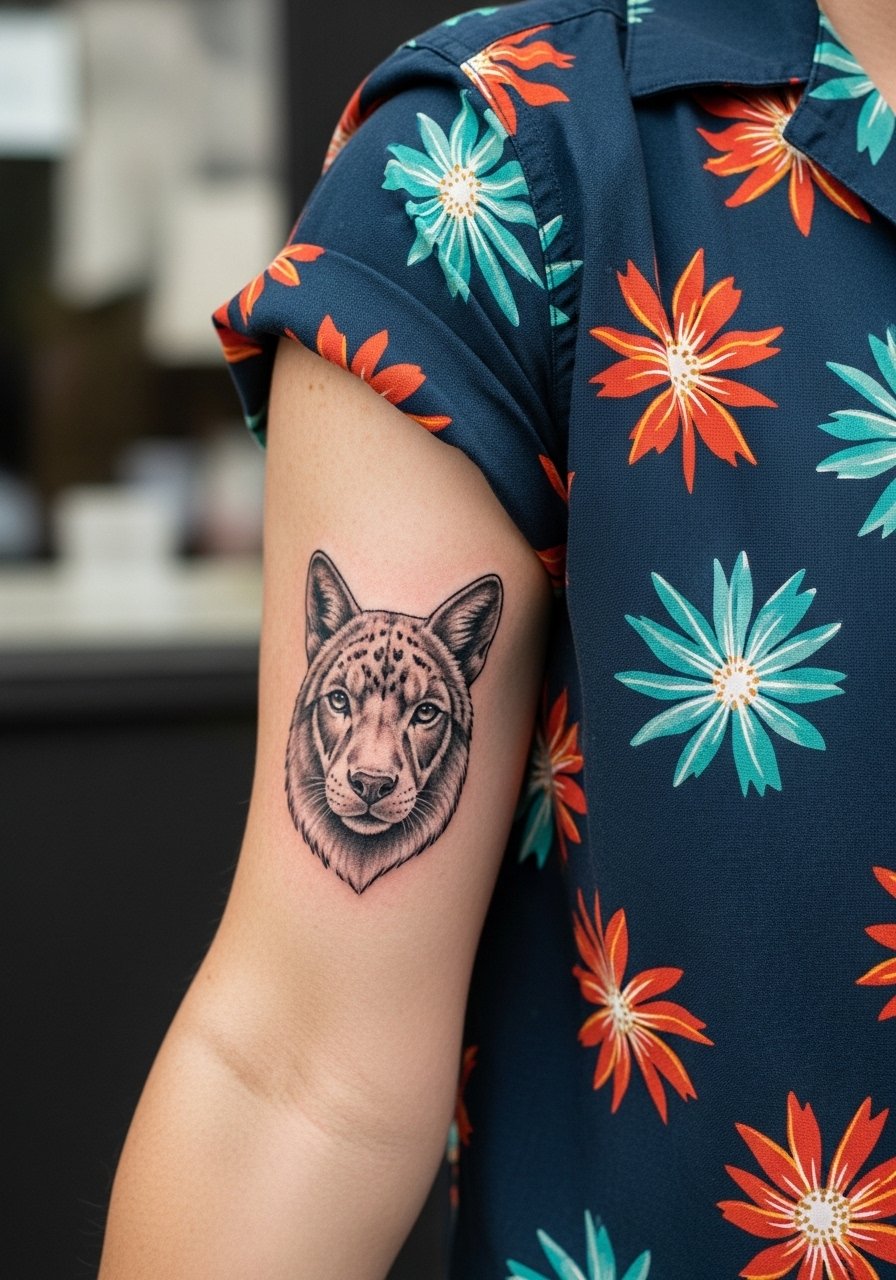
For a small yet detailed animal portrait, the inner bicep gives a flat enough canvas for subtle shading and expression. Ask your artist for increased contrast in the mid-tones so fur and facial features do not merge after healing. Expect two sessions for a 3-4 inch portrait with heavy shading and stipple work. A common mistake is packing too much tiny detail into a tiny zone. If you plan future arm sleeves, place this slightly lower to act as a sleeve starter. Wear a button front camp shirt that you can slide aside so the artist can stencil cleanly without underarm sweat affecting lines.
Studio Day Picks
The first six ideas include a lot of inner-arm and lower bicep work, so a few small, targeted items smooth the chair time and the first week of healing.
-
Lush Tattoo Balm. A thinner balm option that users report does not leave a heavy shine on bicep pieces where sweat and abrasion are common during activity.
-
Indie Ink Shield Spray. An alcohol-free barrier spray artists recommend before applying protective film on high-movement areas like the inner bicep.
-
Green People Balm. A gentler, organic-feeling balm for sensitive skin on inner-arm placements that some clients prefer over petroleum options.
-
Tea Tree Tattoo Salve. Antibacterial properties can help in humid climates where inner bicep sweat complicates early healing.
-
Aquaphor Healing Ointment. A thin layer for the first 48 hours helps protect fine line work from friction, especially useful for vertical numerals and script.
7. Neo-Traditional Mythological Skull Wrap on Full Bicep
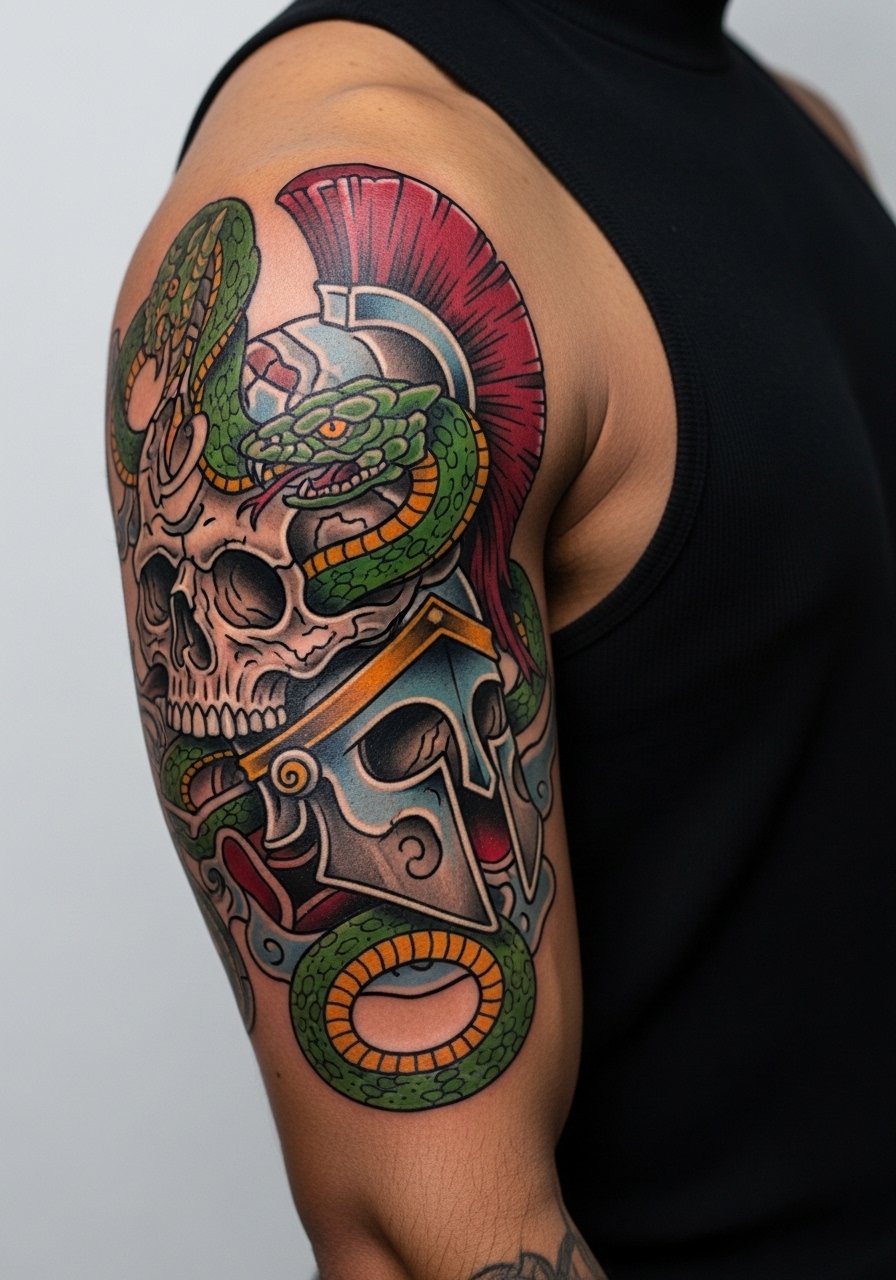
A wrap piece across the bicep reads bold and intentional when the composition moves with the muscle. This neo-traditional skull benefits from strategic color pops and negative space so the design does not become a dark blob when viewed from the side. The session is longer, often split into multiple sittings, and the pain varies across the inner and outer curve. Plan wardrobe that keeps the area dry between sessions. Oversize graphic tees in black frame the finished piece well and a high armhole tank keeps fabric from rubbing during healing.
8. Delicate Floral Outline on the Side of the Bicep
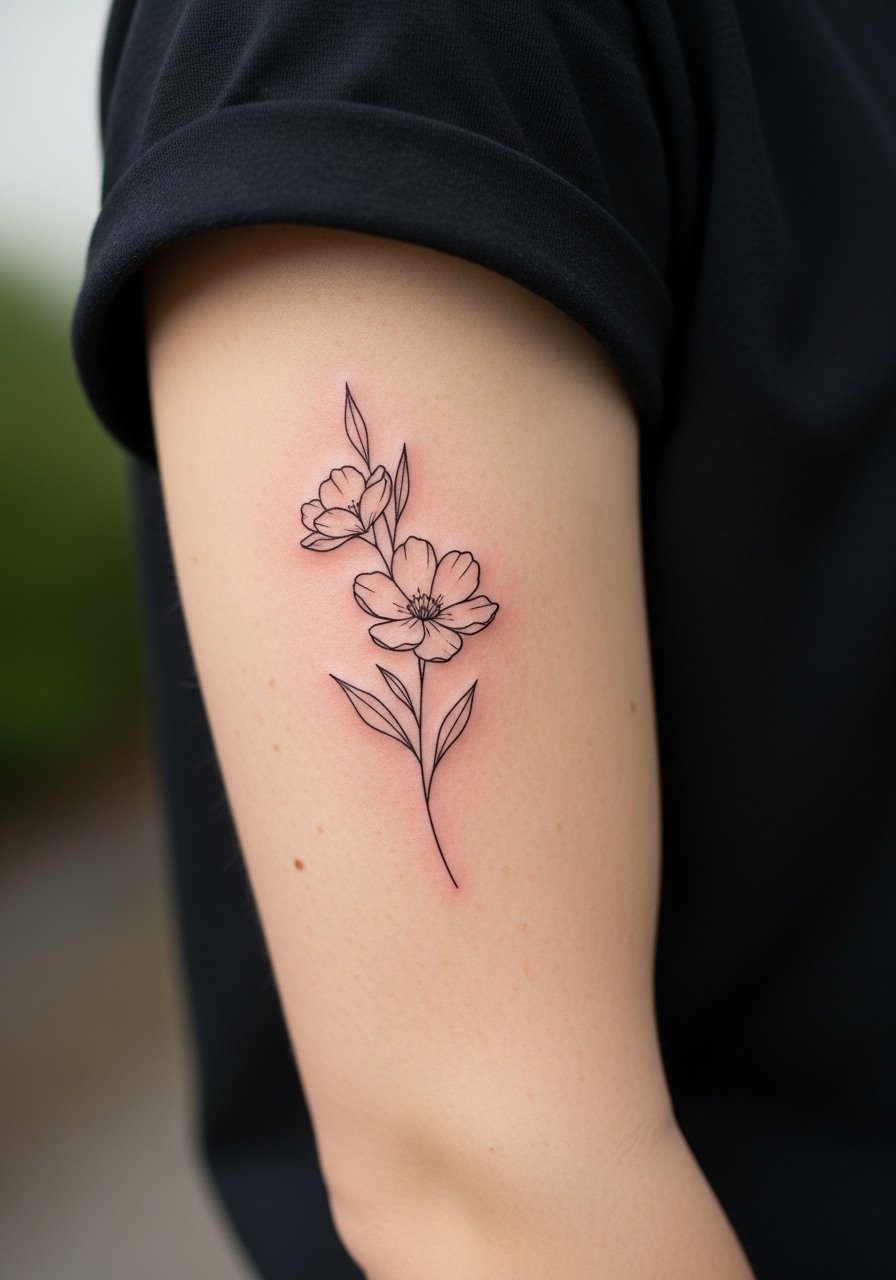
A botanical outline can read masculine without fuss when you choose single-stem compositions with negative space. The side bicep is forgiving for small botanicals, but the common mistake is requesting too many delicate stems that merge after six months. One short session usually does it. If you want a subtle show-off option, roll sleeves of a men's rolled sleeve henley so the flower peeks out casually.
9. Blackwork Geometric Triangle on the Outer Bicep
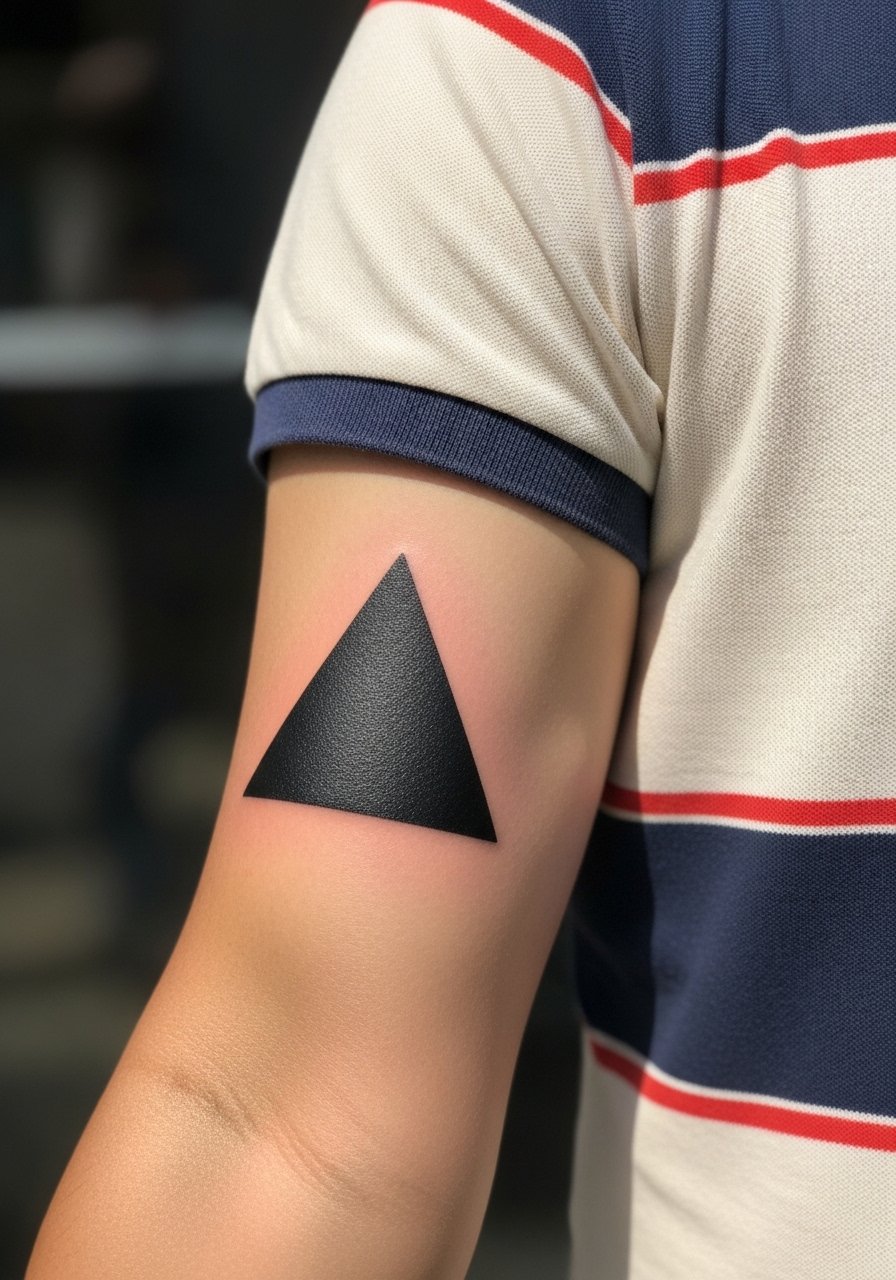
Blackwork triangles are low-maintenance and hold up well on the outer bicep where blowout risk is lower. The trick is to allow enough size so the fill does not saturate tissue too densely in a tiny patch. One to two sessions will deliver a solid block that stays visible when flexed. For casual framing, wear a vintage short sleeve polo so the piece reads nautical or retro depending on your outfit.
10. Portrait Statue Bust on the Full Inner Bicep
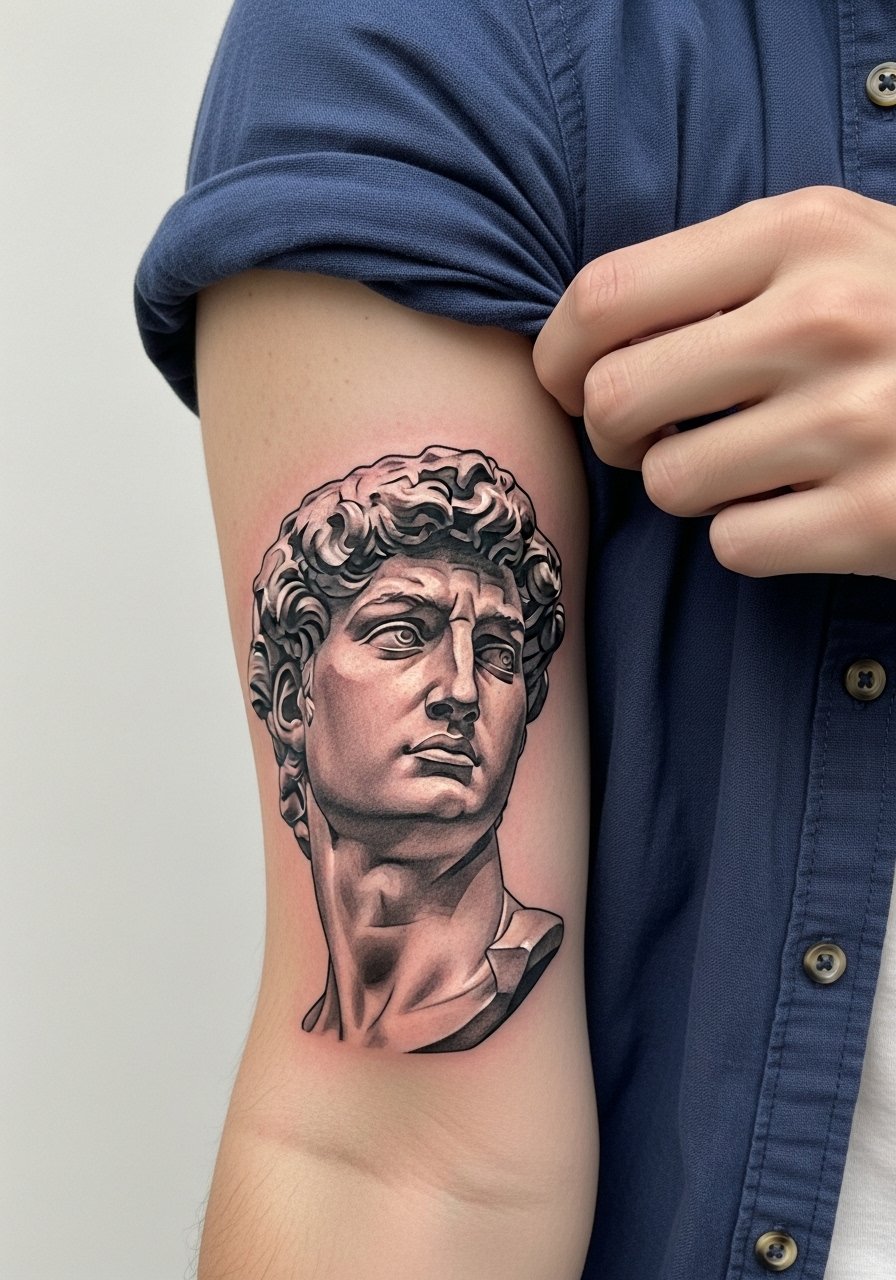
A tiny statue bust leans into grayscale subtleties, but it needs room. The full inner bicep allows for 4-5 inch compositions with enough negative space to preserve facial features. Expect multiple sessions and a realistic portrait approach with soft gray wash and controlled stippling. The inner-arm placement increases pain and the healing period requires minimal friction. When booking, ask your artist about mockups at different sizes so you avoid over-detailing a small canvas.
11. Initials in Serif Font Curving With the Bicep
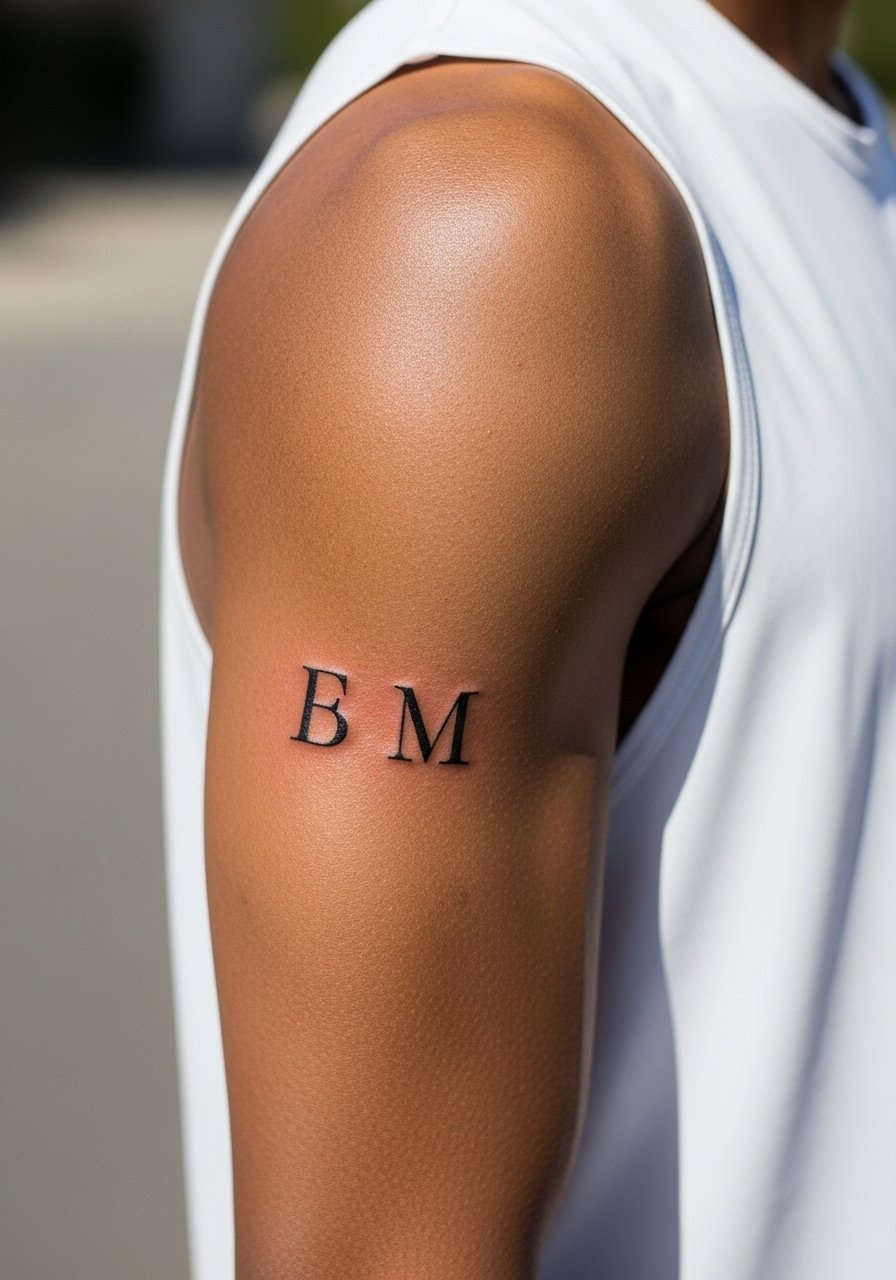
Initials are a compact choice that can expand into bands or integrate with other pieces later. Place them on the upper inner bicep and curve the baseline to match the muscle for less distortion when you flex. One session and simple linework usually suffice. If you plan to reveal the piece, a slim chain and a rolled sleeve henley frame the letters without overwhelming the negative space. For the appointment, a sleeveless athletic tank gives the artist unobstructed access.
12. Lion Head Outline at the Bicep Peak
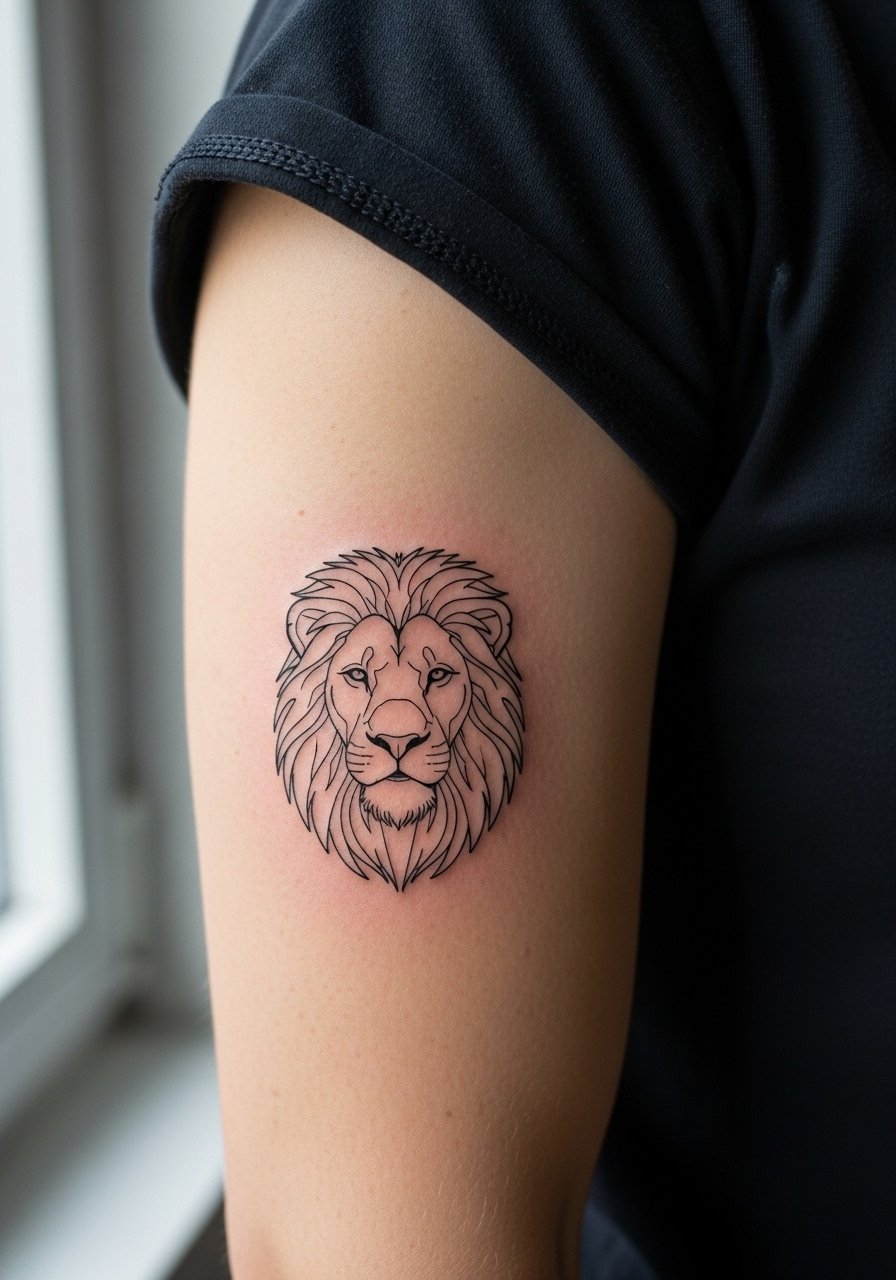
The bicep peak suits animal outlines because flexing emphasizes the mane and jawline. Ask for confident contours and avoid tiny inner shading that can muddy on thicker skin. This is a medium-pain placement for many and most small outlines finish in a single session. A leather cuff opposite the tattoo balances boldness for nights out and keeps the arm styling cohesive.
13. Compass Rose Motif Centered on the Bicep
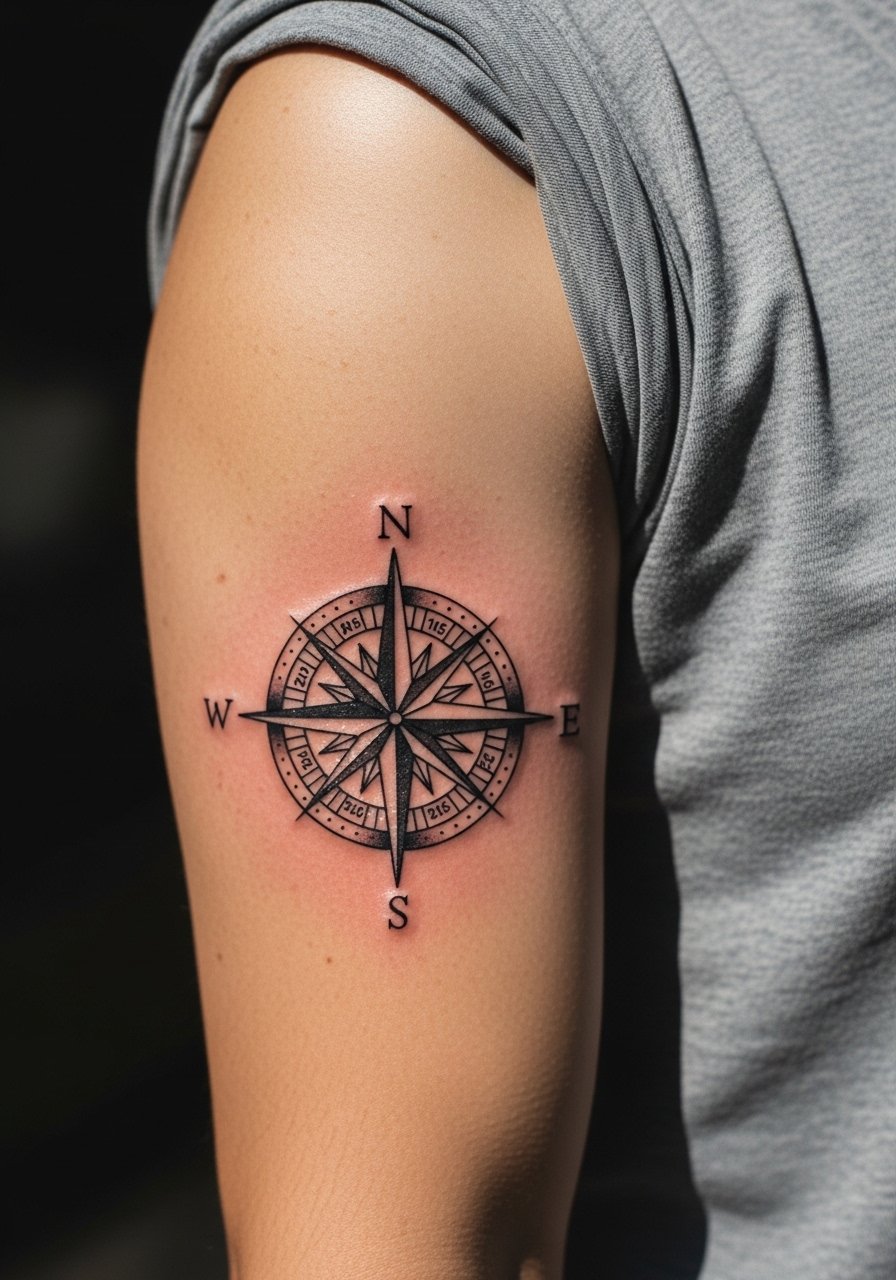
Compass roses work when scaled to let the points breathe, especially on curved bicep surfaces. Ask the artist to emphasize primary points with thicker linework and keep secondary ticks lighter so the instrument reads clean from a distance. Two sessions can let the artist layer subtle gray wash into the compass face. A loose fit muscle tee frames the design and plays into the nautical vibe.
14. Tiny Wave Band on the Lower Bicep
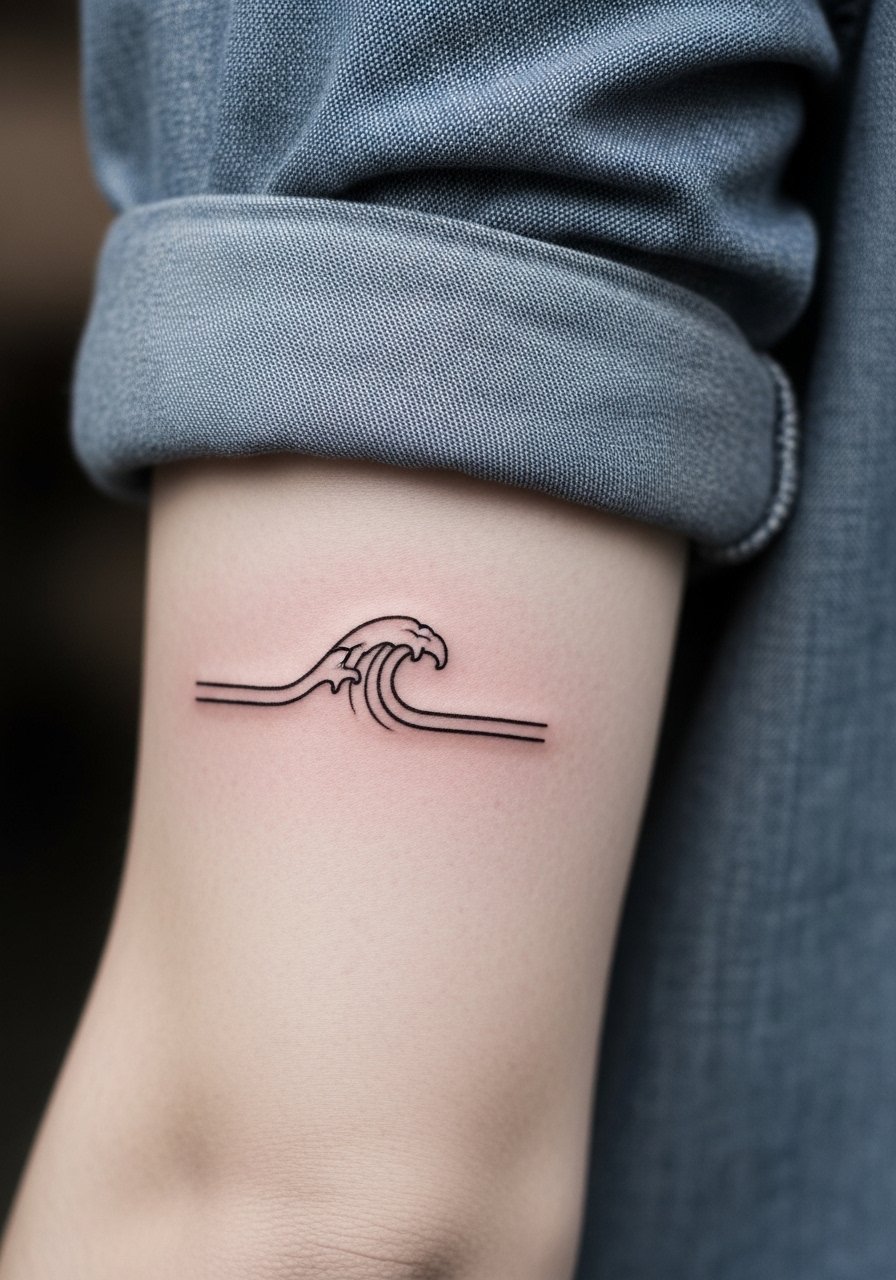
A small wave band is discreet and low-profile. The lower bicep avoids excessive flexing, so the line stays readable longer than similar wrist work. Keep the line weight moderate so the curve does not spread with time. One session under an hour is typical. For a polished look, roll the sleeves of a chambray button shirt men twice so the wave shows just above the cuff.
15. Sleeve Starter Anchor Low on the Inner Bicep
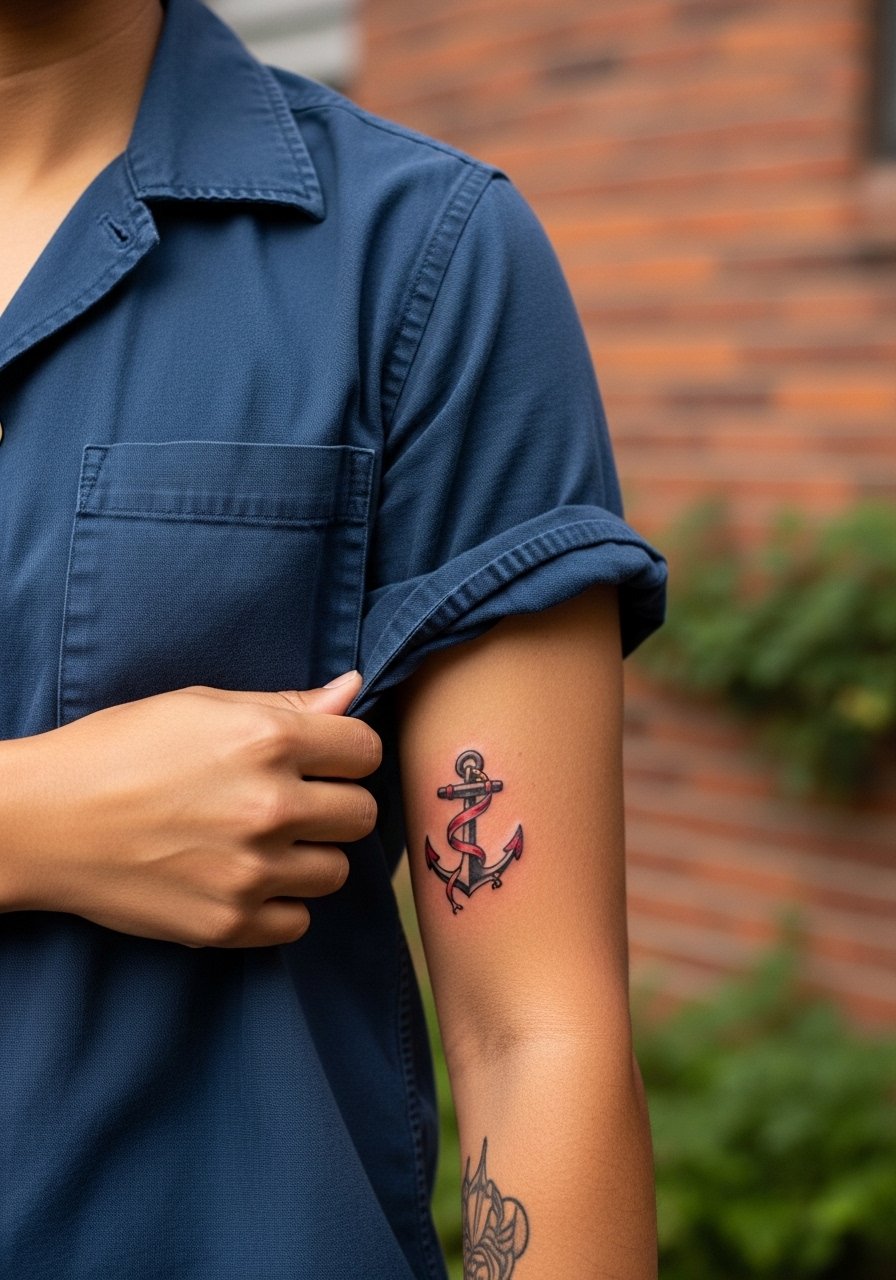
Use a compact anchor at the low inner bicep when you want a starting piece for a sleeve later. The lower position lets future pieces flow upward without creating awkward seams. Ask the artist to leave extra negative space above the anchor so connecting elements read naturally. This area has moderate pain and needs careful aftercare to avoid friction from shirt sleeves. Bring a button front camp shirt you can manipulate during the session so the stencil stays clean.
16. Flex-Tested Vertical Mountain Range
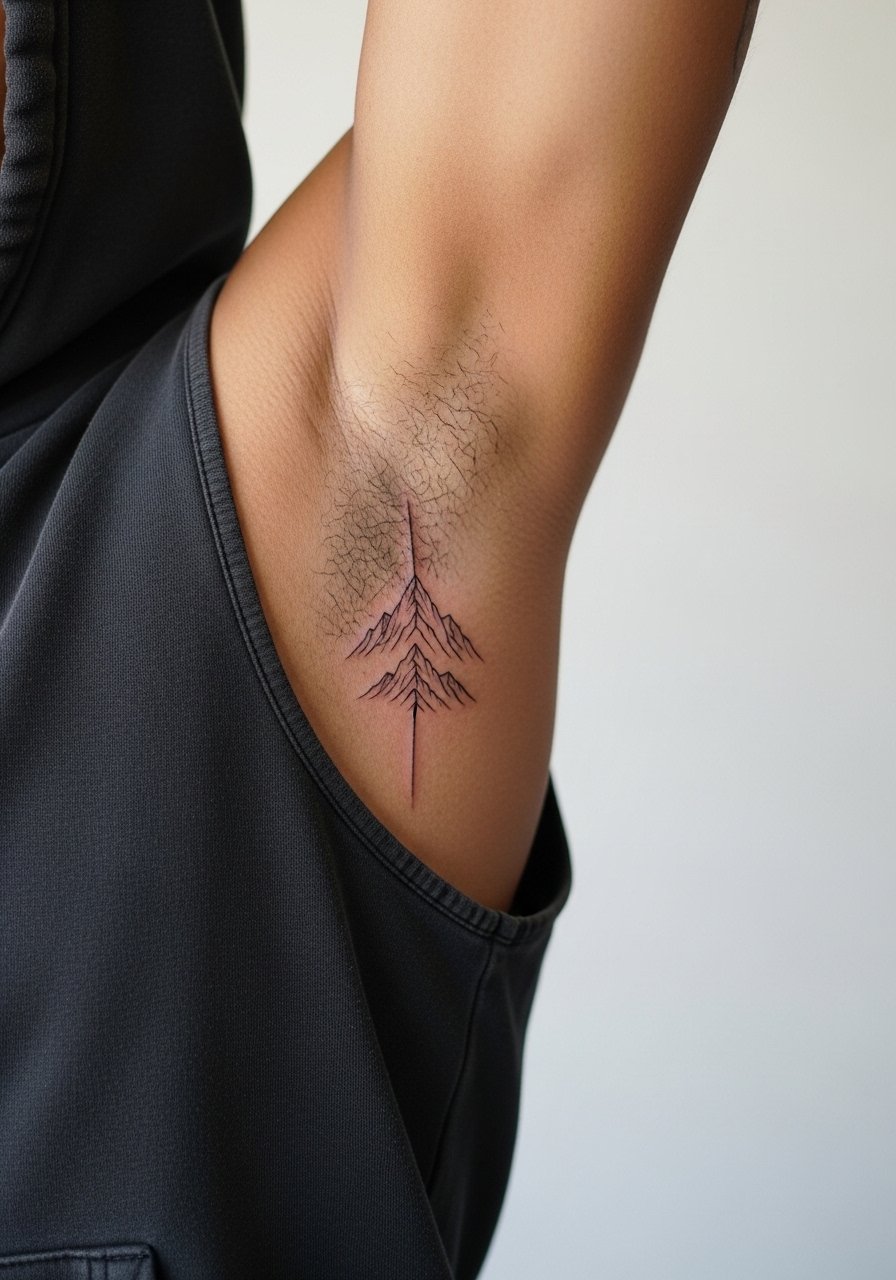
One under-covered trick is to mock the design while flexing so you can preview distortion. Vertical mountain ranges placed along the muscle curve avoid horizontal stretching when you bulk up. Tell your artist to sketch with your arm flexed and relaxed during the consultation. The session is short and the piece is a solid sleeve-starter. For the appointment, a sleeveless hoodie keeps the area free without excess fabric.
17. Tone-Specific High-Contrast Blackwork for Darker Skin
Men with darker skin tones sometimes report realism losing definition in photos. A practical alternative is high-contrast blackwork that leans on strong silhouettes rather than subtle gray wash. The artist can mix ink tones and focus on negative space to create clarity. This approach reduces the risk of muddy photos and keeps the piece visible when flexed. Book a consult where the artist tests a small tone patch on the area before committing.
18. Micro-Realism Mini Animal Portrait on Lower Bicep
A mini animal portrait on the lower bicep reads like a secret piece that pops when you move. For micro-realism, insist on heavy contrast and slightly exaggerated highlights so the tiny pupil and fur hold up past the first year. Plan for a two-session workflow if you want finer gradients. For styling, a chambray button shirt men rolled once frames the portrait without crowding the forearm.
19. Coordinates or Barcode Along the Bicep Curve
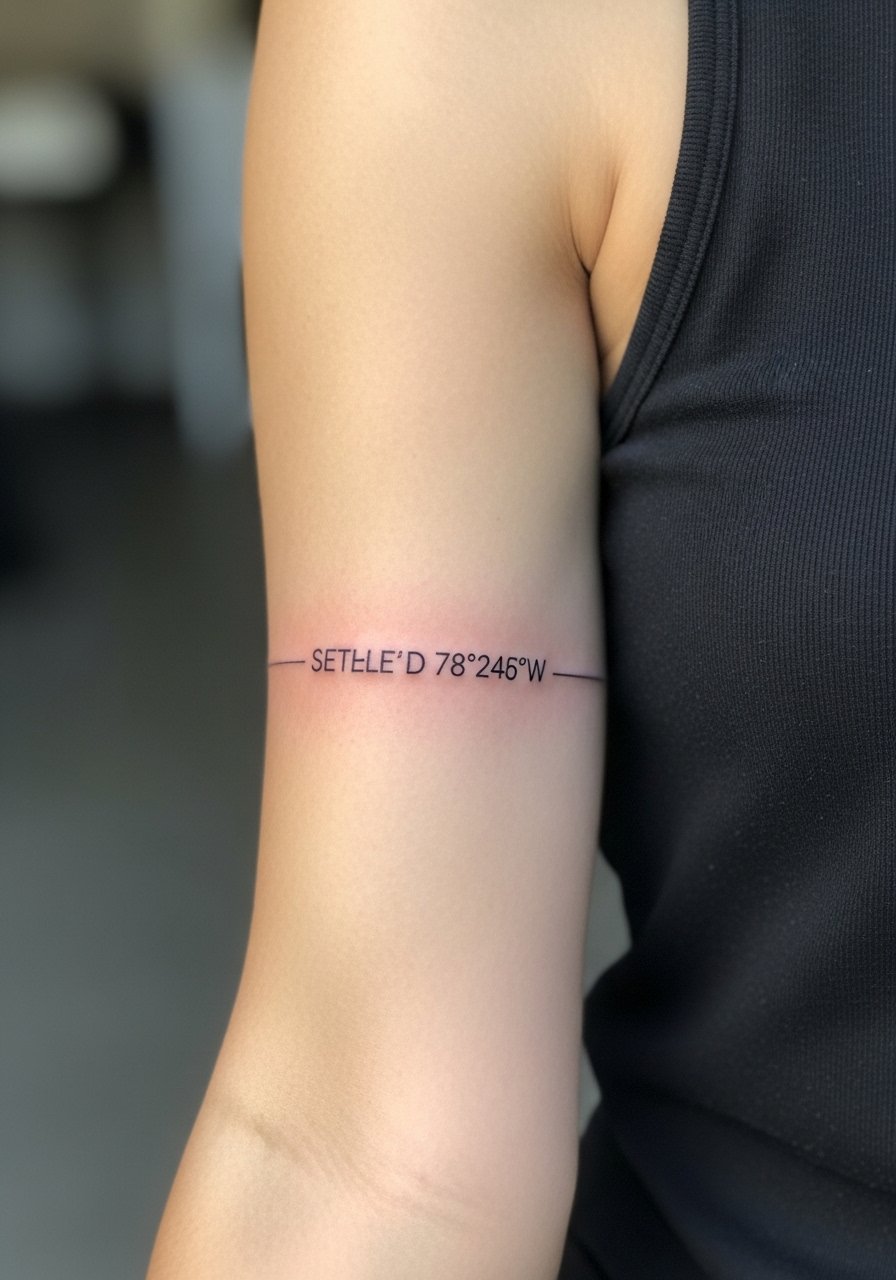
Coordinates and barcode-style markings make compact, private statements when placed along the bicep curve. Use a monospace or thin serif for numbers and ask for slightly increased line weight compared with your reference so the digits do not blur into one another. The upper-inner bicep placement helps concealability and keeps distortion minimal. One session and low pain makes this a good first bicep pick if you want something discreet.
20. Small EKG Line Near the Inner Bicep Fold
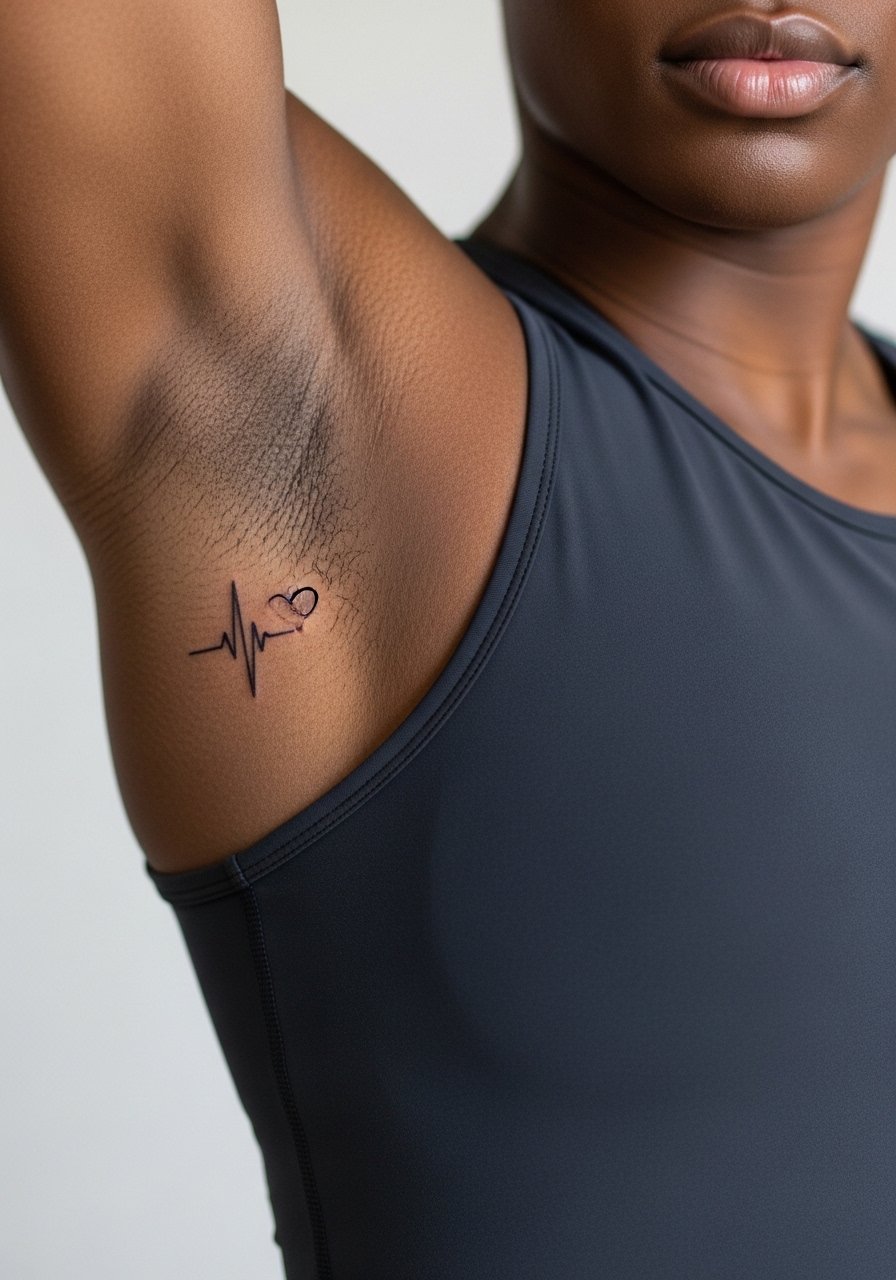
An EKG line rides the inner bicep fold well because a short, linear mark avoids excessive curvature. Tell your artist to keep the peaks bold and the troughs open so the rhythm reads in photos and in person. The piece is fast to apply and usually tolerable in a single session. For the appointment, a sleeveless athletic tank prevents fabric from rubbing the freshly inked fold.
21. Minimalist Line Shield for Athletic Guys
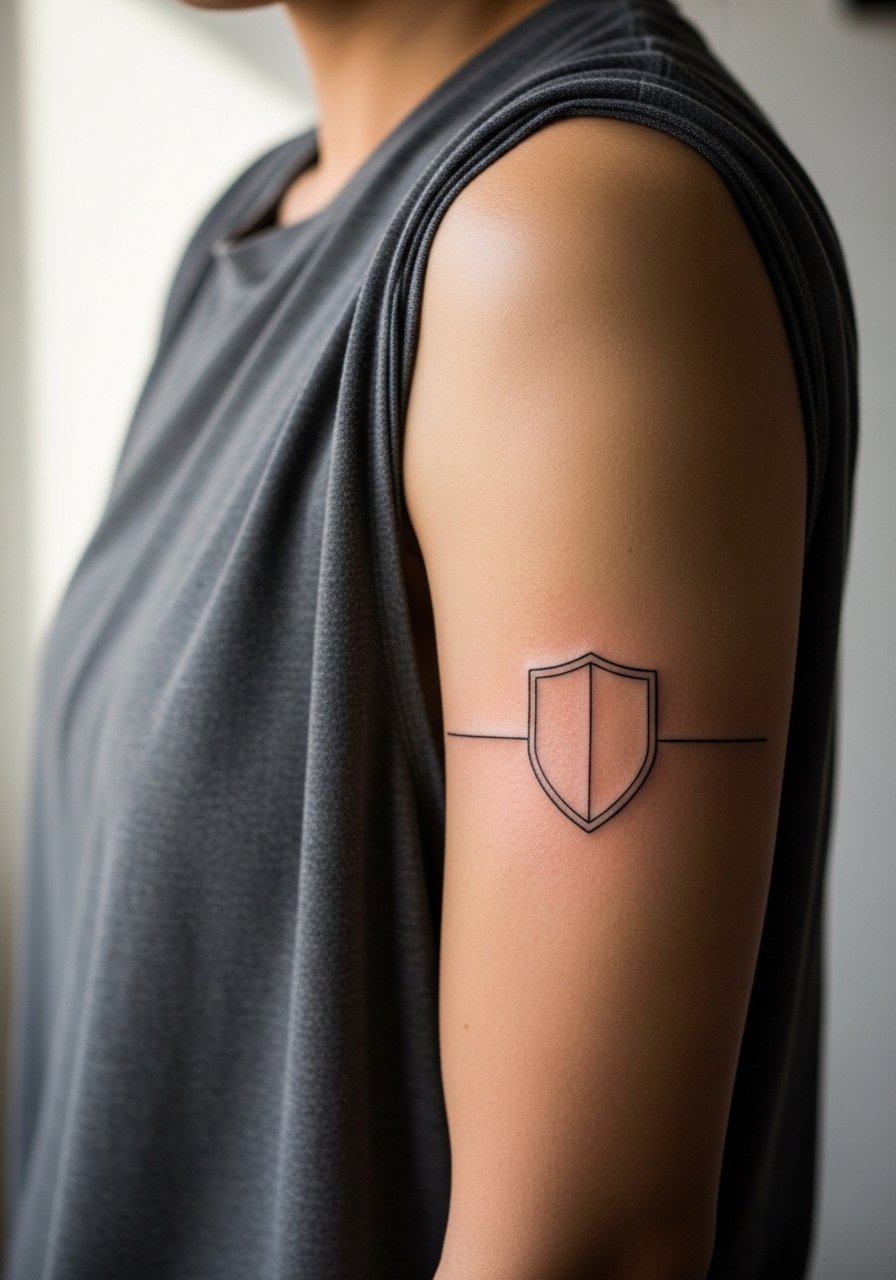
Athletic builds benefit from small shield motifs at the outer bicep because the contour emphasizes the shape without fighting muscle. Request a slightly thicker outer line and interior negative space so the mark remains distinct over time. This placement heals predictably and finishes in one session. Pair with a loose fit muscle tee that shows the area without compressing the skin.
Frequently Asked Questions
Q: How much does fine line script on the inner bicep usually fade compared with bold blackwork?
A: From what I have seen, fine line script tends to lose crispness faster because single-needle strokes are more vulnerable to skin movement and sun. Bold blackwork holds a clearer silhouette longer, so if longevity matters, ask your artist to slightly thicken key strokes or plan a touch-up at year two.
Q: The inner bicep hurt more than I expected. Any tips for managing pain during the session?
A: The inner bicep is sensitive for many people because the skin is thin and close to nerves. Book shorter sessions under an hour if you are worried and consider discussing topical numbing with your artist, but test it beforehand. Wear a loose sleeveless athletic tank to the appointment so you can breathe and stay comfortable.
Q: Artists disagree on Saniderm versus dry healing. What is the practical difference for bicep work?
A: There are two camps. One group prefers Saniderm for arms because it reduces scabbing and mess and can reduce rubbing in high-movement zones. The other camp favors dry healing believing a natural scab sets the ink better. The best approach is to ask your artist which they use for inner-arm pieces and follow their protocol, because consistent aftercare from the same method matters more than the method name.
Q: If my fine line on the bicep fades, will a touch-up fix it or do I need to rework the piece?
A: Usually a touch-up is enough for faded fine line work, provided the original composition left room and the artist used appropriate depth. If the design was too dense or too tiny, a rework or redesign may be necessary. Confirm touch-up policies before booking and factor a touch-up into the plan for delicate pieces.
Q: How do I find a reliable artist for small bicep realism or fine line work without overpaying?
A: Search regional tags and platforms and look for guest spots in smaller cities where pricing can be 20 to 30 percent lower. Use filters like "bicep" plus your style on apps that list guest spots, and check community threads for recent recommendations. Booking through established platforms with clear deposit and cancellation policies reduces the risk of last-minute cancellations.
